In this walkthrough of the Main Story quest “In the Shadow of the Mountain”, we’ll help you and Sebastian fight through more of Ranrok’s goblin loyalists as you attempt to retrieve the third and final piece of the triptych — and hopefully find something that will help Sebastian’s sister.
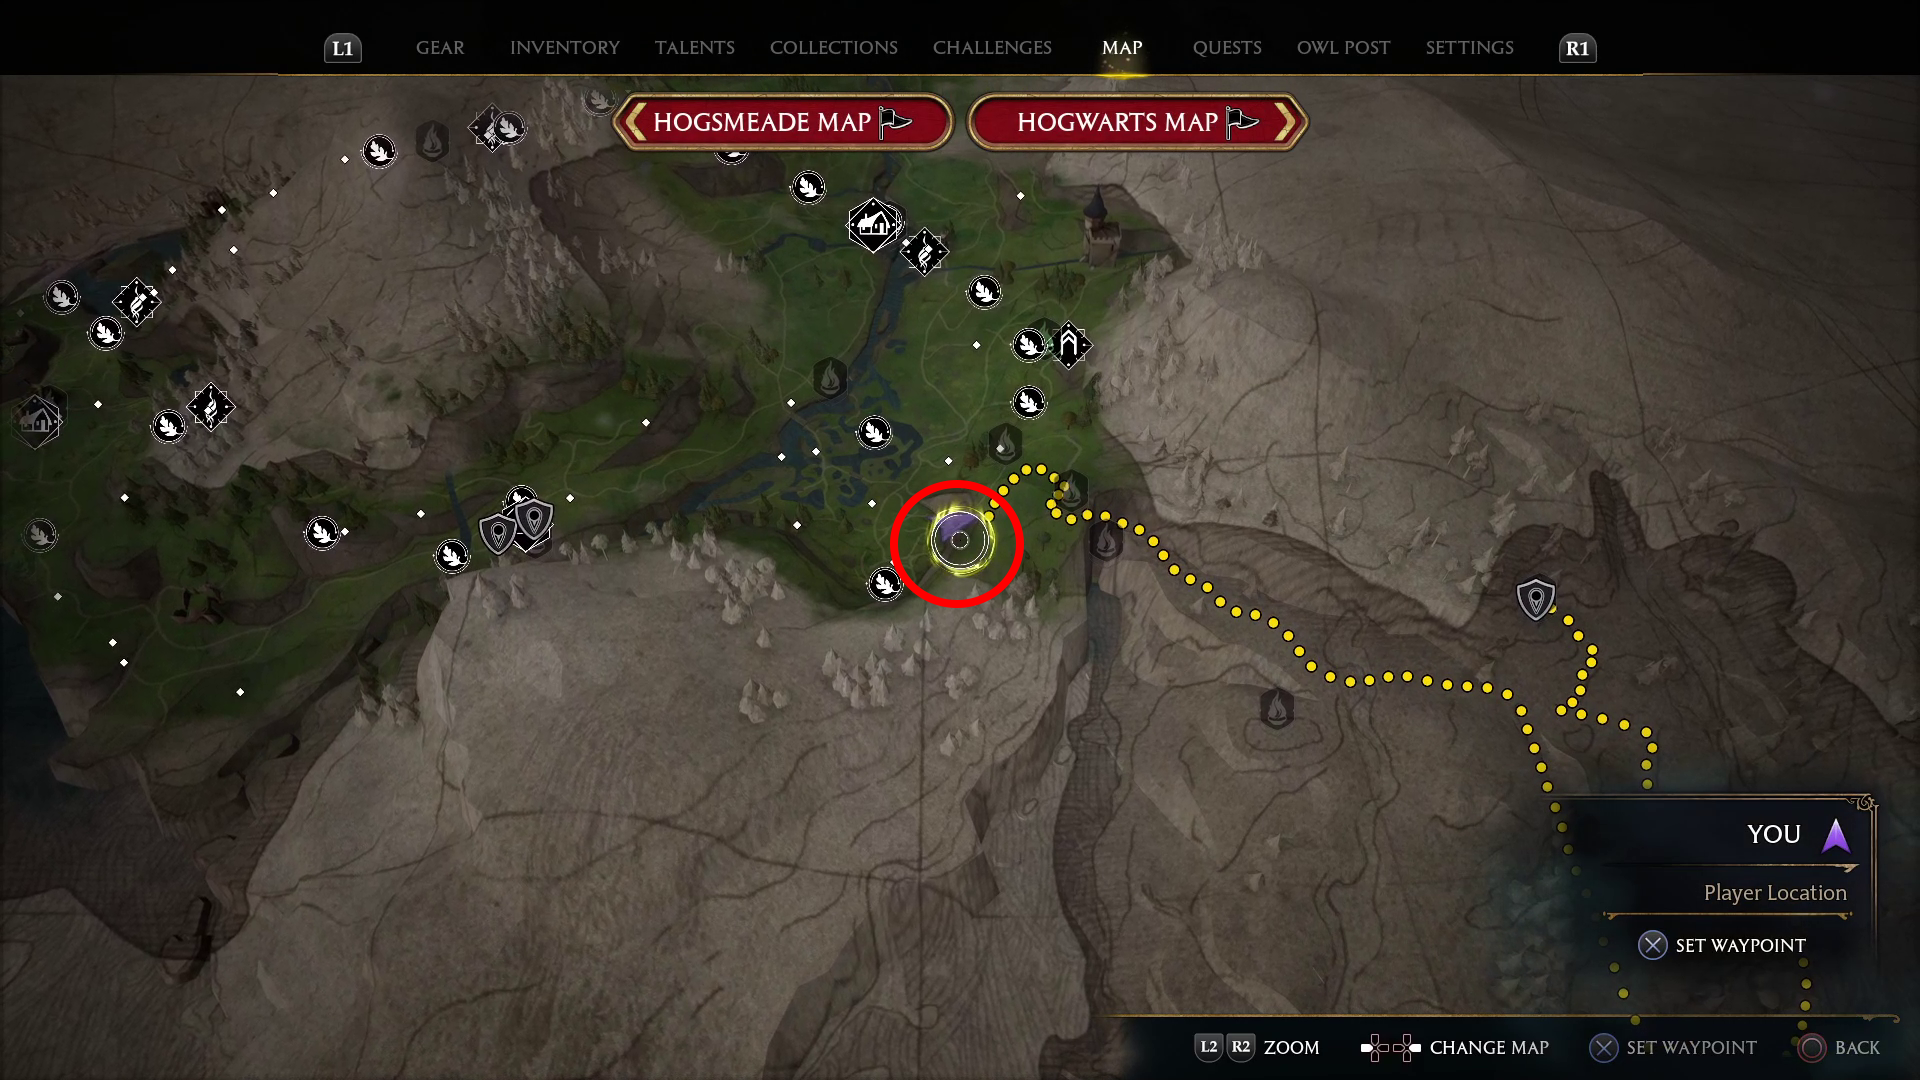
This is one of the trickier quests to start, particularly if you haven’t unlocked any of the Floo Flames in the southern part of the World Map. When you open your world map, you might not be able to see the quest location for In the Shadow of the Mountain at all if you aren’t at least as far south as Poidsear Coast. We have a guide for How to Get to Poidsear Coast, but in brief: go to the location indicated below (1) and make your way through the large tunnel (2) — at the other side of it you’ll be able to unlock the North Poidsear Coast Floo Flame.
12
If you’ve already got access to the southern regions, great! Teleport to whatever Floo Flame you have that’s closest to the eastern side of Marunweem Lake. Once you’re on the southern side of the World Map, you should be able to properly track this quest, and you can head to the objective marker to find where Sebastian is waiting (or where you’ll need to wait, if it isn’t night). Once it’s night, speak with Sebastian by pressing / to begin the quest.
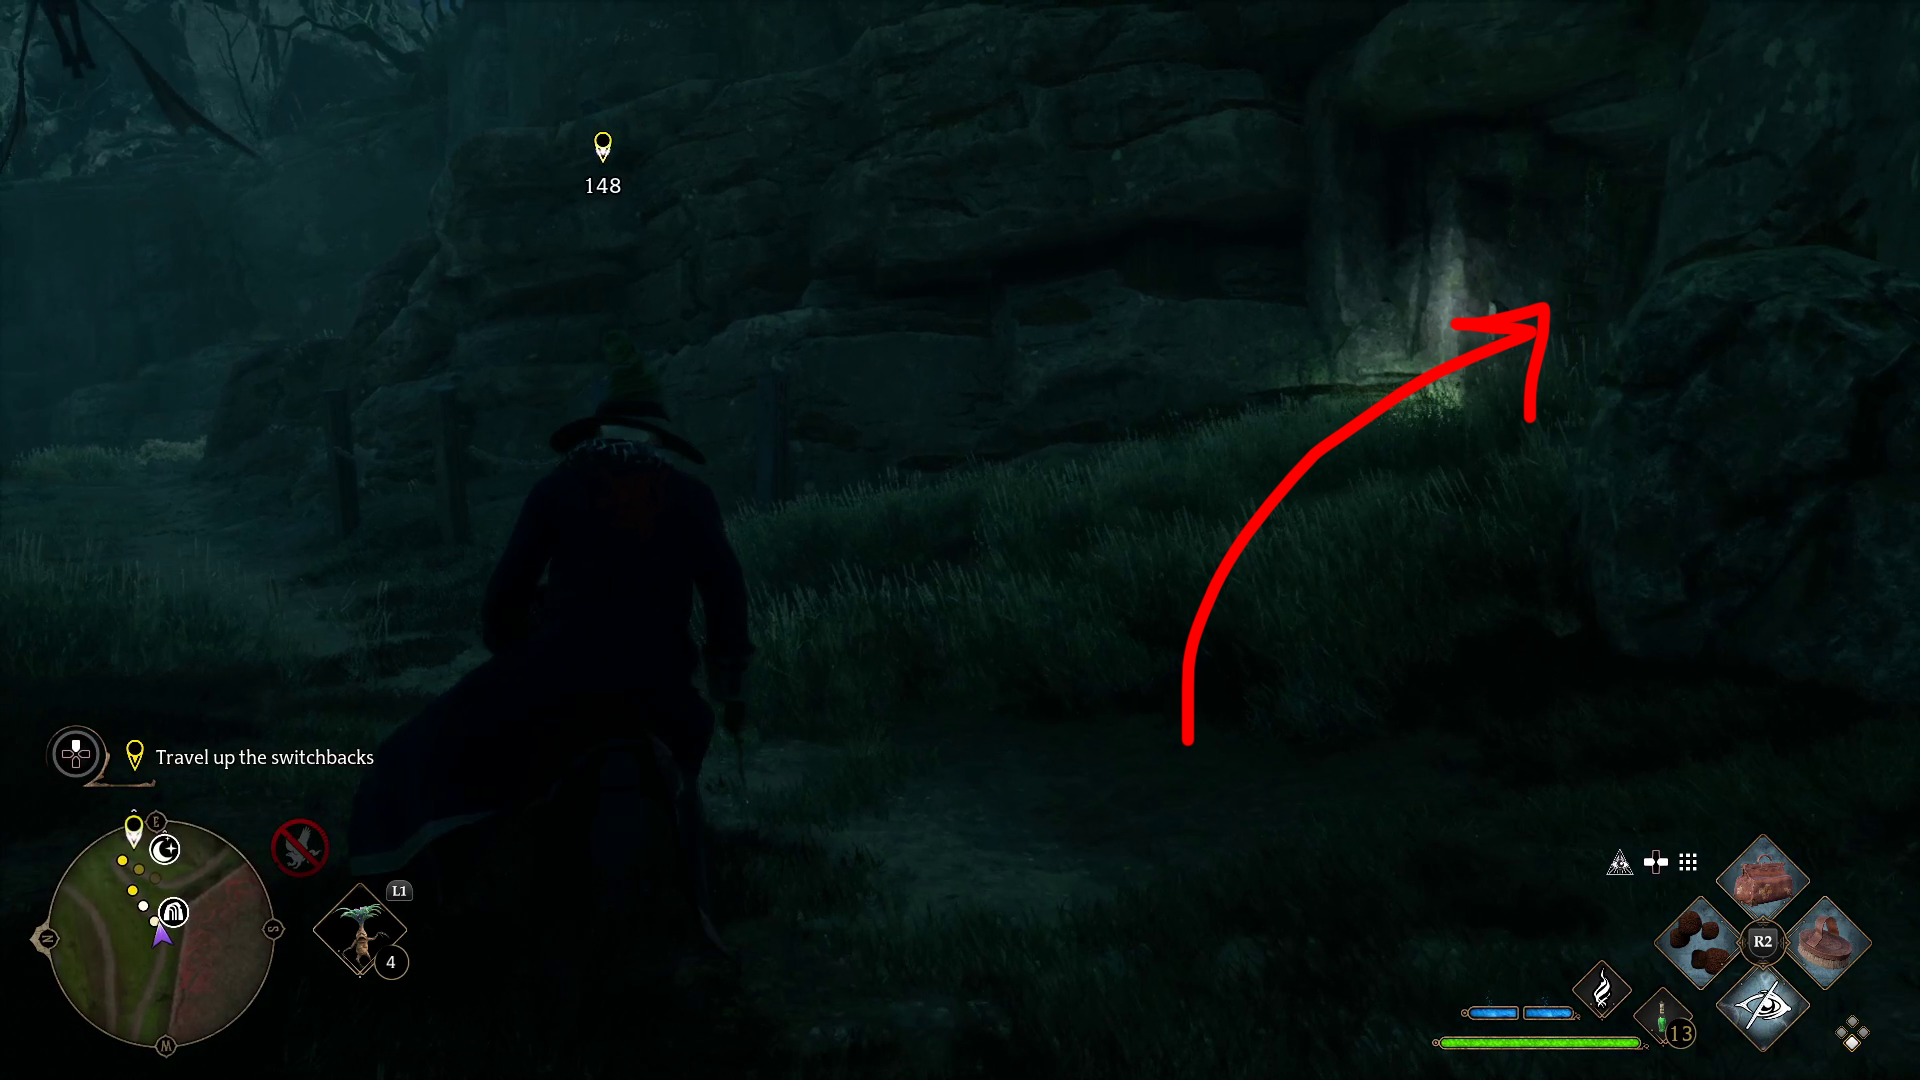
Travel up the switchbacks
After you finish speaking with Sebastian, you’ll need to head southwest, following the path up the mountain. Where the path bends you’ll find a small group of goblins. You can easily sneak past them, take them out while stealthed, or just blast them — whatever you prefer. Continue up the mountain, now heading east-southeast.
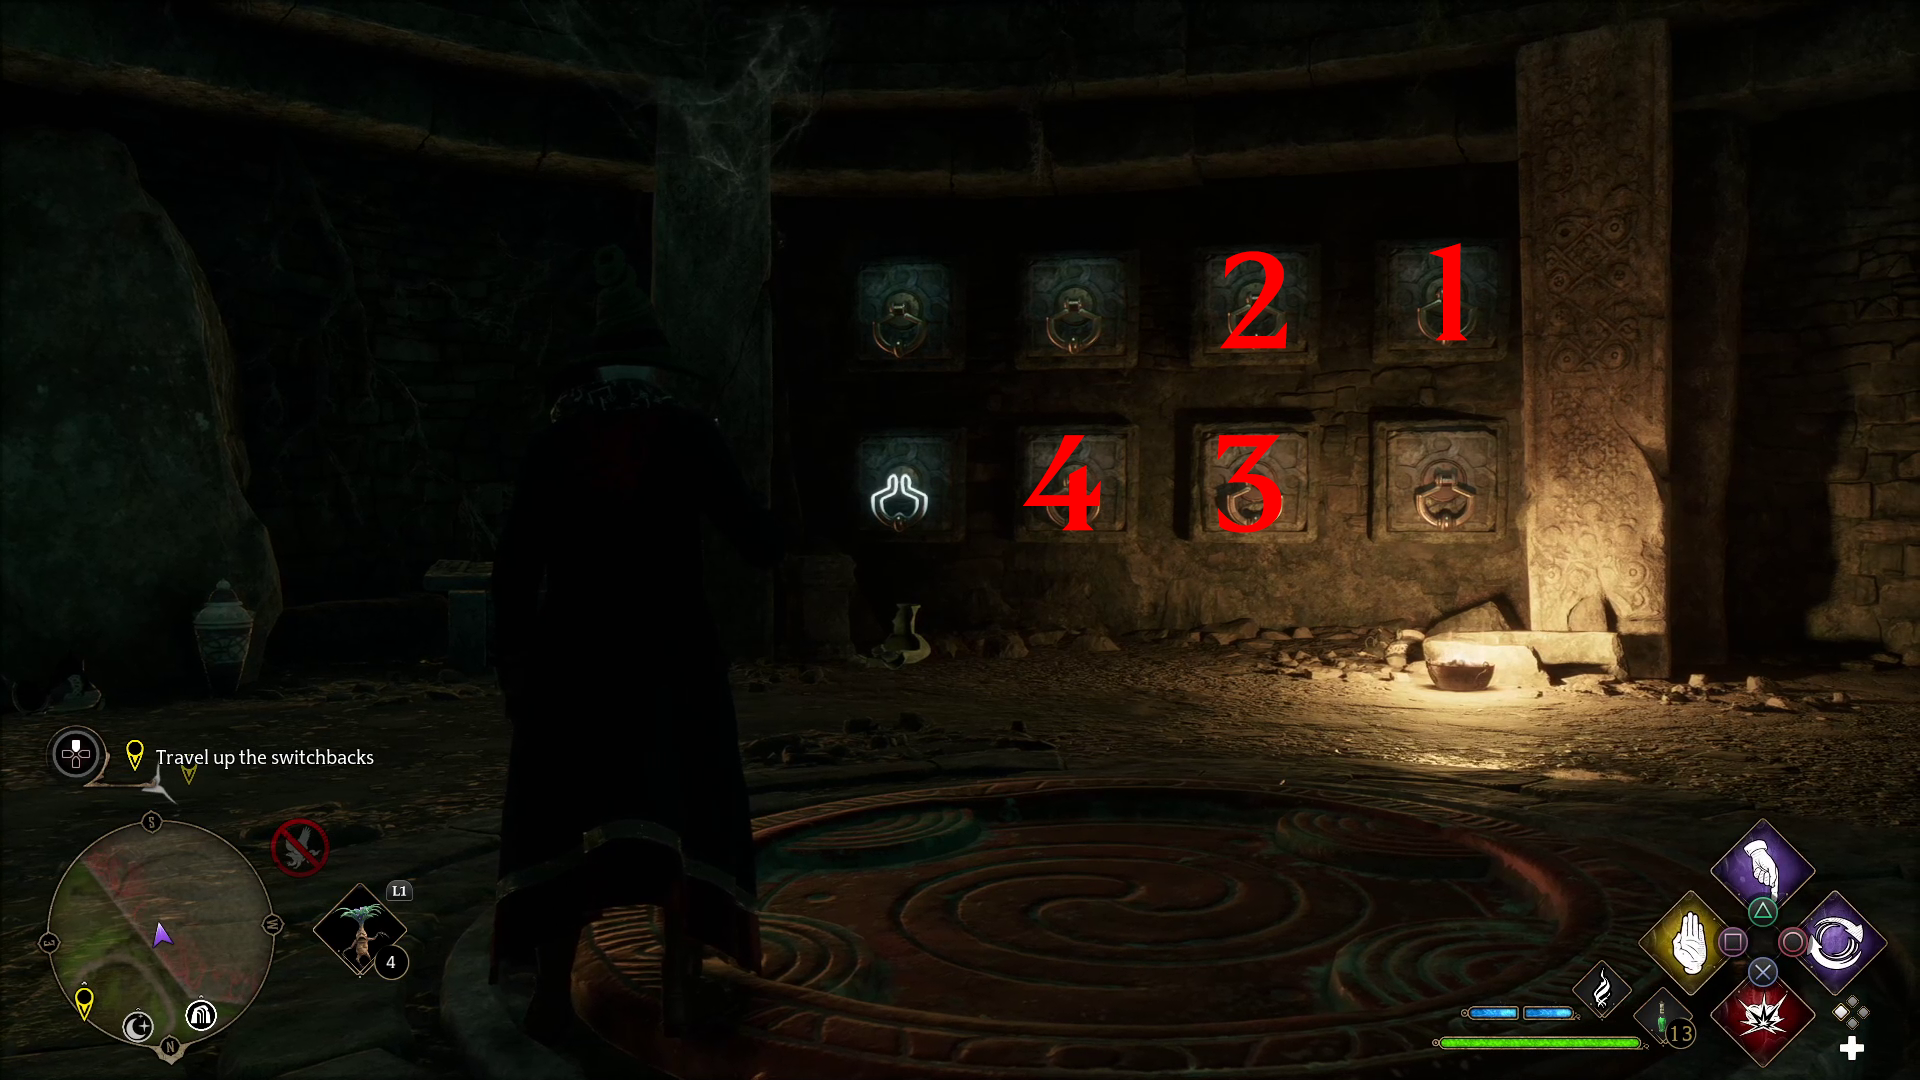
On your right, you’ll soon see a cave opening lit by a lantern (1). Inside, after a brief jog through some tunnels, you’ll come to a quick puzzle that you can solve by casting Accio on the handles in the correct order (2) — this will reveal a chest on the western wall.
12
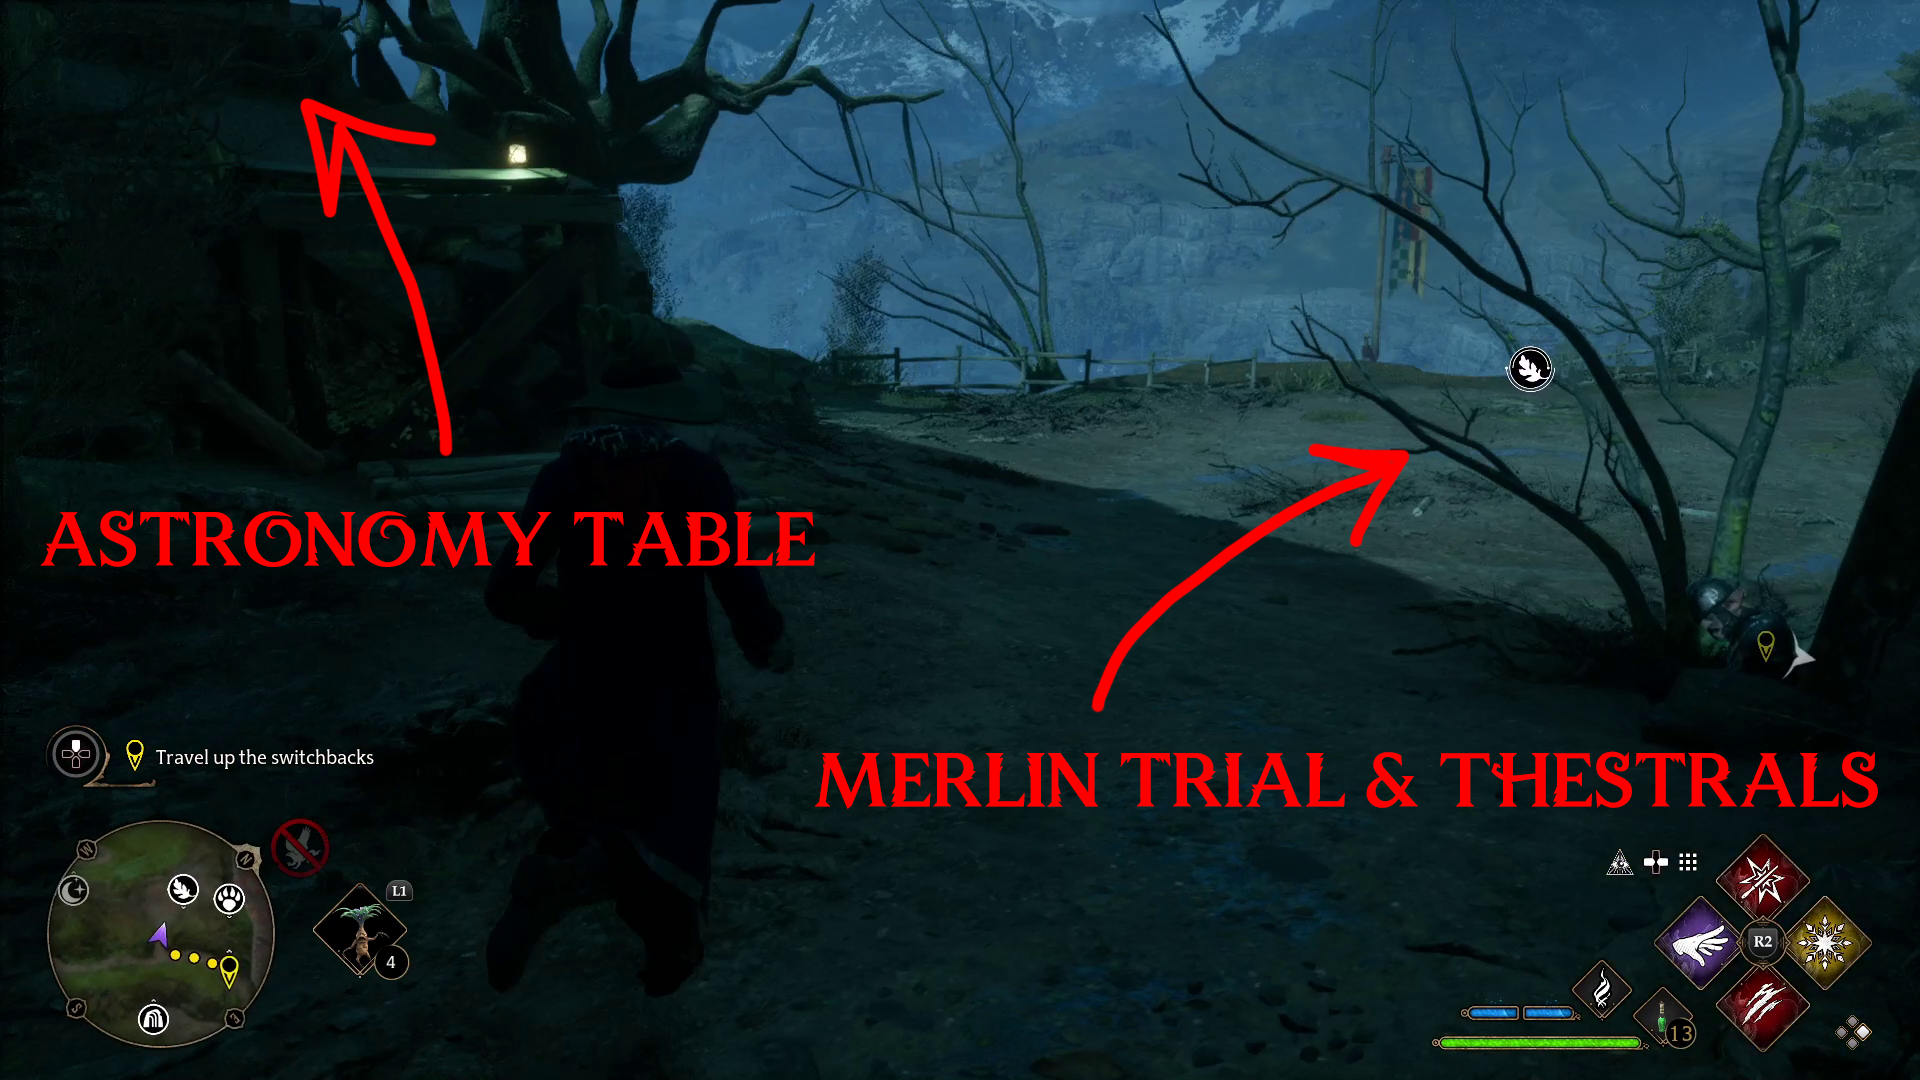
Leave the cave and turn right to continue up the mountain — the path will switch back again, and you’ll come to an area with high stone walls on either side of you. Just keep following the path until you see a lantern on the left with some thorny branches blocking a path (1). To remove these, first cast Incendio, then Depulso at them. This will gain you access to two things — a Merlin Trial and Thestrals you can rescue to the right, and an Astronomy Table up a path on the left (2).
12
Once you’ve done everything you want in this area, go back through the gap you cleared of brambles and turn left to keep following the path up the mountain. You’ll soon come to a wooden gate with a bunch of goblins hanging around in the mining camp beyond.
Defeat All Enemies
When you get close enough to the goblin camp, Sebastian will say he’s through waiting and attack them. You can still be sneaky if you want, so feel free to remain invisible and take advantage of Petrificus Totalus until you’re spotted. After defeating all the enemies, you’ll have a conversation with Sebastian. There’s quite a bit of loot in the camp, including a Collection Chest, so make sure you cast Revelio on both sides of the camp.
Continue up the mountain
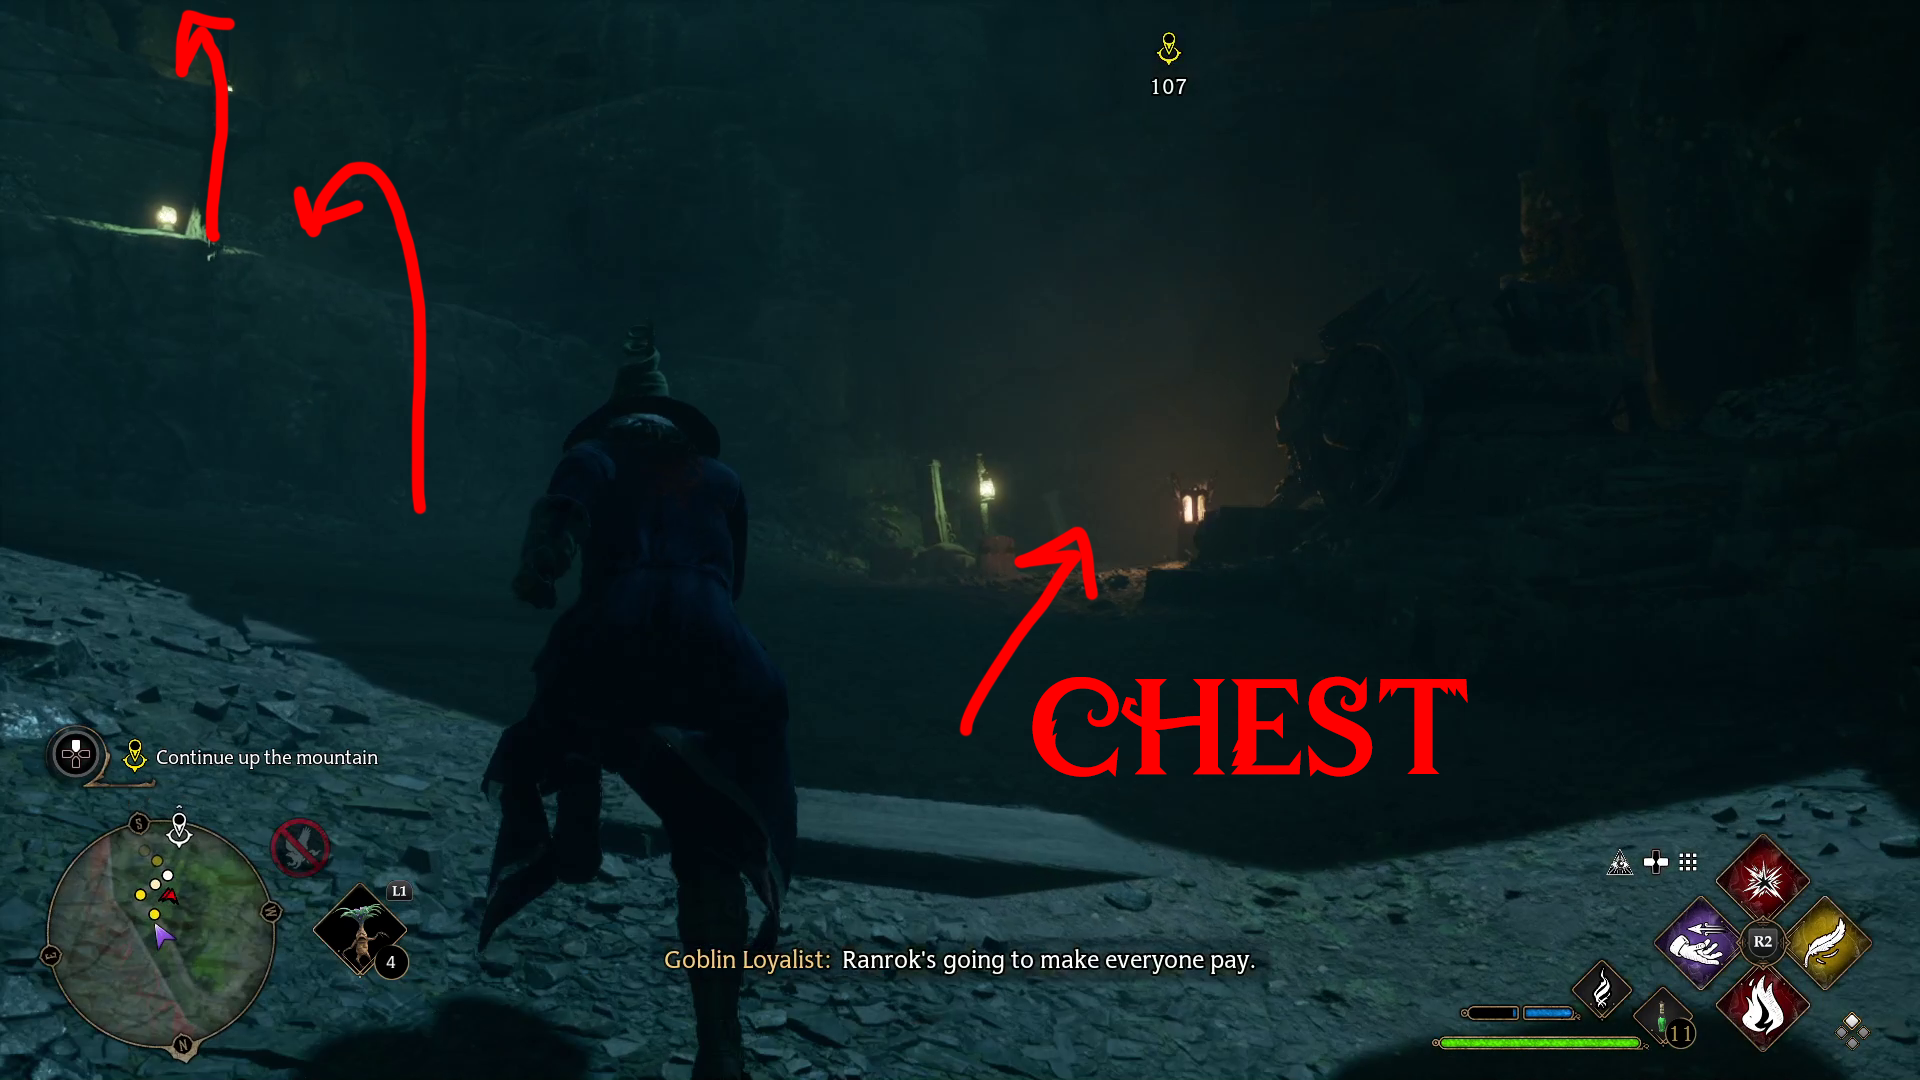
The path curves south-southeast — continue following it until you come to a ledge. Here, you’ll find a chest to the right, and then you can climb up the ledges to continue following the path (1). You may want to cast Disillusionment after climbing the second ledge, as there will be two goblins on the right after you climb up the third ledge. Deal with the pair of goblins, then go southeast on the path again. You’ll have to climb another ledge, and then you’ll go round a bend — here, cast Revelio to see a wall of stone you can destroy with Depulso (2).
12
Head into the cave, casting Incendio to deal with the Devil’s Snare that blocks your path. You’ll find a chest ahead, and then you can turn around and return to the path. Turn right and continue uphill, and you’ll soon reach another camp.
Defeat the Guards
Sebastian won’t charge in this time, so you can take all of these foes out with stealth if you want. Once the goblins are dealt with, you’ll speak with Sebastian again. There are a lot of ingredients in the area, so make sure you cast Revelio and collect them once the conversation ends.
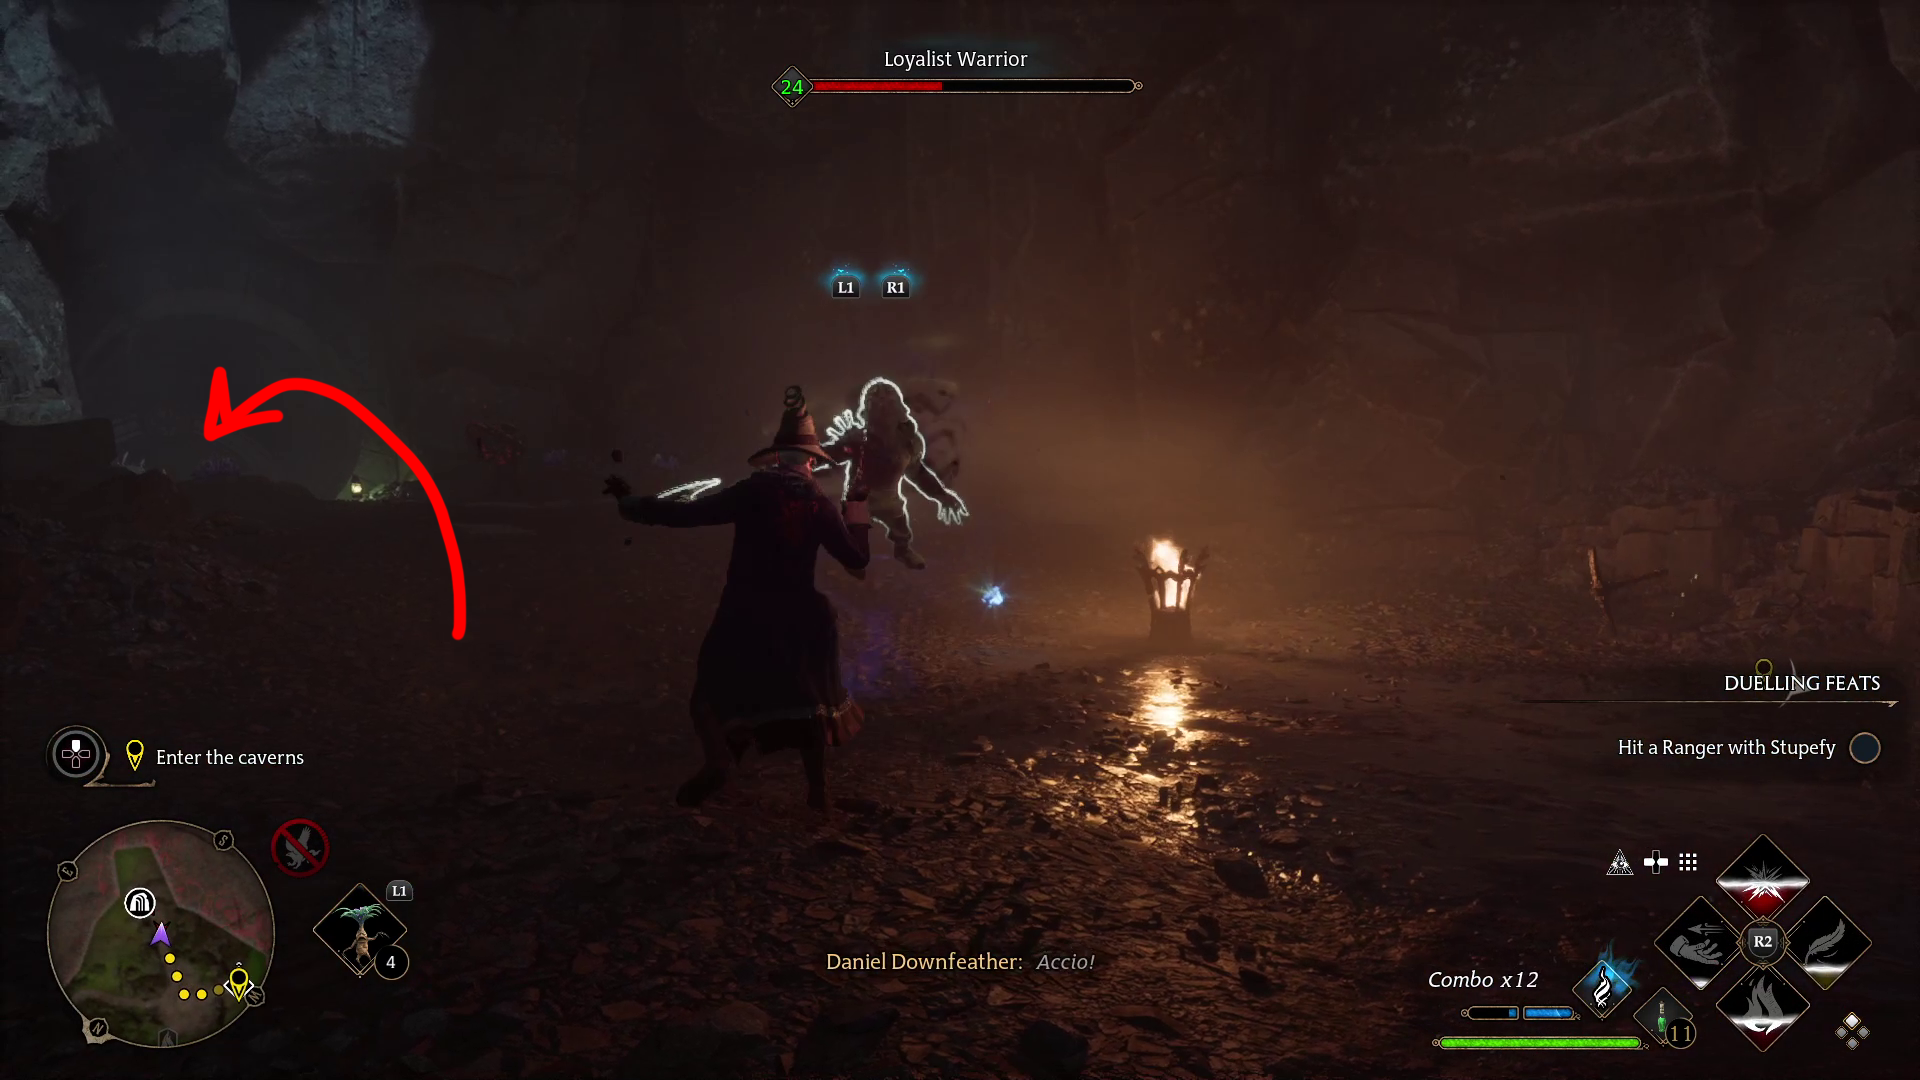
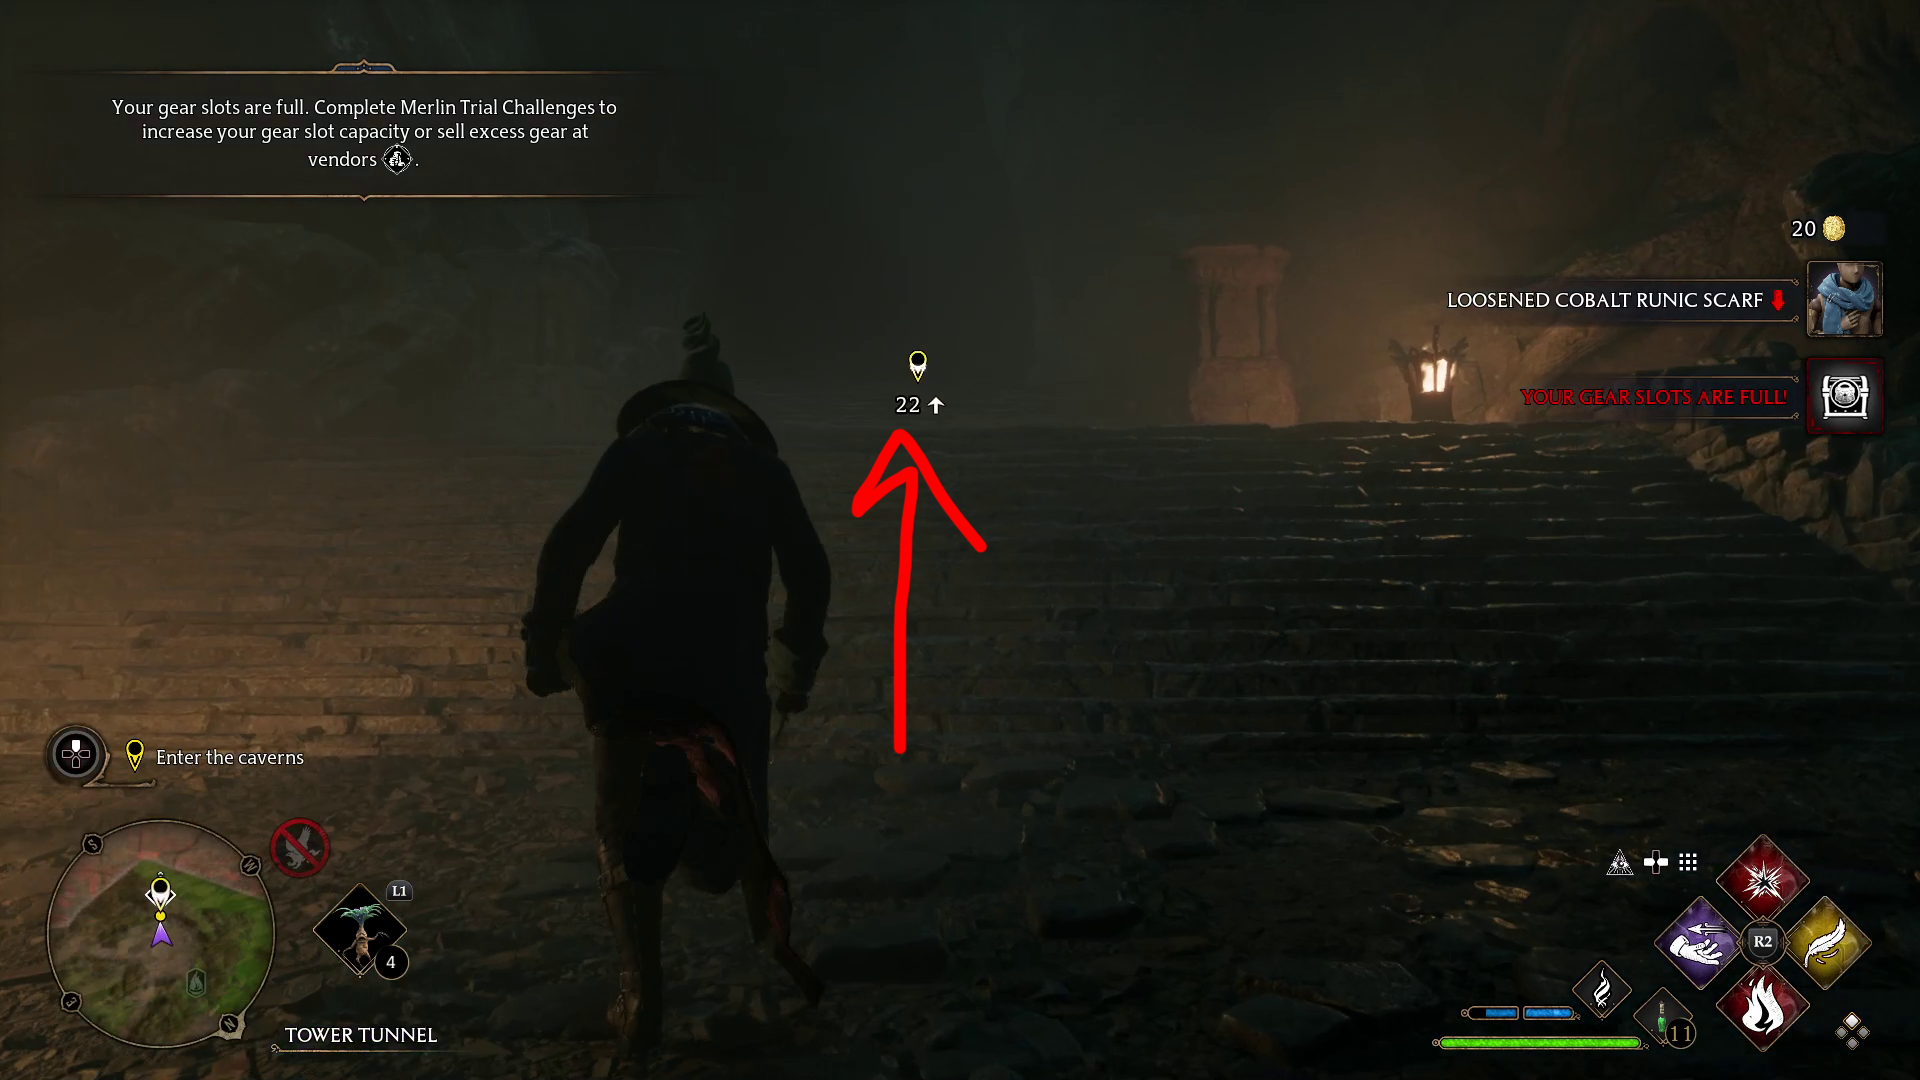
Enter the caverns
Head southeast to where two enemies should appear on your minimap — they guard a tunnel with a chest at its end (1). After looting the chest, return to where you entered the camp, then continue to the northwestern edge of it to grab the Tower Tunnel Floo Flame. Then you can follow the objective marker up the stairs — approach the tunnel entrance and hold / to enter Tower Tunnel.
12
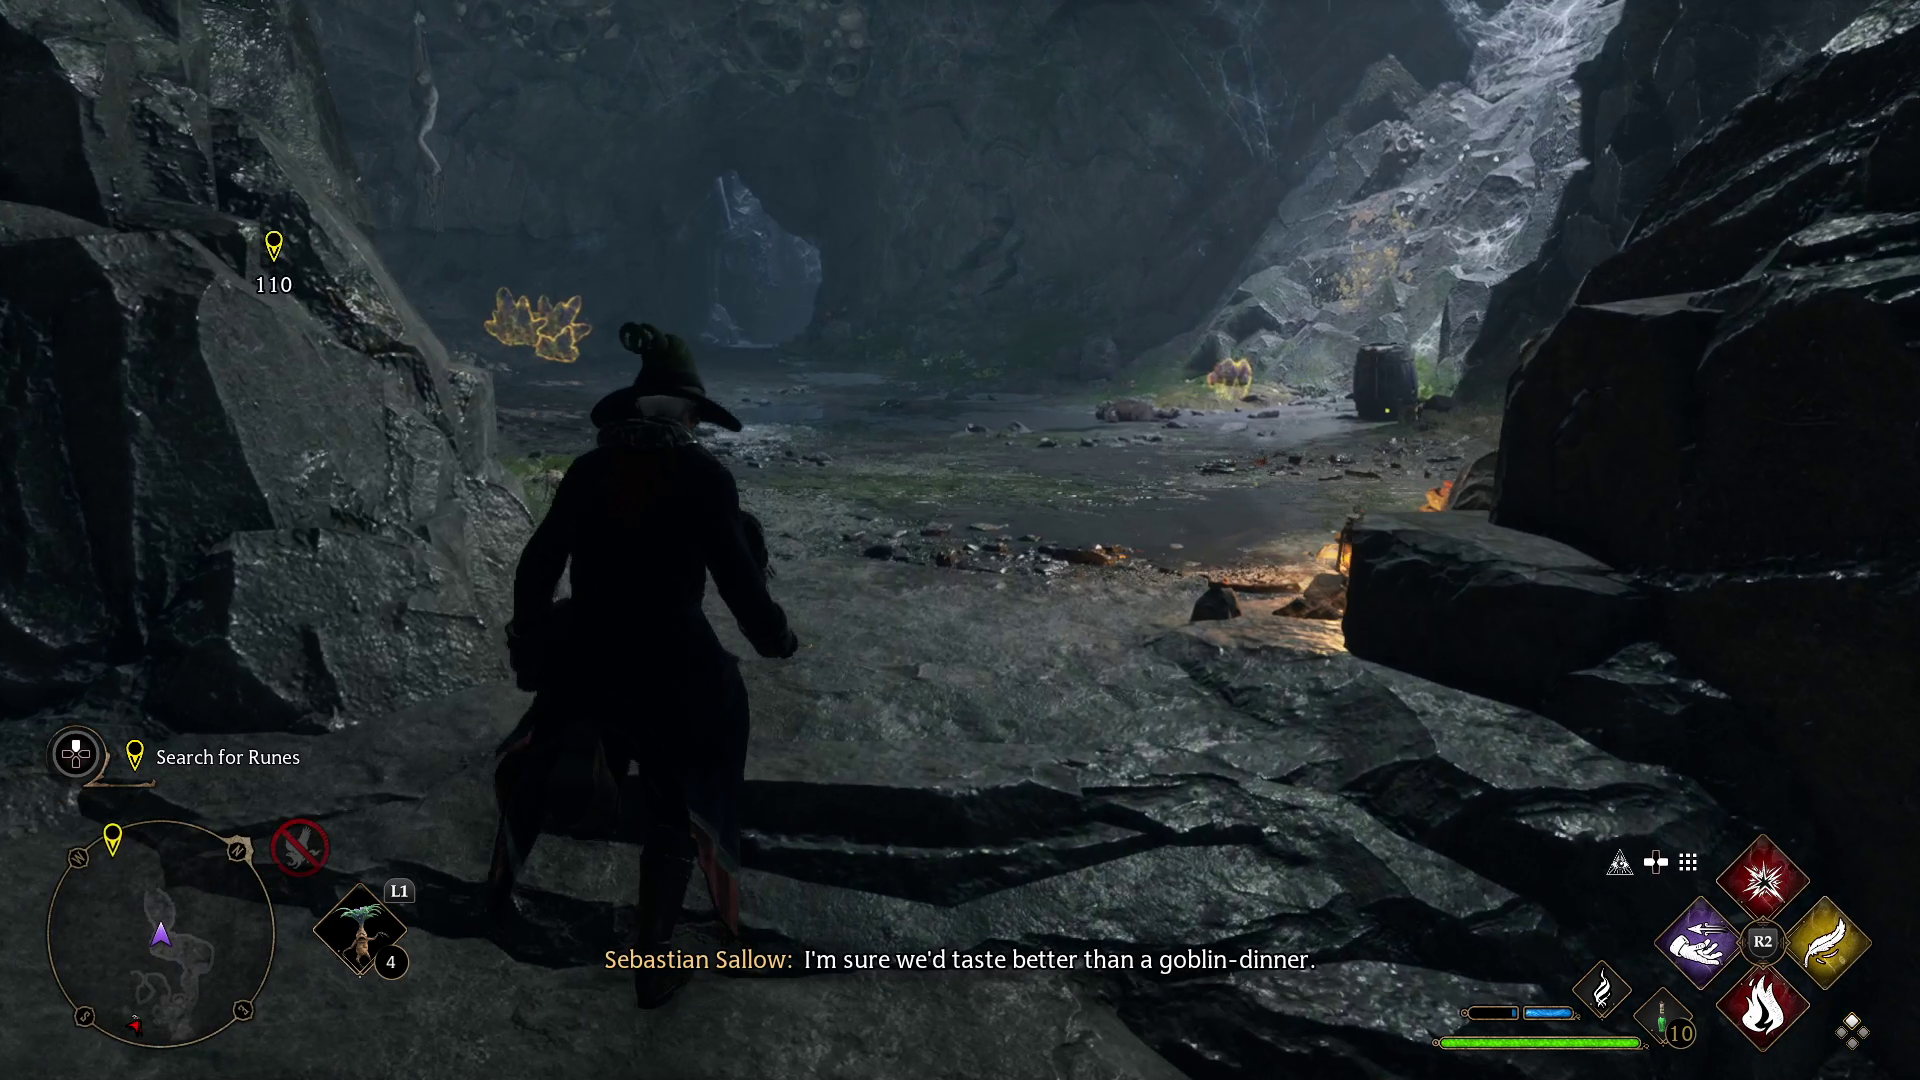
Search for Runes
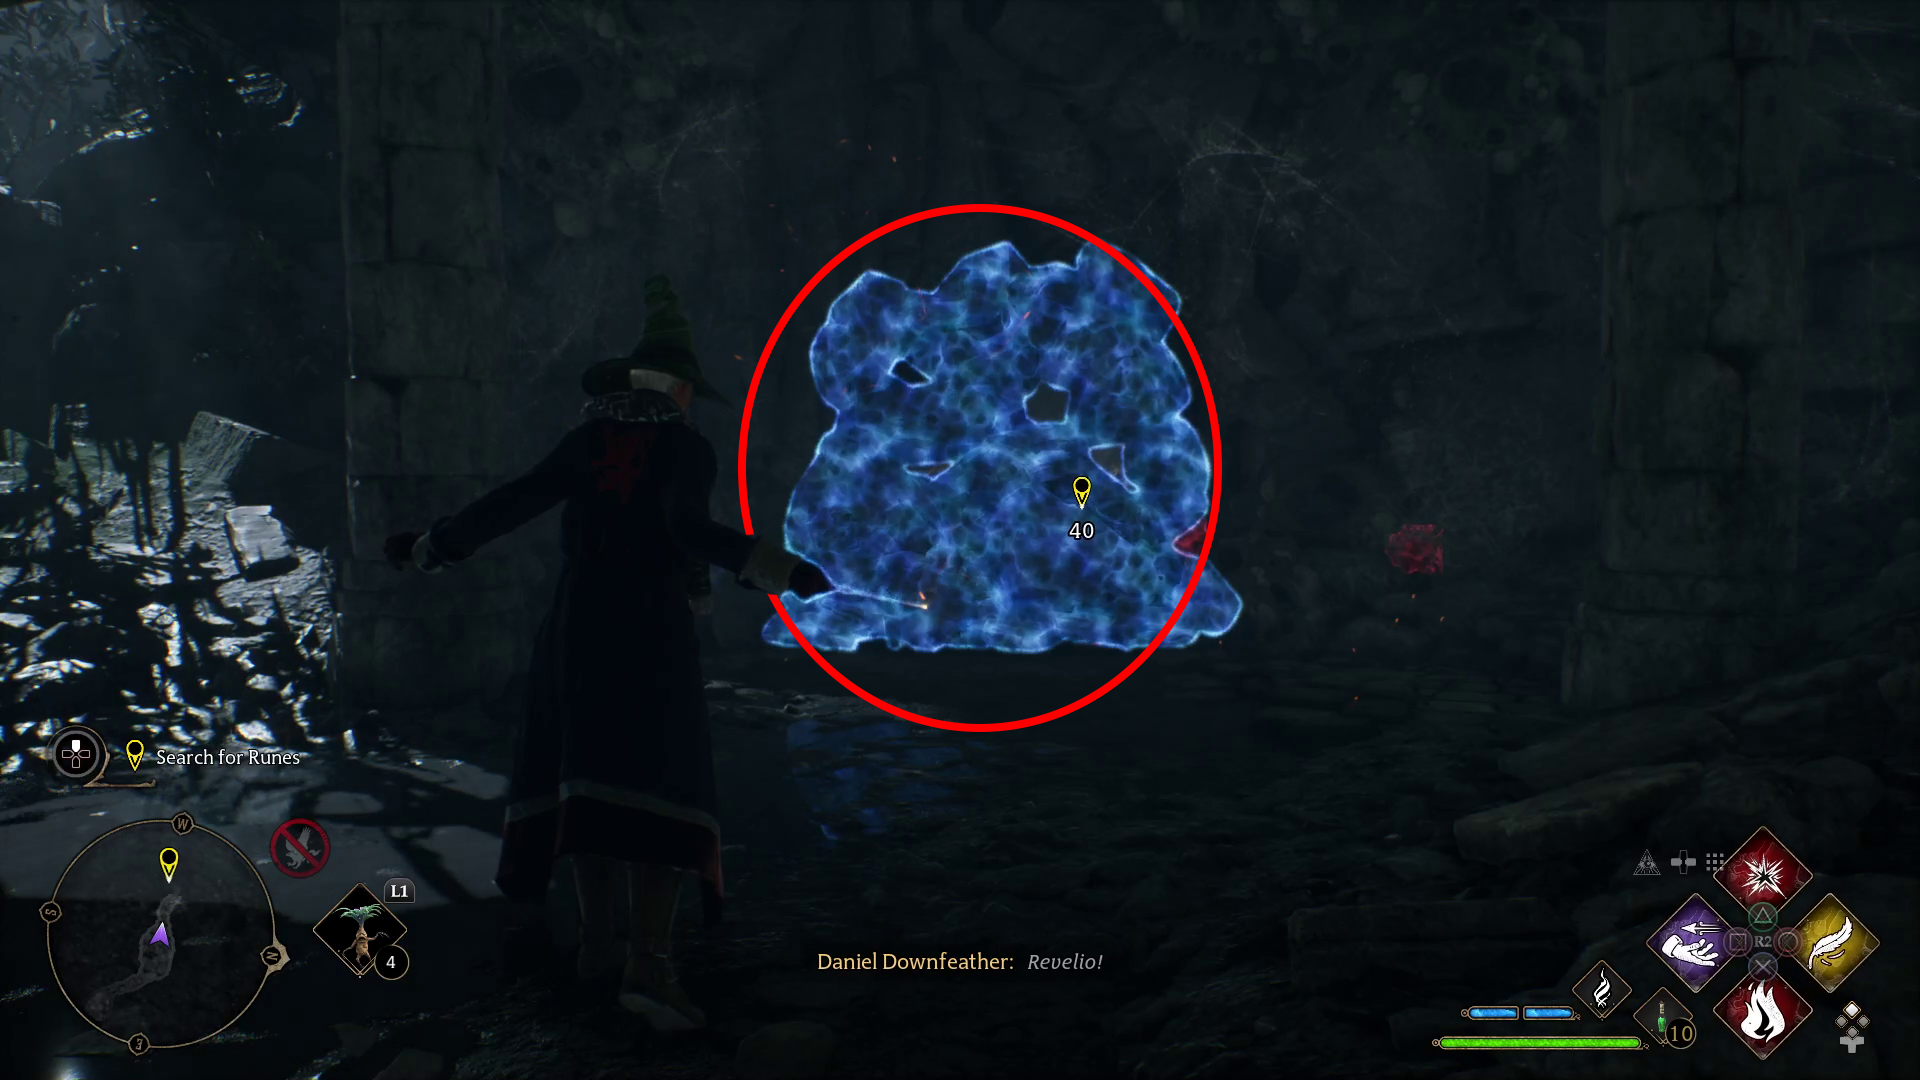
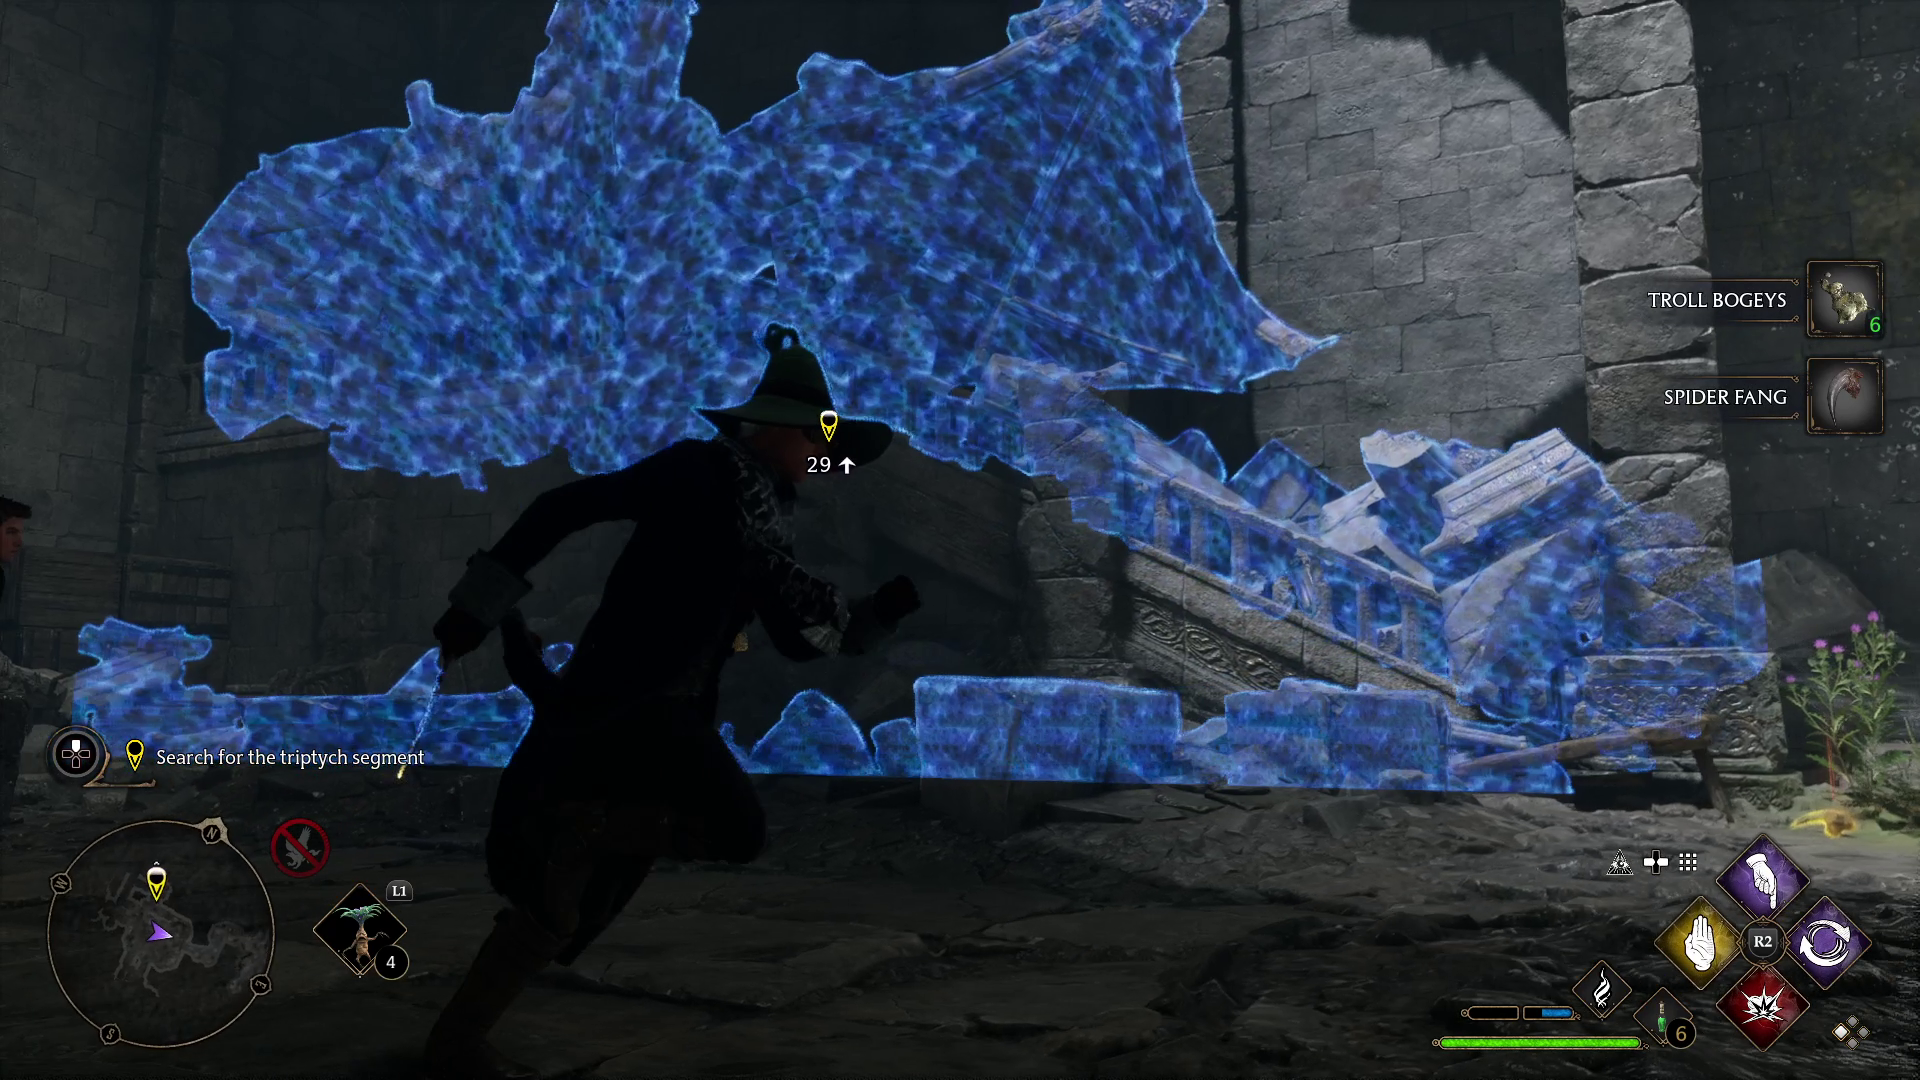
Make your way down the tunnel and into a cavern, where some spiders will come out of the ground and attack you. Defeat the first few, then head northwest, where yet more spiders will appear. You’ll have to fight a Thornback Matriarch, so save your Ancient Magic meter for her. Once all the spiders are defeated, follow the path downhill — you’ll come to yet another open area, where more spiders will attack you (1). No matriarchs will appear in this wave, so feel free to use your Ancient Magic if your meter is full.
Blast the Moonstone in the cavern before continuing northwest into the tunnel. In the next room, collect the plants and the chest on the low ground, then go up the stars and clear the spiderweb with Incendio. At the top of the stairs, look west to find a wall of stones that can be cleared with Depulso (2). Head through the newly-opened passage into a tunnel. Ahead will be some poison sacs on the walls — blast them from afar before continuing through the tunnel. At its end, you’ll drop down into a large room, where a bunch more spiders will attack.
12
Defeat all of the enemies
This is a pretty long and difficult fight, so be ready. Use Ancient Magic Throw when you’re about to be attacked, allowing you to avoid damage. Another good trick is to try and cast Descendo on the Matriarchs when they rear back to attack — this will jam their heads into the ground.
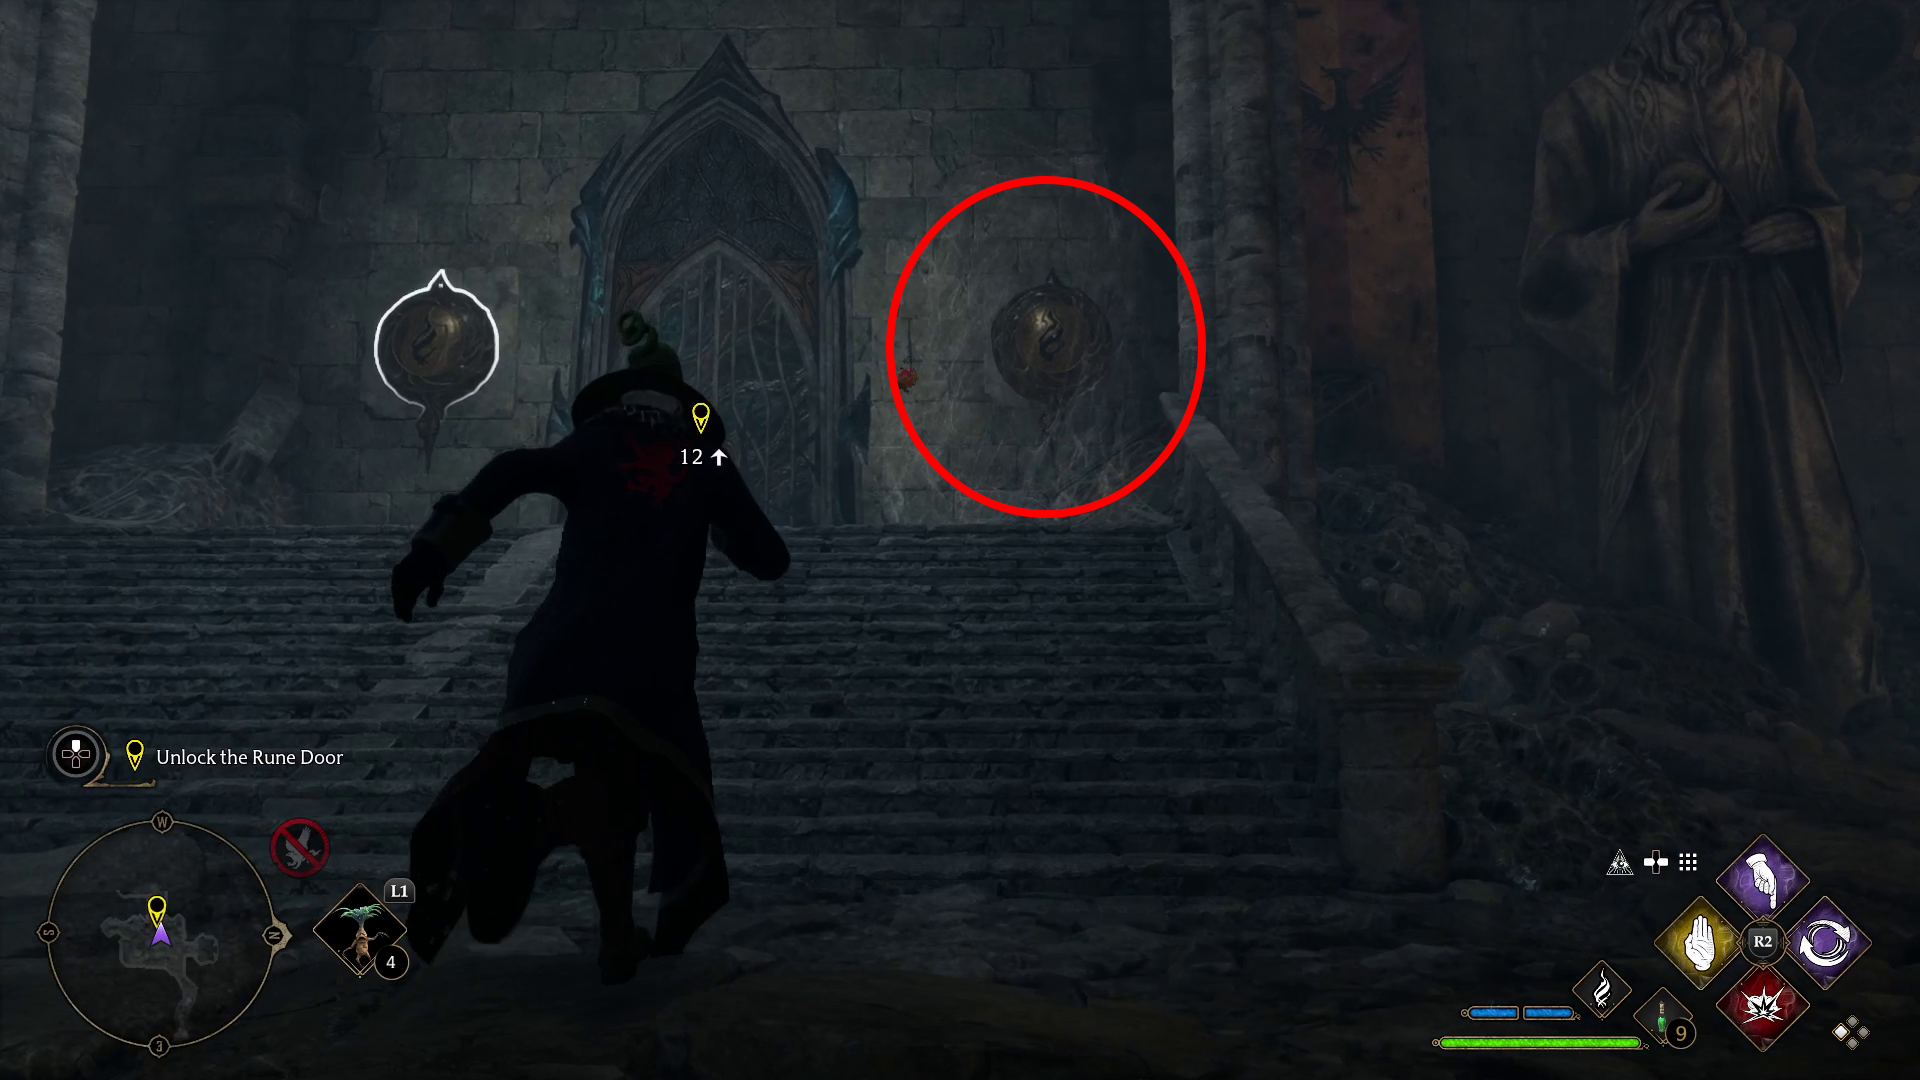
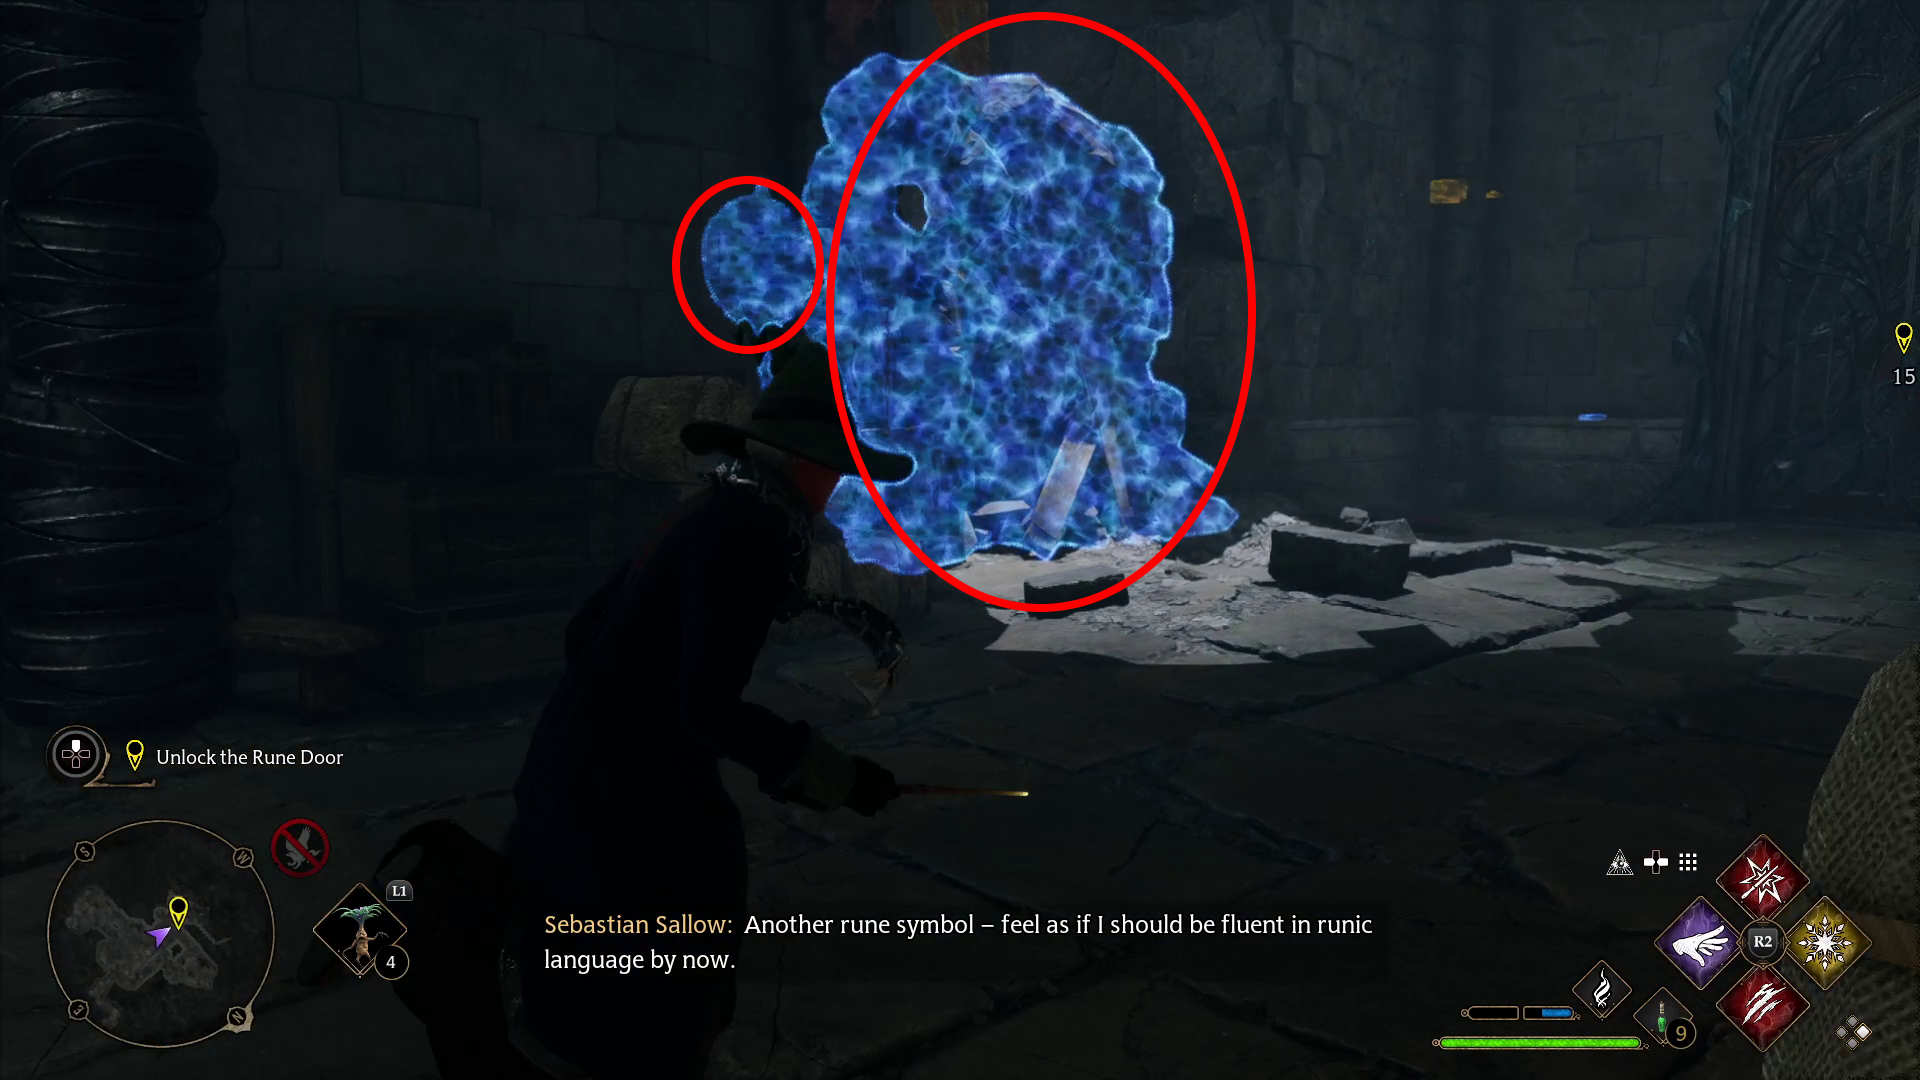
Unlock the Rune Door
There’s a web-covered room with loot on the northern wall, plus a cave with some Moonstone and a chest on the southern wall. Then you’ll need to Basic Cast all three Rune panels to open the door. One is covered in webs (1), so you’ll have to cast Incendio on the webs before unlocking the door. Then Basic Cast the two panels on either side of the door, spin around, and hit the third one (2).
12
Search for the triptych segment
Head through the now-open door, then continue down the hallway (you’ll want to cast Revelio and grab the coins scattered about). At the end of the hall, you’ll drop down into a rubble-strewn room, and a brief cutscene will play.
Defeat the Troll
This troll may be higher level than you — if it is, it’ll be pretty difficult to take down. There are a few tricks and combos to keep in mind: First, you can cast Flipendo after the troll slams its club on the ground — this will smash the club into the Troll’s face, stunning it for a good while. Casting Glacius followed by Diffindo does a lot of damage — use this combo while the Troll is stunned for maximum damage. Also, consider taking out the spiders first, since they go down faster and can make fighting the Troll much harder.
Search for the triptych segment (2)
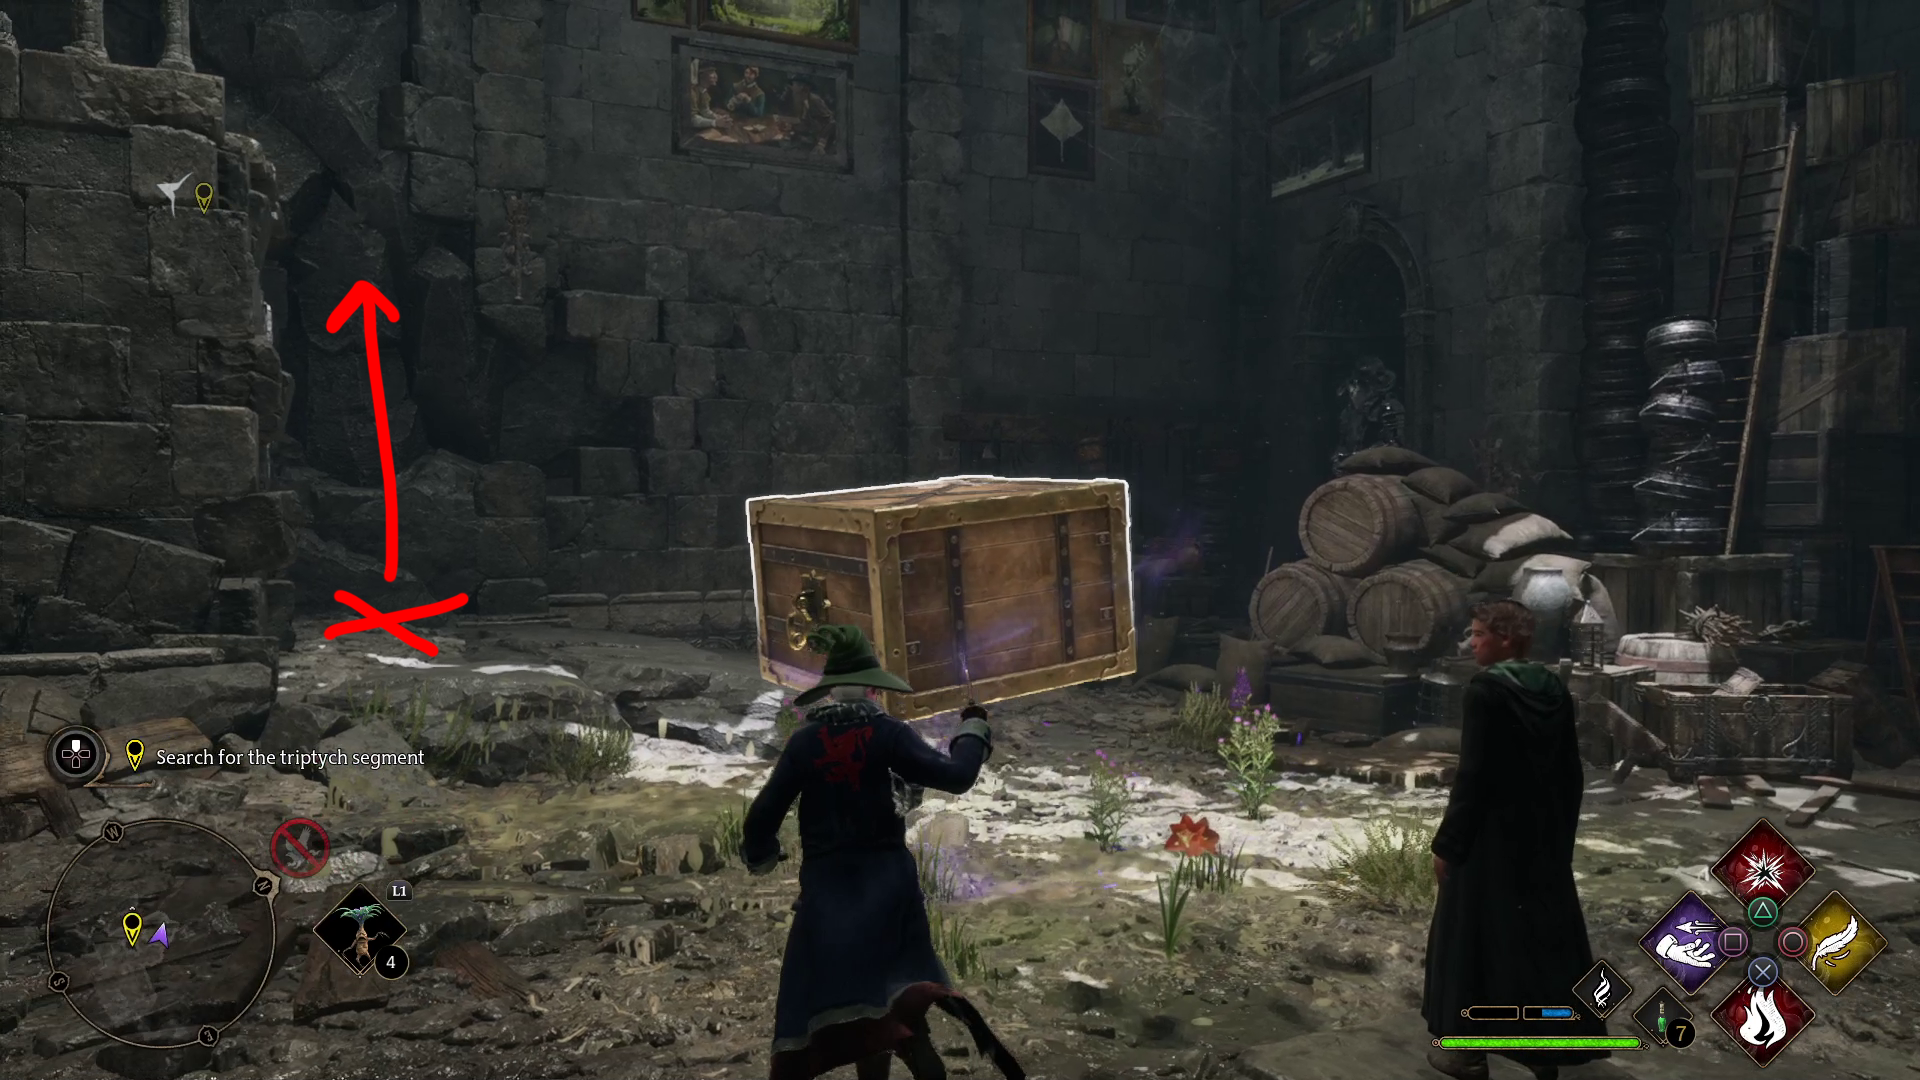
Once the Troll goes down, you’ll need to repair the stairs it broke with Reparo — if you cast Revelio, it’ll be pretty obvious what needs to be repaired(1)! Once the stairs are back in working order, go up them, then turn right at the top and continue forward, down some stairs and into a room with a simple puzzle. Collect the loot on the table, find Isidora’s Journal Entry on the floor, then cast Accio on the nearby crate and bring it the spot indicated (2). Cast Levioso on it, then climb up onto it, and from there up to the stairs above.
12
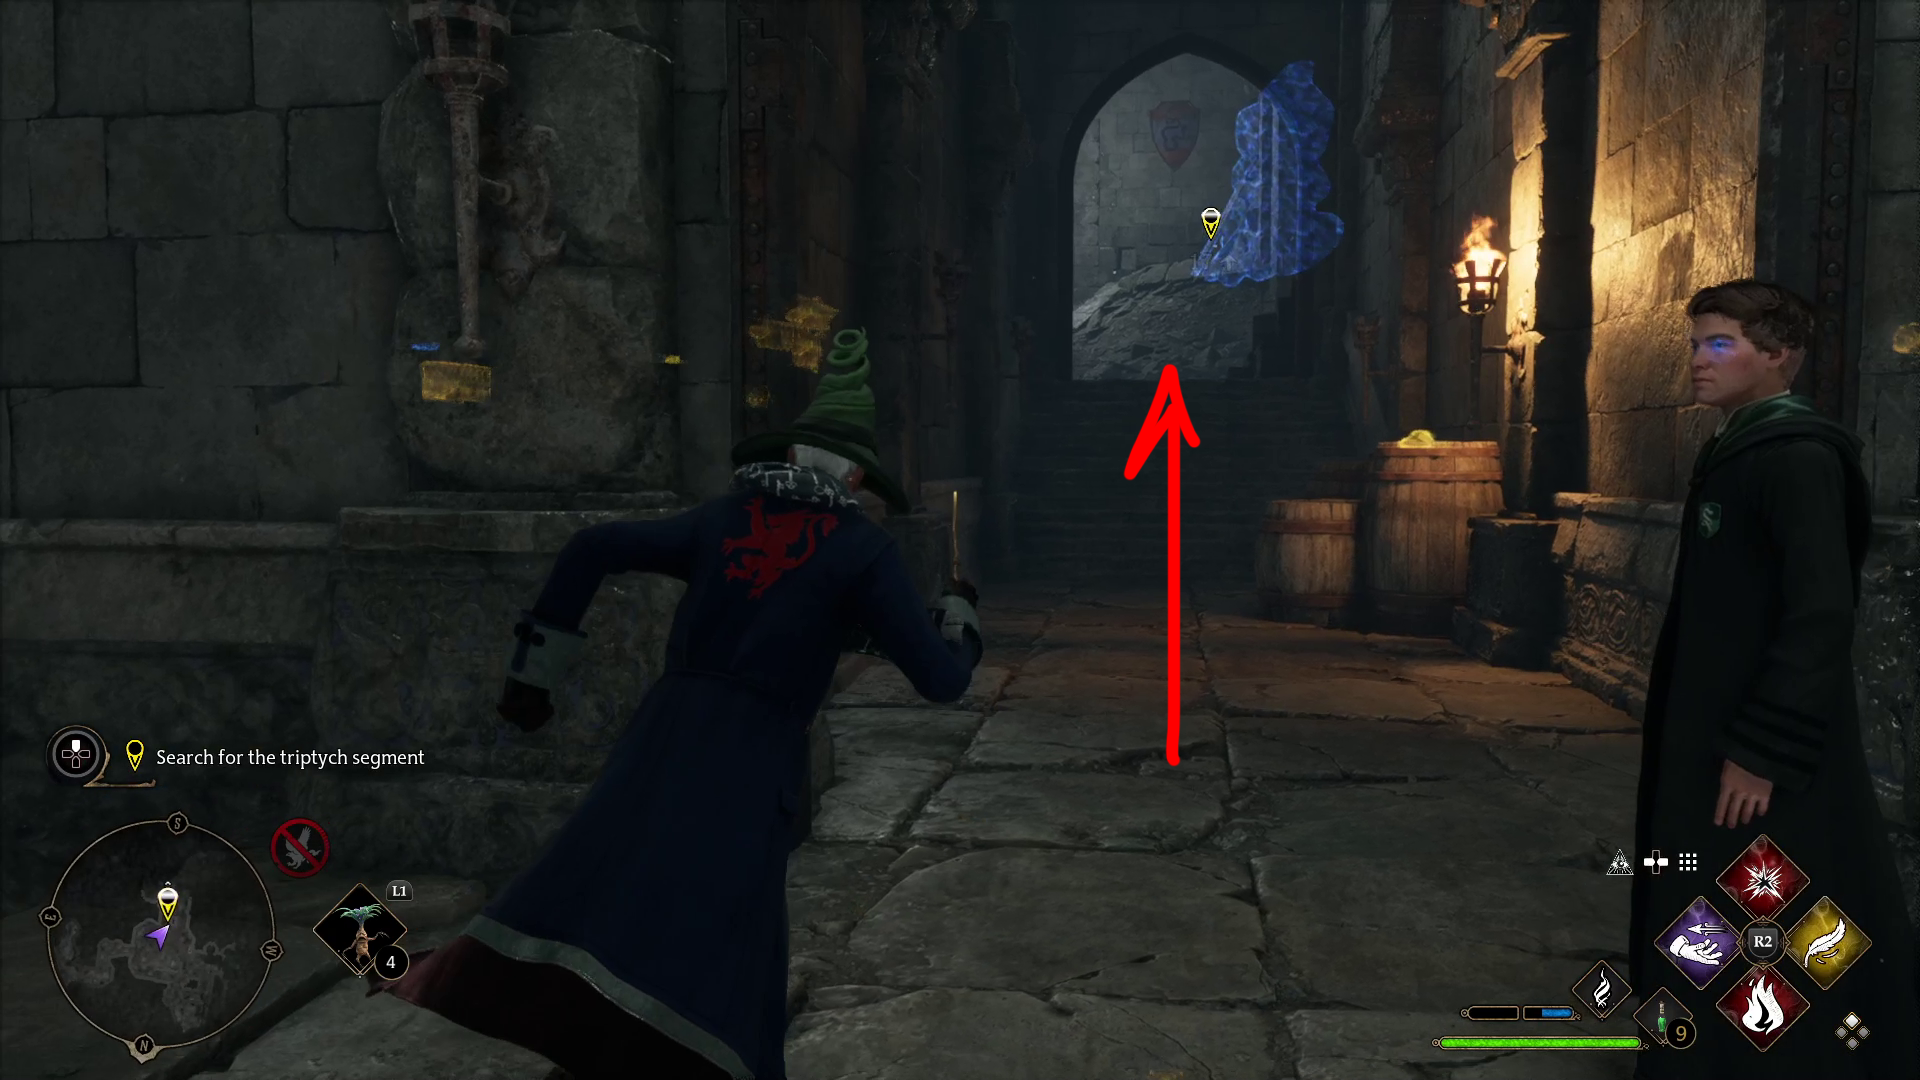
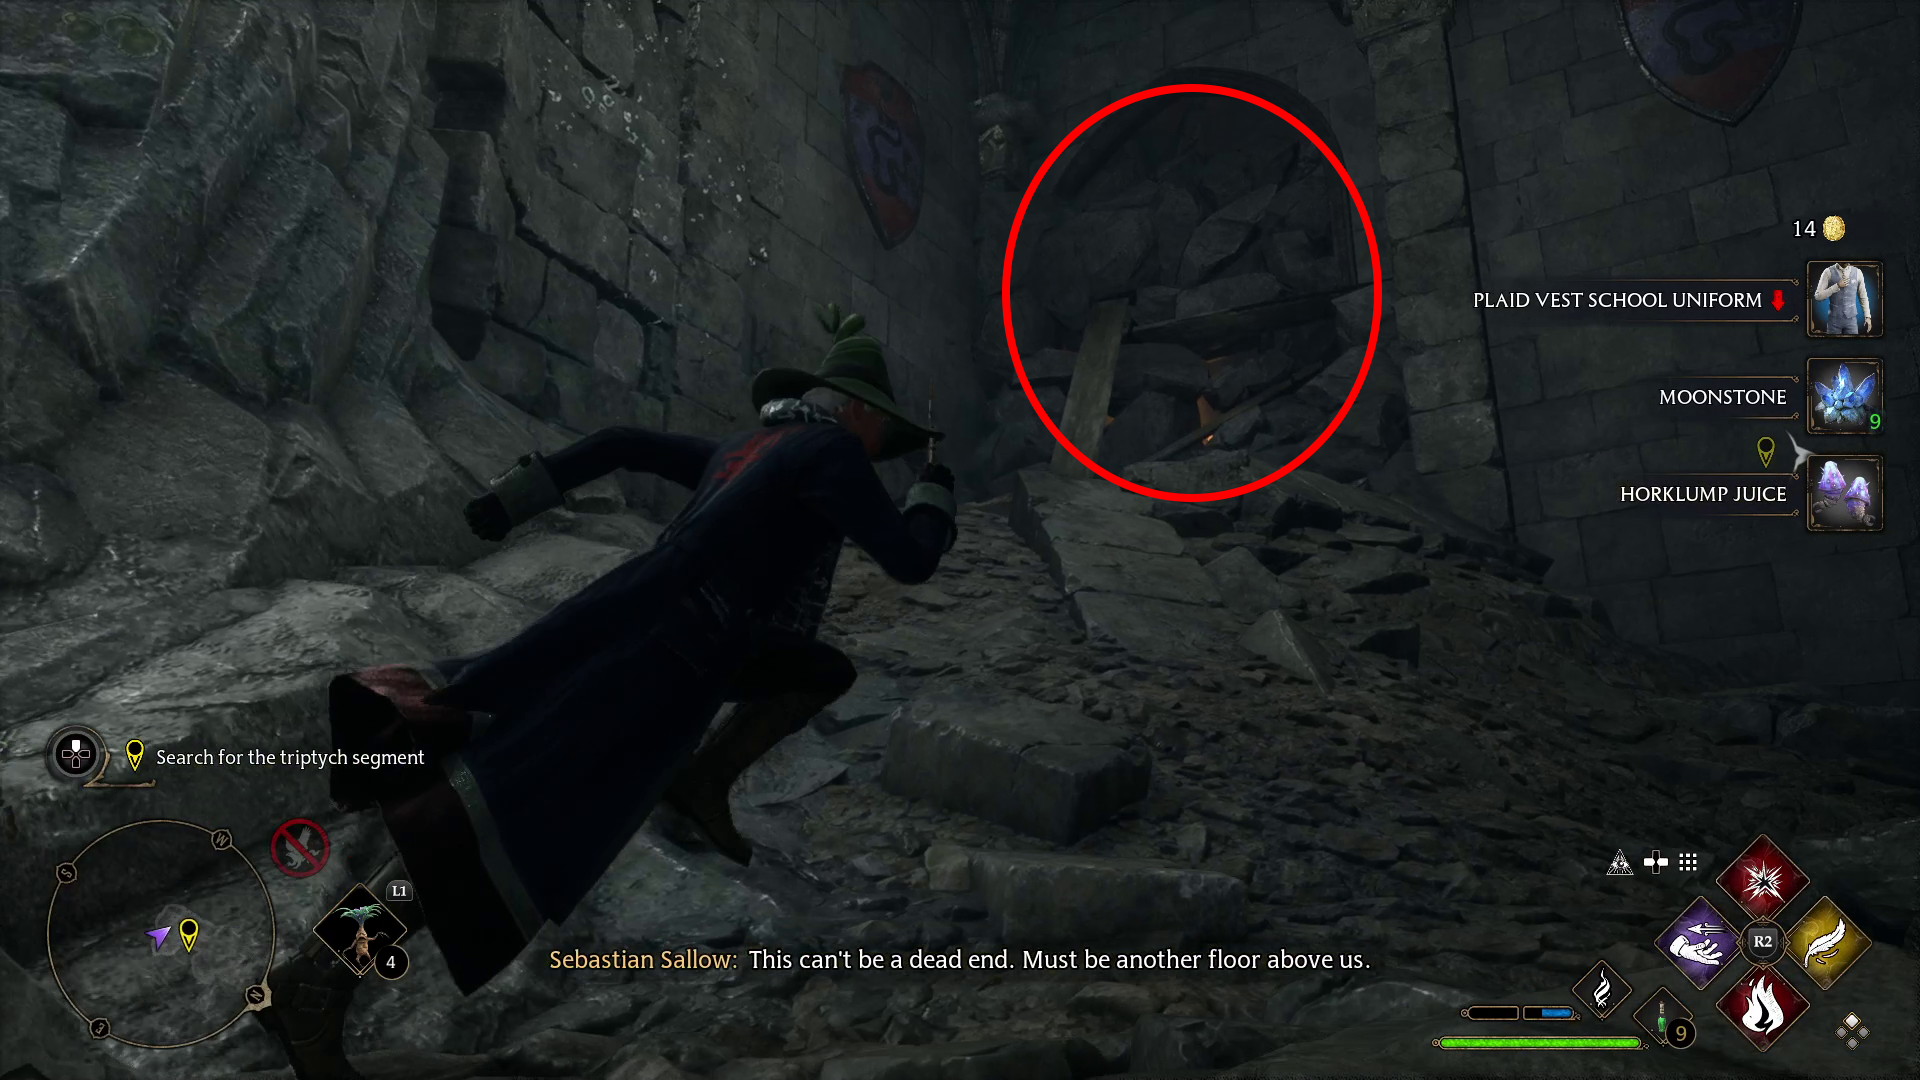
Go up the stairs and you’ll be able to go left or right — first, go left and find some loot, then go up the other flight of stairs (that the objective marker indicates). You’ll re-enter the large chamber you fought the troll — turn right, then continue until you can turn right and go up some stairs (1). In the room ahead, you can find some loot, a chest, and another of Isidora’s Journal Entries. Cast Depulso on the rocks blocking the path (2) and continue west.
12
Don’t rush around the corner ahead — after turning right, you’ll need to leap across a gap to continue north. After jumping the gap, turn right to find a chest, then go north up the stairs.
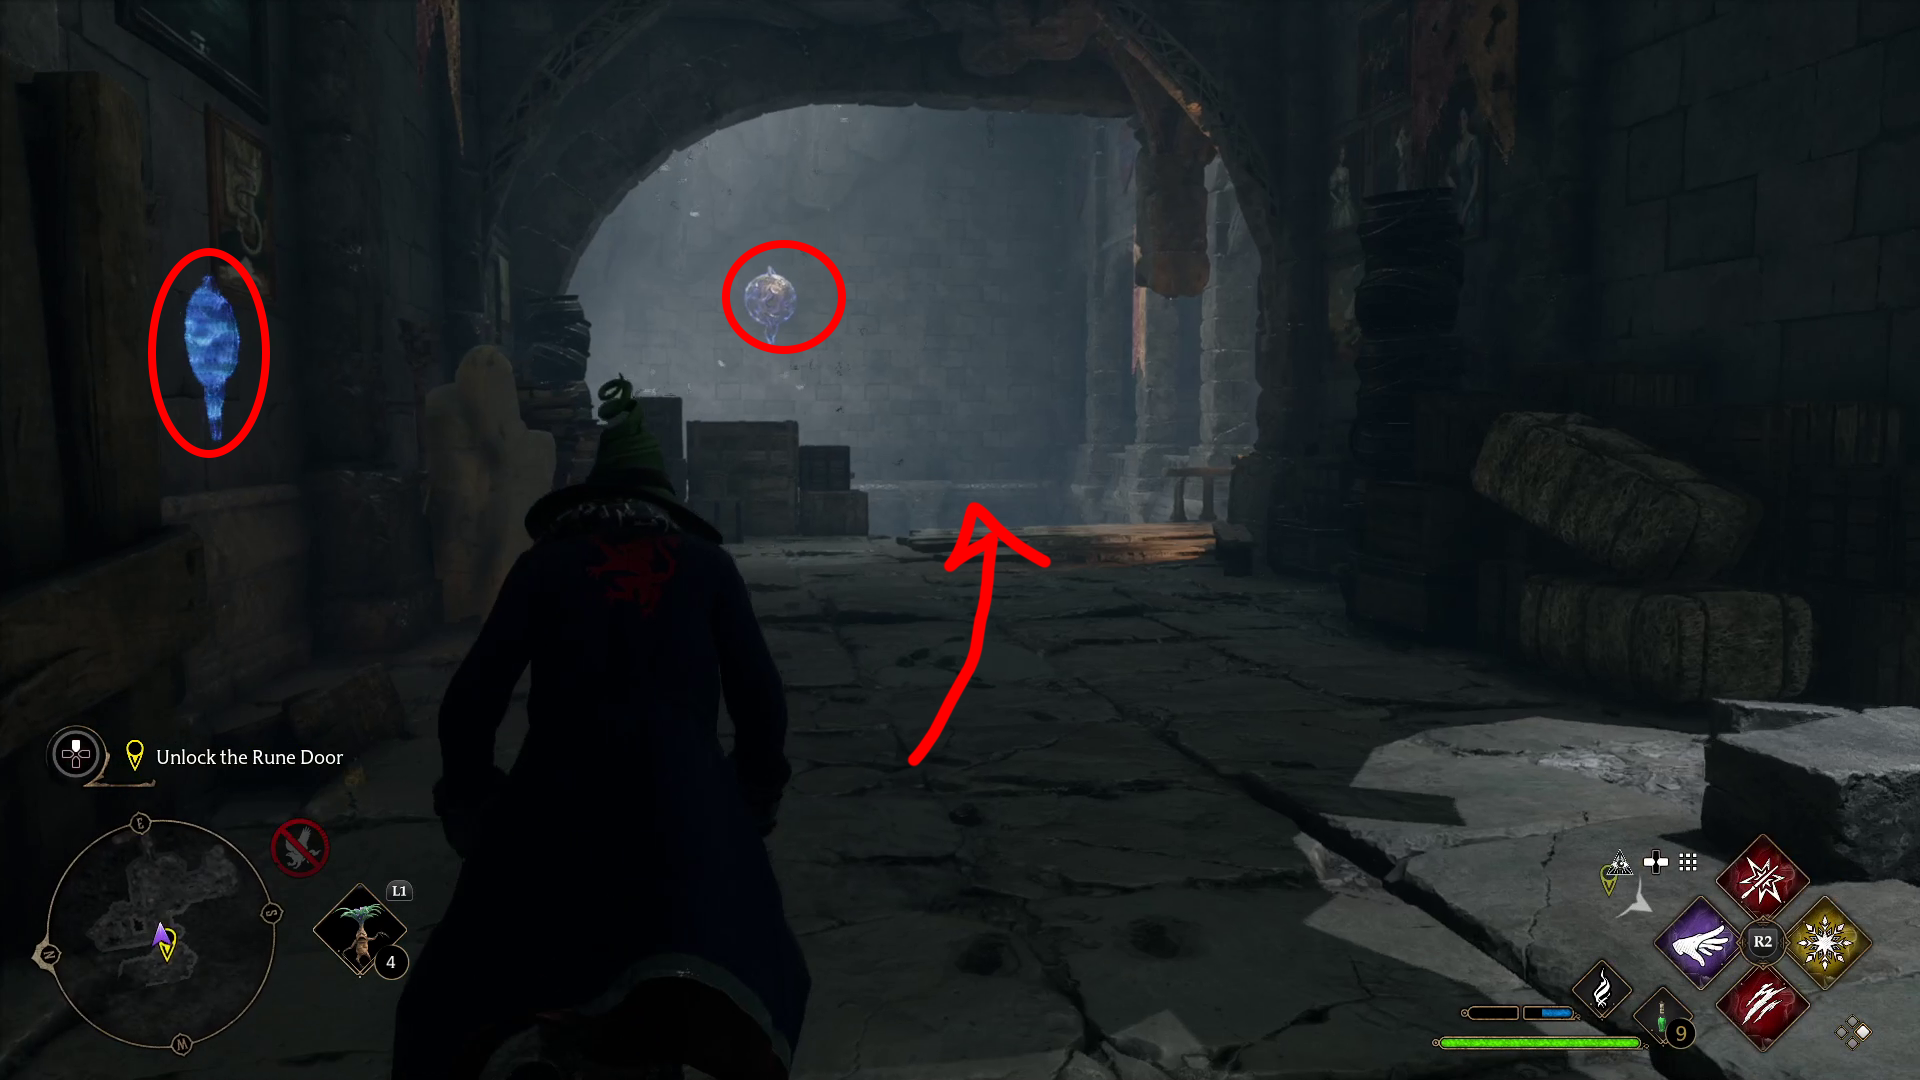
Open the Rune Door
You’ll enter another room with a Rune Door. Around the corner to the west is another wall of rocks you can remove with Depulso — doing so will reveal one of the Rune Door panels (1). The other two are to your left (2) — shoot the first one, then run towards the other two and Basic Cast them as quickly as you can. Once you successfully hit all three quick enough, the door that leads west will open, and you can head through.
12
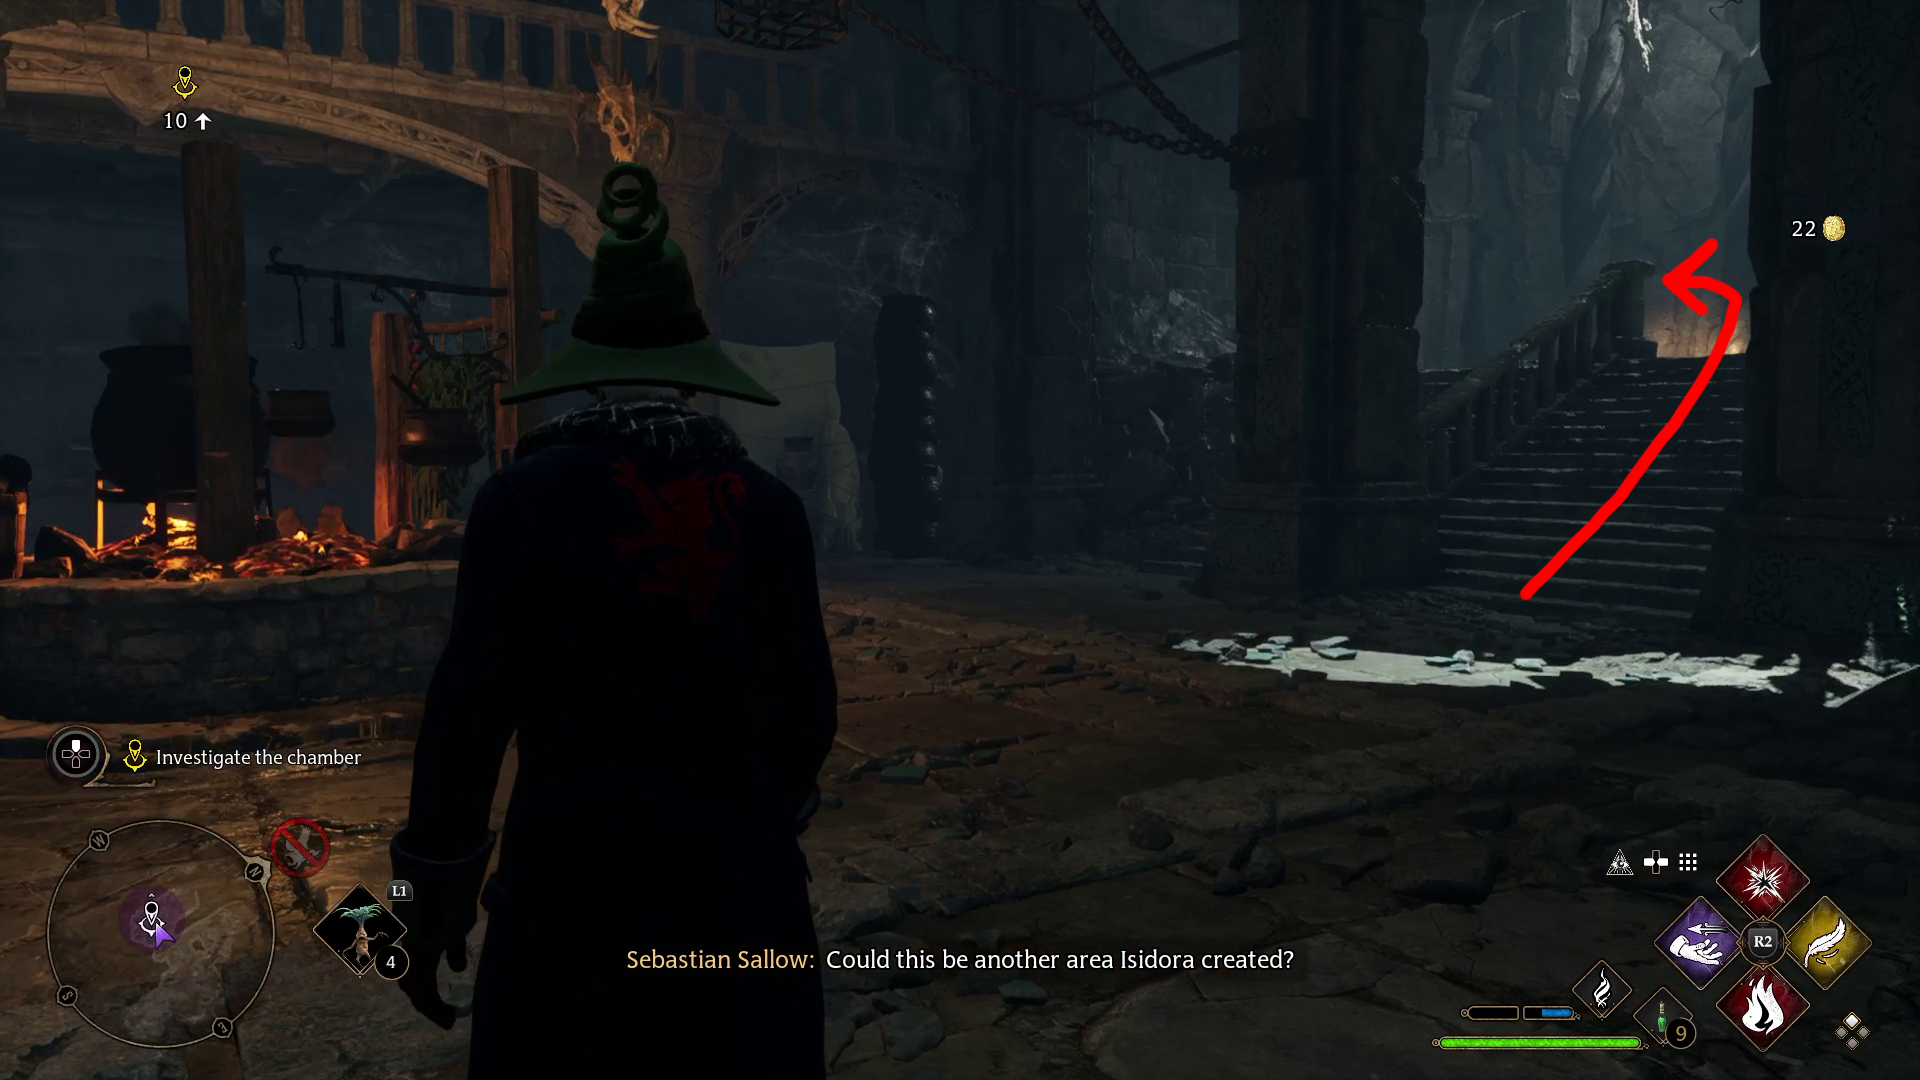
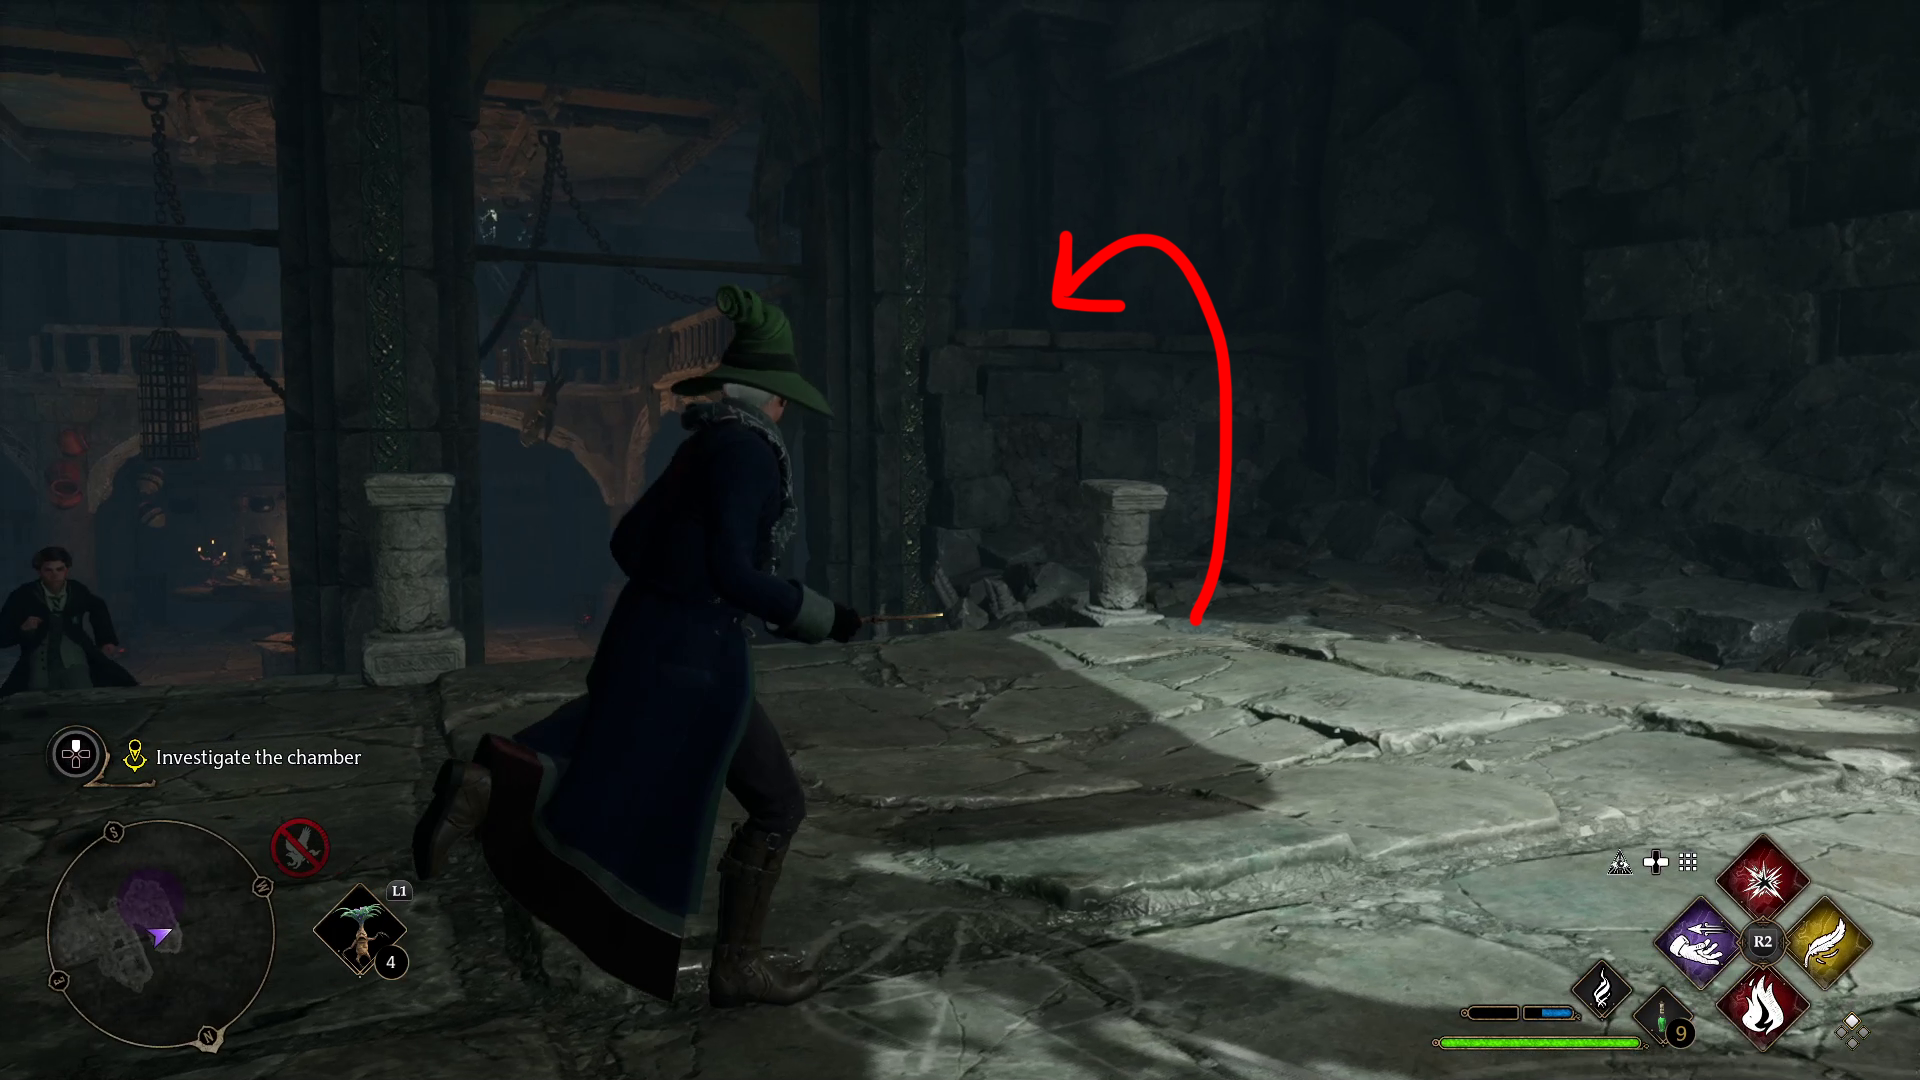
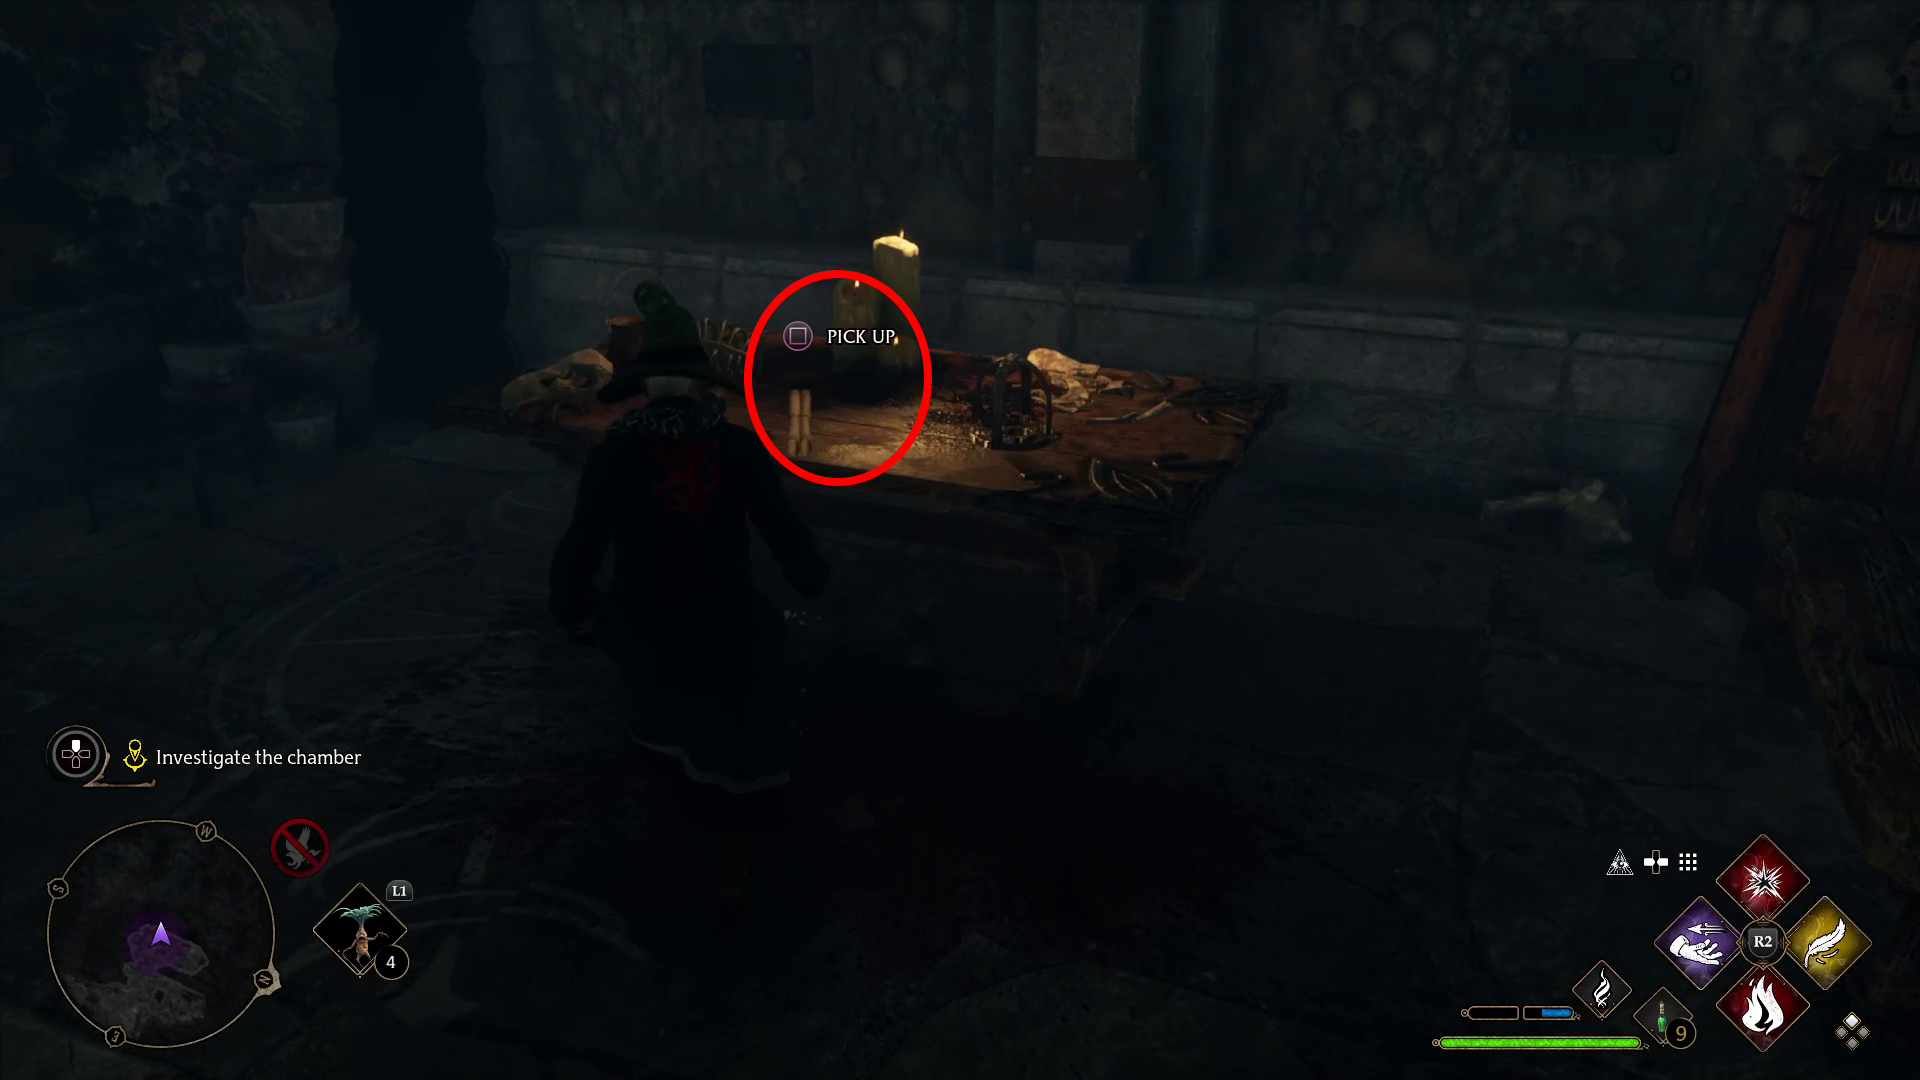
Investigate the chamber
In the next room, you can find Isidora’s final journal entry on the left. Then go up the stairs (1), turn left, and climb up the ledge (2). Ahead on the right is a table with what you’re looking for — press / to pick up the final piece of the triptych (3).
123
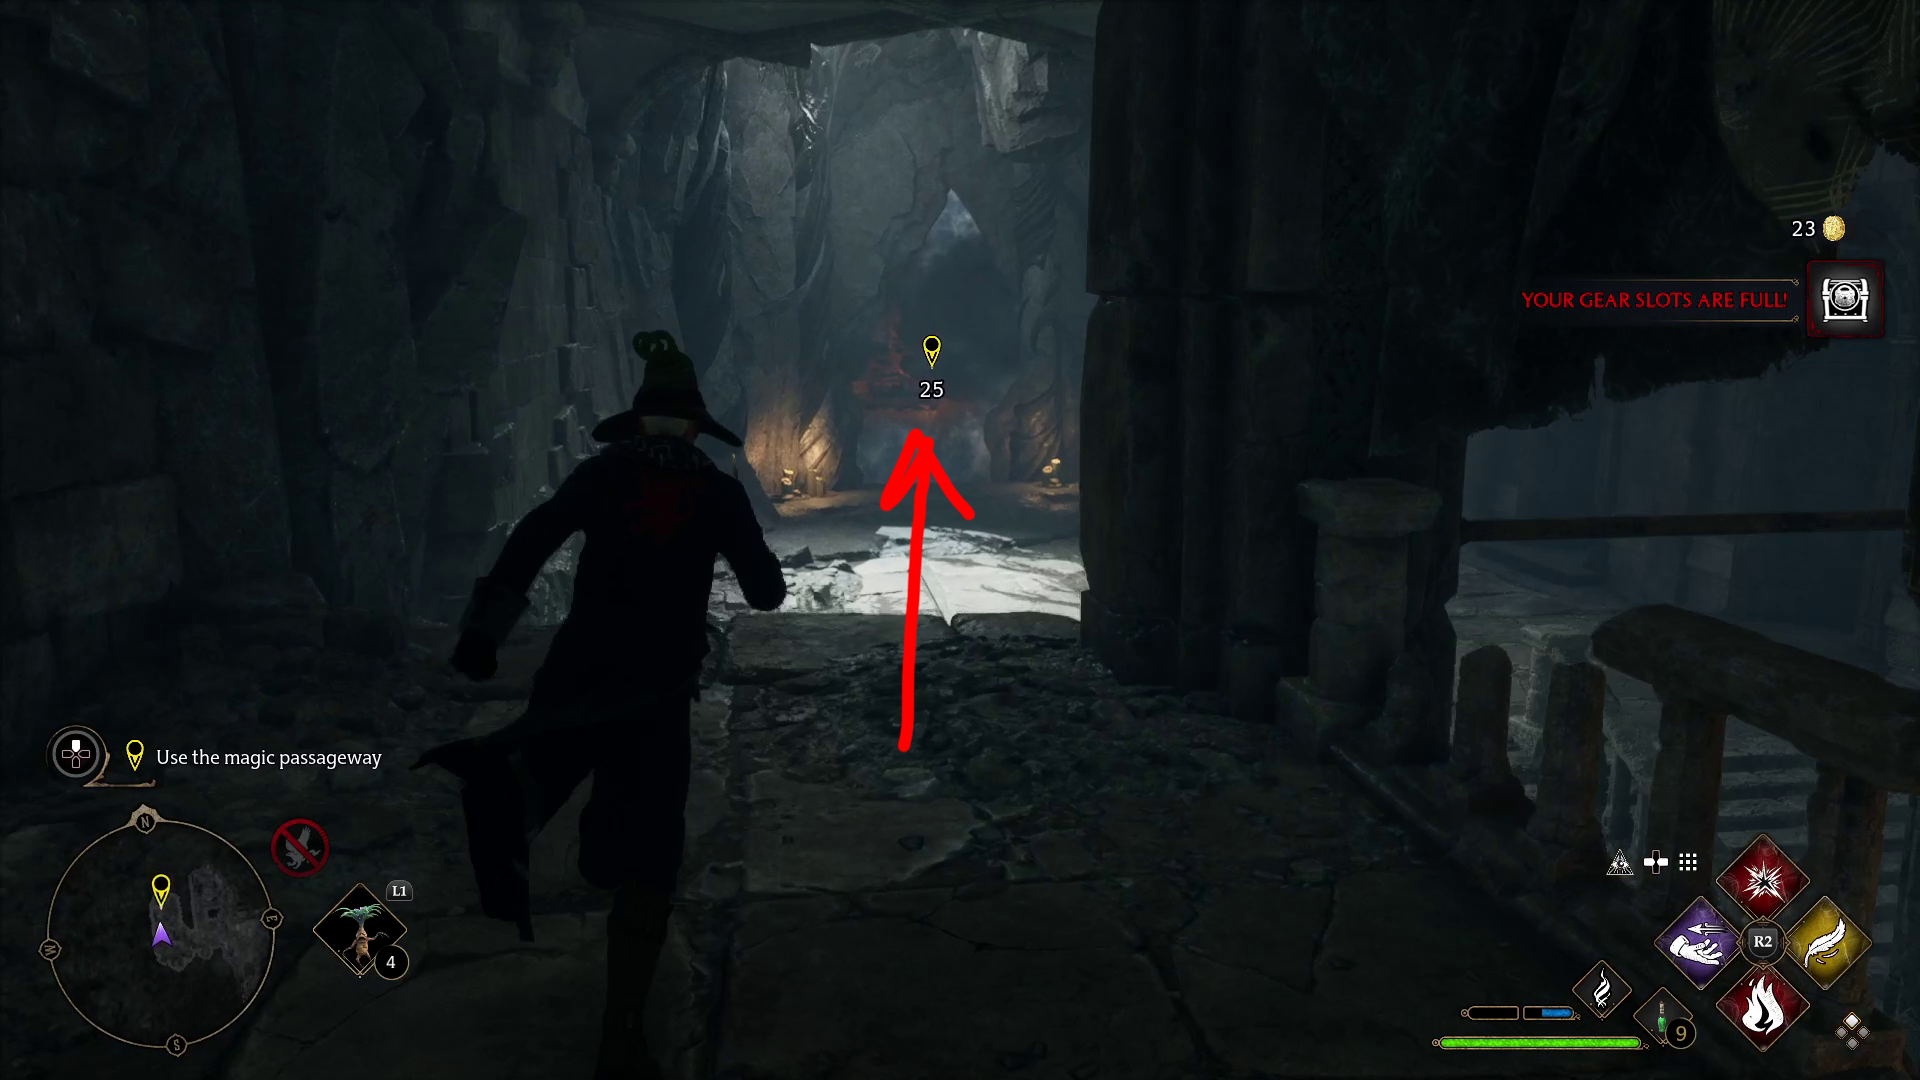
Use the magic passageway
Sebastian will speak with you, and then you can finish looting the nearby objects on the second story, including a chest. Then go back to where you climbed up, and walk up to the magic wall and hold / to return to the Undercroft.
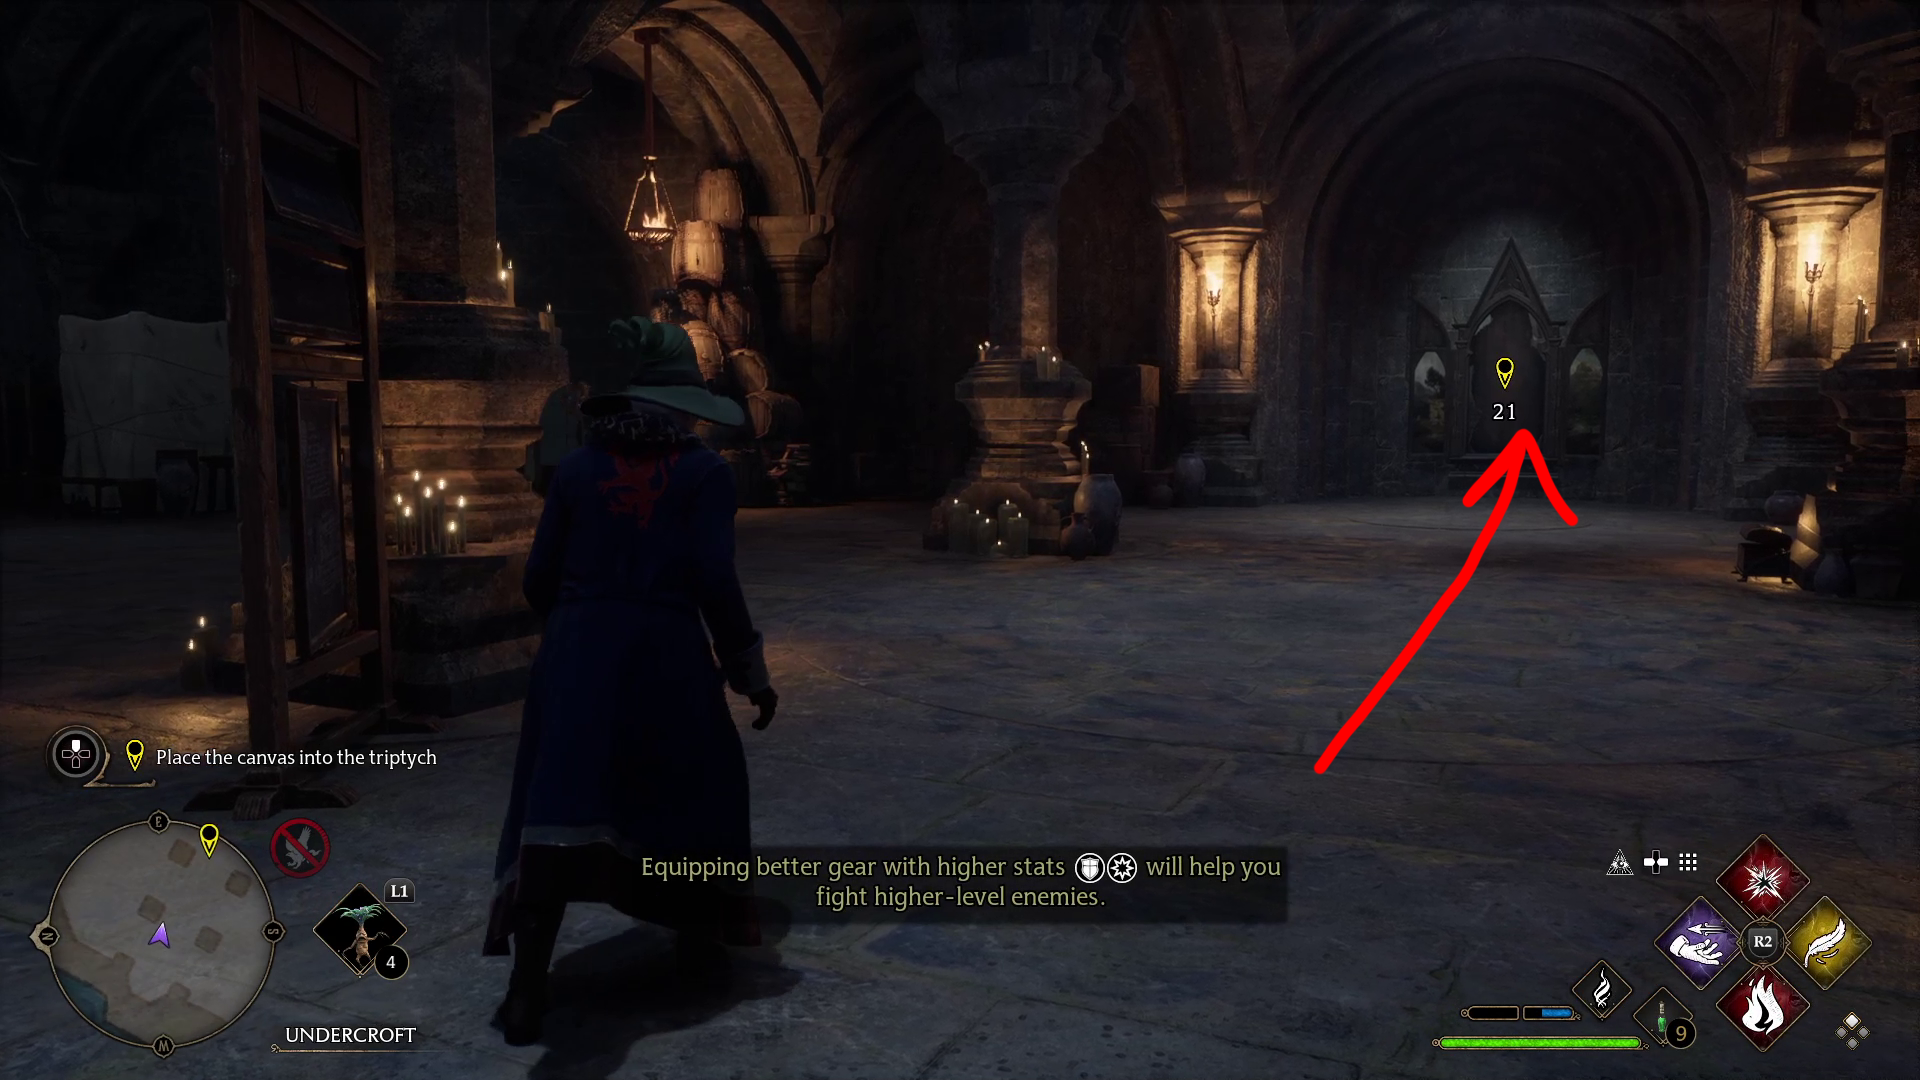
Place the canvas into the triptych
Once back in the Undercorft, approach the canvas , then press / to place the final piece. This will start a cutscene that reveals more of the story of Isidora and her experiments with the darker side of Ancient Magic.
When the memory ends, you’ll speak once more with Sebastian, and this the quest will end, leaving us with just as many questions as when started. The next main story quest is Lodgok’s Loyalty — with any luck, we’ll learn a bit more about just what Isidora was doing when we meet up with the goblin.
Unabashed FromSoftware fanboy still learning to take his time with games (and everything else, really). The time he doesn't spend on games is spent on music, books, or occasionally going outside.


