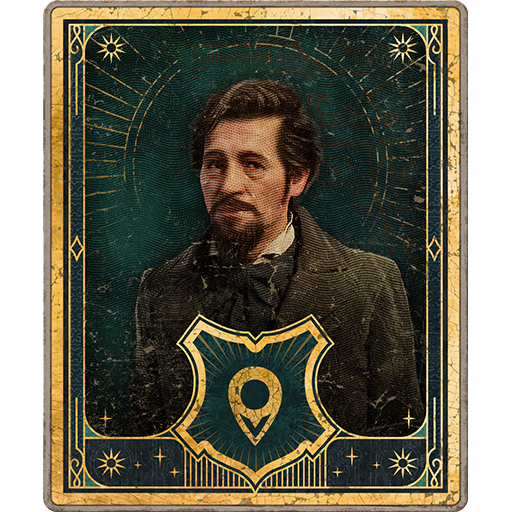
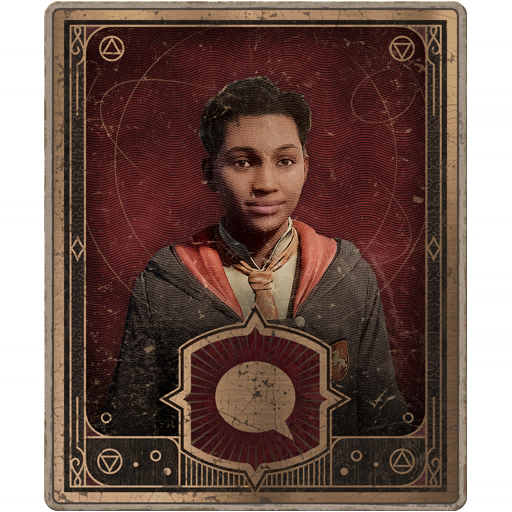
This walkthrough for the main story quest “The Caretaker’s Lunar Lament” sees you assisting Gladwin Moon in his attempt to unravel the supposed conspiracies that surround him — tonight, you’ll help him find a couple of the Demiguise Moon statues that torment him with their presence.
Quest Type: Main Story
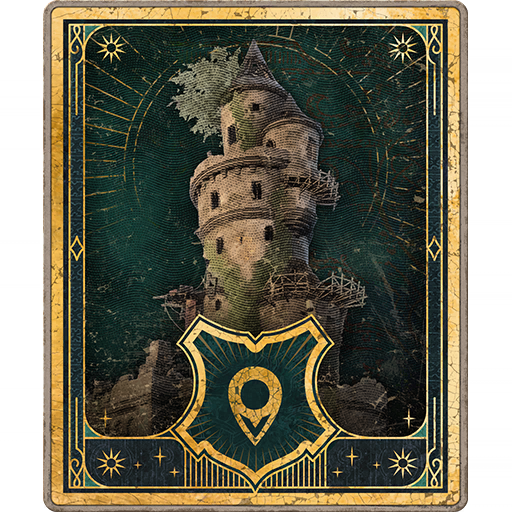
Location: The Grand Staircase, Hogwarts Castle (map)
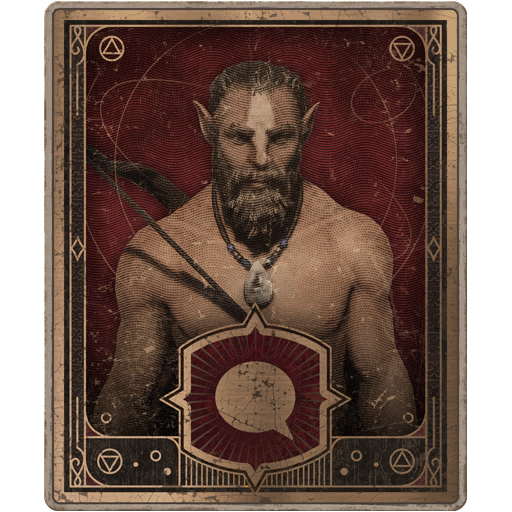
Gladwin Moon is waiting for you right next to the Grand Staircase Floo Flame, which you should have. Make your way to his location (remembering you can tapto be guided to him). If he isn’t there, stand in the golden circle on the floor and press / to wait for him to arrive — once you see him, walk on up and press / to speak with him. A cutscene will play in which you apparently stand there all day with Mr. Moon, waiting for night to come and the statue to change.
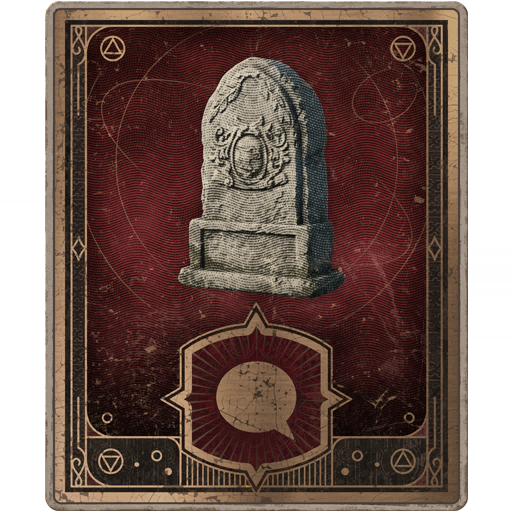
Remove the moon from the statue
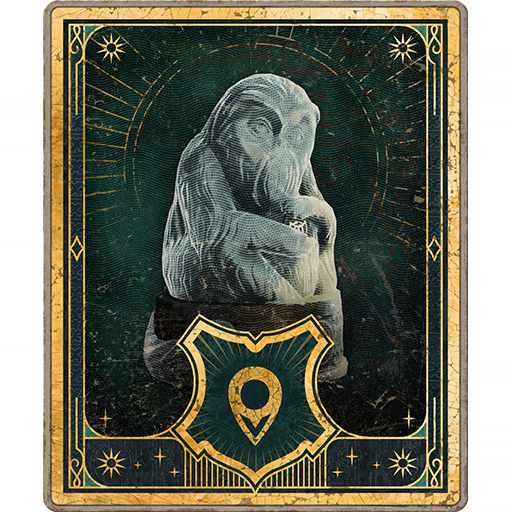
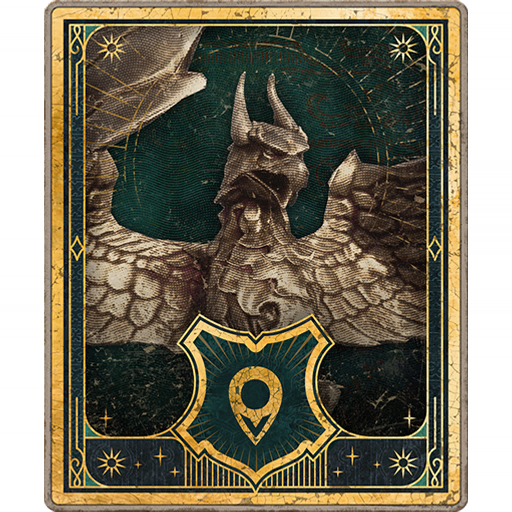
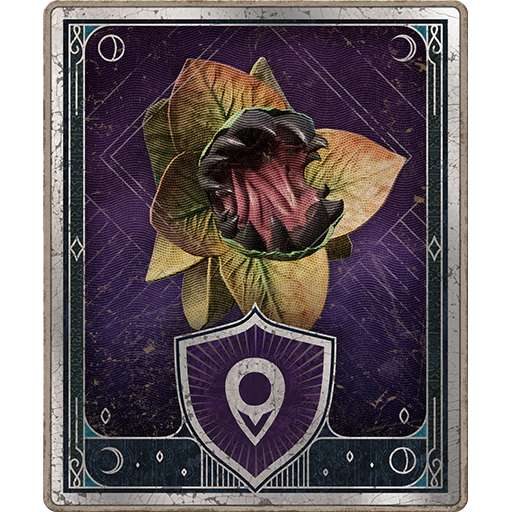
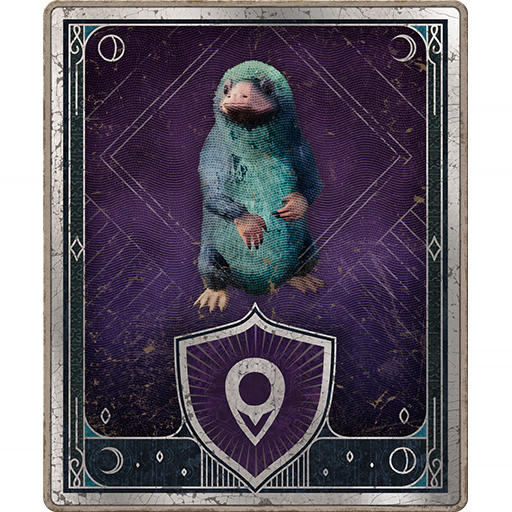
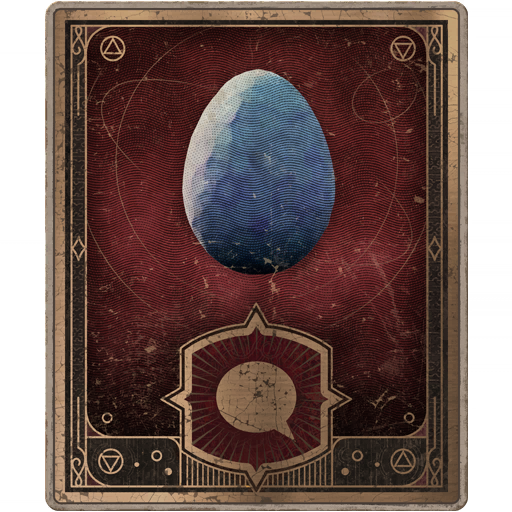
Mr. Moon will ask you to try and remove the moon from the statue, so approach it and press / when prompted. You’ll receive a Demiguise Moon, and the statue will disappear.
Follow Gladwin
Start following Gladwin; he’ll explain more about the statues — and his conspiracy about them — as you do so. You’ll soon stop near a locked door, and after a brief conversation, he’ll teach you Alohomora. This is a tricky spell to learn, mainly because you have to hit every face button in order to go fast enough — as always, look at the path ahead of time and be prepared to press the correct button.
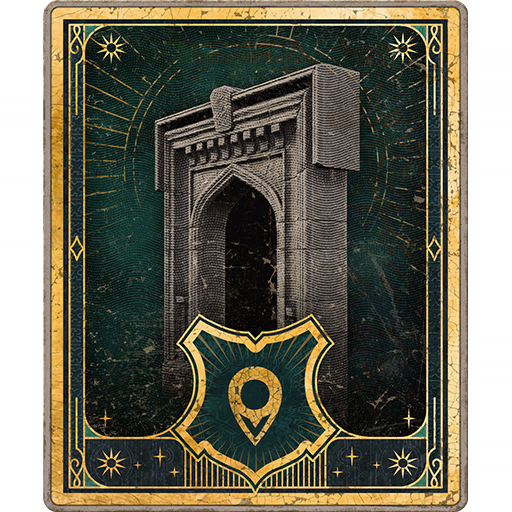
Use Alohomora to open the Faculty Tower Door
The door behind Gladwin is locked, so you’ll need to press to open your Spells menu and equip Alohomora. While you’re here, go ahead and equip Disillusionment as well if you don’t already have it available — you’ll need it soon enough. Then approach the lock and press / when prompted to start the Alohomora unlocking minigame.
It can be a bit tricky at first, so if you’re stuck check out our how-to guide on the unlocking process!
Retrieve the Demiguise Moon in the Prefect’s Bathroom & Hospital Wing
After getting the door unlocked, cast Disillusionment, go through the door, and you’ll enter an open area with stairs straight ahead. Immediately turn left, unlock the door there (1) with Alohomora, then go through the door. In the first room you’ll find the Letter from Sirona Ryan on the table, and a chest on the dresser on the left (2), and in the next room the small dresser will have a chest. Loot it and go back the way you came.
12
Back in the open area, turn left and hug the wall, and take a left into the first doorway. Against the right-hand wall is a chest on the floor, and on your left is a Letter to Fig From the Minister. Across the room is another door you can theoretically unlock with Alohomora — but you haven’t leveled it up enough, so forget about it for now. Leave the room and head up the stairs (1). You’ll get a popup about using Revelio to find authority figures and enemies, so go ahead and cast it now with . The way ahead should be clear, so continue up the stairs and grab the Wizarding Crackers Notice from the table with the bust.
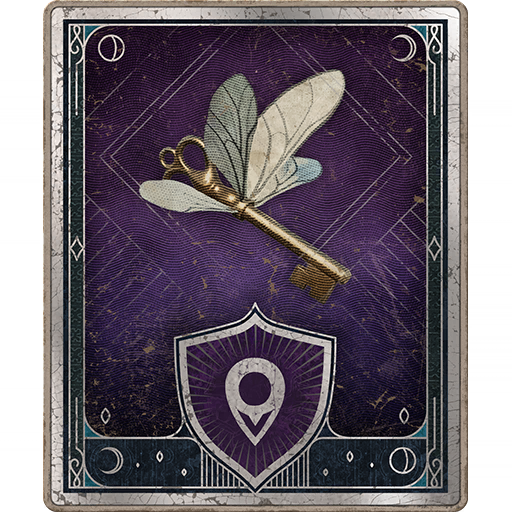
Go up the next set of stairs, and you should see a House Key flying around (2) — if you don’t see it, use Revelio again to see its aura. Walk into its path, and then follow it down the stairs and to the right, where it will slot into a House Cabinet — open it with / to find a House Token.
12
Go back up the stairs and then unlock/enter the second door on the right (1). In the room beyond, head towards the open doorway, grabbing the Letter from Ronen’s Wife off the table to the left before continuing into the next room. In the far right corner of the second room, you’ll find a chest you can loot. Go back the way you came. Straight ahead is a prefect staring at a puzzle door (2) — to get them to leave, hold and Basic Cast the stairs to your left. This will cause the prefect to go investigate the noise — you’ll use this distraction trick throughout the following sections.
12
Once they walk away from the puzzle door, go to the question mark panel and spin it with / until it shows symbol the symbol indicated (1). Note that you’ll have to keep distracting the prefect to stop them coming over and noticing you. To the south-southwest, directly behind you while facing the question mark panel, is the second panel — spin it until it shows the symbol indicated (2). Then you’ll be able to go through the puzzle door — up the stairs inside you’ll find a chest on the left, and another chest at the far end of the wooden walkway.
12
Go back the way you came — you’ll have to distract the prefect again to get him to turn around. Then pull them away from the stairs, go up them, and loot the chest at the top. Continue up the next flight of stairs, hugging the right wall and turning right at the top. Go up the spiral staircase in the next room, and watch out for the Prefect in the next area. You can cast Revelio to find a Field Guide Page from the statue behind you, and cast Accio on the statue near the spiral staircase just ahead (1). Then sneak south-southwest down the long hallway, where you’ll find another House Cabinet key you need to walk into (2).
12
It will lead you back the way you came, so you’ll have to distract the prefect again — send them towards the spiral stairs — and follow the key to the cabinet to earn another House Token. Go back to where you found the key (south-southwest hall) and continue forwards a bit. On the southern wall, you’ll see a sconce (1). Target it and cast Confringo to light it, then Accio the guide page. A bit further down the wooden walkway to the southeast is a chest on your left that you can unlock with Alohomora.
Turn around and go west-northwest and up the stairs. There’s a prefect in the hall at the top of the stairs, so distract them and sneak past them, north-northeast down the long hall. You’ll reach the Hospital Wing Floo Flame, and on the right is a Unicorn Fountain that hides another Field Guide page you can reveal with Revelio before continuing carefully into the hospital room (2).
12
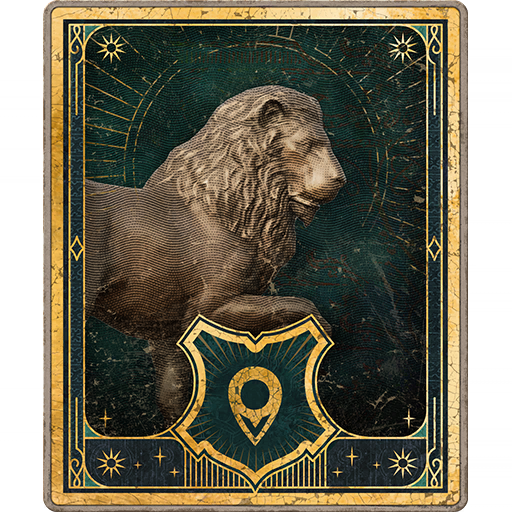
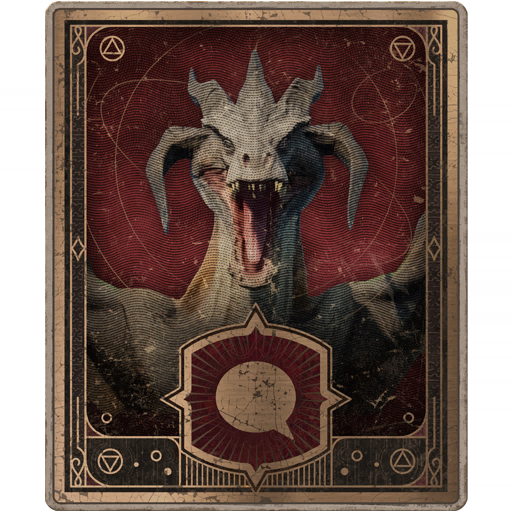
Hug the right-hand side of the room, and continue to the other side to find the Demiguise Statue. There’s also a Field Guide Page flying above you you can grab. Go back the way you came, but not before grabbing the chest on the northwestern wall nearby. Once back in the hall with the Floo Flame, go northwest down the stairs — stop halfway down, and distract the prefect at the bottom, sending him away from the nearby doorway (1).
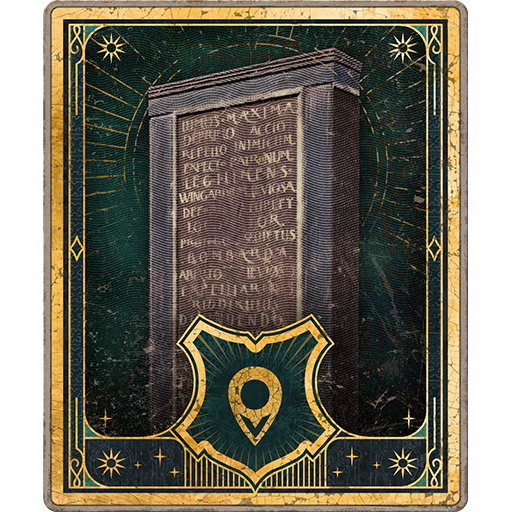
Unlock the door and go inside, where you’ll find a chest immediately to the left. Unlock it, then continue north-northeast to the far side of the room, where you’ll find the second demiguise statue. Pick it up, then go back the way you came to avoid the prefects, out the door and into the open area, and go left down the stairs (2).
12
Depending on if you disturbed any of the authority figures, they might be in your way as you proceed down the stairs, so go slow and use Revelio to check around corners. Continue down the second flight of stairs, where you’ll be able to grab two field guide pages from the turtle in the case and the air above the next set of stairs (1). Go down the nearby stairs, then down the next set as well. Continue east-southeast out the door ahead (2) to find Gladwin waiting.
12
You’ll need to remove your Disillusionment charm to speak with Gladwin, so recast the spell if you’re currently invisible, and then press / to speak with him. He’ll ask you to continue searching for Demiguise Moons for him, and then the quest will end!
Unabashed FromSoftware fanboy still learning to take his time with games (and everything else, really). The time he doesn't spend on games is spent on music, books, or occasionally going outside.


