In this walkthrough of the Main Story quest “San Bakar’s Trial”, we’ll help you gain access to — and complete — the fourth and final Keeper’s Trial. Like the previous trial, San Bakar’s test is unique, and will earn you a new form of transportation as a nice bonus.
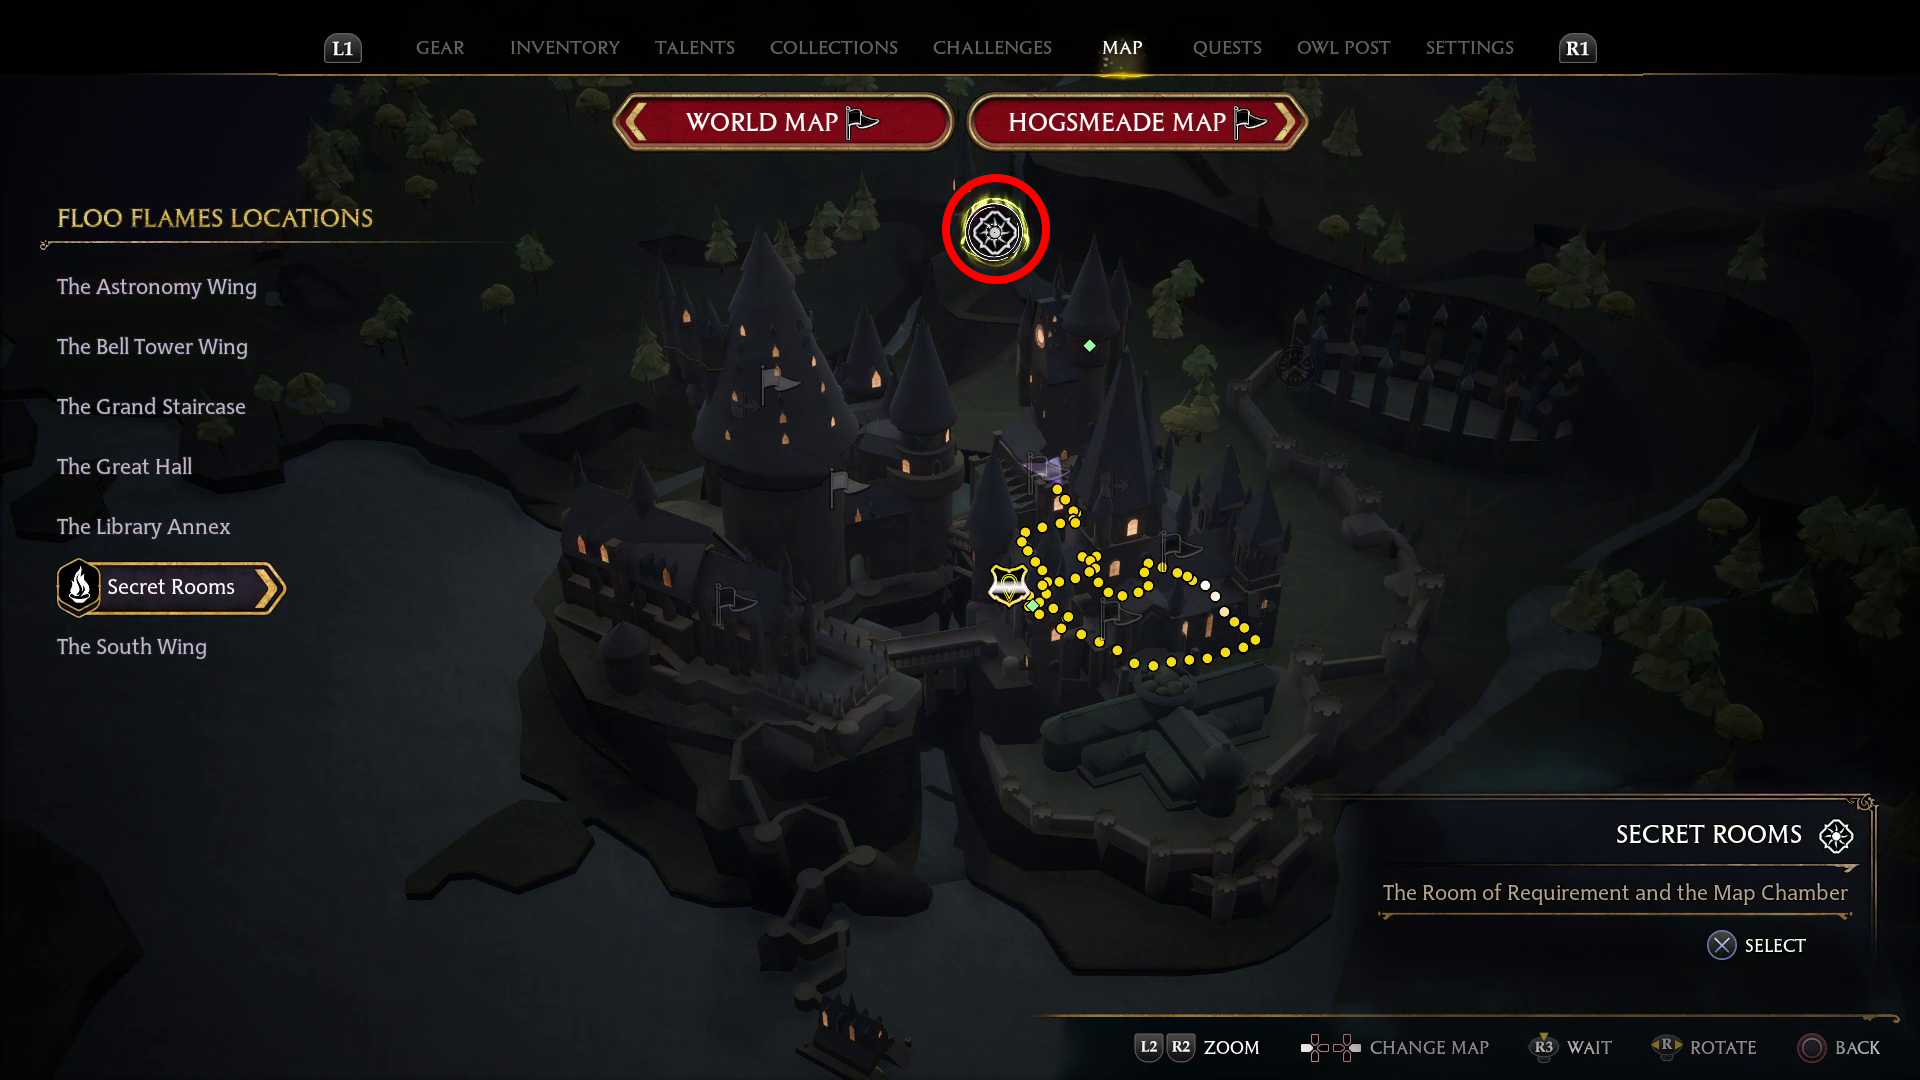
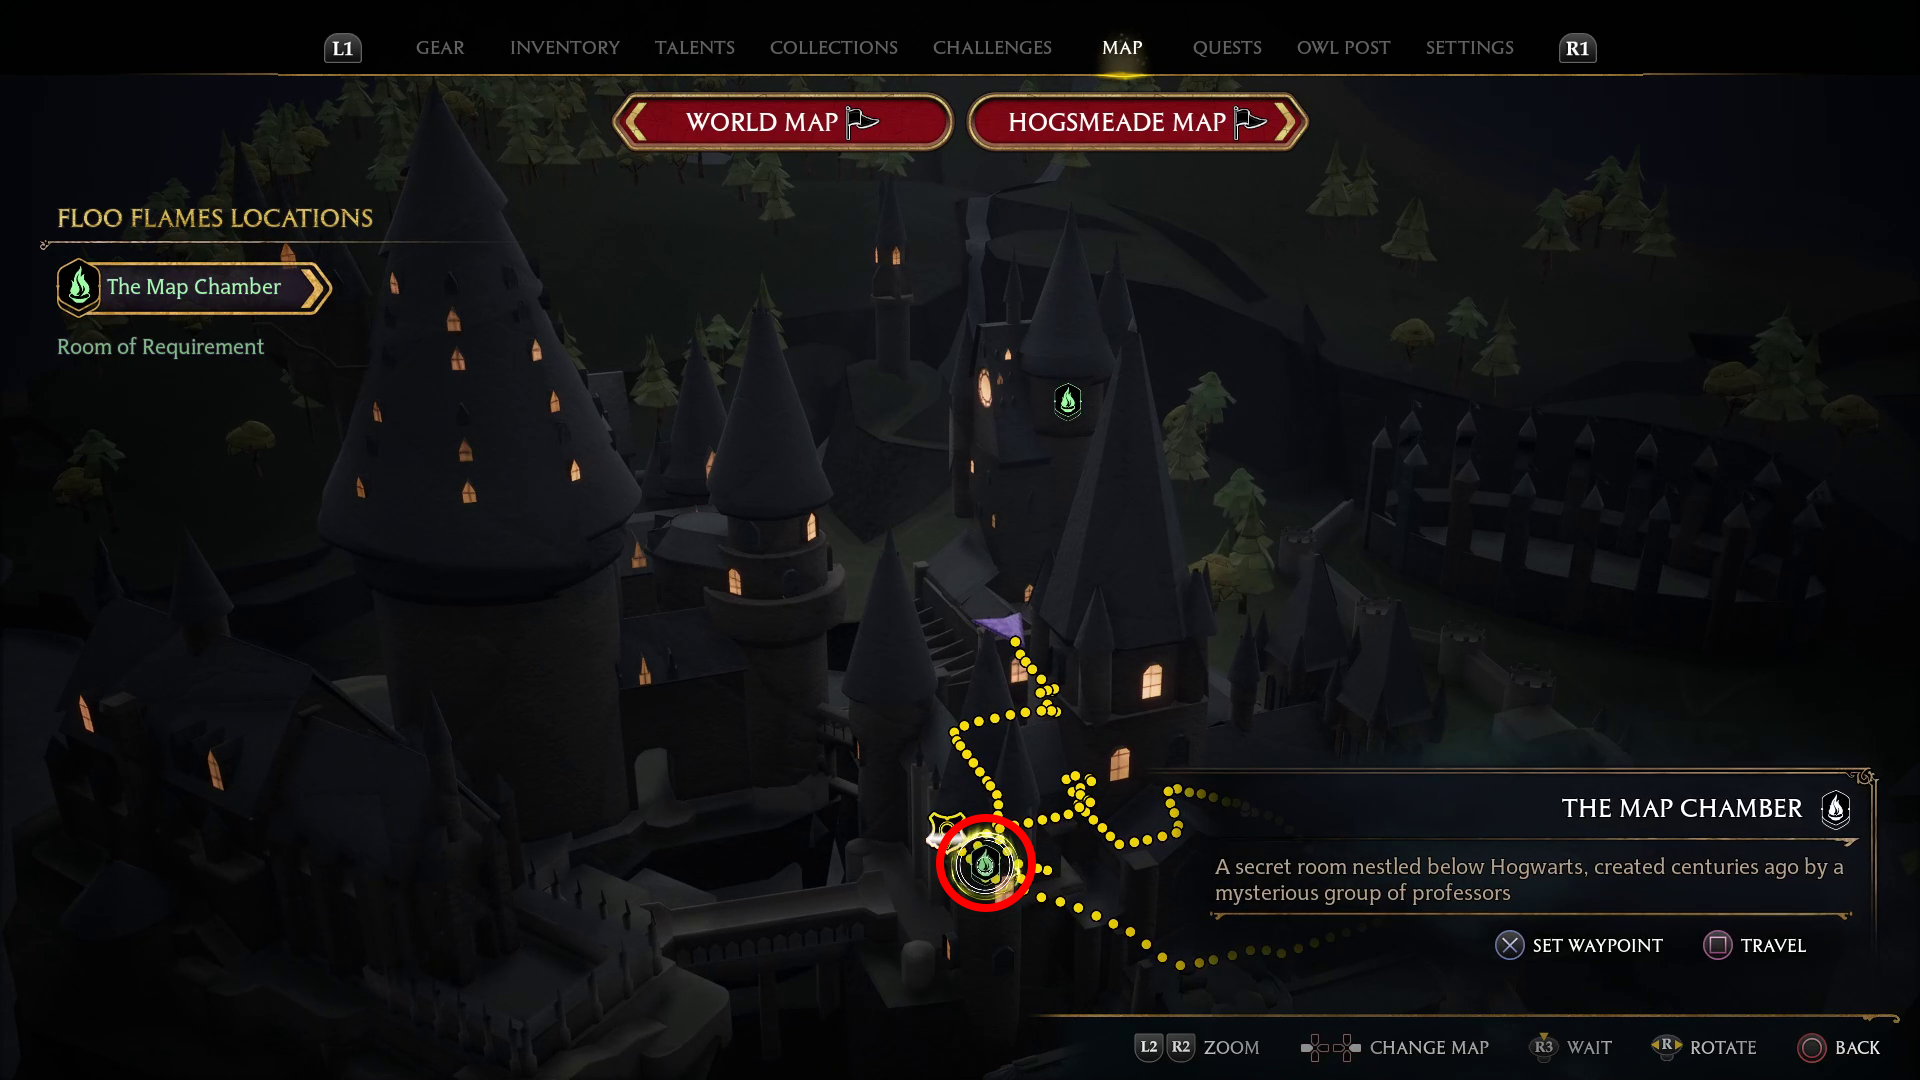
This quest begins, like so many others, in the Map Chamber. In case it’s been a while since you visited it: the easiest way to get there is by opening the Hogwarts Map, then selecting the Secret Rooms icon (1) — then you can fast travel to the lower Floo Flame, which is the flame for The Map Chamber. Then head down the hallway towards the chamber; unlike many quests that start here, you have to press /in the golden circle just outside the chamber doors (2).
12
Speak with Professor Fig
After pressing /in the circle that begins the quest, you can enter the Map Chamber and walk up to Professor Fig — press / to speak with him, beginning a conversation/cutscene.
Meet Professor Fig at San Bakar’s Pensieve chamber
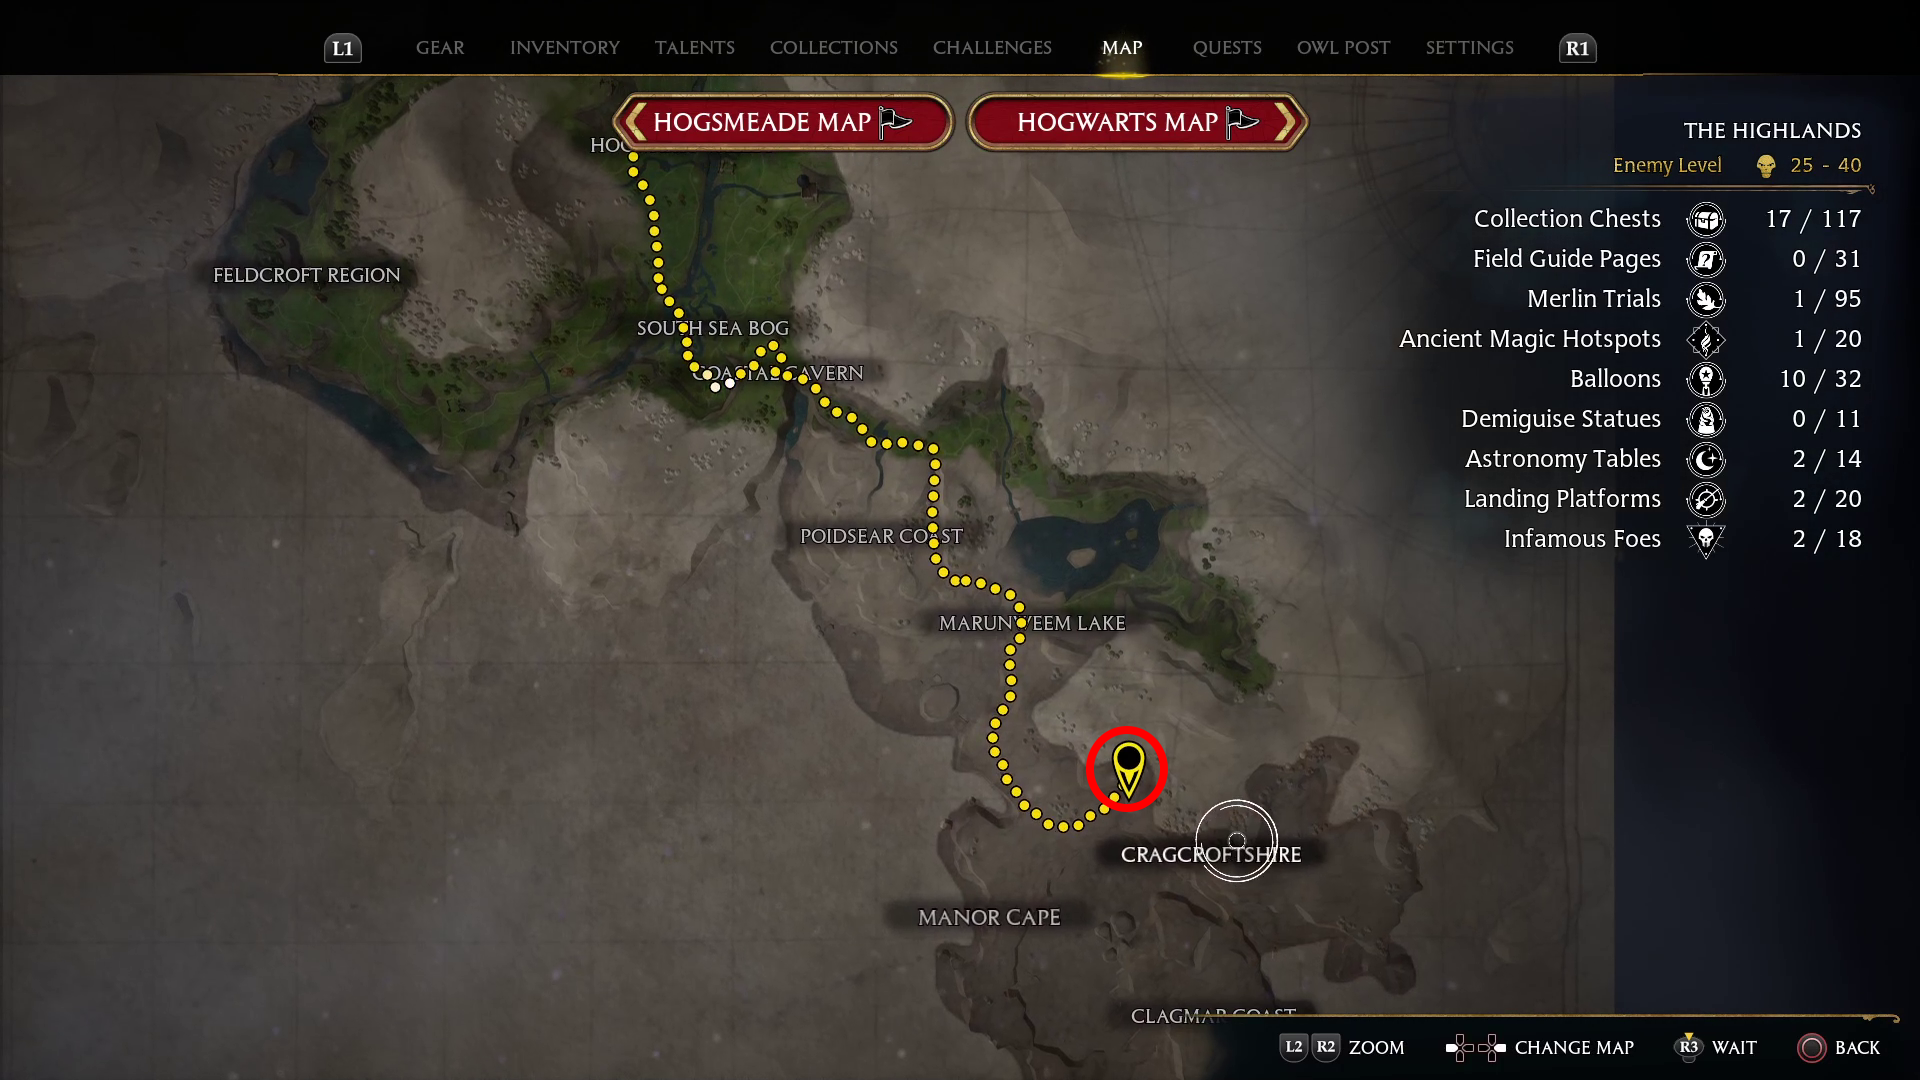
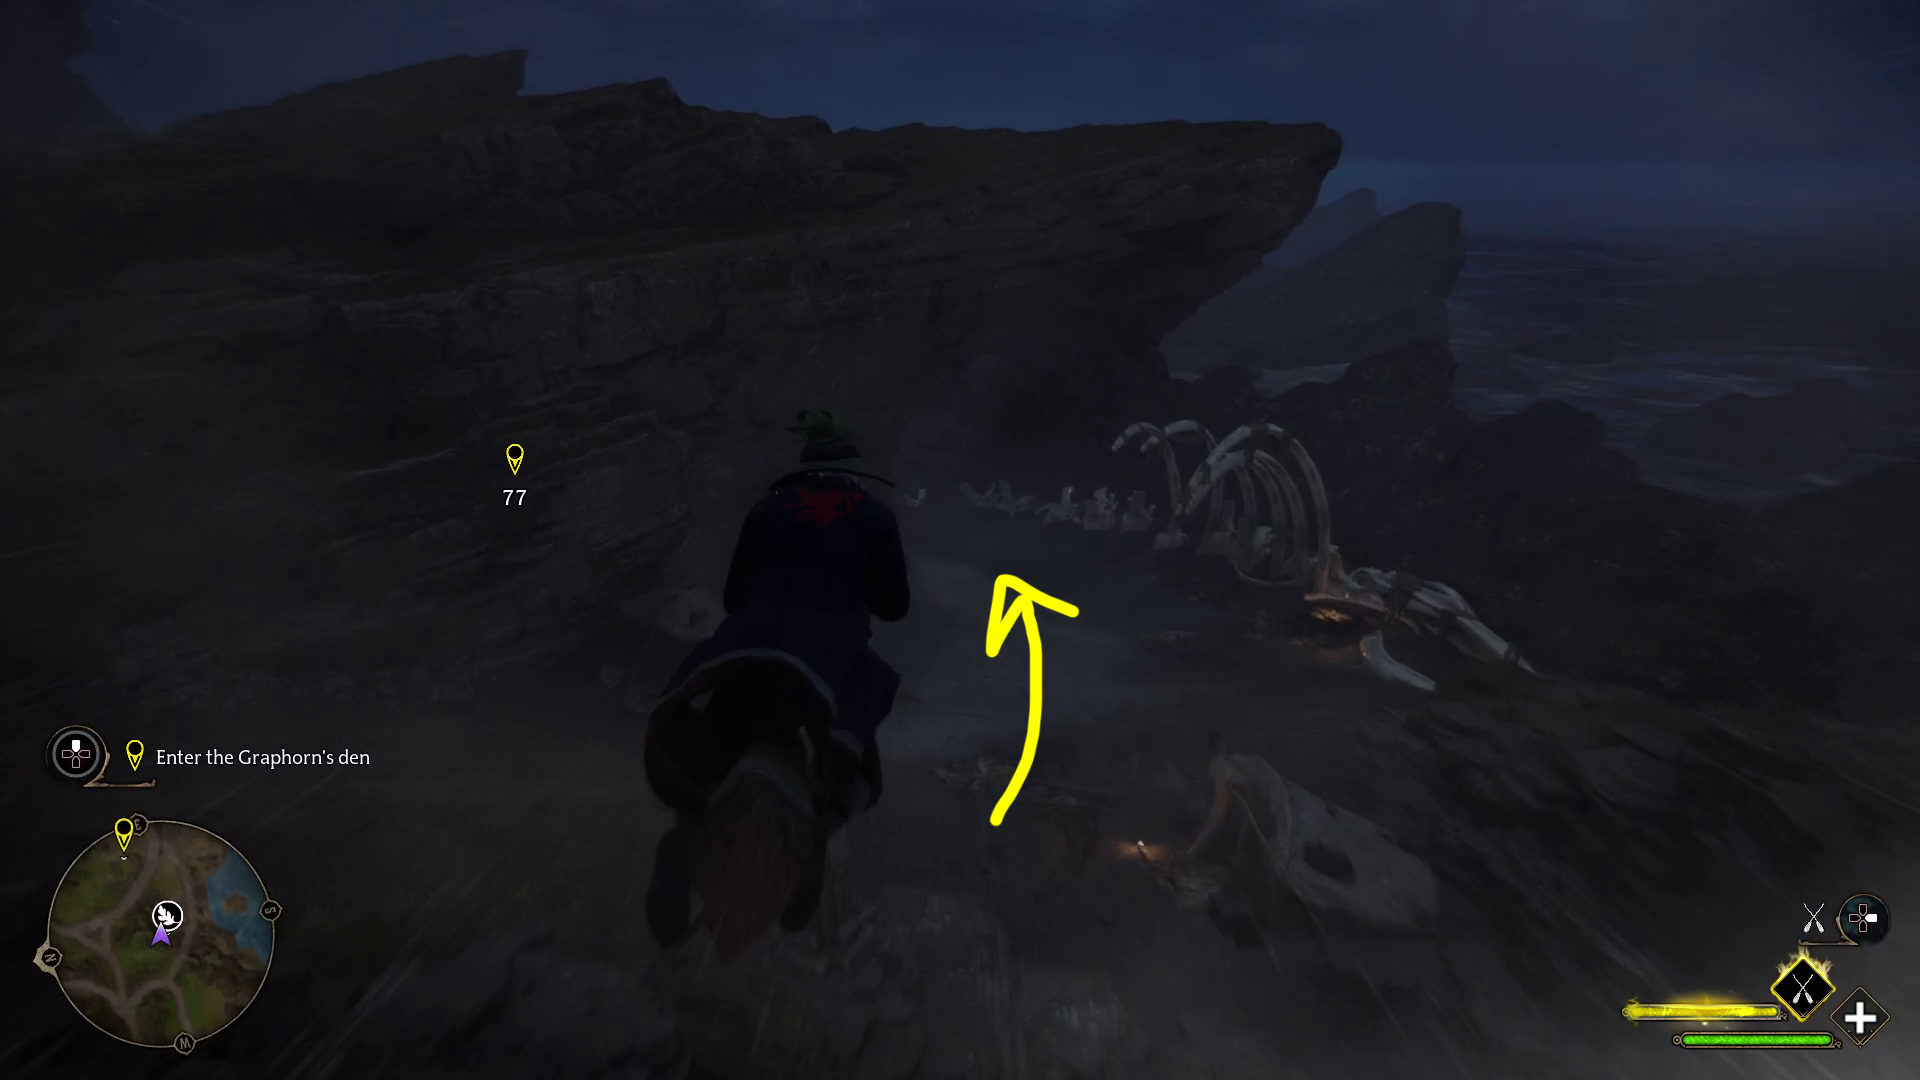
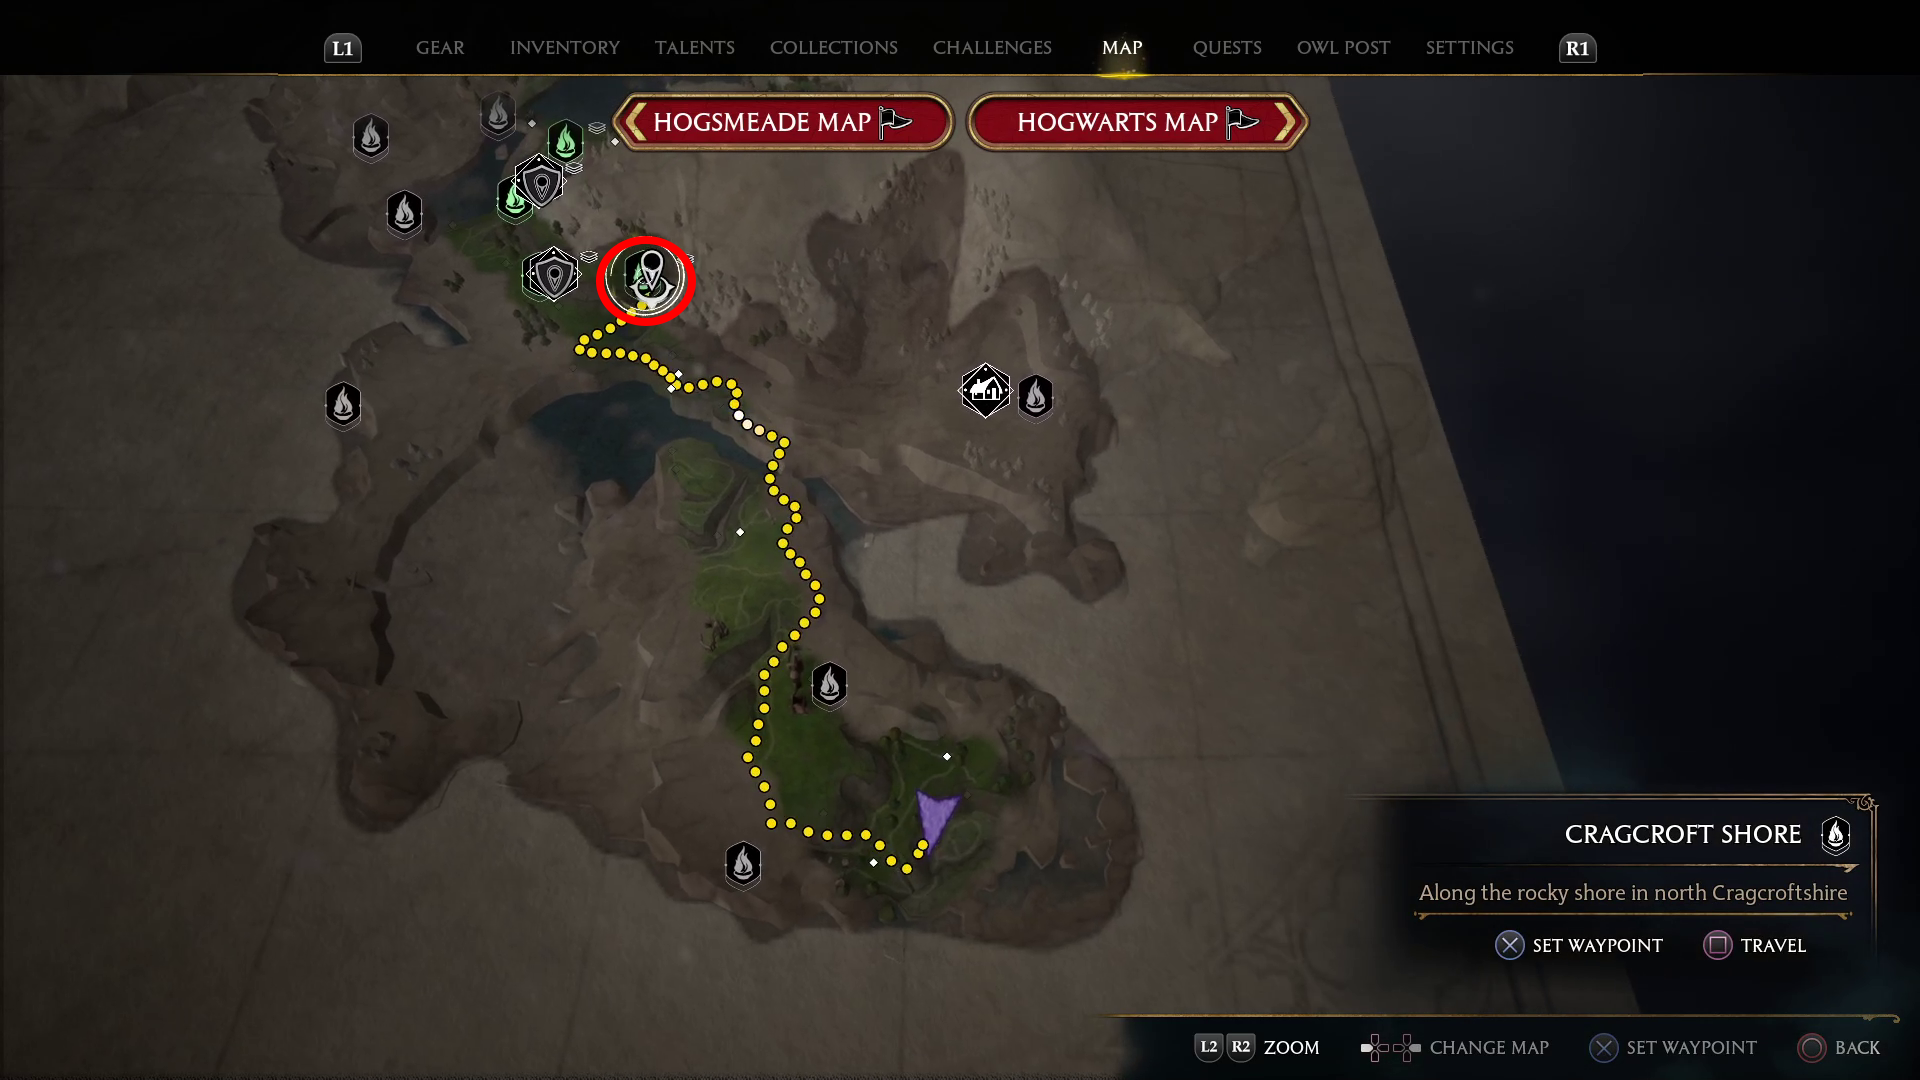
Now you’ve got to make your way to Cragcroftshire, which is south of Marunweem Lake. You should have grabbed at least a few Floo Flames in and near Poidsear Coast by now, so pick your southernmost one and fast travel there — then hop on your broom and make your way around the mountain to the objective marker. Remember that brooms are faster when close to the ground, so hug the dirt; also keep in mind that you can’t fly over the mountain, so you’ll need to make the arc around the mountain visible on the map below.
Note: It’s a good idea to grab a few Floo Flames on your broom ride there, so keep an eye on your minimap and fly close to any Floo Flames you see!
Professor Fig is waiting in at the end of a cleft in the mountain — you’ll have to dismount your broom to enter it. Make sure you grab the Cragcroft Shore Floo Flame near him, then walk up to him and to begin the next part of the quest.
Find the clue to open the Pensieve chamber & Speak with Professor Fig
In front of you (northeast) is a wall covered with vines. Walk up to it and cast Incendio — this will start a brief cutscene. When it ends, walk over to Professor Fig to start a conversation.
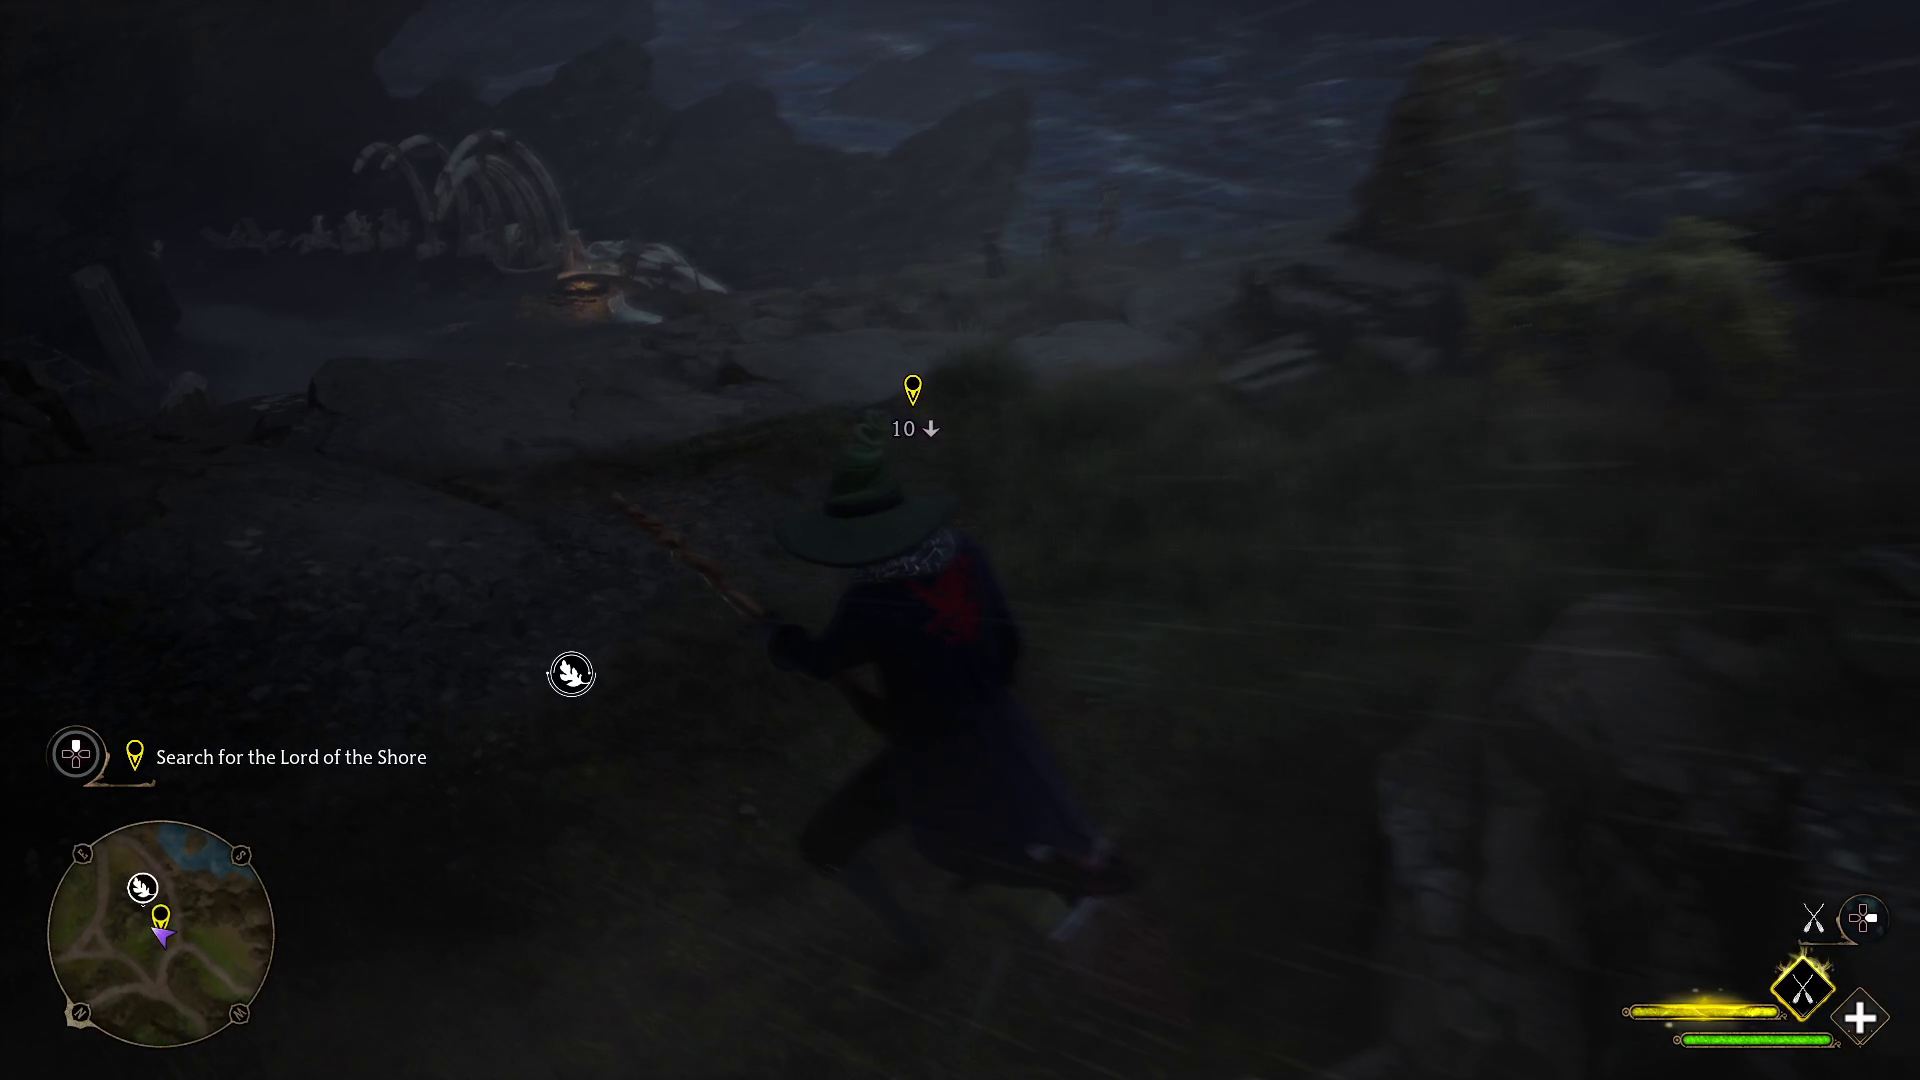
Search for the Lord of the Shore
Now you’ve got another long broom flight ahead of you (unless you’ve already explored the southern coast and have a Floo Flame near where you need to go). Fly south-southeast, straight towards the objective marker. You’ll need to land and walk to where the marker indicates (1). While you’re here, go into your Spells menu and make a few diamonds that include all of your Damage spells, plus any Curses you have — don’t bother putting Control or Force spells in these diamonds.
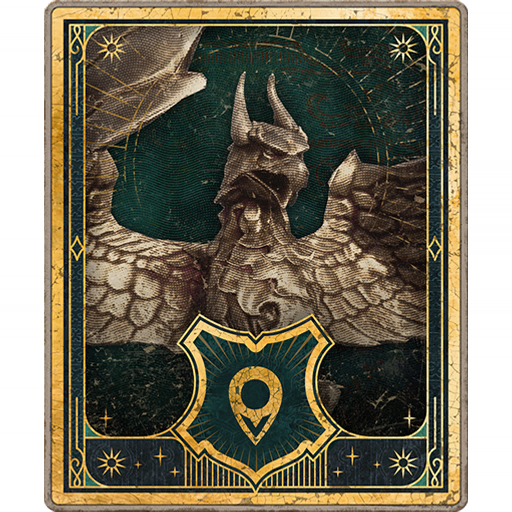
Enter the Graphorn’s Den
Hop back on your broom and fly a bit further east (2) to the new objective marker. You won’t be able to fly all the way to the second marker, so land nearby and walk over to it, starting another cutscene.
12
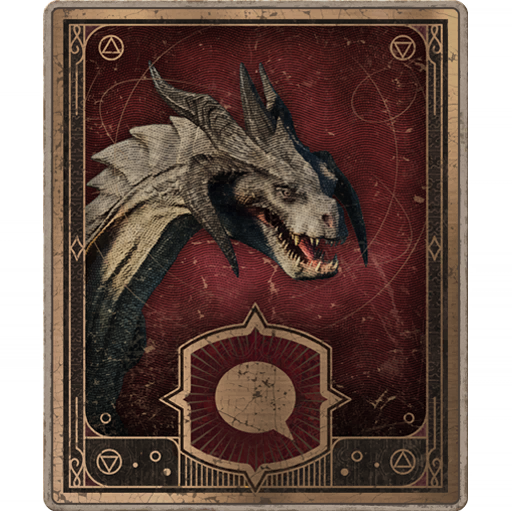
Subdue the Lord of the Shore
No gentle CC spells here — subduing the Graphorn will require dealing quite a lot of damage to it. Use your Ancient Magic whenever it’s available, and try your best to focus on not getting hit, as the more you can fill your Combo meter, the faster this fight will go. Glacius and other crowd-control spells don’t appear to affect the Graphorn, so focus on cycling through your damage spells on cooldown, and spamming Basic Cast in between.
Make sure that you pick up any Ancient Magic that drops from Combo x10+ spells landing. You should also try to dodge before you see the warning halo. Instead, dodge when you see the Graphorn begin an attack, as you generally don’t get enough time to react between the danger halo and the attack. After taking away half its health, a cutscene will play, and then a new phase of the fight will start, in which it will add a few new attacks.
Deplete the rest of its health bar and a cutscene will play, and you’ll be given the choice to Kneel or Fight — pick whatever RP option you want, as it makes no difference in the outcome of the scene.
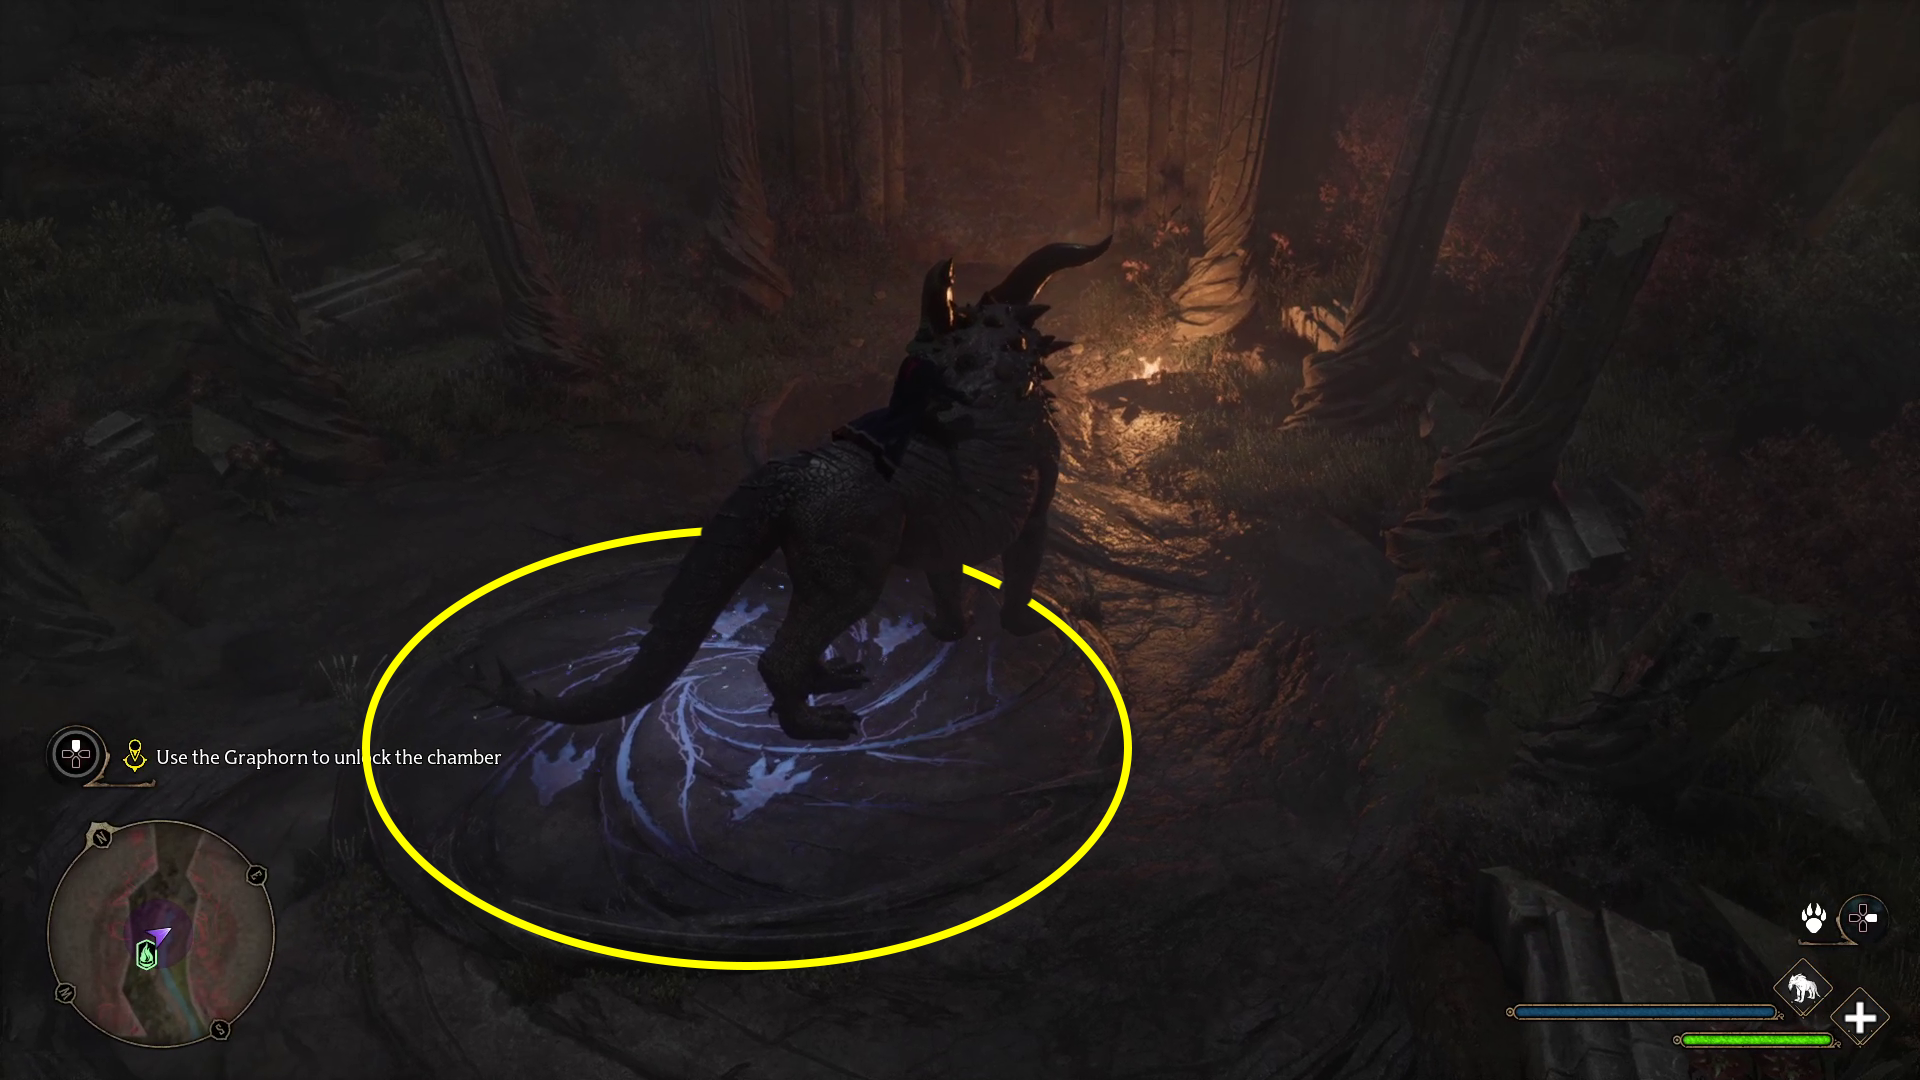
Return with the Graphorn to the Pensieve chamber & Use the Graphorn to unlock the chamber
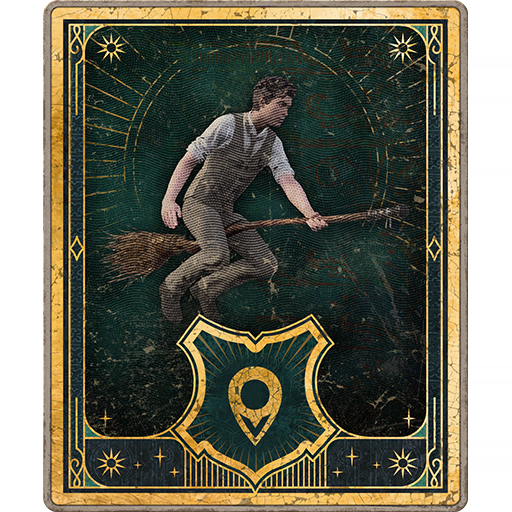
When the cutscene ends, you’ll have the Graphorn mount! Open your map and fast travel to the Cragcroft Shore Floo Flame (1). There, summon the Graphorn again by holding and pressing /. Then stand on the nearby stone circle (2), and wait until the cutscene begins.
12
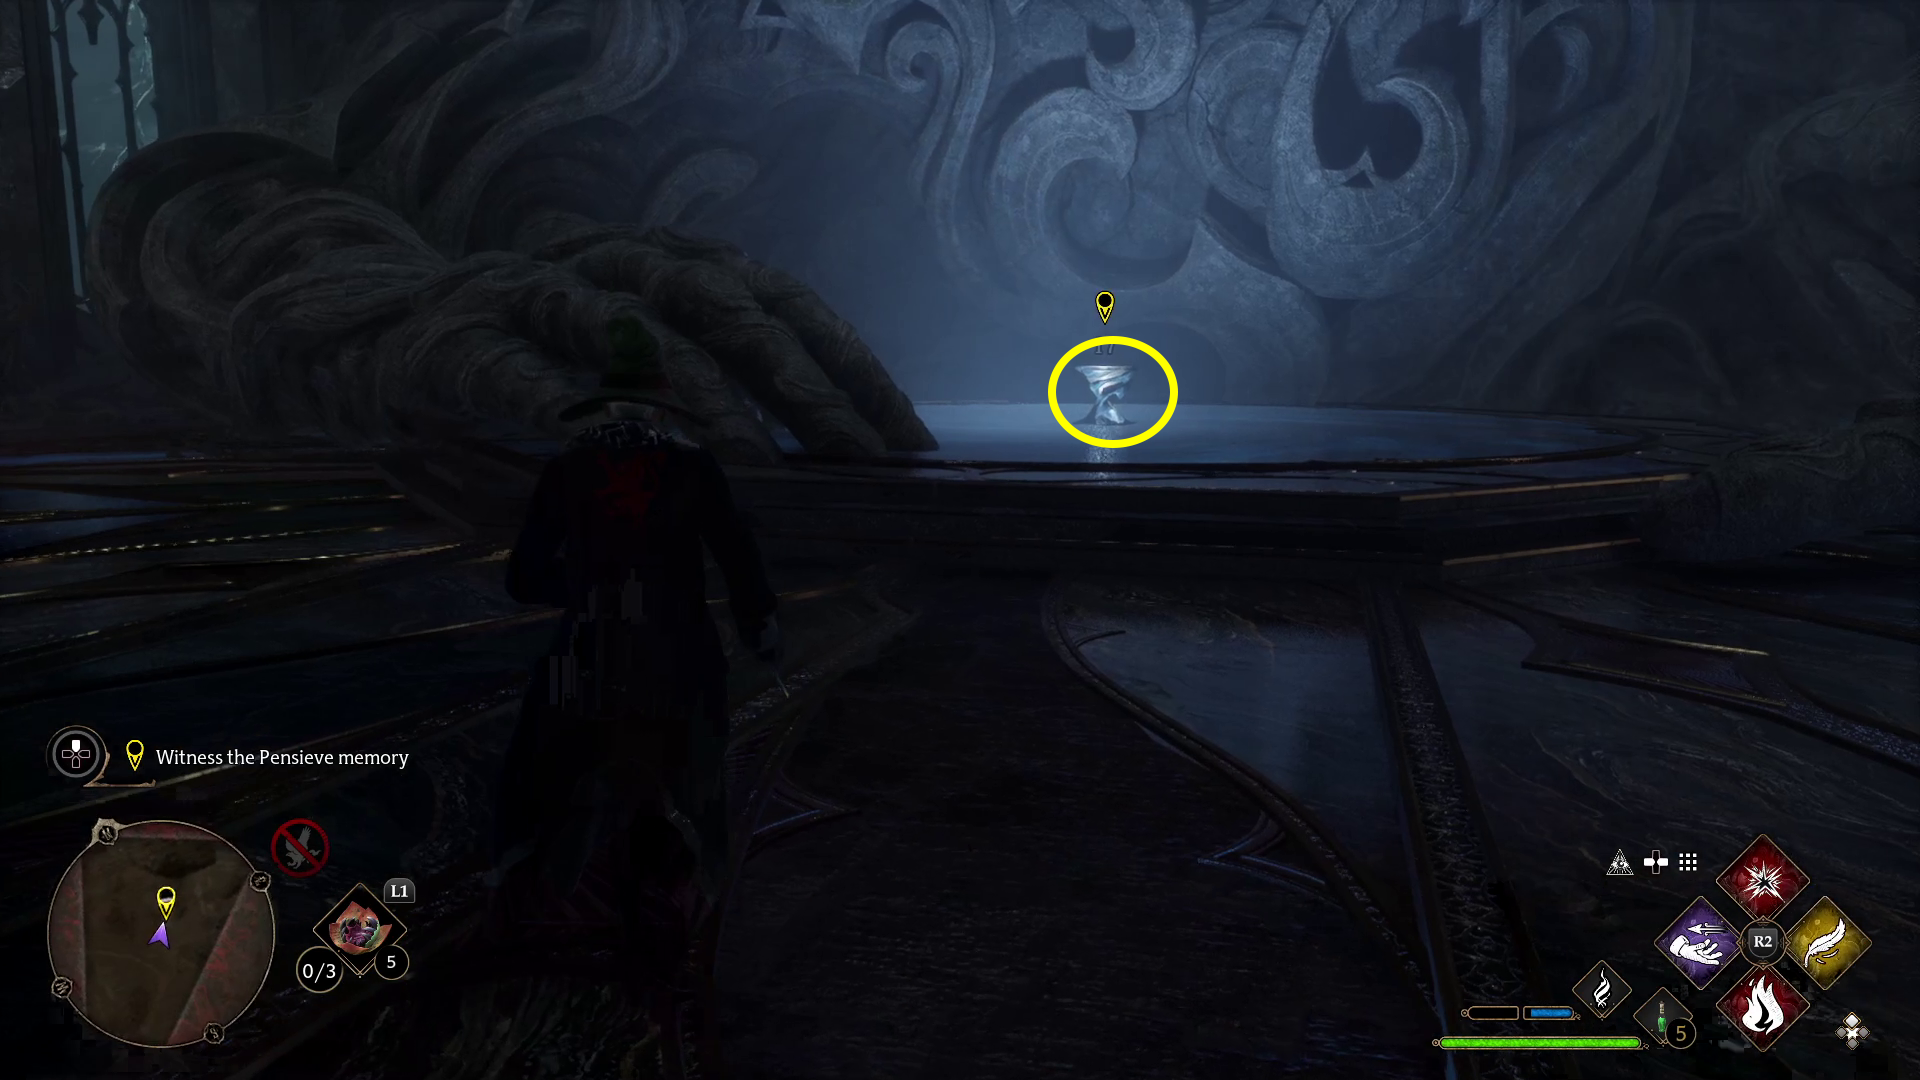
Witness the Pensieve memory
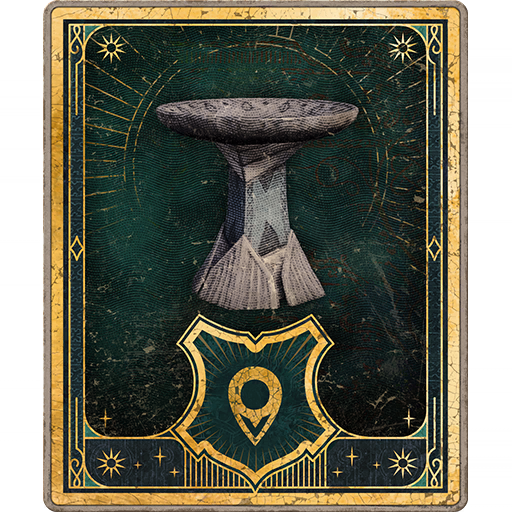
Sadly, you don’t get to actually use the Graphorn in the trial. Hold / to dismount, then walk through the magical barrier into the Pensieve chamber (1). You’ll need to make your way northeast through a series of rooms to reach the Pensieve (2) — approach it and hold / to view San Bakar’s memory. This begins a long cutscene — almost five minutes — so you may want to grab a snack or a drink if you need one.
12
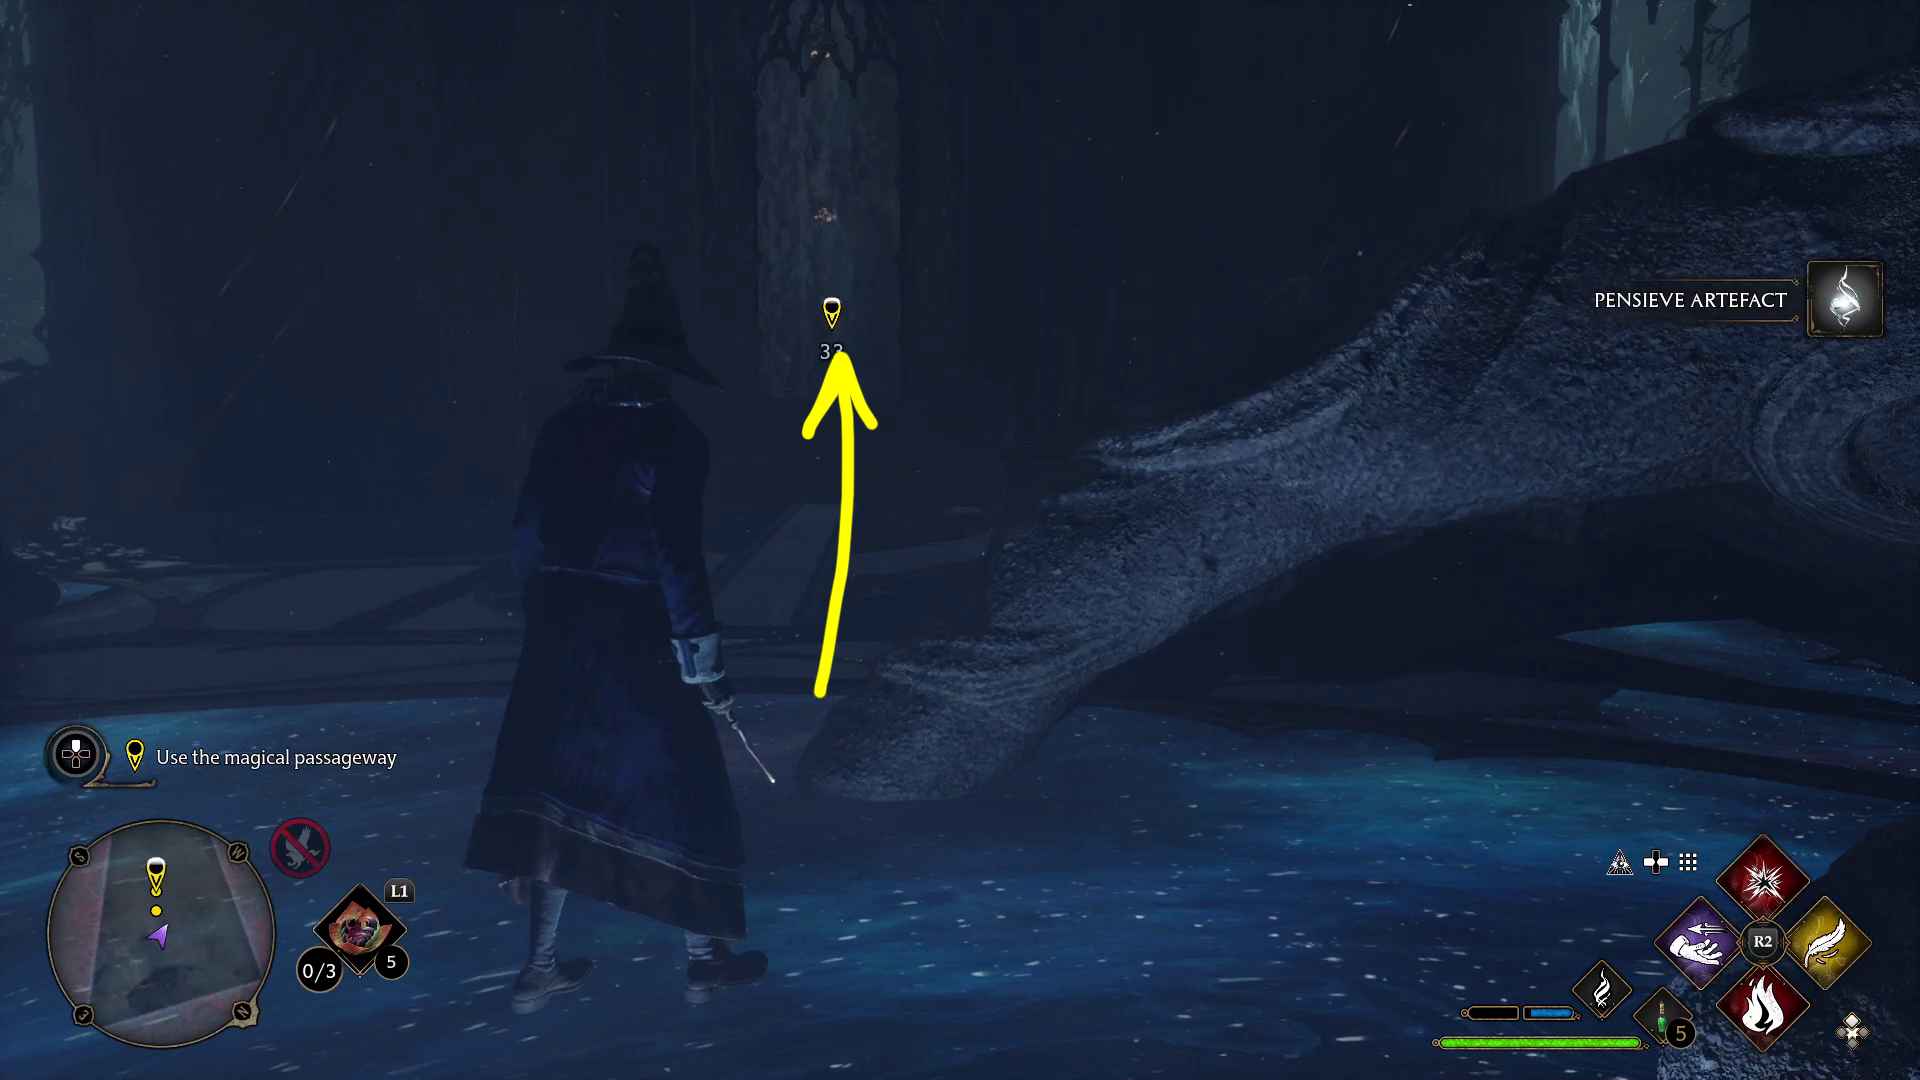
Use the magical passageway
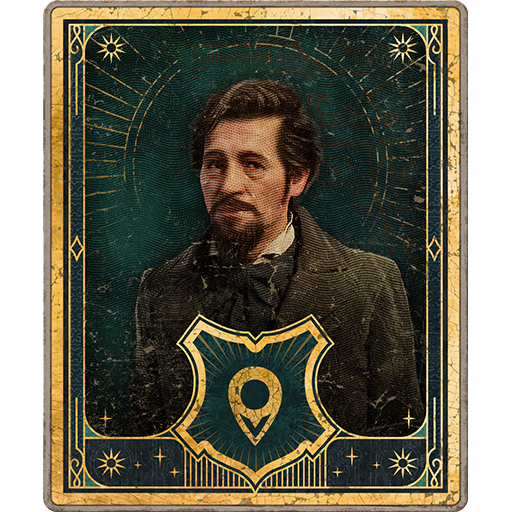
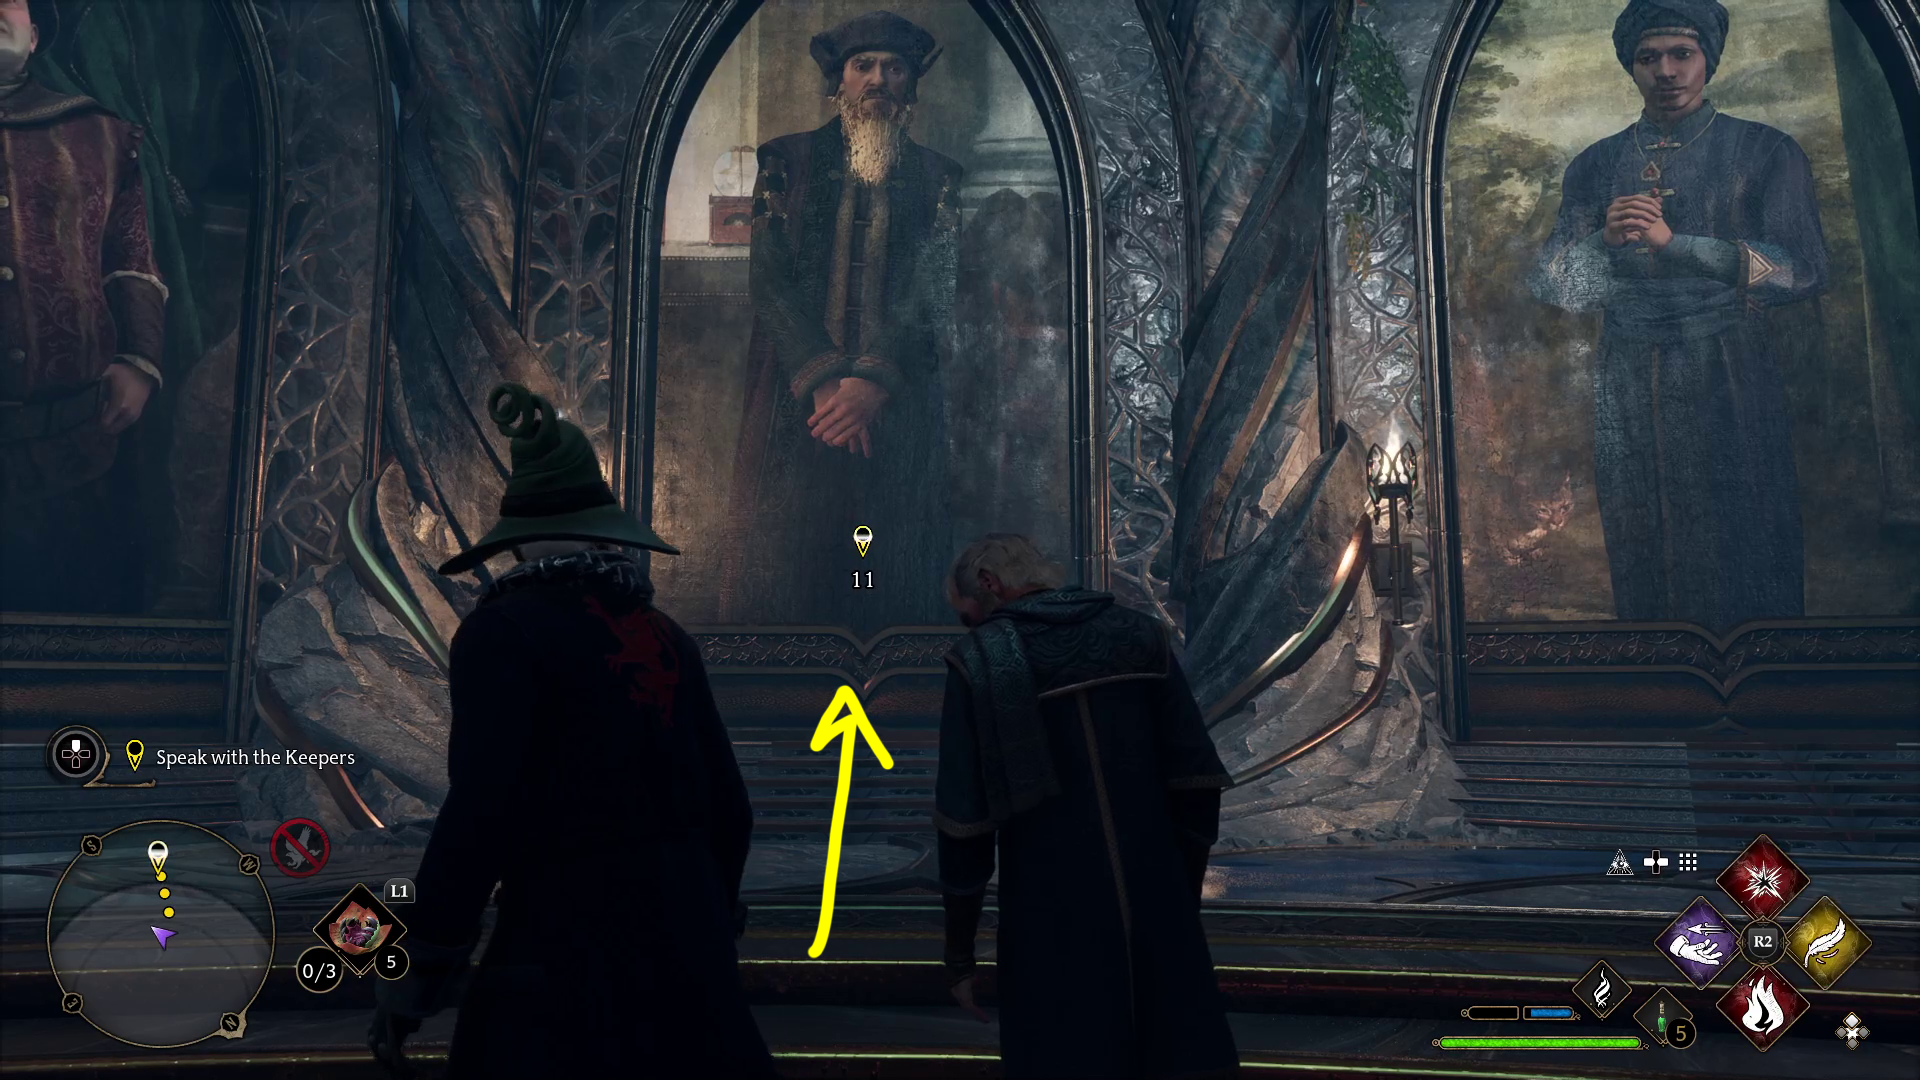
When the cutscene ends, head to the magical passageway (1) and hold / to return to the Map Chamber. There, walk to where Professor Fig is standing, then walk up to the portrait of Percival Rakham and press / to begin another cutscene.
12
After this cutscene ends, so does the quest! Next, you’ll need to visit Mr. Ollivander and enlist his aid in crafting a very particular wand…
Unabashed FromSoftware fanboy still learning to take his time with games (and everything else, really). The time he doesn't spend on games is spent on music, books, or occasionally going outside.


