After learning about the whereabouts of the Moonstone from Dorran the Centaur, Poppy was able to locate which cave Dorran must’ve been referring to. Of course, she wants you alongside her as she explores the Moonstone Garden in order to obtain the stone, which holds the secret to finding and rescuing the Golden Snidgets.
Quest Type: Relationship Quest
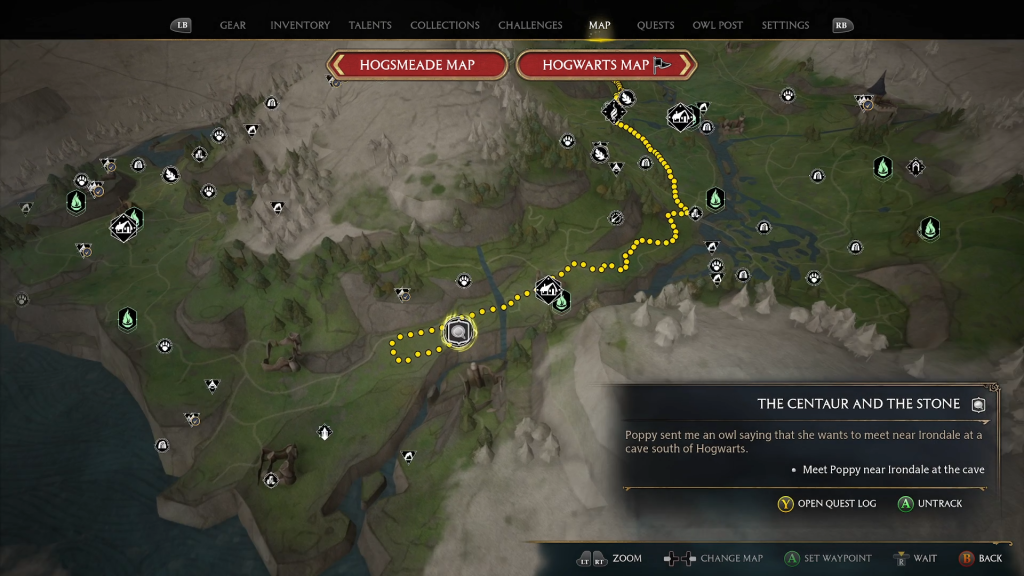
Location: Near Irondale, Feldcroft Region, Highlands (map)
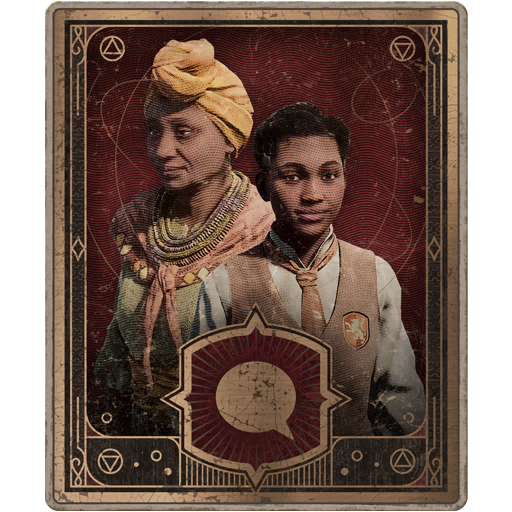
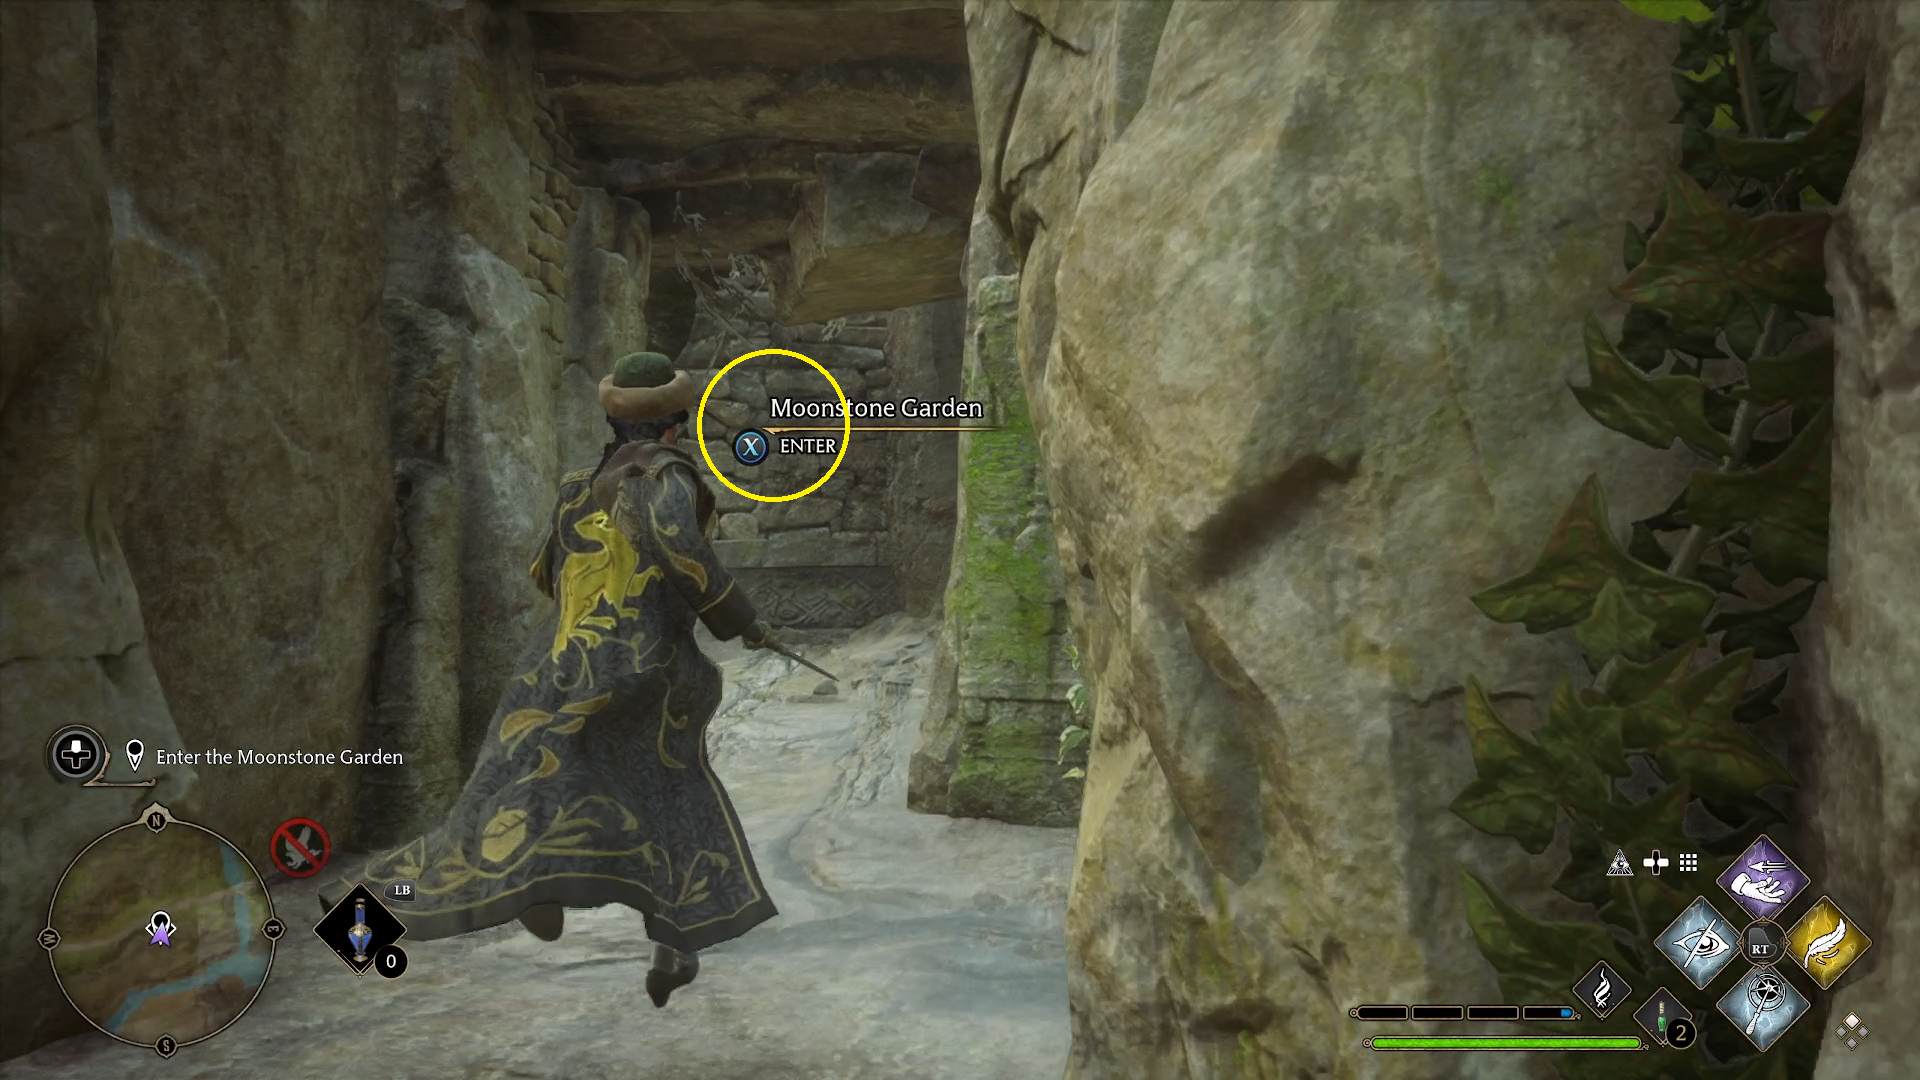
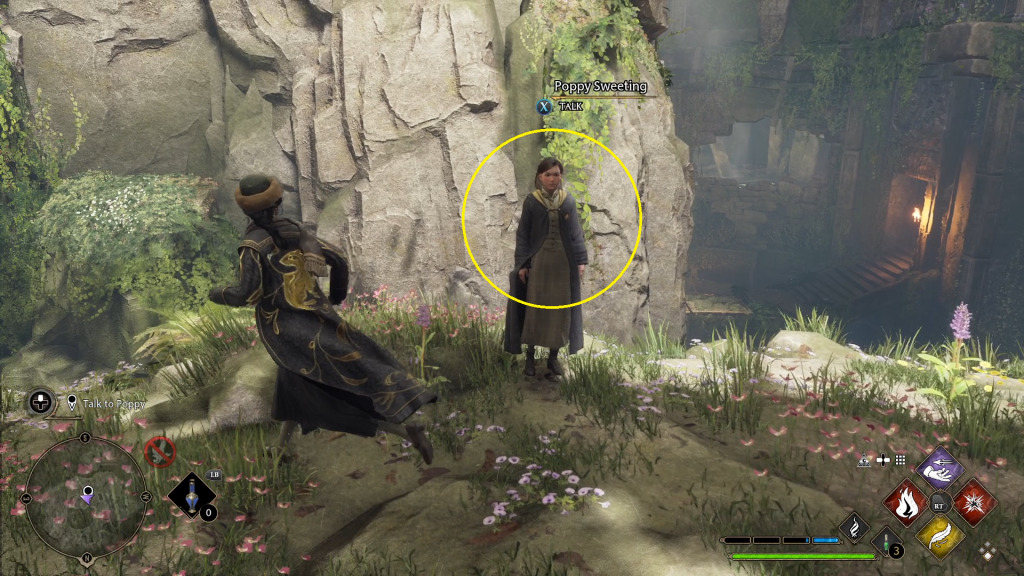
To begin The Centaur and the Stone, you’ll need to meet Poppy where she’s found the cave leading to the Moonstone. This is near Irondale, to the south of Hogwarts. Once there, speak to Poppy Sweeting ( /, ) (1). She will tell you about how she located the cave, and when the conversation finishes, the rocks blocking the entrance will be moved and you can enter (2).
Find the Moonstone
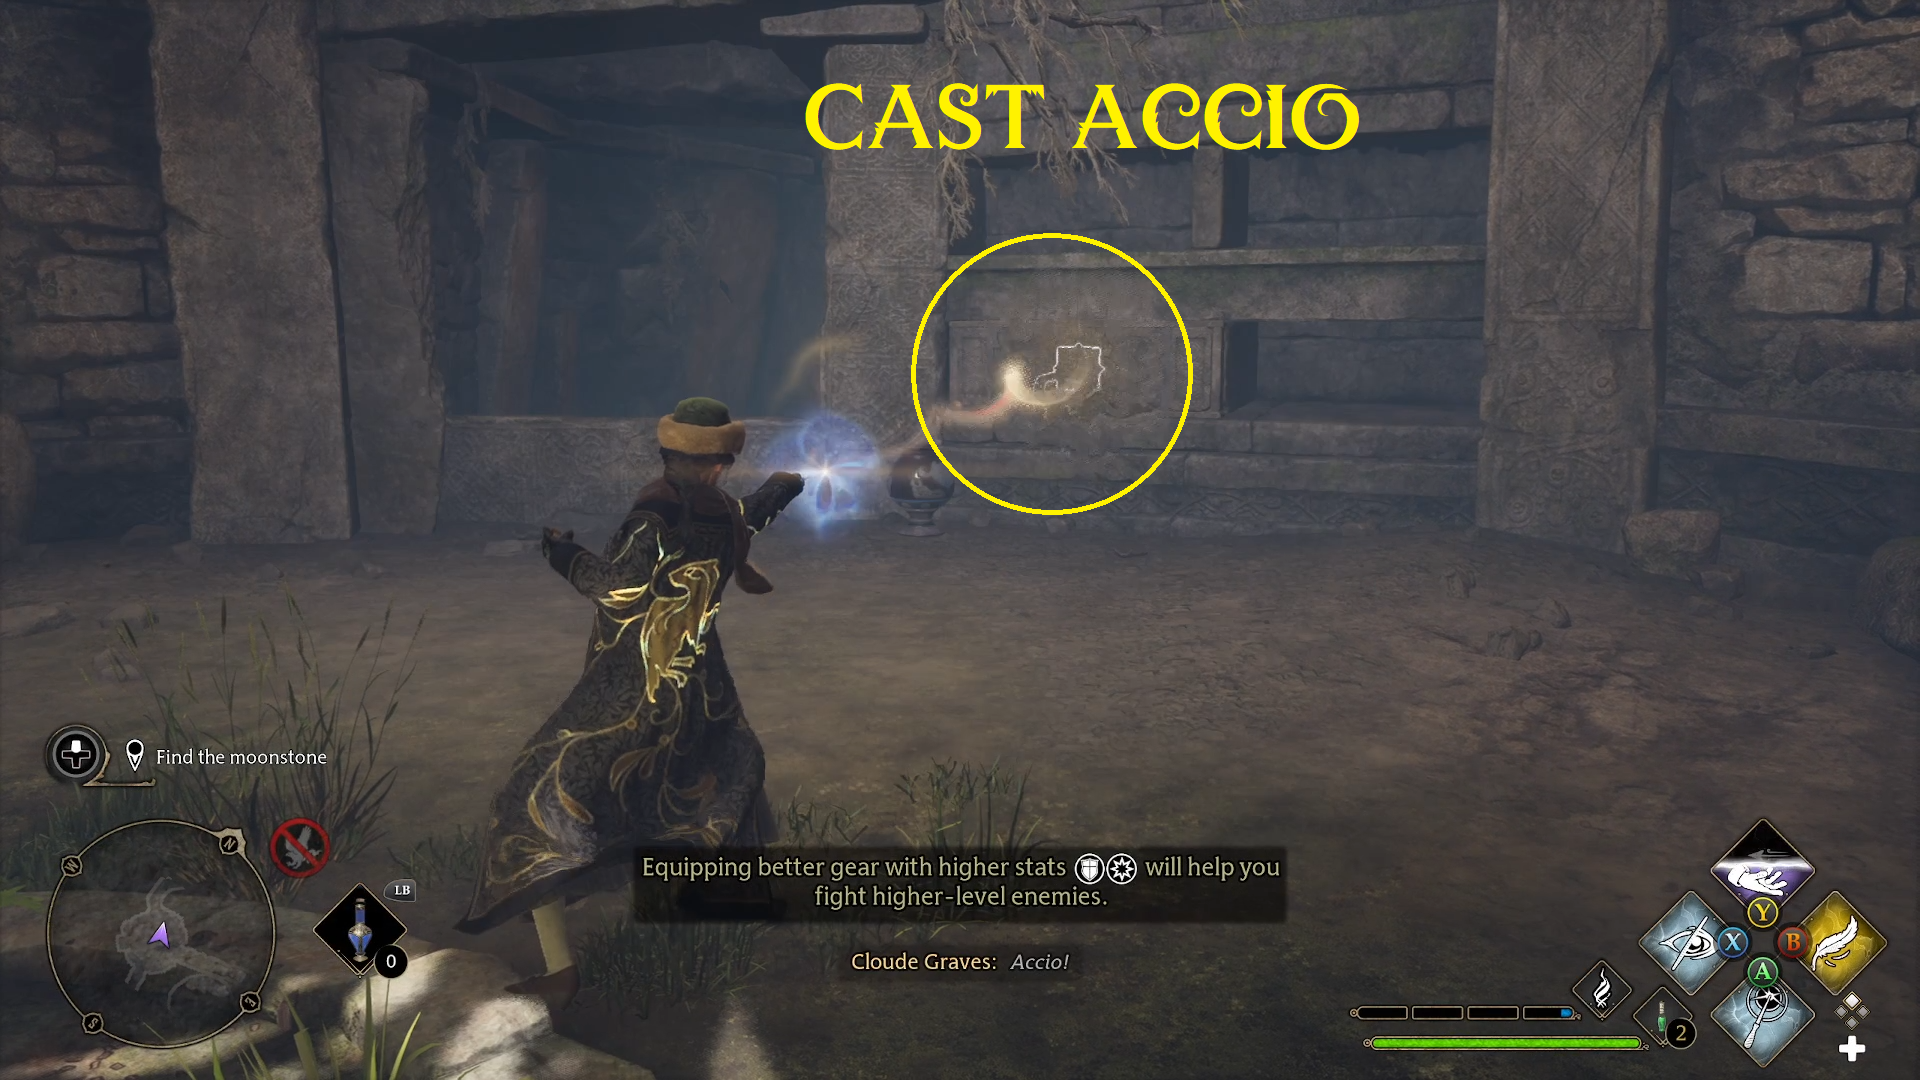
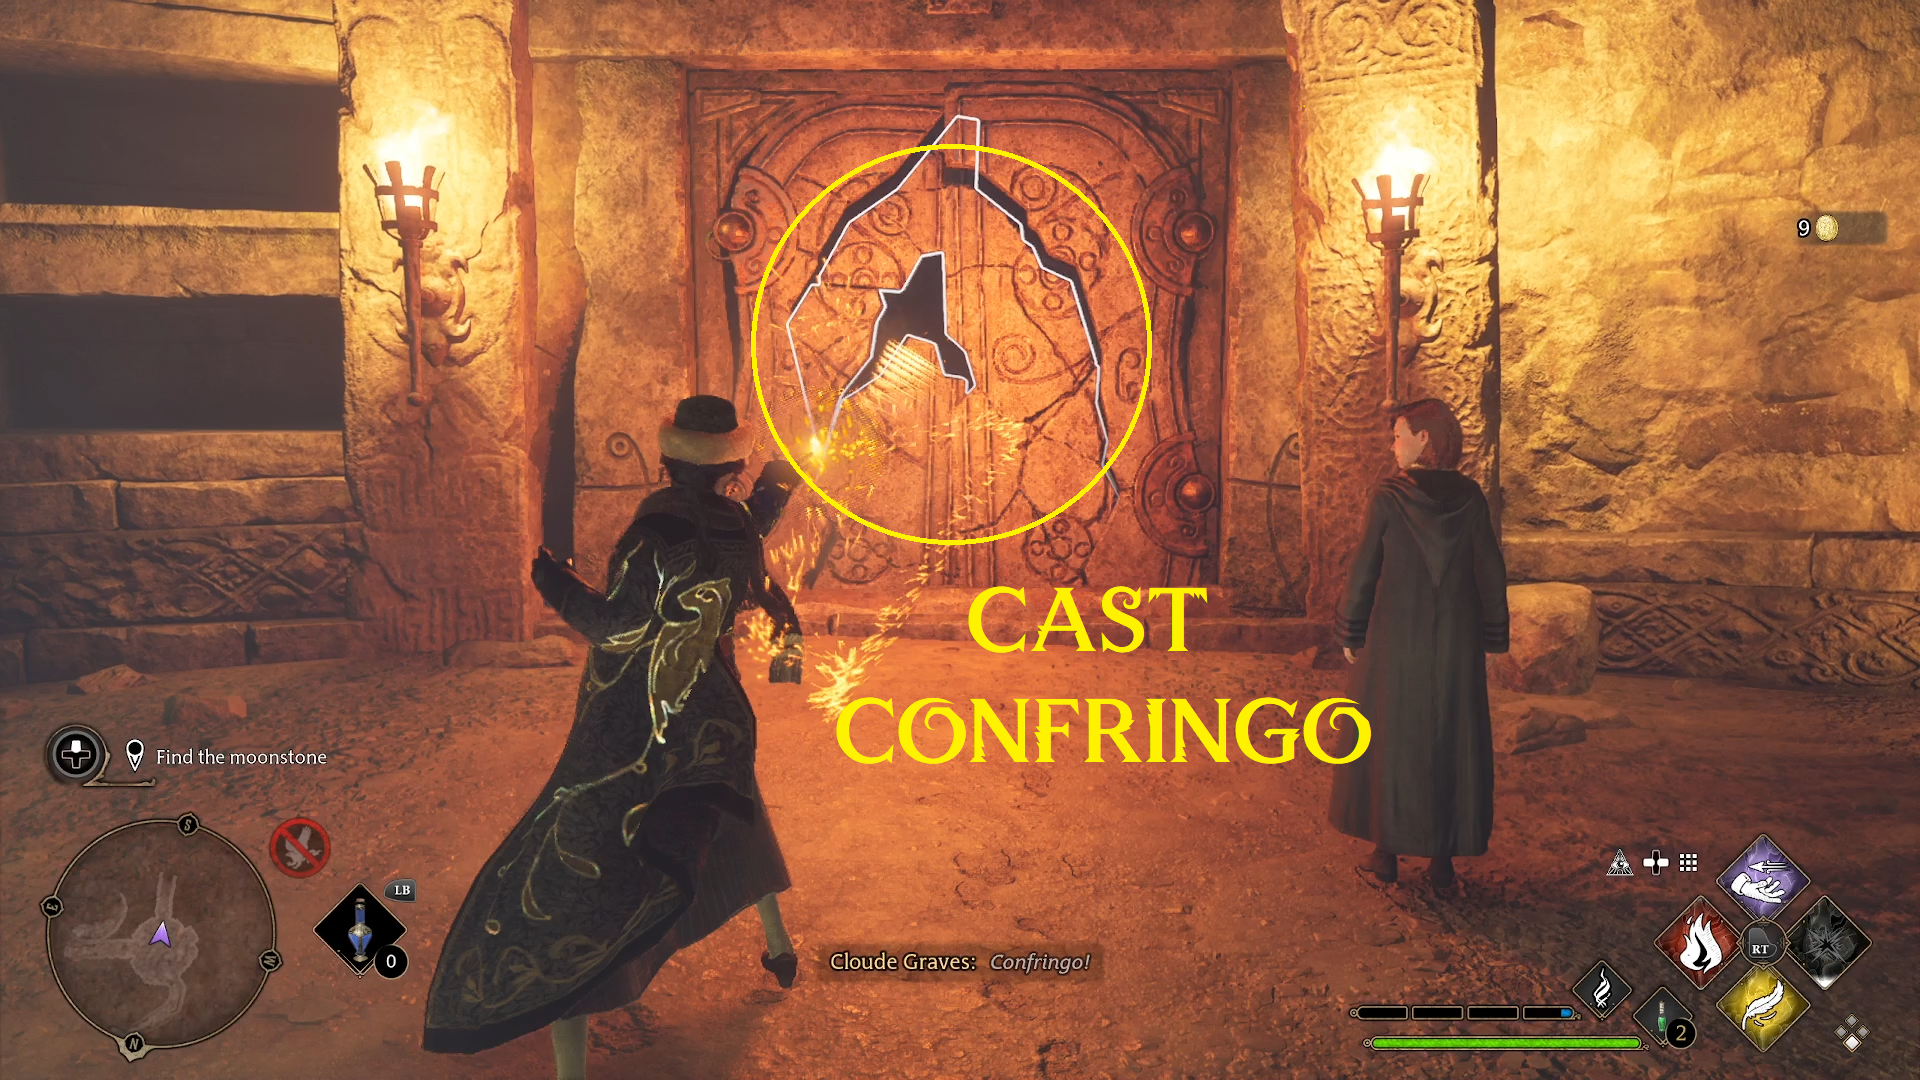
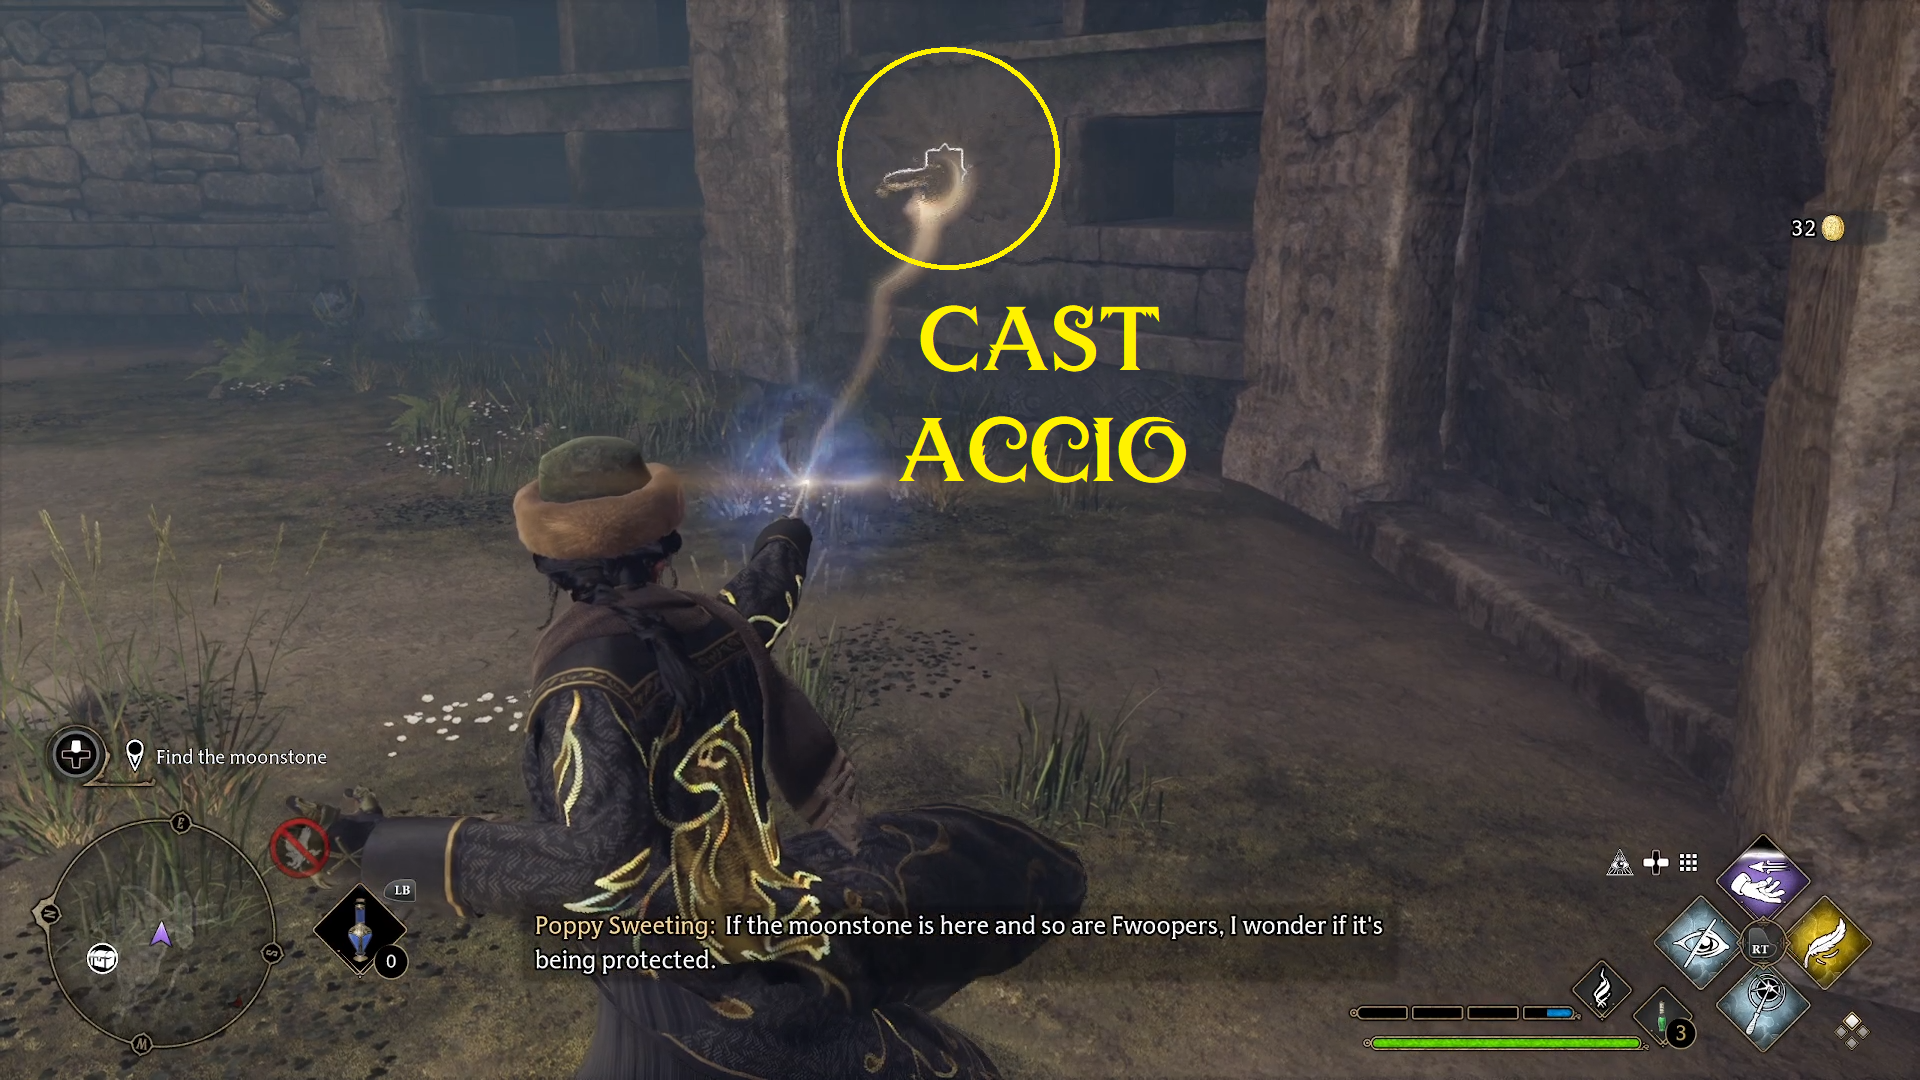
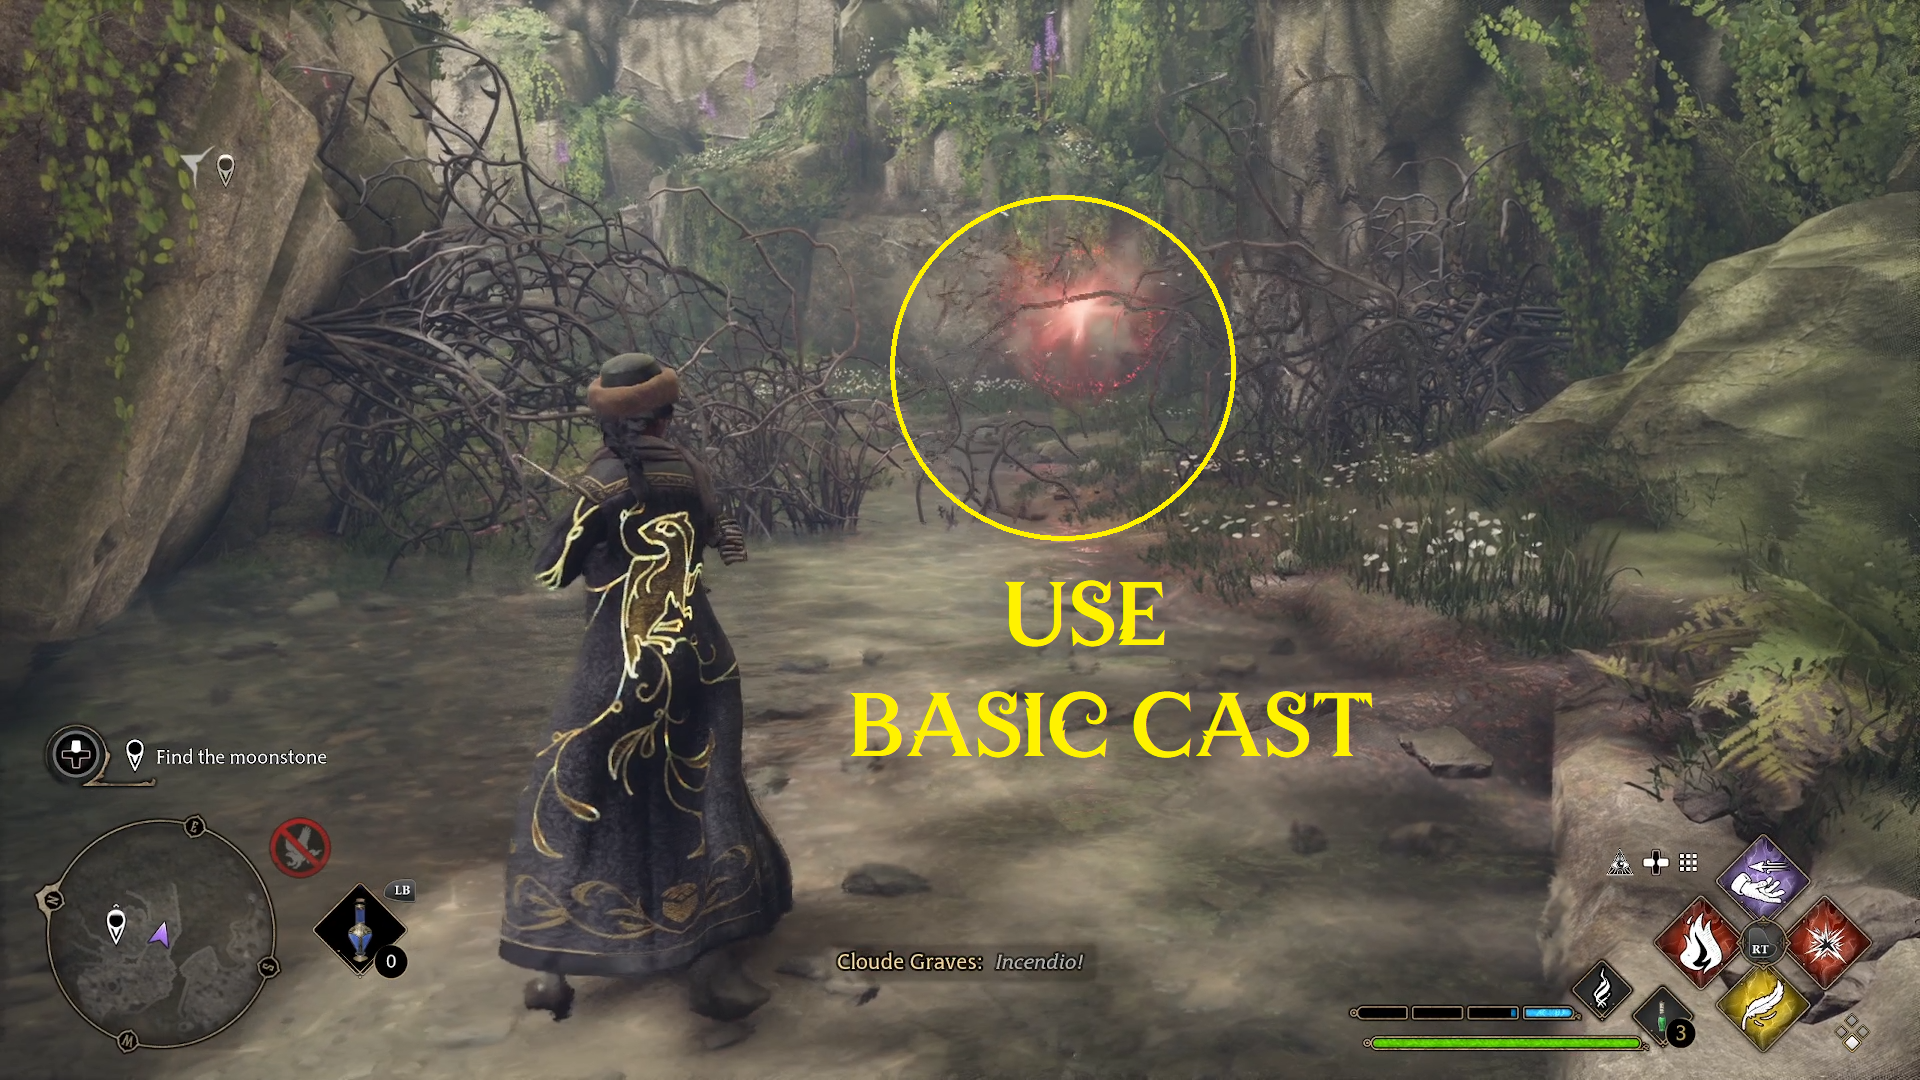
Once you enter the gardens, look to your right. Cast Accio on the handle to the alcove in order to remove the cover and claim the loot (1). Then, turn around and cast Confringo on the slightly broken door in order to progress (2).
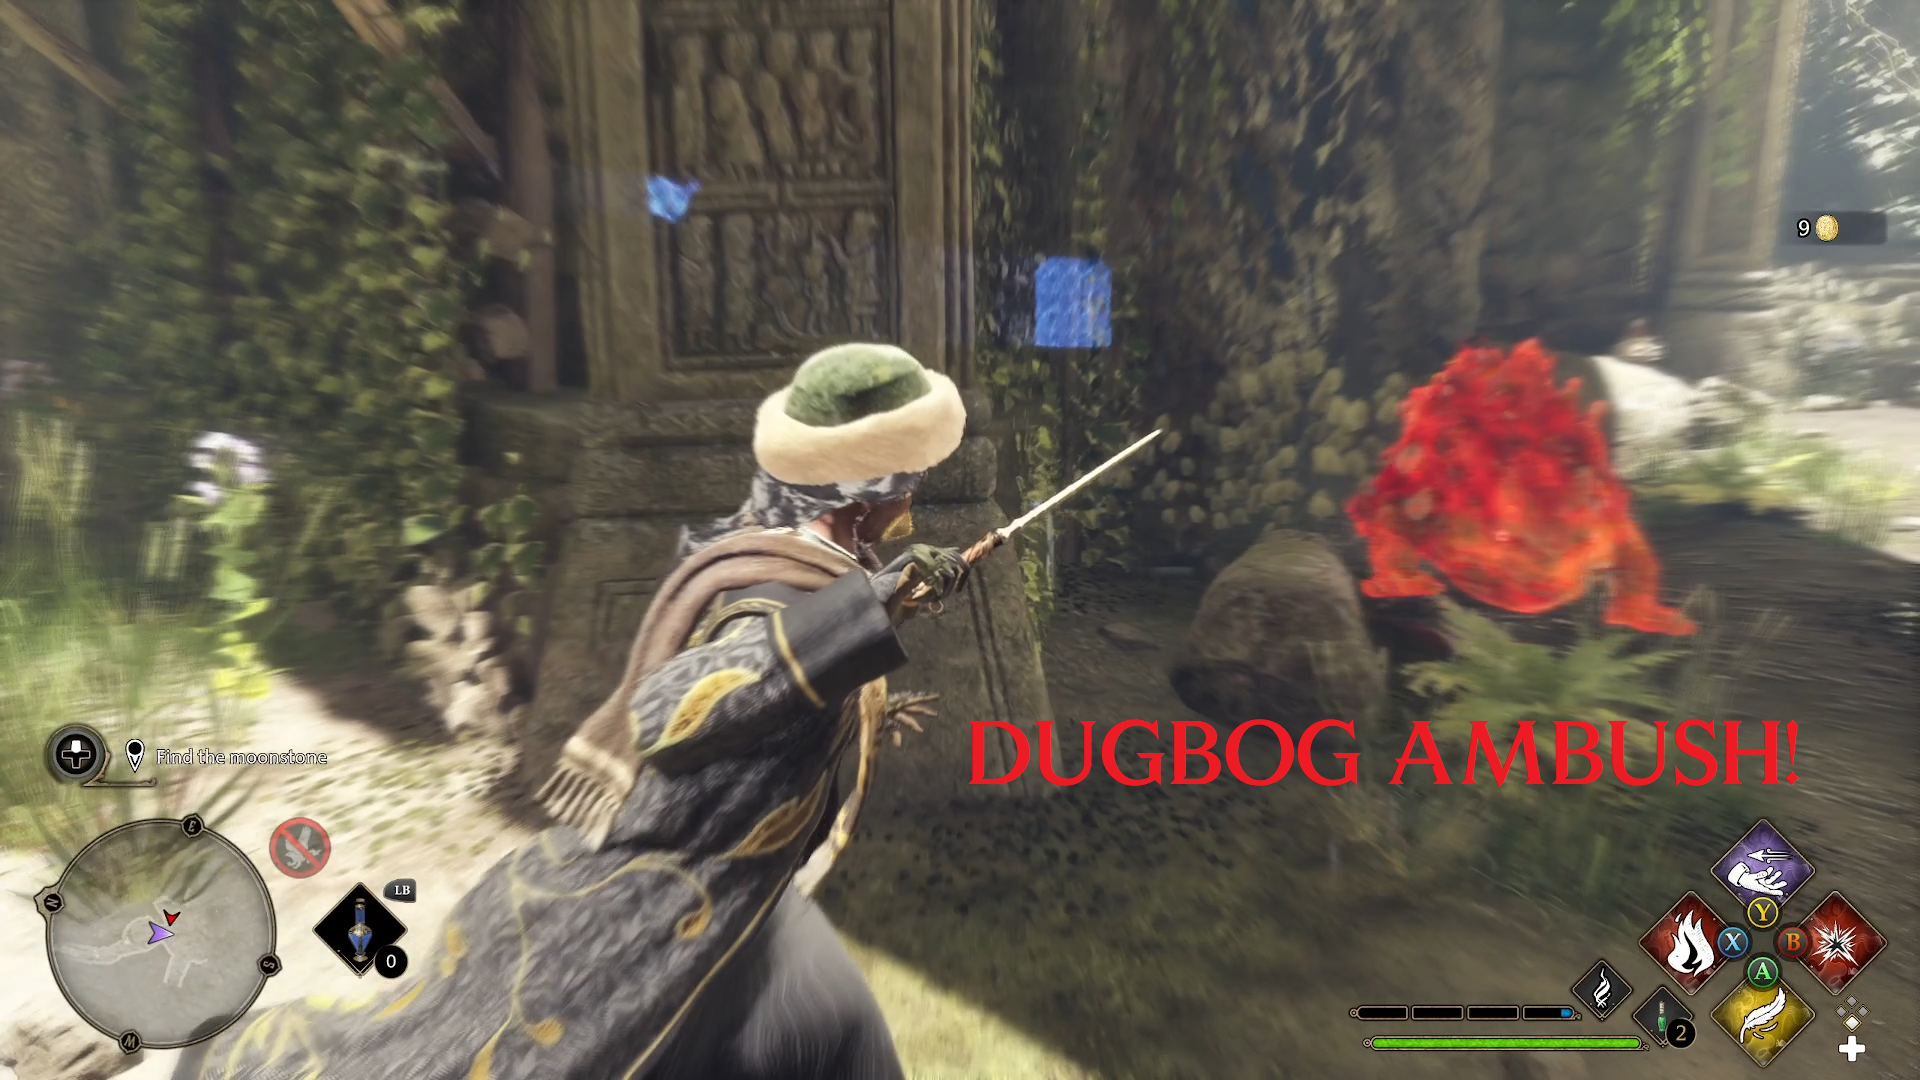
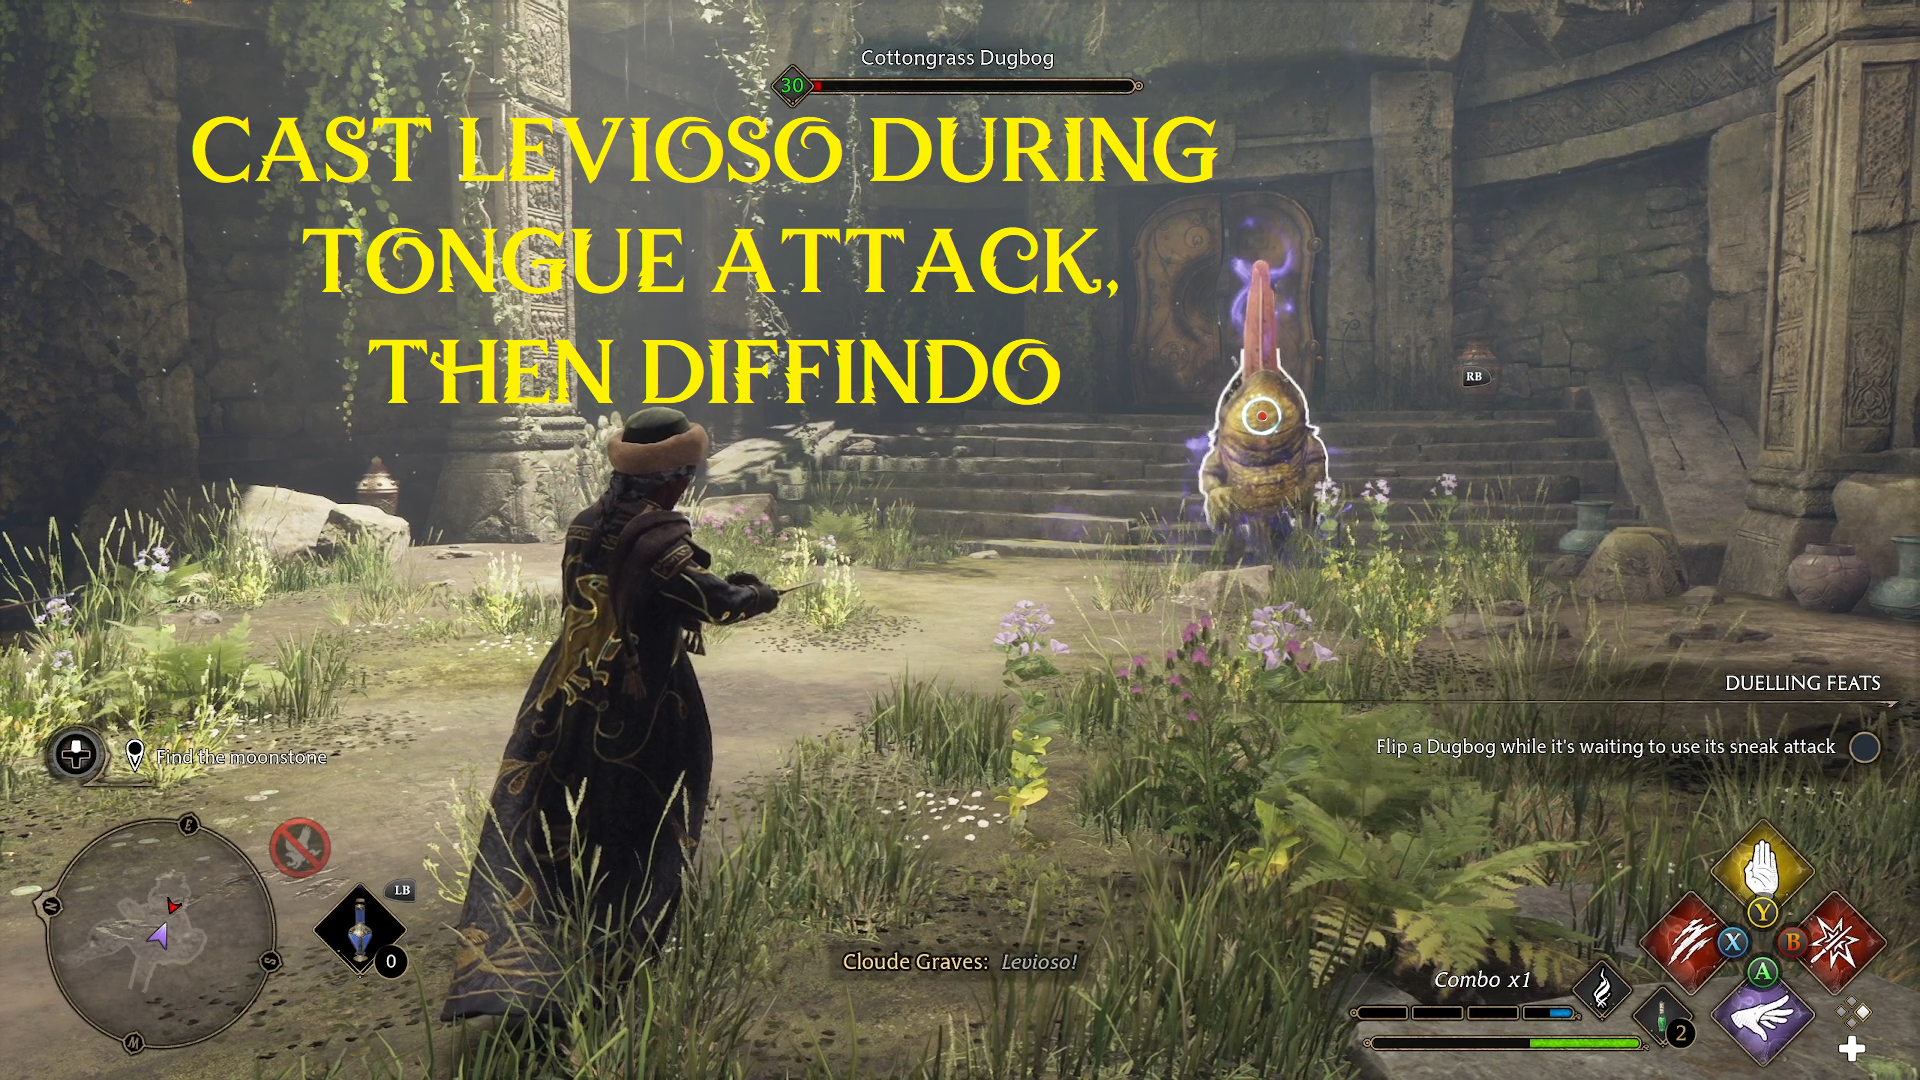
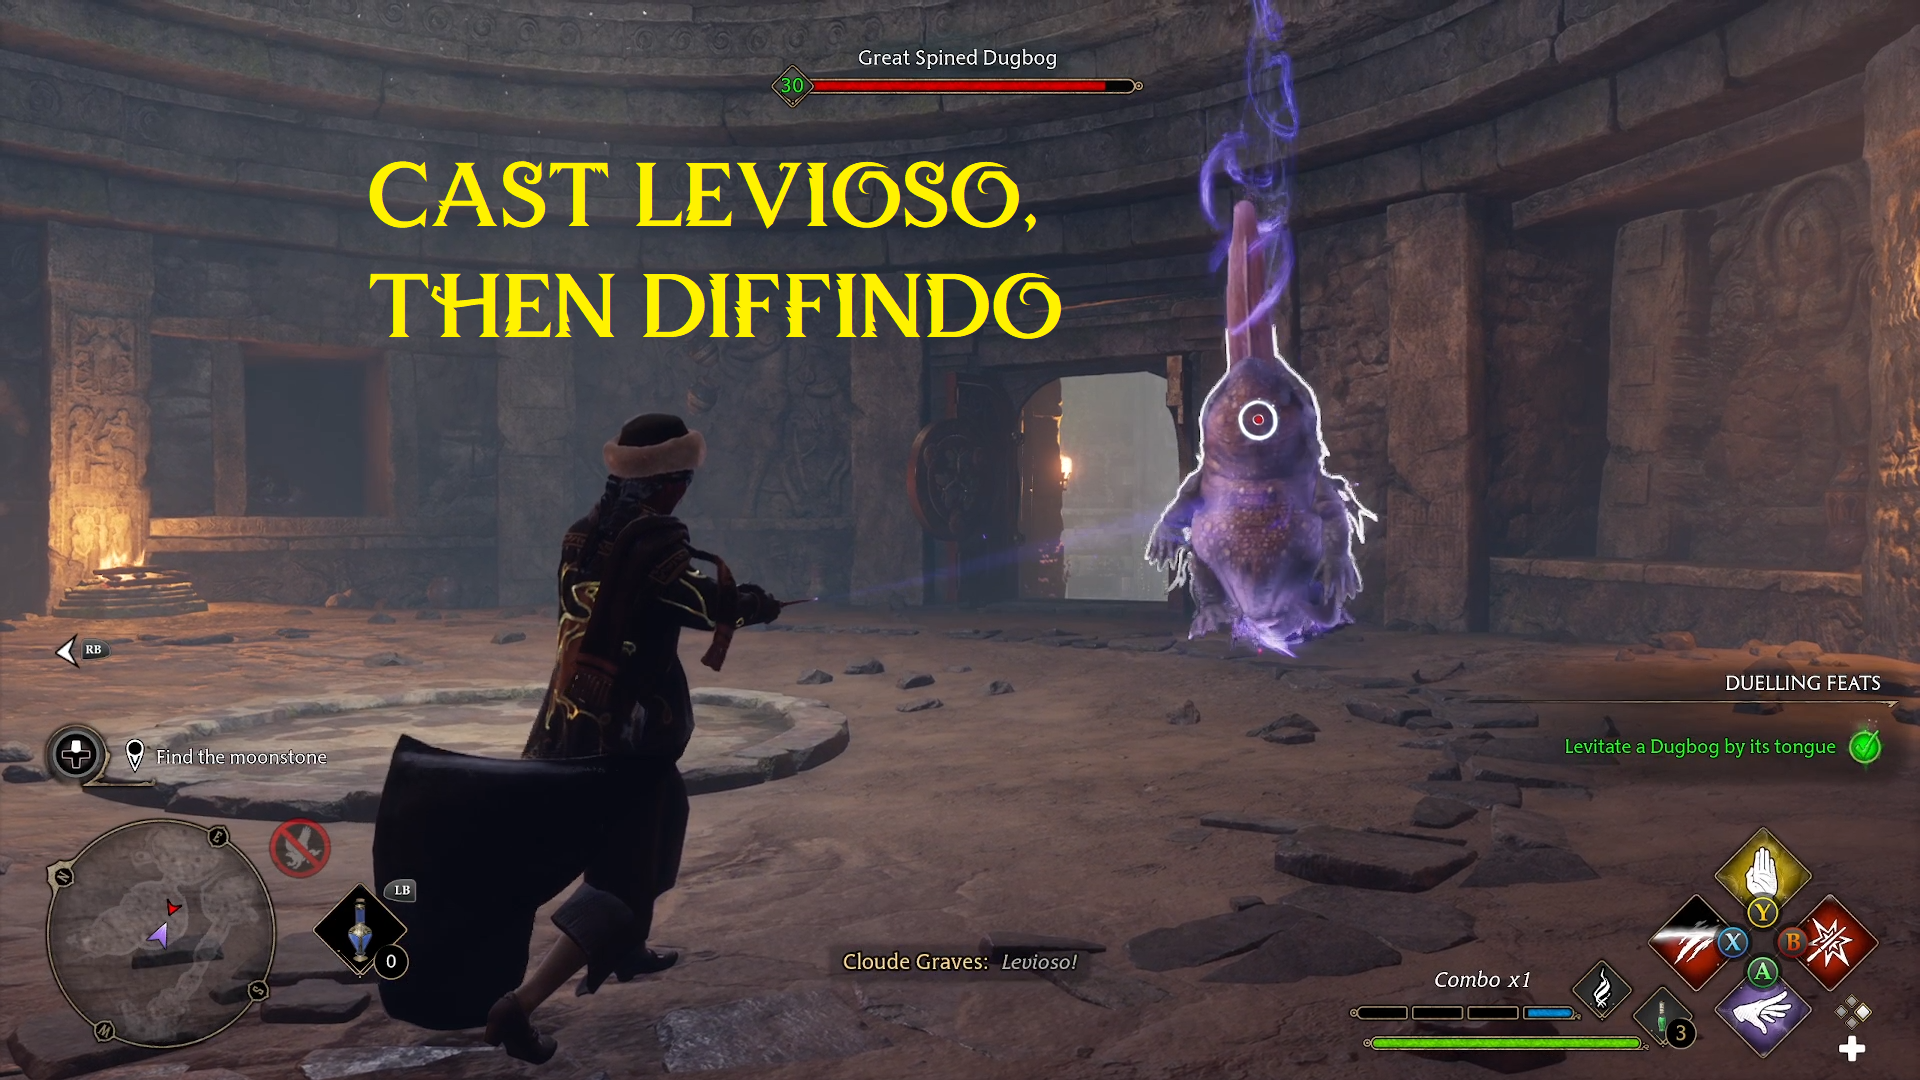
In the next room down the hall, you will soon be ambushed by a Cottongrass Dugbog! Thankfully, Dugbogs have a tendency to telegraph their attacks hugely, giving you plenty of chance to react. When the Dugbog prepares to attack you with its tongue, lolling it out of its mouth, you can cast Levioso on it to lift it up by its tongue, then Diffindo to slice it and deal massive damage.
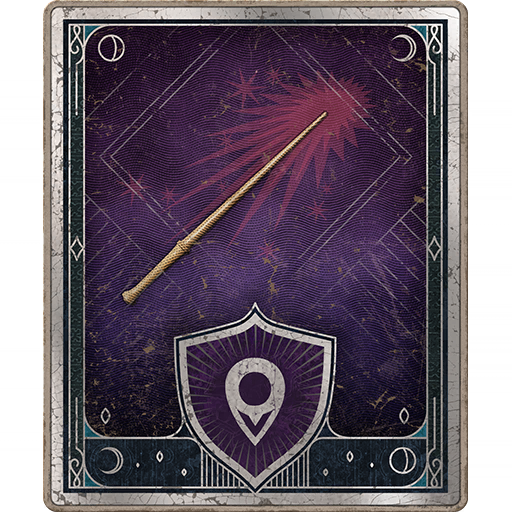
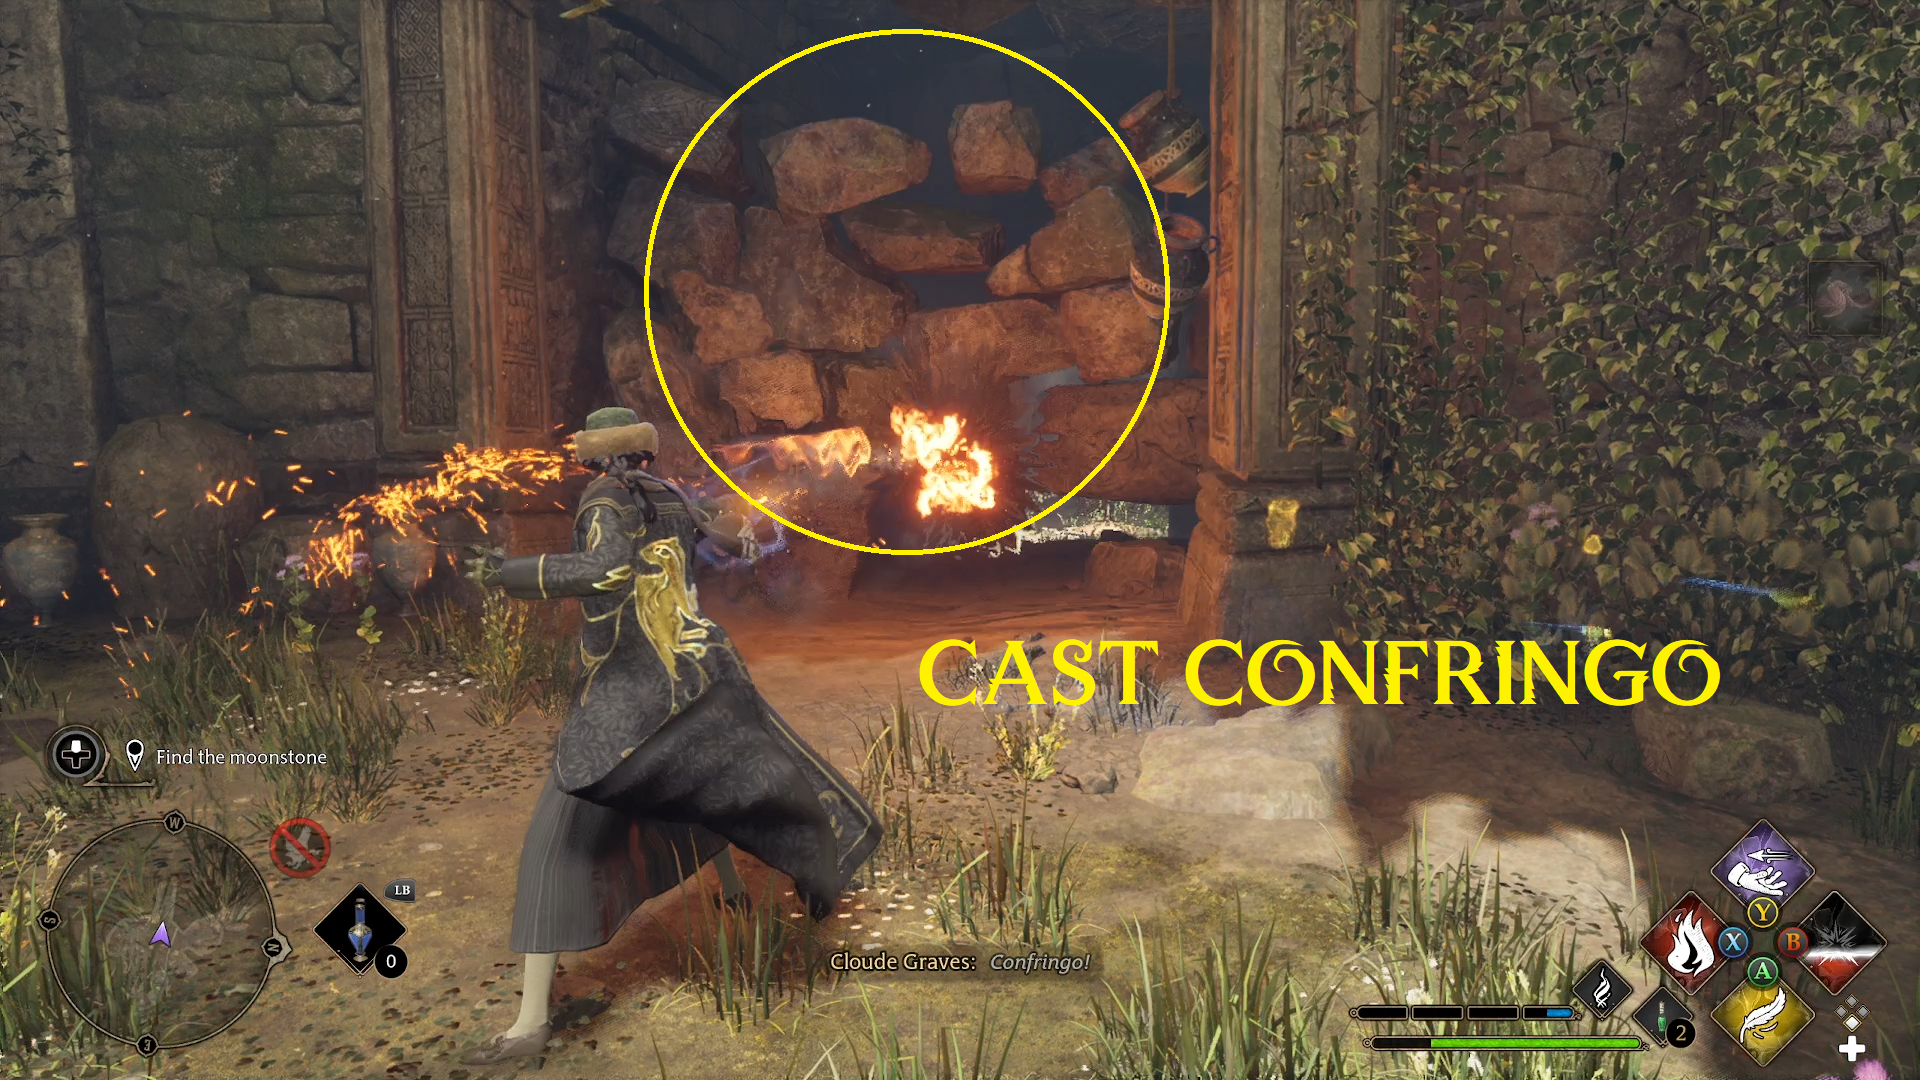
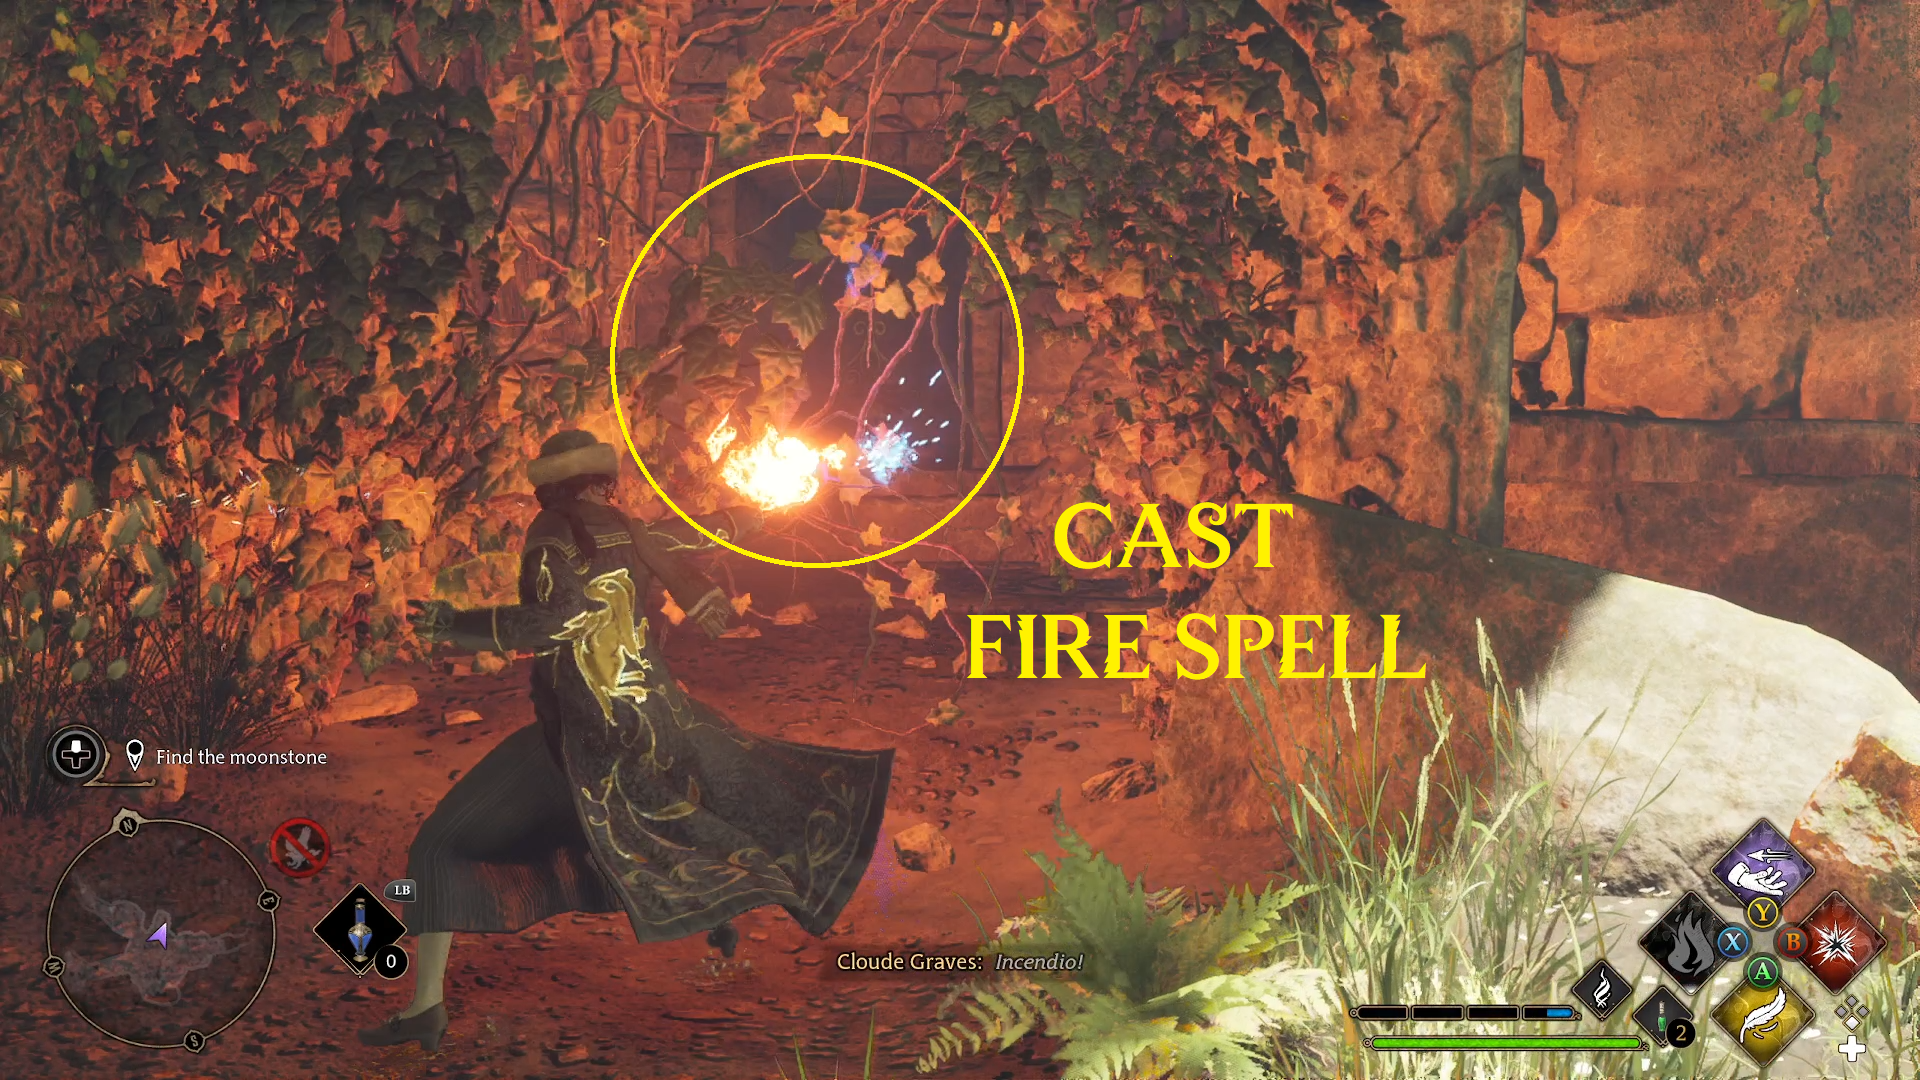
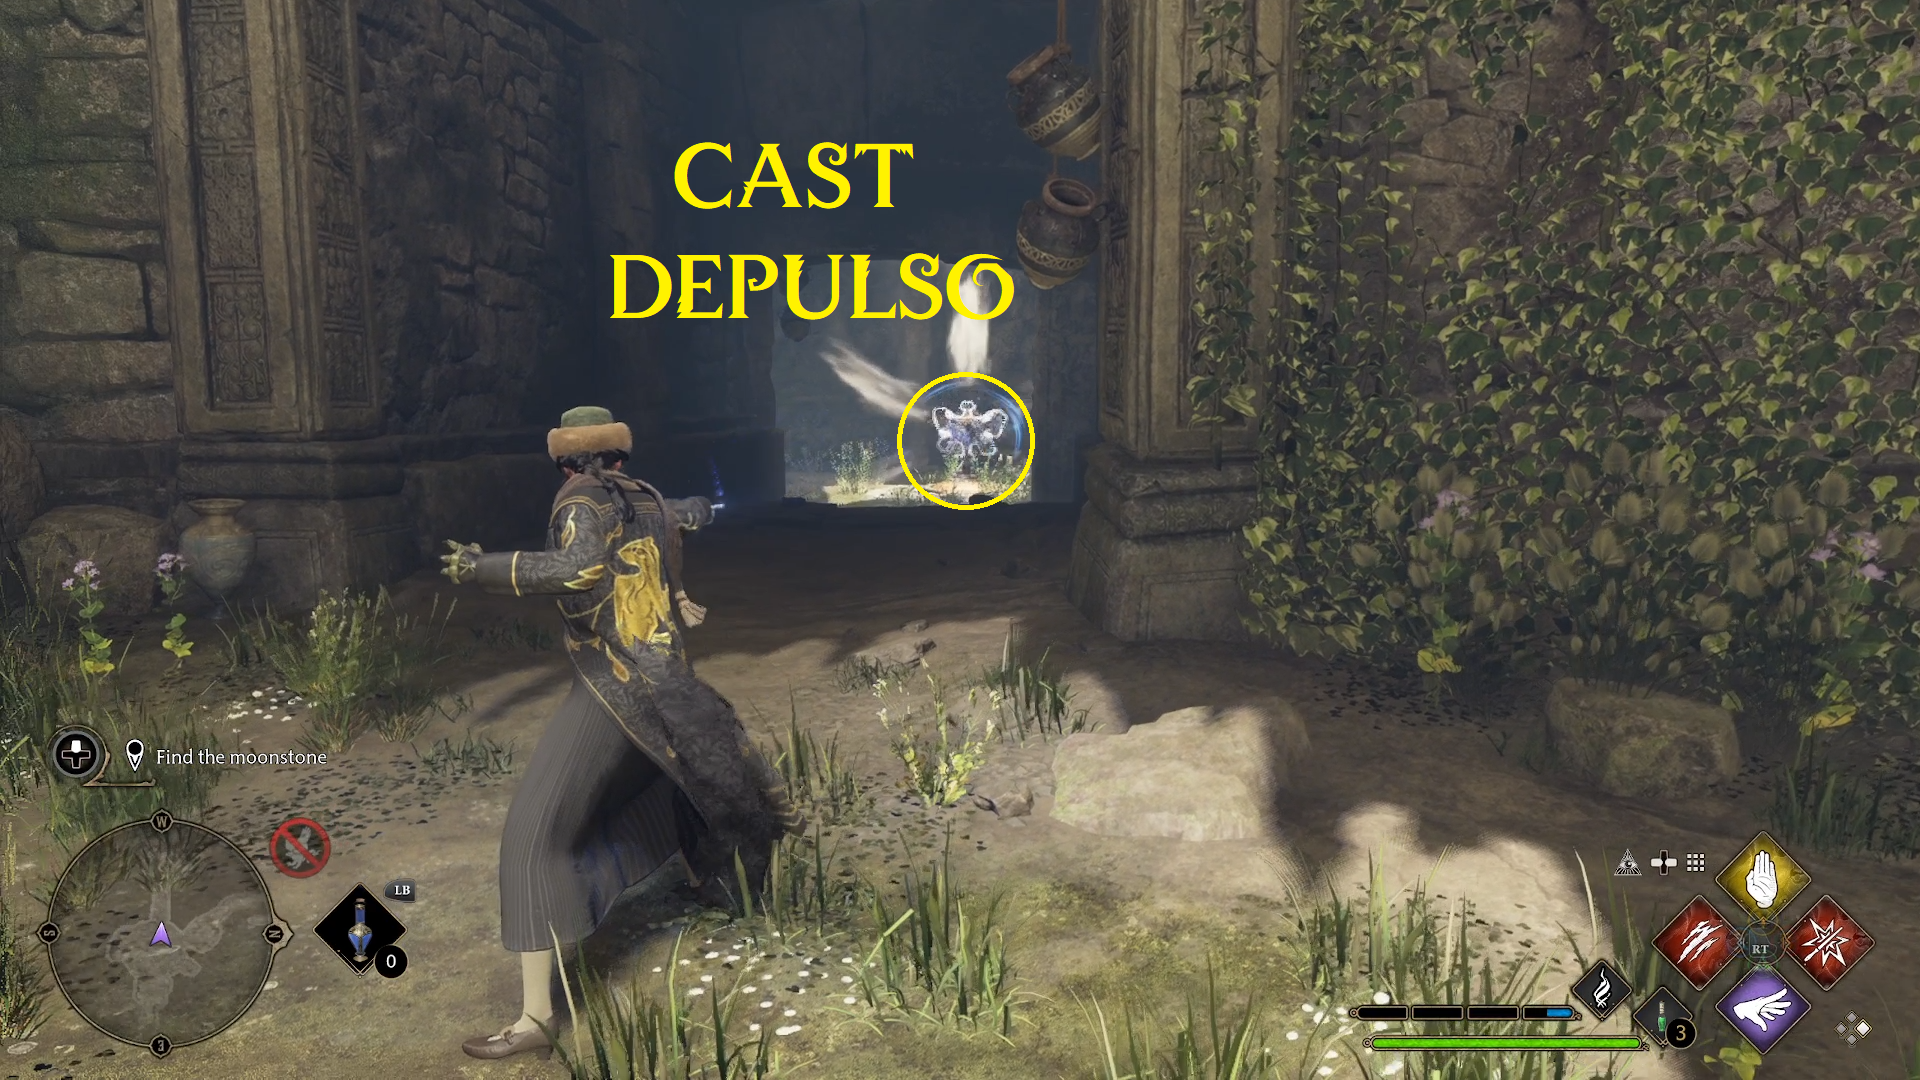
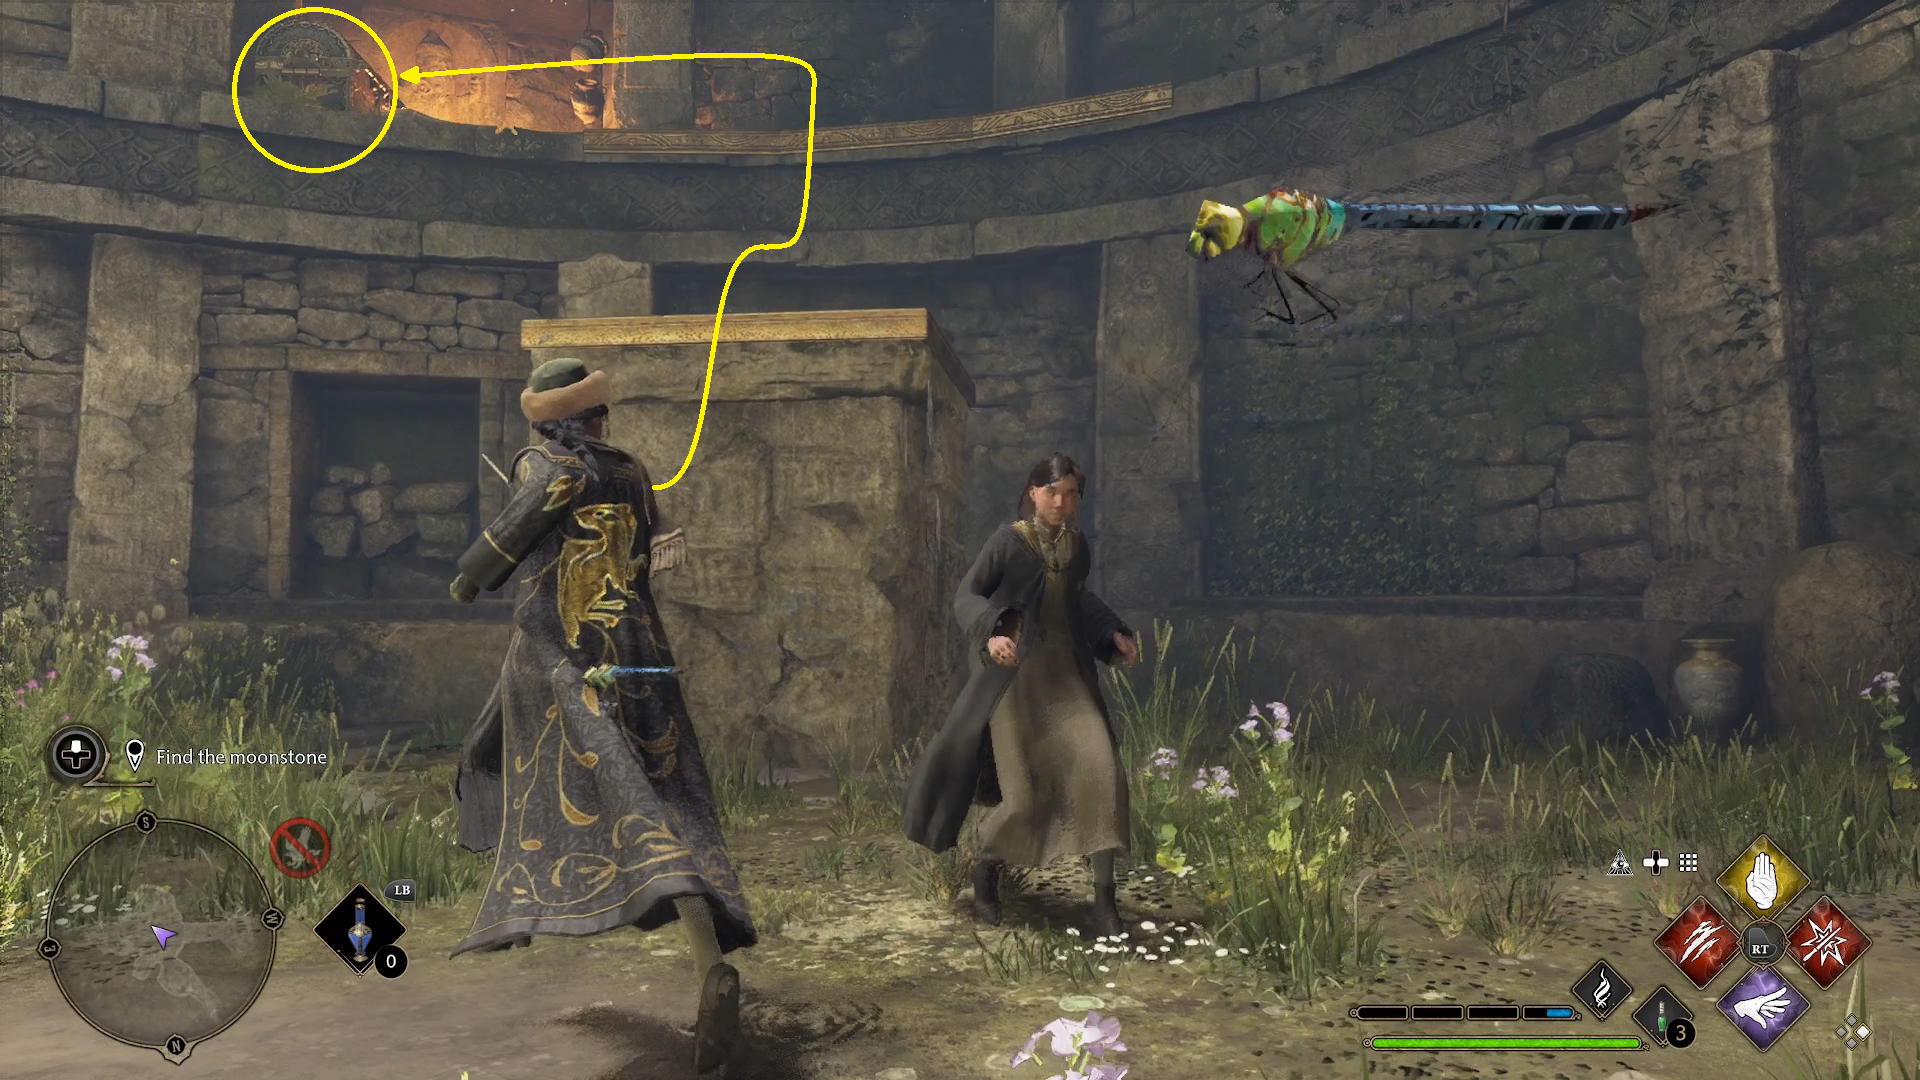
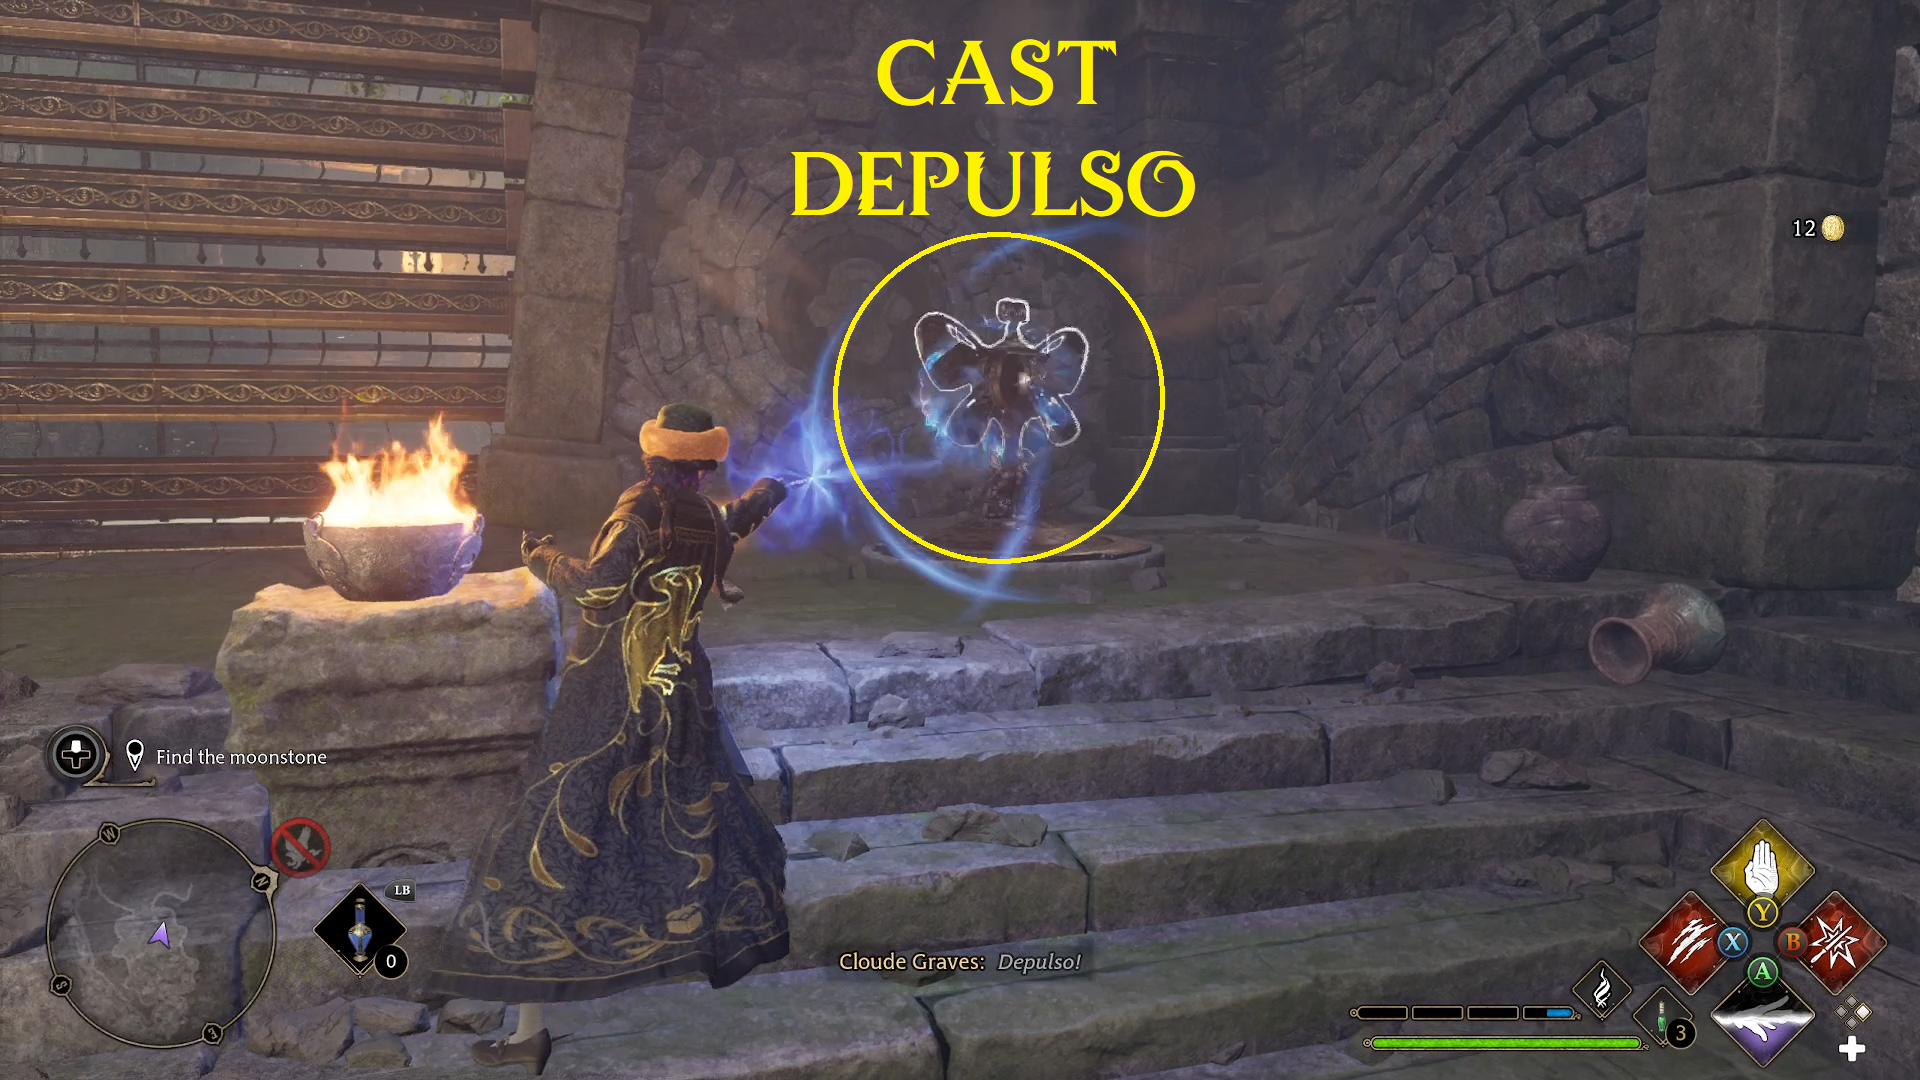
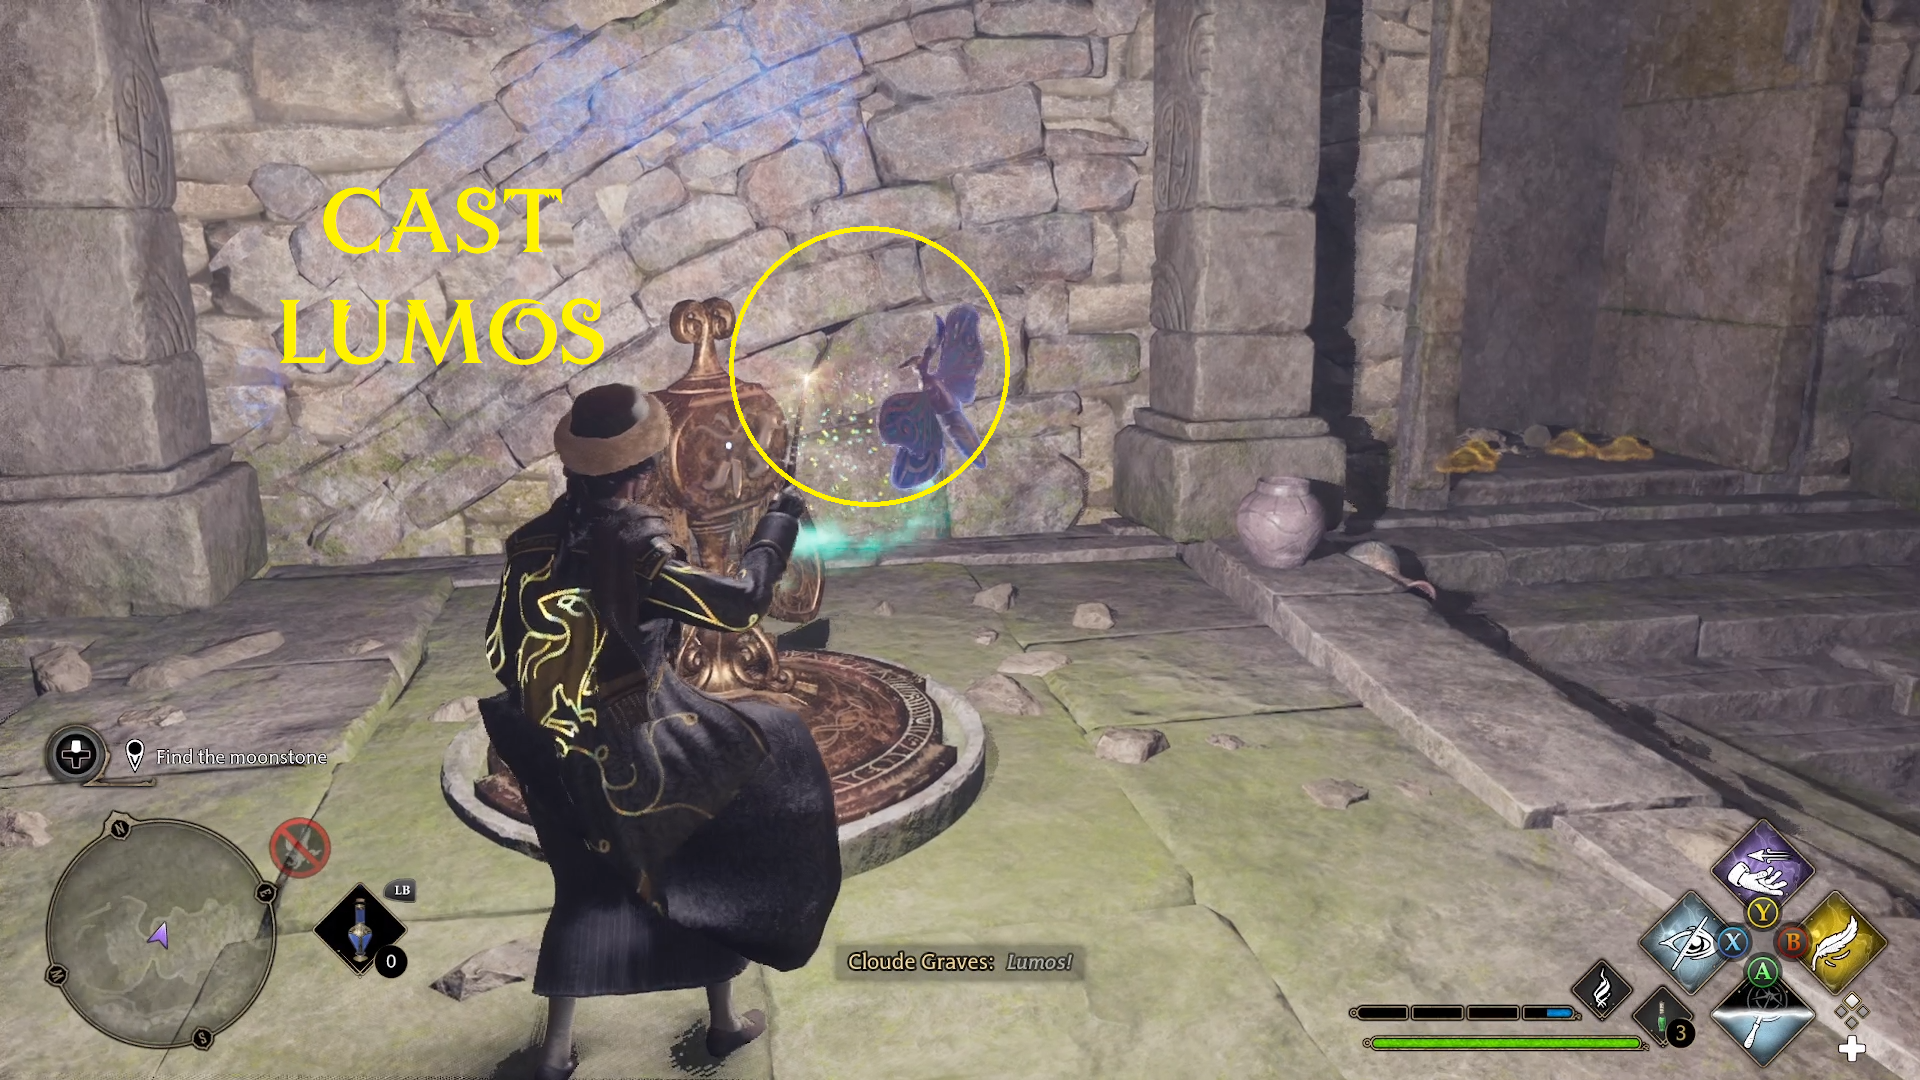
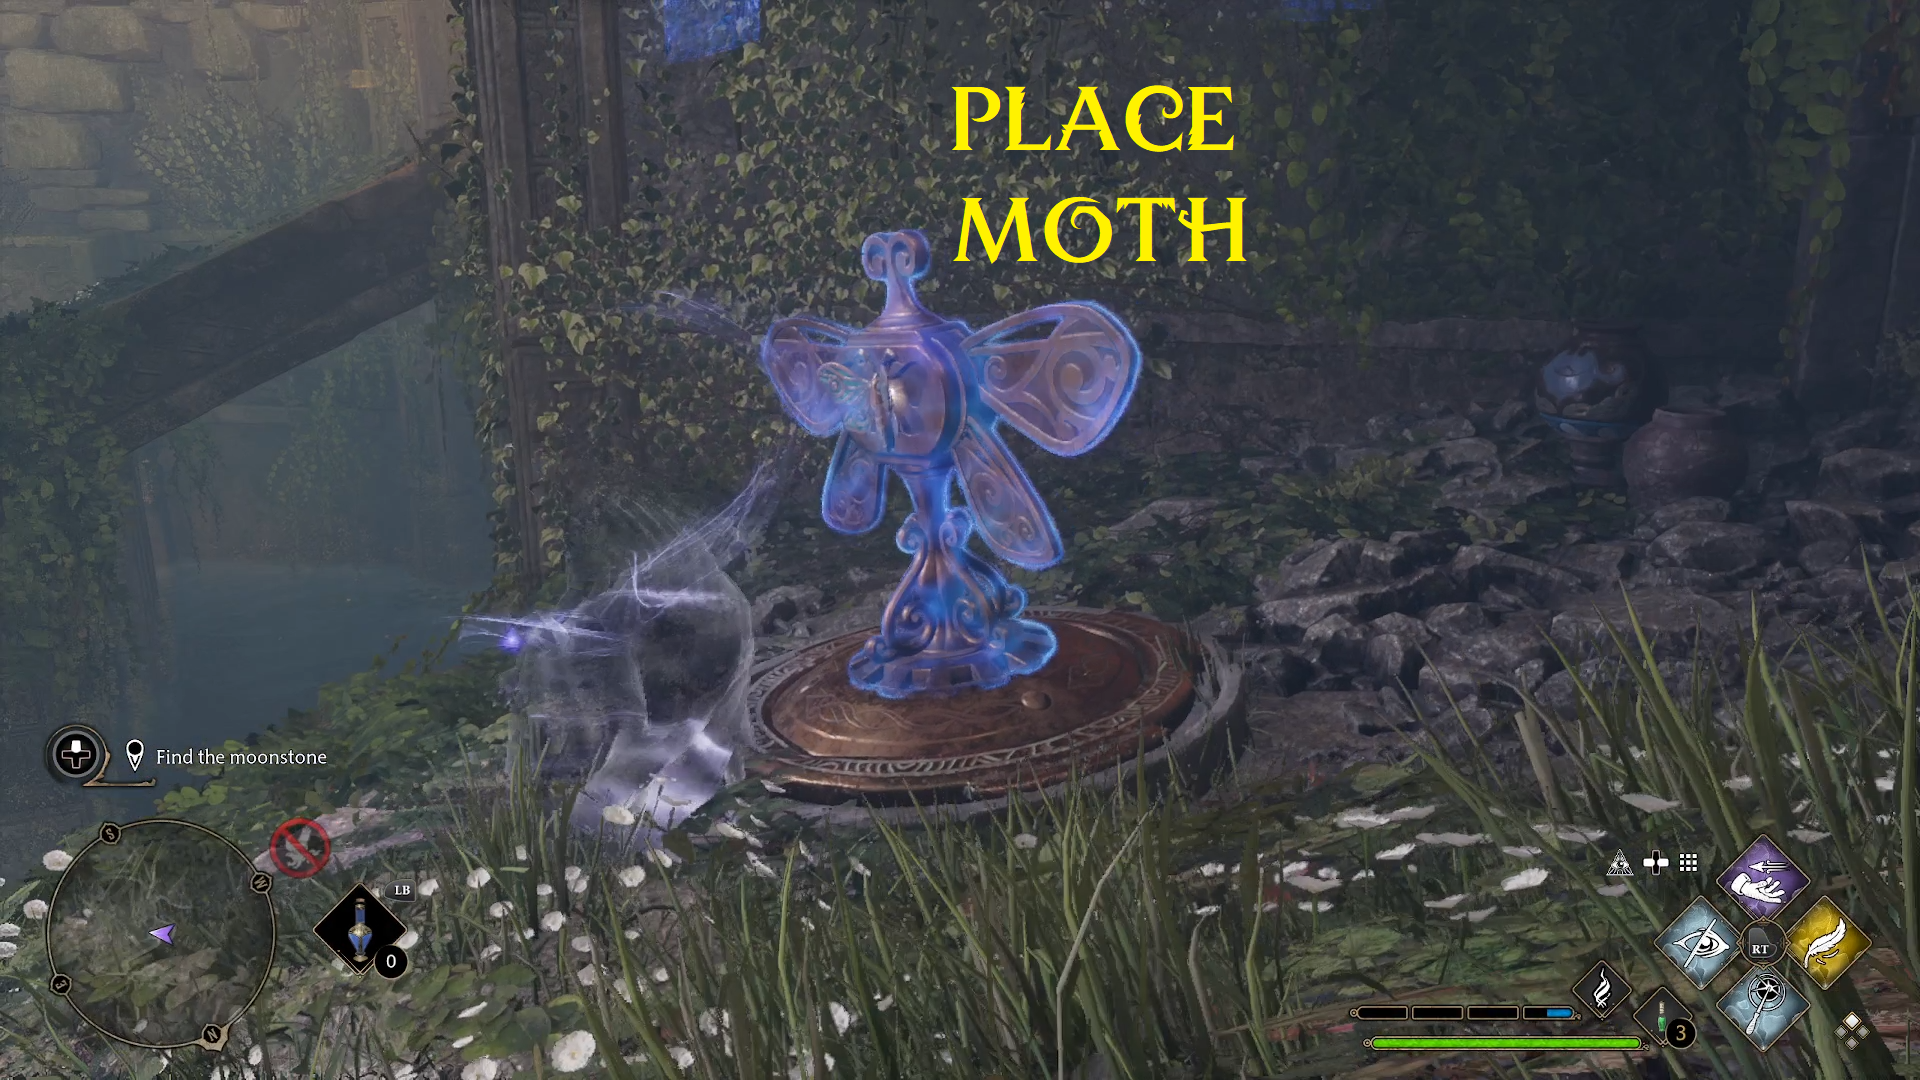
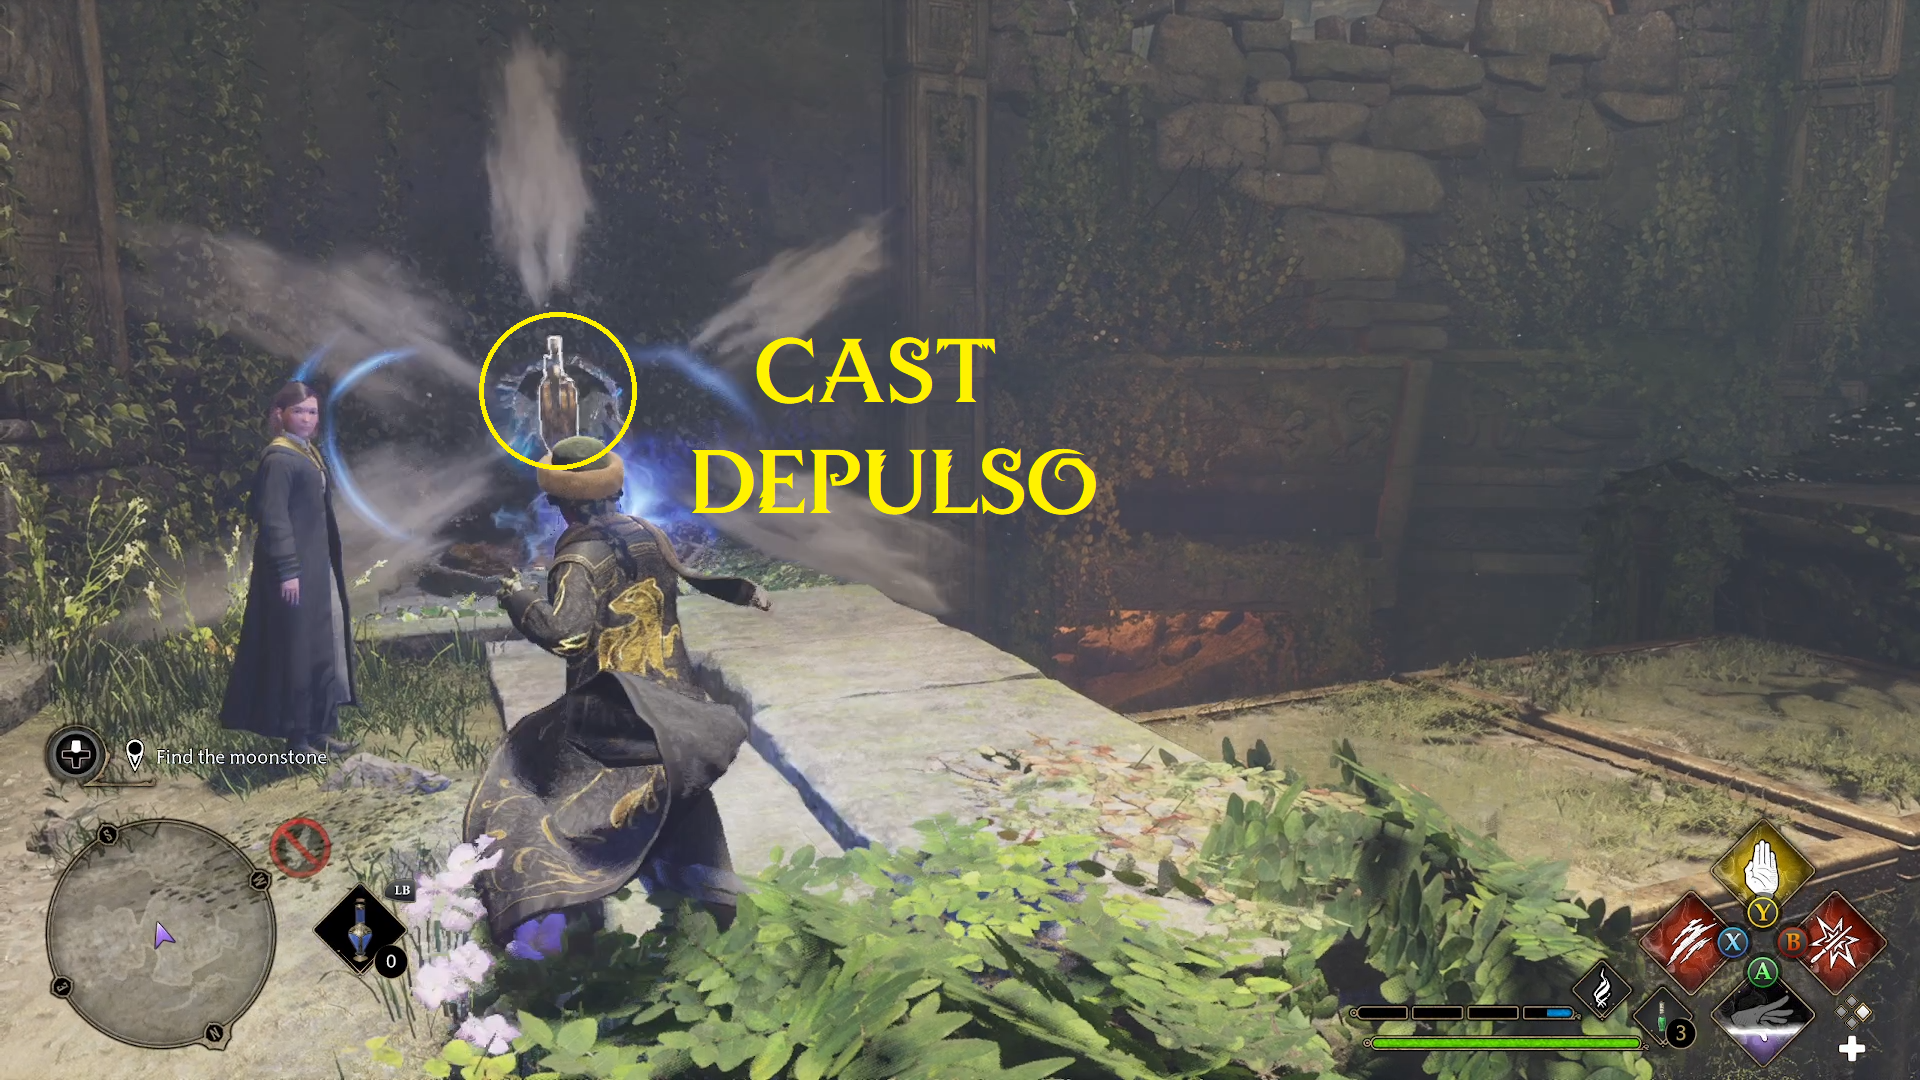
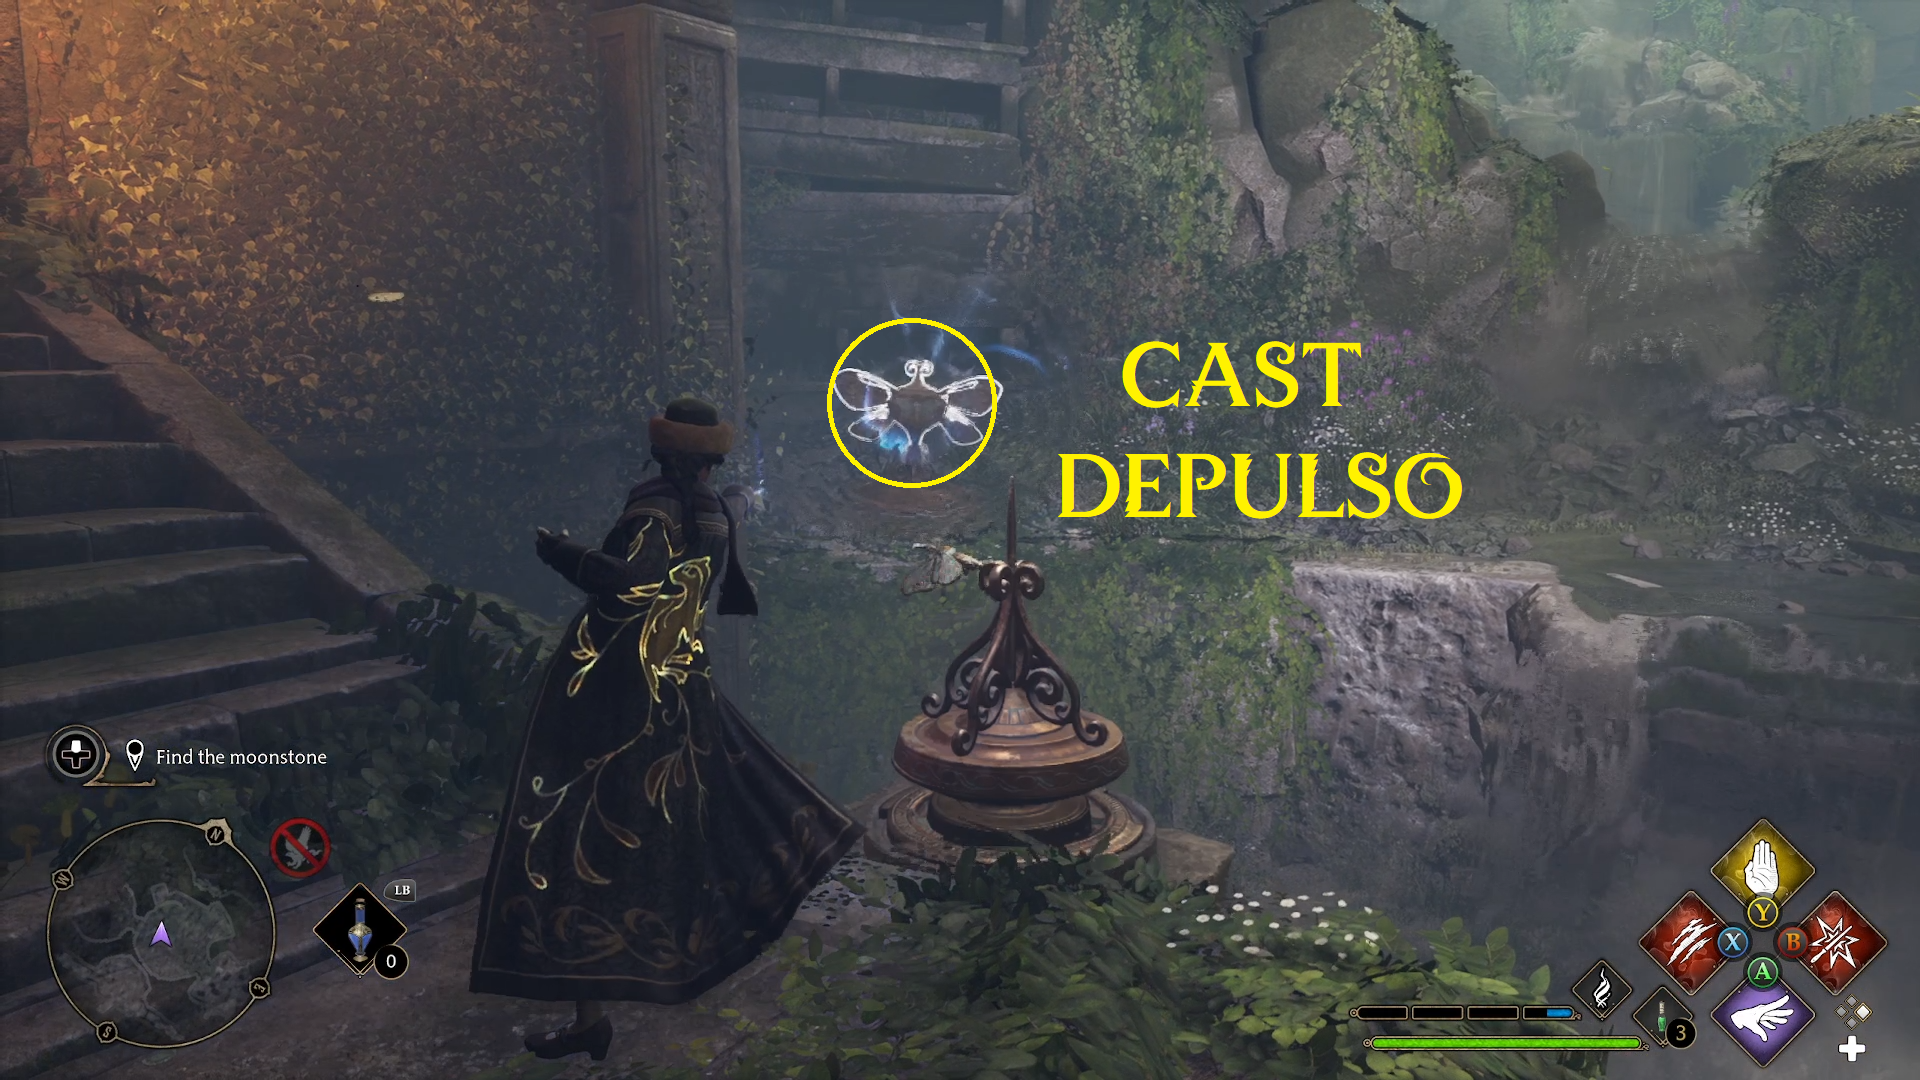
After taking out the Dugbog, you can progress directly on, but in order to get the Legendary Chest sitting on the ledge above the room, you’ll need to complete a simple puzzle. First, cast Confringo on the pile of rocks blocking a hallway (1), then cast a fire spell (Incendio, Confringo, or Bombarda) on the vines opposite it to reveal a moth (2). Cast Lumos near the moth (3) and then bring it down the hallway and to the moth spinner (4). Then, run back to the main room and, shooting down the hallway, continuously cast Depulso until the spinner stops spinning (5). Finally, jump on the raised platform that leads to the Legendary Chest, then up to the chest itself (6).
123456
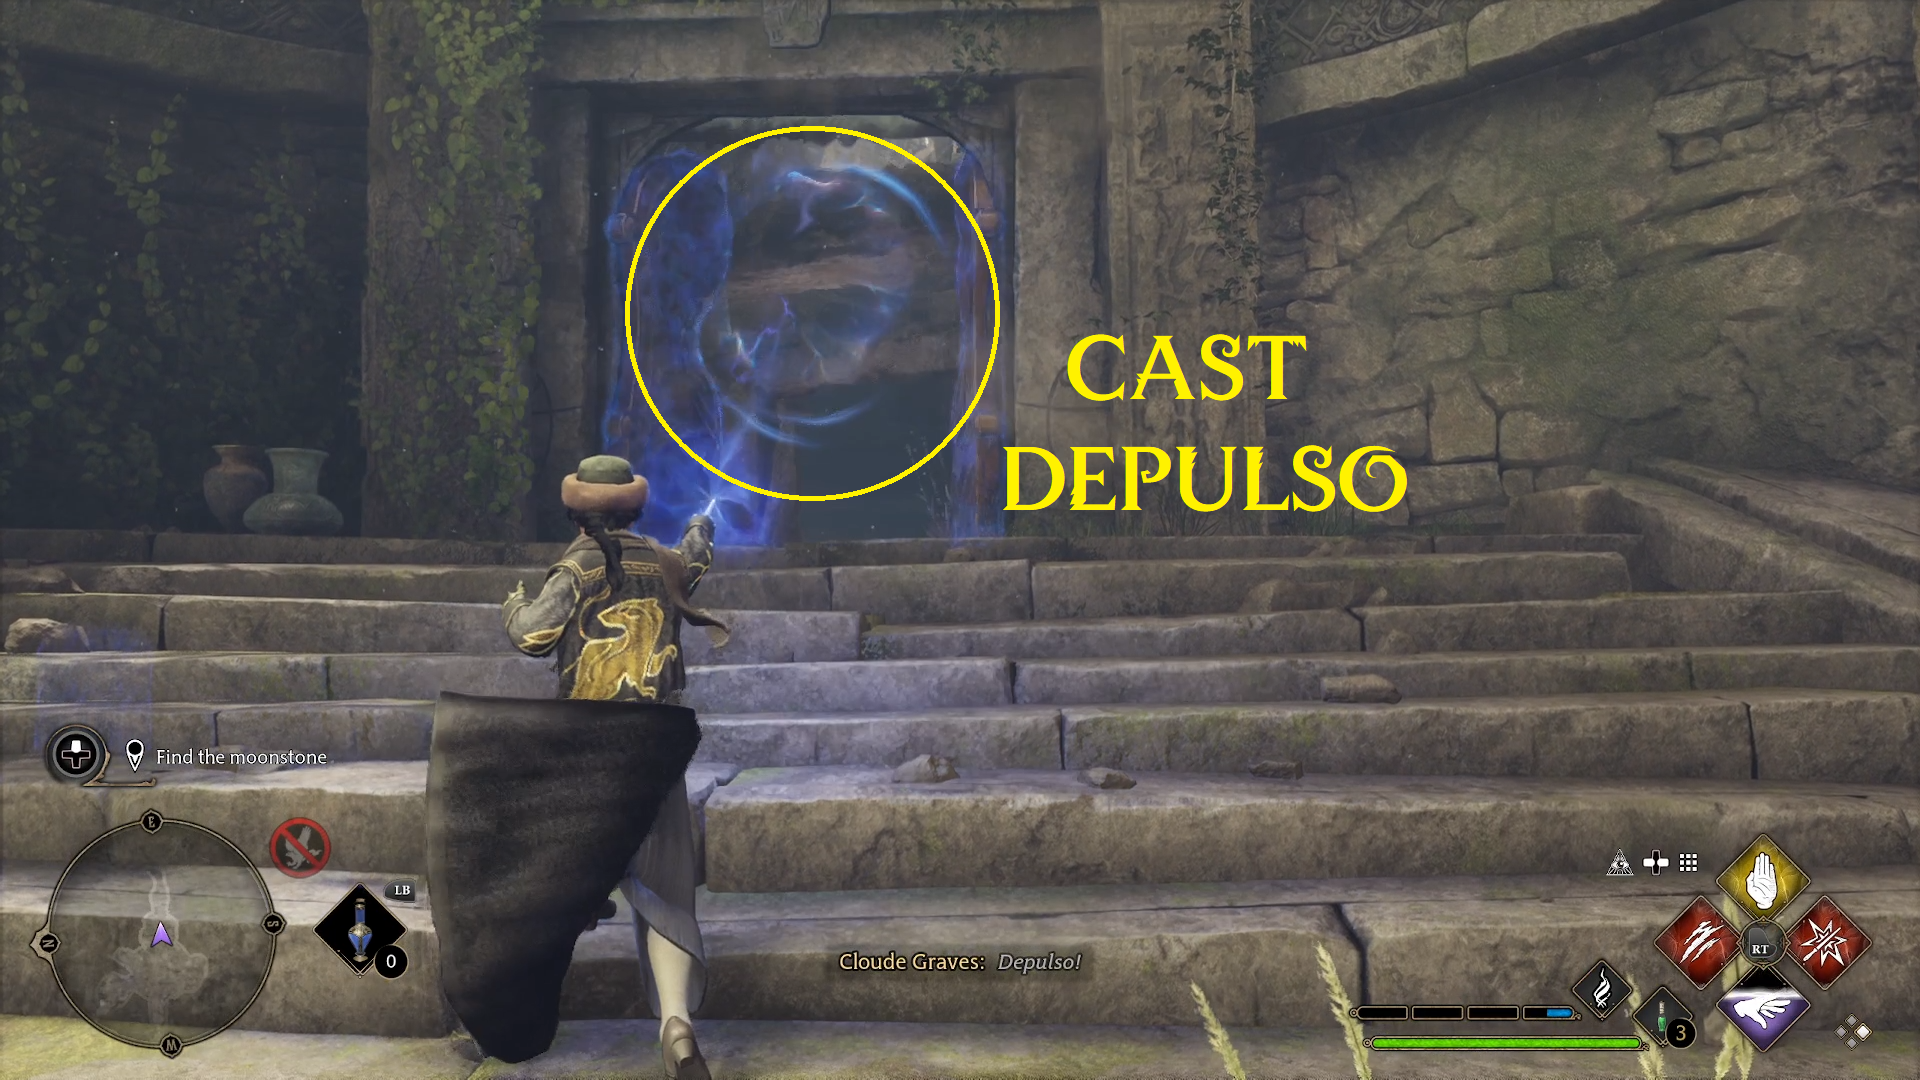
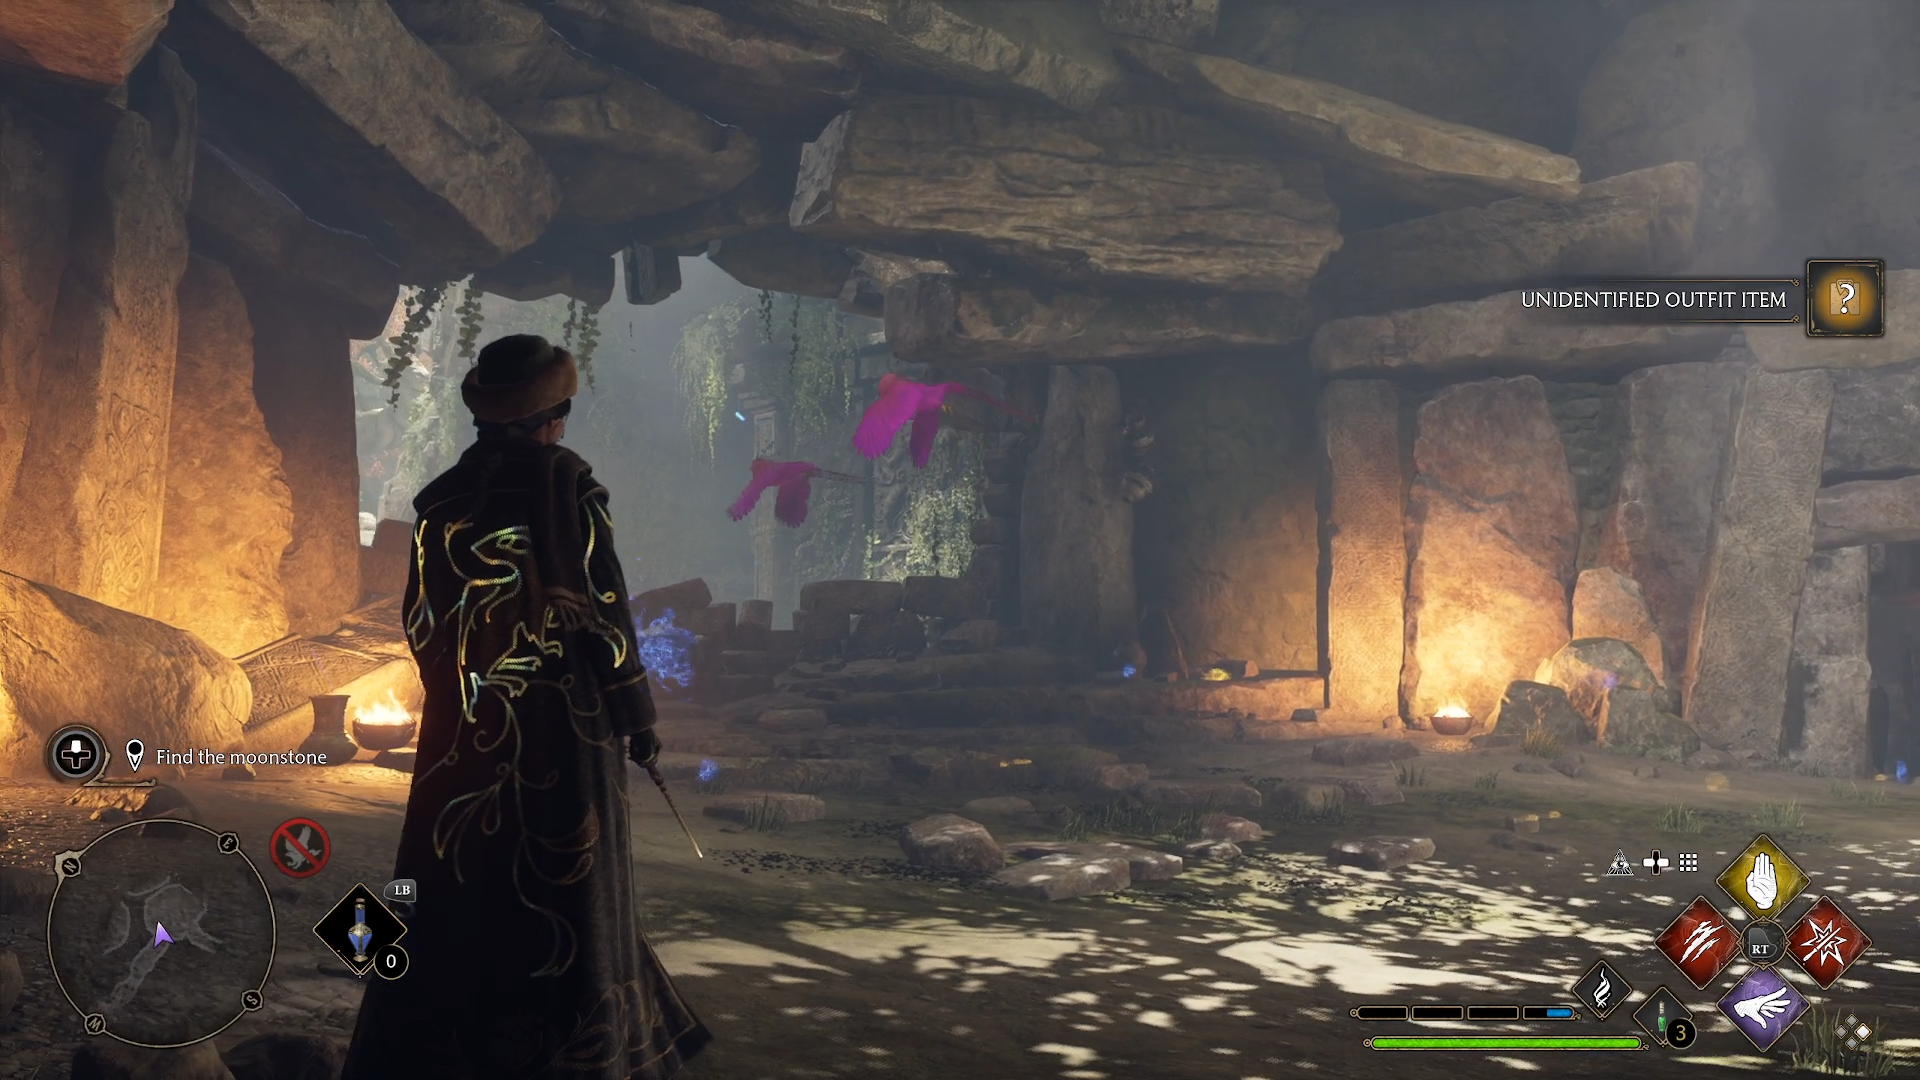
After you grab the chest, you can cast Depulso on the door to the room and continue on, stopping to admire some Fwoopers as they fly in front of you.
In the next room, there will be 4 handles that you can use Accio on to reveal alcoves, each containing a small amount of loot.
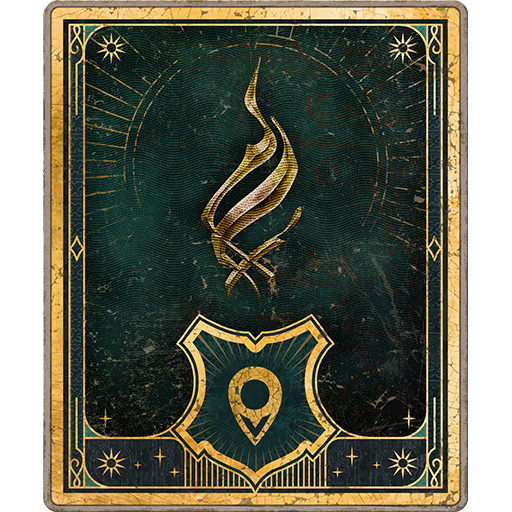
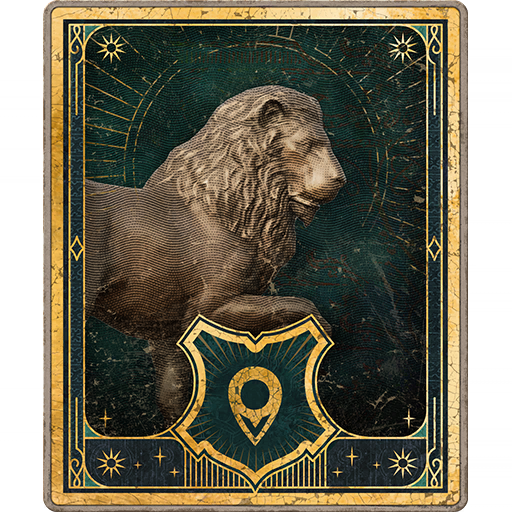
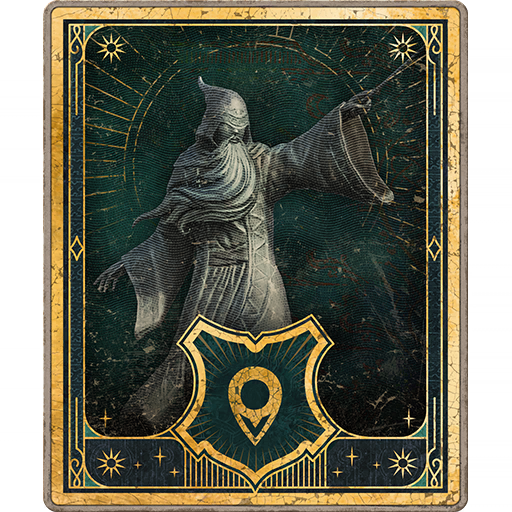
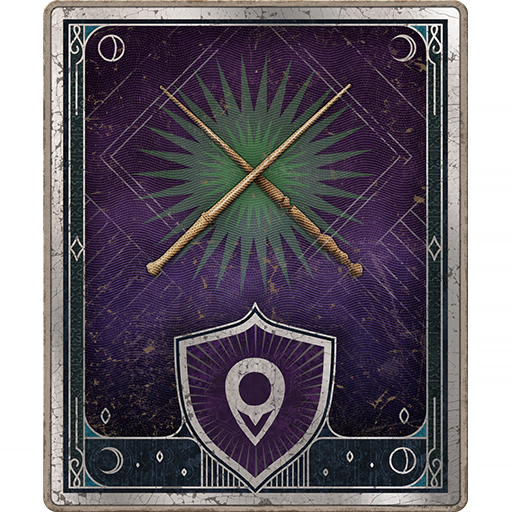
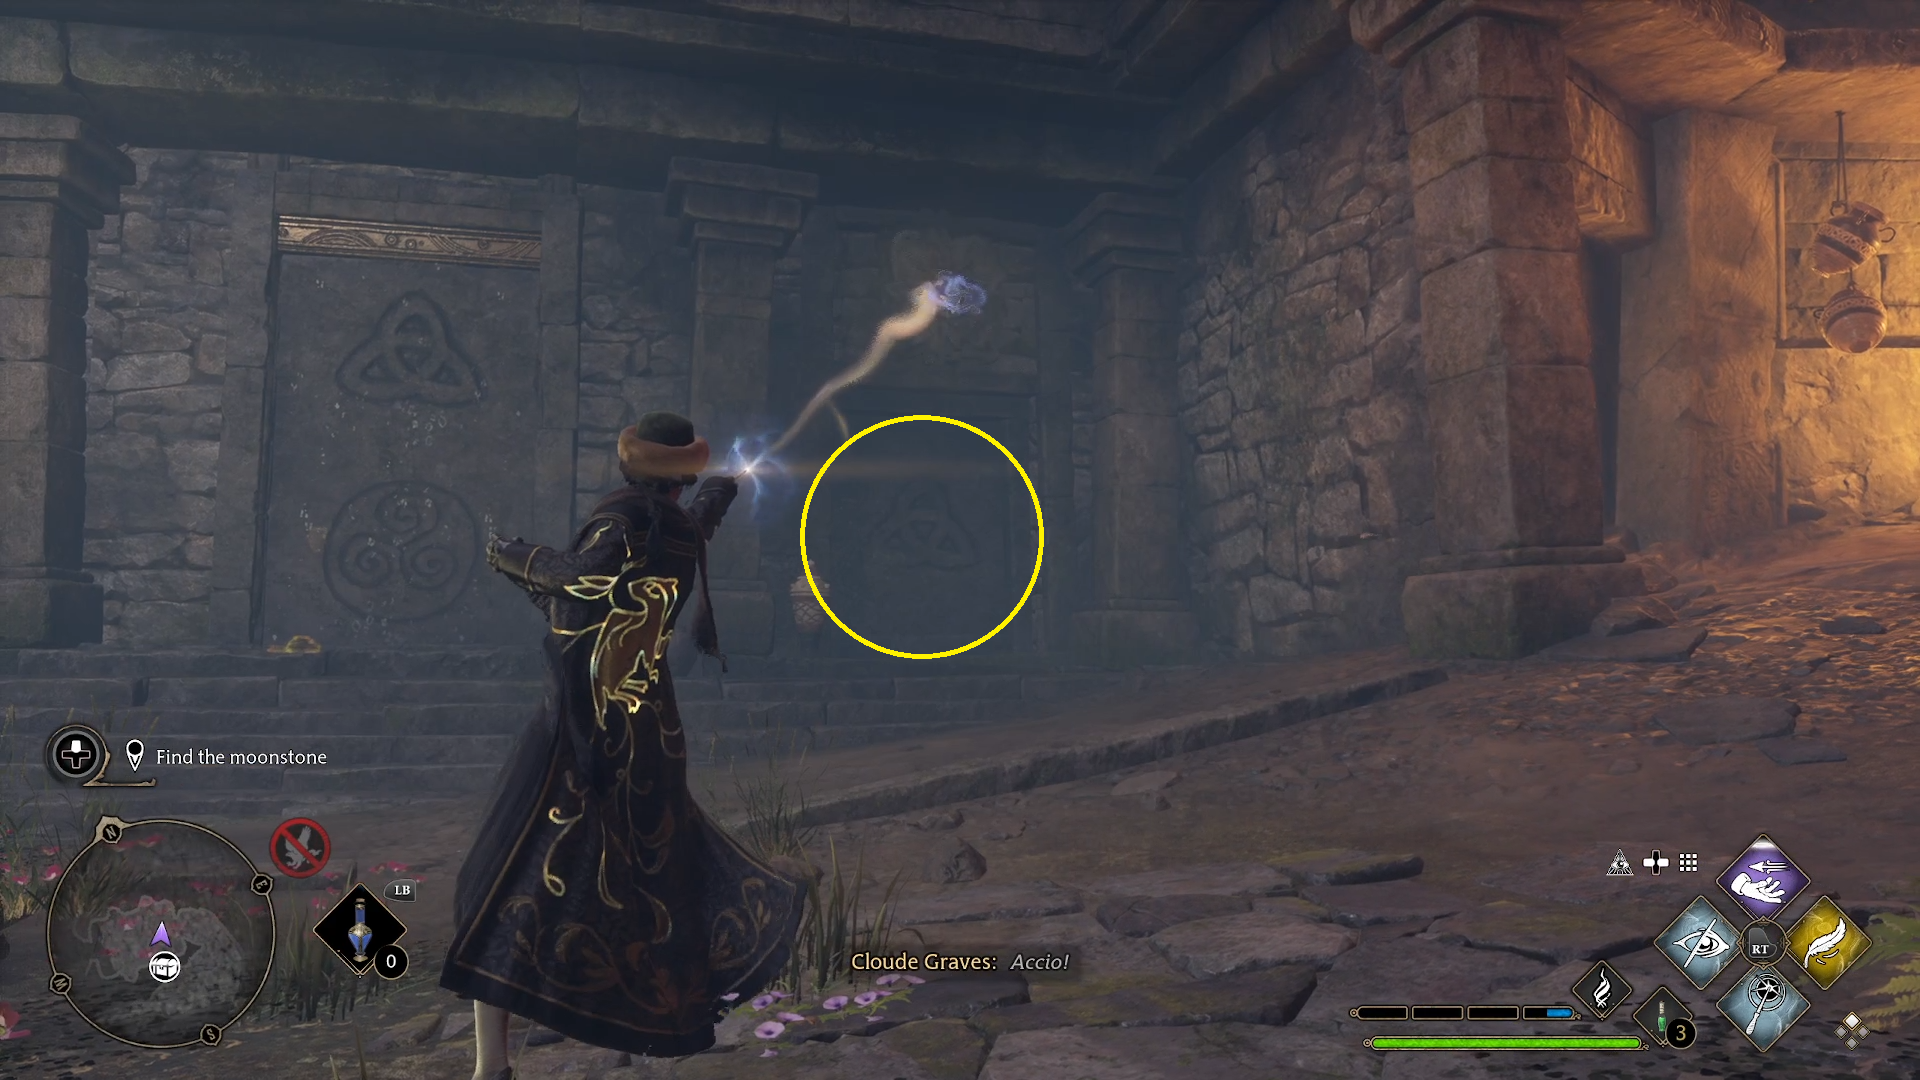
Next, you’ll be faced with an interesting puzzle, which will require you to use Accio to pull the correct handles to open various stone doors. While this may at first seem intimidating, it is actually fairly simple.
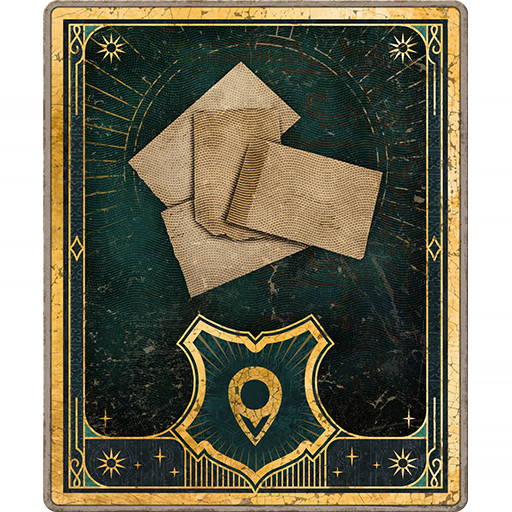
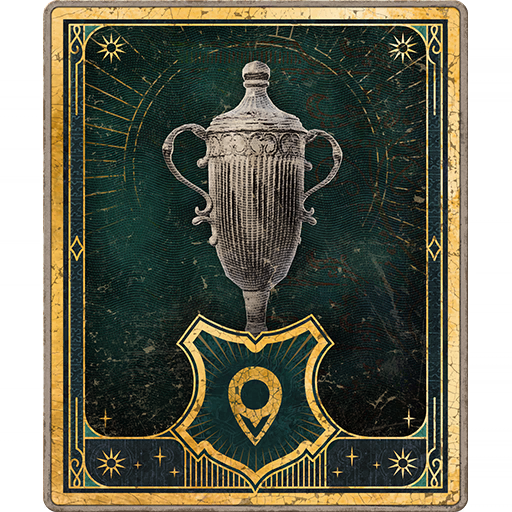
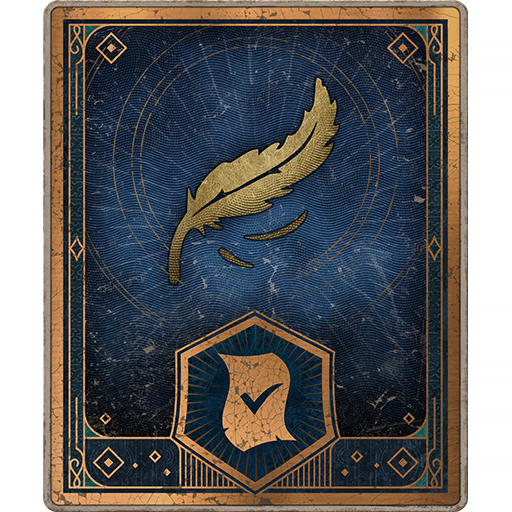
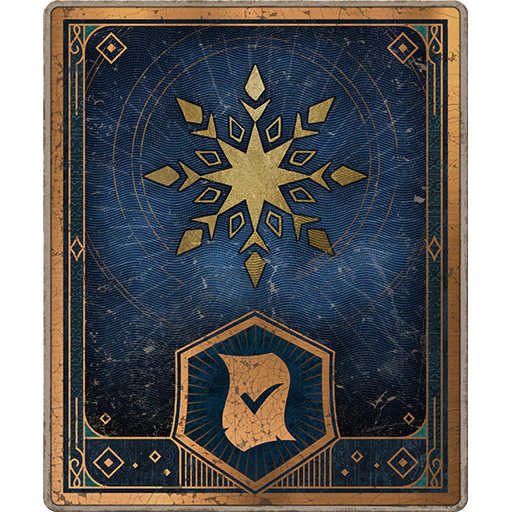
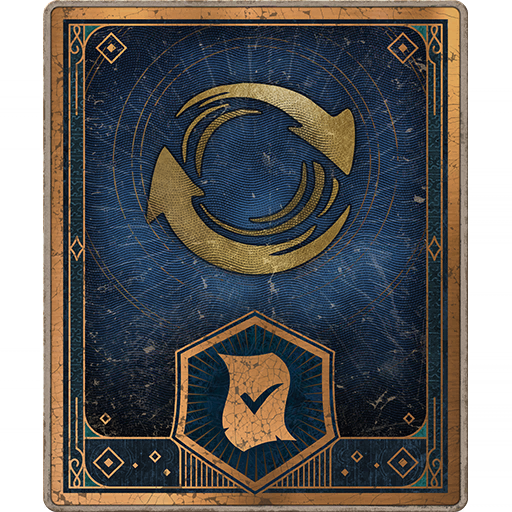
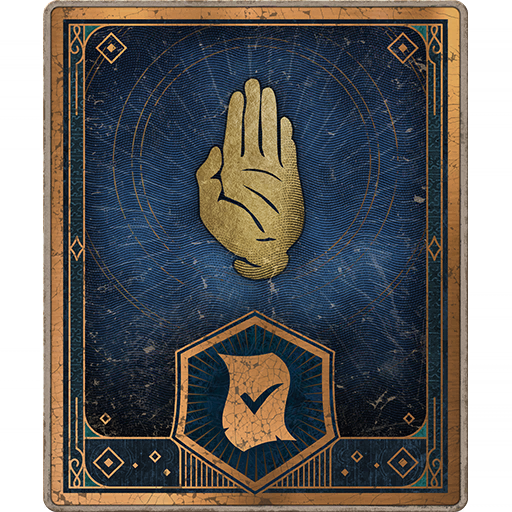
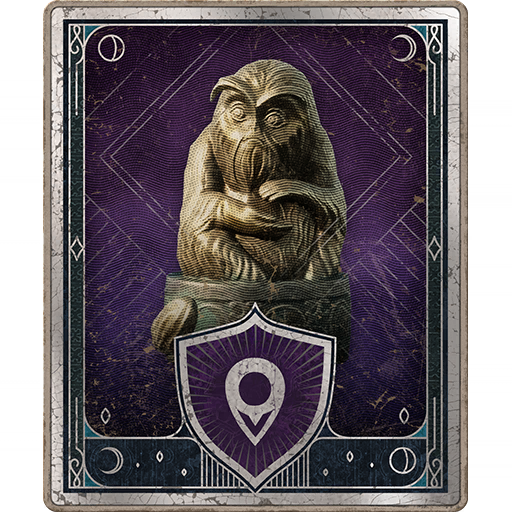
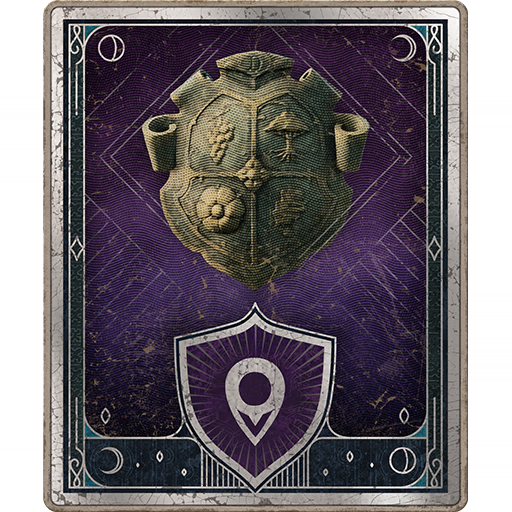
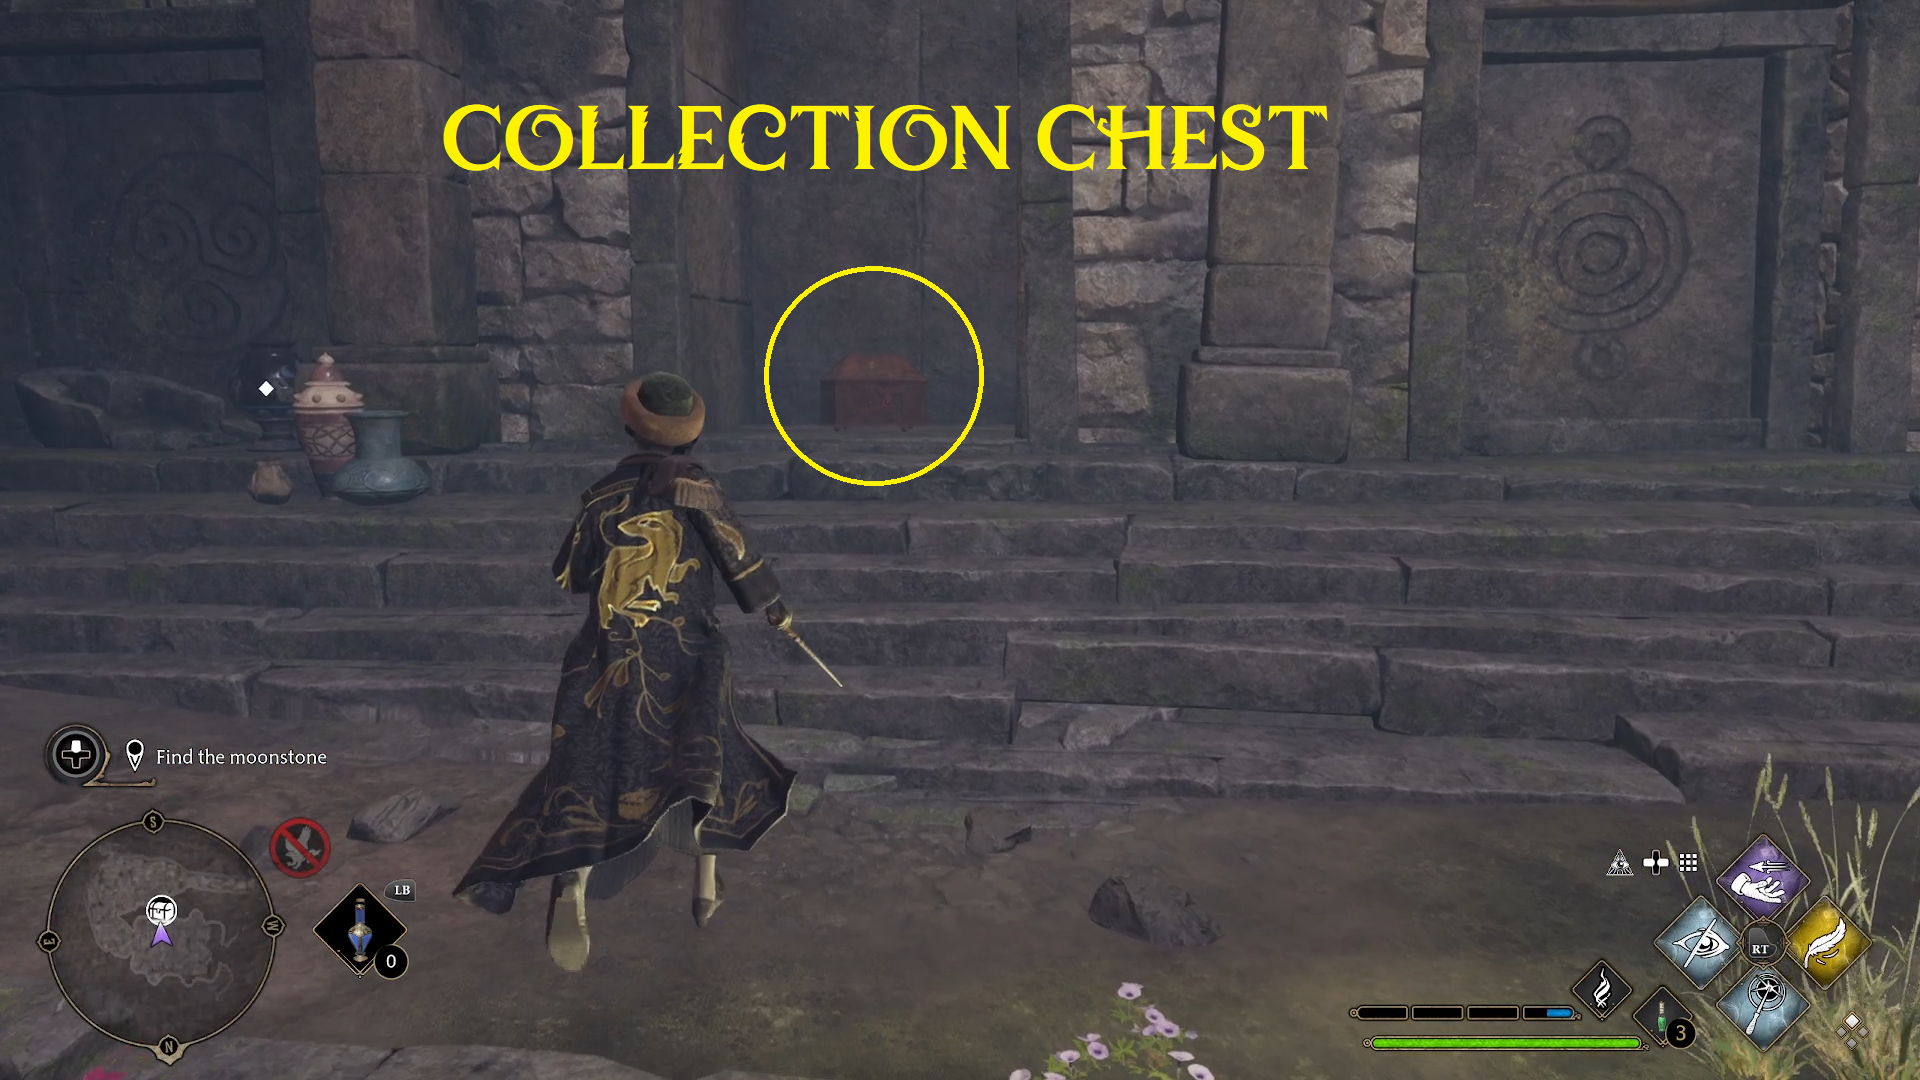
Each handle is located above a stone etching of a symbol, and each door has two stone symbols etched onto it. To open these doors, all you need to do is cast Accio on the two handles bearing the symbols on the door. For example, to open the door to the collection chest (see image 2), you’d need to cast Accio on the handles above the triknot and circular symbols. This will open the door, giving you access to the collection chest.
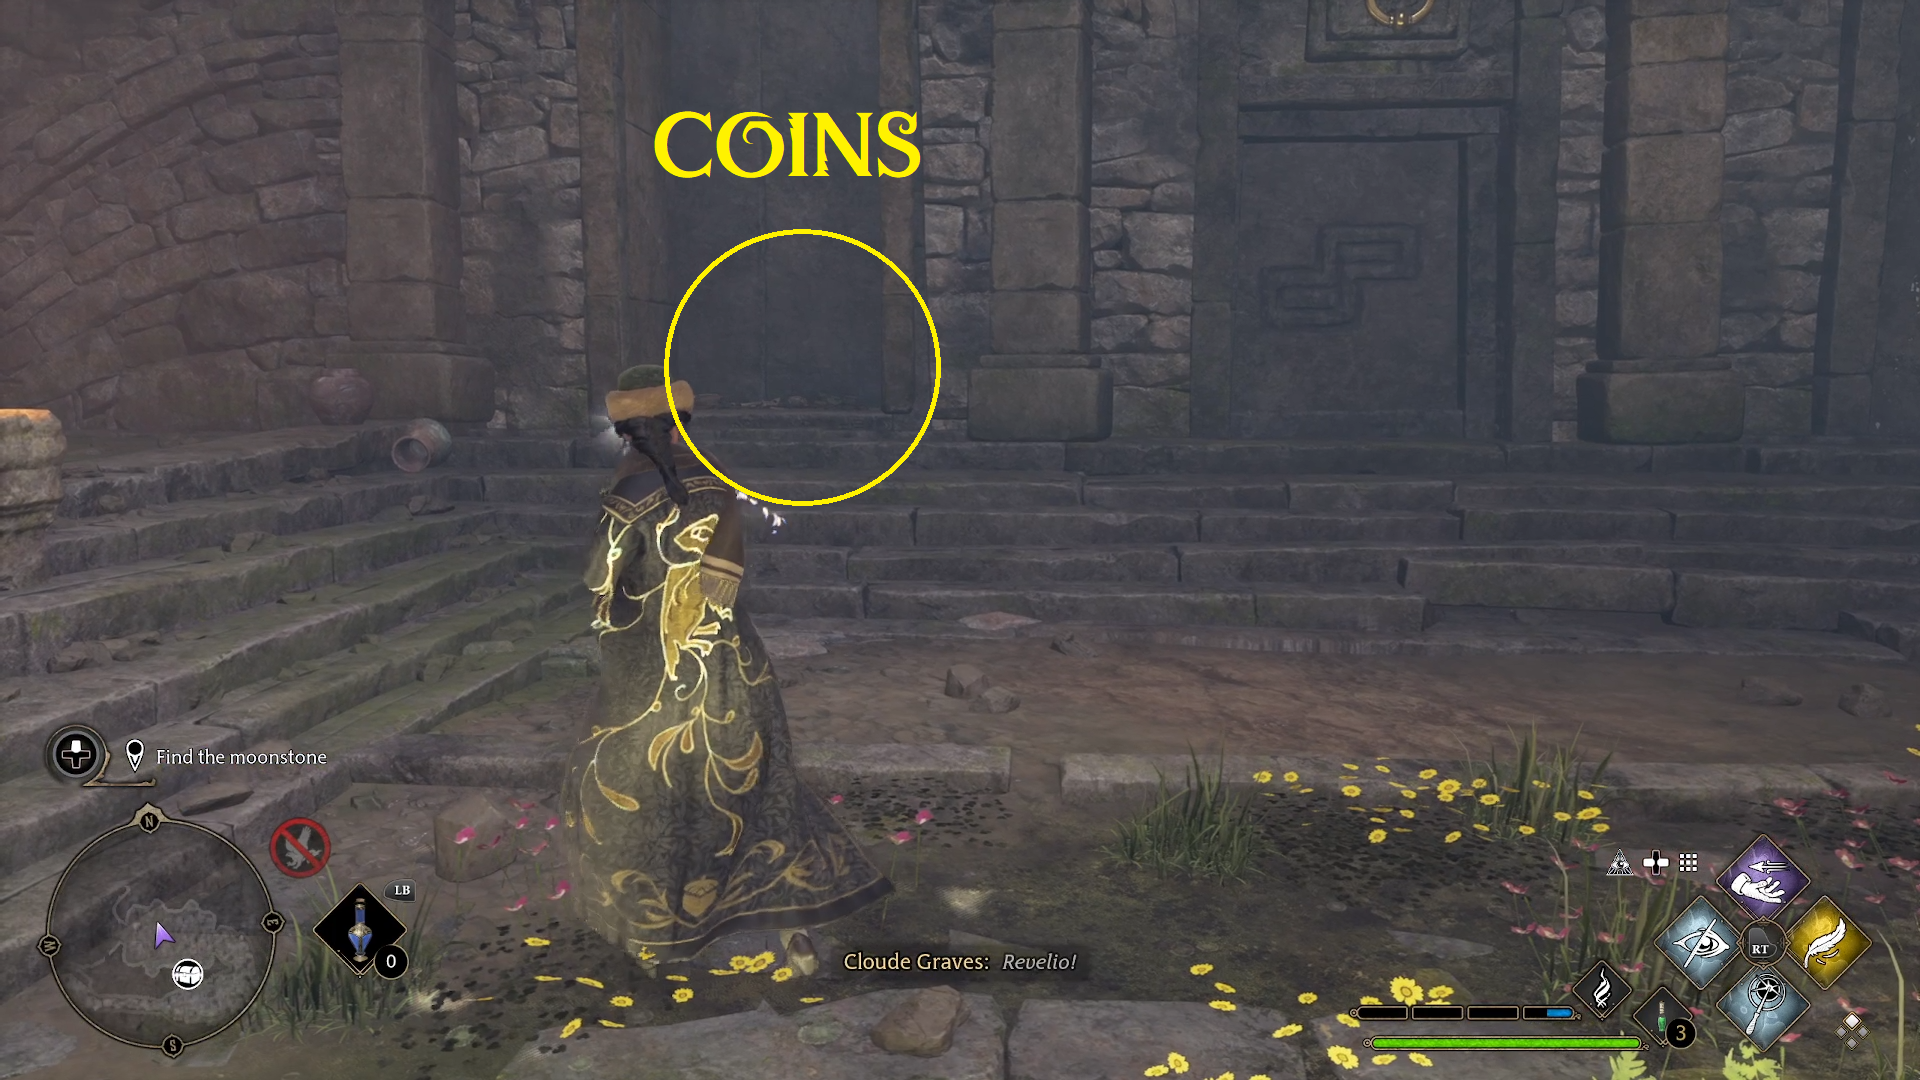
By pulling the correct symbols on each door, you will get access to both the two moths needed to progress, a collection chest, and some loot. To access each, you just need to combine the following symbols by pulling their handle with Accio:
Triknot + Circles = Collection Chest
Spirals + Circles = Moth
Triknot + Spirals = Moth
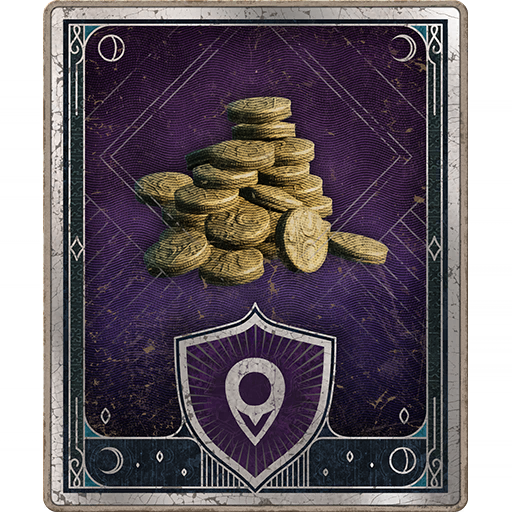
Squares + Circles = Coins
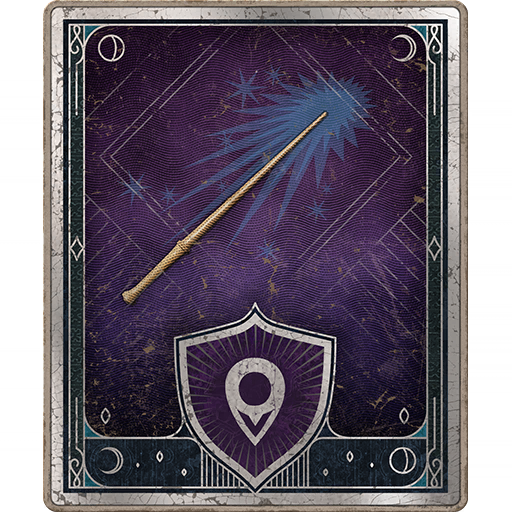
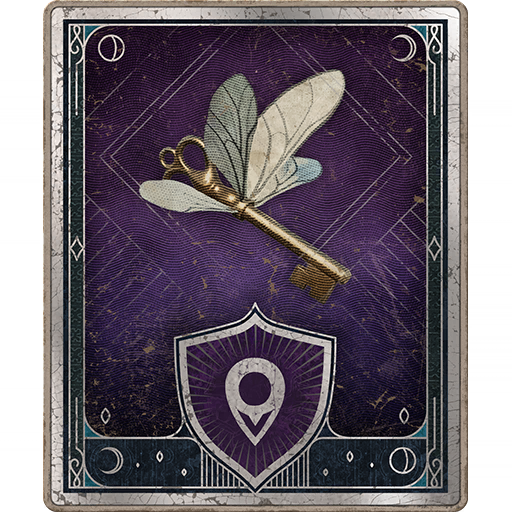
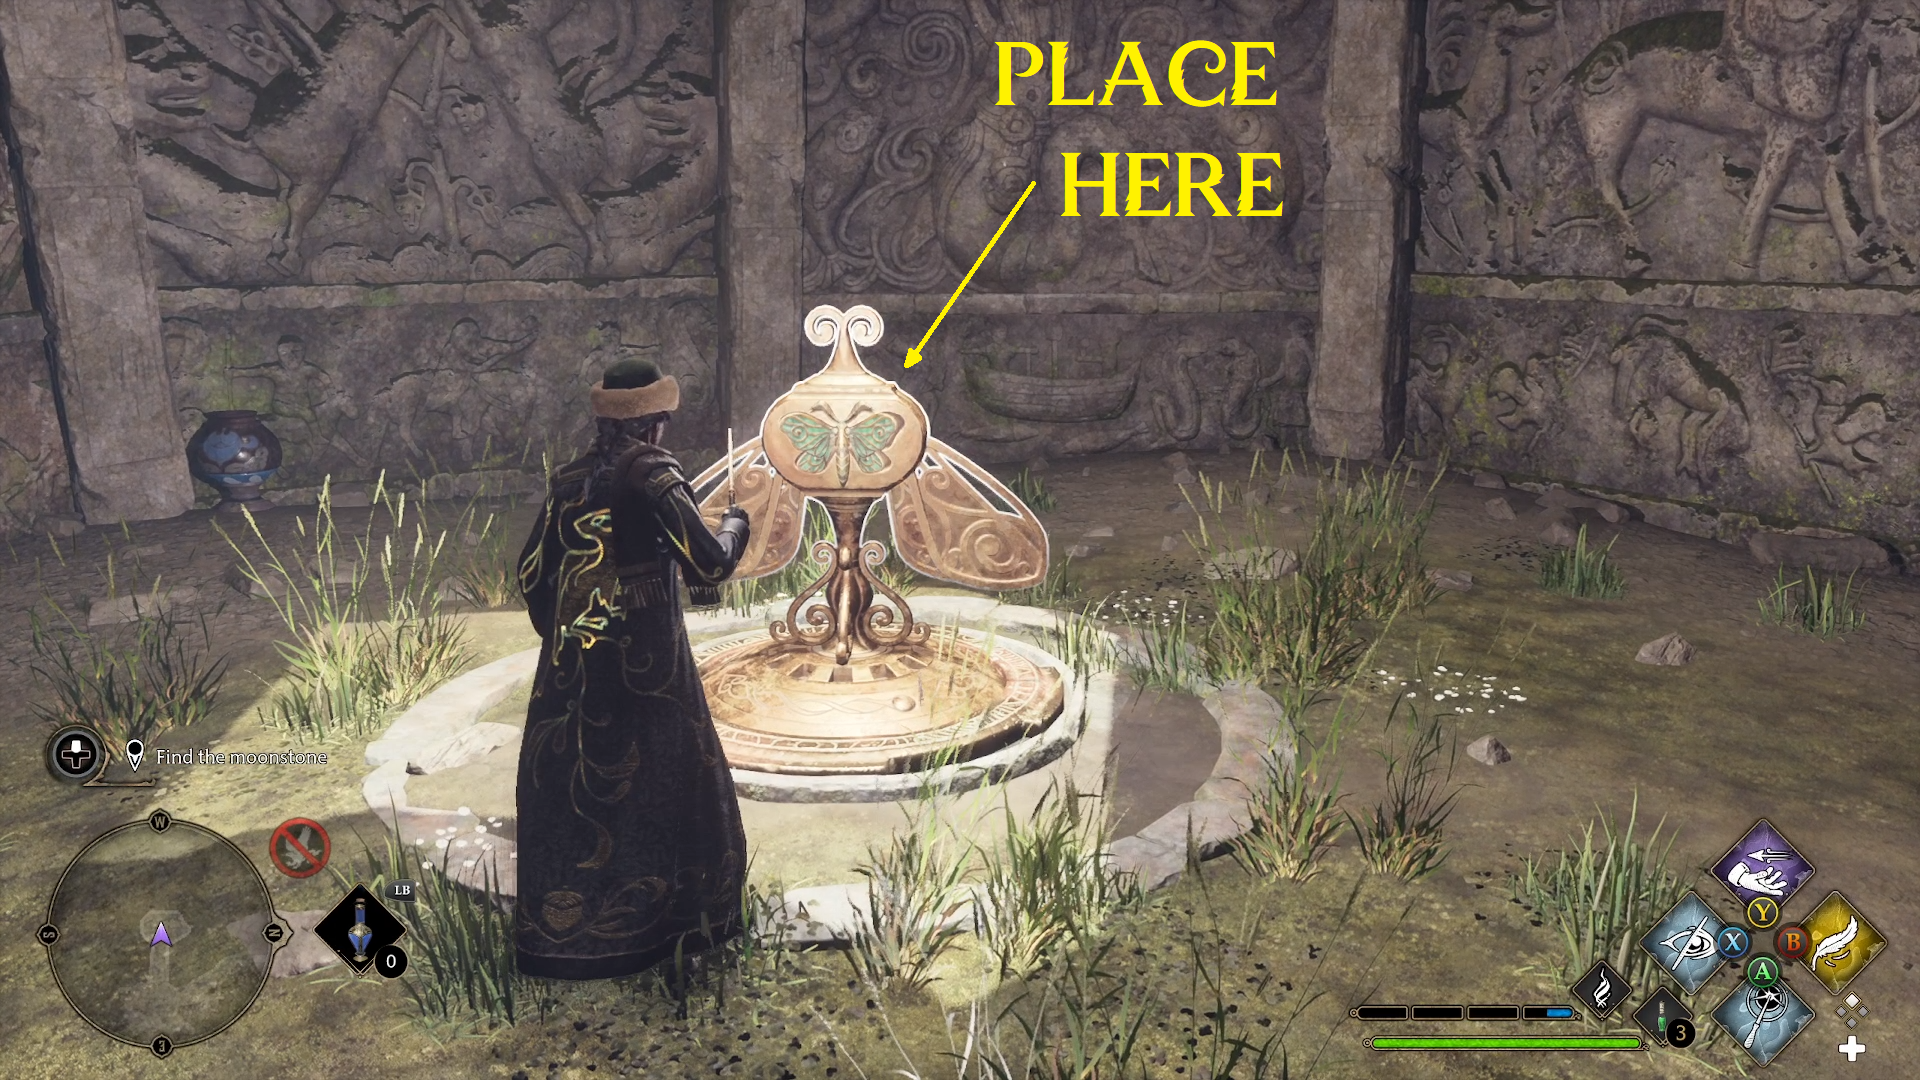
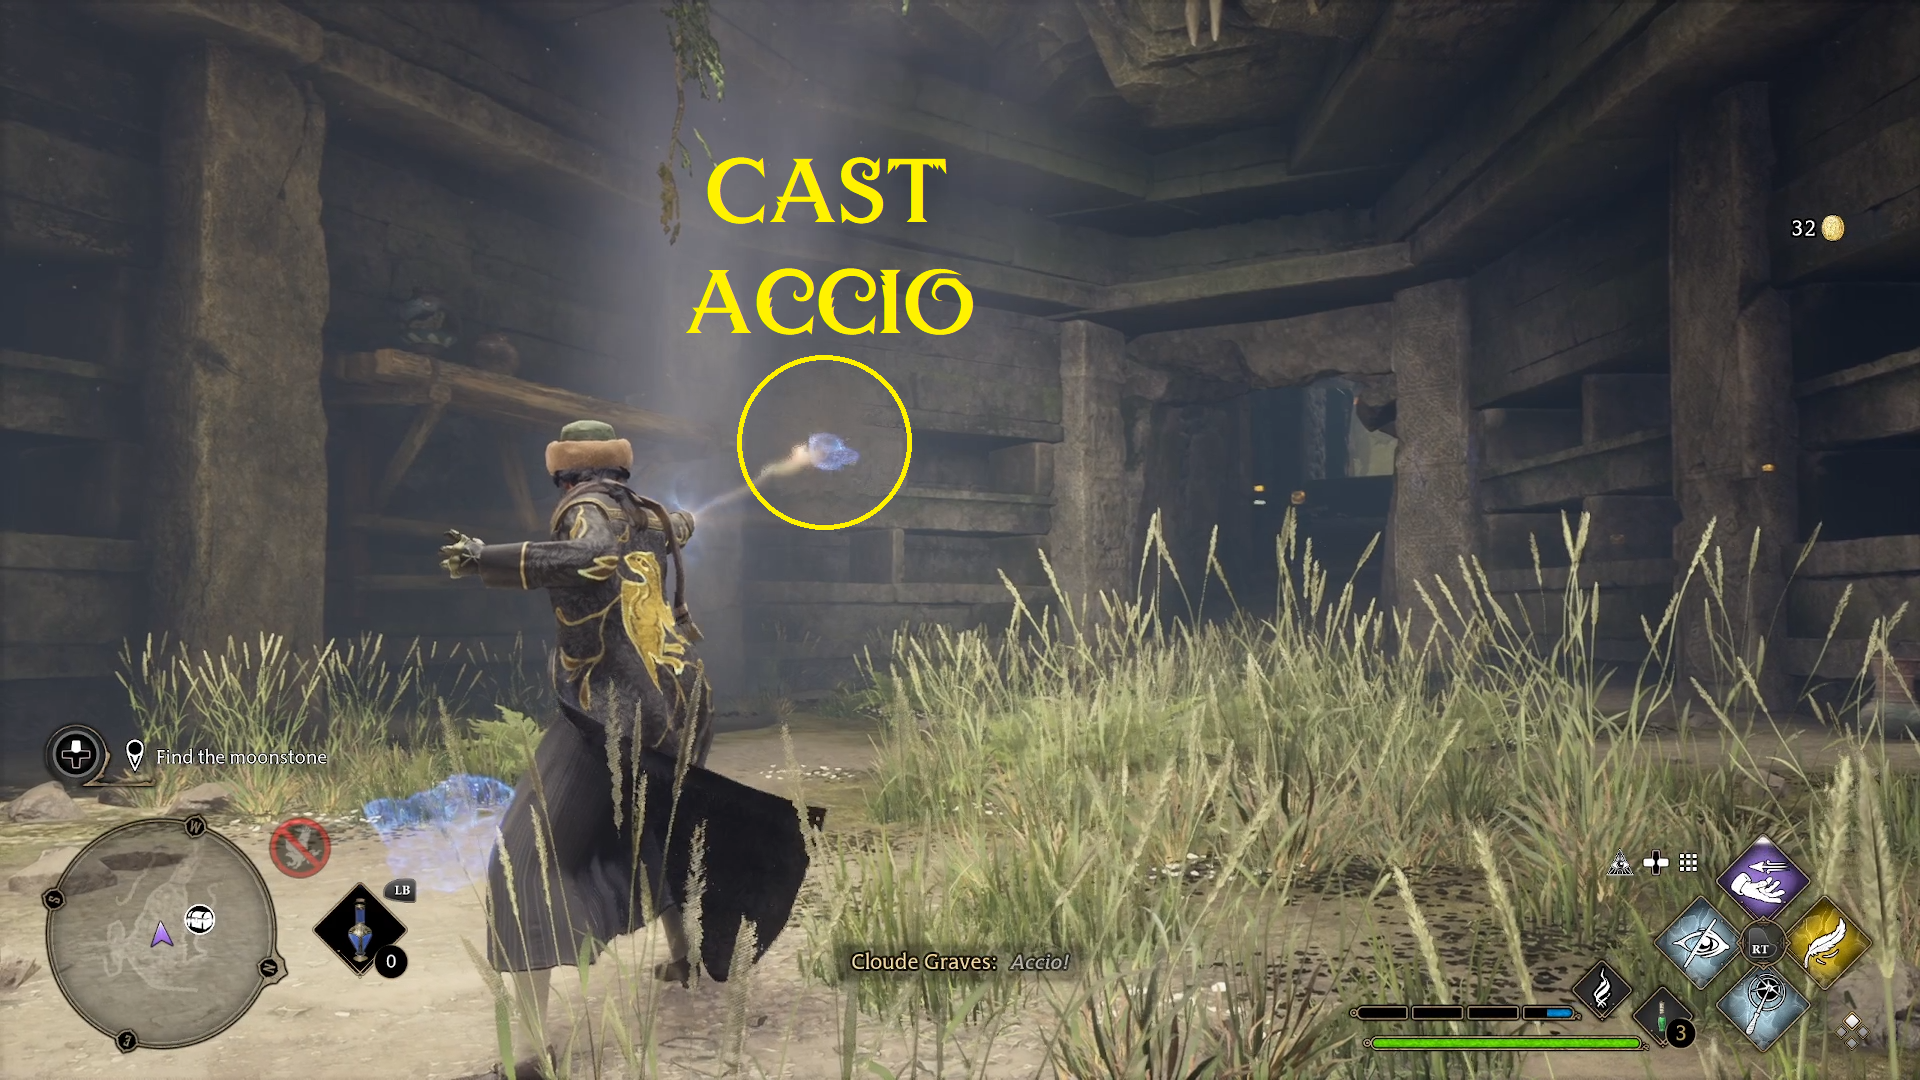
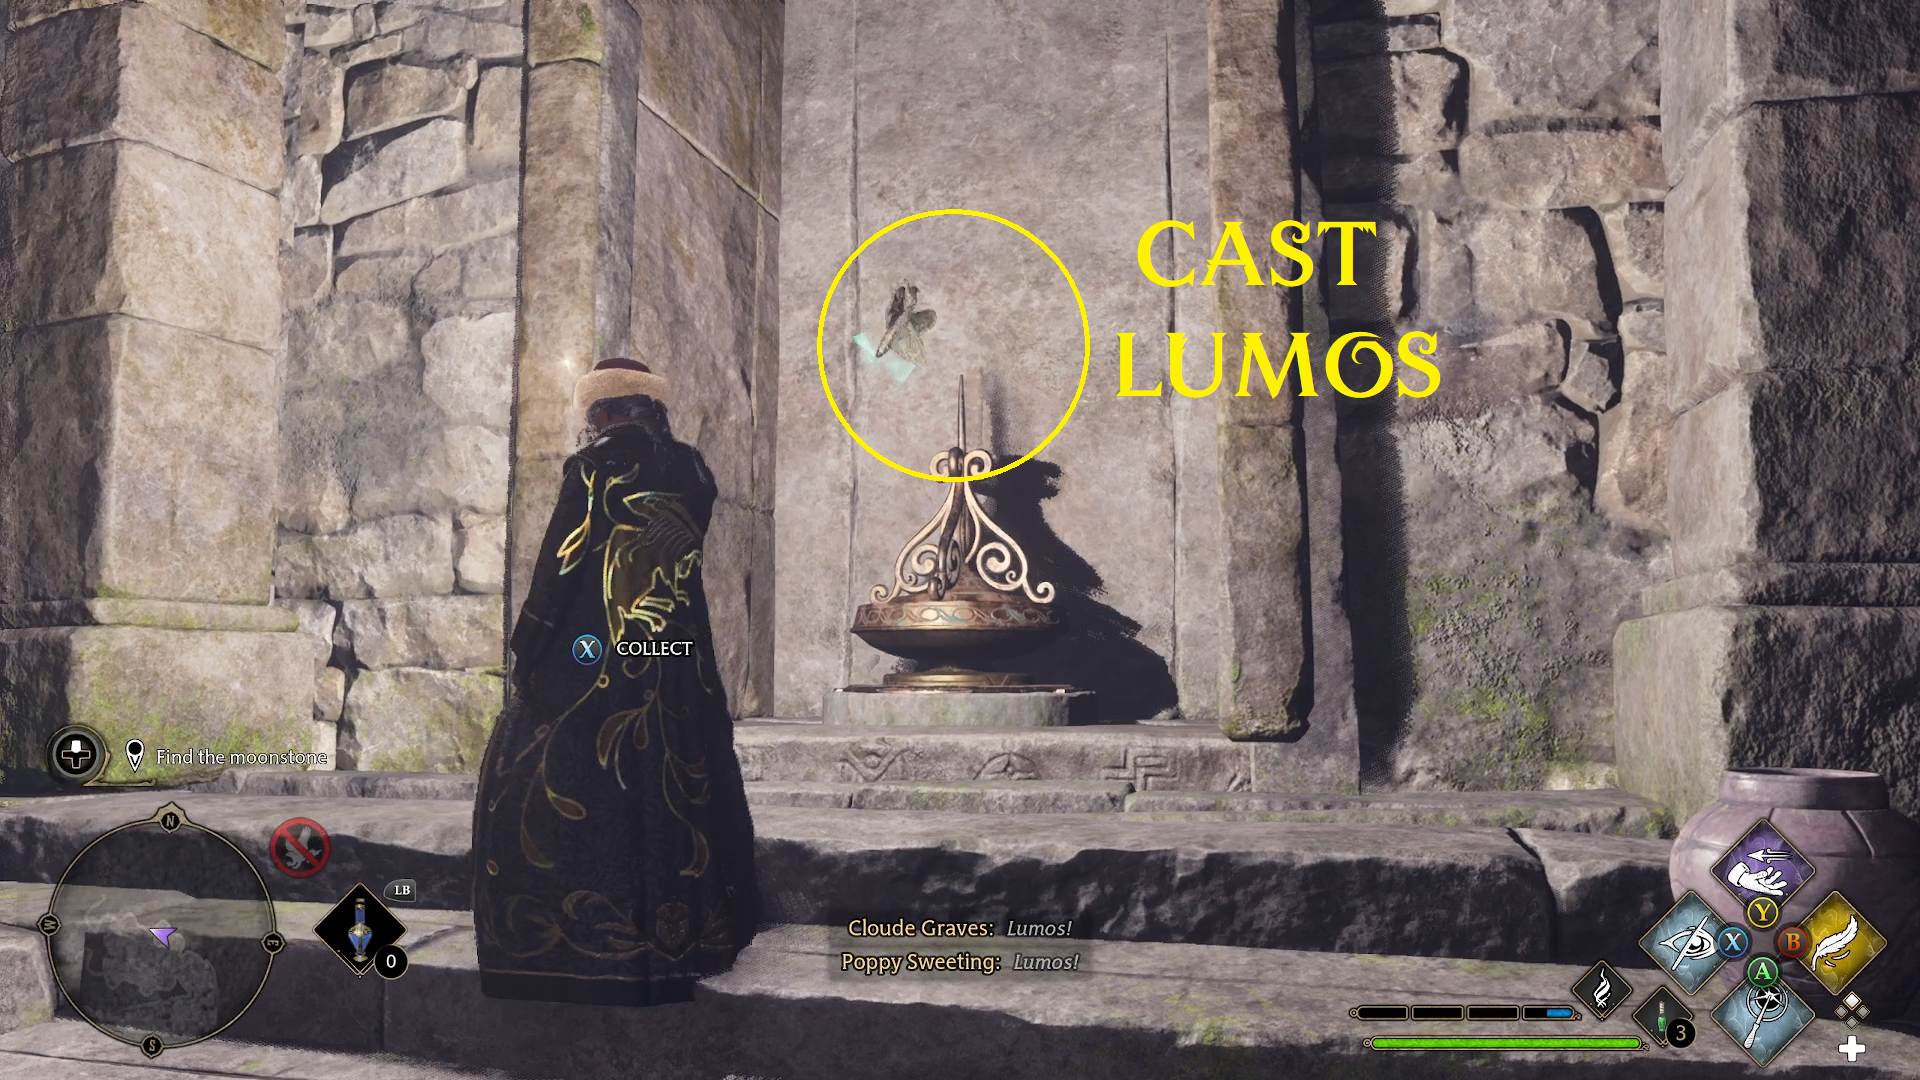
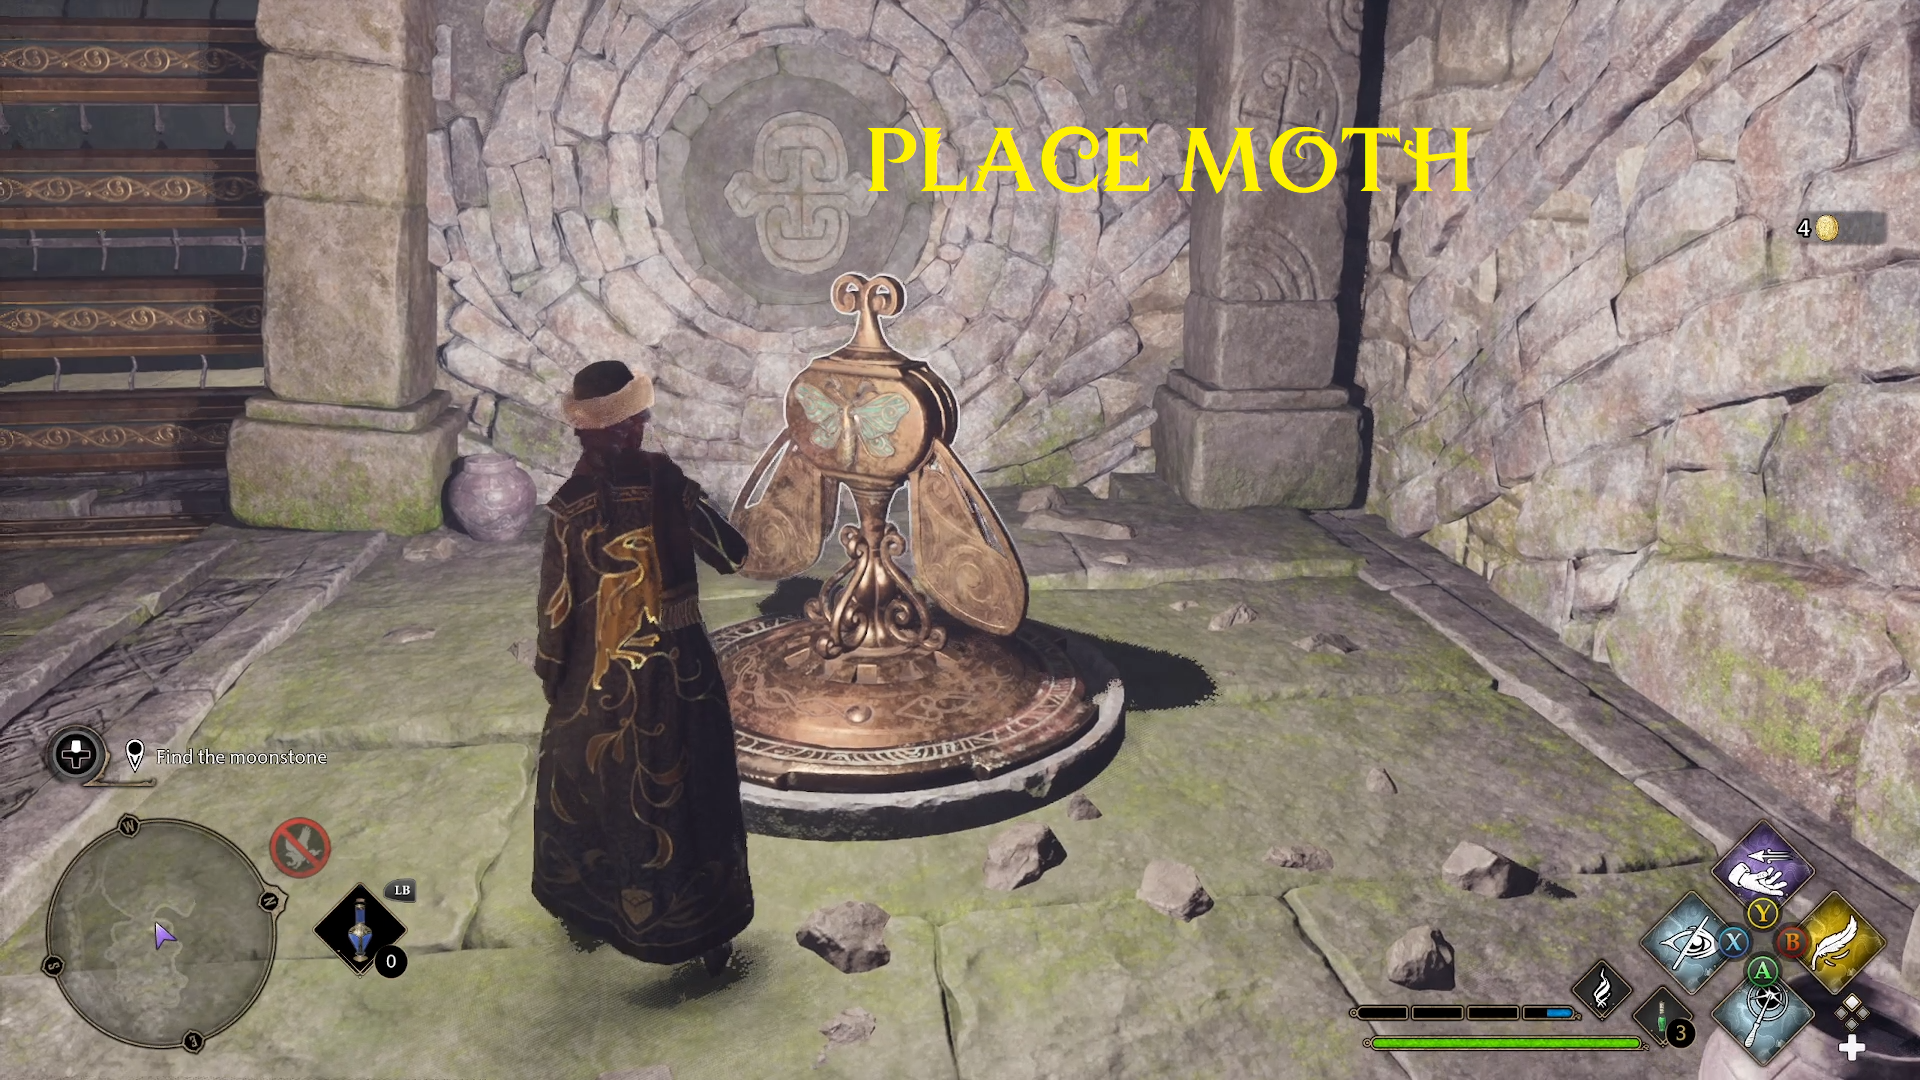
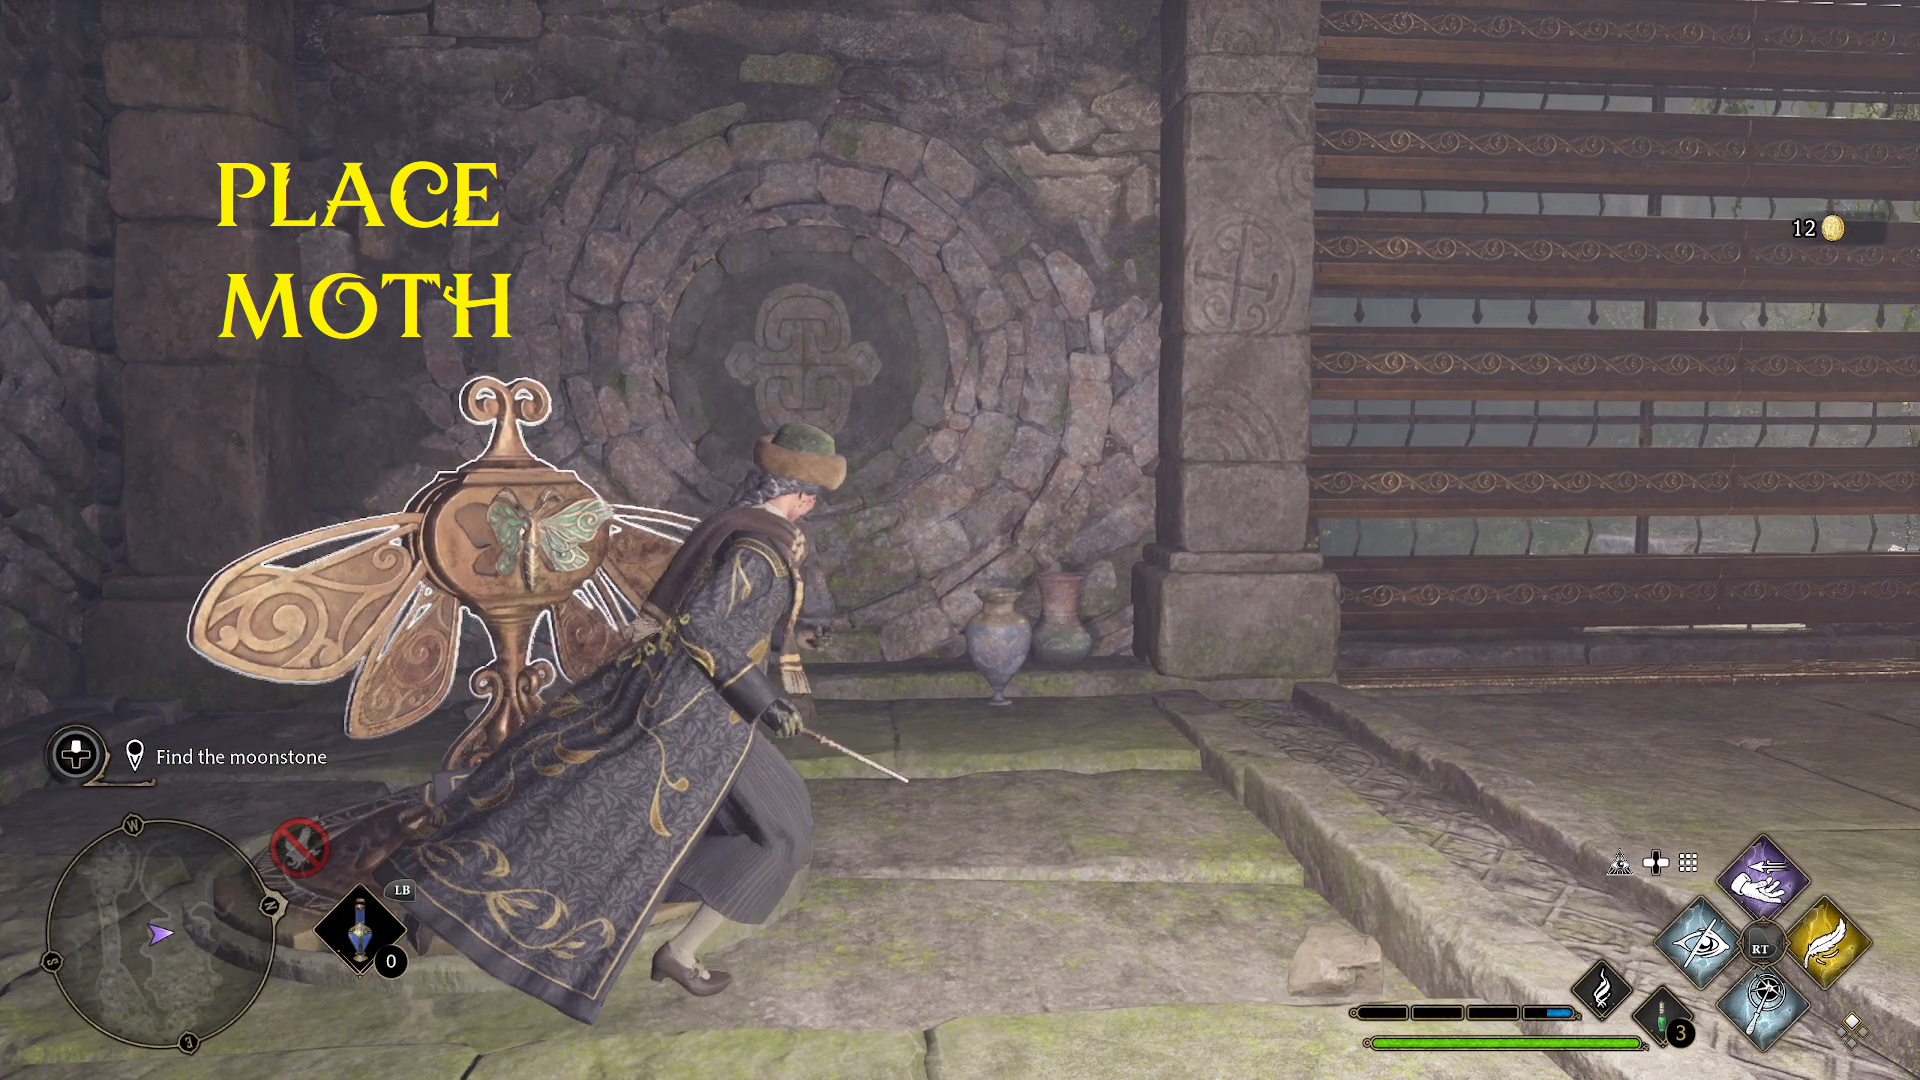
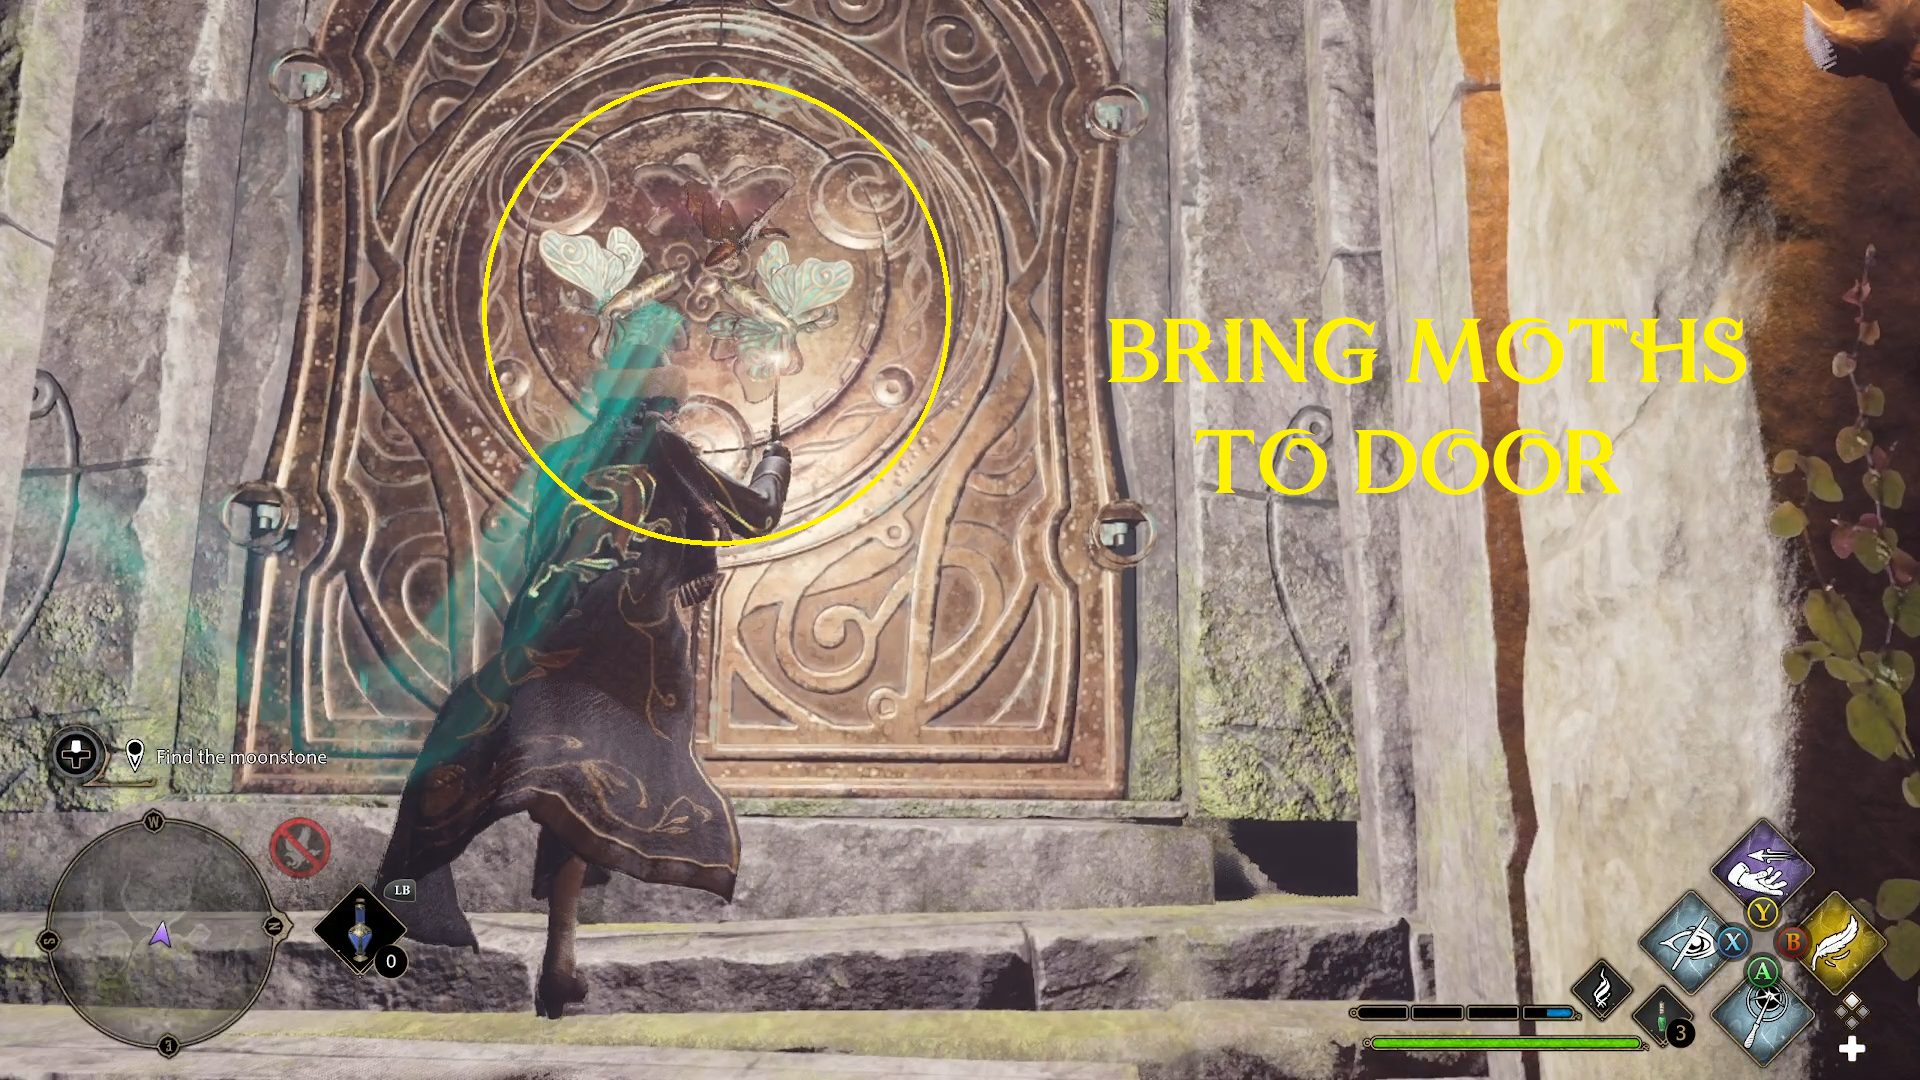
Once you open the doors and grab the loot in this room, go to the two moths and cast Lumos (1 and 3), and bring them to the moth spinners (2 and 4). This will allow you to go back and forth, casting Depulso on each, until the doorway opens (5 and 6).
123456
Before you leave the door-puzzle room, cast Lumos on one of the moth (1) to bring it through the door to place it in a moth spinner (2). Go back and cast Lumos on the remaining moth in the previous room (3) and bring it to the other moth spinner in the room (4). As you do, make sure to cast Accio on some more handles to reveal loot alcoves (5).
12345
Now set up, you can head to the moth spinner near the beginning of the room and cast Depulso on the spinner until the bridge entirely raises (1). Once the bridge is all the way up and locked in, cast Lumos on the moth spinner (2) and bring the moth across the bridge to the moth door (6). Next, while standing at the foot of the stairs up to the moth door, cast Depulso on the remaining powered moth spinner (3). This will raise up another moth from below, which you can use Lumos on (4) and bring to the door (6). Finally, cast Lumos on the last moth in the spinner (5) and bring it to the door to open it (6).
123456
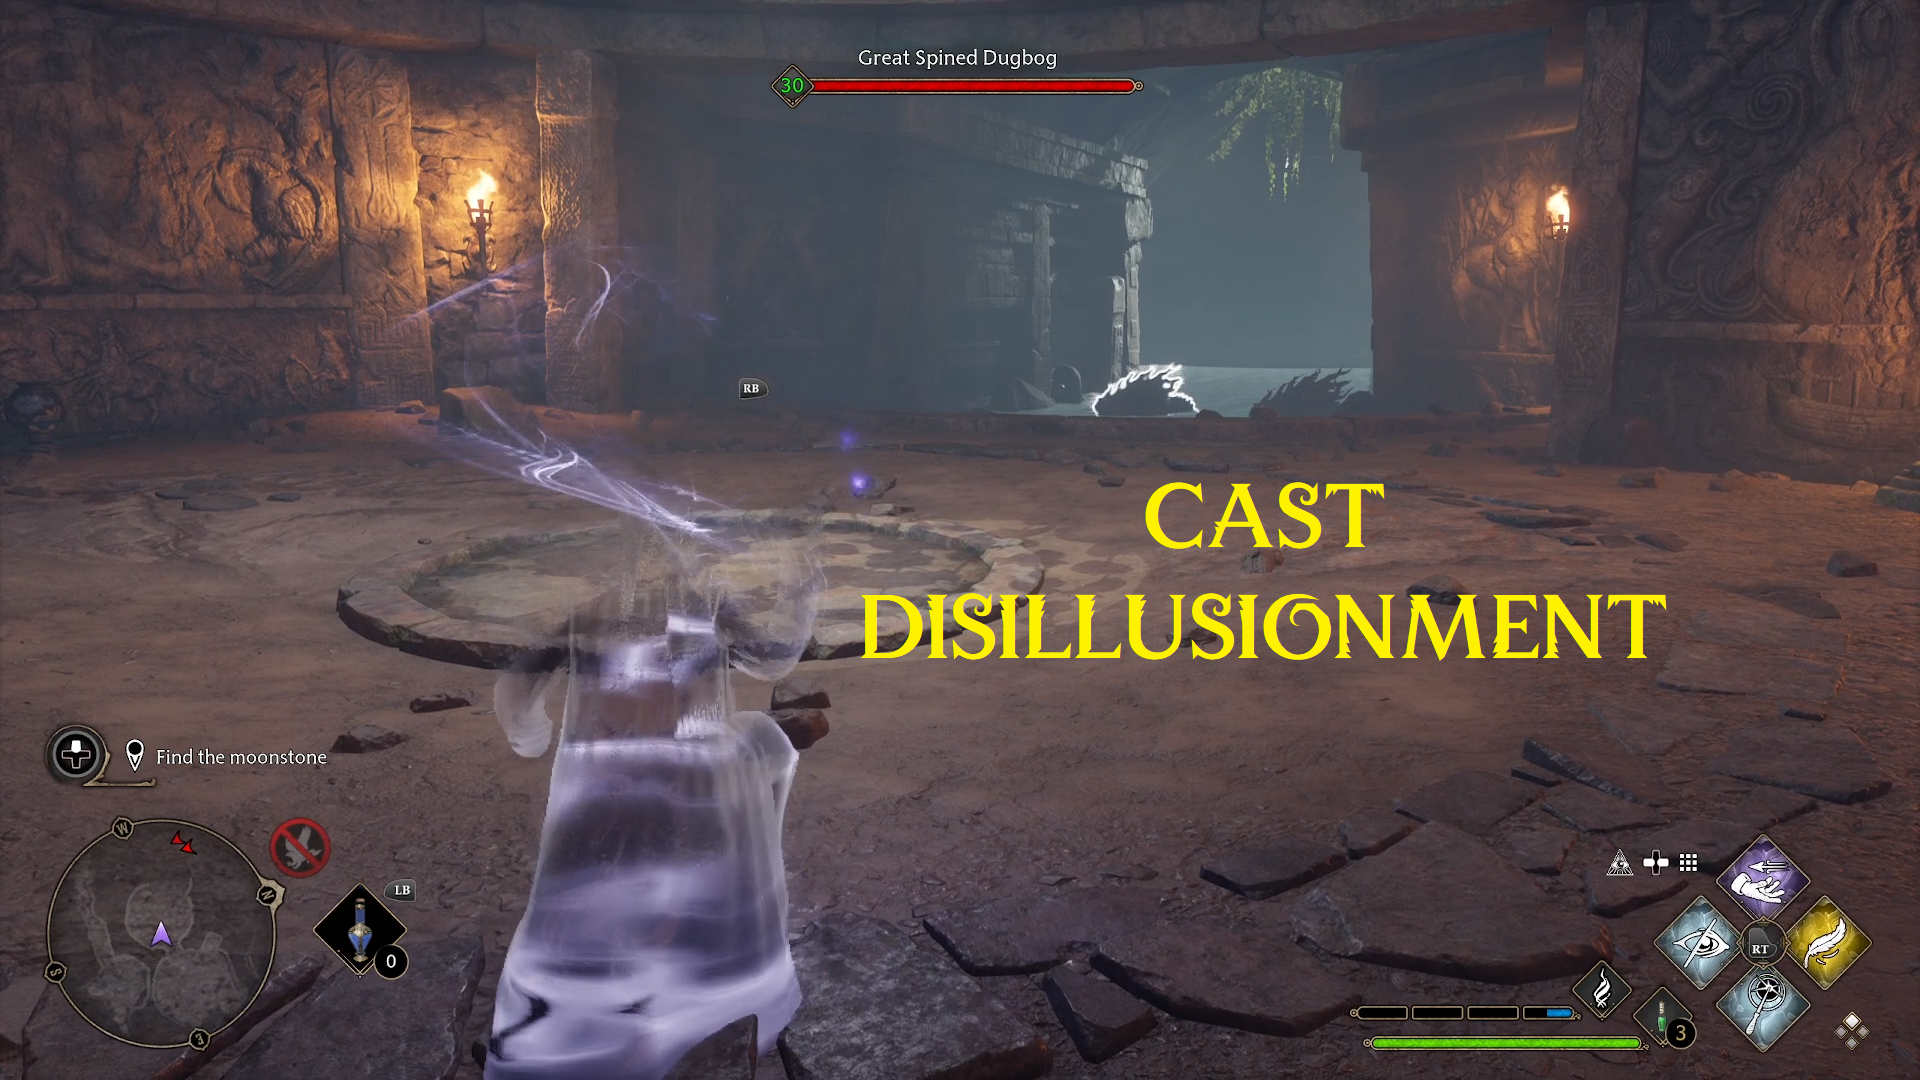
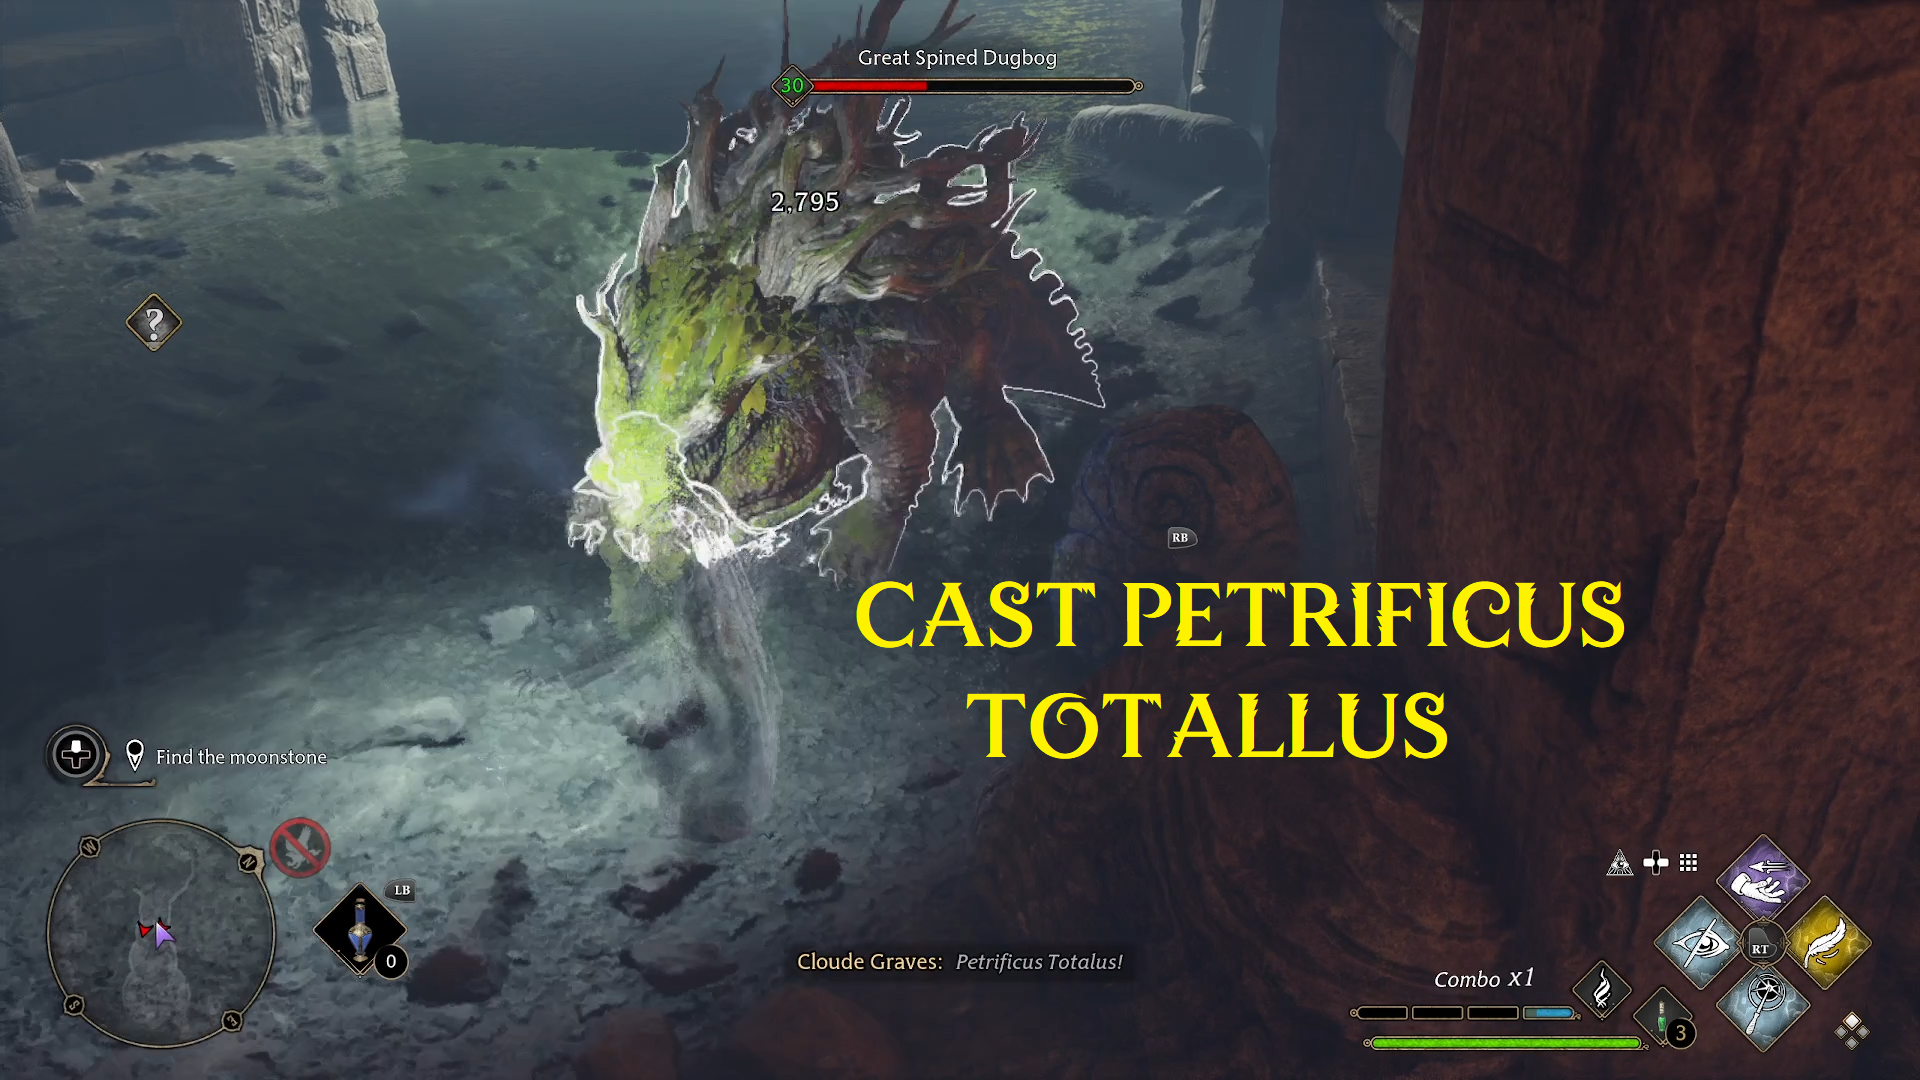
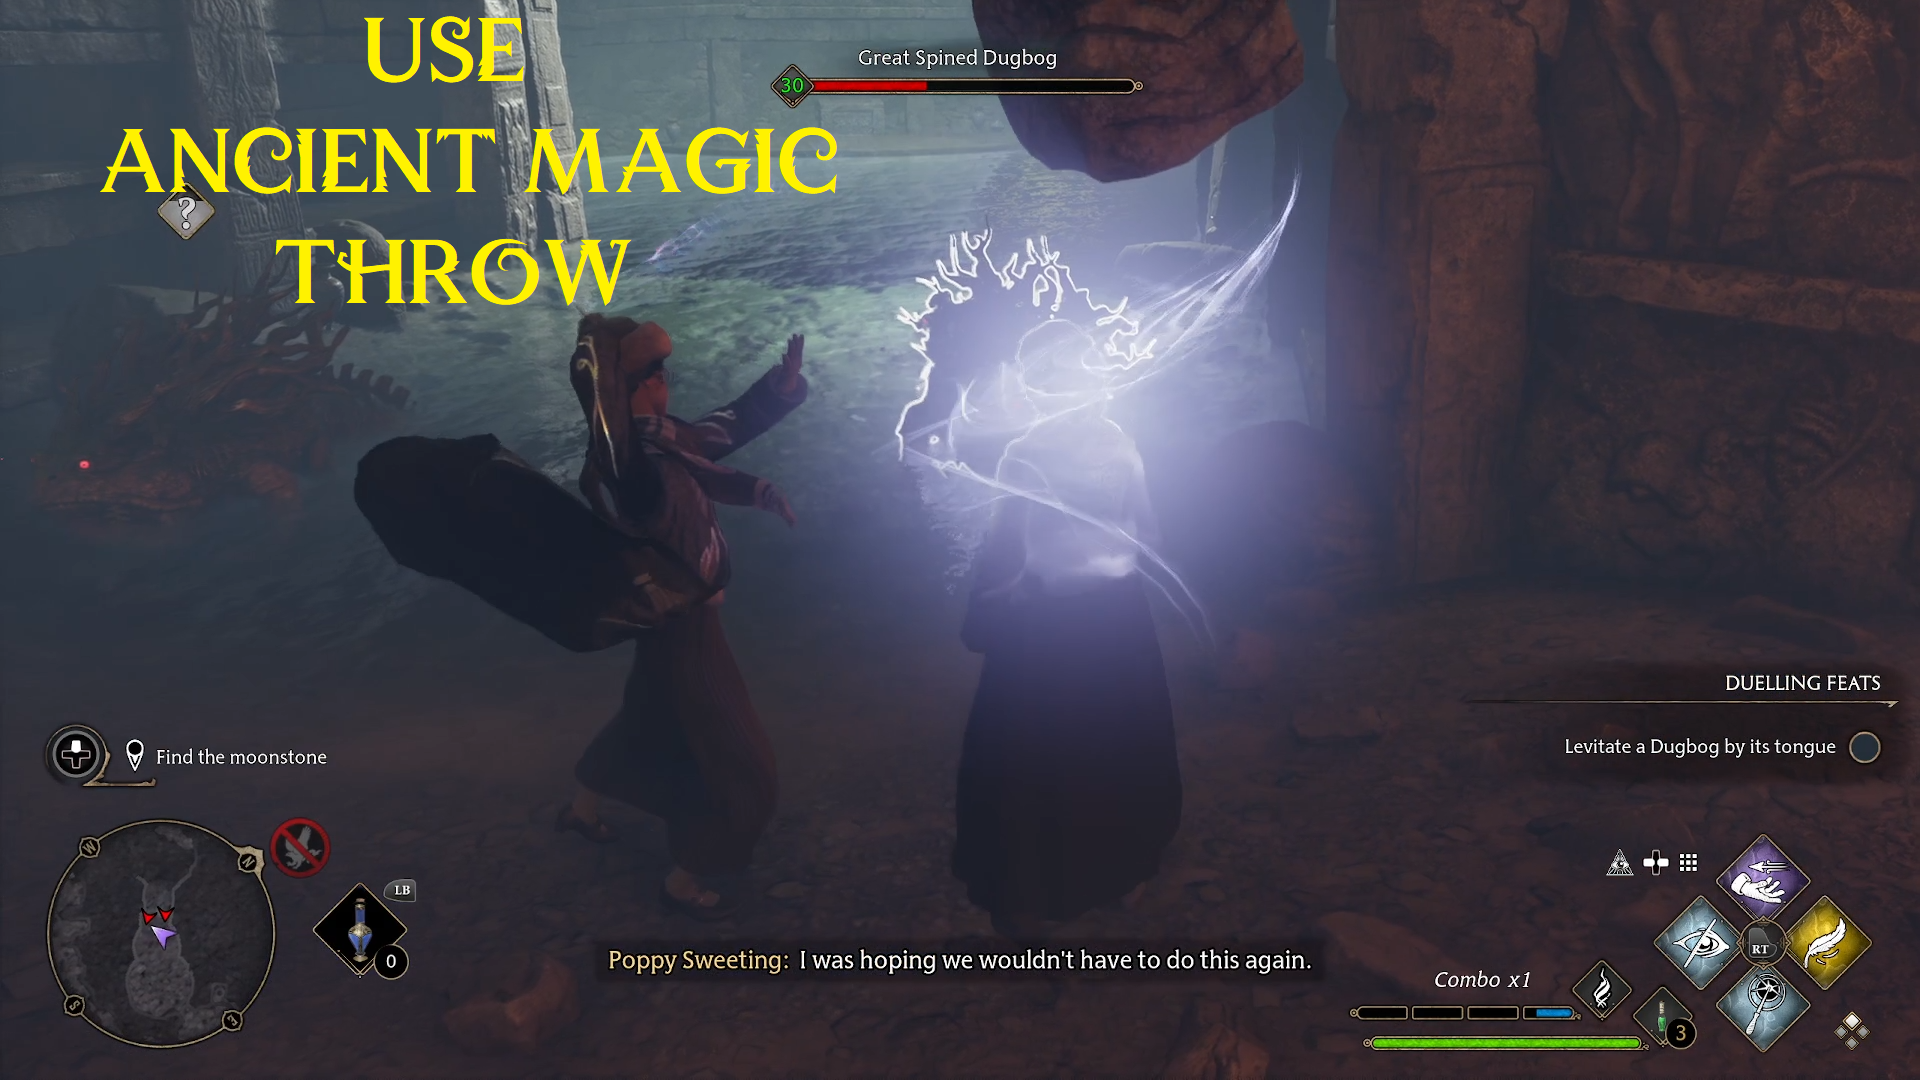
In the next room, you’ll be pitted against two Great Spined Dugbogs, which are powerful variants of the species. The best way to deal with them is to cast Disillusionment (1), then to approach one of the Dugbogs to cast Petrificus Totallus in order to start the combat (2). Use Ancient Magic and Ancient Magic Throw to finish off the one you injured (3), then focus on the other Dugbog. If you simply wait until it sticks its tongue out to cast Levioso, you can then deal massive damage by cutting the tongue with Diffindo (4).
1234
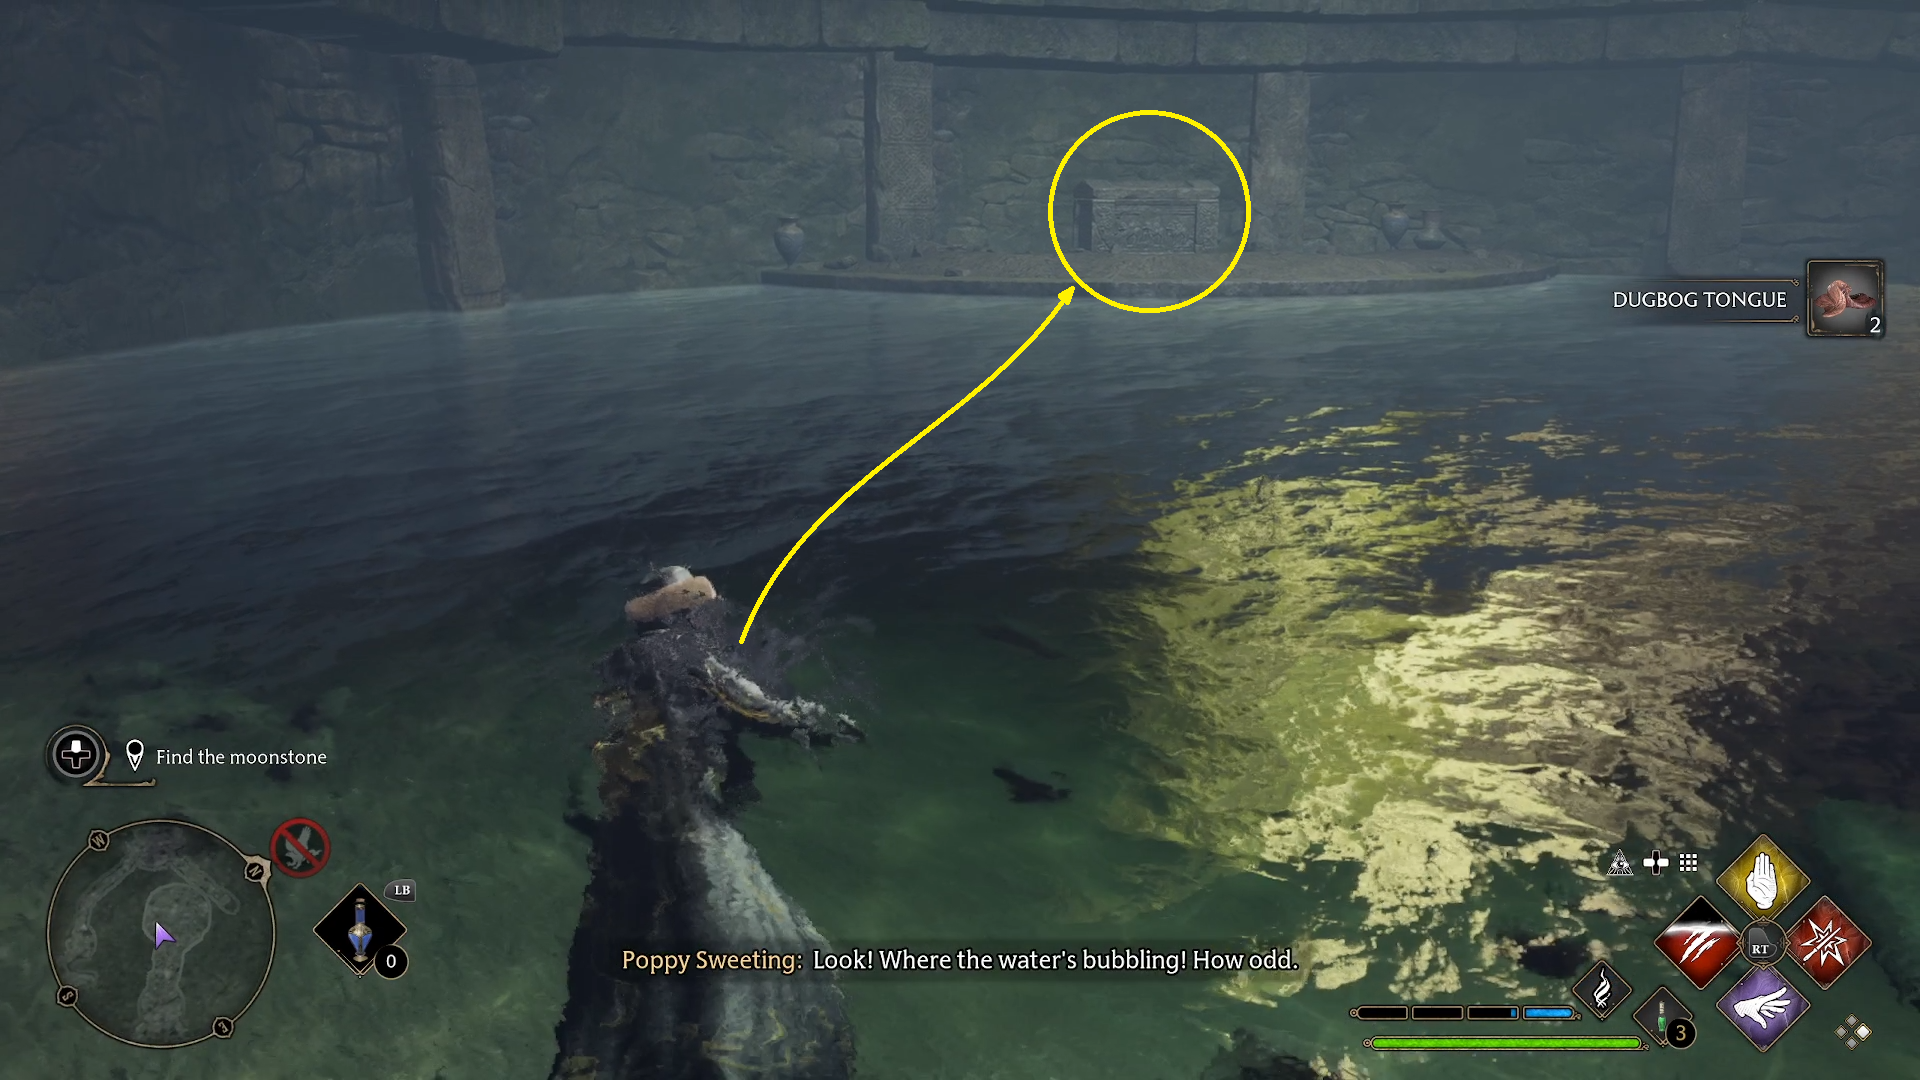
After defeating the Dugbogs, swim across the pond they were guarding to grab a chest (1), then jump back into the pool in order to access a whirlpool which will take you somewhere else (2).
12
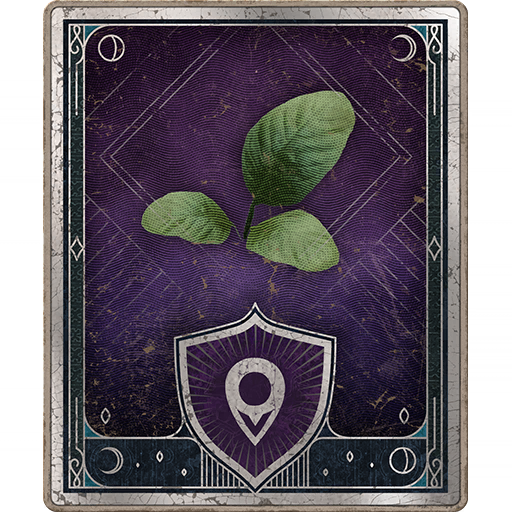
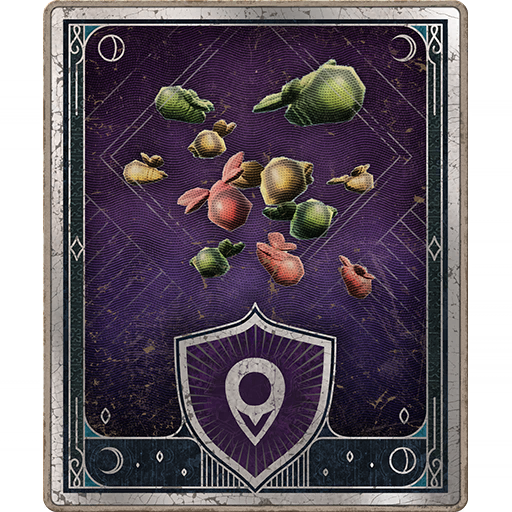
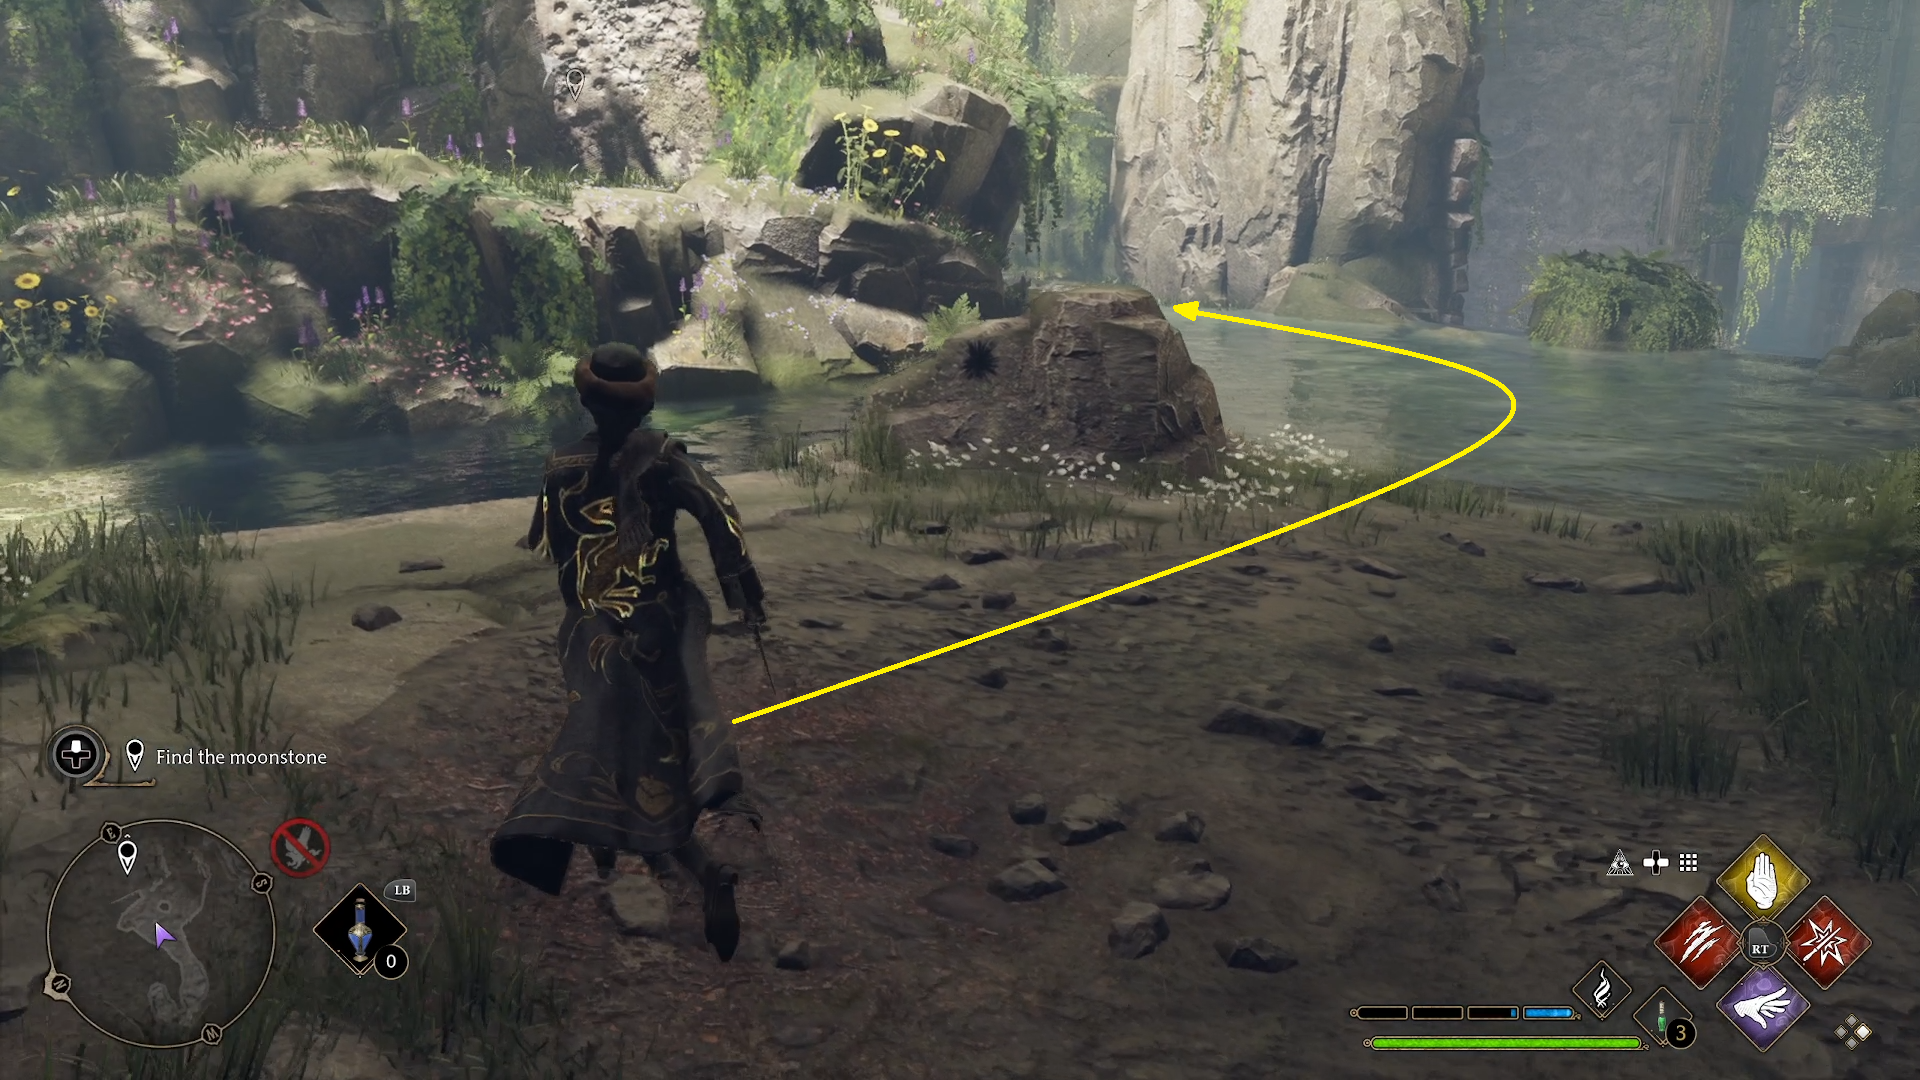
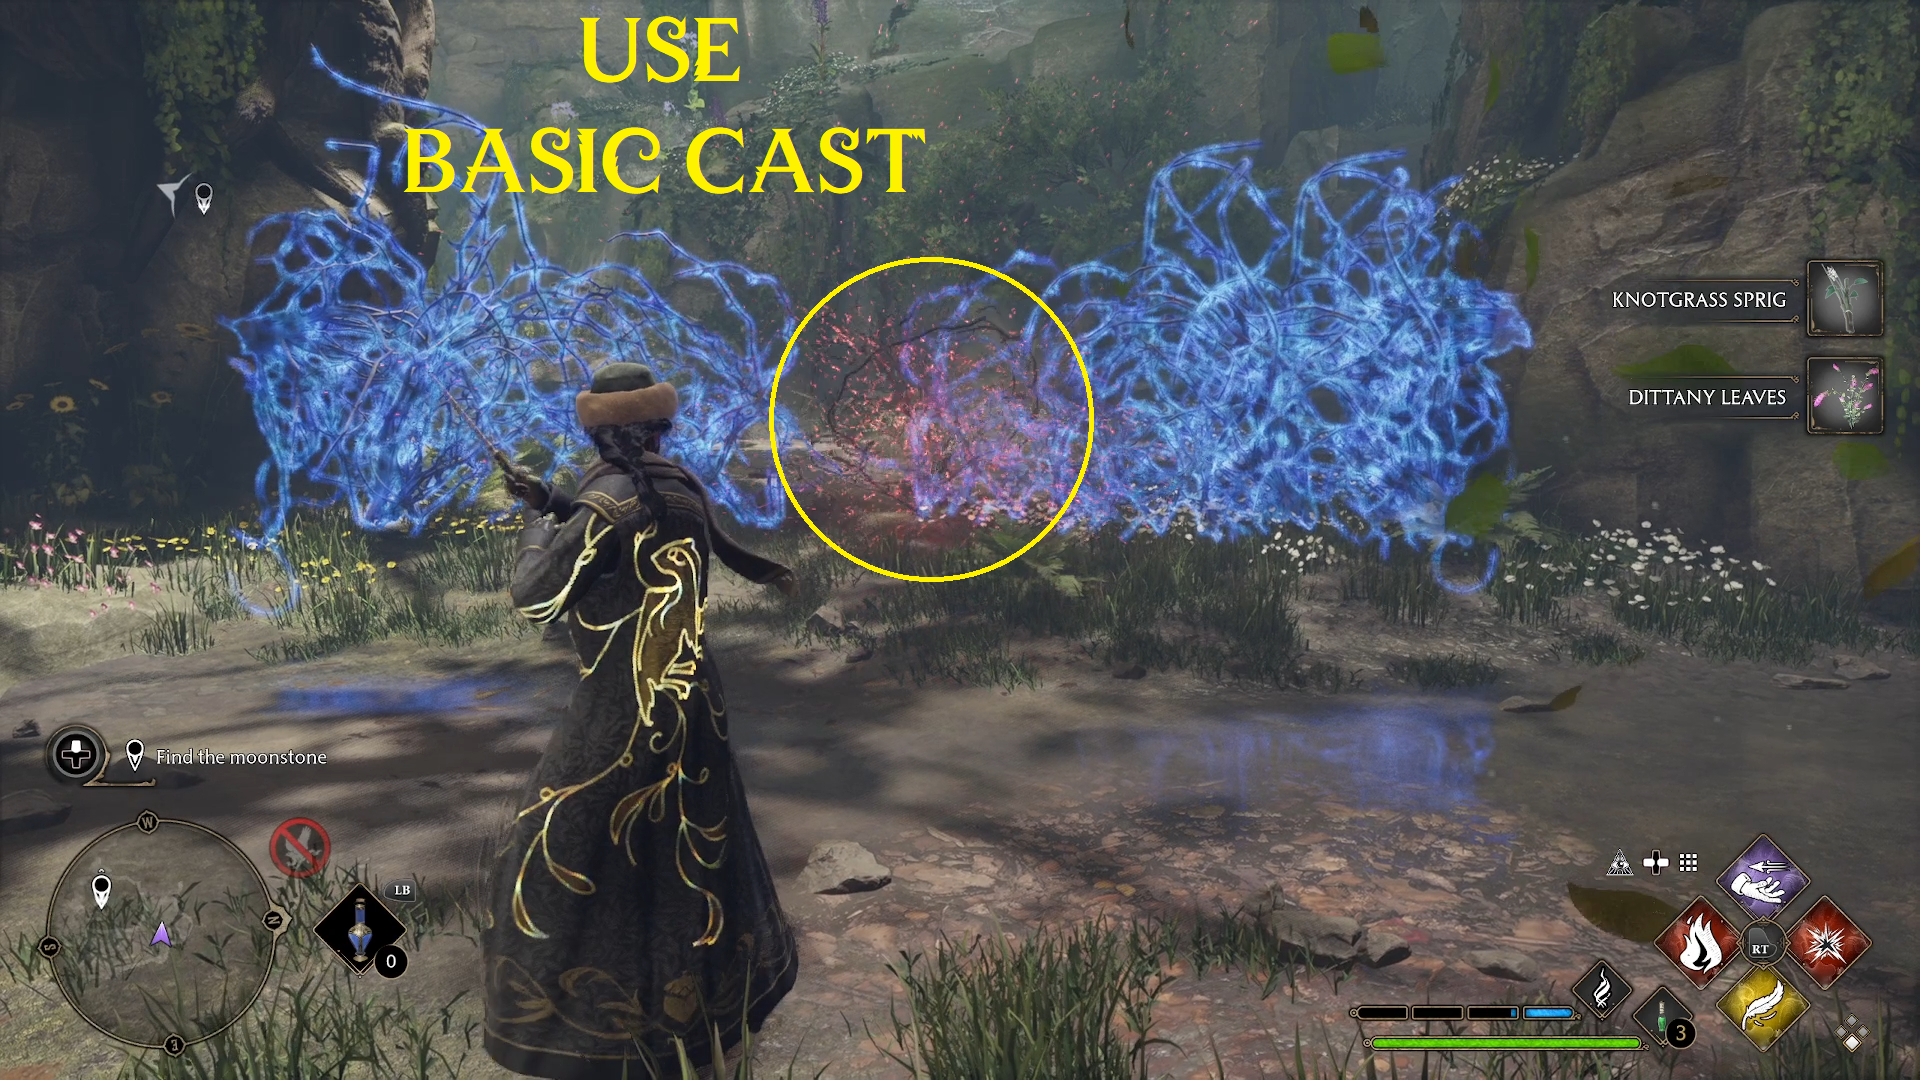
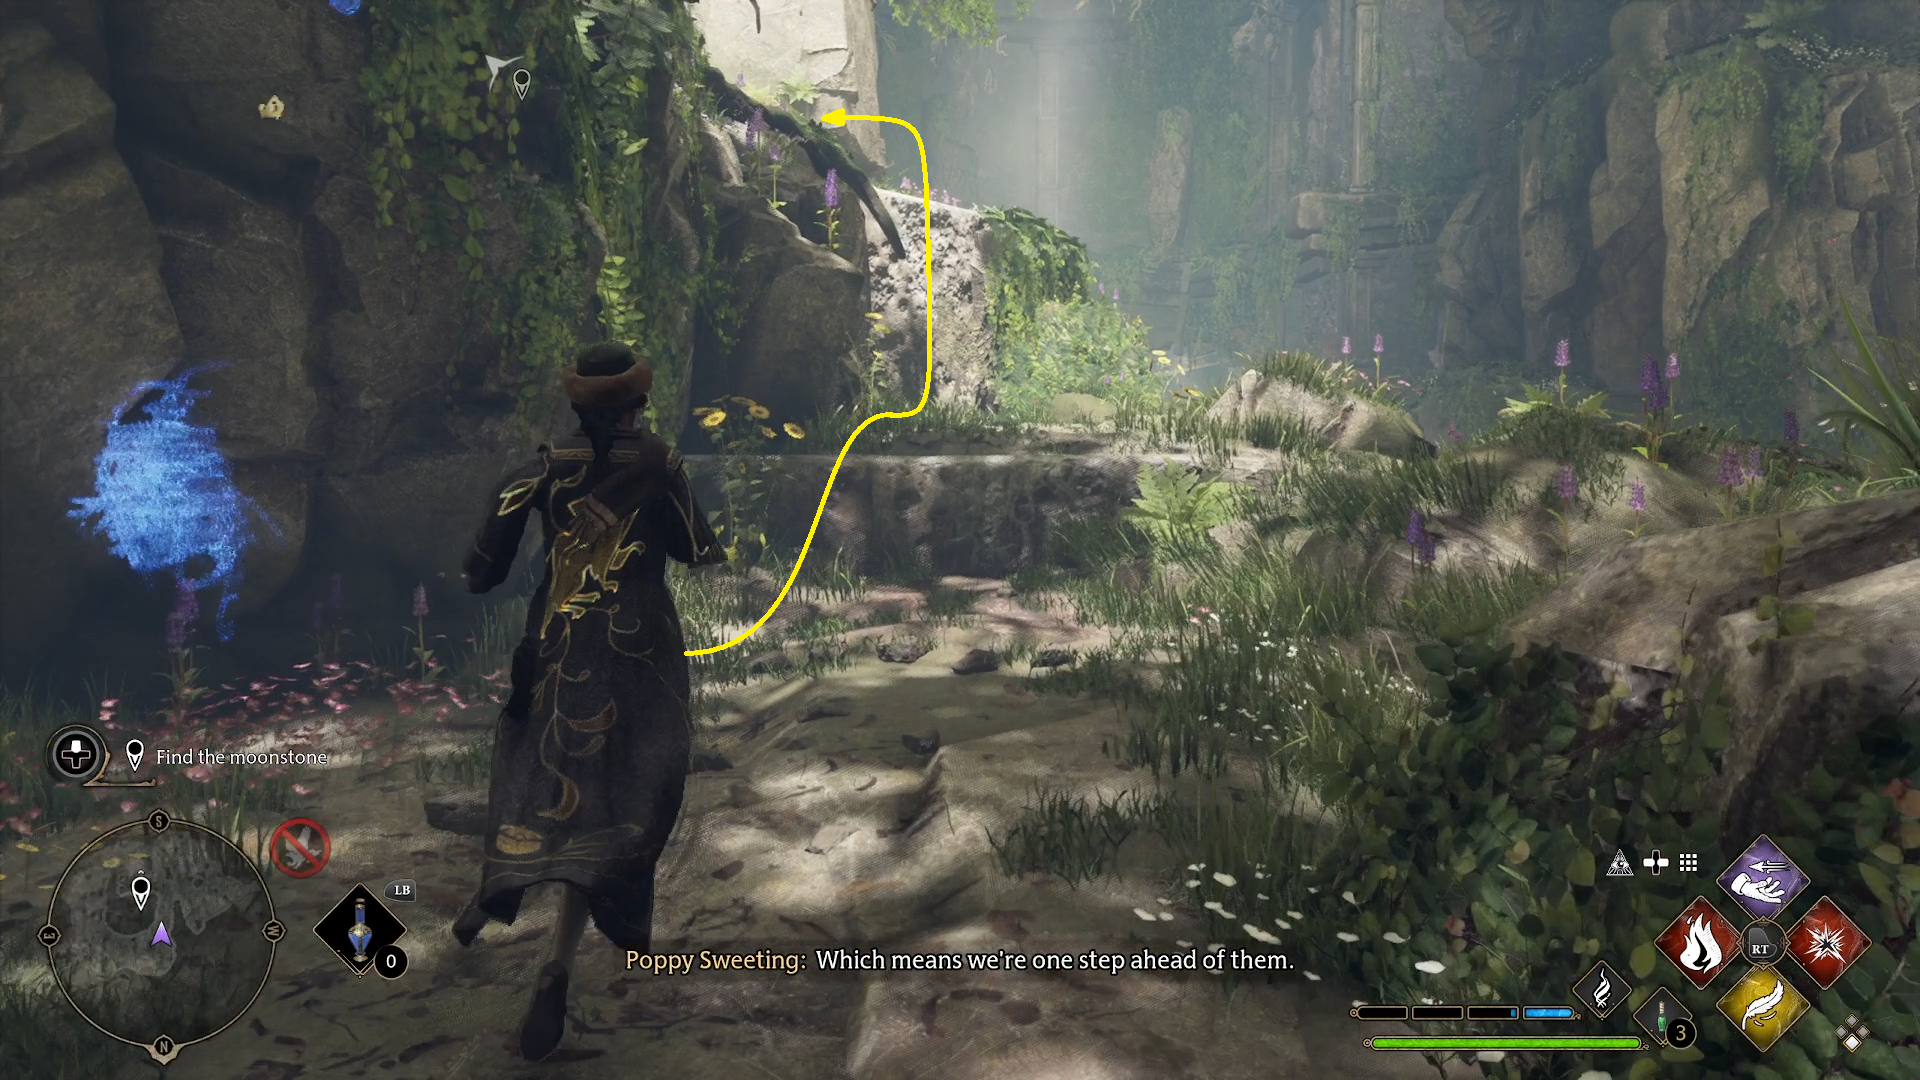
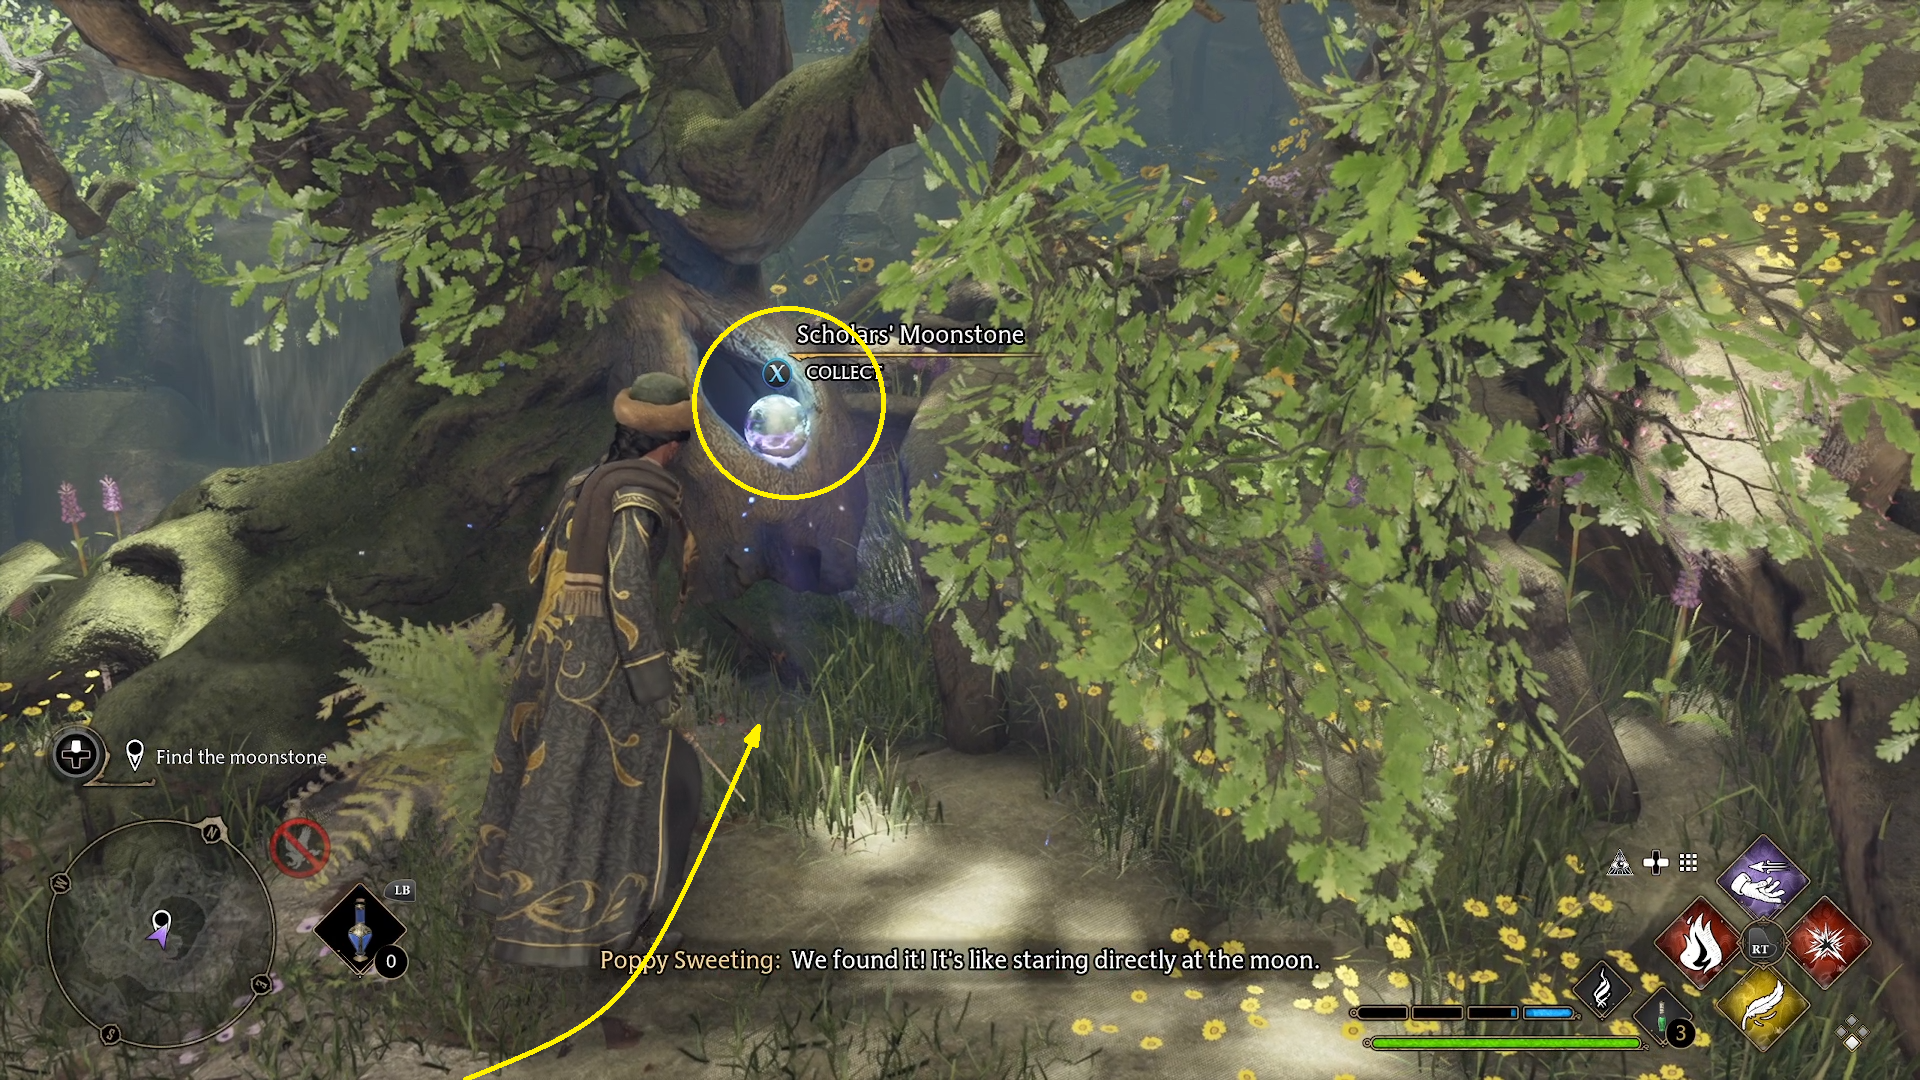
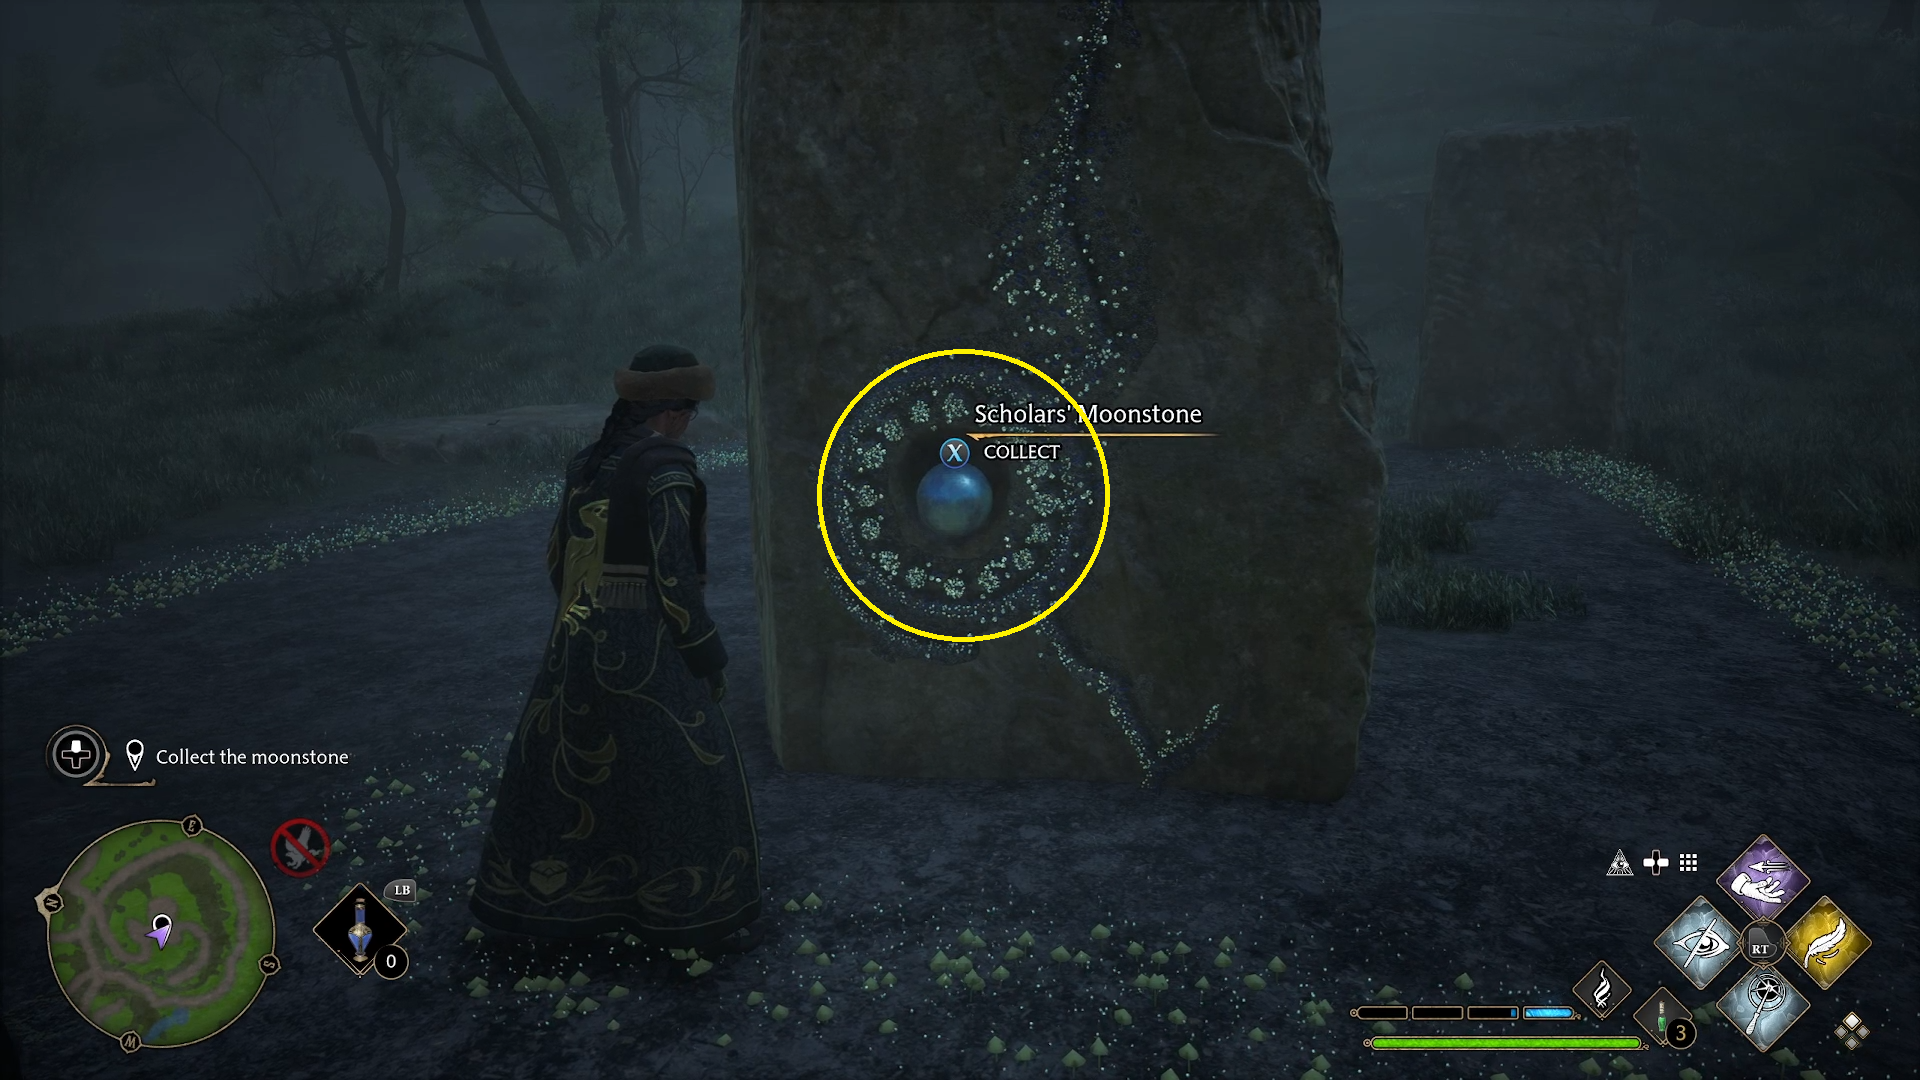
In the verdant room you come out into, head to the right in order to work around the mound in the center of the cavern (1). Use Basic Cast to break through some roots (2), collect the fairly valuable plants (3), break through more roots (4), then climb up the ledges in order to access the Moonstone (5), which is imbedded into the tree atop the mound. Walk up to it and grab it with / (6).
123456
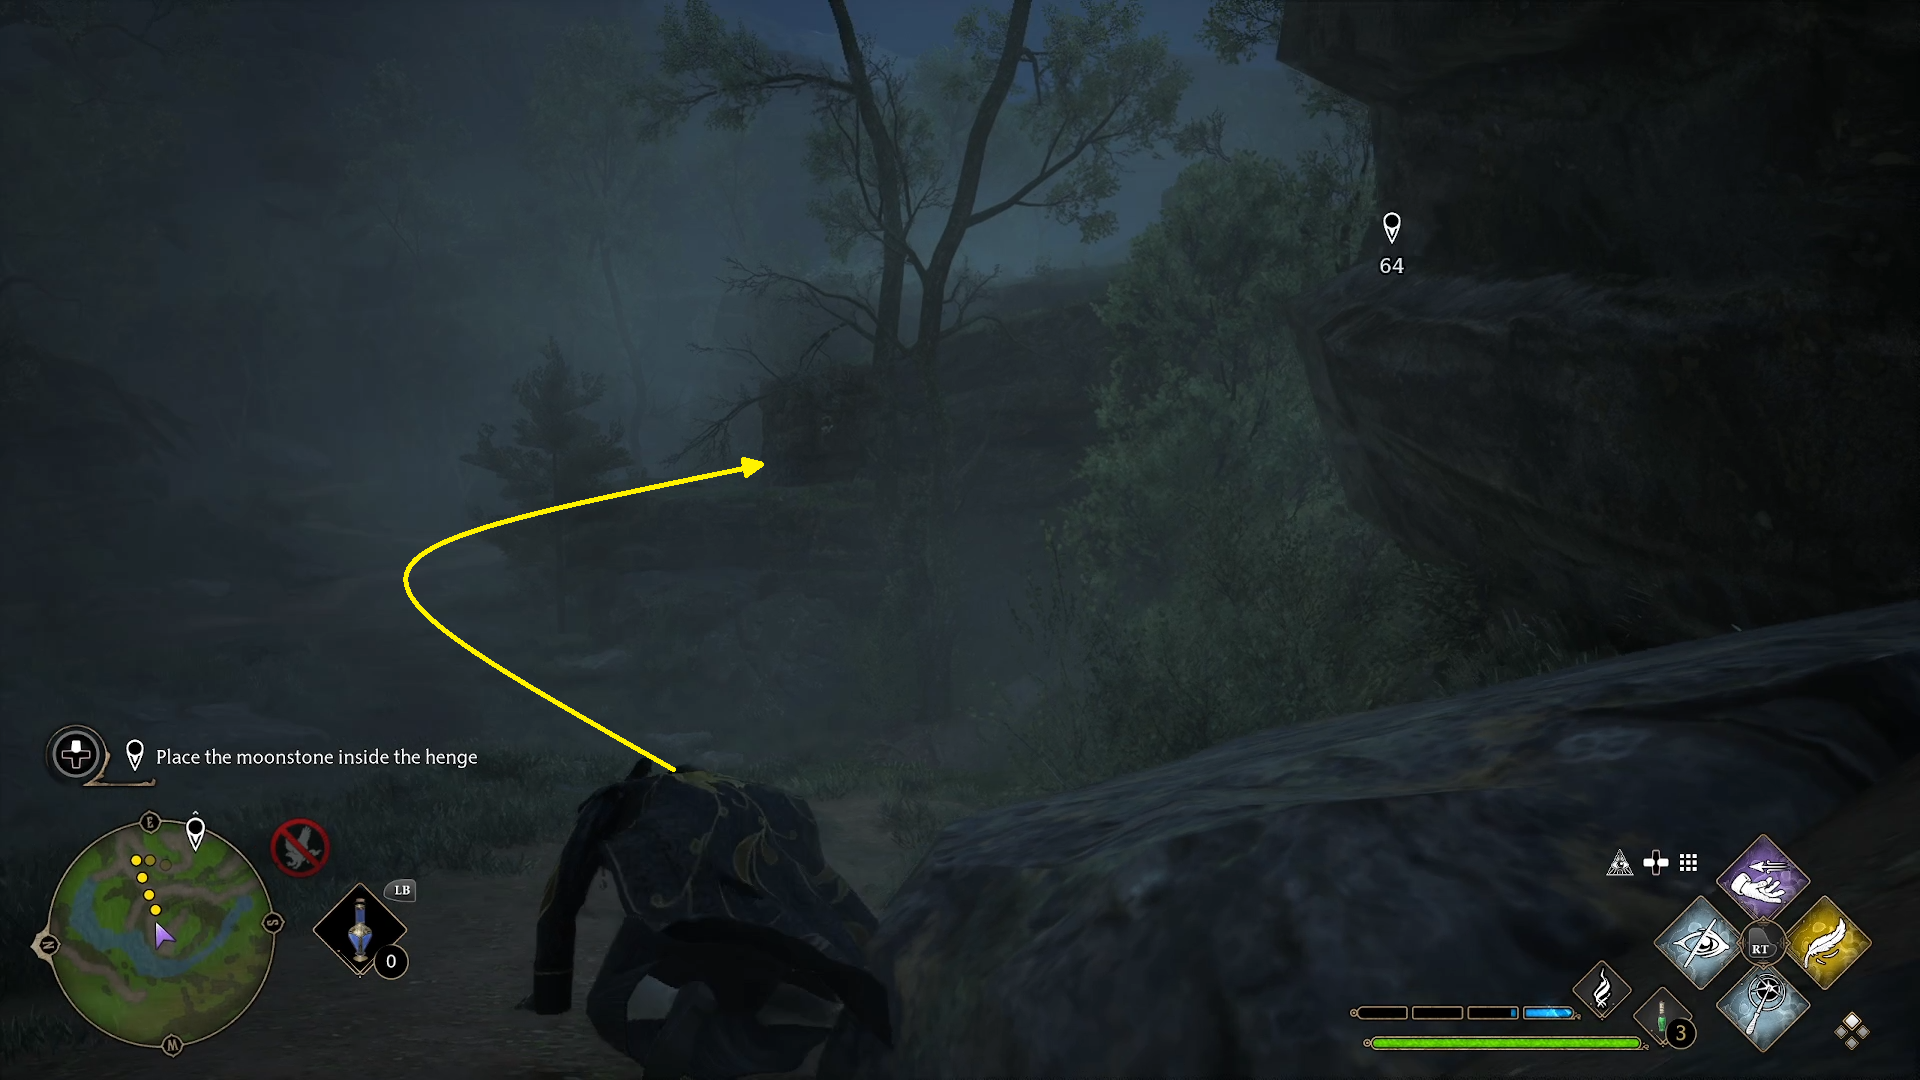
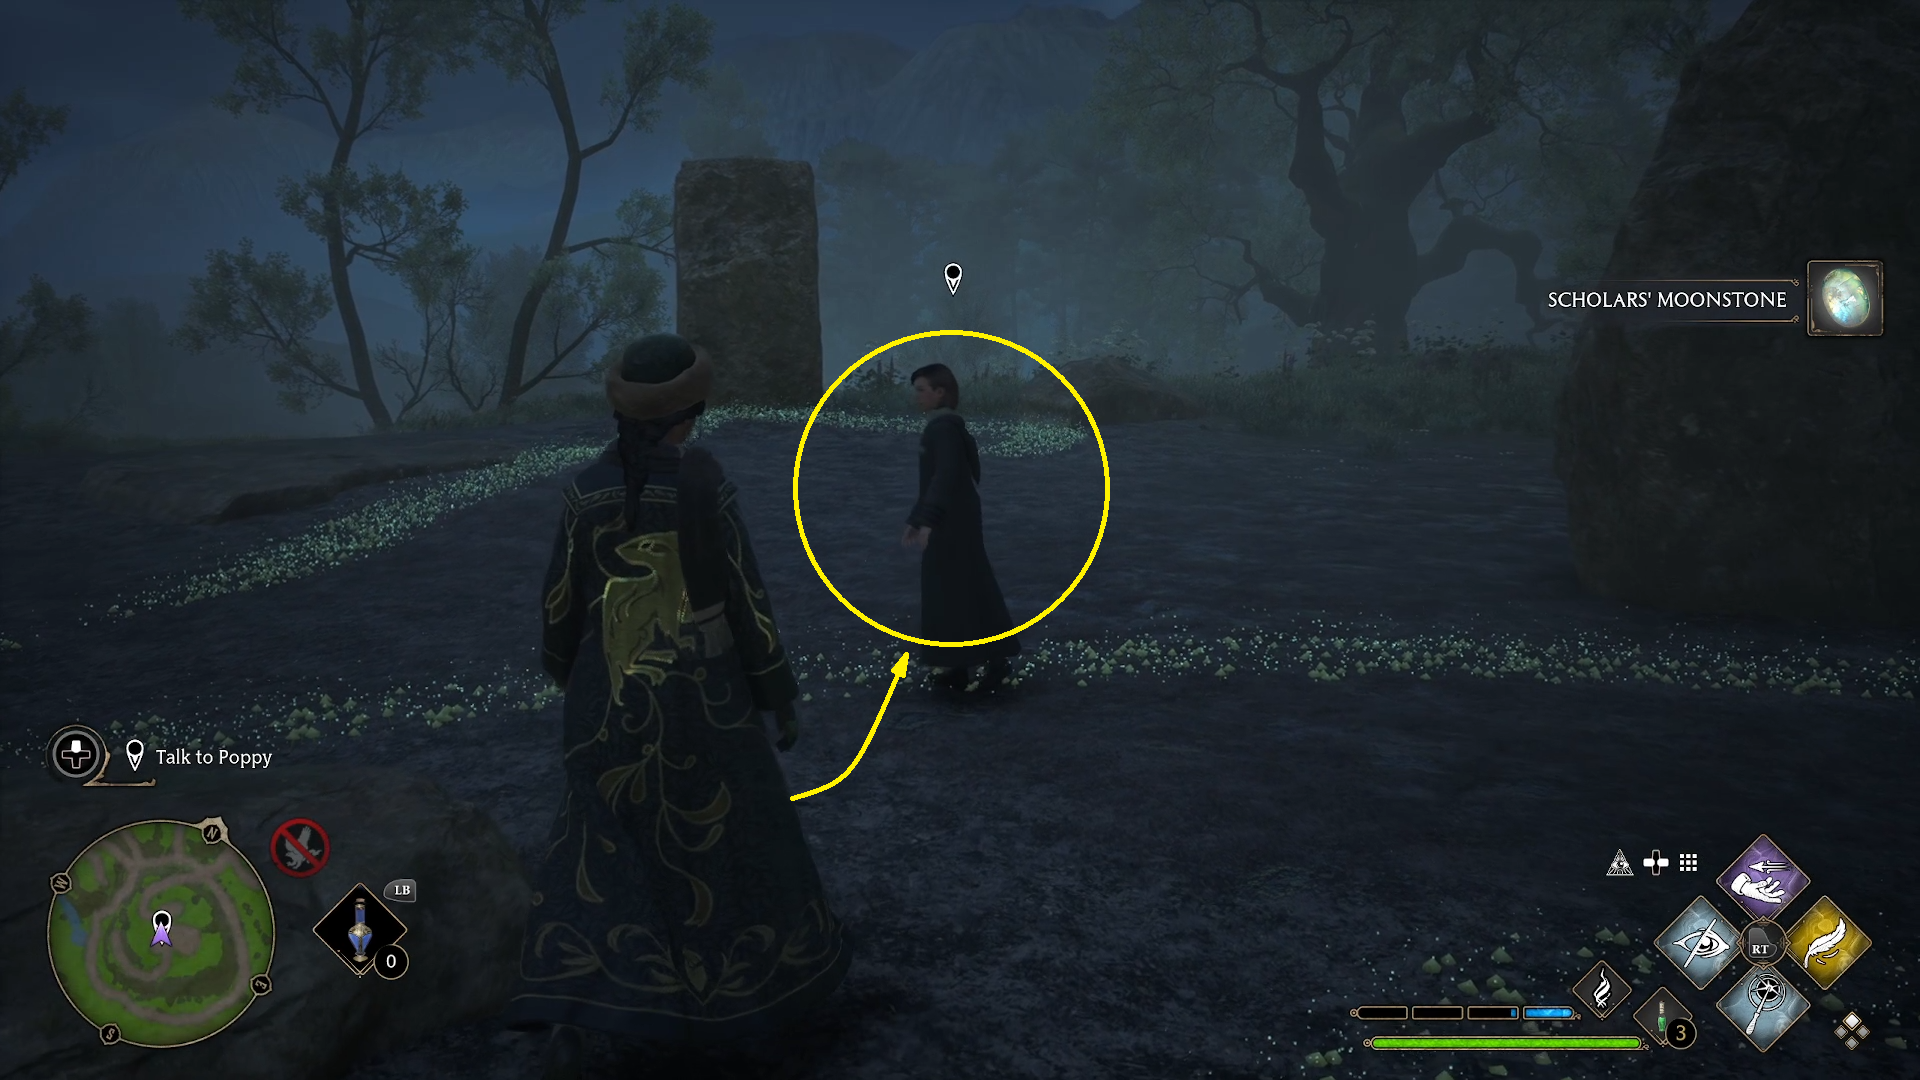
After you grab the Moonstone, you’ll need to talk to Poppy (believe it or not, she has been with you the whole time), who will excitedly take you to the henge where you can use the Moonstone.
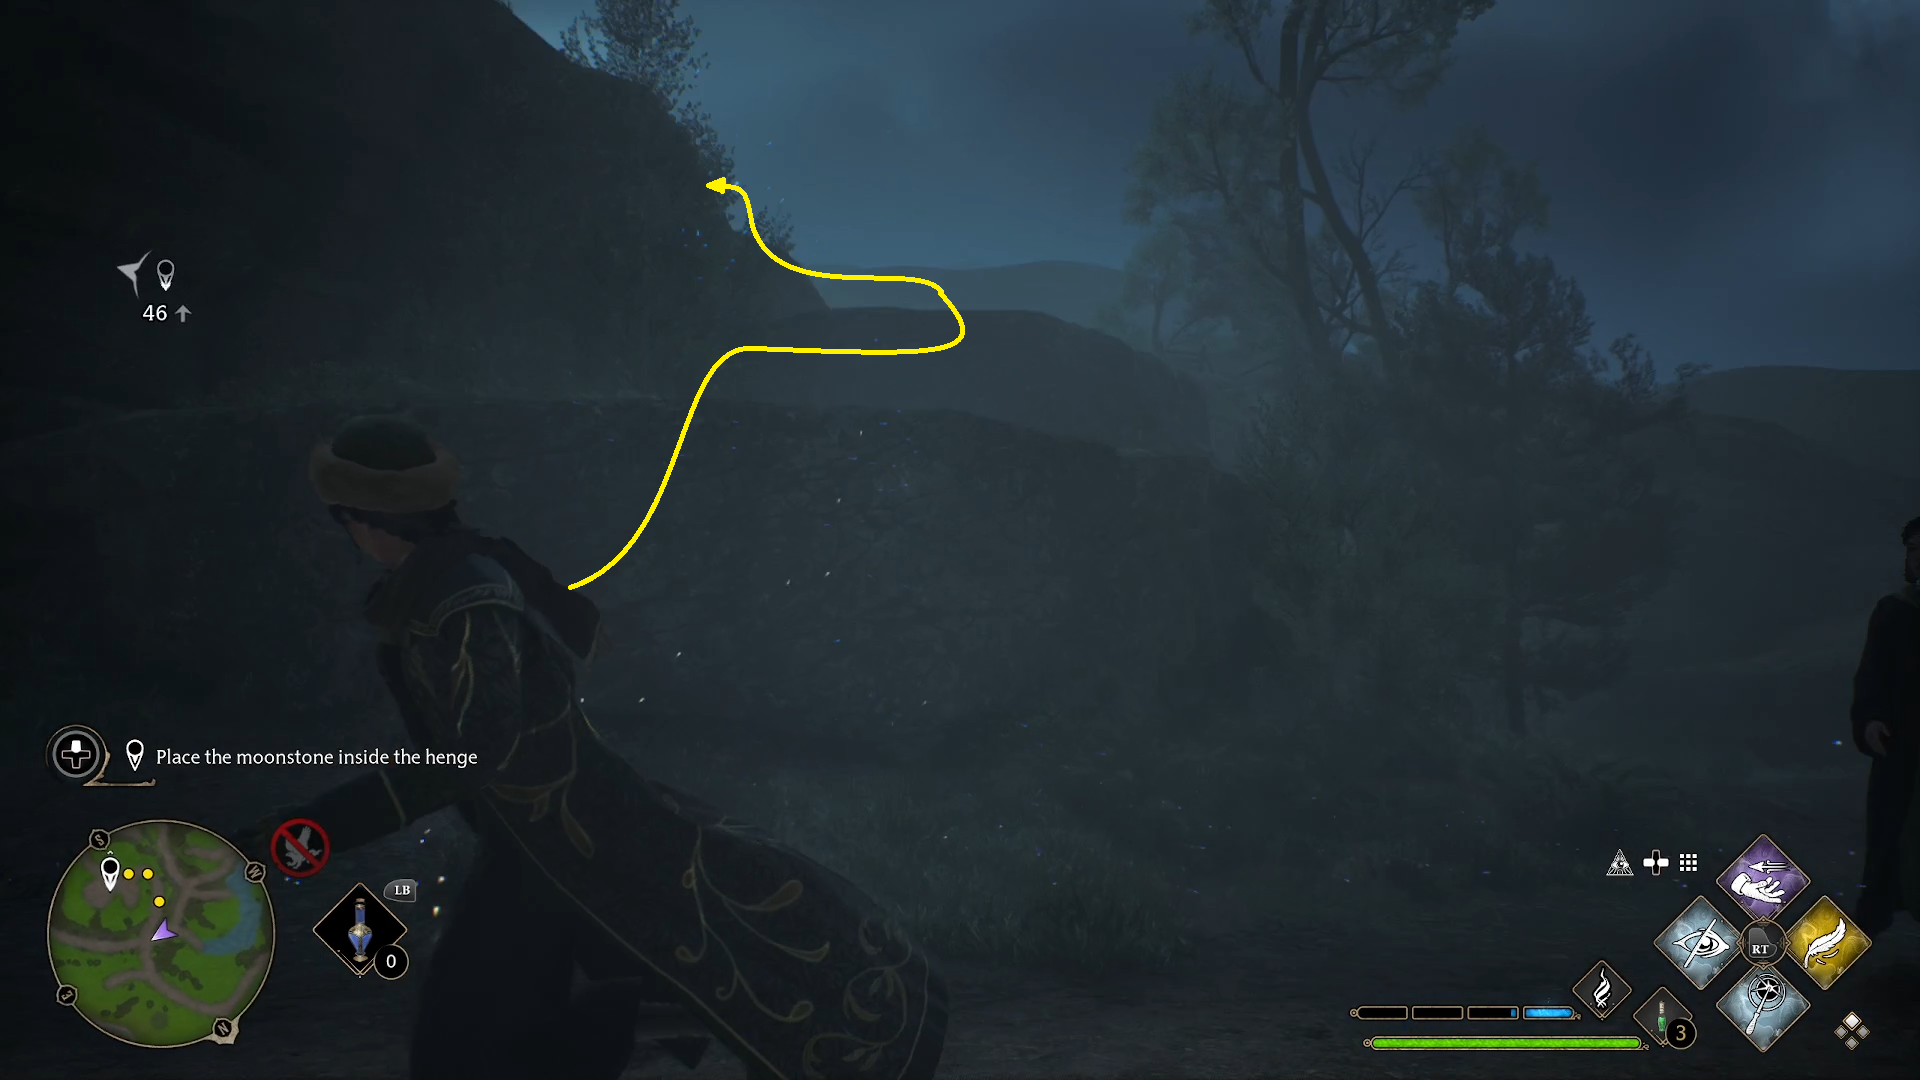
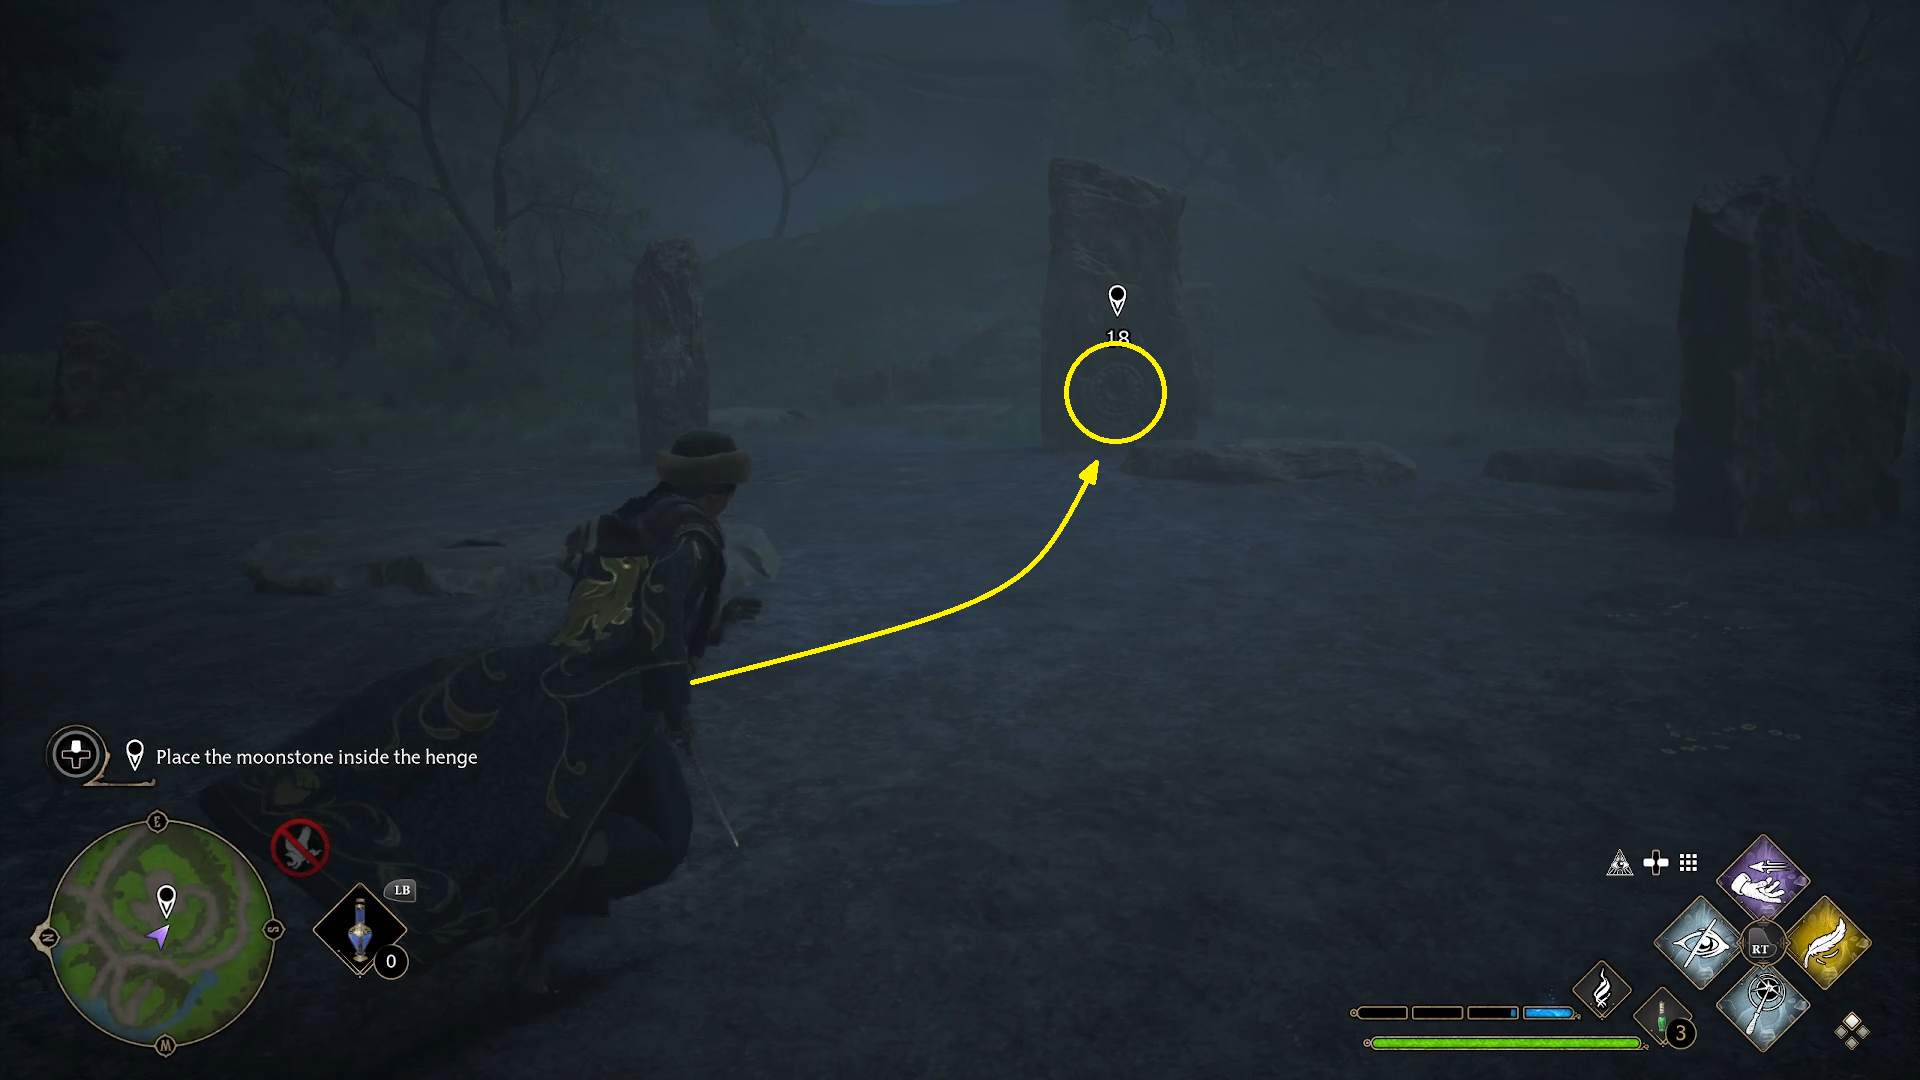
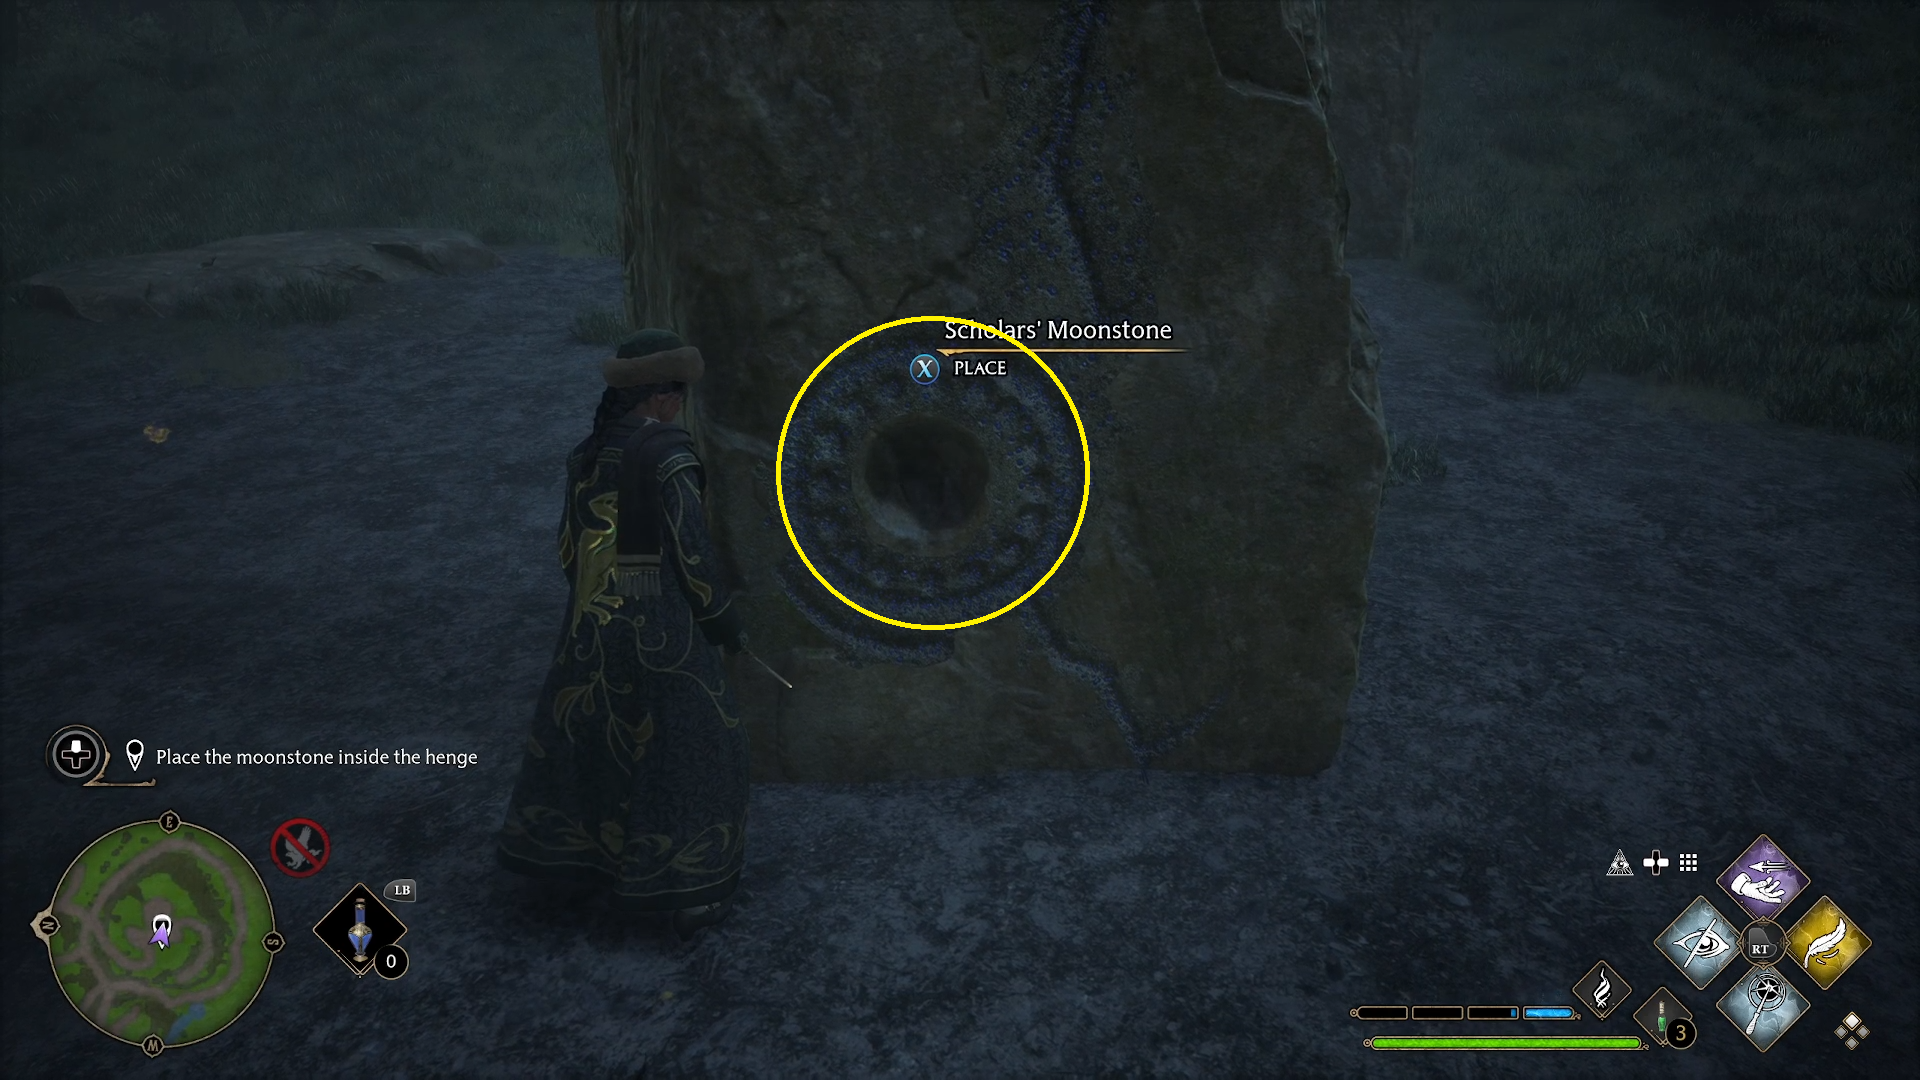
Place the Moonstone Inside the Henge
After the conversation with Poppy, you’ll find yourself at the base of a hill, atop which is a henge. There are some plants in this area, but nothing incredibly valuable. You should make your way to the top of the hill by clambering up its side. Once there, you’ll see a monolith with a Moonstone-shaped hole in it. Upon placing the Moonstone in said hole, a cutscene will play, wherein you and Poppy will get to witness the Mooncalves dance.
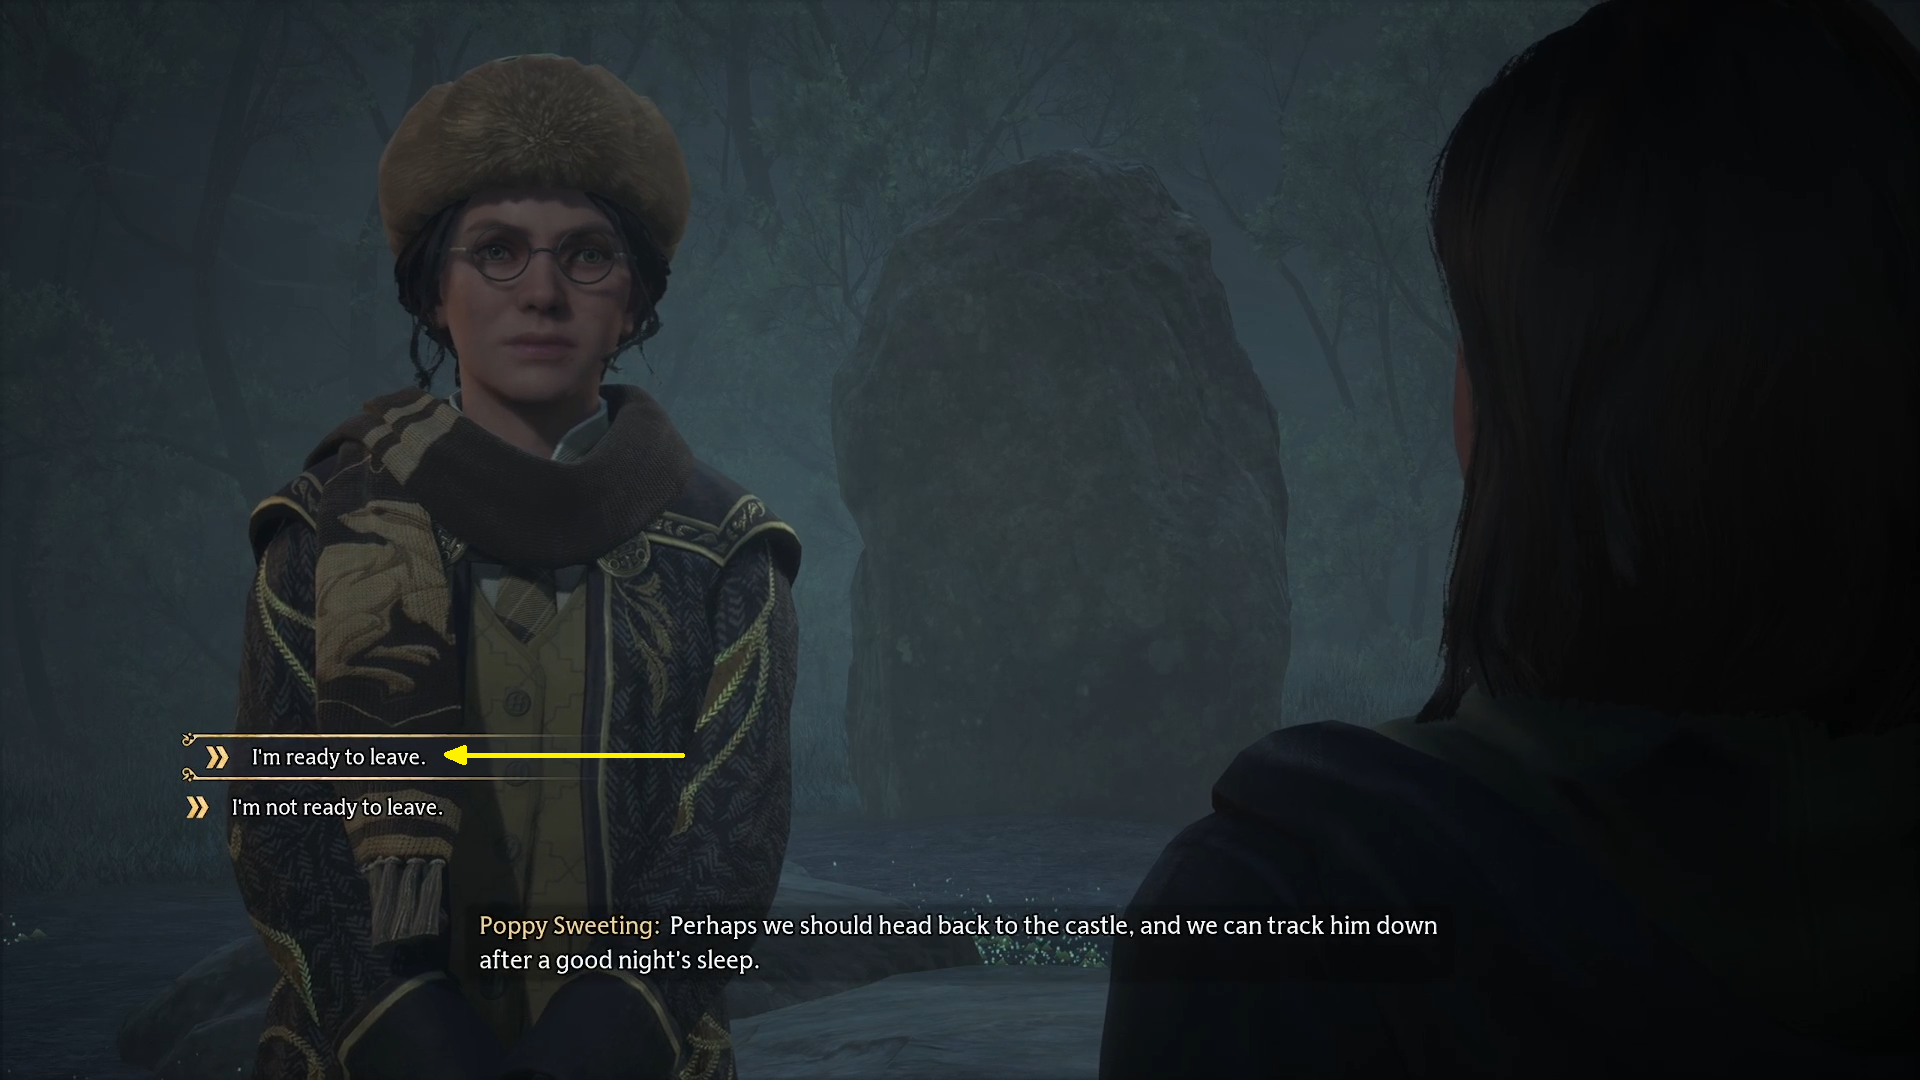
After the cutscene, Poppy will tell you that the dance, and the symbol it left behind, must be the secret to finding the Golden Snidgets. She will begin drawing the symbol they created, giving you a chance to once again explore this unique area. However, once you are ready to leave (and finish the quest), you simply need to speak with Poppy and tell her you’re ready to leave.
Next you know it, you will find yourself back on Hogwarts Grounds, having completed The Centaur and the Stone. Now you’ll just need to wait for Poppy to decipher the drawing and make contact with the Centaurs again, so that you can find and rescue the Golden Snidgets.
Graves is an avid writer, web designer, and gamer, with more ideas than he could hope to achieve in a lifetime. But, armed with a mug of coffee and an overactive imagination, he'll try. When he isn't working on a creative project, he is painting miniatures, reading cheesy sci-fi novels, or making music.


