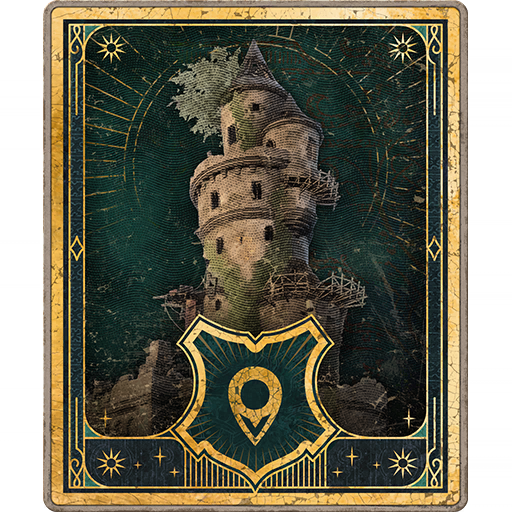
In this walkthrough of the Main Story quest “Lodgok’s Loyalty”, we’ll guide you as you delve into yet another mine, this time in search of Lodgok. He’s sent an owl asking you to meet him, but when you reach the entrance, he’s nowhere to be found…
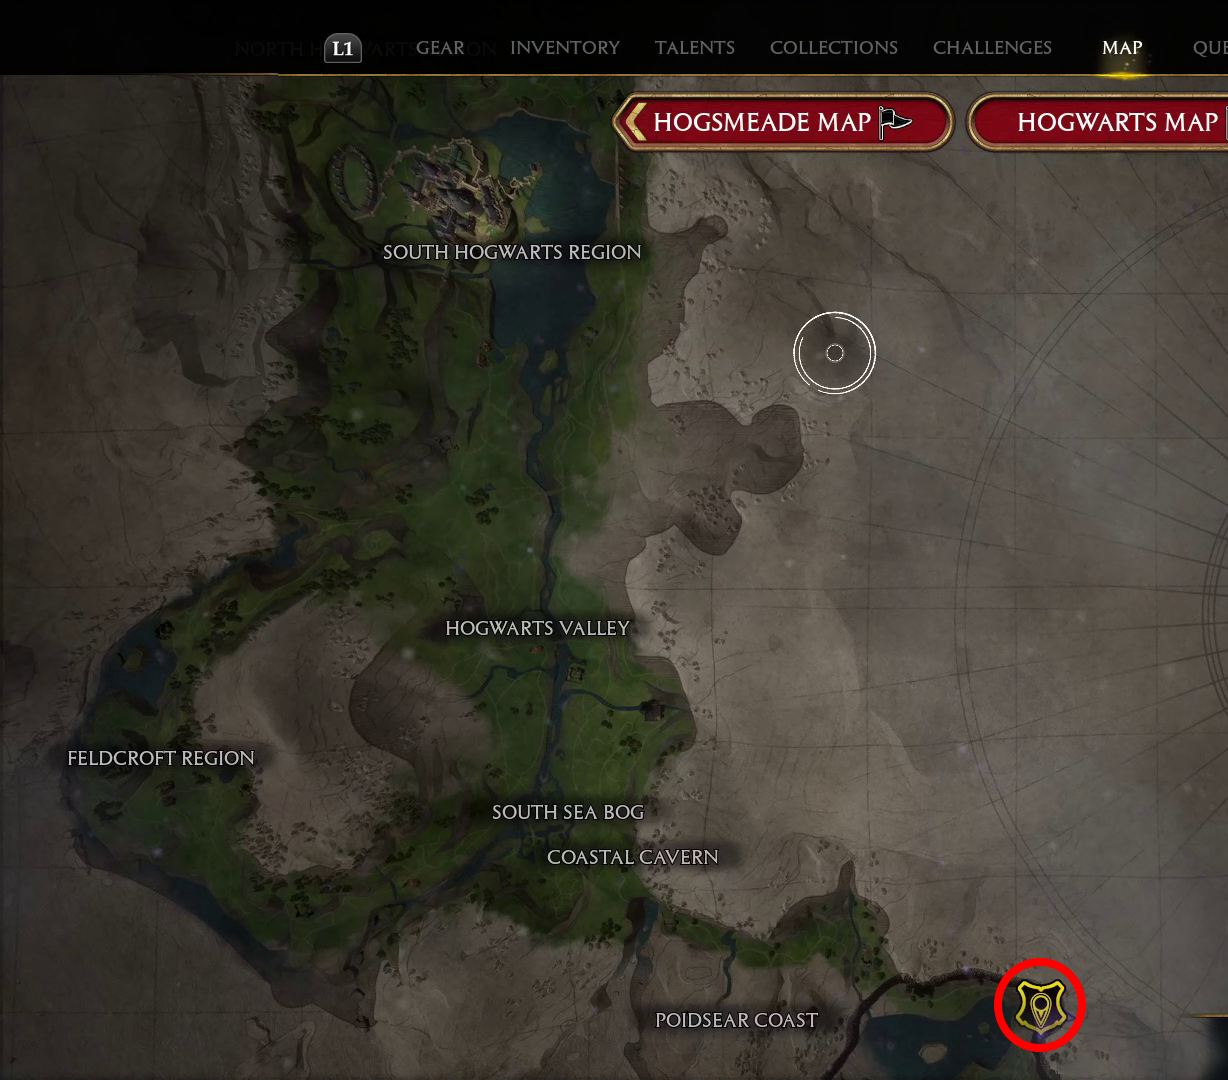
This quest begins fairly close to where you met Sebastian in the previous quest: on the eastern edge of the Marunweem Lake region. As always, do your best to find the closest Floo Flame you have, then fly the rest of the way to where the objective marker indicates. Note that you can’t fly from the Tower Tunnel Floo Flame, so don’t bother fast traveling there. Once you get close to the mine’s entrance, there will be some enemies, including a troll.
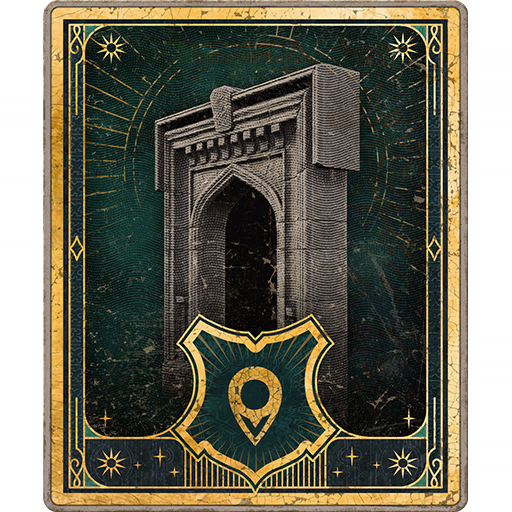
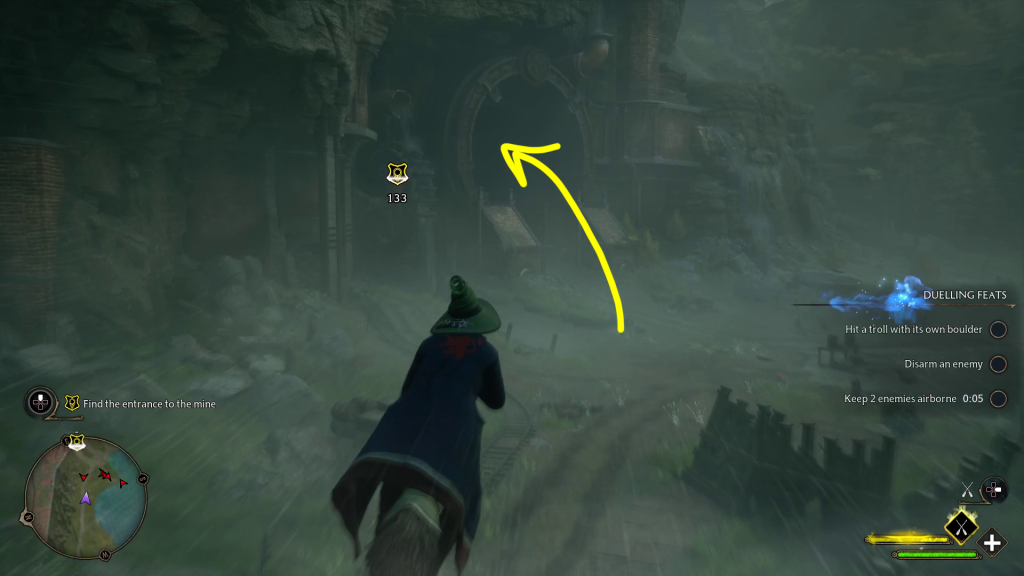
Enter the mine
You can fight the enemies if you want, but you can also simply fly over their heads and into the tunnel — at the far end of it on the right is a dark hallway that leads to the mine’s entrance — hold / to enter The Coastal Mine.
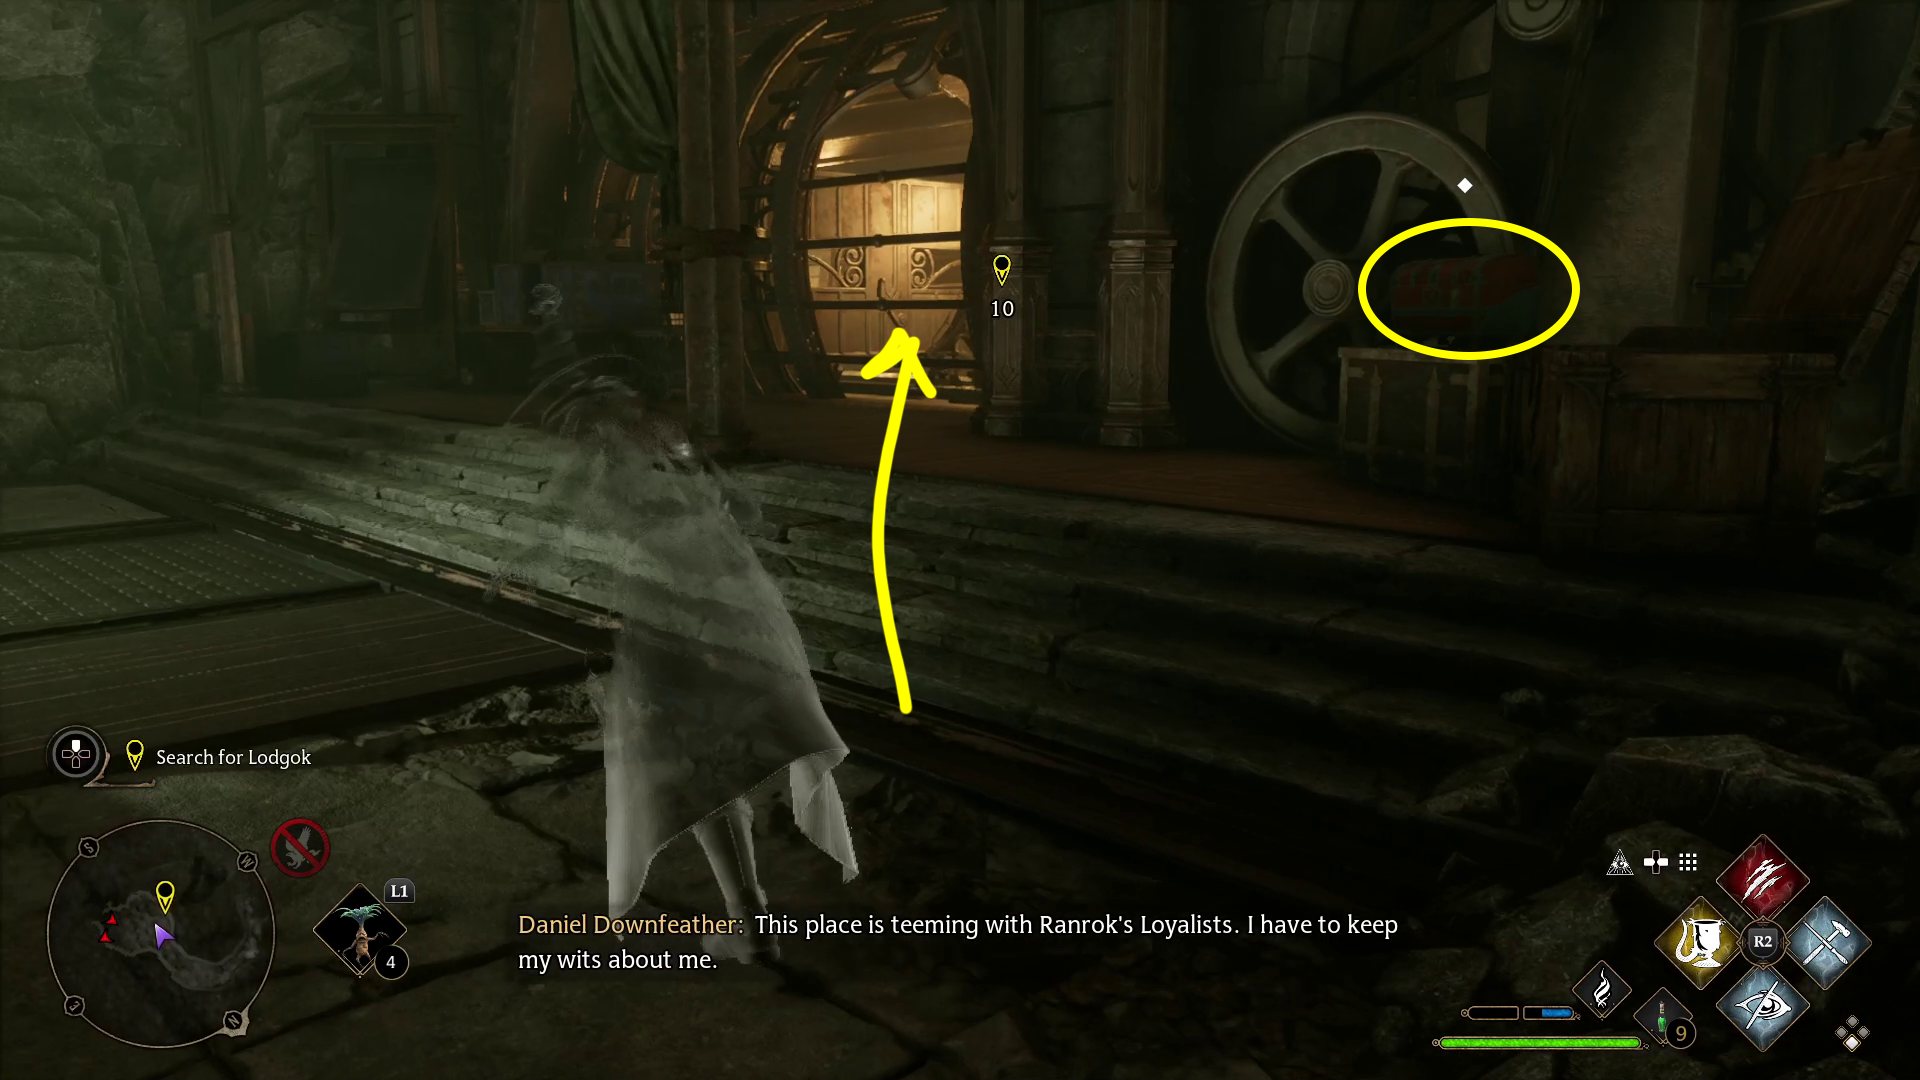
Search for Lodgok
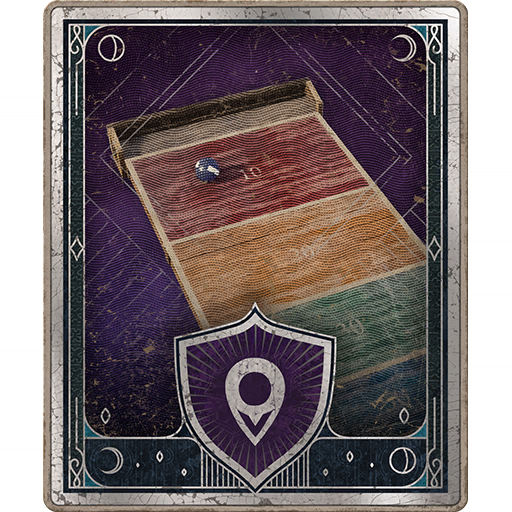
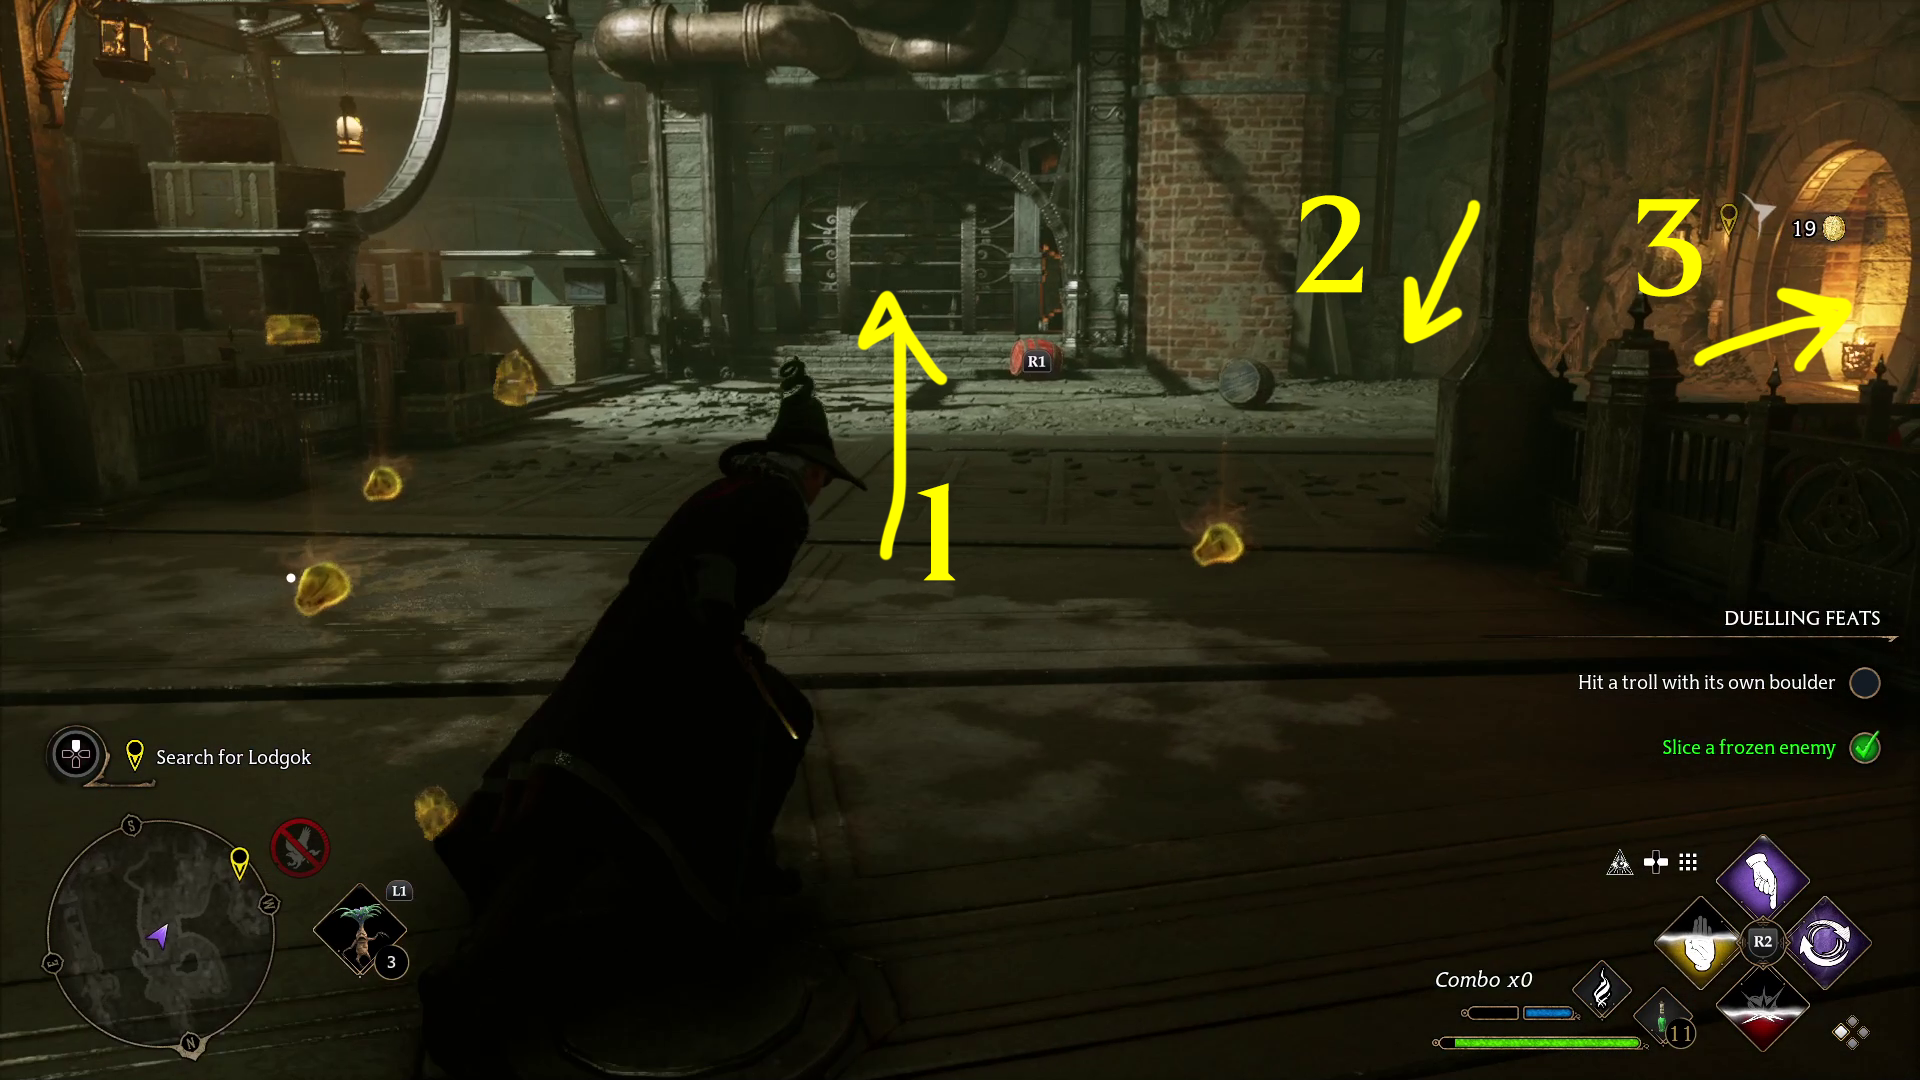
Inside the mine, head east down the stairs, then cast Disillusionment before continuing around the corner — there are two goblins guarding a mine cart. You can choose to take them out, or just open the chest on the right and get on the mine cart without fighting (1). Whatever you choose, you’ll need to approach the mine cart and hold / to ride it.
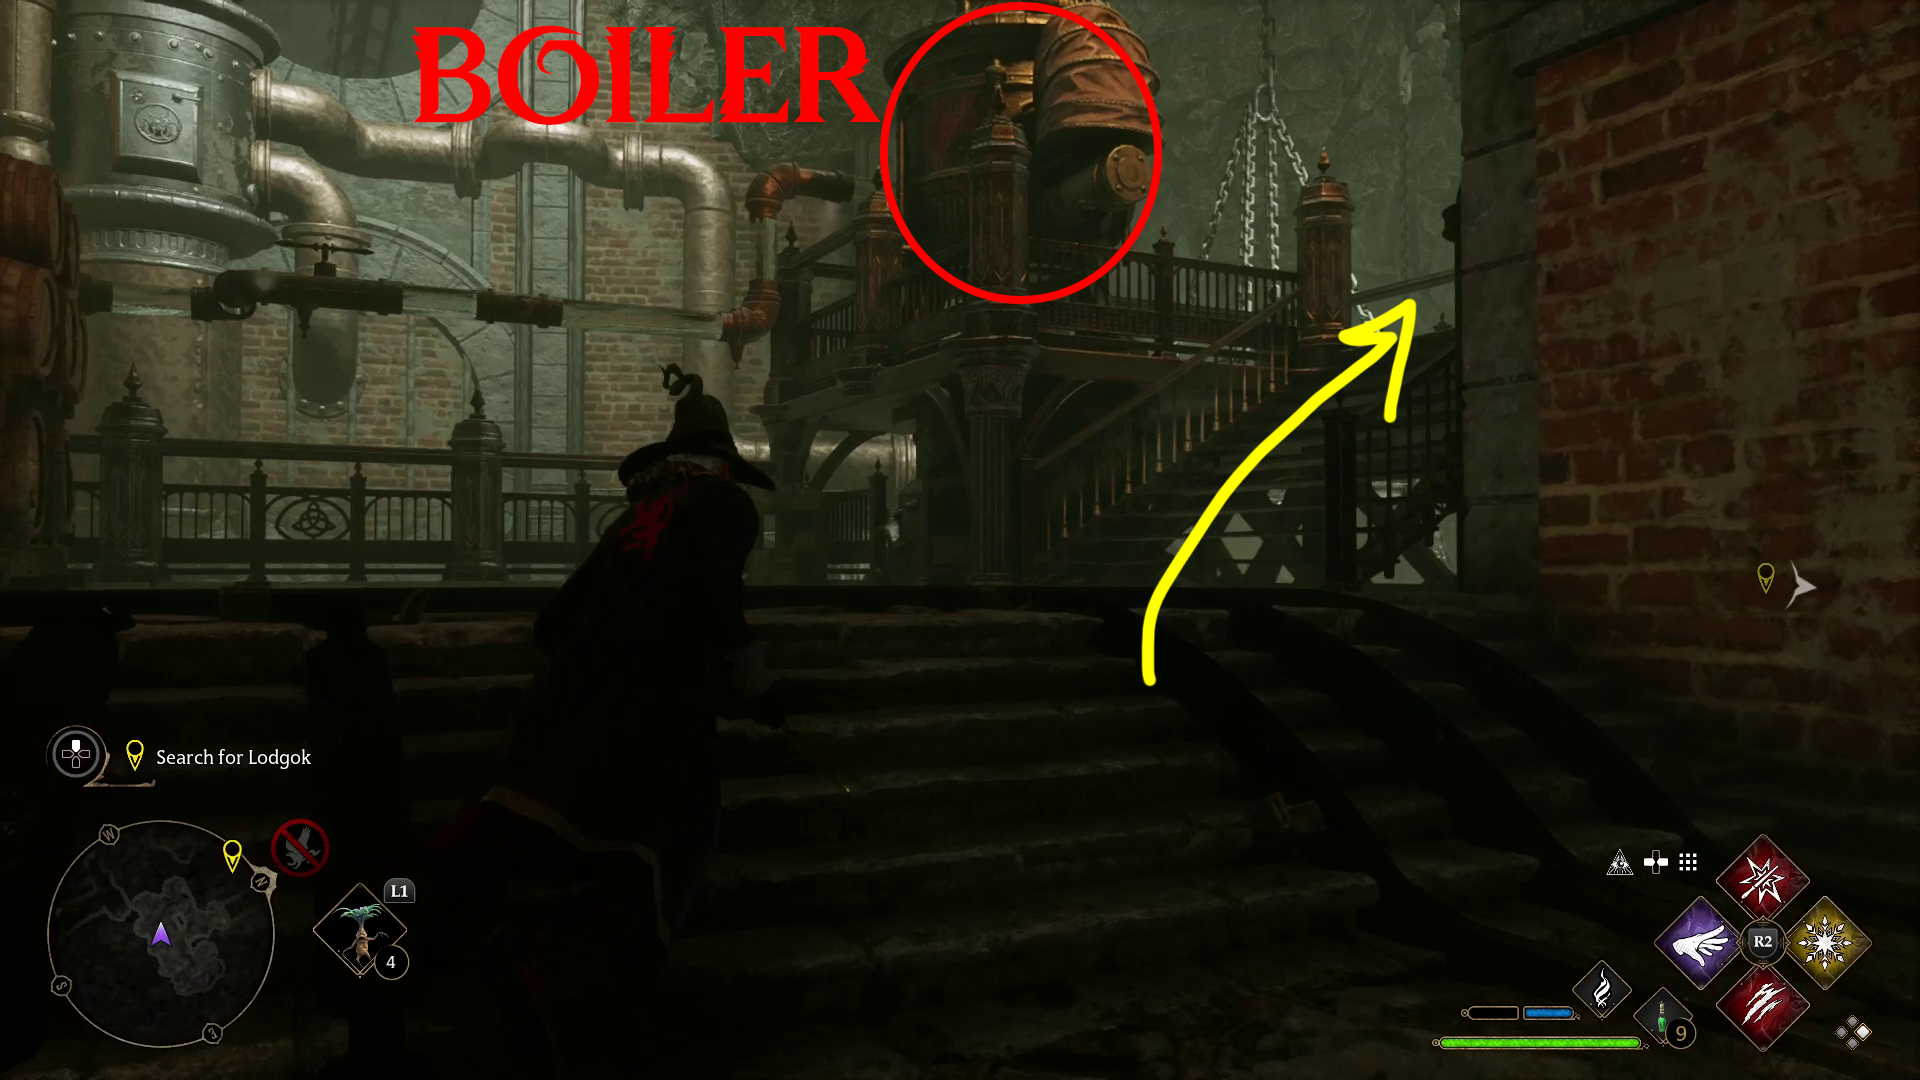
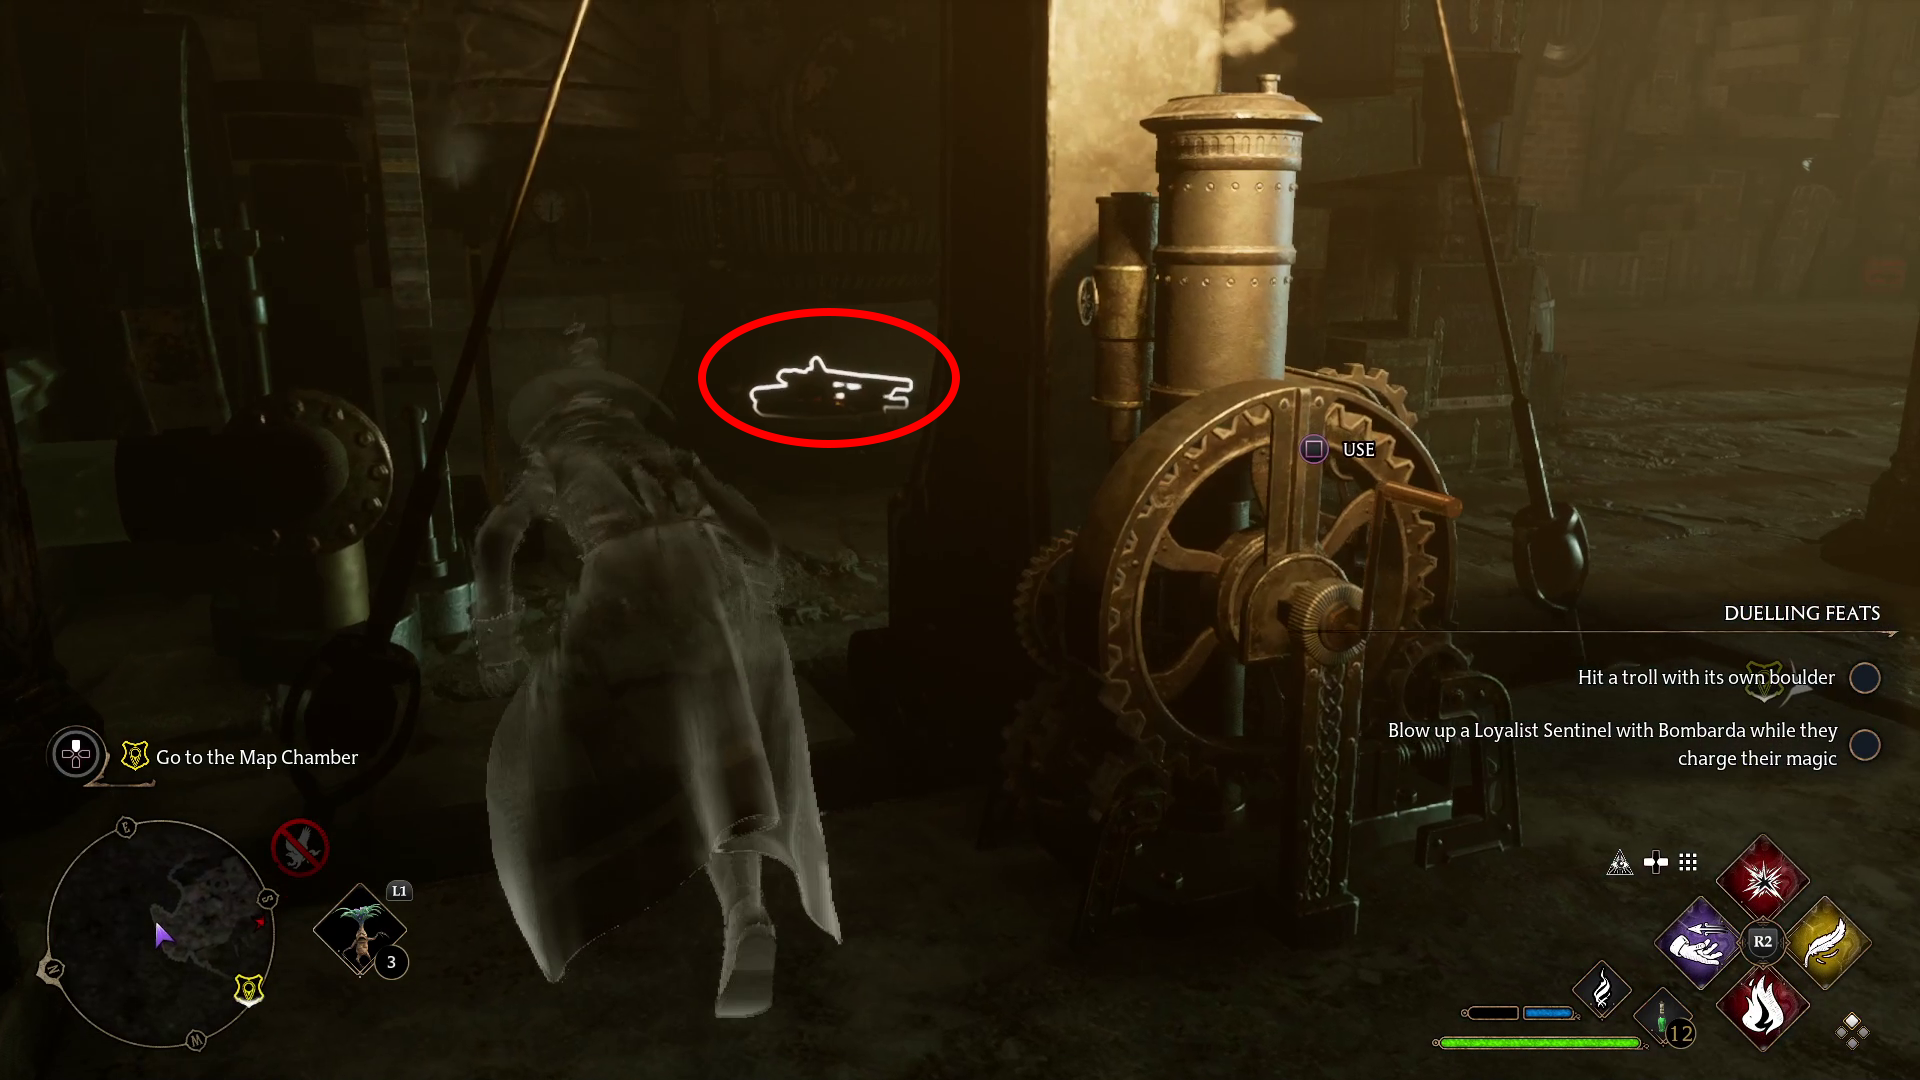
When the ride stops, loot the coins from the nearby table, then go west up the stairs. Turn right and go up another set of stairs (2) — on your left will be a boiler. Light the logs in it with Incendio (this will matter later), then head east and turn left (north).
12
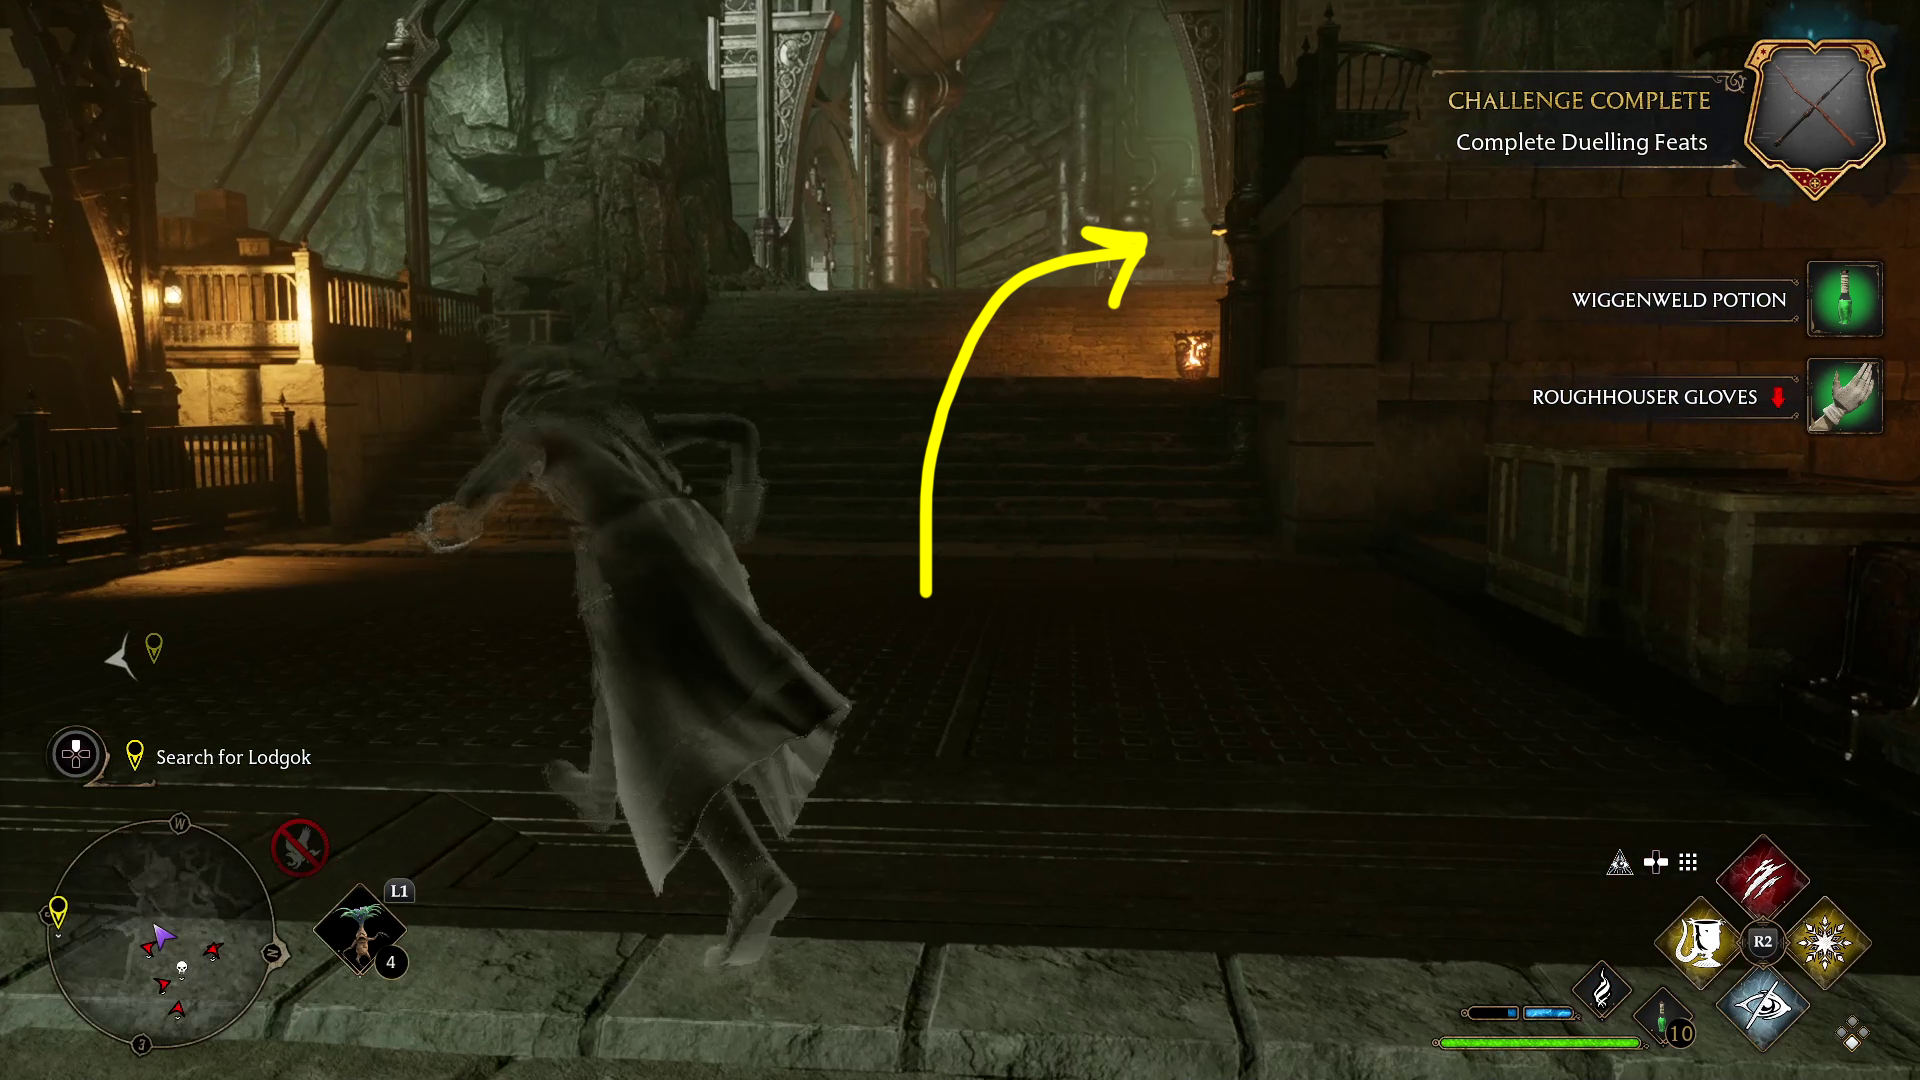
Ahead is a familiar sight — a platform you need to pull to yourself with Accio. Do so, stand on it, then pull yourself across the gap. Continue forward up the stairs and onto the bridge. You’ll need to cast Disillusionment to avoid being spotted here. At this point, there are a few optional paths before the main route.
First, finish crossing the bridge and go right. You’ll see a crate on a ledge — cast Accio on the crate, then move it to just below the ledge and cast Levioso on it, then use the crate to climb up the ledge. Continue forward and get the Moonstone from the walls, and you’ll soon come to a locked door that requires Alohomora level III. If you have it, you can unlock the door and head inside, where a chest is hidden behind a beam you need to destroy with Bombarda.
Go back the way you came, and this time head through the doorway (see route 2 above), Petrifying any enemies that get in your way. Light the boiler with Incendio, then go down the stairs and get on the lift that appears (1). Use the controls on the right (/) and ride down, making sure you’re invisible as you do so. Here you’ll find an infamous enemy, plus a lot of goblins and a troll. You can fight them, or alternatively just do a loop on the outer edge of the room, grabbing the loot and opening the chest in the back. Once you’re back at the lift, light the boiler on the east side of the lift (2) and then ride it back up.
12
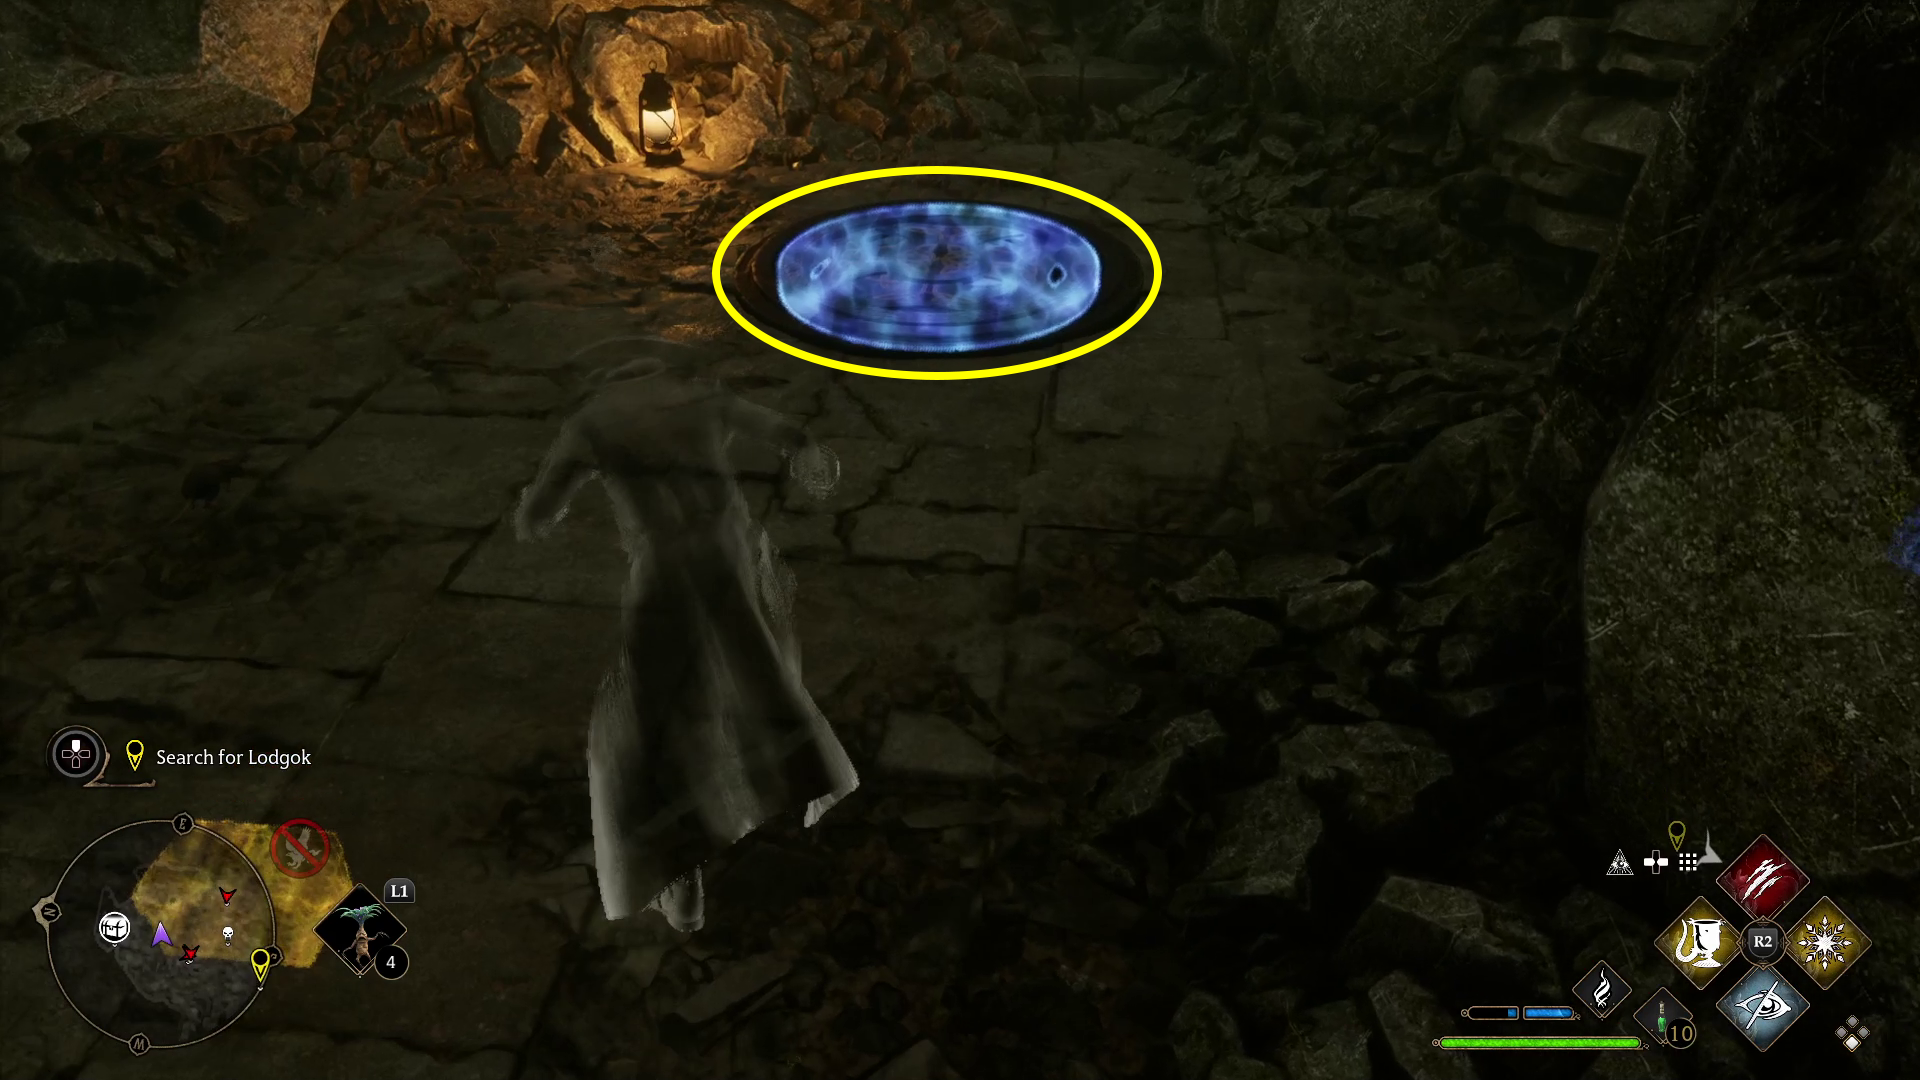
Make sure you grab the chest on the near wall between the two doorways, then head out of them (south) and immediately turn right. Go up the two sets of stairs (1), then continue to the far wall — on the right are some stairs. Head up them, loot the chest on the left, then climb up the ledge to the east. Climb up the next ledge as well, then keep going forward and up a final ledge, where you’ll find a circular plate on the floor (2). Cast Accio on it to reveal a ladder, then climb down.
12
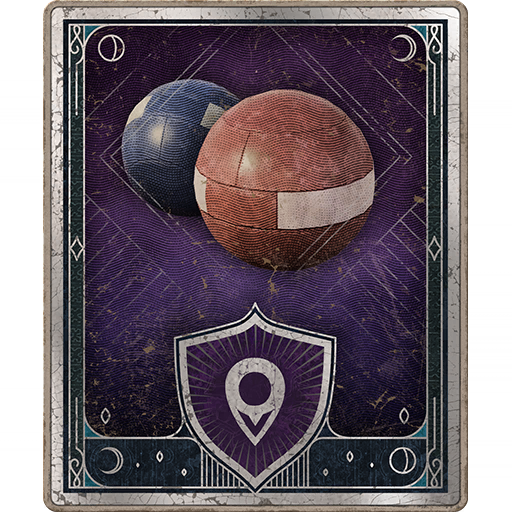
Cast Revelio to reveal the loot in the room, grab it, then head through the door on the southern wall. You’ll find another chest on the right, and then you can go left and onto the conveyor belt, which will bring you back to the bridge. From here, head west-southwest (1) to the metal arch. Look south and pull the large platform to you with Accio, stand on it, and pull yourself across the gap the same way — you’ll probably want to cast Disillusionment before you reach the other side.
There are a number of goblins ahead, but you should be able to take out at least a few with stealth. You can also use the big stone pillar just to the right of where the lift is as cover (2), potentially even retreating there and losing their attention if the fight isn’t going well.
12
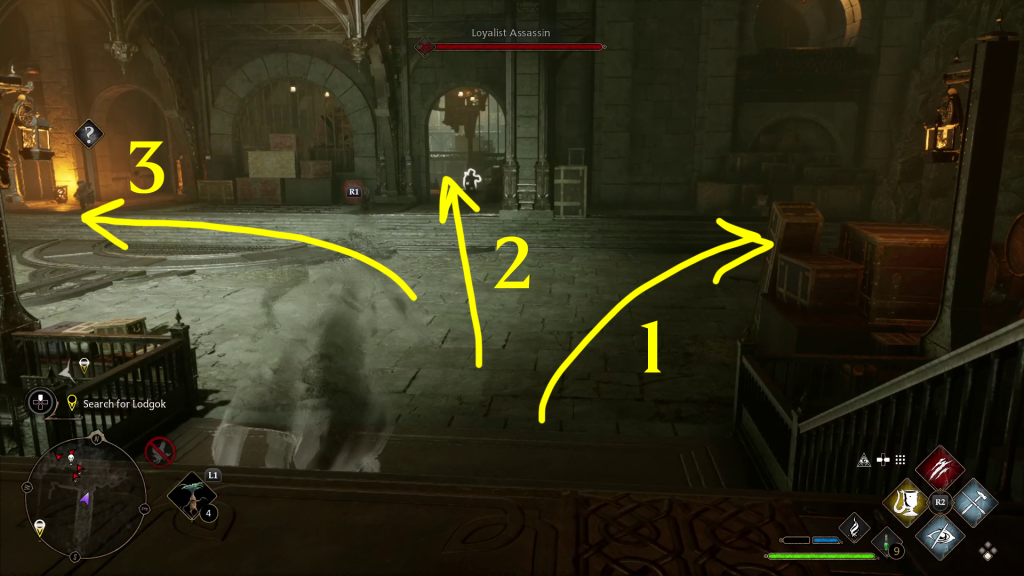
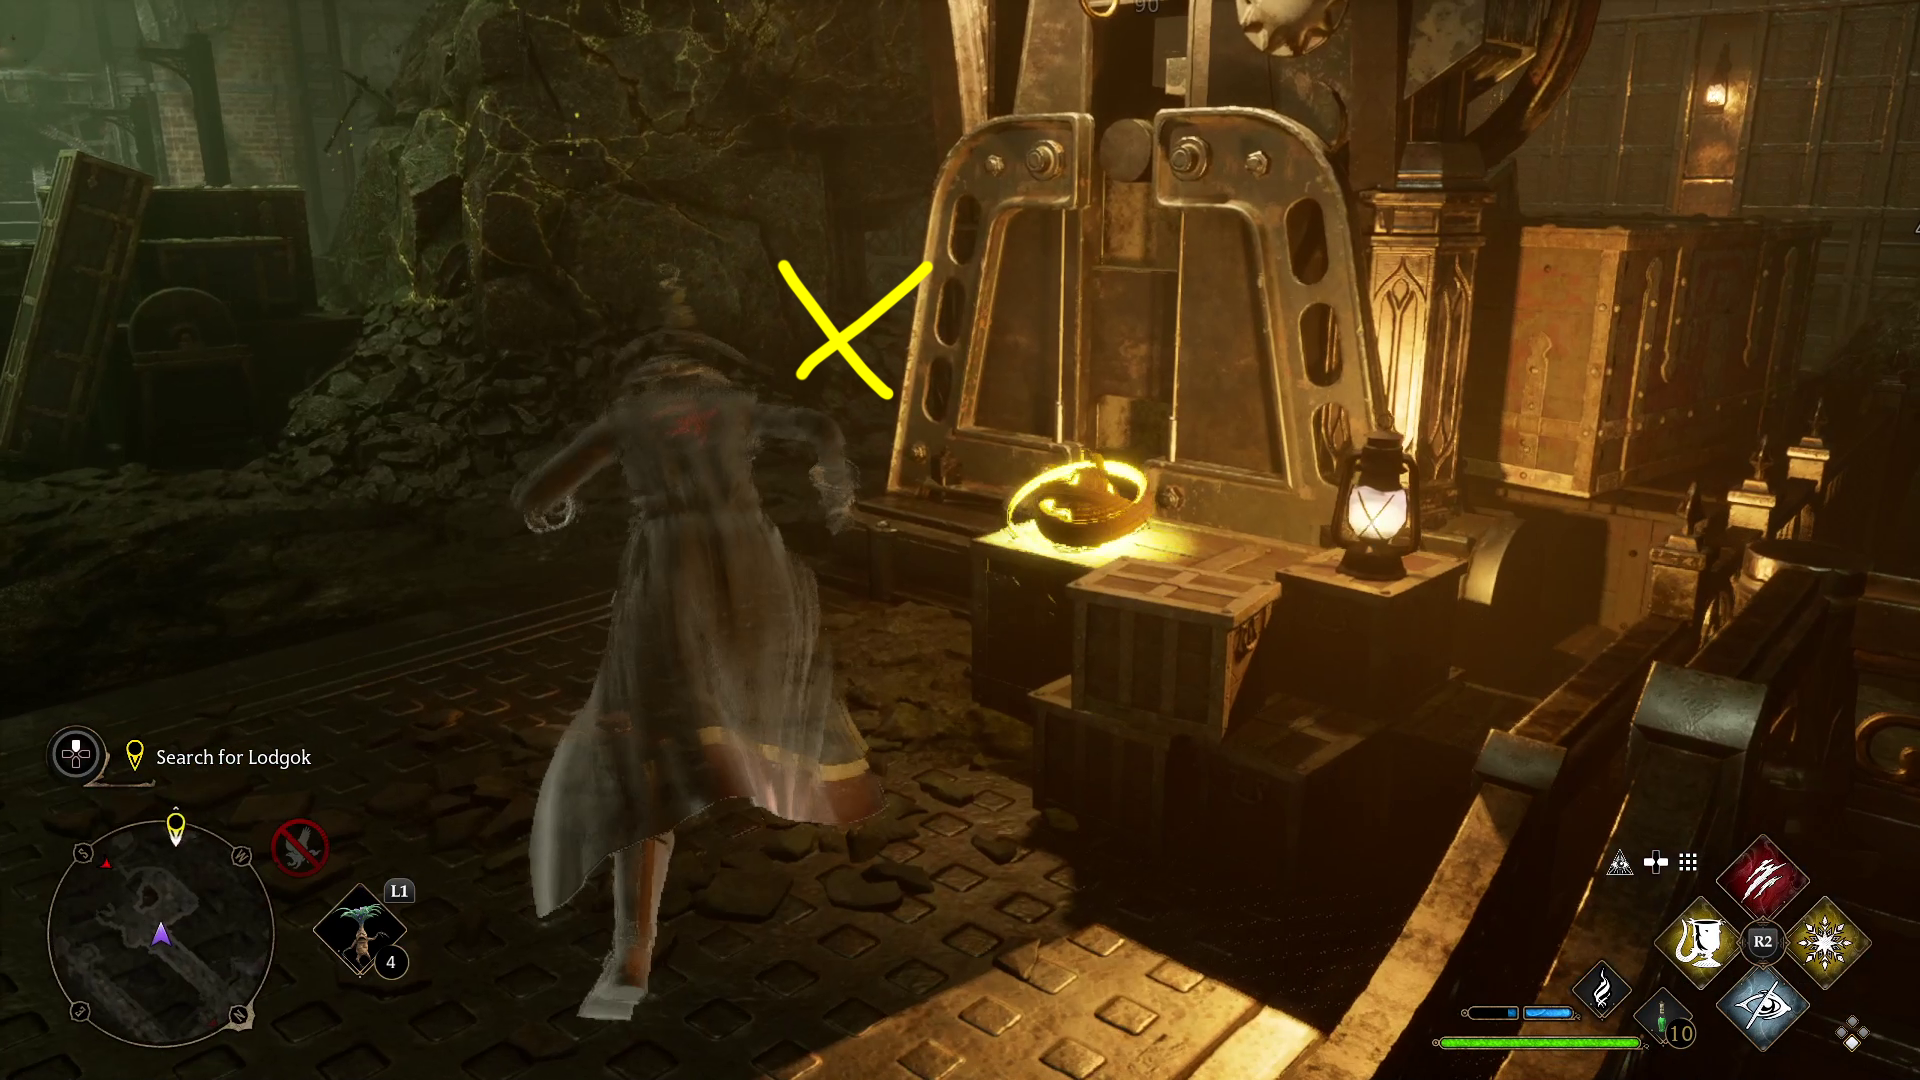
After defeating all the goblins, there are once again a number of optional paths. There’s also quite a bit of loot around, including a chest near the mine cart, so use Revelio to make sure you snag it all before proceeding.
1 and 2 are optional paths, 3 indicates the way forward
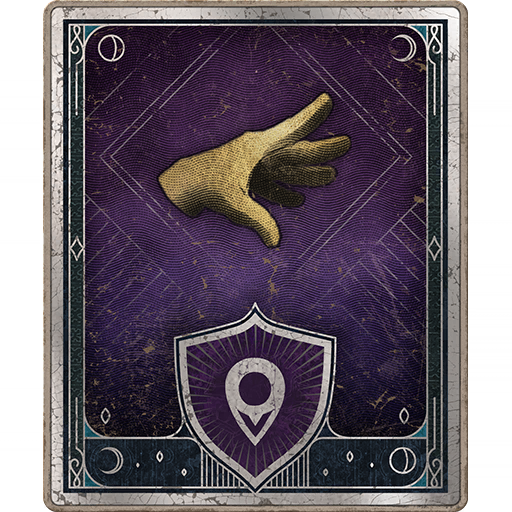
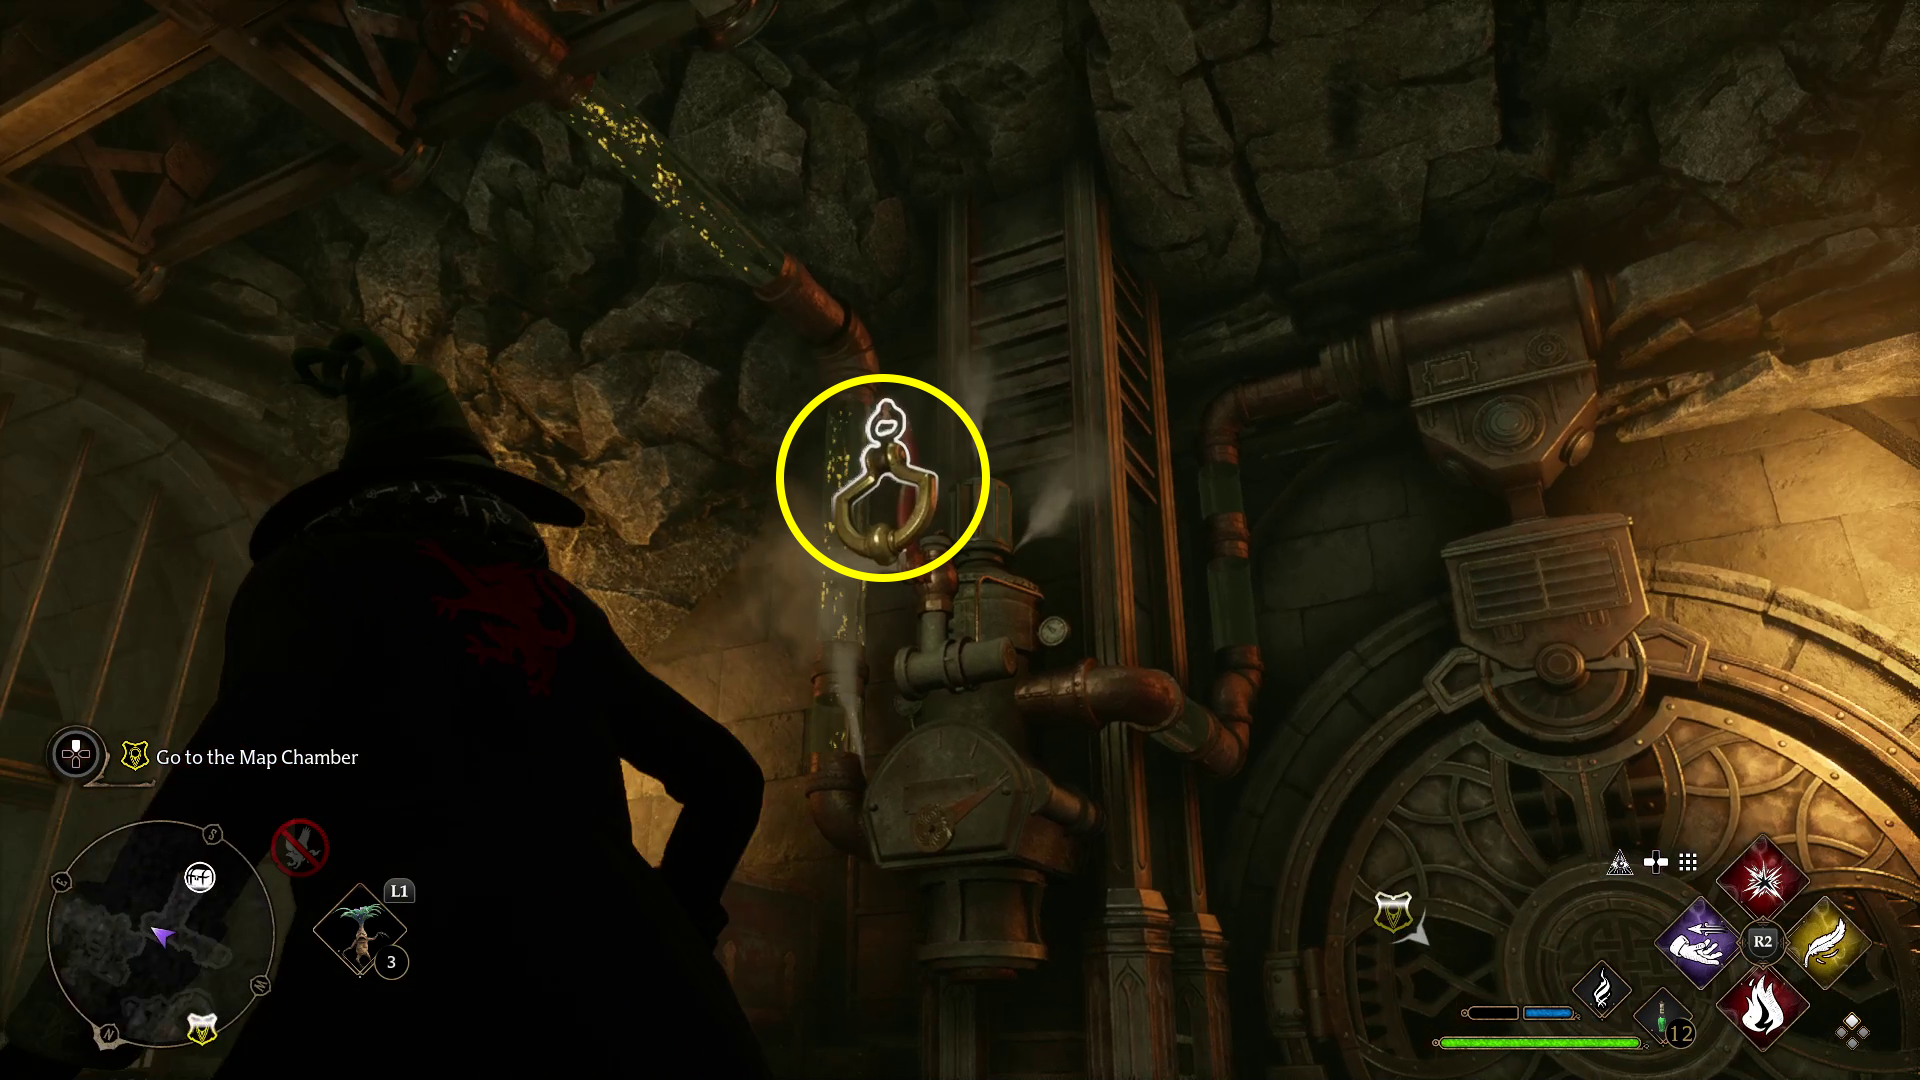
Then take path 1 as indicated above, walking up to the mine cart and holding / to ride it. When the ride ends, head east and you’ll find the door that’s connected to the boiler you lit at the start of the quest. Cast Accio on the handle above the door (1) to unlock it, then head through and open the Collection Chest. Go back to the mine cart and get on it to go back the way you came.
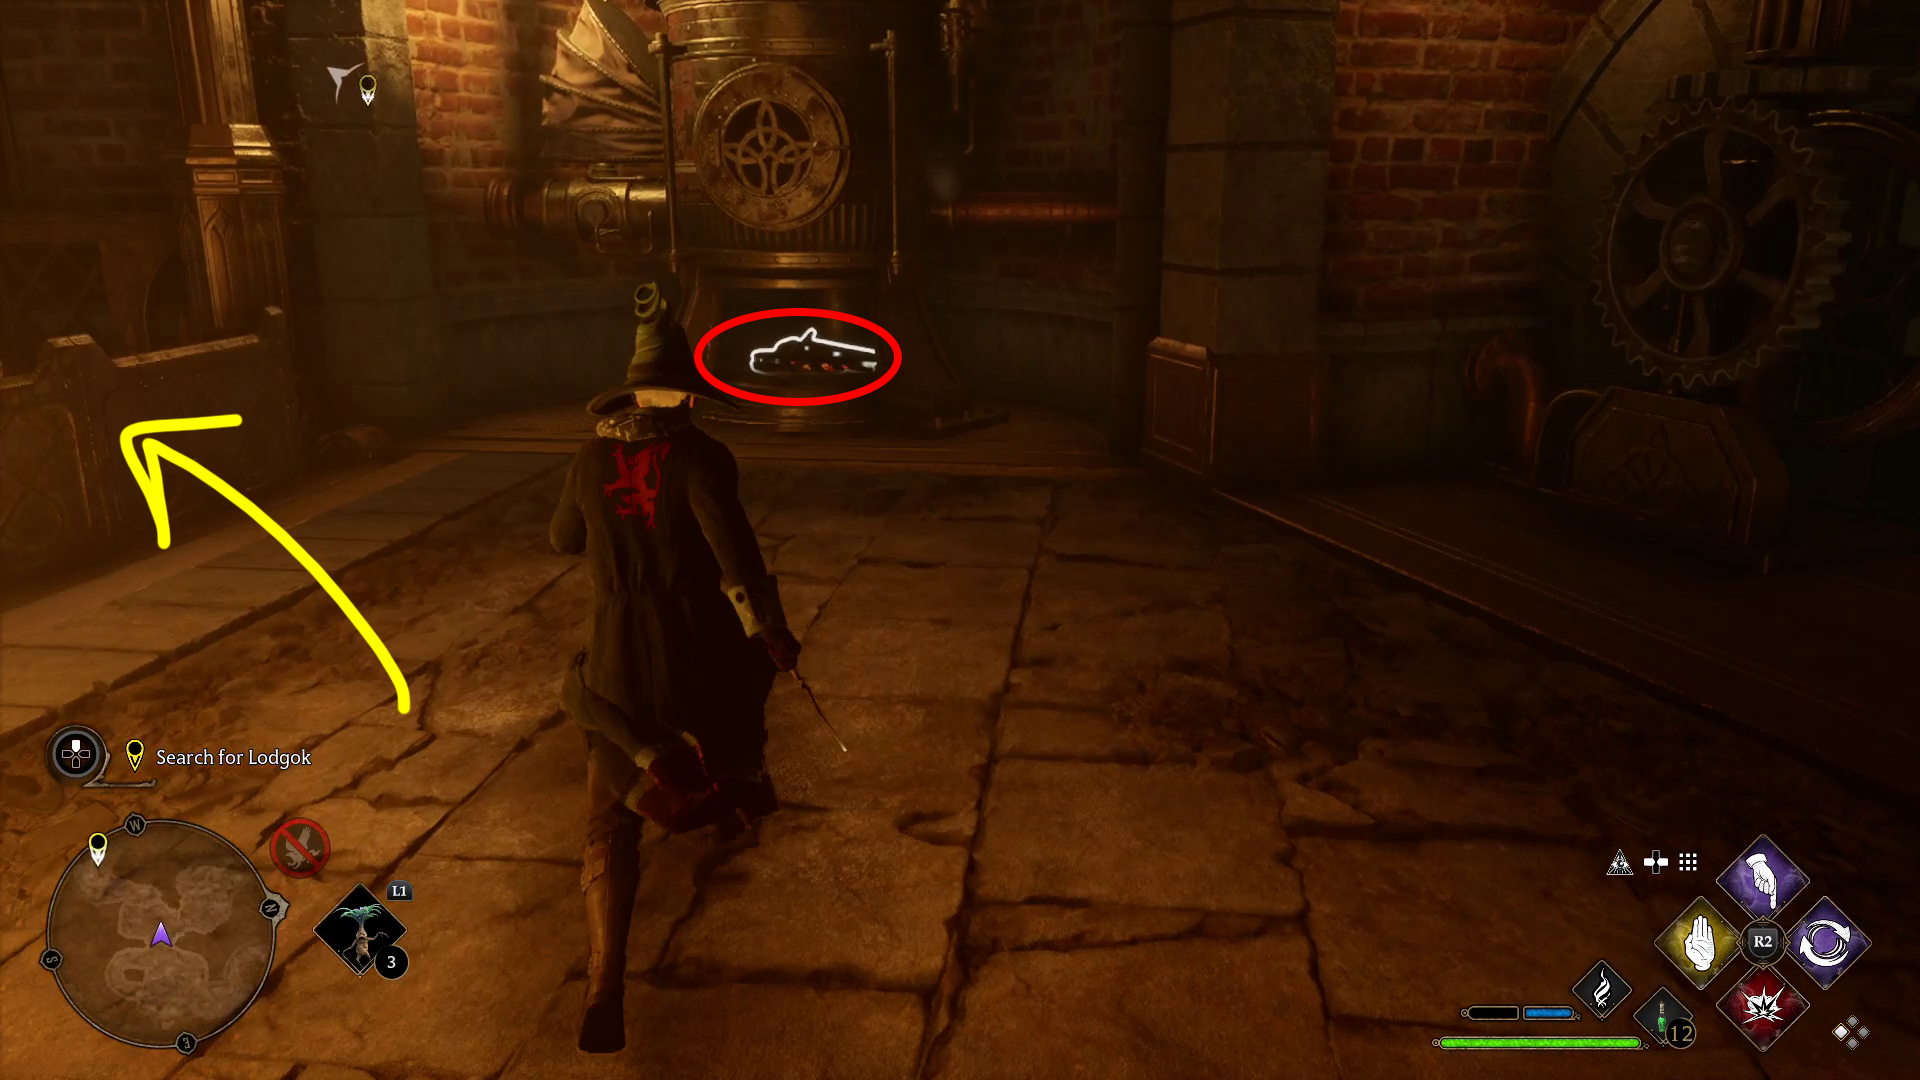
Next, go left down the nearby stairs (as in path number 2 above), and cast Revelio when you get to a dead end — on the right are a chest and some coins. Go back up the stairs and go left (west-northwest) , then light the boiler that’s straight ahead (2). Doing so will call a lift, which you can hop on and activate by pressing / on the controls.
12
When the lift ride stops, get off and grab the coins from the boxes, then go up the stairs to the left. Continue forward until a cutscene starts.
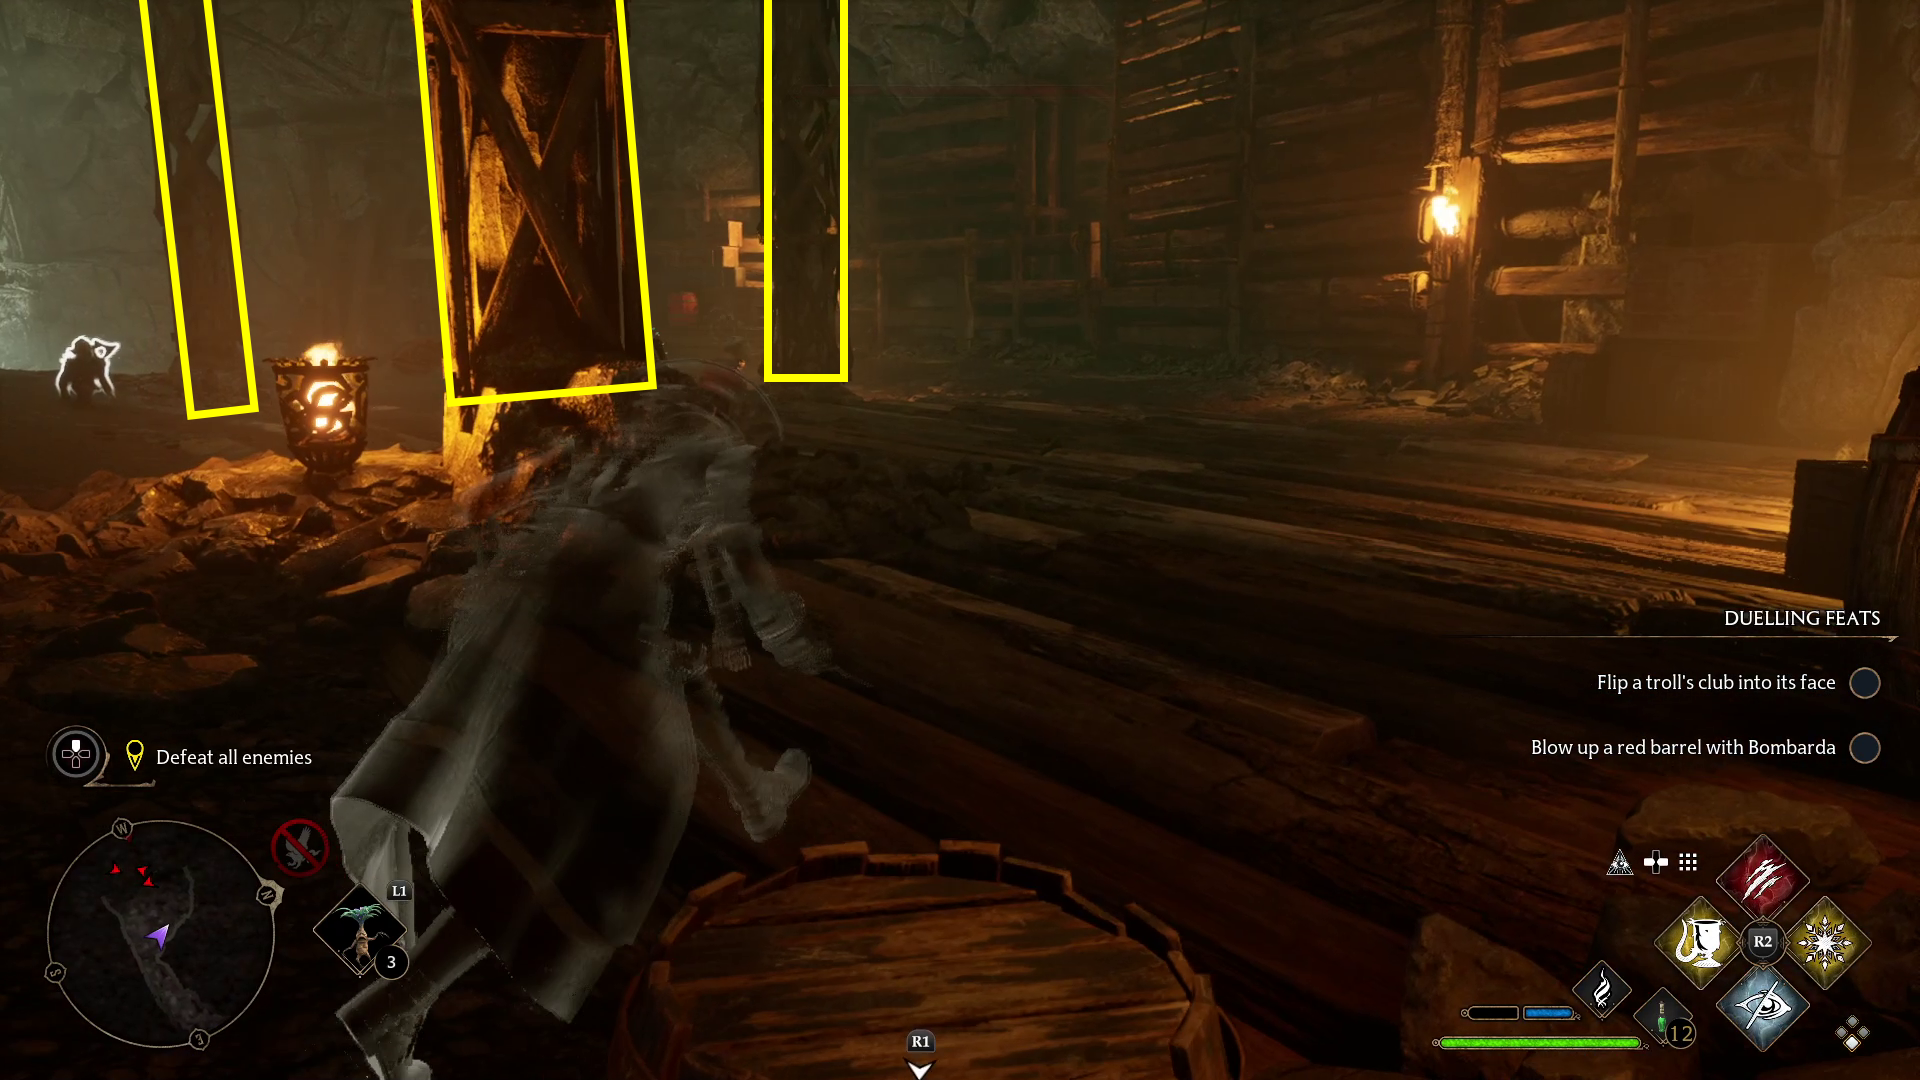
Defeat all enemies
The cutscene ends with you pretty far from the enemies, so you can cast Disillusionment and get quite a few stealth takedowns in before having to face the troll and whatever goblins remain. It’s best to focus on the goblins, then deal with the Troll last. To make the fight go faster, try to stay far away from the Troll to bait its charge attack — it’s stunned for quite a while after you dodge it — and don’t forget you can cast Flipendo after dodging it’s downward club slam to stun it.
Collapse all pillars to destroy the drill
After all the enemies are defeated, you’ll need to destroy the five pillars in the room (although it’s likely some are already destroyed). They’re easy to spot, and can be destroyed with Bombarda or Confringo. There are two by the drill, and three throughout the rest of the room.
Exit the mine
Destroying all five pillars will begin another cutscene, in which some sad stuff happens and your character calls time of death and leaves the scene without checking vitals. When your mine cart ride ends, go forward and press / to open the gate, then take a left until you can hold /to exit the mine.
Once you’re back outside, the quest will end. Next up in the main story is your fourth and final trial, San Bakar’s. To the Map Chamber!
Unabashed FromSoftware fanboy still learning to take his time with games (and everything else, really). The time he doesn't spend on games is spent on music, books, or occasionally going outside.
An easy way to get rid of the goblins is to cast Imperio on one of the goblins and it turns into a big goblin fight. After that you should be able to sneak out and cast Imperio on the troll and he will make short work of all the goblins, even the one on the ledge. After that, cast imperio on the troll, then go to town on him. He just stands there. I was a little undergeared and undergud, but this got me through the quest.


An easy way to get rid of the goblins is to cast Imperio on one of the goblins and it turns into a big goblin fight. After that you should be able to sneak out and cast Imperio on the troll and he will make short work of all the goblins, even the one on the ledge. After that, cast imperio on the troll, then go to town on him. He just stands there. I was a little undergeared and undergud, but this got me through the quest.