Poaching magical creatures isn’t a very cool thing to do, and there’s no one who agrees more than Poppy Sweeting. In this quest walkthrough, we’ll help you team up with the Hufflepuff companion to find out just what the poachers are up to in the forest — and hopefully put a stop to whatever it is.
Please note that this walkthrough is a work in progress, and will be updated with additional information and corrections once the game is released.
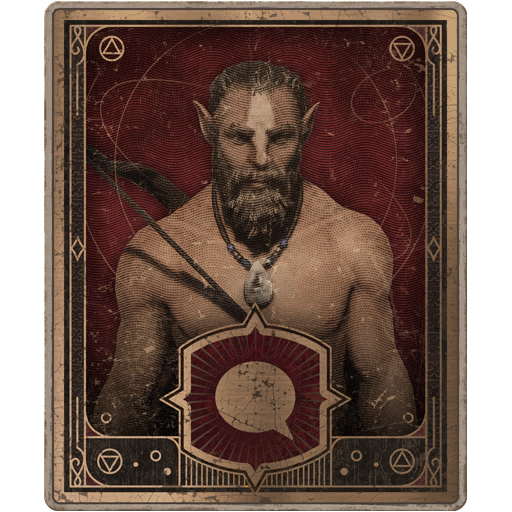
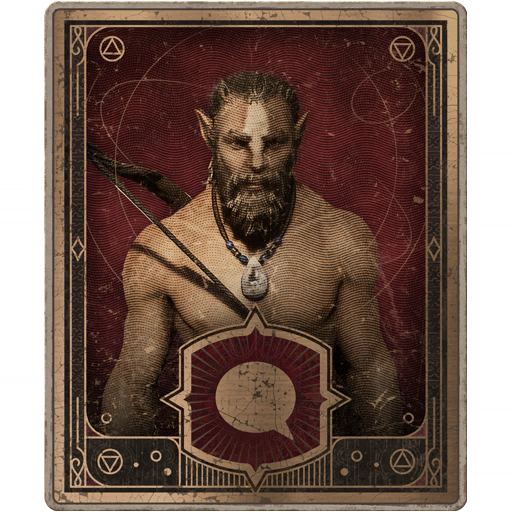
After locating Poppy, walk up and press / to talk with her. You’ll discuss Highwing and the poachers, and Poppy will exhort the player not to tell her Grandma about the quest you two are undertaking. Once the conversation ends, you’ll need to follow Poppy. She’ll lead you up a few ledges (that you’ll be able to climb by holding / ), and then some Centaur will give you a hard time, mistaking you for poachers. You’ll reassure the centaur that you are not poachers and proceed down the path.
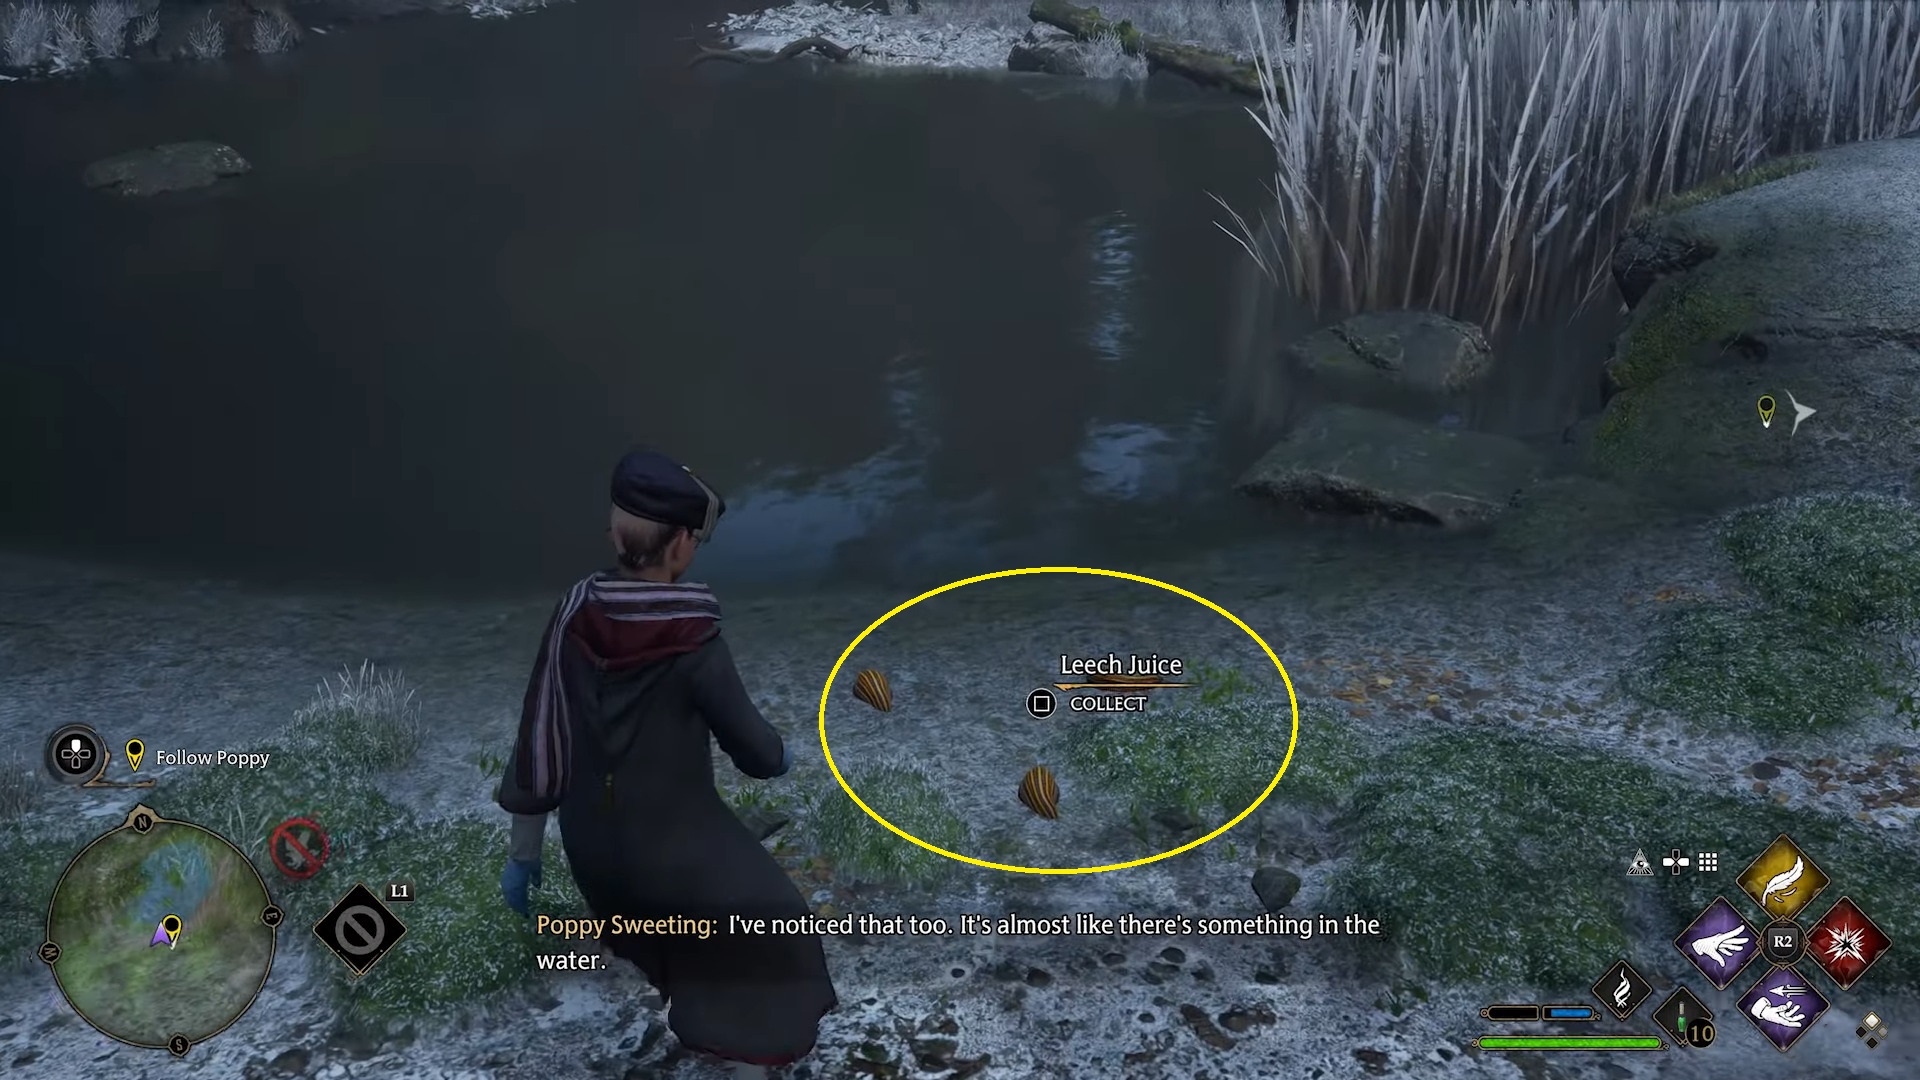
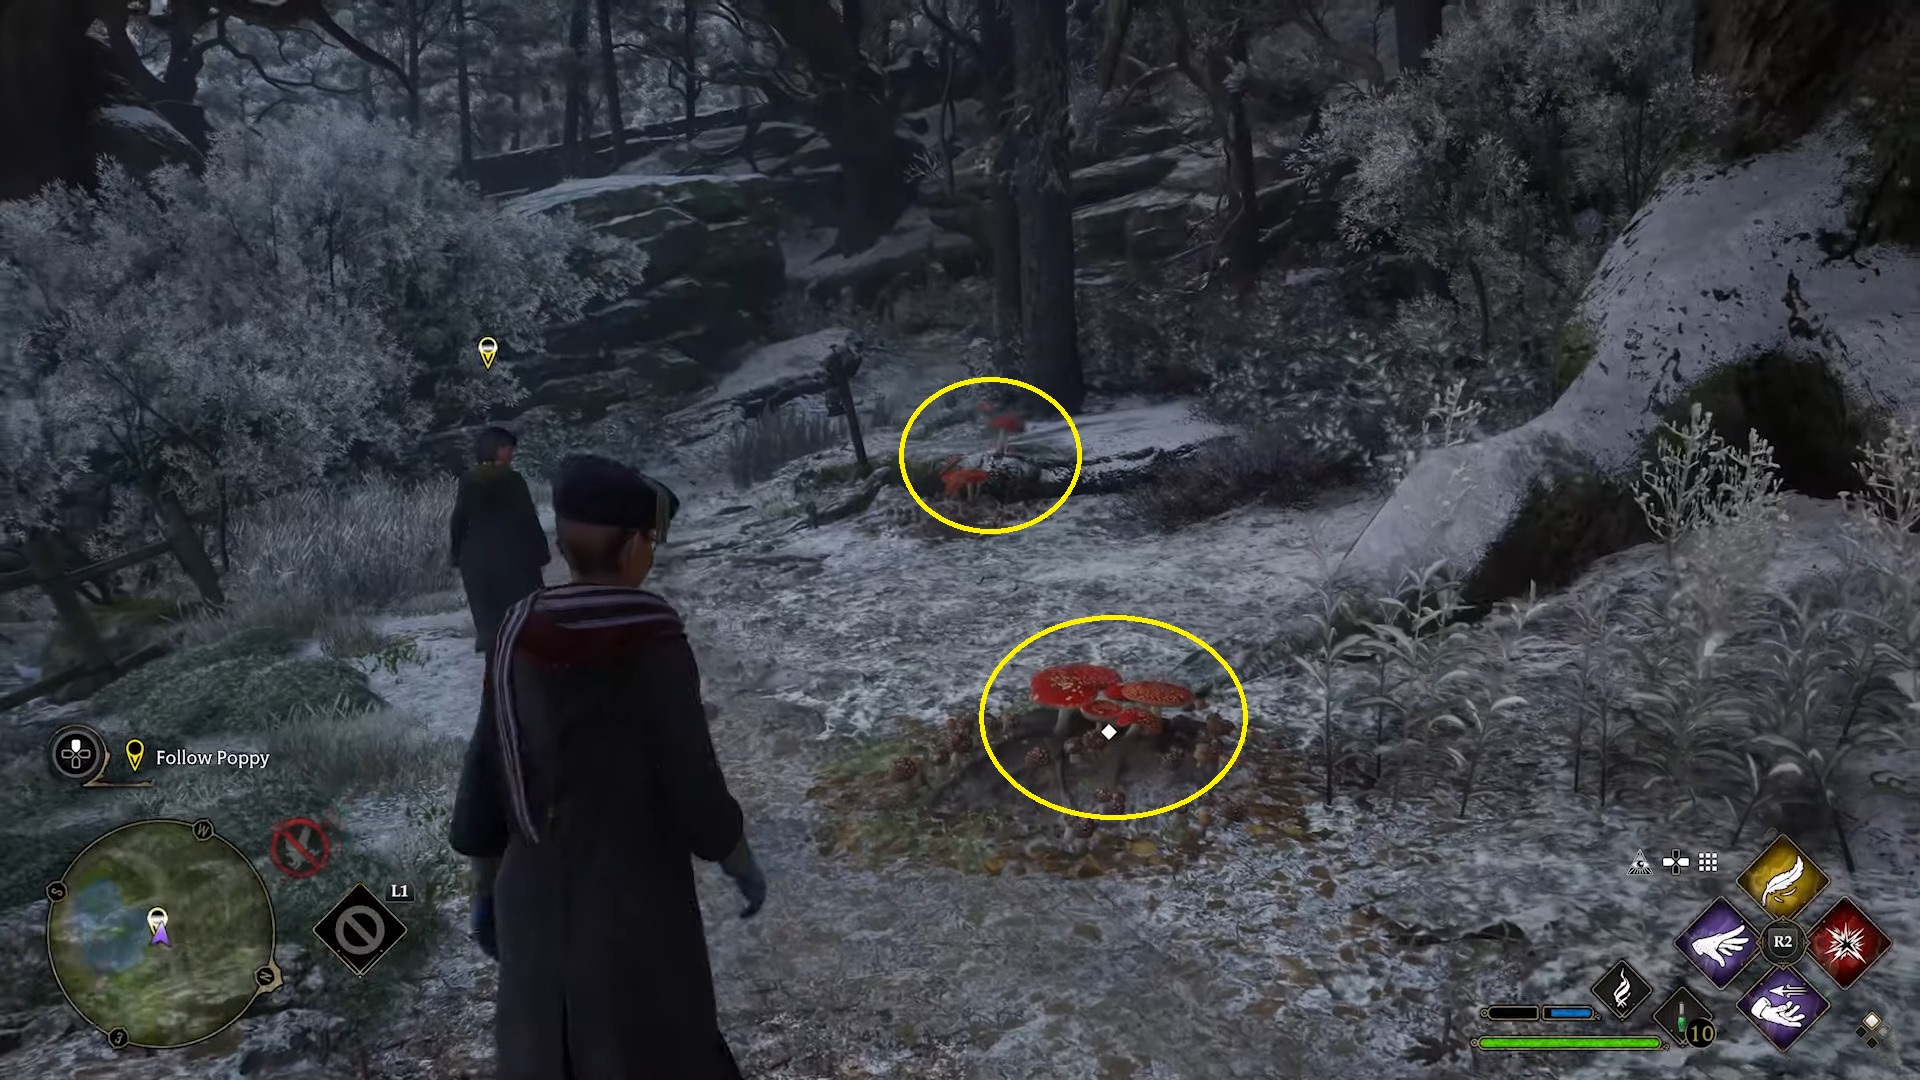
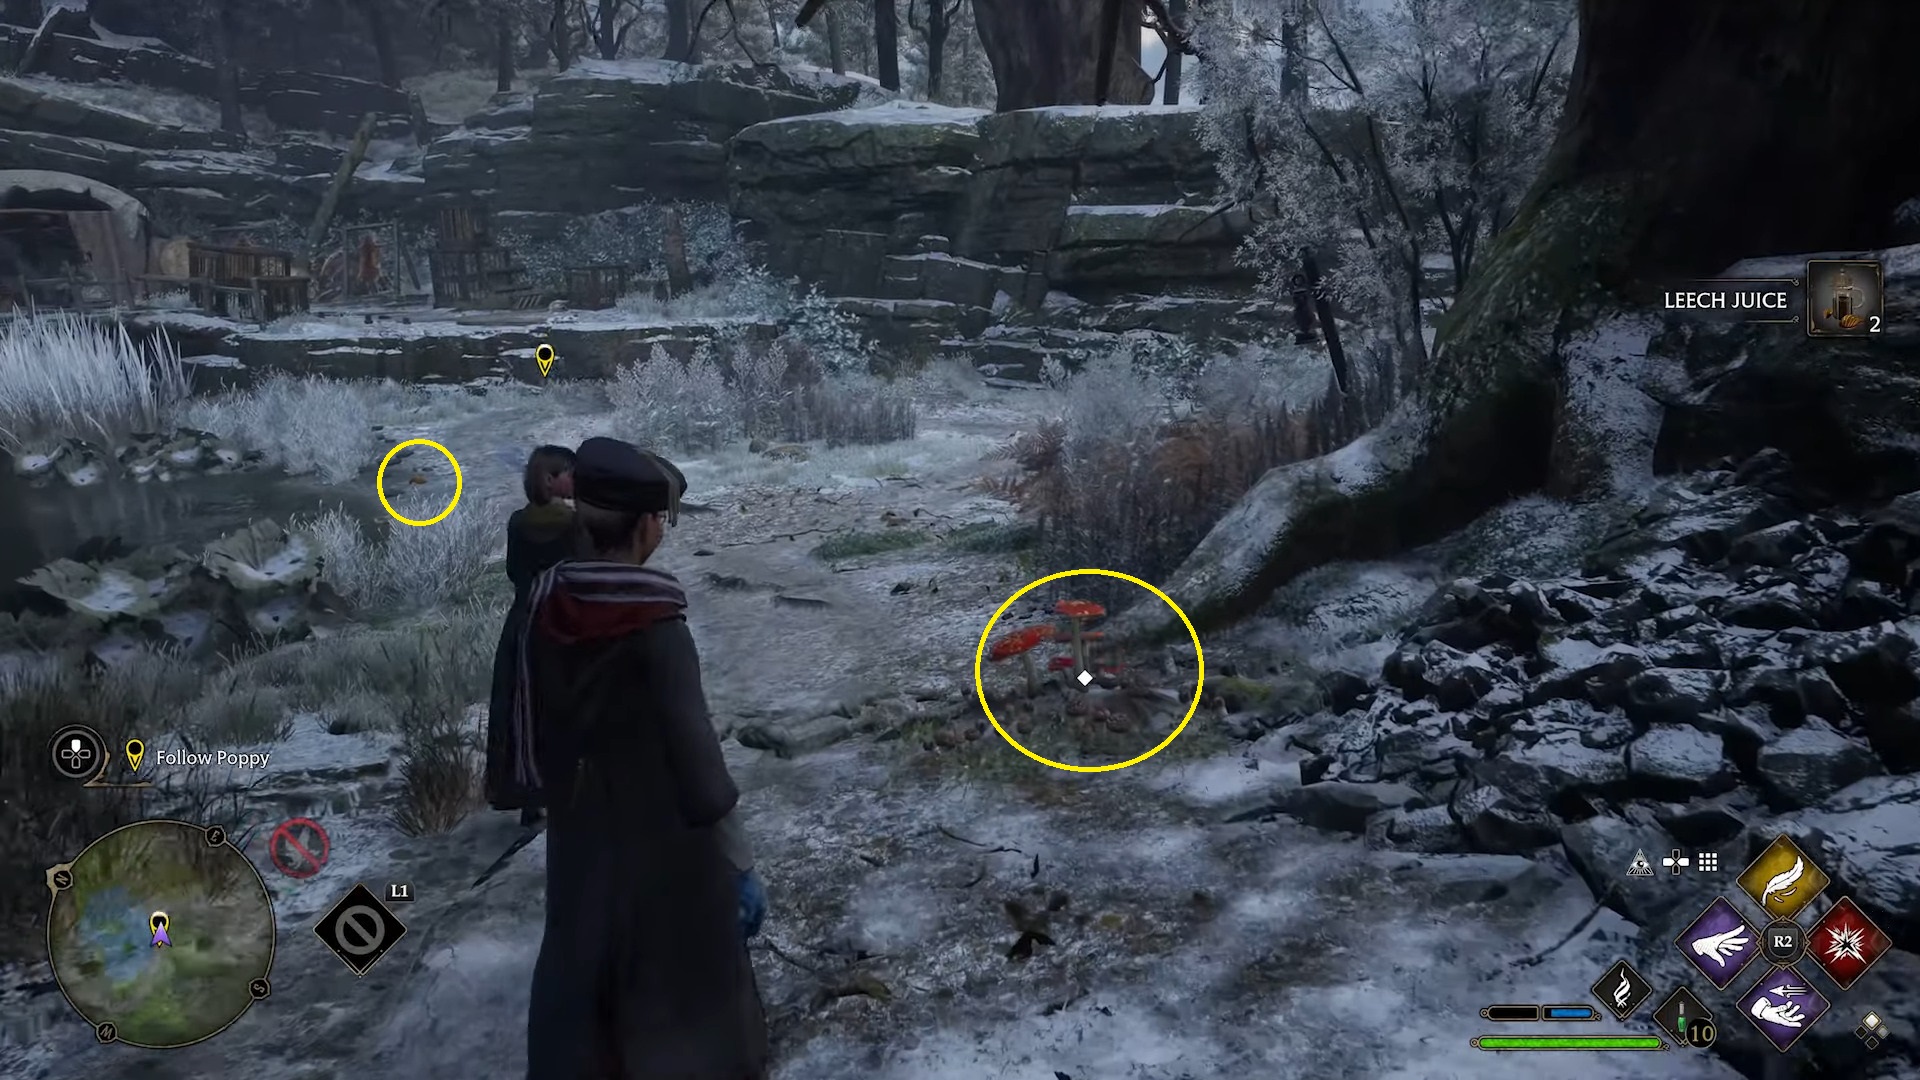
You’ll emerge from the trees near a lake — on the right-hand side of the path are some Leaping Toadstool Caps (1). Grab them and continue following Poppy until she points out the aggressive Dugbogs, which will duck back into the lake to the left of the path. On the lake’s shore is Leech Juice (2); you’ll find another patch of Toadstool Caps a bit further down the path near a tree’s roots (3), plus even more Leech Juice just ahead near the shore (3).
123
Search for signs of poachers
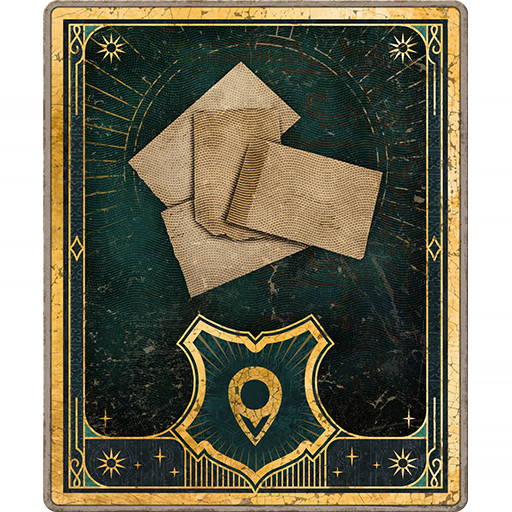
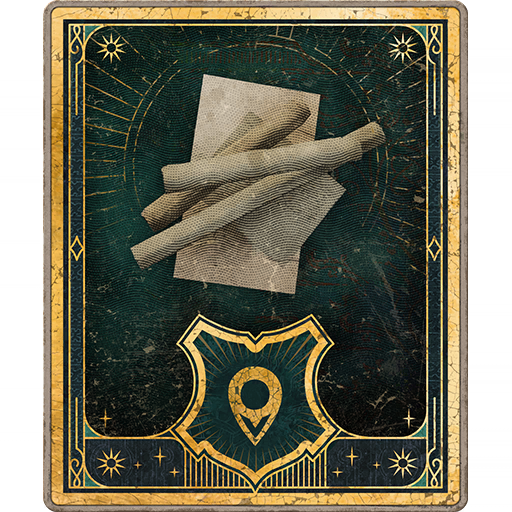
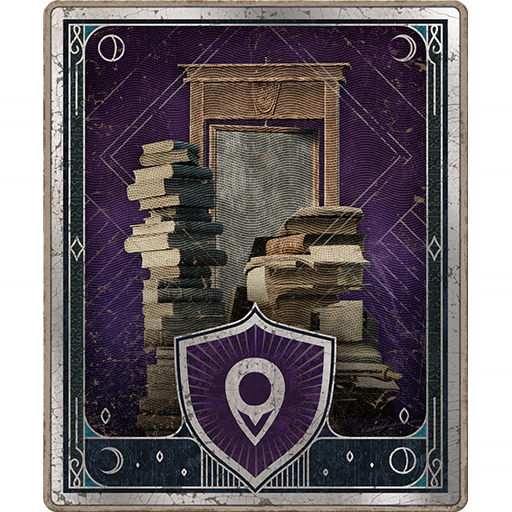
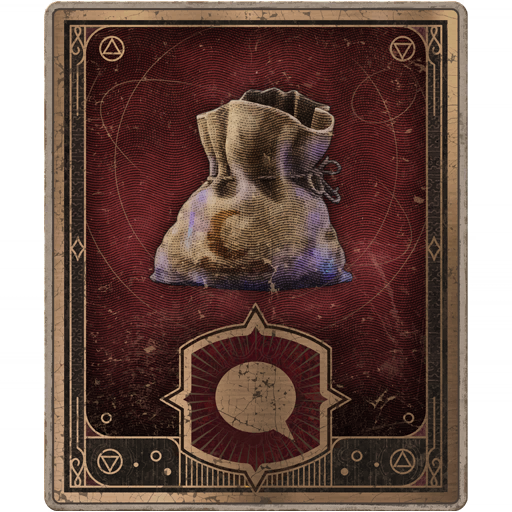
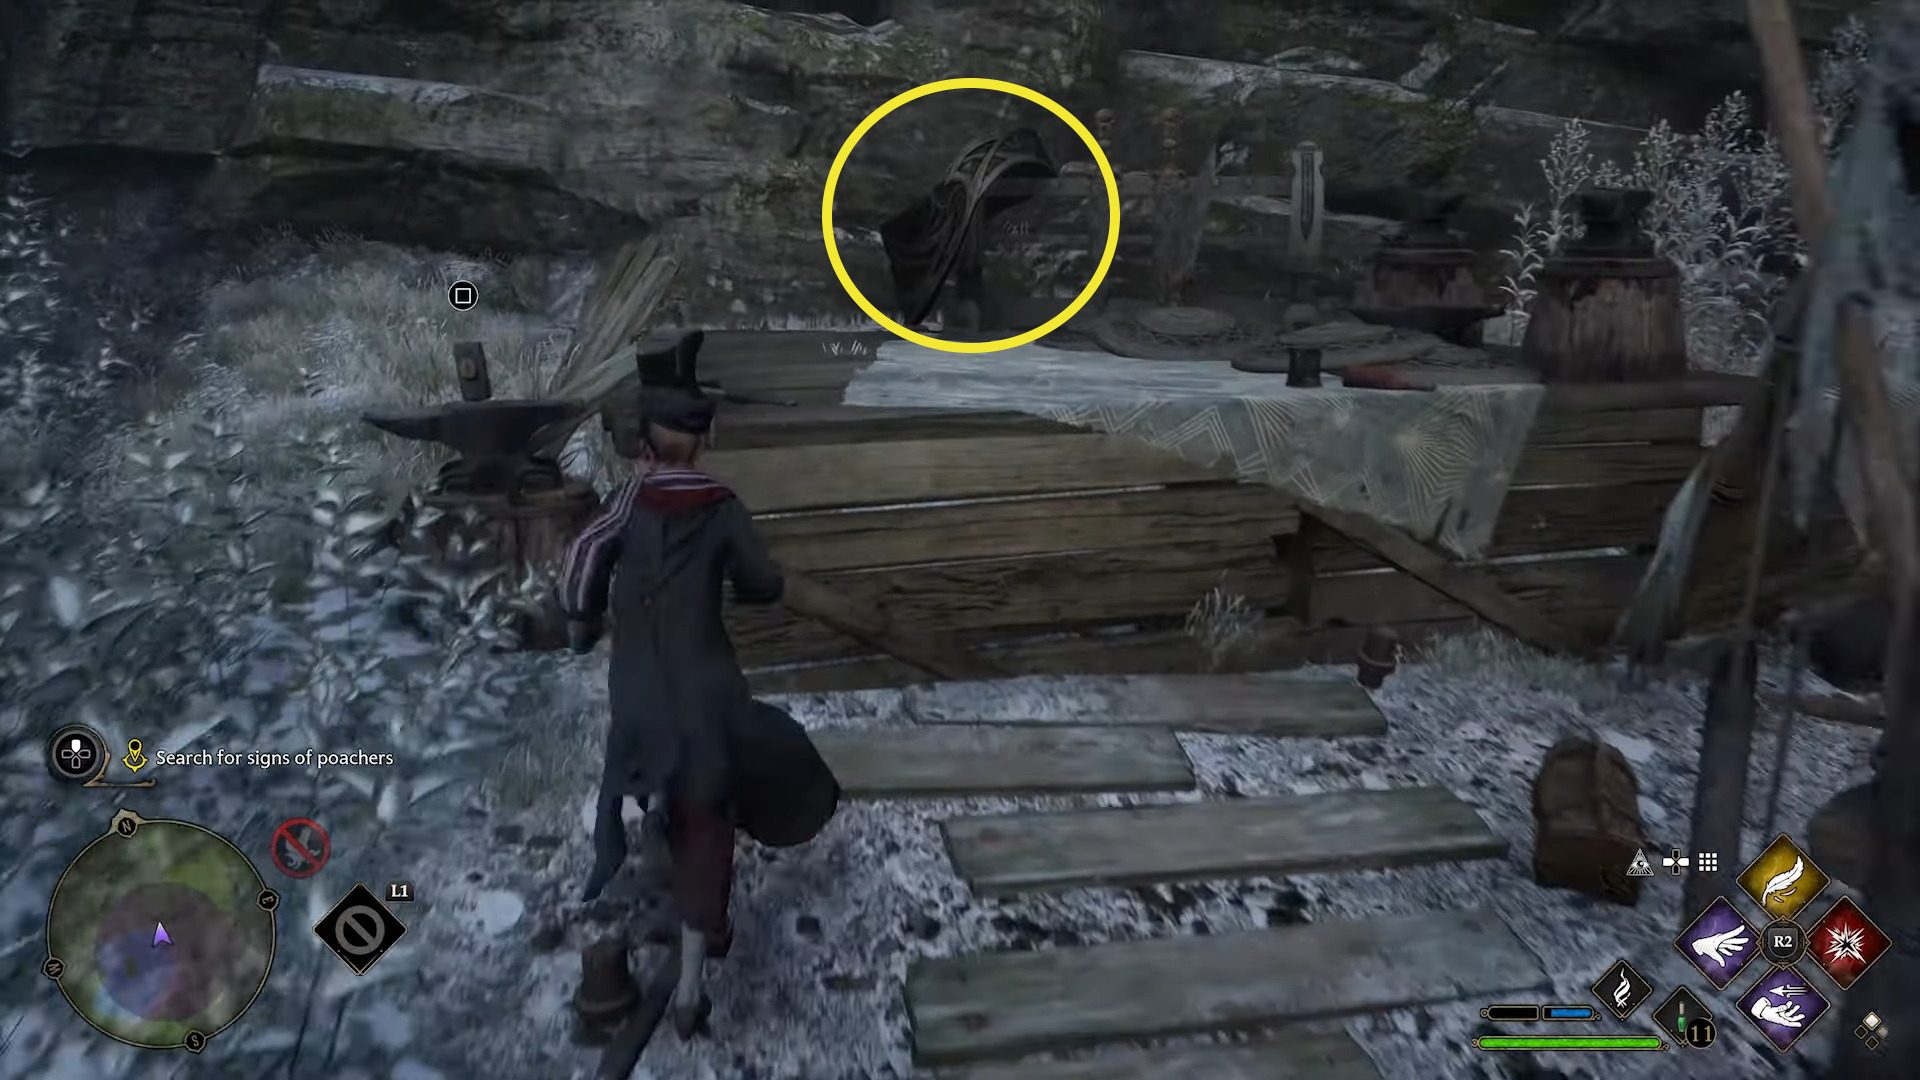
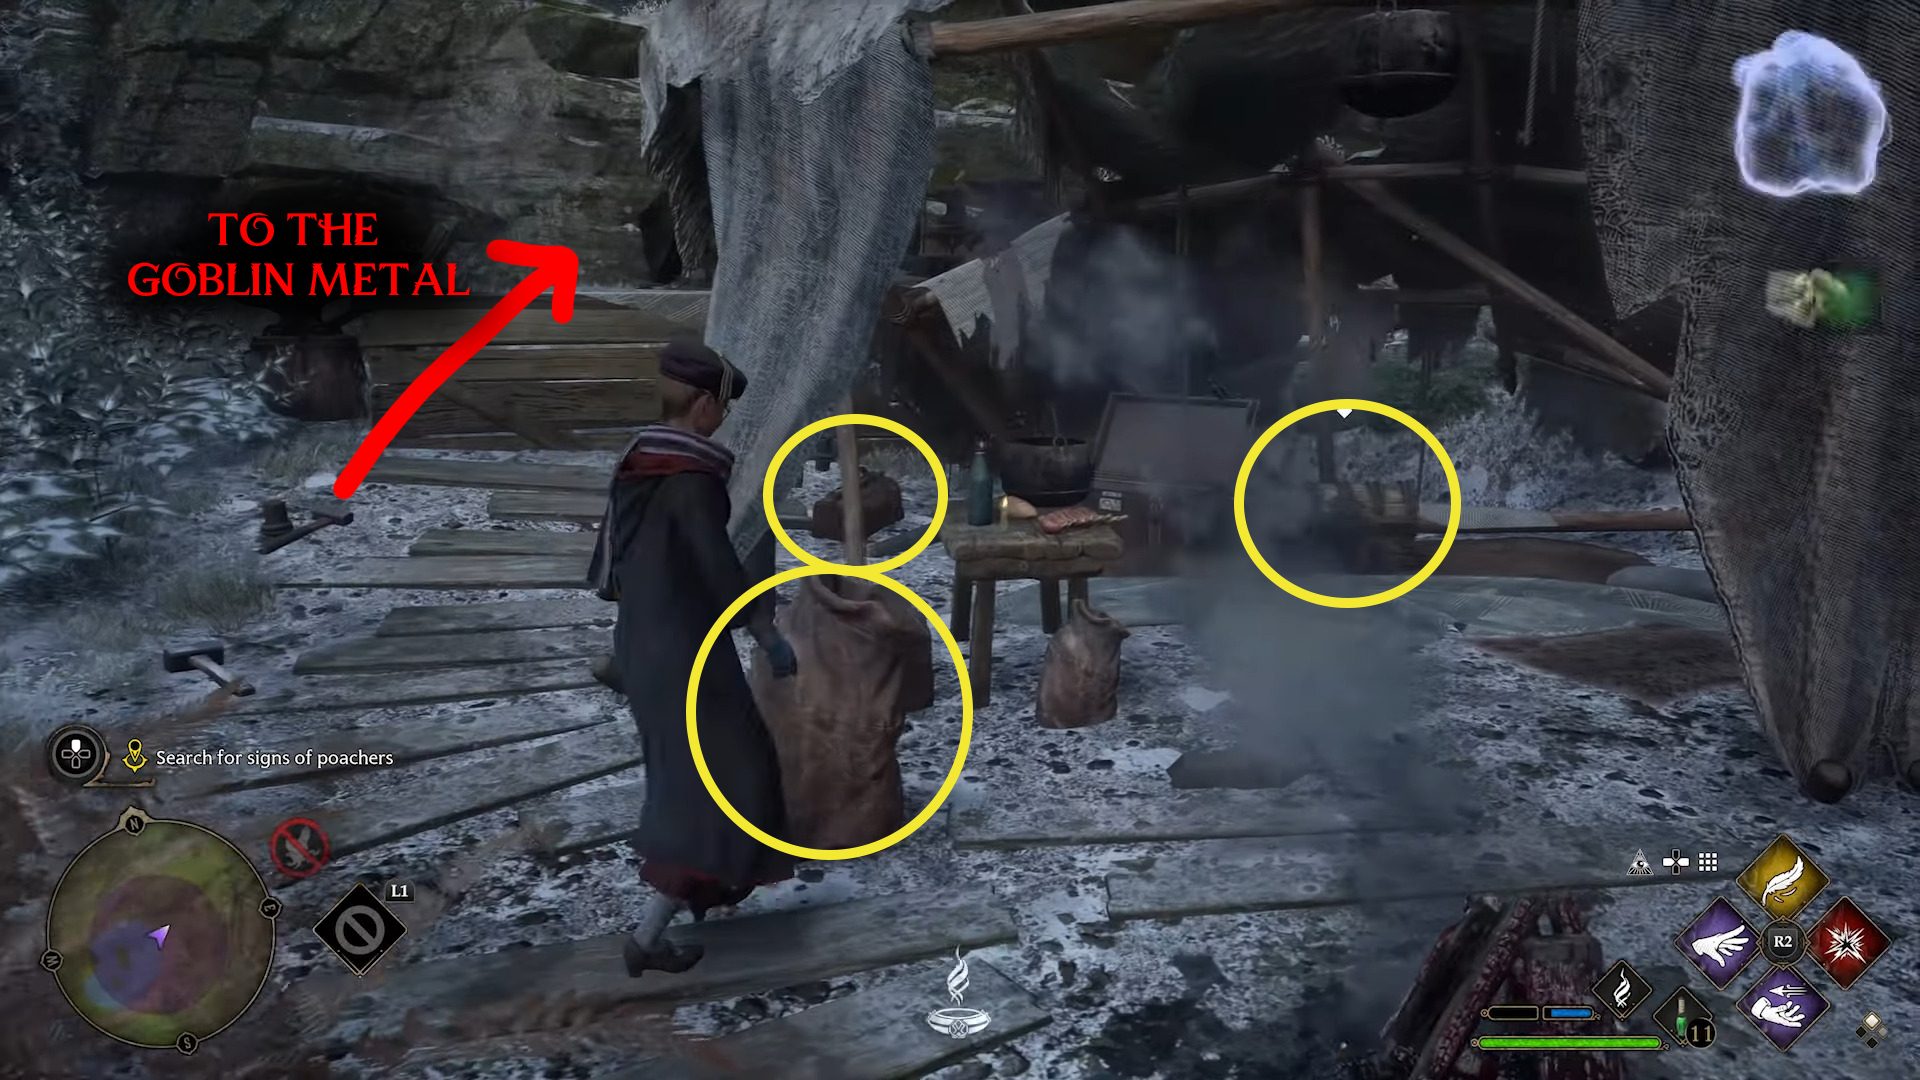
Near a campsite, Poppy will find a trace of the poachers, and suggest that you look around for more clues. You can interact with quite a bit of the poacher camp, but to proceed, you need to investigate the piece of goblin metal, which is found on the raised platform at the back of the camp (1). Simply walk up to the metal and press / to Investigate. On your way to the goblin metal, make sure you snag the loot from the two bags and chest in and around the tent (2).
12
Speak to Poppy & follow Poppy (2)
After investigating the metal, your objective becomes “Speak to Poppy”, so go ahead and return to where you left her. After talking to her, she’ll once again lead you forward. Follow her and she’ll soon spot some poachers — after a brief conversation, your objective will change to “Enter the tent”.
Enter the tent
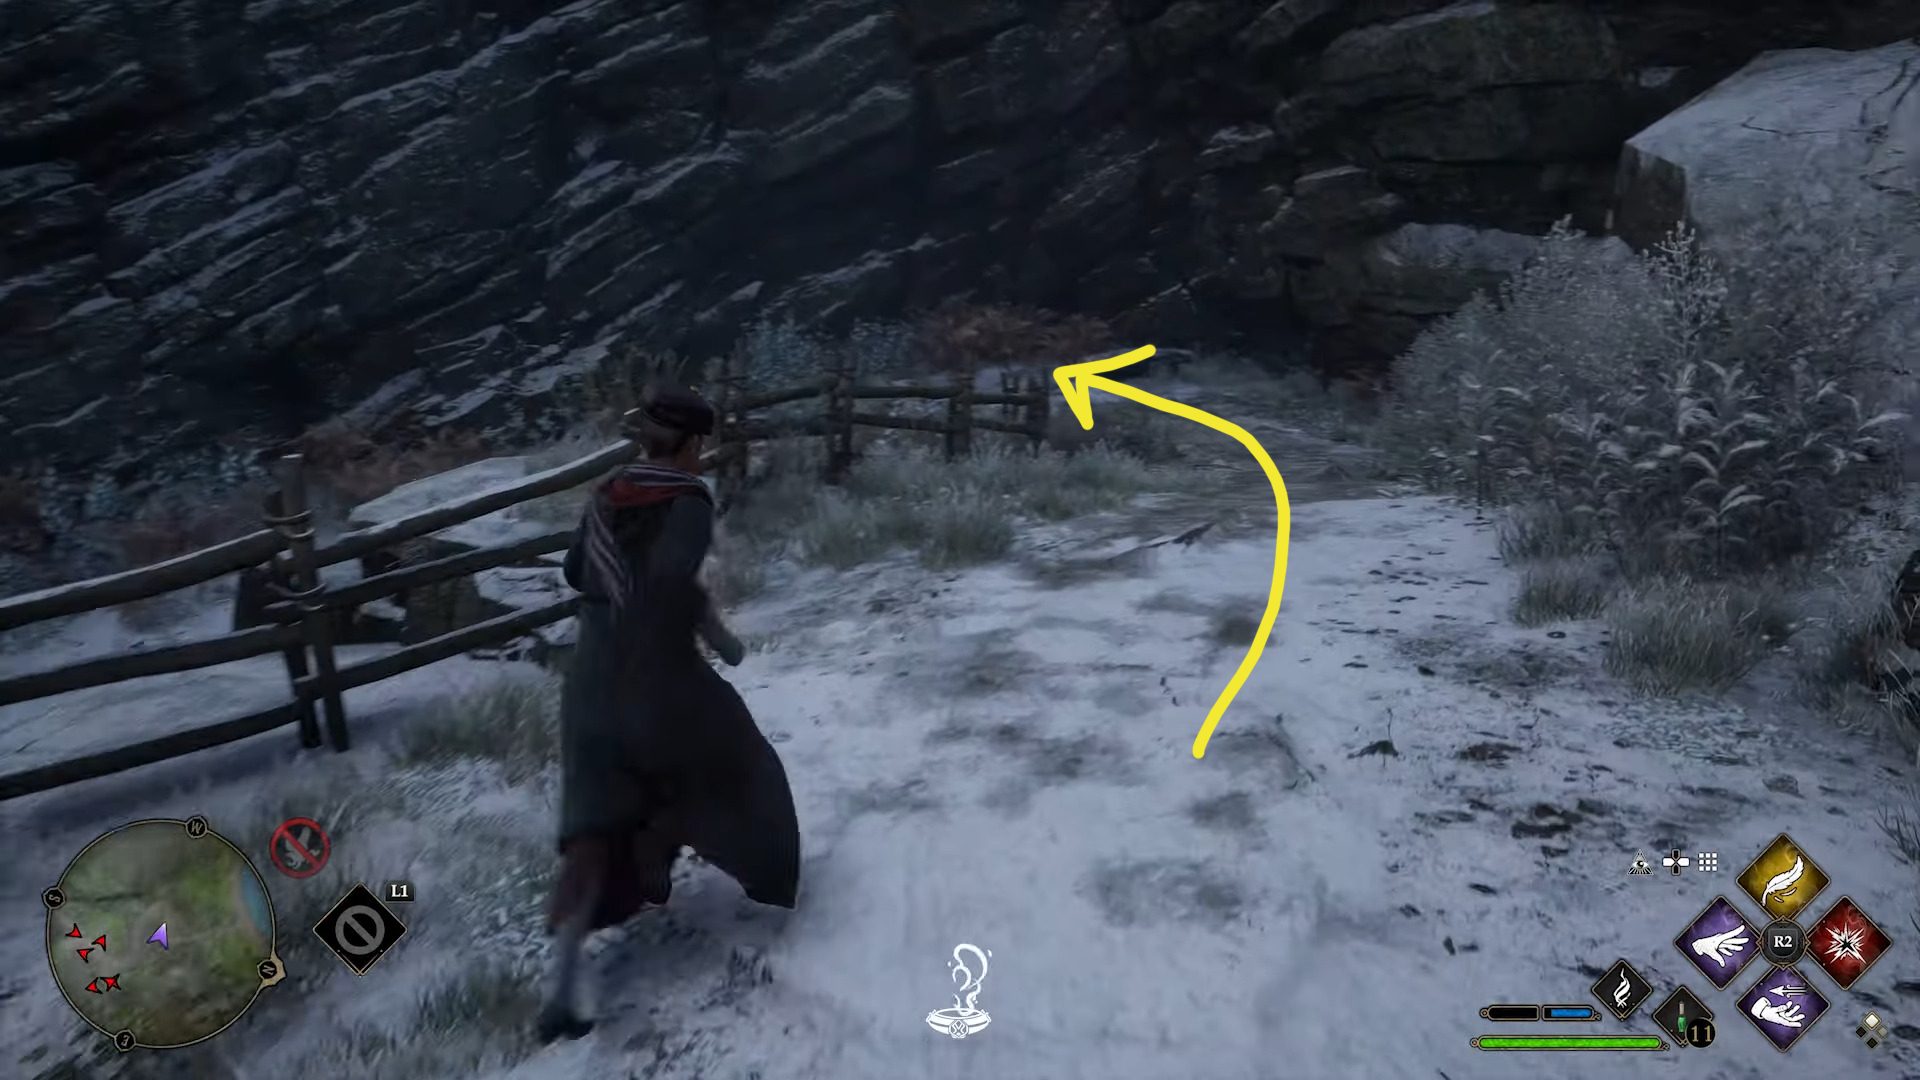
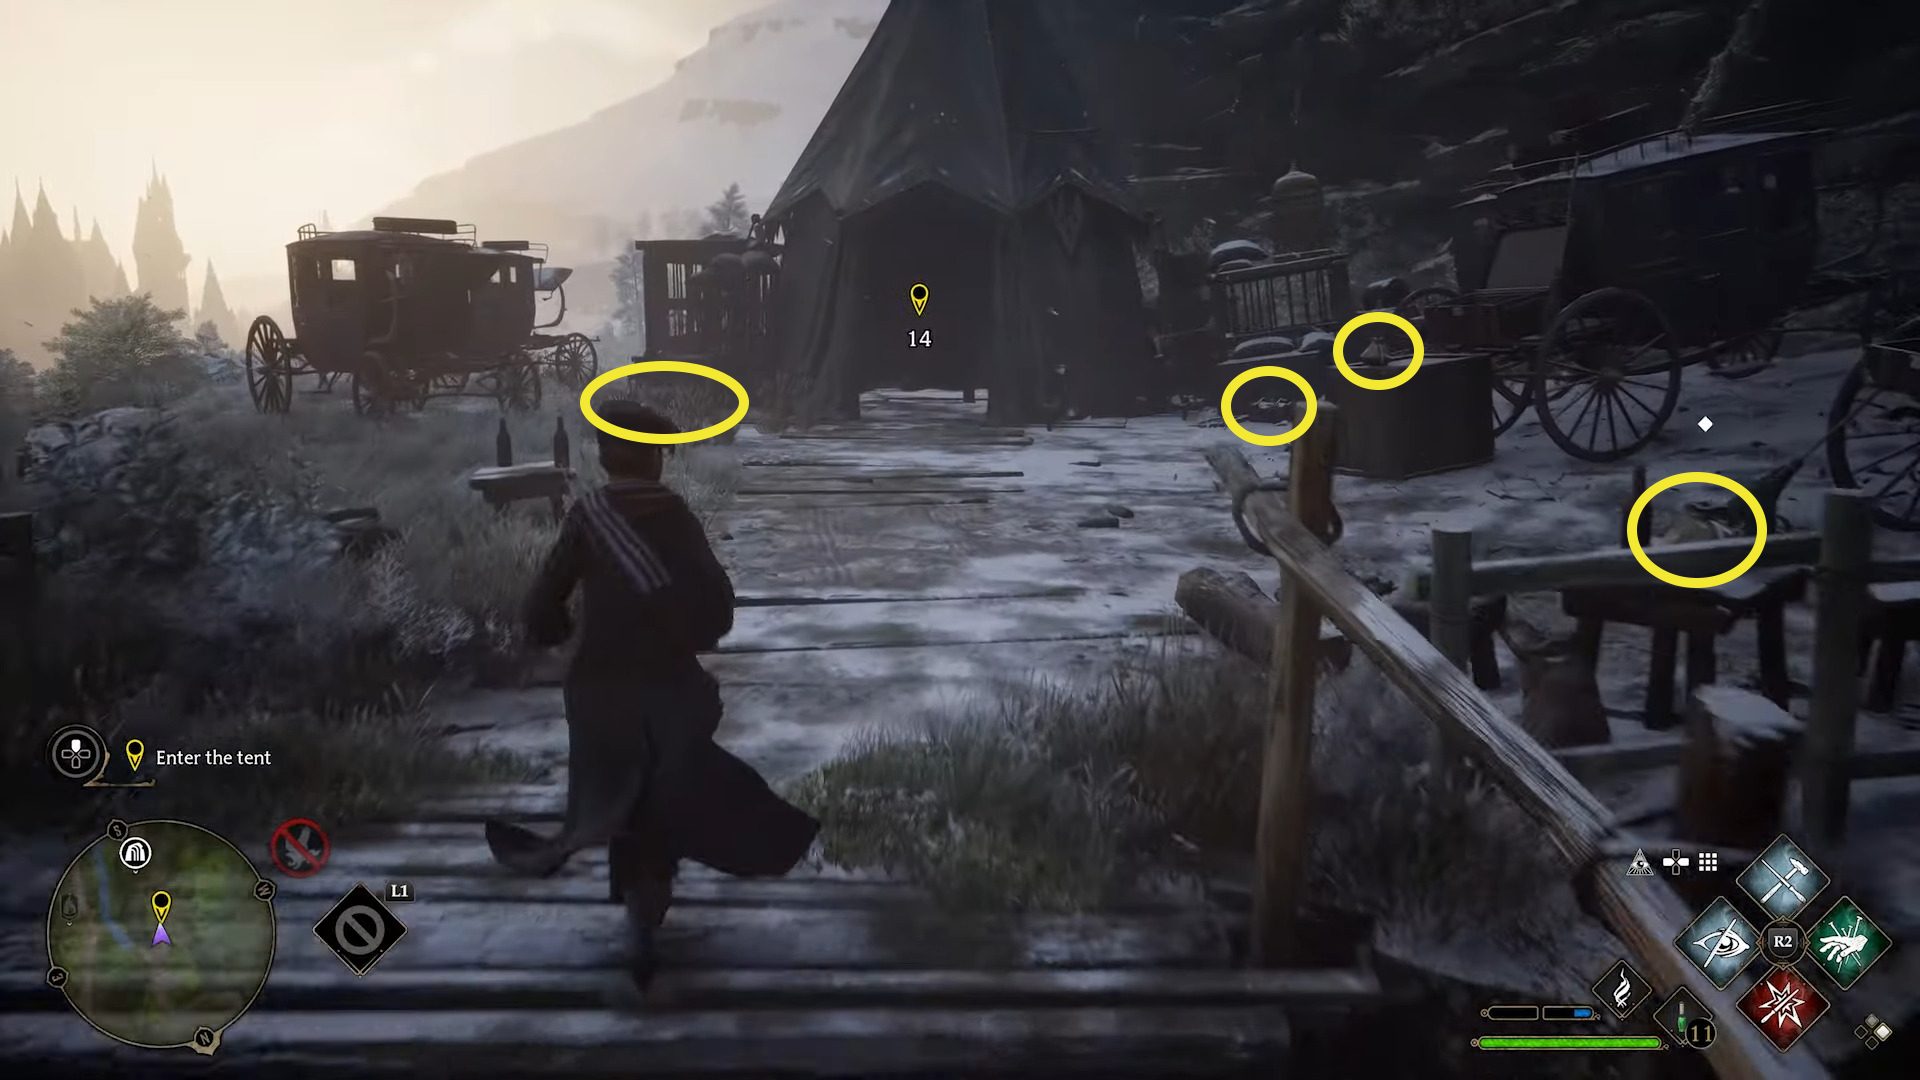
Continue down the path (1), and you’ll soon take out your wand. This means that enemies are just around the corner, so decide now if you want to be stealthy or not — if you do, make sure you’ve got Disillusionment equipped.
1
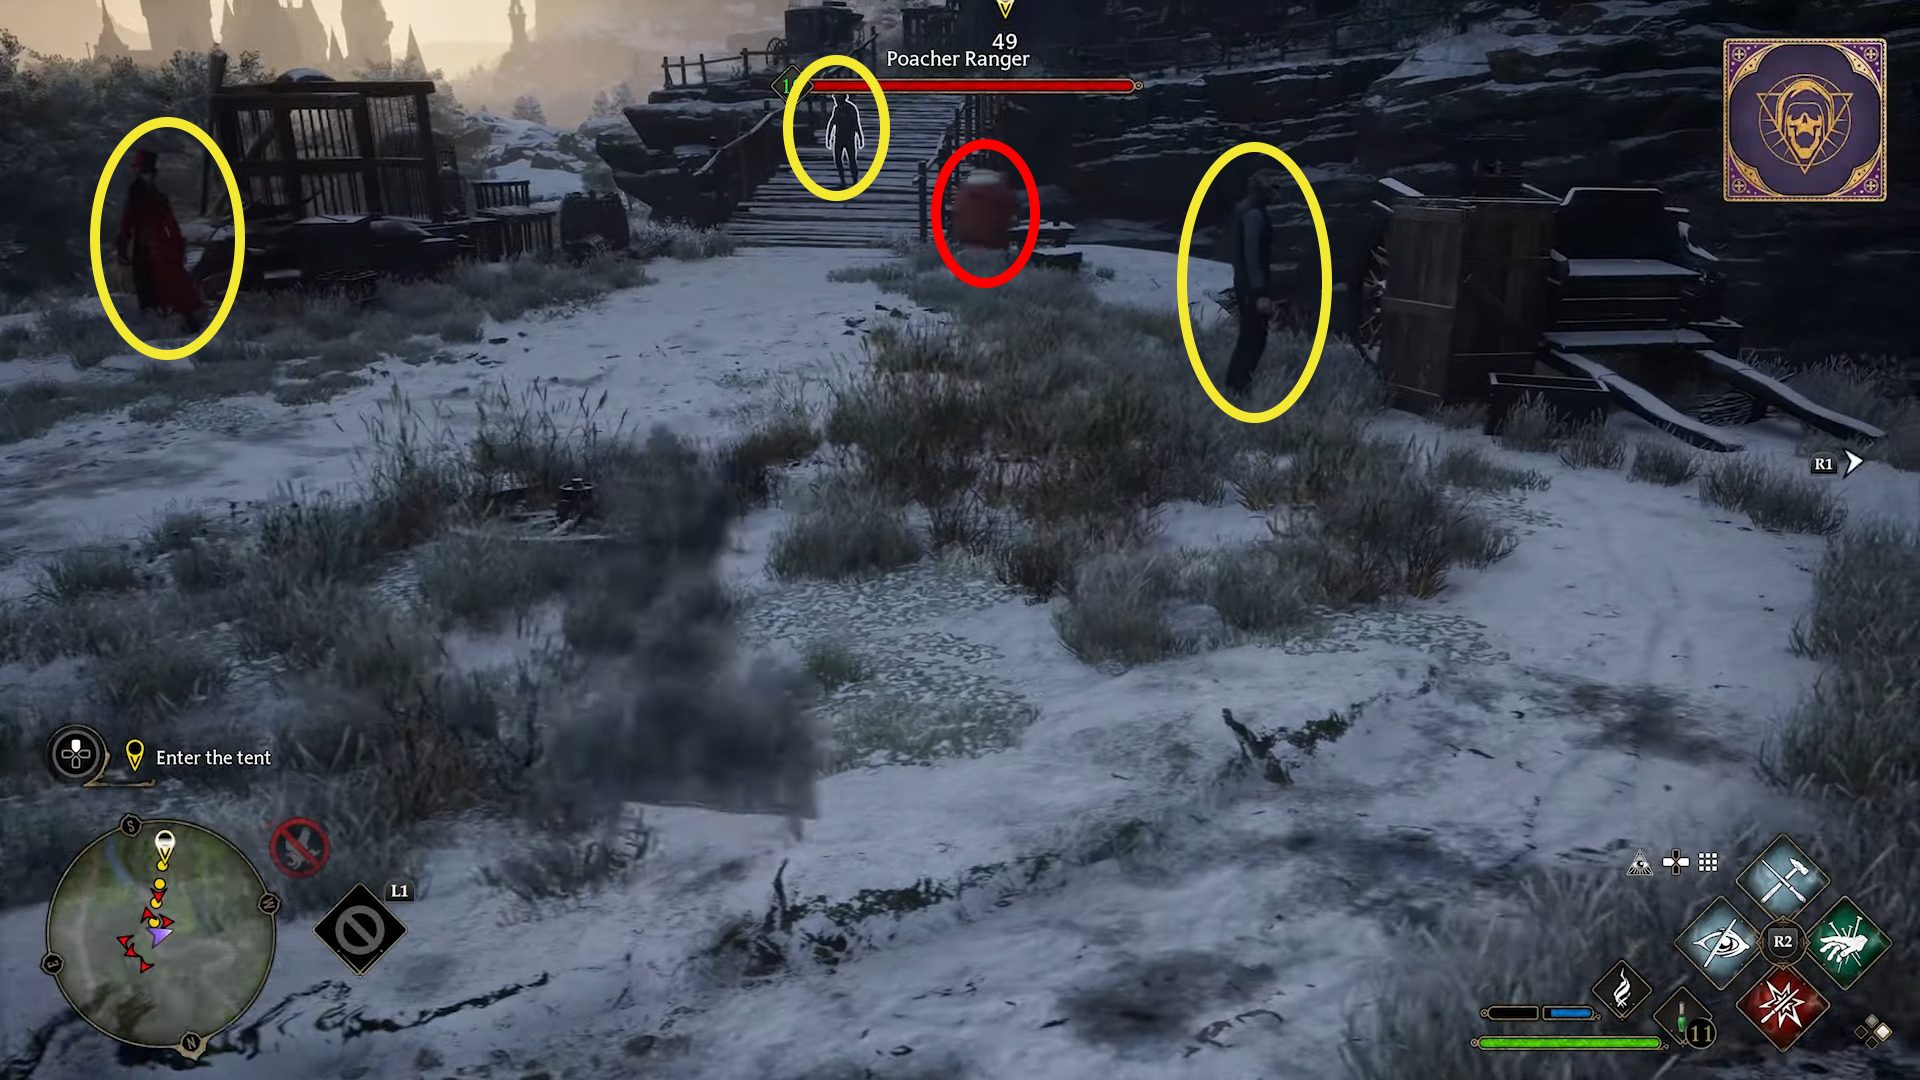
Stealth Approach: After going invisible, start by hugging the left side of the path, and approach each enemy in turn from behind. Once you get close enough, you’ll get a pop-up prompt to use Petrificus Totalus — press / to stun the enemy, non-lethally incapacitating them (unless they happen to fall off the cliff… but don’t worry, we won’t tell Professor Weasley). There are three enemies on your left looking out over the edge of the cliff, and another three further down the path — two hanging out near the close side of the bridge, and one patrolling on the bridge itself. Wait until the poacher on the bridge is walking away from you to Petrify the guards near the bridge, or else you’ll be spotted.
Agressive Approach: There are a decent number of environmental objects you can use to Ancient Magic toss at enemies. If you’ve unlocked Flipendo, you can use it to knock the left-hand enemies off the cliff. You can take out the enemy on the bridge with a nearby exploding barrel — tossing it at the foe while they’re still on the bridge will destroy the bridge, sending the poacher into the ravine below.
Enemies are circled in yellow, the exploding barrel in red
Once all the enemies are defeated, you’ll need to make your way across the bridge. Of course, it’s very likely you destroyed it, in which case you’ll need to first use Reparo to re-create the bridge. Don’t miss the loot bag on the table by the bridge before crossing (1)! On the other side of the ravine, loot the three bags on the right and the chest on the left (2), then enter the tent indicated by the objective marker by holding /
12
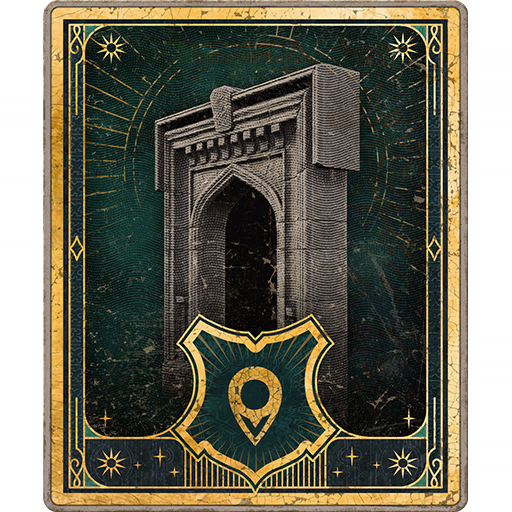
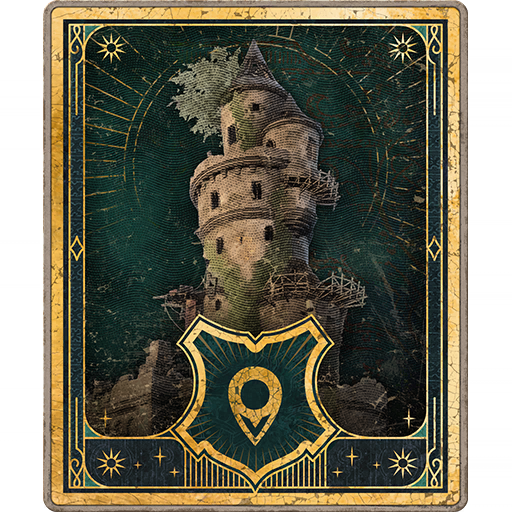
Investigate Horntail Hall
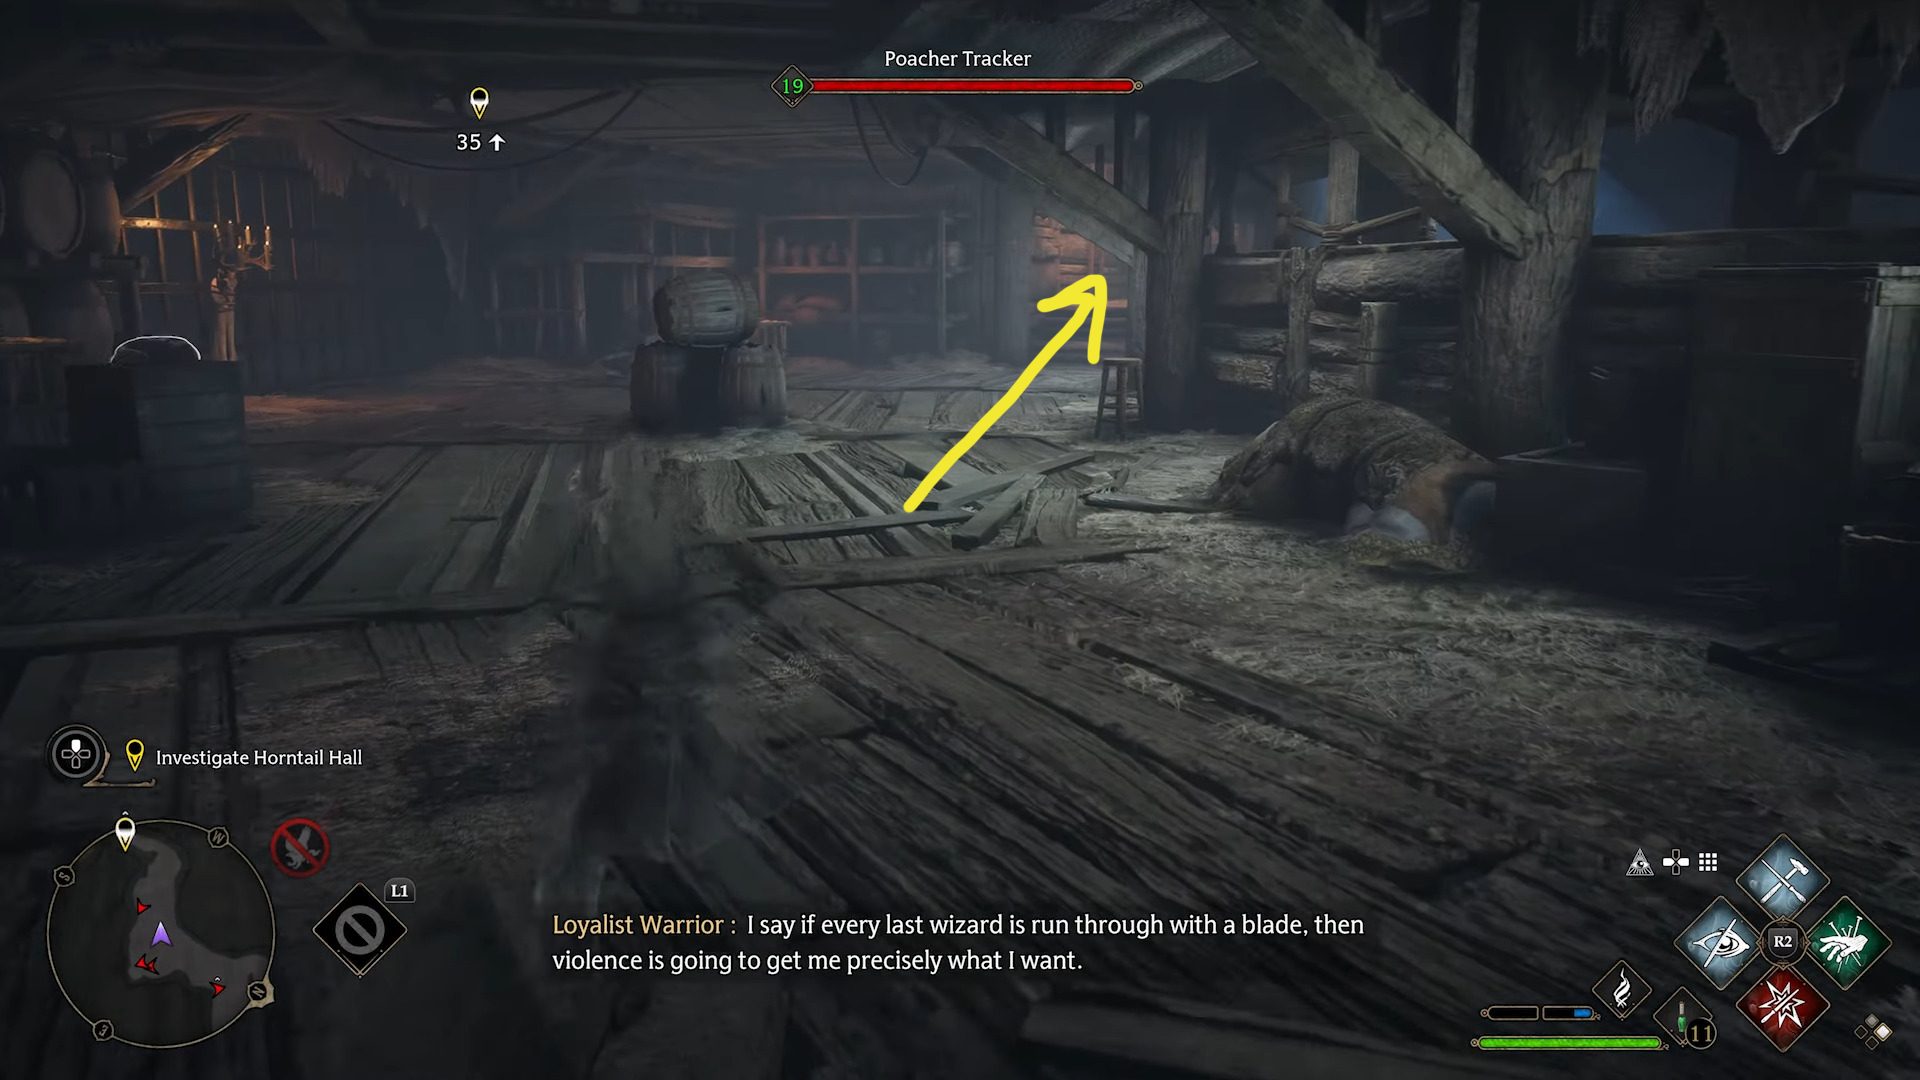
To the surprise of no one familiar with Goblet of Fire, the inside of the tent is a lot bigger than it appears from the outside. Once the cutscene ends, you’ll talk briefly with Poppy, and then regain control facing a Poacher Stalker. He’s watching the stairs to the right, which is the direction you need to go (1). You can cast a Disillusionment Charm to sneak past him and down the stairs (or just attack him, either way). You’ll enter a long, low room with some goblins on the left, plus a poacher just past them on the left as well. All their backs are turned, so you can sneak up and Petrify them if you like, which will grant you access to a chest near the goblins facing. Either way, continue to the other side of the room and up the stairs (2).
12
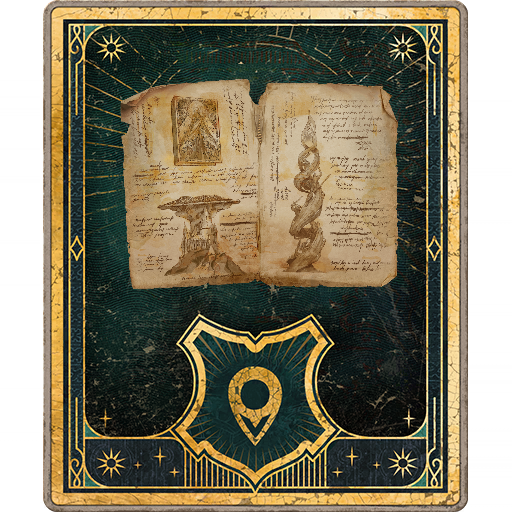
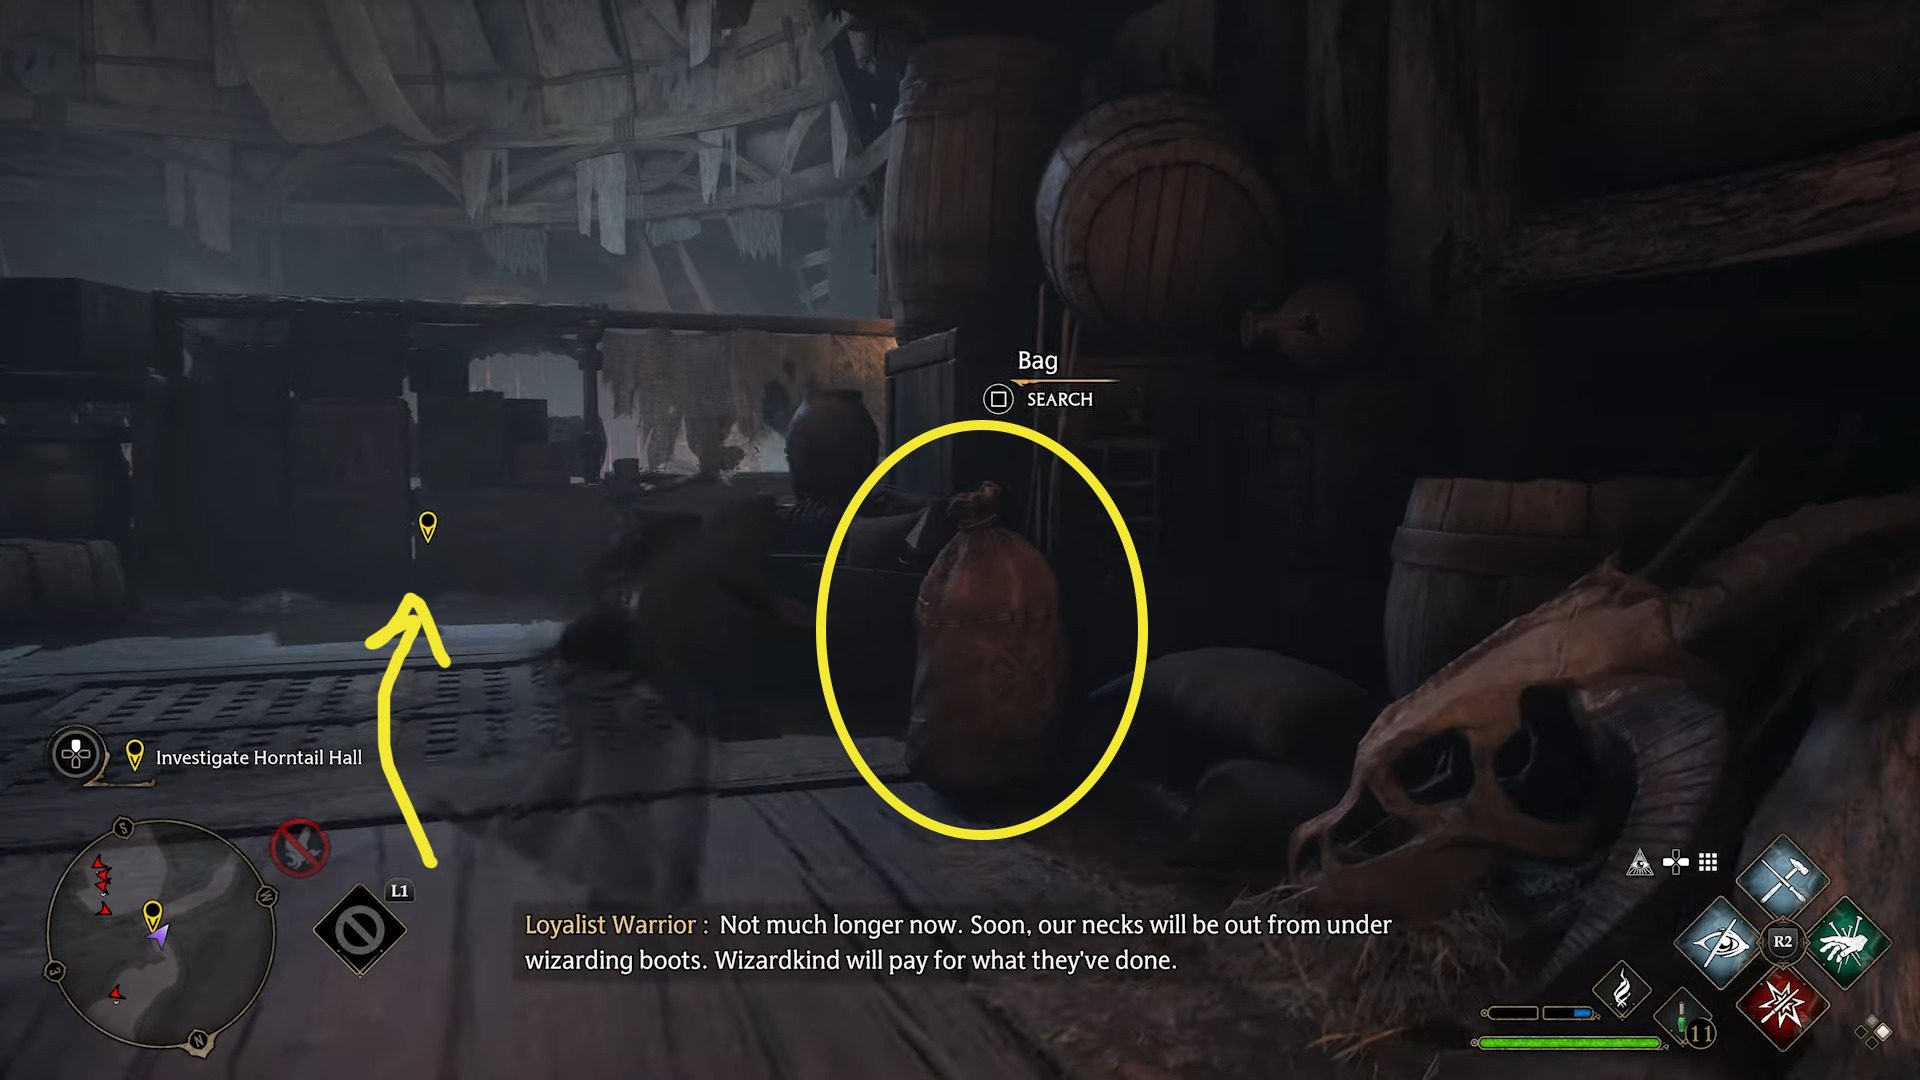
Just up the stairs on the left is a ladder — climb up, then continue straight ahead, looting the bag on the right before walking to the spot indicated by the objective marker (1). Once there, wait a moment and a custcene will play.
Reach the captive dragon & Collect the dragon egg
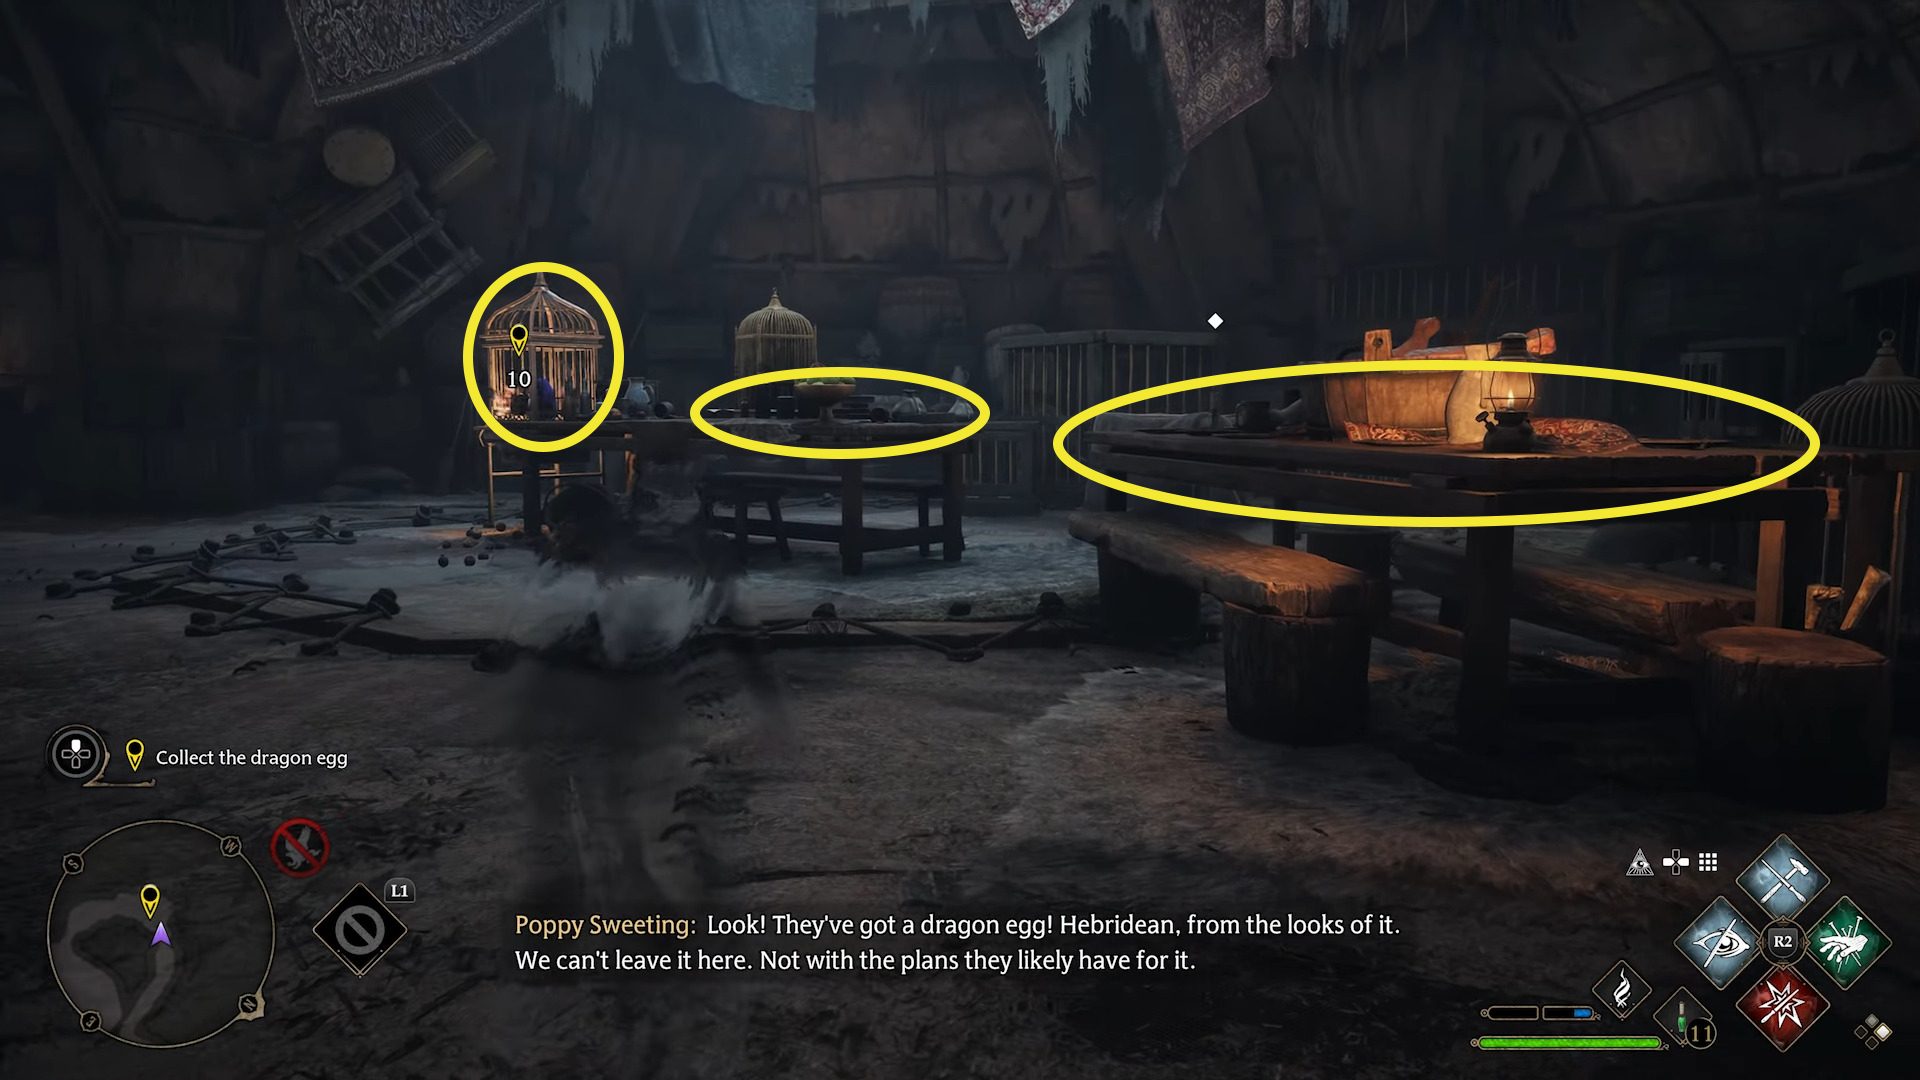
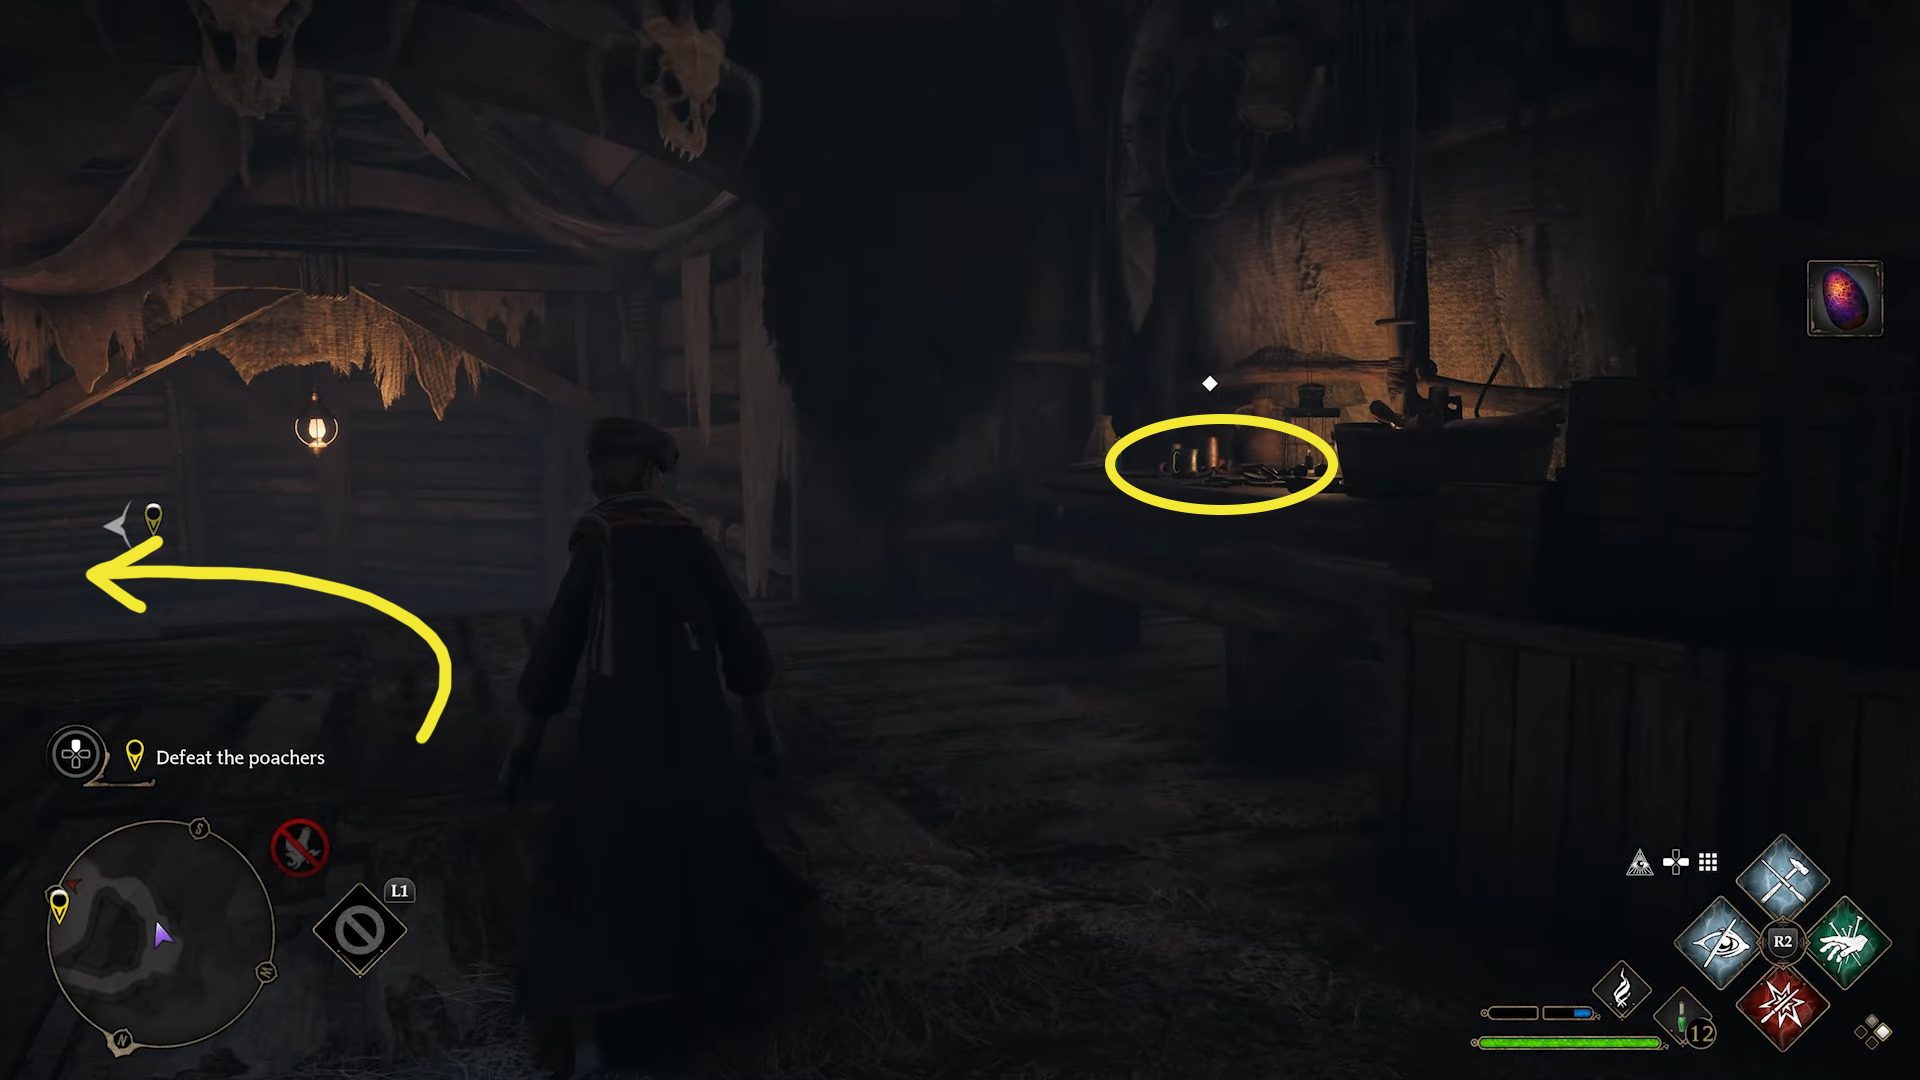
When it ends, turn right and continue down the stairs to the door. Tap / when prompted to open the door, then go into the the next room. There, collect the gold and potion from the tables on the right (2), and eat an apple if you need to heal. Then walk over to the cage indicated by the objective marker (2) and press / to cast Alohomora, beginning the Unlocking minigame (see our Alohomora guide if you need help opening the lock).
12
Defeat the poachers
After successfully unlocking the cage, your character will retrieve the Dragon Egg. You can then turn around, collect the coins from the nearby table on the right, and then continue down the stairs and around the corner (1) to engage the poachers abusing the dragon. As always, the most efficient choice is to open with stealth, and get some free Petrification takedowns before you’re spotted. There are a lot of enemies in the room, including some on high ground. You’ll also get a chance to complete Dueling Feats in this battle, so take a look at them before defeating any enemies.
1
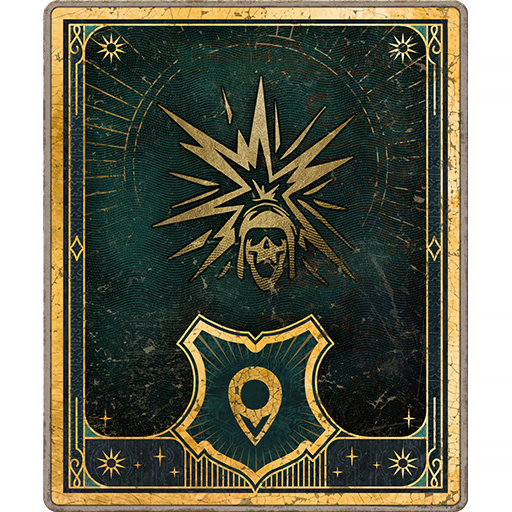
Defeating the first wave of enemies will start a brief cutscene, in which a tougher enemy — an Animagus — will spawn, along with more poachers. Some of the new enemies will spawn behind you, so retreat from the dragon towards where you came in to avoid being surrounded. Note that additional enemies will also spawn on the high ground where the rangers were in the first battle in this room. Once again, you’ll have Duelling Feats you can complete, sometimes related to the Animagus enemy. Make liberal use of Ancient Magic to throw environmental objects at your foes, as it does significantly more damage than your basic attacks.
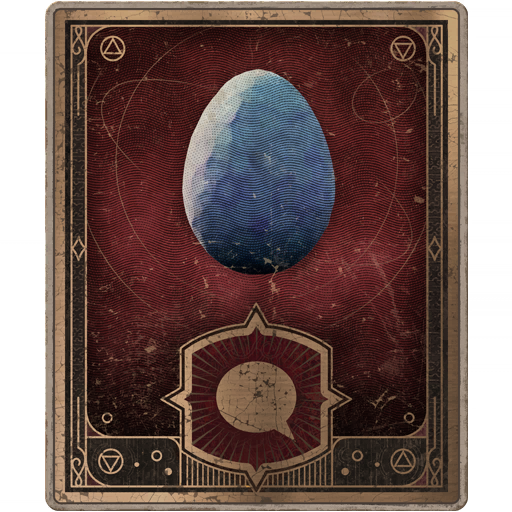
Once the second set of enemies is defeated, you’ll be able to free the dragon. Head over to the large metal tether (1), face it, and cast Accio. A cutscene will play, in which the dragon snacks/crispifies poachers that somehow showed up while you weren’t looking. When the cutscene ends, you’ll find yourself back outside with Poppy. After a final conversation, the mission will end, and you’ll find yourself with a Dragon Egg! The Dragon Egg is an important part of Poppy’s companion quests as you work to return the egg to it’s mother.
Unabashed FromSoftware fanboy still learning to take his time with games (and everything else, really). The time he doesn't spend on games is spent on music, books, or occasionally going outside.