In your travels, you are likely to come across a somewhat-creepy abandoned manor along the Southern Coast of the map. There is a secret map in the basement of this manor, which you can only access with Alohomora, which will lead you on a treasure hunt.
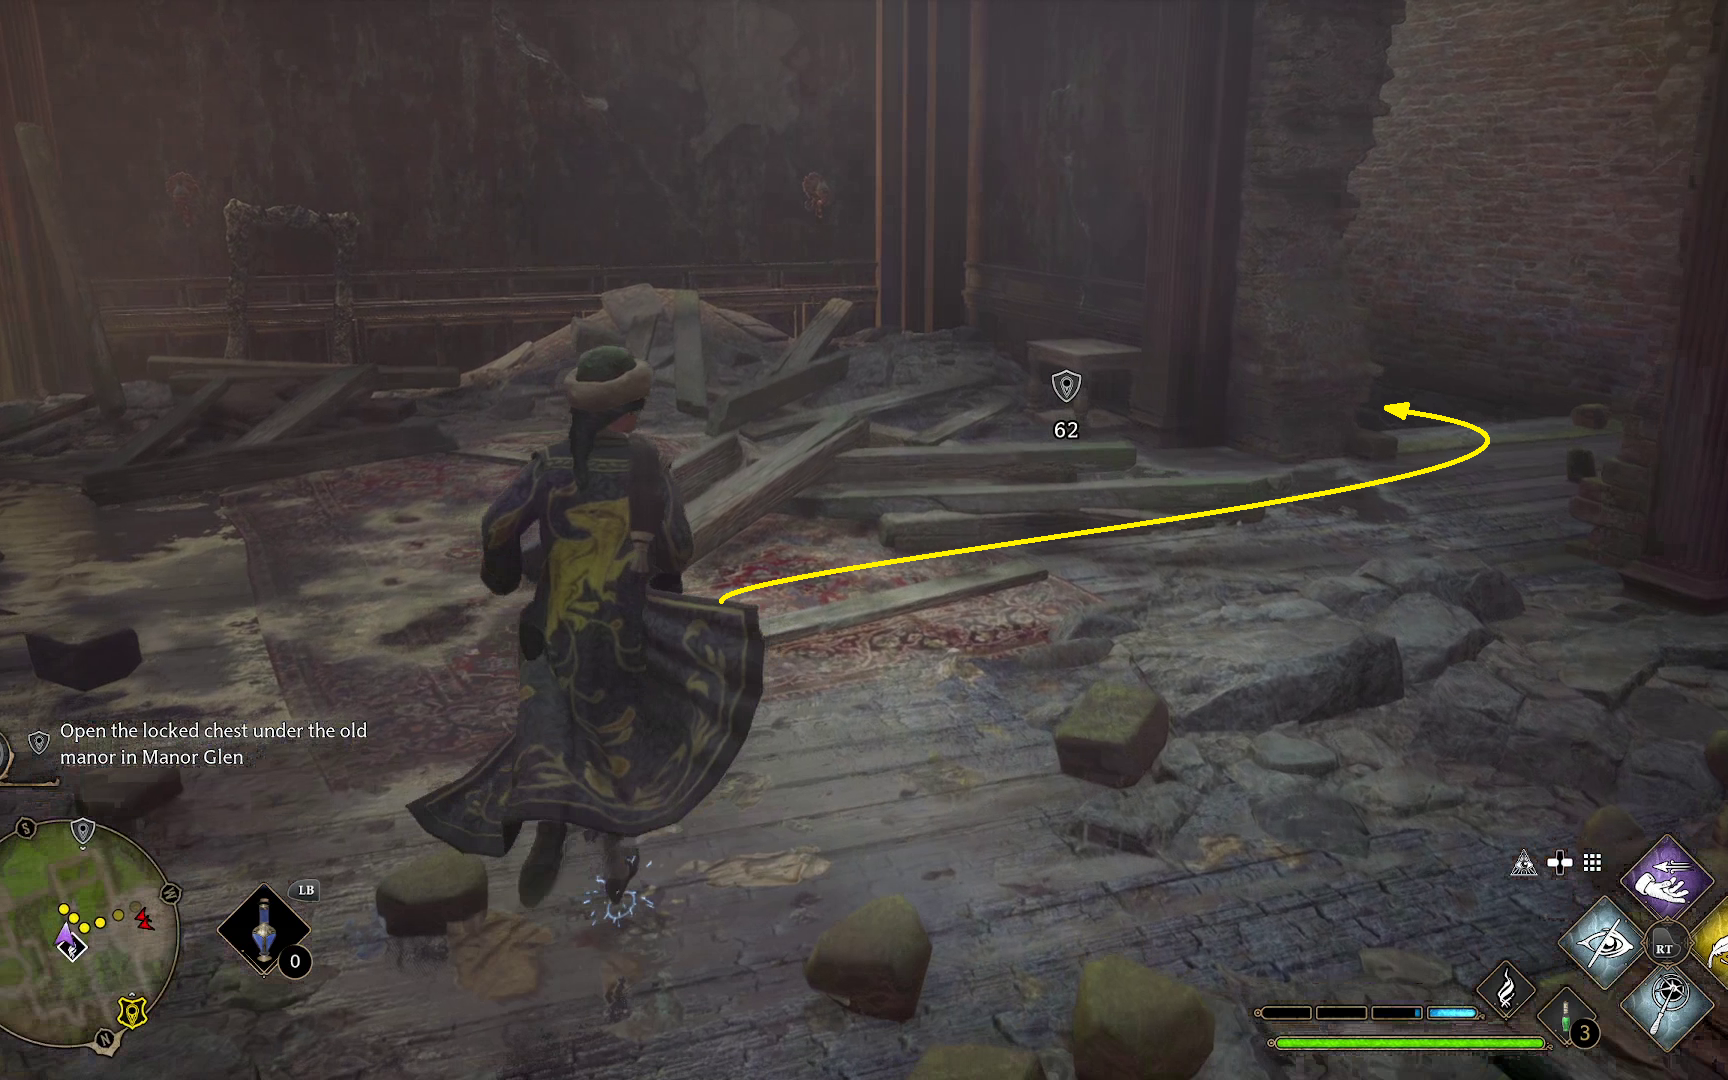
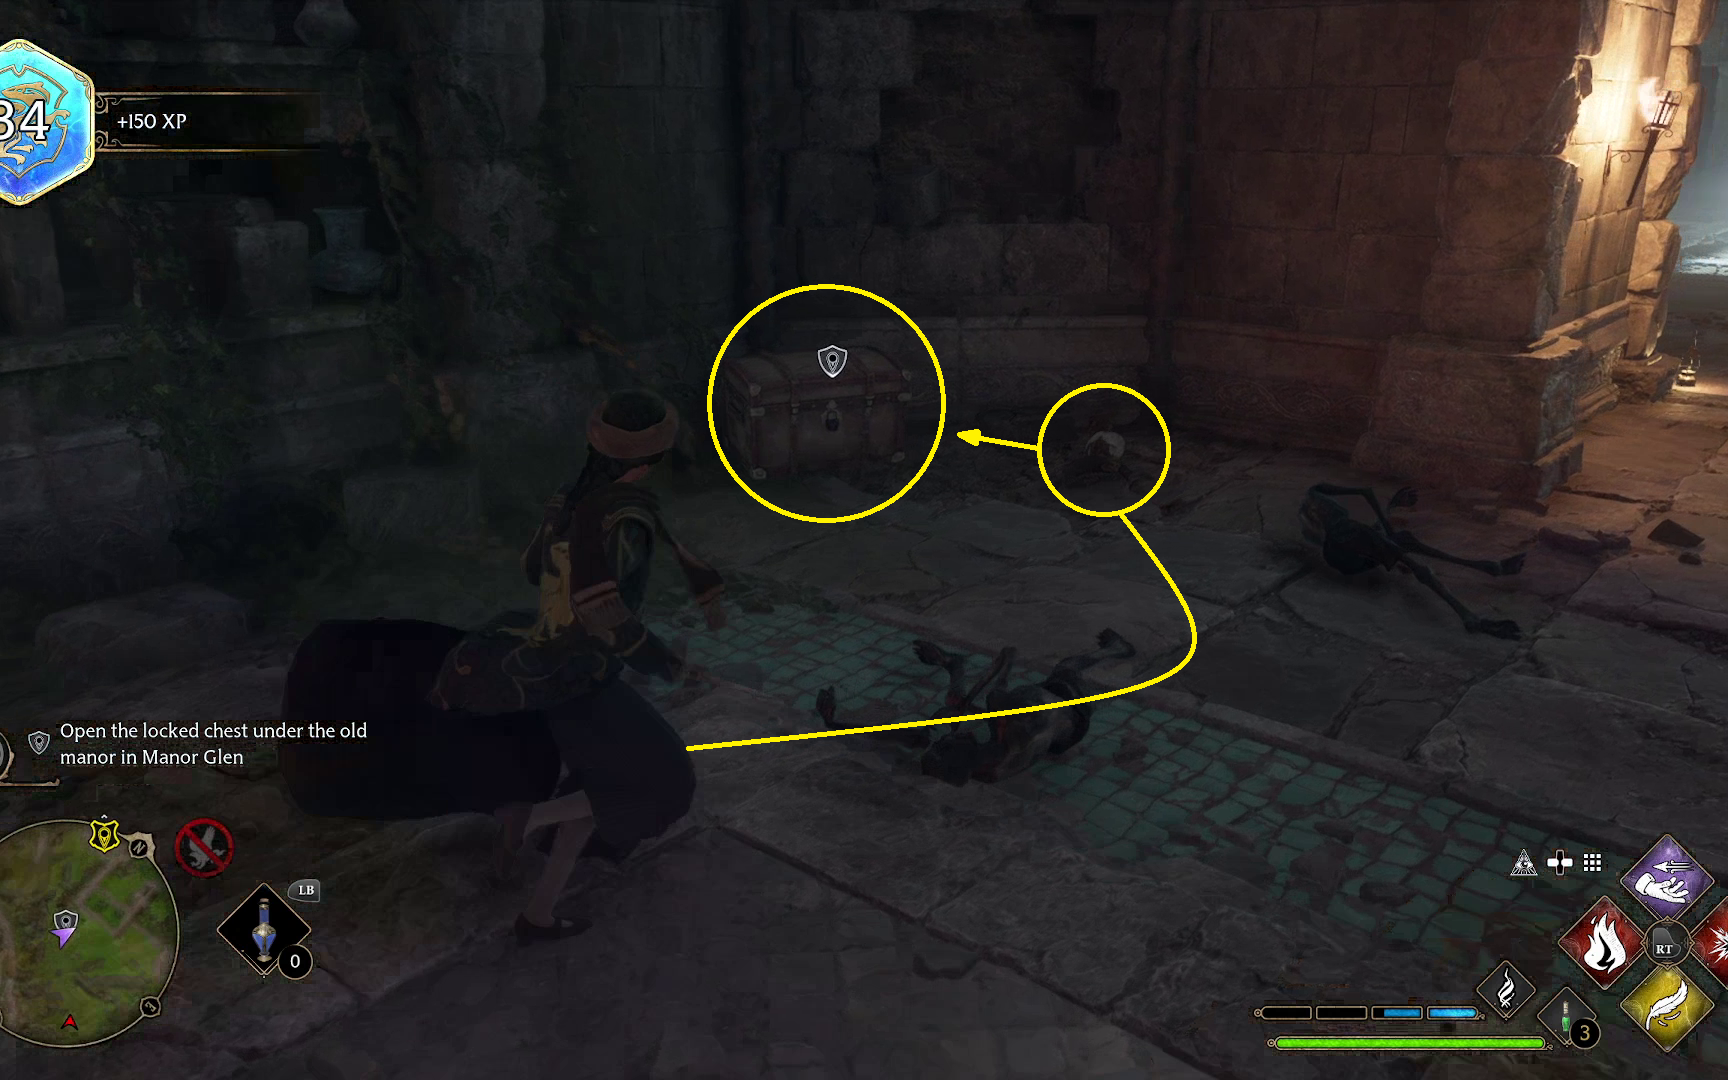
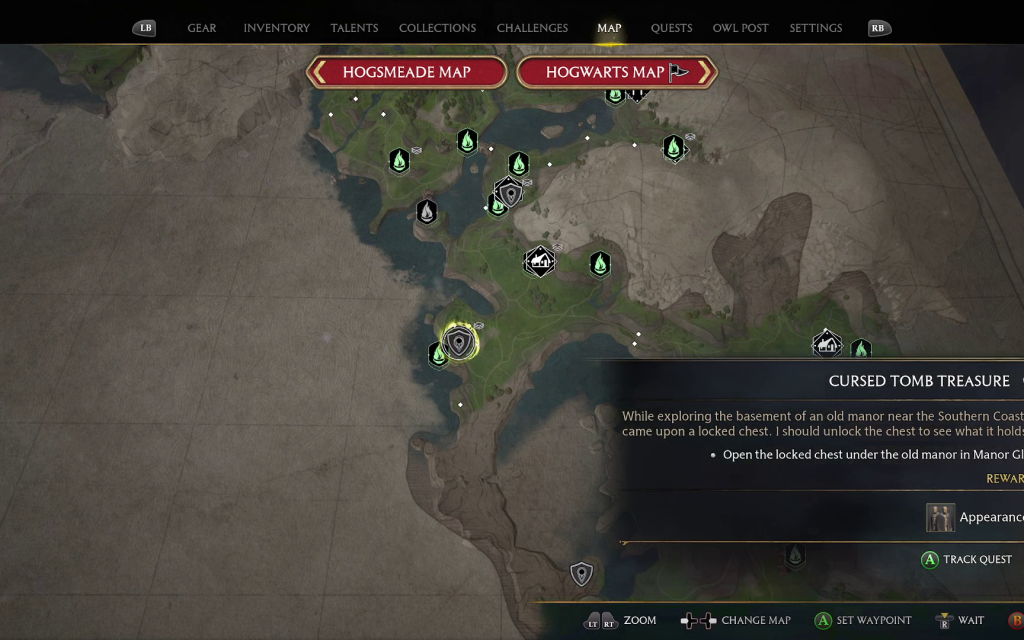
Open the Locked Chest Under the Old Manor in Manor Glen
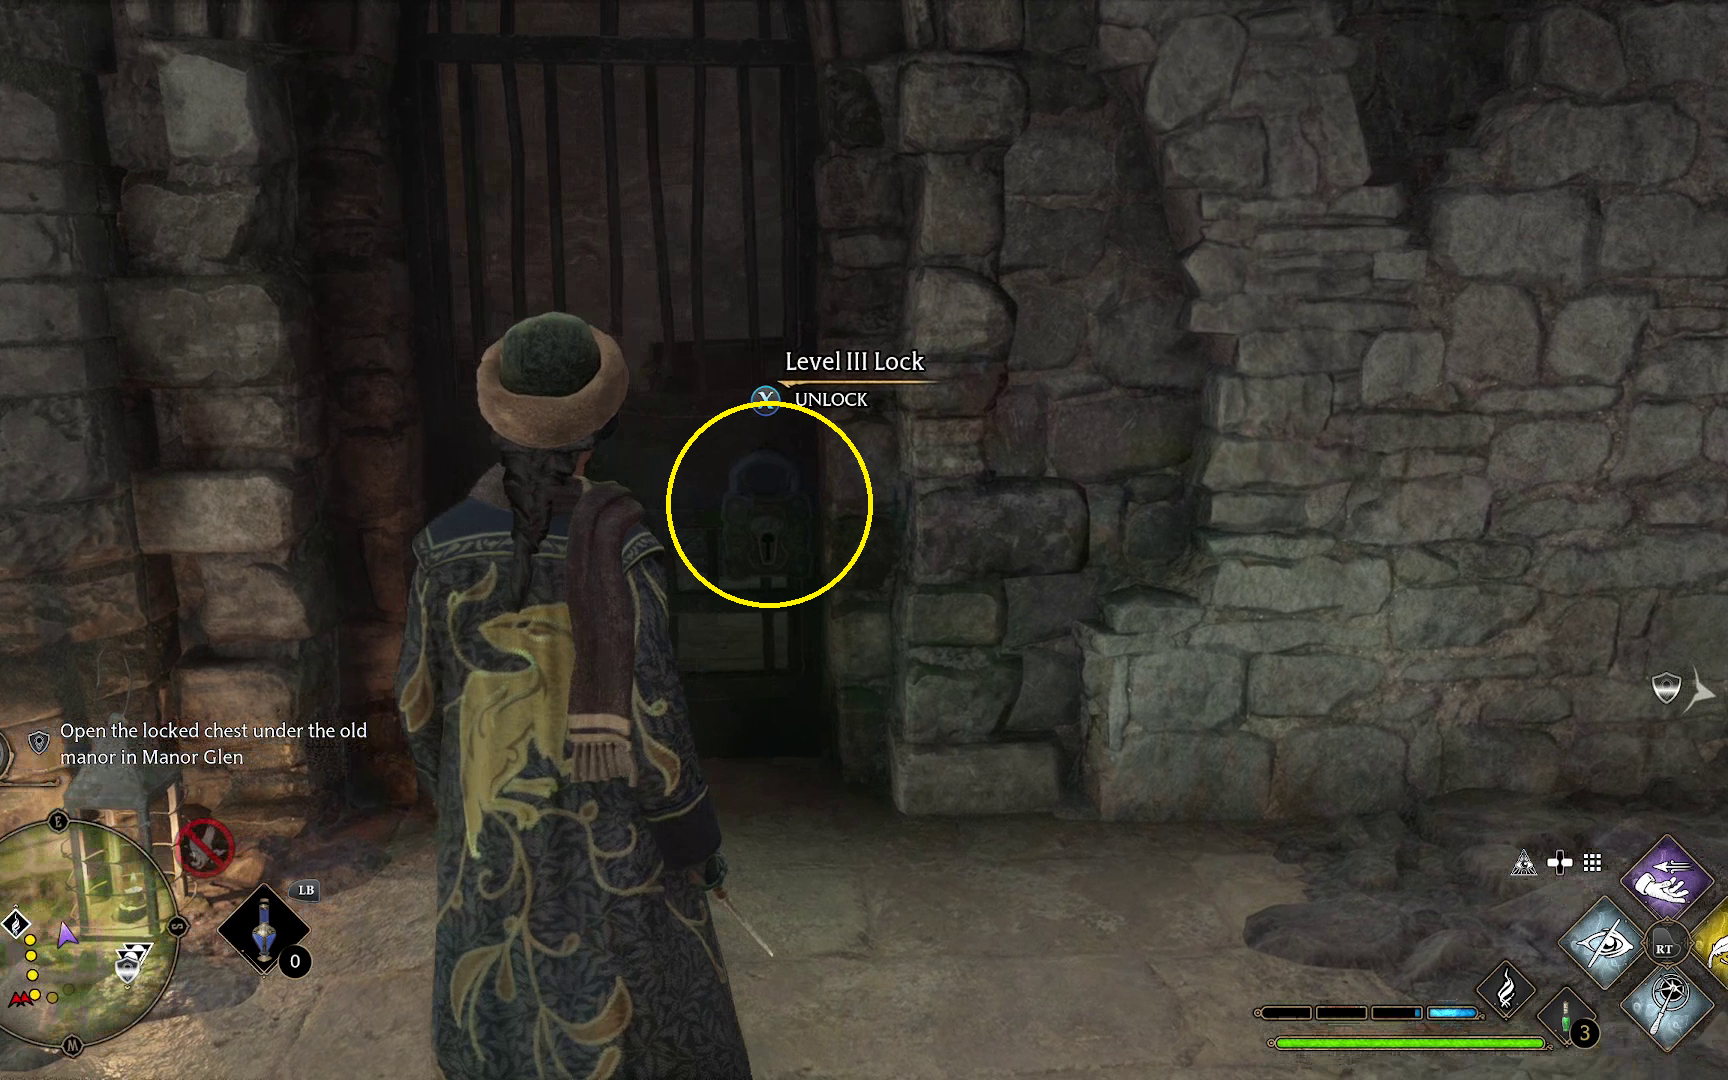
Unlike most quests, Cursed Tomb Treasure might be more difficult to start than it is to finish, as you will need to have acquired the highest rank of Alohomora by completing The Caretaker’s Lunar Lament in order to access it. Once you have Alohomora III, head inside the manor and down the stairs in the Southwest corner (1). There, you’ll come across a Level III Lock that you can open, leading to the area where the quest begins (2).
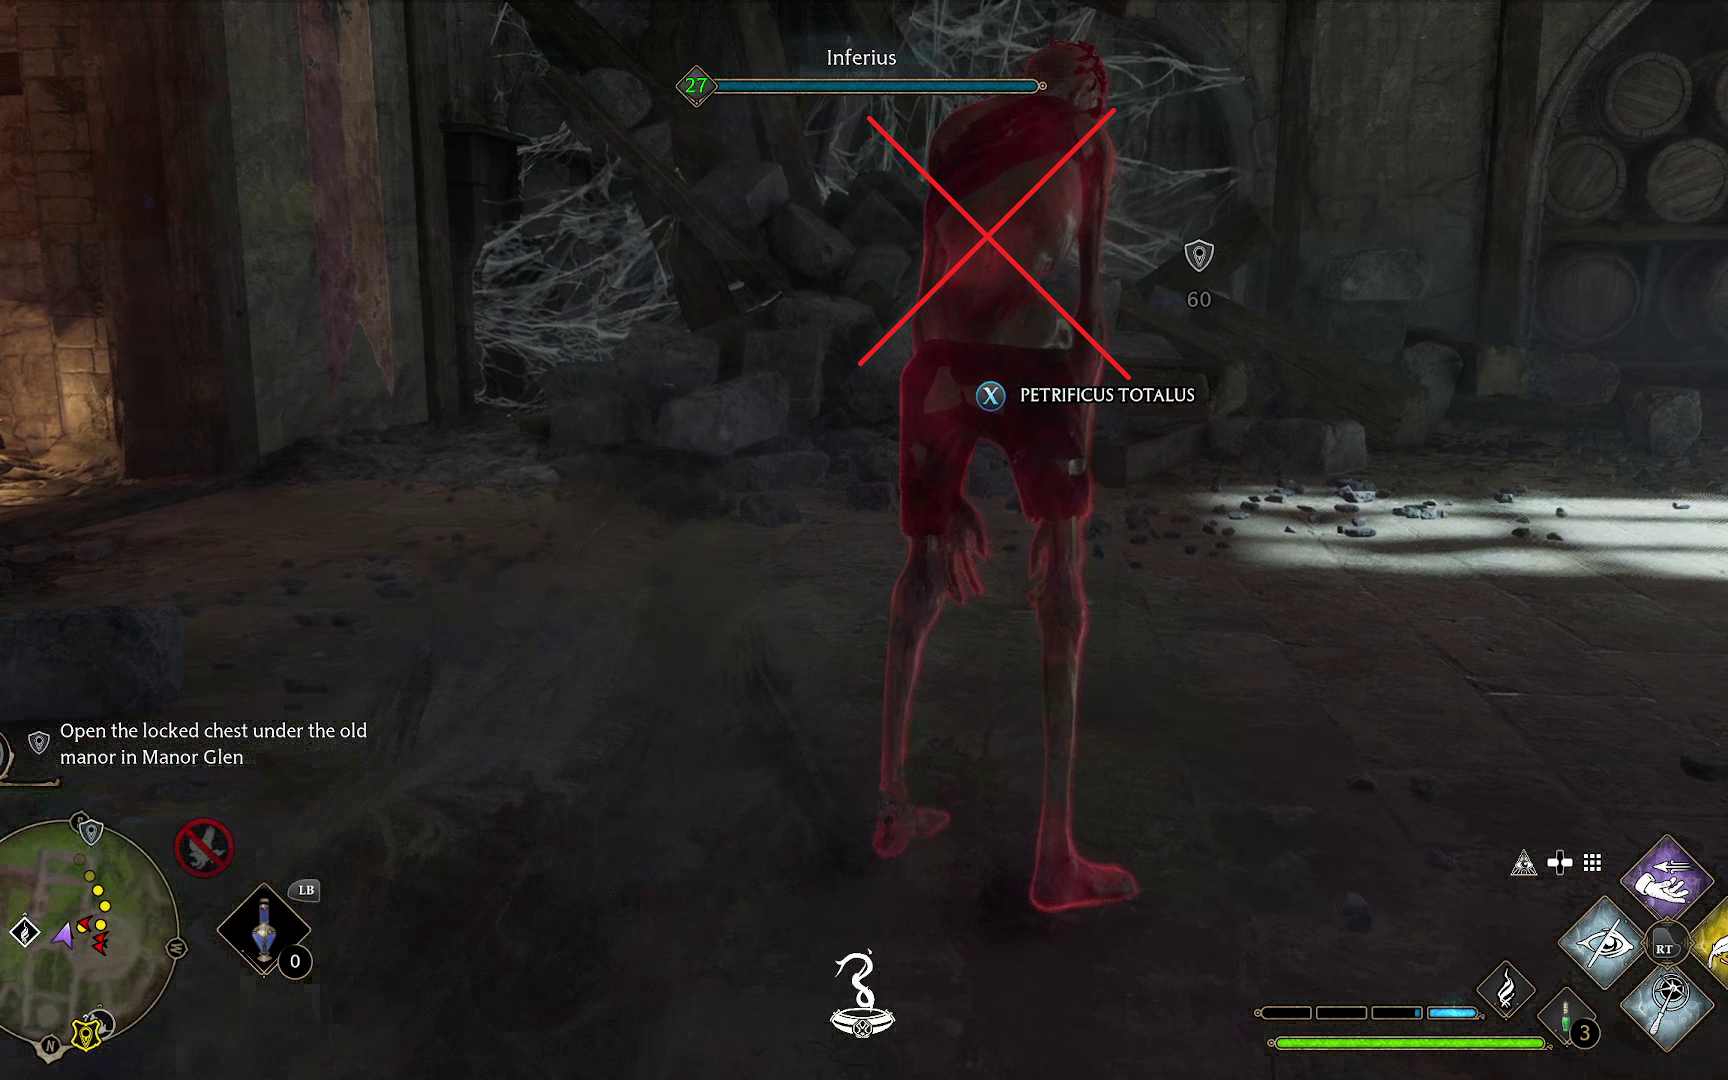
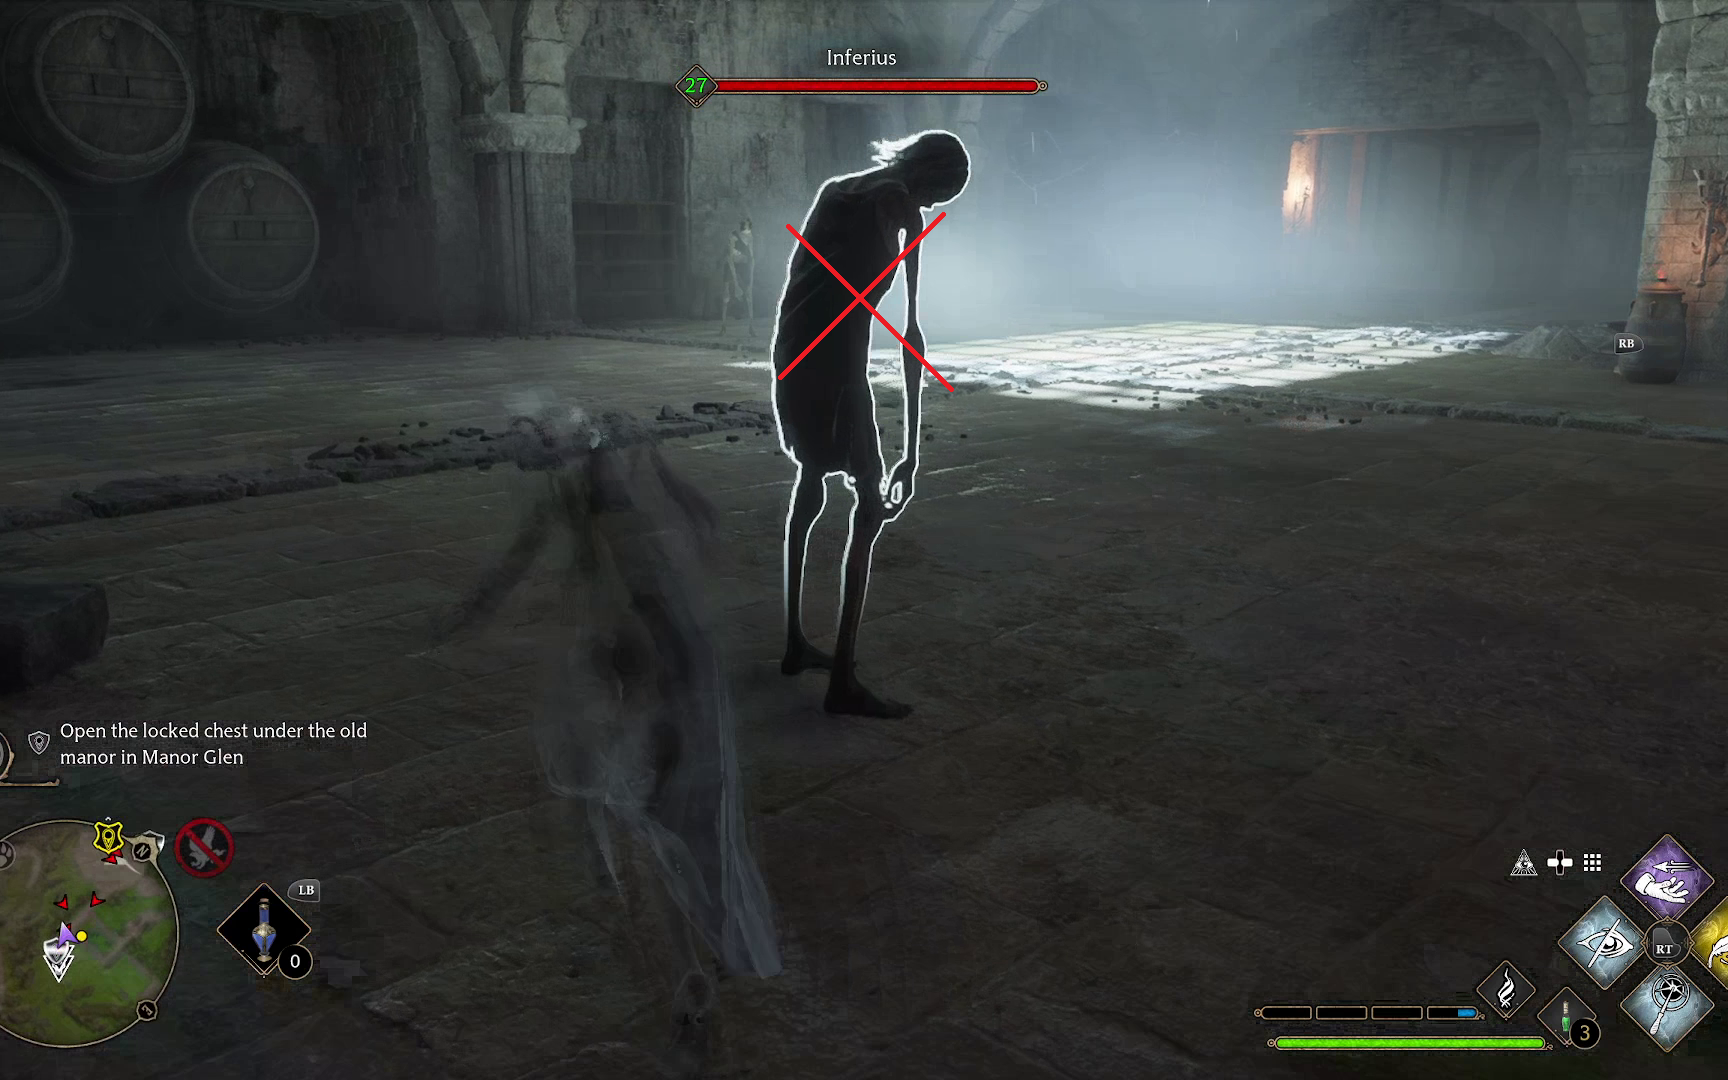
Once you get into the basement, you’ll need to content with quite a few Inferni, who will pop out of the ground. To prepare for this, you can cast Disillusionment so that you can get behind them while they crawl out of the ground, ready to cast Petrificus Totalus once they are all the way out. There will be two rooms filled with such Inferni.
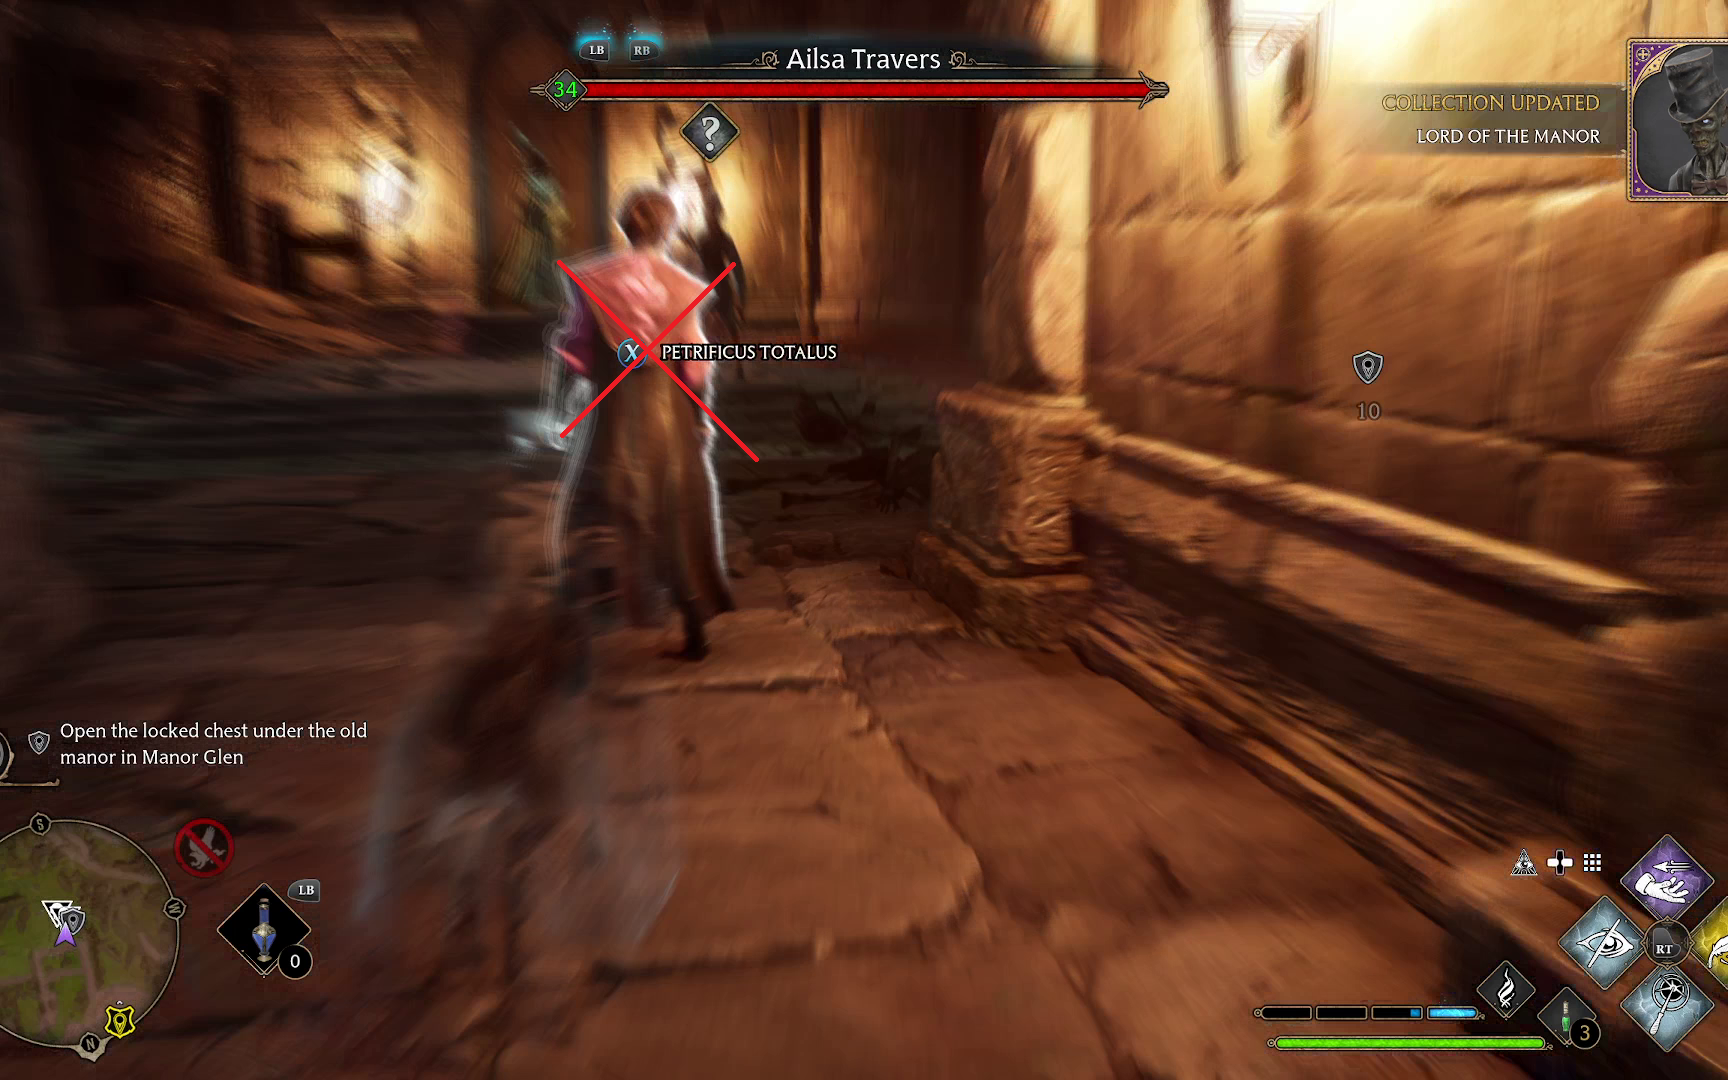
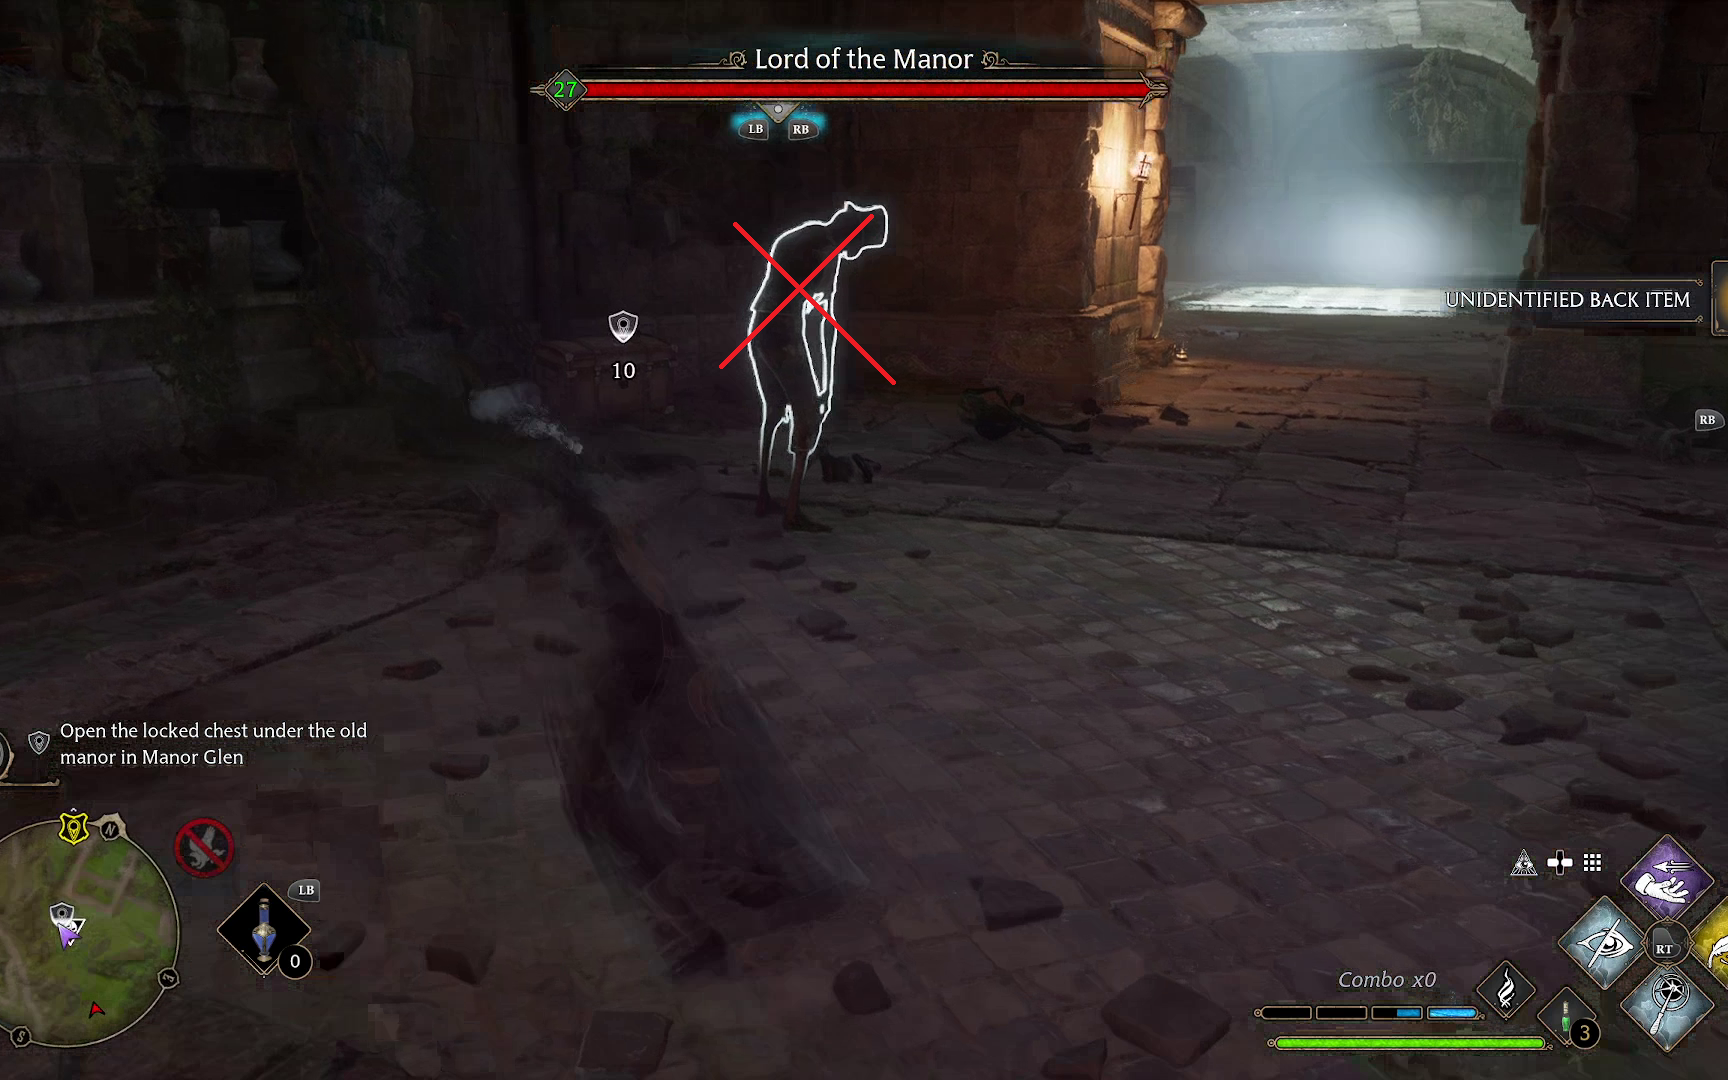
After you make your way through the two dark rooms, you’ll come across two enemies with boss health-bars: Ailsa Travers and the Lord of the Manor. Thankfully, the health bars are mostly for effect: the easiest way to deal with them is to get Ailsa’s attention near the entrance to the brightly-lit room (1), then to wait until she investigates and turns around so you can move in and cast Petrificus Totalus on her (2). After you take her out, the Lord of the Manor, being an Inferni, is easy enough to sneak behind and do the same to (3).
123
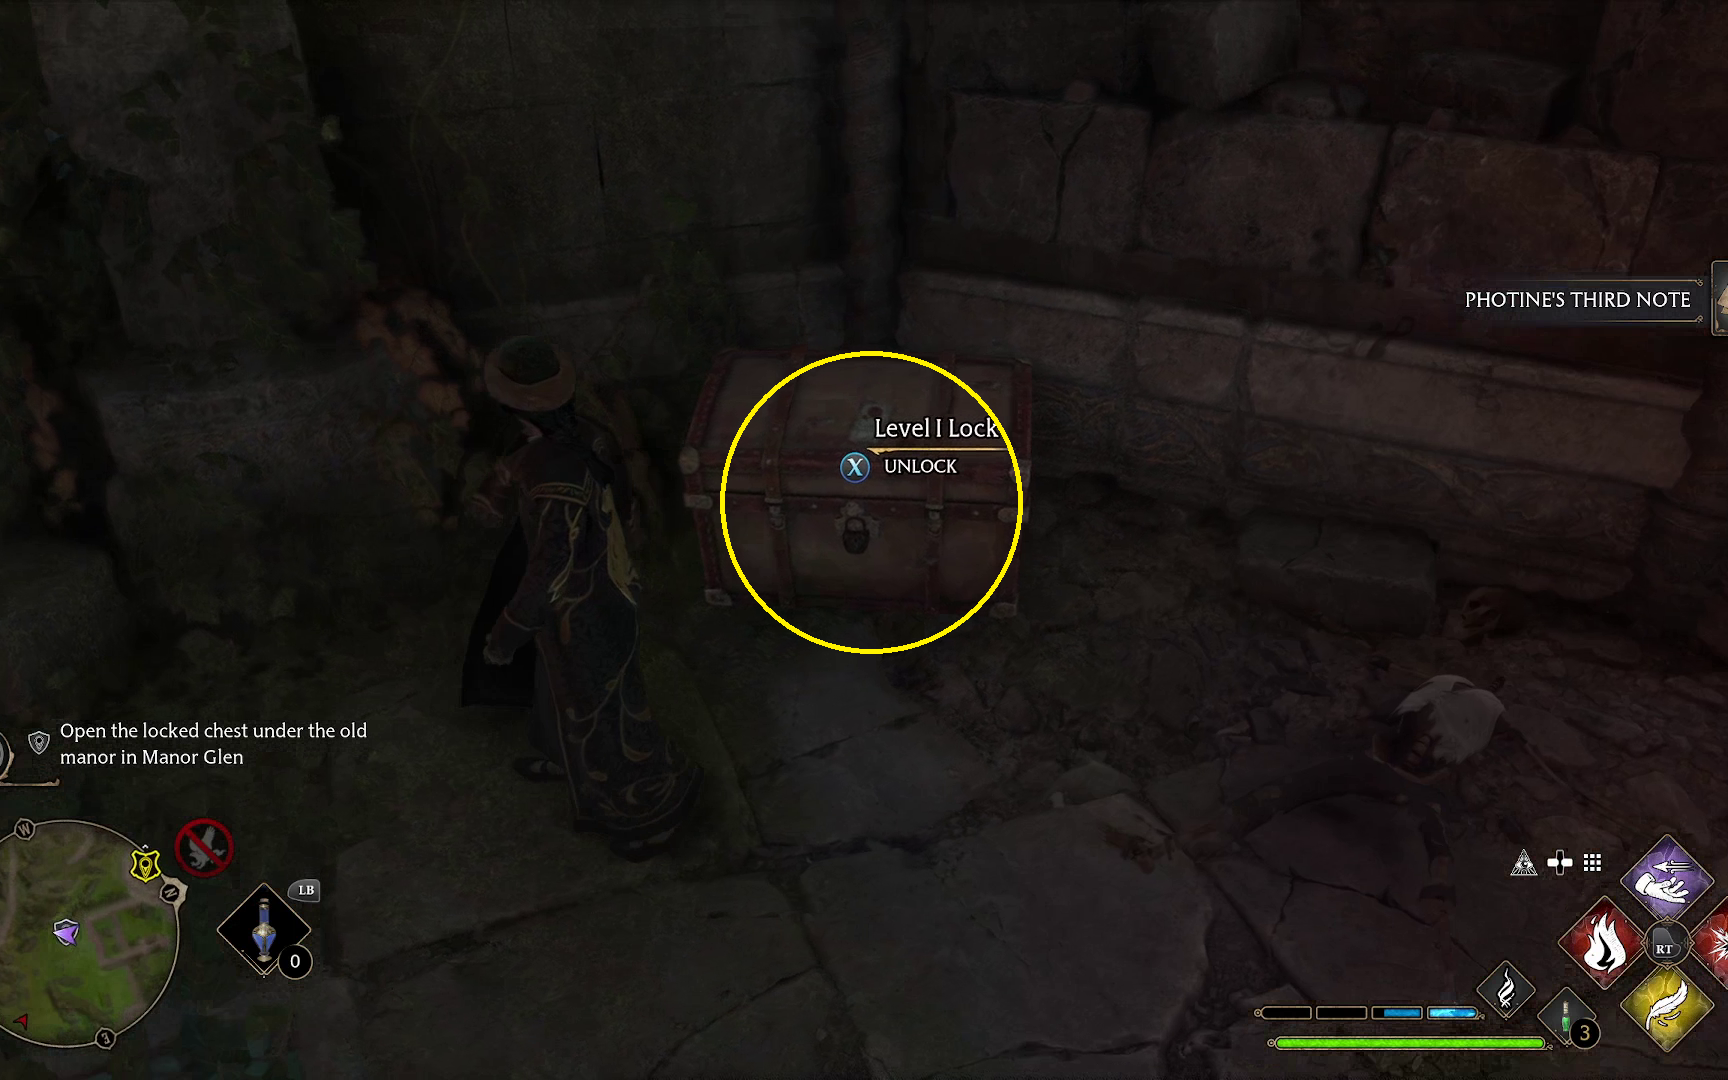
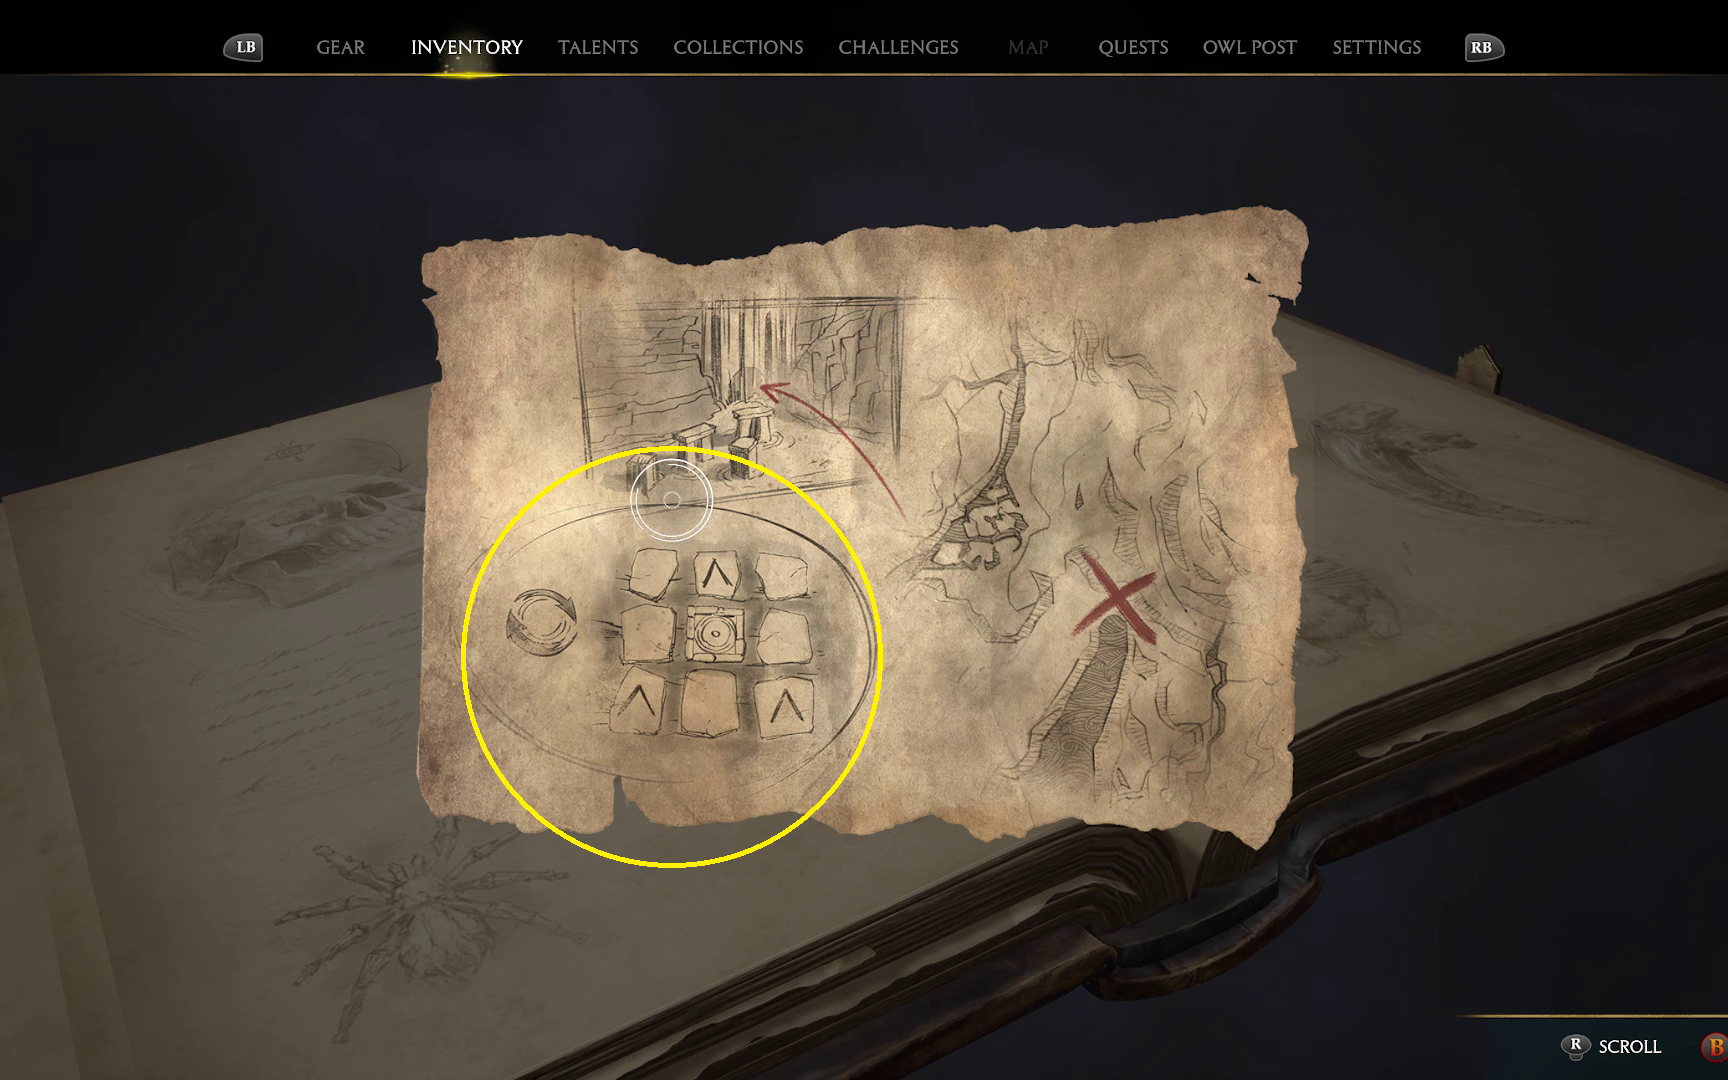
After you take out the two “bosses,” head into the room they are in. Here, you can investigate a corpse (1) to find the third of three notes revealing the backstory of this quest. Then, you can unlock the chest (requiring only Rank I Alohomora) (2), which will reveal a treasure map (3)! Two of the three etches on it will reveal the location of the puzzle that you can use the third etch to solve.
123
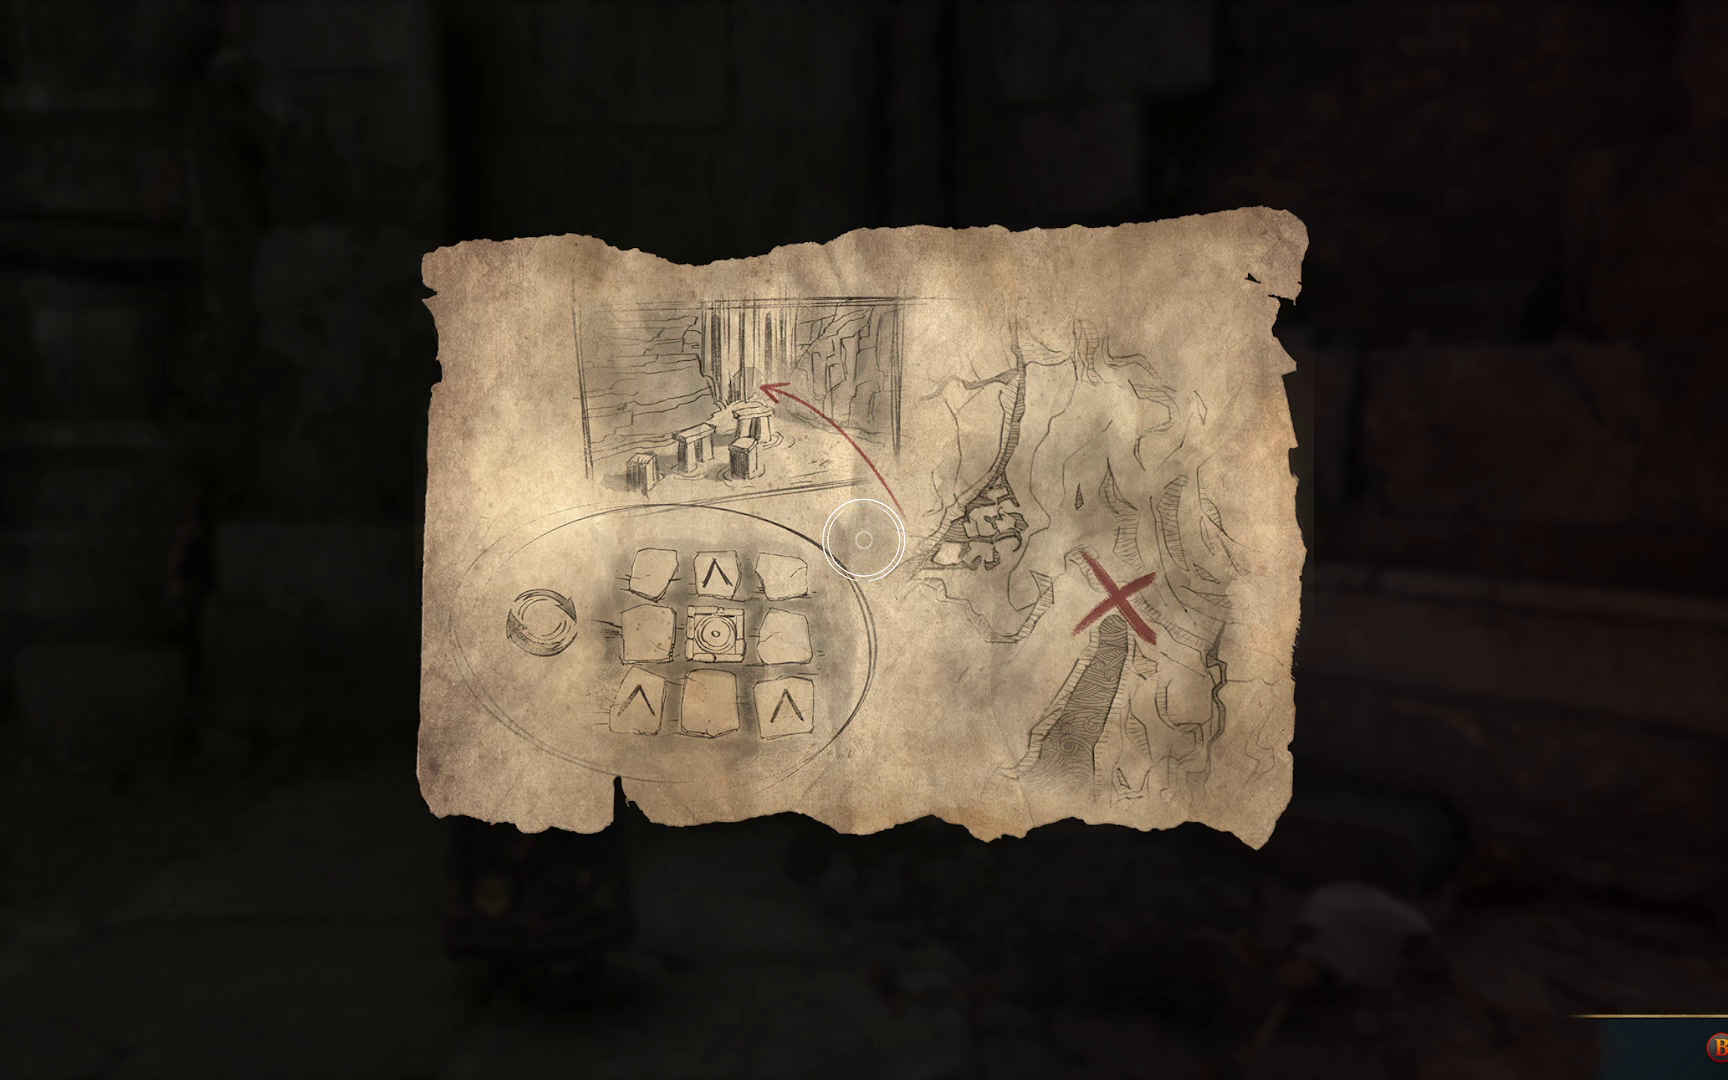
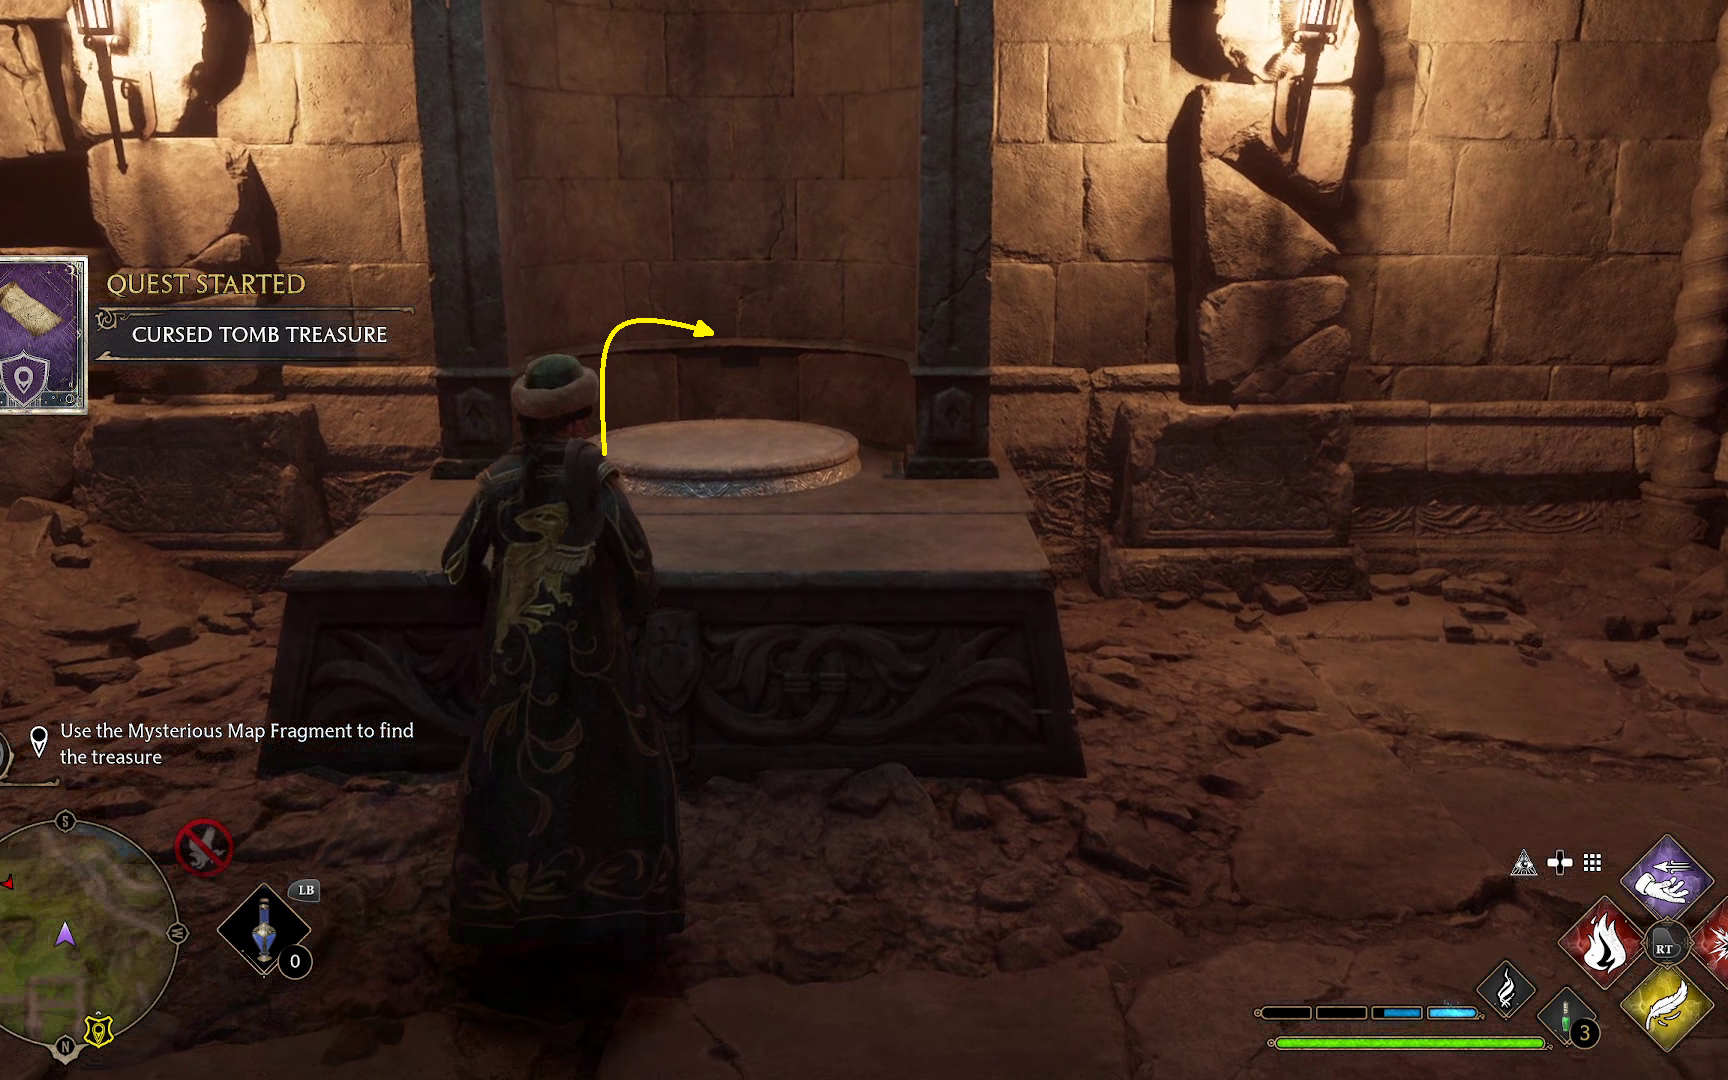
Use the Mysterious Map Fragment to Find the Treasure
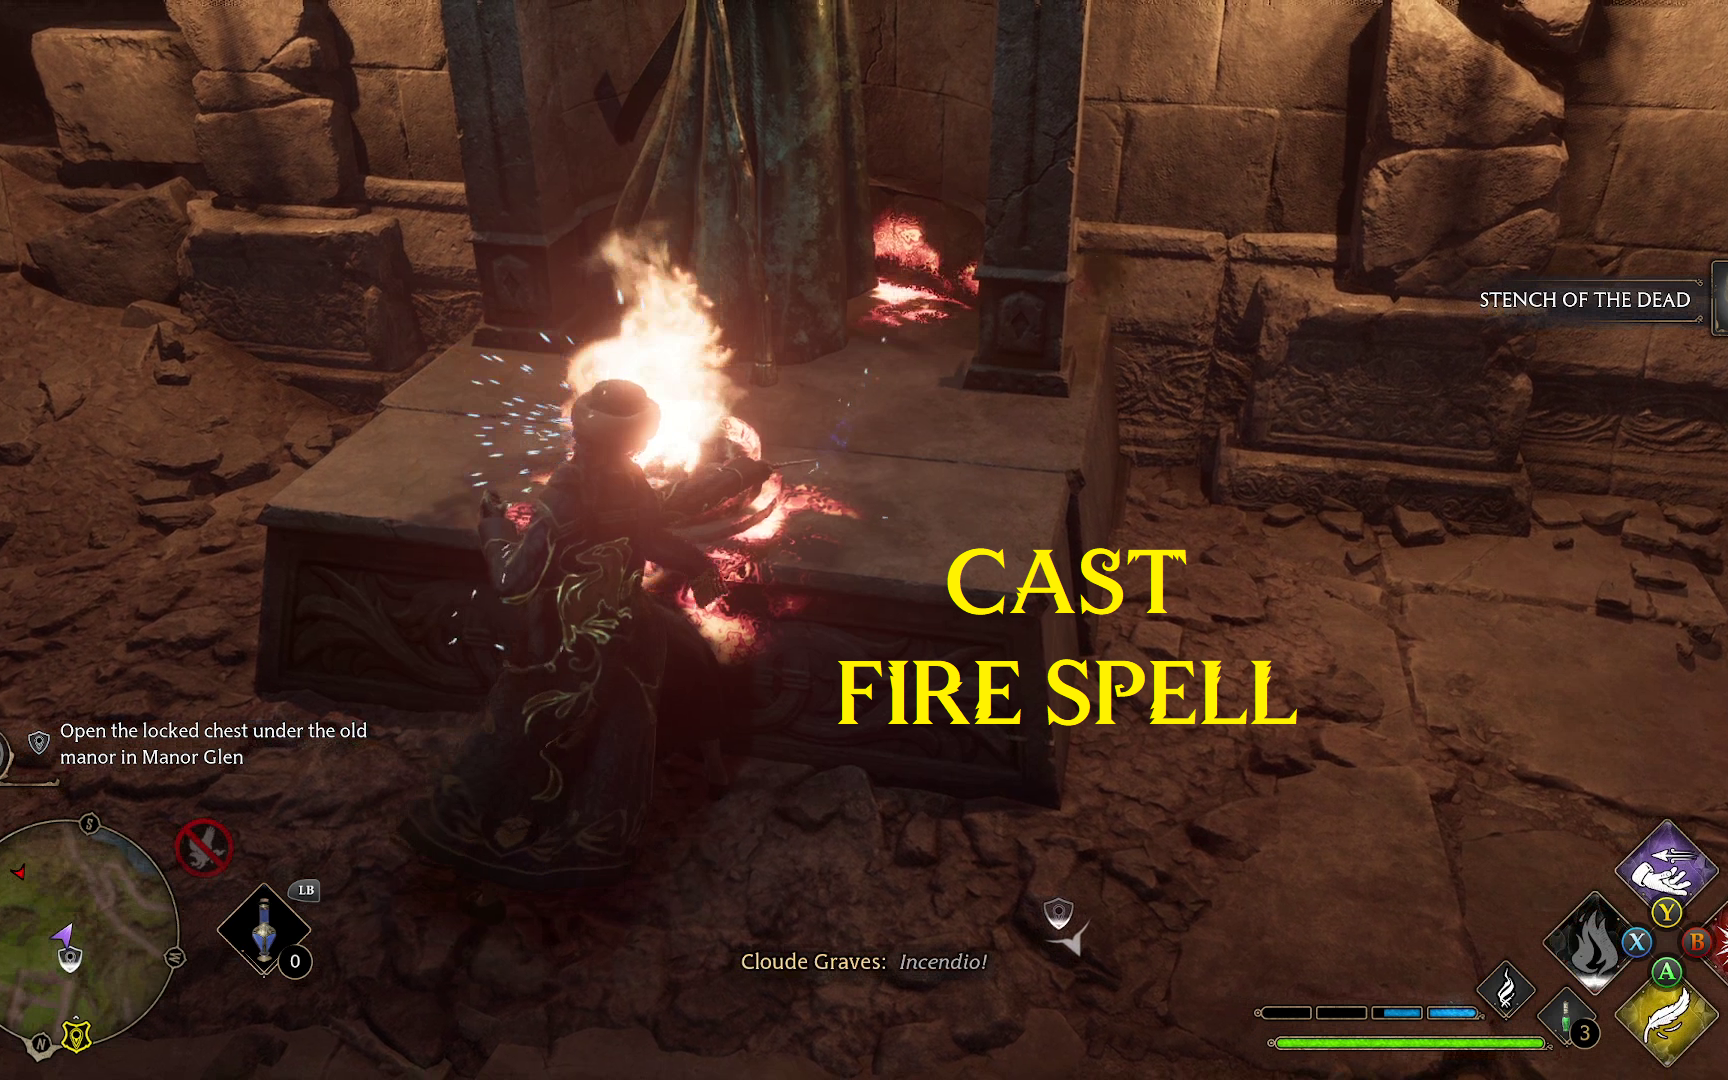
After grabbing the Map Fragment, Cursed Tomb Treasure will officially begin. To get out of the basement quickly, you can cast any fire spell (Incendio, Confringo, Bombarda) on the brazier in front of the statue in the final room, and then jump onto the empty pedestal it reveals.
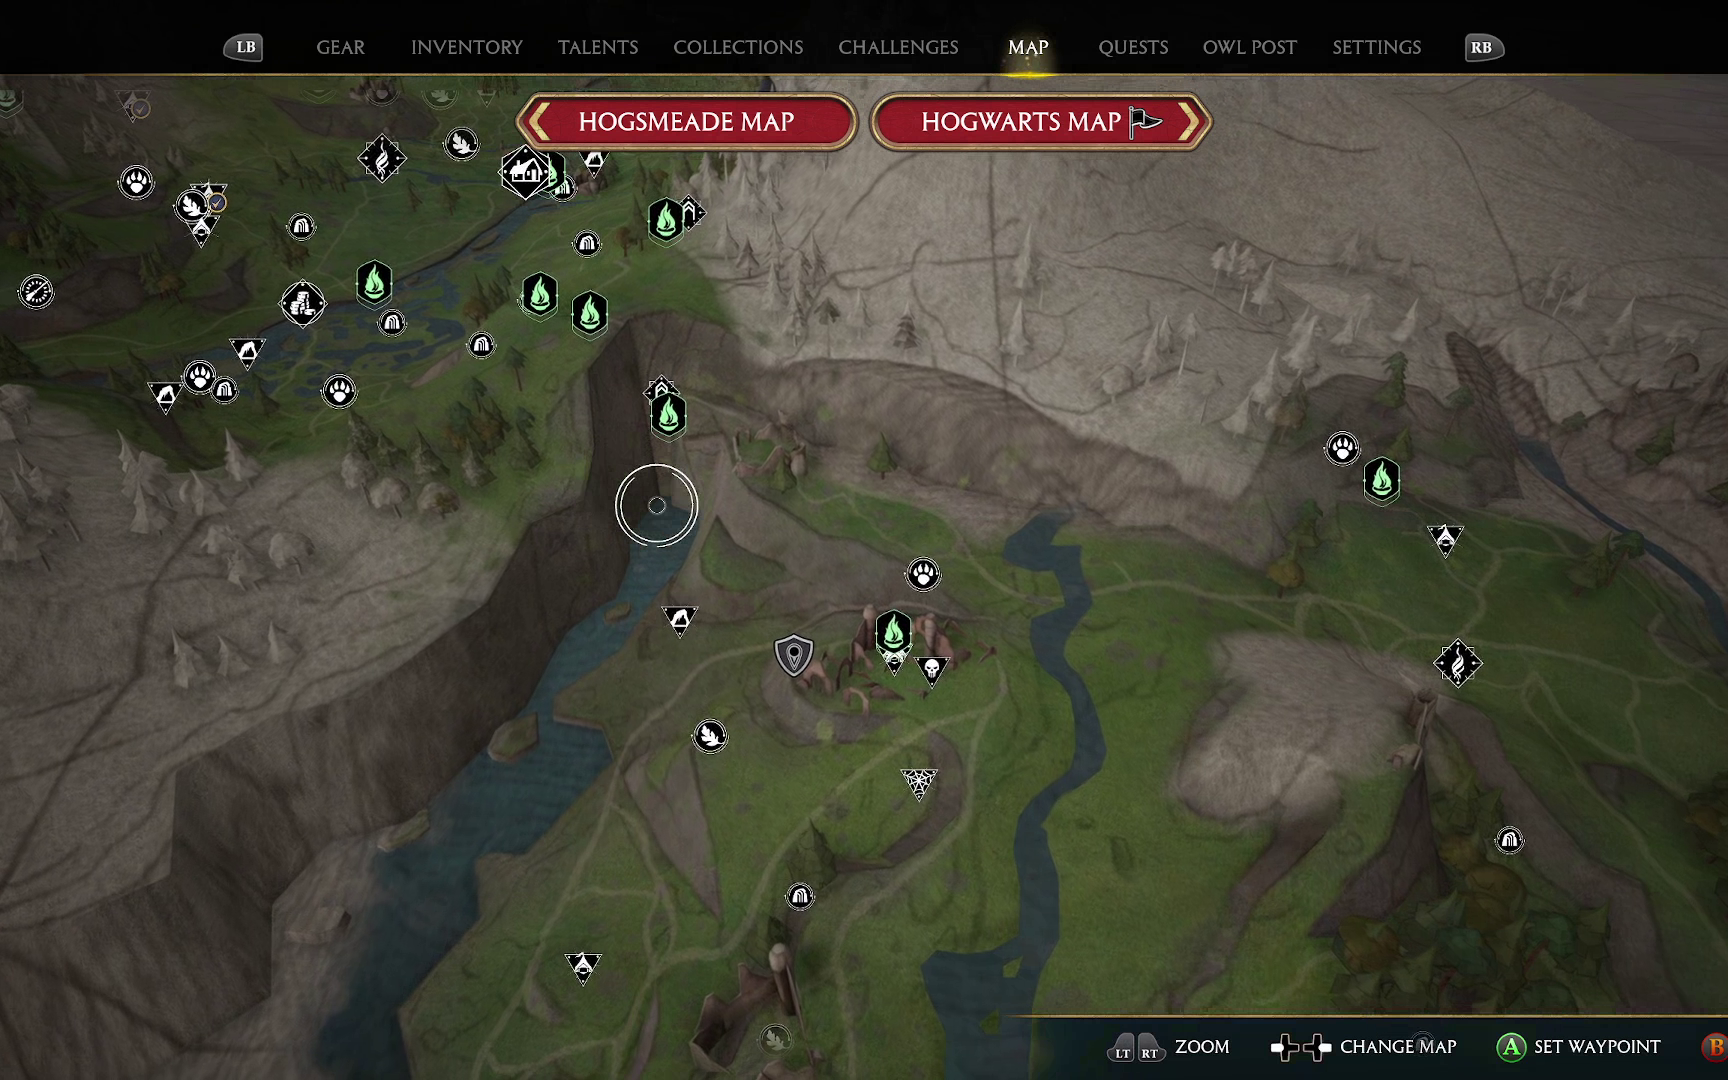
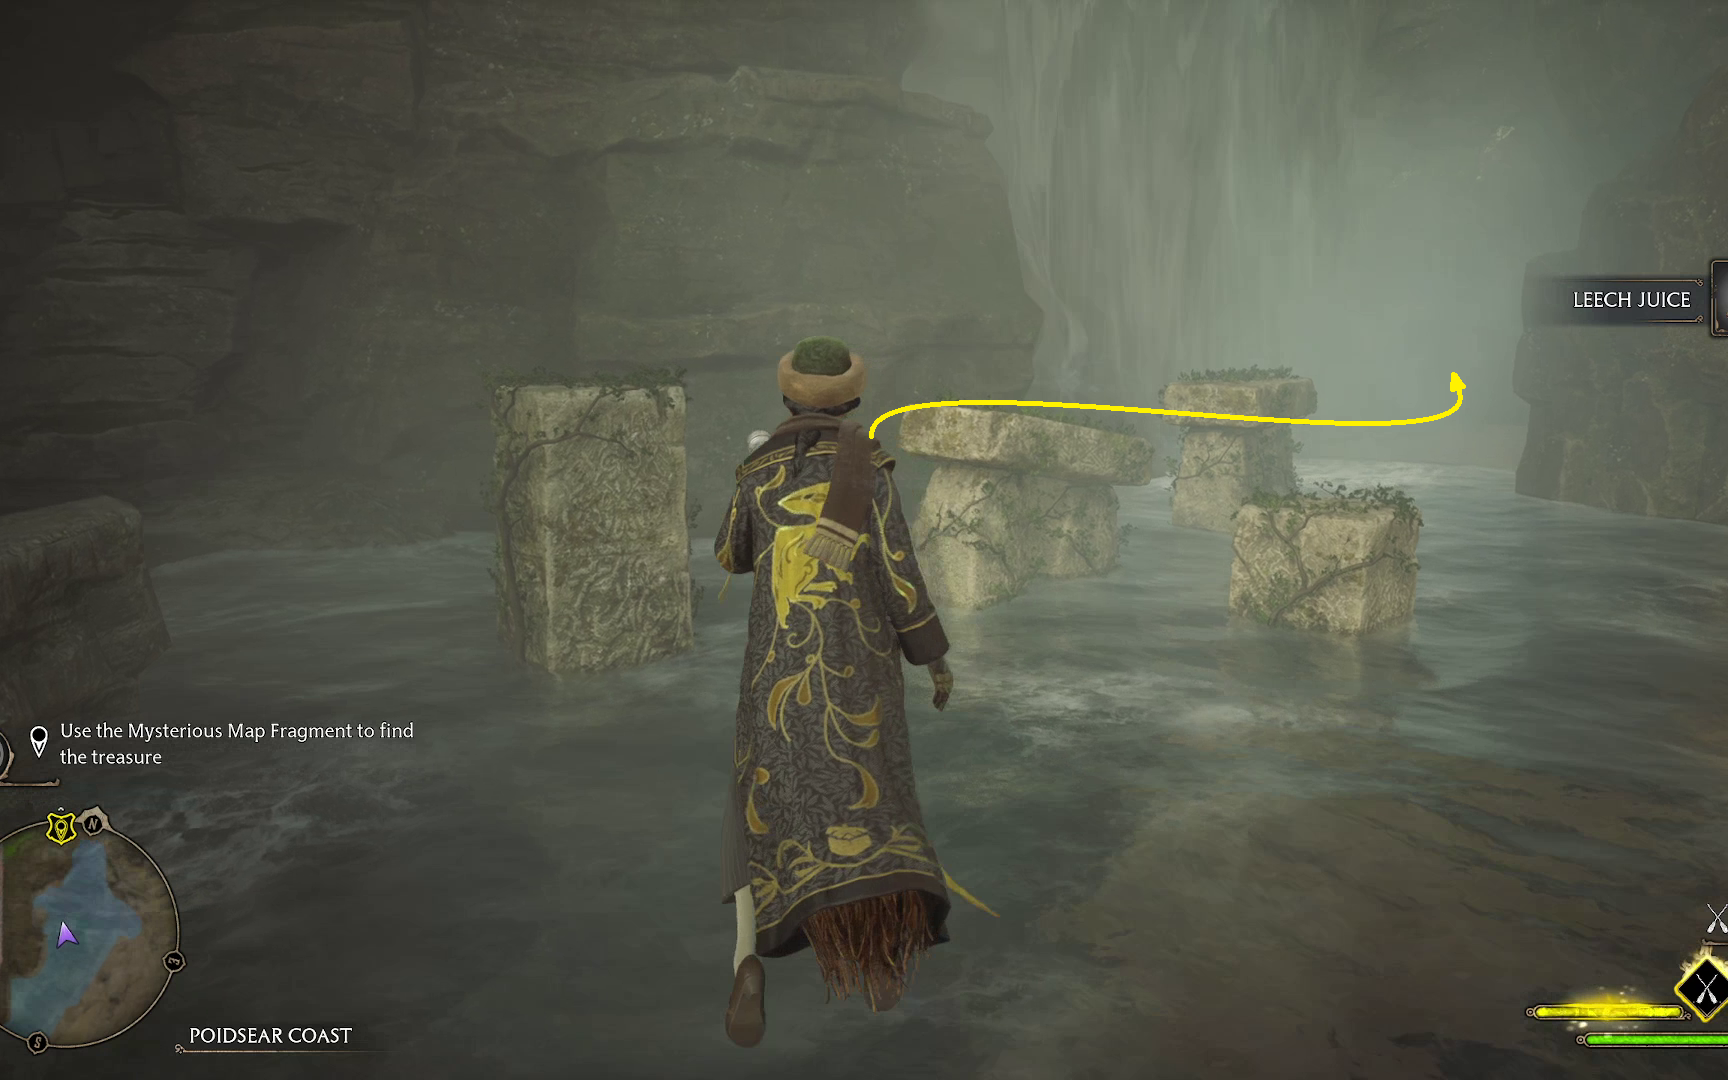
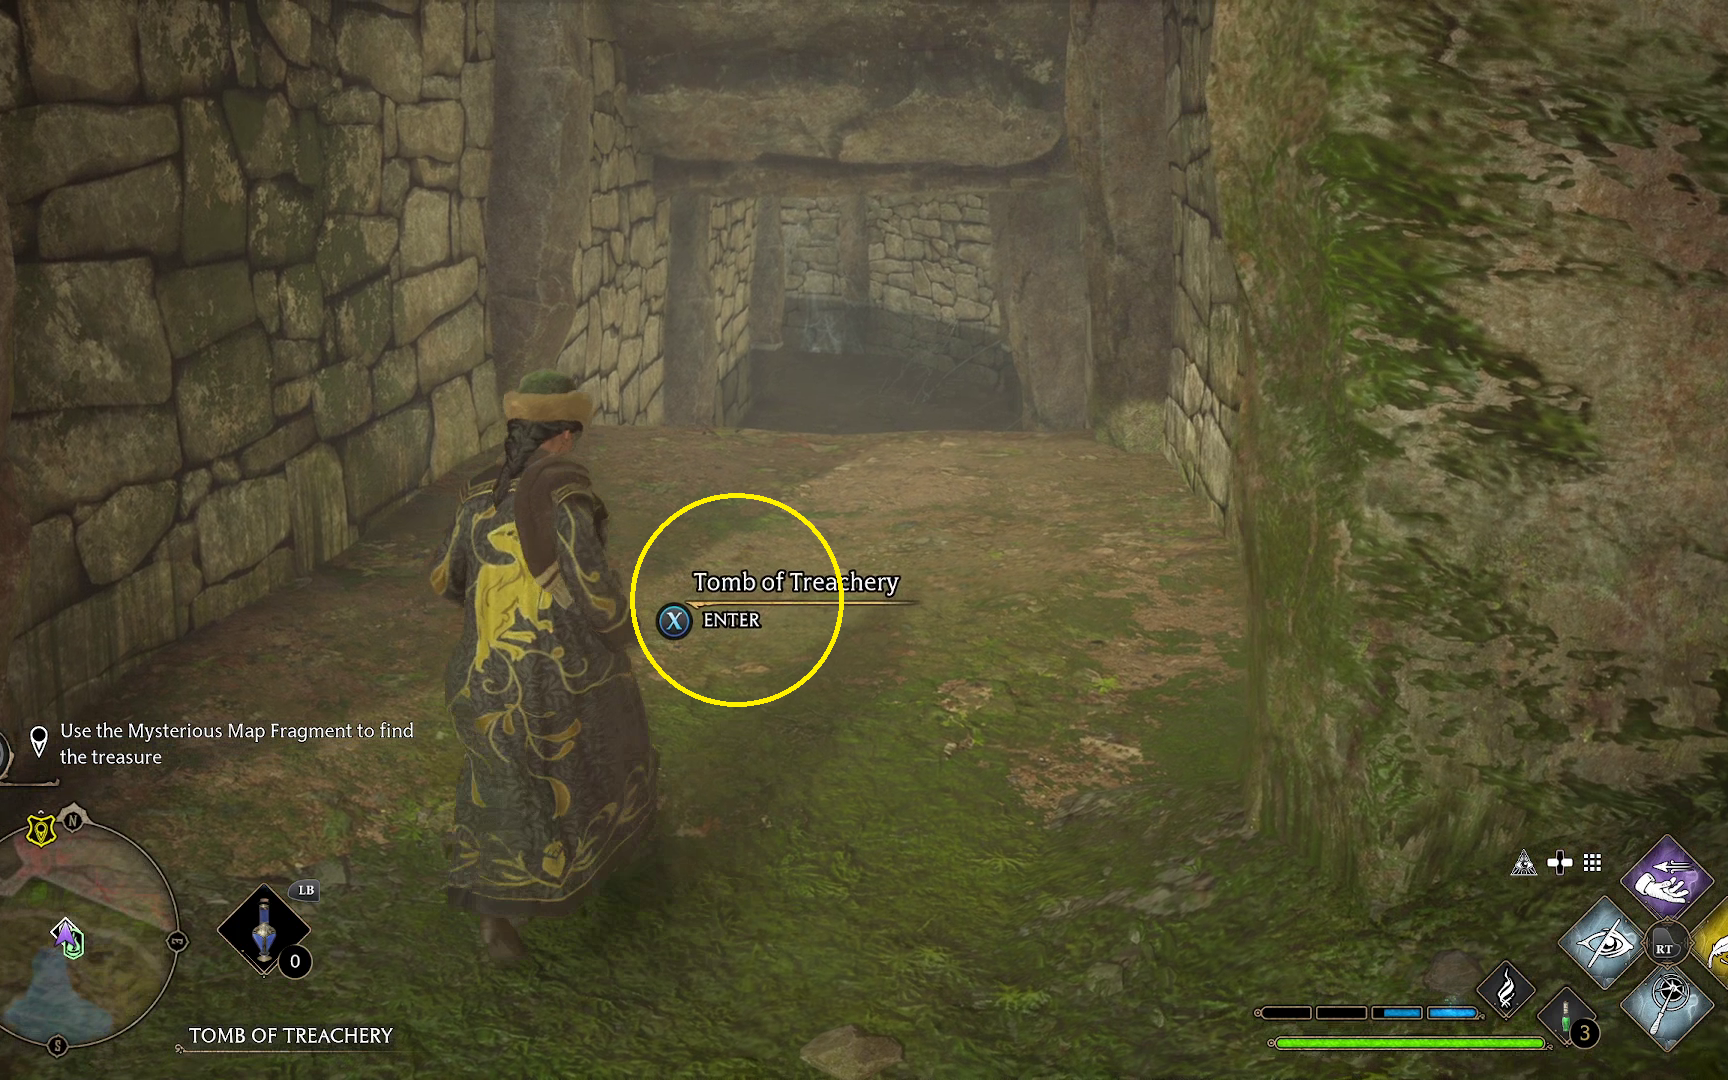
Once back in the overworld, you will need to find the location shown on the map. Luckily, this location should be easy to access: it is at the base of the waterfall very close to where you come into the southern part of the map (1). As you go down to the water below the waterfall, look out for some henges (that are actually part of a Merlin Trial) (2). Pass by those, and you’ll find the entrance to the Tomb of Treachery (3).
123
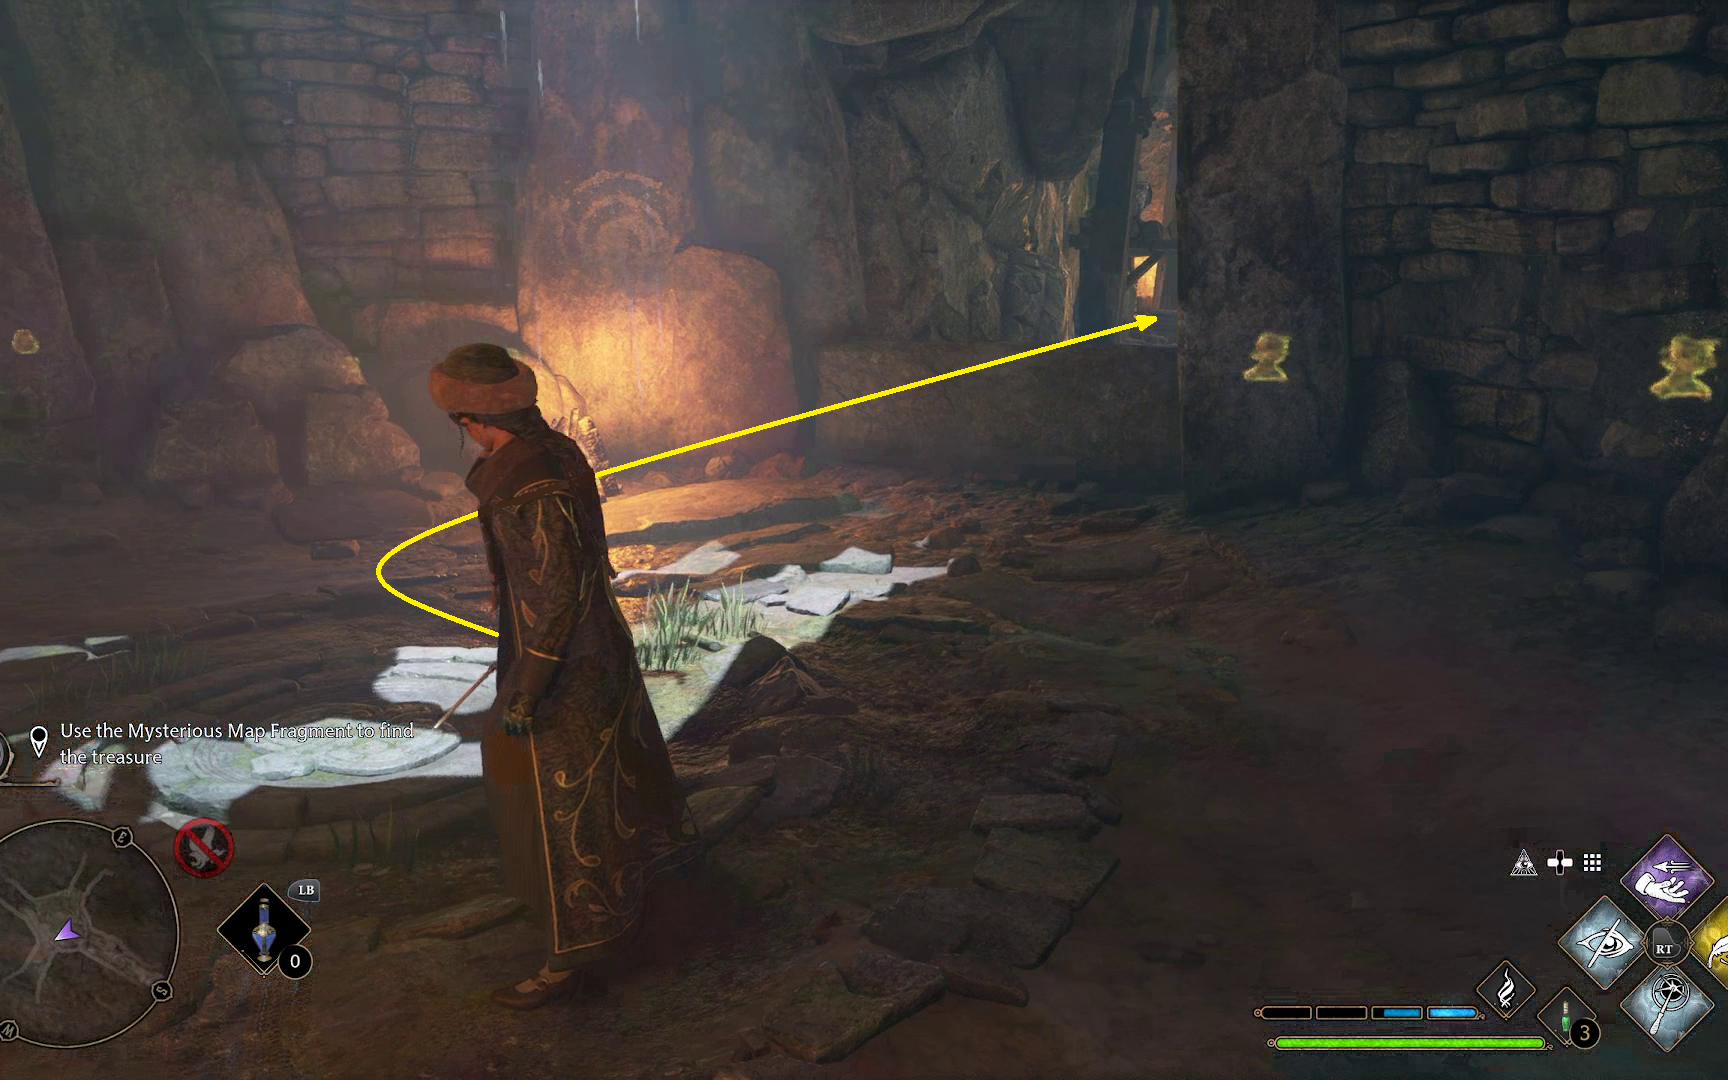
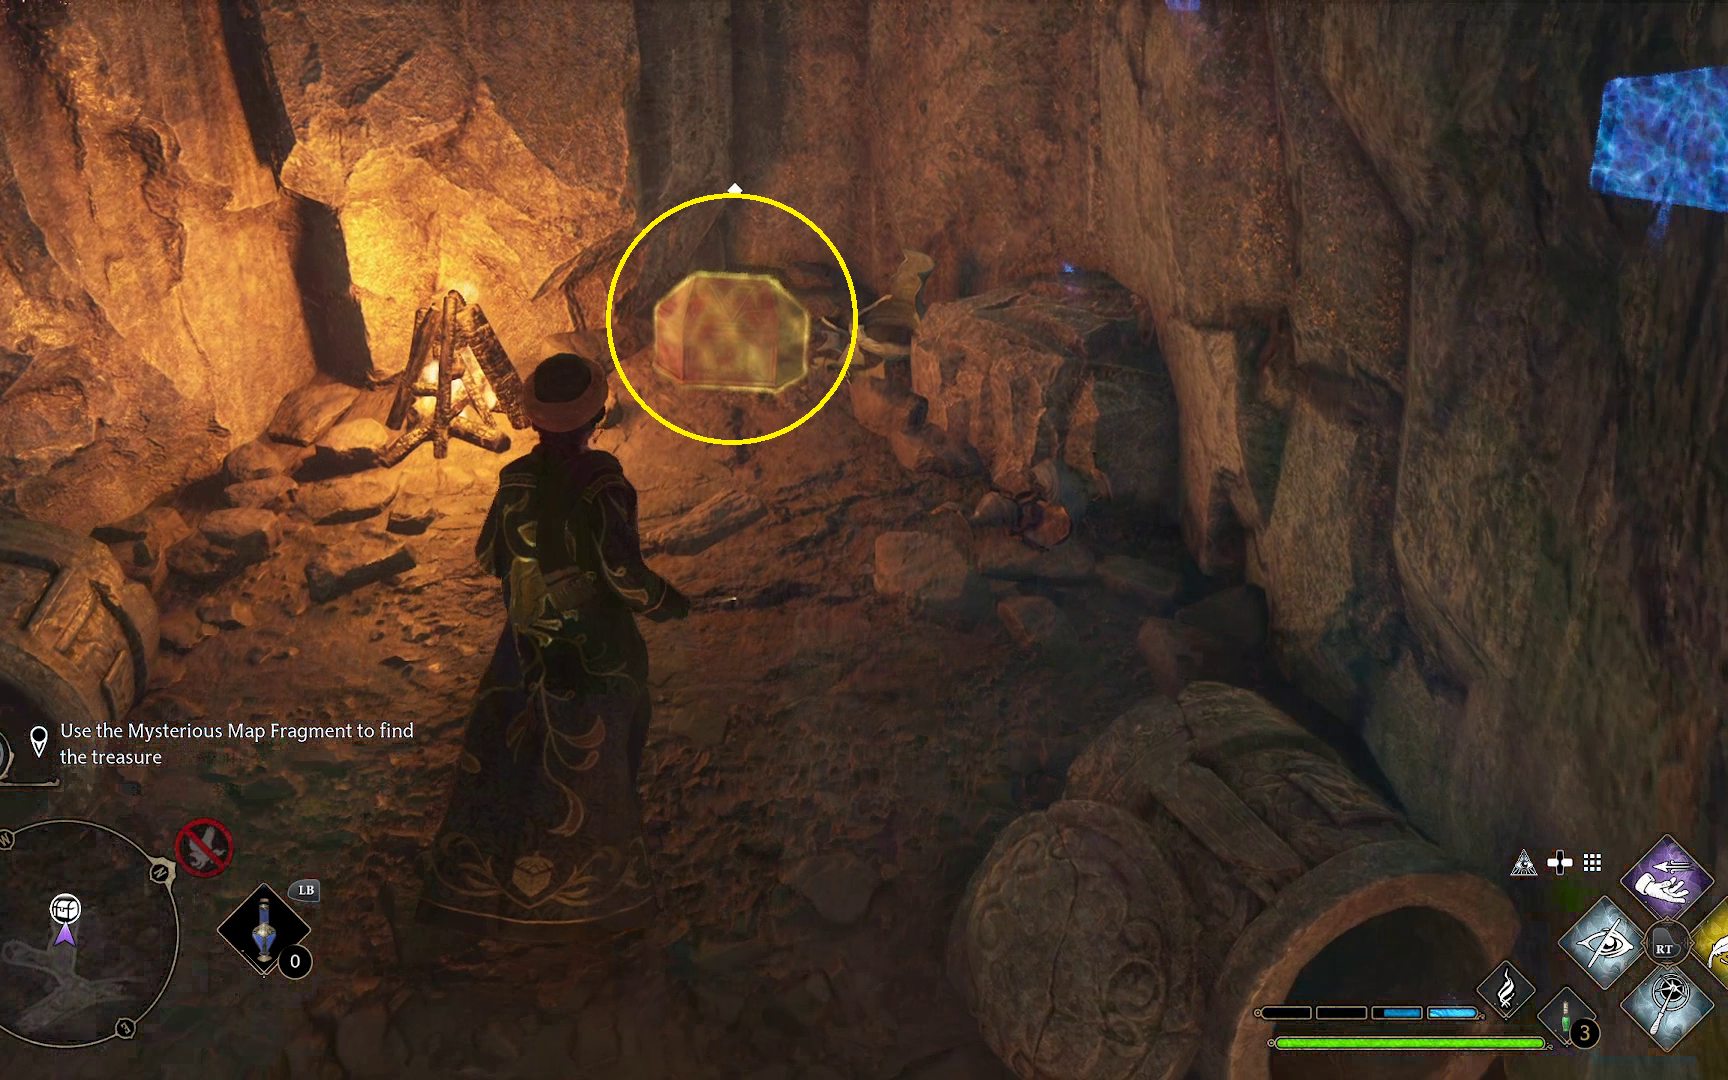
After entering, make sure to leap the short obstacle to your right in order to get a chest and a few goodies (1), then go down the left path to grab a note, as well as another chest (2). Continue forward a short ways, ready to dip into an alcove to your right to grab some small loot (3).
123
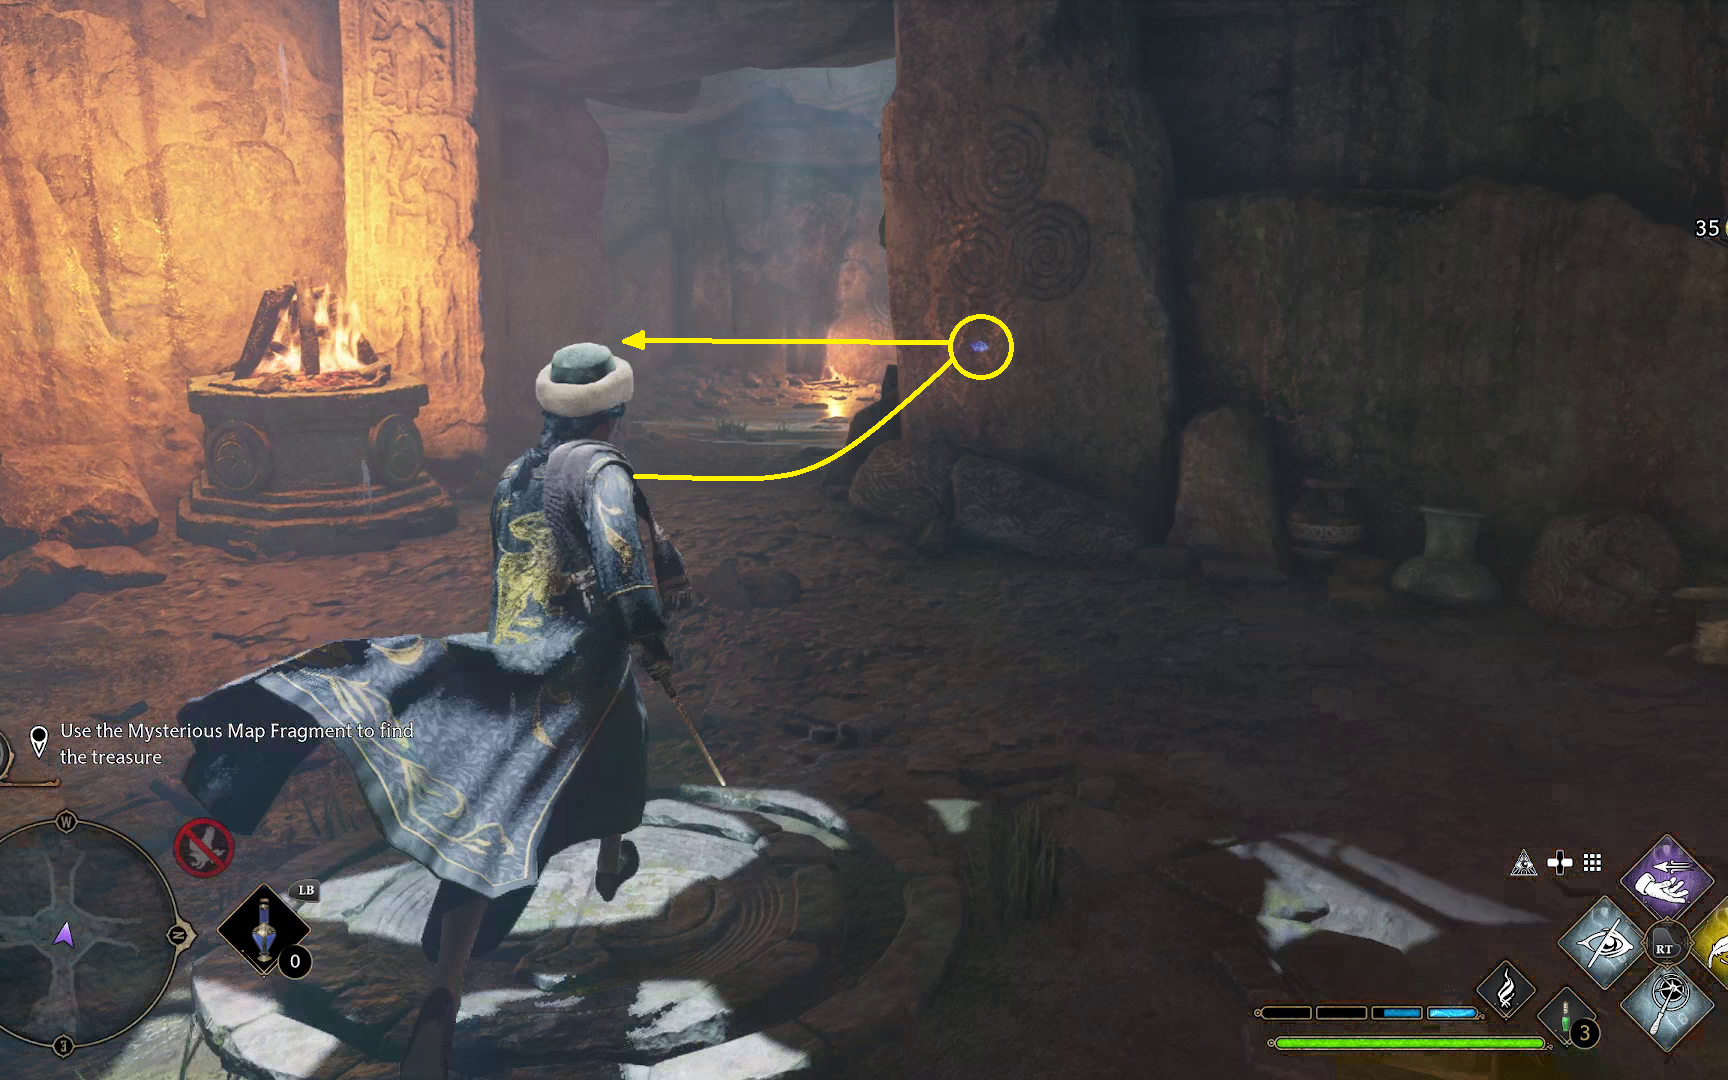
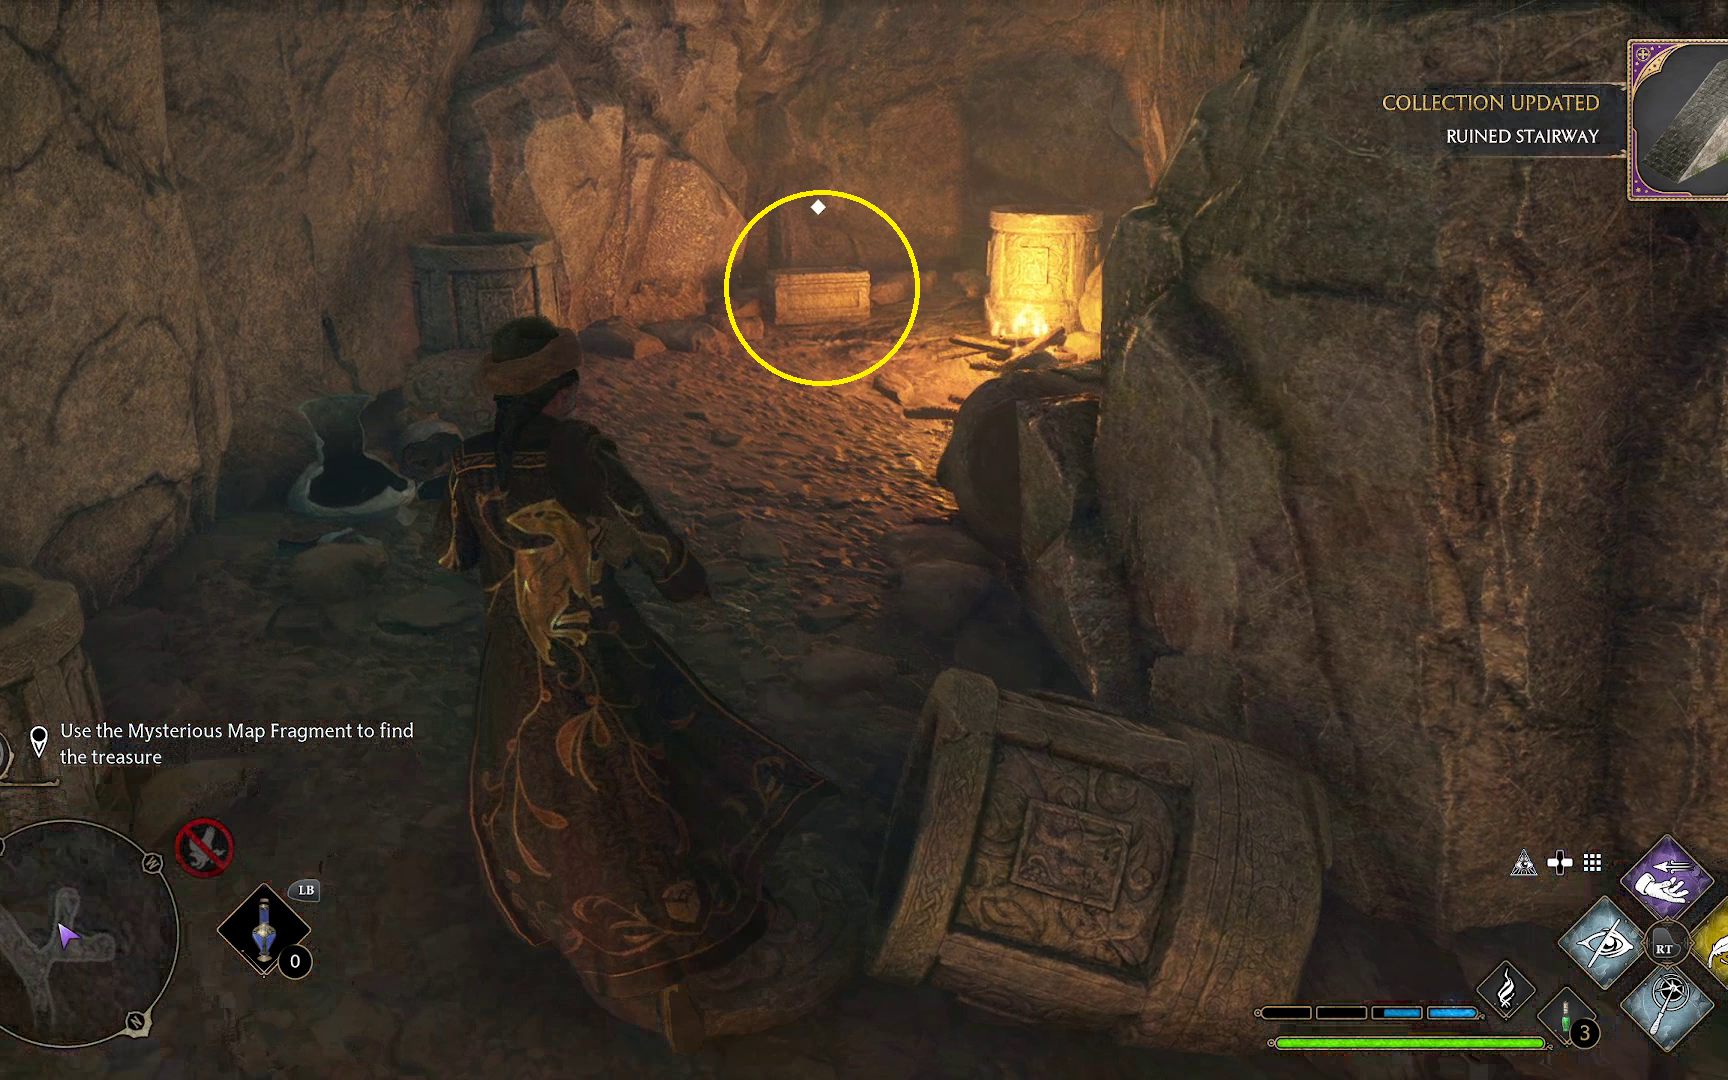
You’ll soon come to a fork in the road. You’ll want to go left here (1), where you can grab a collection chest (2) and a regular chest (3). After you grab those, you can continue down the hallway to the right (4).
1234
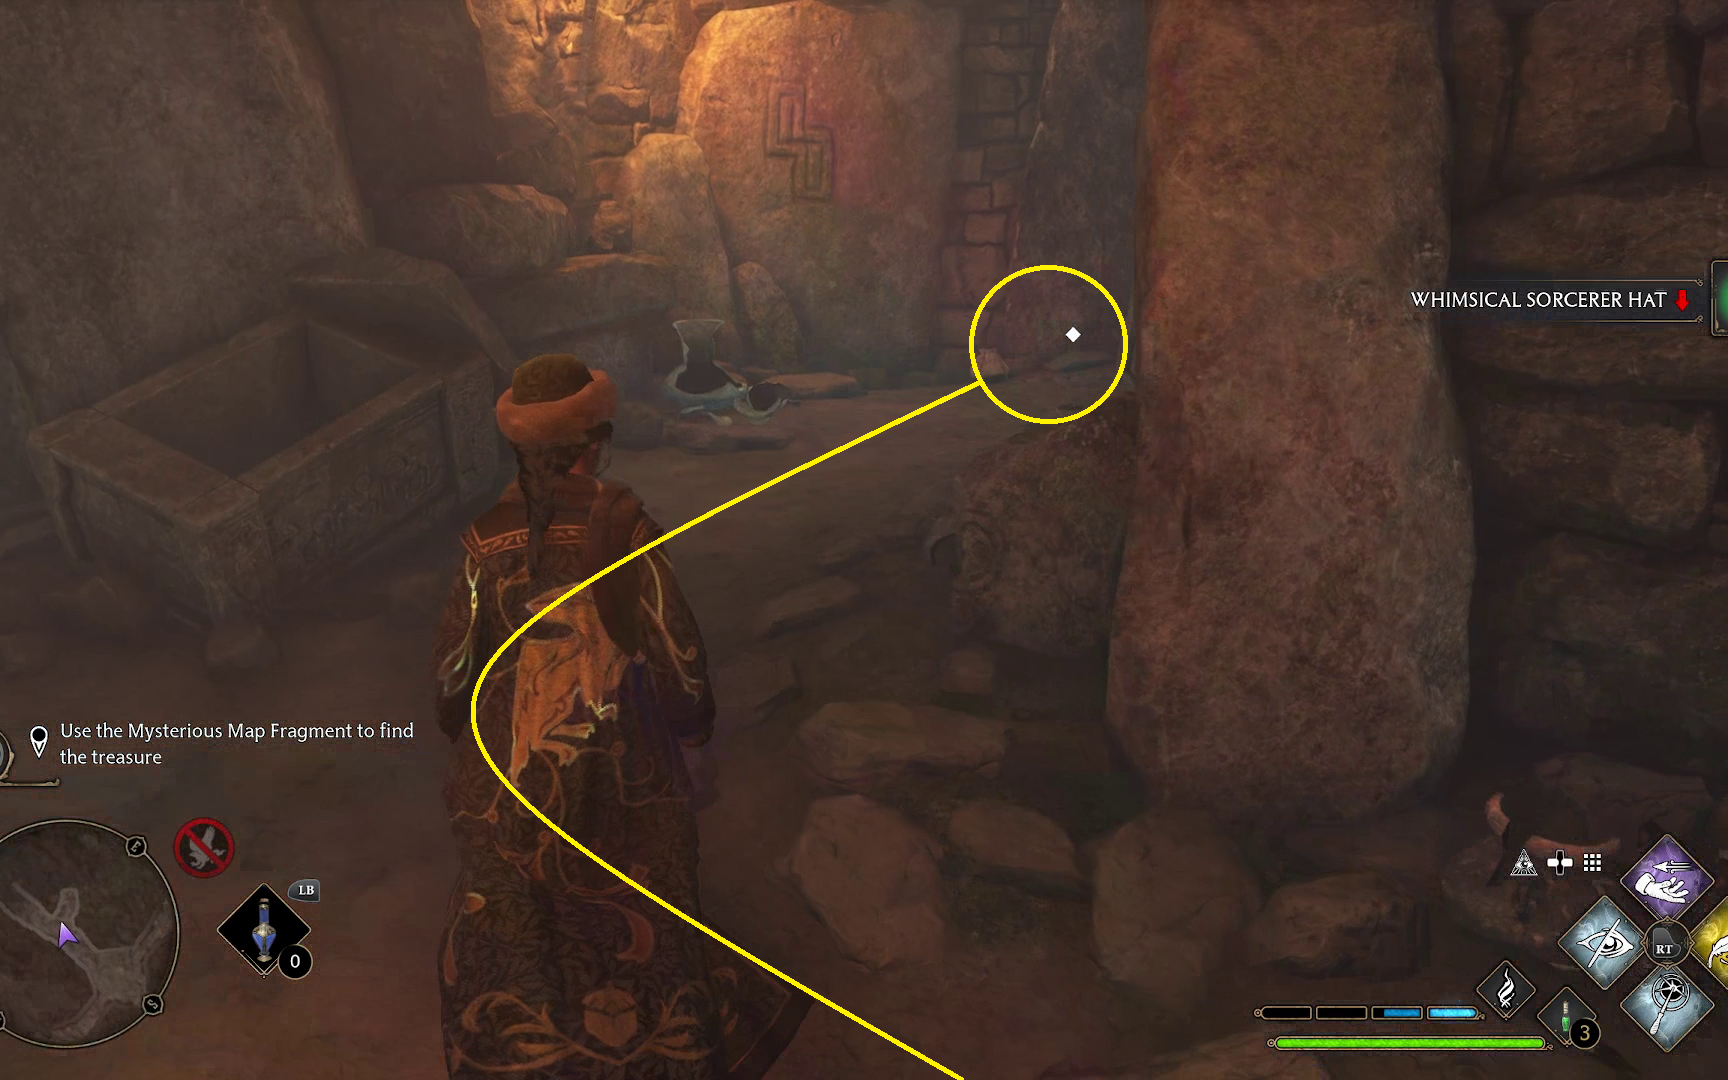
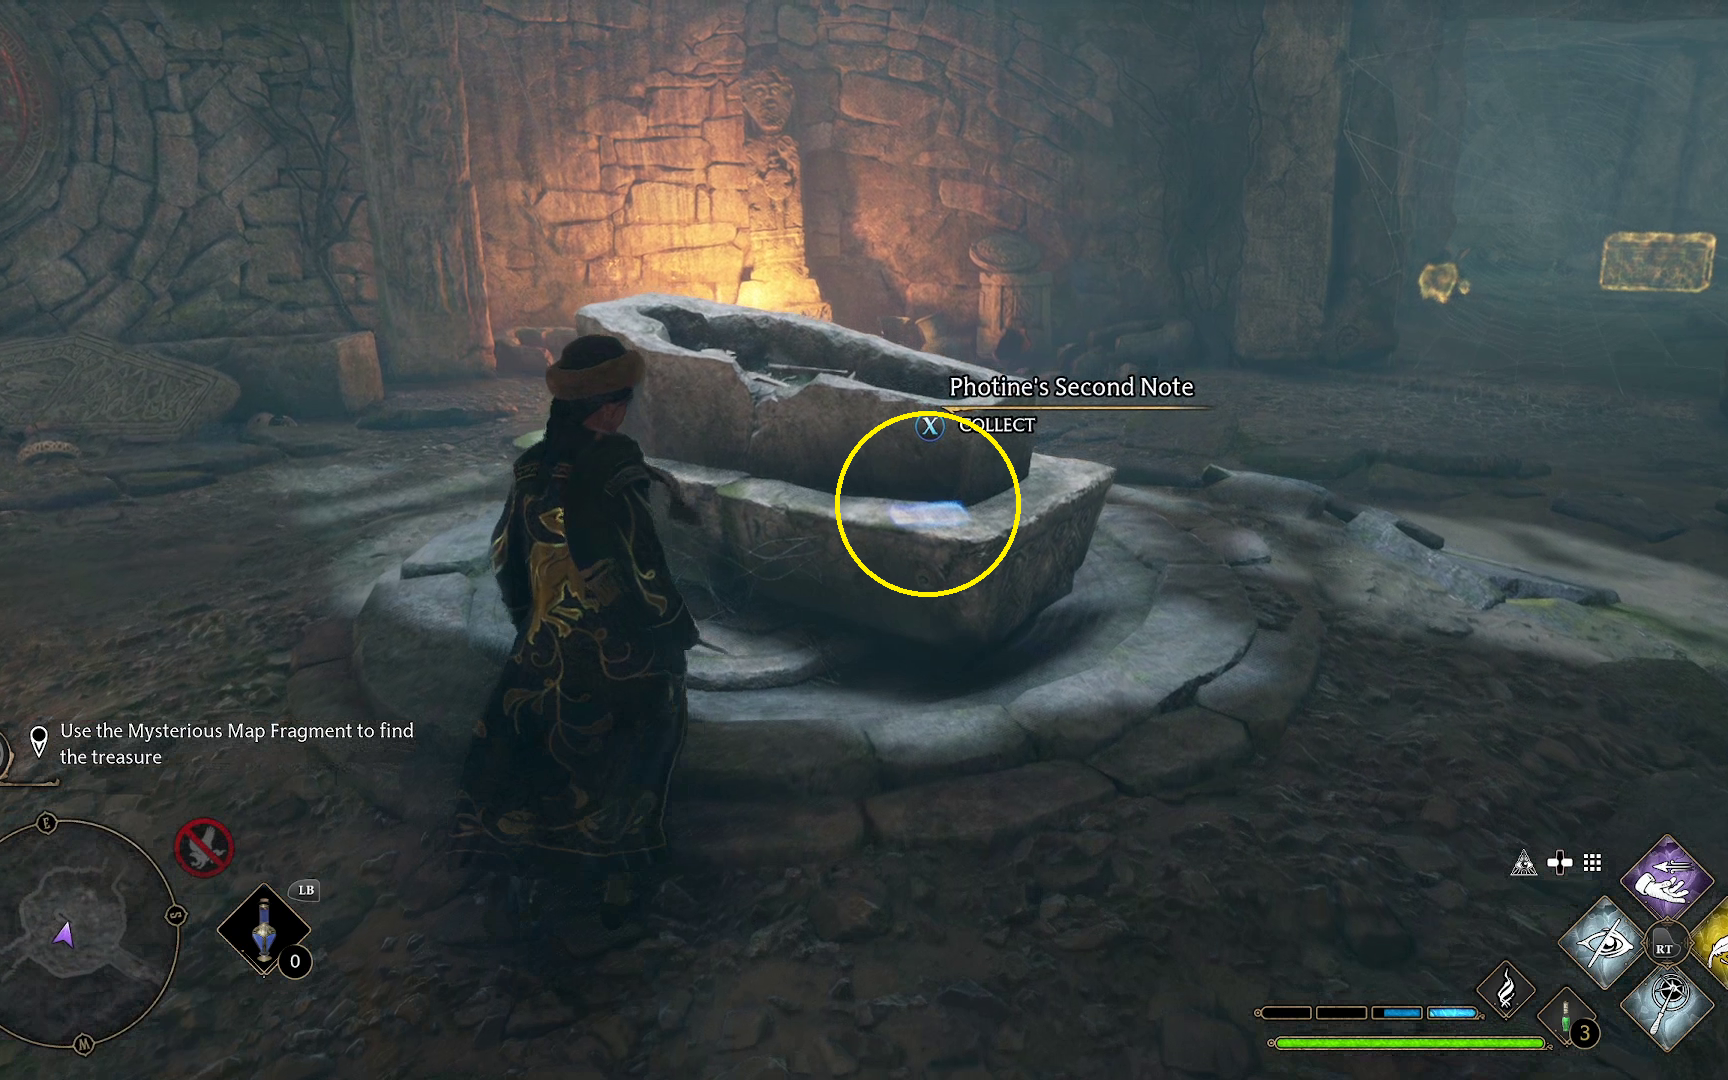
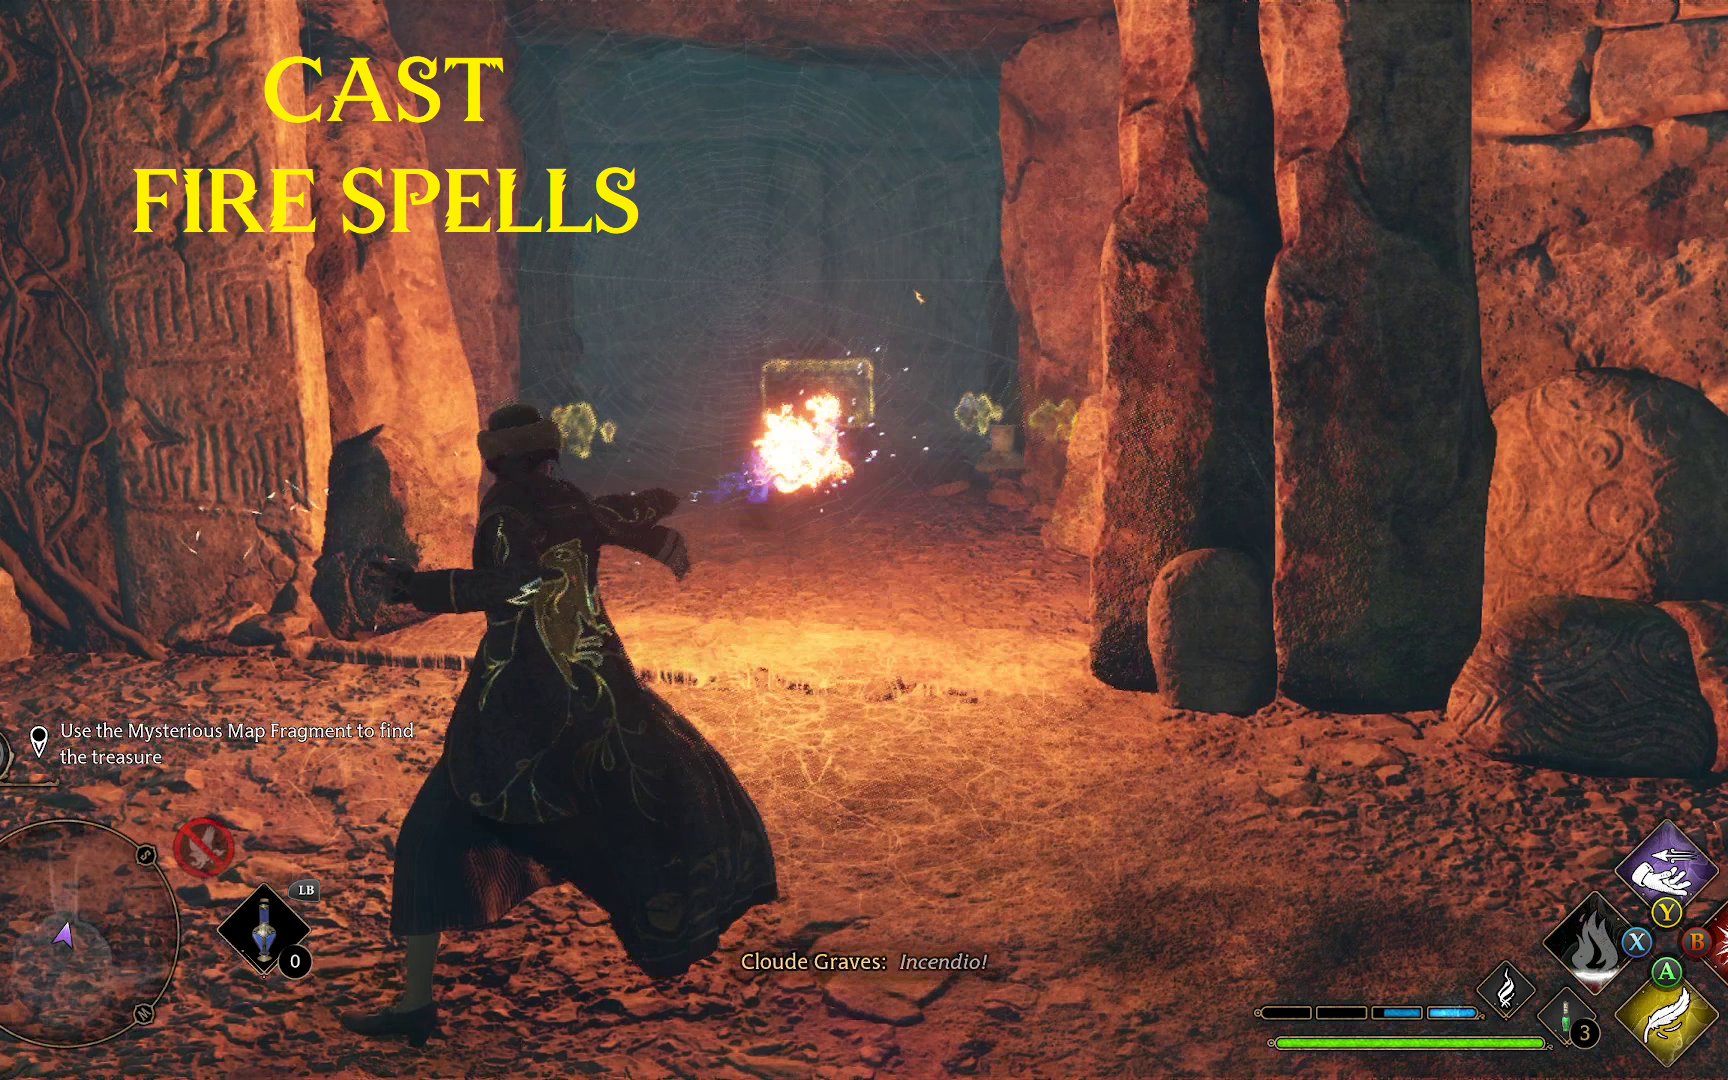
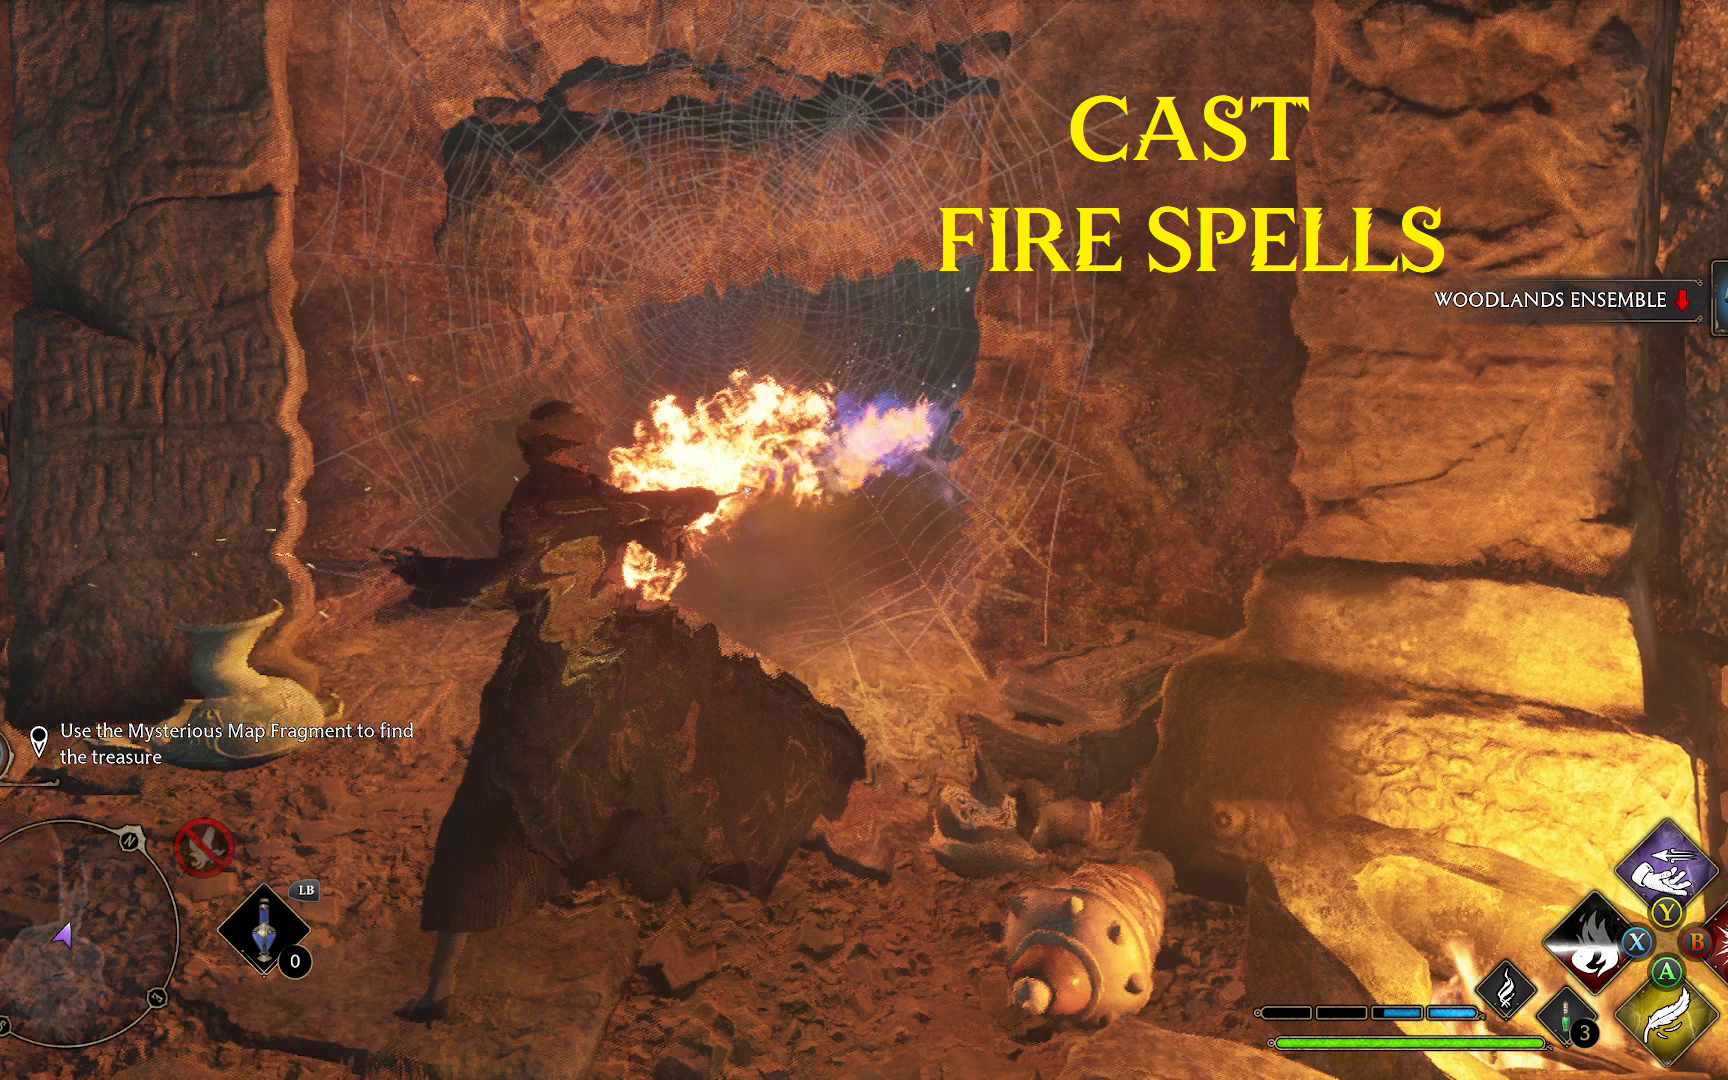
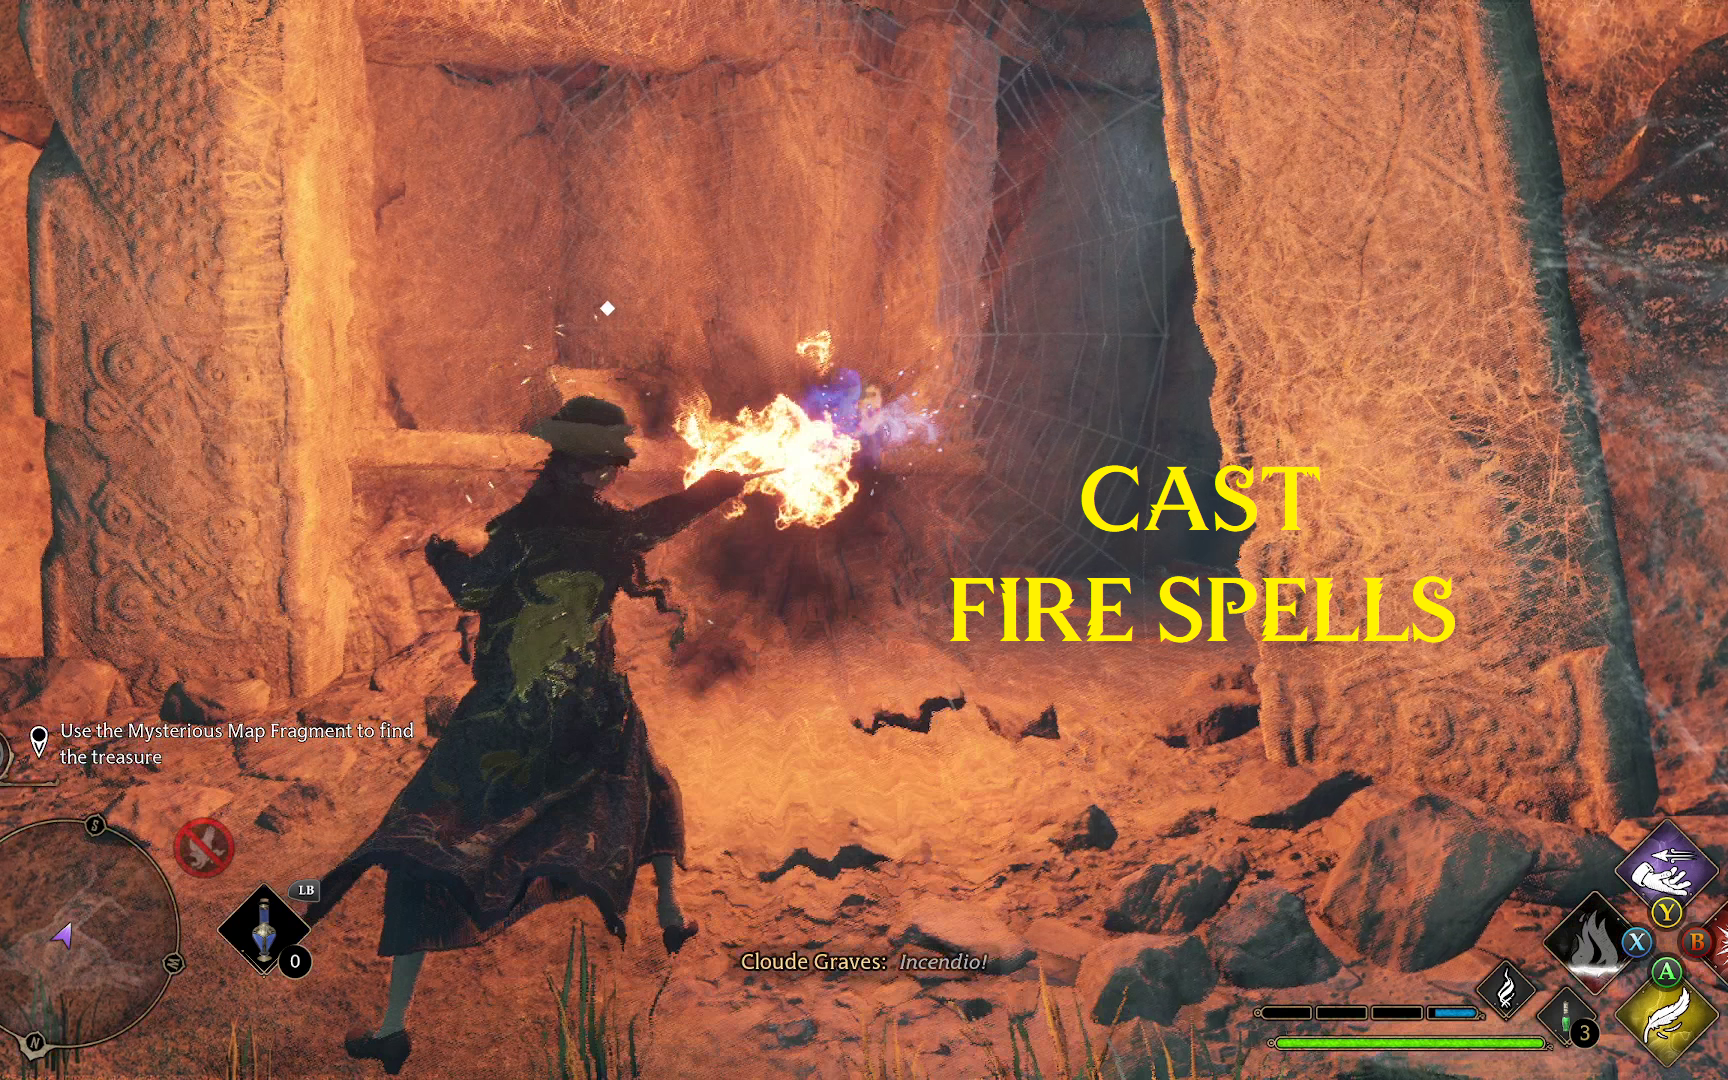
In the next room with the sarcophagus, grab the note off of the sarcophagus (1). Then, look to the right and burn a web using a fire spell (Incendio, Confringo, Bombarda) (2) in order to access a chest and some Horklump Juice (3).
123
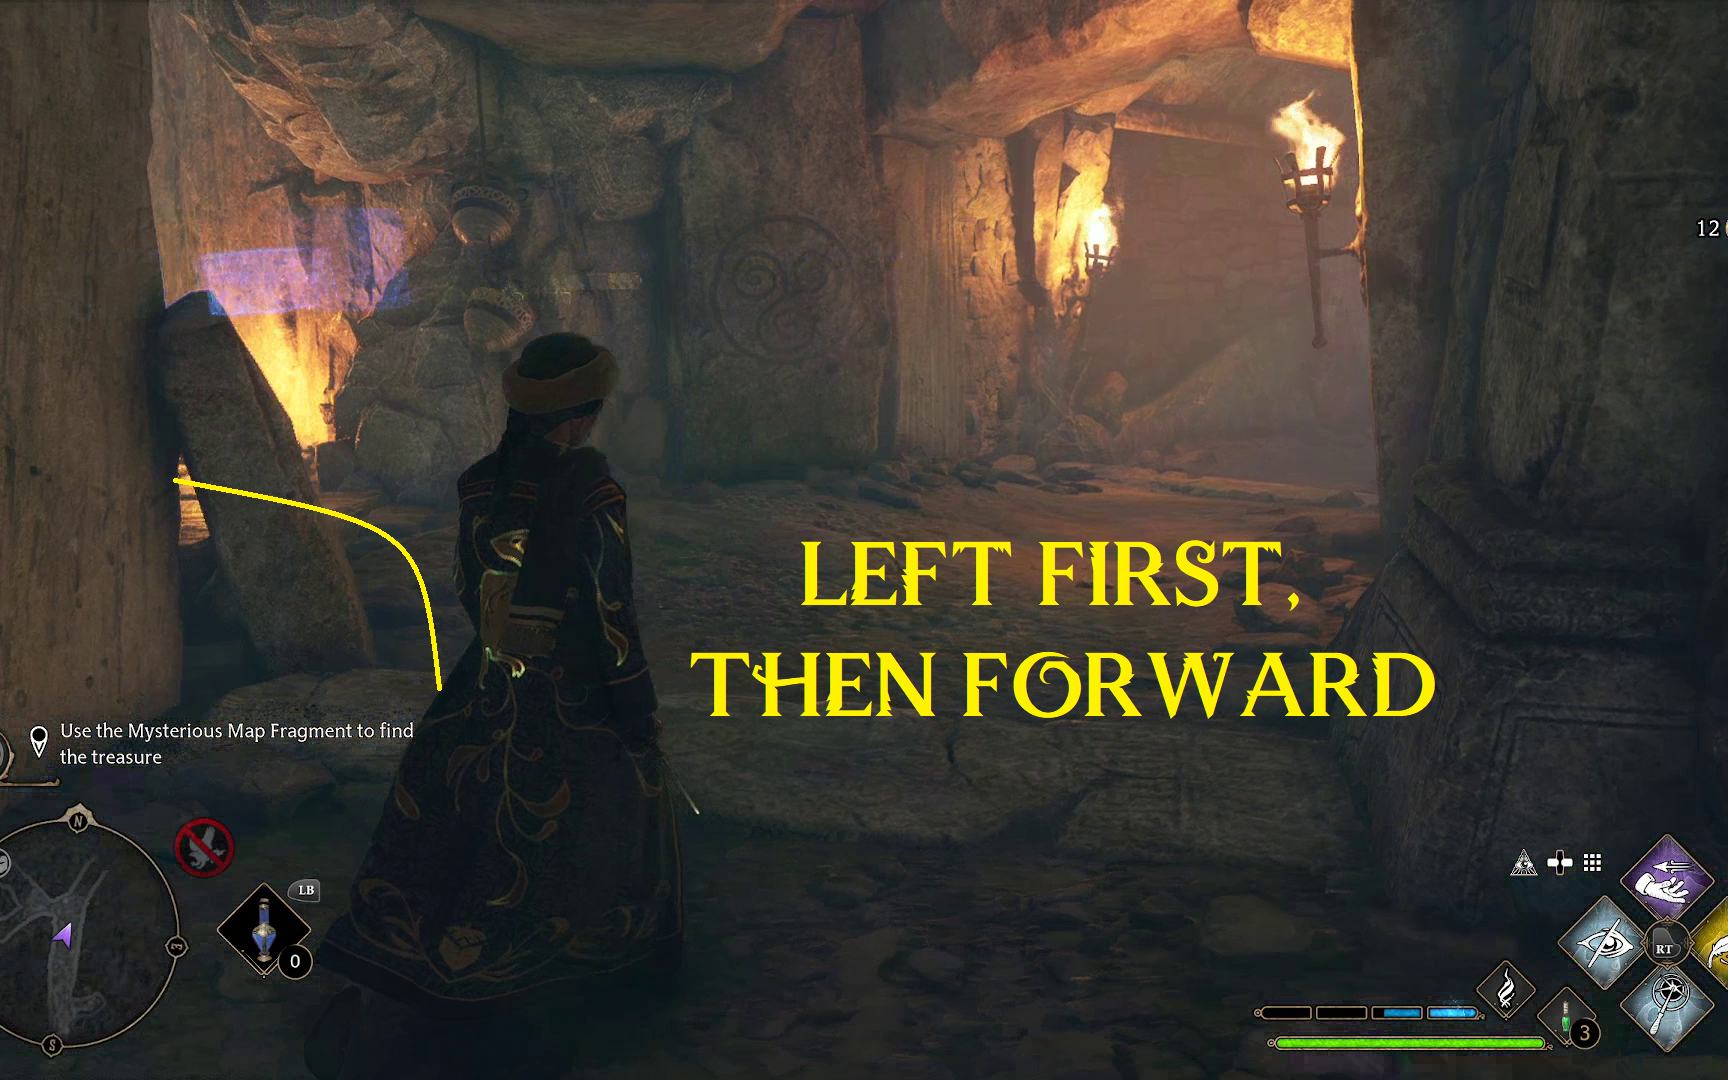
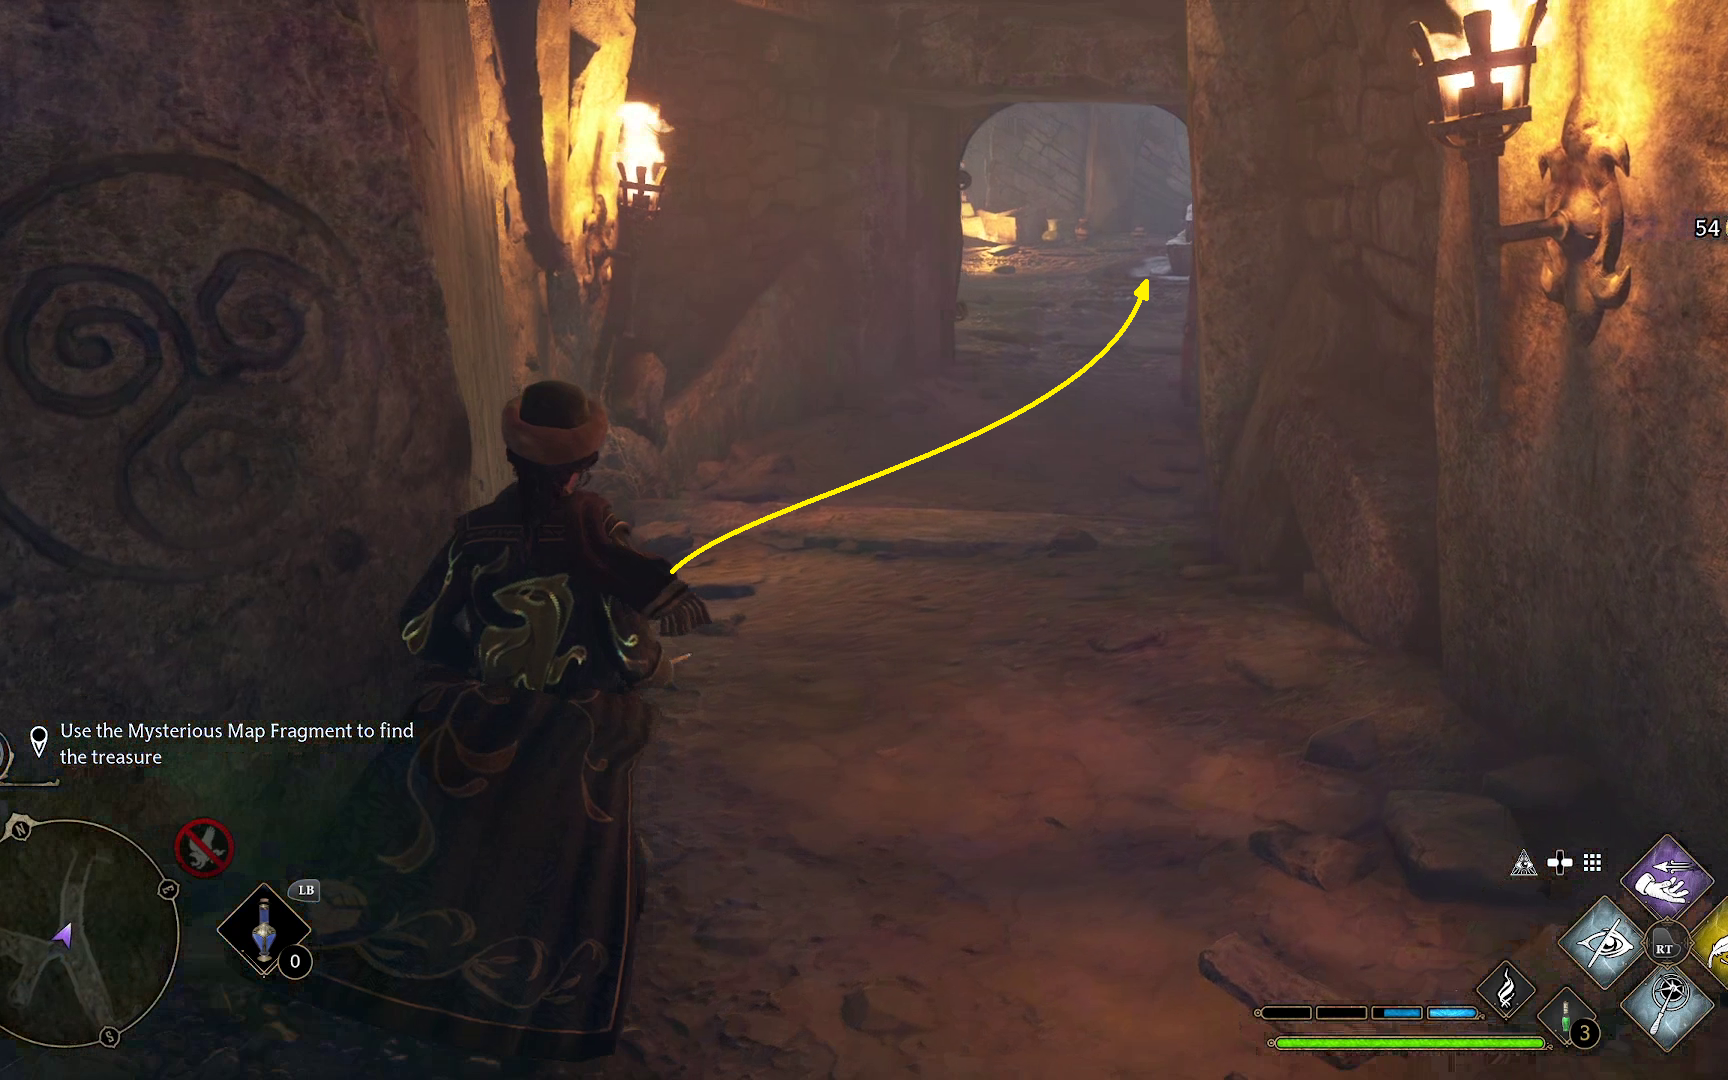
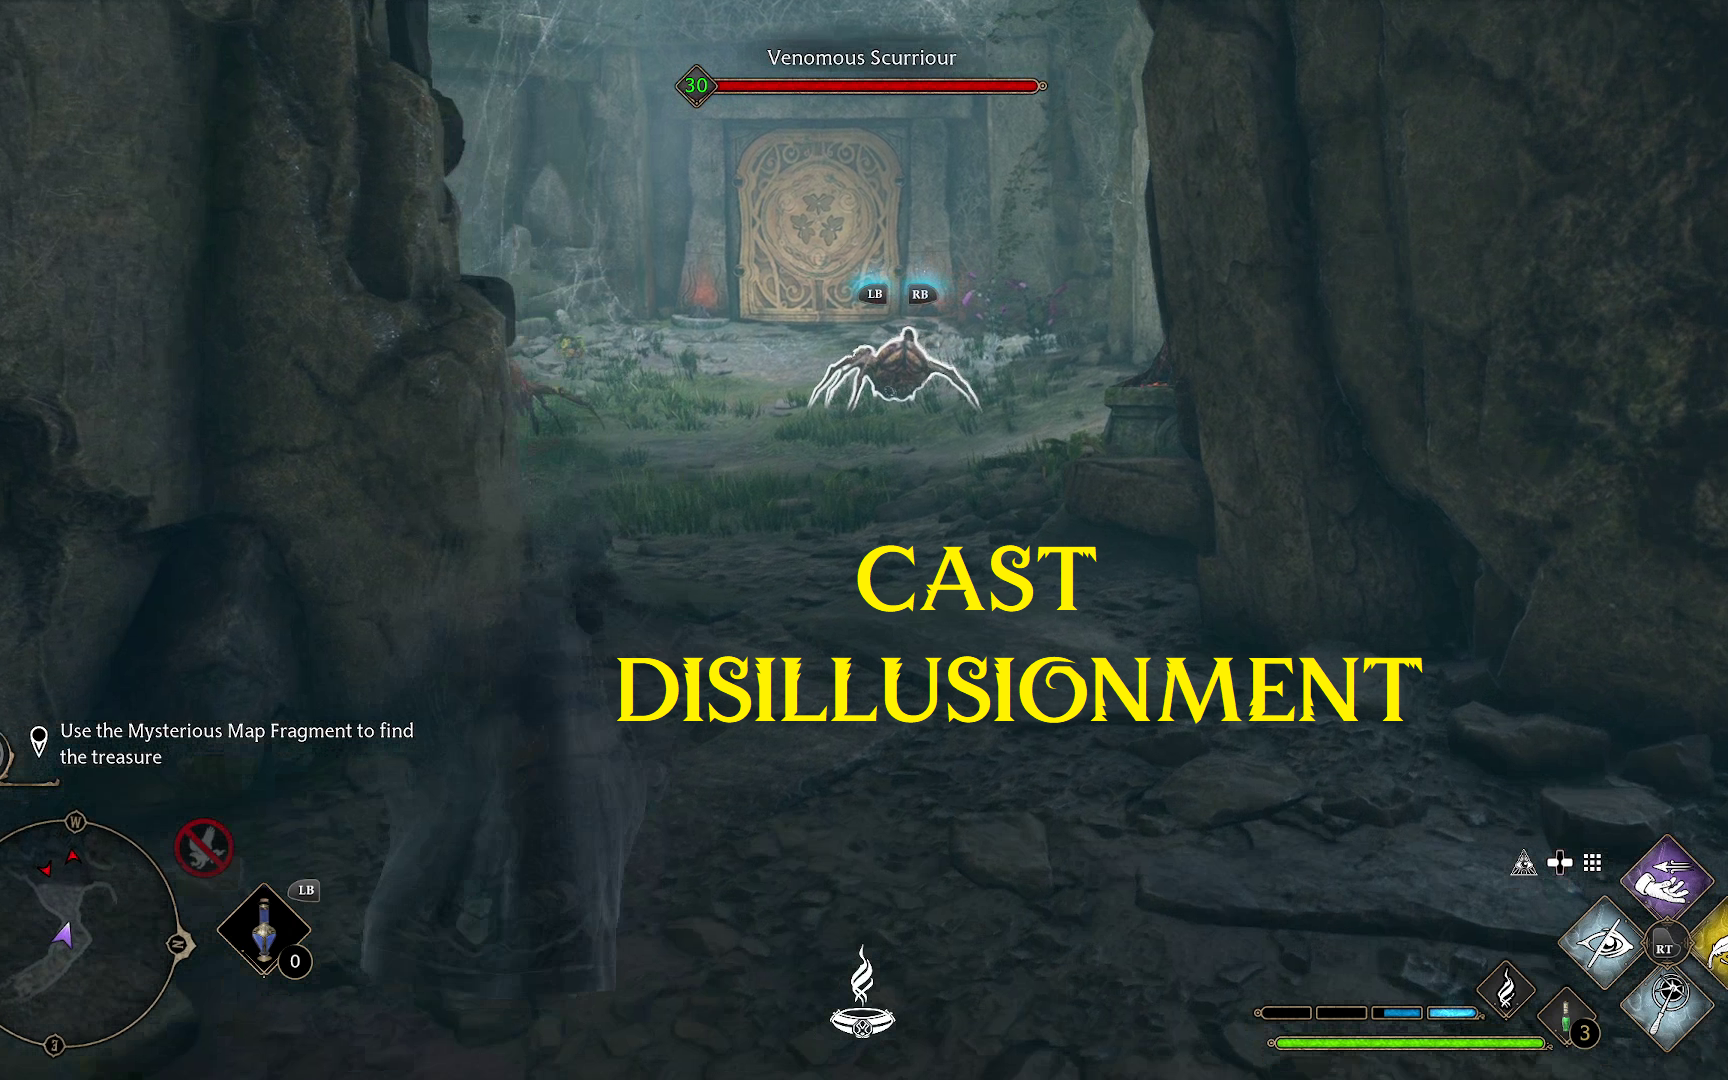
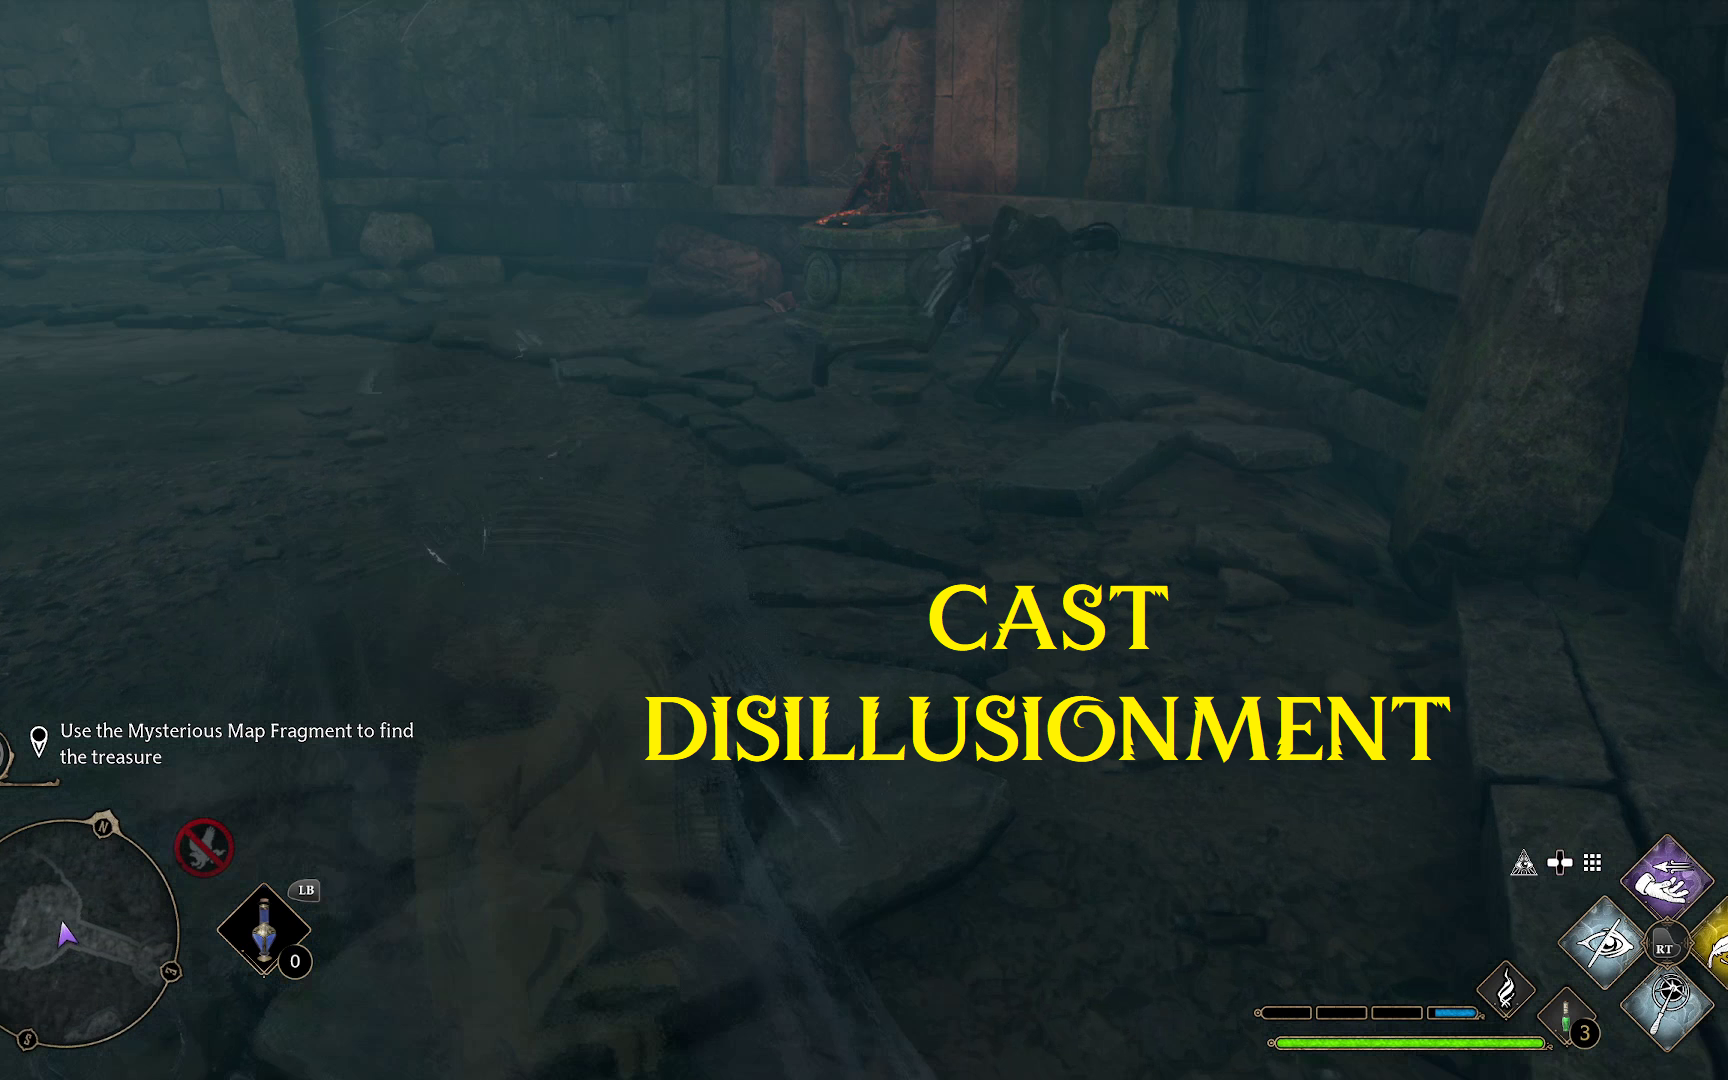
Head across the sarcophagus room, and clear the web here with a fire spell (1). Crouch under the gap, then cast Disillusionment when you can, in order to most easily deal with the two spiders in the next room (2). They are easy enough to dispatch using a combination of stealth and fire spells (3).
123
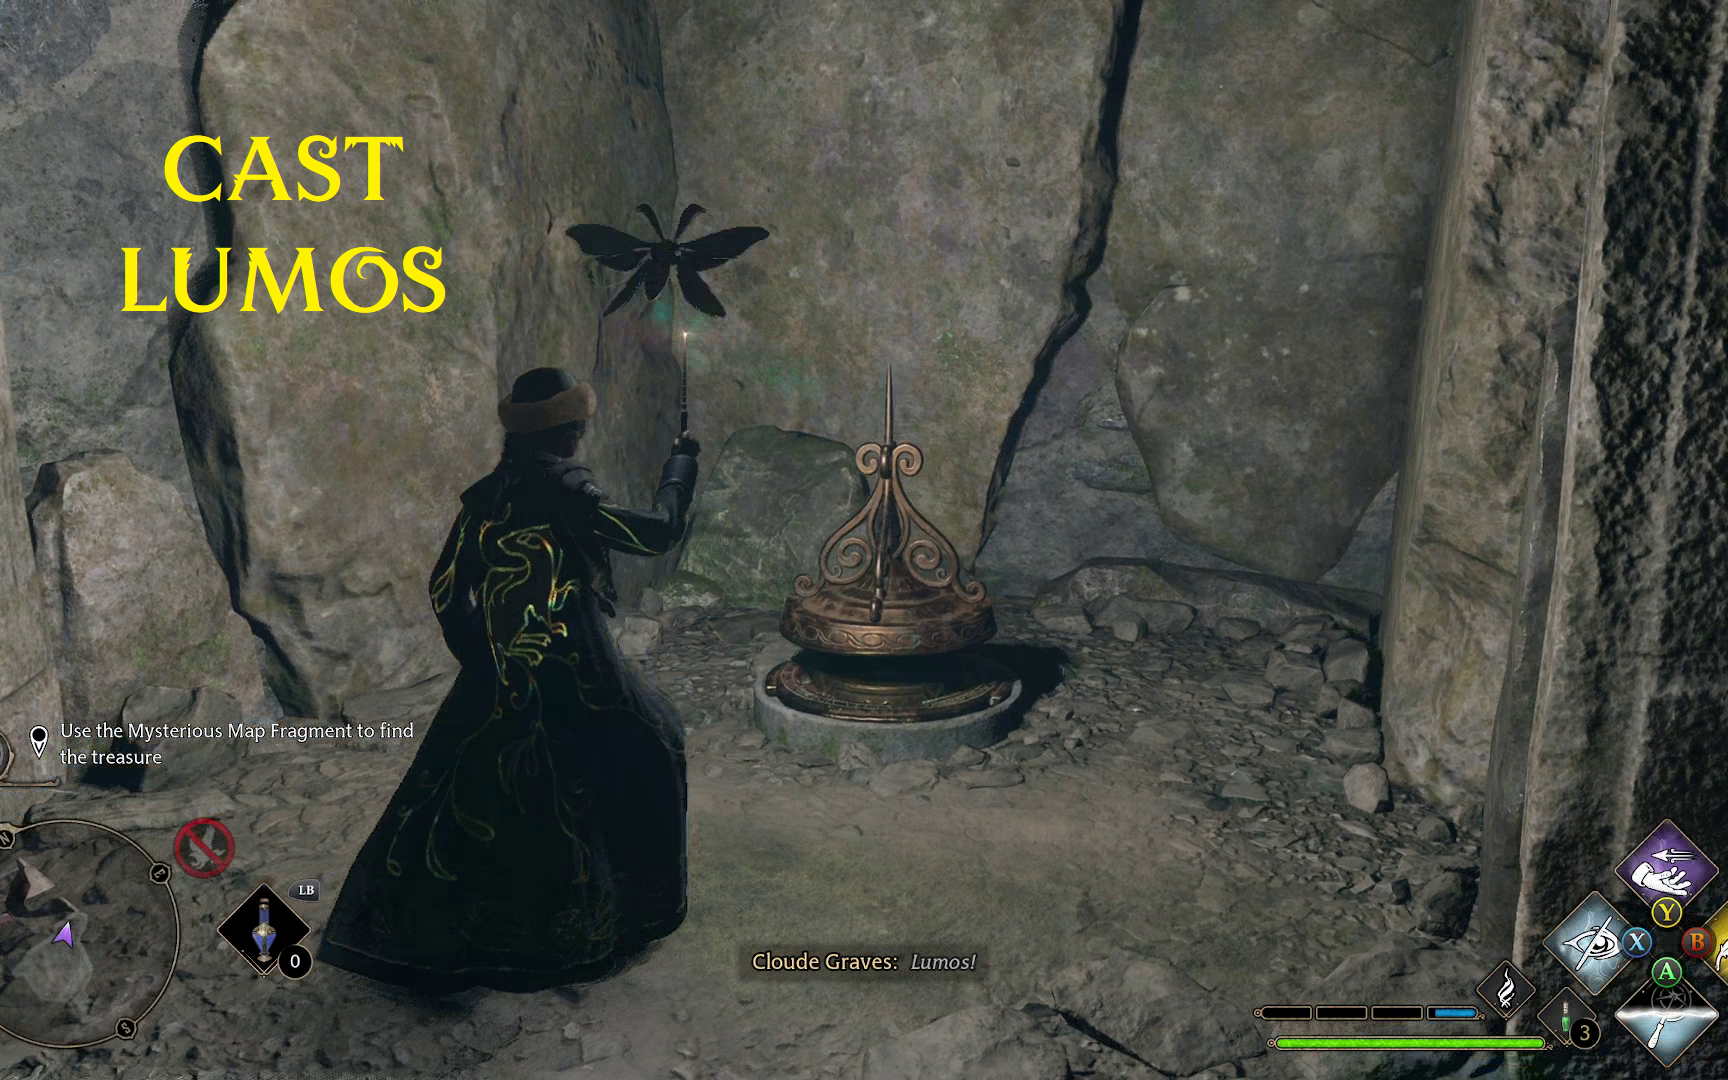
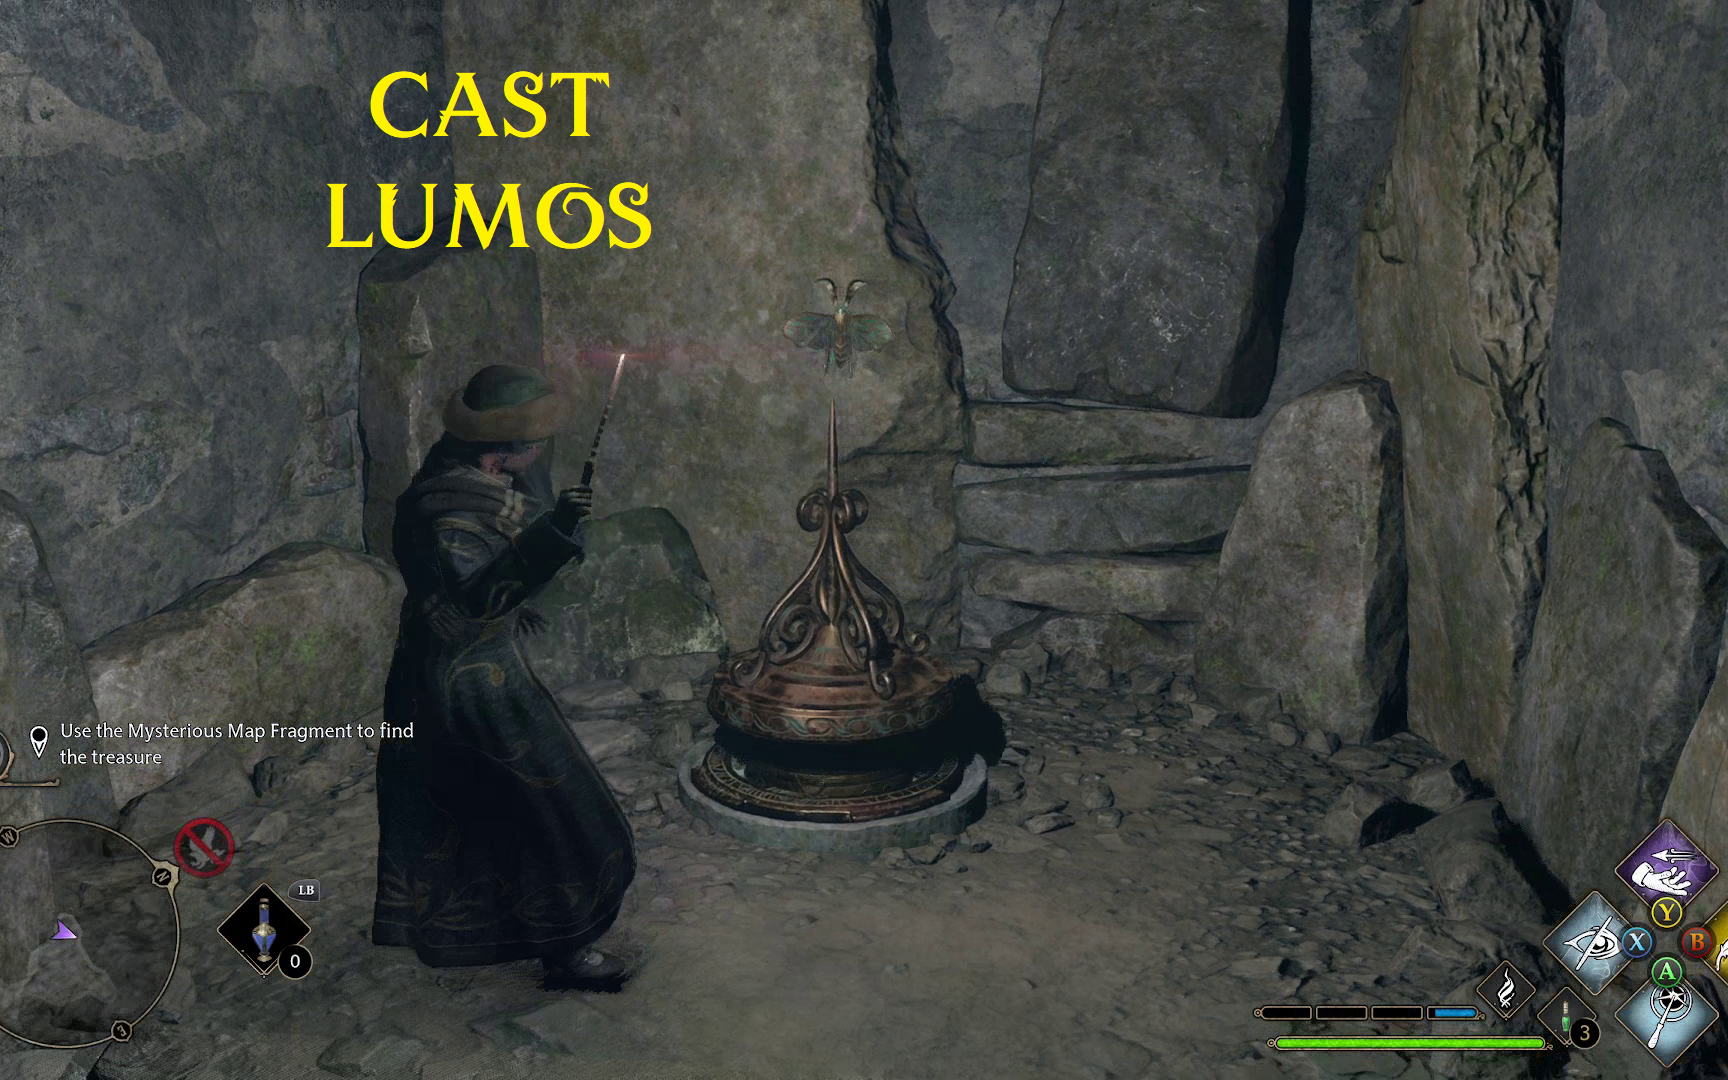
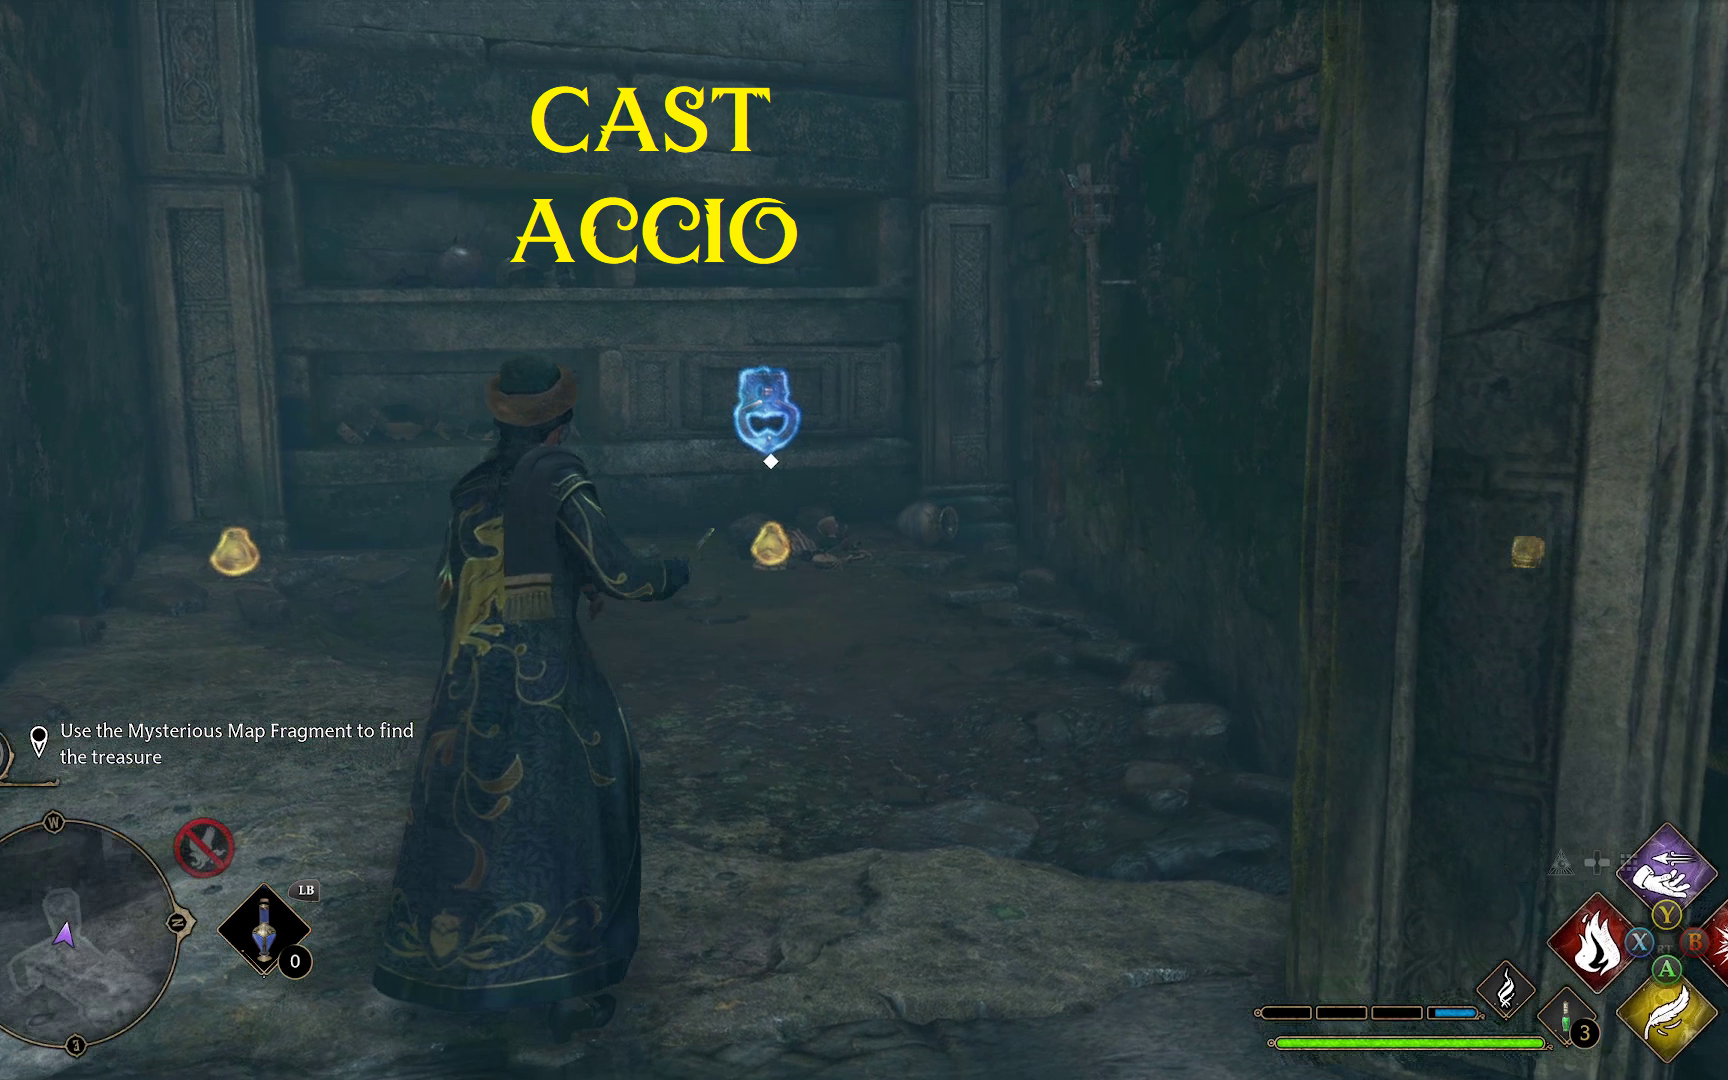
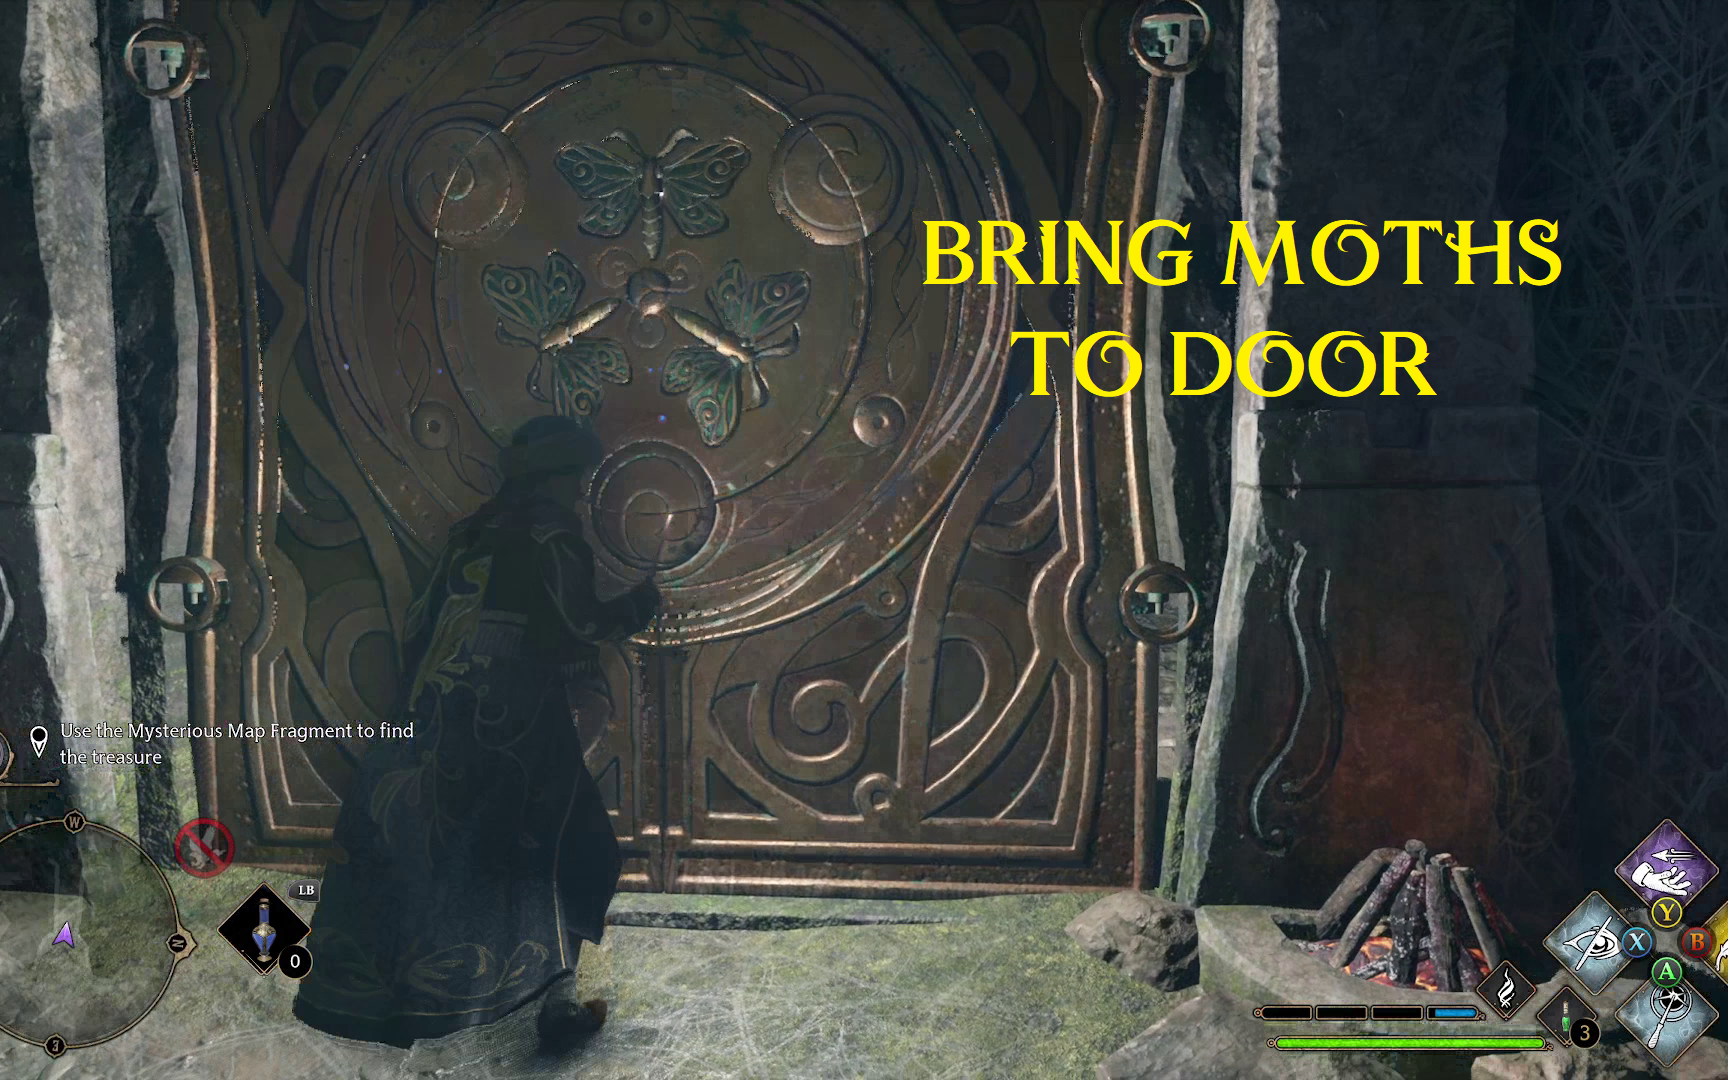
After clearing out the spiders, turn to your right head into the side room. Cast a fire spell to burn away another web (1). This will give you access to a Lumos moth that you can cast Lumos near in order to bring back to the Moth Door (2). There is another Lumos moth in the same room that you can do the same to (3).
123
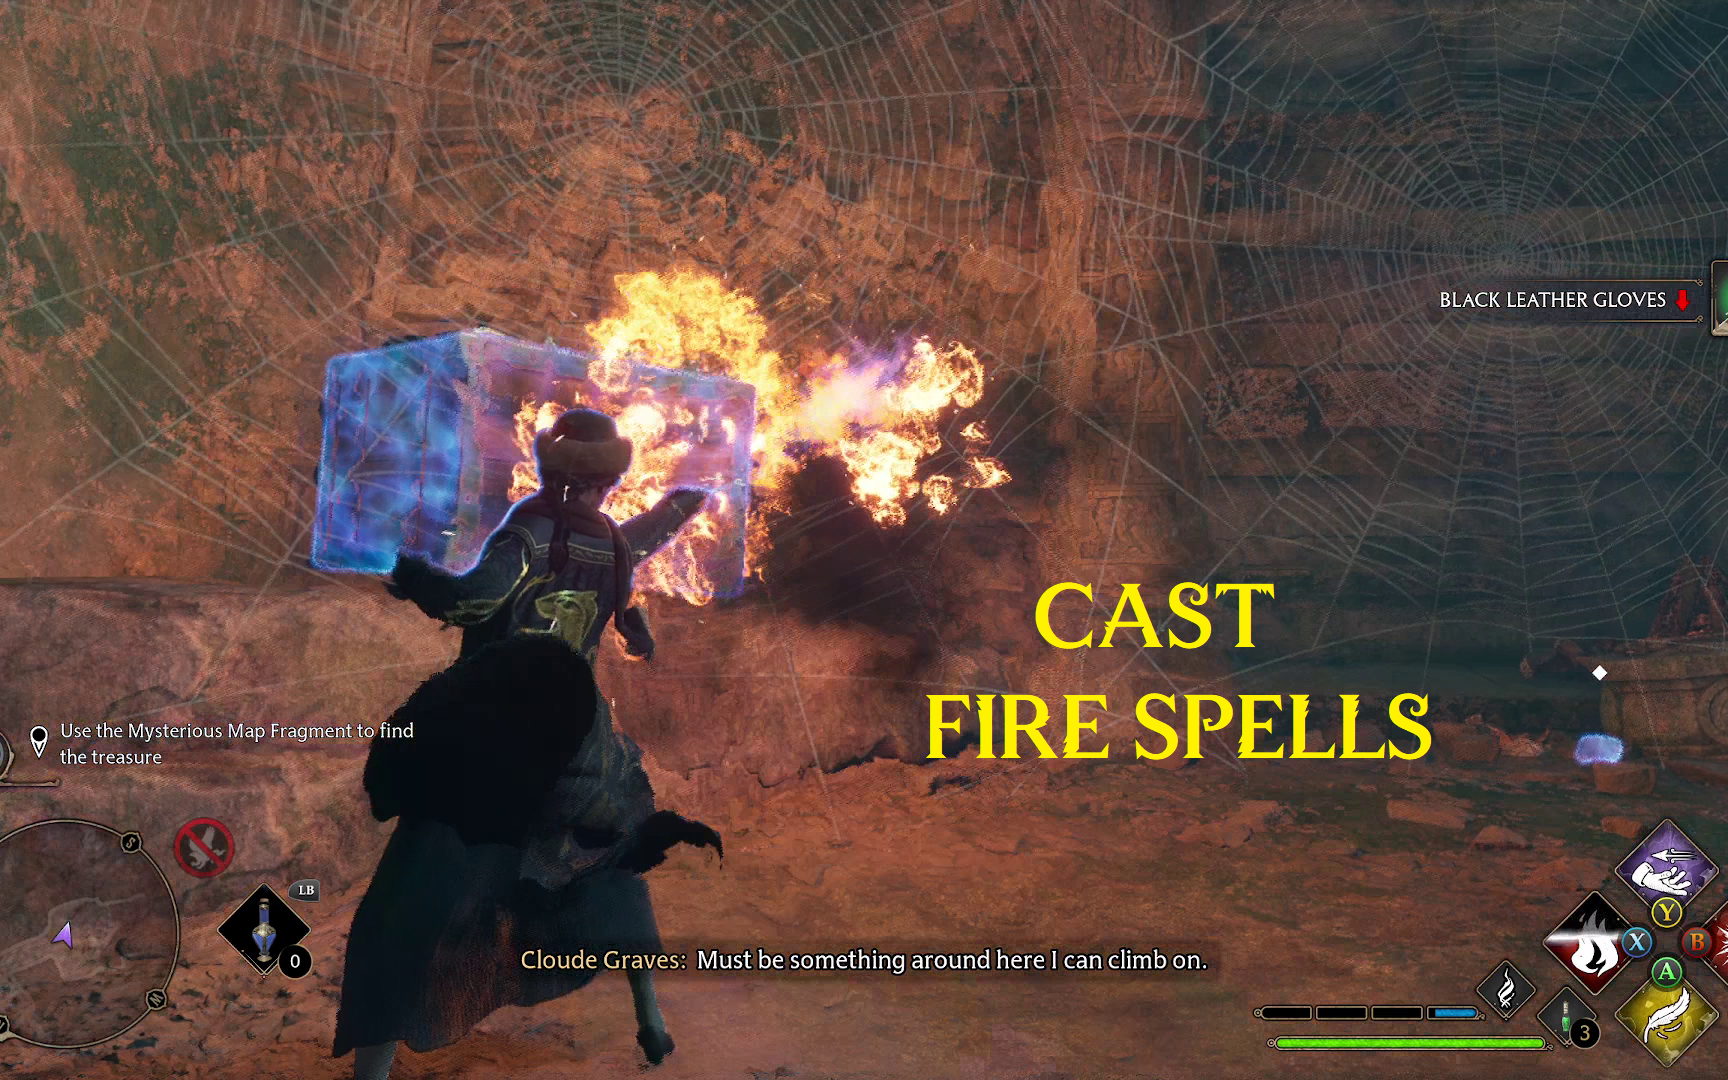
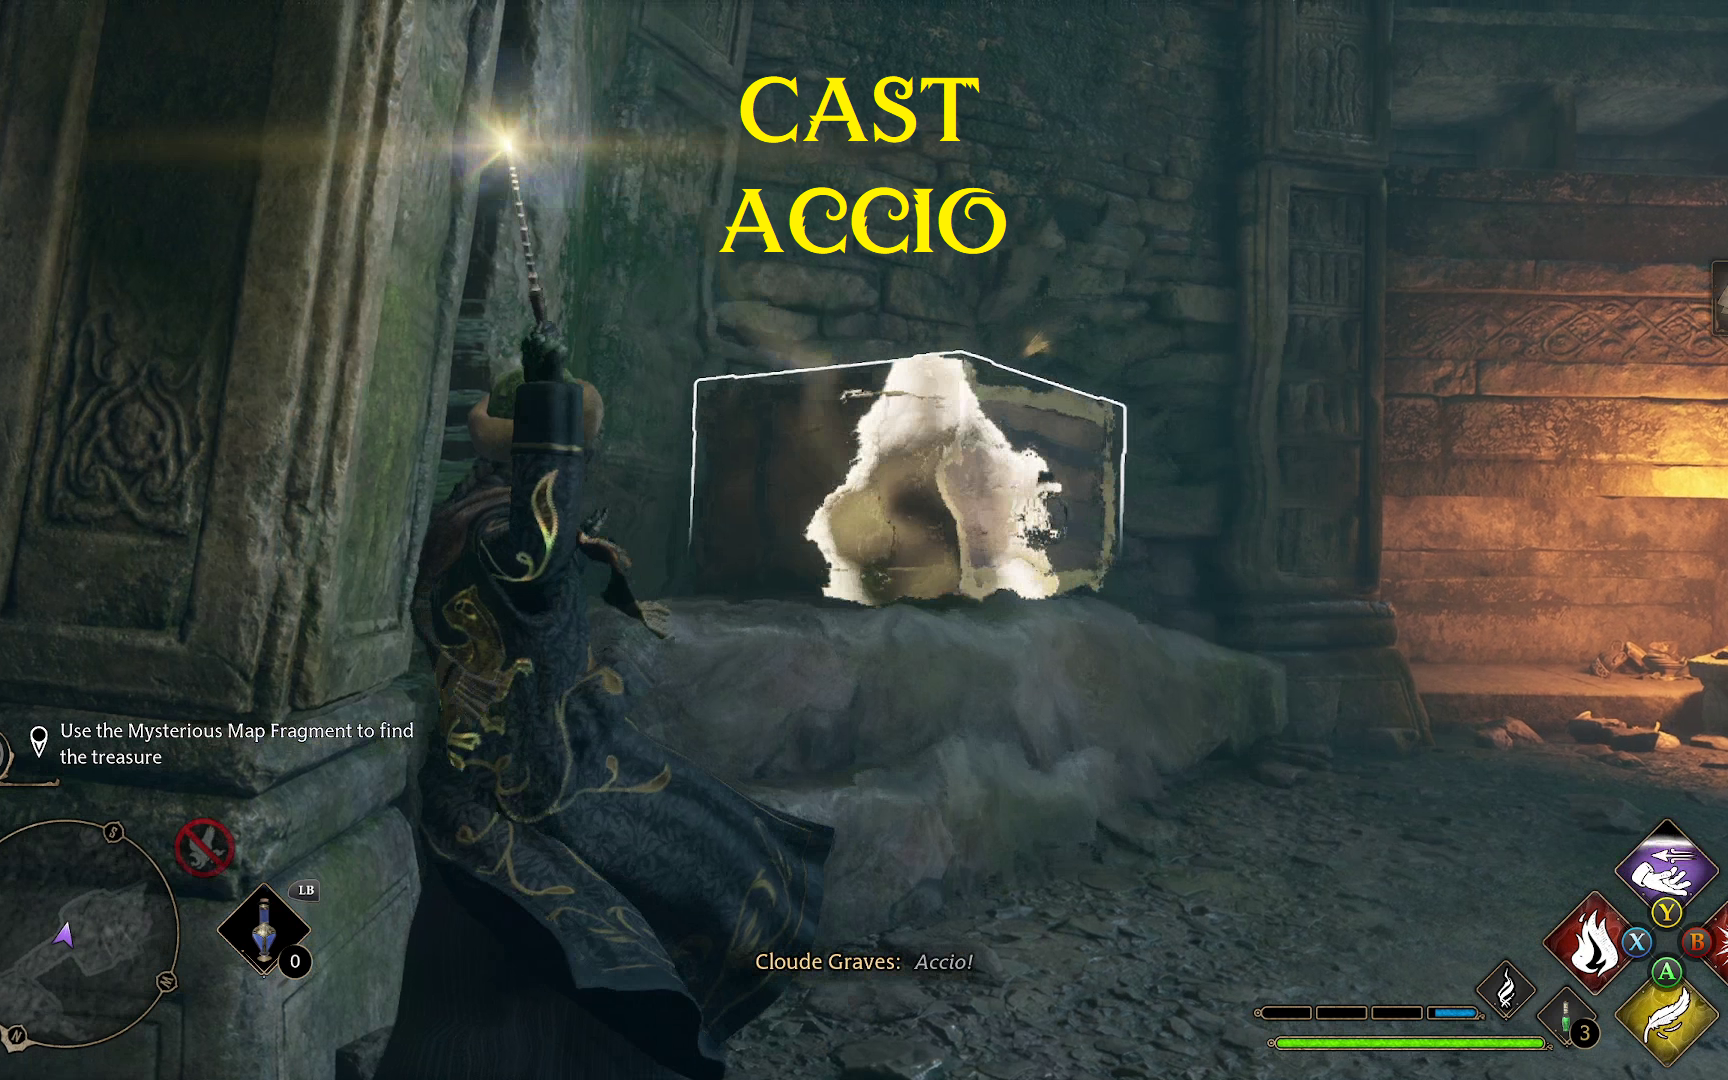
To the left of the moth door, there is another room blocked by webs, which you can burn away with fire spells (1). This will lead to a larger room. In the corner of this room will be the last (and first) note from Photine (2). After you grab it, you can burn the webs blocking the box to the side of the room (3), then cast Accio on the box (4) to move it to a position where you can clamber up it to the level above (5).
12345
Once at the top, there will be a couple of handled-alcoves that you can cast Accio on to open (1), but more importantly there will be a Lumos moth that you can use Lumos on (2) to bring back to the moth door (3).
123
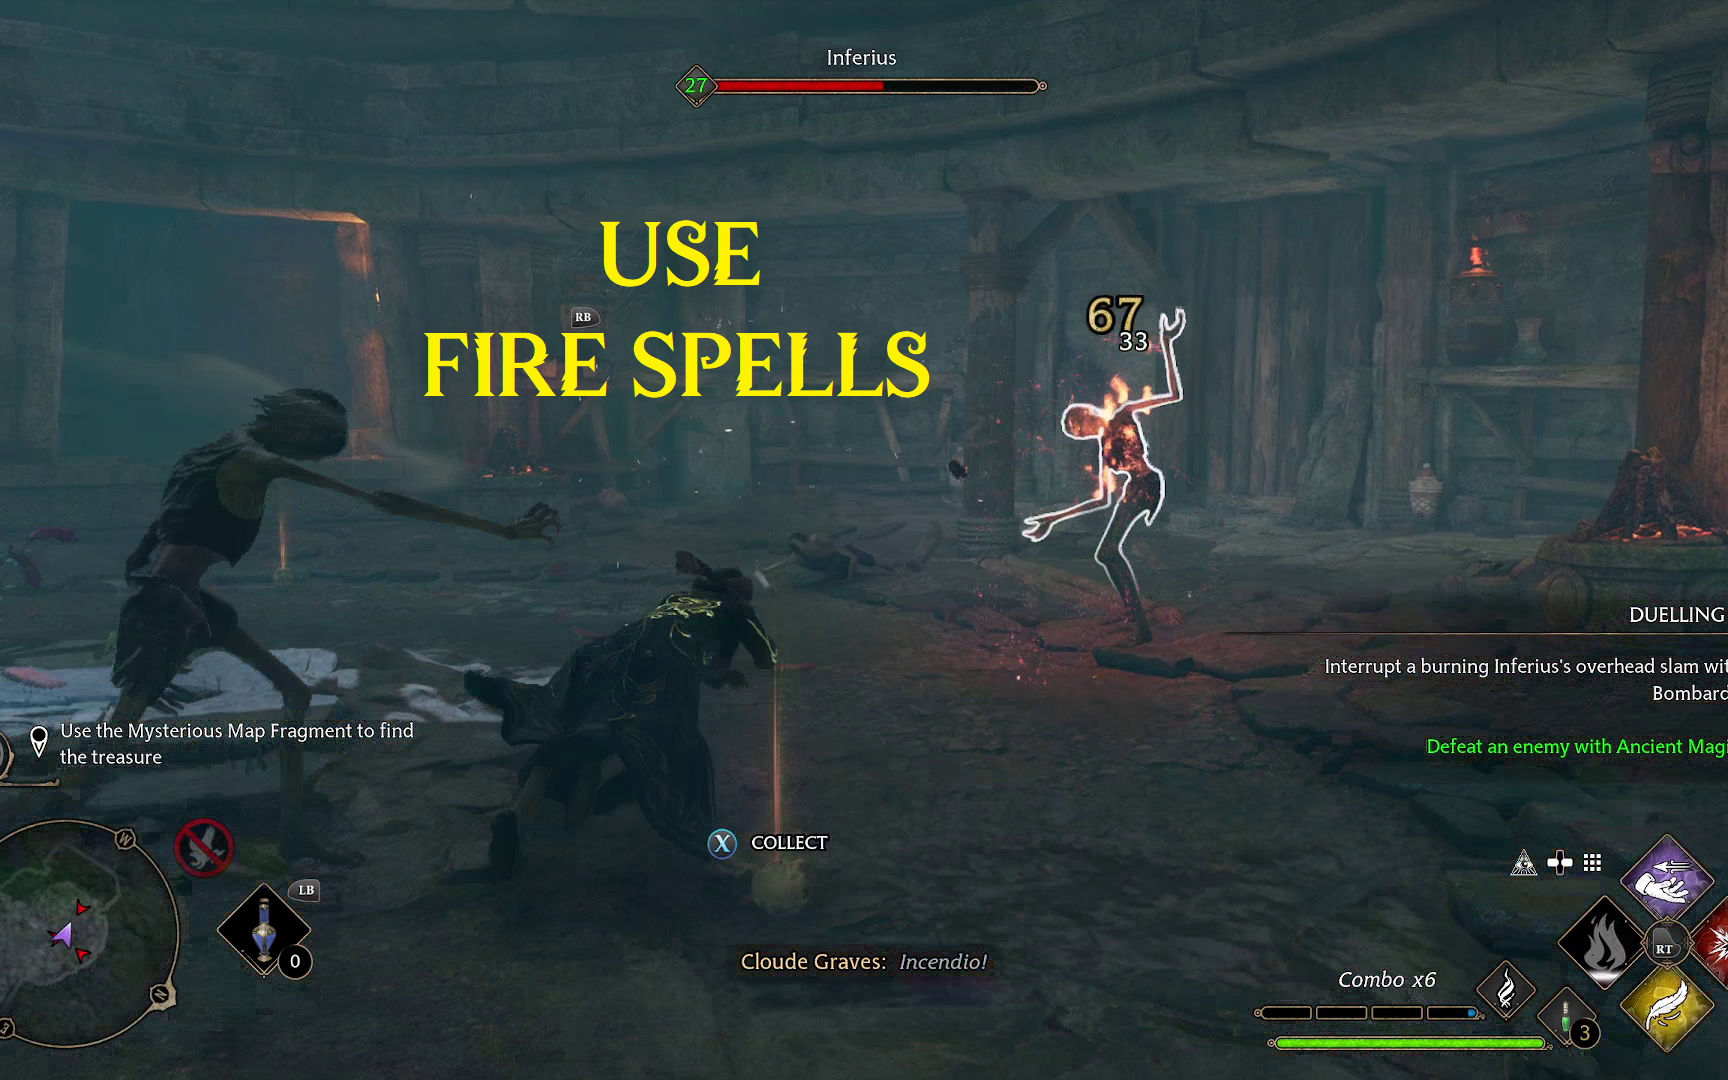
In the room behind the moth door, you will be ambushed by quite a few Inferi. While you might be able to begin the fight by casting Disillusionment and then using Petrificus Totalus on them, the best ways to deal with them is by using Fire Spells (Incendio, Confringo, Bombarda) to make them vulnerable to damage, and to toss the red fire barrels at groups of them to clear out several at once. Make sure to collect all of their Stench of the Deads after you’ve dispatched them.
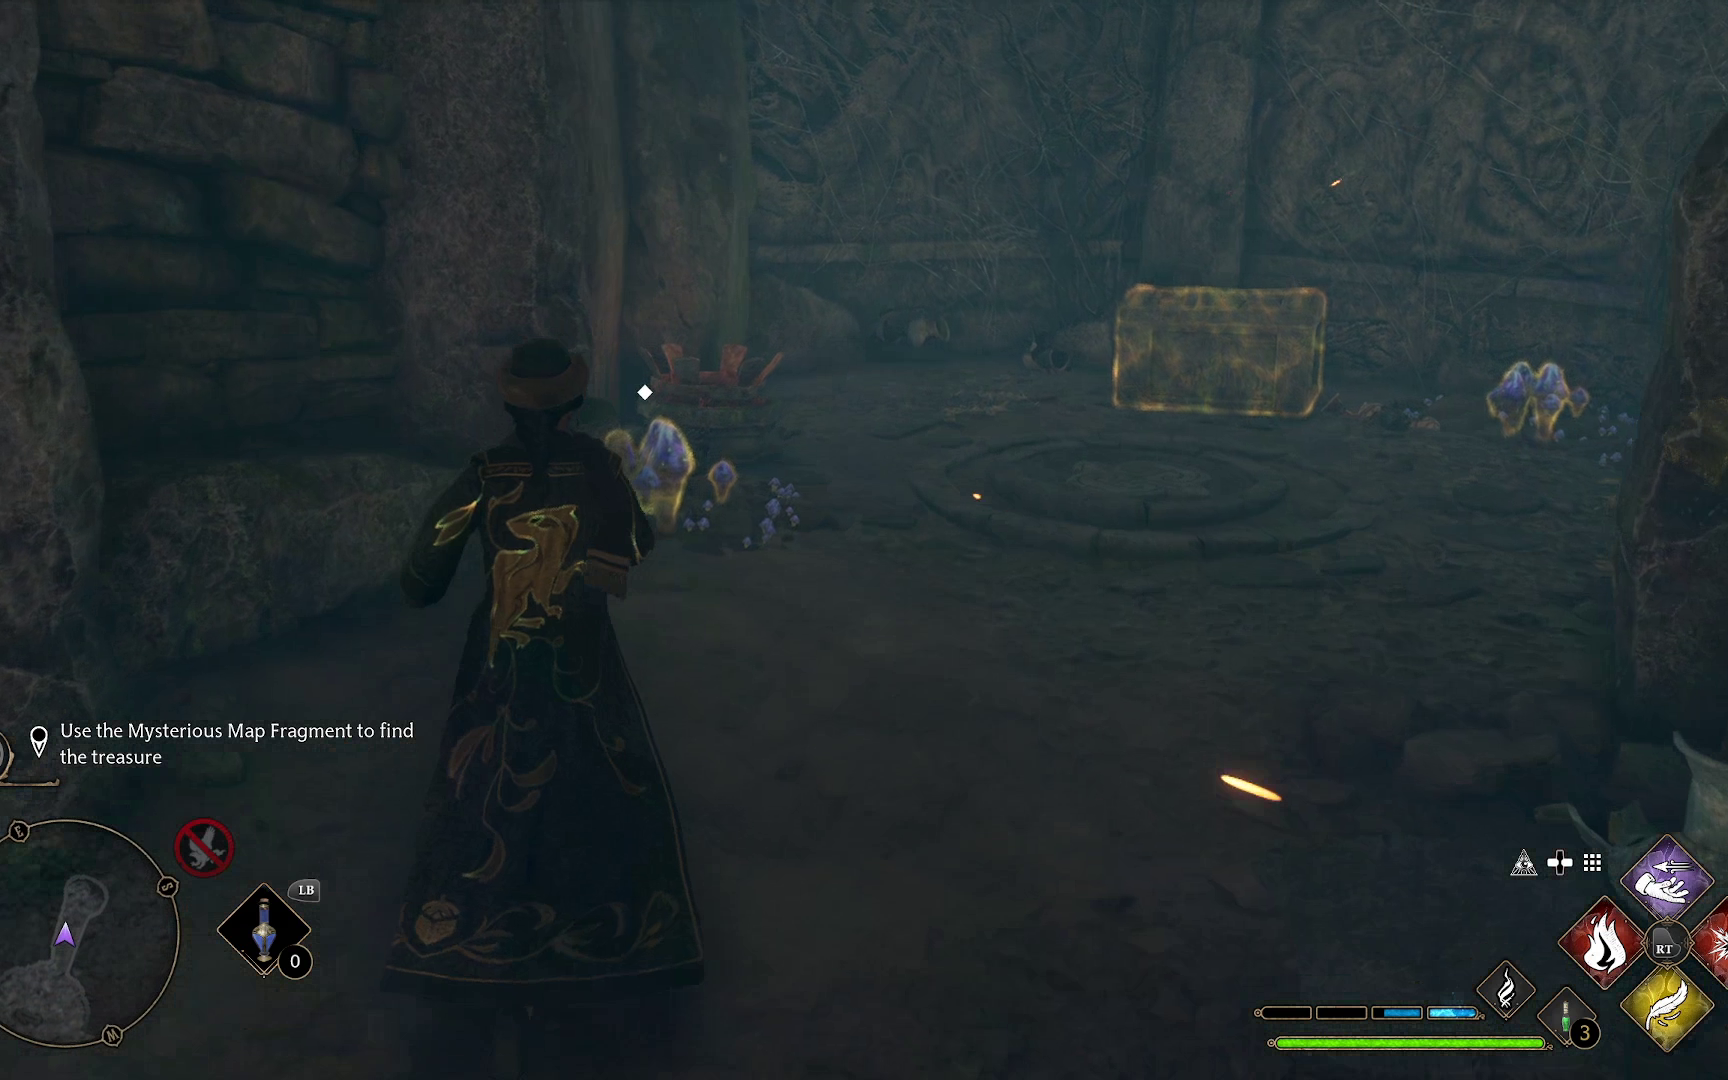
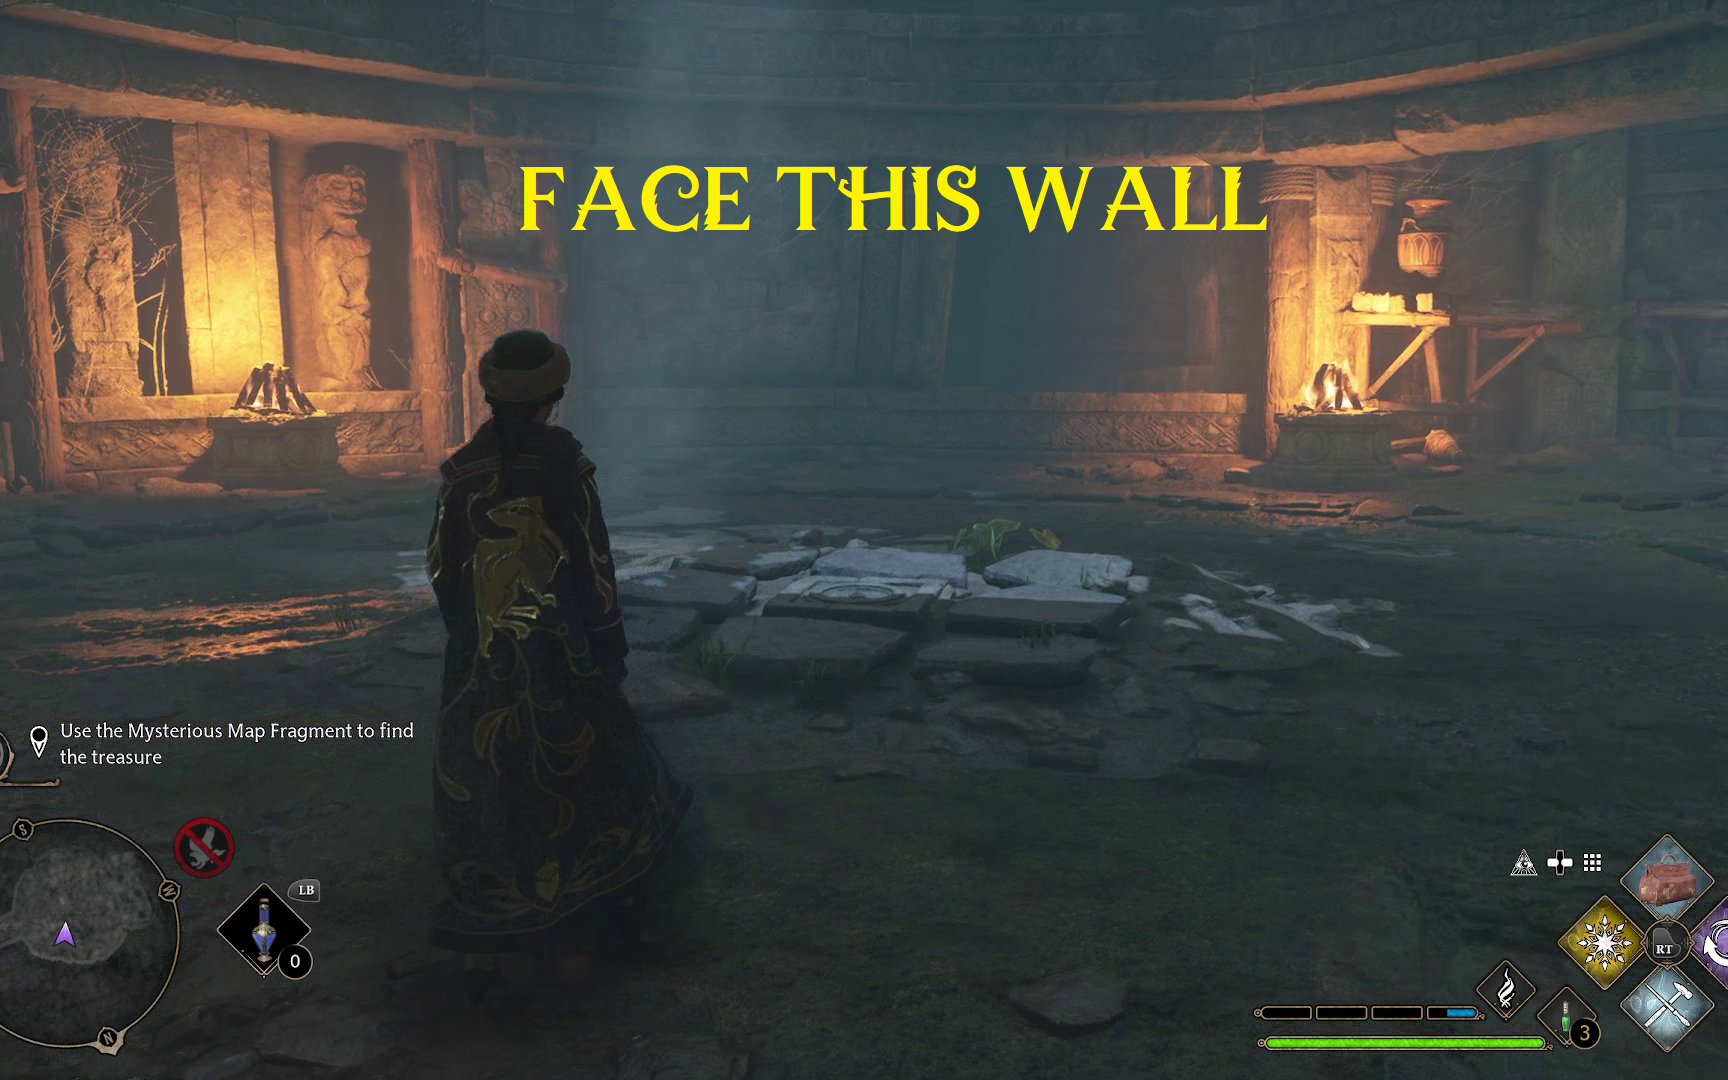
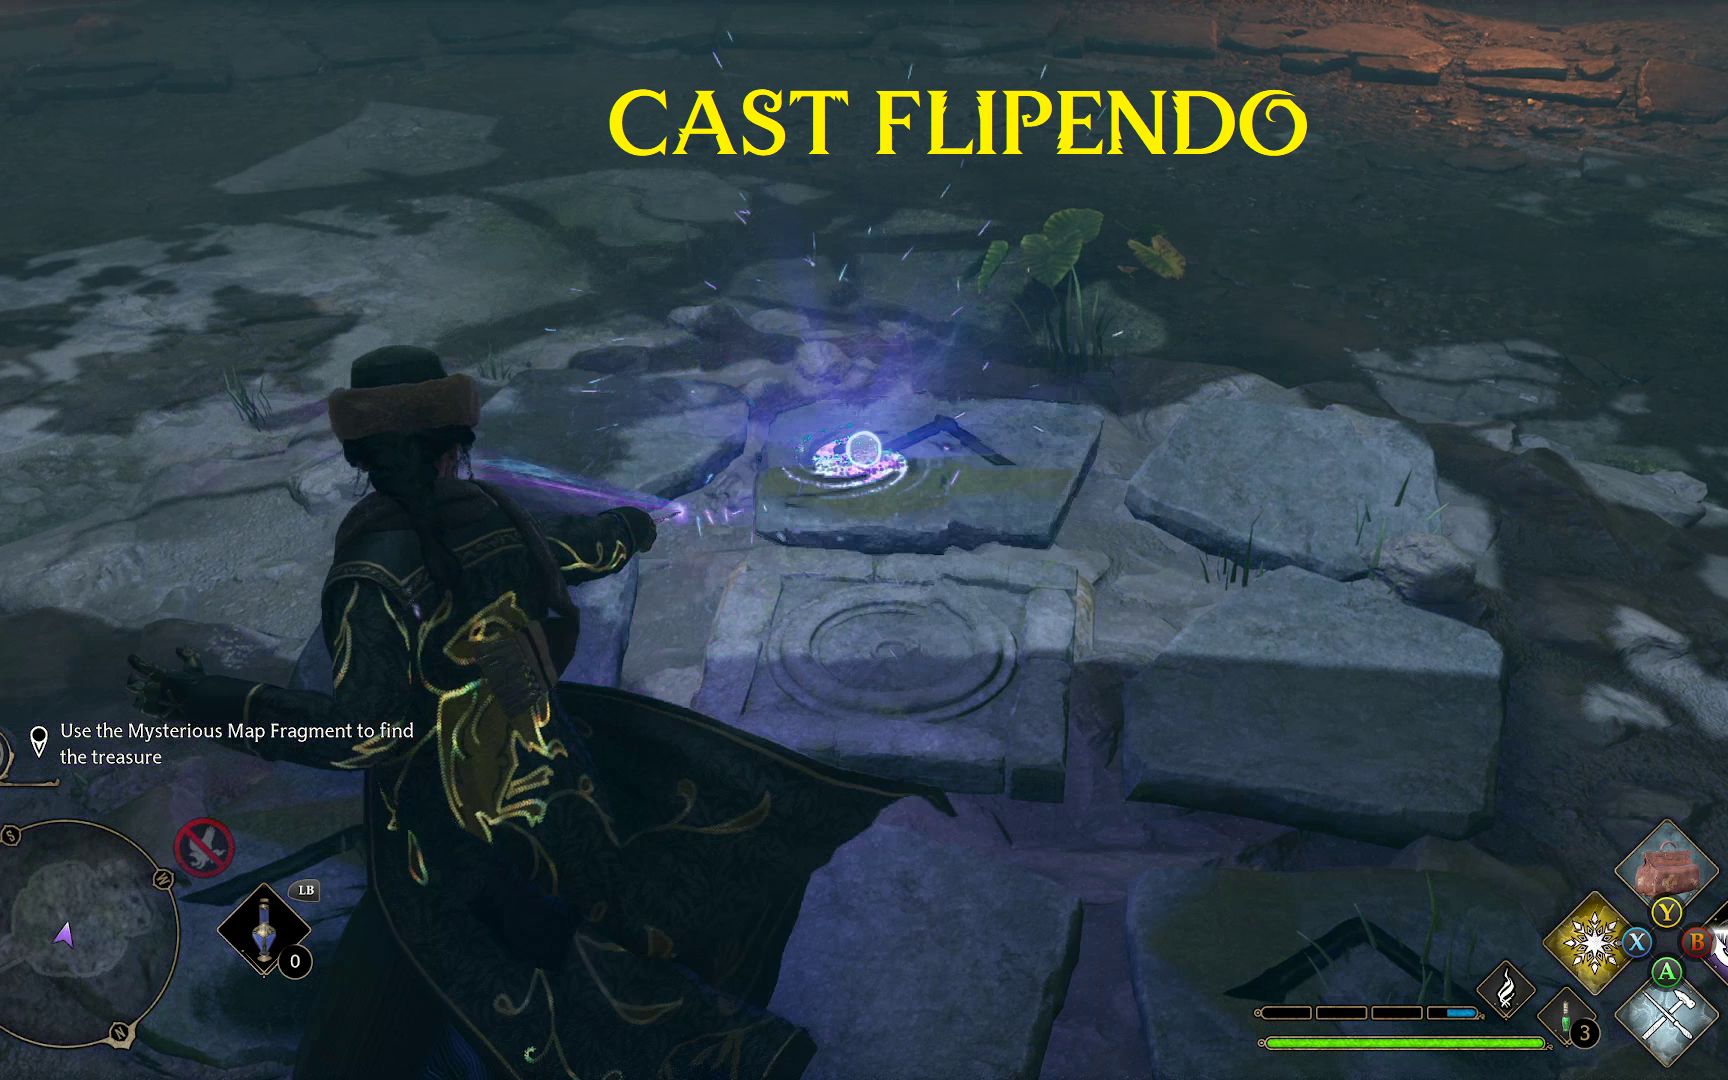
Finally, you’ll be at the final puzzle, which will be on the ground in the same room as the Inferi. To begin, make sure to take a look at the treasure map you receieved before to see what pattern you’ll need to make and how. After that, make sure you are facing the correct wall, and prepare to flip some stones.
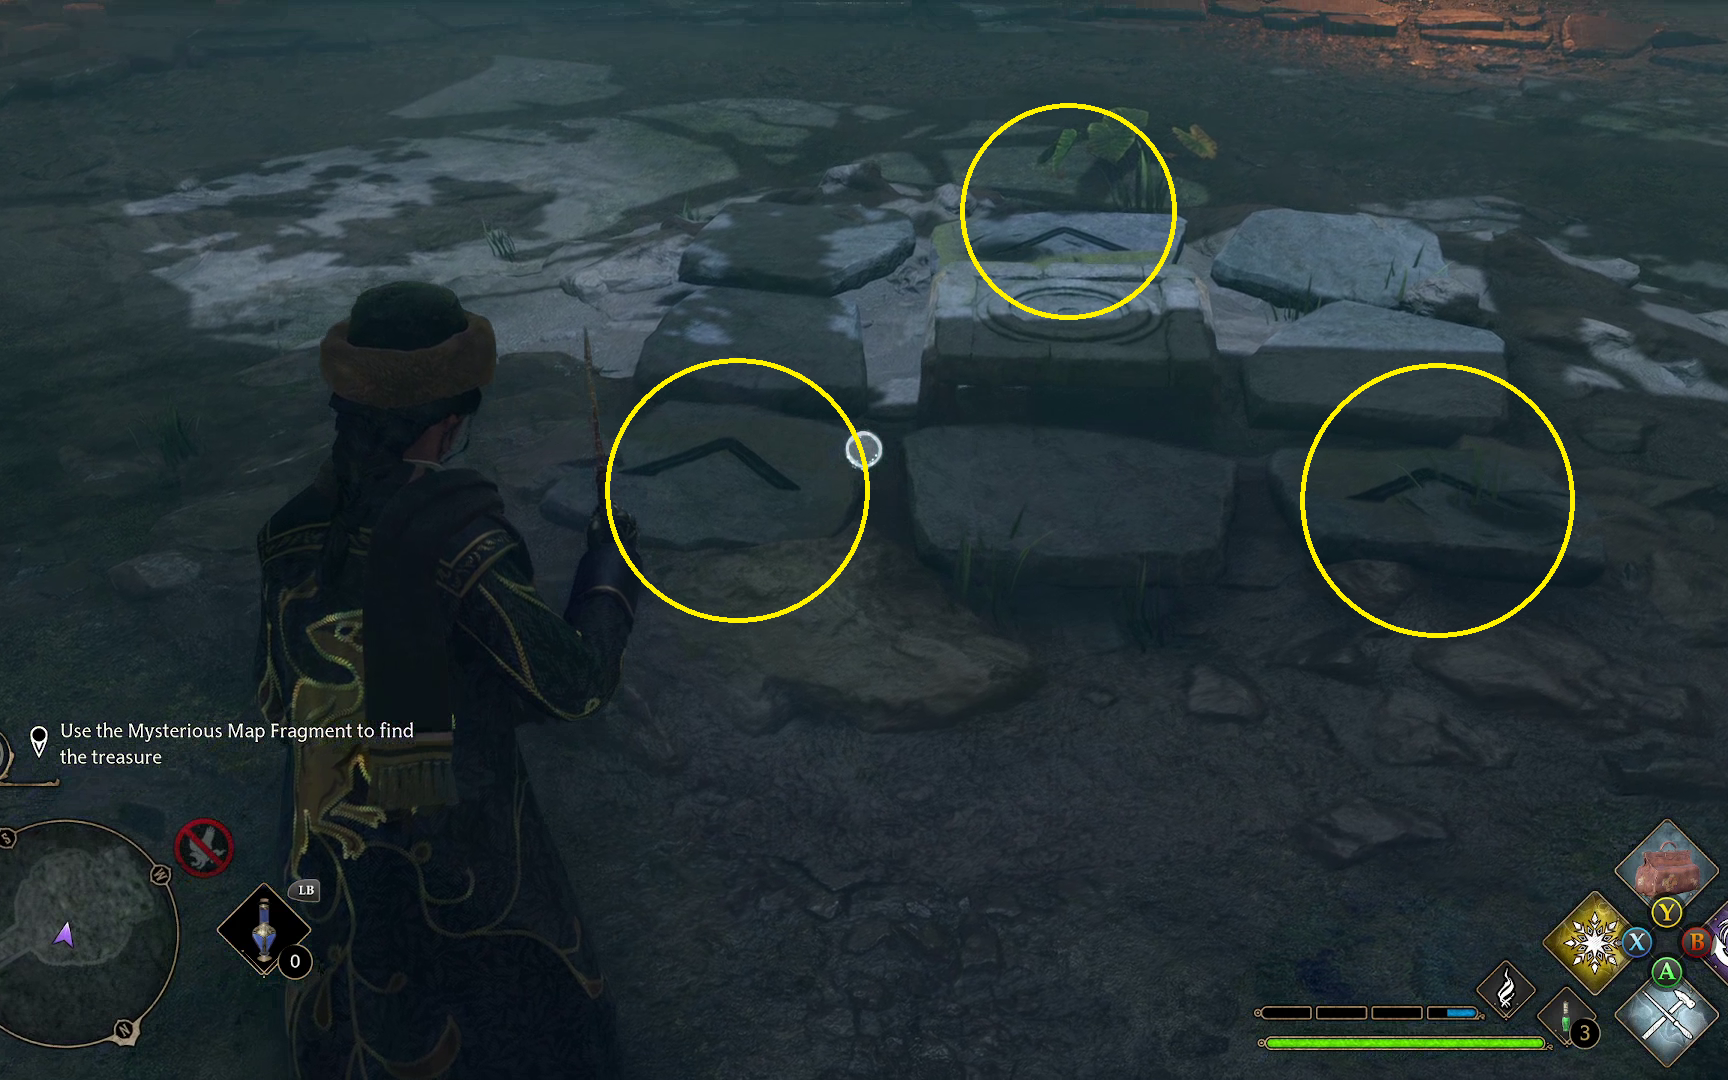
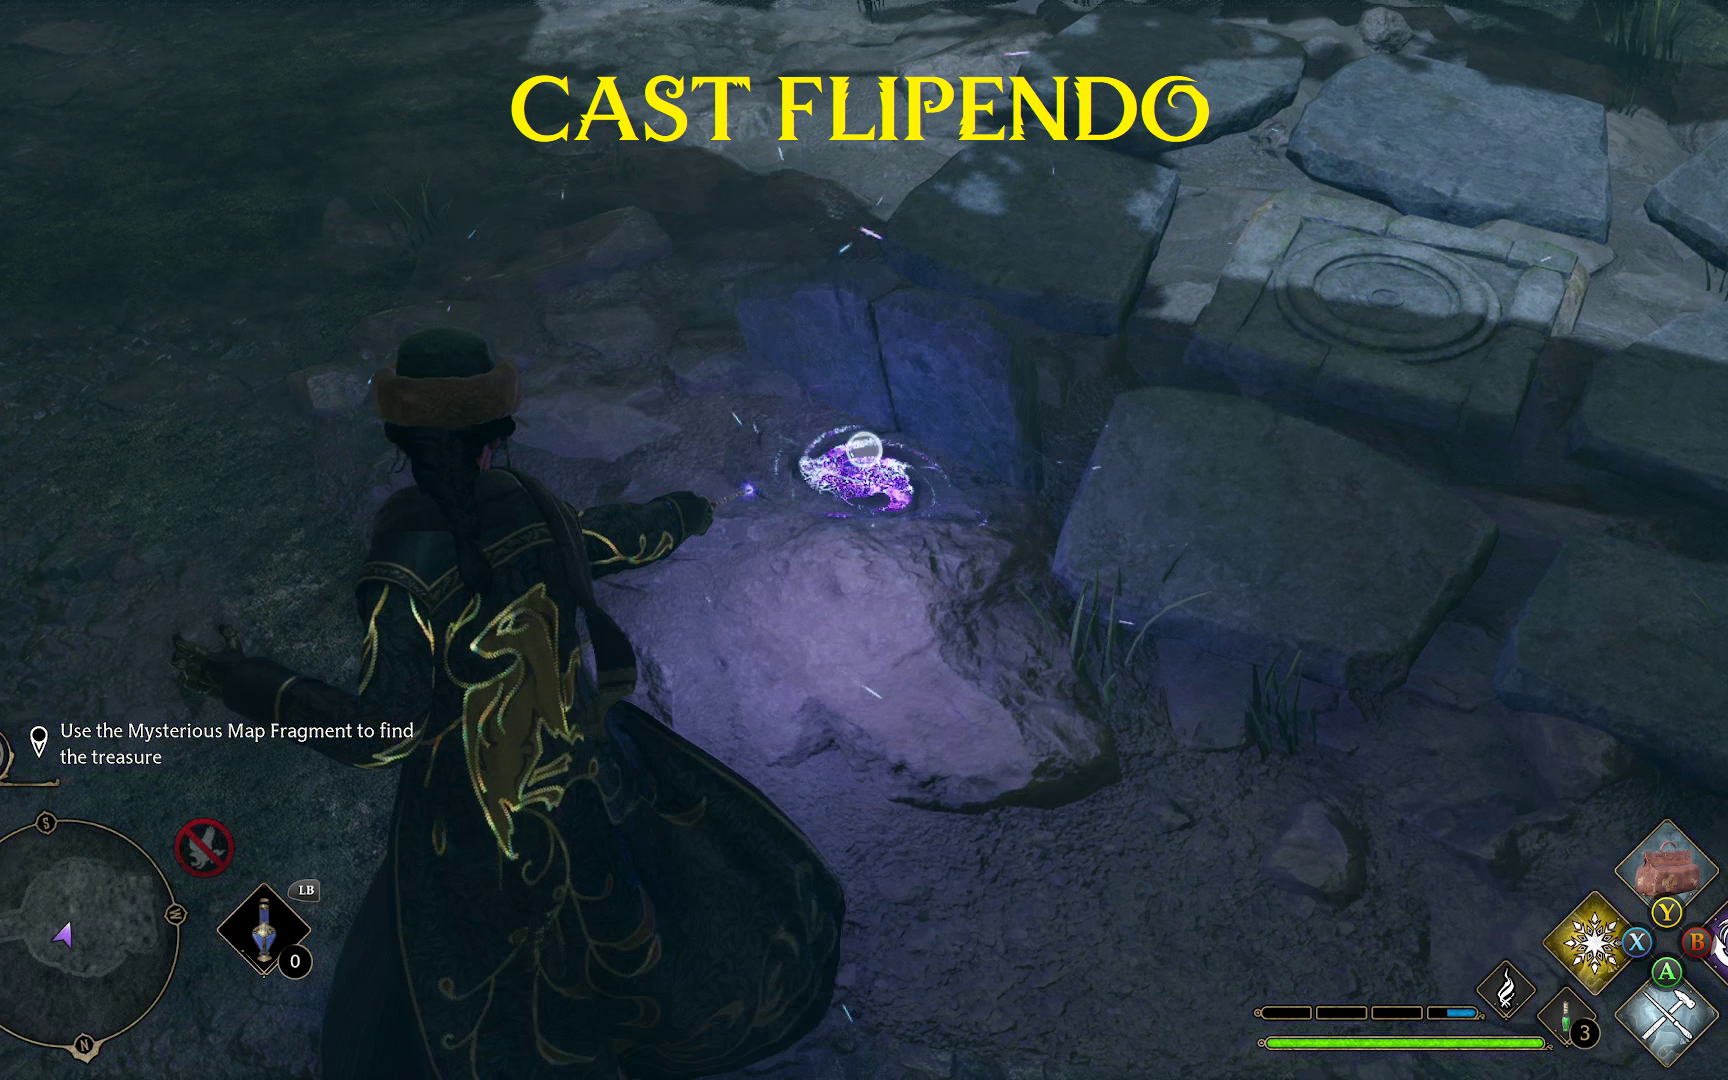
To solve the puzzle, you’ll simply need to flip three of the blocks surrounding the middle circle using Flipendo. The three blocks are the top-middle block, the bottom-right block, and the bottom-left block.
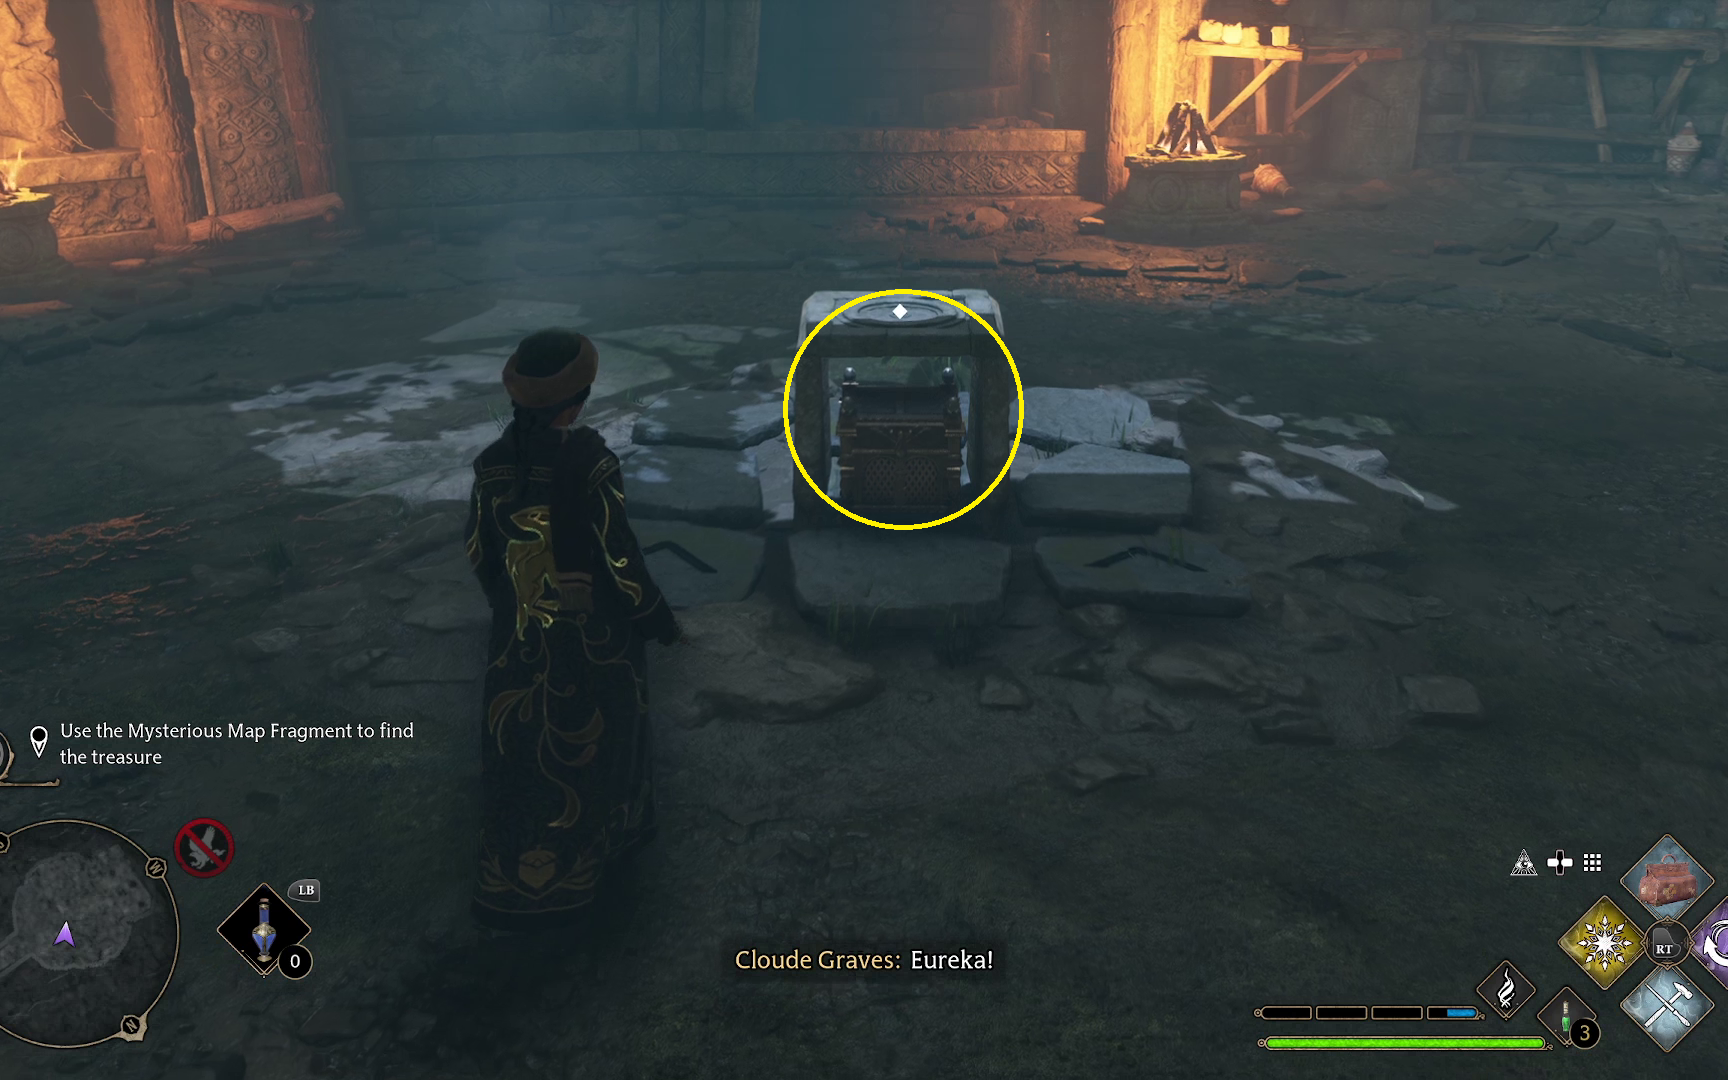
Once you’ve completed the puzzle, a plinth will rise up in the middle of the room. This will contain a chest, giving you the final reward for completing the Cursed Tomb Treasure.
As soon as you grab the reward from the chest, which will be some neat treasure-hunting attire, the quest will end. Finally, you’re in possession of the (perhaps lackluster) treasure of the cursed tomb.
Graves is an avid writer, web designer, and gamer, with more ideas than he could hope to achieve in a lifetime. But, armed with a mug of coffee and an overactive imagination, he'll try. When he isn't working on a creative project, he is painting miniatures, reading cheesy sci-fi novels, or making music.


