In this walkthrough of the Main Story quest “The Final Repository”, we’ll guide you through the game’s action-packed conclusion to the tale of the Keepers. You’ll be treated to some epic battle scenes, and engage in what is arguably the game’s toughest fight — the final confrontation with Ranrok.
Like the previous quest, this one involves quite a bit of challenging combat. You’ll want to stock up on tools (plants and potions) and make sure you have the maximum number of Wiggelweld Potions (25) — utilize the Room of Requirement and the shops in Hogsmeade to collect what you need.
Additionally, it’s important to know that the final boss for this quest is Level 30. While it’s possible to defeat it while only level 24 or 25 yourself, it can be difficult. Consider doing side quests or other optional content and leveling up a bit before starting this quest.
Return to the Map Chamber & Talk to Professor Fig
One last time, you’ll need to return to the Map Chamber! Open the Hogwarts Map, select Secret Rooms, then fast travel to the Map Chamber Floo Flame. Continue down the hall and into the map chamber, then walk up to Professor Fig and press /to speak with him, beginning a cutscene.
The Secret Rooms “Wing”
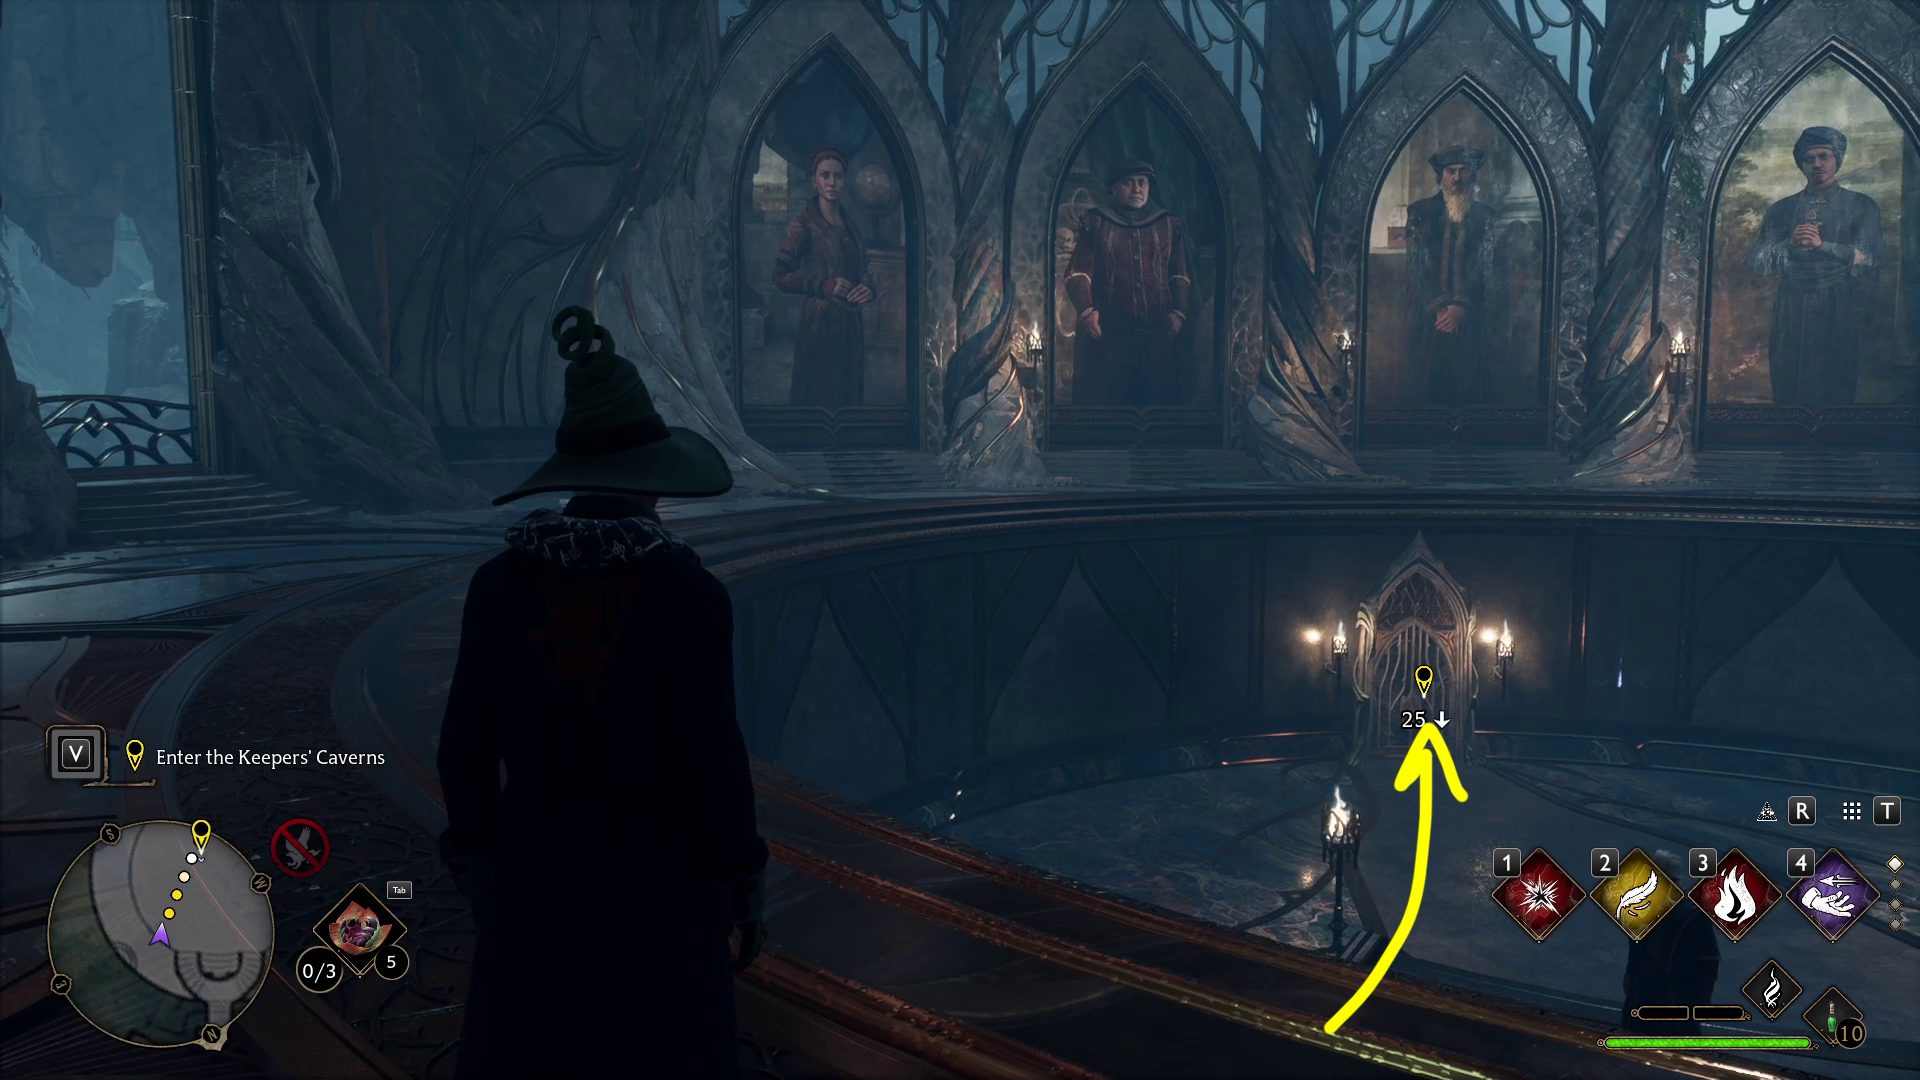
Enter the Keeper’s Caverns & Make your way to the Repository
When the cutscene ends, you’ll need to follow Professor Fig down the stairs and to the door at the bottom of the newly-created lower level of the Map Chamber. Walk up to the door (1) and hold / to enter the caverns. Continue forward across the bridge — near the door that opens ahead, a brief cutscene will play.
1
Note: You’ll engage in a number of combat encounters in the sequences below. If you mess up badly in any of them (and use up a lot of Wiggenweld Potions), it’s worth letting yourself be killed and restarting the encounter — if you end up with very few potions for the boss fight at the end of this quest, you won’t be able to get more without retrying the quest.
Stop the goblin Loyalists
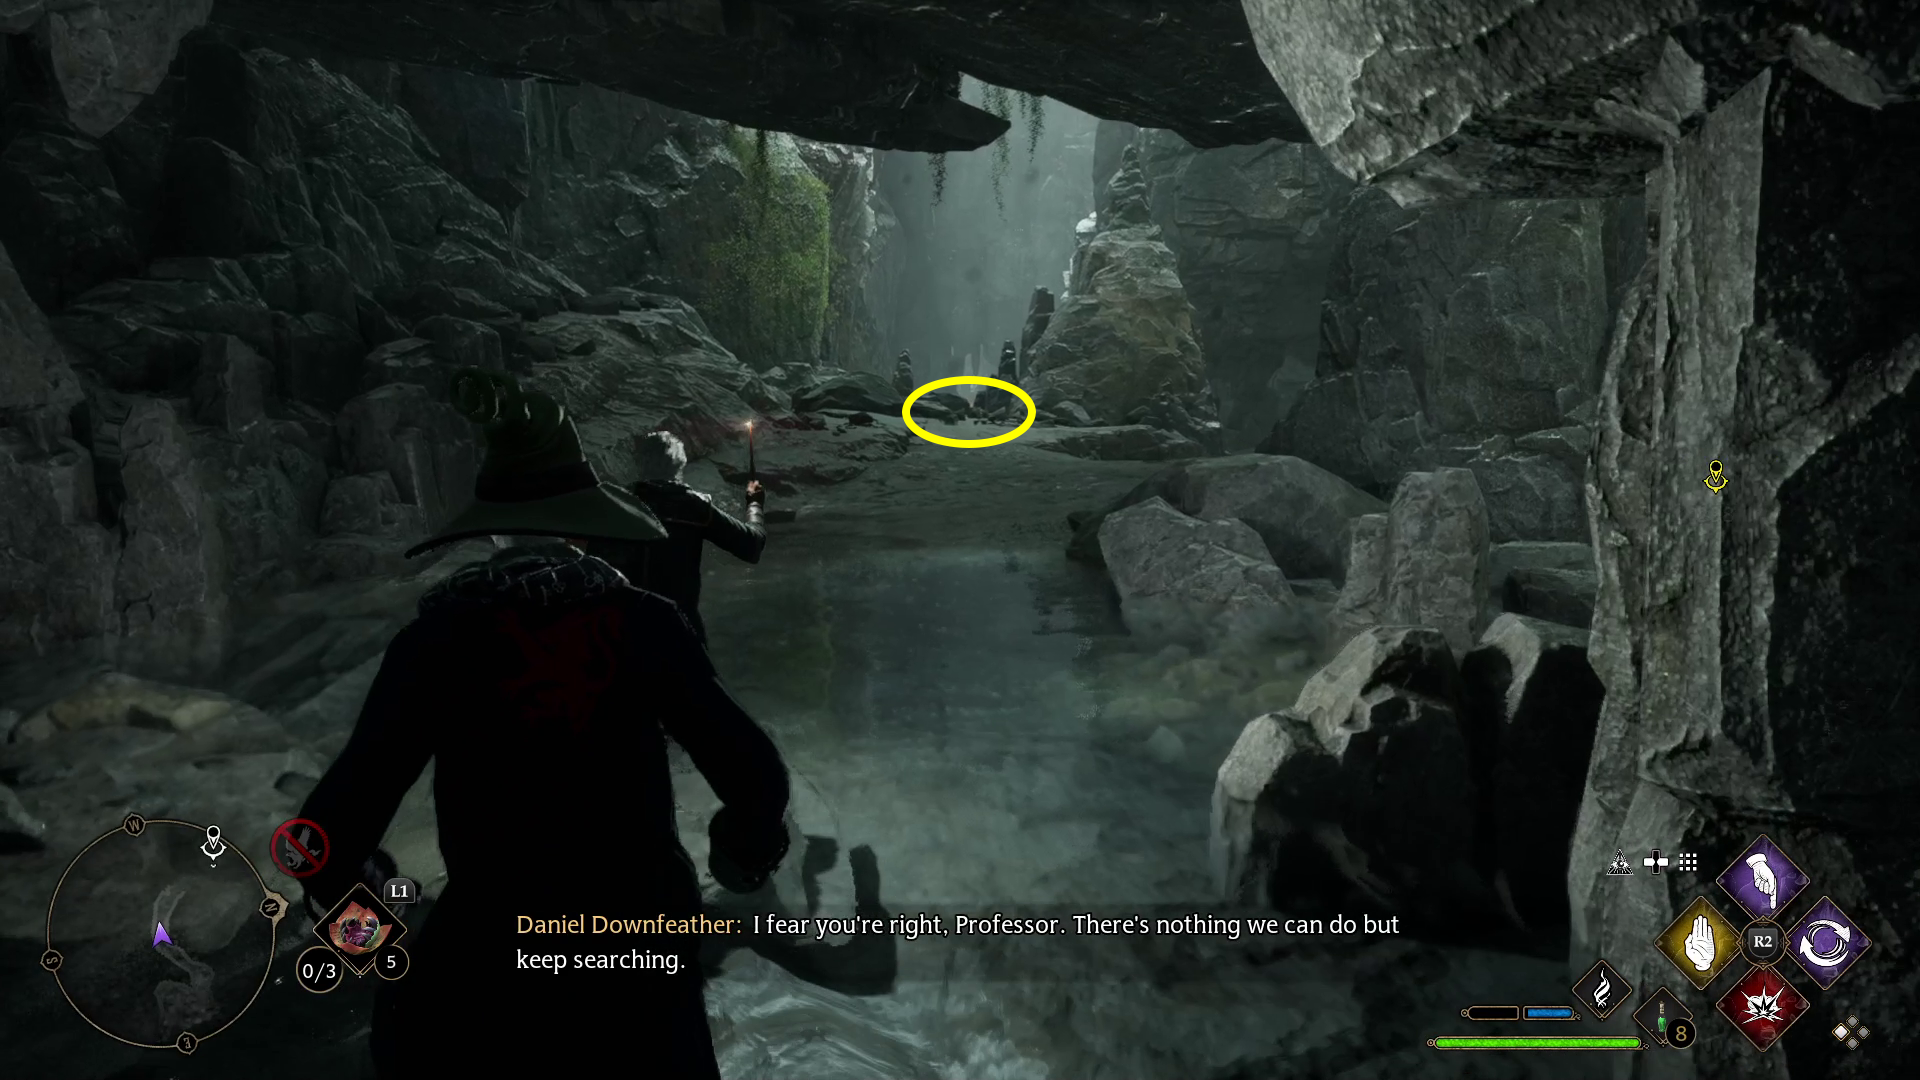
Make your way down the path (there’s only one way forward) until you reach flat ground with some water (1). Here, cast Disillusionment, then continue forward until you can see the goblins. They’ll spread out, so wait a moment and then you’ll be able to use Petrificus Totalus on at least one or two of them — you won’t be able to reach the one on high ground, so if they don’t spot you, go ahead and attack it after clearing the guards on the low ground. A few more goblins will arrive; defeat them and Fig will clear the drill, allowing you to proceed (2).
12
Defeat the Loyalists and their Trolls
After crouching through the small gap in the rocks, a cutscene will play, and you’ll find yourself facing two Trolls. Remember to dodge the overhead club slam (rather than blocking it) so that you can then cast Flipendo on the Troll and stun it with its own club. Some goblins will show up as well — defeat these first, then worry about the Trolls. You should also try and save all of your Ancient Magic meter for the Trolls, or it will take you a long time to take them down.
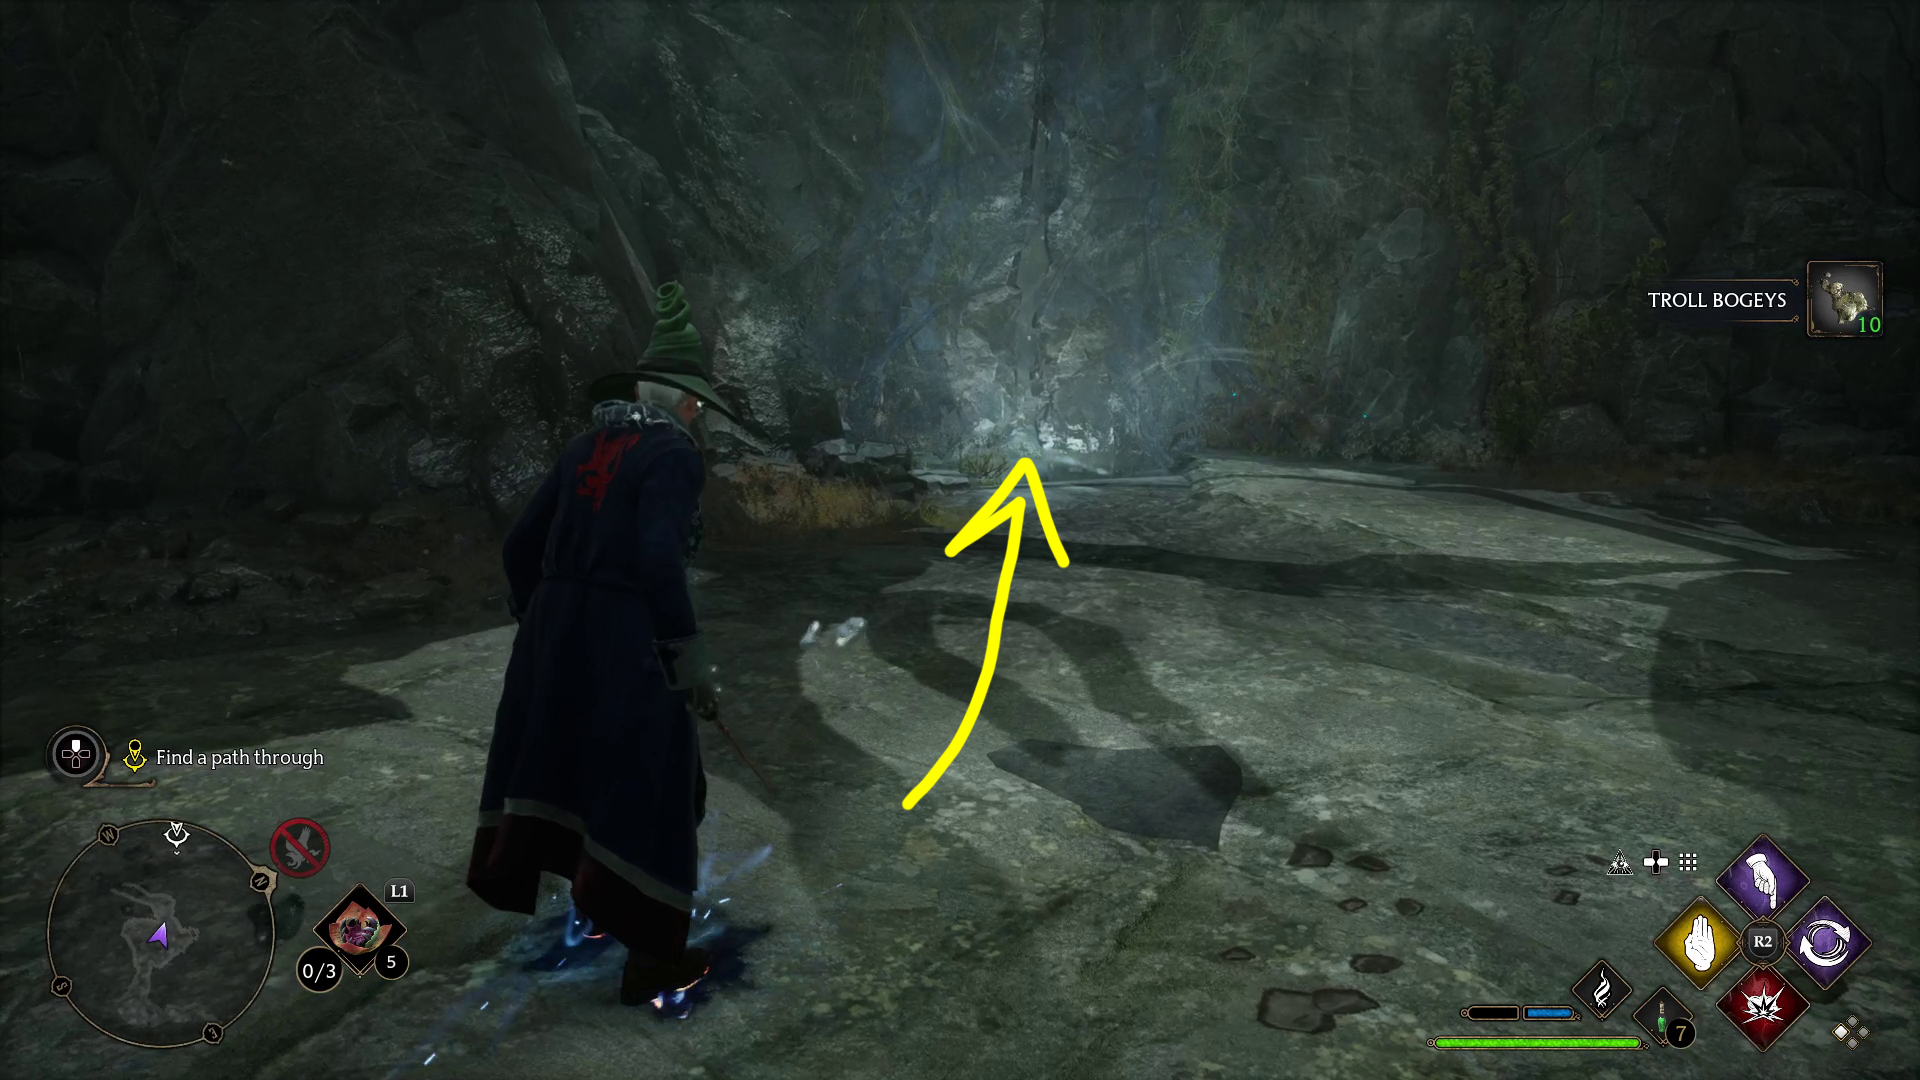
Find a Path Through
Defeat all the enemies, then walk over to the northwestern wall — once you get close enough to the cleft in the rock (1), Professor Fig will blast it (with apparently no concern for your safety). Go through the hole Fig created, and on the right you’ll find a Wiggenweld Potion on the ground. Continue on the path, following Professor Fig. When you cross some shallow water, look to your left to find another Wiggenweld Potion (2).
12
Defeat Ranrok’s Loyalists
Continue northwest down the path, and you’ll come to another group of goblins. Again, it’s best to start by casting Disillusionment and Petrifying as many as possible. You should also utilize the pile of explosive barrels — use Depulso to push an enemy (ideally a fairly healthy one) into them. Defeating the first group will cause a second to appear, so be ready.
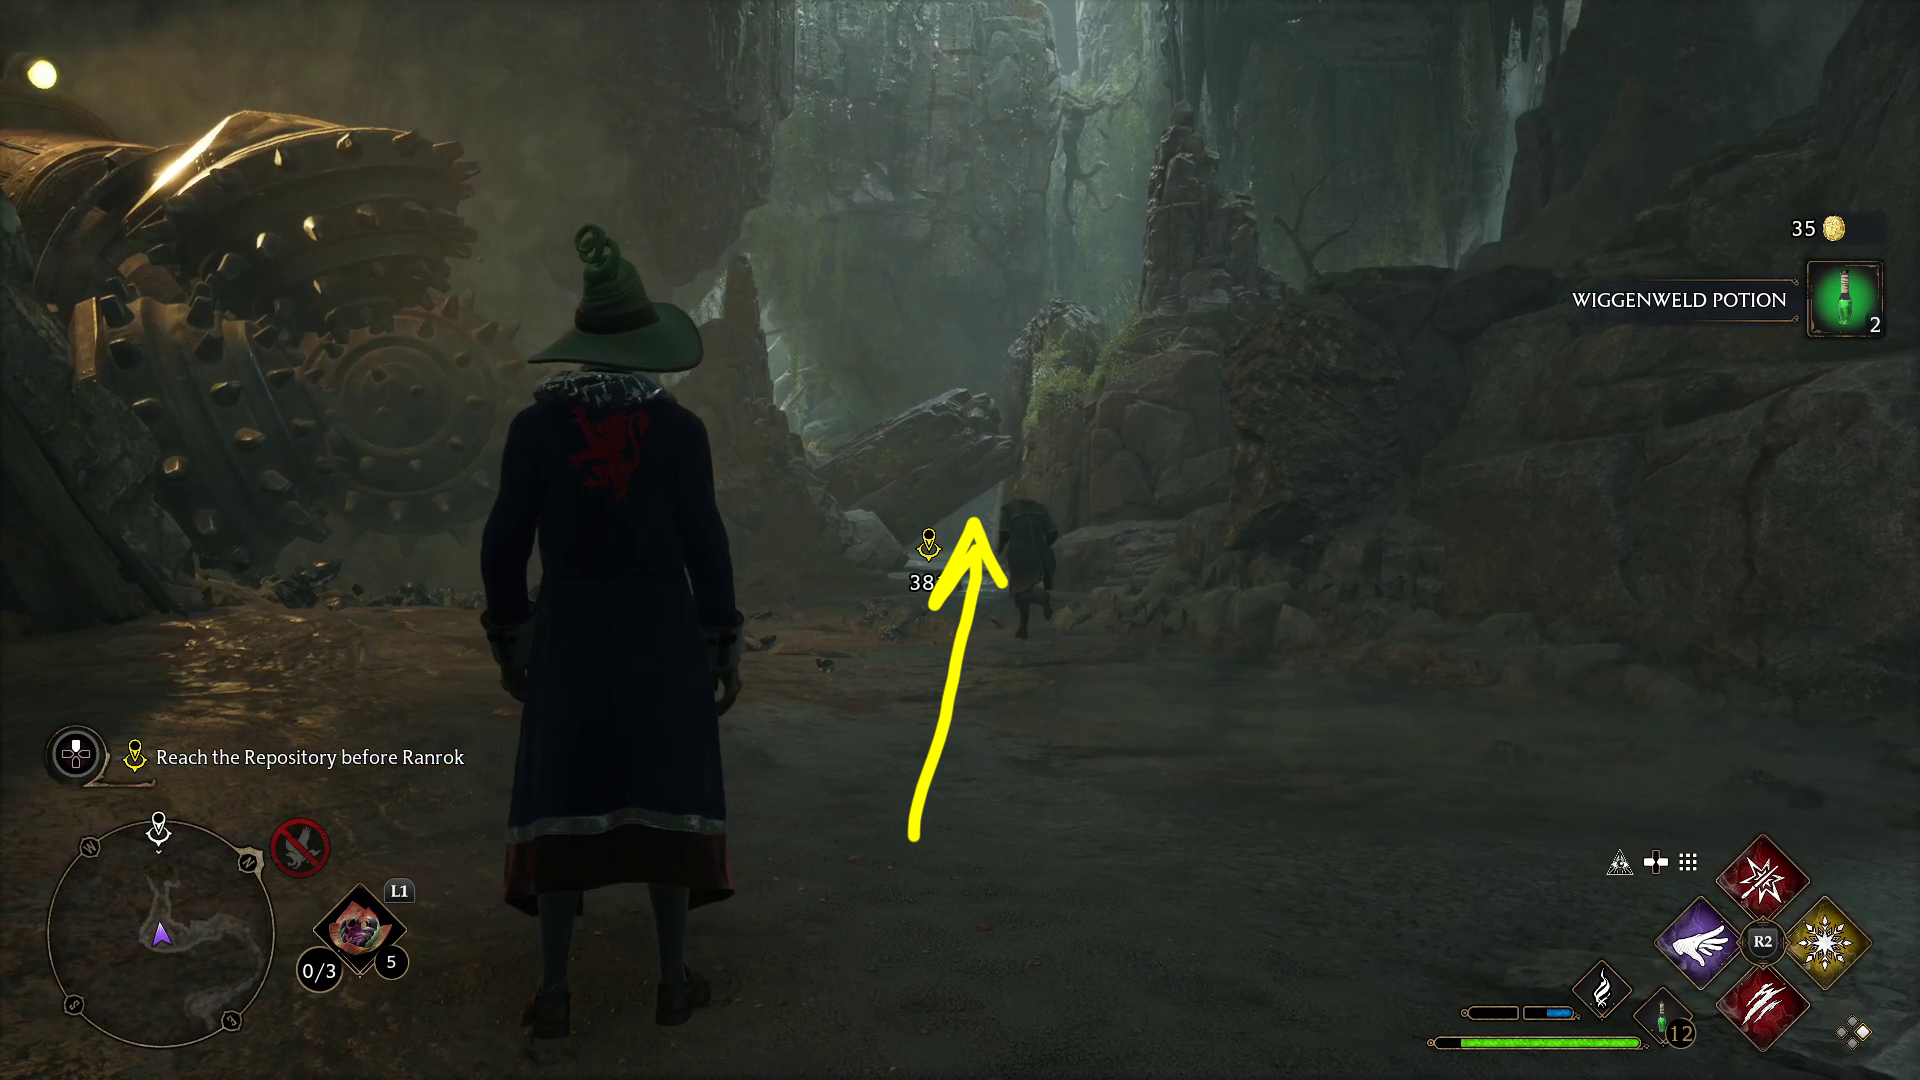
Reach the Repository before Ranrok
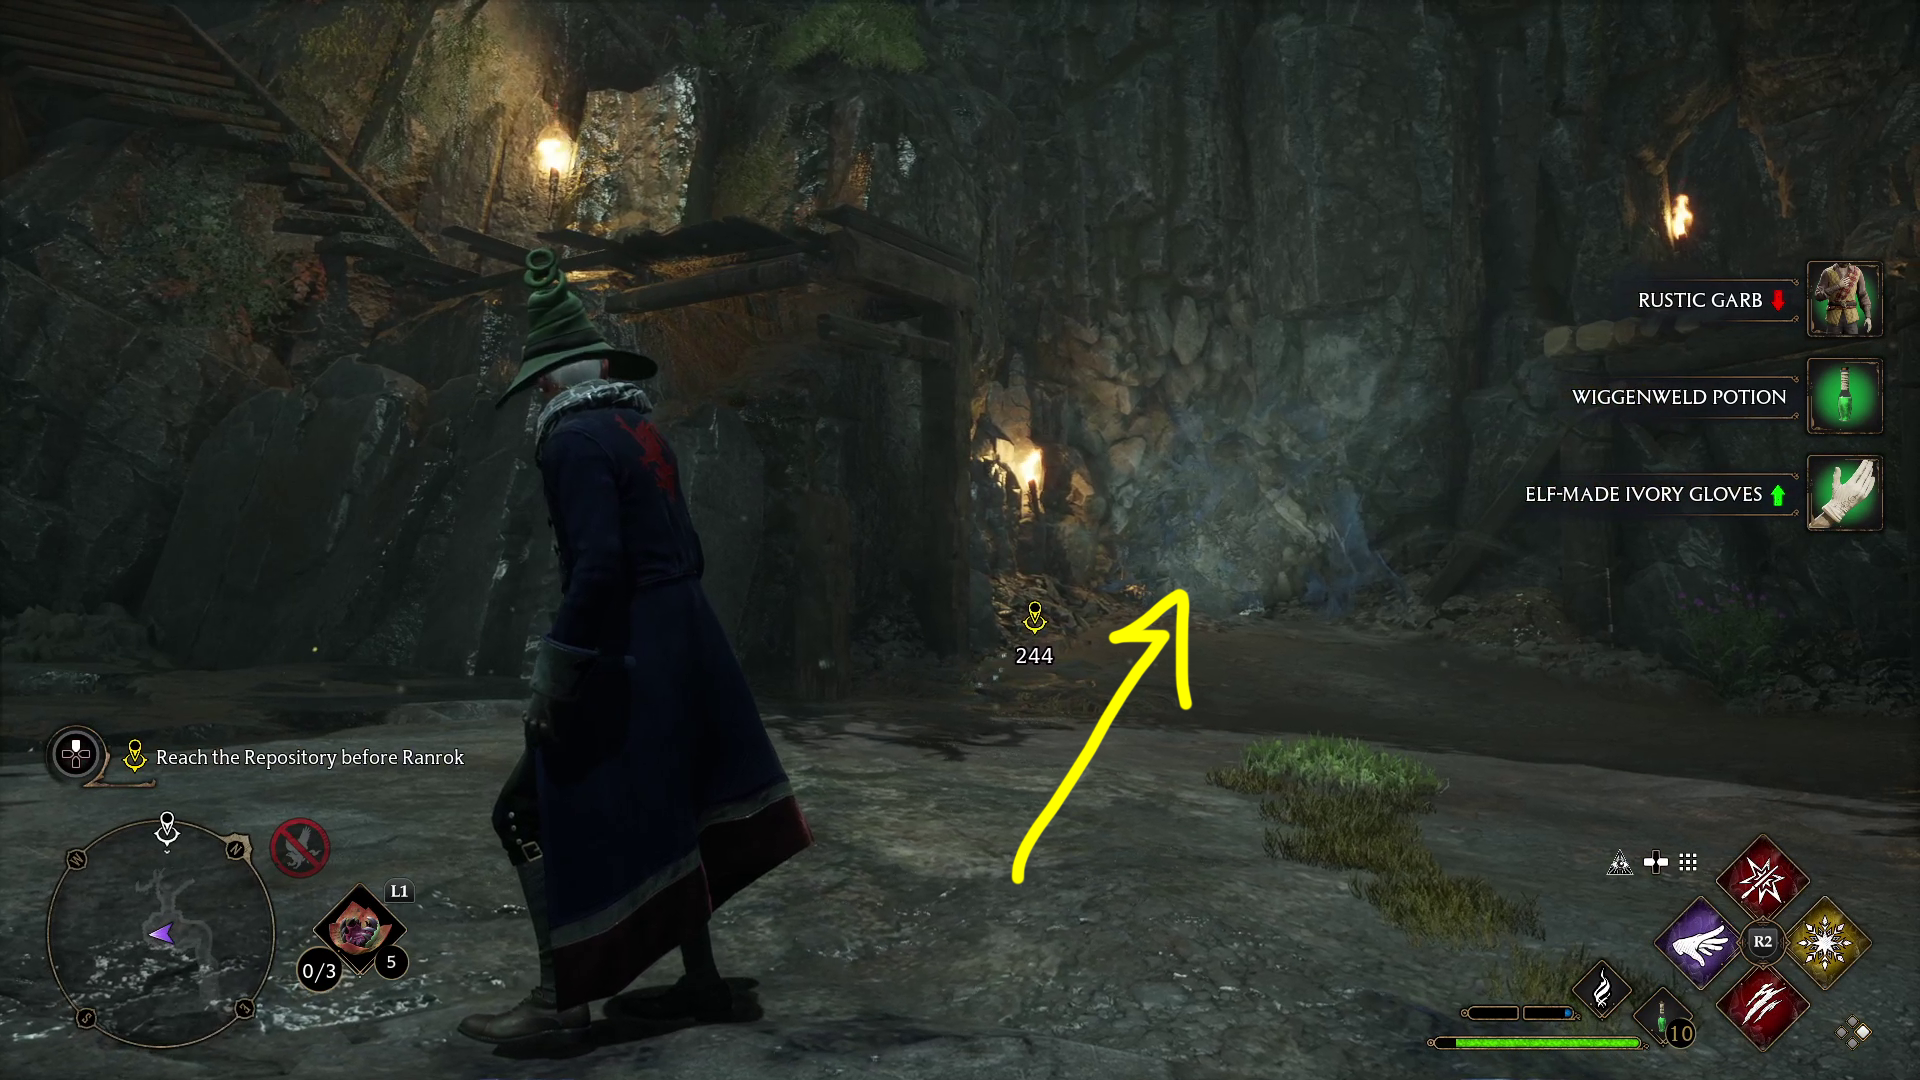
With all the goblins handled, approach the northwestern wall (1), and Professor Fig will yet again blast you a path. Go through the hole he made and a cutscene will play. When it ends, follow Fig through the battle until you come to an open area — here, you’ll be forced to fight yet again.
1
Defeat Ranrok’s Loyalists
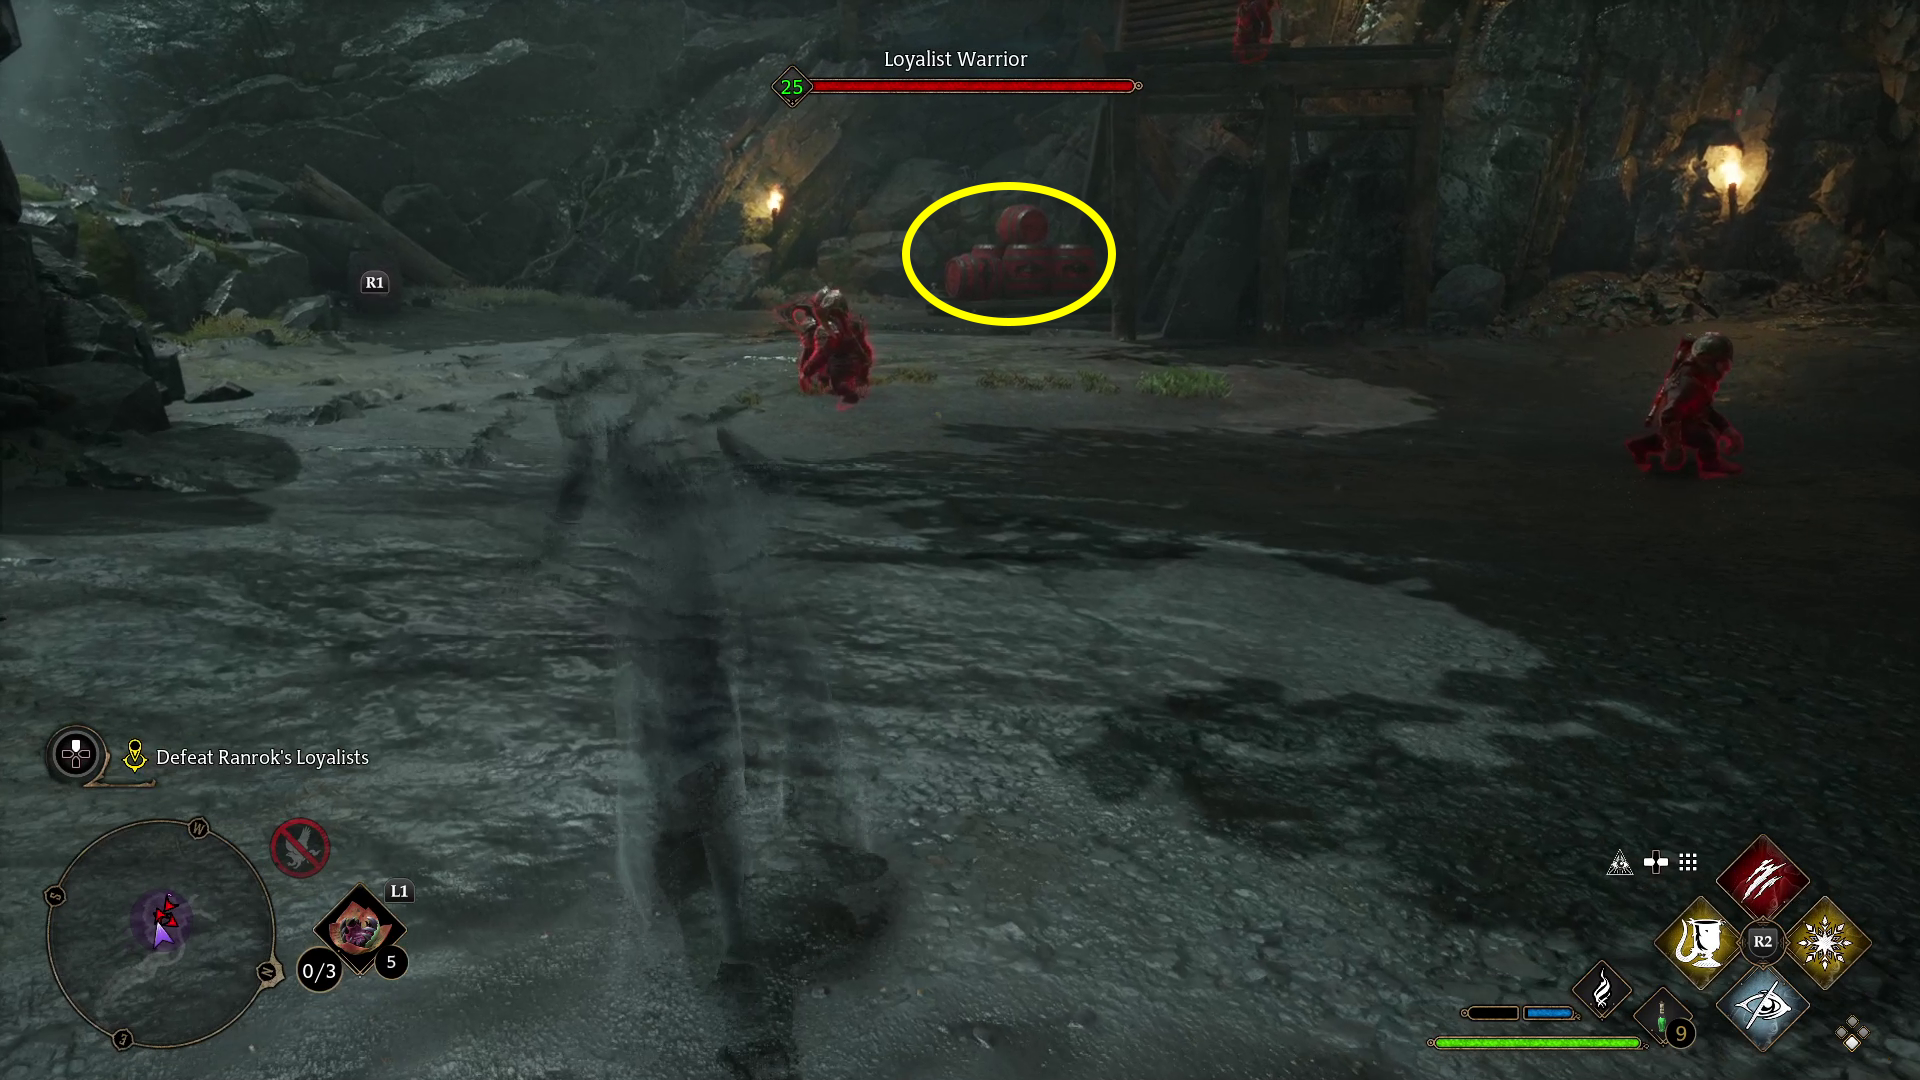
When you can, aim (hold ) at the explosive barrels and cast Confringo to take out the ranged enemy above them (1). After defeating the first wave of goblins, another will spawn along with a Troll — but you’ve killed so many by now, what’s one more? Be patient and careful, as you don’t want to burn through more Wiggenweld Potions than you need to (you’ll want them for the fight against Ranrok later).
1
Defeating the Troll will start a cutscene in which you and Fig make a quick getaway, and you use the wand Ollivander crafted to subdue some Pensieve Guardians and open the Final Repository.
Choosing an ending
During this cutscene, you’ll be asked by Professor Fig what you intend to do with the magic of the Repository. You have two choices:
“I intend to keep it contained here” – This gives you the “good” ending
“I intend to open it” – This gives you the “bad” ending
Your choice will only affect the cutscene that occurs during this quest; you’ll still be able to finish the game and get the final, “true” ending regardless of your decision.
Defeat Ranrok
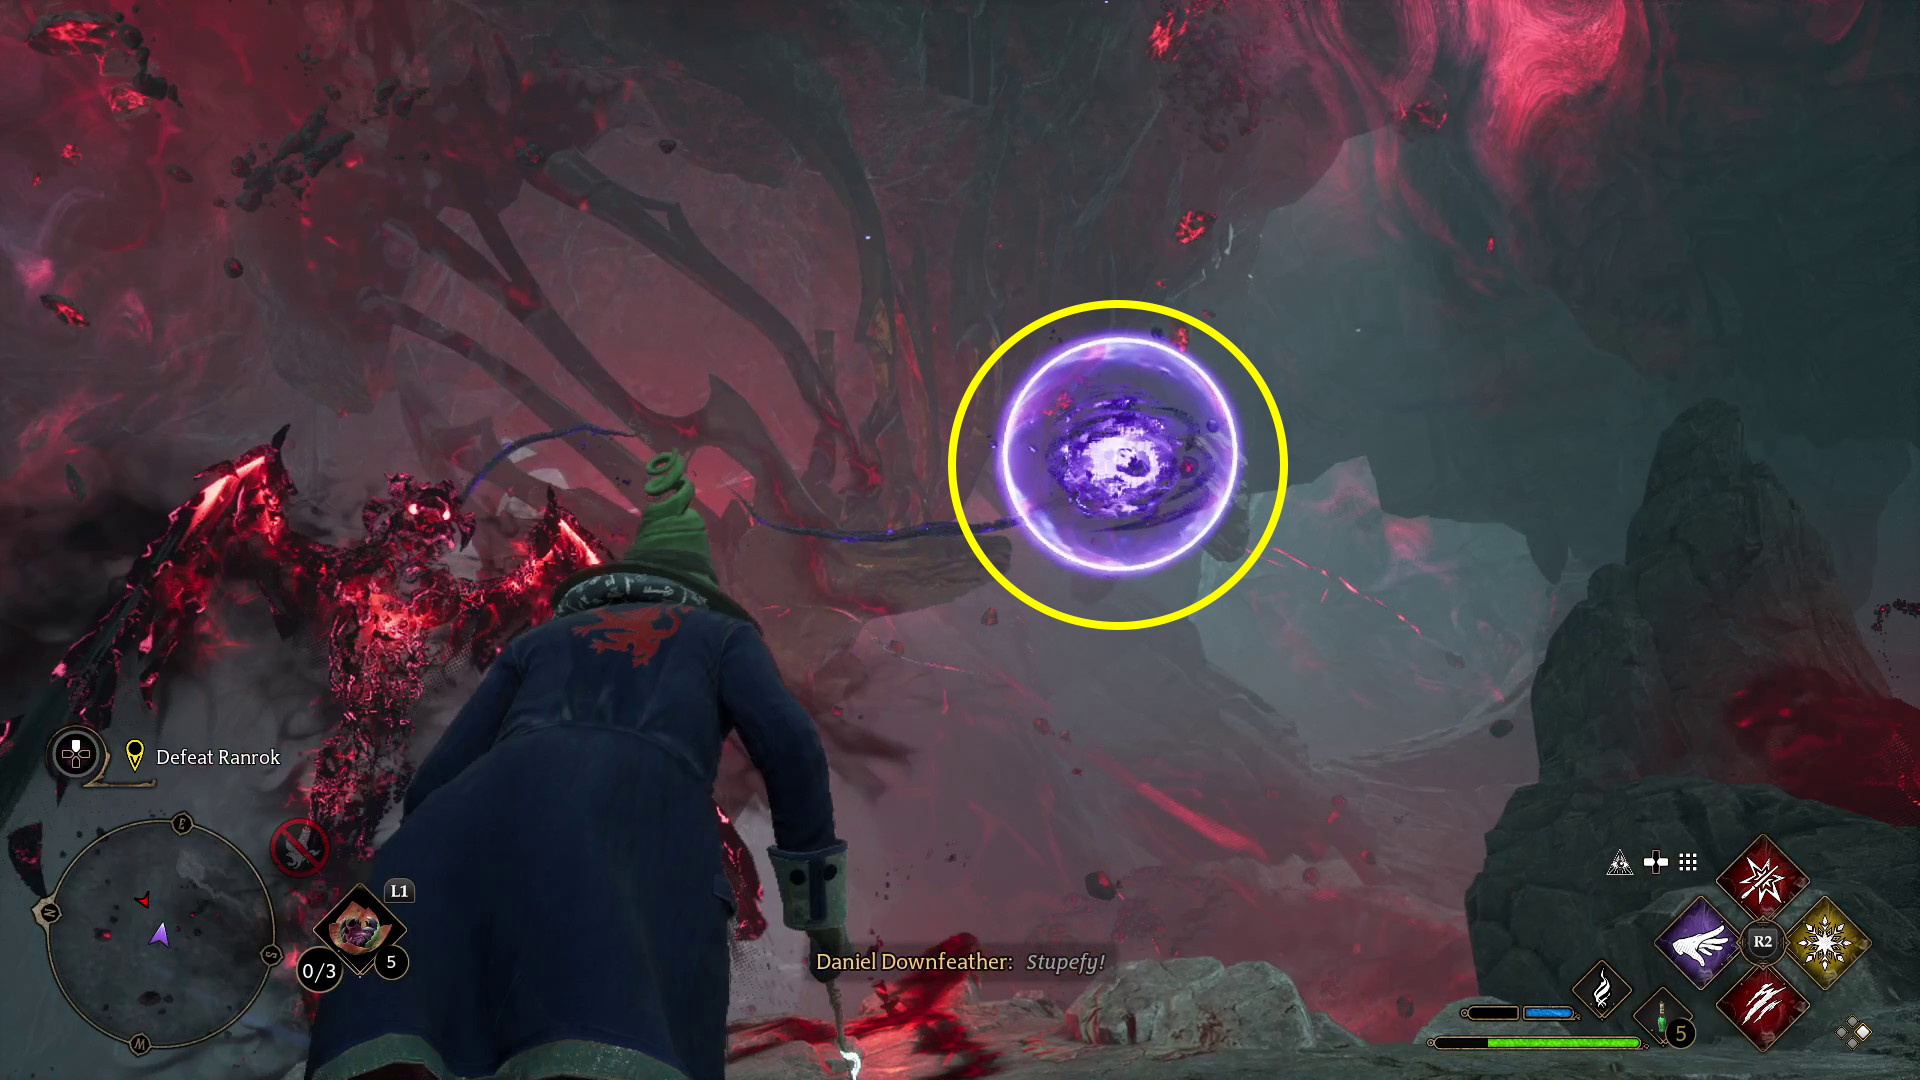
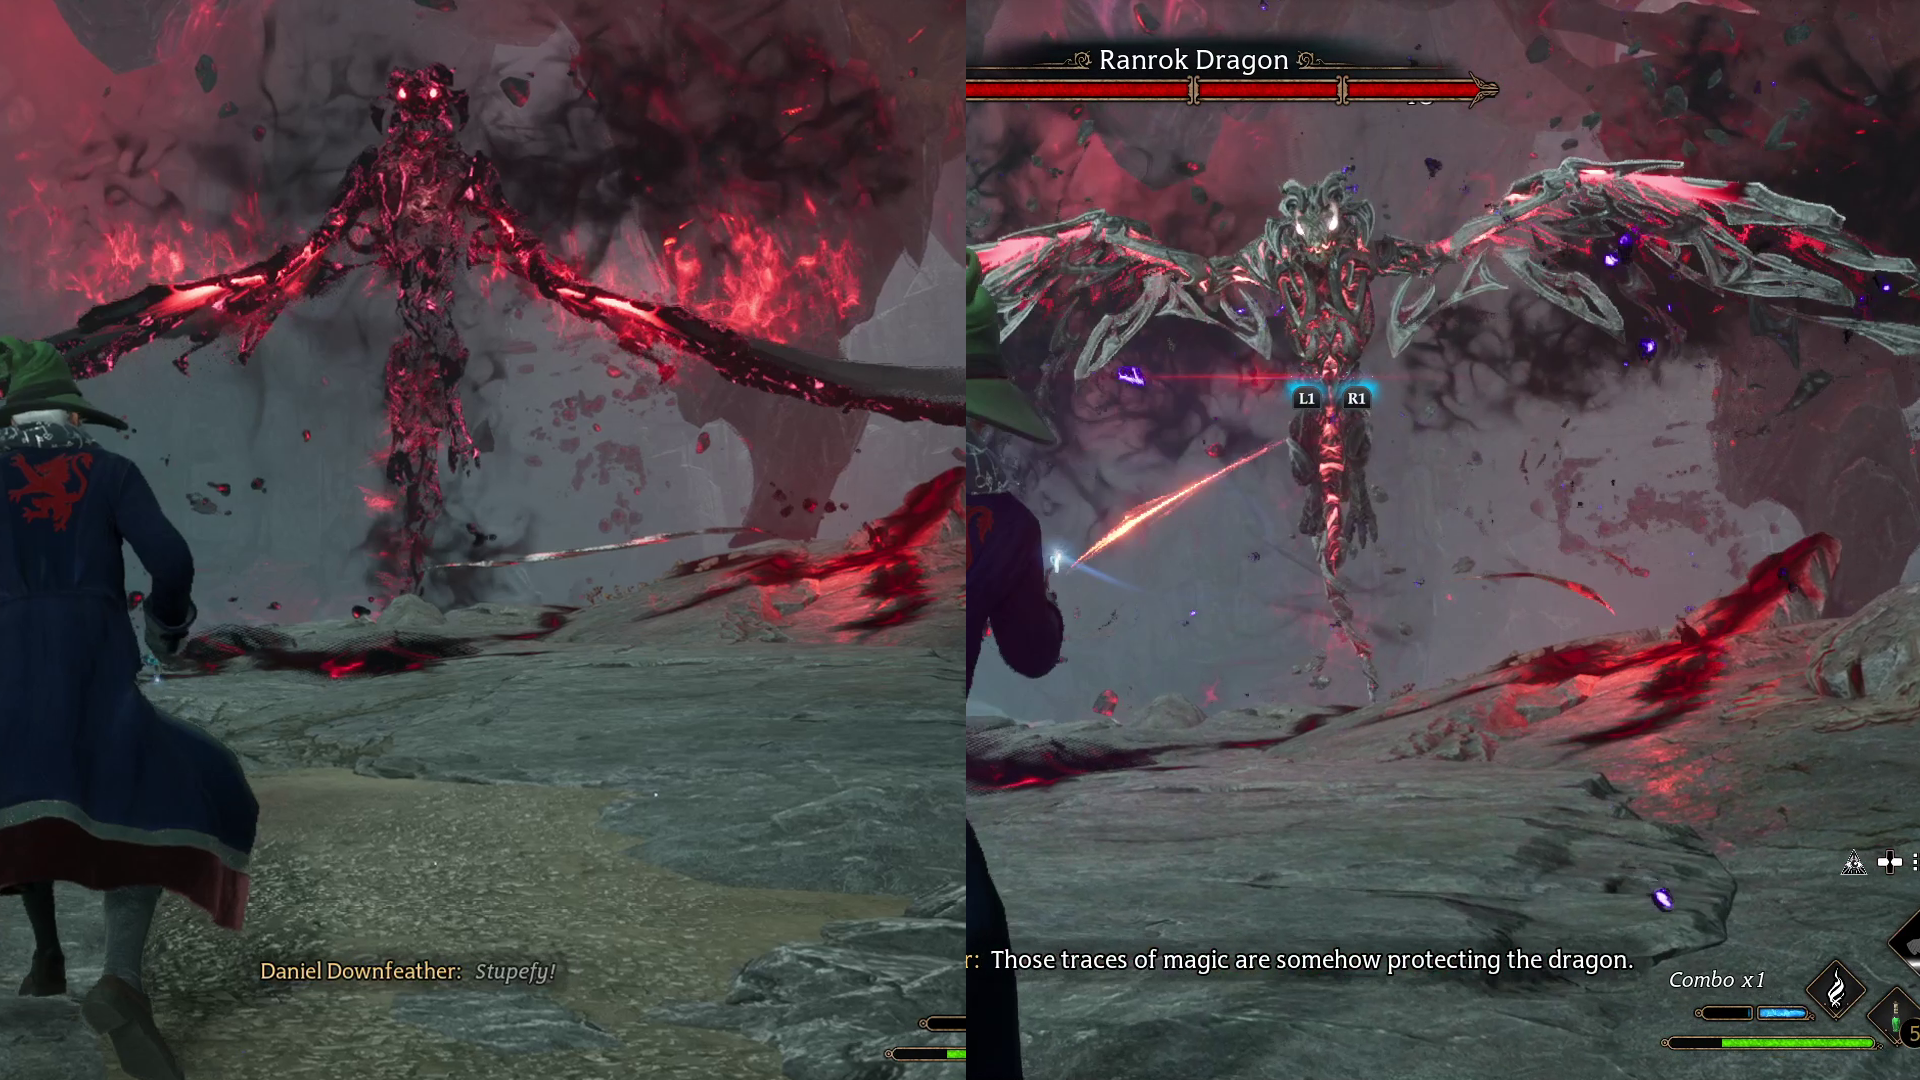
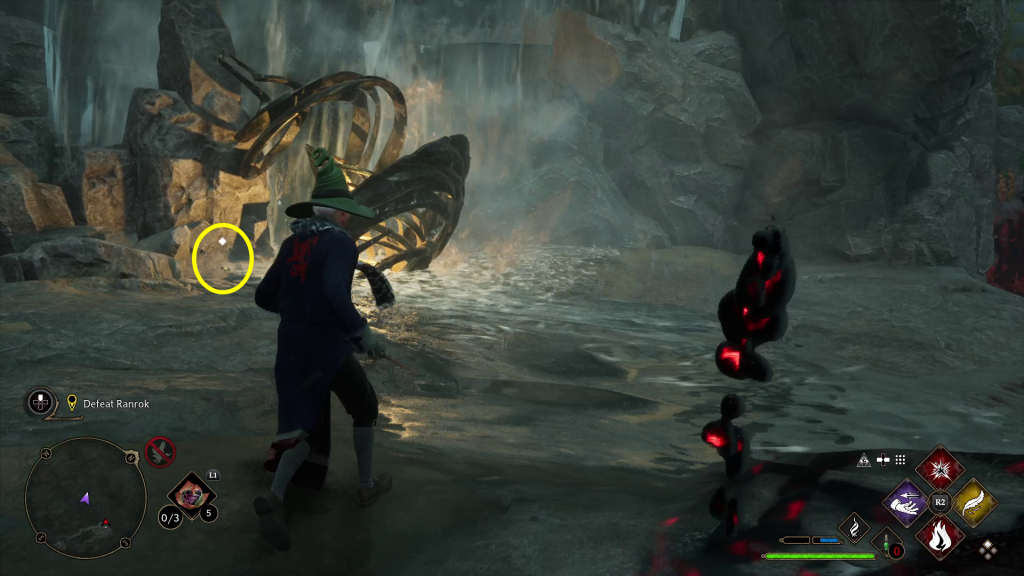
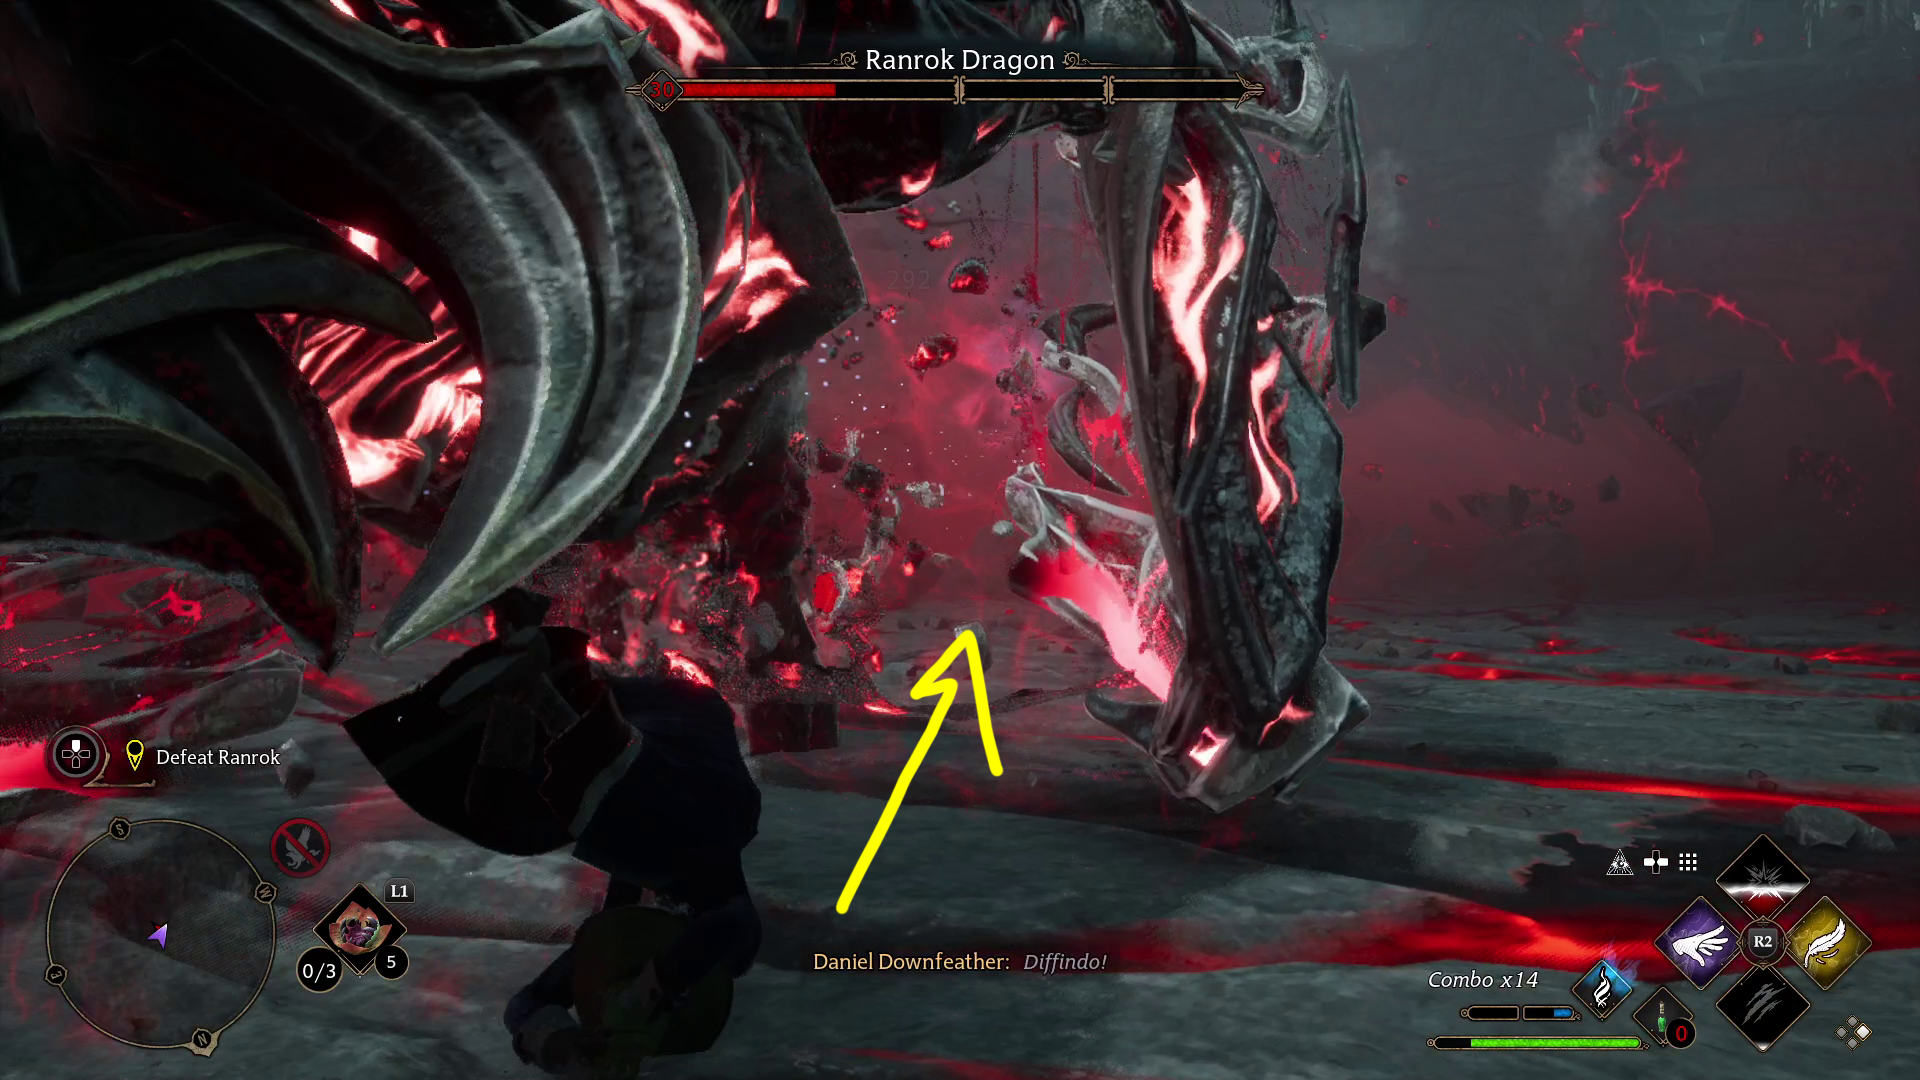
This boss fight has three phases, but some basic mechanics of the fight remain the same throughout. In order to damage Ranrok, you’ll need to destroy colored orbs (1) that match the three basic spells categories (Force, Control, and Damage). Only after destroying the orbs — by hitting them with a spell of the matching color — will Ranrok become vulnerable to your attacks.
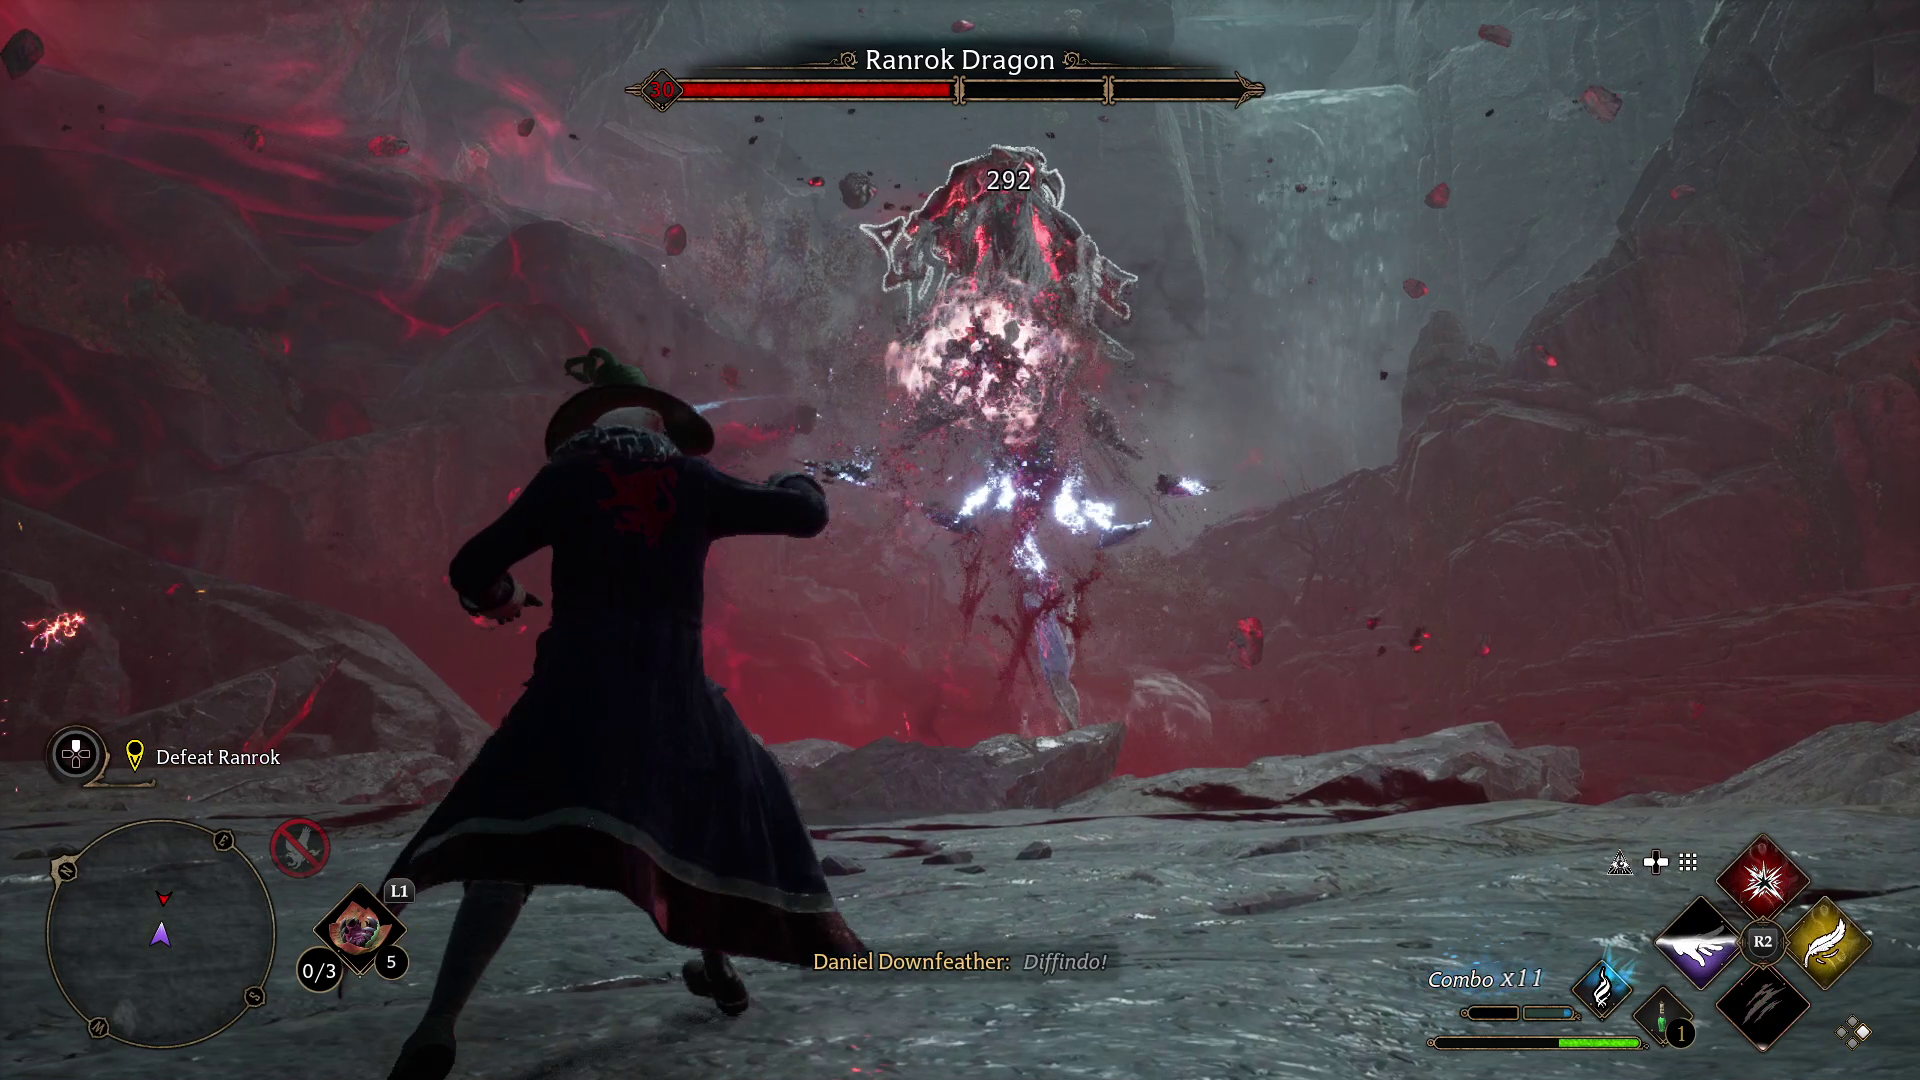
He’ll remain vulnerable for a short period, changing colors from black and red to silver and red (2). The other big giveaway is that while he’s vulnerable, you can see his health bar at the top of your screen.
2
Throughout the fight, make sure you’re picking up any Ancient Magic Essence you can, since Ancient Magic will be one of the best ways to damage Ranrok. You’ll also want to make sure you’re casting high damage spells like Diffindo and Confringo immediately after throwing one of Ranrok’s projectiles back at him (for the bonus damage).
Attacks
Dragon Ranrok’s standard attacks remain consistent throughout the fight, with new attacks being added in each phase (these will be noted in the sections on each phase below).
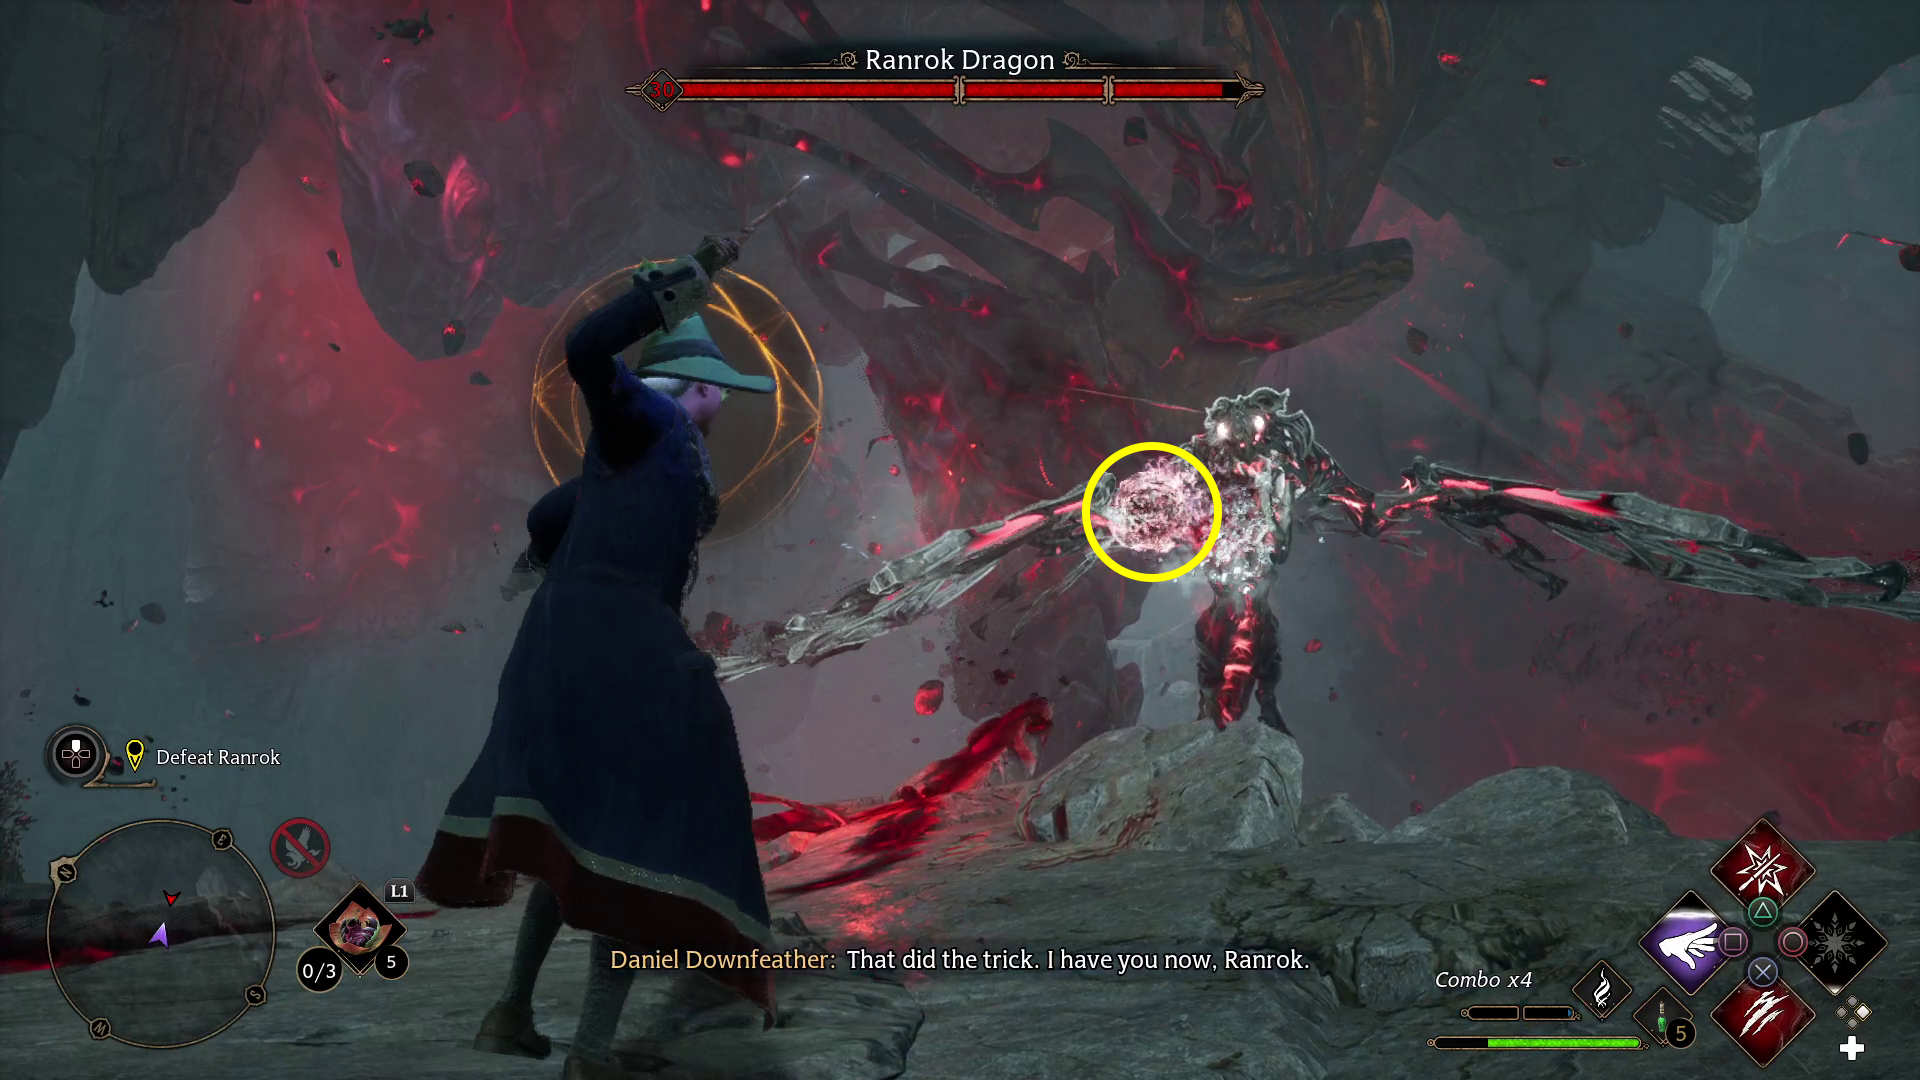
Projectiles
He has two projectile attacks: one that can be blocked with Protego (1), and one that you have to dodge or throw back at him with Ancient Magic Throw (2). You can tell these apart by the warning halo you get, but the halo comes pretty late — it’s better to look at the actual projectile and see if it’s pink/orange (blockable) or red/black (dodgeable/throwable). The latter should also have the button indicator, giving you a clear signal that it’s time to Ancient Magic Throw.
12
Breath
Like the projectile, there are two versions of this attack — one that goes in a straight line, and one that curves in an arc. The former is easy to dodge, but the latter will punish sideways rolls, so your best bet when you see him shooting flames is to roll diagonally towards him or away from him — this should let you dodge both breath attacks. The warning halo sometimes doesn’t show up for these attacks, and there isn’t much of a tell, so it can be very difficult to dodge.
The straight line breath attack creates spikes on the ground, and also kicks up a rock that can sometimes hit you, but this is actually good — you can Ancient Magic Throw the rock for some decent damage.
Phase 1
In the first phase, you’ll only see the Projectile and Breath attacks. When you do enough damage (getting through the first segment of the health bar), he’ll retreat. Chase him north, dodging his projectiles, to where he stops for phase 2 — don’t miss the Wiggenweld Potion near the Ancient Magic sculpture on the left by the water!
Phase 2
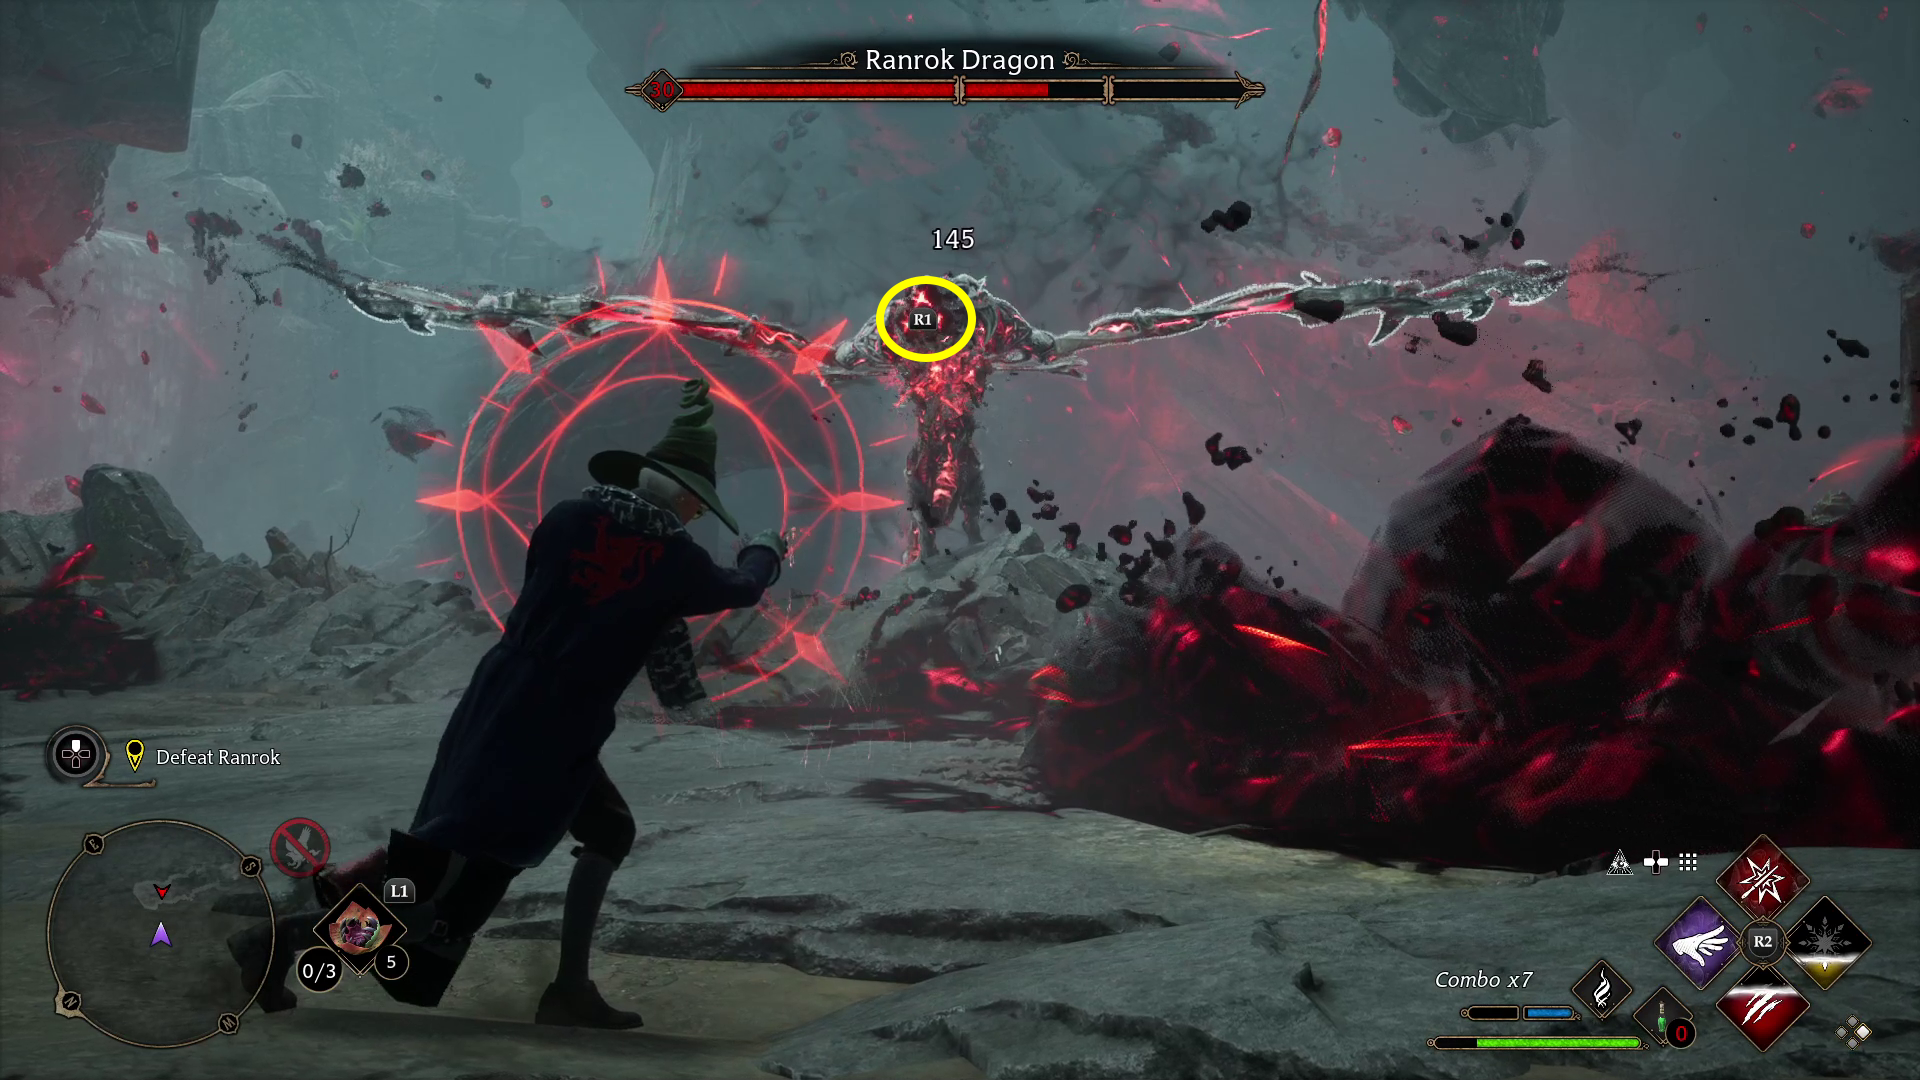
In this phase, he adds an AoE attack that expands rapidly in a sphere around him. You can tell it’s coming when he brings his wings together around himself. When you see this, get as far away as possible; if you can’t get away, roll as the edge of the attack is about to touch you. This phase also adds a second colored orb that you have to destroy before Ranrok becomes vulnerable.
The indicator for the AoE attack
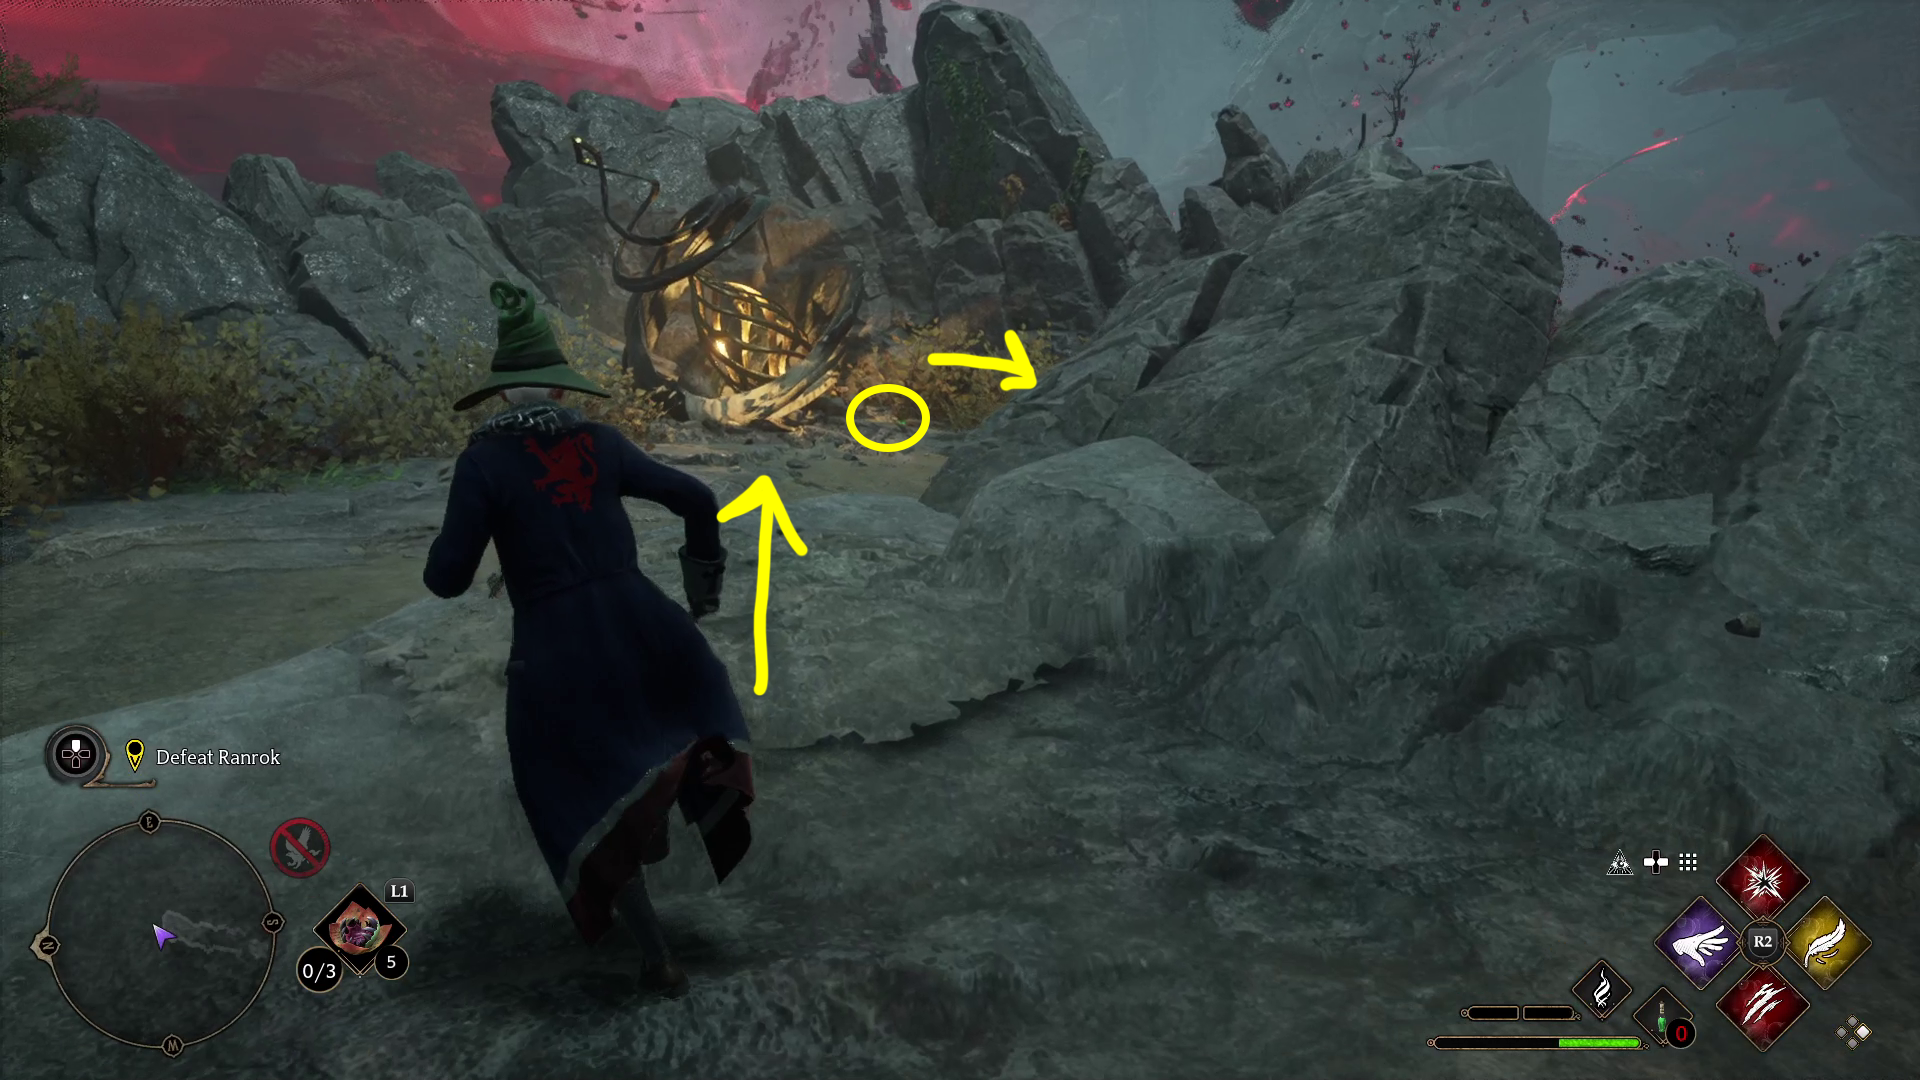
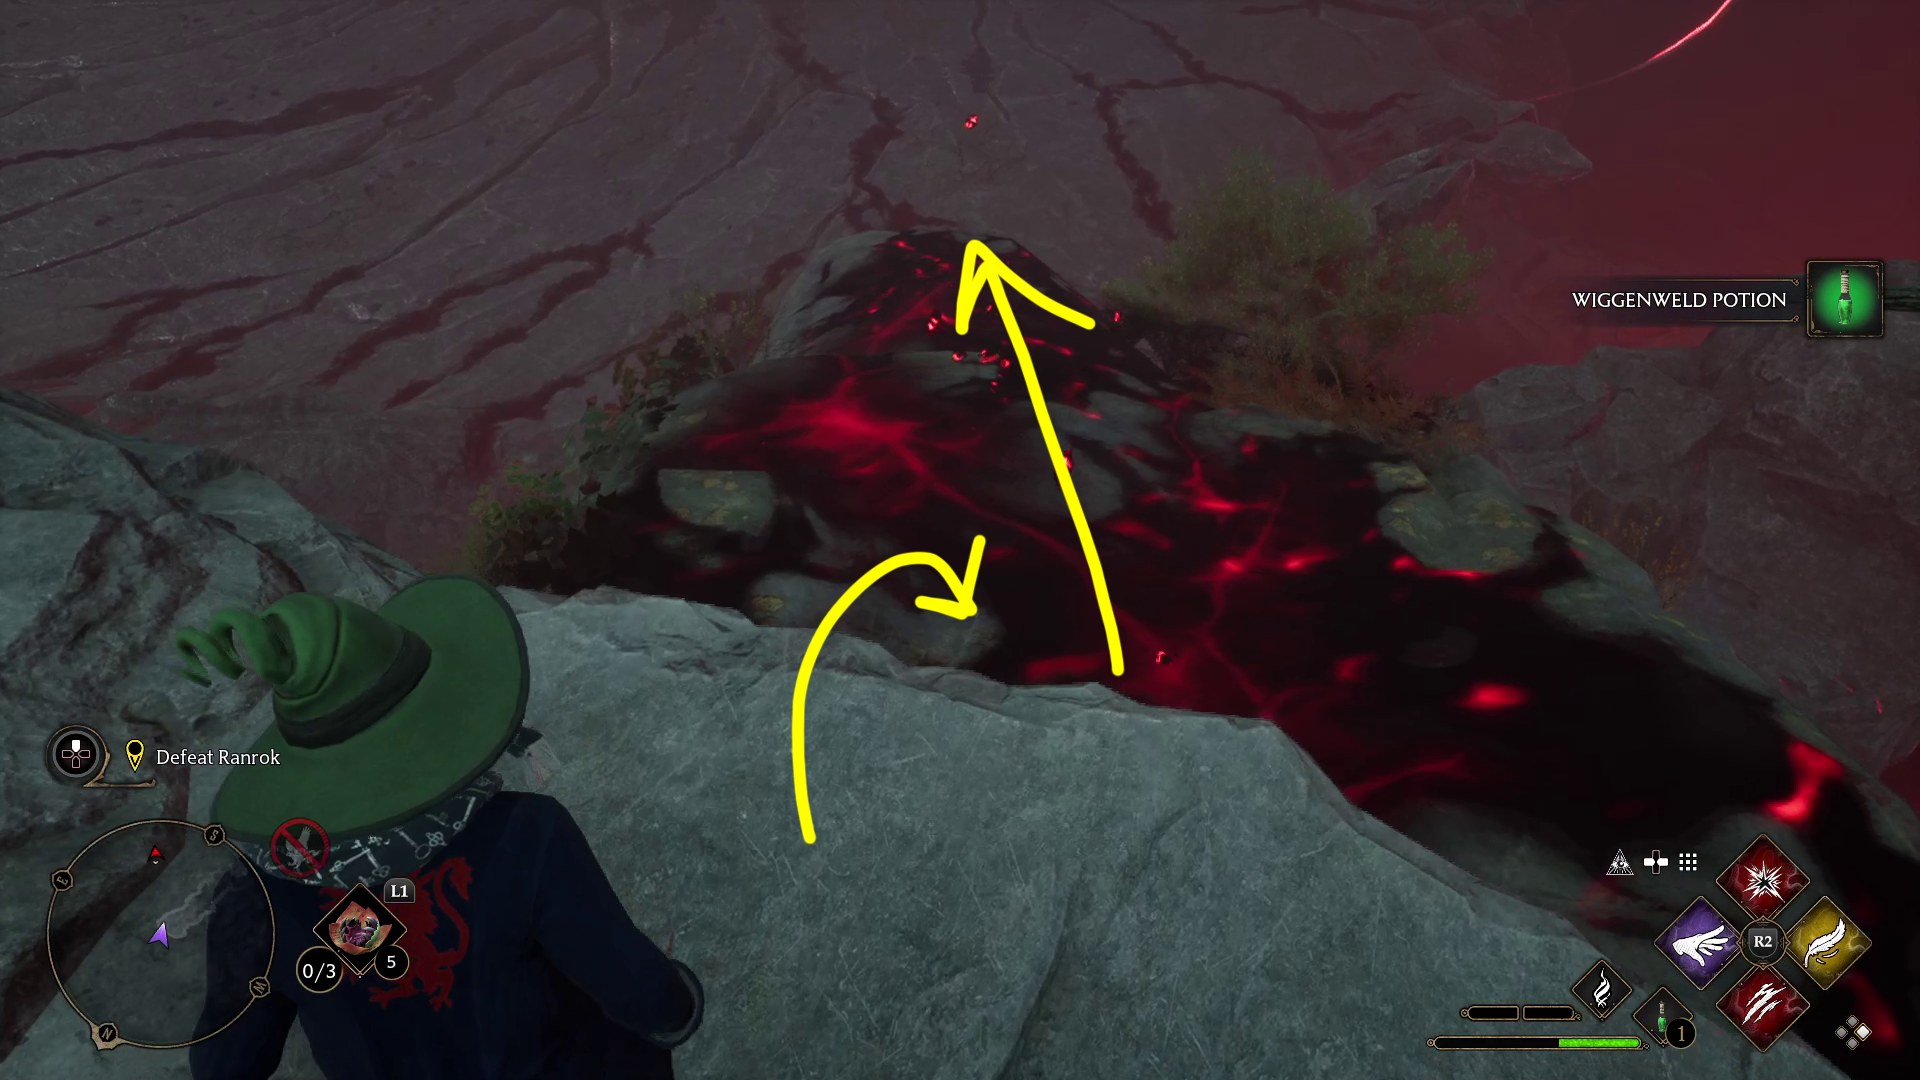
You’ll need to head east and then south (1) to follow Ranrock once you finish Phase 2 and he retreats again. Grab the Wiggenweld Potion (1) and then drop down onto the corrupted rocks and slide into the final arena (2).
12
Phase 3
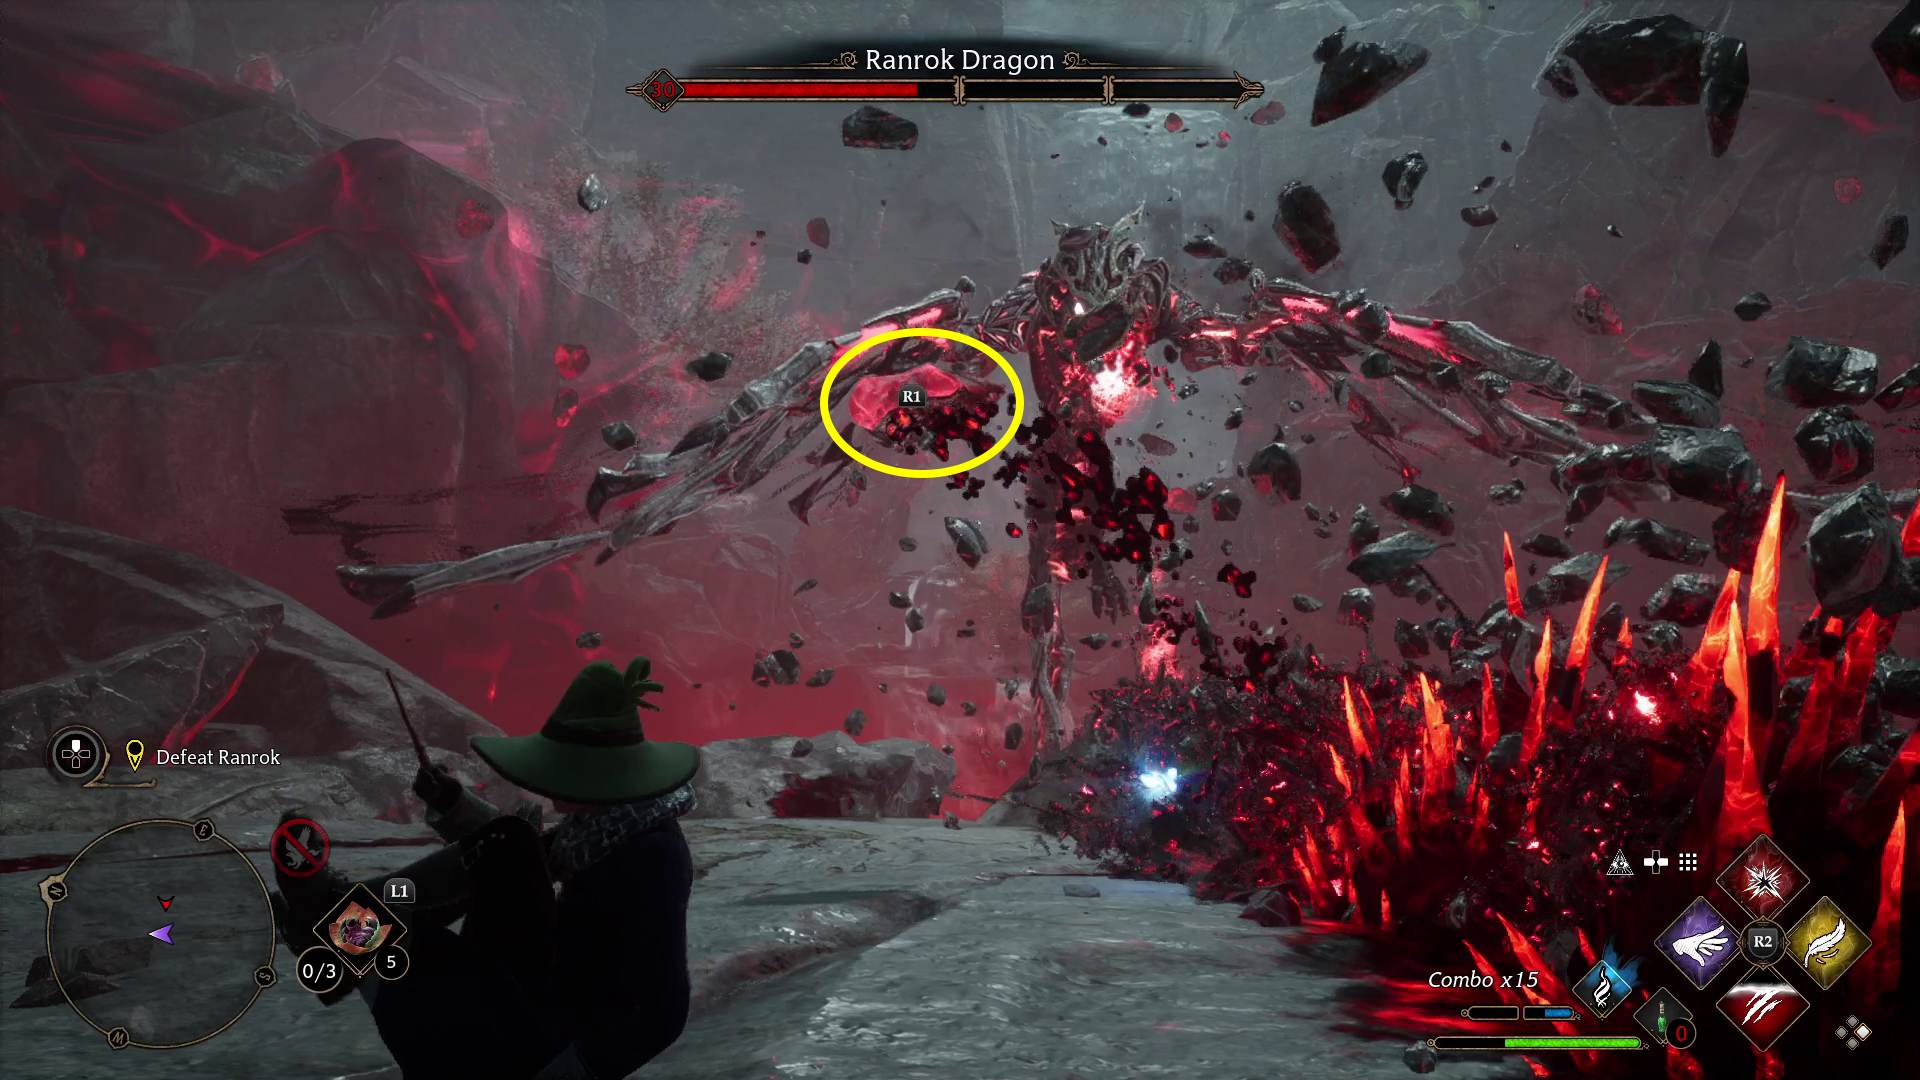
This phase adds some melee attacks — Ranrock will charge at you, and you’ll need to dodge. Try to dodge diagonally forward, so neither his front bits nor his wings/hands hit you. He’ll often do a tail sweep attack after charging, so once you do your initial dodge, move further away from him and dodge again to get out of range.
How to dodge the initial charge attack
Following the pattern, this phase also adds a third orb you have to destroy before Ranrock becomes vulnerable. It can be hard to get all three before the third one disappears and then reappears, but note that if you’re running in a circle around Ranrock, his projectiles will miss you, so you can just sprint around him while getting line of sight on the orbs.
Once you’ve defeated Ranrok, a long series of cutscenes will play, including one where you speak to Sebastian or Ominis, depending on dialog choices you made earlier — this will start and end the quest In the Shadow of Revelation. Despite having defeated the big bad, we’re not done quite yet — it wouldn’t be a Wizarding World story without an epilogue! Next up in the main story is the quest Weasley’s Watchful Eye.
Unabashed FromSoftware fanboy still learning to take his time with games (and everything else, really). The time he doesn't spend on games is spent on music, books, or occasionally going outside.


