Solved By the Bell is an optional quest in Hogwarts Legacy. While exploring, you notice some ruins that may have some treasure inside. Will you look into it further?
If you want to save some time, you can pick up The Hippogriff Marks the Spot, and Rescuing Rococo before going through this quest. They all mainly take place in the same area, and even share some steps to progress.
Locate Henrietta’s Hideaway
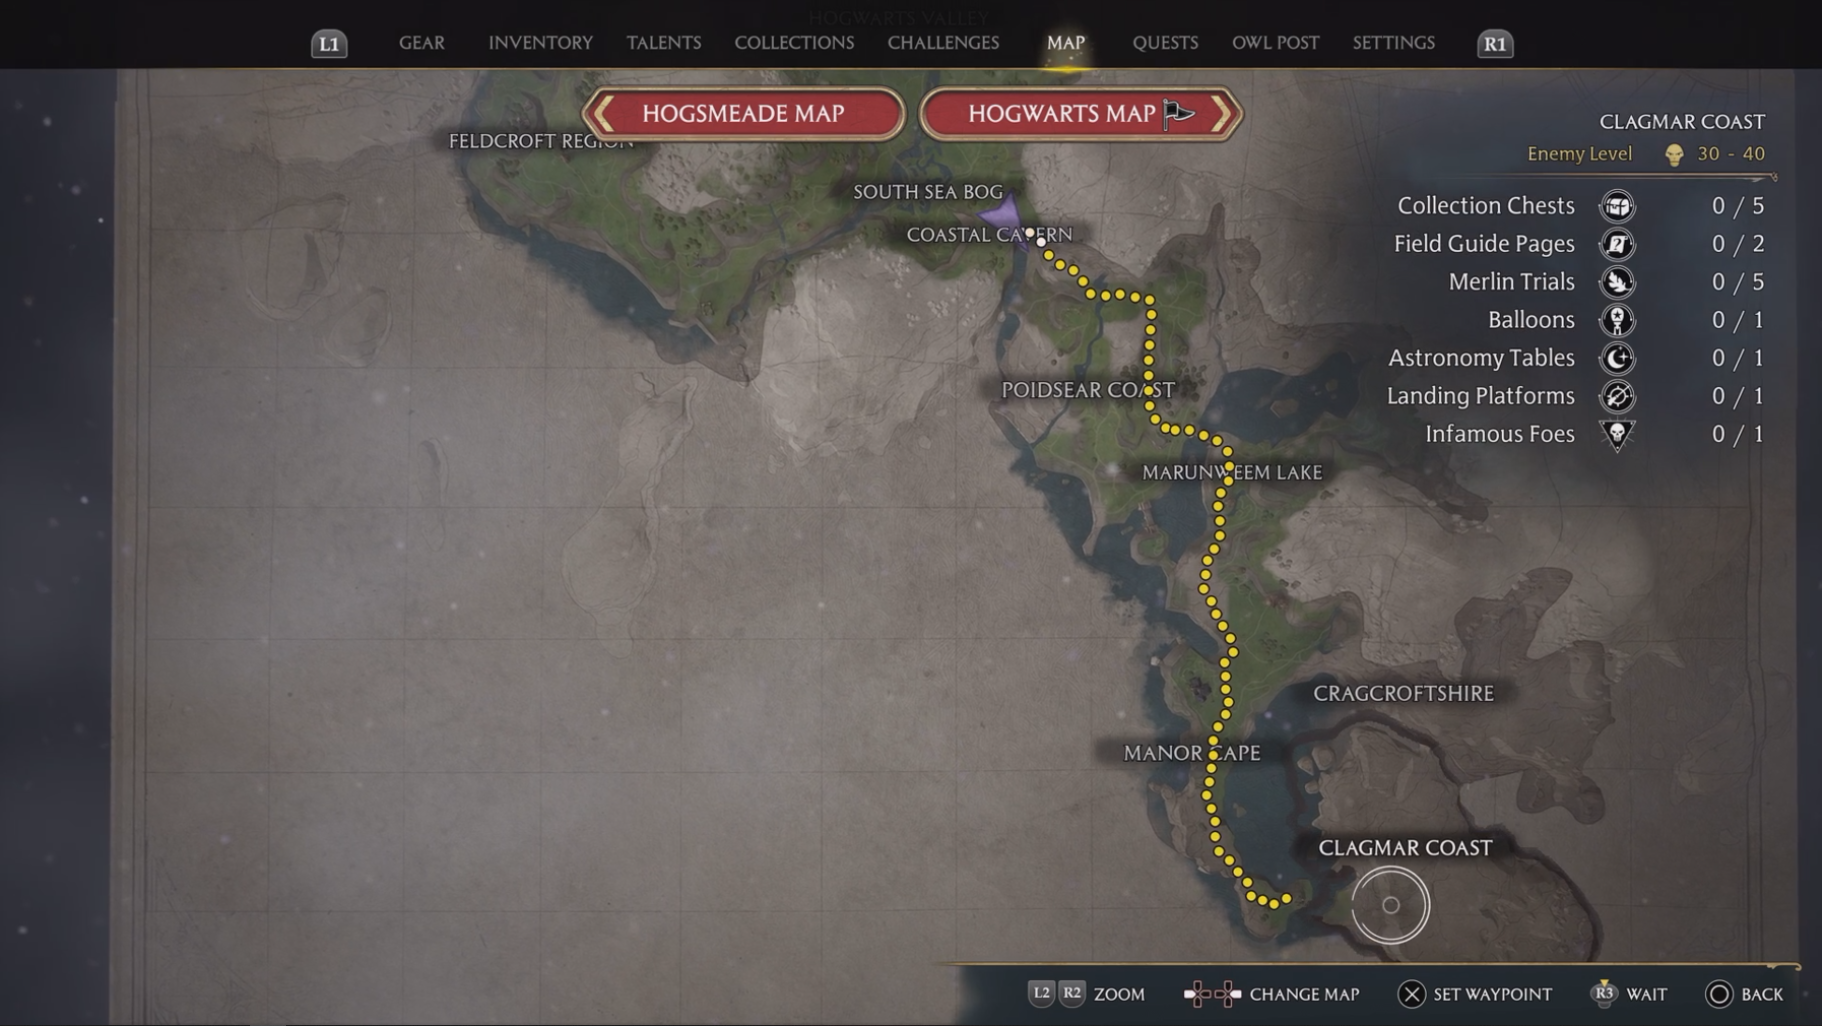
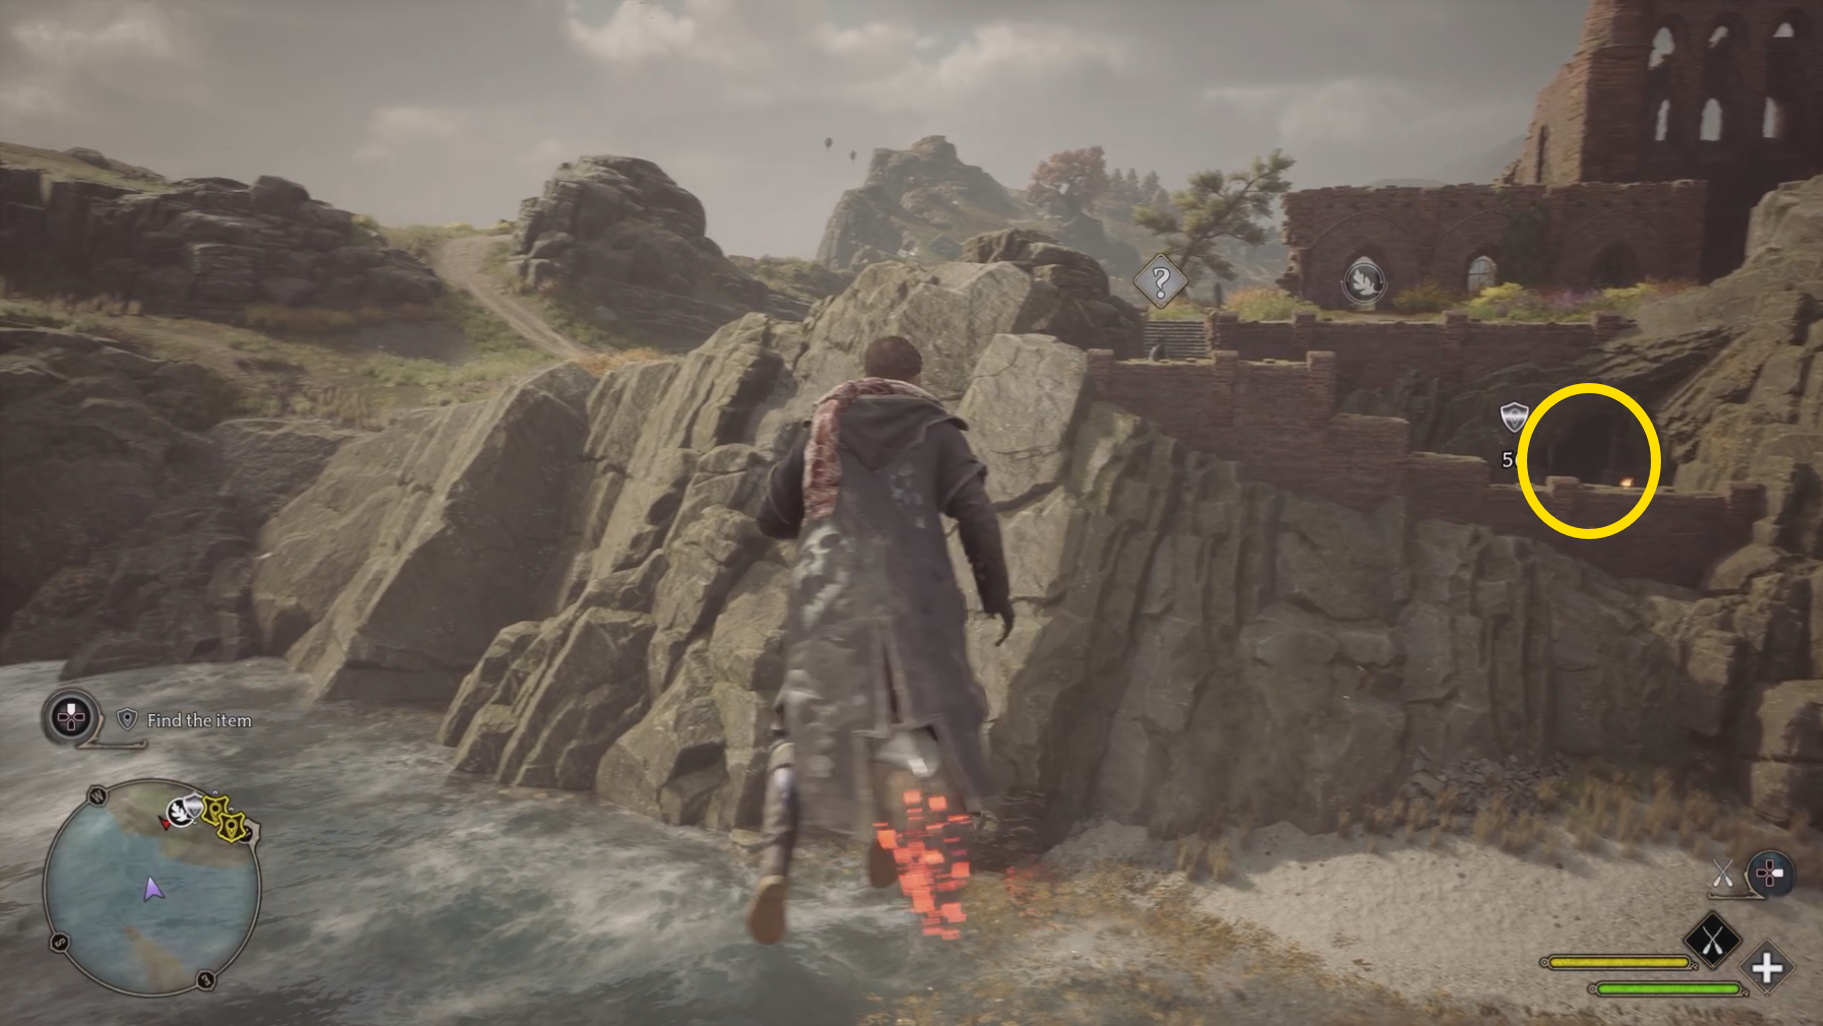
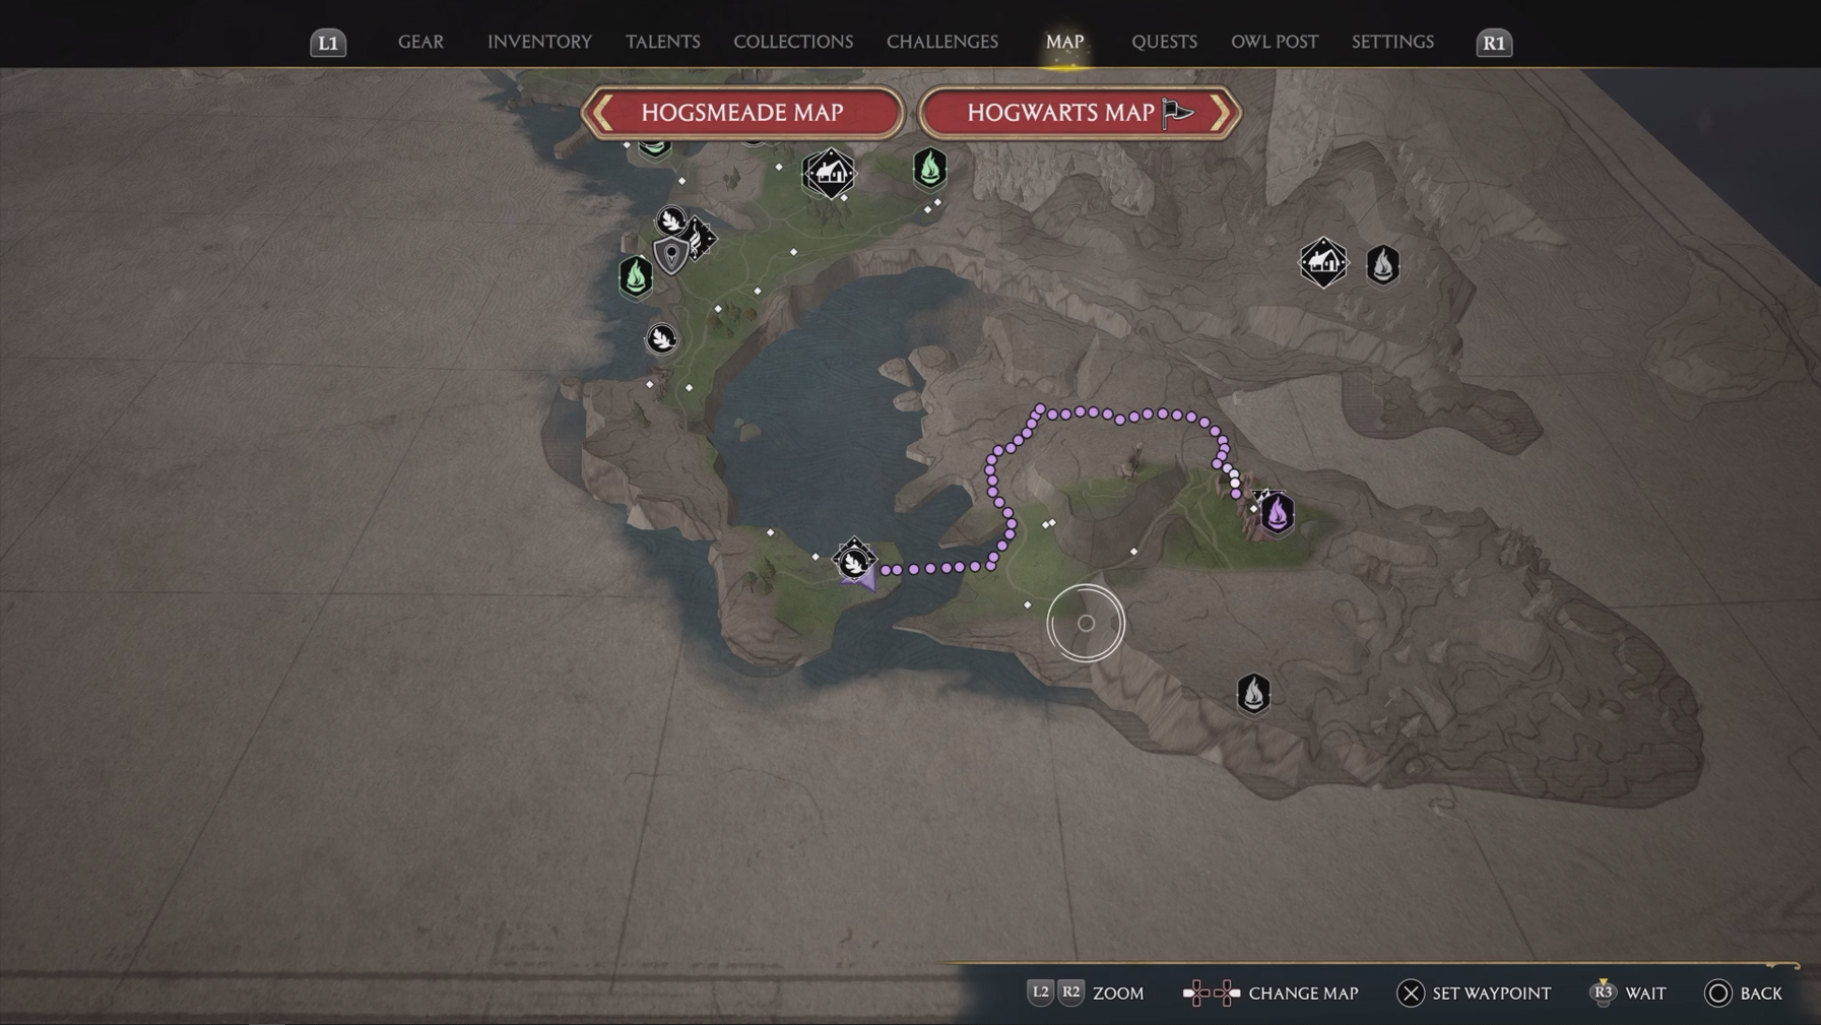
The quest Solved By the Bell will automatically start the first time you reach Henrietta’s Hideaway, which is in Poidsear Coast. If you have never been to Poidsear Coast before (the southeast corner of the World Map), it can be tricky even reaching the area. Luckily, we have a How to Get to Poidsear Coast guide to help you get there! From the North Poidsear Coast Floo Flame (where you will be after reaching Poidsear Coast for the first time), get on your broom and fly far southwest — almost to the southern end of the map.
Eventually, you will reach a small beach area with a ruined building atop a hill. The entrance to the hideaway will be on the southeastern side of the hill. Land in front of the entrance to avoid any enemies, then enter Henrietta’s Hideaway.
When you enter the hideaway, you will see two platforms in front of you, with the one on the right having a block on top.
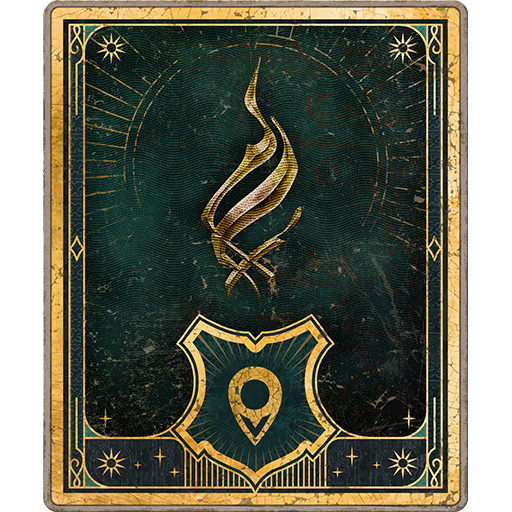
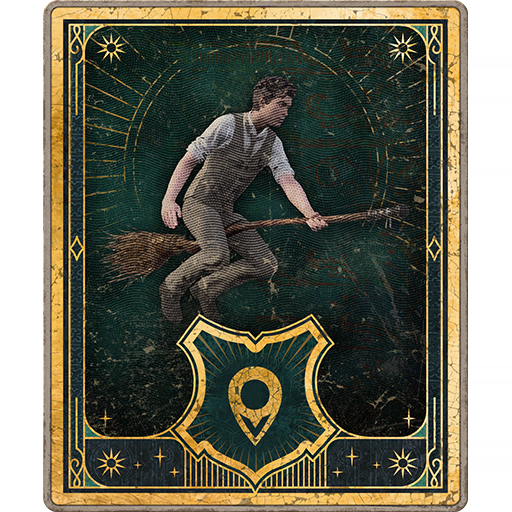
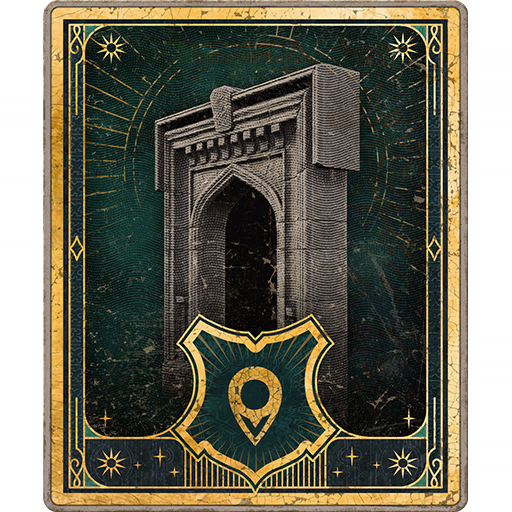
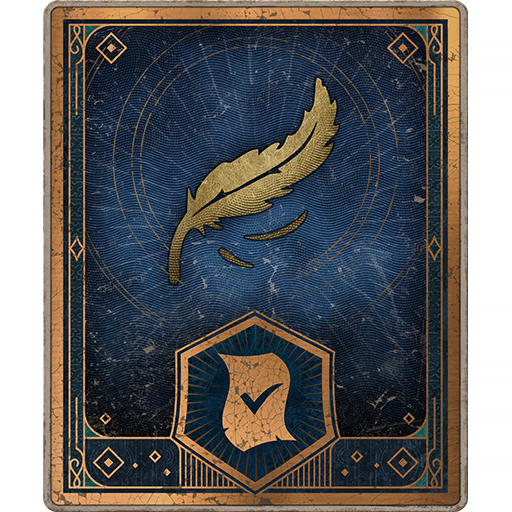
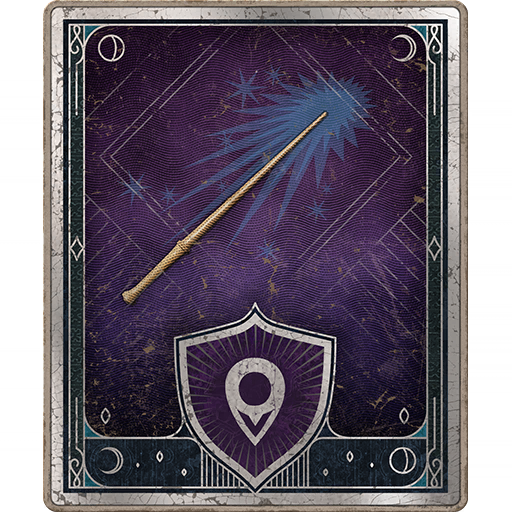
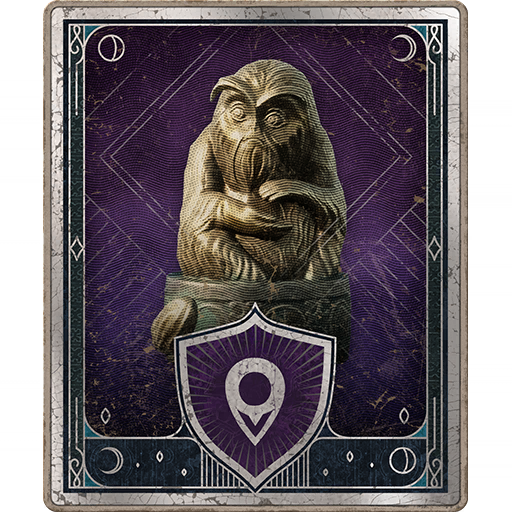
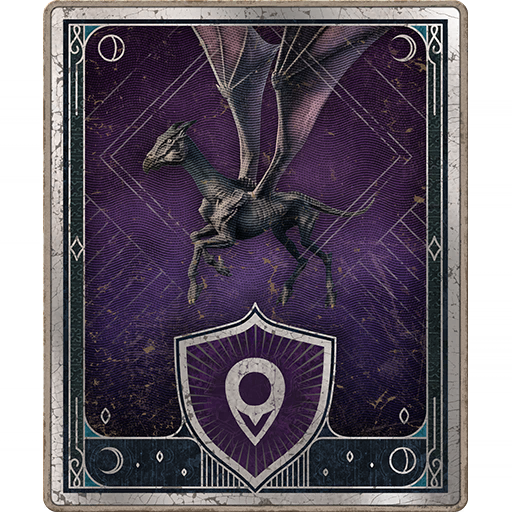
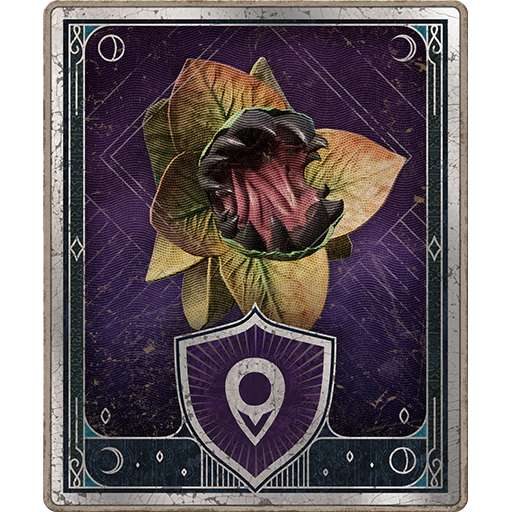
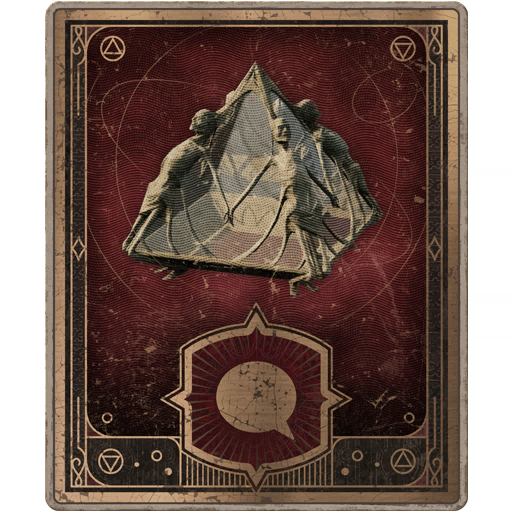
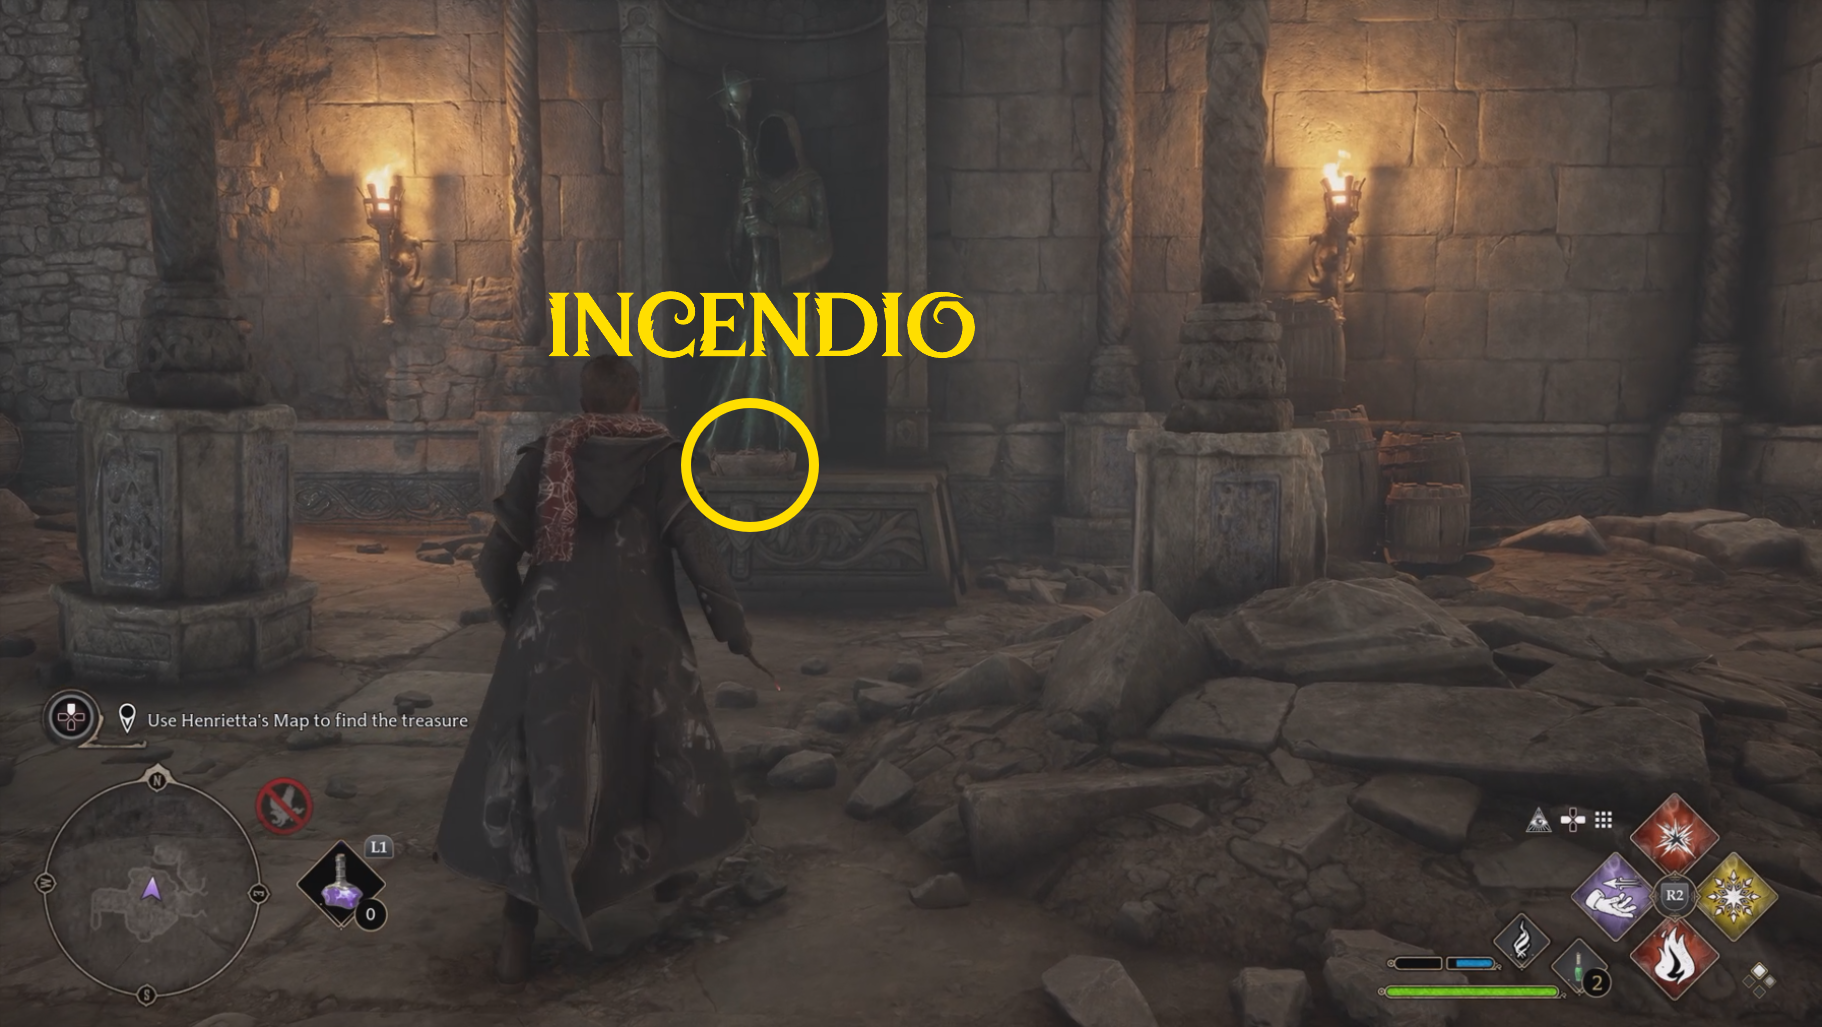
Turn left to see a statue with a torch, and cast Incendio to light it (image 1) — this will reveal a block.
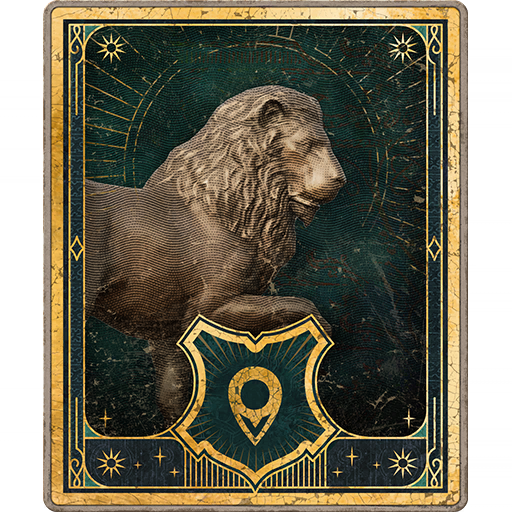
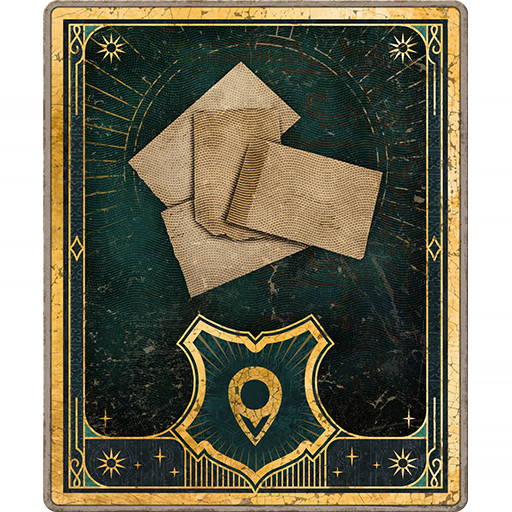
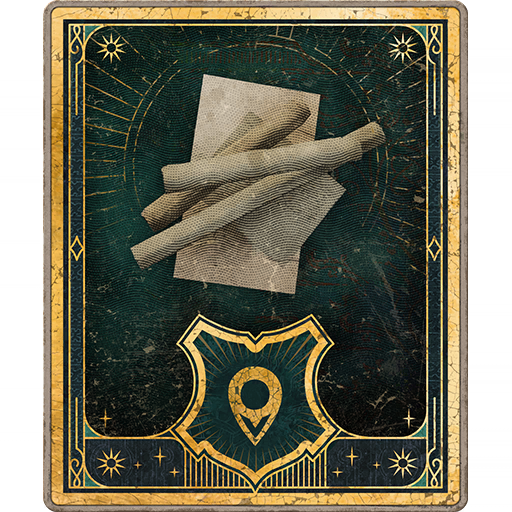
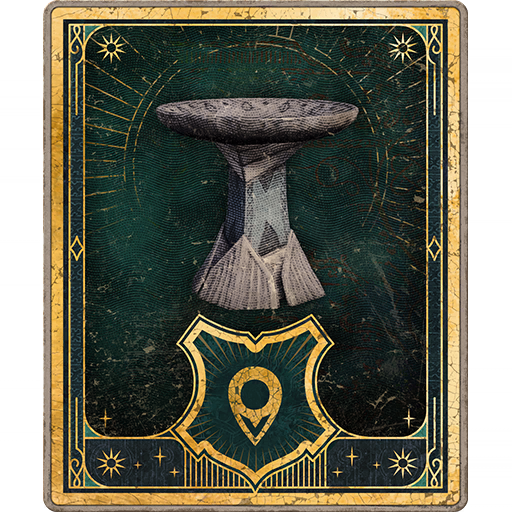
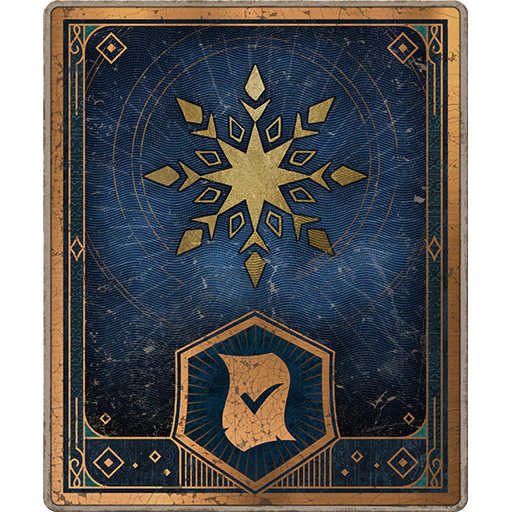
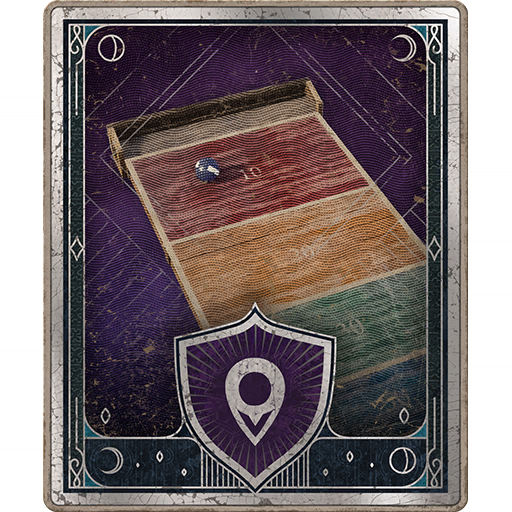
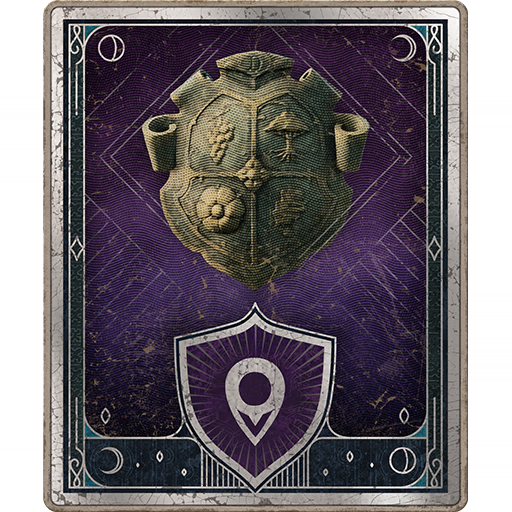
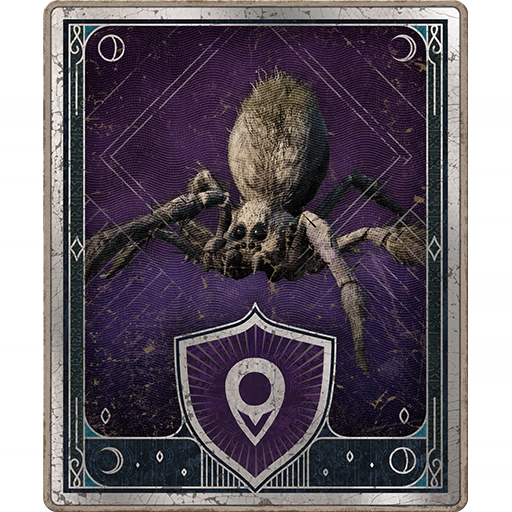
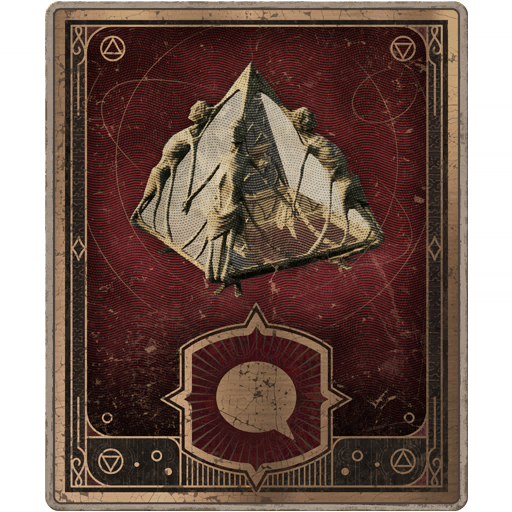
Grab the block with Wingardium Leviosa and take it over to the platform that didn’t have a block (image 2).
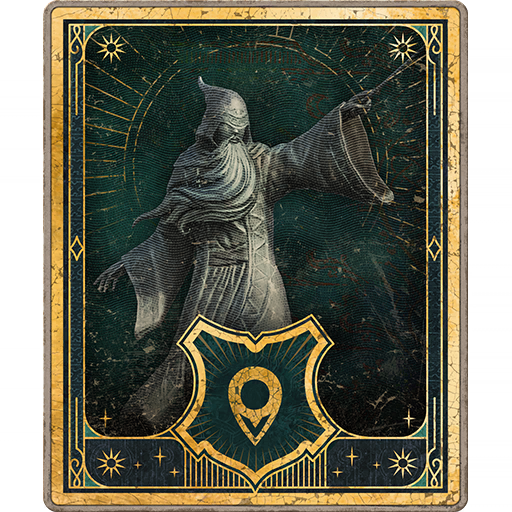
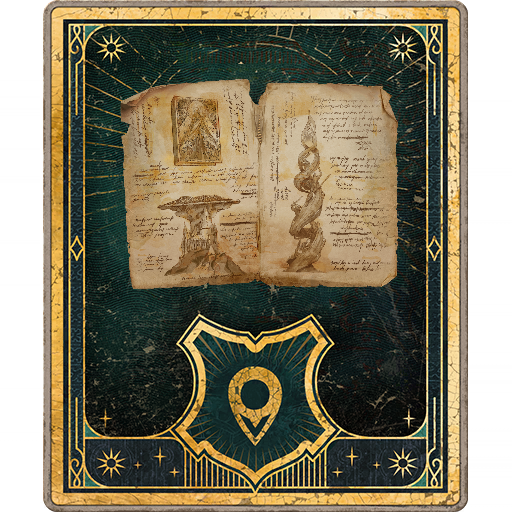
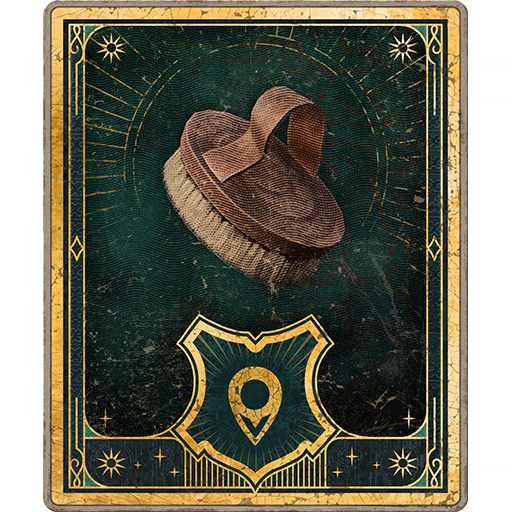
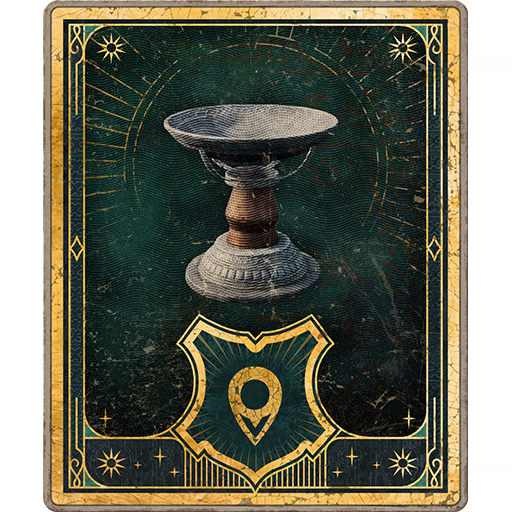
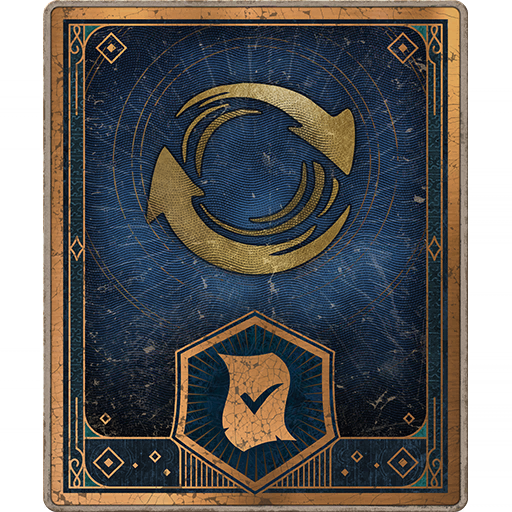
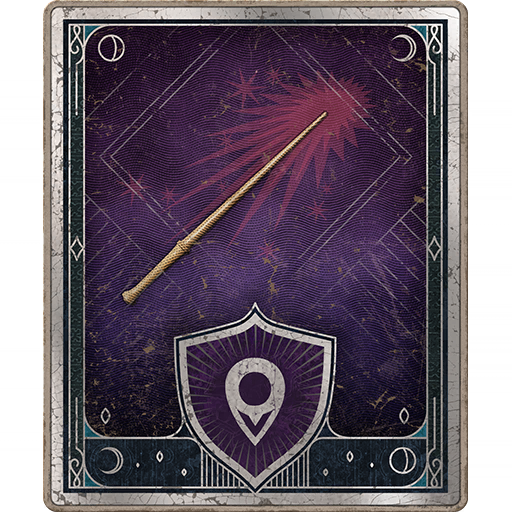
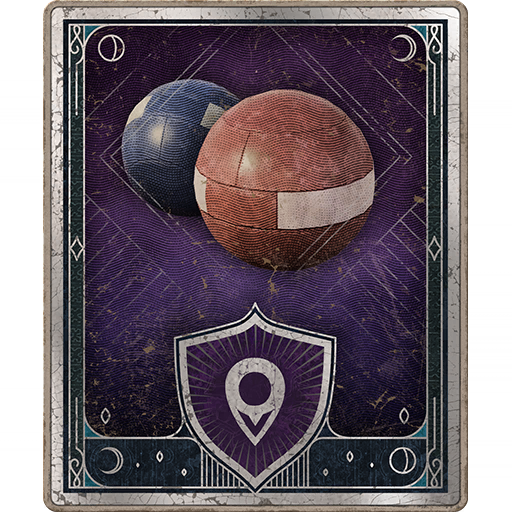
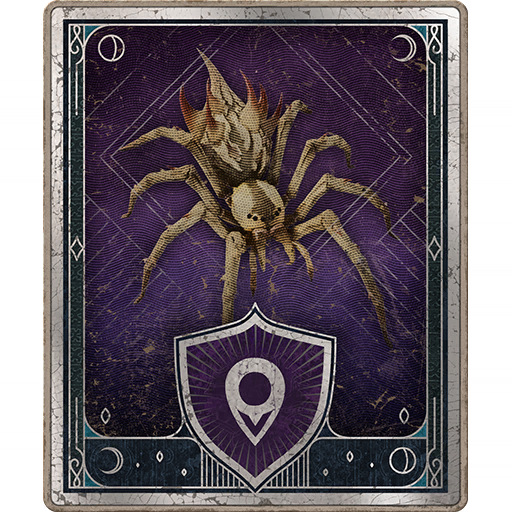
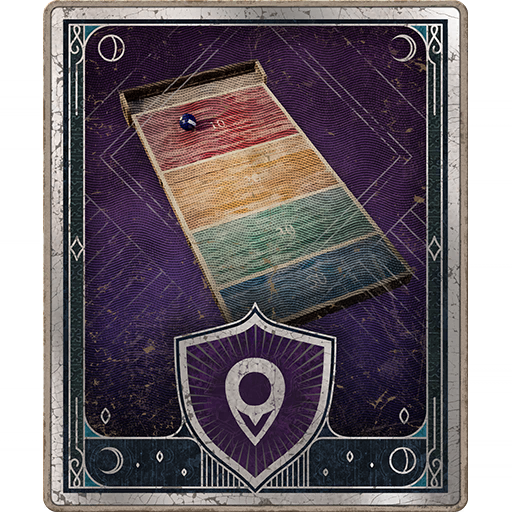
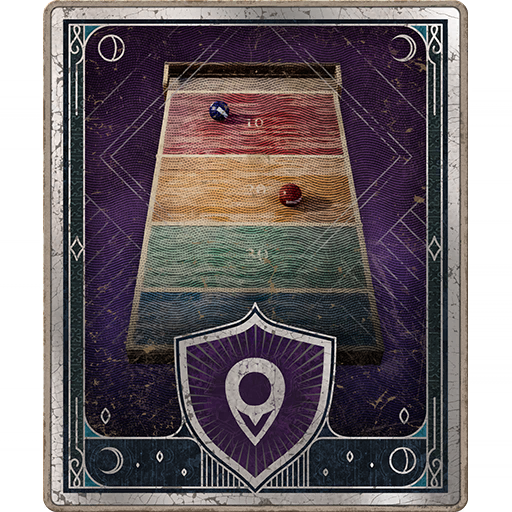
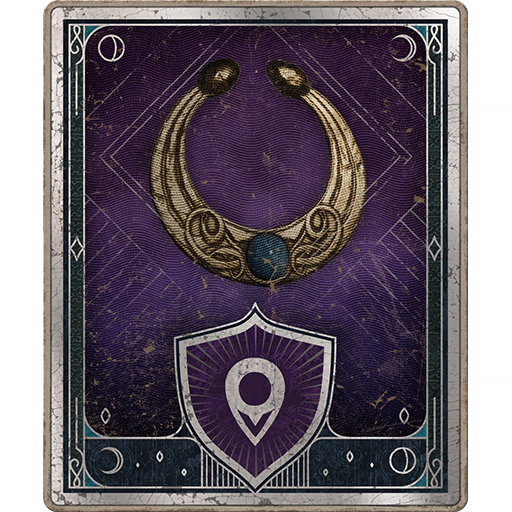
One block/platform will have a fire symbol on it, while the other pair will have an ice symbol. Cast Incendio on the pair with the fire symbol, and Glacius on the other (image 3), and a doorway will open to the next area.
123
Clearing the Second Room
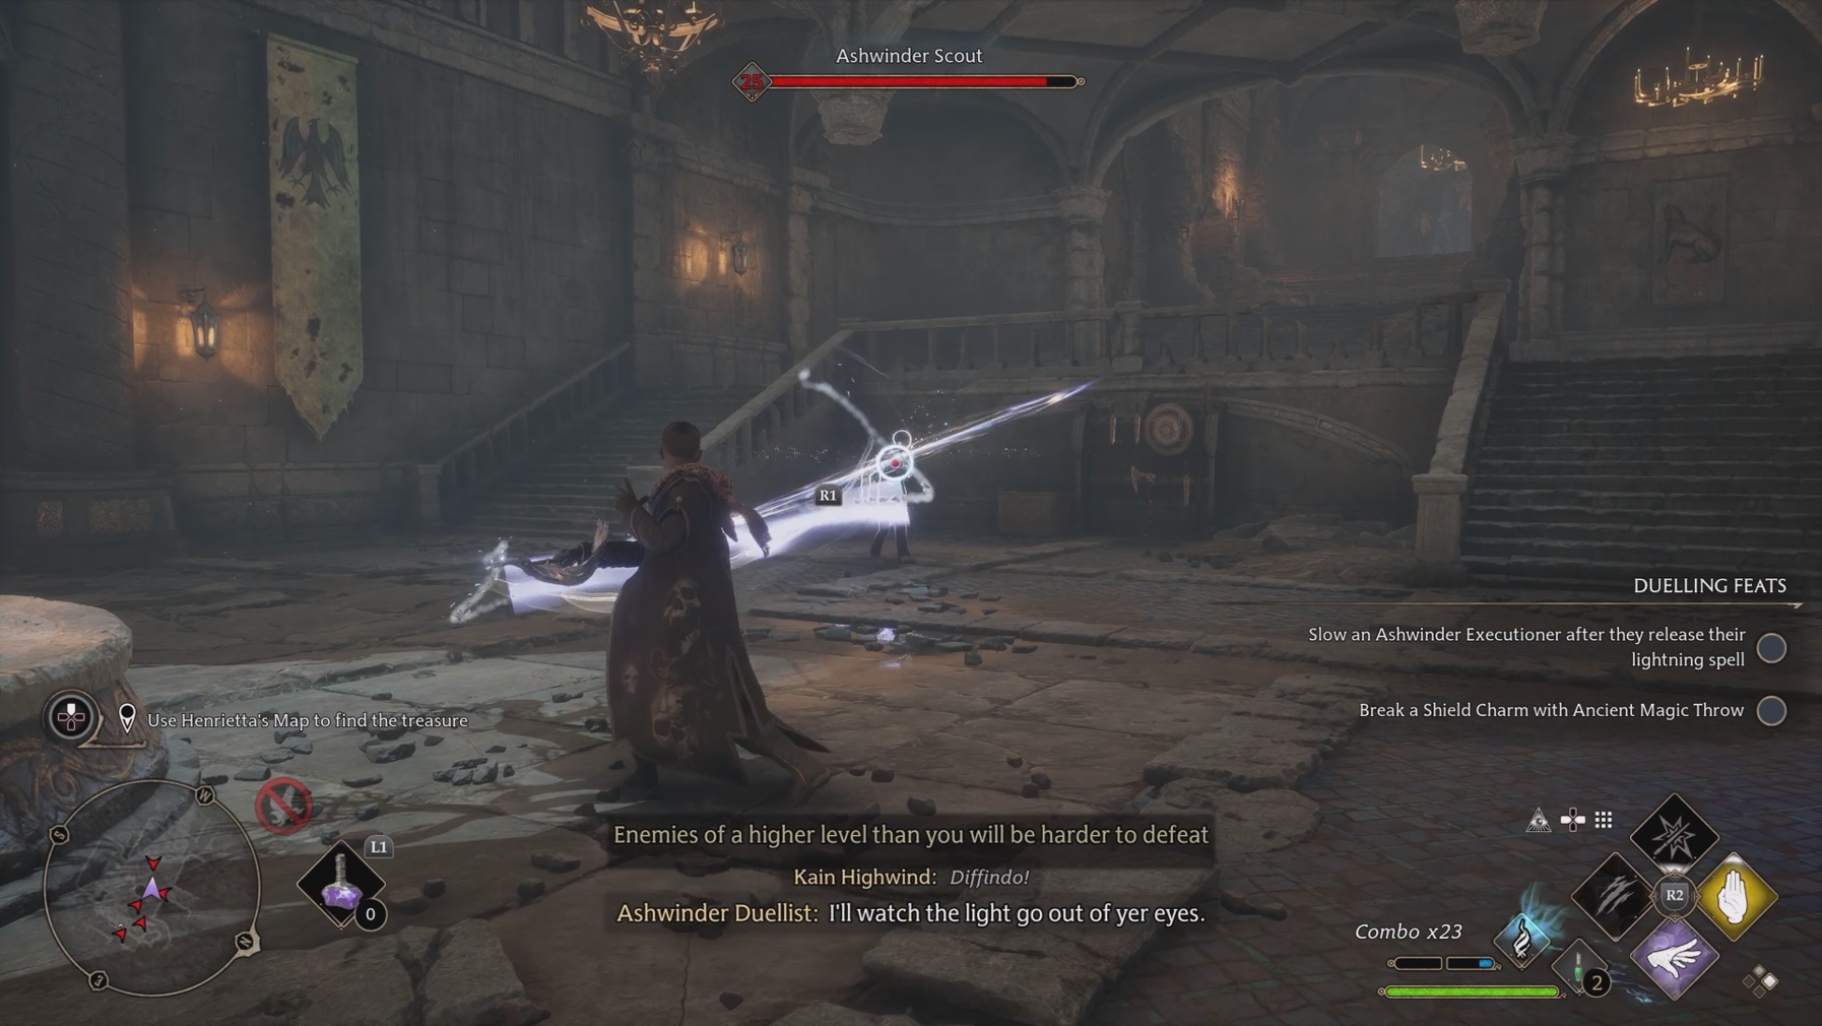
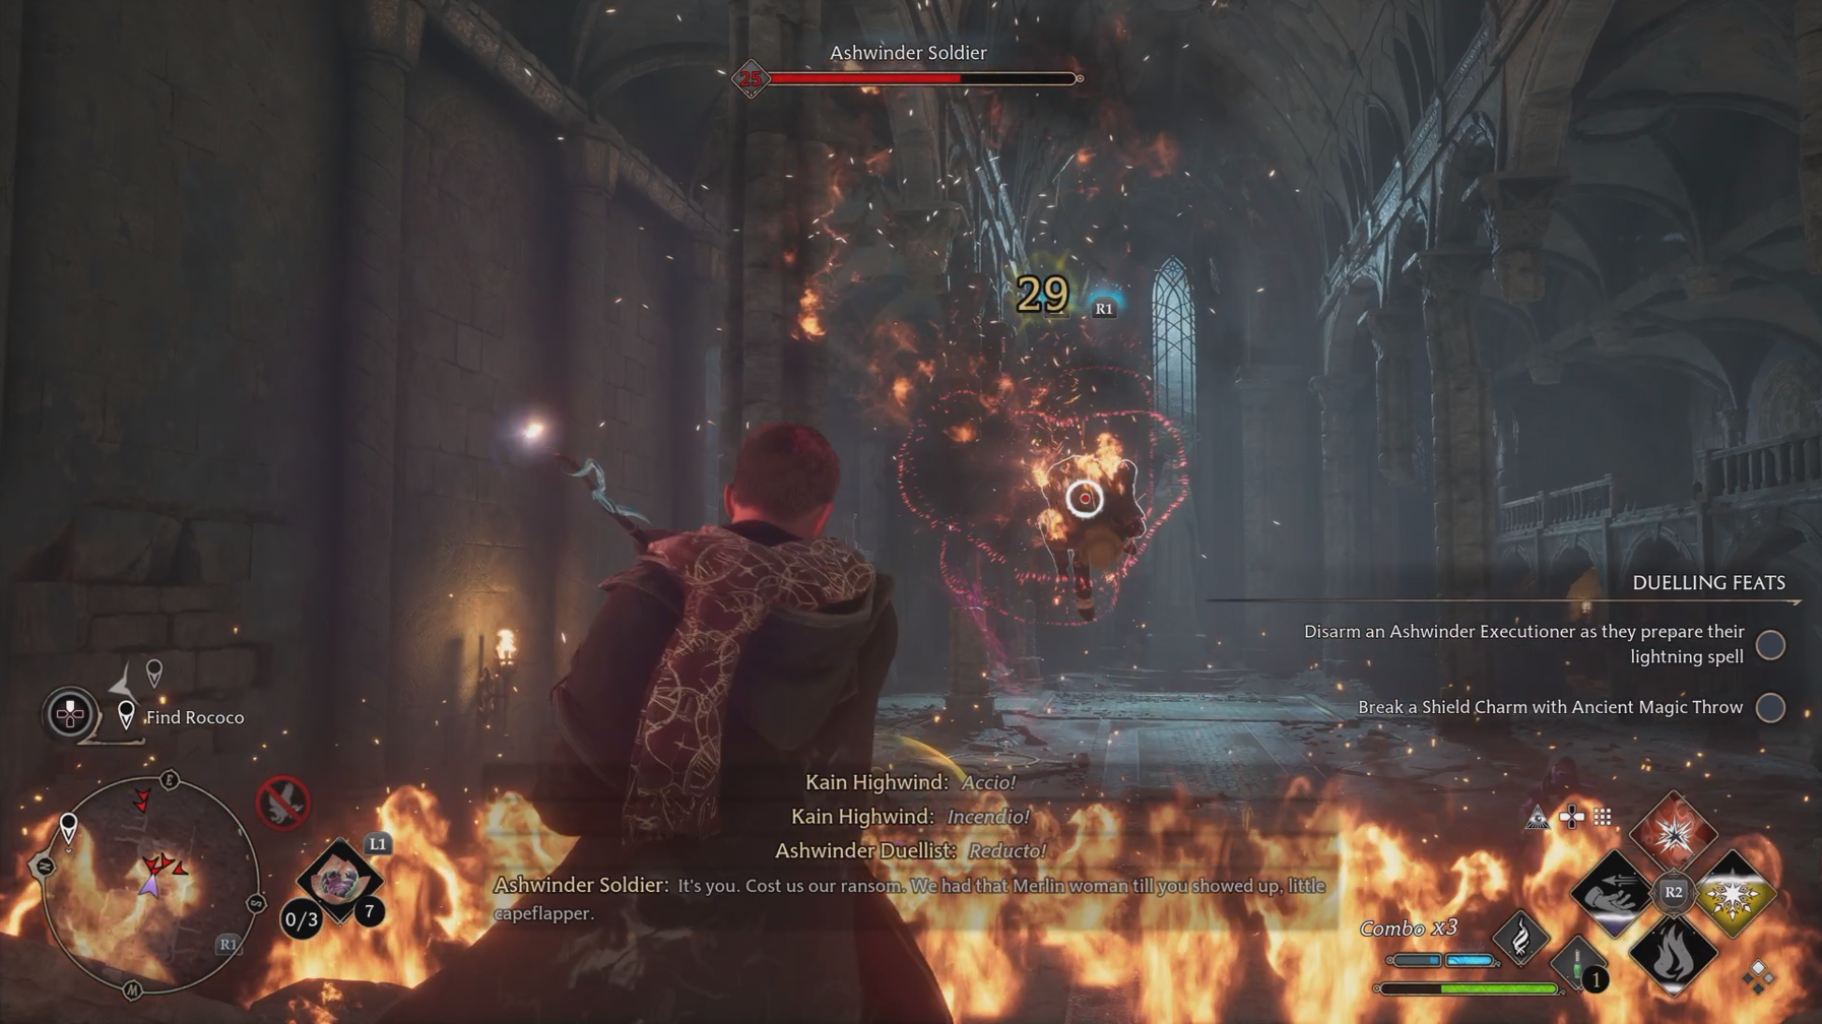
While you won’t have to solve a puzzle in this room, the room will be filled with Ashwinders that you will have to deal with (unless you had completed The Hippogriff Marks the Spot and/or Rescuing Rococo beforehand, then you will only see a couple of stragglers). Most of them are level 19, with some level-25s as well, and can be deadly due to their large numbers.
Keep in mind that the Executioners are immune to spells that move them around, like Accio. Try to quickly take out the Ranger in the back of the room. Take advantage of your Ancient Magic when you can, and use your most powerful spells to bring down their numbers quickly.
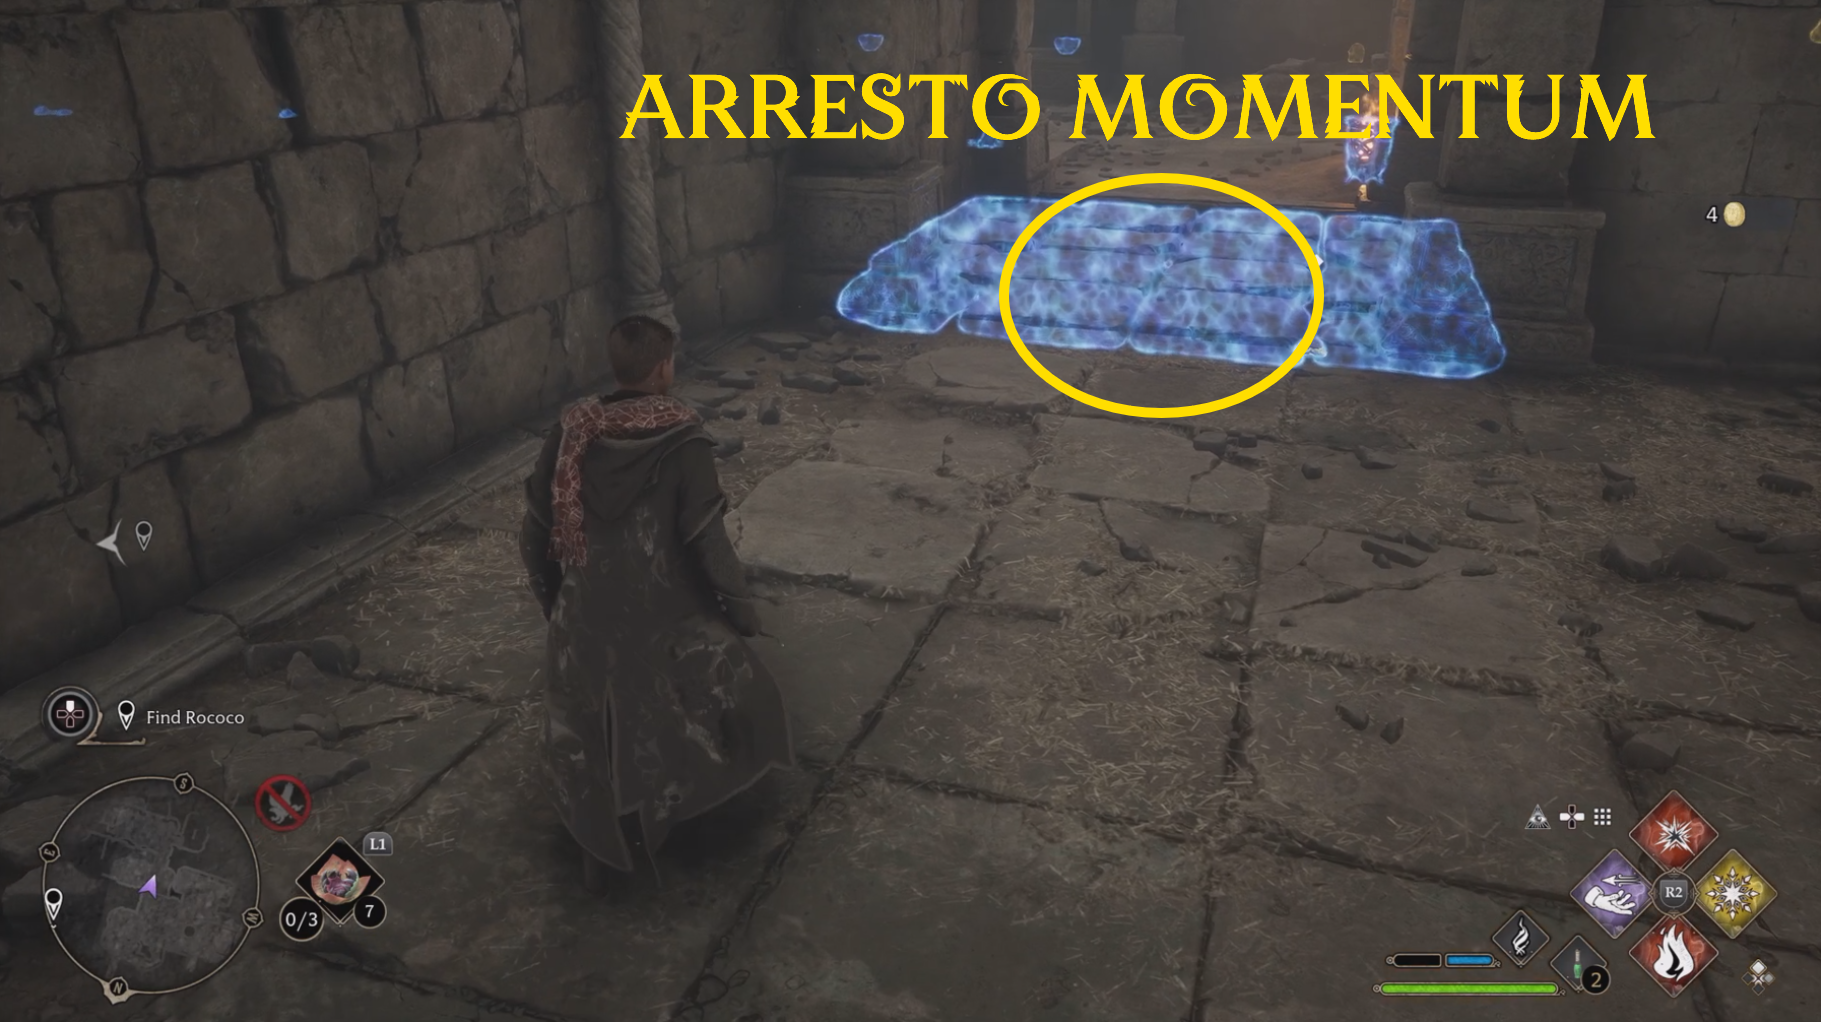
Once they are taken care of, head to the northeast corner of the room and up a flight of stairs. Then, follow the path. Eventually there will be a trap floor that will throw you back if you try to cross it — Revelio will highlight the trap. In order to cross it, cast Arresto Momentum on the trapped floor (you will need to aim at it with /), and then you can safely cross over to the next room.
Find the Item
Before you can search for the item, you will need to clear the room of Ashwinders (unless you completed Rescuing Rococo beforehand, then the room will be clear). This will essentially be the same fight as the previous room, so use the same strategy here to clear out the enemies.
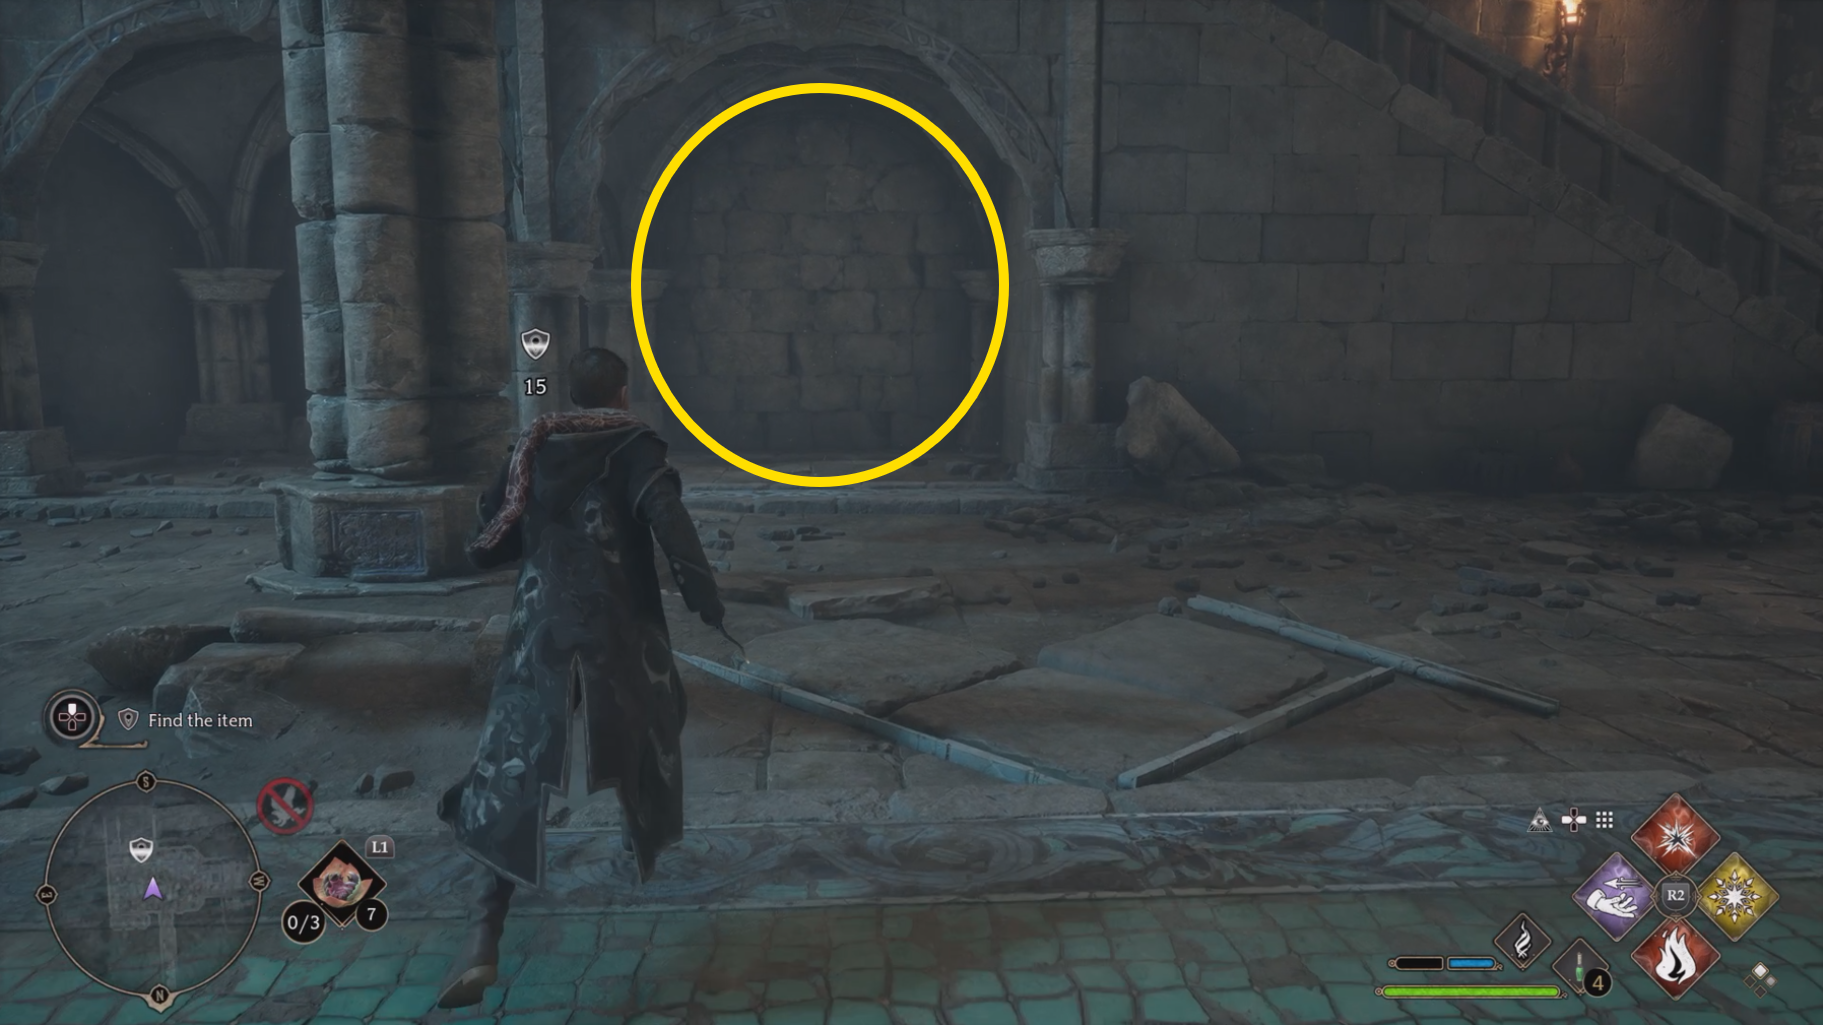
Once the room is clear, look on the south wall behind the stairs, and you will see a section of the wall that looks unstable. Simply walk up to it, and it will open up to reveal a new room.
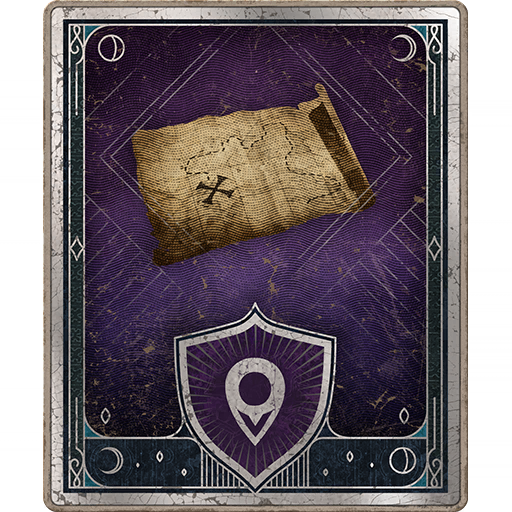
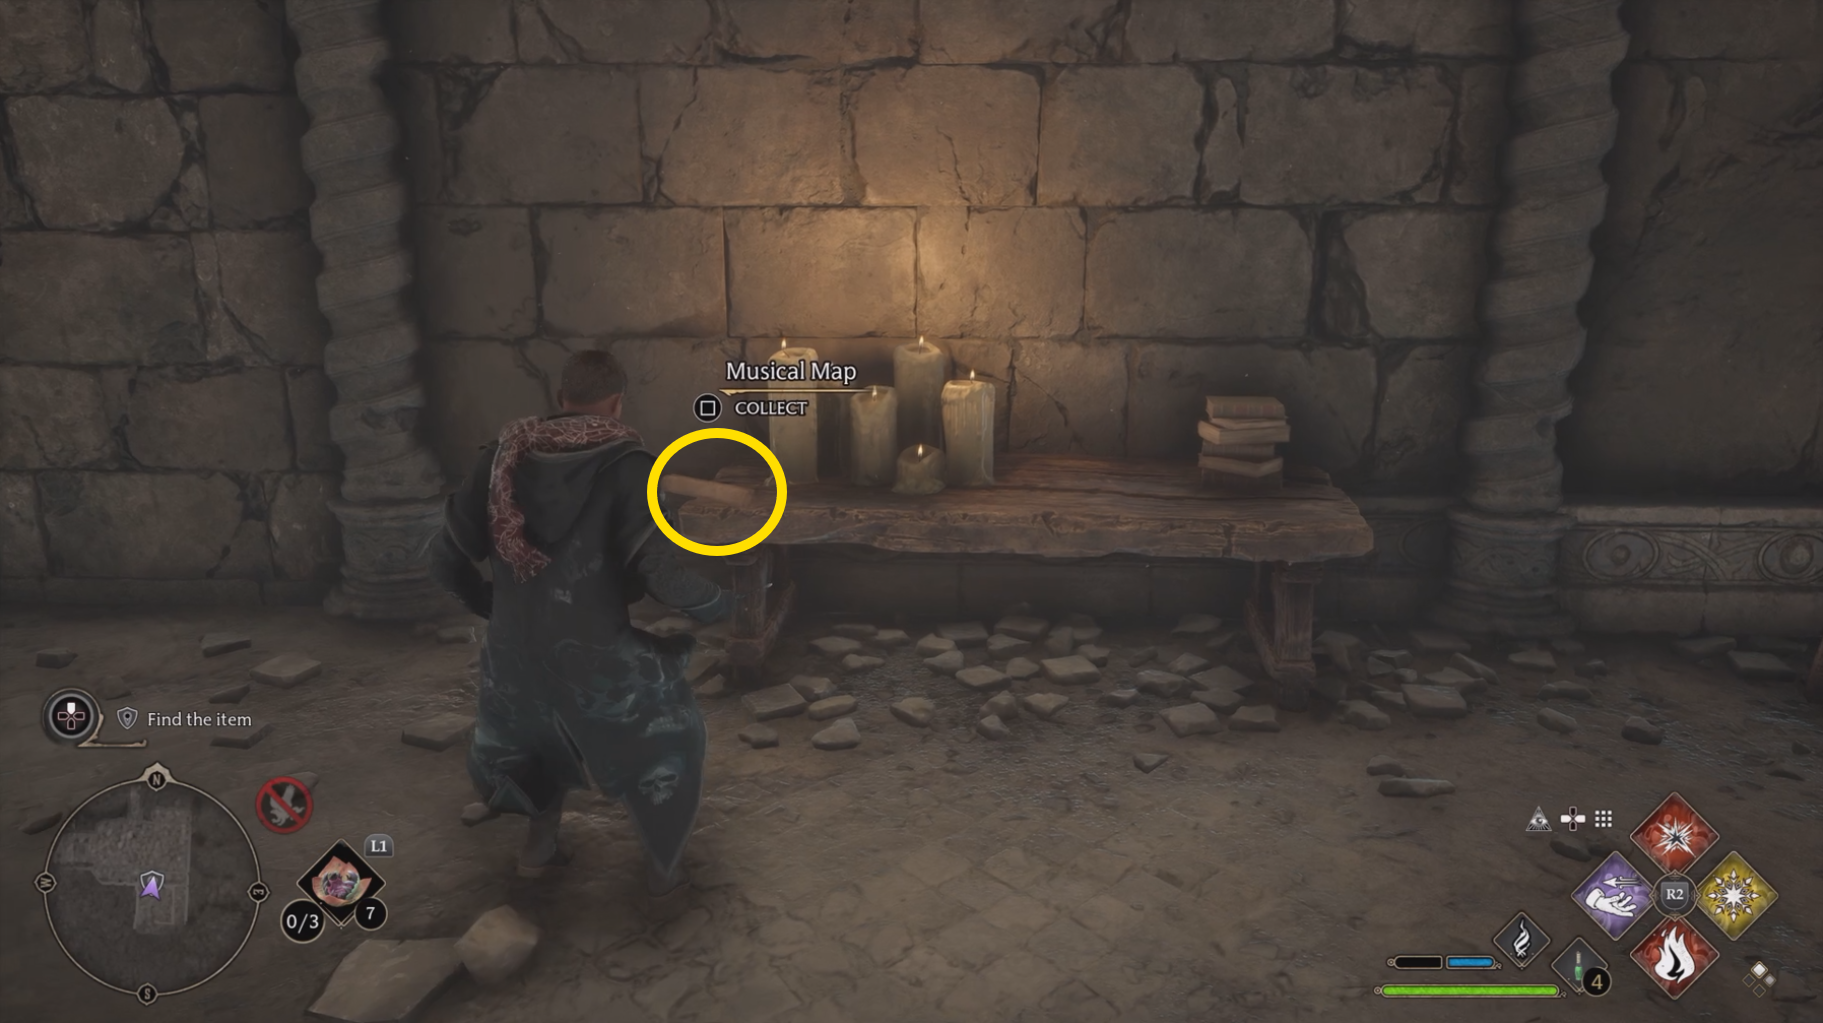
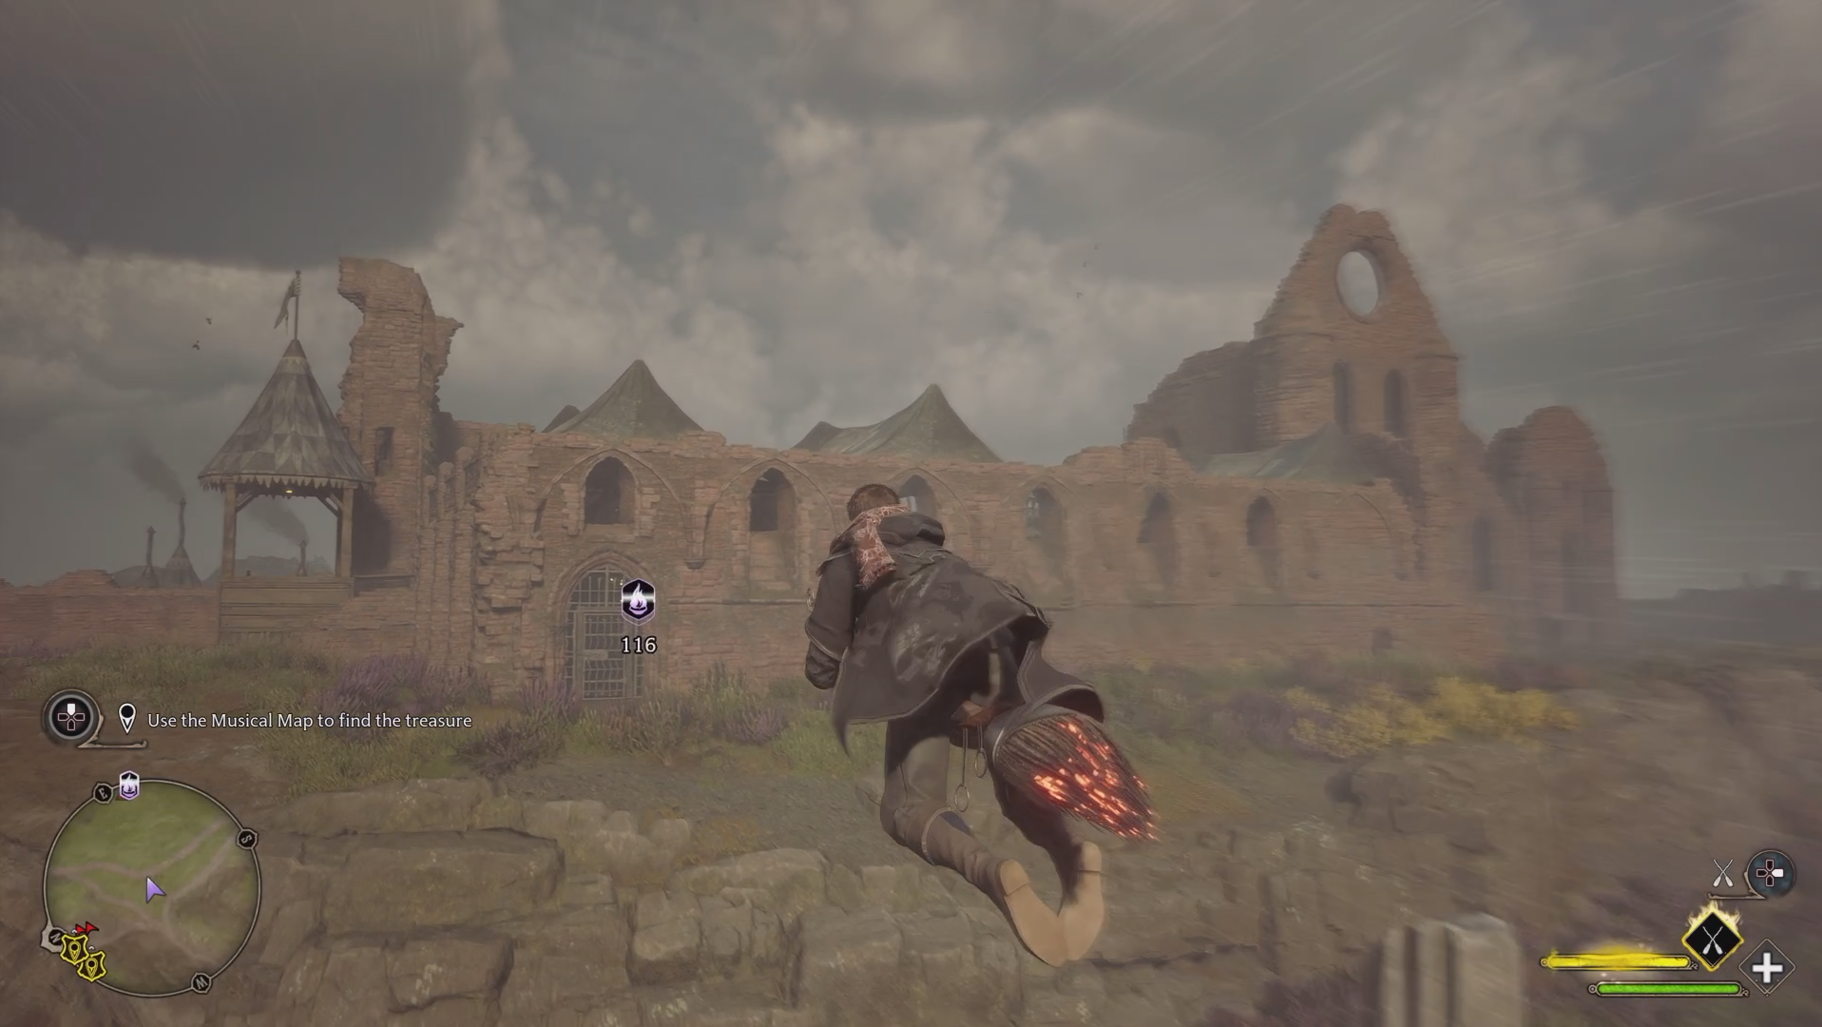
Once inside, immediately turn left to find a Musical Map on a table. Pick it up, and you will see clues for where the treasure is, as well as a puzzle hint. You are now free to leave the hideaway — you will have to walk all the way back out, however.
There is a large level jump in the enemies in the next area. If you had trouble with the Ashwinders here, you might want to consider acquiring a few more levels before continuing this quest.
Locate the Treasure
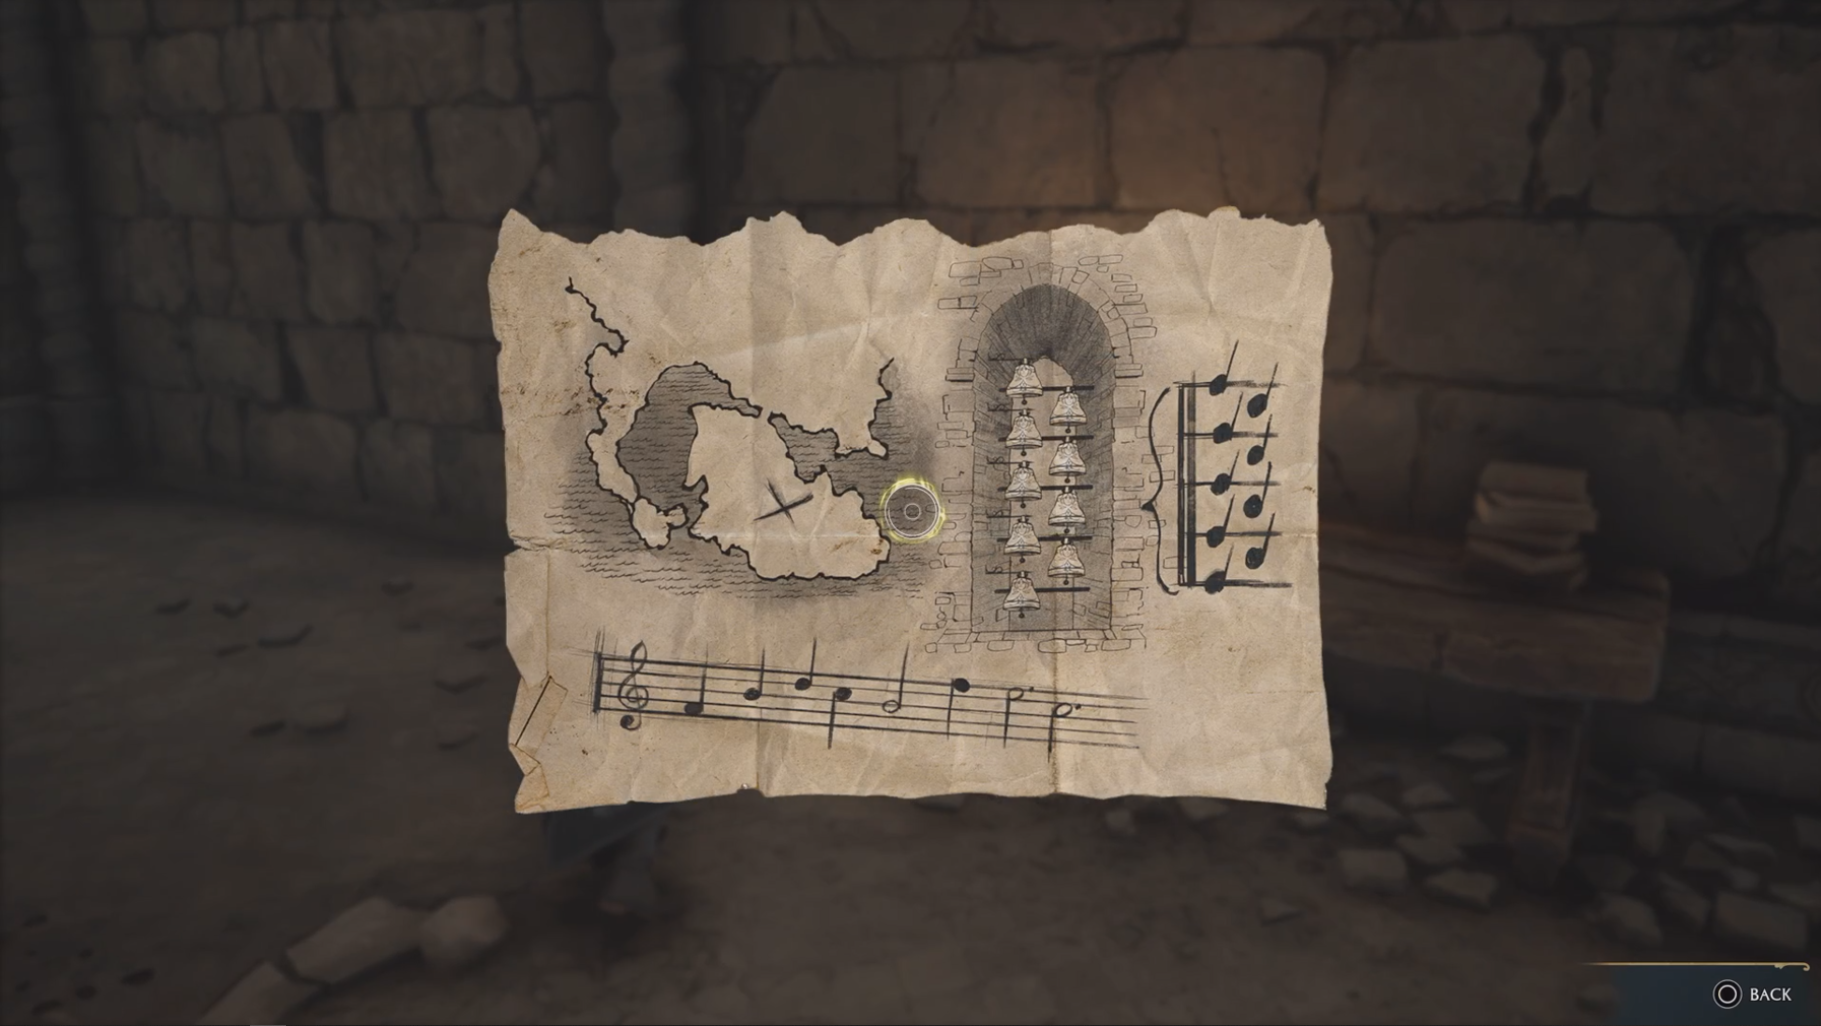
Neither the map nor minimap will help you find the location depicted on the Musical Map. You will need to head to Clagmar Castle, which is directly east from Henrietta’s Hideaway. Use the Clagmar Castle Floo Flame as a waypoint, and fly towards it until you see a large structure. You will now need to clear the enemies from the southern side of the castle.
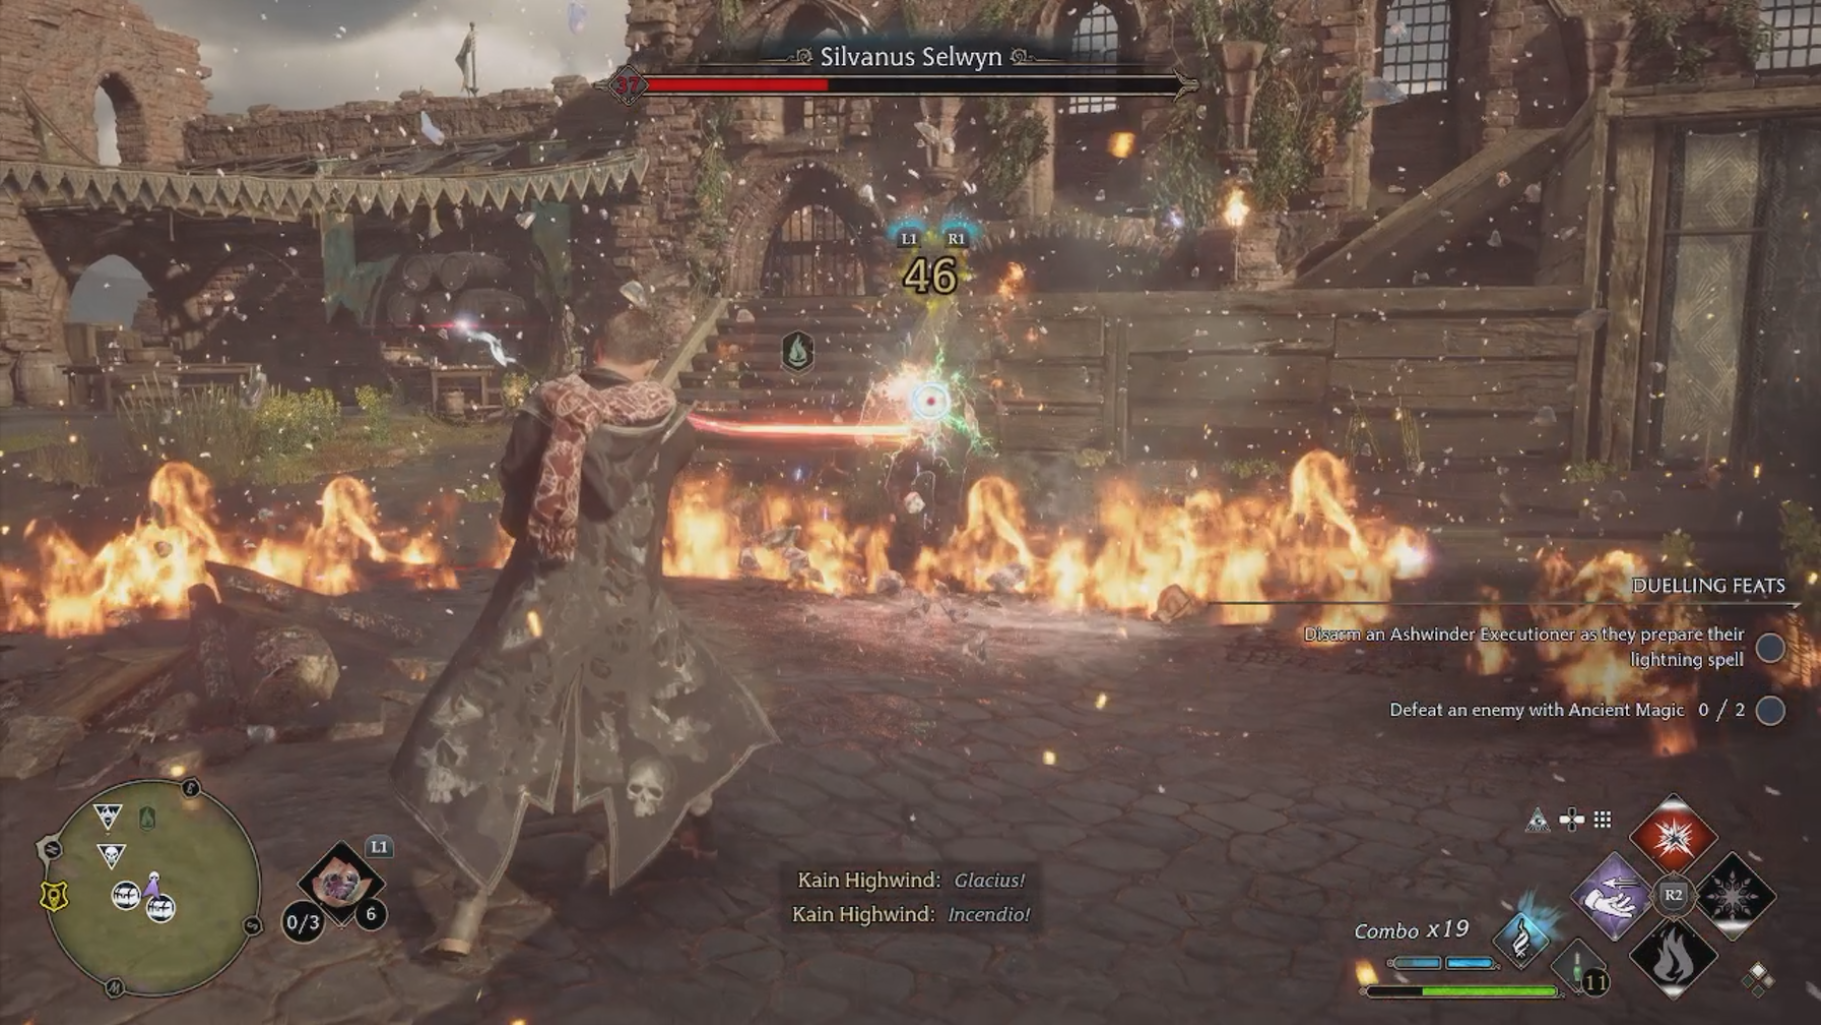
The Ashwinders here will be level 29 and 30, but will otherwise be mostly the same as in the previous battles in this quest. The one major difference, however, will be the Infamous Foe Silvanus Selwyn.
He will basically be the same as an Ashwinder Executioner, but he is level 37, so will have far more health than the other enemies in this fight. Clear out the other enemies so that they don’t overwhelm you, then focus on Silvanus with Ancient Magic and your most powerful spells.
Solve the Bell Puzzle
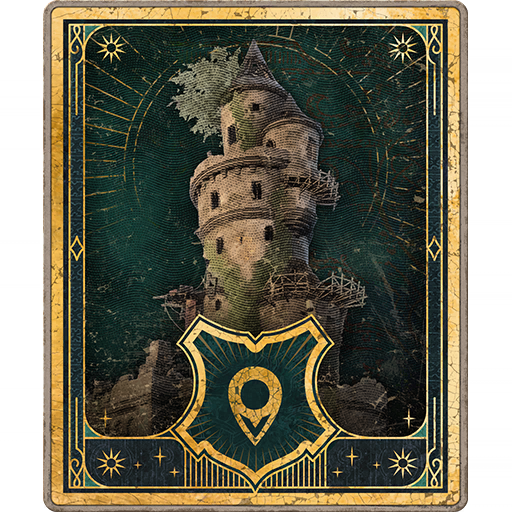
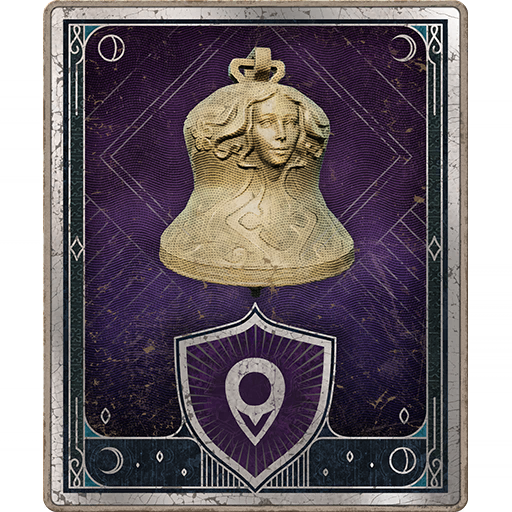
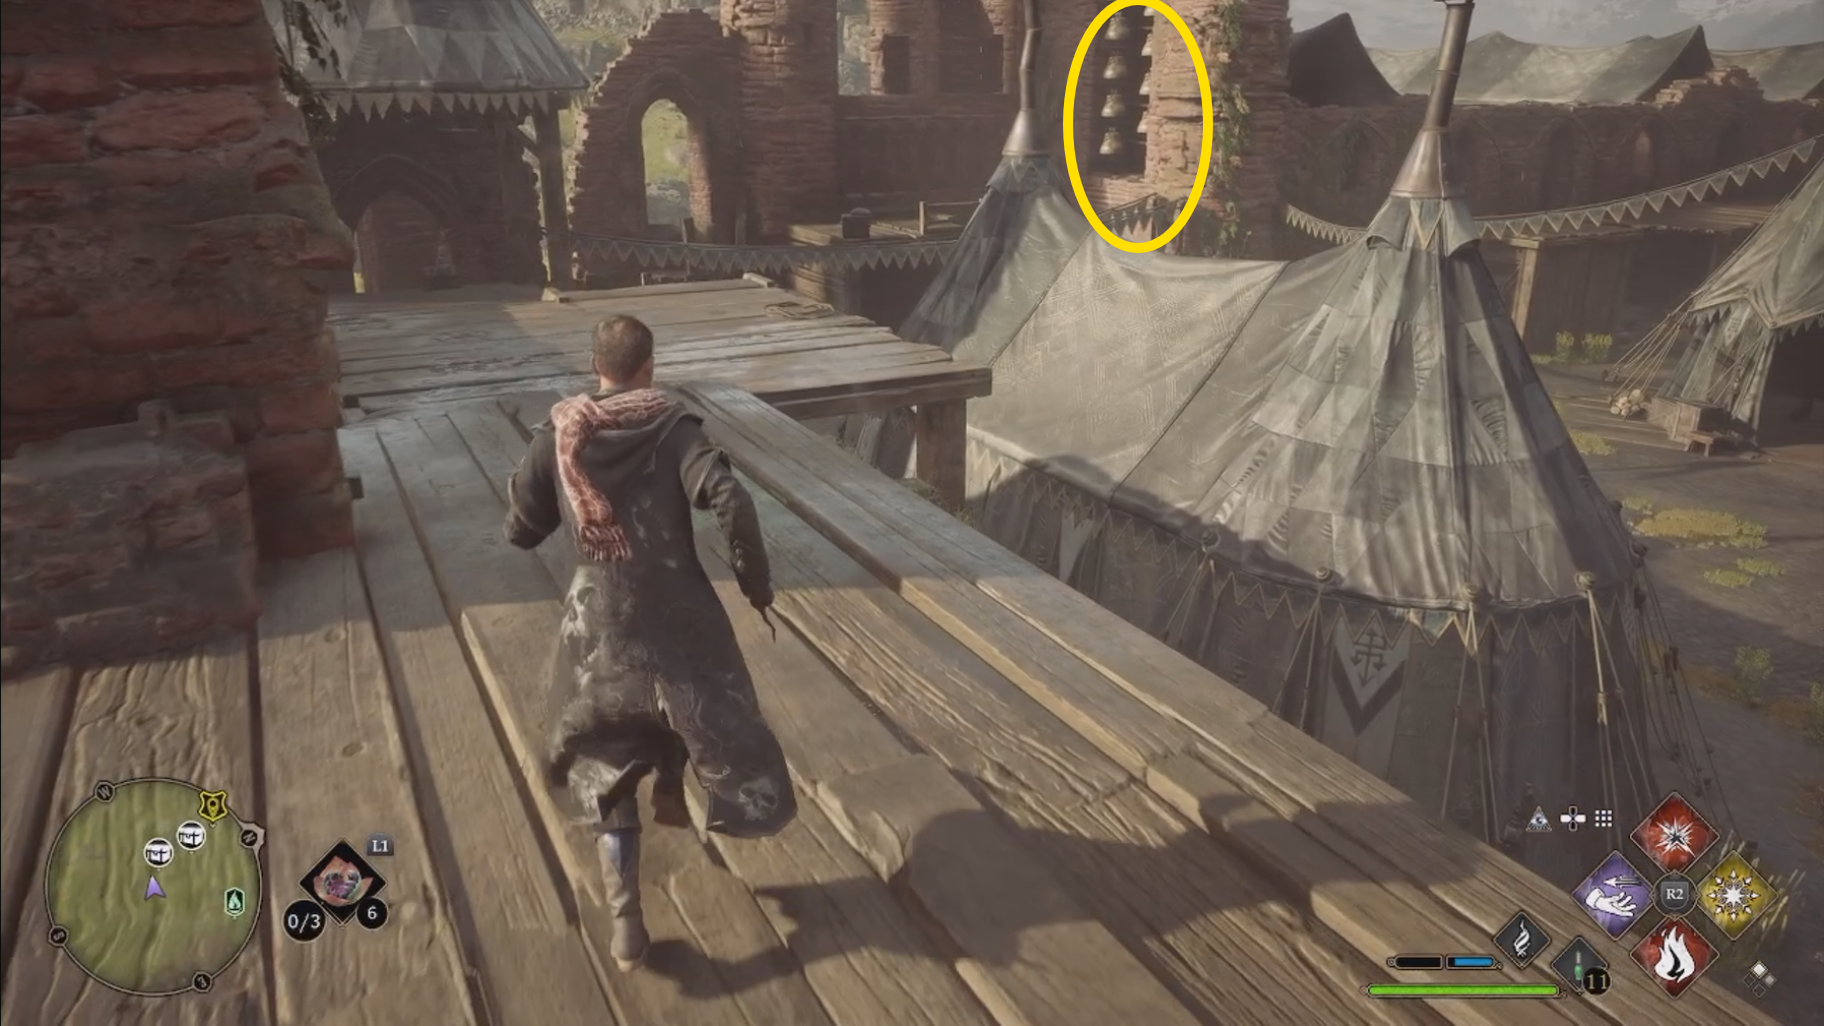
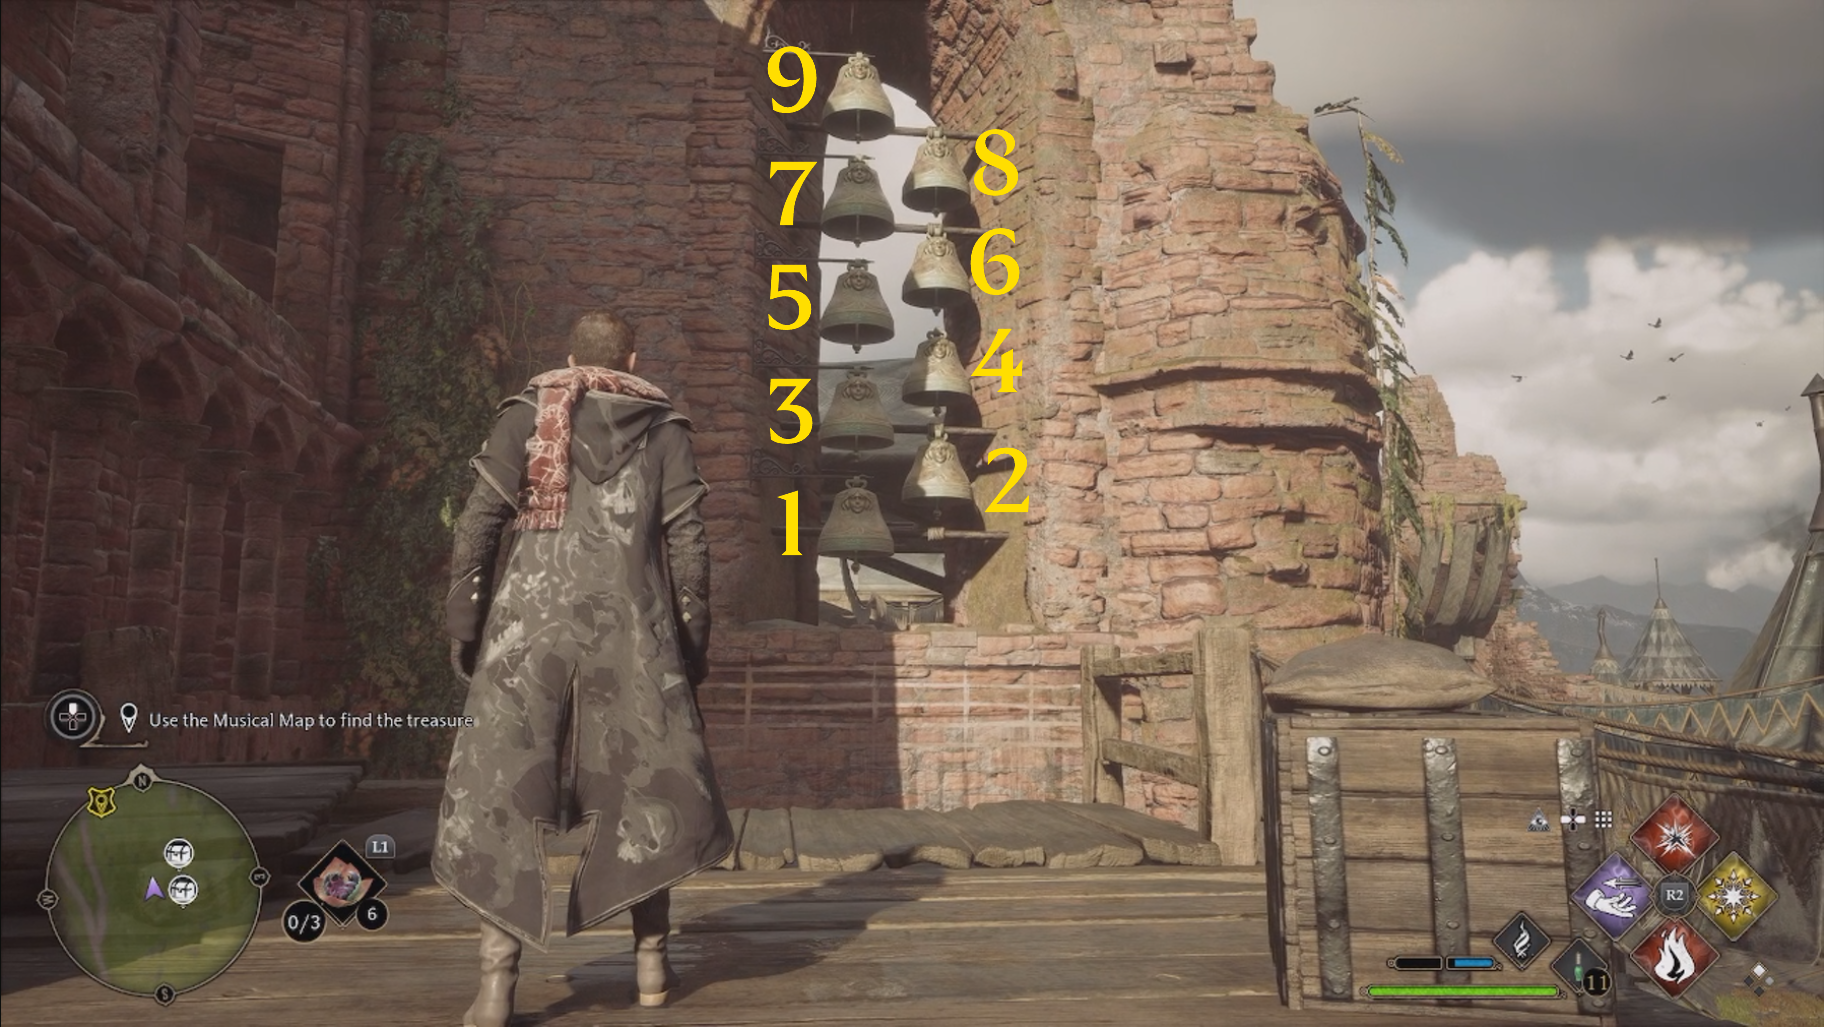
Once the enemies are cleared out, go northwest from the larger tent on the south side of the castle, and you will see nine bells hung up in the middle of the structure (image 1). To solve this puzzle, you will have to hit specific bells in a certain order with your Basic Cast — hold / when casting to make sure you hit the right ones. Let’s number the bottom bell as #1, and the top bell as #9 (see image 2) — using that, hit the following bells: 2, 5, 7, 6, 5, 9, 8, 6.
Image 1Image 2; The pattern is: 2, 5, 7, 6, 5, 9, 8, 6.
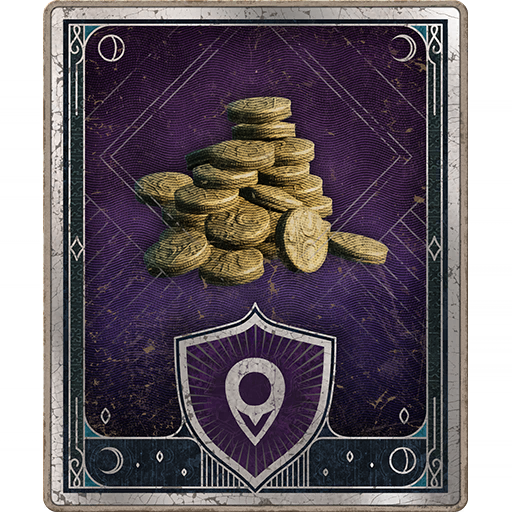
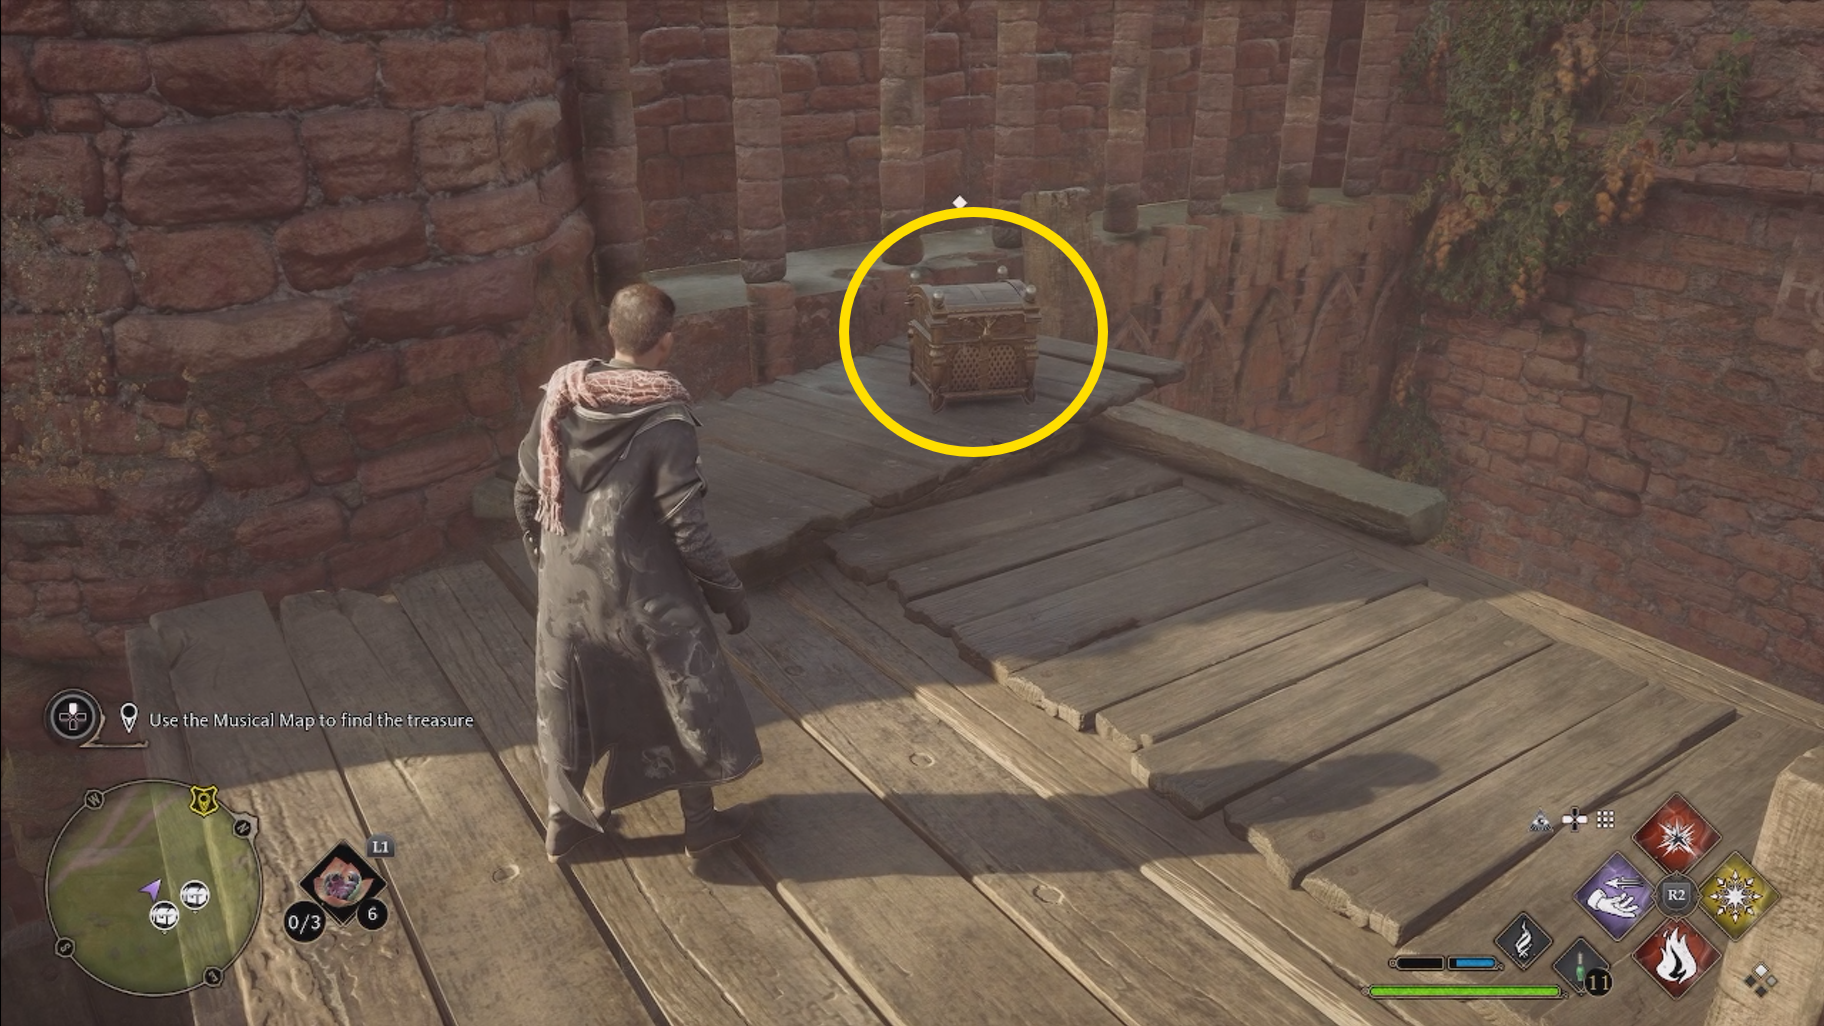
Once the puzzle is solved, you will be treated to a familiar tune, and a chest will appear right next to you. Open it to receive the Treasure-Seeker’s Longcoat appearance and 400.
This will complete Solved By the Bell, and you will now be free to continue your adventures!


