North Ford Bog Arena is one of the three Battle Arenas in Hogwarts Legacy, where you get a chance to put your skills to the test! (The third arena, The Dark Arts Battle Arena is a DLC content).
Be prepared for a tough challenge; this particular arena will pit you against:
Poacher Rangers, Poacher Stalkers, and Poacher Animagii
Ashwinder Assassins, which summon hordes of Inferi, Acromantulas, Venomous Matriarchs, Venomous Shooters, and Venomous Scurriours
This guide will cover where to find the arena, how to unlock it, and offer a full walkthrough of all of its Rounds along with some useful tips and strategies for the opponents.
Note: The walkthrough below is designed for the Hard Difficulty. We intend to help you conquer the arena on the hardest of the difficulties, but not all of the warnings and tips will matter as much on the Normal or Easy Difficulty, where some of our strategic suggestions might end up being deadly on their own.
What Are Battle Arenas?
You might not need a strict definition here if you have played RPGs before: Hogwarts Legacy’s battle arenas pit young Witches and Wizards against multiple rounds of enemies, who tend to get tougher each round, to test out their skill and mettle. To complete the arena you need to remain the last combatant standing. This means you will need to eliminate each enemy and survive until the end!
Battle Arena Rewards
Completing two regular Battle Arenas (Feldcroft Battle Arena and the North Ford Bog Battle Arena) will unlock the Rise to the Challenges achievement. The third arena, The Dark Arts Battle Arena, comes as a pre-order DLC bonus, or it can be purchased as a part of the Dark Arts Pack — completing it is not required for the achievement.
Participating in the Battle Arenas gets you a good amount of XP (in fact, you can just keep completing them over and over to farm XP), as well as legendary cosmetic items.
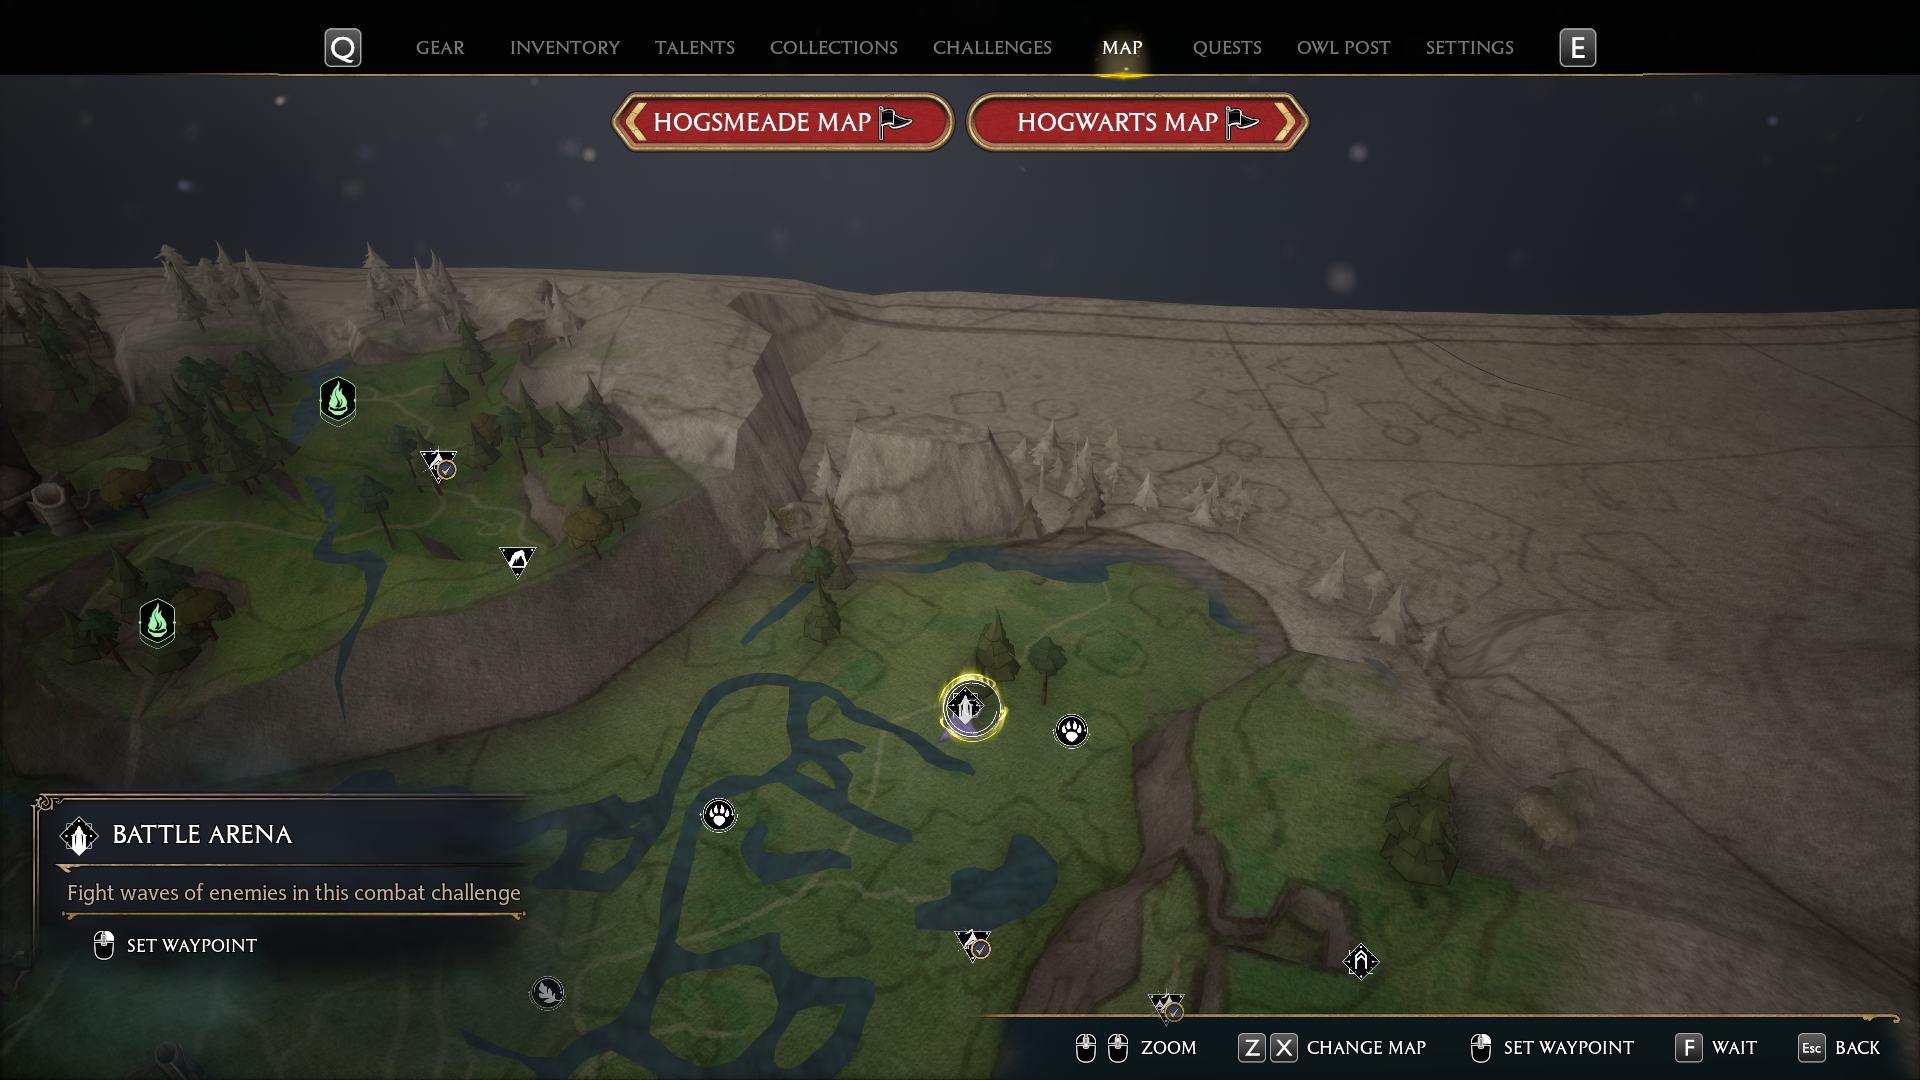
The map icon for North Ford Bog Battle Arena will be hidden until you visit the location in person. However, it can be found quite easily within the west of the North Ford Bog region — see our map image right below for reference.
The Battle Arena Location in the West part of the North Ford Bog Region
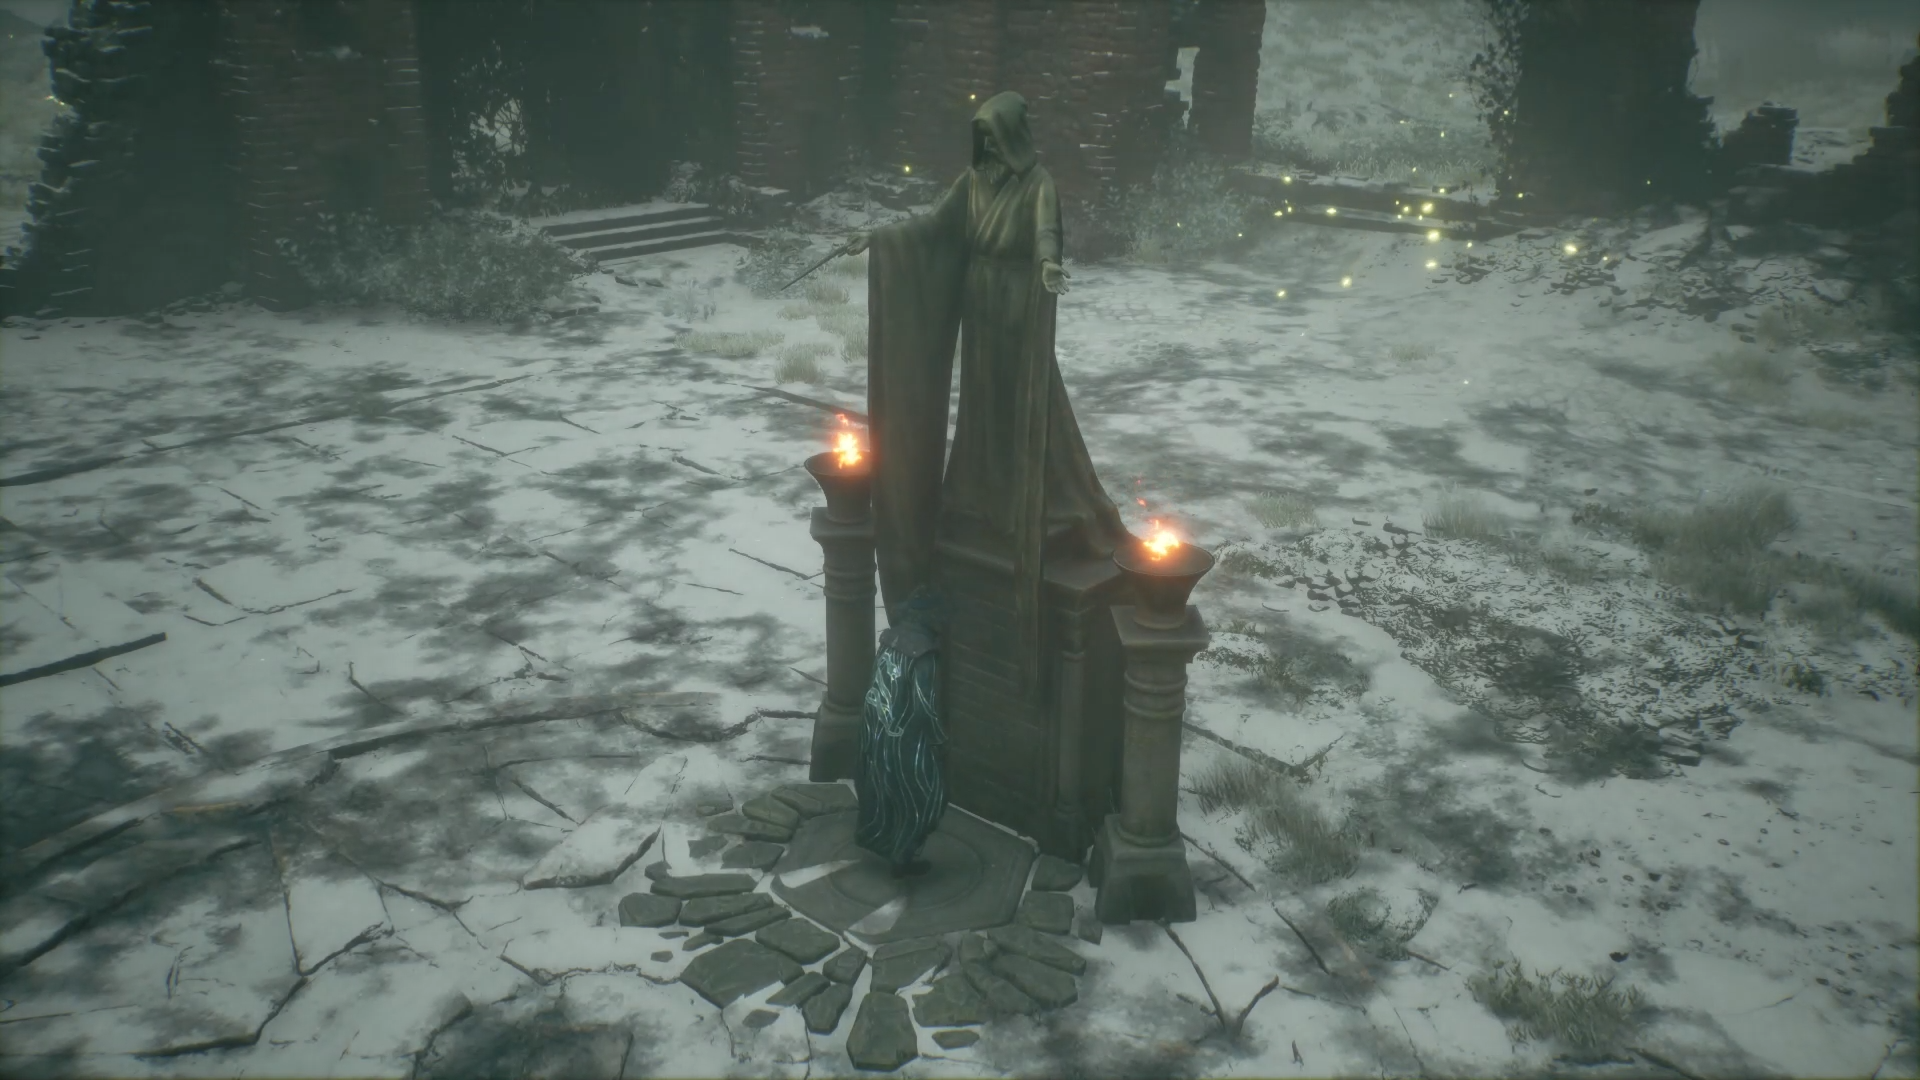
How to Unlock the North Ford Bog Battle Arena
The North Ford Bog Battle Arena can be unlocked in the same way the Feldcroft Battle Arena was, during the E-Vase-Ive Manouver quest in Irondale. You will not be able to access the Battle Arena until you complete the quest inFeldcroft first.
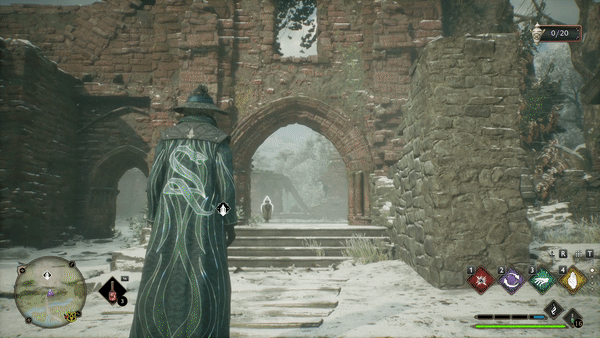
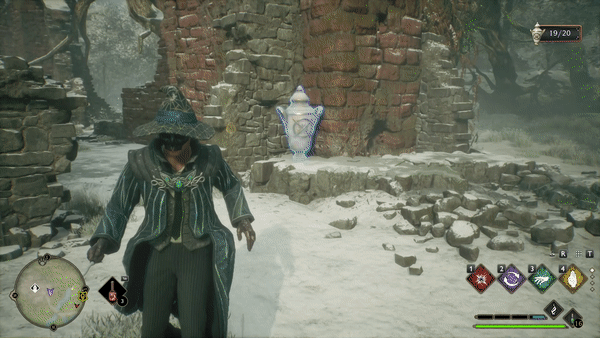
Just as before, you will need to complete a puzzle that requires you to break 20 specific Vases, which can be found in the ruin and its vicinity. For an in-depth guide on how to complete the pre-requisite quest, check out our dedicated E-Vase-Ive Manouver guide!
Using Revelio to highlight and break Vases to unlock the Battle Arena EntranceUnlocking the North Ford Battle Arena
North Ford Bog Battle Arena Walkthrough
The North Ford Bog Battle Arena is the hardest of the three arenas, designed to put a true test to your skill mastery, reaction time, and resilience! This Battle Arena is comprised of 5 rounds, each getting progressively tougher. In this part of the guide, we will cover each round and point out a few tips and tricks on how to deal with each specific enemy type. We will also list the number of enemies and enemy types that each round unleashes upon you.
Round I
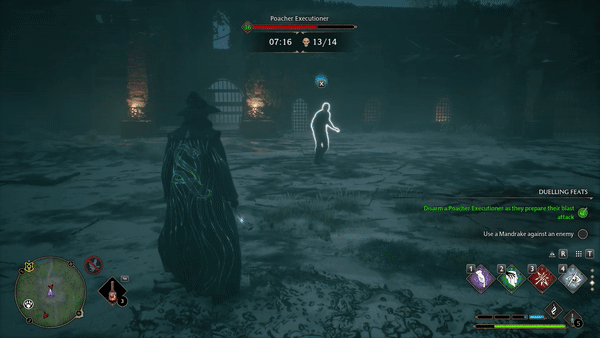
While the other Battle Arenas had a relatively easy first round, the North Ford Bog Battle Arena makes you face 7 strong enemies right away. However, just like the other Battle Arenas, your first round will greet you with an environment filled with Explosive Barrels, Rocks, Crates, and Anvils that can be used against your enemies with the Ancient Magic Throw! Keep in mind that those environmental objects are prone to destruction by other effects, meaning that you will probably want to make the best use of them early on — especially so the Explosive Barrels.
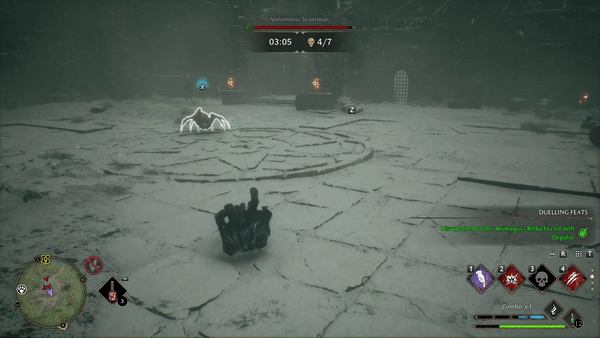
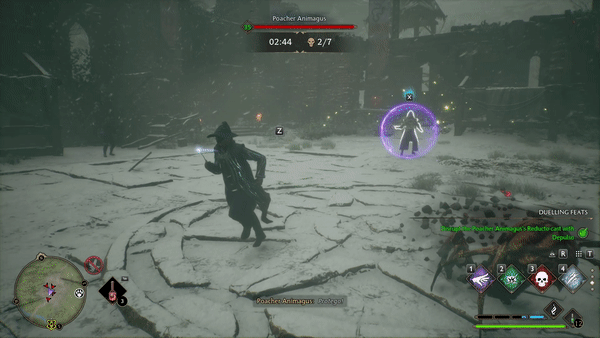
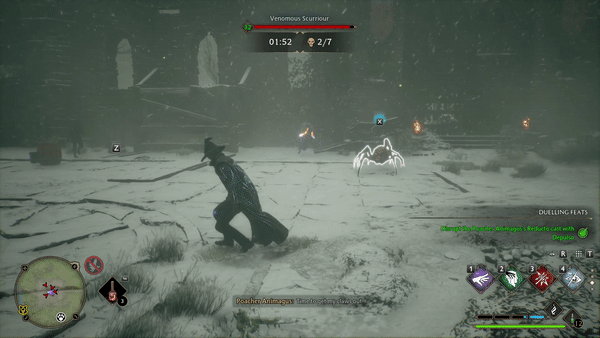
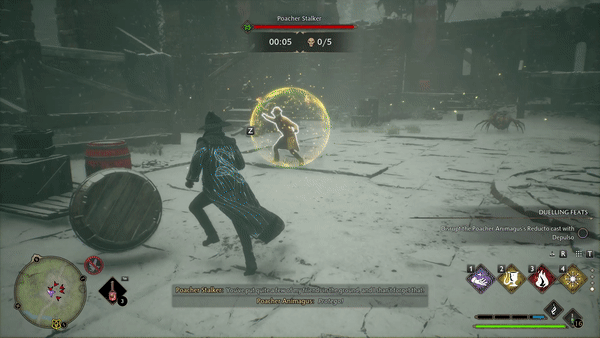
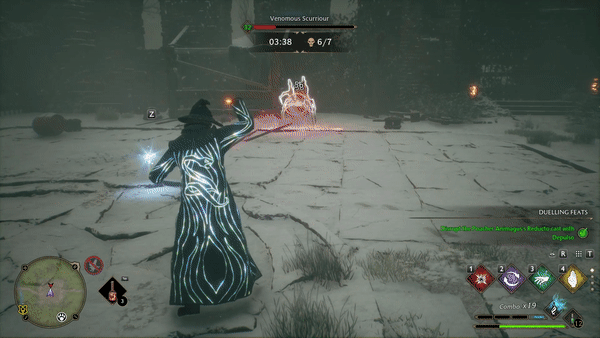
The first round will match you with a combination of 3 VenomousScurriours, 1 Poacher Stalker, 1 Poacher Animagus, and 2 Poacher Rangers. If this combination is already sounding quite troublesome to you, don’t worry, this is only one of the normal rounds and you haven’t seen the best of it yet…
There are quite a few things you can do to withstand this onslaught:
Round I Tips and Tricks
Ancient Magic used to instantly execute one of the Venomous Scurriours as it attempts to burrowReducto Curse cast by Poacher Animagus redirected to an enemy with DepulsoPoacher Animagus turned back into its Human Form with TransformationGlacius used on a Poacher Stalker as he attempts to cast Incendio, to make him explodeSpider horrified with Confringo when on low HealthFlipendo used on a Venomous Scurriour to execute it
As you may see in the clips above, there are a few strategies you can use to either weaken your enemies or outright execute them on the spot:
You can use Transformation to revert a Poacher Animagus back to its Human Form. This will result in a long-lasting stun, leaving the Animagus weak to any attack.
You can use Flipendo to execute a Venomous Scourriour when it’s attempting to burrow.
You can use Glacius to make a Poacher Stalker explode as they are attempting to cast Incendio.
Any Spider is vulnerable to Fire Spells. You can use Confringo or Incendio to weaken a Venomous Scurriour or even make it rattle off and run around in panic when it’s on low health! A Spider set on fire while on low health will always explode when hit with a Basic Attack.
A Poacher Animagus’s Reducto curse can be fully redirected to an enemy by casting Depulso.
Beware of a Poacher Ranger’s Levioso attack, as it can allow enemies to flank you!
You should not spam your Movement Keys randomly when hit by the attack, since you will be required to press a specific Movement Key to break free.
Use Ancient Magic to instantly execute enemies. In this round, it can be extremely useful against the Poacher Rangers or Venomous Scurriours!
Round II
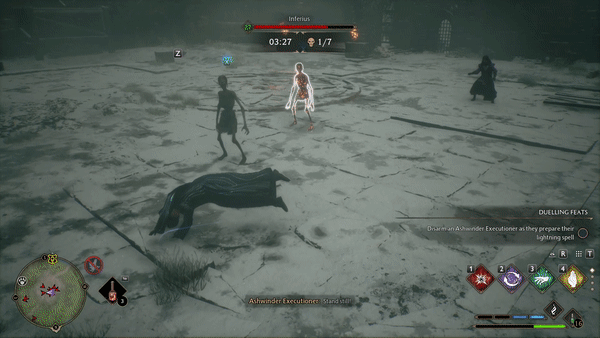
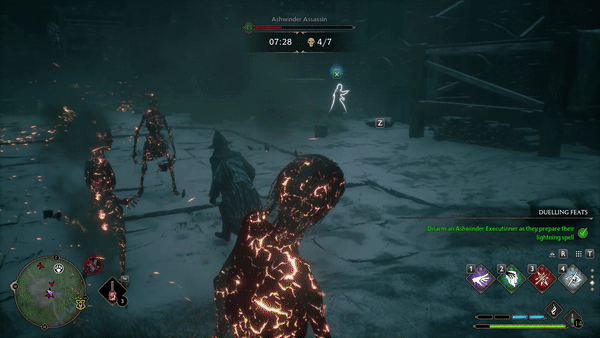
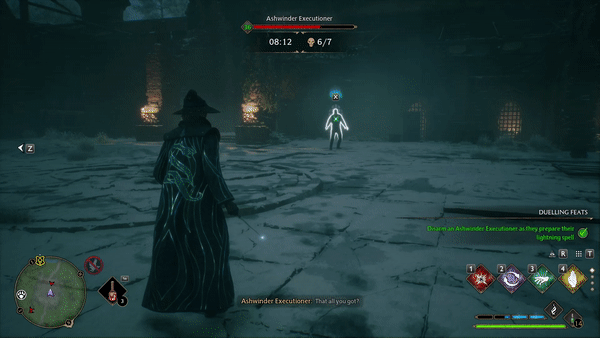
The second round of the North Ford Bog Battle Arena features 7 enemies yet again, only this time they are of a deadlier variety! This time you will fight 1 Ashwinder Assassin, 1 Ashwinder Executioner, 2 Ashwinder Rangers, and 3 Inferi. The number of Inferi will be practically limitlessas long as the Ashwinder Assassin stays alive, so be careful. You will find yourself surrounded from the very start of the round, with the Ashwinders spawning in front of you and the Inferi spawning right behind, ready to launch an ambush attack against you.
Round II Tips and Tricks
Confringo used on Inferi to weaken them, followed up by environmental damage from Lightning StormReducto Curse redirected with Depulso, killing an Ashwinder Assassin and all its InferiArresto Momentum used to prolong a Lightning StormAshwinder Executioner’s Lightning Storm interrupted with Expelliarmus, weakening him in the process
As shown in the clips above, there are many strategies you can employ to make this round easier for yourself:
The Ashwinder Assassin will spawn an endless number of Inferi as long as they stay alive. All of the Inferi in this round are bound to them, meaning that if you kill the Ashwinder Assassin first, all of their Inferi they summoned will die as well.
This, sadly, does not include the Inferi spawned at the beginning of the round, only the ones that get summoned once the initial Inferiare defeated.
Using Depulso on an Ashwinder Assassin while they cast a Reducto curse will result in the curse being fully redirected towards another enemy.
Ashwinder Rangers will always attempt to create distance between you and themselves; using Accio will disable them and grant you a few moments of relief from their assaults… that is, if you choose to not immediately kill them after using Accio.
You can use Expelliarmus on an Ashwinder Executioner as they channel their Lightning Storm to redirect it back at them instead!
You can use Arresto Momentum on an Ashwinder Executioner while they channel their Lightning Storm to extend its duration, effectively transforming it into a potent death trap: since the Lightning Storm counts as a form of environmental damage, you can either push enemies into it with Depulso or drag them through it with Accio.
Remember that Inferi are pretty much invulnerable to any form of damage and other effects until you set them on fire. This invulnerability even includes Dark Spells such as Crucio, Imperio, and Avada Kadavra.
You can use Bombarda on a Burning Inferi while it performs a Leap Attack to completely obliterate it. That is, if you manage to time it right!
Round III
The third round of the Arena is where your skills and mettle will begin to be properly tested — this round pits you against 14 difficult, high-profile enemies. Hopefully you still have enough Wiggenweld Potions for the rest of the challenge, as this round might take a considerable toll on you!
At the beginning of the round, you will be faced with 4 Ashwinder Scouts, 1 Ashwinder Soldier, 1 Ashwinder Assassin, and 1 Ashwinder Duelist. Defeating a couple of the enemies will make the arena spawn more. As the round progresses, depending on whether the Ashwinder Assassin was left alive, they will begin to summon Inferi, which will bolster the enemy ranks! The rest of the round will be comprised of 3 Poacher Trackers, 1 Poacher Animagus, 1 Poacher Executioner, and 1 Poacher Stalker.
There are a few things you can do to survive in this round:
Round III Tips and Tricks
Protego used to block an Ashwinder Duelist’s double ExpulsoGlacius used on Poacher Stalker to counter Confringo and make them ExplodeDiffindo used against an Ashwinder Executioner to break the Shield and redirect ReductoExpelliarmus used on a Poacher Executioner to redirect Fire Storm
You can use Diffindo to redirect a Reducto Curse cast by an Ashwinder Duelist, while also breaking their shield!
Ashwinder Scouts and Poacher Trackers have the weakest defense among the enemies found in this run, since they can’t even use Protego. Try to eliminate them first — if left to their own devices, they can certainly surprise you and inflict a considerable amount of damage.
The Ashwinder Assassin should be eliminated among the first, as they can summon Inferi reinforcements after you start killing other enemies. The Reducto Curse cast by the Ashwinder Assassin can be redirected toward another enemy by using Depulso.
Ashwinder Soldiers will cast Incendio just like the Poacher Stalkers, however, you won’t be able to just execute them with Glacius.
Additionally, Ashwinder Soldiers will cast a powerful Expulso attack, which should be either dodged or blocked!
Ashwinder Duelists will often cast Expulso when they don’t use their Reducto Curse. However, unlike Ashwinder Soldiers, they will cast two Expulso in a row, requiring you to use Protego twice.
An Ashwinder Animagus can be reverted back to their Human Form if you cast Transformation while they are in their Wolf Form.
Defeating an Ashwinder Animagus in Wolf Form will likewise cause them to revert back to Human Form, however, they will revert with all of the health they had before transforming.
Additionally, you can use Depulso to redirect a Reducto Curse cast by an Ashwinder Animagus.
You can use Expelliarmus to redirect a Fire Storm cast by a Poacher Executioner back at them.
Additionally, you can use Arresto Momentum during the initial channeling time to extend the Fire Storm duration, effectively creating a death trap out of it. Since the Fire Storm counts as environmental damage, any enemy that passes through it or is thrown into it with either Depulso or Accio will take heavy amounts of damage!
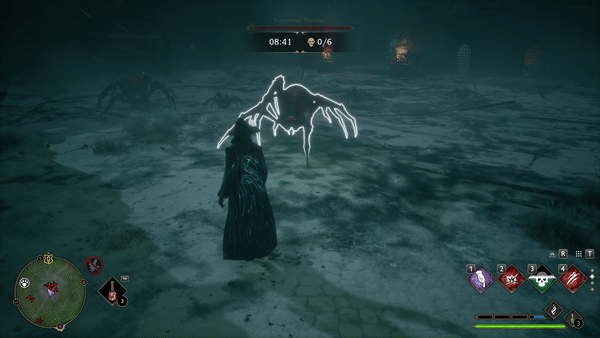
Round IV
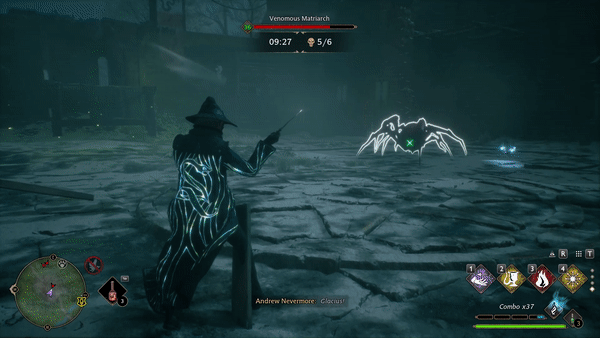
The fourth round of the Arena will be a breeze compared to the previous rounds. That is, if you are comfortable fighting huge spiders. This round will pit you against 6 enemies, 4 of which are Venomous Shooters while the other 2 are Venomous Matriarchs. By now, your Wiggenweld Potion supply probably has diminished considerably, which means that you should conserve as many as you can for this round!
Round IV Tips and Tricks
Venomous Matriarch pinned to the ground with Descendo followed up by Confringo on a Venomous ShooterVenomous Matriarch’s Leaping Attack repelled by Incendio weakening it in the process
Venomous Matriarchs are susceptible to spells that have pushback effects. You can use Depulso, Bombarda, and Diffindo to push back a Venomous Matriarch.
Venomous Matriarchs can be pinned to the ground by using Descendo during their Leap Attack. This will effectively impale their fangs in the ground, which will make them vulnerable to your attacks.
A Venomous Matriarch can also be thrown on its back with a properly timed Incendio during its Leap Attack.This will deal a considerable amount of damage, while also exposing it to further damage.
Venomous Shooters will generally be lower level than you during this fight; however, they still pack a punch! You can use Confringo or Incendio while a Venomous Shooter channels its attack to redirect the shot back at it. While they may pose a higher threat in other situations, in this particular round you should be able to dispatch them easily, since they are underleveled.
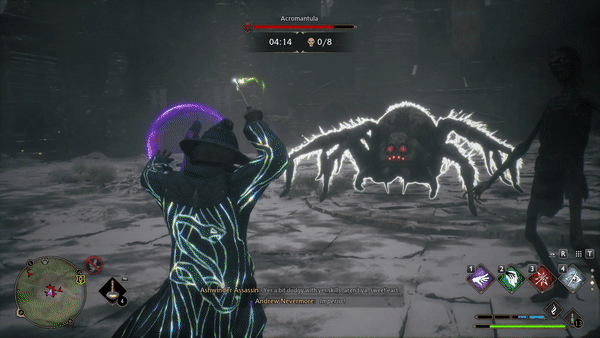
Round V
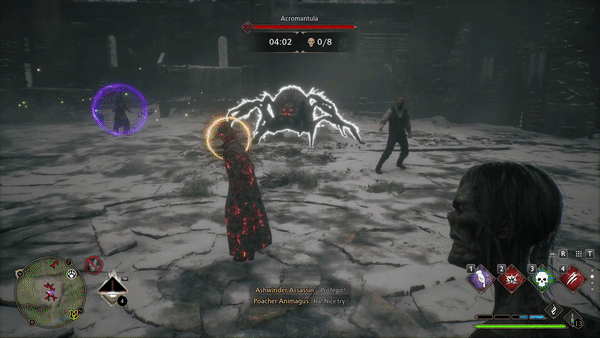
The last round of the North Ford Bog Battle Arena can be described as a single thing — an utter nightmare! This round will make you fight 16 extremely powerful enemies which will attempt to flank you and overwhelm you at all times. Among those enemies, the worst and most dangerous one is a higher-level Acromantula that will continuously chase you and perform Leaping Attacks. The rest of the enemies will be amix of Inferi, Ashwinder Executioners, Ashwinder Asassins, Ashwinder Animagi, Ashwinder Soldiers, Poacher Rangers, Ashwinder Rangers, Venomous Scourriours, and Venomous Shooters.
This round is the most chaotic and difficult out of them all, so it is advised to stockpile as many Wiggenweld Potions as possible before attempting the finale of the Battle Arena. The beginning of the round will be the most chaotic, as the Ashwinder Animagus and the Ashwinder Executioner will attempt to one-shot you, the Inferi will instantly begin to chase you and perform Leaping Attacks, all while the Acromantula will be attempting a deadly Lunge Attack. It is advised to immediately use the Swift talent to reposition yourself — multiple times, if needed!
Keep in mind that potions like the Edurus Potion, Maxima Potion, Focus Potion, and Thunderbrew Potion will significantly reduce the difficulty of the fight. This is especially true if you happen to have Edurus Potion Potency, Maxima Potion Potency, Focus Potion Potency, and Thunderbrew Potion Potency Talents.
Round V Tips and Tricks
Decendo used on Acromantula Leap Attack followed up by Bombarda and DiffindoImperio used on Acromantula combined with Confringo on Inferi
As shown in the clips above, there are some things you can do to push through this round:
The biggest issue in the entire fight is the Acromantula! Depending on how many times you’ll be able to use Ancient Magic and Ancient Magic Throw, you will probably want to keep plenty in reserves specifically for the Acromantula to dispatch it quickly.
You can use Descendo on the Acromantula during its Leaping Attack to impale its fangs in the ground. This will deal a considerable amount of damage while also leaving it weakened.
Naturally, if you are playing a Dark Arts Magic Build, you can simply use Avada Kadavra, combined with Crucio to one-shot the Acromantula and any surrounding enemies that have the Cursed Statuseffect upon them.
However, a more fun choice that allows you to play around with your opponents is Imperio. You can use Imperio on the Acromantula to turn it into a deadly killing machine that aids you in vanquishing the other enemies. Note that all enemies besides the ones in the Large Enemy category will always swap their target from you to the Imperio‘s Target, attacking that target and chasing it down!
Ashwinder Assassins and Ashwinder Animagi will always attempt to cast the Reducto Curse, which can be deflected and redirected to another enemy by using Depulso right before the attack is launched.
Remember that an Ashwinder Animagus can be reverted back to their Human Form with Transformation, resulting in a long-lasting stun effect!
Ashwinder Assassins will continue to summon Inferi as long as they remain alive, whenever the previous set of Inferi is eliminated. Defeating an Ashwinder Assassin will instantly destroy any Inferi summoned by them. However, it will not destroy the initial Inferi spawned by the round.
An Ashwinder Executioner’s Lightning Storm can be used to create an effective AoE damage area during this round, especially against the Acromantula and BurningInferi. This can be achieved by using Arresto Momentum right at the moment before the Lightning Stormis released. We discussed this more for the previous rounds.
Remember that you can use Glacius on a PoacherStalker while they channel Incendio to cause them to instantly explode. You can only use Glacius on an Ashwinder Soldier during their Incendio attack to freeze them and force them to drop to the ground.
Beware of Ashwinder Rangers‘ Petrificus Totalus and Poacher Rangers‘ Levioso, as they will be extremely deadly during this round!
Expelliarmus can be used against the majority of Dark Wizards to remove their wands and disable them from combat for a considerable amount of time. Use it often!
Now that you are armed with tips and insider knowledge for the North Ford Bog Battle Arena, we hope it serves you as a place to hone your skills against deadly foes! (Or grind XP.) Let us know in the comment section below which round you had the most fun and/or the most difficulty with, and how long it took you to conquer the arena!
Share this article:
Nevermore
Hey there folks!
I am Nevermore, a passionate gamer that is here in the hopes that you will tag along on many adventures! Here to share my experience and any valuable knowledge that may make your day better.