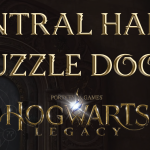
You’ll need to make your way to the area north of Hogwarts (though it’s still referred to as the South Hogwarts region, confusingly), and then follow the yellow dots on your minimap into the forest. Stay on the path if you don’t want to fight enemies, as they lurk in the woods to either side. You’re to meet Richard at night, so if you get to the spot the objective marker is indicating, and he isn’t there, stand in the golden circle and hit / to wait. Once it’s night, you’ll find him waiting by the large tree. Walk up and speak to him with /.
12
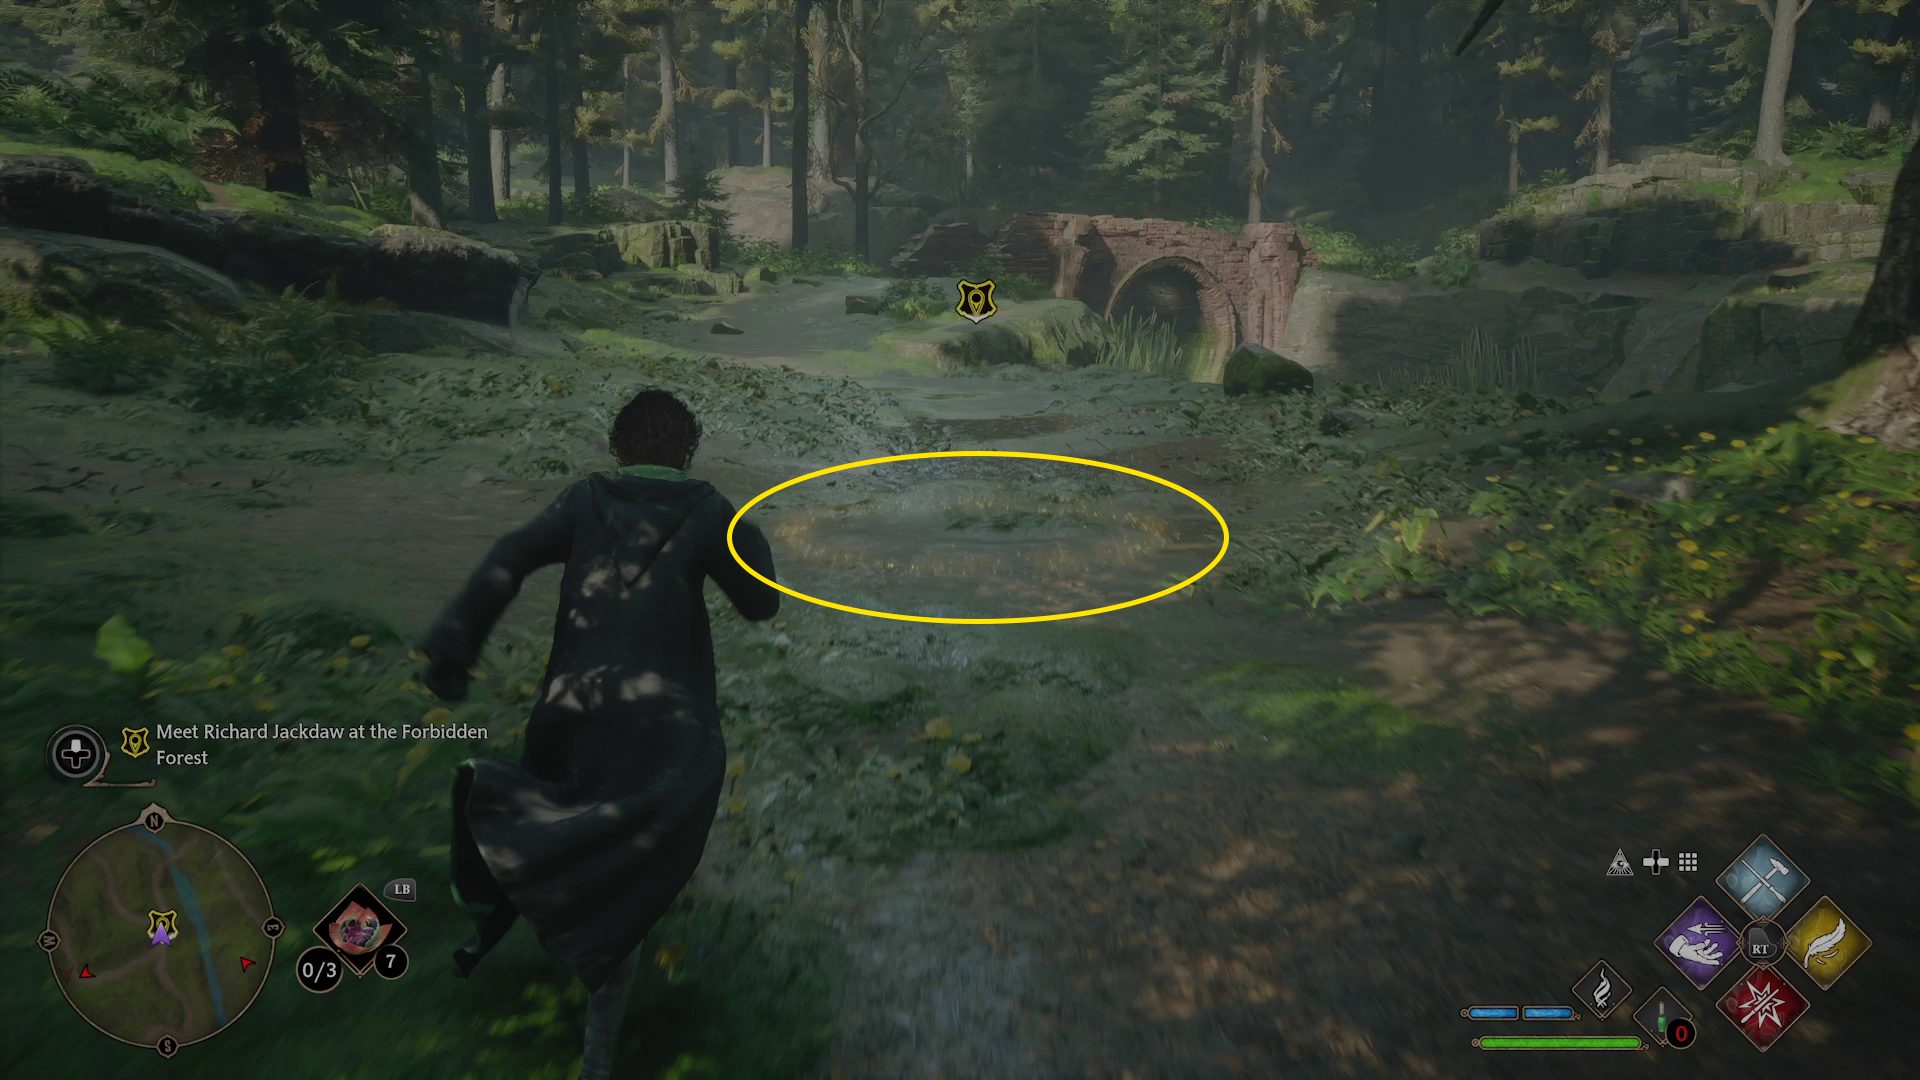
Follow Jackdaw through the Forbidden Forest
Once your conversation ends, you’ll need to follow Jackdaw as he leads the way into the Forbidden Forest. When you come to a fork with a Floo Flame for the East North Hogwarts Region (1) on the left-hand path, make sure you get close enough to activate it, but not too close! There are enemies up ahead you may not want to fight. Continue down the right-hand path (1), following the yellow dots on your minimap. You’ll come across some Leaping Toadstool Caps — harvest them, then take the next left (2).
12
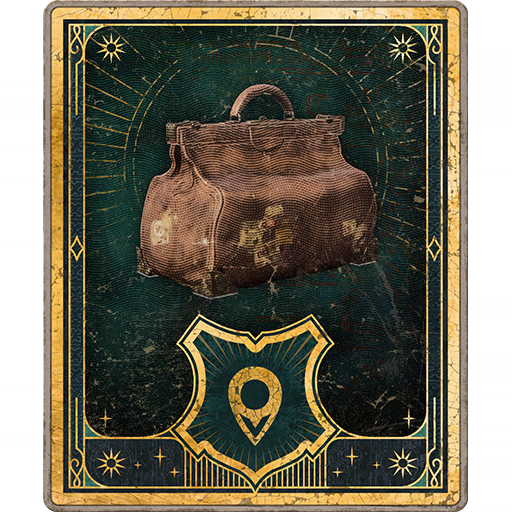
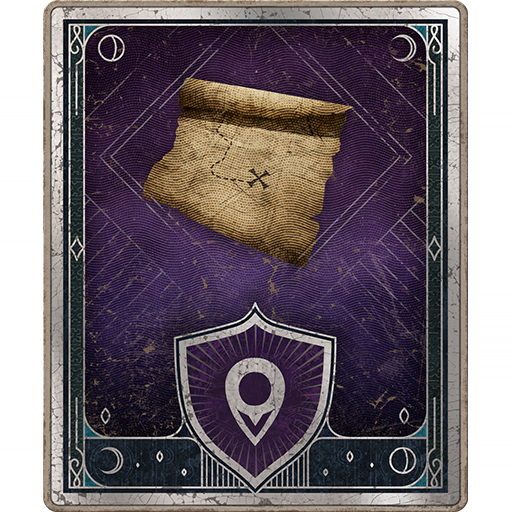
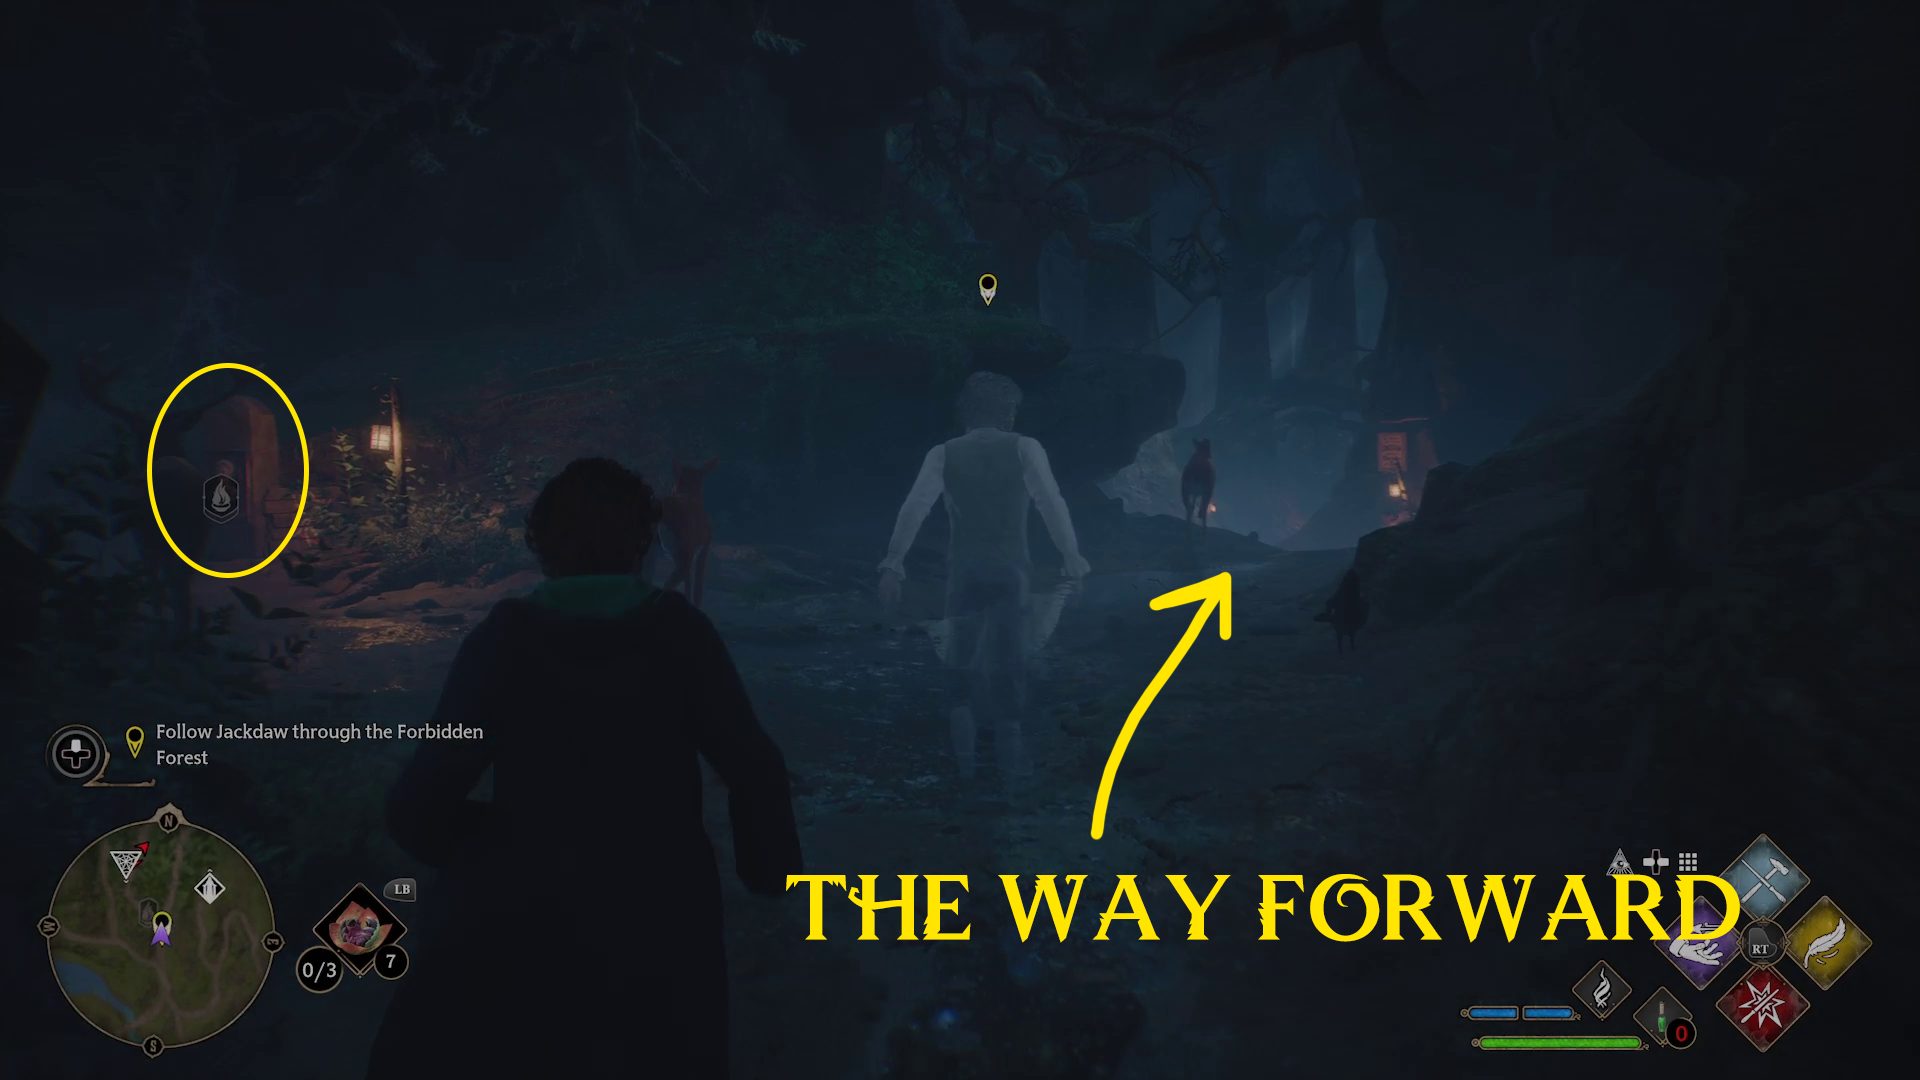
Find the cave where Richard Jackdaw died
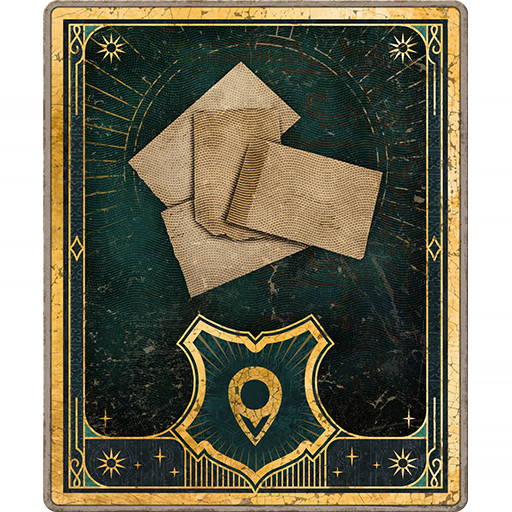
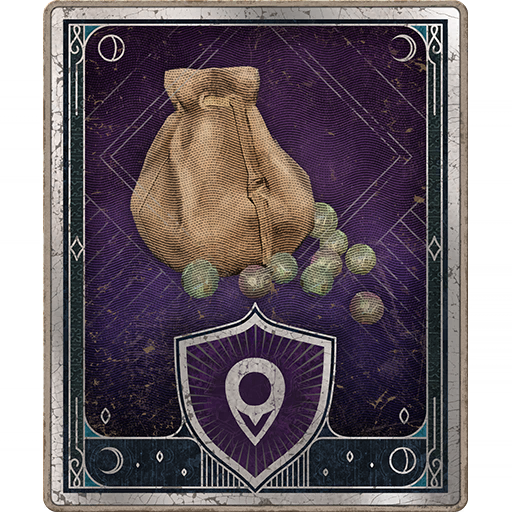
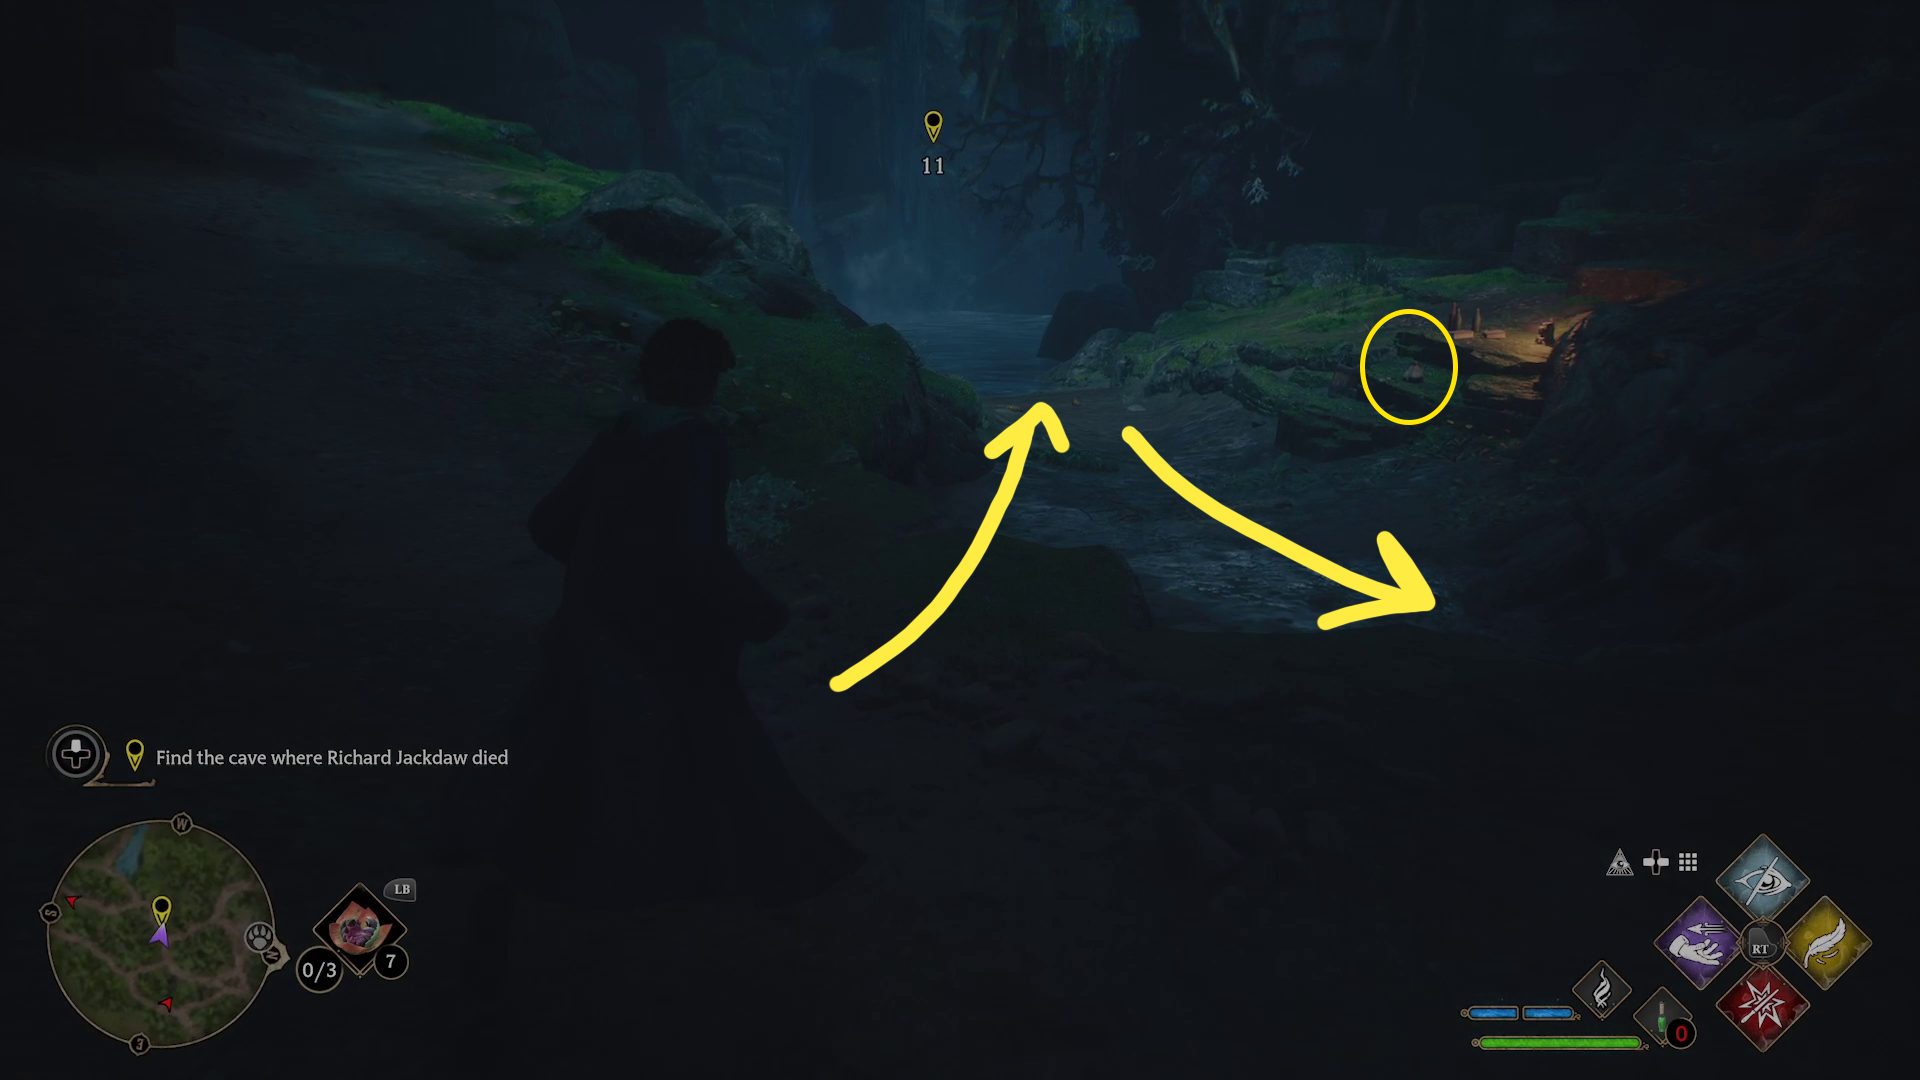
Take the next left as well, past the tree with the many warning signs (1). Keep hugging the left “wall” of the path until you reach the spot the objective marker indicates, at which point you’ll be able to see the waterfall (2). Once the objective marker moves, search the small bag at the shrine, then turn around and hug the left wall, turning left when able.
12
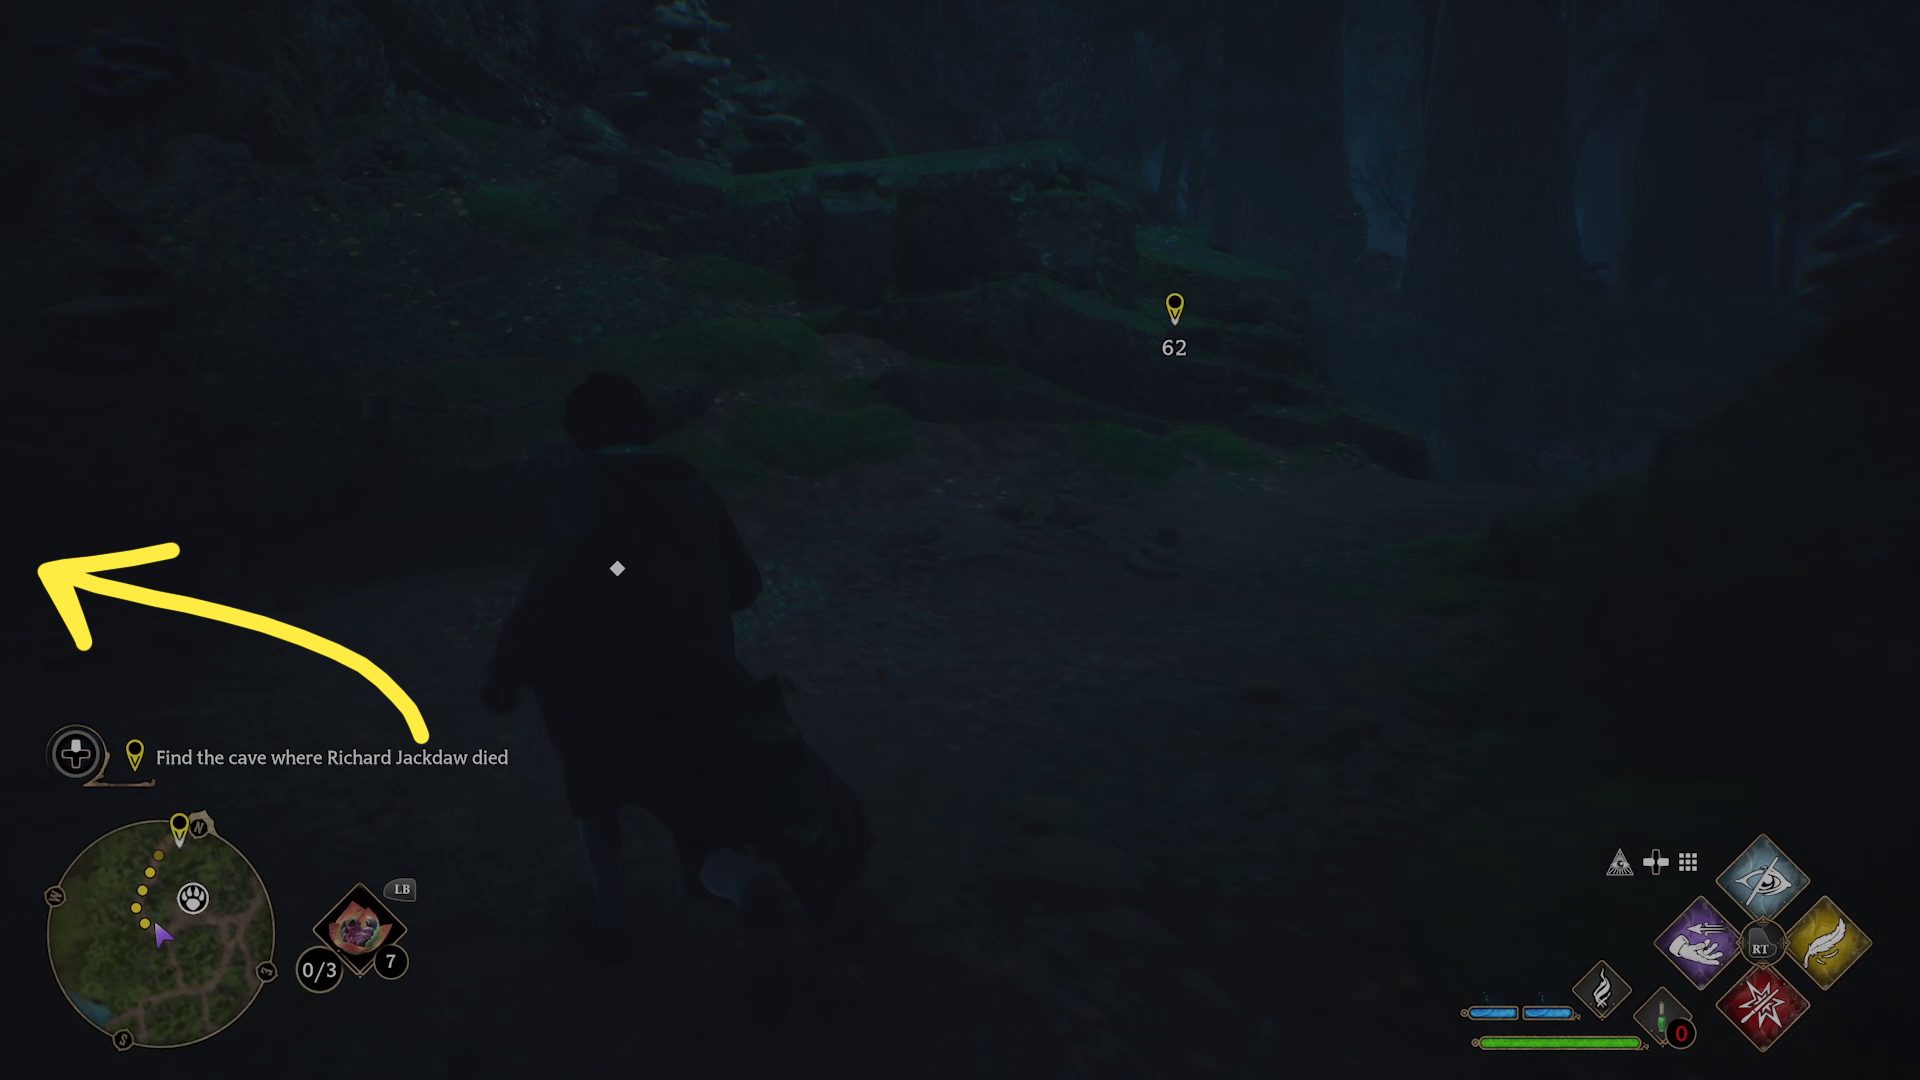
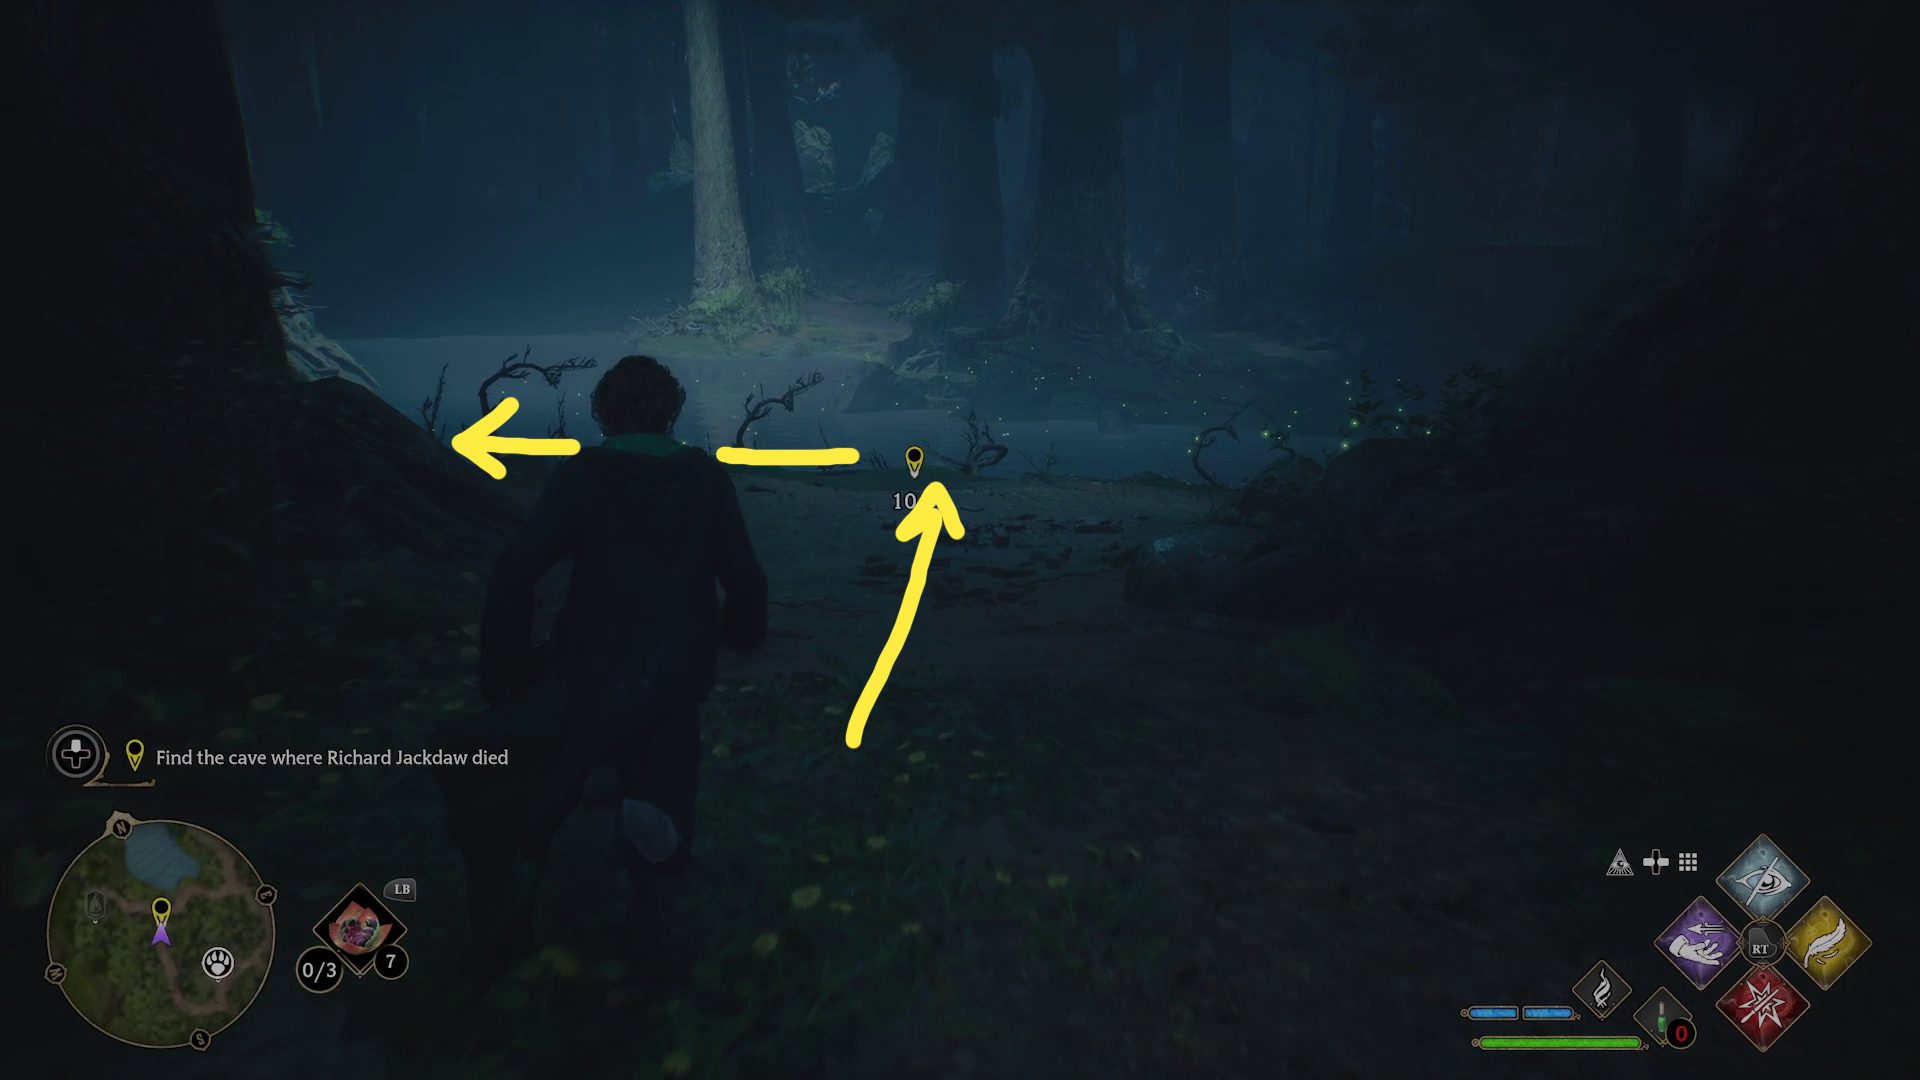
You’ll reach another fork — go left (1), making sure to keep an eye on the minimap to ensure you’re on the right path. Keep following the path and you’ll come to a lake. Stand where the objective marker indicates, then go left (2).
12
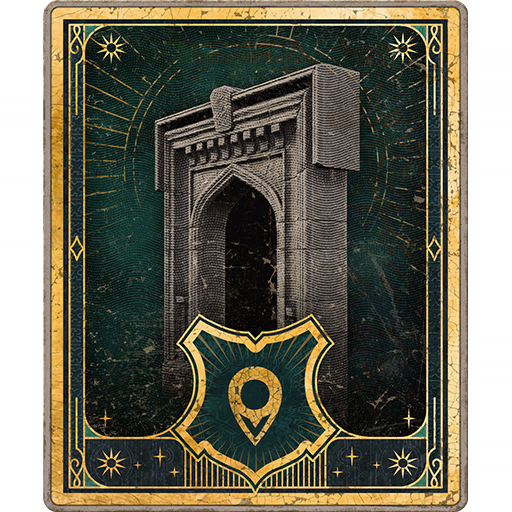
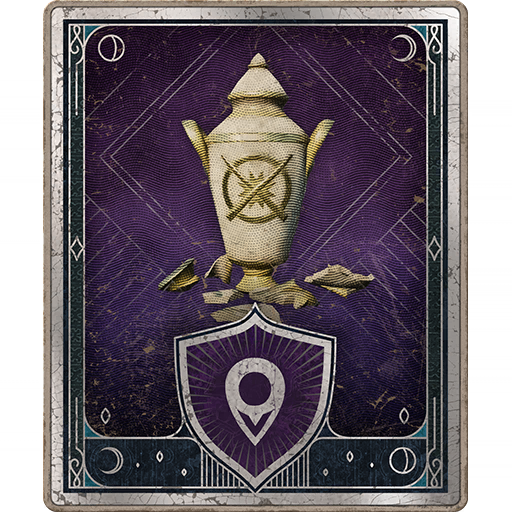
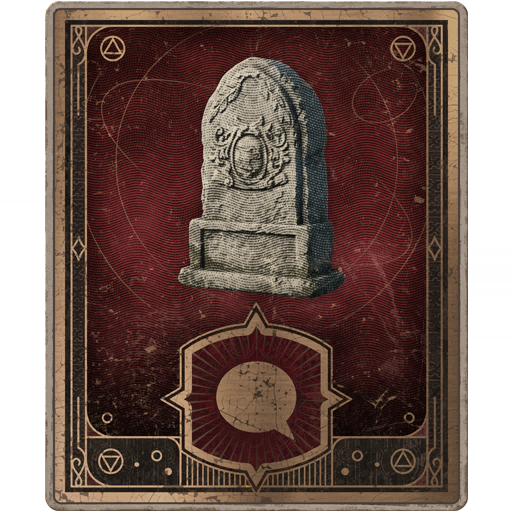
Whisper the Password
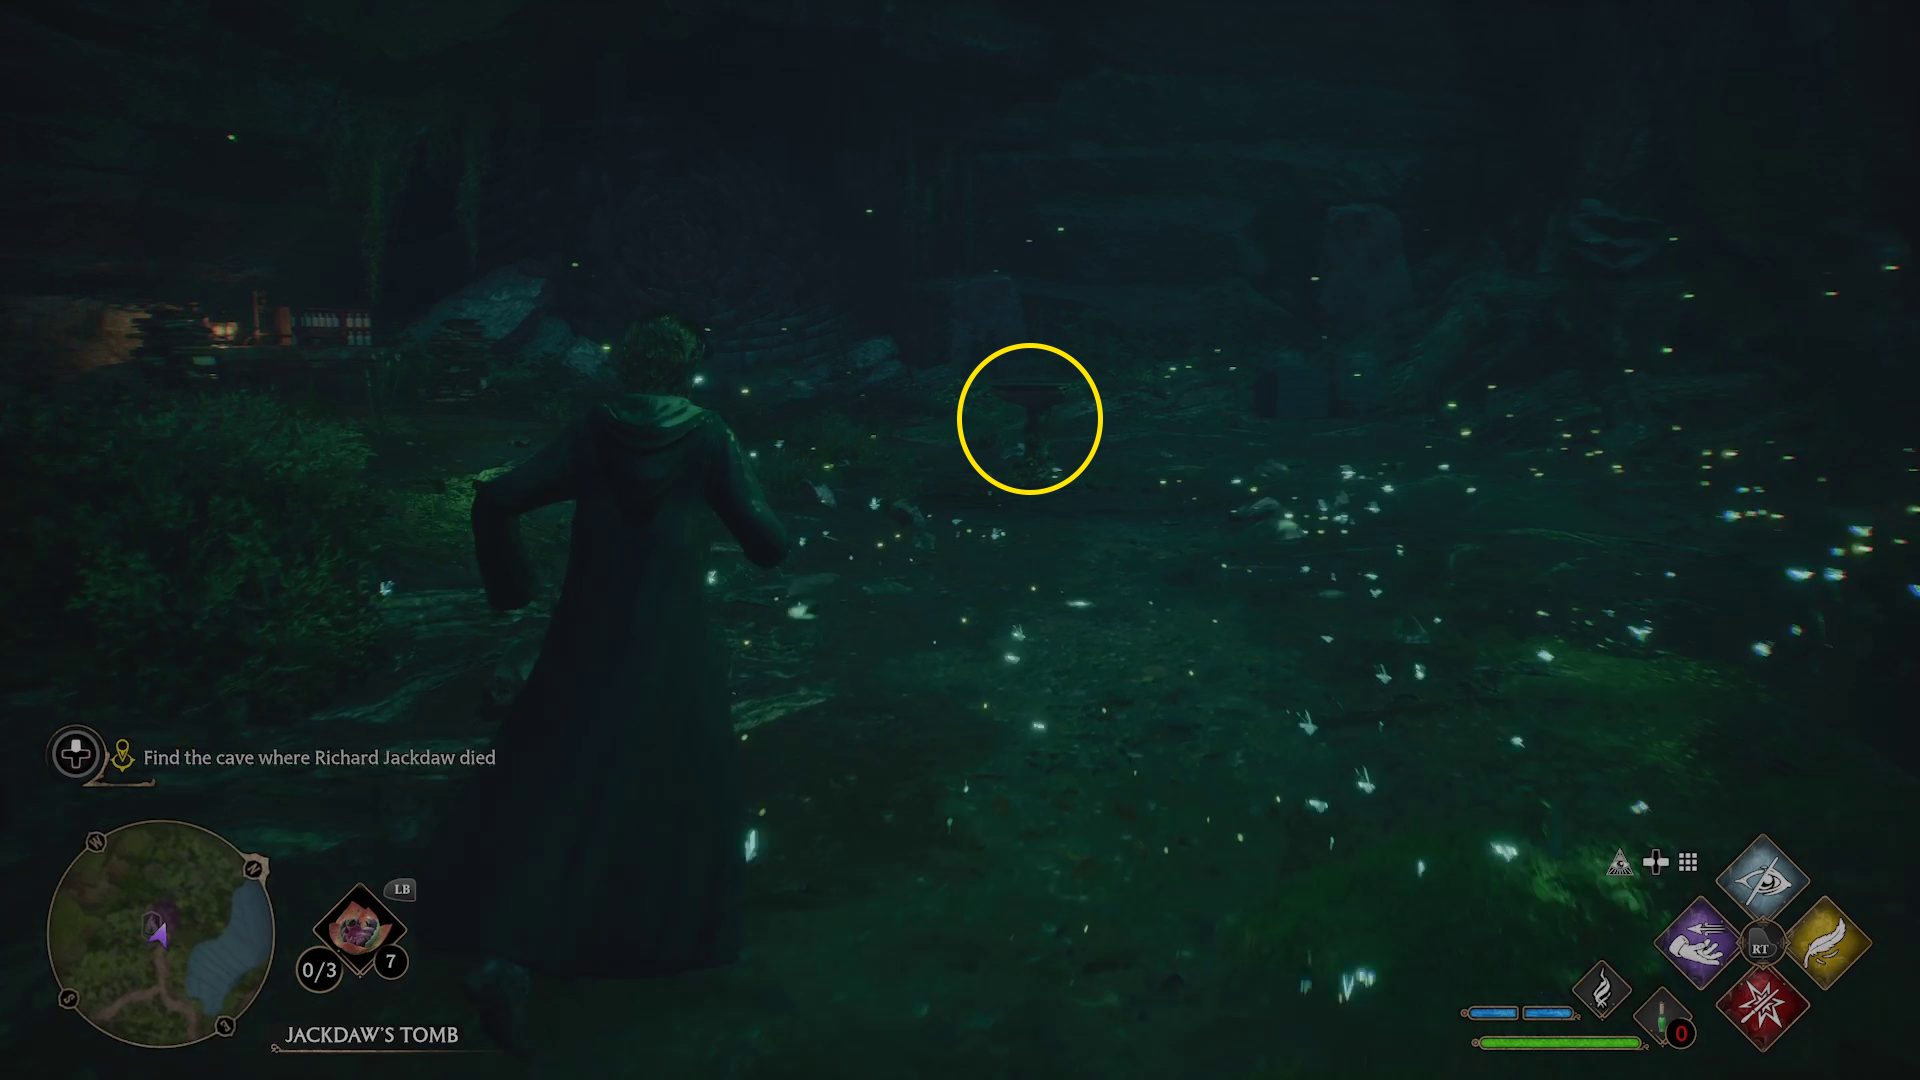
You’ll enter a clearing with lights floating near the ground — grab the Floo Flame for Jackdaw’s Tomb on the left, and then walk up to the stone basin (1). When you get close to it, you’ll be able to press / to whisper the password. This will cause the strange wall ahead to open — walk up to it (2), stand in front of it, and you’ll be attacked by some of Ranrok’s goblins.
12
Defeat Ranrok’s Loyalists
Make use of Expelliarmus to break red shields and disarm your foes, and make sure you’re using Ancient Magic whenever it’s available — ideally on enemies with full health. Once you’ve defeated all the goblins, make sure you pick up any loot they dropped!
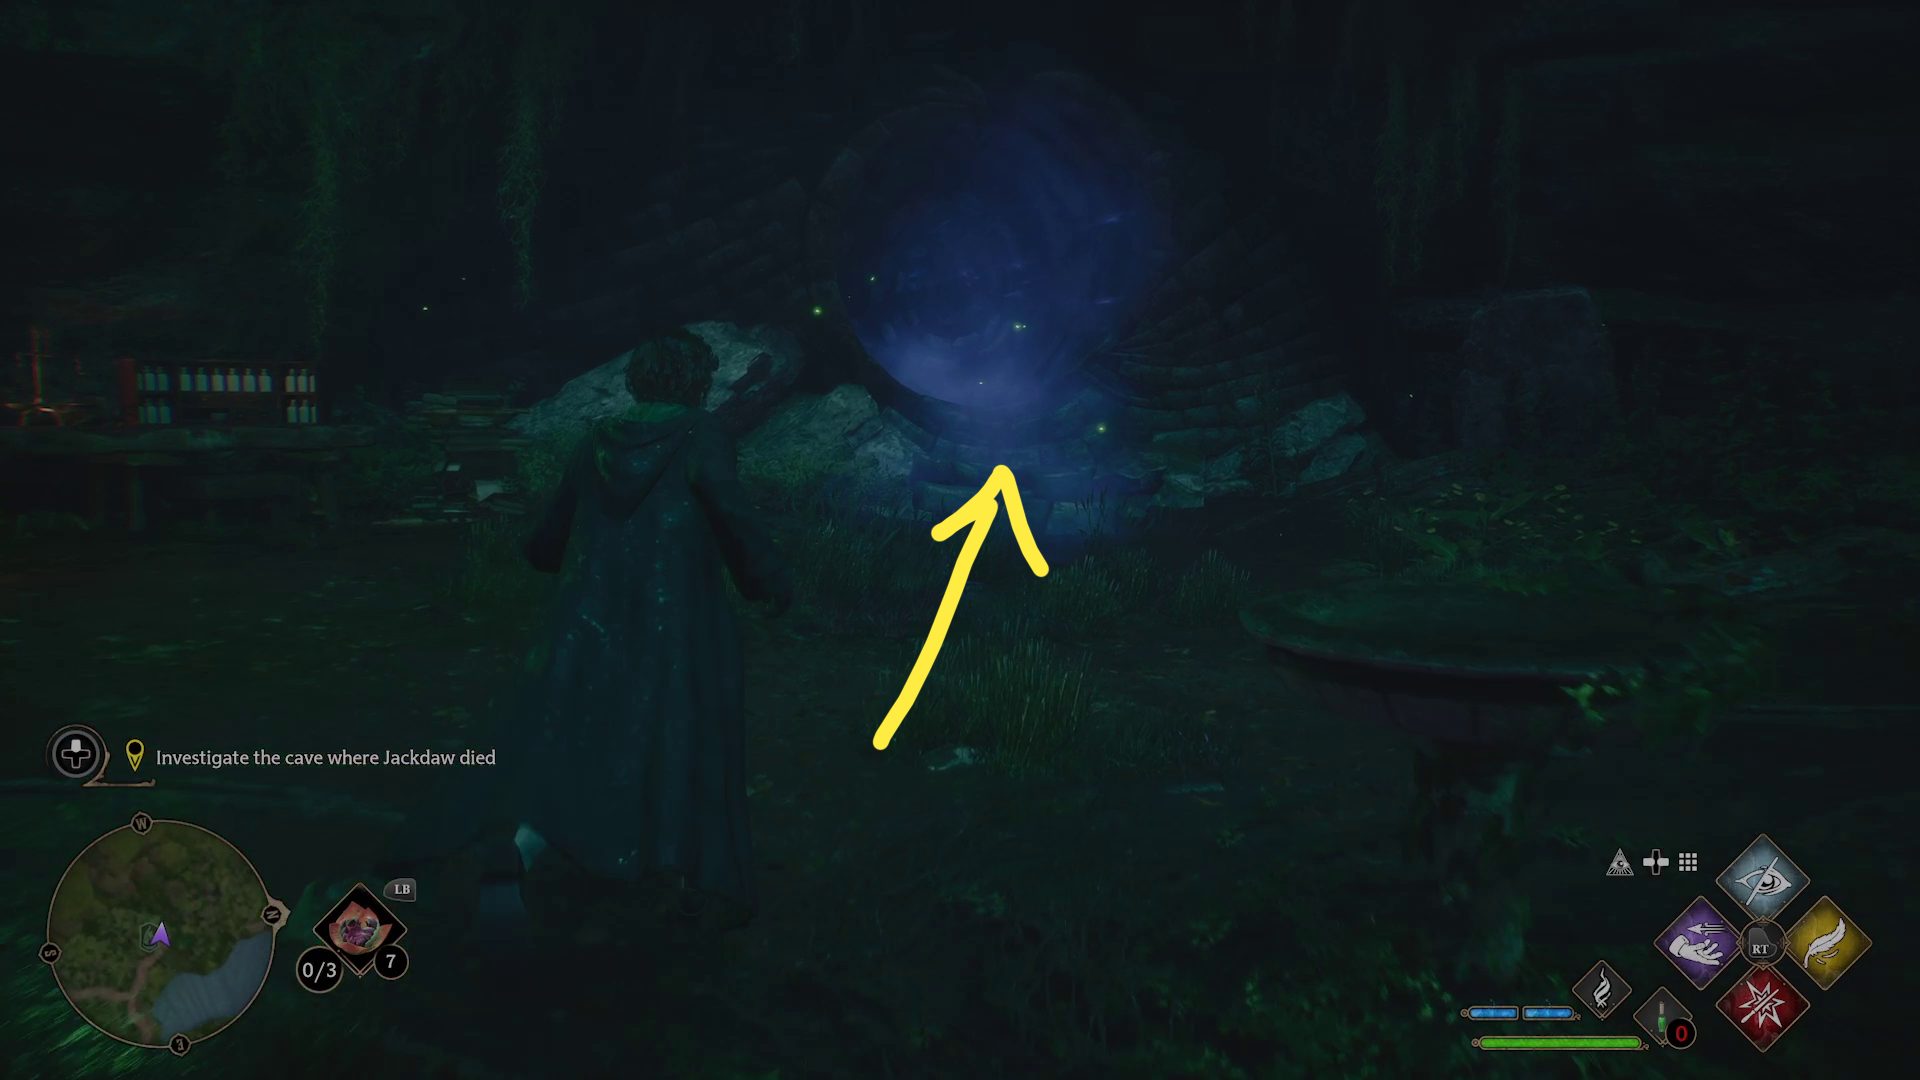
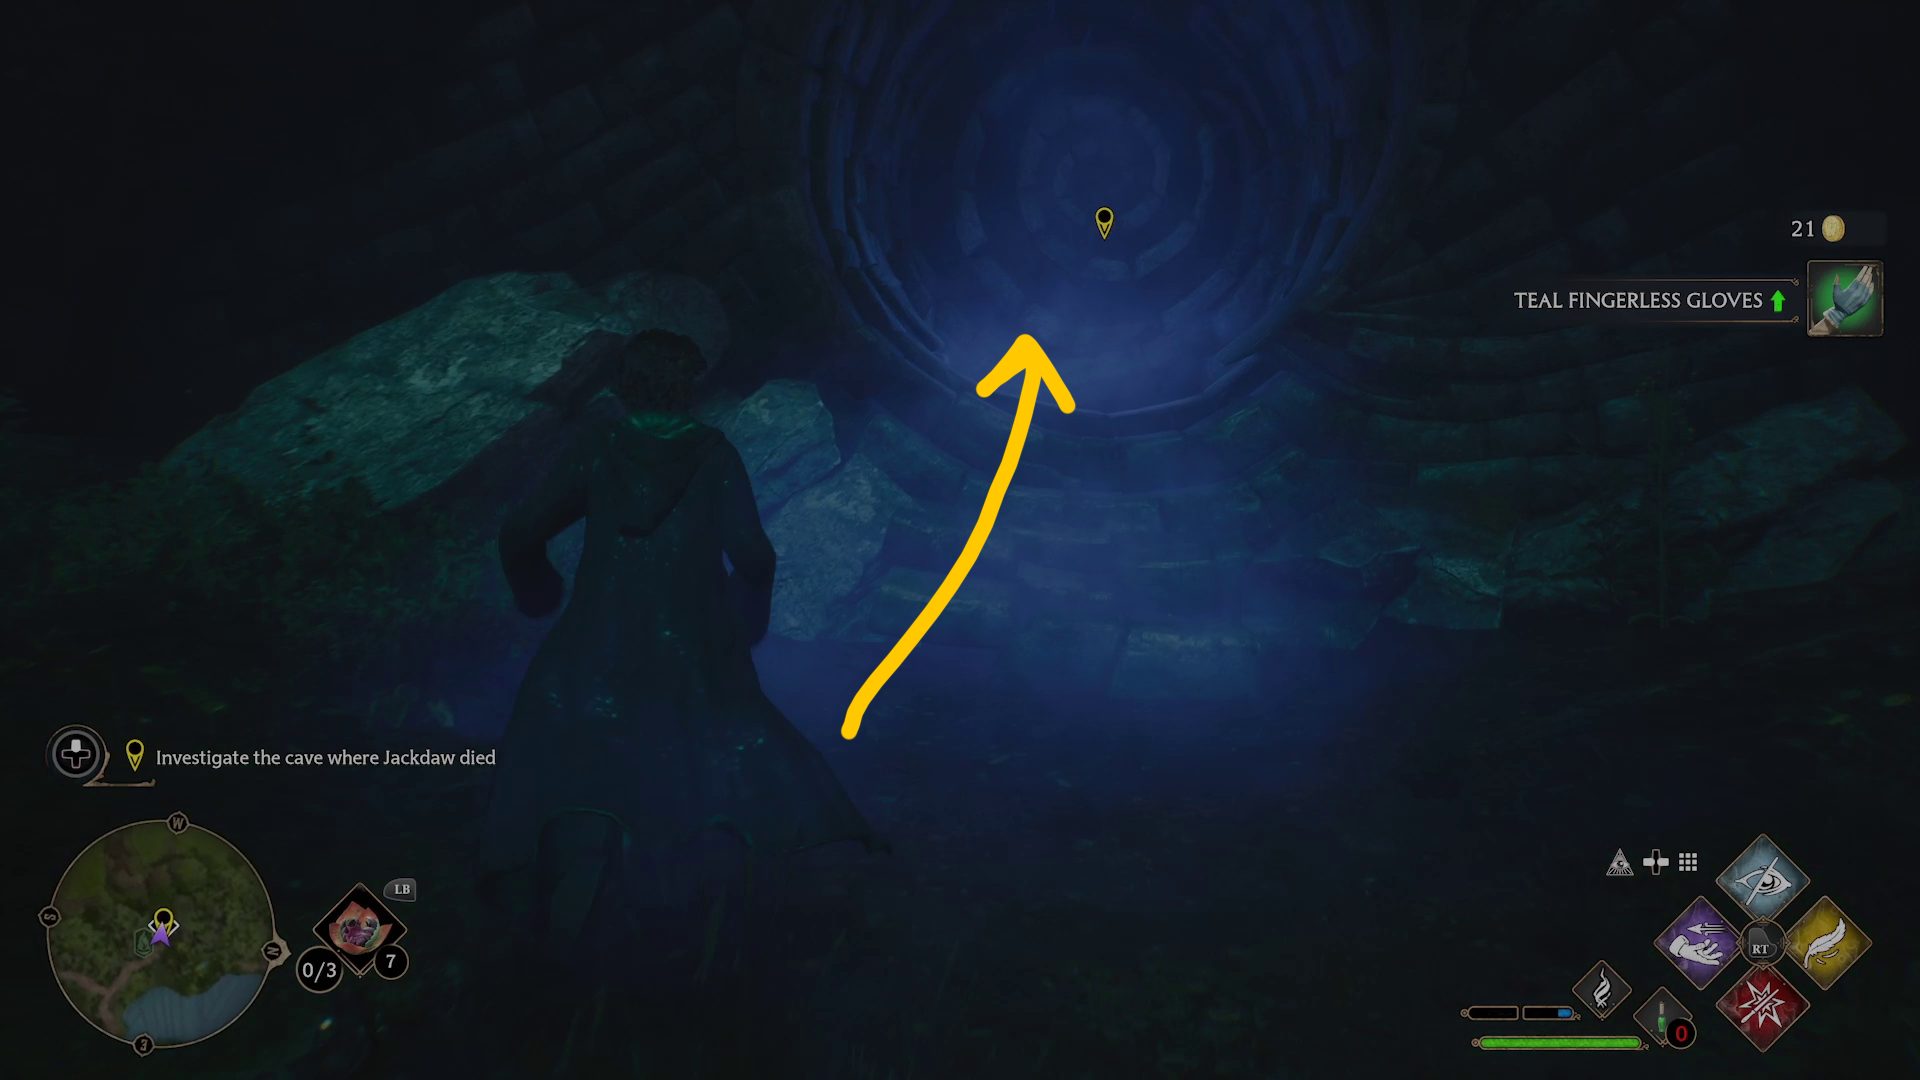
Investigate the cave where Jackdaw died
With those pesky enemies gone, you can approach the strange wall you opened with the password (1), and enter it by holding /.
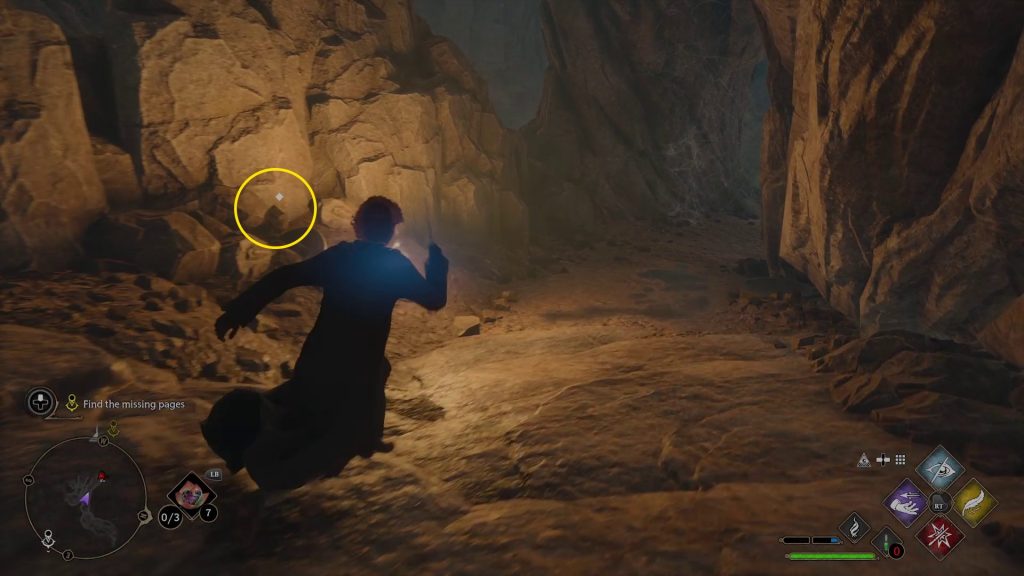
Find the Missing Pages
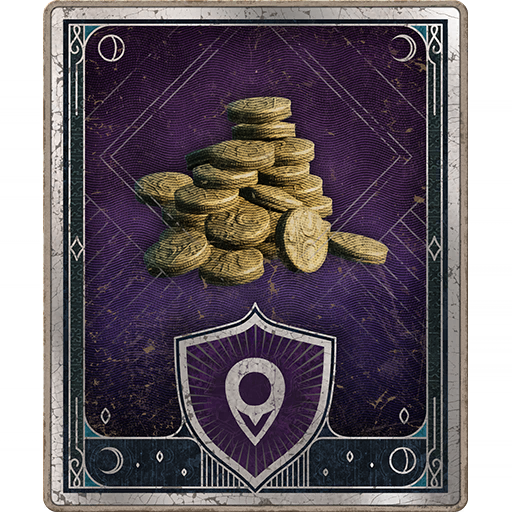
Continue forward, harvesting Horklump juice from the toadstools on the ground. You’ll come to an area with a door puzzle — grab the moonstone from the base of the wall opposite the door, and then face the door. Basic Cast all three orbs in rapid succession (1), a cutscene will play, and the door will open. Go through the now-open door, making sure you grab the small amount of gold on the left by the brazier (2).
12
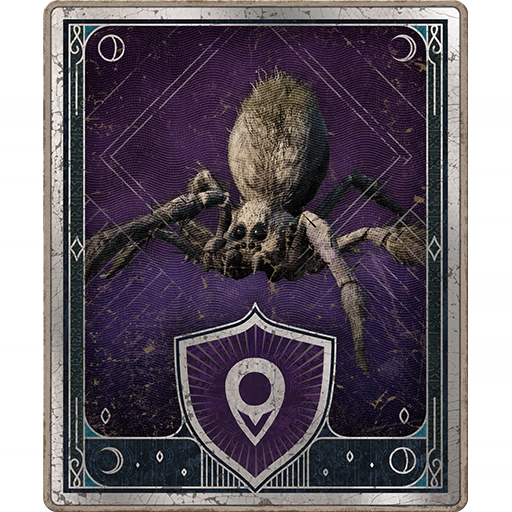
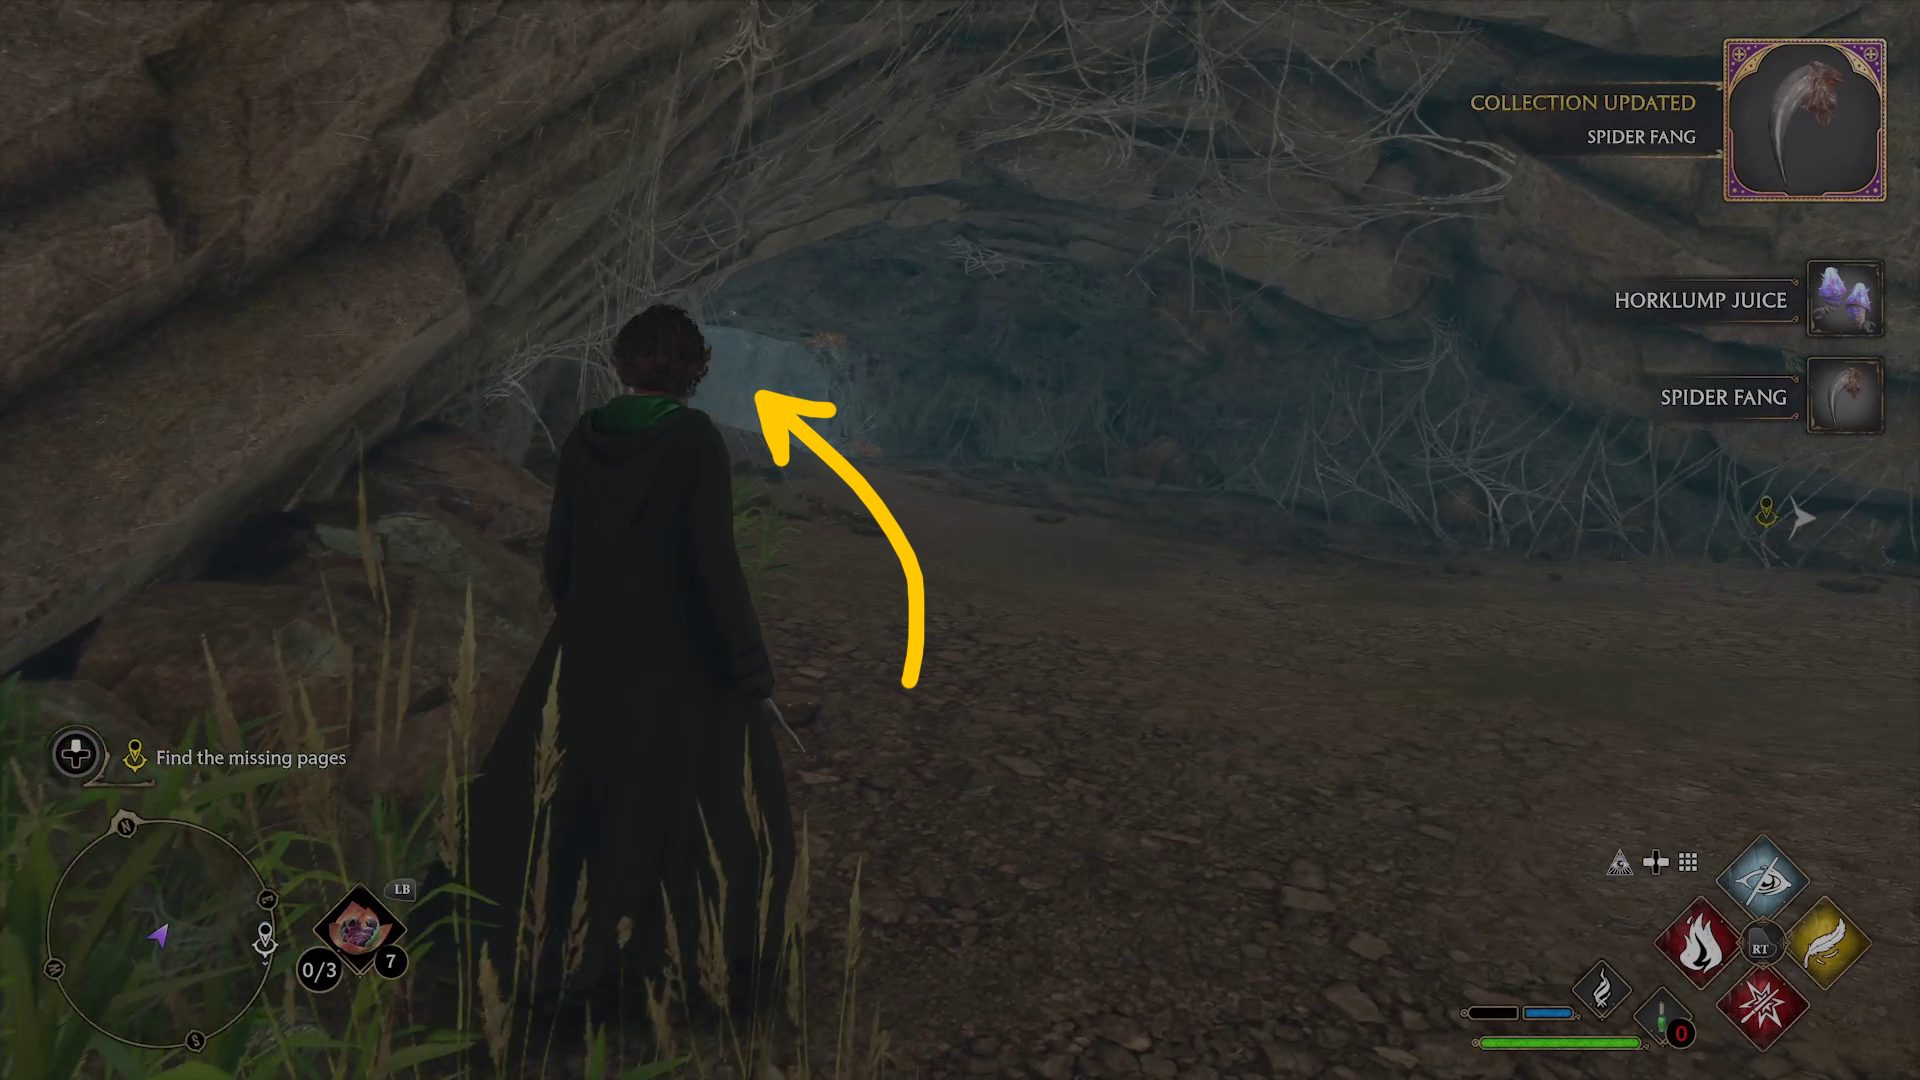
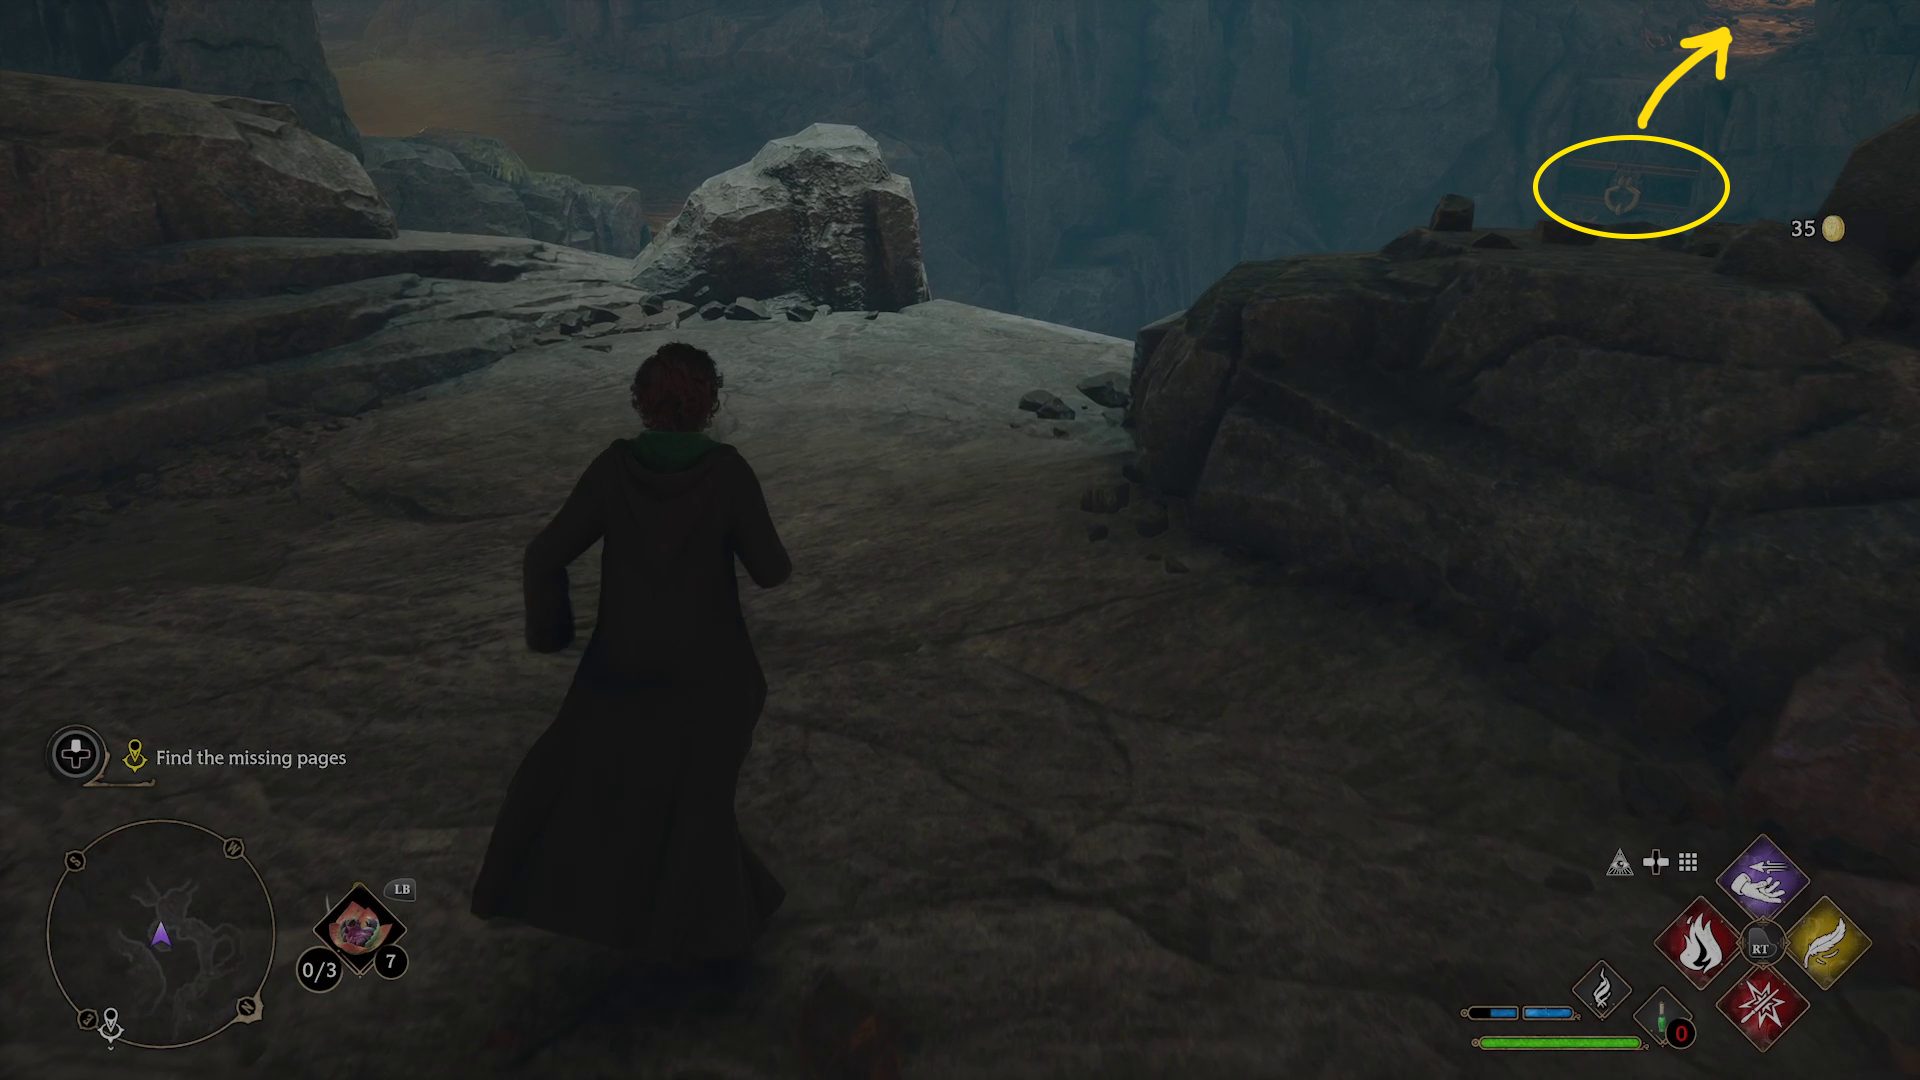
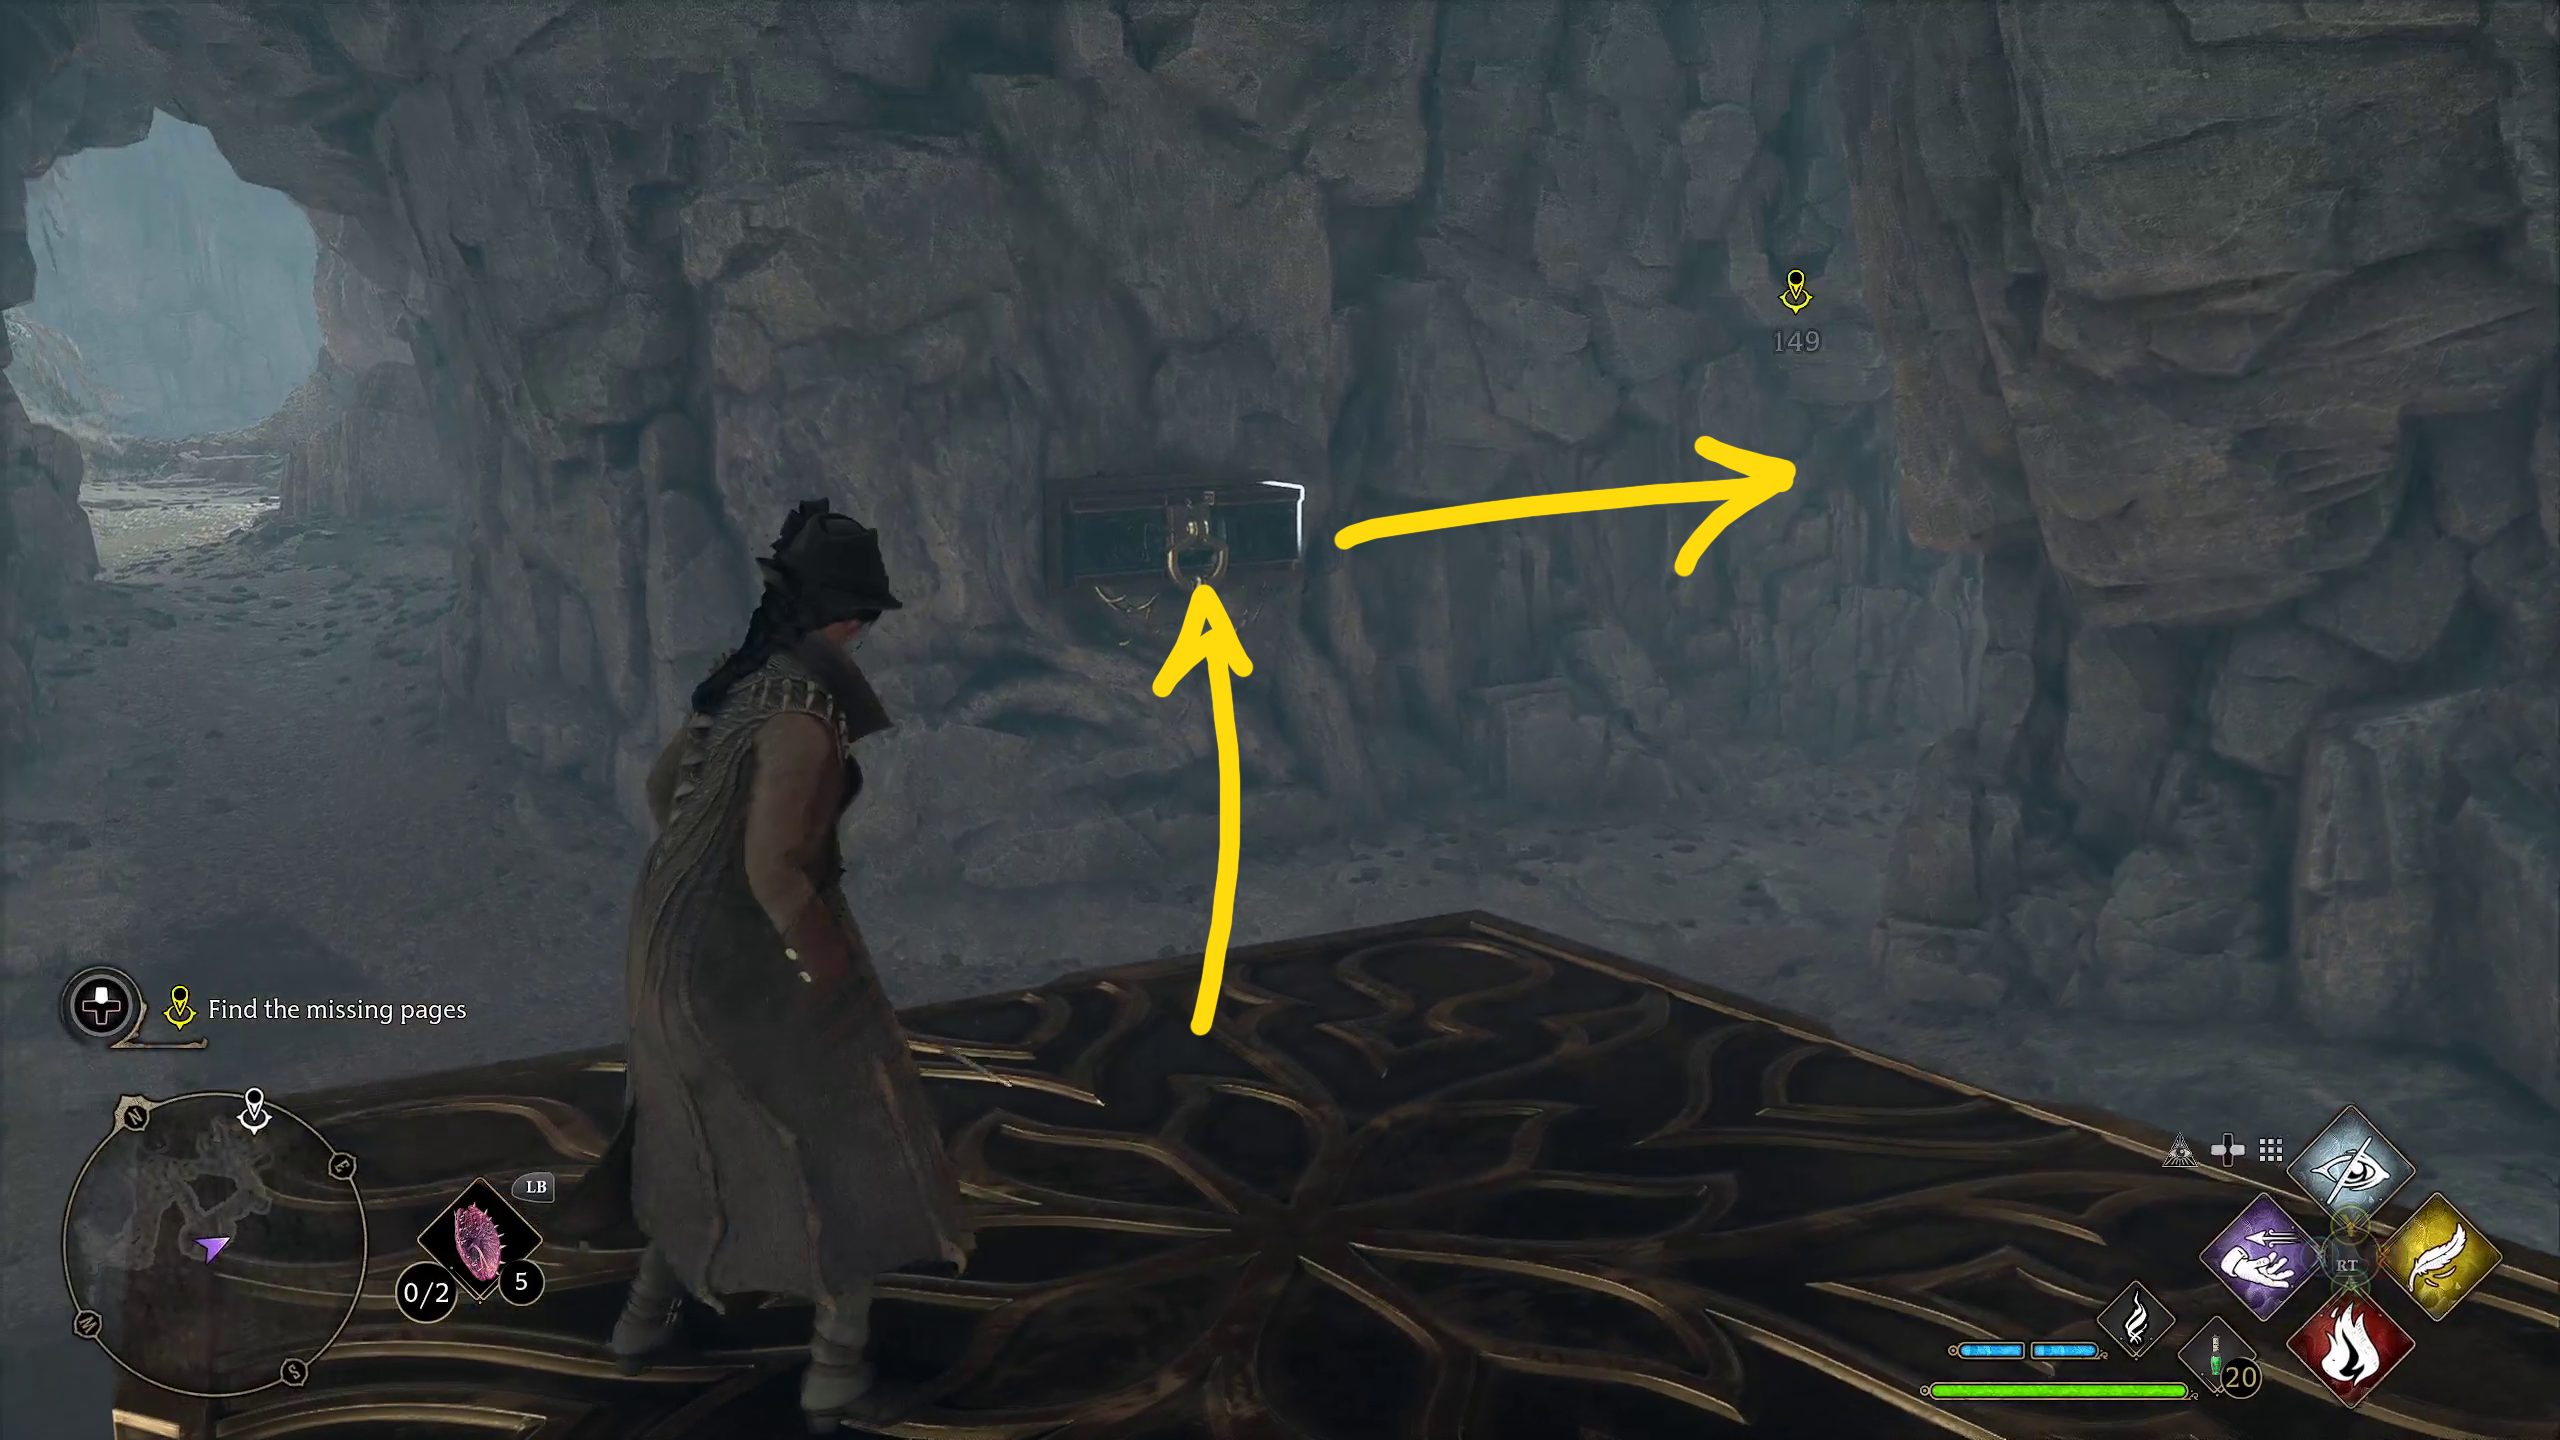
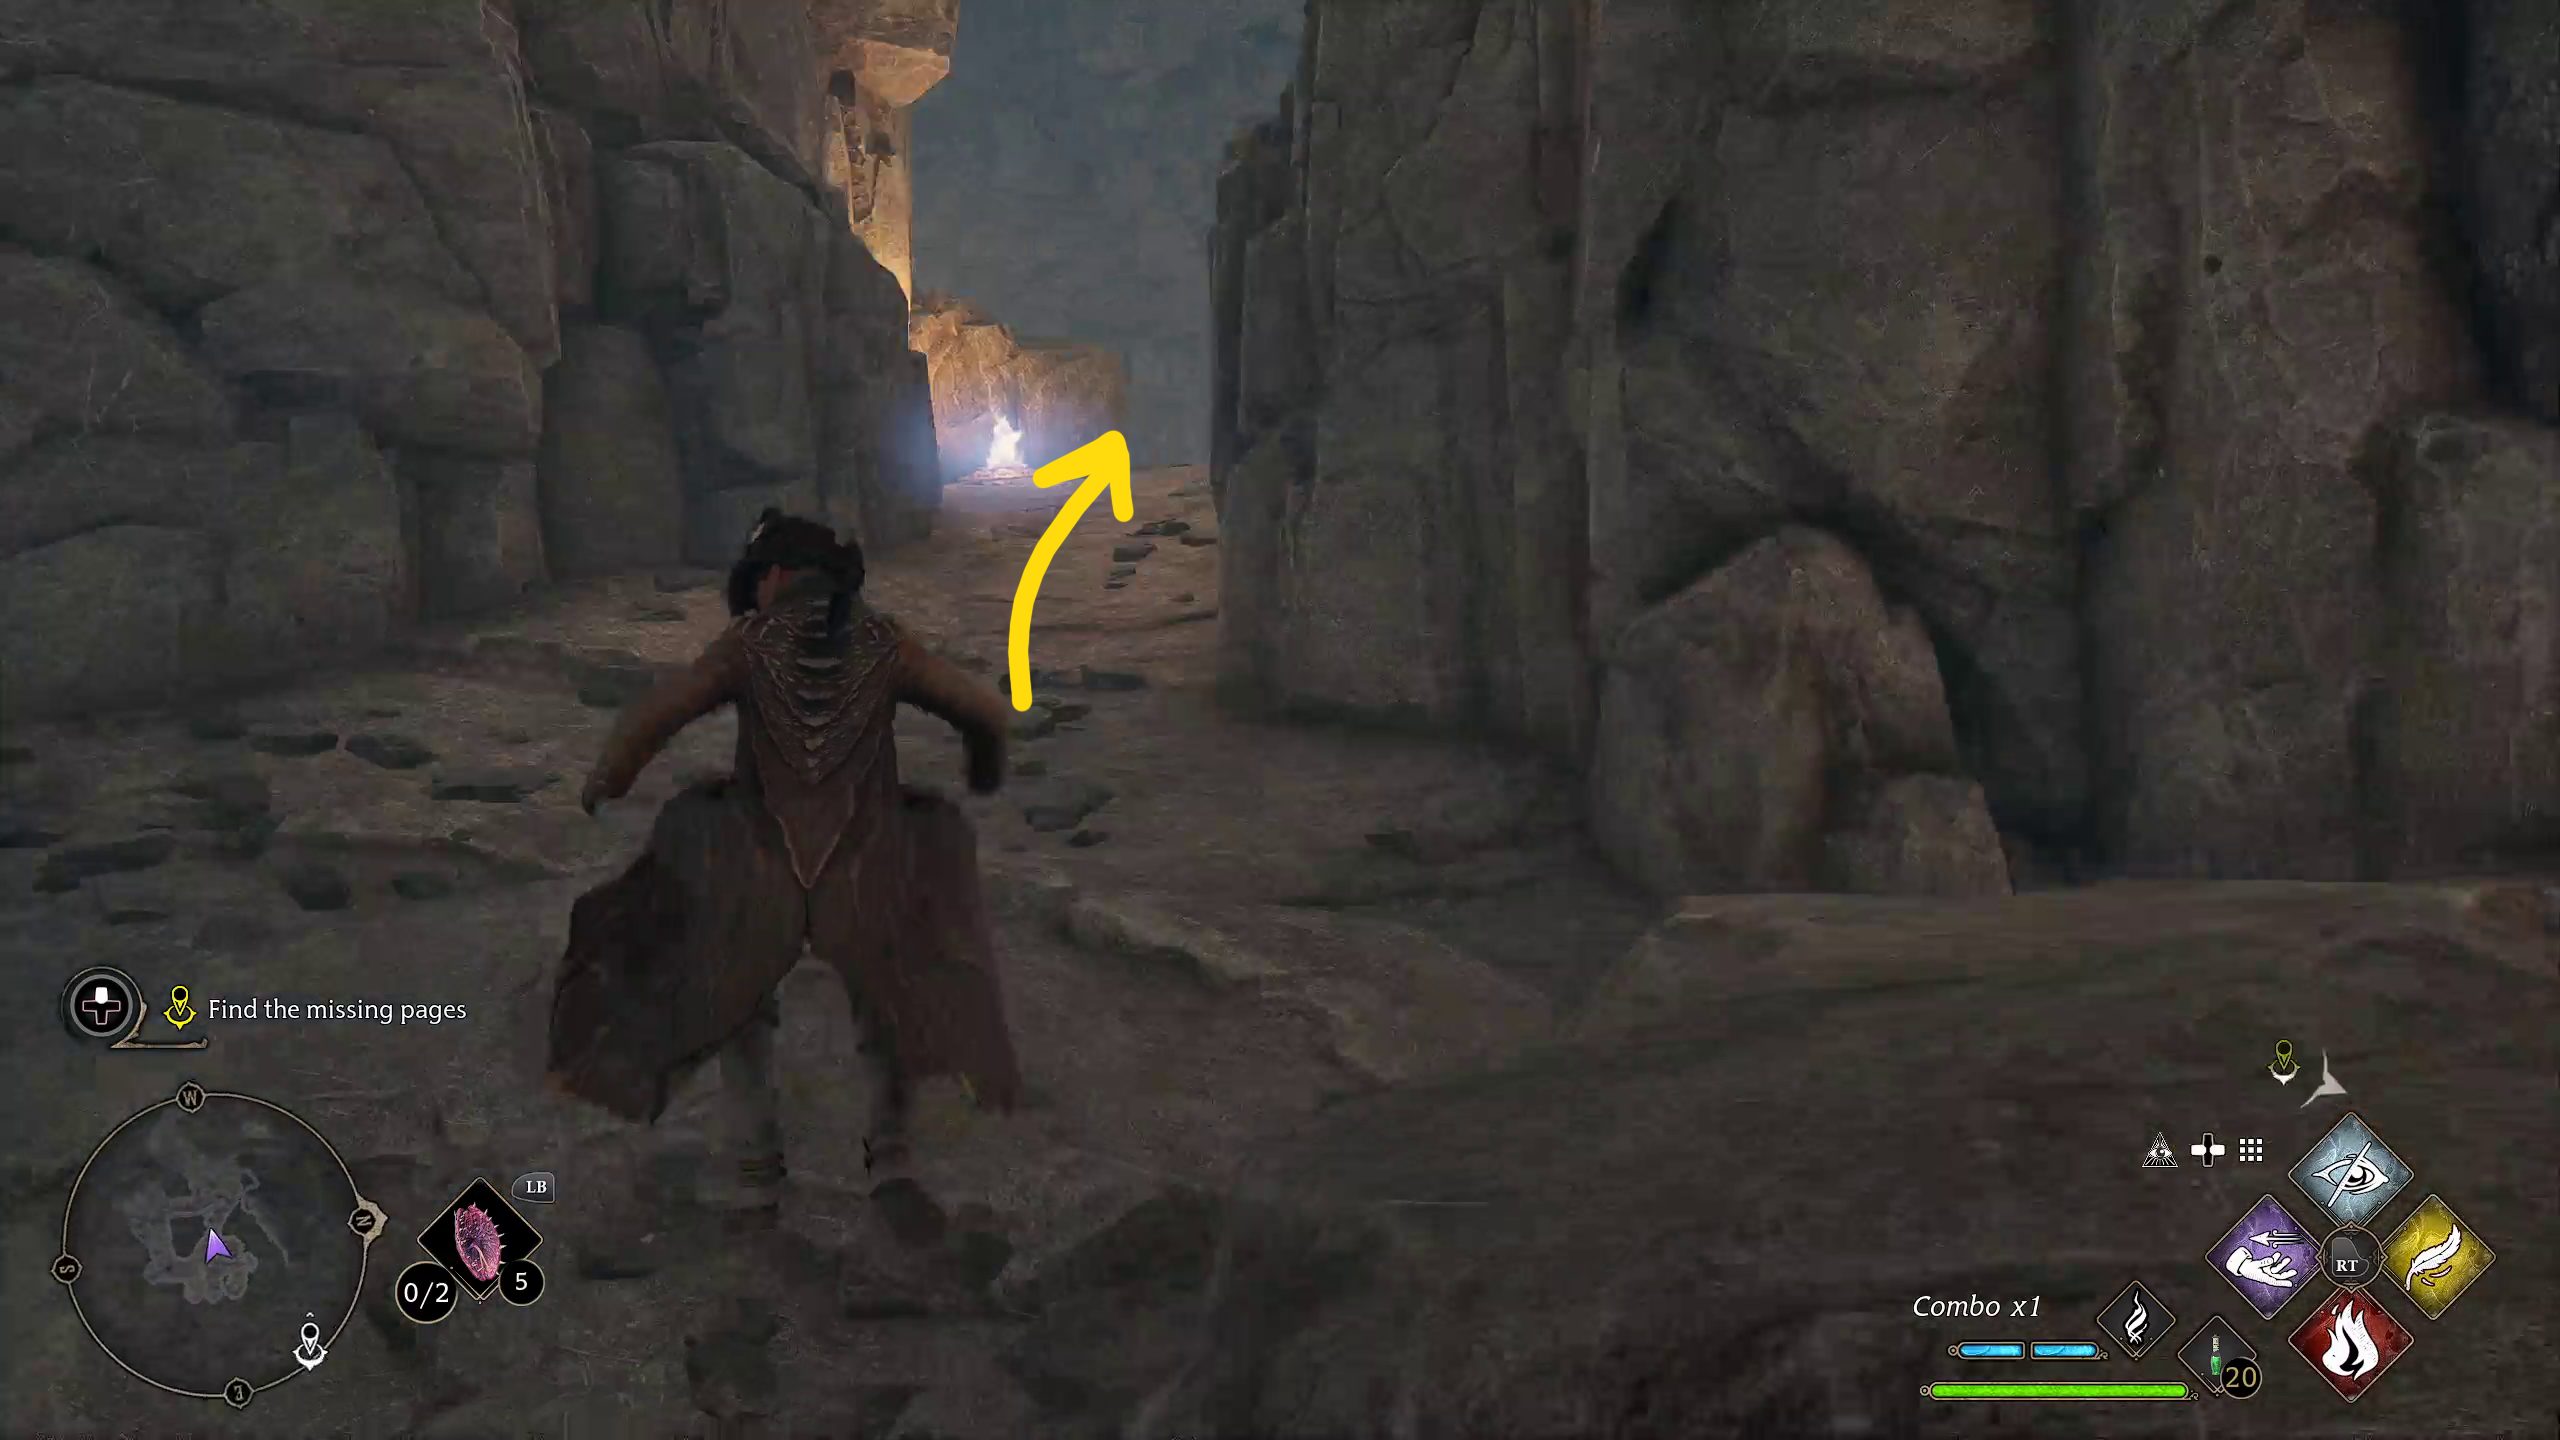
You’ll soon find your path blocked by a spider’s web, which is easily removed with Incendio. Continue forward and you’ll be ambushed by some spiders. You can light them on fire with Incendio, then Basic Cast, to explode them. Once they’re all dead, go north through the small hole (1) to find a room full of more spiders, with a chest on the far wall. Then go back the way you came and continue south downhill, dropping down the ledges.
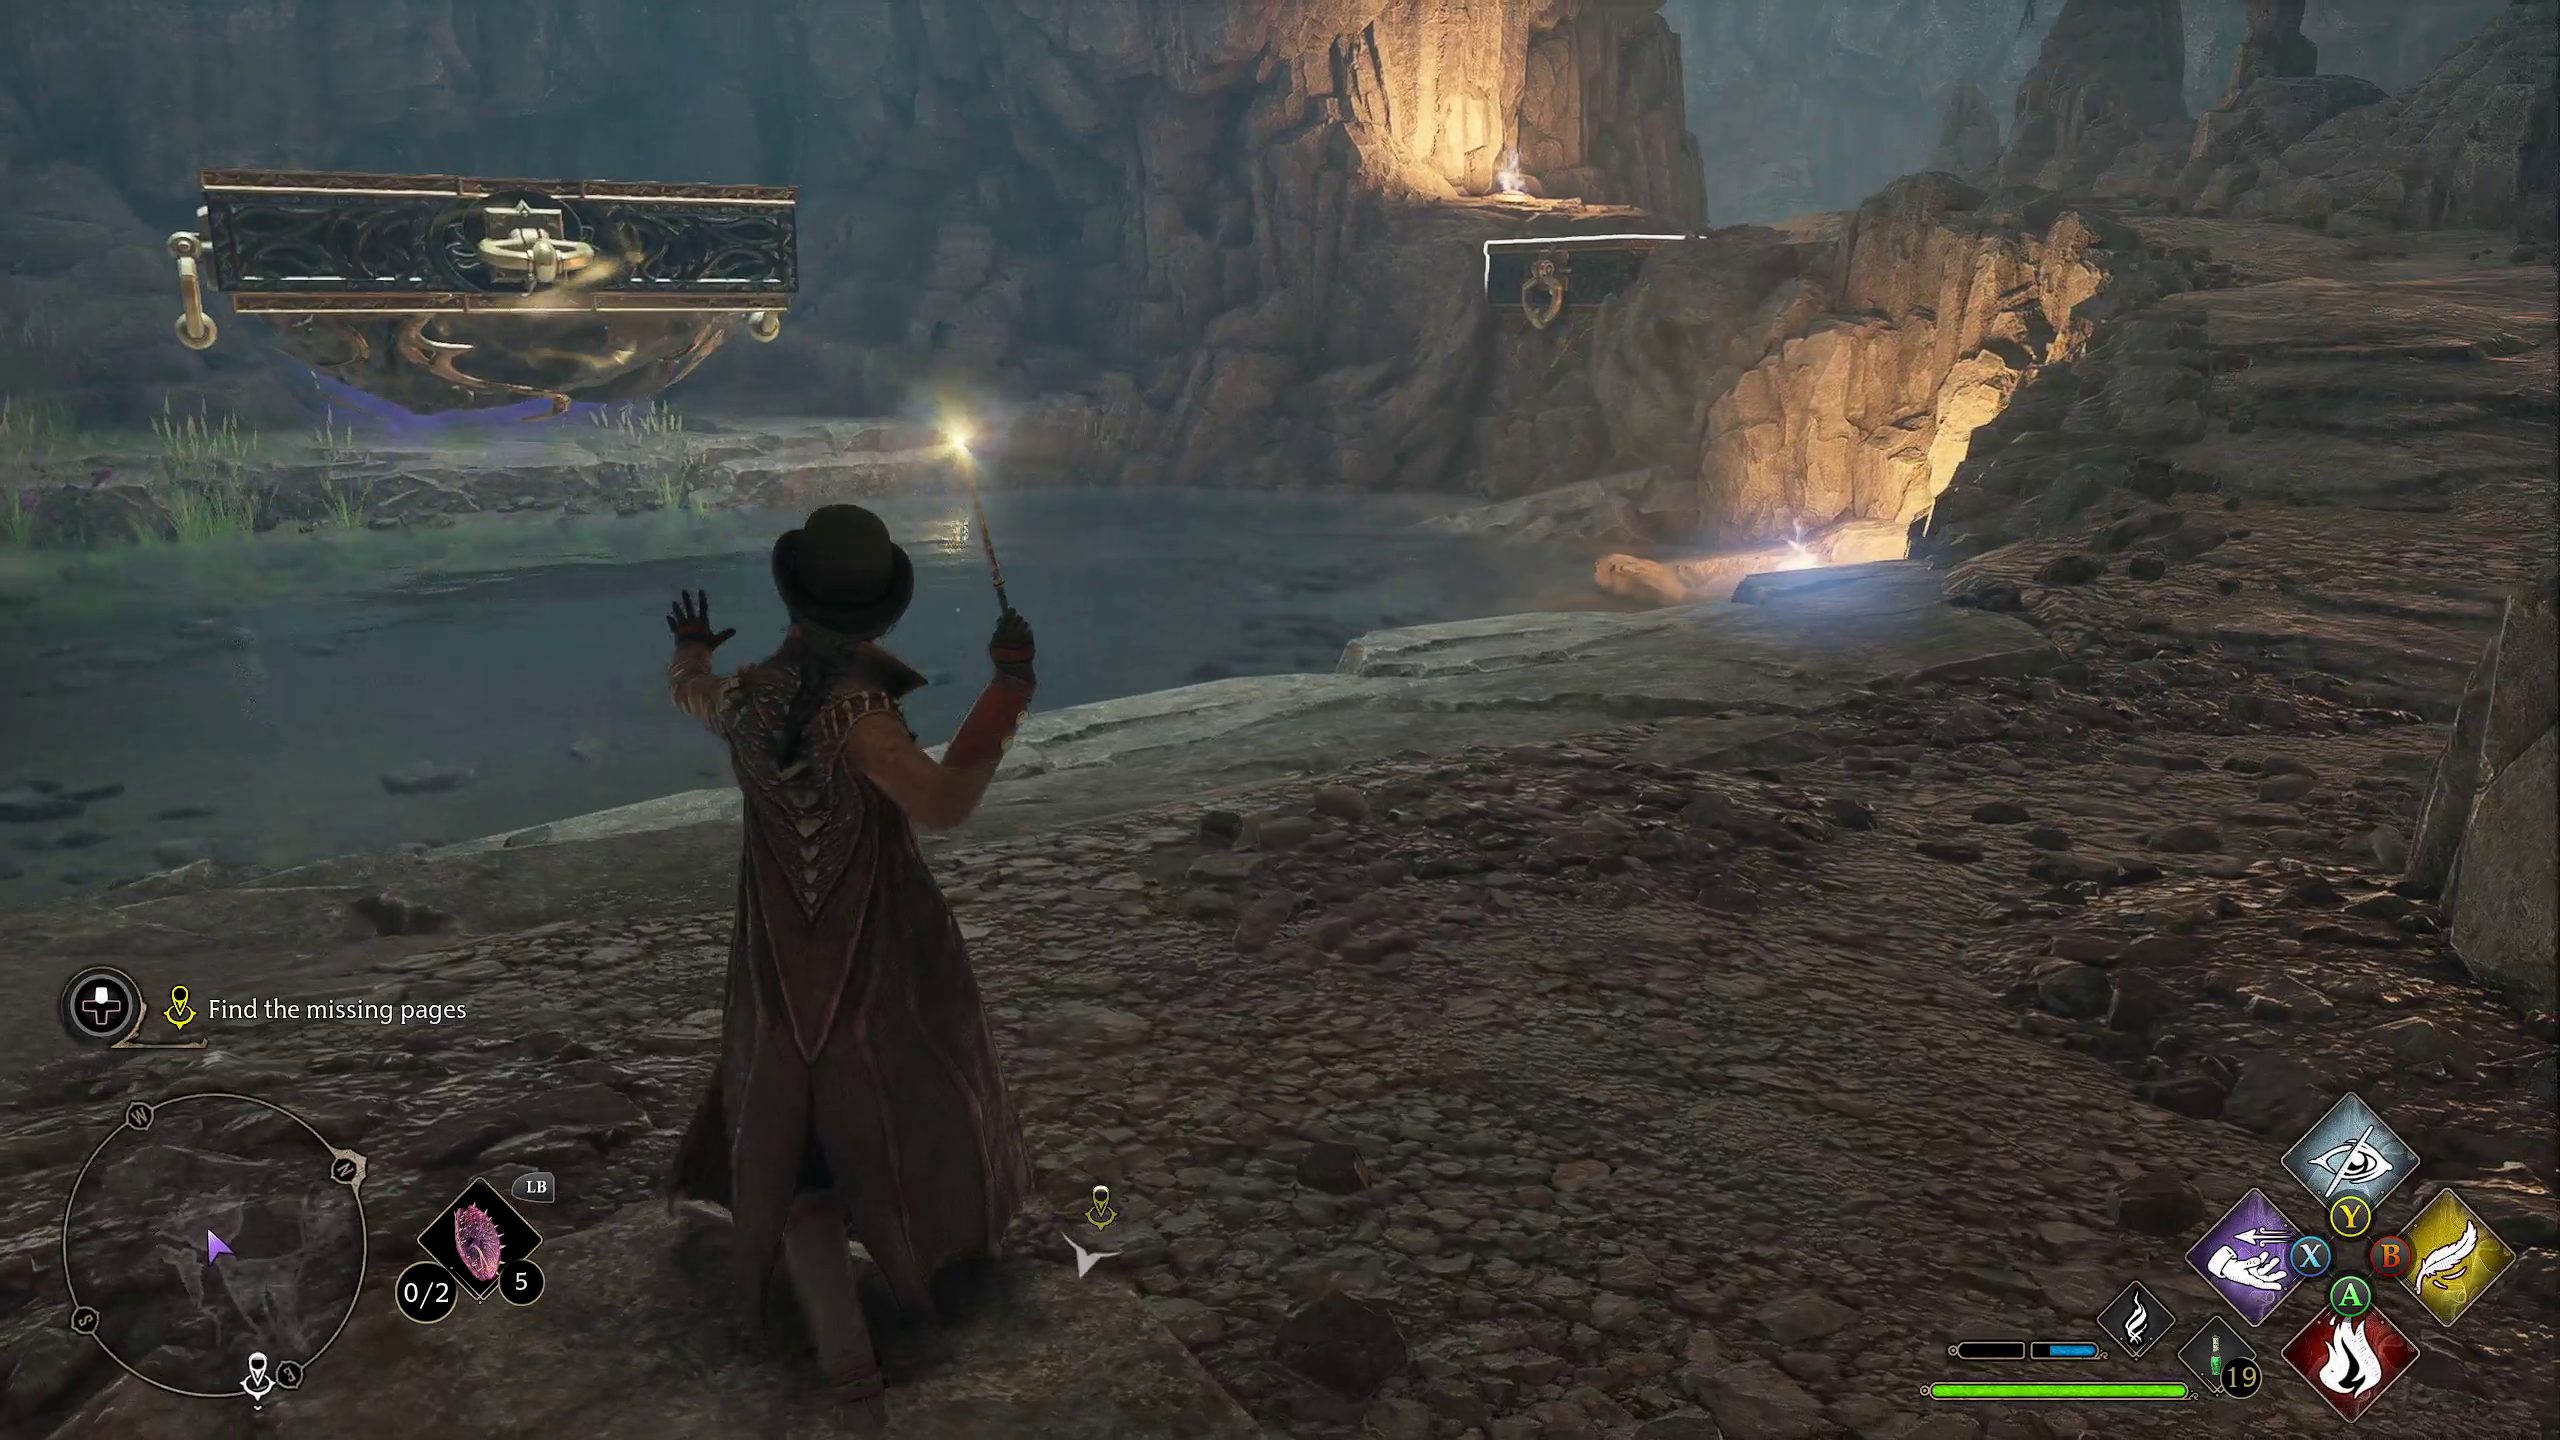
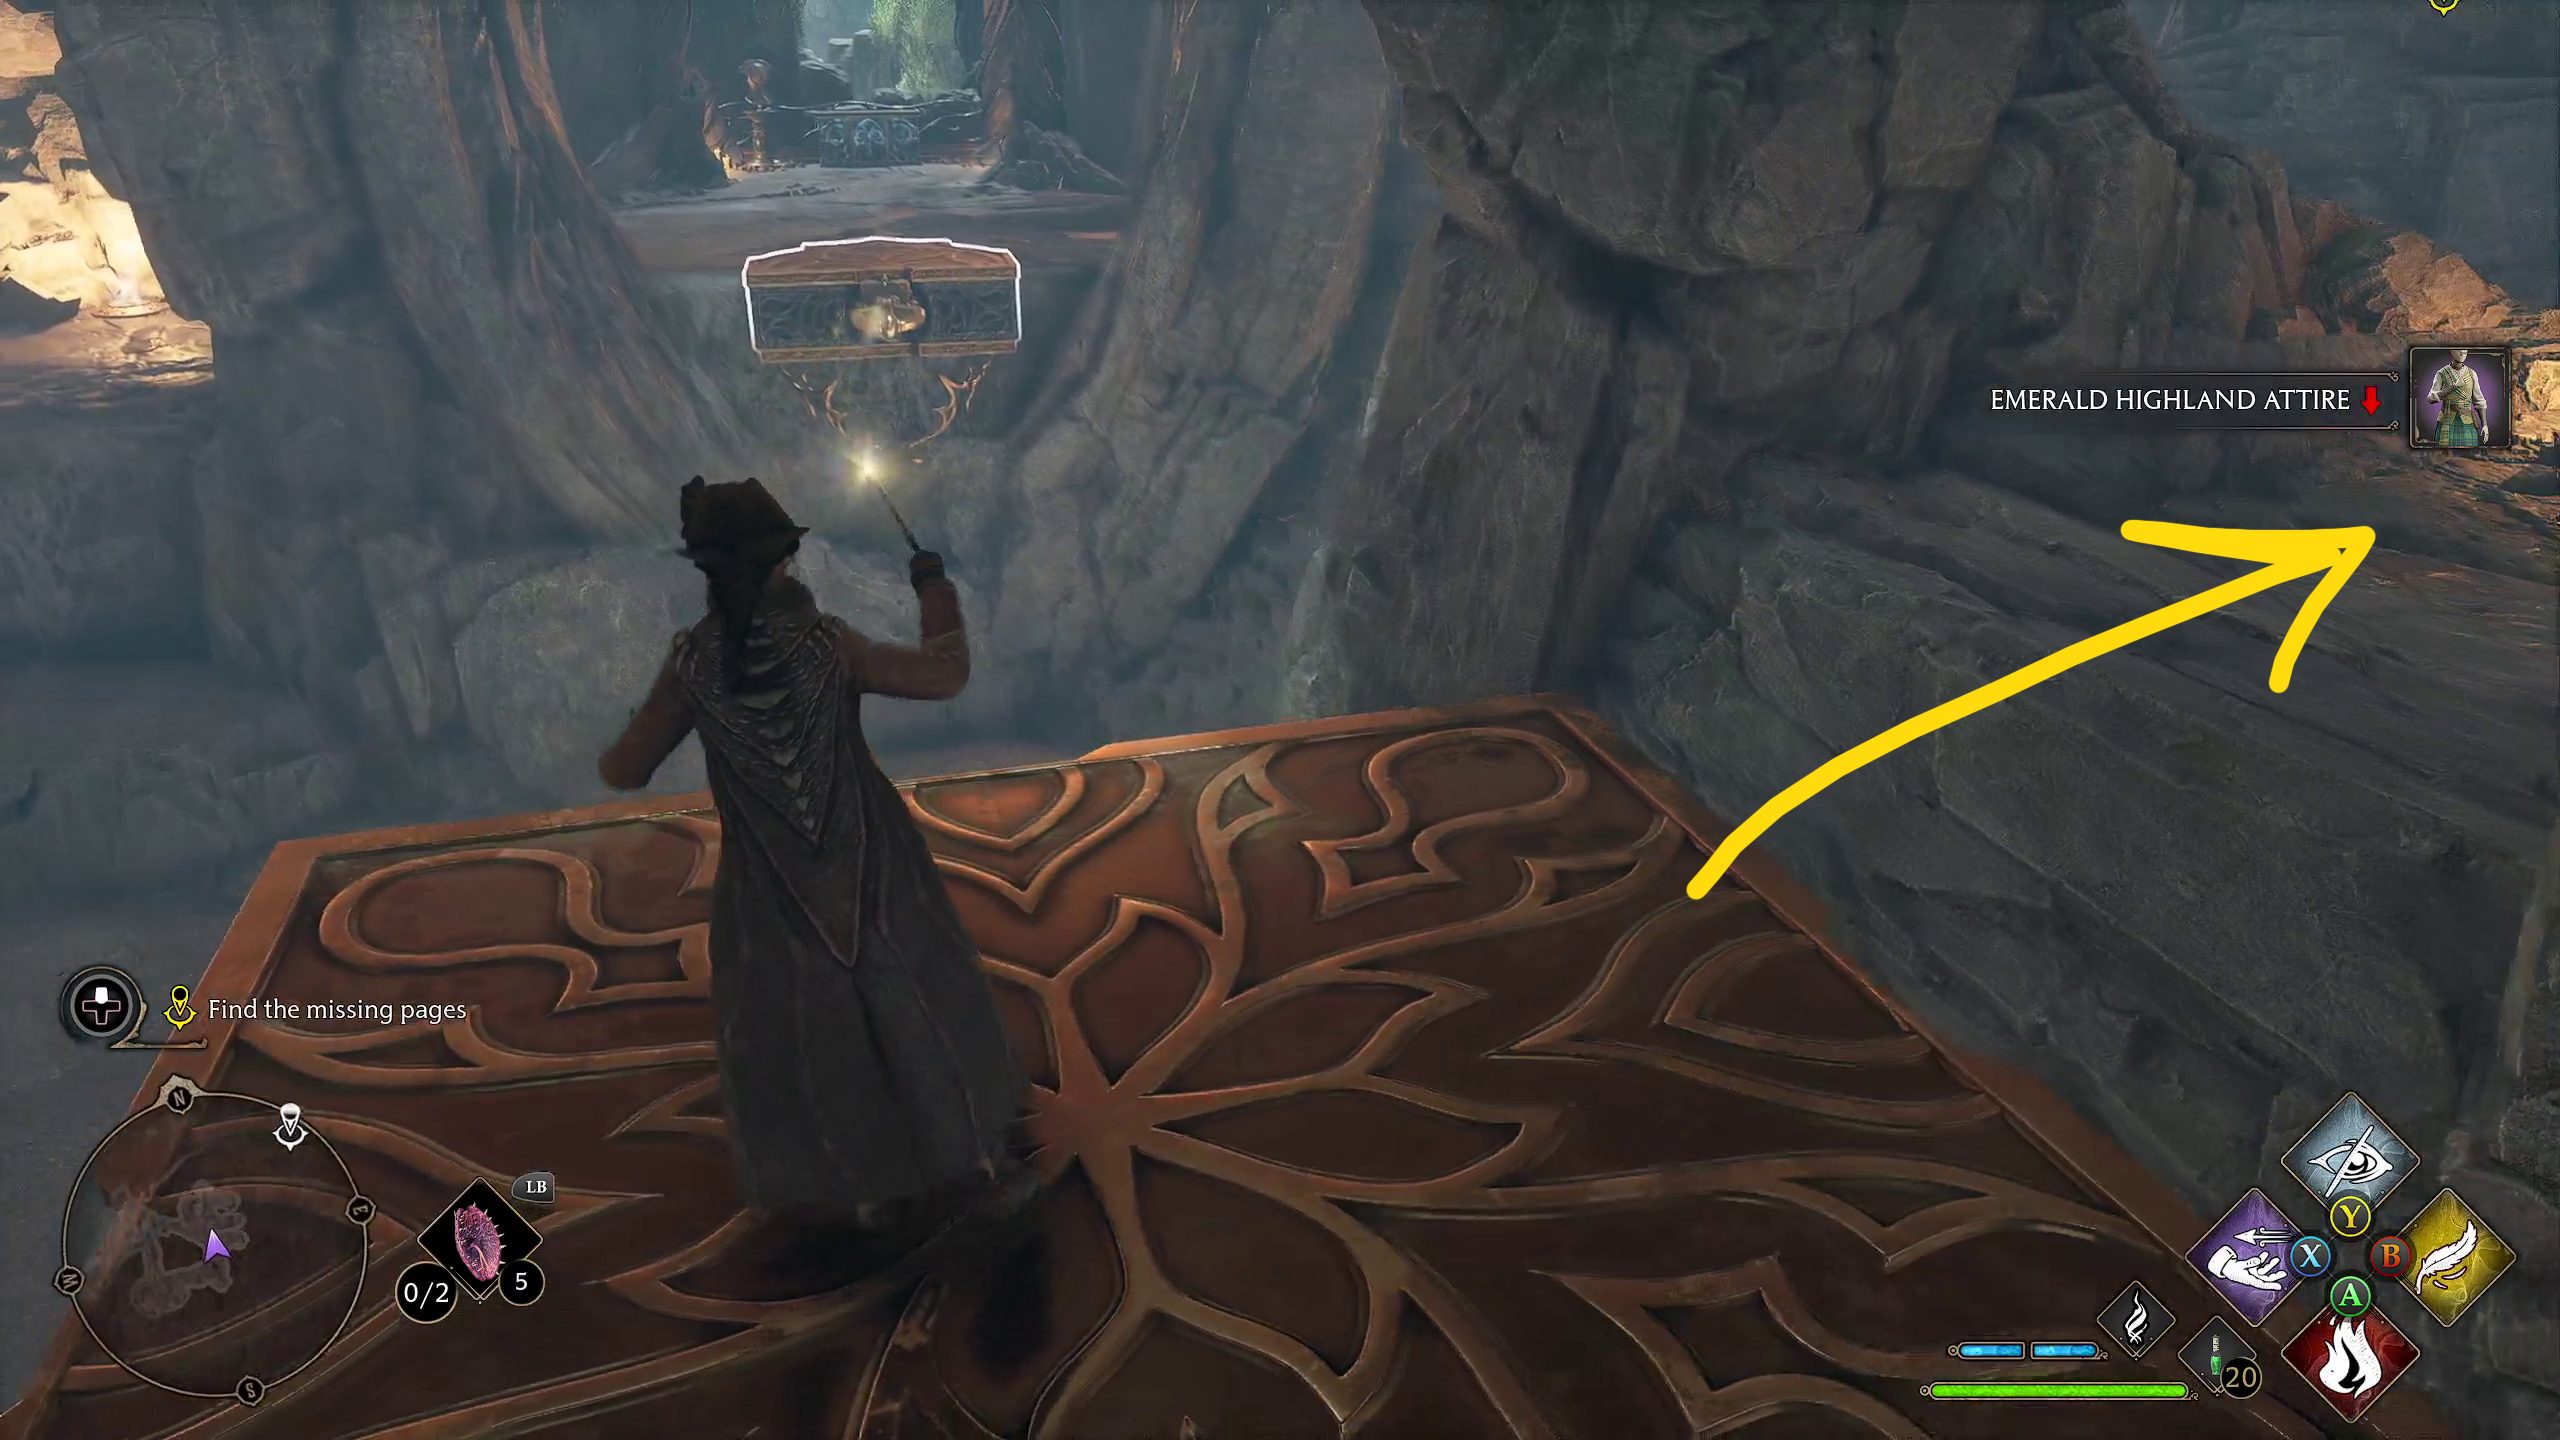
First, turn right to head west into a chamber with some floating platforms. Stand as seen below (2) and pull the platform in the center of the room towards you with Accio, then hold / and move forwards to climb up onto it. Turn left, aim at the metal ring, and pull yourself to it with Accio (3). Jump off it and go southwest to find a chest.
123
Go back to the platform, and this time pull yourself across to the other side of the room (1), and continue left around the corner to find another chest. You’ll be ambushed by a few spiders, so watch out! Clean them up, loot the chest, then leave this room the way you came in (2). Continue east towards the narrow gap (3) — note the moonstone as well. More spiders will attack you here, be ready. One will also drop down behind you, so keep an eye on your minimap.
123
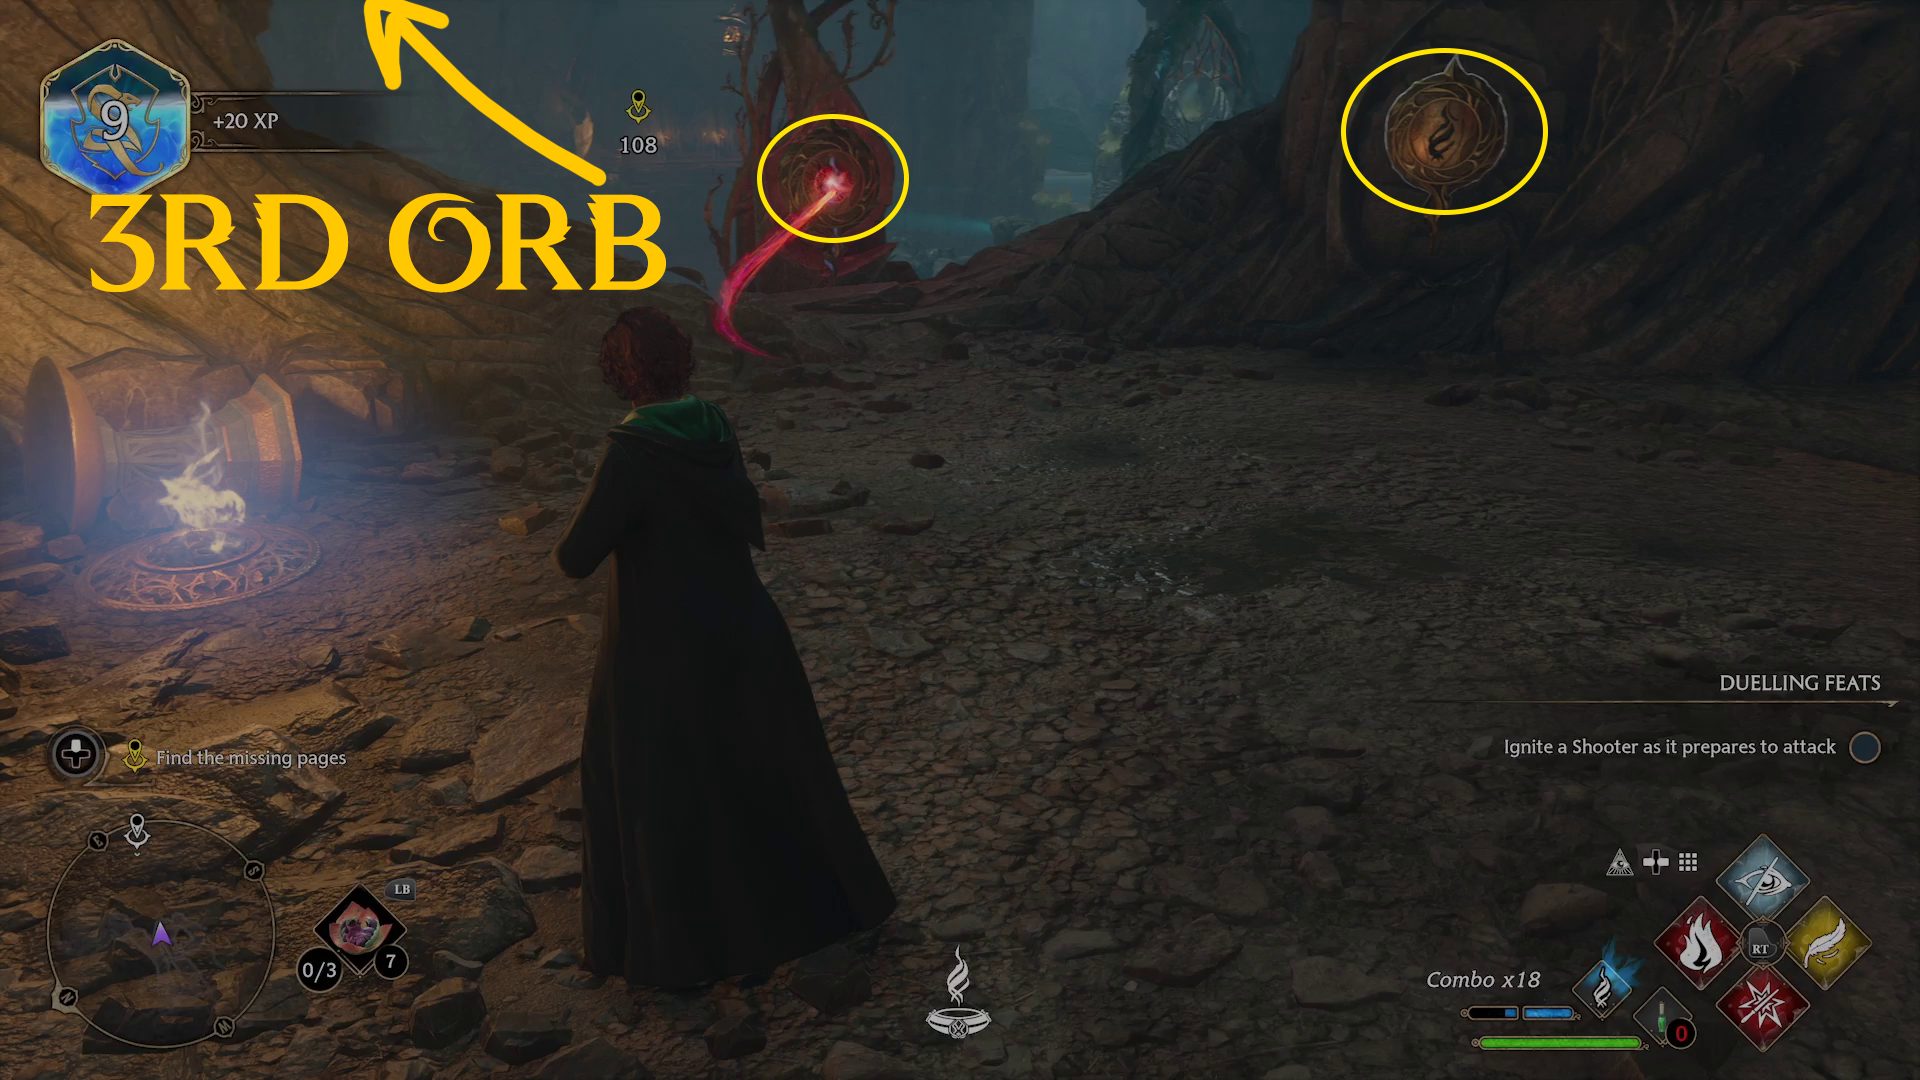
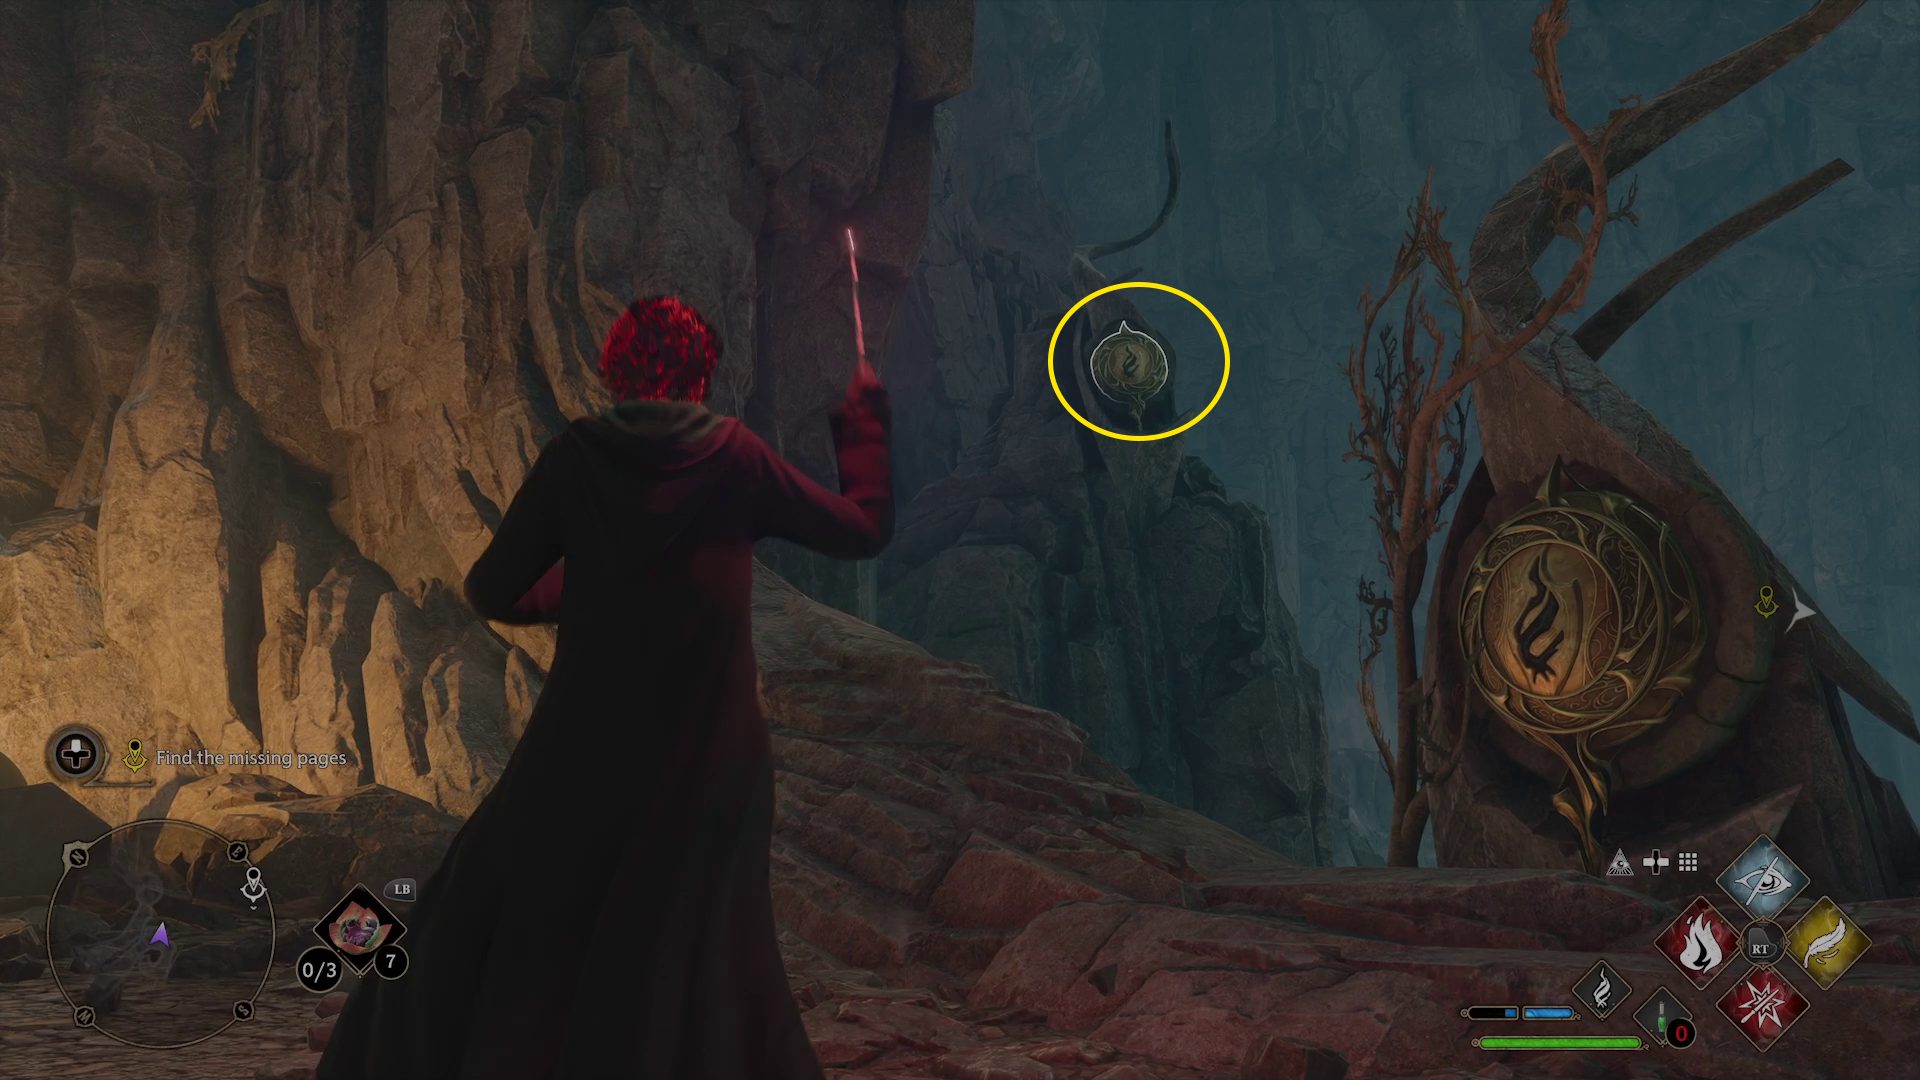
Continue forward and you’ll see two more door orbs (1), plus a third hidden up and to the left (2). Shoot them all and then go through the door to the south that opens.
12
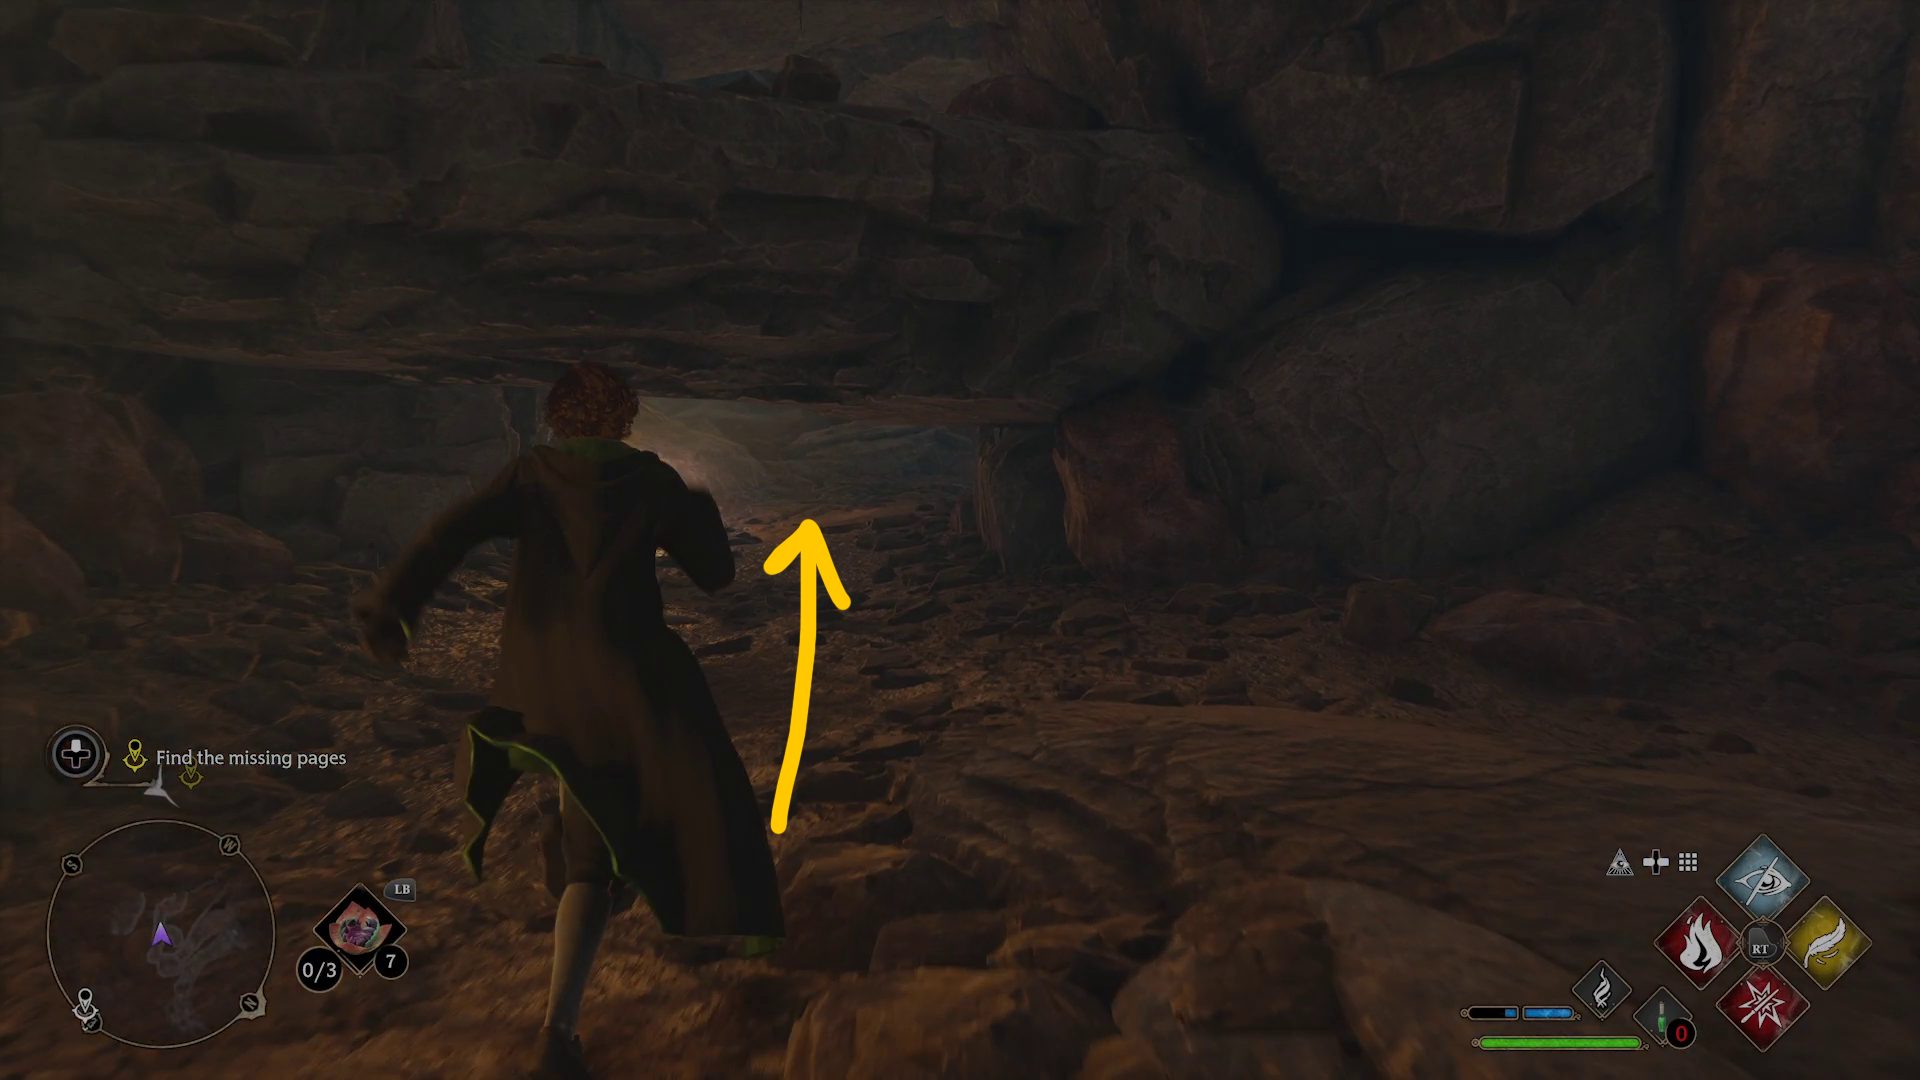
Another cutscene will play, and another part of the bridge will fall into place. Continue through the door you just opened, turn right, and squeeze through the low gap in the rock (1 – you’ll crouch automatically). On the other side, turn right and you’ll run into more spiders, but fortunately they’re hatchlings, easily dispatched. Keep following the path forward (west), and look at the minimap — when you see a right turn, look to the right and climb up the ledge with / to find a chest (2).
12
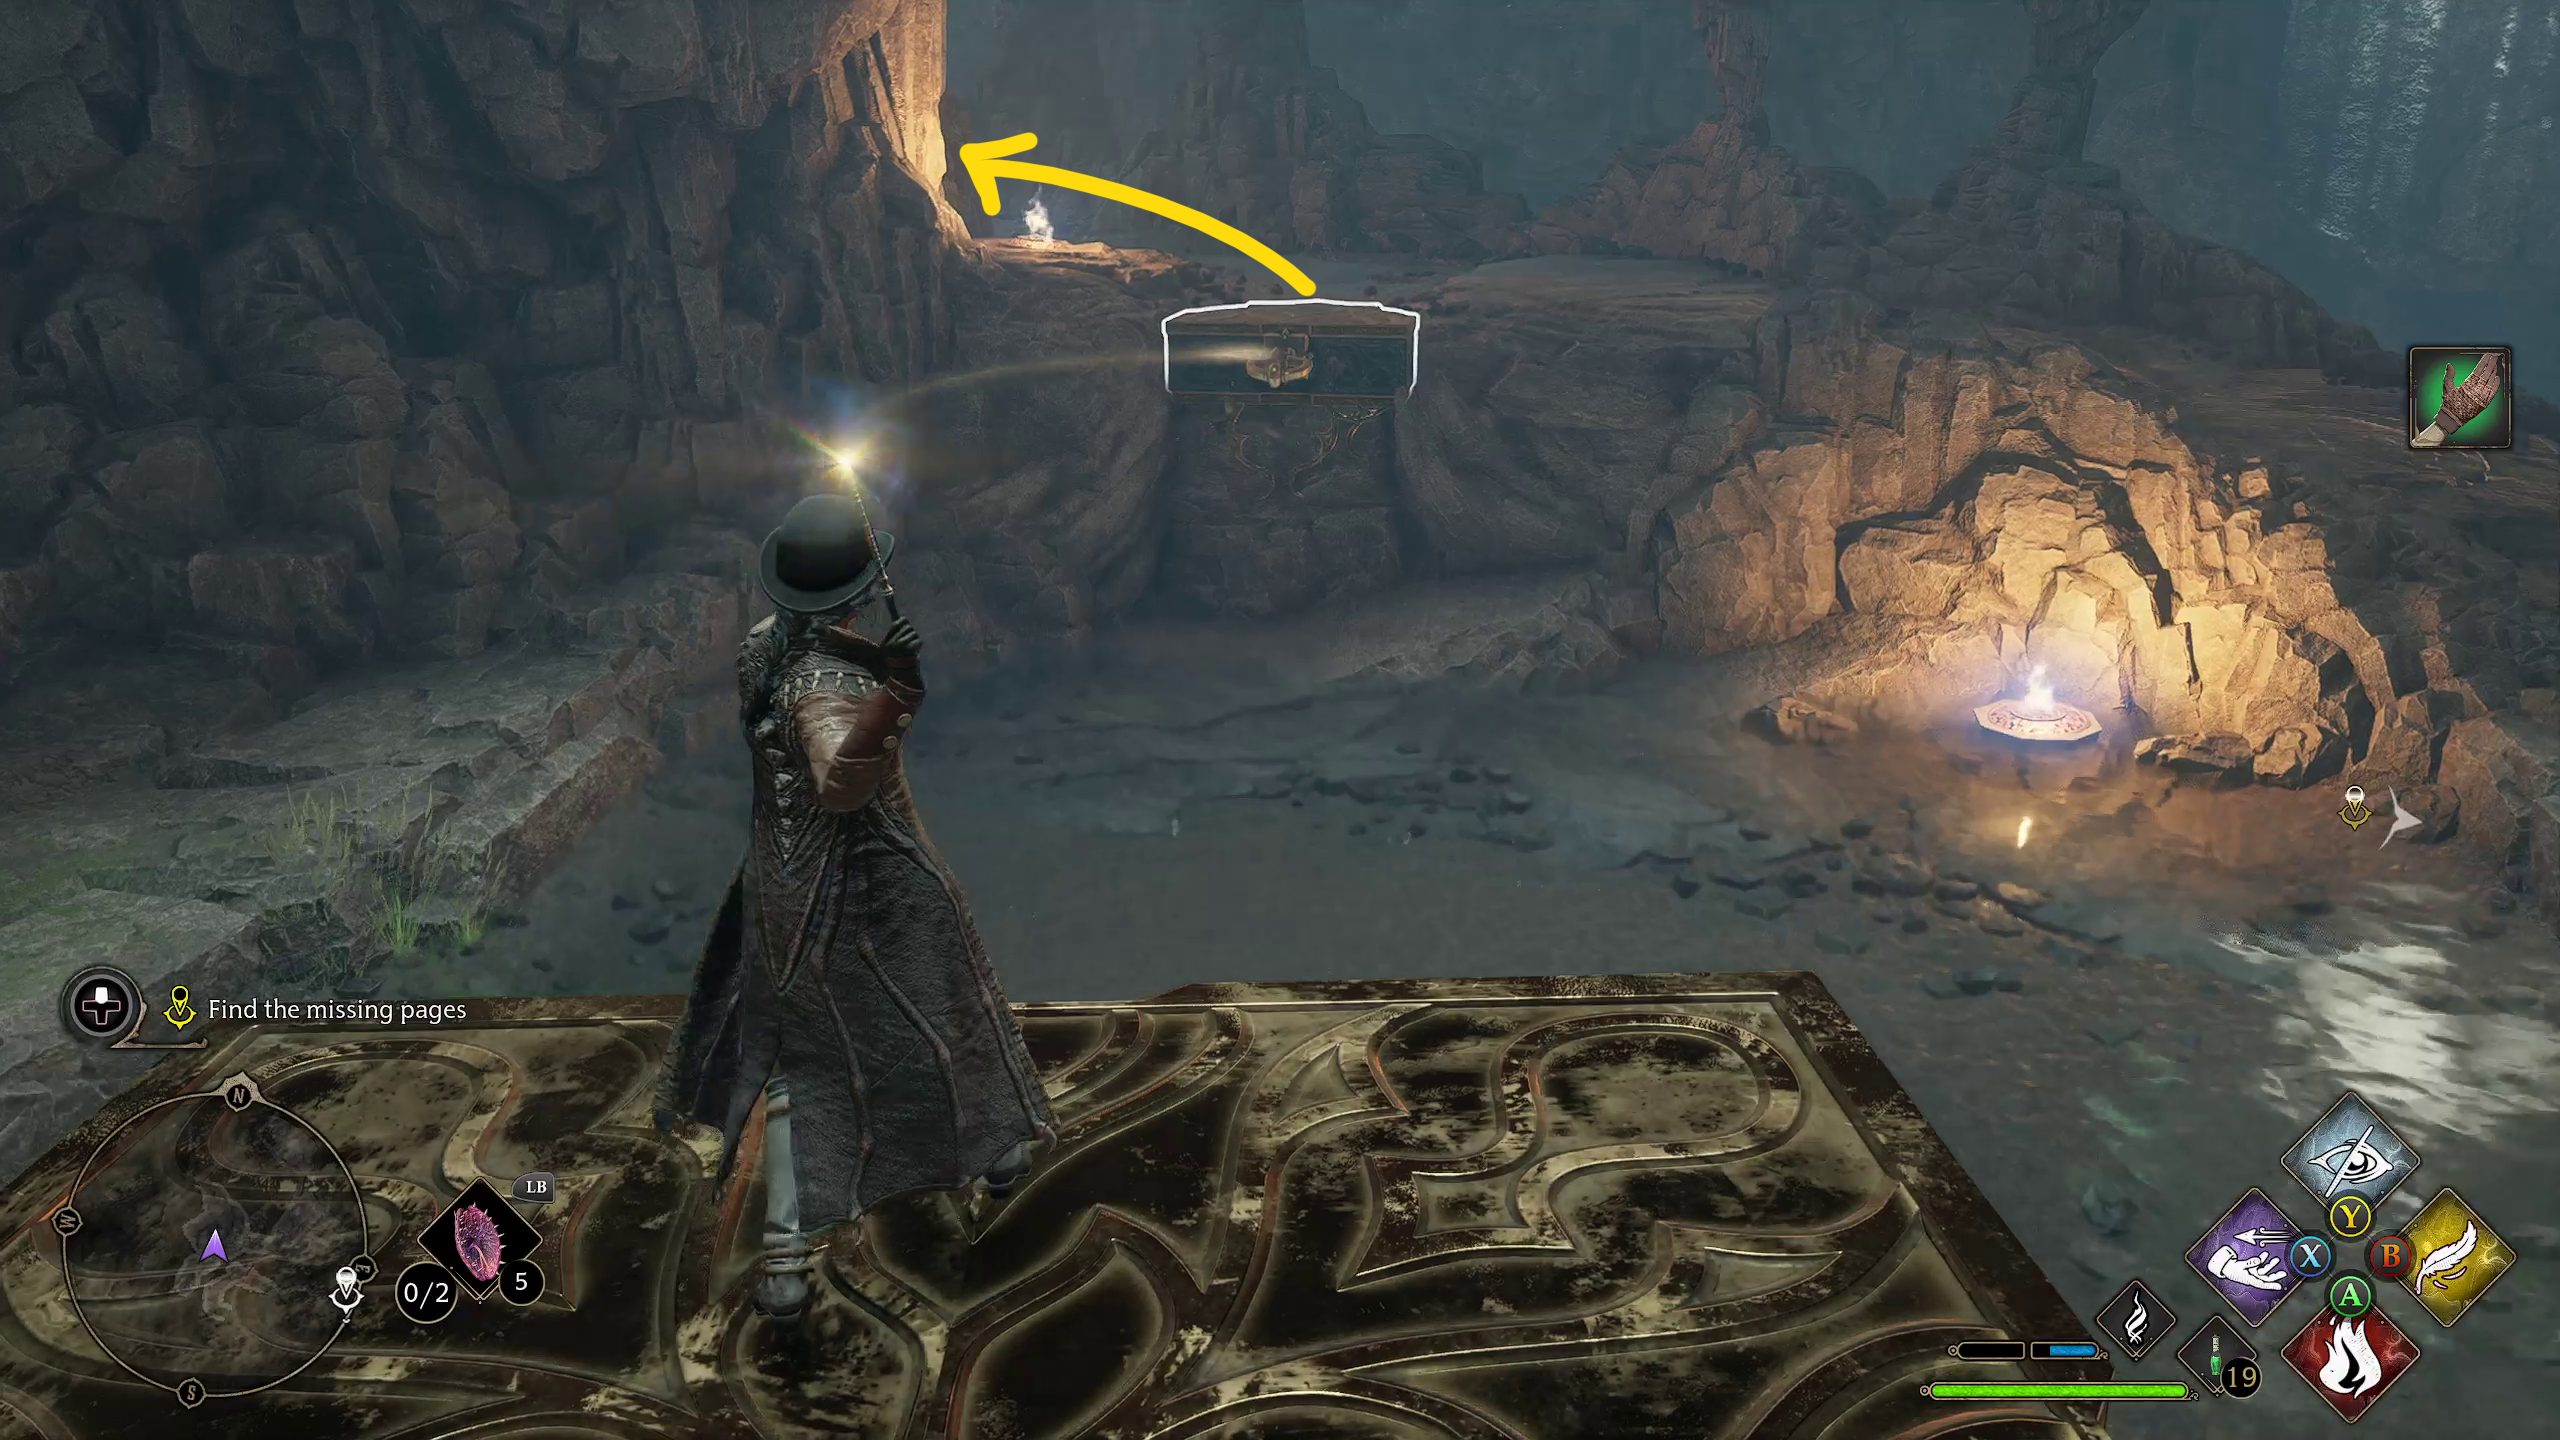
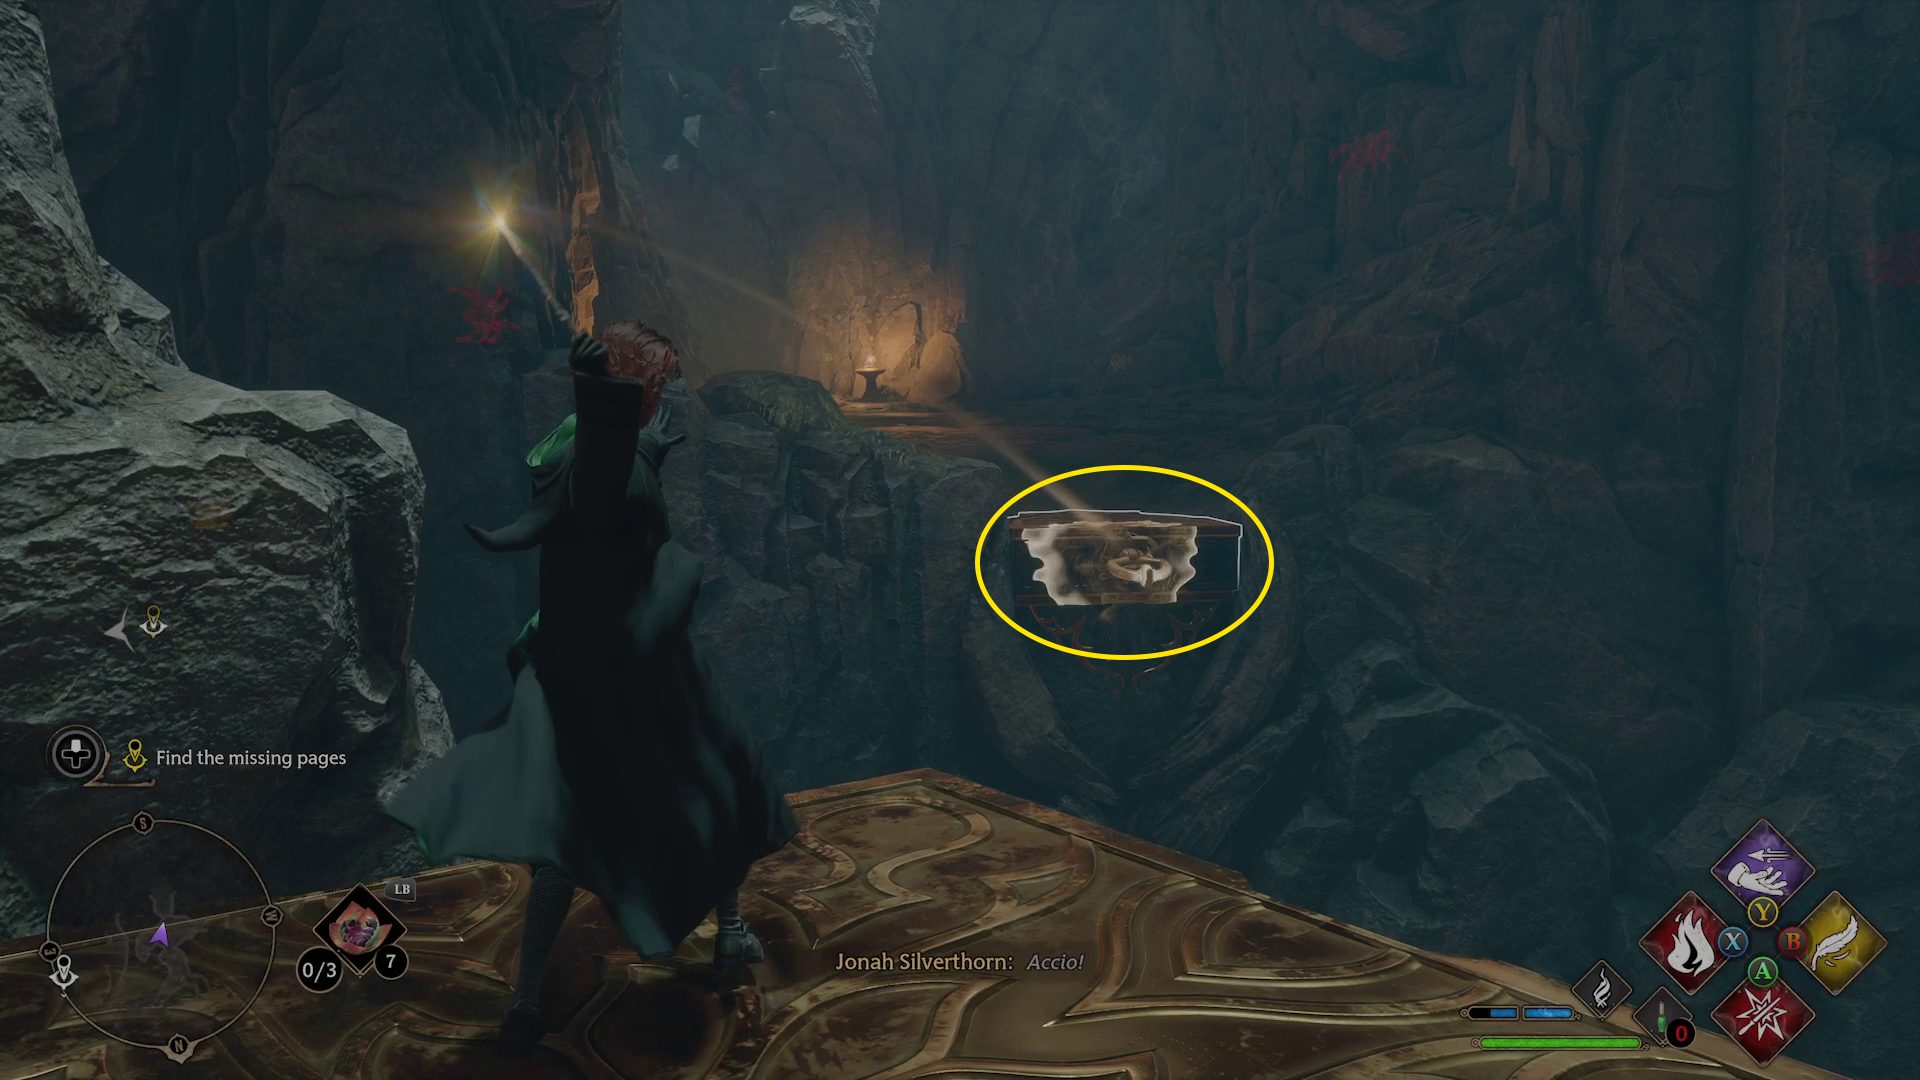
After opening the chest, continue forward to drop back down onto the main path. Blast the moonstone on the right, then continue to the platforms ahead. Target the near one and cast Accio to pull it to you (1). Jump onto it, then turn left and cast Accio again on the large metal ring (2) to pull yourself towards it. Climb up the ledge and run forward to find a chest, then turn back around and drop back down onto the platform.
Look across the chasm to the west, and pull yourself to the ring that’s there (3).Climb up the ledge with / and proceed forward — don’t miss the chest on the right just before the left turn (4). After looting it, continue into the next room, where you’ll face more spiders, and find another chest on the far right-hand wall. Kill the spiders, loot the chest, and go back the way you came, hopping back down onto the floating platform.
1234
Once again, cast Accio on the ring that’s on the other side of the chasm (1), and pull yourself to it. Jump forward off the platform and back onto solid ground, and you’ll be attacked by many spiders. There are ranged and melee enemies here, so keep a close eye out for the Protego halo warning. Remember that Incendio is very effective against the spiders, so use it whenever they get close. After defeating them, continue southeast, and make sure you grab the chest from the ledge against the far wall (2). Continue down the nearby path.
12
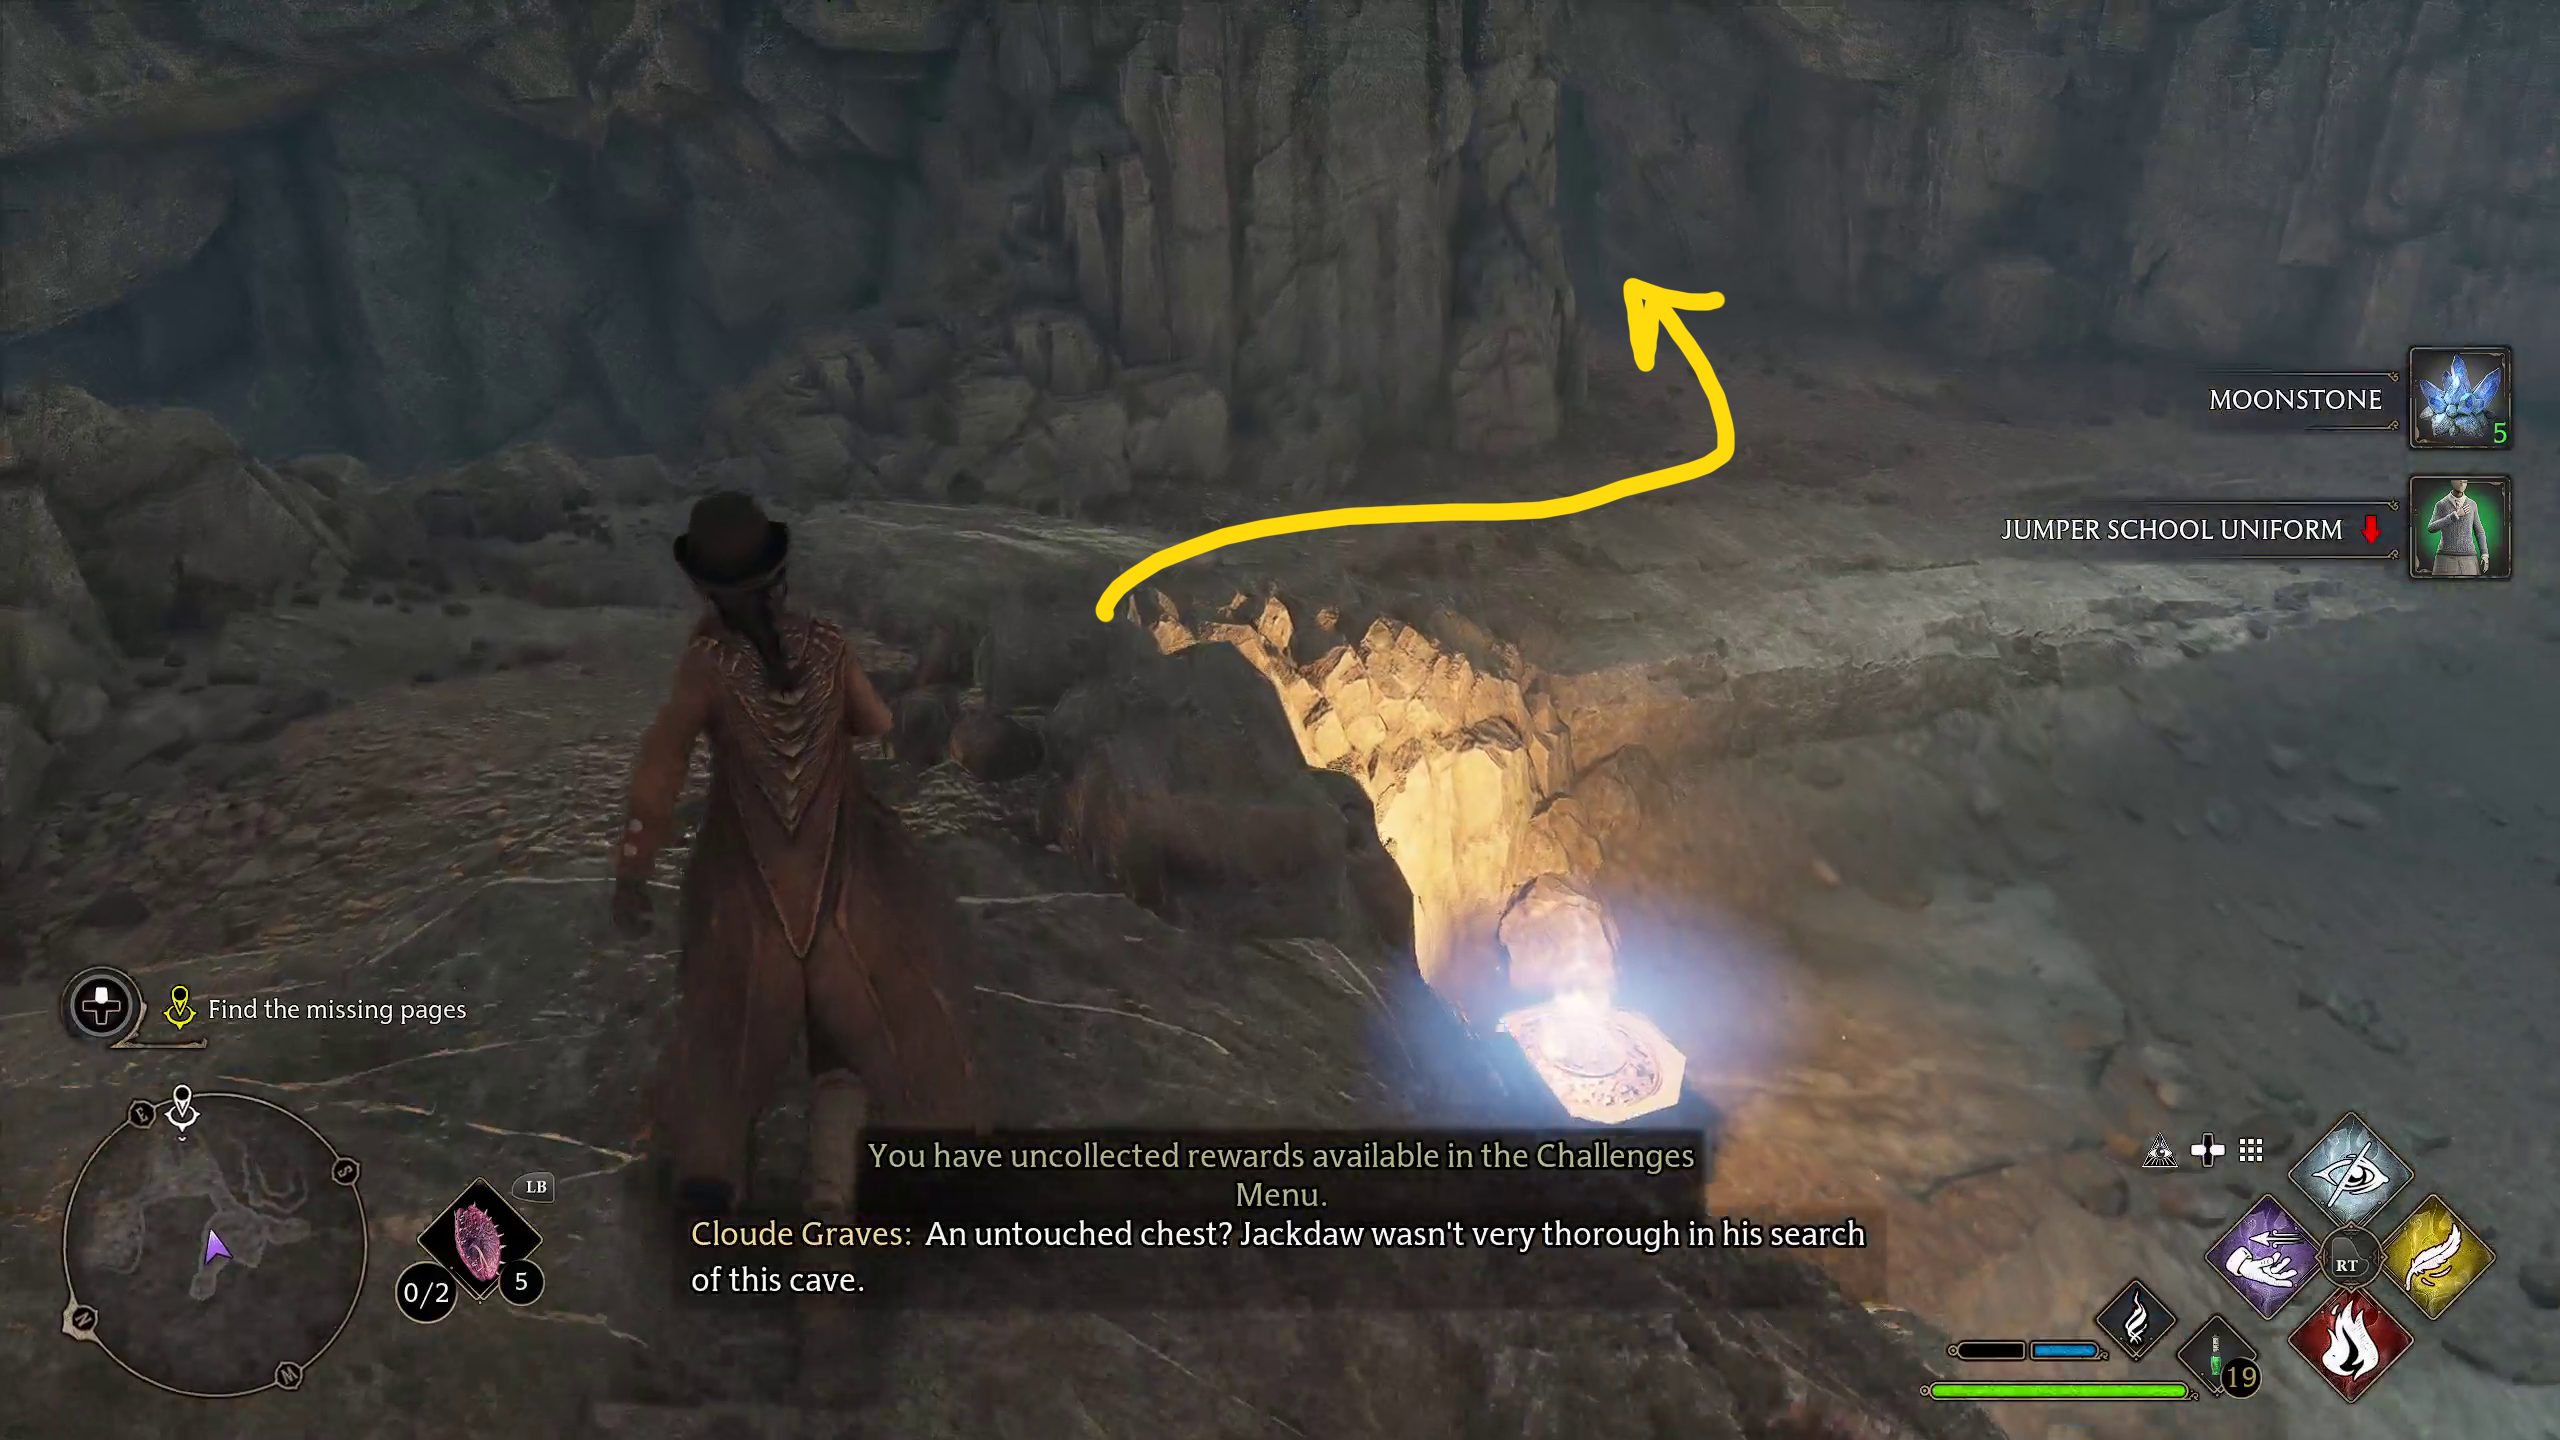
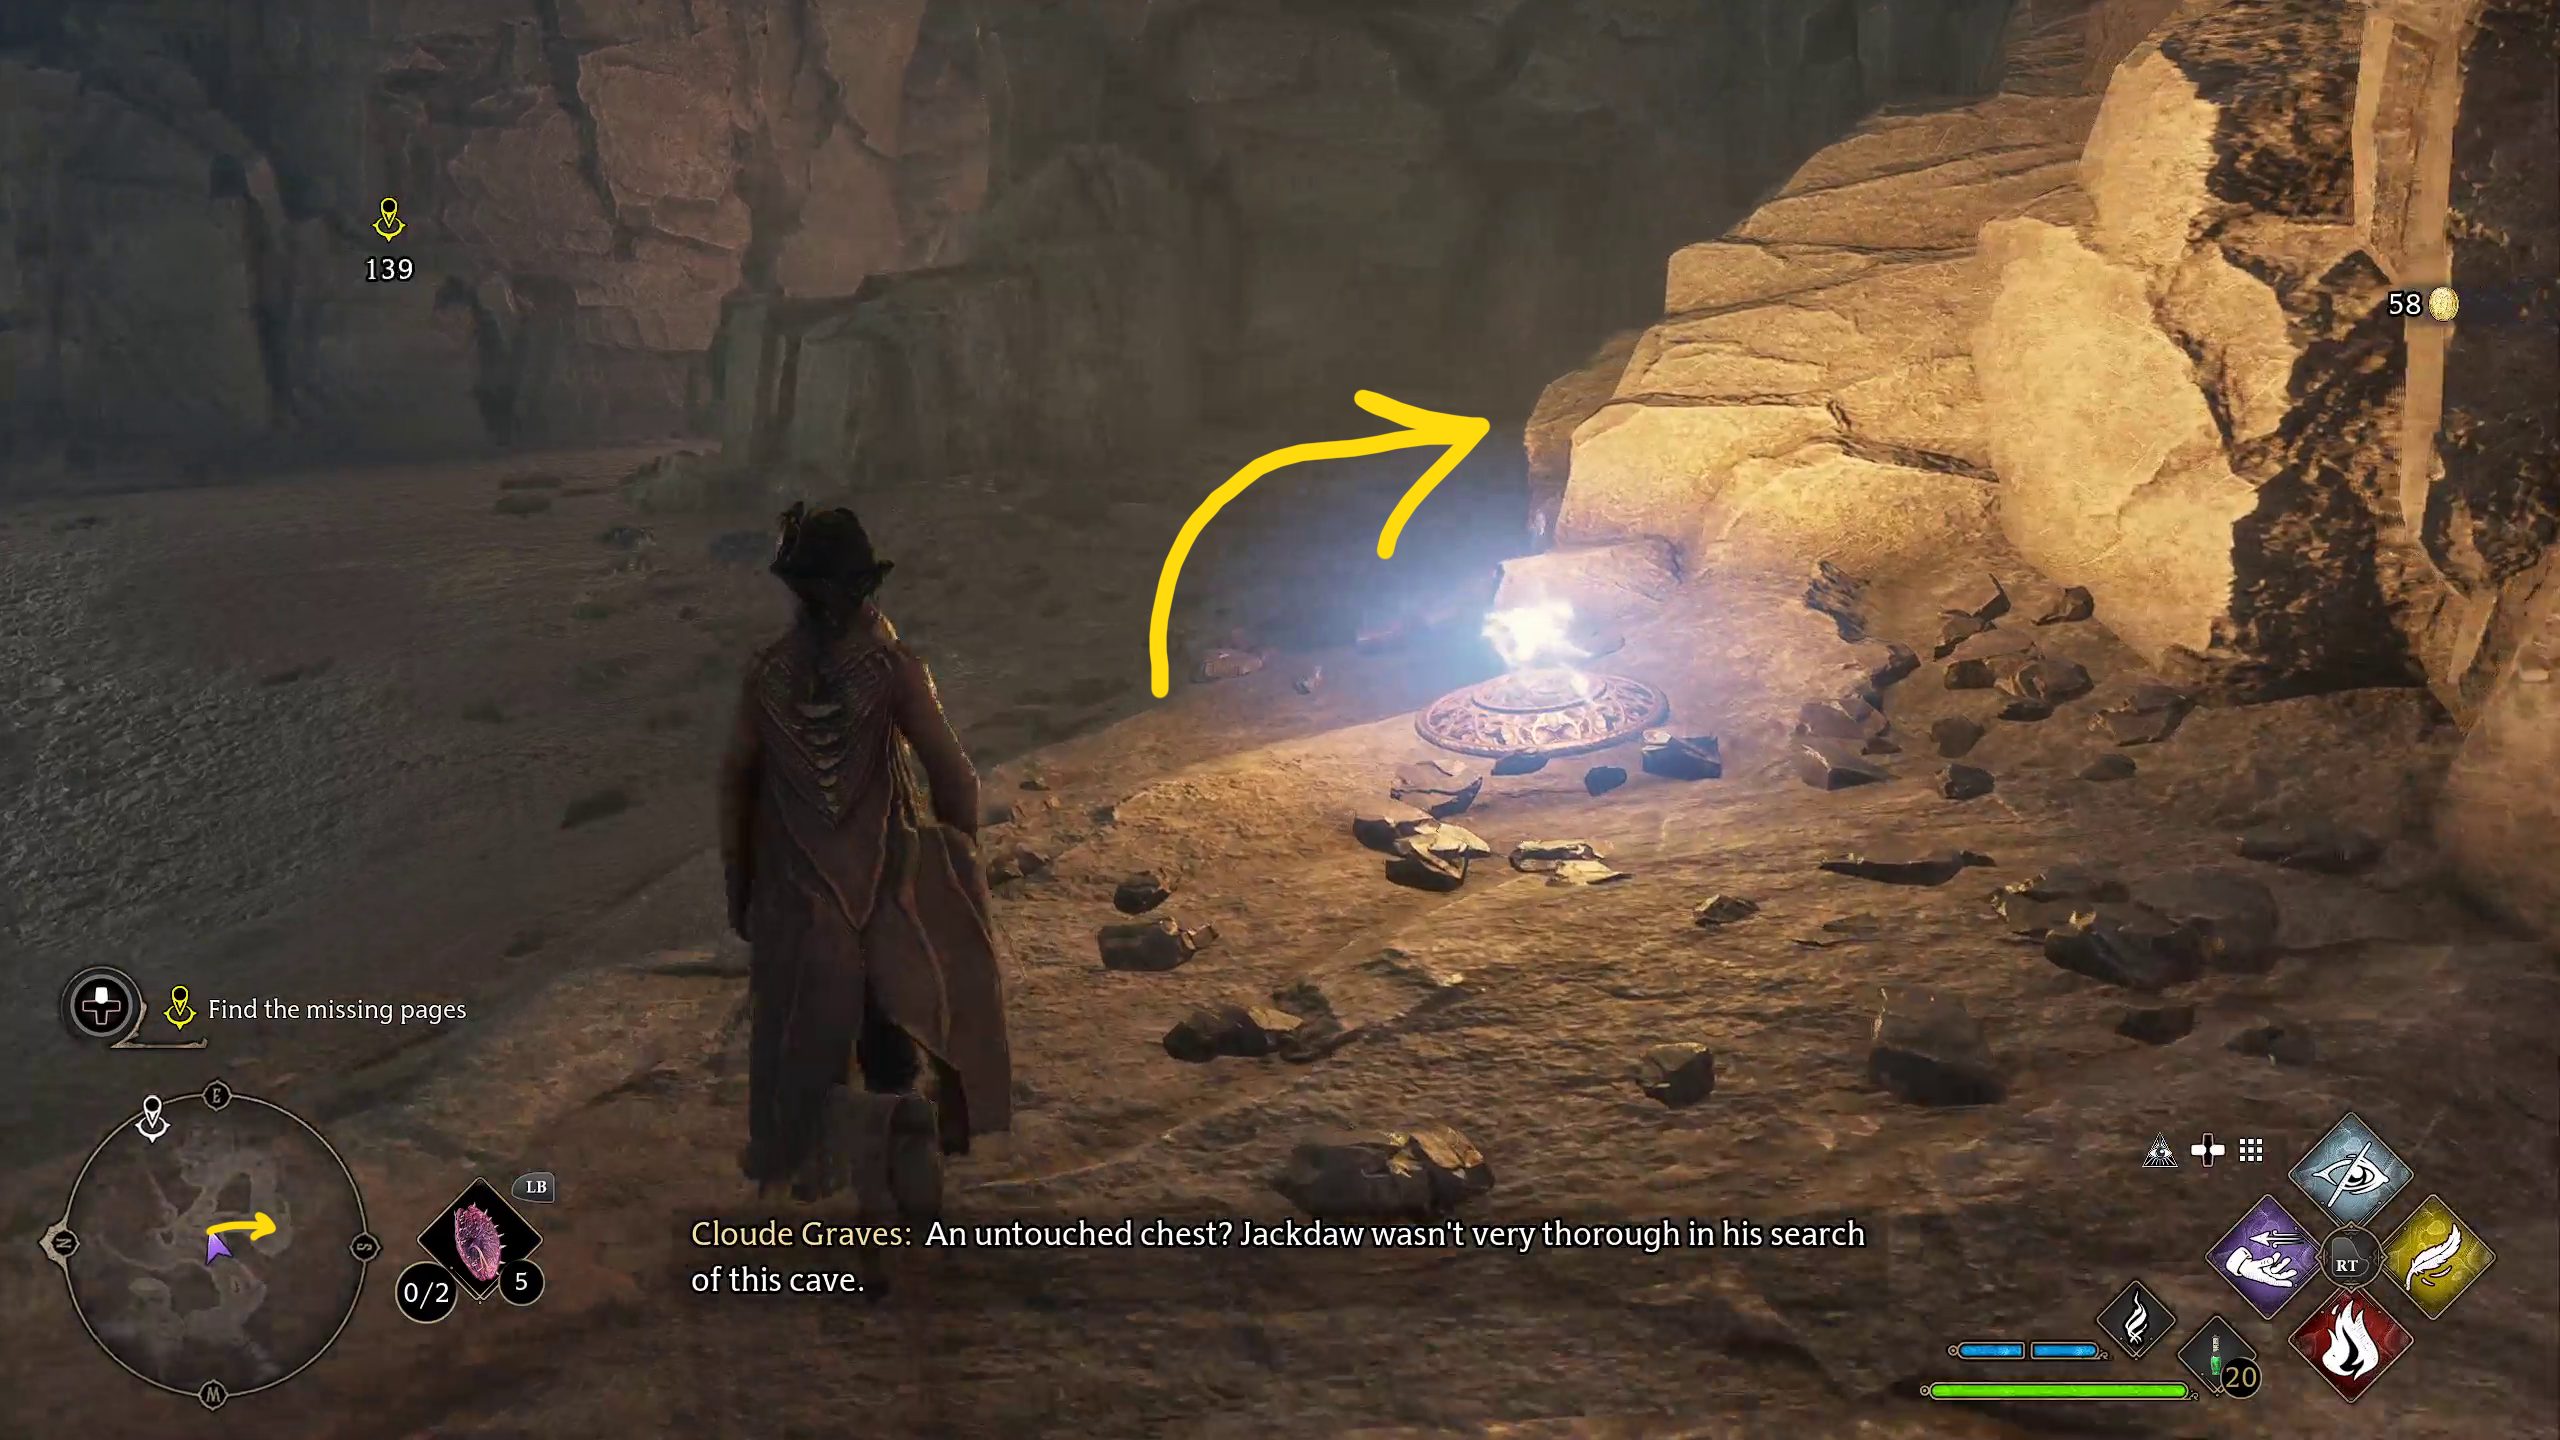
At the bottom of the path, take an immediate left (1) to find a chest. Then face east, and head towards the first opening on the right (2 – see minimap of image for details). Hug the right wall and go up the ramp, then jump onto the platform with /. Pull yourself to the ring across the wall (3), then face east and pull yourself to the next one as well — once you reach it, turn right and you’ll find a chest, though you’ll have to jump for it.
123
Hop back onto the platform, then pull yourself towards to the ring to the north, far across the room. Stop halfway there, as there will be a spot to your right you can jump to, where two more chests await (1). Loot them, then jump back onto your platform and keep pulling yourself north — straight ahead will be another chest. Loot it, then turn right and go west, then drop down to the south and turn right to go west again (2). Doing so will lead you back into the large chamber you started in.
12
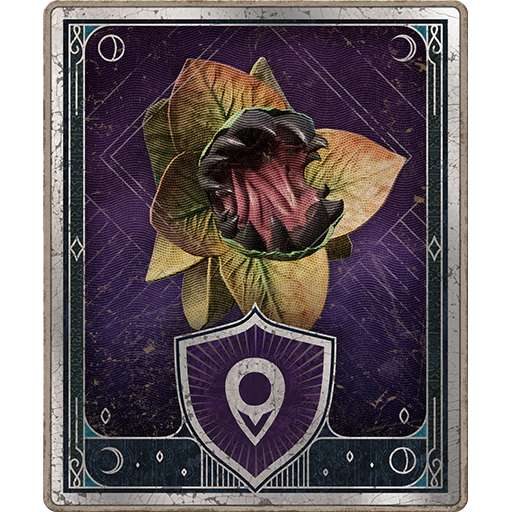
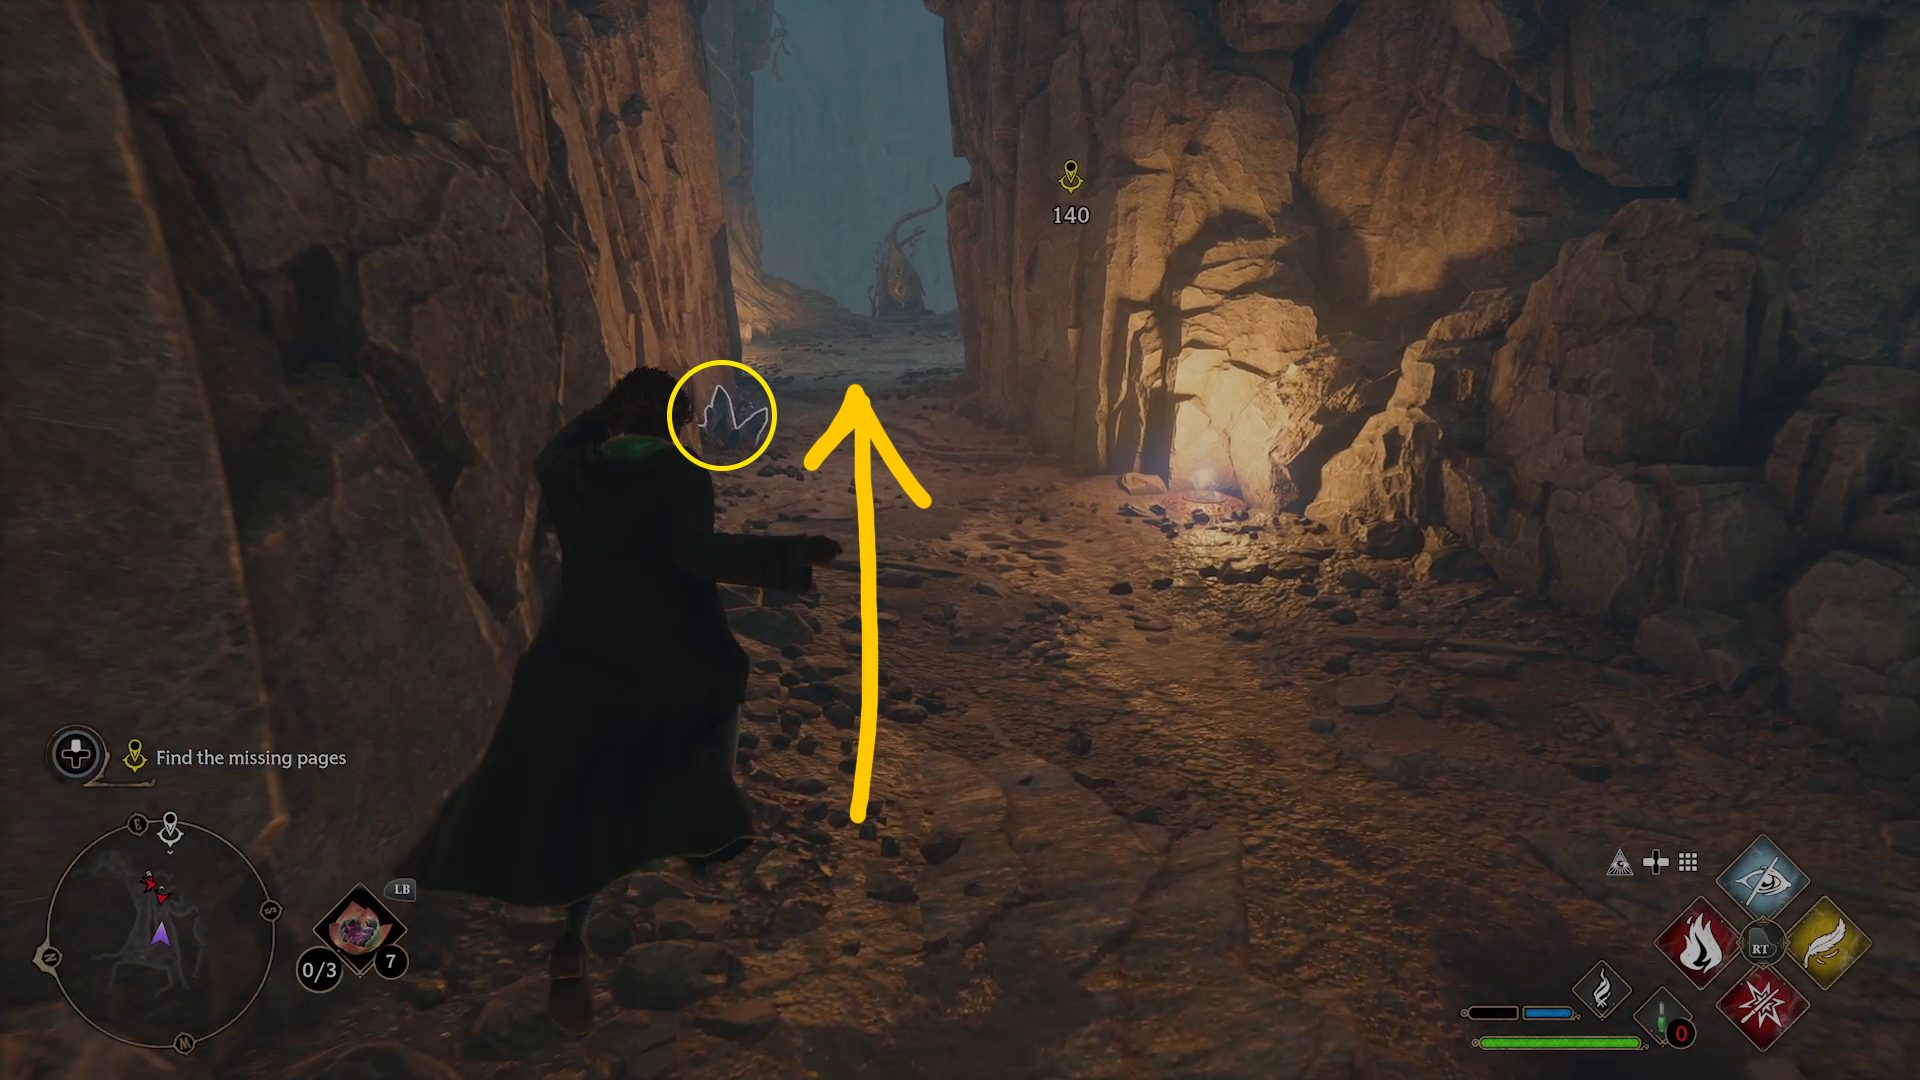
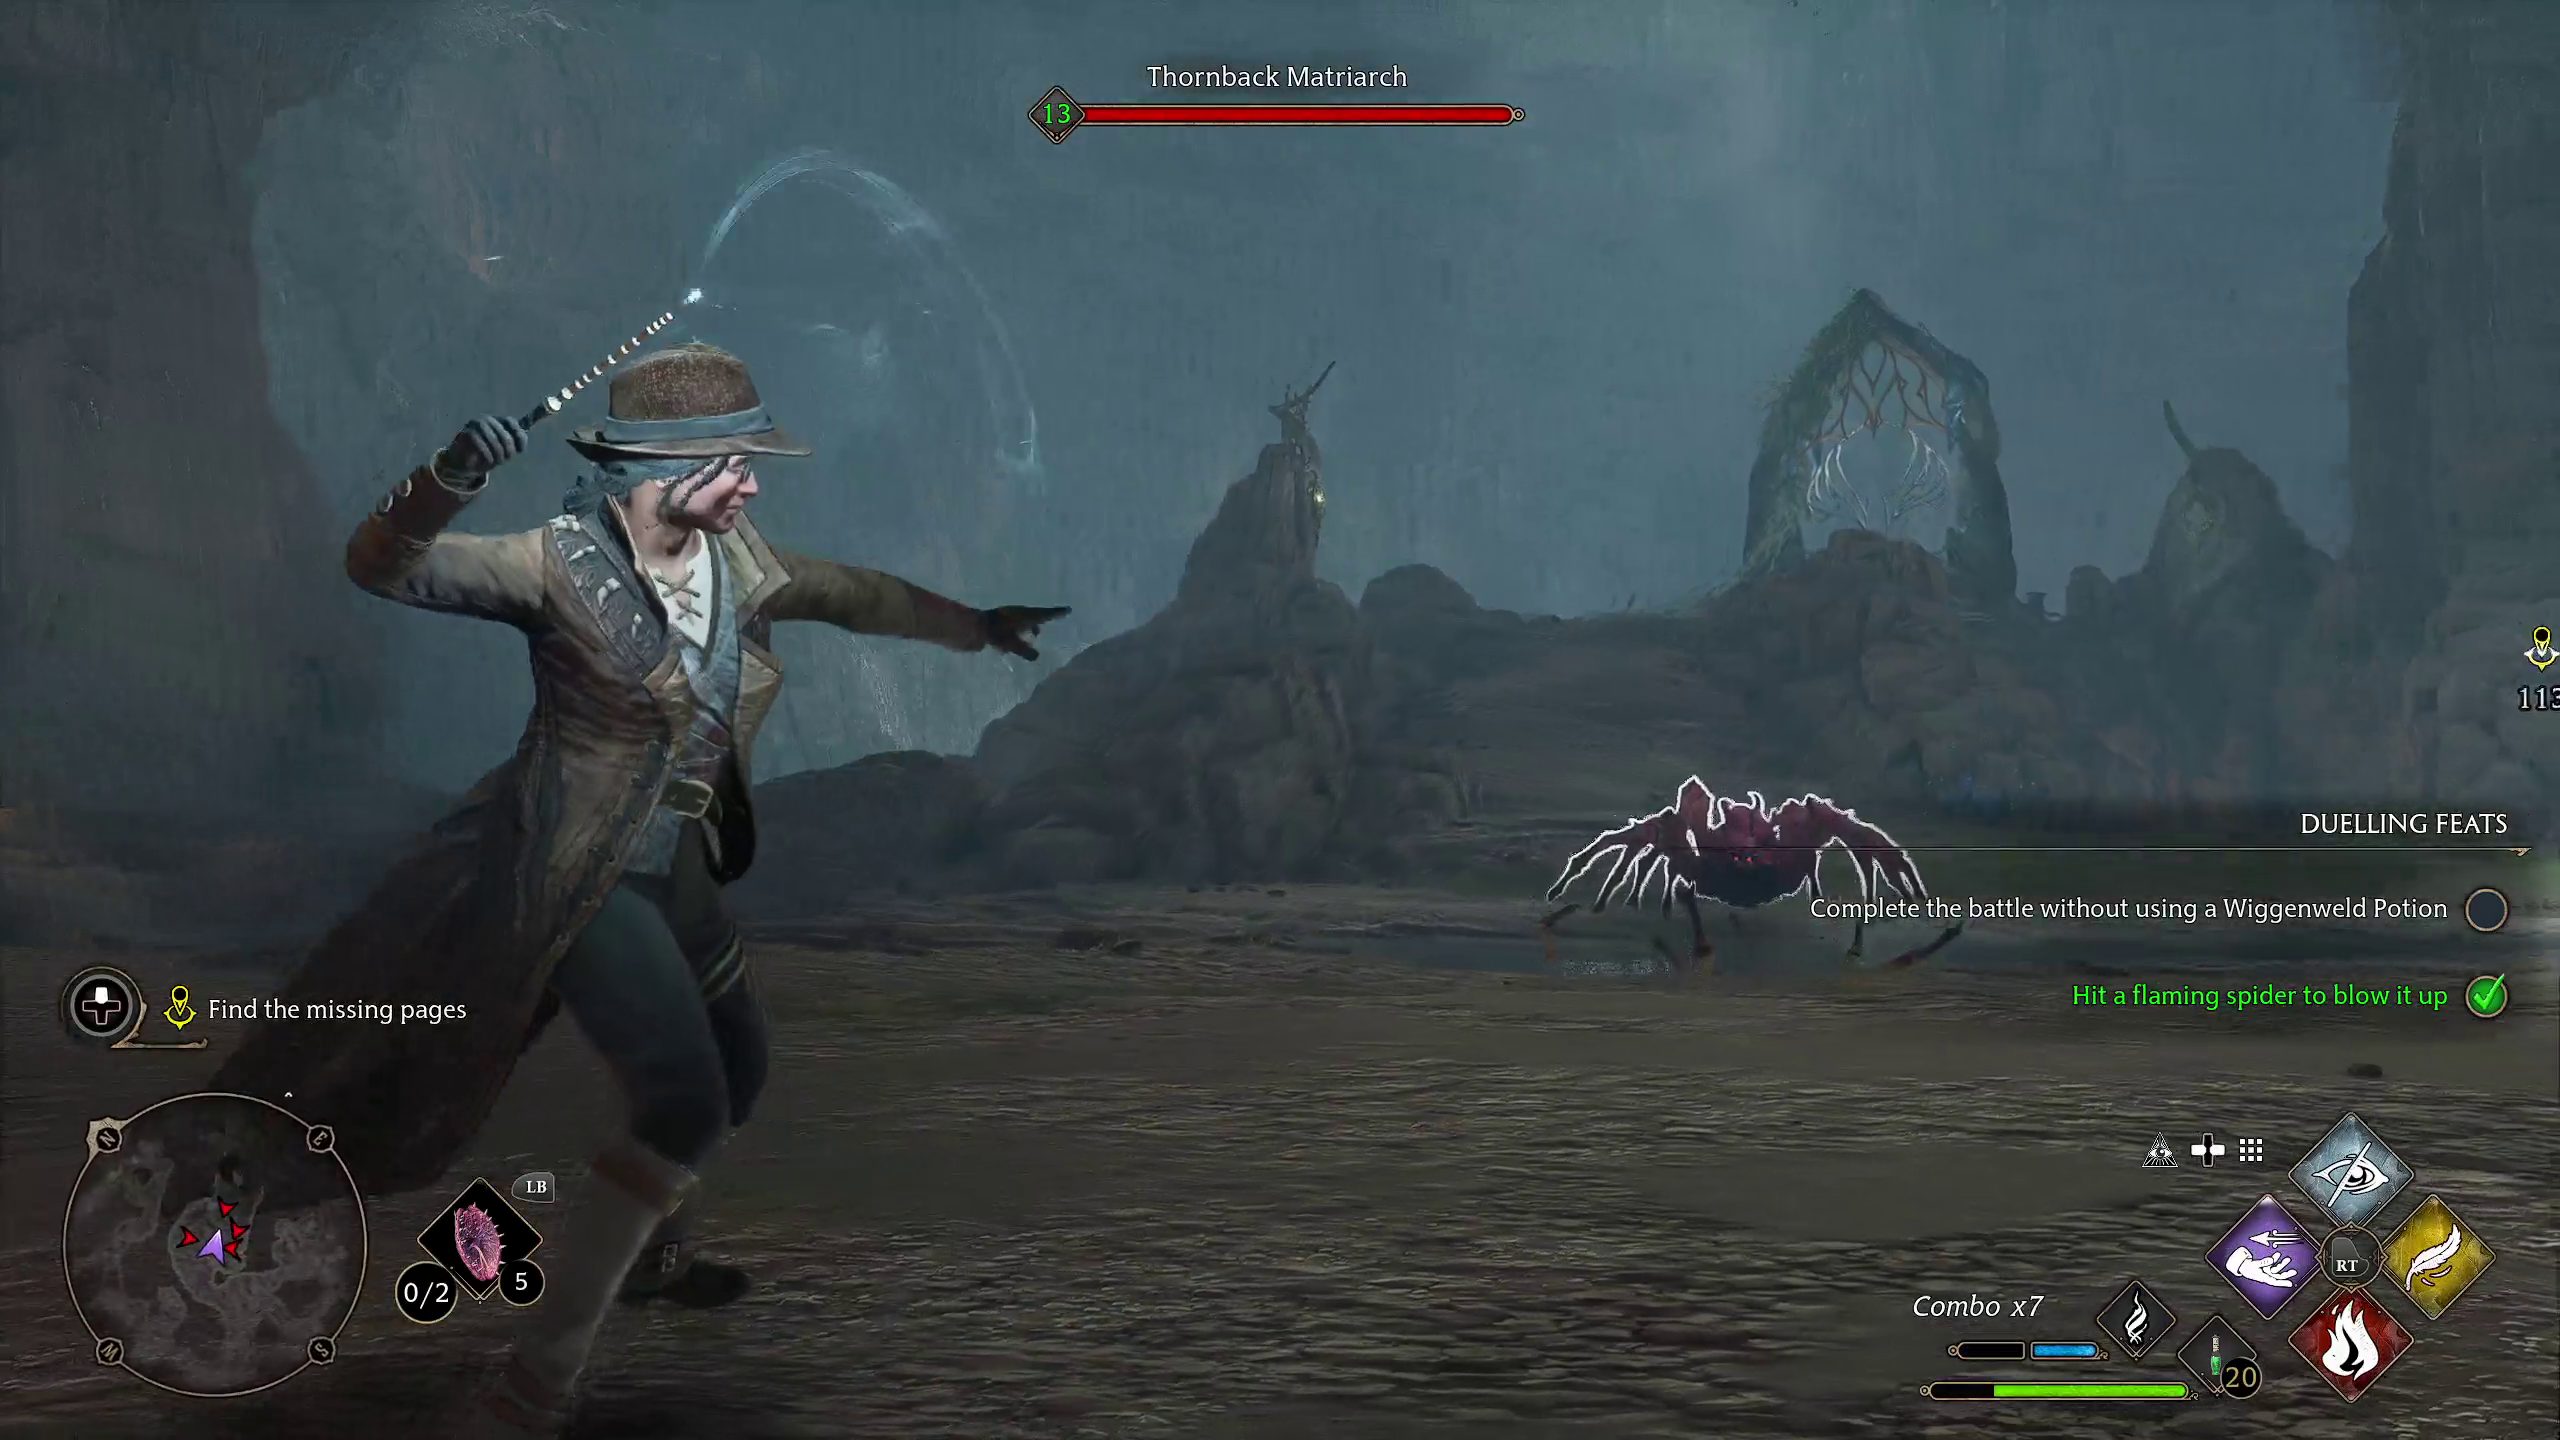
Continue straight (1) and drop down into the water. Head east, and you’ll enter a large, open area, where you’ll have to fight a large number of spiders. This battle will test your spellcasting skills — make sure you’re using your spells on cooldown! Even non-damage spells like Levioso and Accio still incapacitate foes, so use them anytime they’re available. Save your Ancient Magic meter for now, although you can and should use the Ancient Magic Throw. Defeating the first wave of 8-legged nasties will cause another wave to appear. This second phase includes some Thornback Matriarchs (2), who you’ll want to one-shot with your Ancient Magic (+).
1
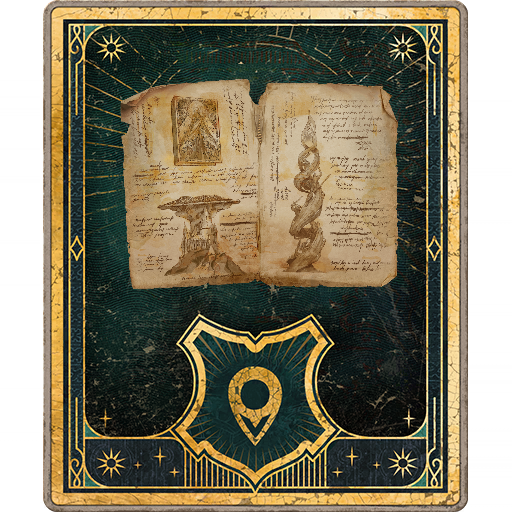
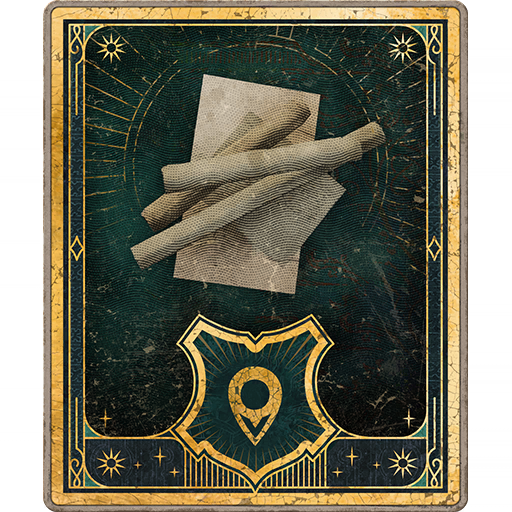
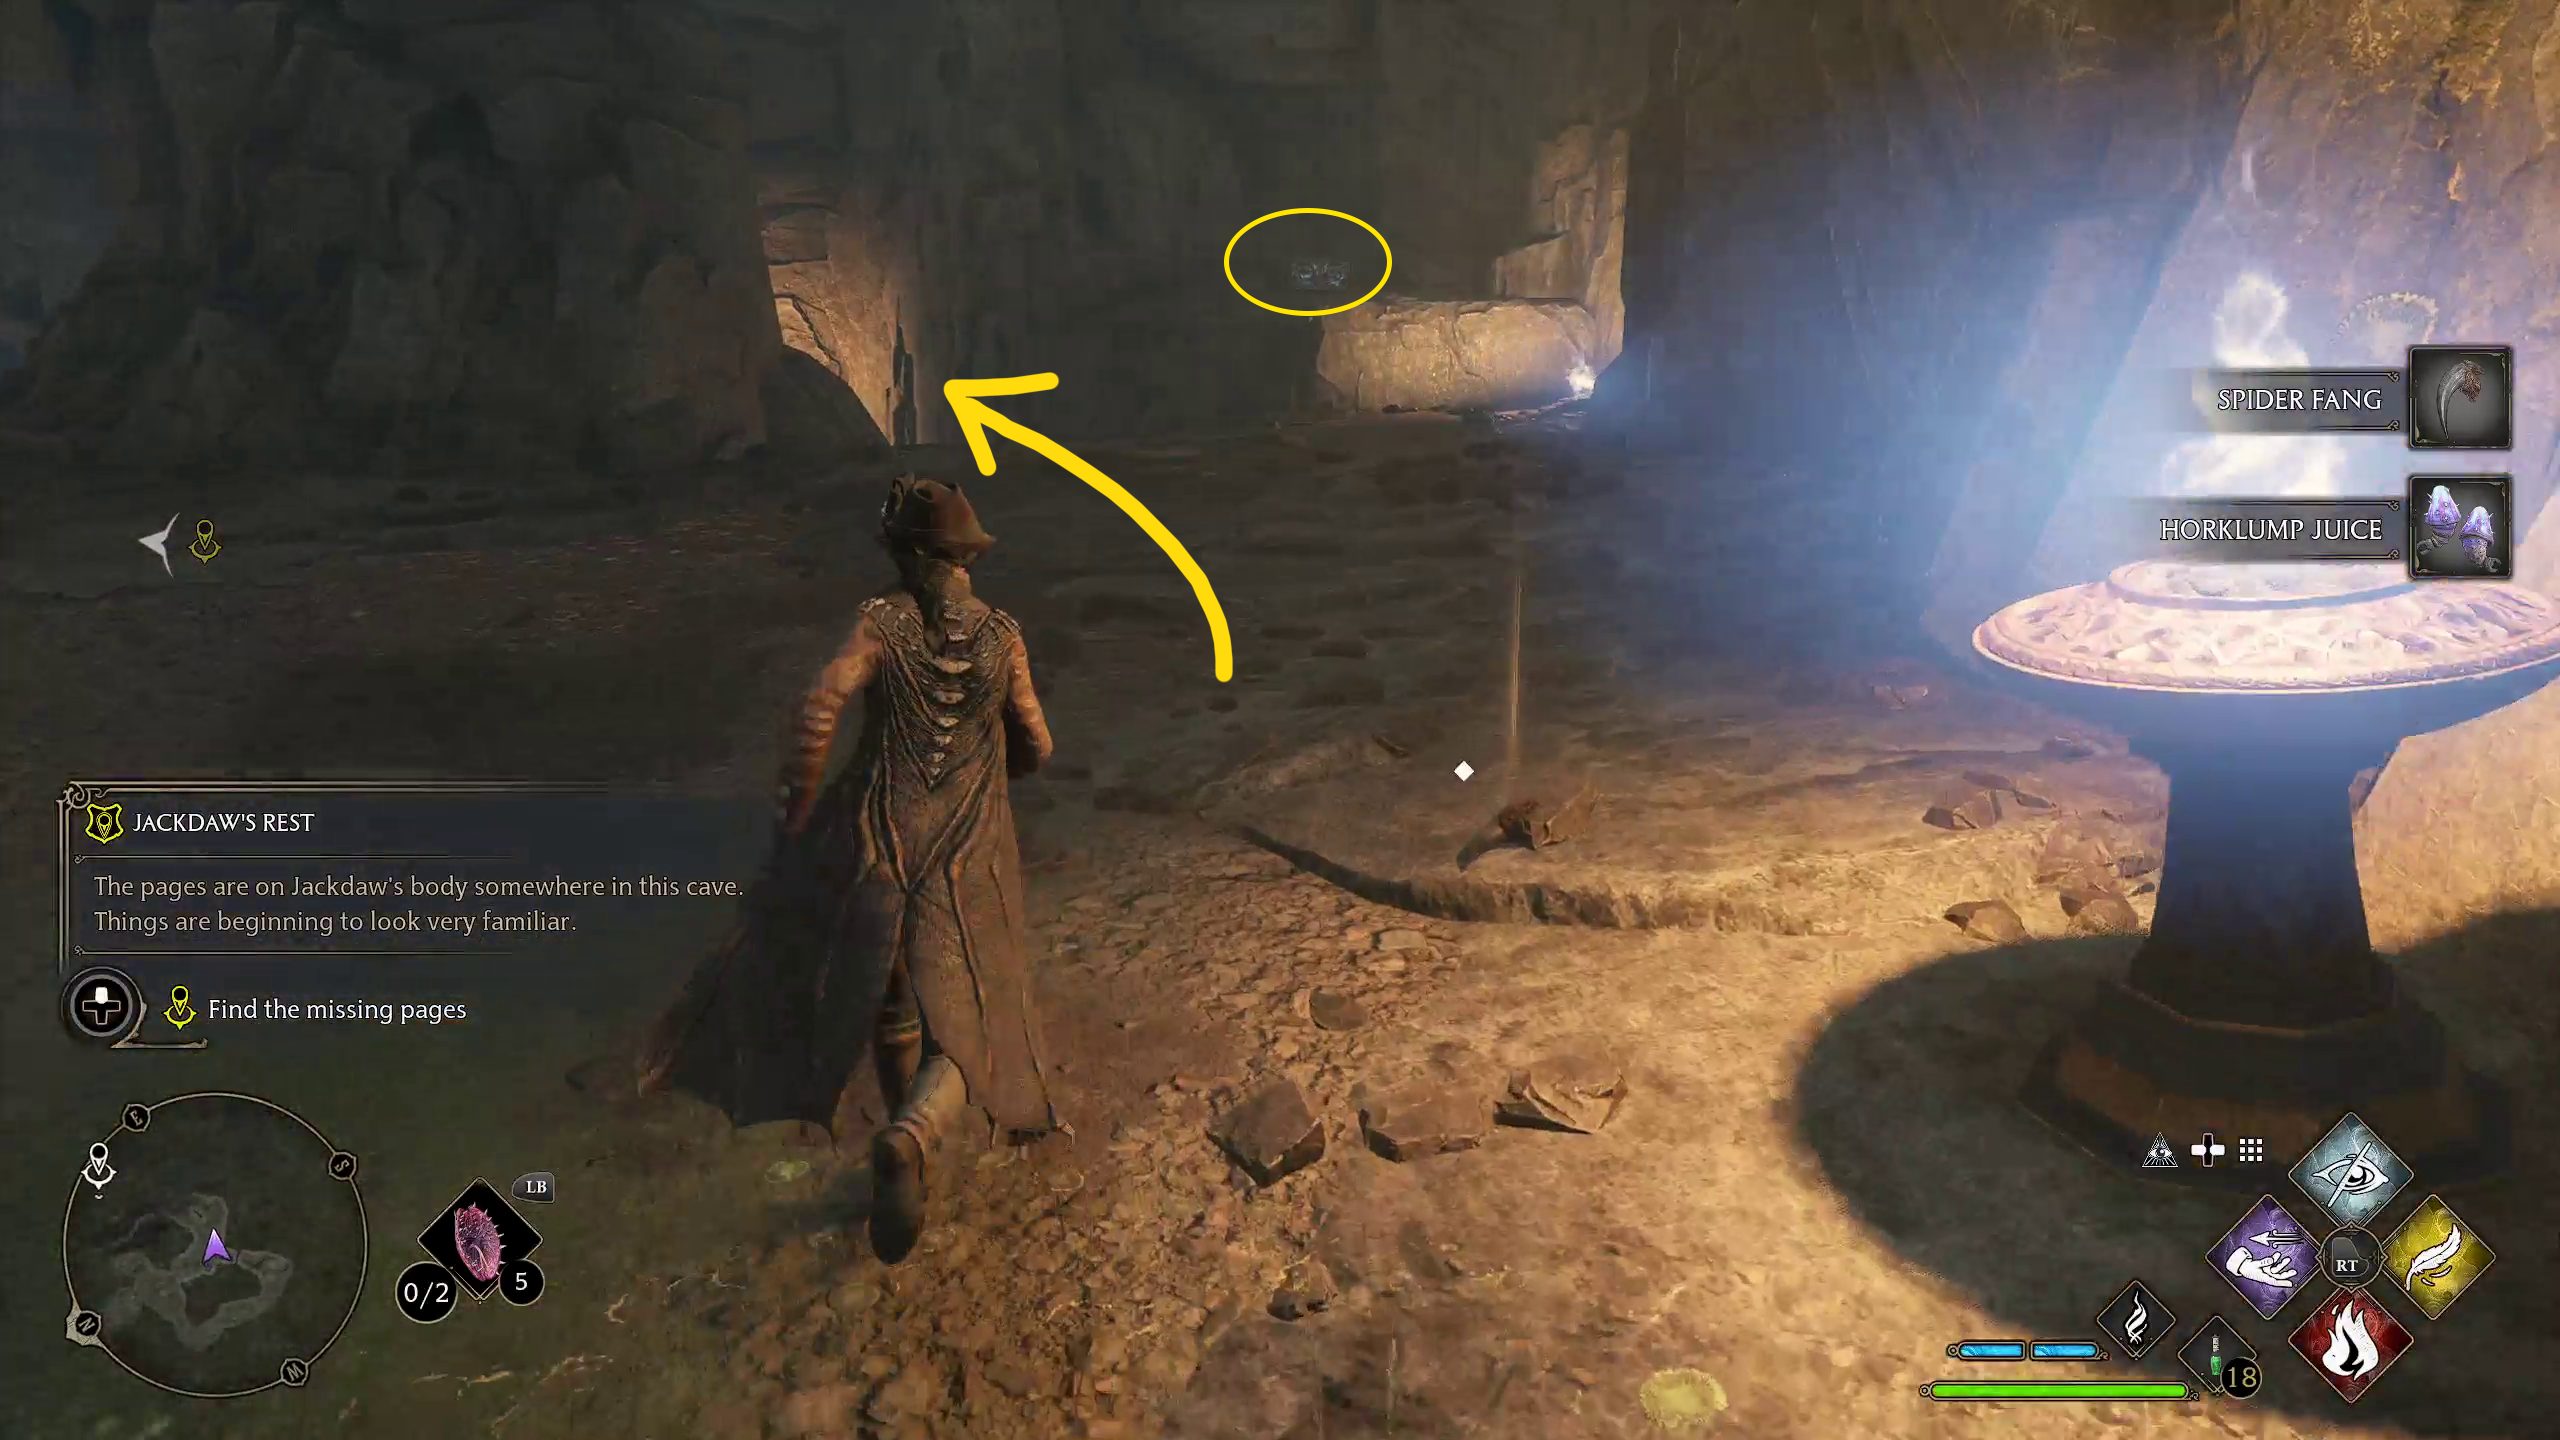
There’s another Basic Casting the Orbs puzzle to solve, but first, grab the chest that’s down the path below the bridge. Then, stand where indicated (1), and Basic Cast all three orbs, starting a cutscene. Head up the ramp and cross the bridge, then continue through the doors into the large chamber. Inside, make sure you loot the chests to the right and left just after you enter. Then interact with the debris indicated by your objective marker (2).
12
Defend yourself against the Ancient Defenders
After interacting with the pages, the Ancient Guardians in the room will awaken and attack. They move slowly — until they attack — so run away from them as you fling spells, and again make sure you’re using your cooldowns as often as possible. Once again, there are two waves of enemies, so save your Ancient Magic meter for the second phase foes. The big guardians are just as slow, so keep far away from them and you should be fine.
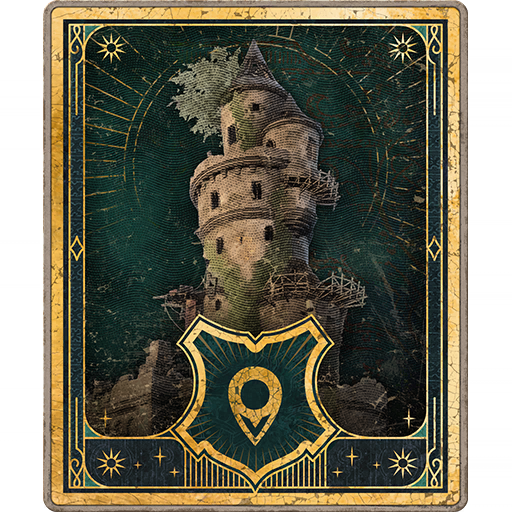
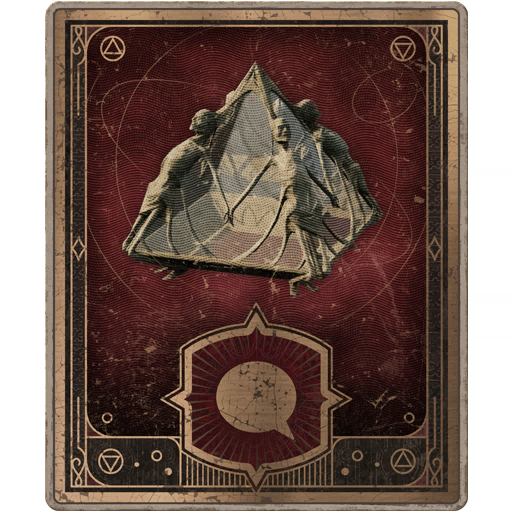
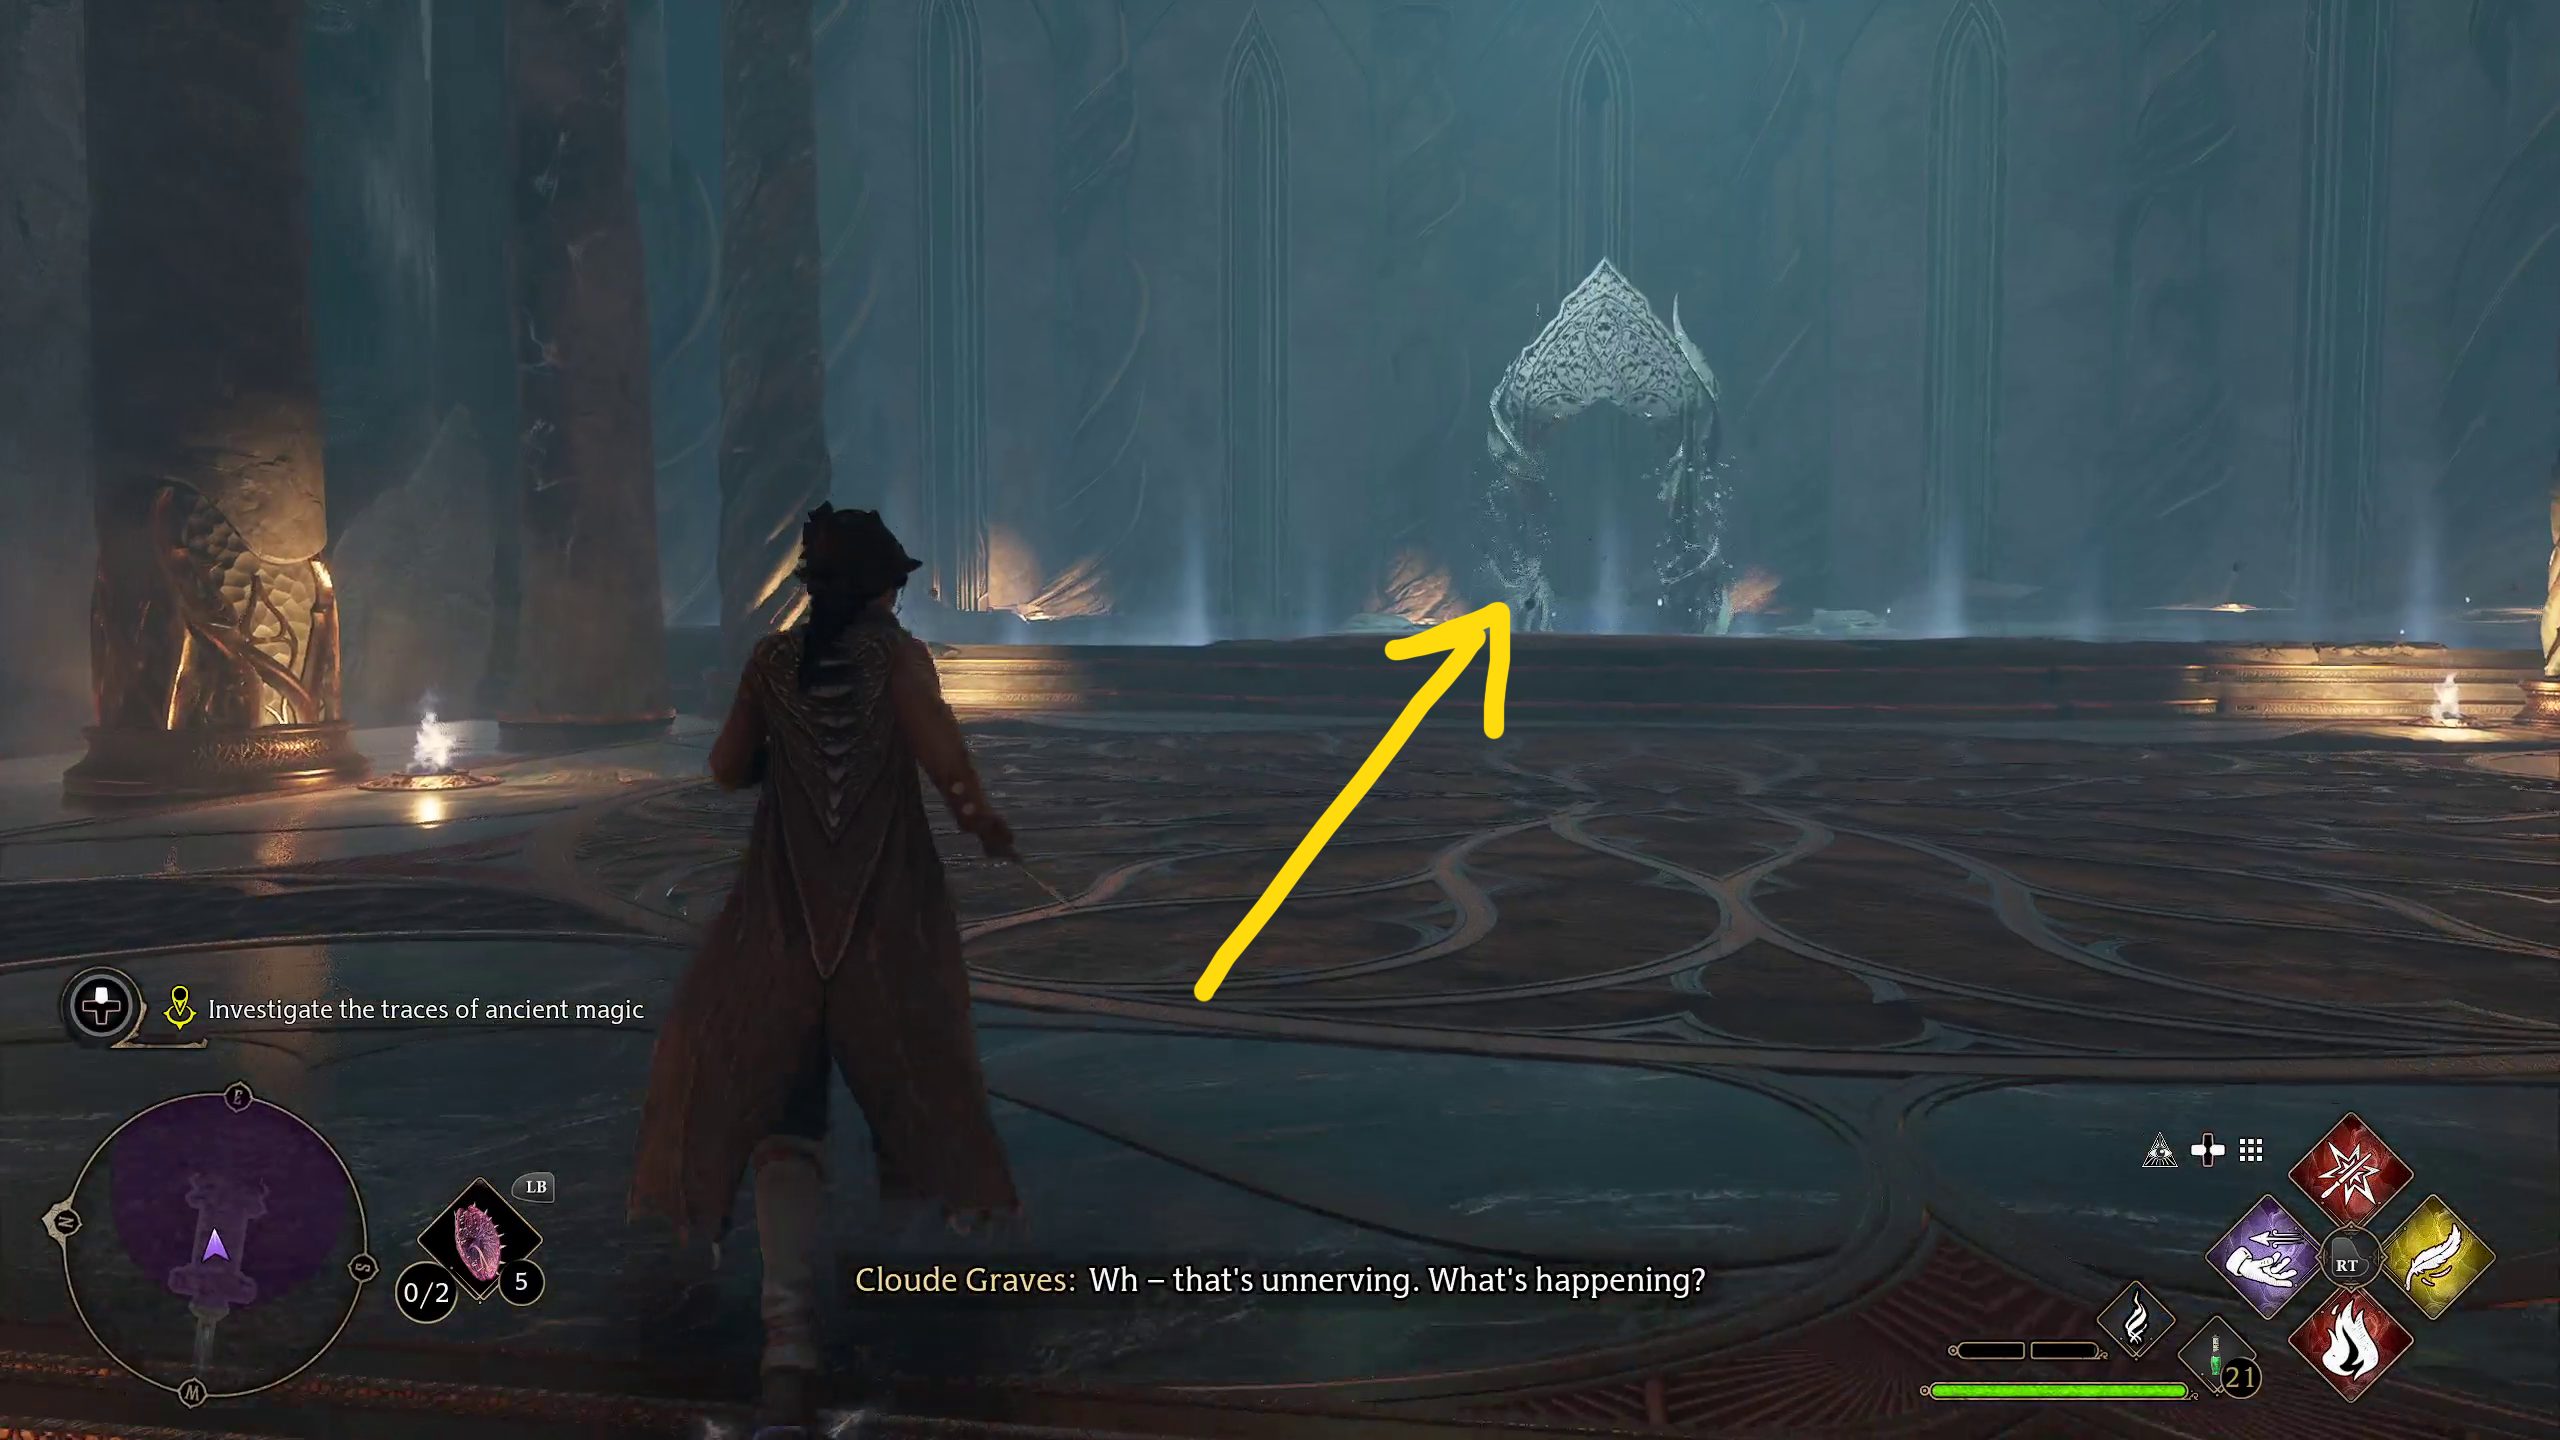
Investigate the traces of ancient magic
Head towards the raised platform the large Guardians were on (1), where you’ll see an arch forming. Near the arch is a familiar site — Ancient Magic on the floor (2)! Stand on it and press /, then walk straight through the arch (the close, blue side of it). Continue forward down the hall, and the room will flood. Don’t worry about it — just keep walking forward towards the door, which will disappear after a moment, allowing you to proceed. Keep going straight and you’ll go up some stairs and enter a large chamber. Walk forward into the center of the circular room, and a cutscene will play.
12
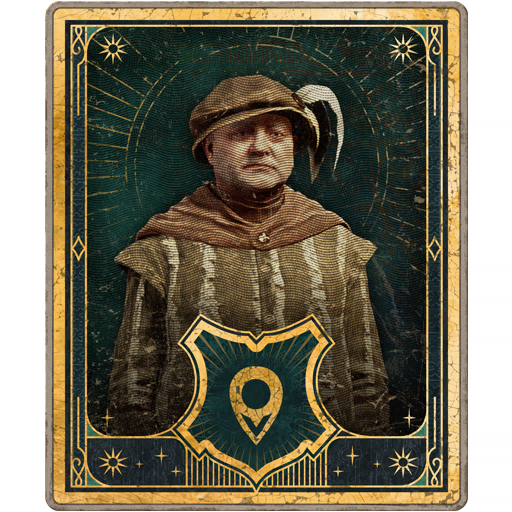
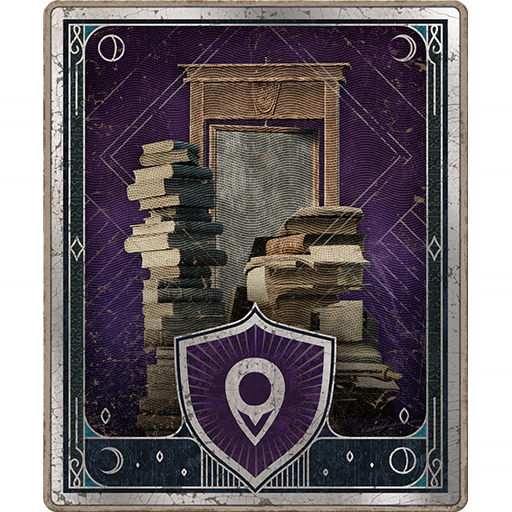
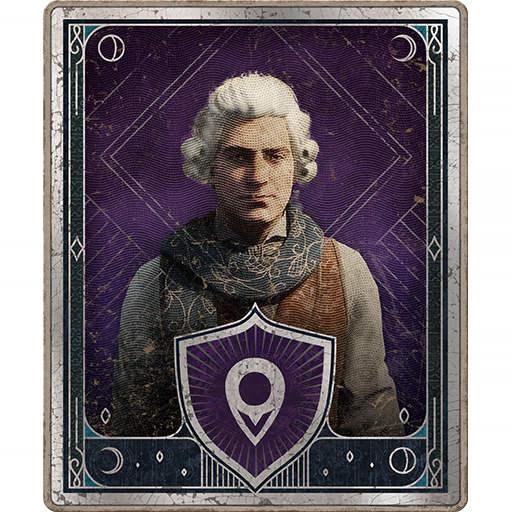
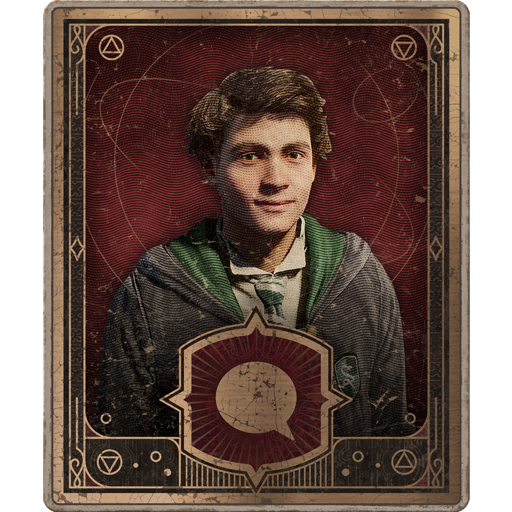
Speak to the portrait
When the cutscene ends, walk up to the portrait and press / to speak to it. Once the conversation is over, you’ll have unlocked Talents! Hit /to open the menu when prompted, then feel free to check out the Talent Trees. You don’t have to spend any points now — in fact, you might want to read a bit more about Talents before spending any! We’ve got some build suggestions if you want assistance.
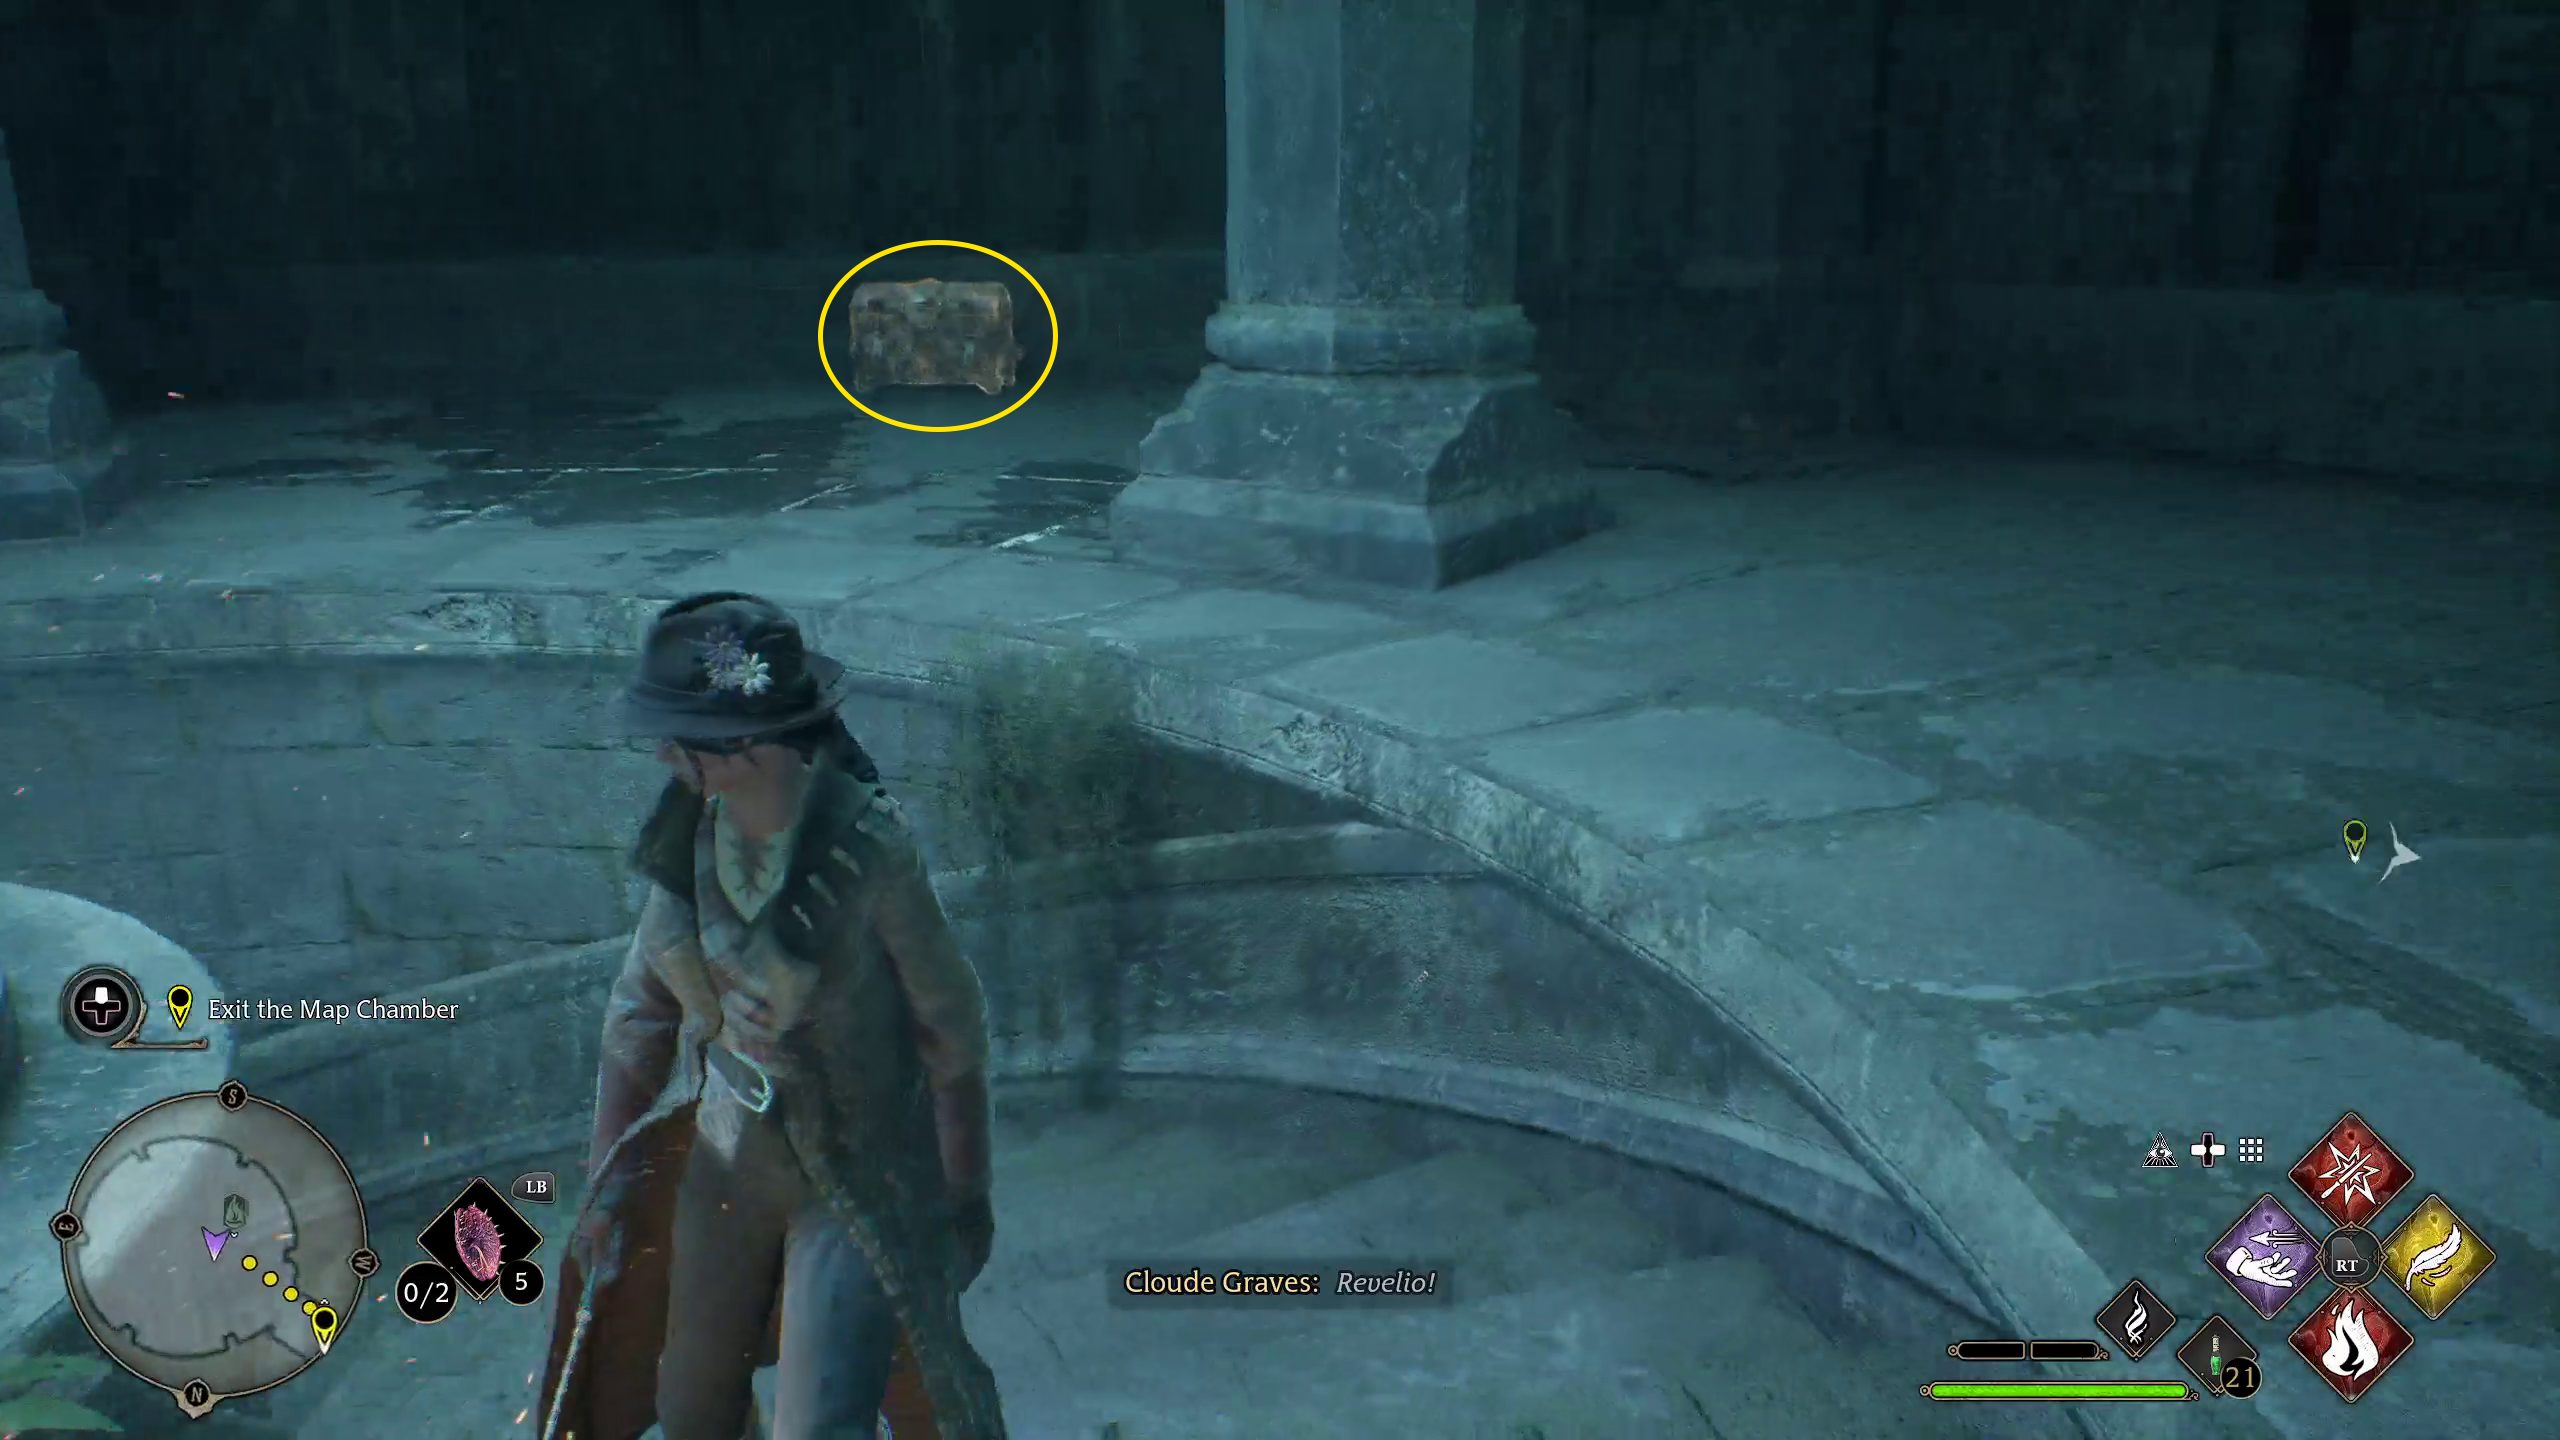
Exit the Map Chamber
When you’re ready, exit the map chamber by walking up to the door indicated by the objective marker and holding /. You’ll find yourself in an old, soggy hallway. Go forwards towards the Floo Flame, then continue up the spiral staircase. Once you reach the top of the stairs, look south and you’ll see a Disillusionment Chest (1). You’ll need to cast Disillusionment, and then sneak up to the chest and open it with /.
Then you can proceed west-northwest down the hallway and up the next flight of stairs. At the top, you’ll find a door — push on through, and you’ll have exited the Map Chamber! You can explore this part of the castle now, or use a Floo Flame to go somewhere else — like Flying Class, your next story mission.
Unabashed FromSoftware fanboy still learning to take his time with games (and everything else, really). The time he doesn't spend on games is spent on music, books, or occasionally going outside.


