This walkthrough of the Main Story quest “The Room of Requirement”, will allow you to gain access to — you guessed it — The Room of Requirement! There, you’ll be able to do quite a bit of stuff, including craft tools like potions and plants, upgrade your gear, and eventually take care of the beasts you rescue out in the open world.
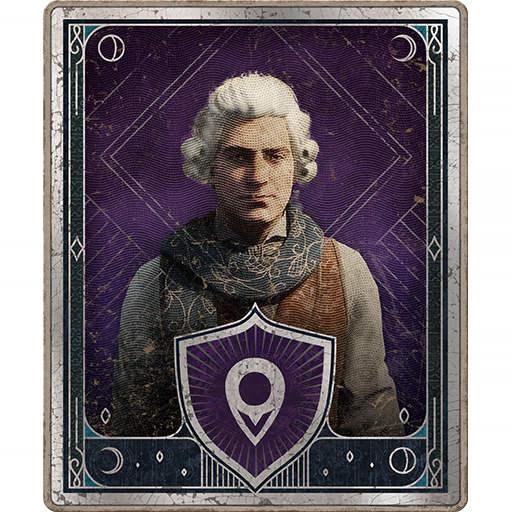
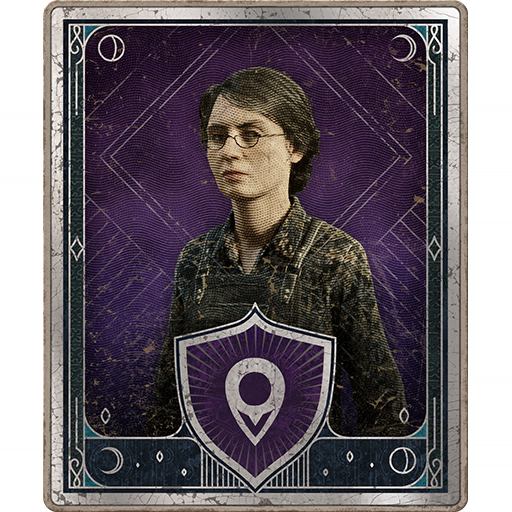
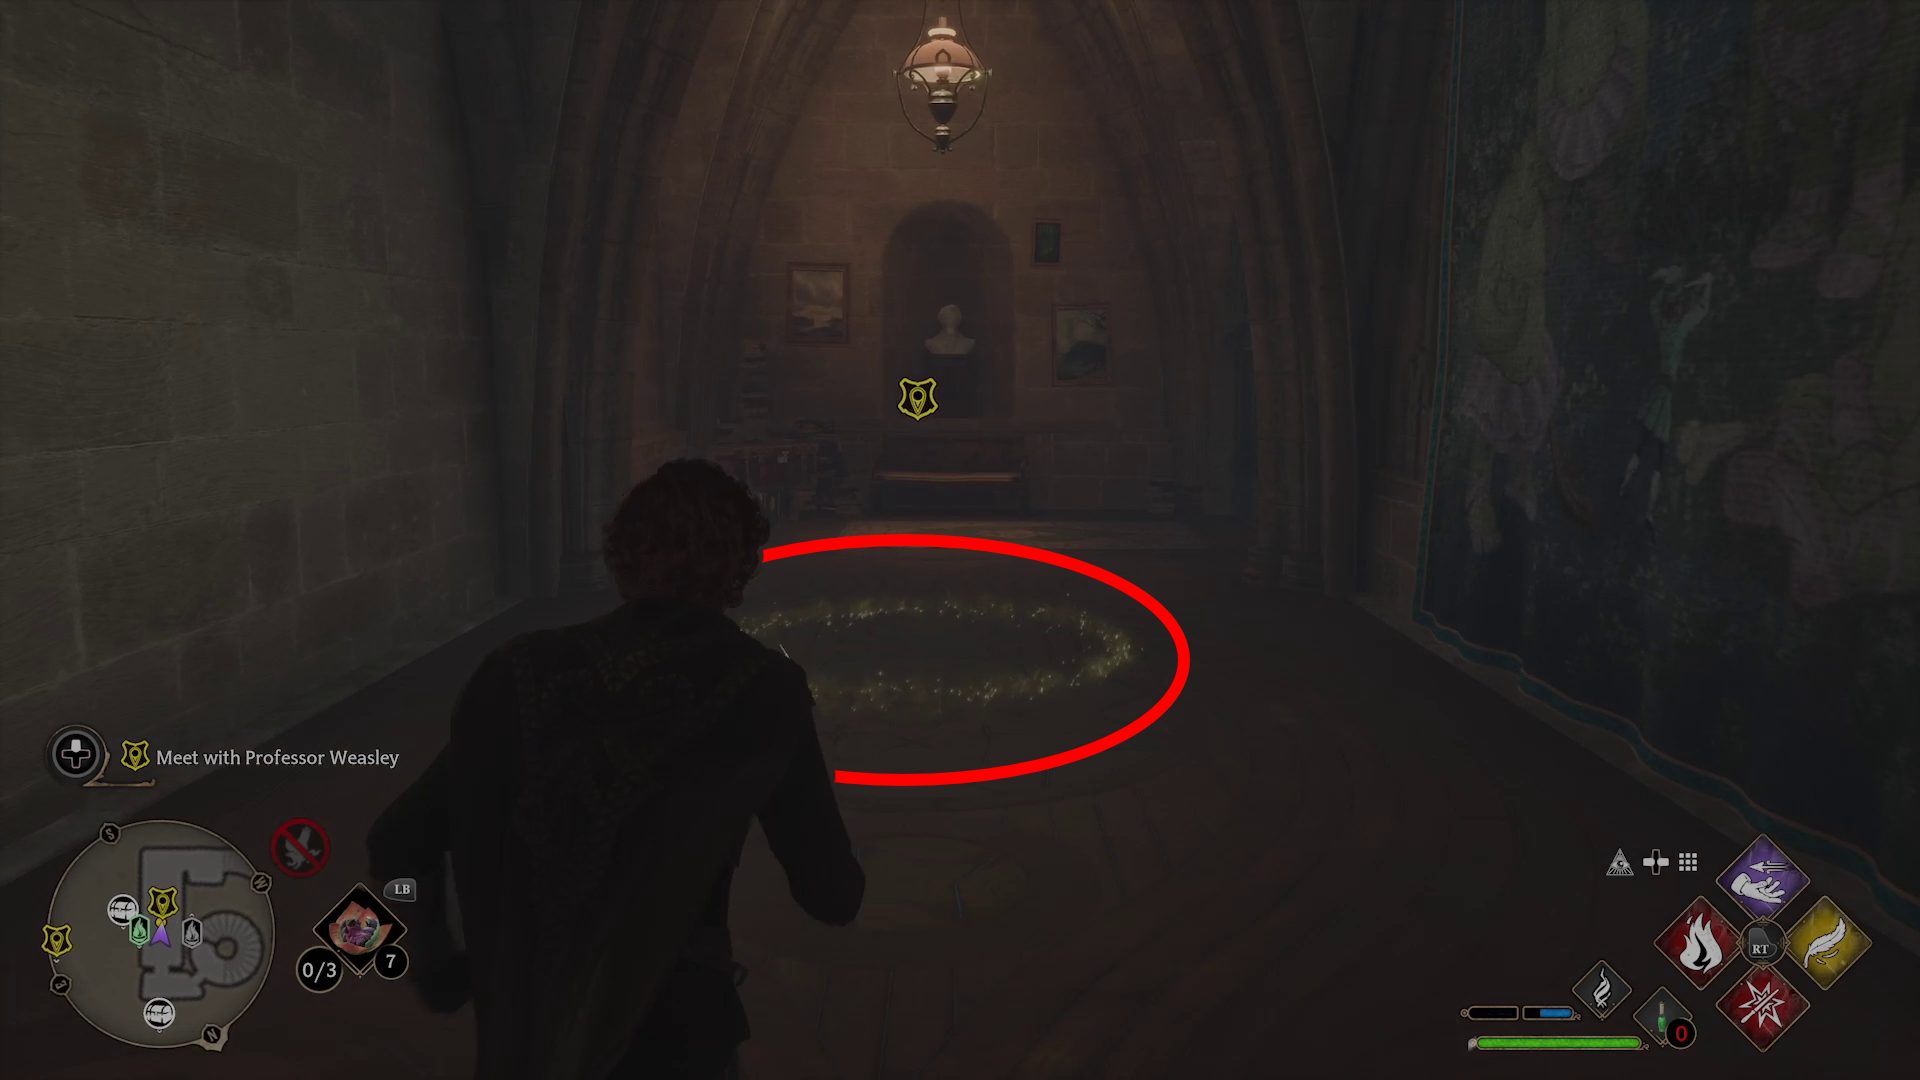
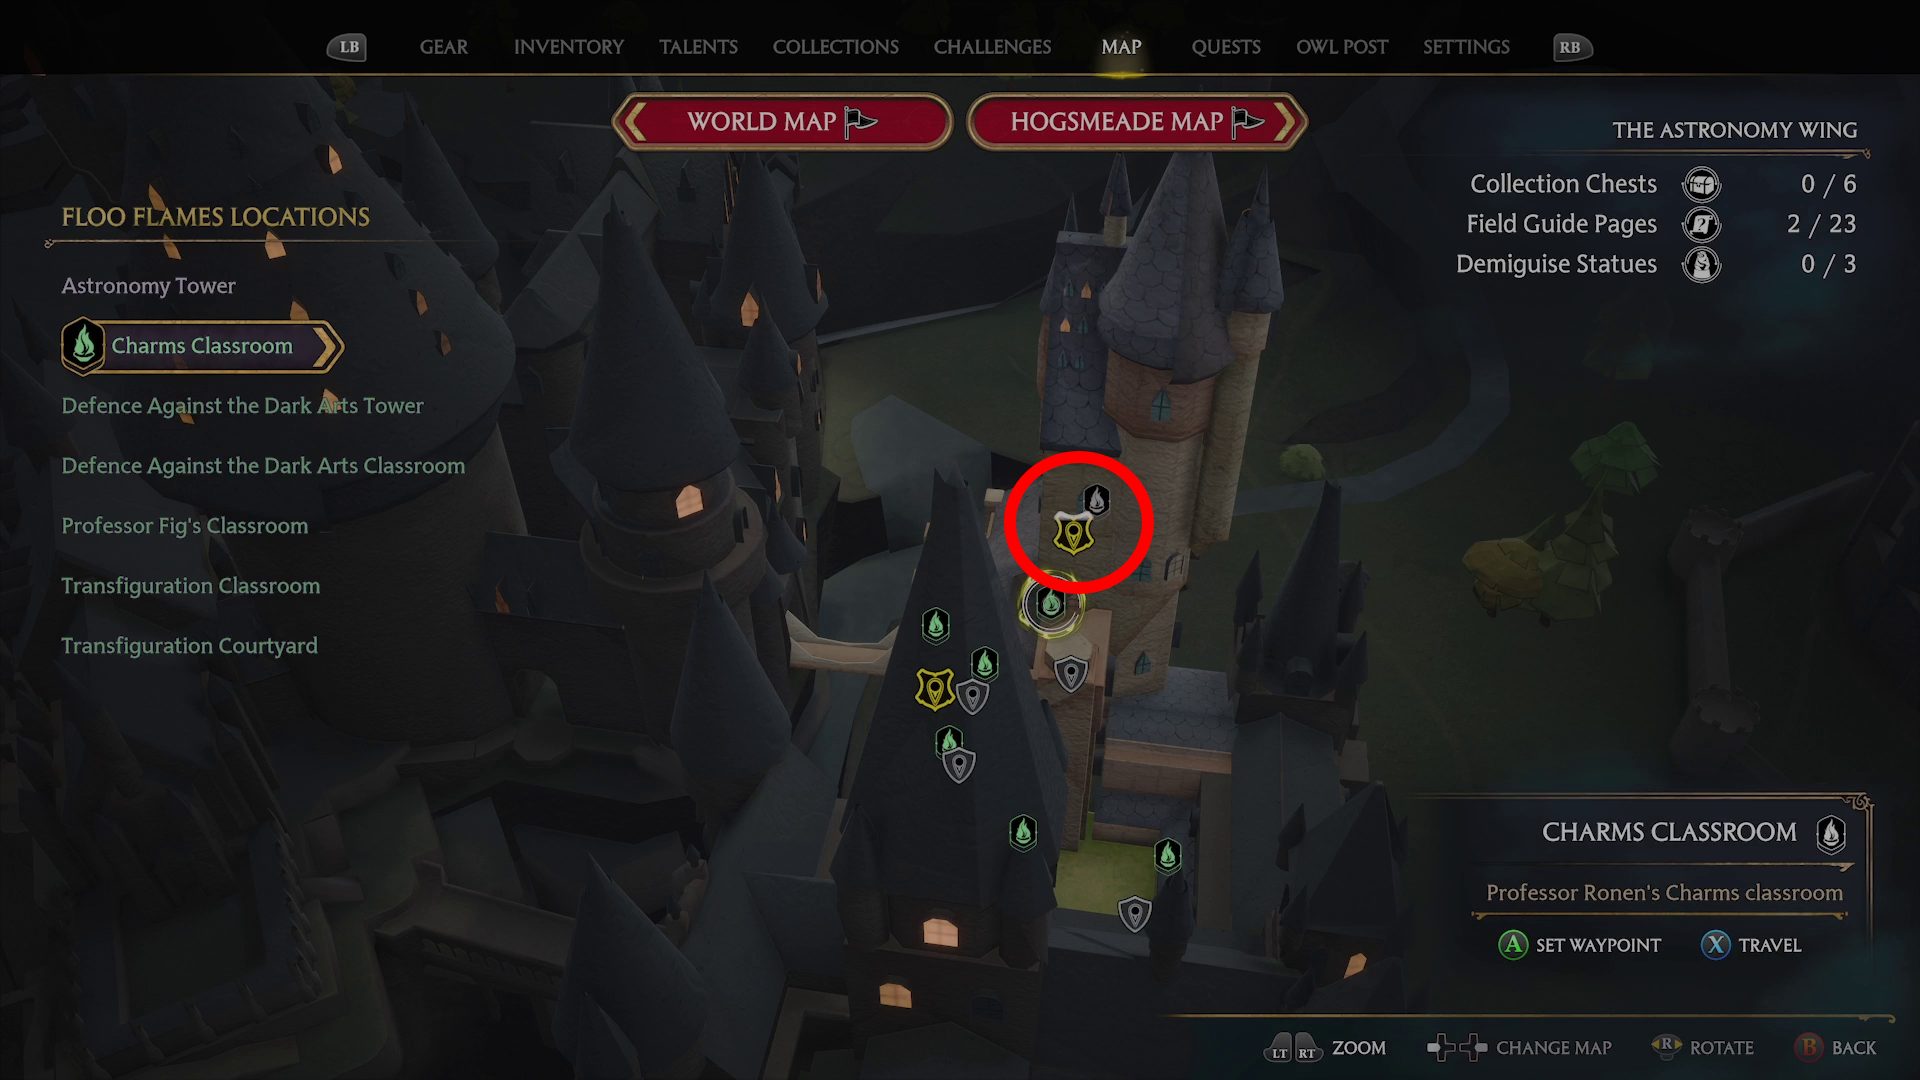
This quest starts with you meeting up with Professor Weasley. She’s in the Astronomy Tower, and the Charms Classroom is likely you closest Floo Flame. Make your way there, and then activate your compass (tap ) to find your way to where the quest begins. Stand in the golden circle and press / .
You’ll watch a cutscene that faithfully recreates how the Room of Requirement is opened in the books, Professor Weasley will show up, and you’ll follow her into the room.
Follow Professor Weasley
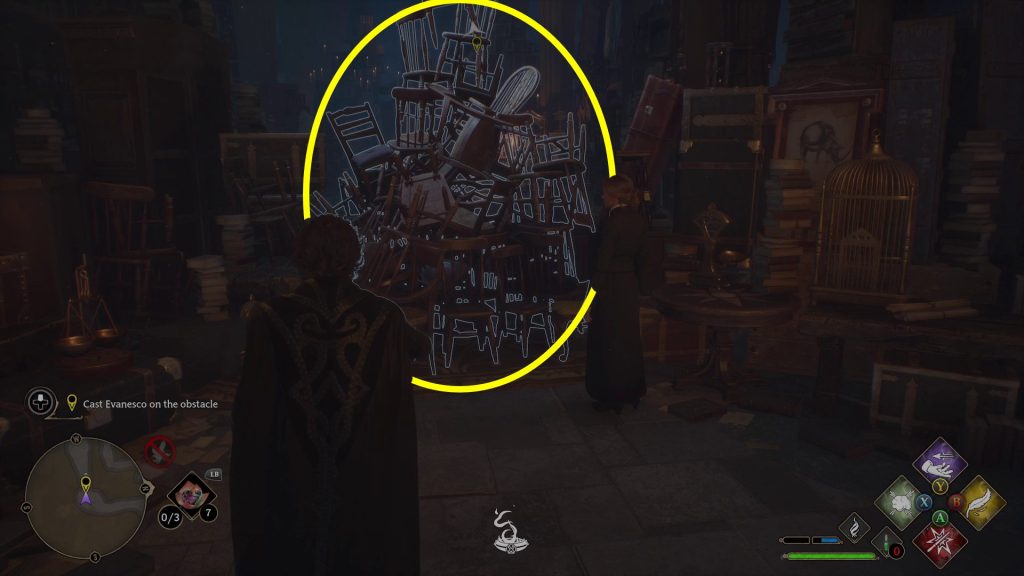
When the cutscene ends, you’ll be in the Room of Requirement. Walk with Professor Weasley through the corridors of junk until you come to a pile of chairs blocking your path. A conversation with the Professor will start, and then you’ll have to complete a spell minigame to learn Evanesco. It’s a moderately tricky one, since you have to hit three different face buttons — look carefully at which buttons are coming up before you start.
Cast Evanesco on the obstacle
After learning Evanesco, you’ll see the chairs highlight if you’re facing them — once they do, cast Evanesco to remove them. This will also earn you some Moonstone, which is a resource used in the Room of Requirement.
Follow Professor Weasley (2)
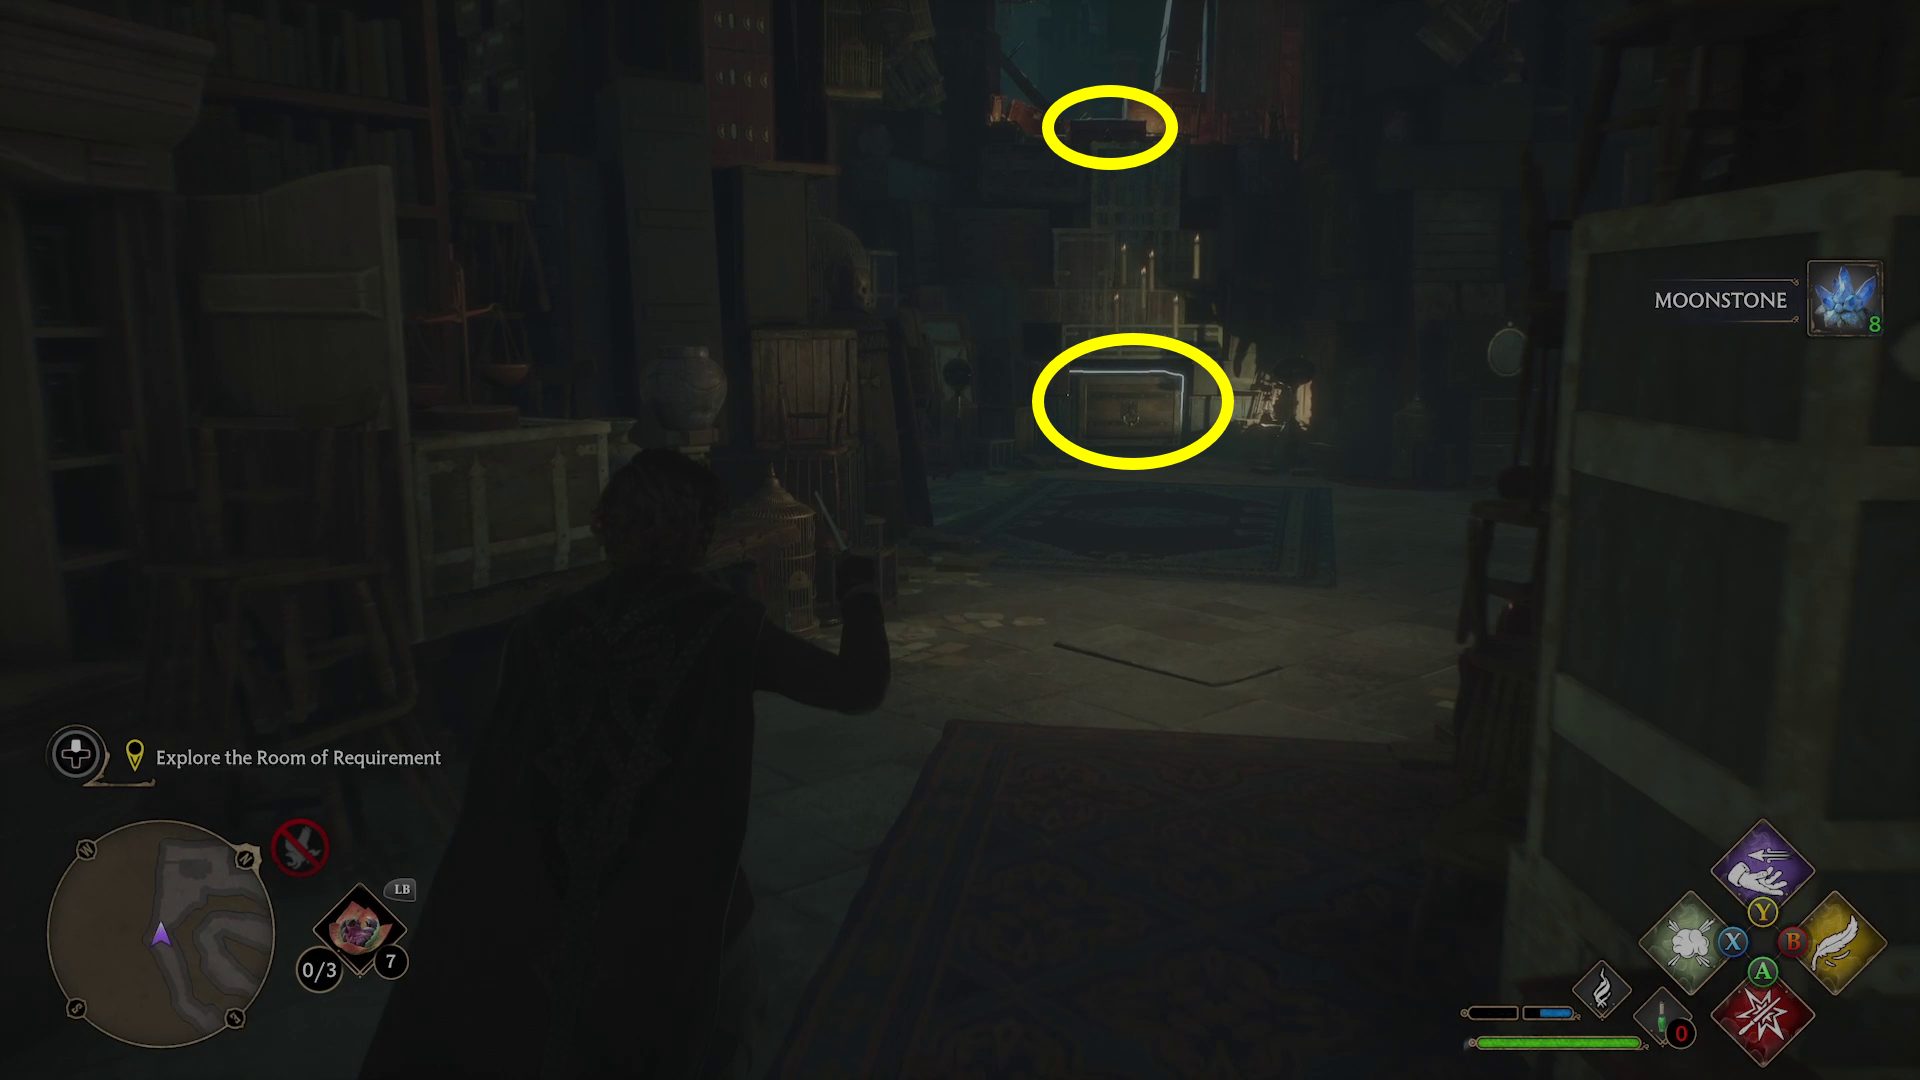
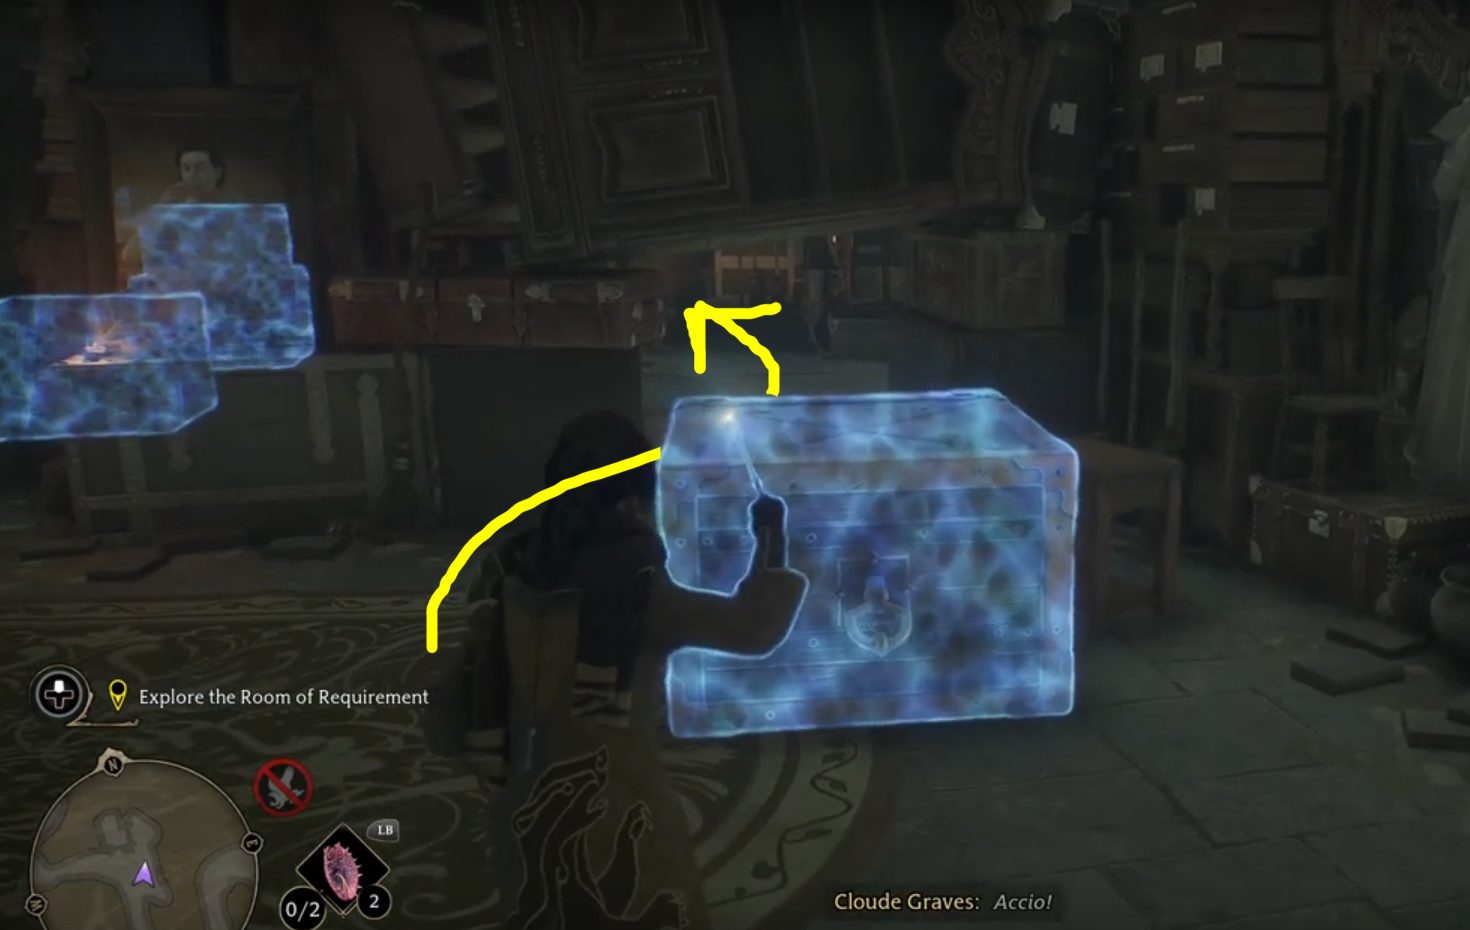
After clearing the obstacle, keep following the Professor. She’ll find her old school bag, giving you a chance to explore on your own. Continue west, and you’ll come across another obstacle that you’ll need to remove with Evanesco. Just beyond, you should spot a box that highlights when you look at it — above it is a chest (1). Stand a few feet away from the box, and pull it towards you with Accio. Then cast Levioso on it, climb up with /, and you’ll be able to reach the chest. Head east and you’ll come to another set of chairs you need to remove with Evanesco. — do so, then go through the low gap (2).
12
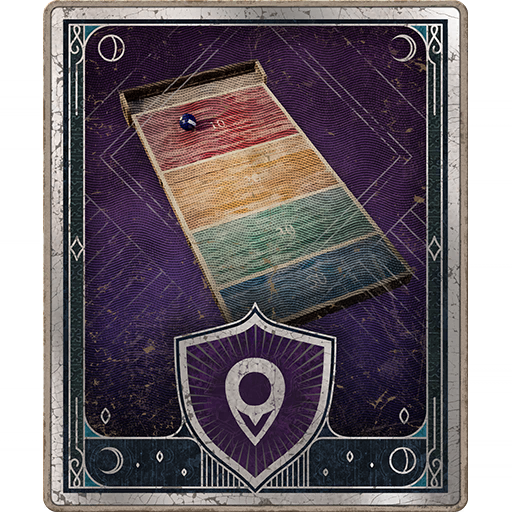
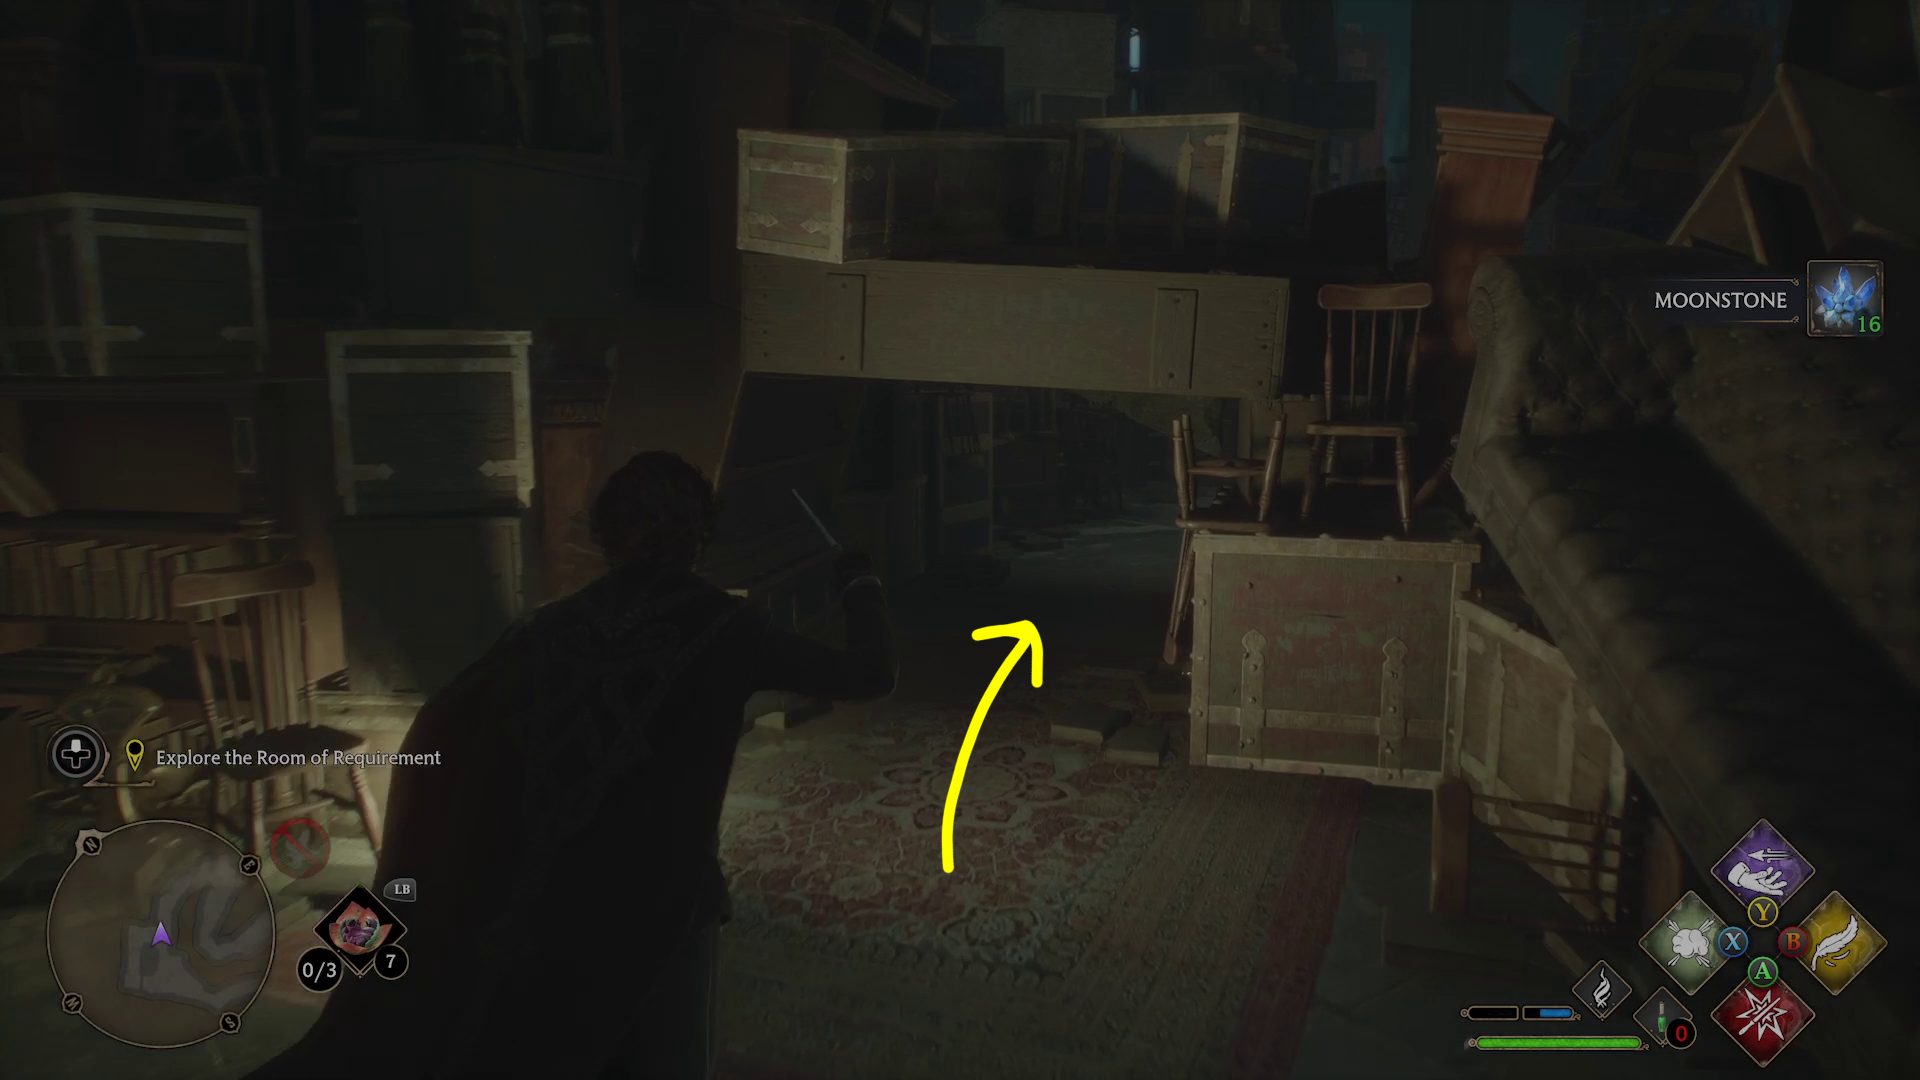
Continue forward and you’ll need to Evanesco yourself a path yet again — on the left just ahead you can find the Bathtub Note sitting on a barrel. Keep following the path, going through another narrow passage. Once you pass through the floating lanterns, you’ll need to get through one more barricade, and then you’ll see a crate in the far right corner.
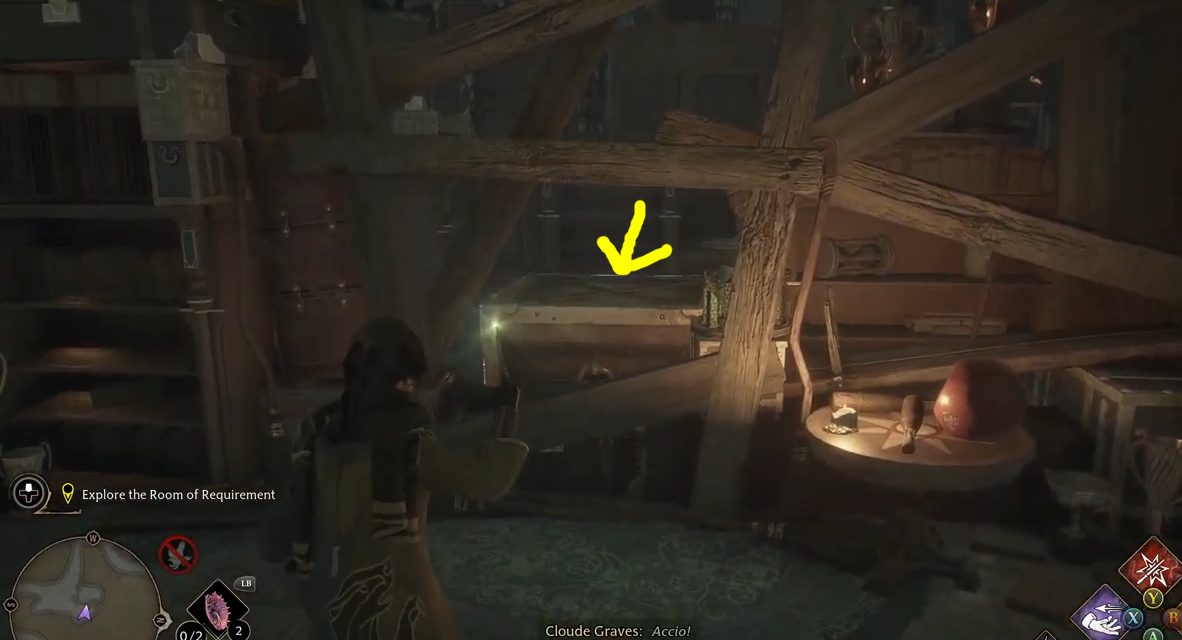
We’re going to call this area Area A (it’ll matter in a sec). While here, walk over and Accio the crate out of its nook (1), then go past it into Room B. Through a crack in the wall on the left is another crate (in Room C) — Accio this one towards you as well (2). Then go back to Area A and look through another crack towards Room C — you’ll see a chest on top of a crate (3). Accio the chest as close to you as possible, then go back to Room B again and Accio it again — at this point you’ll finally be able to loot the chest!
123
There’s now only one way forward, so go back to Area A, and go west. Keep going until a cutscene starts, in which you’ll meet Deek the house elf and shape the Room of Requirement to your needs.
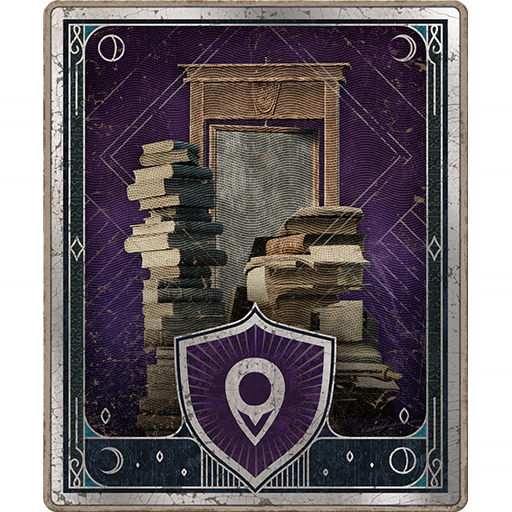
Use the Desk of Description
First, Professor Weasley will note you’ve got a Desk of Description, which allows you to identify Gear. Even if you don’t have any unidentified Gear, you’ll still need to use the desk, so walk up to it and press / when the prompt appears.
Speak to Professor Weasley
After using the desk, walk over to Prof. Weasley and press / to speak with her. During your conversation, you’ll get to learn the Conjuring Spell. Like the previous spell you learned in this quest, there are three different face buttons to hit while learning the spell, so look ahead and be ready!
Conjure a Potions Table
Hit to open the Spells menu, then assign the Conjuring Spell to your Spell Diamond. Then cast the Conjuring Spell, causing the Conjuration menu will appear. Press / to select the first option, Potions, and then select one of the available Potion Stations — they’re all functionally the same, but vary aesthetically. It’s actually easier to see what they look like after selecting one, so just pick one for now. Then, you’ll be able to mess with it before placing it:
You can use left and right on the D-Pad to change the look of the station.
The bumpers rotate the object, and disables snapping so you can place it (almost) anywhere.
Change the color of the station with /
When you’re ready, press / to place it.
Conjure a Potting Table
Now, do the exact same thing with a Potting Table! Don’t stress too much about placement, as you can always cast Evanesco and then simply replace any object (it’s also possible to move stuff around after you complete the quest Interior Decorating.)
Once you’ve placed both tables, you’re all done with the quest! If you haven’t completed it, the next quest is In the Shadow of the Undercroft, otherwise you’ll need to do The Map Chamber.
Unabashed FromSoftware fanboy still learning to take his time with games (and everything else, really). The time he doesn't spend on games is spent on music, books, or occasionally going outside.


