Limgrave, the starting region of Elden Ring, is filled with hidden dungeons waiting to be explored. From dark catacombs to crumbling caves, these labyrinths offer valuable rewards, challenging enemies, and secrets beneath the land’s rolling hills. This guide covers all the dungeons in Limgrave and what to expect inside them. If you’re looking for a complete walkthrough of Limgrave, head here. If you are looking for a guide to the Legacy Dungeon at one end of Limgrave, Stromveil Castle, look here.
Limgrave Dungeons
The Fringefolk Hero’s Grave is the first dungeon in Elden Ring, accessible with a  Stonesword Key (which is an item you can select on character creation). It has a chariot trap that moves through narrow corridors, requiring careful timing to avoid being crushed. There are hidden paths, enemy ambushes, and environmental hazards, including poison water and fire traps. A secret method allows the chariot to be destroyed, making traversal easier.
The dungeon contains the  Erdtree’s Favor talisman, the
  Dragon Communion Seal, and
  Banished Knight Oleg Ashes, along with dragon-related loot. The
  Erdtree Greatbow is obtained by eliminating the chariot. At the end, the boss Ulcerated Tree Spirit awaits, a typically very challenging boss for how early it is that attacks with erratic movements and holy-based abilities.
Groveside Cave is a small and straightforward dungeon, often one of the first players encounter in Elden Ring. It features a simple cave layout with a wolf-infested camp where players can find a  Cracked Pot and some consumables. The dungeon provides an easy introduction to enemy encounters and dungeon exploration. At the end, players face the Beastman of Farum Azula, a fast and aggressive foe that drops the
  Flamedrake Talisman upon defeat.
Stormfoot Catacombs is a compact dungeon that introduces players to fire traps and ambushes. It consists of winding hallways filled with imps and multiple fire-spewing traps that require careful timing to disable. Players can find the  Prattling Pate “Hello” and
  Wandering Noble Ashes along the way, along with useful consumables.
The dungeon’s layout encourages strategic engagement, as enemies often attack from above or lurk in ambush. At the end, players face the Burial Tree Watchdog, a stiff-moving but deceptively quick boss that drops the  Noble Sorcerer Ashes upon defeat.
- Unique Rewards:
- Questlines:
Coastal Cave is a short but dark dungeon on Limgrave’s western shore, requiring a  Torch or other light source to navigate. It features a few groups of aggressive Demi-Human enemies, with an emphasis on ambushes and group combat in the dark. The cave culminates in a fight against two Demi-Human Chiefs, accompanied by additional smaller foes. Defeating them grants the Tailoring Tools, needed for armor customization, and the
  Sewing Needle, which progresses
  Boc the Seamster’s questline. Instead of teleporting back after the fight, players can continue through the cave to emerge on the island housing the Church of Dragon Communion.
Limgrave Tunnels is a mining dungeon filled with durable enemies that are weak to Strike damage, making blunt weapons like clubs highly effective. The area is packed with upgrade materials, but the miners won’t give them up without a fight. Sneaking past them is an option, but doing so means missing out on valuable  Smithing Stones [1] embedded in the walls. The tunnels also feature multiple elevators, hidden ledges with extra loot, and ambushes from enemies wielding fire-based attacks.
Deeper into the dungeon, players will find a mix of aggressive foes, including firebomb-throwing enemies and hidden ambushes. Careful exploration yields plenty of crafting materials, including  Glintstone Scraps and Smithing Stone [1]. At the end of the tunnels, behind a locked gate, lies the Stonedigger Troll, a massive enemy that rewards the
  Roar Medallion upon defeat.
- Unique Rewards:
- If you Kill Patches:
- If you Spare Patches:
 Patches‘ Shop & Questline Progression
- Grovel for Mercy Gesture
Murkwater Cave is a short and straightforward dungeon, notable for introducing Patches, the infamous trickster from other FromSoft games going back at least to Demon Souls. The main thing to watch out for is a room full of hidden bandits and pressure plate traps, which can turn into a quick ambush if you’re not careful. Moving along the right-hand side allows you to avoid most of the enemies and reach the boss door without trouble.
Beyond the fog gate, you’ll face Patches, who surrenders once his health drops low enough. If you choose to spare him, he becomes a merchant with useful wares later in the game. The dungeon also offers some minor loot, including mushrooms and a chance to farm bandit armor.
Murkwater Catacombs introduces many catacomb mechanics that you’ll see a lot of, including pressure plate traps, hidden gargoyle enemies, and a lever-locked boss door. The dungeon is small but packed with ambushes, so careful movement is key. Expect to face multiple imps lurking in the shadows, and make use of the traps to turn the tables on enemies when possible.
Navigating through narrow corridors and dealing with ranged enemies can be tricky, but once you pull the lever to open the boss room, you can sprint straight there from the entrance. The dungeon culminates in a fight against the Grave Warden Duelist, who drops the  Banished Knight Engvall Ashes.
Deathtouched Catacombs is a short dungeon filled with skeletons, which must be struck after defeat to prevent them from reviving. Archers on high ground can make traversal tricky, but they can be dealt with before dropping down. The dungeon also contains an  Uchigatana (in case you didn’t start as the Samurai) and some
  Bloodroses before leading to a fight with the Black Knife Assassin, who drops the
  Assassin’s Crimson Dagger and a
  Deathroot, which you can give to Gurranq in Caelid.
- Unique Rewards:
- Questlines:
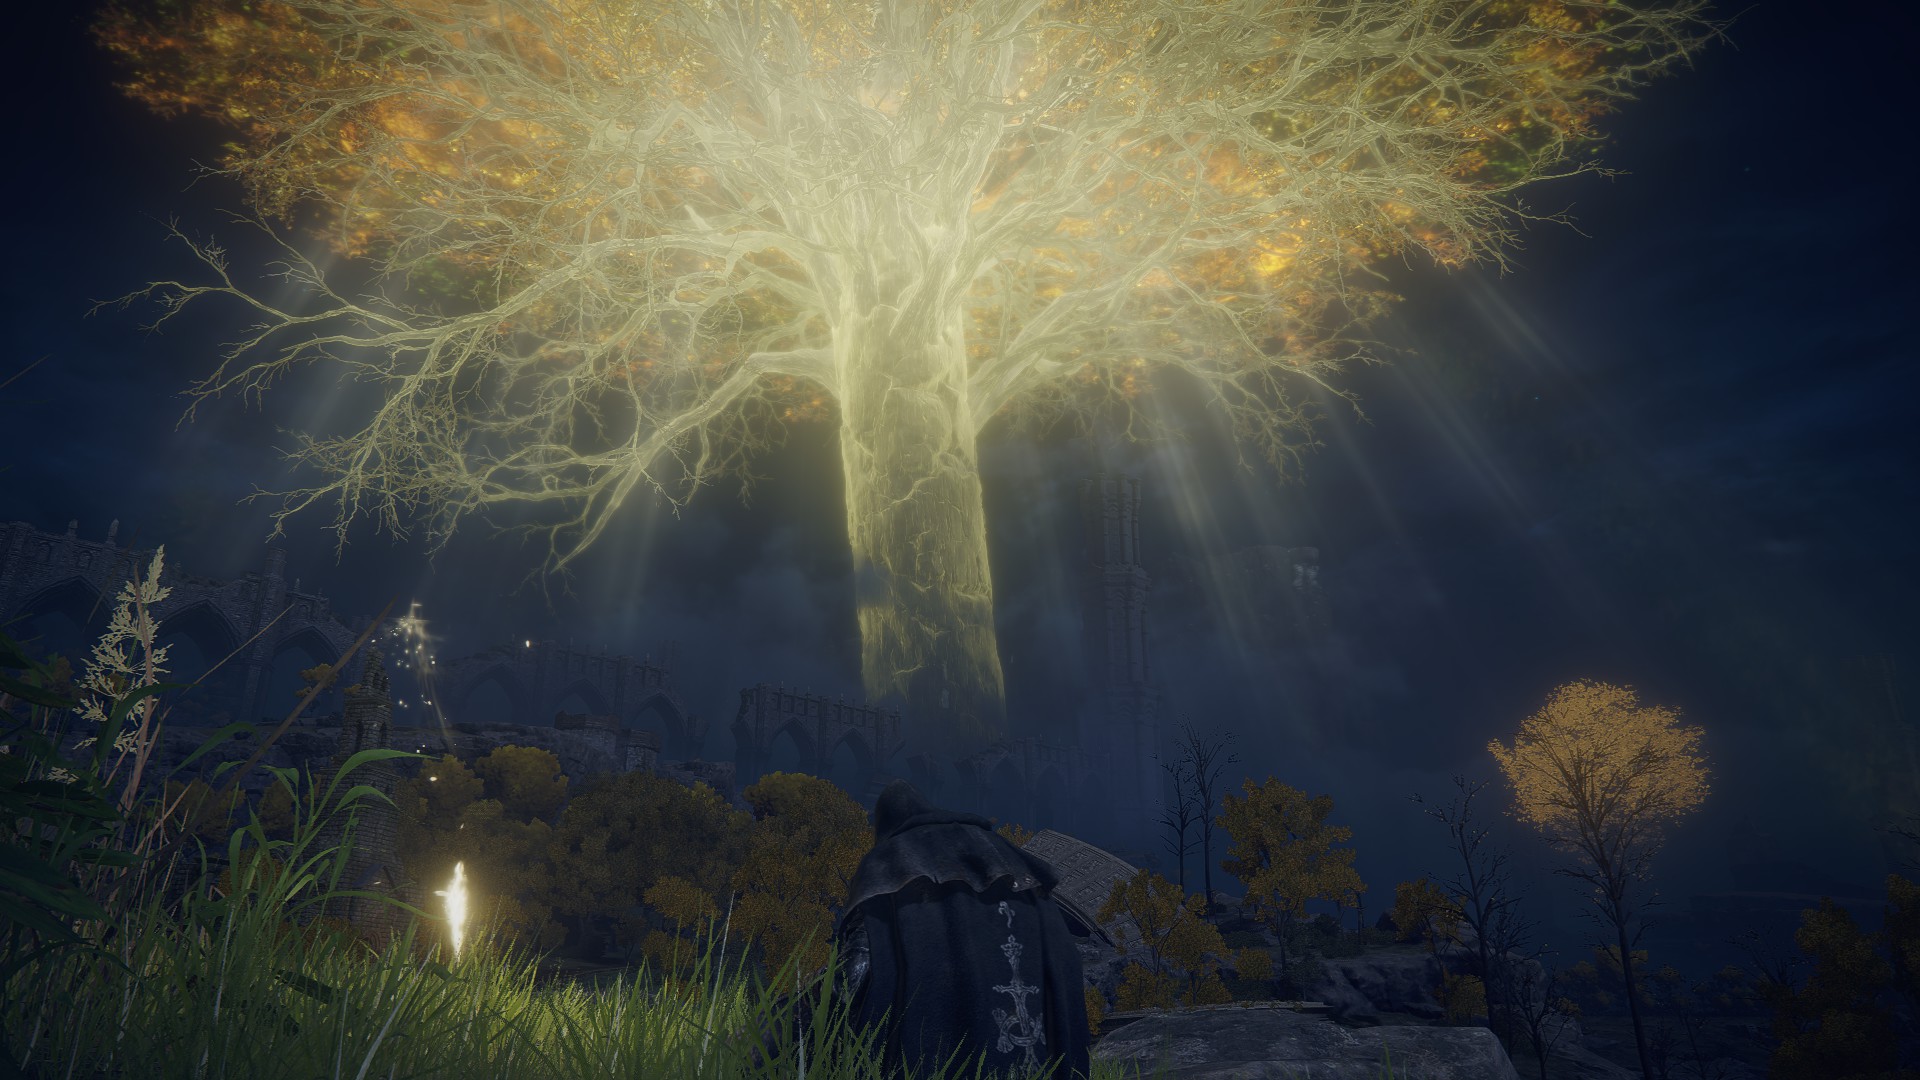
Siofra River is an expansive underground region with a hauntingly beautiful atmosphere, filled with towering ruins, spectral warriors, and glowing flora. The area is divided into two main sections: the initial descent through ruins guarded by slow-moving enemies and an open, sprawling landscape where players must light eight obelisks to unlock the boss. Along the way, you’ll encounter spectral archers with powerful magic arrows, ancient ruins hiding valuable loot, and an abandoned merchant with rare items, including a  Larval Tear. The region also ties into
  Ranni the Witch’s questline, as
  Blaidd can be found here searching for Nokron.
Exploring Siofra River rewards players with a variety of useful items, including the  Horn Bow,
  Oracle Bubbles, and
  Marika’s Scarseal. Several Ashes of War, crafting materials, and Smithing Stones are also scattered throughout. A hidden waygate leads to an optional fight against a Dragonkin Soldier, which grants the
  Dragon Halberd upon defeat. Players will also encounter the imposing Ancestor Spirit, a majestic yet eerie boss that becomes accessible after lighting all the obelisks in the area, which drops the
  Ancestral Follower Ashes.
Highroad Cave is a multi-layered dungeon in Limgrave filled with wolves, bats, and treacherous drops. The cave is dimly lit, and players will need to descend carefully using ledges and broken pillars to reach the deeper sections. Along the way, various resources such as  Fire Grease, Smithing Stones, and the
  Shamshir curved sword can be found. The midsection of the dungeon features a large open chamber with waterfalls, where flying enemies pose a threat to careless explorers. A hidden tunnel also leads to a dangerous enemy hanging from the ceiling, though it can be avoided.
The dungeon culminates in a battle against the Guardian Golem, a towering and slow but powerful foe that guards the final reward, the  Blue Dancer Charm.