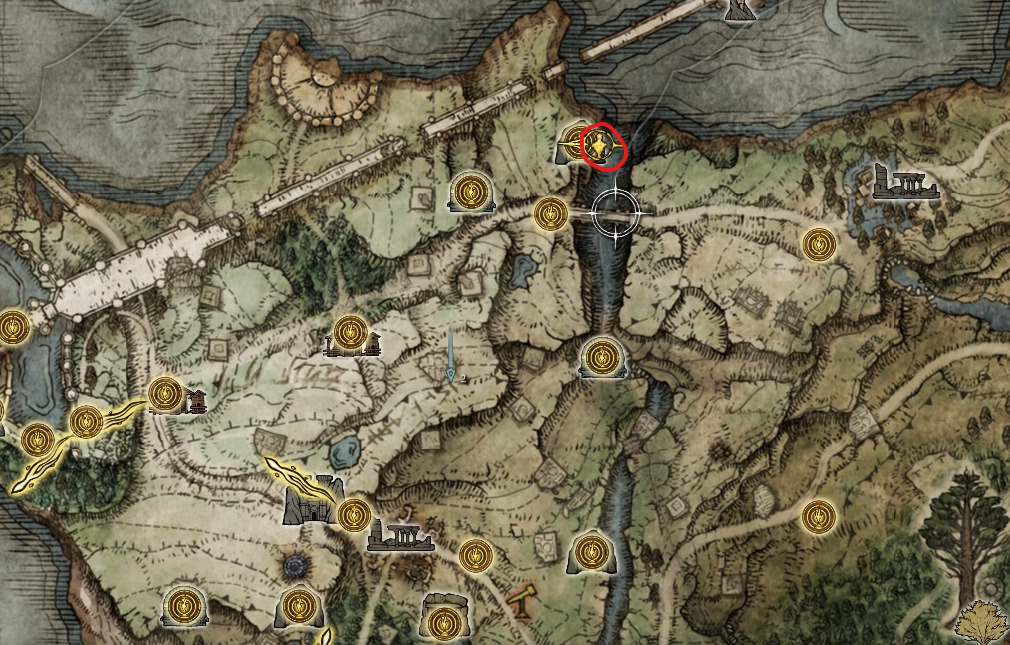
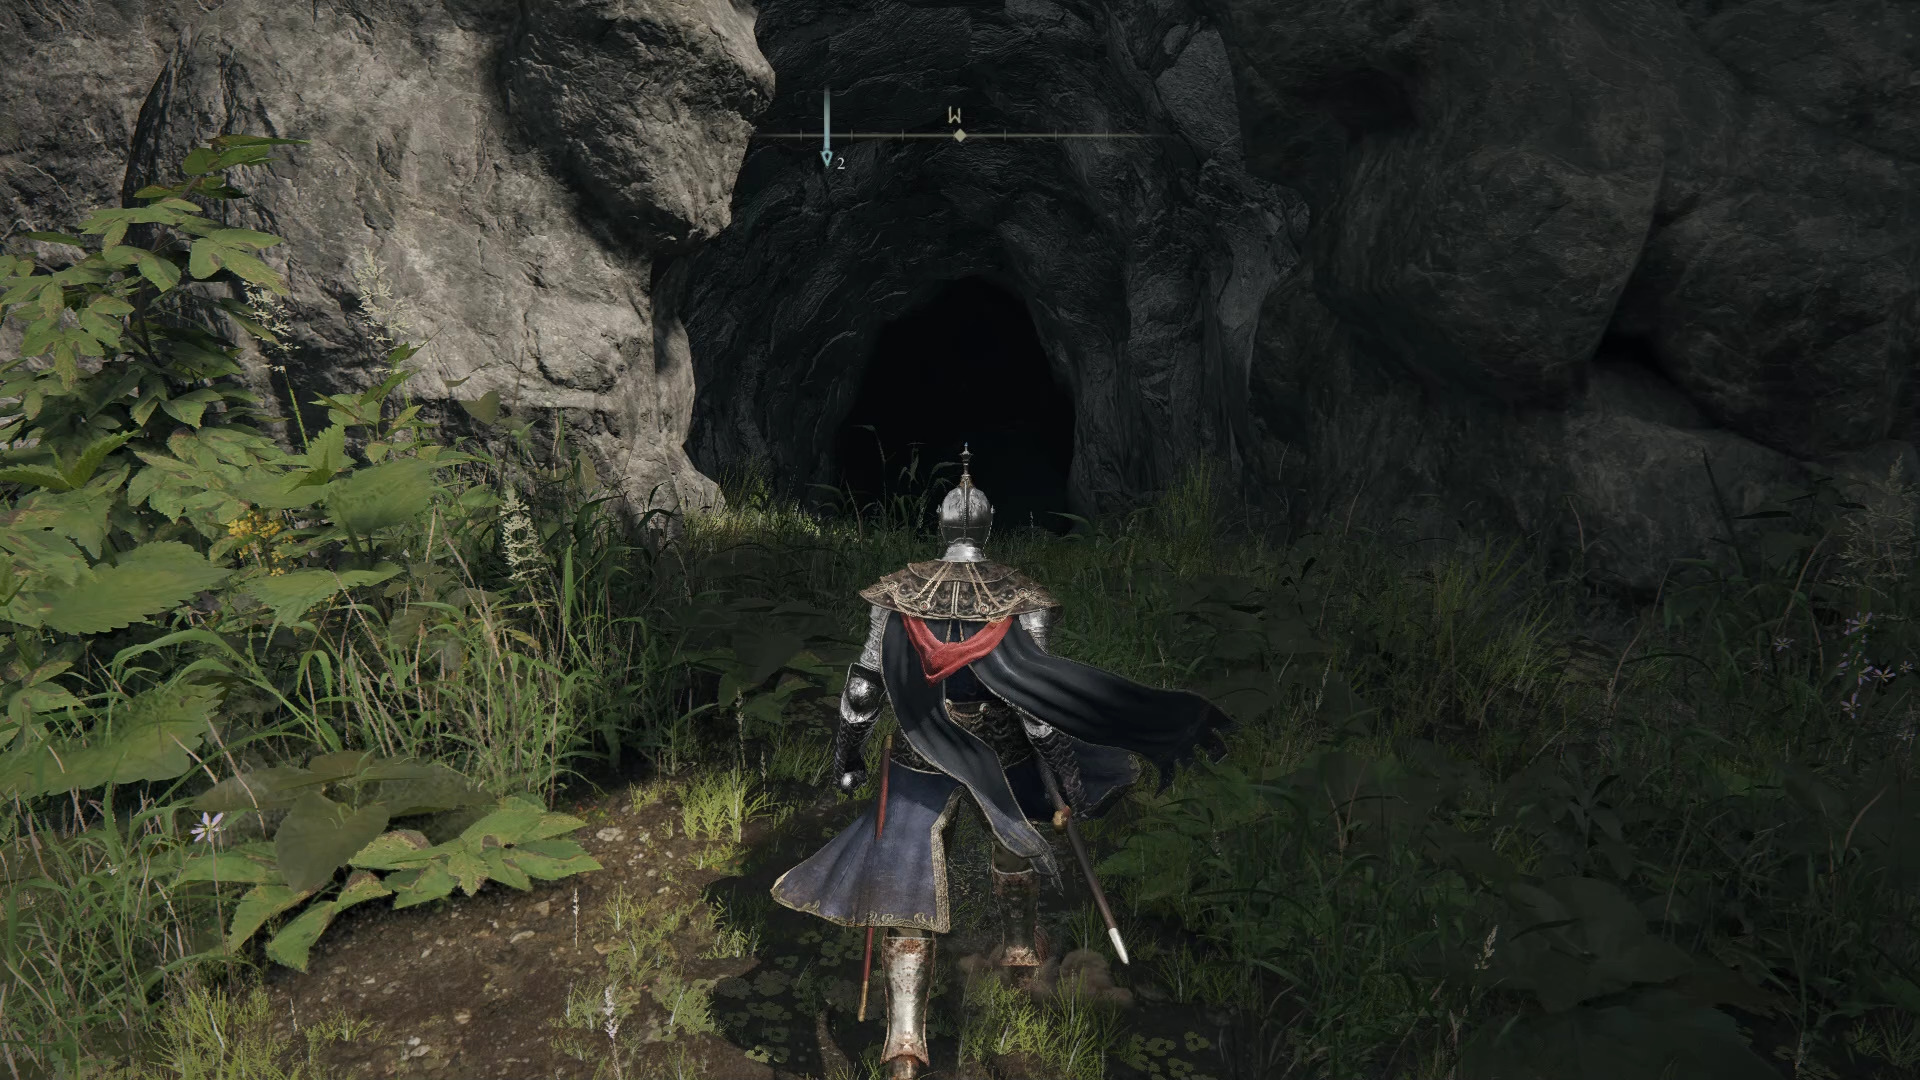
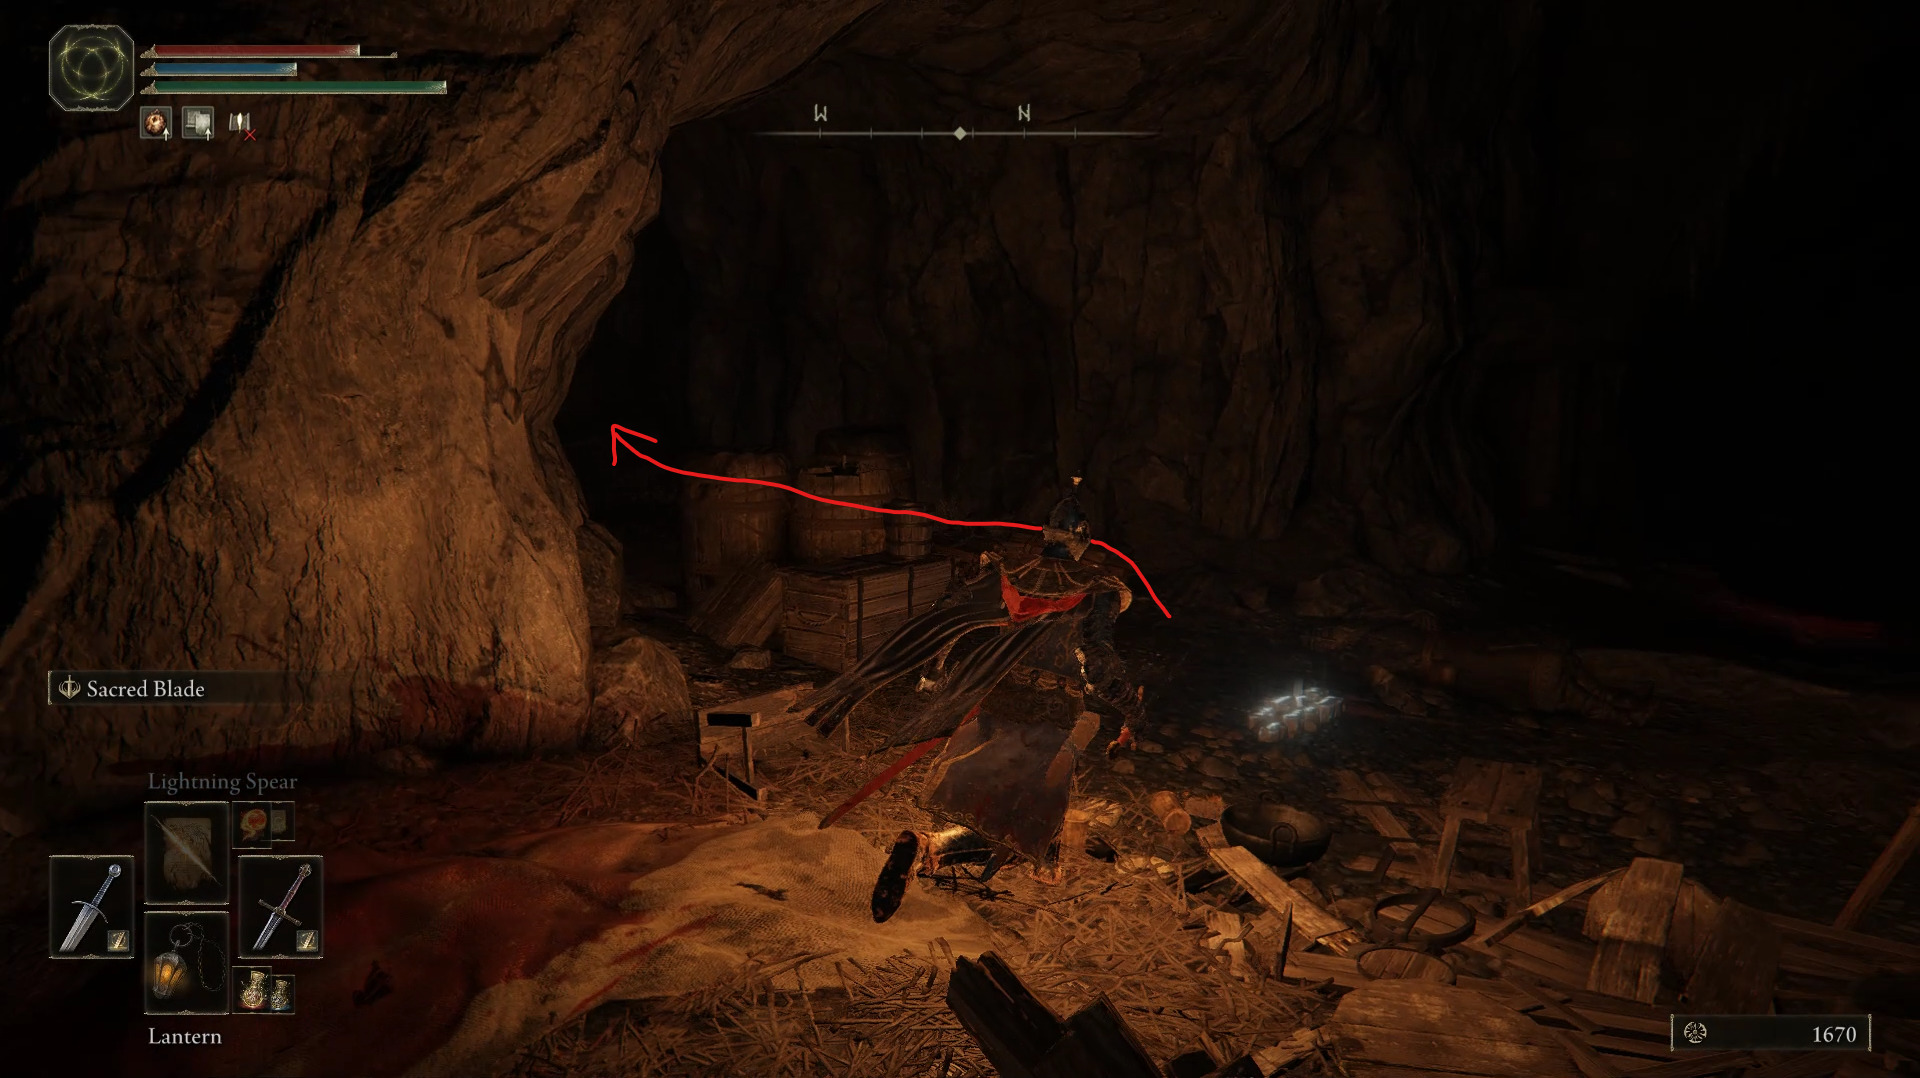
Make sure you grab the site of grace at the start of the dungeon, and start going through the cave. You will quickly reach a hole in the ground where you will need to jump down to a several platforms, to avoid dying from gravity. The platforms designed to help you get down might be hard to see, so don’t hesitate to use a Torch or a Lantern to make it easier.
All the way down, you will arrive at an open area infested by wolves. While the path to the left has nothing but a couple wolves and no loot, if you go forward (A) you can fight a few more wolves to grab a Golden Rune [1]. Once you’re done exploring this area, you can (carefully) drop down the hole in the middle of this area.
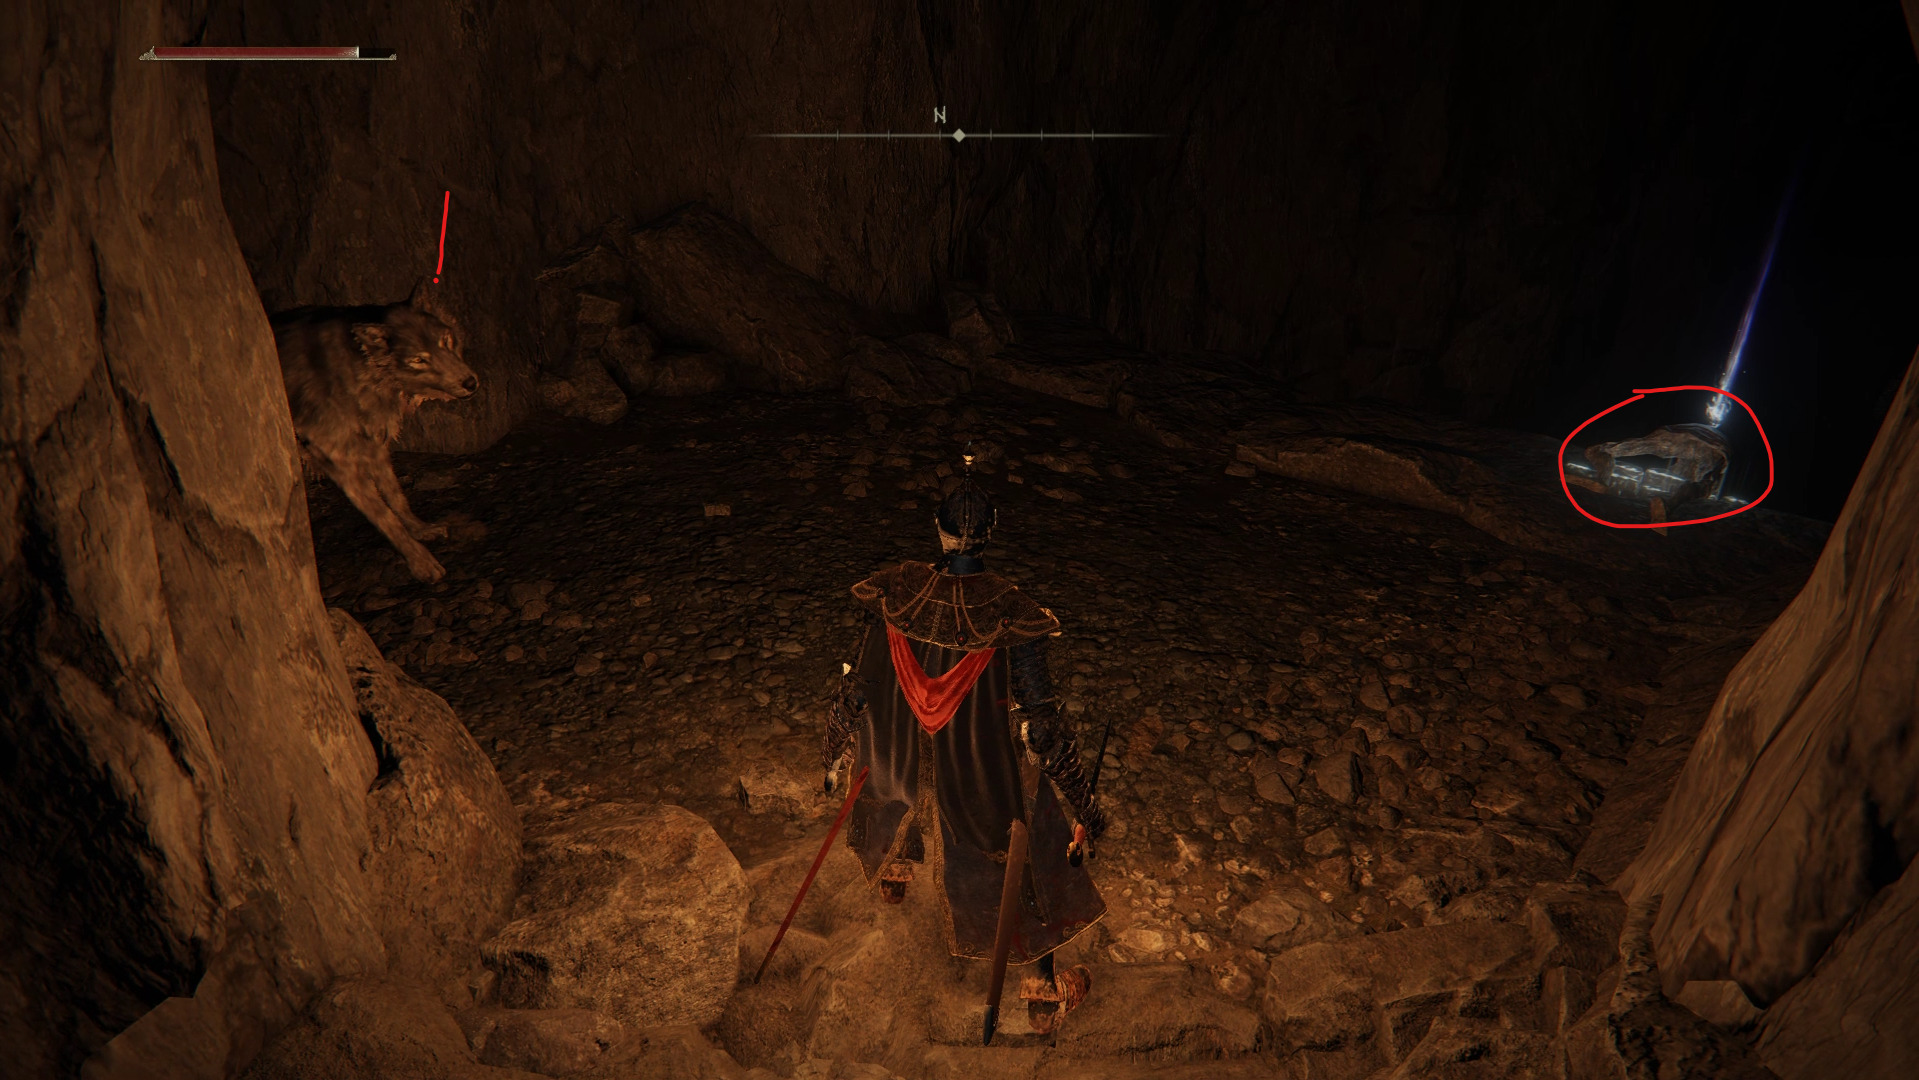
Once you make your way down, you can ignore the path to the left, unless you really love Cave Moss. If you’re not a Cave Moss enjoyer, go right instead and continue slaying wolves until you reach a forking path. There, going right will allow you to go deeper in the dungeon, while the path to the left will give you the opportunity to ambush the ambushing wolves. On top of being safer, you also get to grab some rare loot, so we’ll be going left.
3 grey wolves + 1 white wolf underneath
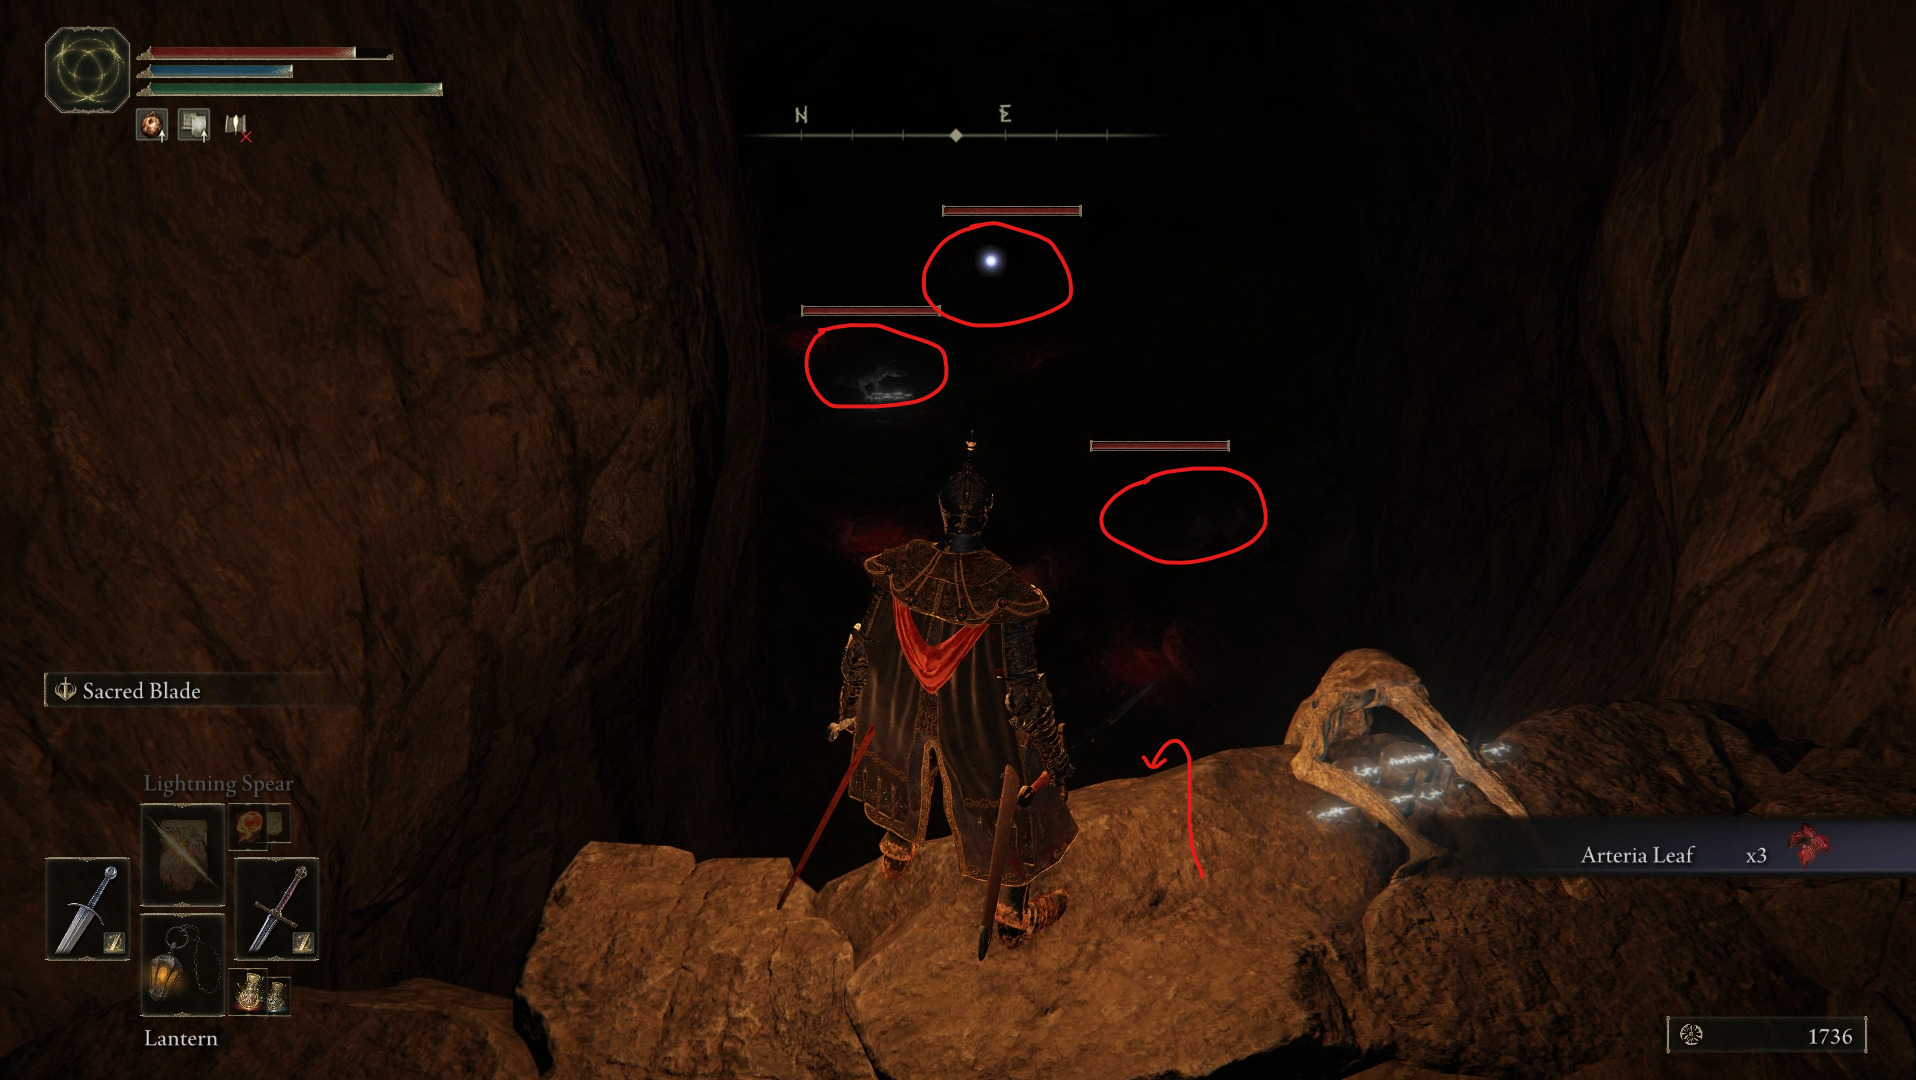
On the path going left, there will be one sneaky wolf sleeping in the small alcove to the left, as well as 3x Arteria Leaf on a nearby corpse. From the ledge, you’ll be able to spot several wolves that were trying to ambush you. One neat little trick here is targeting one of them, and then changing targets. Not only will you be able to scroll between all of the wolves even if you can’t see them, you’ll also see their health bars for a little while.
From that ledge, jump down to the white wolf underneath, as that will be the biggest threat. You can use a jumping heavy attack to catch it by surprise, and just kill it before it gets a chance to react. Killing it will not alert all of the wolves, and you’ll be able to dispose of them one by one if you approach them from the side or behind. Once they’re all dead, make sure to grab the 2x Fire Grease on a nearby corpse before moving on.
The next area you will reach is big open area inside the cave, with a couple waterfalls and quite a few bats. While there is no site of grace still, this is also where a Stake of Marika is located, so you don’t have to be too worried about dying. You can just continue moving forward by following the small path that you’re on, and jump down to the pathway underneath.
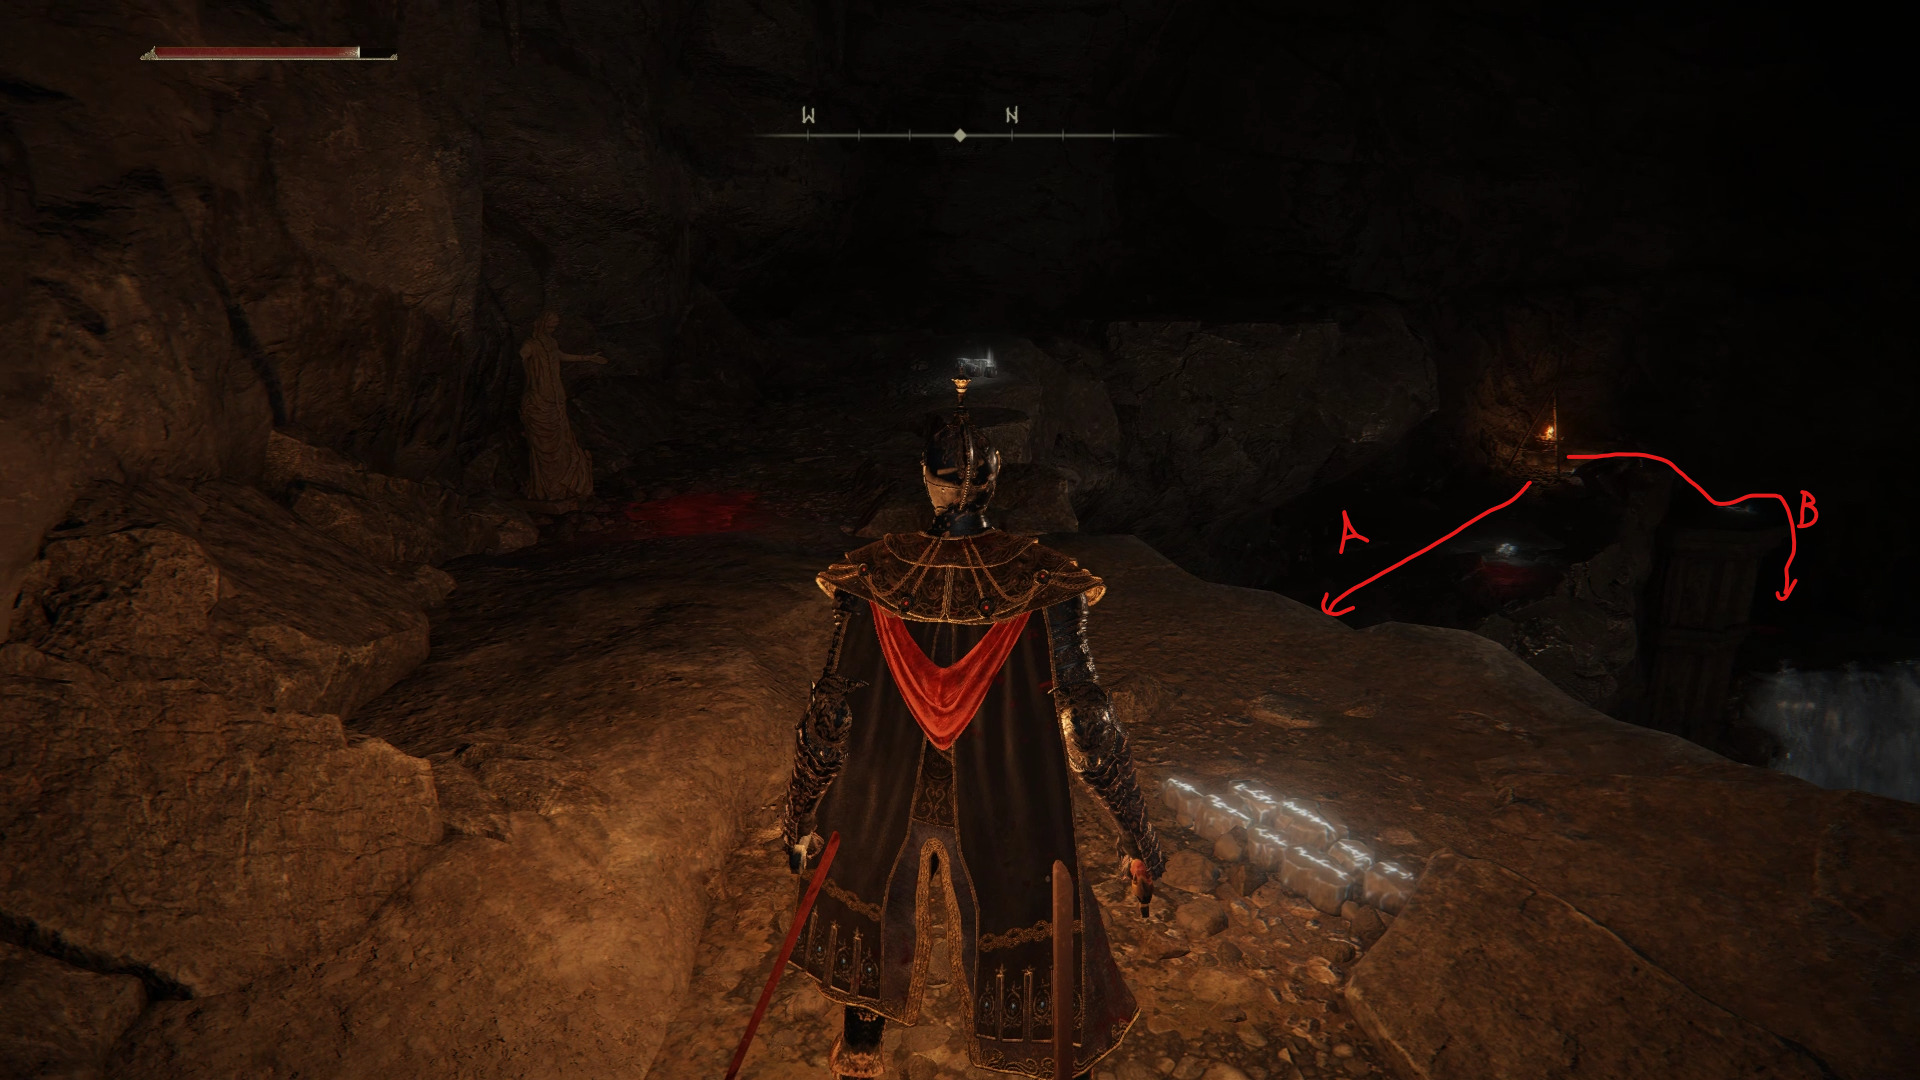
There, you will need to jump down to the waterfall (B) if you wish to continue moving forward, but you should grab the 3x Smithing Stone [1] on the pathway (A) first.
While there is a bat sitting next to the loot, if you kill it and try to grab the 3x Smithing Stone [1], another one will ambush you by flying up and towards you. After killing the bats and grabbing the upgrade materials, jump down to the waterfall (B) and enter the cave above it instead of jumping down straightaway. In this cave, you’ll find a Smithing Stone [2] near the entrance, as well as a Golden Rune [4] behind the small waterfall to the right of the cave.
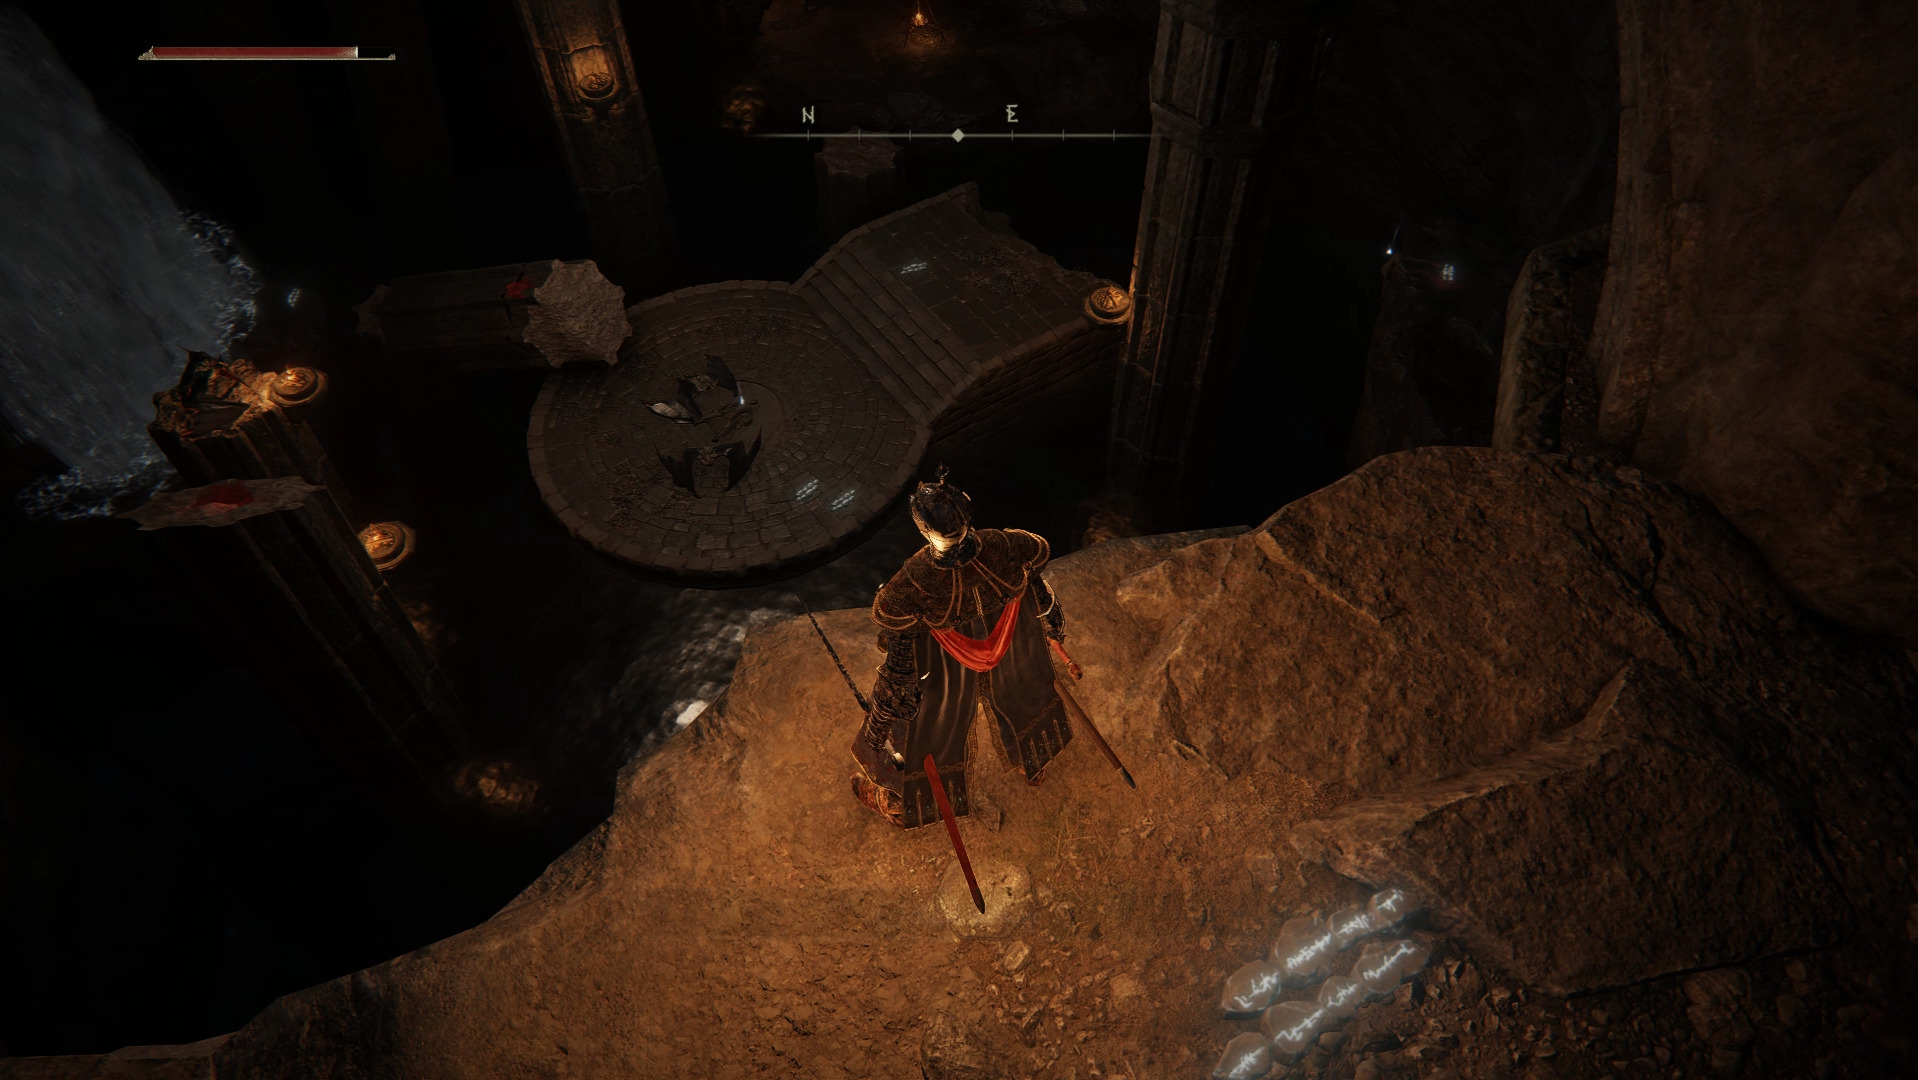
You can now head to the waterfall (B), and jump down to a platform underneath it to reach the lower level of the dungeon. From there, you can jump over to the broken down pillar nearby to reach the middle of this open area, which is where 3 bats are guarding a corpse containing Shamshir.
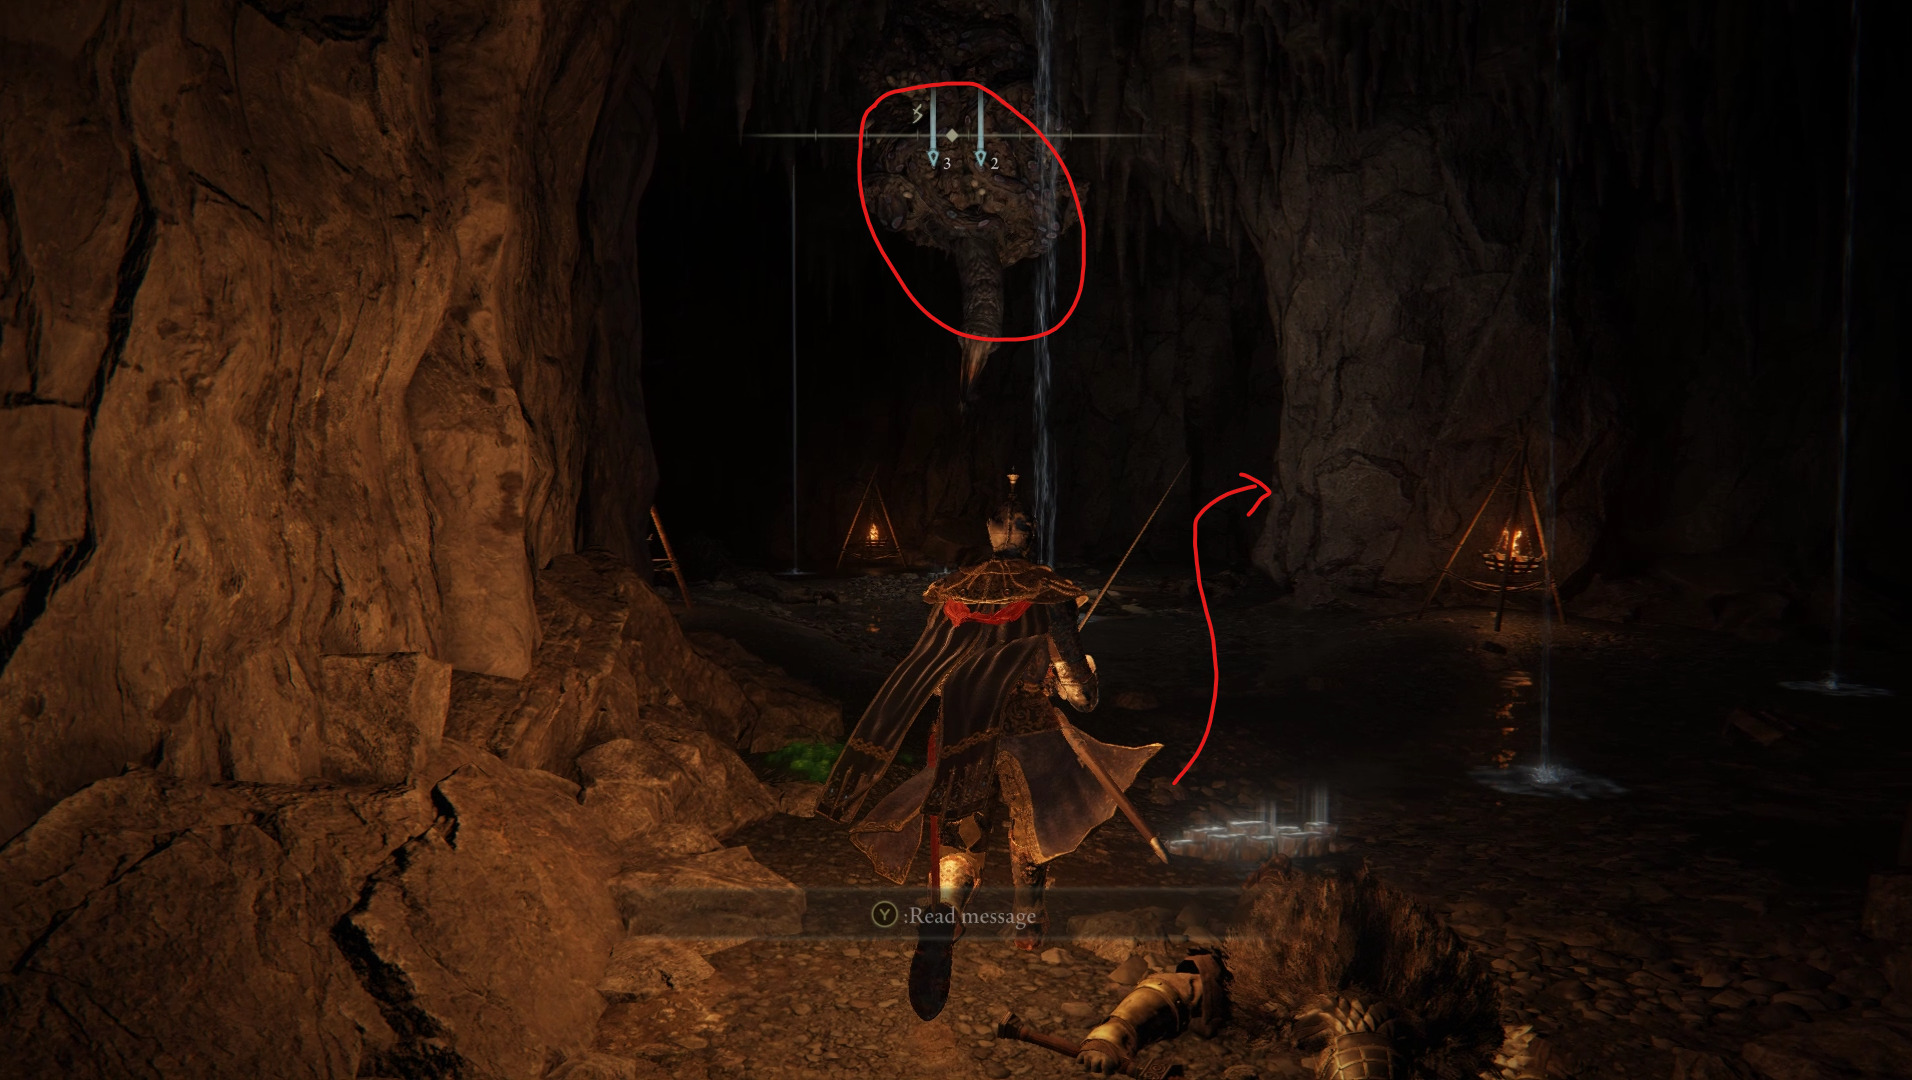
Here you will have 2 different paths: an optional path to the left (A) where you can find a Furlcalling Finger Remedy, and the path leading to the boss room (B).
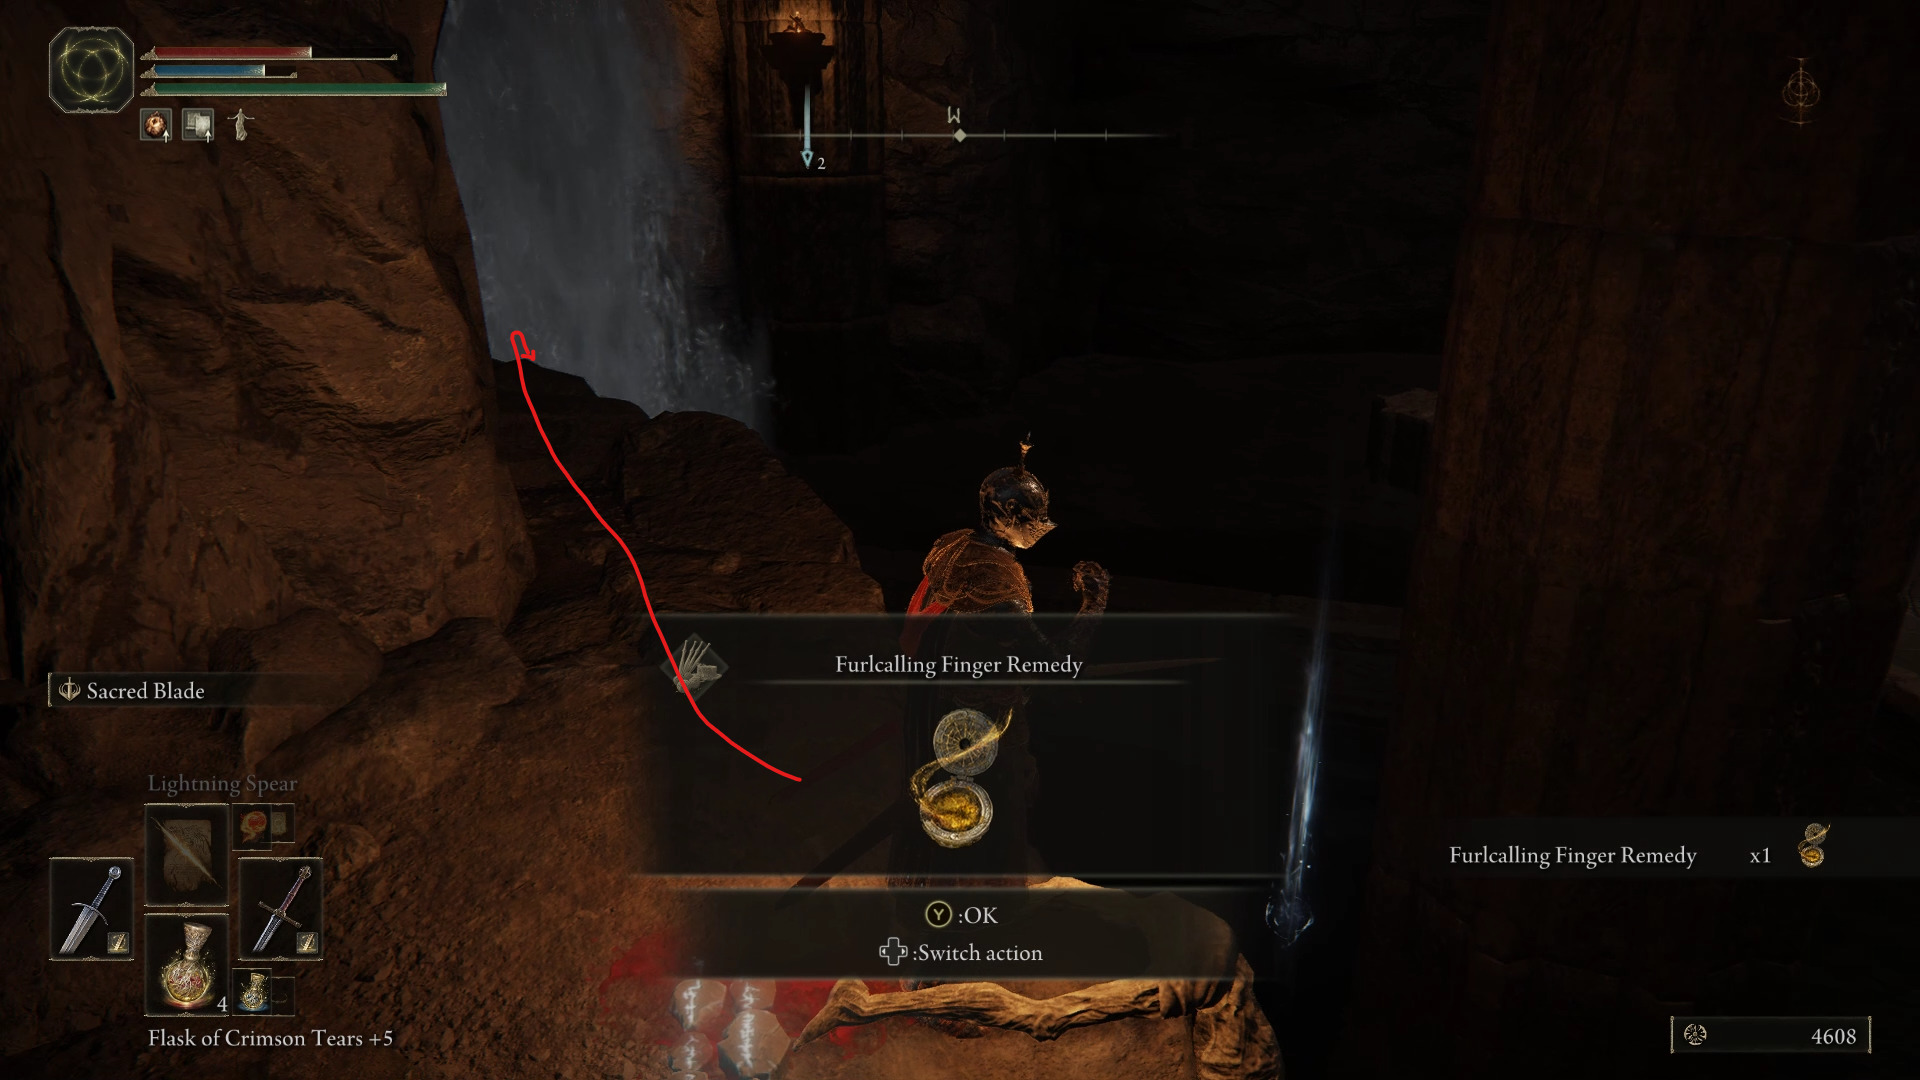
We’ll be going left first to grab as much loot as possible, and while there is a dangerous enemy to the left, there is also an easy way to avoid it. Start going left and jumping over to the tunnel that leads to a room with a very noticeable enemy hanging from the ceiling. While you may be tempted to fight it, there is no loot to grab in this room, and this enemy doesn’t drop anything unique either. With that in mind, sprint through the room and enter the tunnel next to the enemy as it’s dropping down, and you’ll be able to grab your Furlcalling Finger Remedy safely, without fighting a relatively dangerous foe. From there, you can safely jump down to a ledge by the waterfall, and proceed to the boss room.
All that’s left now is to proceed through the fog gate and face this dungeon’s boss: the Guardian Golem.
Video game fan since TMNT: The Manhattan Project, I'm always on the lookout for games that could top Outer Wilds or Disco Elysium, or for new songs to listen to.