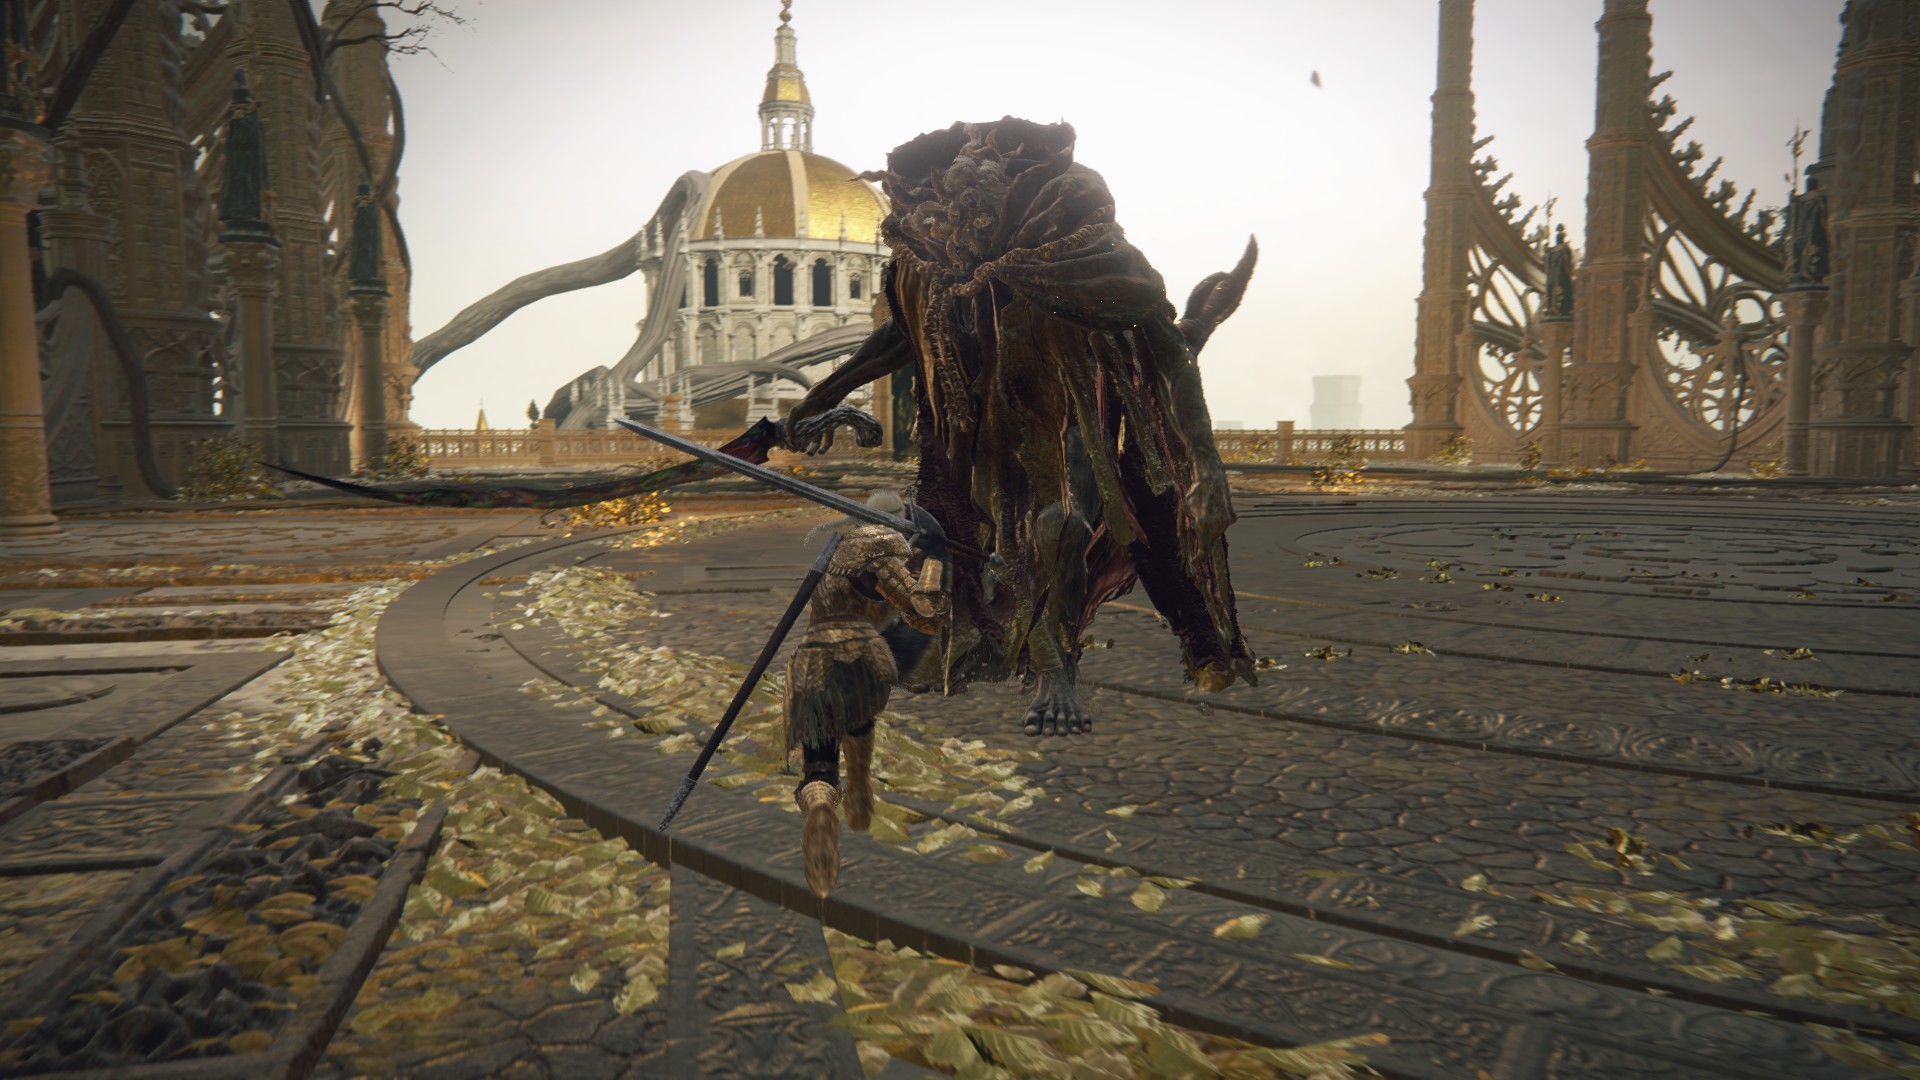
The final boss of Leyndell, Royal Capital, Morgott is also the first boss many players faced, way back at the entrance to Stormveil Castle (although he was calling himself Margit then). With a combination of lightning-fast and super delayed attacks, Morgott can be a wily foe — in this guide, we’ll go over some general tips as well as specific strategies for making this fight easier, and we’ll also cover the boss’s entire moveset.
General Tips
Margit’s Shackle works in Phase 1 of this fight (it will have no effect in phase 2). It can be purchased from Patches, who should be on Mt. Gelmir or in Volcano Manor by this point in the game.
Melina is available as a summon (on the right just before the fog gate). She has a big HP pool and casts an AOE healing spell, which lets her serve as an incredibly useful tank/support.
Morgott does a surprisingly low amount of stamina damage when you’re blocking — a shield with high Physical and Holy damage resistance can be very effective in this fight.
Always roll forwards or backwards, as this boss’s attacks are wide and sweeping, and will often catch you if you roll diagonally or sideways.
Waiting until Melina dies to summon your spirit ashes guarantees you won’t have to 1v1 Morgott for very long, if at all. Of course, if you’re using ranged spirit ashes, you may just want to call ’em in immediately.
Morgott can be staggered for a critical strike — he can also be parried, but you have to land three parries to stagger him, so it’s not worth doing except for a challenge.
Strategy
Note: While “Have more HP” isn’t exactly strategic advice, this is one of those points in the game where people who are still wearing the Soreseal and sitting sub-1000 HP are going to seriously struggle. If you don’t have at least 40 Vigor for this fight, it is highly recommended that you go to Rennala and respec. Taking on this boss with 1400+ HP is a lot easier (and more fun) than dying to one combo.
If you used our Godfrey guide, the following strategy should be very familiar to you. What you’ll want to do is equip your shield with the best Physical and Holy defense, and also equip the Greatshield Talisman. Armor with high Holy Damage resistance can help as well, as can the Haligdrake Talisman (if you’re using a 100% physical defense shield, physical defense won’t matter as much on your armor).
With this set up, you can block all of Morgott’s Phase 1 combos without taking more than a bit of chip damage. You’ll want to do your best to roll forward to avoid the leaping hammer attacks and the lance attacks, but if you aren’t confident in your dodge timings you can block these as well. The strategy varies a bit for melee and ranged, but the basic premise (blocking most attacks) is the same. Note that there is one unblockable “grab” attack in Phase 2 (the Bloody Stab) that you’ll need to roll.
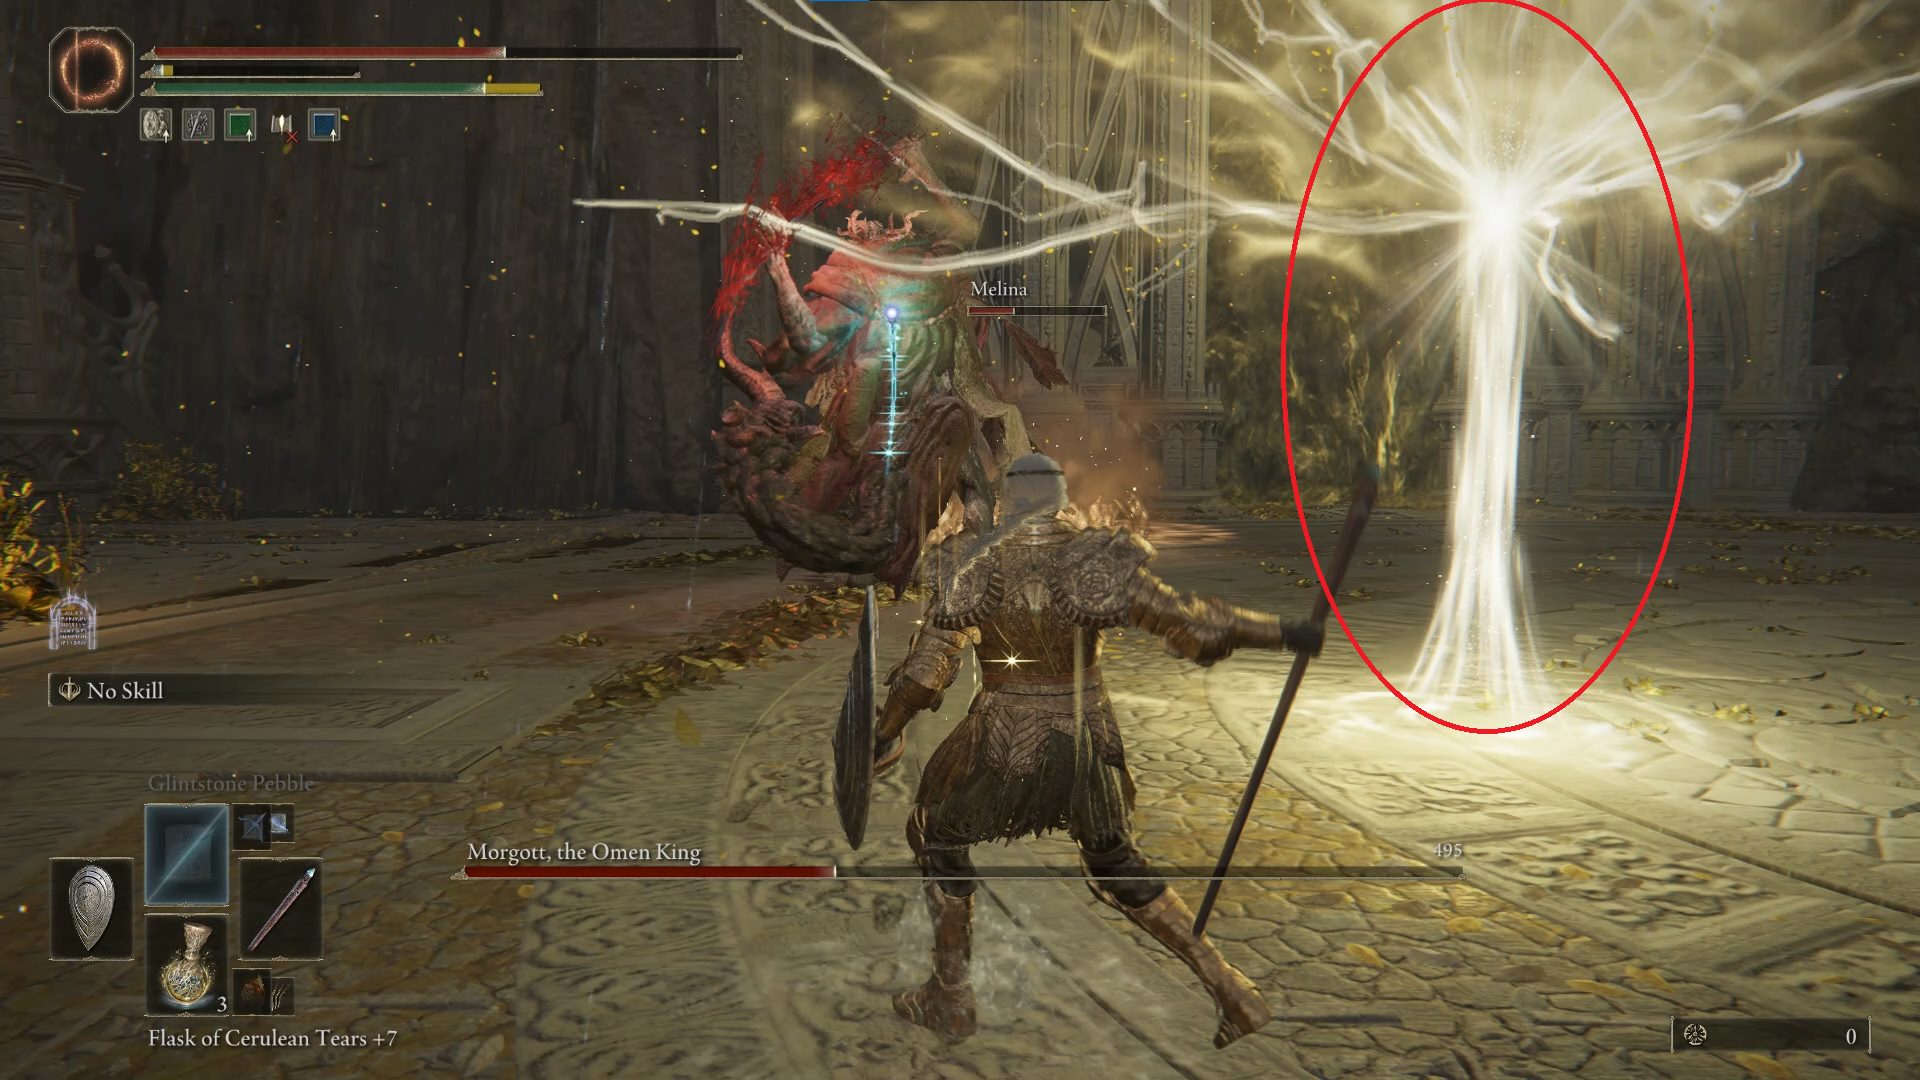
Melina is available as a summon right outside the fog gate, and she’s very, very useful. She does a bit of damage to the boss, but her main utility is in the immense amount of HP she has, and the AOE healing spell she drops (which is both useful and awesome looking — it’s a tree!). Whether you’re melee or ranged, you can save your spirit summons for after Melina dies, and instead use her to draw the boss’s aggro while you heal or cast spells — melee characters can play more passively and wait for Morgott to target Melina before attacking themselves.
You’ll know you’re in range of the healing spell if your character has sparkly vertical lines going through it
Melee
Circle to the right (counter-clockwise), and only attack when you’re certain a combo or attack is finishing (see Moveset below for punishable combos). Make sure you’re letting go of block in between each part of the combo, if only briefly, and always let go of block when Morgott backs off (basically, if you aren’t attacking or actively blocking an attack, stop holding block unless you’re very high on stamina).
In Phase 2, you’ll take a lot more chip damage while blocking, since Morgott starts manifesting holy weapons more often, and his sword will become magical (and therefore you won’t be able to block 100% of the damage anymore). Roll forward through the lance attacks and the hammer attacks, and do your best to roll any time you think you can time a dodge properly. The very long combos that include the swords are tough to dodge, but rolling after you block one or two can help minimize the damage you take.
Ranged
You’ll still want to use the shield and hold block while Morgott is attacking you, but unlike the melee strategy, you’ll mostly be relying on Melina to tank for you while you attack from a distance. If Morgott targets you, walk backwards and hold block, and try to roll backwards to dodge (with the exception of the lance attacks, which you should always roll towards). Feel free to attack when you’re far enough away, but your primary goal should be to wait for Melina to take aggro again so you can start spamming spells.
Phase 2 doesn’t affect your strategy much — blocking means taking chip damage, so you’ll want to roll when possible, but otherwise you can just keep doing what you did in phase 1. If Melina gets to sub-10% HP, summon your tankiest spirit ashes. The Skeletal Militiaman or Banished Knight Oleg are good choices, or else whatever tanky spirit ashes you’ve upgraded the most.
Moveset
Phase 1
Many of these attacks flow into the next one, so it can be tough to find windows to attack. Moves marked with [P] are not chained into other moves — you can punish (attack the boss) when you see these moves finishing. (Please let us know if you find other punish windows, or if the ones listed here seem incorrect!)
Dashing Spin Strike – Morgott dashes sideways and then moves towards his target, swinging his sword horizontally and then spinning to do so again. Block or roll in a straight line towards/away from him to avoid.
Dashing Slash – Morgott dashes towards his target, slashing as he moves past them. Blocking this is easy, rolling it is tough.
[P]Delayed Slash – Morgott raises his sword high over his shoulder, then brings it downwards diagonally after a long delay. Easily blocked.
Diagonal Slashes – Morgott raises his sword over his shoulder, then brings it downwards diagonally — he then does this again from the other side. Easily blocked.
Knife Slashes – Morgott manifests a holy dagger in his hand and quickly slashes twice with it. Dodge forward if close, otherwise dodge backward to avoid — can also be blocked for minimal chip damage.
Triple Knife Toss – Morgott manifests a holy dagger in his hand and throws it at his target — it splits into three, so dodge forward or backward to avoid.
[P]Hammer One-Two – Morgott manifests a holy hammer and hefts it over his shoulder. He then swings both his weapons horizontally, sword first. If you’re following the melee strategy and circling, this attack should simply miss you.
Hammer Smash – Morgott manifests a holy hammer and keeps it low to the ground while slowly raising his leg. He then brings his foot down and slams the hammer down on his target. Roll towards Morgott to avoid.
[P]Leaping Hammer Strike – Morgott manifests a holy hammer and leaps high into the air, then crashes down on his target. Start rolling towards Morgott as late as possible, right before he hits the ground.
Dagger Rain – Morgott manifests a holy dagger and raises it into the air — after a brief delay, daggers rain from the sky in an X pattern and directly around Morgott. Back off and try to stand to the left, right, or directly in front of or behind of the boss to avoid — hold block while repositioning so that if you do stand in the wrong spot, you only take chip damage.
[P]Holy Sword Combo – Morgott slashes down once with his sword, then quickly manifests a holy sword in his hand and slashes once with it — then, after a brief delay with his sword raised high, does a final vertical slash. Rolling backwards can put you out of range of this combo, and blocking it does minimal chip damage.
[P*]Holy Lance Stab – Morgott manifests a holy lance and thrusts with it — if his target is out of range, he will first charge towards his target. Roll into the lance to avoid. *You can punish this only if you start attacking well before the attack finishes — attacking out of your roll is the best way to do this.
Holy Lance Throw – Morgott manifests a holy lance and, after an obnoxiously long delay, throws it at his target. Roll towards the lance to avoid. — if you’re already fairly close to the boss, you can run into point-blank range to make this attack miss.
[P]Whirlwind Combo – Morgott swings horizontally with his sword and then manifests a holy sword, and begins spinning in a circle, swinging both weapons at his target. After two spins (four total attacks), he leaps in the air and slams both weapons down. Roll forward as he swings the first time, and roll again to backwards get out of range.
Tail Whip – Morgott swings his tail at a target behind him. This is very difficult to reaction dodge, but if you’re using the recommended strategy, it’s easily blocked.
Phase 2
During the transition from Phase 1 to Phase 2, Morgott will yell and crouch down, gaining high defense while doing so — if you aren’t applying status effects, it probably isn’t worth attacking while during this transition. When the transition ends, Morgott does AOE damage in a moderately sized zone around him.
In phase 2, Morgott’s sword is infused with holy damage, so blocking it will do chip damage — depending on your total HP, you may need to exclusively roll now. High vigor builds should be able to block a lot, assuming they didn’t use up all their flasks in phase 1. Additionally, many attacks will now leave behind bubbling pools that explode after a brief delay.
All the Phase 1 moves remain, and the following are added:
[P]Bloody Stab – Morgott’s sword glows with blood-red fire as he holds it by his waist, and then he begins moving towards his target. You cannot block this attack (it counts as a grab), but the roll timing doesn’t seem very strict — feel free to spam roll past Margit’s right side (the side without the sword) if you’re close, otherwise roll forward as the sword nears you.
[P]Fiery Slashes – Morgott’s sword glows with blood-red fire and he holds it over his shoulder with two hands. He then rushes towards his target and slashes twice, leaving red lines in the air that explode after each slash. He gap closes with this, so rolling backwards is inadvisable. Instead, roll forward as he swings the first time, and roll again to get behind him.
[P]Bloody Delayed Slash – Morgott raises his sword high over his shoulder and it glows with blood-red flame — he then brings it downwards diagonally after a long delay, and its path explodes with flame. Try to move in a circle around him to make this miss, or else back up out of range.
Unabashed FromSoftware fanboy still learning to take his time with games (and everything else, really). The time he doesn't spend on games is spent on music, books, or occasionally going outside.