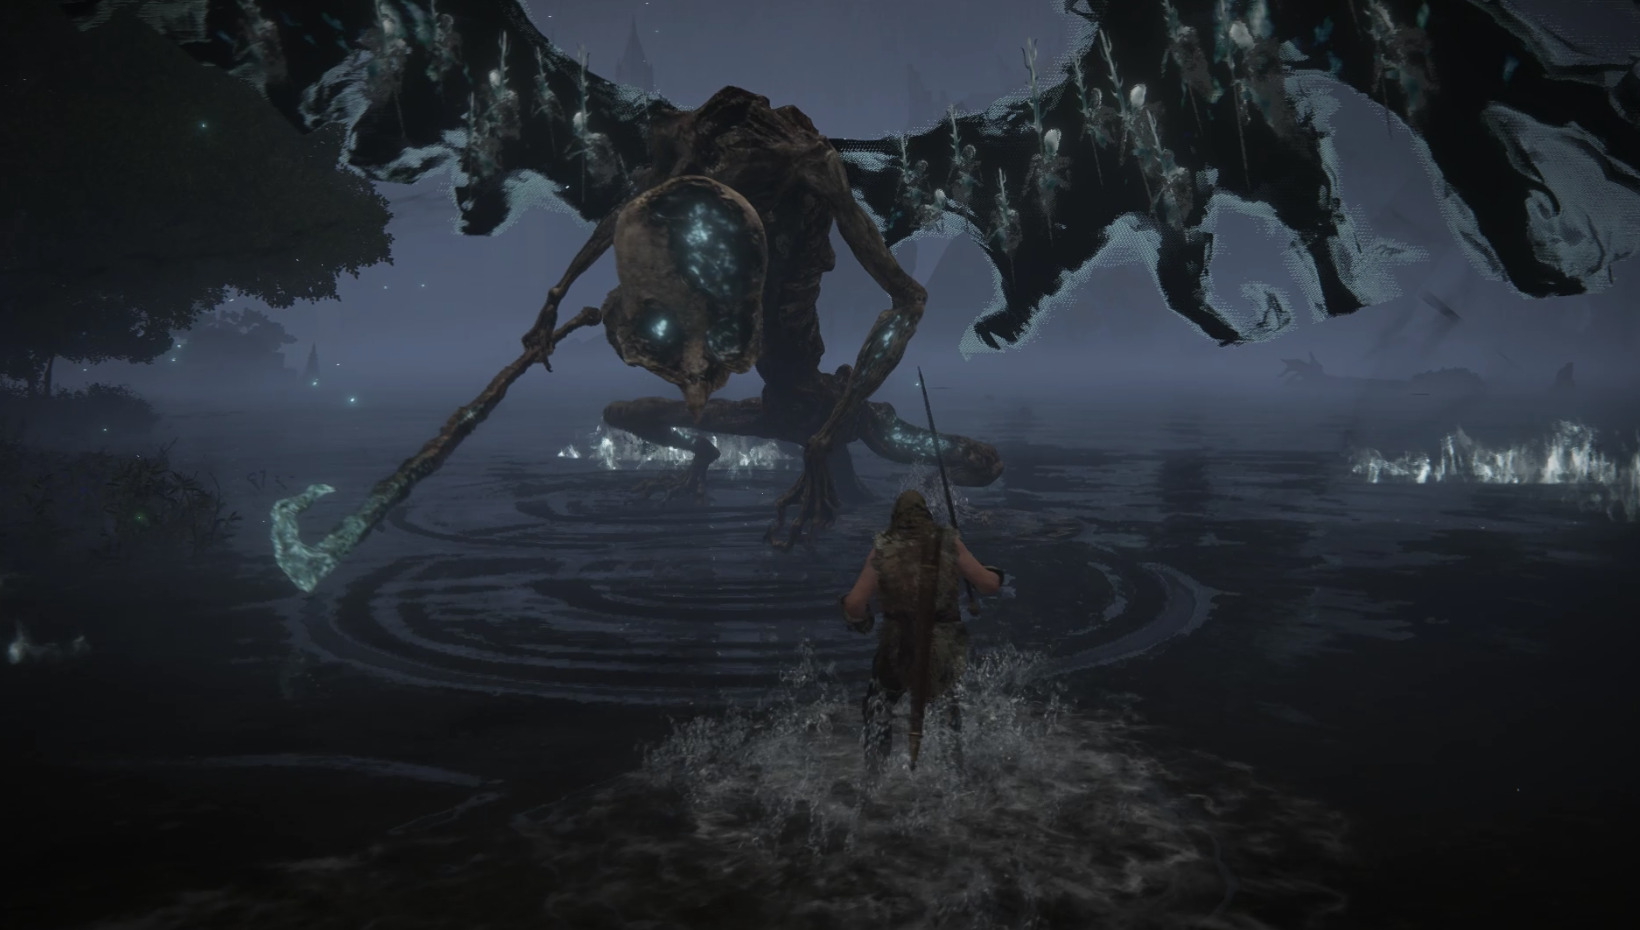
Death Rite Bird is a recurring boss encounter throughout the Lands Between that can be found at night in several locations.
General Tips:
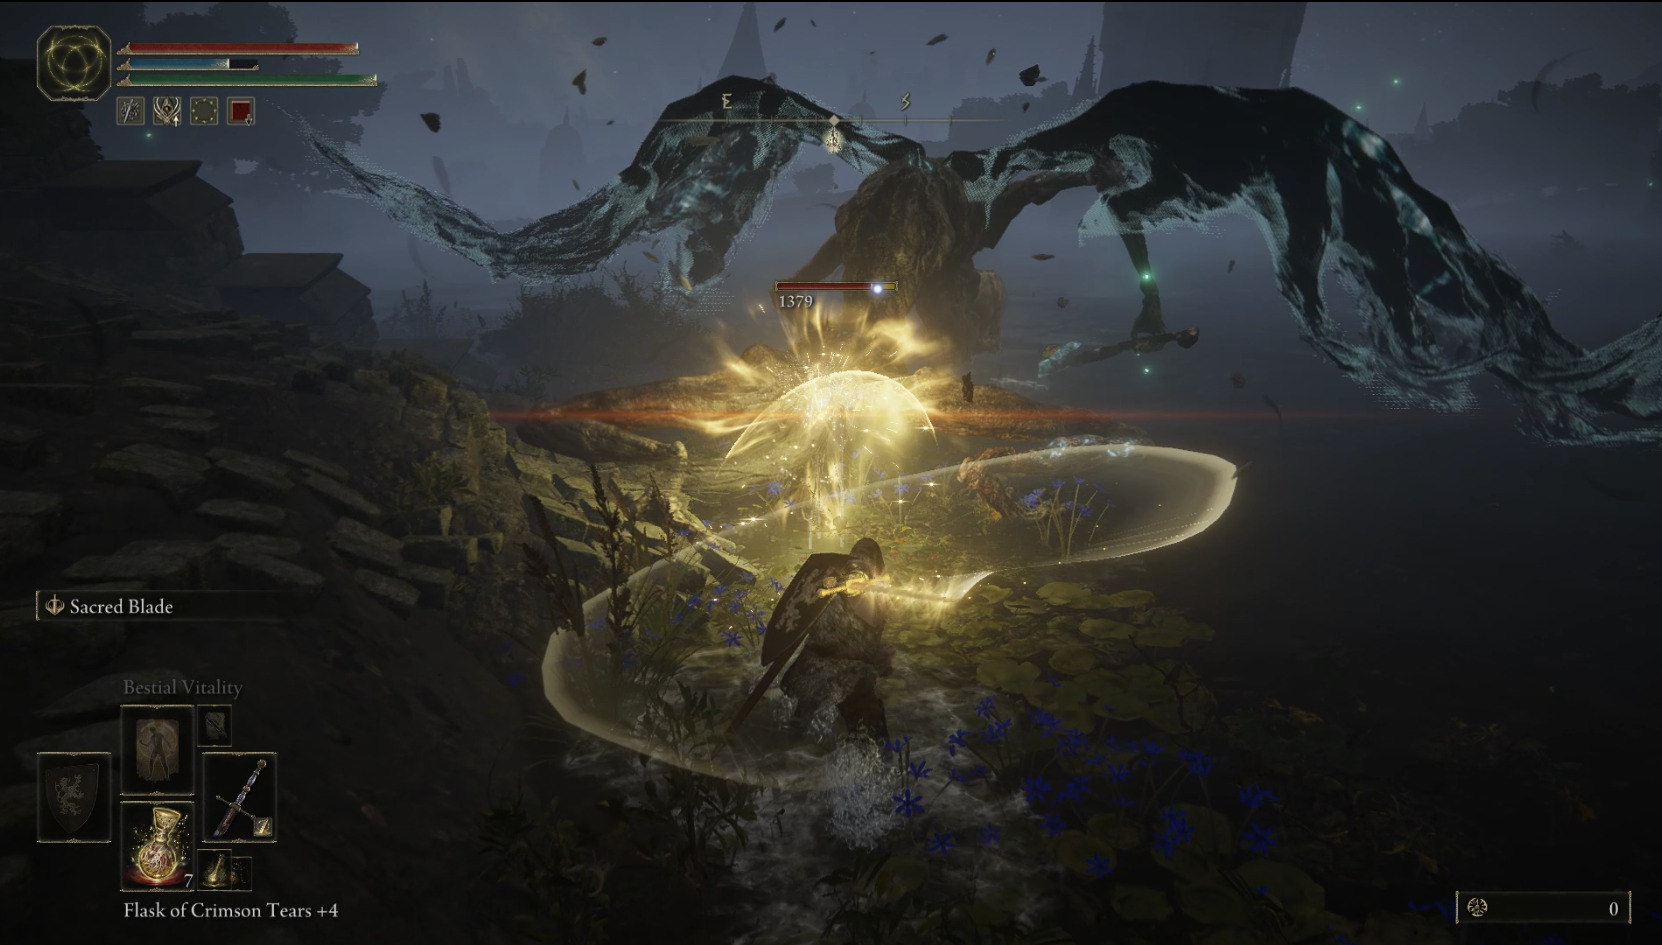
The boss is very vulnerable to Sacred weapons and weapons imbued with Holy essence. The Ash of War: Sacred Blade is easy to acquire, and the Weapon Skill gained from it allows you to do immense damage to the boss. Additionally, crafting Holy Water Pots is an accessible way to inflict holy damage.
Standing behind the boss’s legs will make him miss most of his attacks.
Strategy
First, you should get the Ash of War: Sacred Blade from Limgrave if you haven’t already, and equip it on your strongest melee weapon. Alternatively, craft some Holy Water Pots before the fight. At the start of the encounter, lock onto the boss’s lower section and cast the Sacred Blade weapon art. If you’re fast enough, you can also get a leaping heavy attack in before it turns to face you.
Now, for the rest of the fight, your entire goal is to stick right behind the boss. Ideally, try not to be under or in front of it, as in both instances, you’re less safe from attack, and it becomes impossible to see what the boss is doing. You want to be behind the boss, just close enough to damage it, while being able to see what it’s doing with its weapon. Note that unless it’s leaning very low, you can actually go through the bosses legs to get behind it.
The boss will turn and attack you, so you aren’t safe while behind it — however, it needing to turn often makes the first part of its attack miss, and also gives you more time to react, since it will turn before attacking. The boss has many moves that allow it to get further away from you, and sometimes it just hops away. When this happens, be prepared to roll through an attack or two, and calmly make your way back to behind its legs. If you roll through an attack and find yourself in front of the boss, and you’re certain the attack isn’t the Peck Combo or the Slash/Pull (or one of the ones that creates flames or an explosion), it’s OK to sneak an attack in before you make your way behind the boss.
Players using ranged weapons or spells should attempt to use the melee strategy, but if you either can’t or are unwilling to get a weapon equipped with the Sacred Blade, this strategy will still work. You’ll still want to roll towards the boss, through its attacks. Once you’re able to roll through an attack and land either at its legs or behind them, immediately start casting a spell. Ideally, you’ll cast your spell after landing behind the boss during one of the more extended combos, like the Peck Combo or the Double Slash Slam — depending on the spell you’re using, you may find that you can’t cast safely it after dodging certain attacks.
Moveset
Except where noted, all of these attacks should be countered by rolling towards the boss, ideally in an effort to get behind it.
Horizontal Slash/Pull – The boss swings its weapon from its left side to its right. Has a fairly long windup and should be rolled through. Sometimes, this is followed by the weapon being pulled back towards the boss — this is one reason why it’s best to be behind it rather than in front.
Stab – The boss holds its weapon over its shoulder with both hands, then stabs forward.
Talon Grab – The boss flaps its wings and rises into the air, raising both of its feet. It then swoops down at you and attacks with its talons.
Peck Combo – The boss pecks downwards multiple times right in front of it.
Screaming Grab – The leaps to make distance and then screams, then lunges at you — sprint towards it as soon as it leaps, and roll towards it as it begins its lunge. If this lands, you’ll probably die.
Double Slash Slam – The boss swings its weapon from its right side to its left, then back the opposite way while also rising into the air. It then brings its weapon down and creates a small pool of black flame that spreads in all directions. Pay attention to which way the flames are spreading to avoid getting caught by them.
Plunging Explosion – The boss’s weapon begins glowing with black flame, and it swings the weapon from its left to its front, and holds the weapon pointing down for a moment. Then it plunges the weapon into the ground, creating a huge explosion. As soon as you see the boss holding its weapon out in front of itself, start running/rolling away.
Stab ‘n Flip – The boss stands and backs up slightly, then rises a bit into the air and swings its weapon down, and flips over your head and flies a good distance away.
Phase 2
The boss retains its Phase 1 moves, and adds the following:
Dark Artillery – The boss knocks away nearby targets, and then flies a good distance away as its wings light up — it then launches a stream of spears into the air that fall towards your location. You can sprint horizontally to evade the first chunk of spears, but then you’ll need to spam roll to hopefully avoid the second wave.
Black Flame Wave – The boss creates a ball of dark magic at the tip of its weapon, and then flicks a wave of black flame towards you. Roll horizontally to avoid.
Thrusting Plunge – The boss flies towards you and raises its weapon high, then stabs it downwards. If you run towards the boss as it flies into the air, and then roll towards it as the weapon comes down, this should miss every time — the long recovery window allows you to get a safe attack in.
Unabashed FromSoftware fanboy still learning to take his time with games (and everything else, really). The time he doesn't spend on games is spent on music, books, or occasionally going outside.
If you get onto the ledge south east of the area where the bird spawns, you can spam it with spells or holy pots, and it seems to get stuck below the ledge.


Mountain Tops of the Giants.
If you get onto the ledge south east of the area where the bird spawns, you can spam it with spells or holy pots, and it seems to get stuck below the ledge.