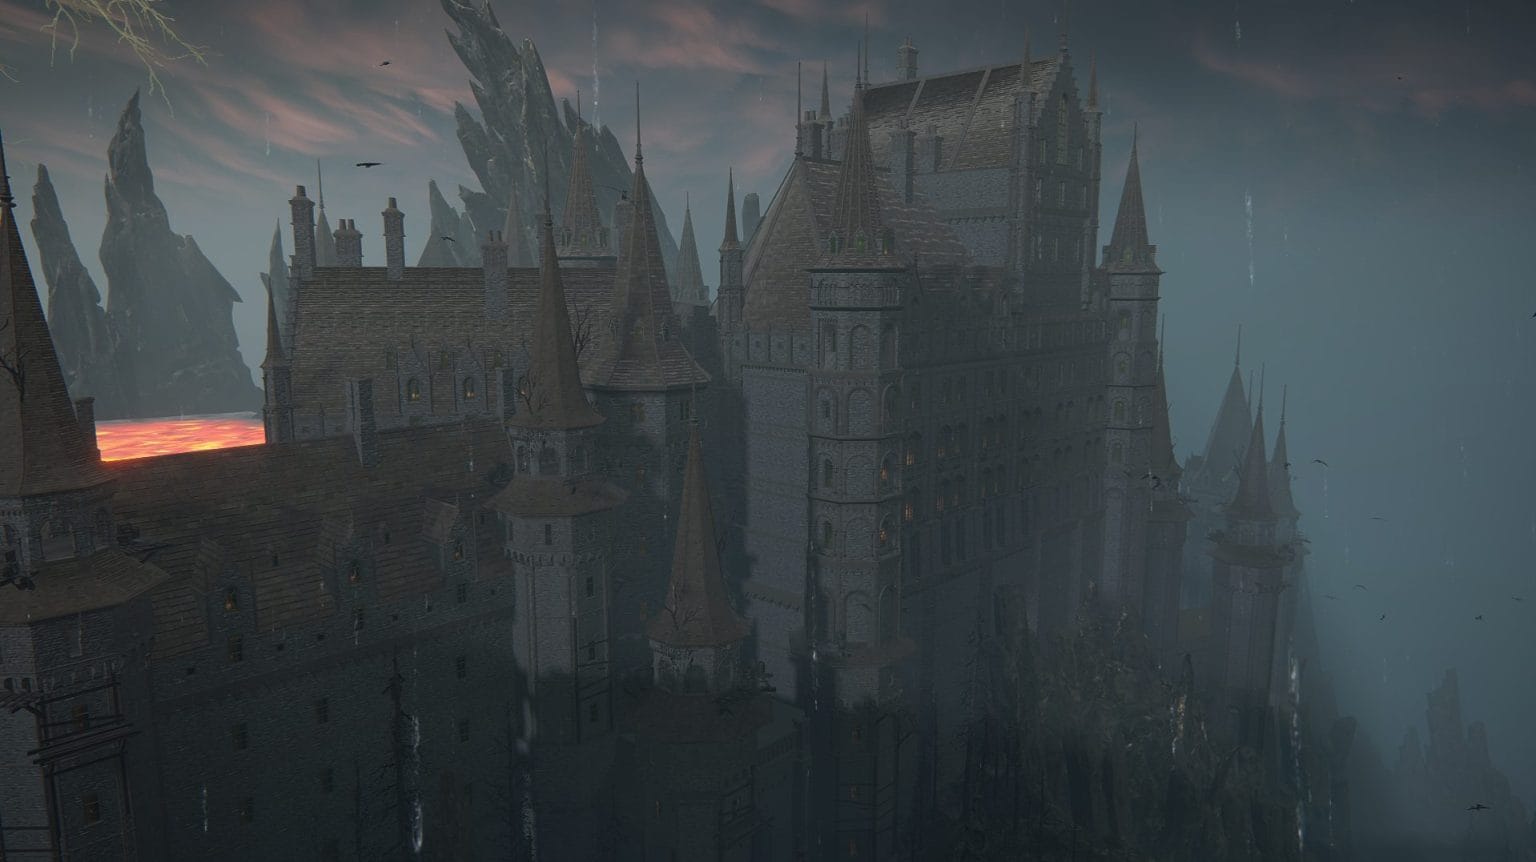
Mt. Gelmir, a volcanic wasteland of lava flows and madness, has only a few dungeons hidden within its treacherous terrain. Though few in number, these locations are filled with deadly foes, valuable rewards, and perilous challenges. This guide covers all the dungeons in Mt. Gelmir and what to expect inside them. If you’re looking for a walkthrough of Mt. Gelmir as a whole, head here. If you’re looking for a guide on the legacy dungeon at the end of Mt. Gelmir, Volcano Manor, go here.
Mt. Gelmir Dungeons
The Seethewater Cave is a poison-heavy dungeon with toxic enemies and hazardous waters. Bring  Neutralizing Boluses or
  Flame, Cleanse Me to counteract poison buildup. Avoid rolling in the water to prevent prolonged status effects.
Take the southwest path to find the  Mushroom Armor Set, guarded by humanoid enemies and a Giant Miranda Sprout. The main path leads to the Kindred of Rot Duo boss fight, where fire-based attacks are highly effective. Defeating them rewards the
  Kindred of Rot’s Exultation talisman.
Gelmir Hero’s Grave is another chariot-filled dungeon featuring lava hazards, hidden paths, and tough enemies. Skeletons will attack as you dodge chariots, so a good shield helps avoid mistakes. The  Ringed Finger weapon is found past the lava, and the boss fight is against the Red Wolf of the Champion, with a
  Deathroot in a chest nearby.
After the boss, you can ride the chariot to crush the Cemetery Shade for a  Mantis Blade, then jump down to fight a Bloodhound Knight and claim both the
  Bloodhound Knight and
  Gelmir Knight armor sets. A hidden hallway leads to a
  Stonesword Key, though escaping means tanking chariot damage. The dungeon loops back via fire traps and ambushes, where luring enemies into flames can make fights easier. Grab Gloveworts along the way before heading back to the entrance.
Volcano Cave in Mt. Gelmir is a short dungeon filled with weak demi-humans and a few notable items. After grabbing the  Golden Rune [6], jump down and clear out the enemies below, then proceed north through the tunnel. In the next room, enemies hide behind crates, so either pull them back or ambush them first. Loot the
  Coil Shield, then return to the lower level to defeat the Demi-Human Chieftain if you haven’t already. Then, continue east to face Demi-Human Queen Margot, who drops the Jar Cannon upon defeat.