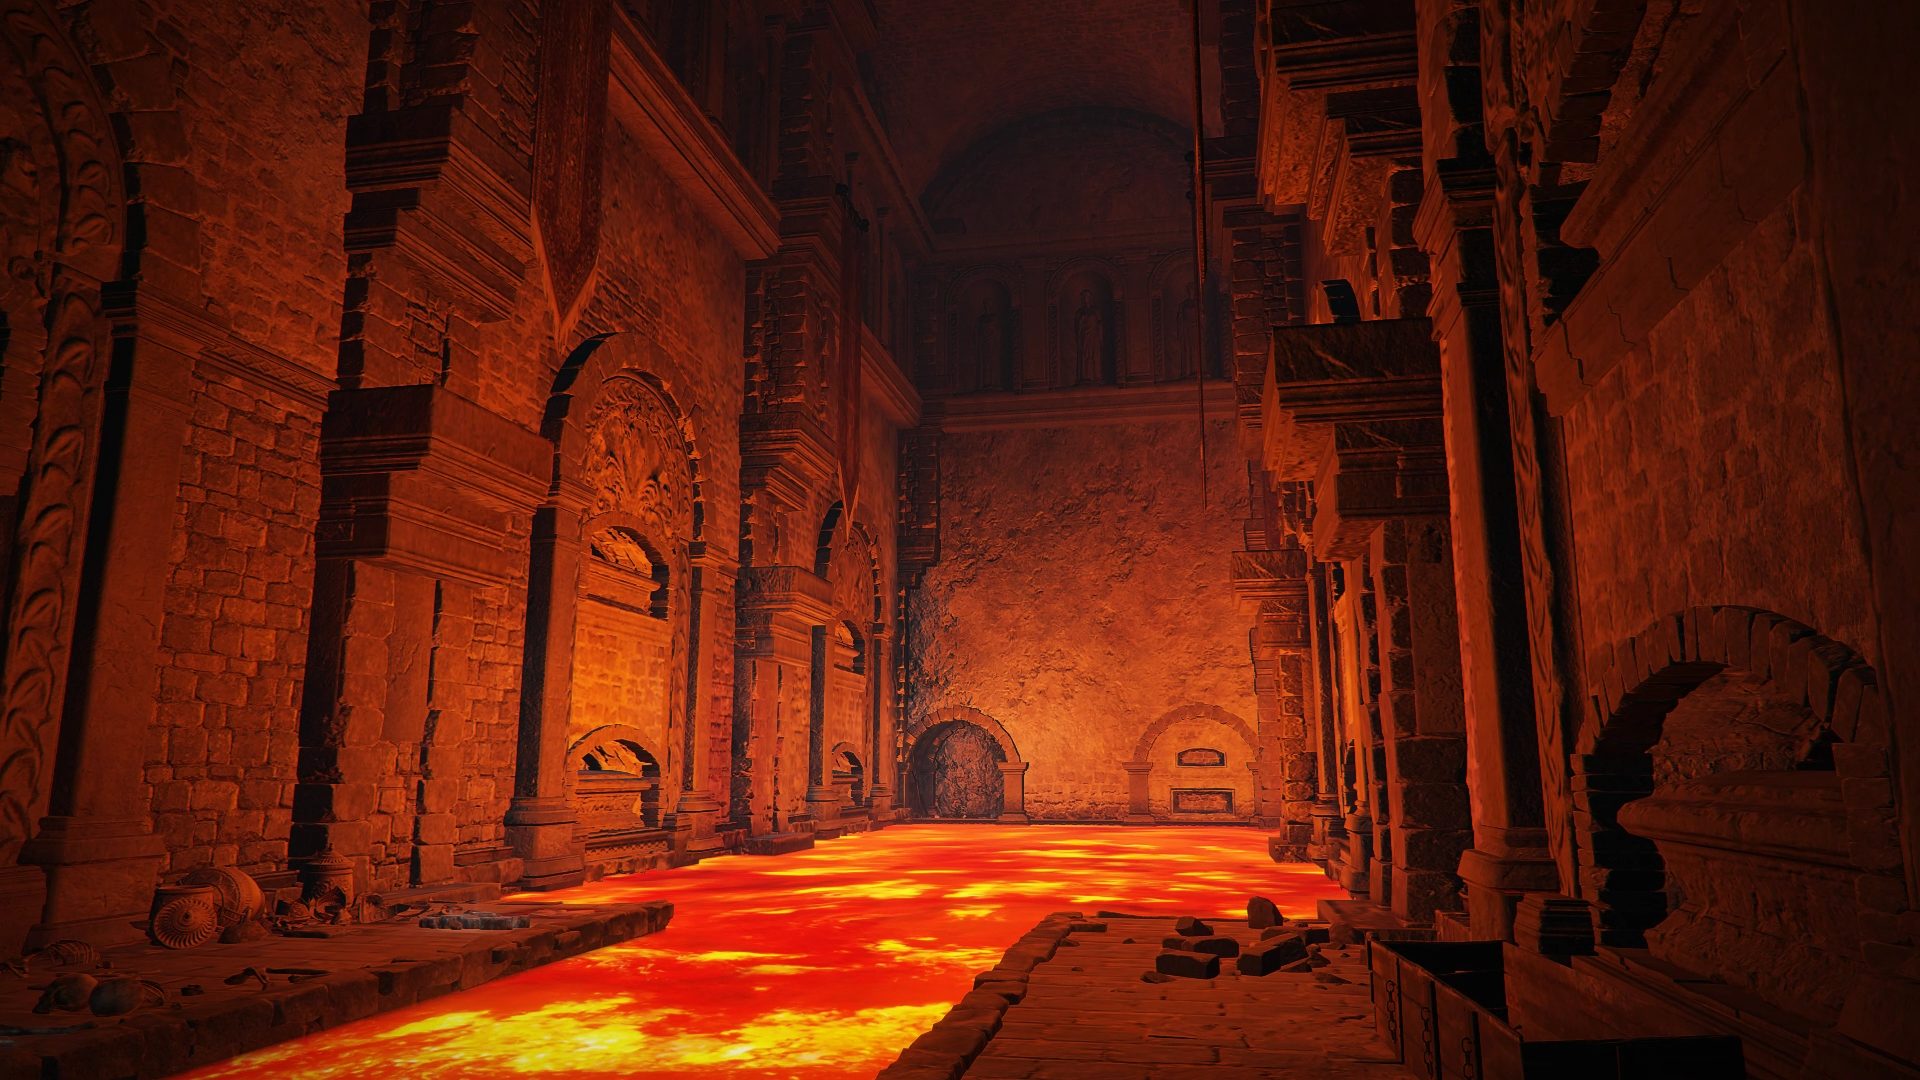
As always, remember to grab the site of grace, and then start heading down the nearby stairs. In the area at the end of those stairs, you’ll have to deal with yet another chariot contraption trying to kill you. On your path from alcove to alcove you’ll have to deal with several skeletons that will pester you as you’re trying to take cover, so make sure to equip a good shield to avoid accidentally dodge-rolling into the chariot. Additionally, this dungeon is littered with Gloveworts, so keep an eye out for those as you progress through the dungeon. As for how to get through the first section (yes, there are several), follow this path:
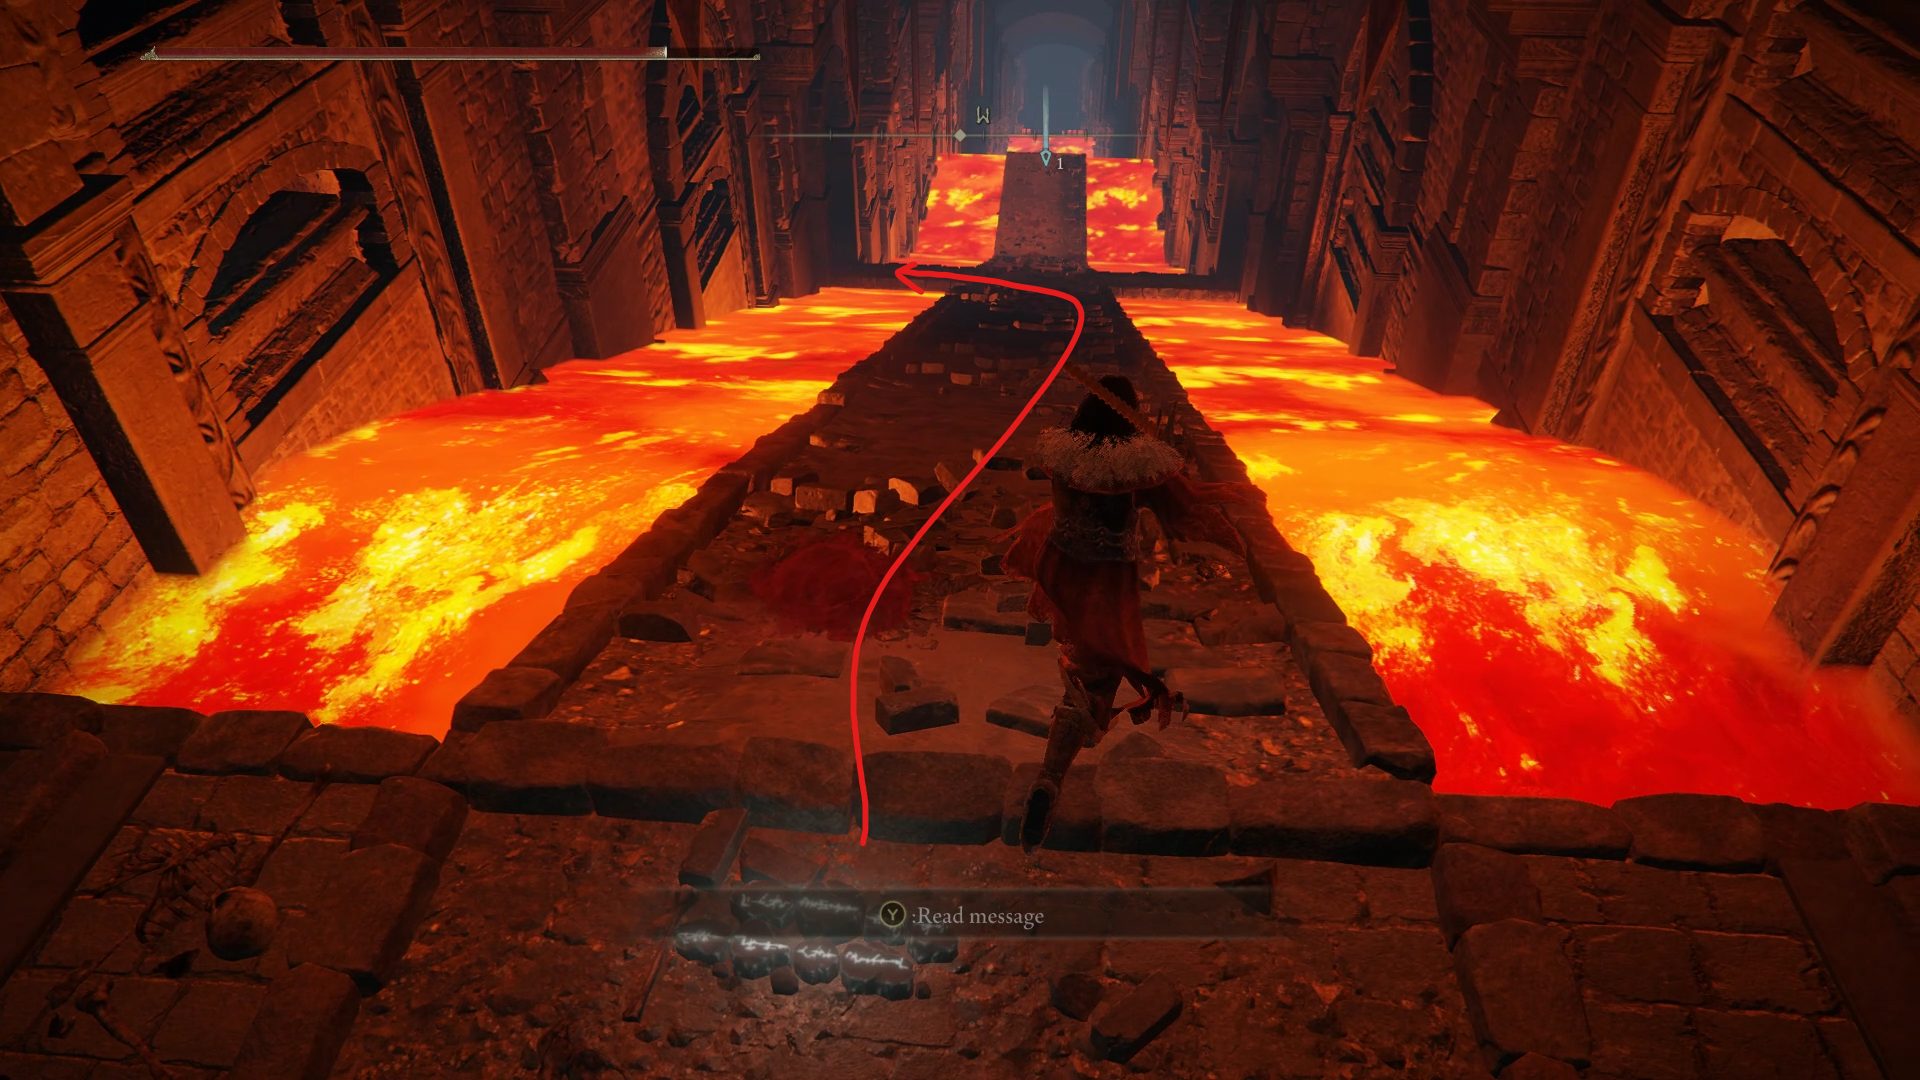
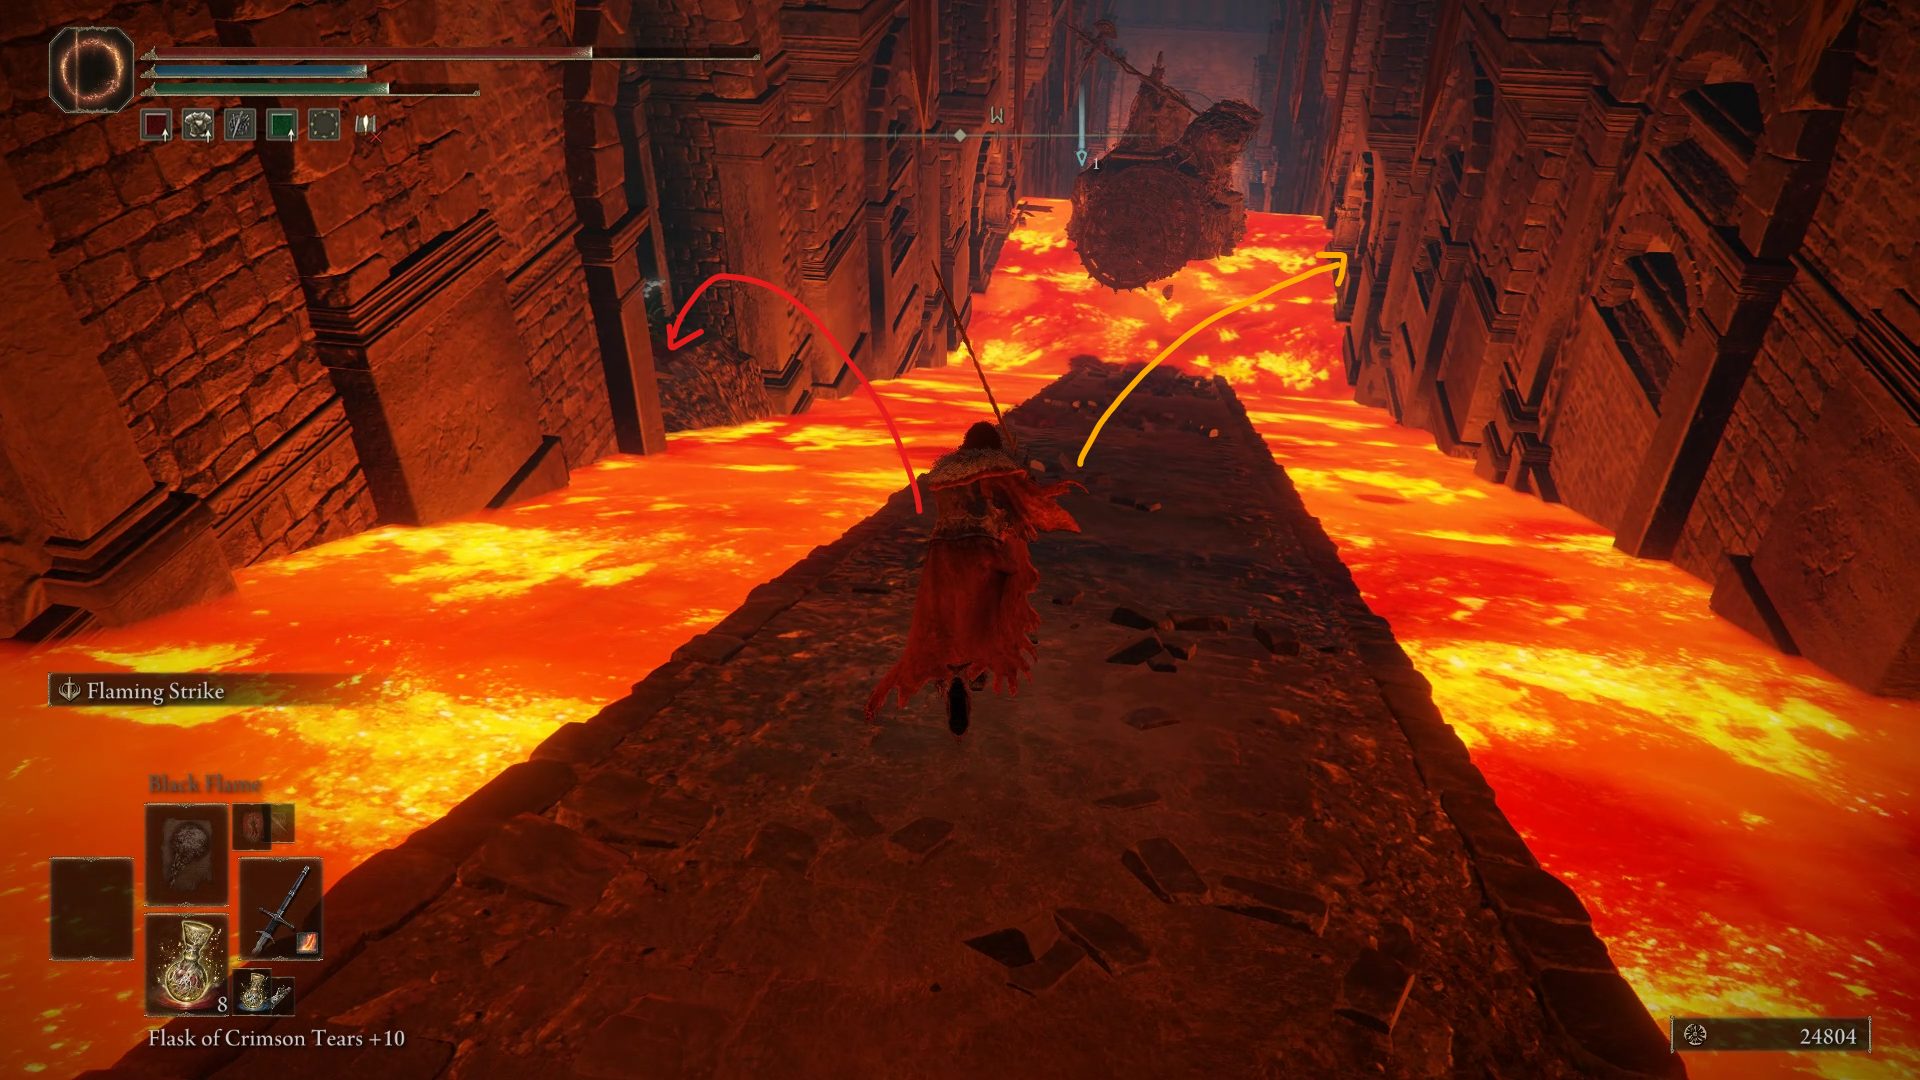
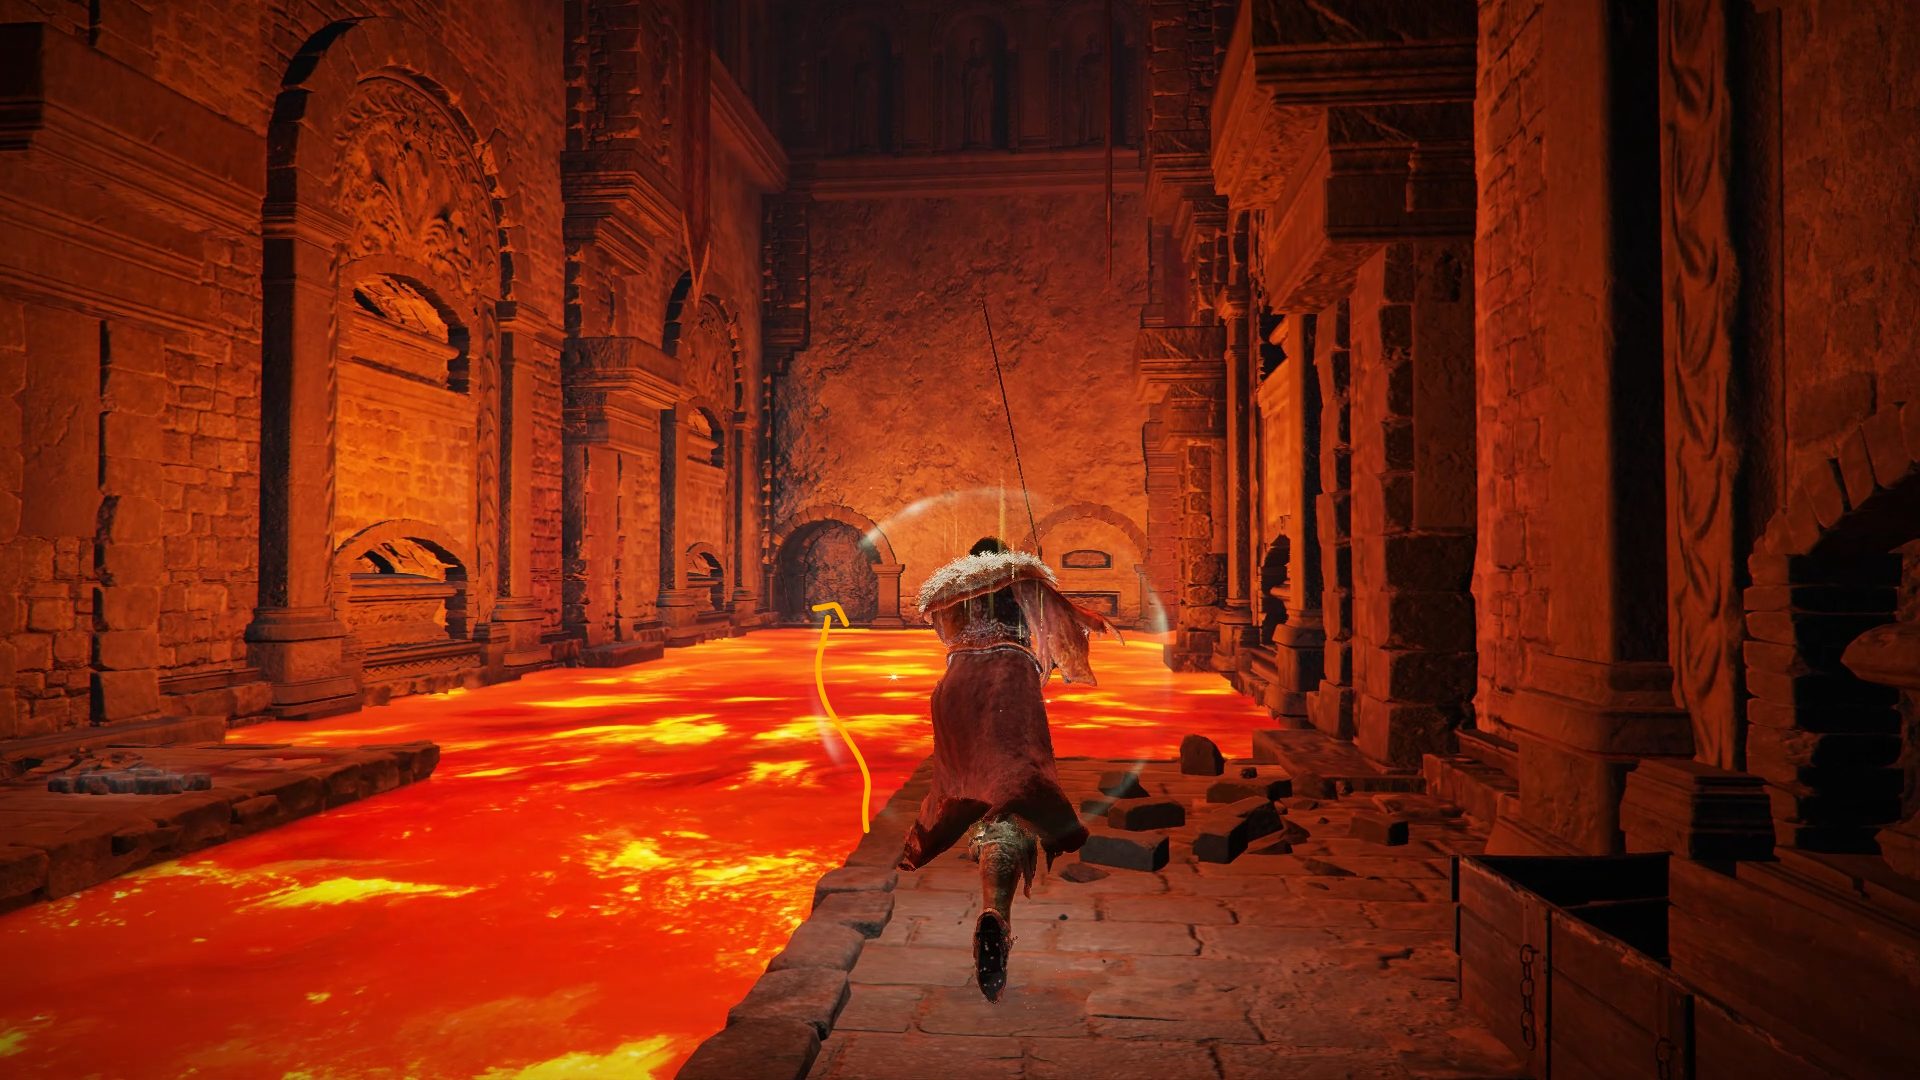
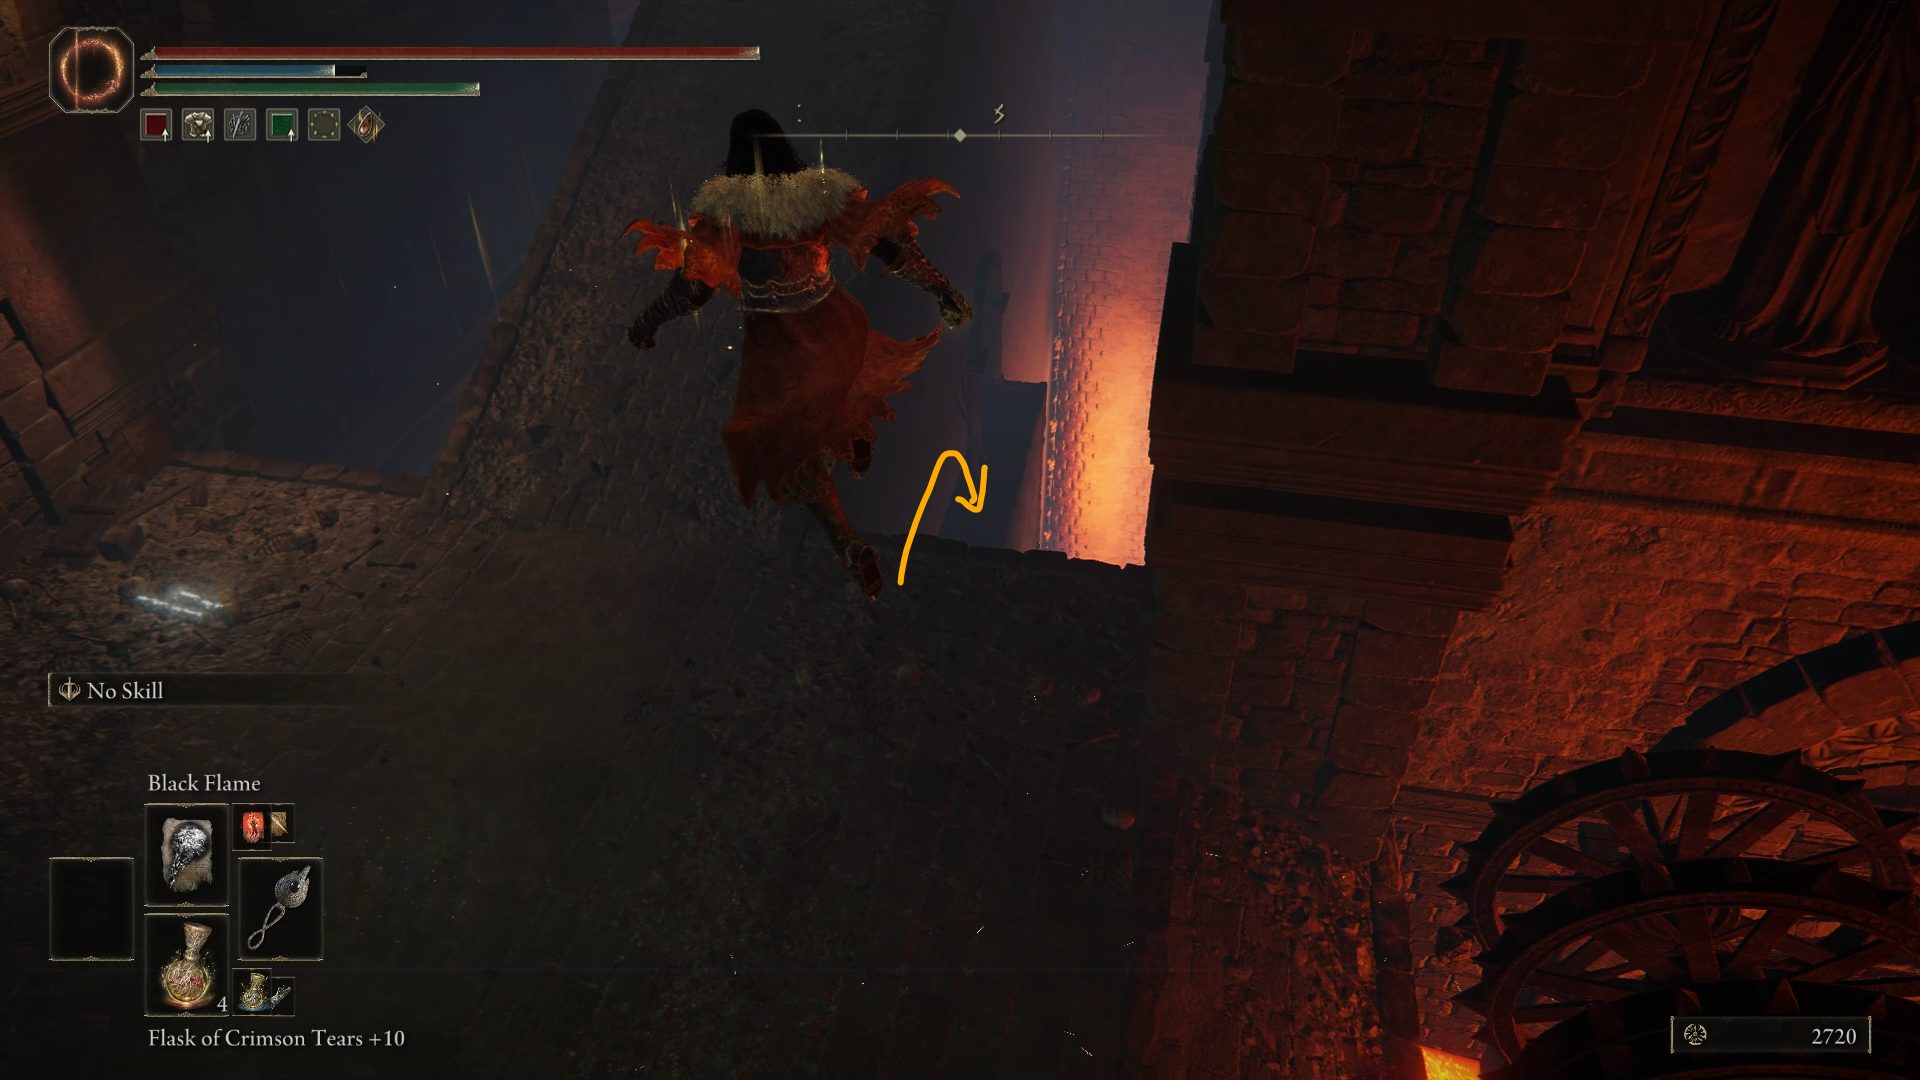
As you jump over the lava to the last alcove and find yourself next to a path to another section of the dungeon, ignore it, and wait for the chariot to go up once again. There, you will want to go to the next alcove, try to jump toward it and then keep rolling to reach the alcove before the chariot can crush you. The lava’s damage isn’t very high, but it’s enough to kill you if you also get run over.
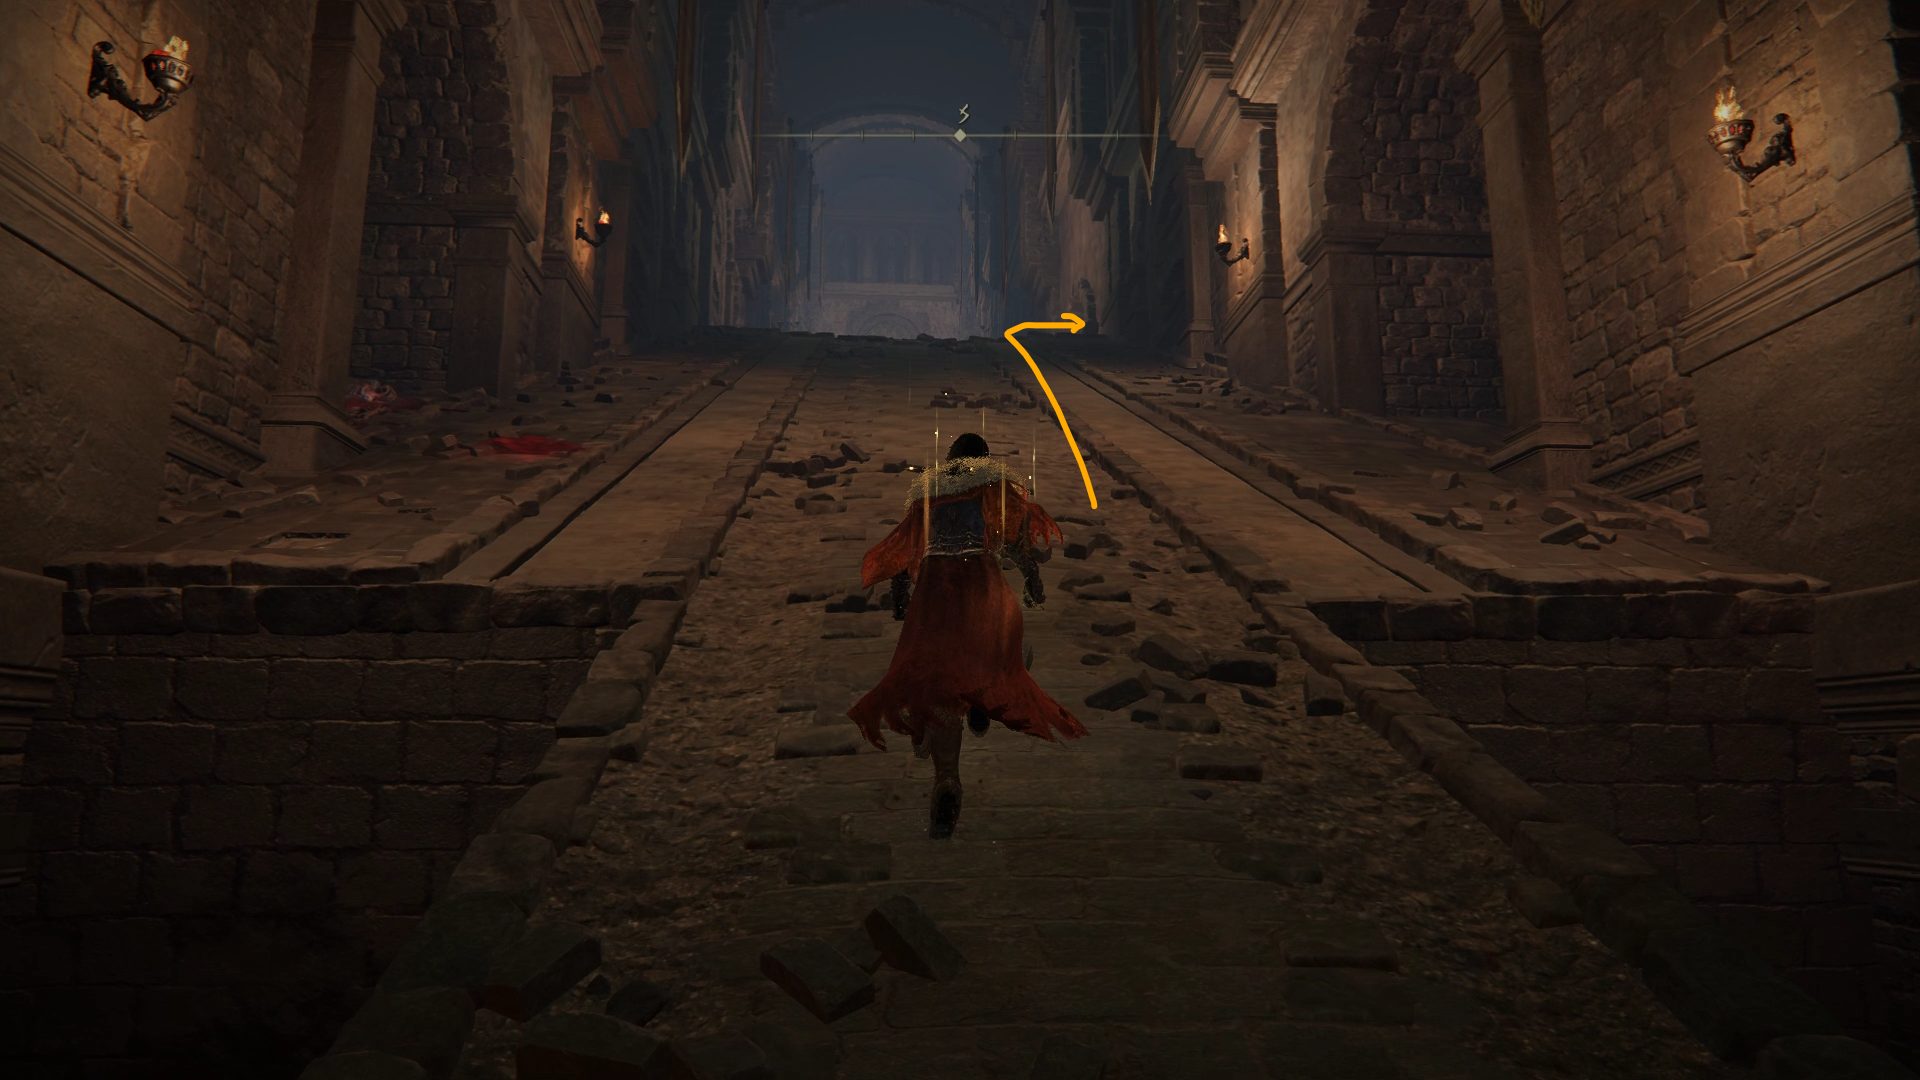
Once the chariot leaves, you’ll have to continue going down through the lava, though this time, the chariot will not be coming down to crush you. You will however have to heal through the damage inflicted by the lava, so keep an eye on your health and heal up when necessary. You can start going down all the way to the turn, which is where you will find the last alcove.
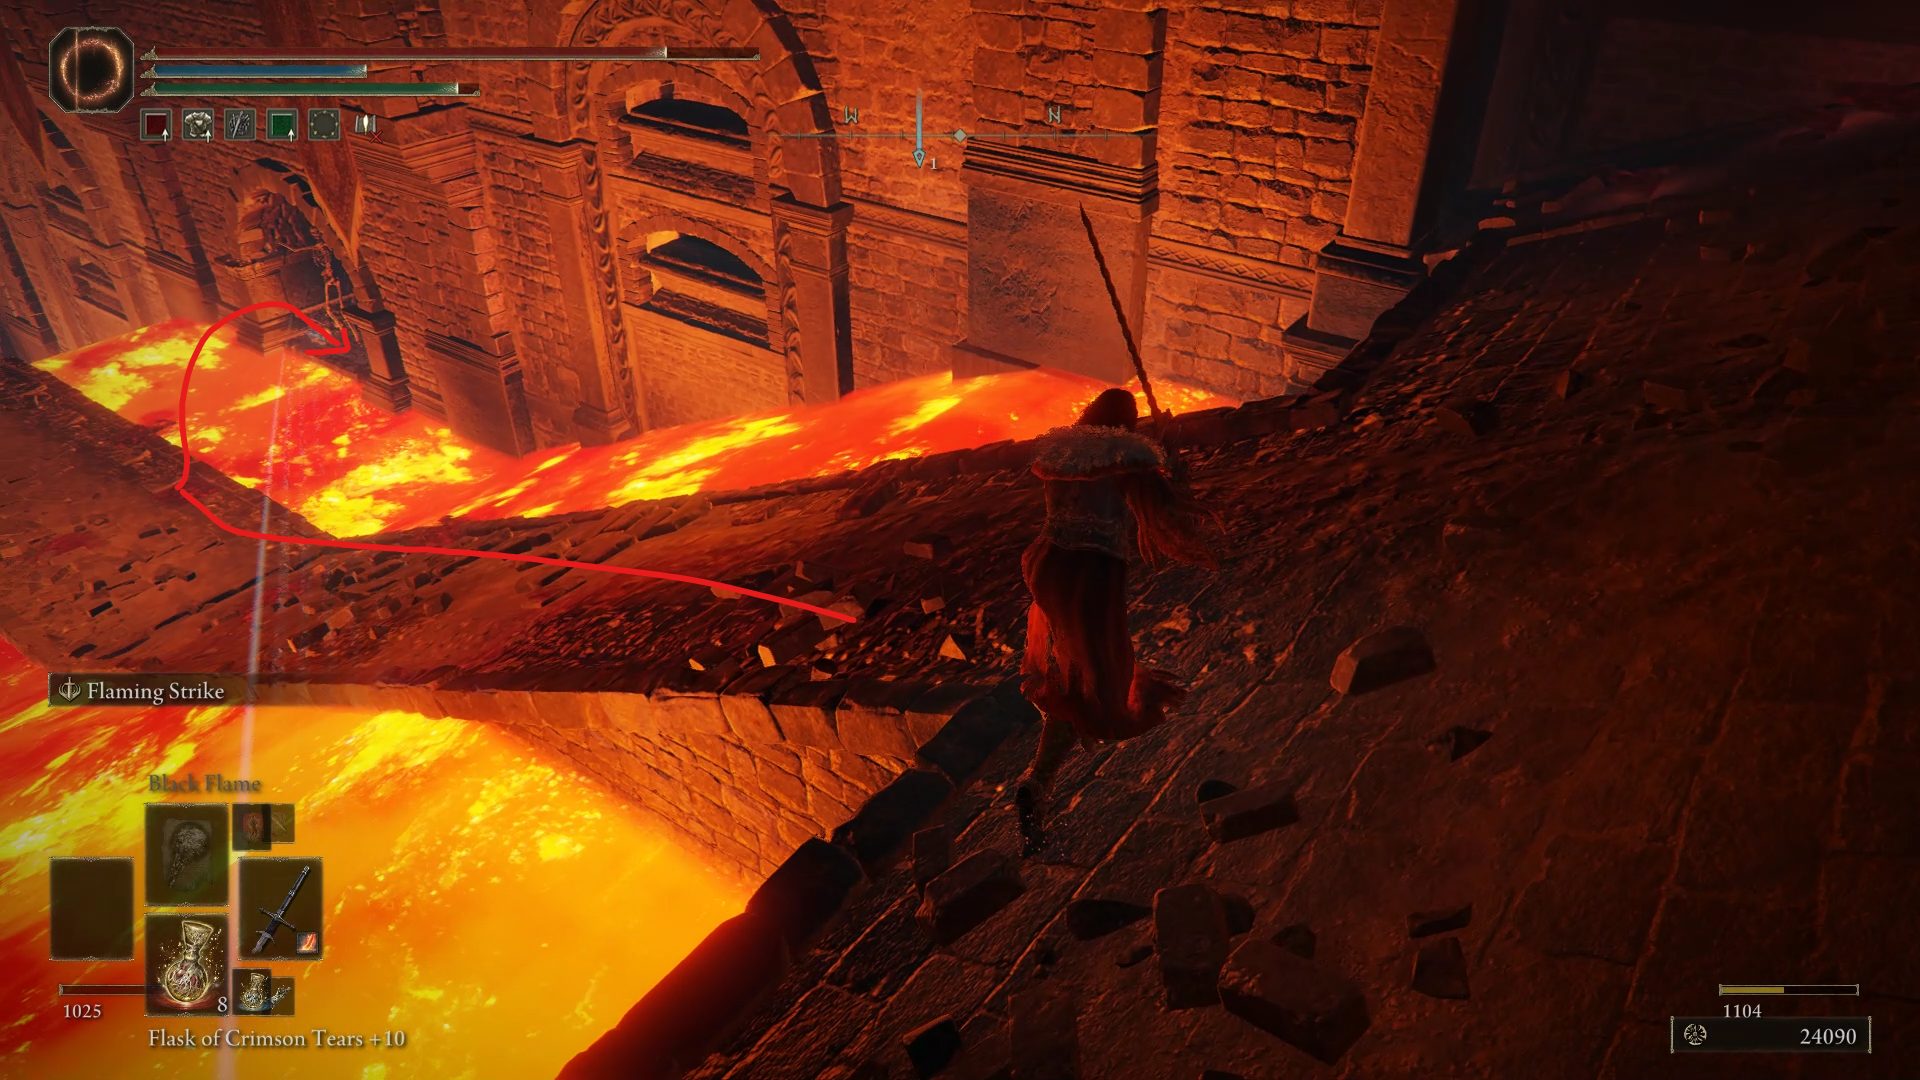
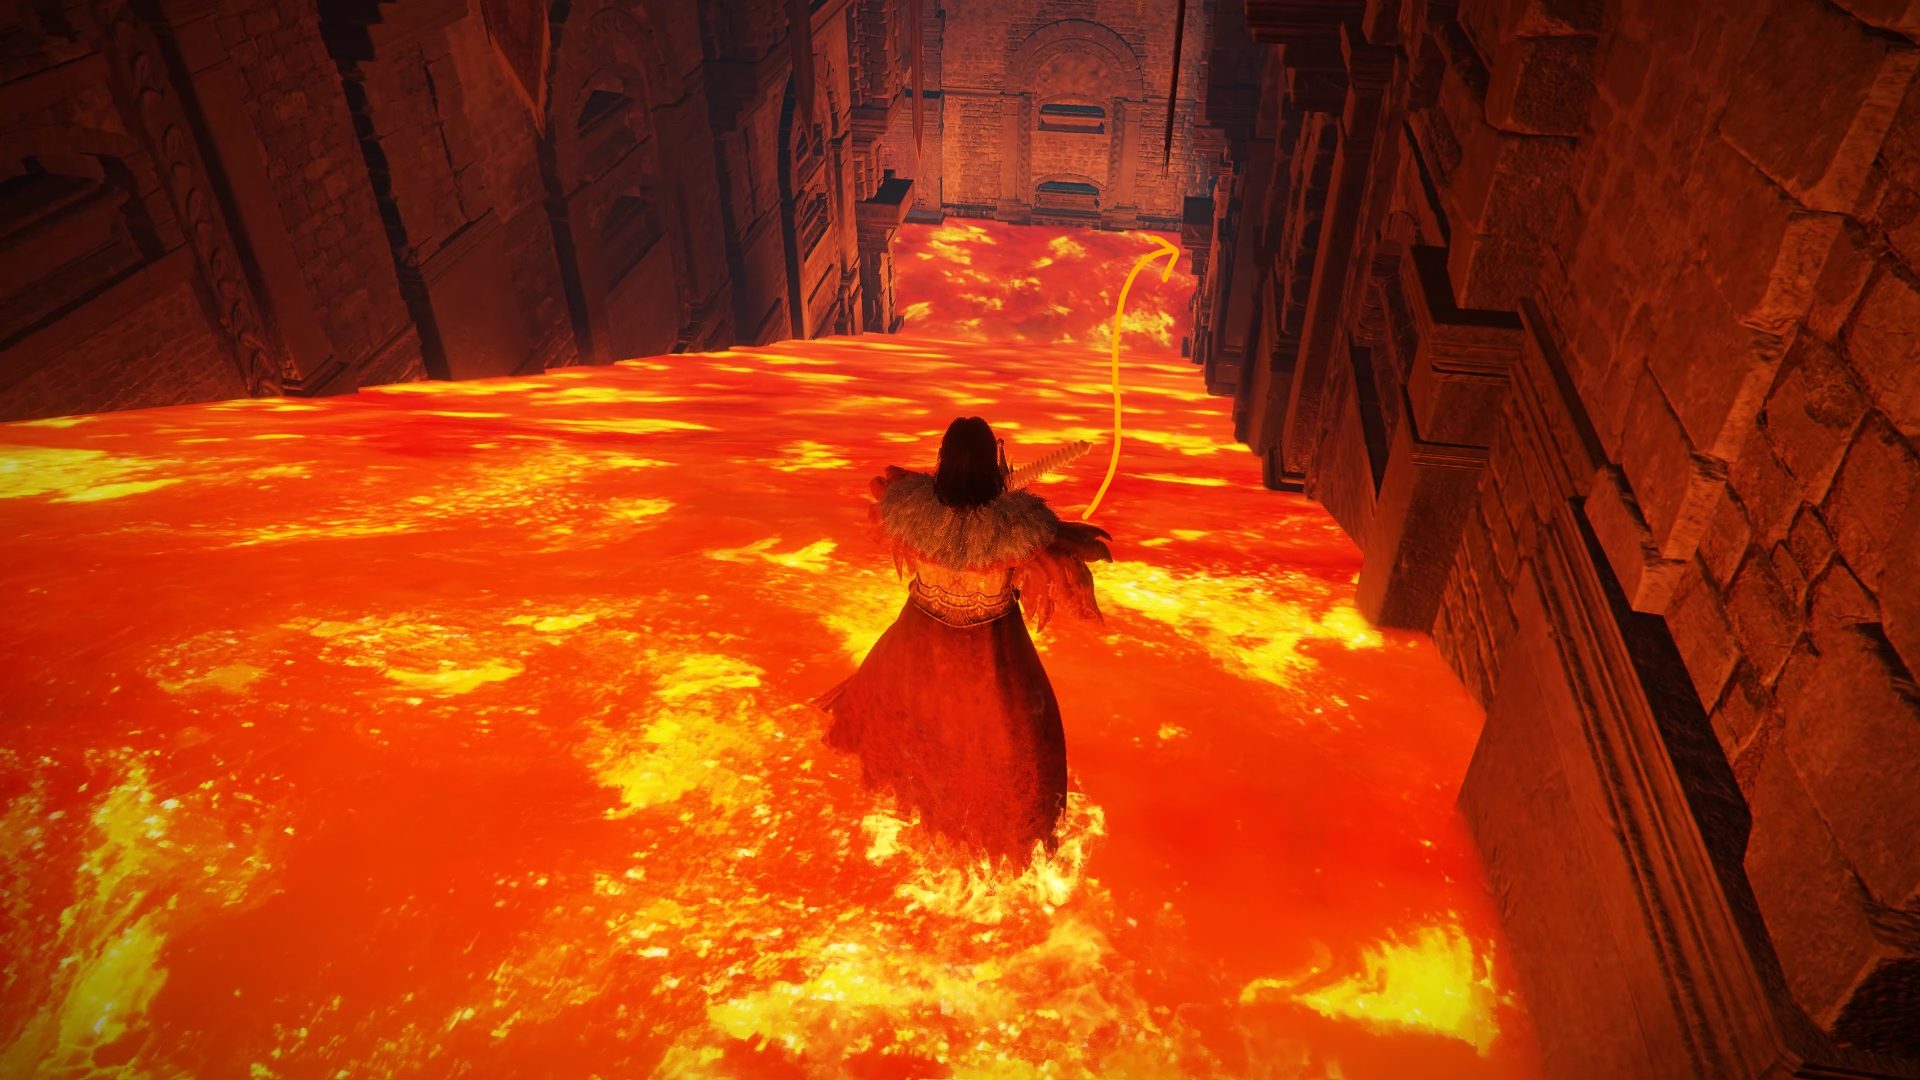
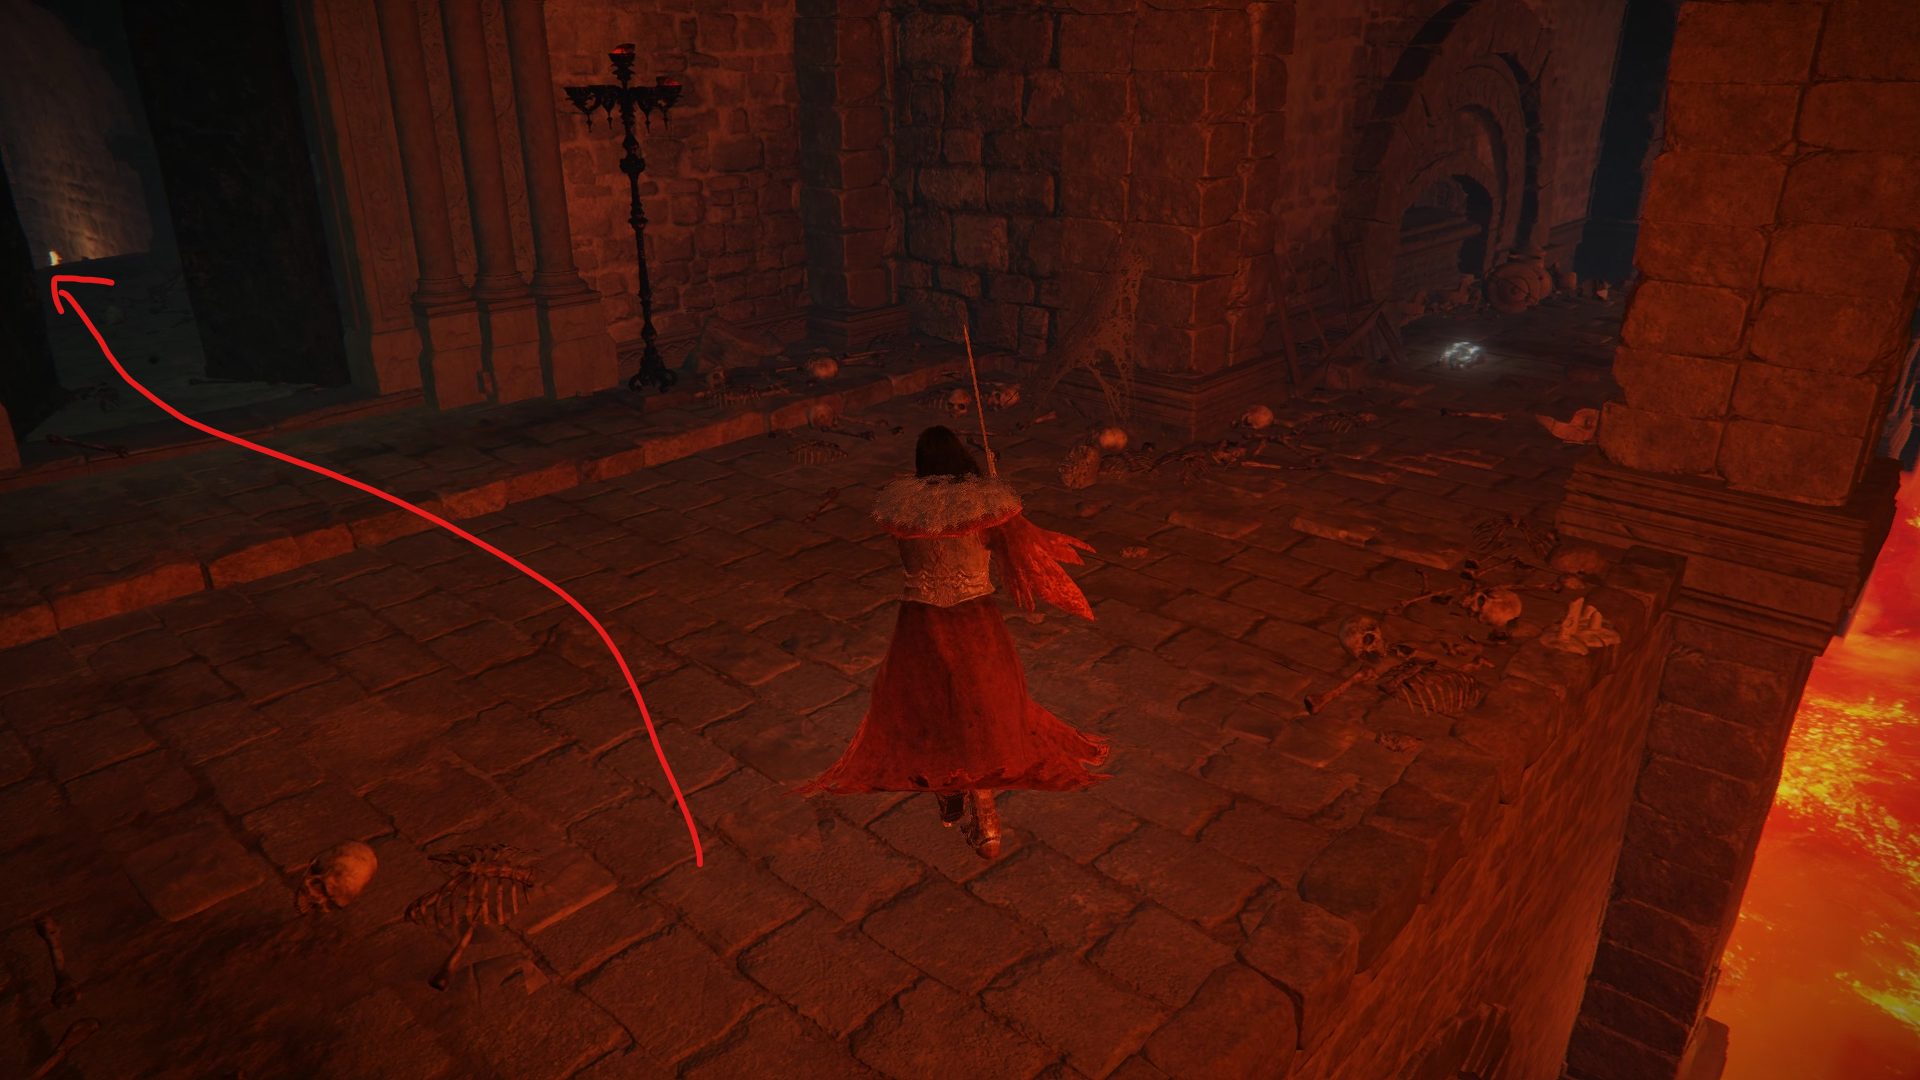
Watch your step as there is a drop down to a lower section, and instead of jumping down, continue going through lava until you reach a chest with the Ringed Finger.
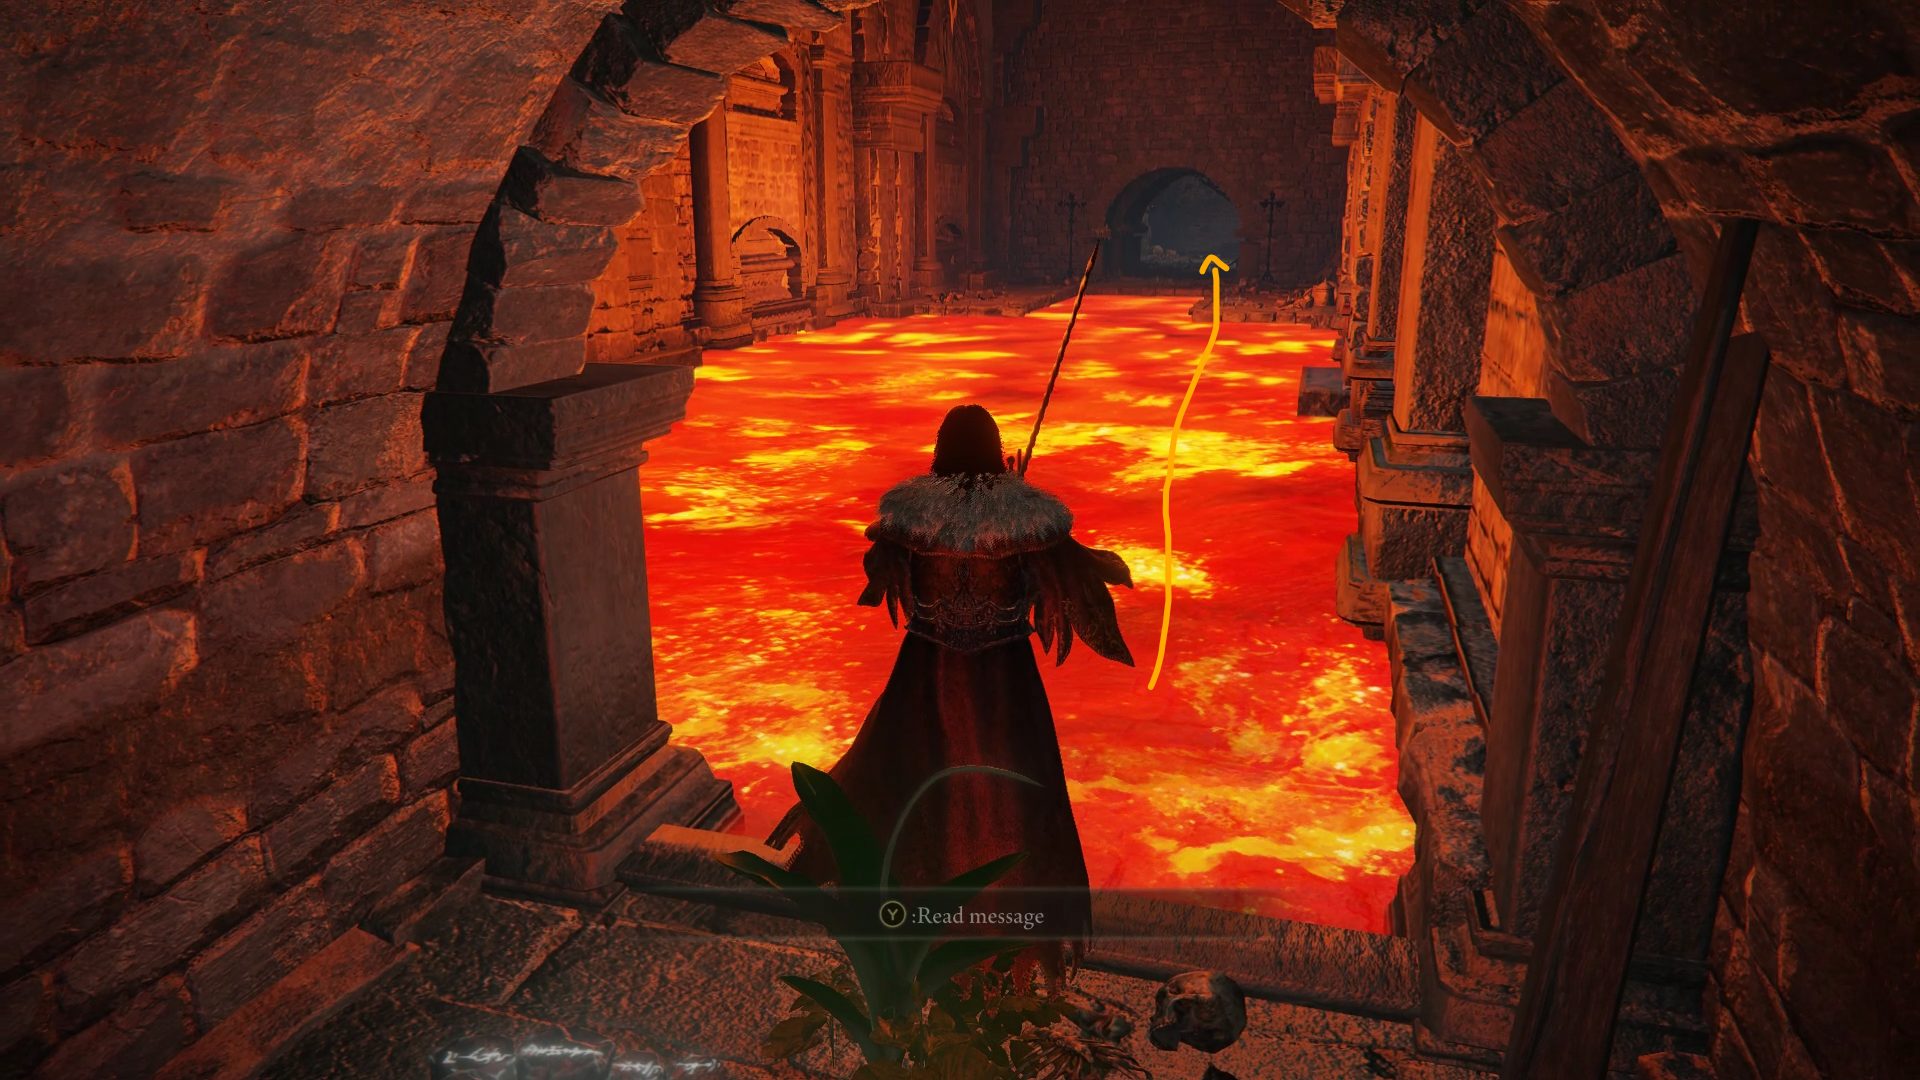
Now go back through the lava, into the alcove, and carefully jump down to the lower section. There, all you have to do is open the gate and proceed to this dungeon’s boss: Red Wolf of the Champion. However, do not return to the entrance once this fight is over, as we still need to explore some parts of the dungeon.
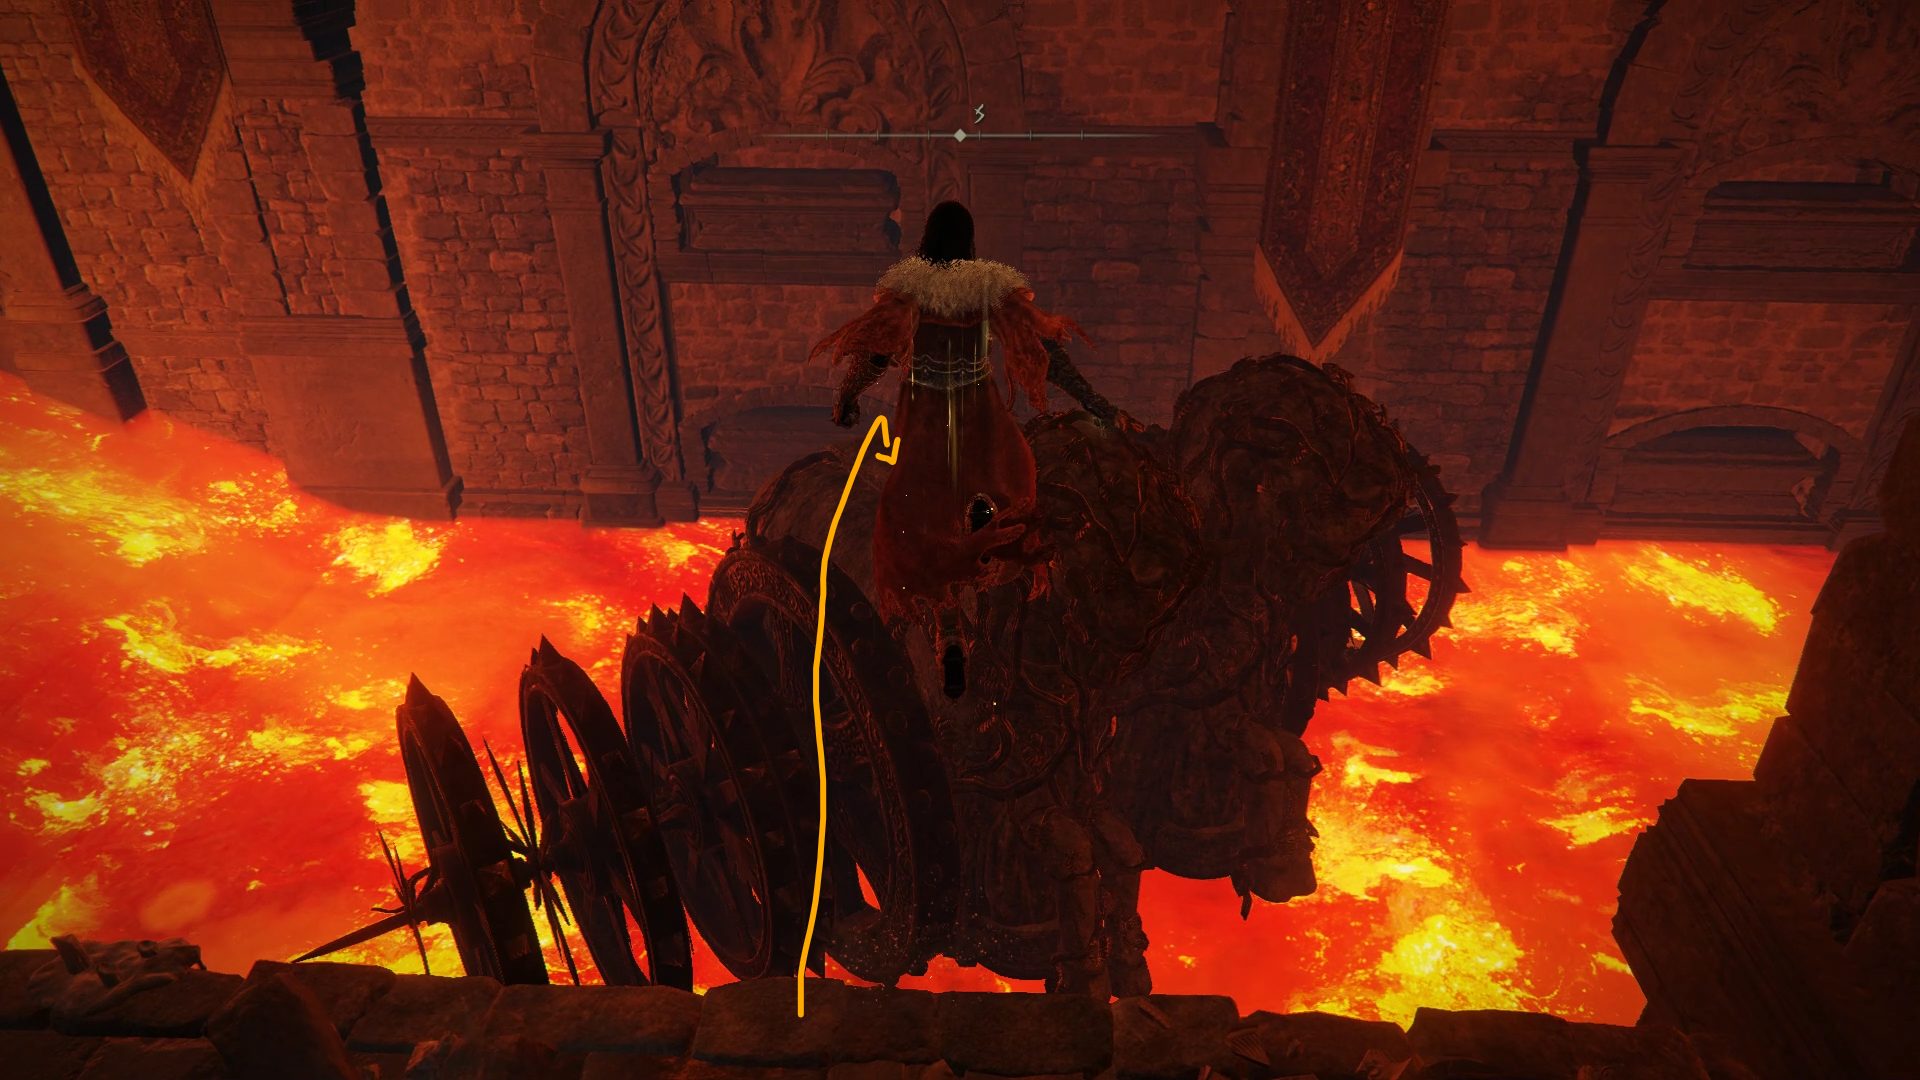
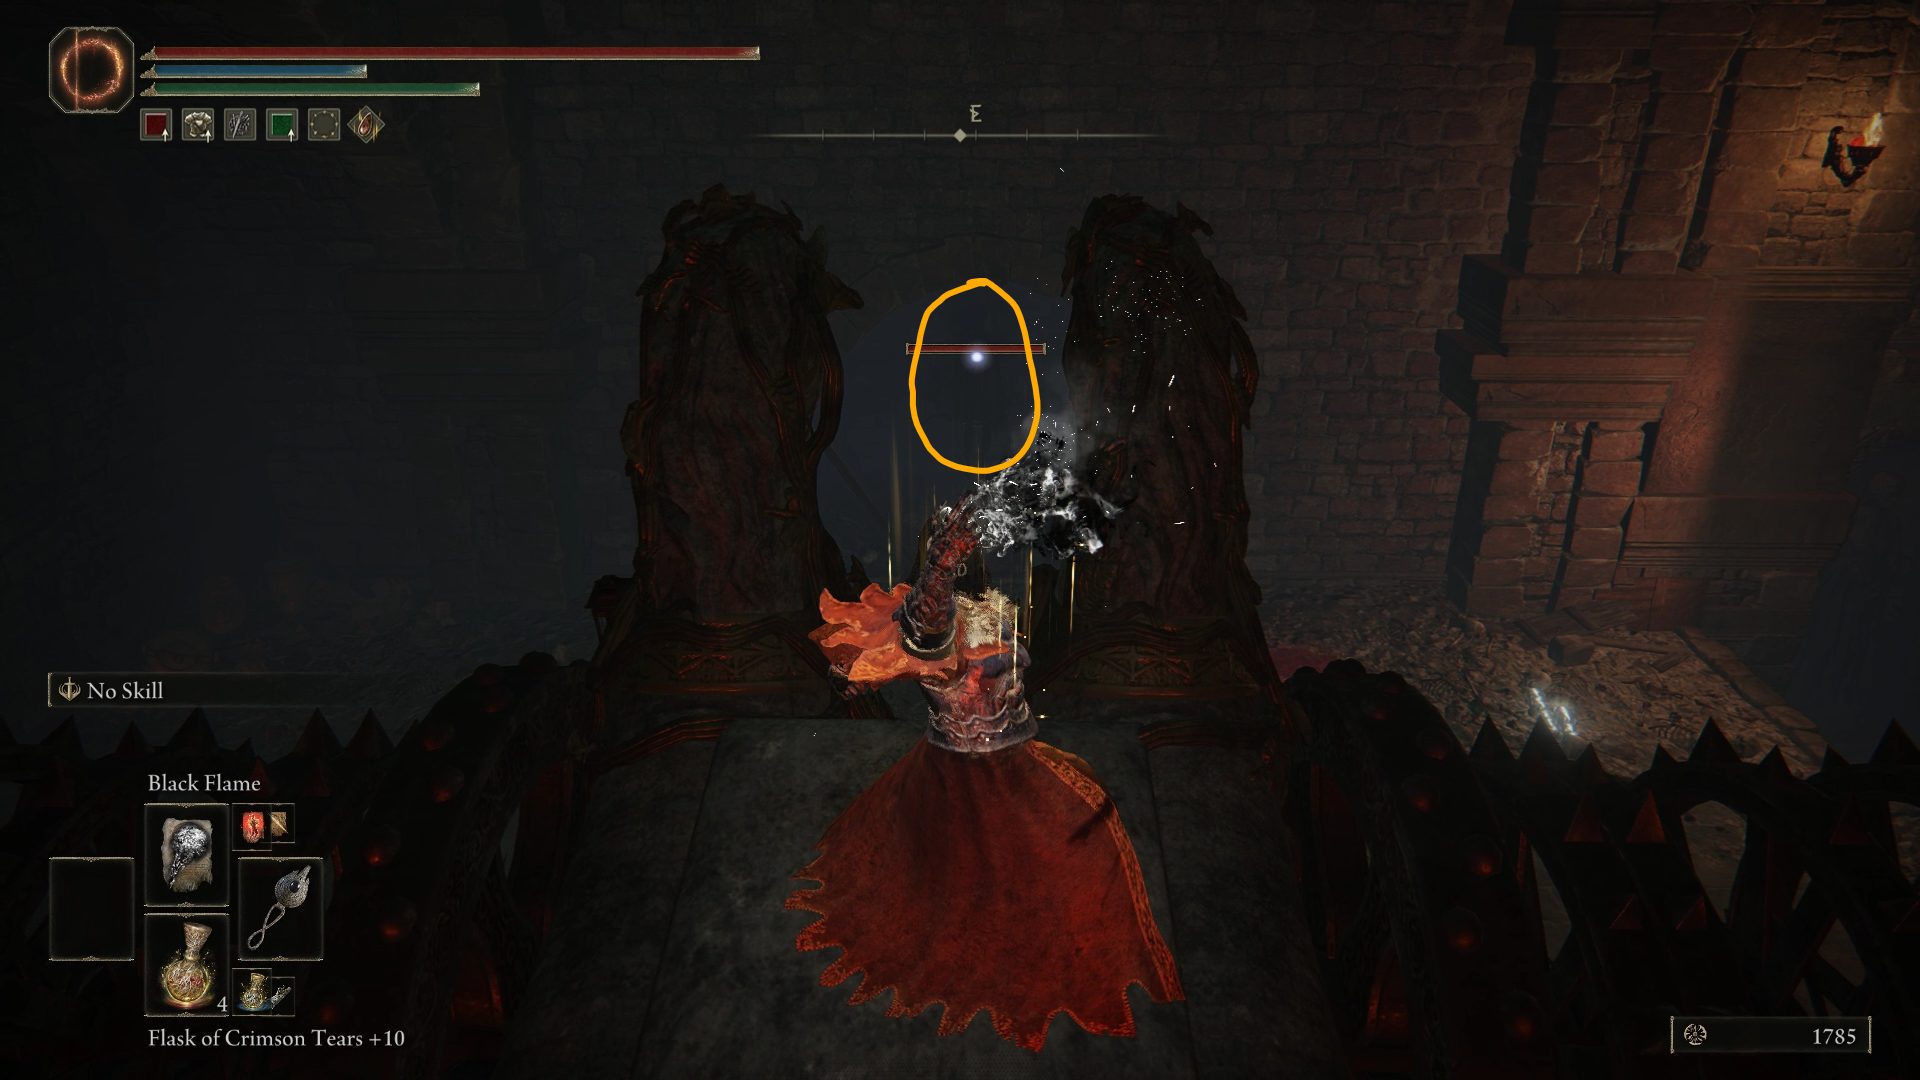
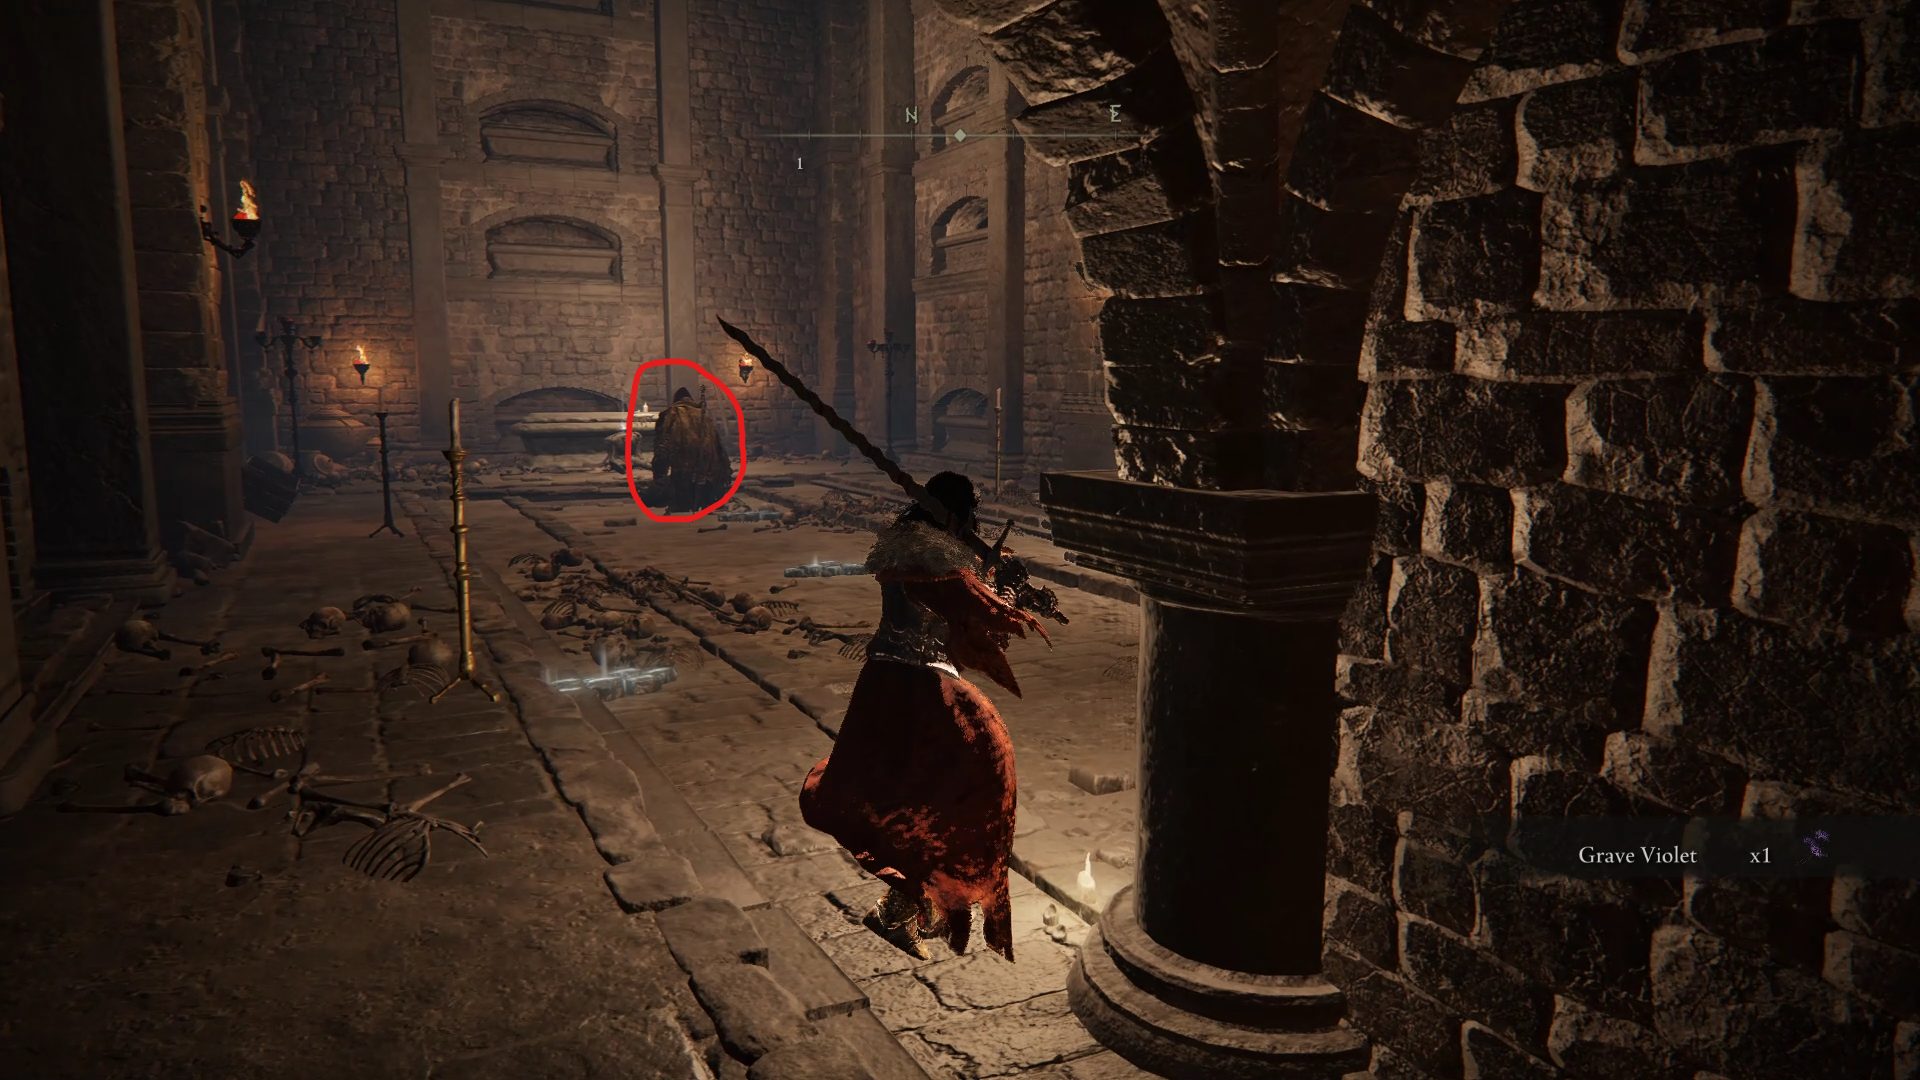
Once the boss is defeated, go back to where you previously landed after jumping down, and wait for the chariot to get there. As the chariot is turning around, jump on top of it and ride it all the way up to where it’s going to start turning around again. Instead of jumping down, target the Cemetery Shade-looking enemy in the alcove ahead of you, and use any ranged attack against it to grab its attention.
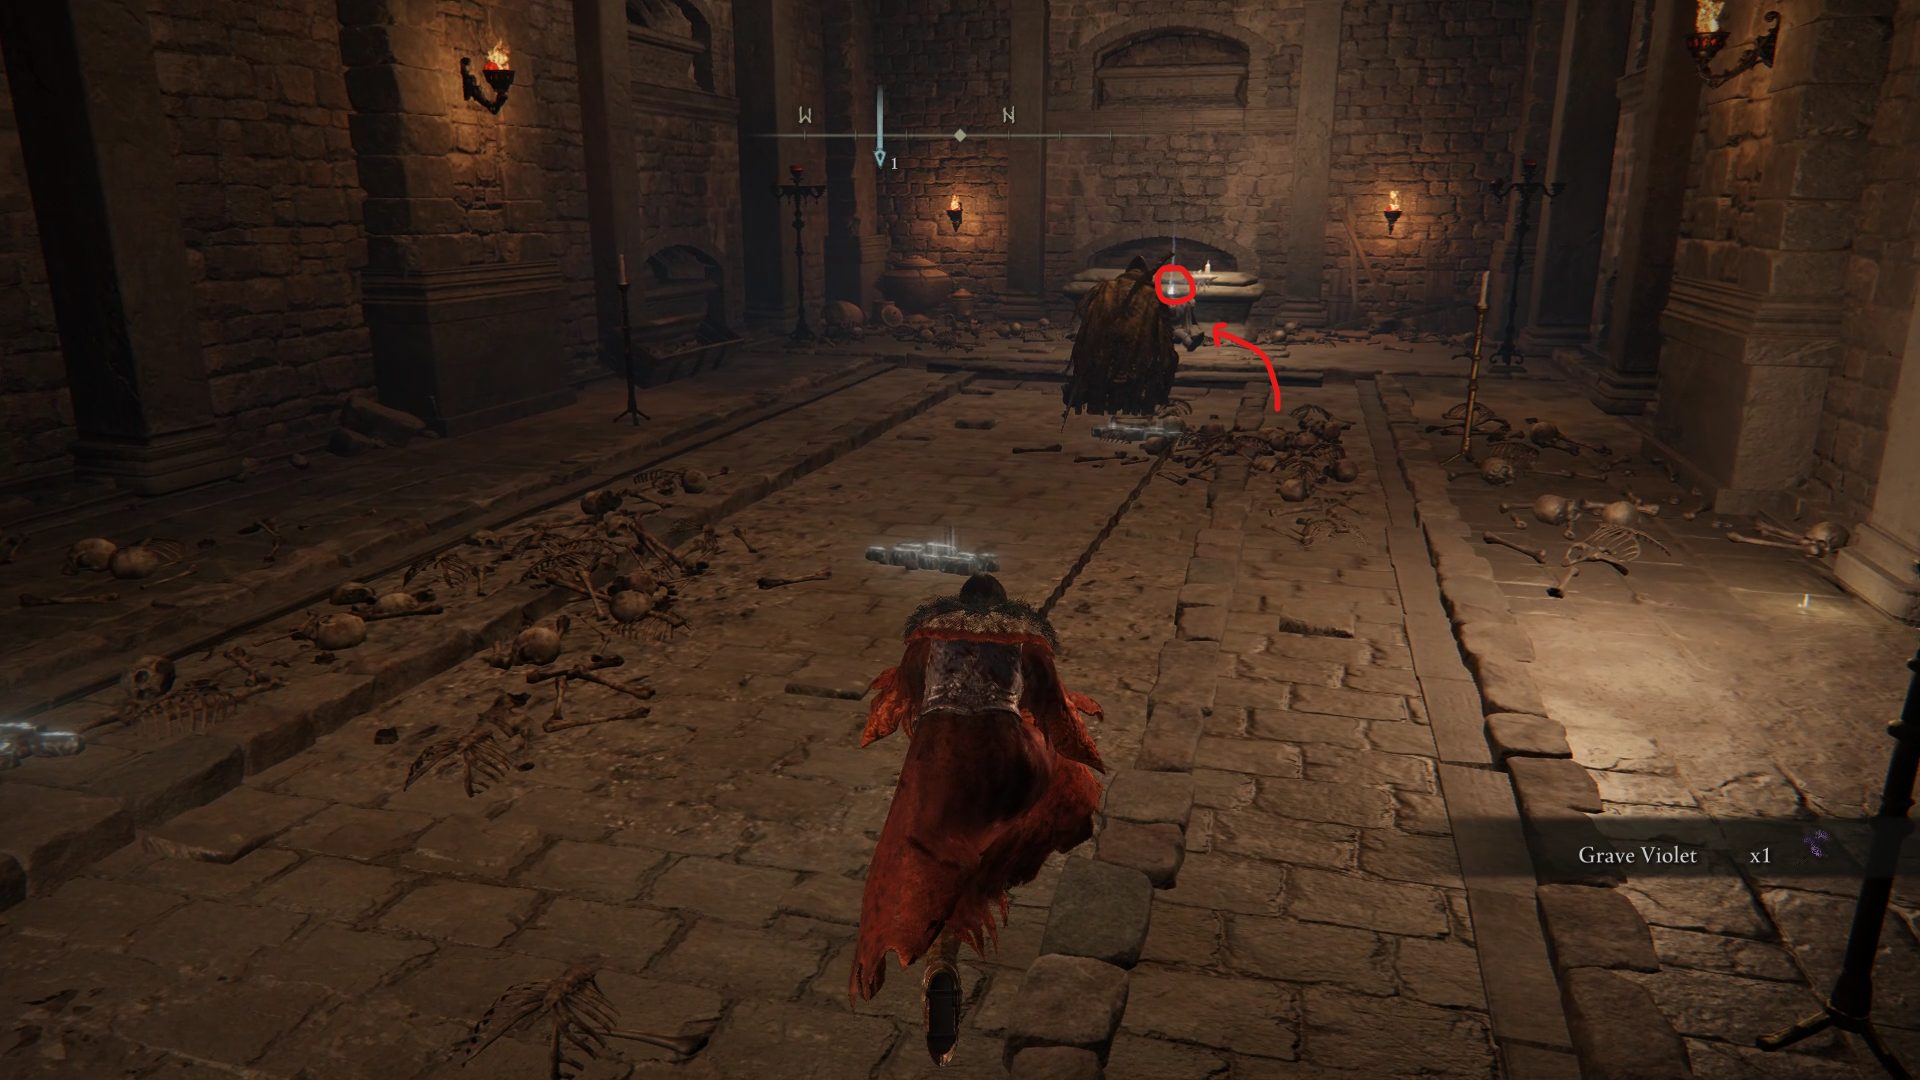
Now continue riding the chariot until the Cemetery Shade is crushed and you’ll be rewarded with a Mantis Blade. Wait for the chariot to go back to where the shade was, wait for it to turn around towards the lava and jump down. From there, you should see a narrow path going up, which is where we’ll be going right after making a small detour. Next to that pathway, you can jump down to a small ledge that will lead you to a room with a Bloodhound Knight enemy. Defeat that enemy to be rewarded with the Bloodhound Knight set, and grab the Gelmir Knight set from the nearby corpse.
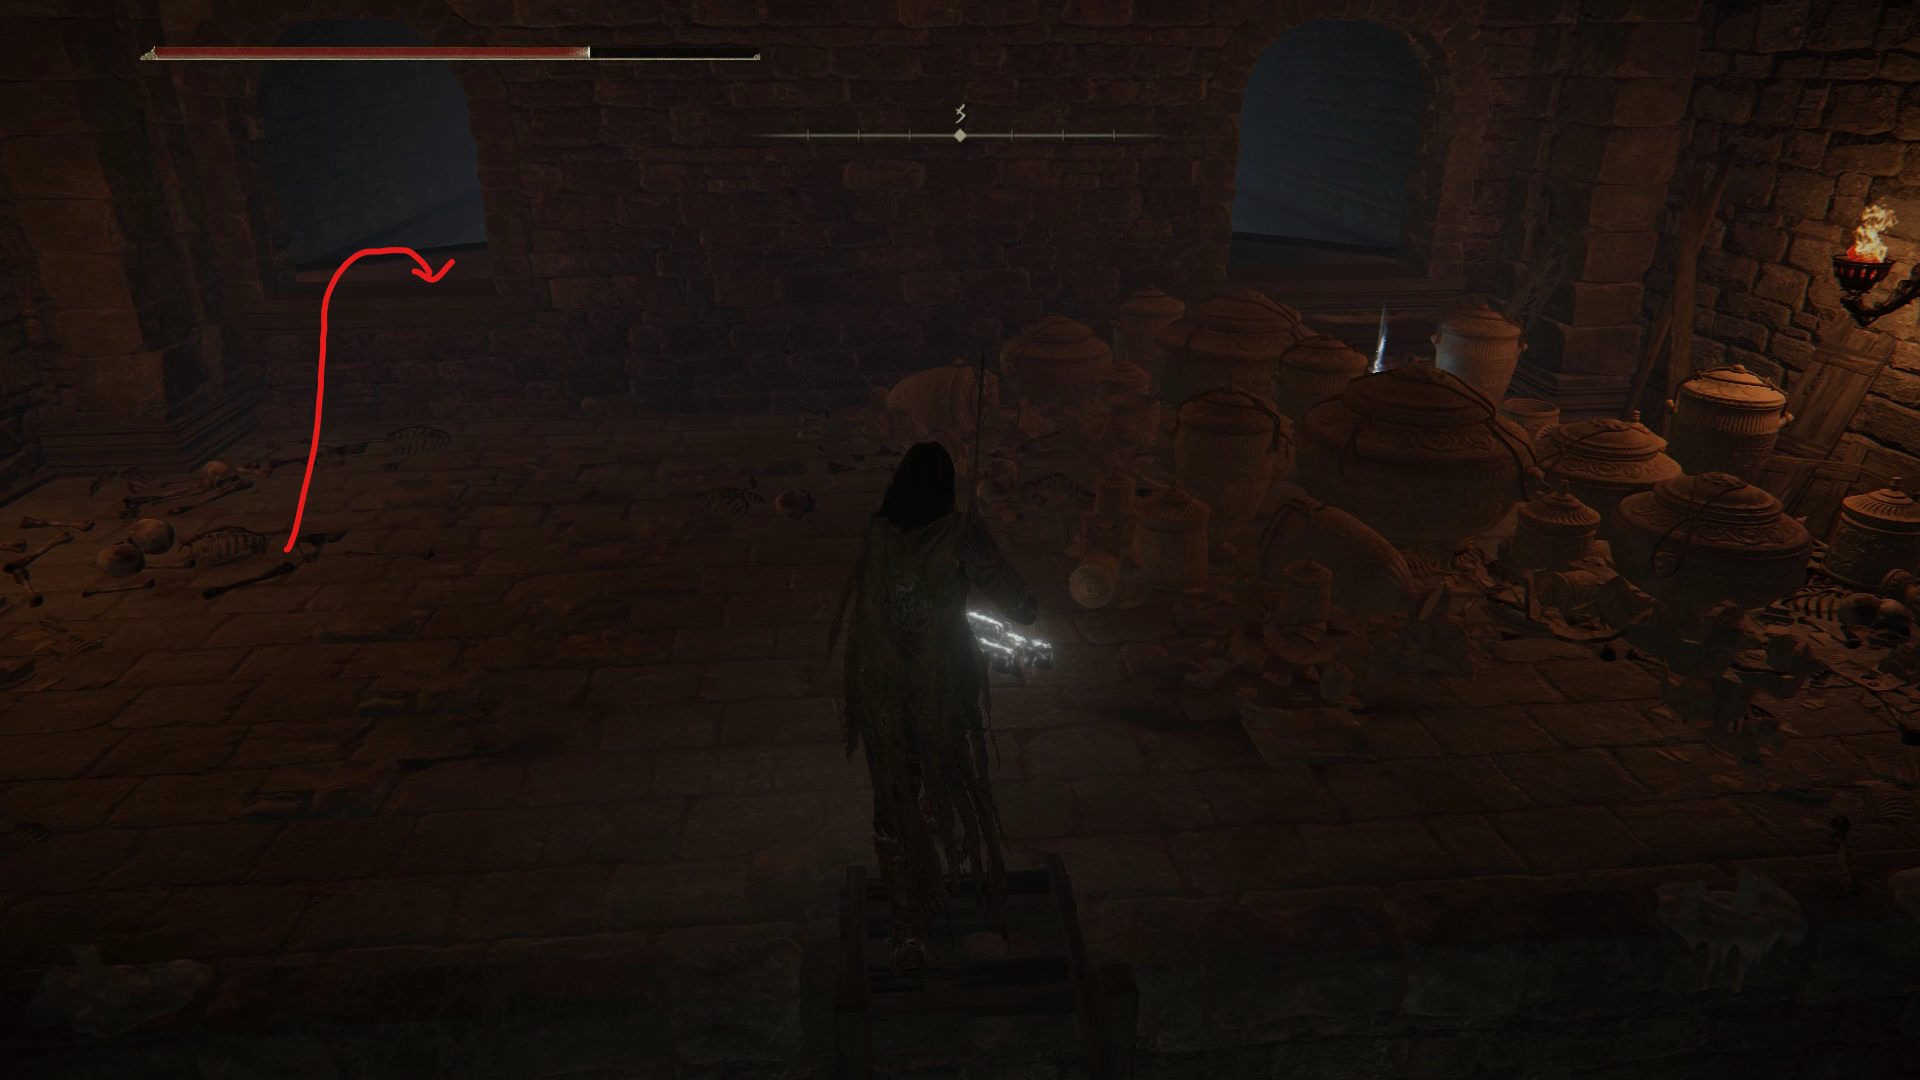
Now, climb the ladder found in that room and grab the 5x Root Resin. Look out of the nearby window and wait until the chariot below you starts leaving. Then, jump out of the window, take the pathway going up, and continue going up until you find a hallway to the right that leads towards the section that we skipped earlier.
From this hallway’s entrance, you have the choice of coming back out and going all the way up to grab a Stonesword Key. However, once you get there, the chariot will trap you, and you will have no choice but to take damage to get past it. So if your vigor is too low, or if you simply don’t want to risk it for a Stonesword Key, you can just ignore it.
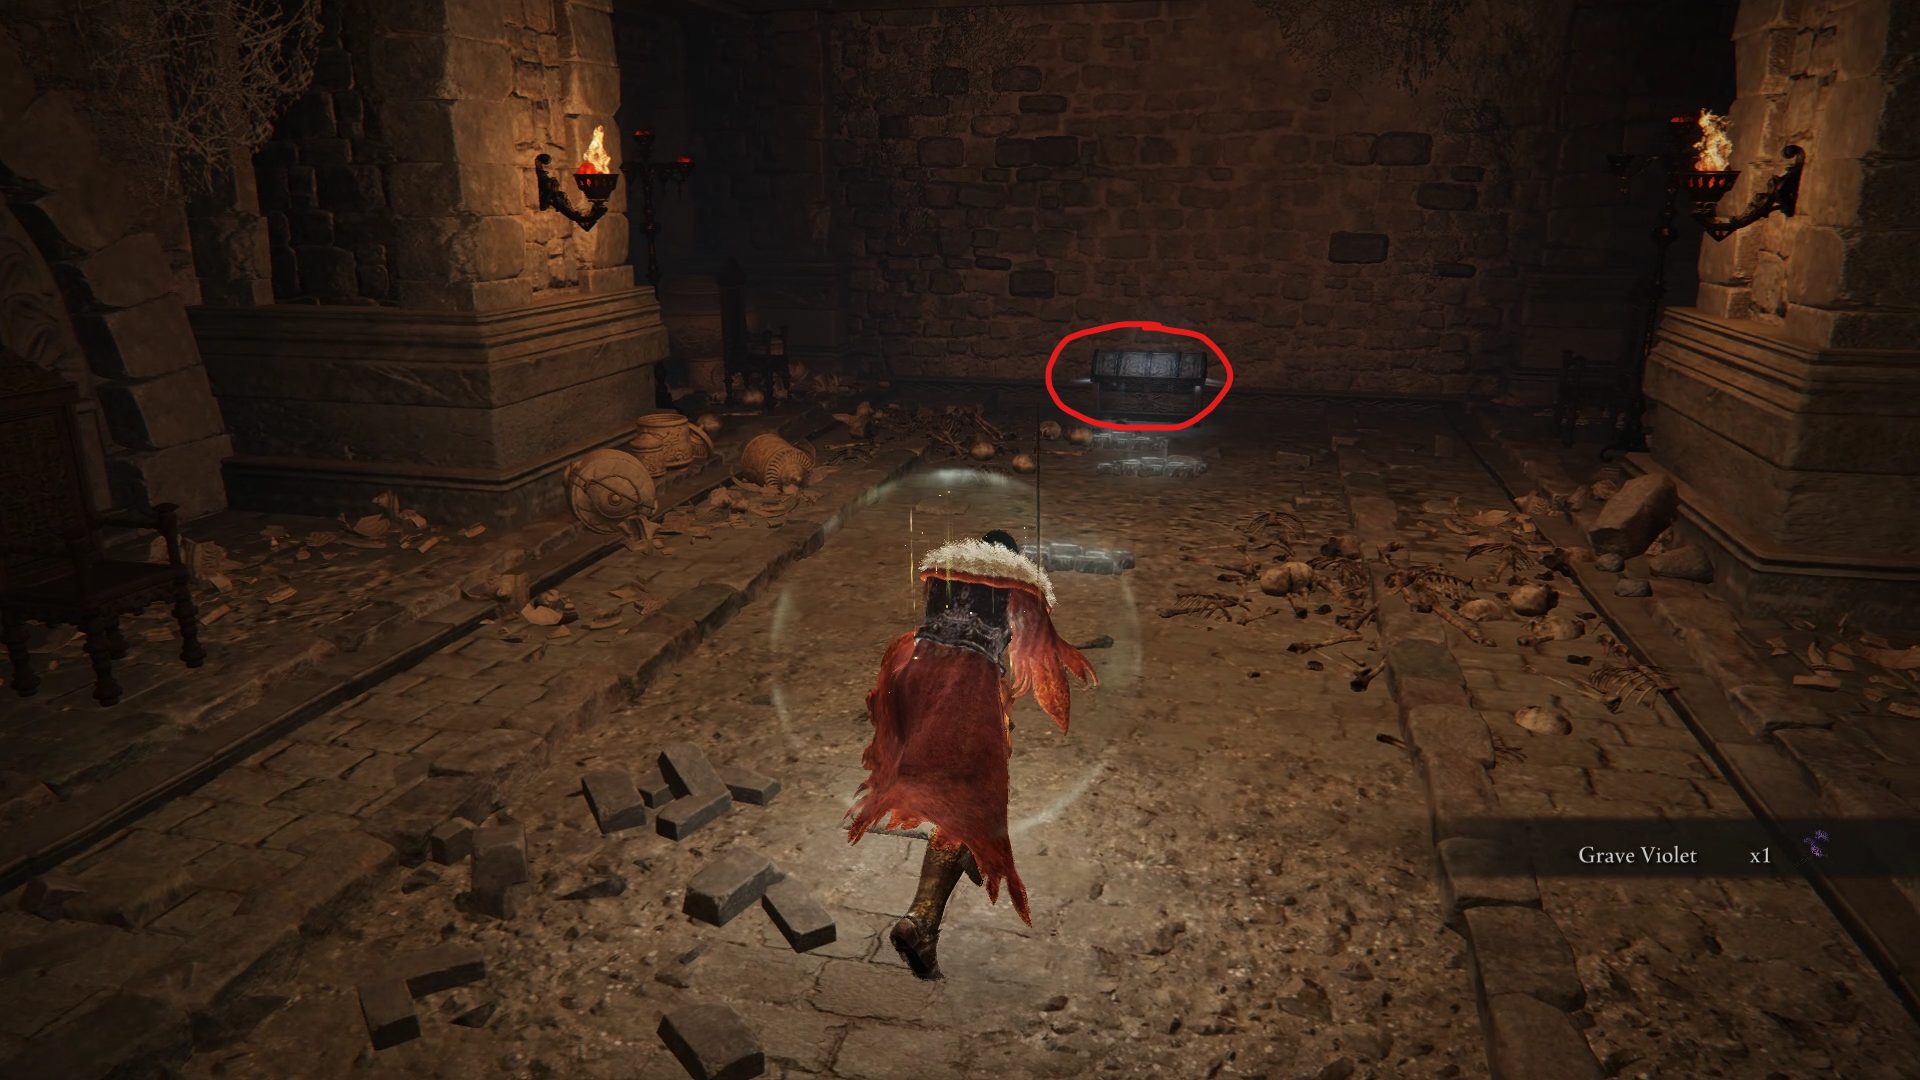
In this last section, you’ll find yourself in a room with a fire trap that you can disable with a light tap. From this trap room, you have 2 choices: the room south has a Golden Rune [6], but you get ambushed by two enemies, and the path west leads back towards the dungeon’s entrance, and you can find a fair amount of Gloveworts on your way. If you decide to grab the rune, both of the enemies are at the very back of the room, so with that in mind, run towards the item conveniently placed next to them, and run back to the fire trap once the enemies notice you. Re-activate it with another light tap and watch your enemies burn.
As for the room to the west of the trap, you have a total of 3 more enemies that are equally as tough as the ones that you just incinerated. If they prove too difficult, you can always do the same and pull them back into the flames. Past this room, you’ll find yourself on the familiar path that you took earlier, before voluntarily throwing yourself into the lava. Follow it all the way up to reach the dungeon’s entrance, and take the elevator back up to exit the dungeon.
Video game fan since TMNT: The Manhattan Project, I'm always on the lookout for games that could top Outer Wilds or Disco Elysium, or for new songs to listen to.