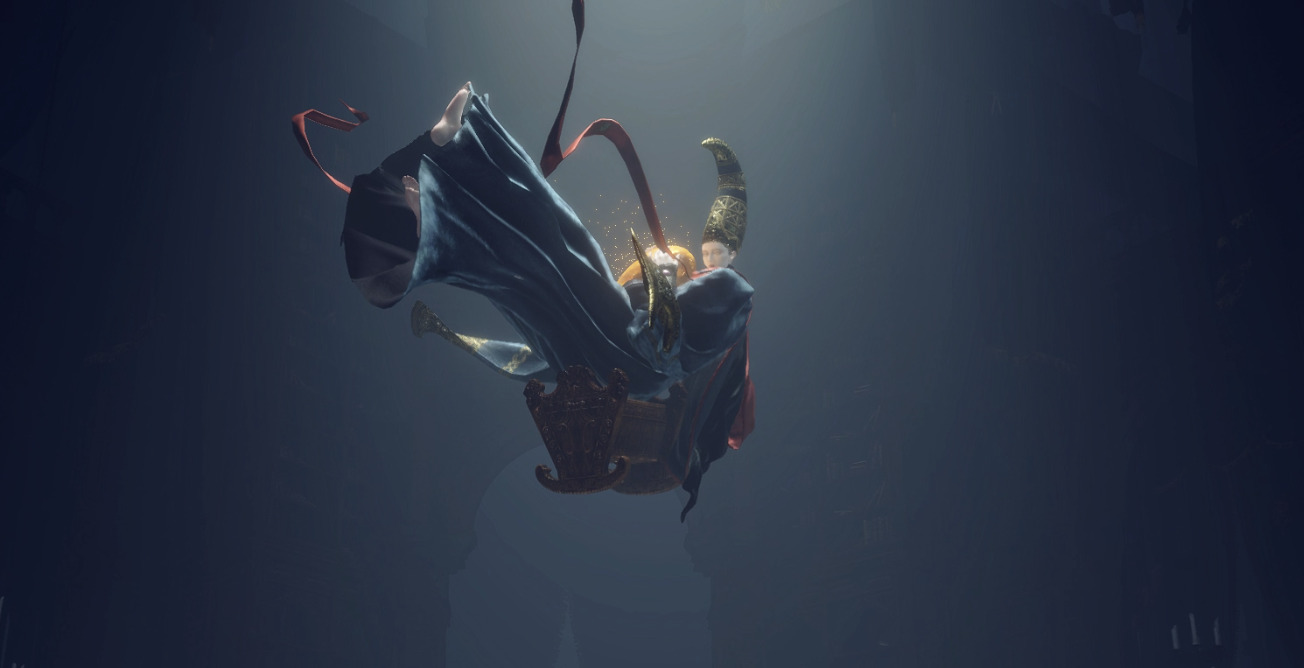
Rennala is a unique boss, both in her moveset and in the unfortunate fact that she’s got a long run-back and a time-wasting first phase. In this guide, we’ll give you some general tips as well as specific strategies for defeating the Queen of the Full Moon.
General Tips
Spirit summons are essential for this battle. Melee users can theoretically get away with not using summons, but magic/ranged characters can have a very difficult time avoiding Rennala’s own summons (plus her spells) and still doing damage.
Save your summons for Phase 2 — you can summon them immediately after “killing” Rennala in Phase 1 and they’ll come with you to Phase 2.
Summons that can attack repeatedly can prevent Rennala from casting spells, since most physical attacks interrupt her. In order of preference, the Demi-Human Ashes, Wandering Nobles, or Lone Wolf Ashes are all good choices.
Rennala is very resistant to magic, and weak to physical damage; magic users should consider going and getting Rock Sling from Caelid for this fight, while players using an elemental melee weapon should switch to a pure physical damage affinity for this fight.
Rennala can be staggered, allowing a critical hit, although she cannot be backstabbed. Jumping heavy attacks, combined with the damage of your spirit summons, should allow you to stagger her fairly quickly.
Equipping your best magic-resisting armor can help with damage reduction, since Rennala does mostly magic damage,.
Phase 1
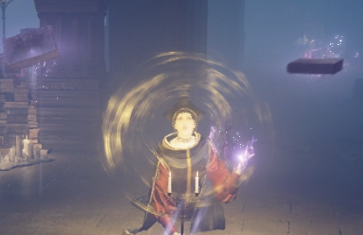
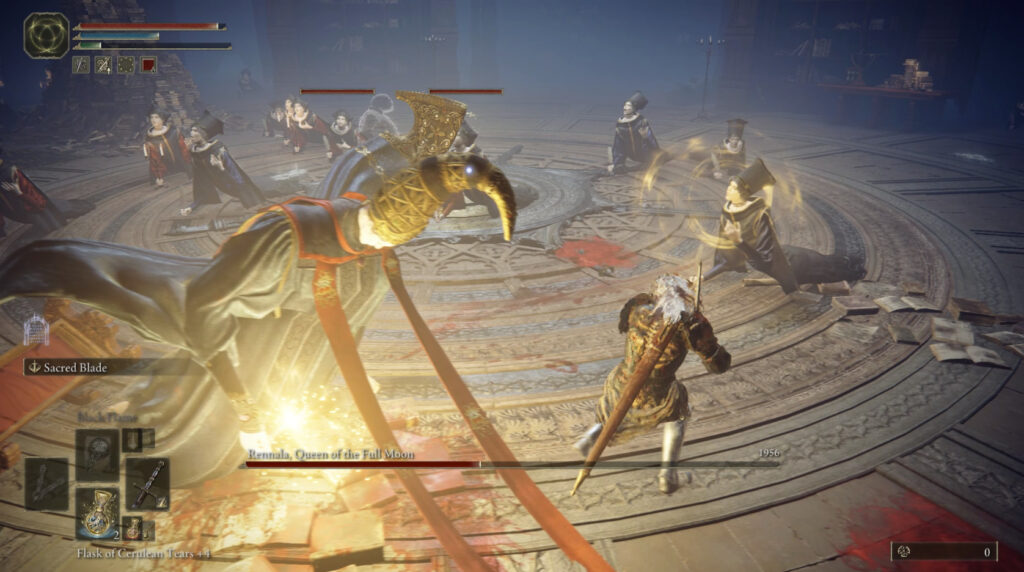
In the first phase of the fight, Rennala floats above her sweetings students in a protective golden sphere. In order to get the boss to come down so you can whack her, you’ll need to find and kill the specific student supporting her sphere three times. The student you need to kill is identifiable in two ways: the golden whorl around their head, and the fact that they’re flinging flying books at you. Run at them diagonally or roll to avoid the books, and do a leaping or rolling attack to avoid eating a book while attacking.
Here!
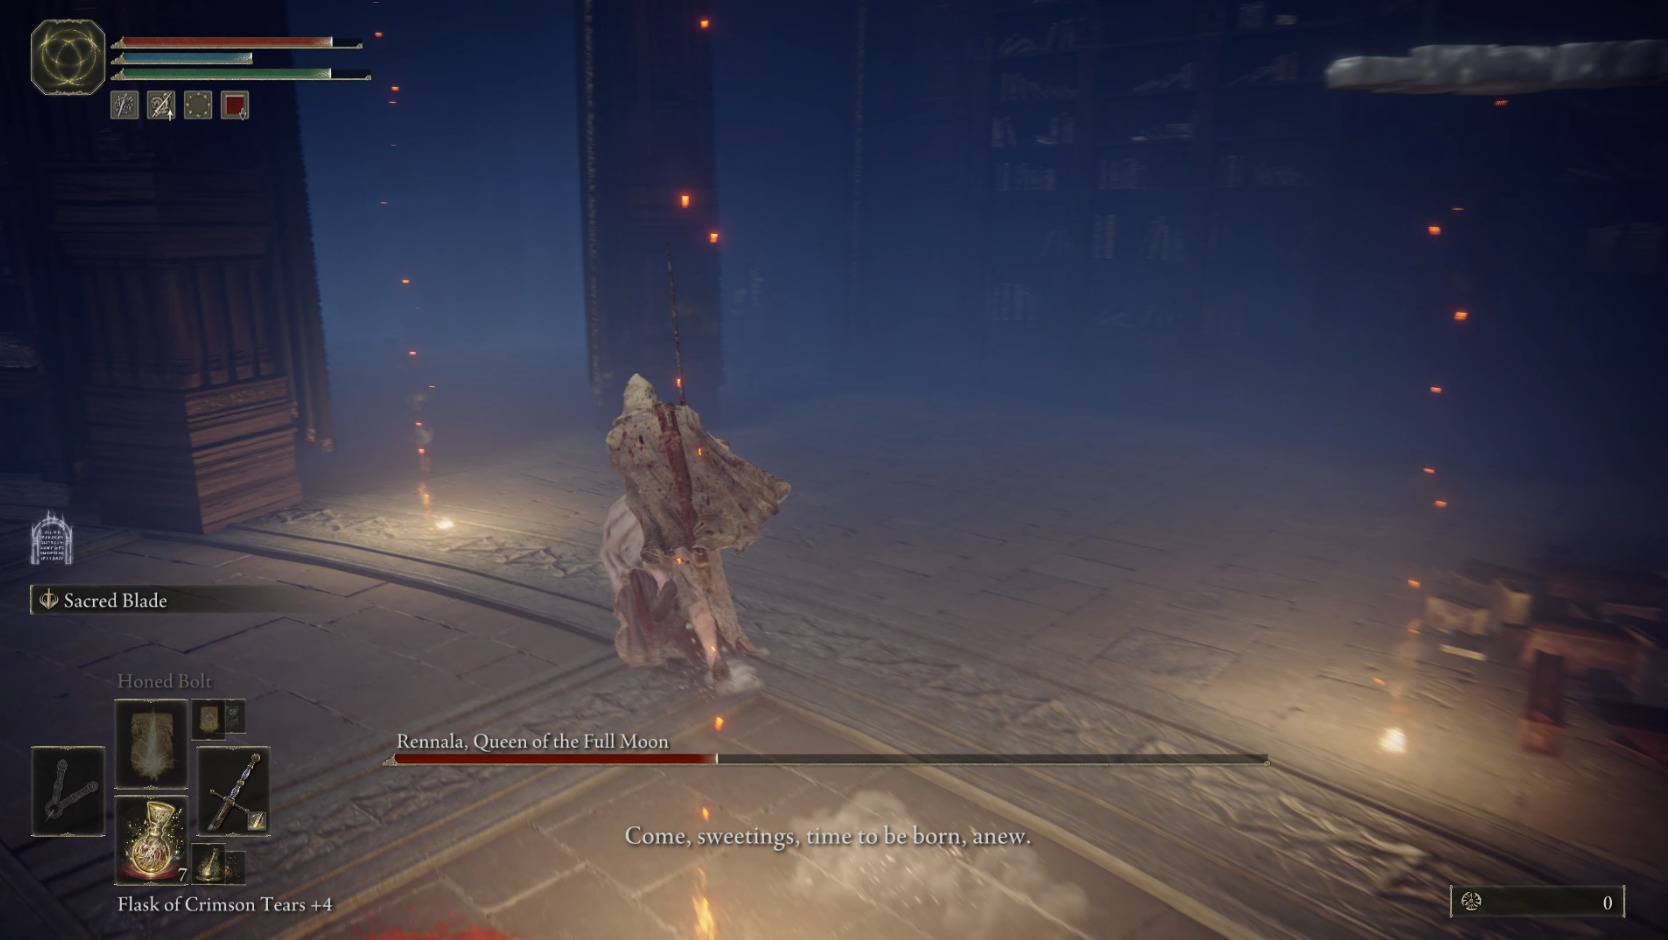
There’s only one at a time — after you kill one, another random student will become the new book-flinger. Once you’ve killed three, Rennala’s sphere will break, and she’ll lie on the ground for a while. Use your most stamina-efficient attacks (this is usually light rather than heavy for melees) and/or your highest DPS attacks. If you’re properly leveled for this section, you should be able to do at least 50% of her HP before her shield returns.
After a bit, she’ll create a glowing yellow ball; at this point you’ll need to quickly get out of range before she casts her AOE attack and restores her shield. It’s possible to use your roll’s i-frames to dodge the damage, but it’s better just to leave. In fact, assuming you’re able to do either 33% or 50% of her health before this animation begins, you should run away from her — any additional damage beyond that won’t make a difference, since you’ll still have to repeat the process once or twice more.
See a glow? Time to go.
This phase is generally pretty easy, but there are a few things to watch out for. Every so often, Rennala will randomly shoot a white beam that goes through the level’s obstacles and does a decent chunk of your HP. It’s basically impossible to see it coming if you’re searching behind the books for the correct student, so just spam roll while you’re moving around the room.
You also want to make sure you don’t get hit by the falling chandeliers. There are a few that ring the central area of the boss arena, but you don’t need to memorize their positions or anything. Instead, keep an eye out for flames falling from the ceiling — that’s your clue that the chandelier there is about to fall. Don’t walk under it (or get out from the middle of the flames) and you should be OK.
The chandelier flames indicate when it’s about to fallAs seen from further away
The students crawling around do cast a flame spell, but it’s pretty slow and only matters if you’re standing still, which you shouldn’t be. They will also bite you if you stay in melee range, but it’s an annoyance more than anything. They won’t cast spells or attack once Rennala is on the ground, so you can wail away on her at that point.
When you finish off Rennala in Phase 1, immediately summon your spirit(s) so that they’re ready to go when Phase 2 begins.
Phase 2
Rennala seems to always use her Energy Beam when Phase 2 begins, so immediately run diagonally towards one side of her. It’s good to roll when the beam first appears just in case you’ve misjudged the angle. Once you’re behind her, you can get some good damage in. Every time she uses this spell, take advantage of the window dodging it afford you to attack.
Stay fairly close to her whether you’re melee or ranged, since if she summons the dragon, being closer helps you avoid its flame attack. Melee characters will want to roll through her spells towards her, while ranged characters just need to sprint in a circle and occasionally roll to avoid spells. The Glintstone Comets are slow enough that you can sprint towards Renalla once they near you and they’ll miss, allowing you to do some damage. Most other spells she casts will require you focus on avoiding them with sprinting/dodging, unless they are cast at your spirit summons.
When Rennala turns into a Moon briefly, you get your best chance to heal or drink your FP flash. When she exits the moon, ranged/magic characters get a good opportunity to attack her before she casts her next spell — just make sure you start running afterwards if the moon is floating towards you.
After she’s taken some damage, Rennala will start using Spirit Summon, which is what makes this fight so challenging. Strategies for dealing with the summons depend on which one it is (see Moveset below). Generally, what you’ll want to do is lock on to her spirit summon and run away from it while circling Rennala. These summons have a lot of HP, but disappear once they’ve attacked a few times.
Ideally, keep Renalla on-screen, although this won’t always be possible. Make sure you’re unlocking and looking at her to see if there’s a spell you need to dodge. The faster summons (plus some spells) will require you to roll as well as sprint in order to avoid their attacks.
If you’re brave and/or have high vitality, you can try to block/dodge the summon while standing closer to Rennala, and attack her once her spirit summon misses an attack. You can also lead the summon away from Rennala, then run towards her and try to get some attacks off before her summon can catch you, although this is only really possible for melee characters (not to mention risky).
Moveset
Since we went over the dangers of Phase 1 completely, only Rennala’s Phase 2 attacks are listed here.
Moon – Rennala briefly becomes a moon — she then exits the moon, which targets a nearby enemy and floats towards them, exploding once it hits the ground. If the moon is targeting you, you can sprint away from it to avoid taking damage. When she first enters the moon, it offers you an opportunity to heal or cast buffing spells.
Energy Beam – Rennala creates a swirl of blue and green energy that coalesces to a point, then projects a huge energy beam at her target. You can roll out of this attack, but it’s even easier to run towards her at an angle to avoid it. This attack seems to be her first attack every time Phase 2 starts.
Glintstone Comets – Rennala floats backwards waves her staff in an arc, creating 5 magical comets that track their target. Depending on the angle they approach you, it’s sometimes possible to sprint to avoid these, but when in doubt just roll as they’re about to hit you.
Glintstone Arc – Rennala’s staff dissapears and she opens her hand towards her target. A quickly-spiraling magical blade will spin through her target, and then around in a wide circle. Sometimes this will spiral through a single target instead, so you’ll need to roll twice to dodge this, or else get behind her with your initial roll. This is the one of the spells that you absolutely must roll through — sprinting is never fast enough to avoid it.
Glintstone Seekers – Rennala conjures up a handful of blue crystals in front of her. After a delay, they turn into projectiles that seek their target. Roll through them to avoid, as you can’t sprint to dodge these.
Sword Spiral – Rennala manifests a magical blade that spins in a circle in front of her. Short ranged, so you can dodge back and use it as a window to get off a ranged attack, or roll behind her and punish as a melee character.
Charged Shard – Rennala raises her staff over her shoulder, then releases a glowing shard downwards towards her target — roll through it to avoid.
Spirit Summon – Rennala slams her staff into the ground, and a white pattern appears around her. She then summons one of a number of spirits. Stick close to her after she summons, because if it’s the dragon you’ll need to get behind it when it breathes fire. Except for the wolves, it’s best to avoid the spirit summons attacks rather than trying to damage them, because they’ll disappear after attacking a few times.
Wolves – Unlike the other summons, these die in one hit to most melee attacks, and so it can be worthwhile to clear them yourself. You can also kite away and roll/block their attacks, and they’ll disappear after attacking once.
Bloodhound Knight – One of the more threatening summons, the Bloodhound Knight is very fast, and has a number of gap-closing attacks. If you have a shield, consider blocking (although you can only do this if you can see what Rennala is doing, since you’ll otherwise end up eating spells if you aren’t running or rolling).
Troll – One of the easier summons to deal with, the troll’s attacks are slow — dodge a few and it’ll disappear.
Dragon – Probably the most dangerous summon. Avoid its flame attack that it does while standing by running behind it when it breathes flames — it always breathes the fire left to right (or right to left if you’re facing it), so run to the left if you aren’t behind it. If it flies in the air, start running towards it; roll if it dive at you, or bear left and keep running towards it if it starts breathing flames. If you get caught at mid-range while it’s charging a standing fire attack, run away instead of trying to get behind it. When you’re close to the dragon, it will sometimes try to bite or stomp you, but both can be avoided by rolling, and they are less dangerous than the flame attacks.
Unabashed FromSoftware fanboy still learning to take his time with games (and everything else, really). The time he doesn't spend on games is spent on music, books, or occasionally going outside.