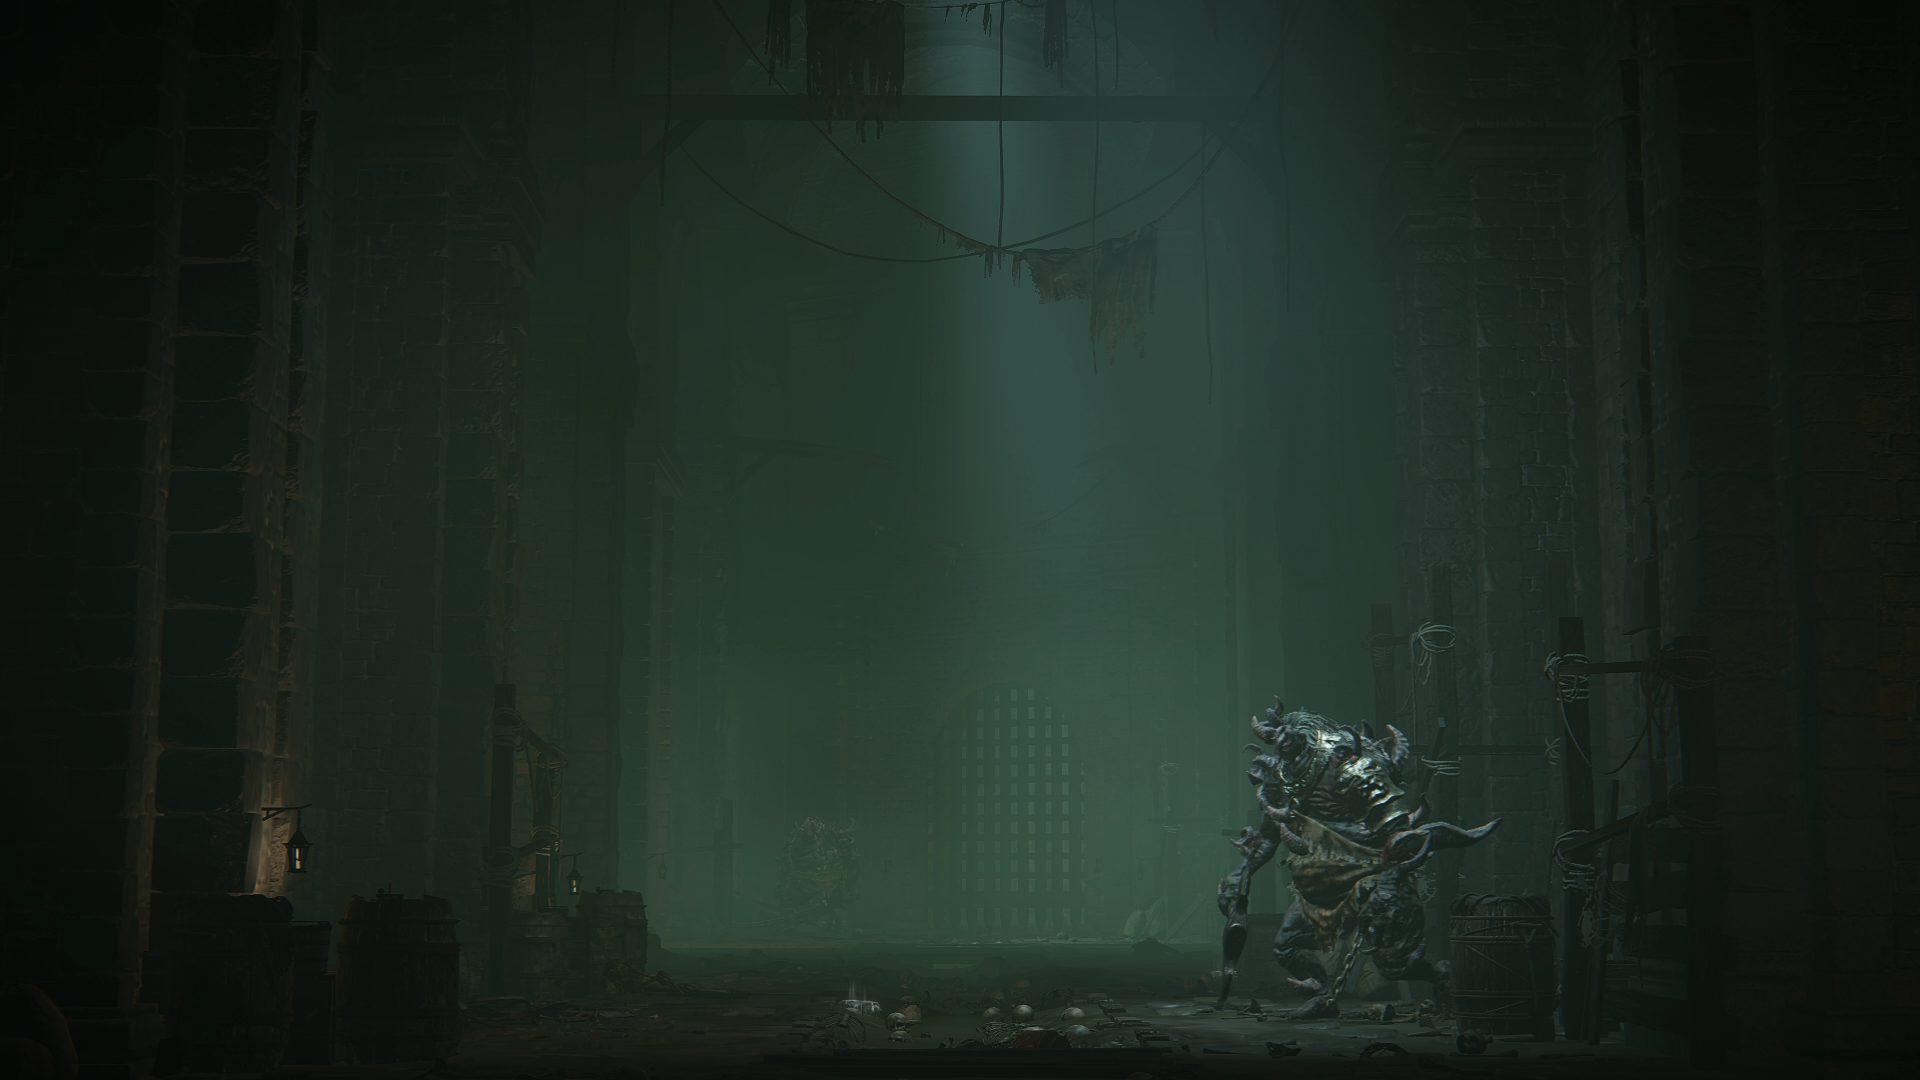
Subterranean Shunning-Grounds is an optional area, but is required for the Lord of Frenzied Flame ending. While difficult to navigate and filled with tough enemies, you’ll be able to grab a few items and progress Dung Eater‘s questline.
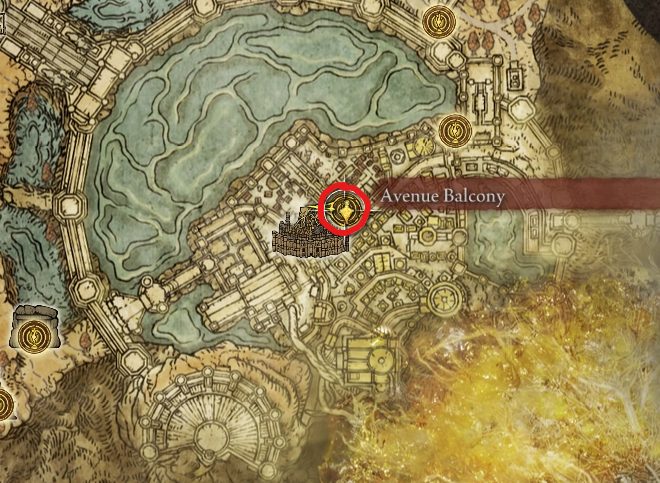
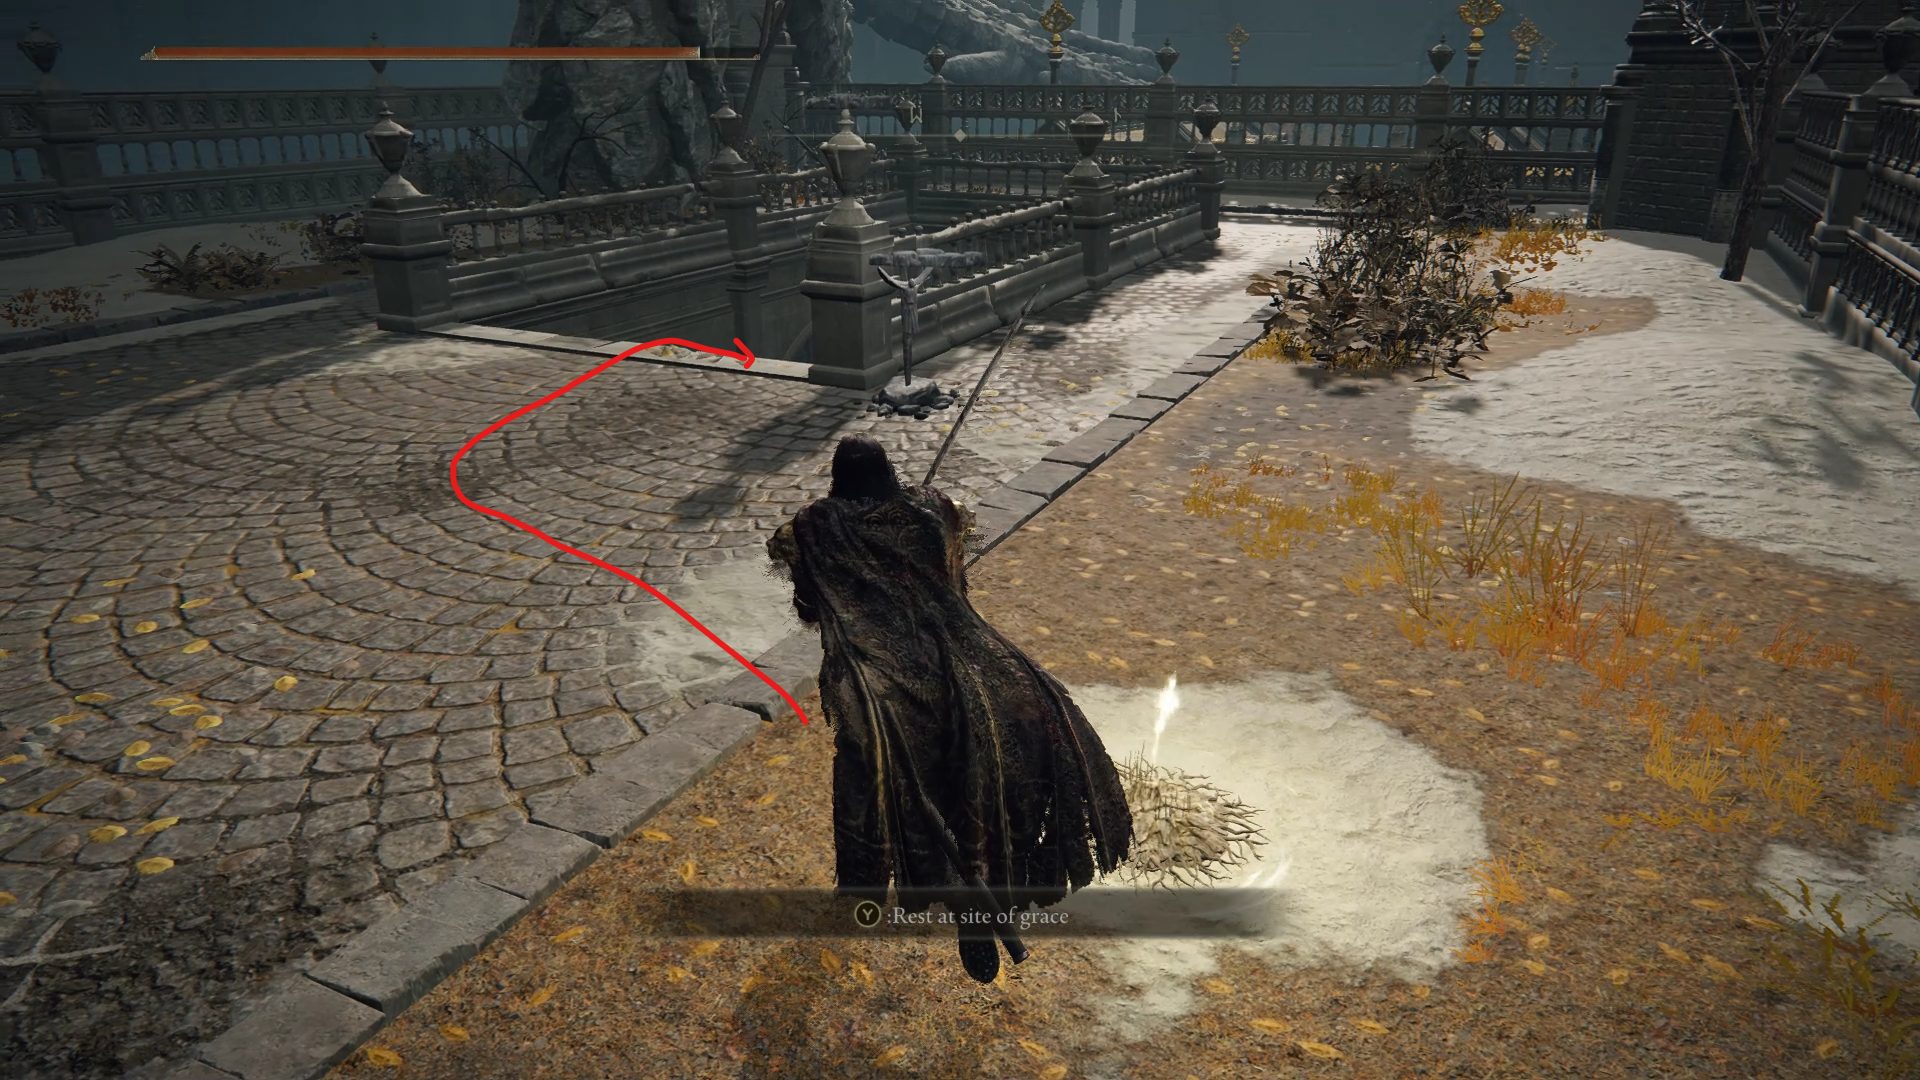
The entrance is located in Leyndell, Royal Capital. From the Avenue Balcony site of grace, go down the nearby stairs leading northwest, and continue following the western side of the path until you see a well below. Descend the ladder inside of the well, open the gate nearby and follow this rat-infested path until you reach the Subterranean Shunning-Grounds.
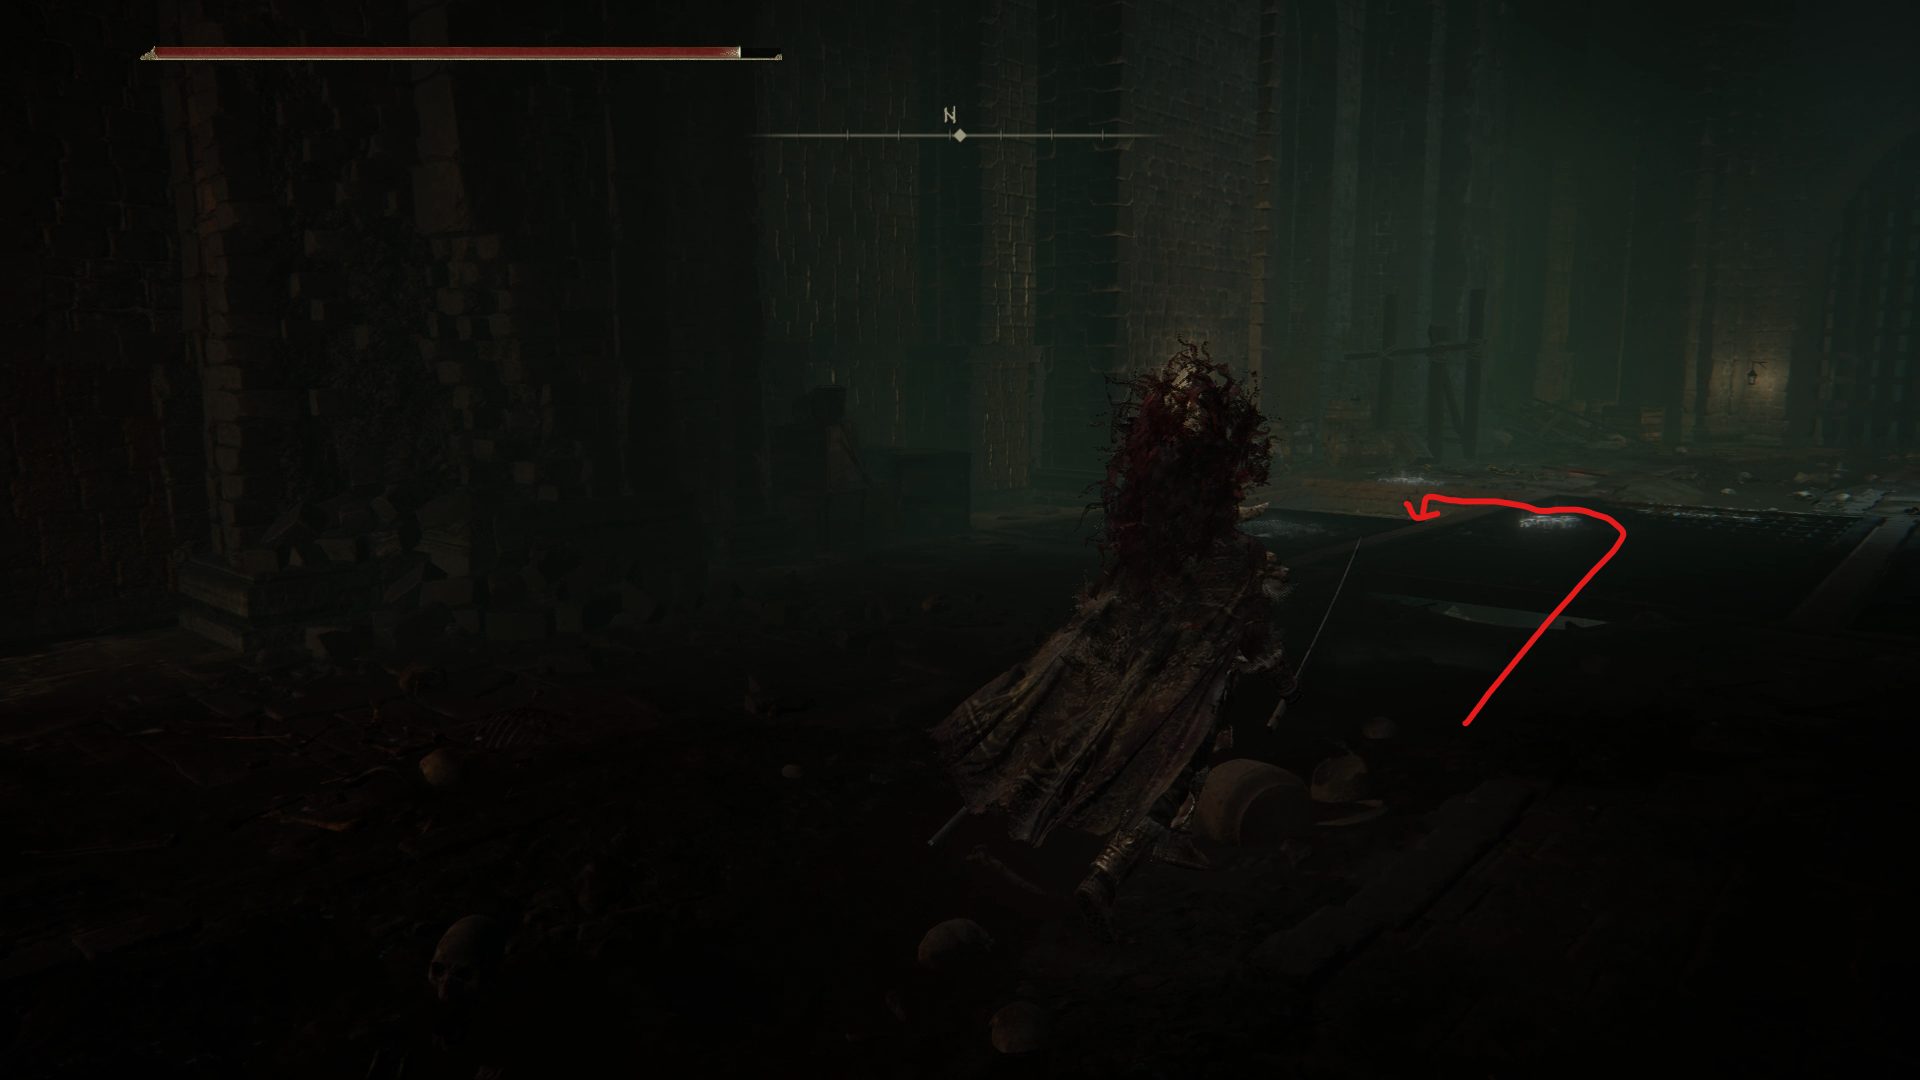
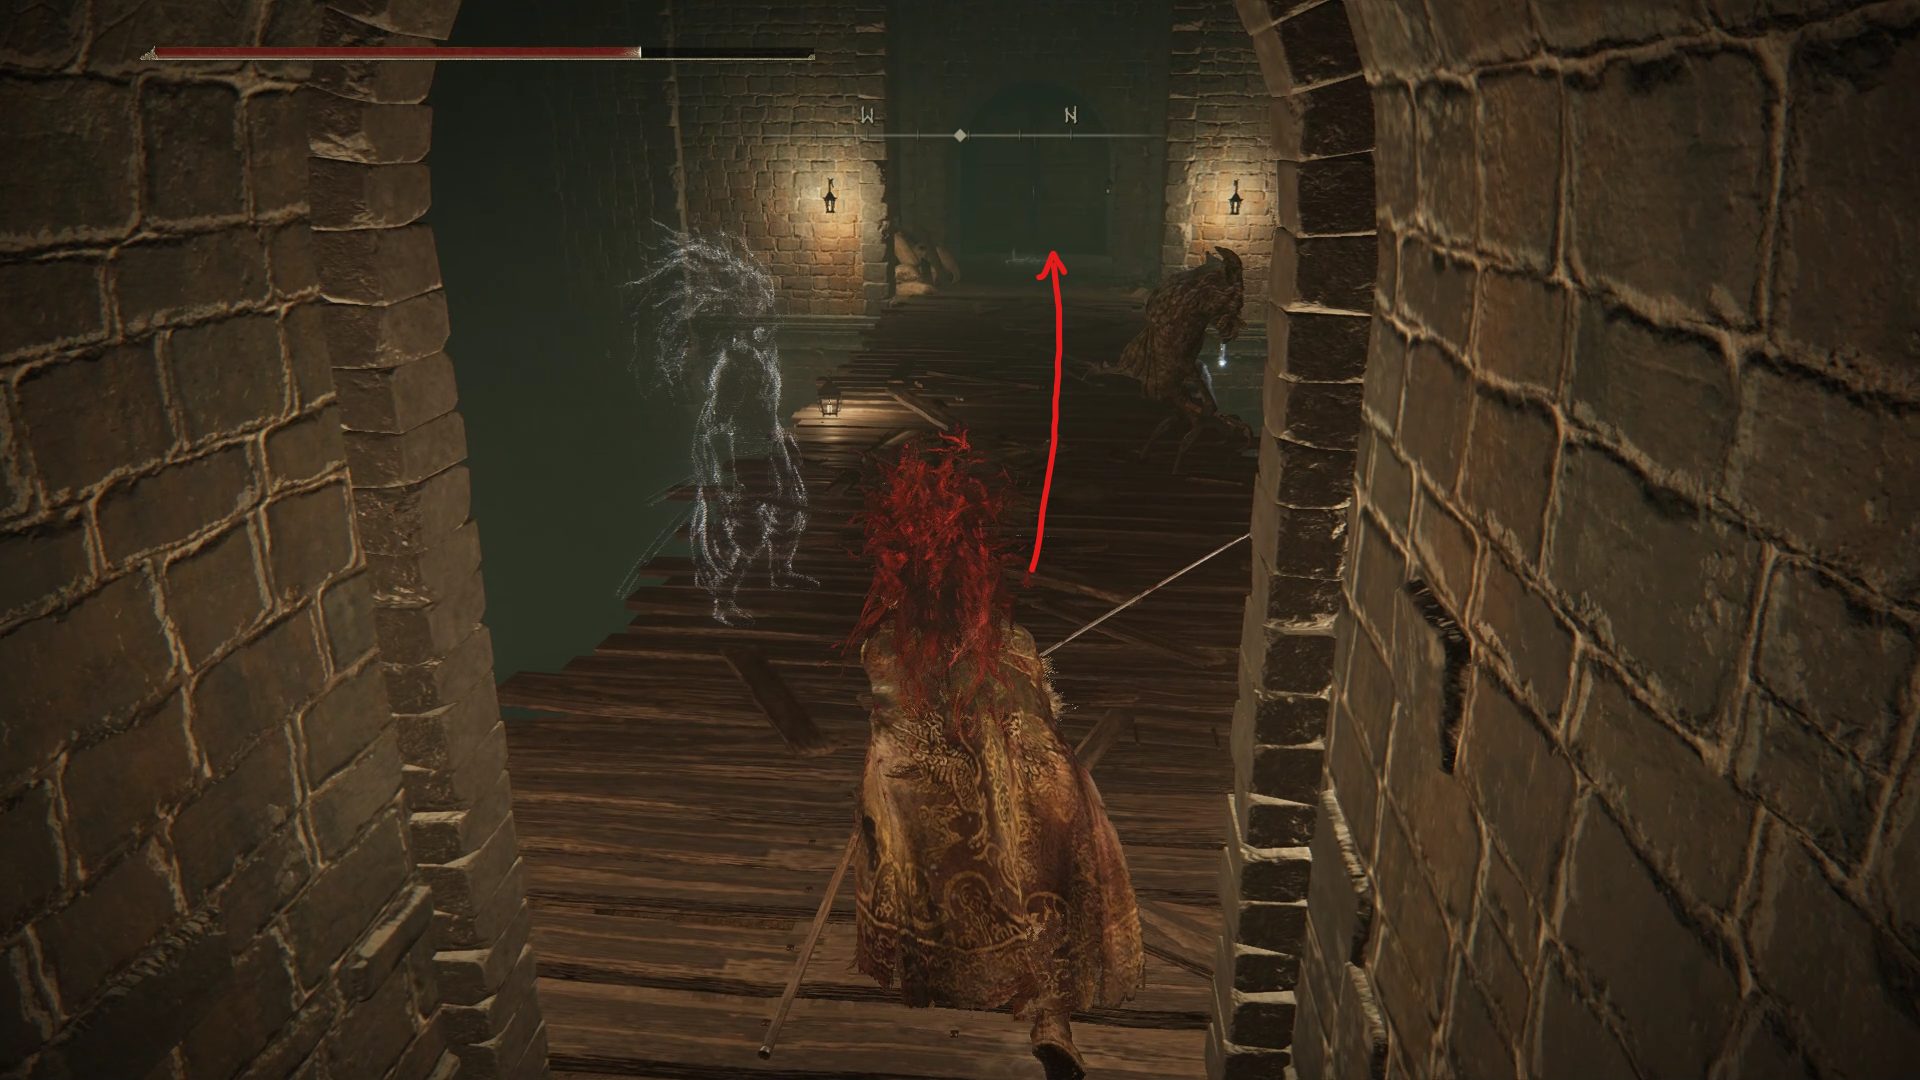
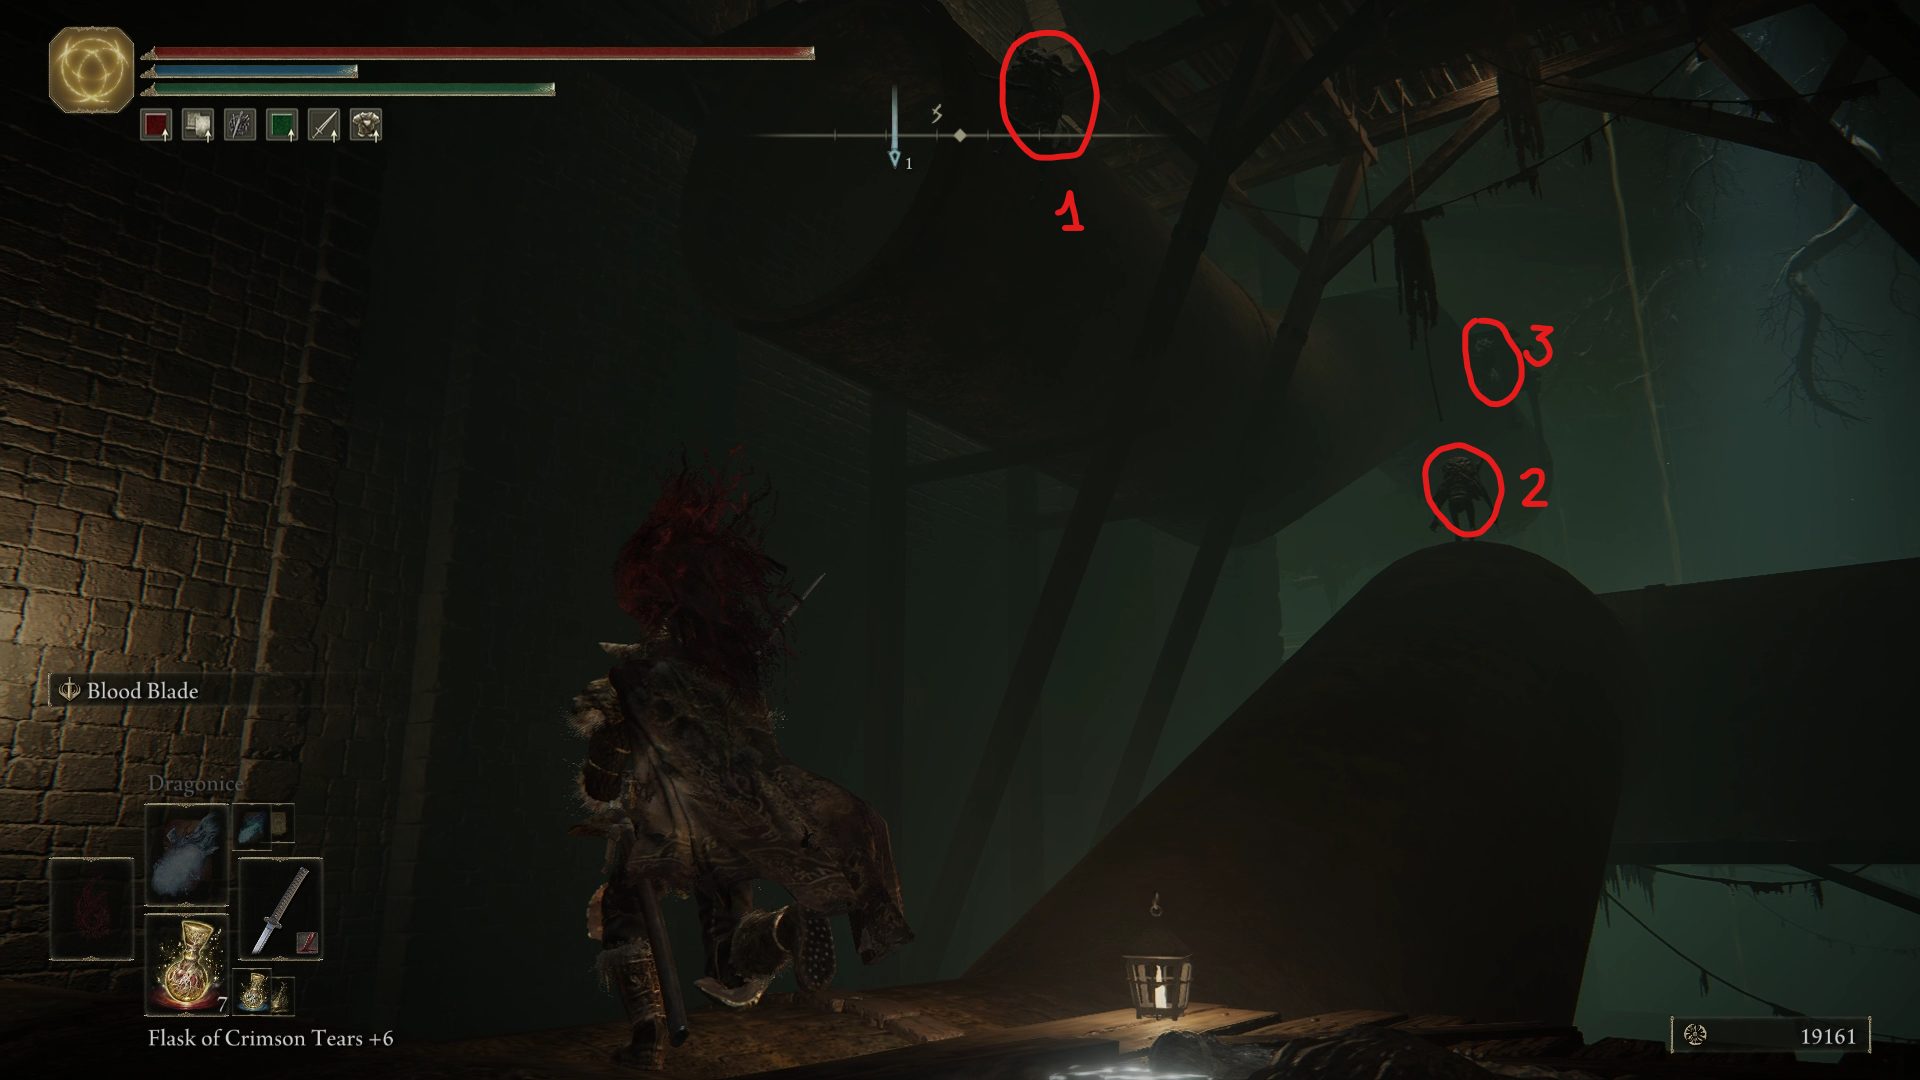
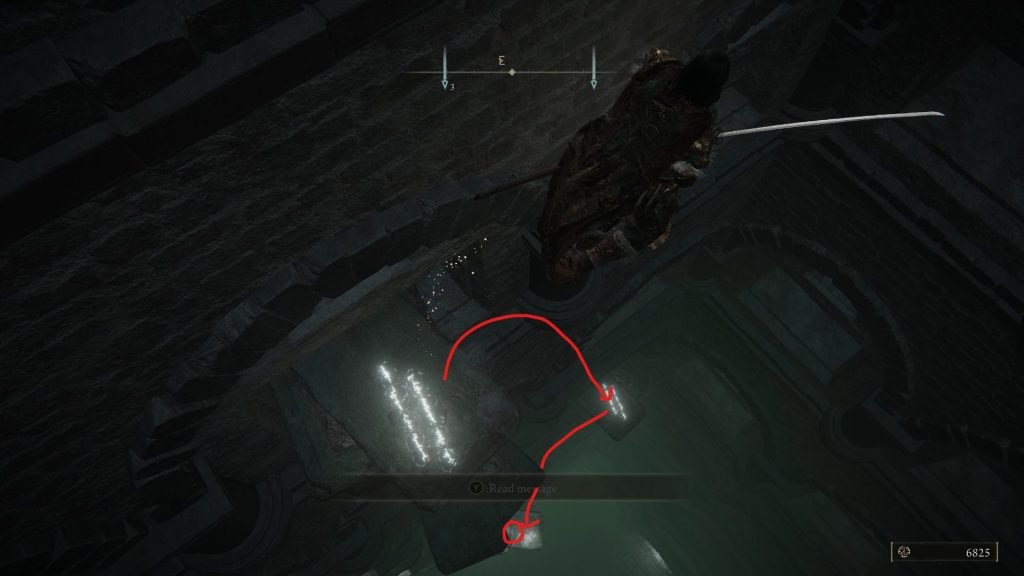
As you enter the Subterranean Shunning-Grounds, you’ll be standing on a platform above an Omen enemy. If you have access to ranged attacks, you can make it much easier for yourself by attacking from above. If you’re playing melee, jumping heavy attacks will be your best bet to defeat these enemies, though you will still have to watch out for some un-interruptible attacks. Alternatively, you can ignore this enemy and just run northeast, which is where you’ll find the Underground Roadside site of grace through the first door to your left.
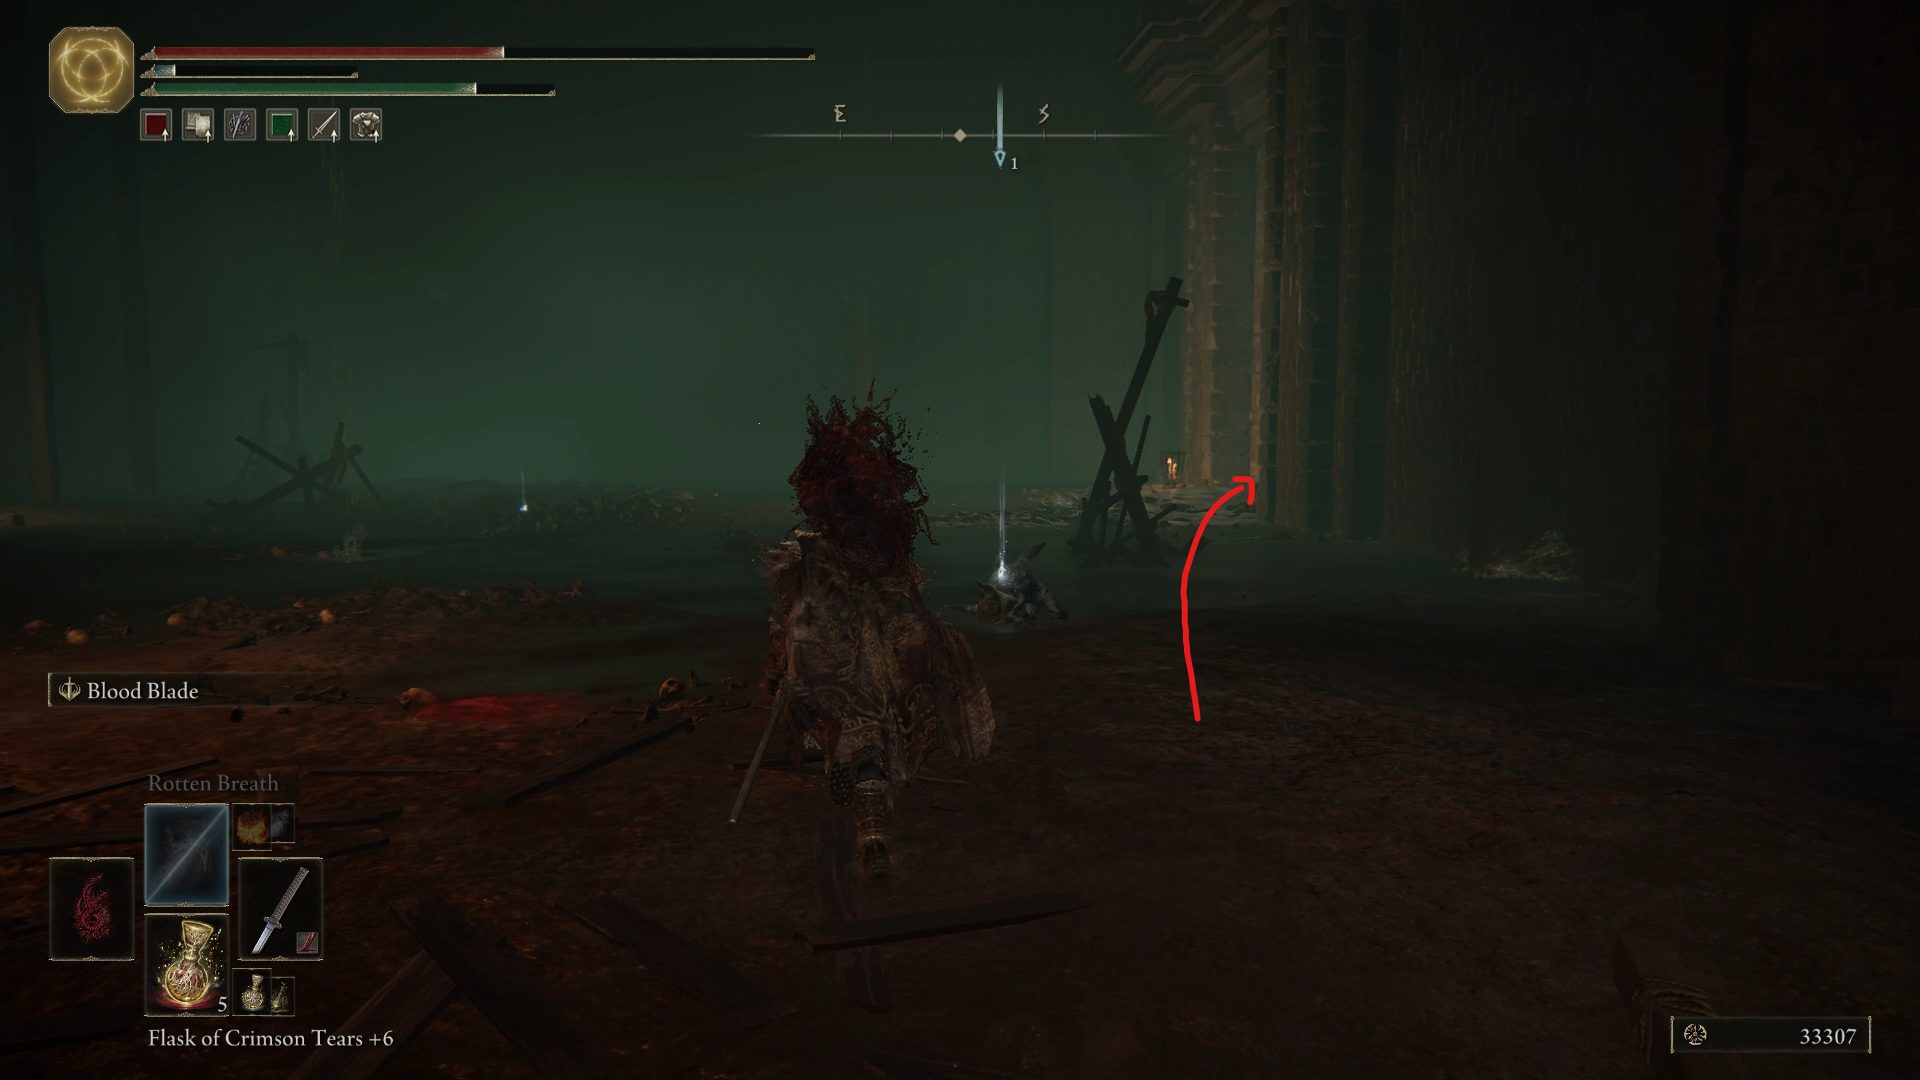
From this site of grace, we’ll be continuing northeast, further down the hall with the Omens. As such, be ready to fight a couple more, though you can always run back to the ladder that you used earlier, since these enemies are unable to climb this one. Once they have been dealt with, make sure to grab the Golden Rune [11] and the Bloodsoaked Mask and Manchettes as you go further northeast, and keep going until you find an opening in the ground that leads into the sewers.
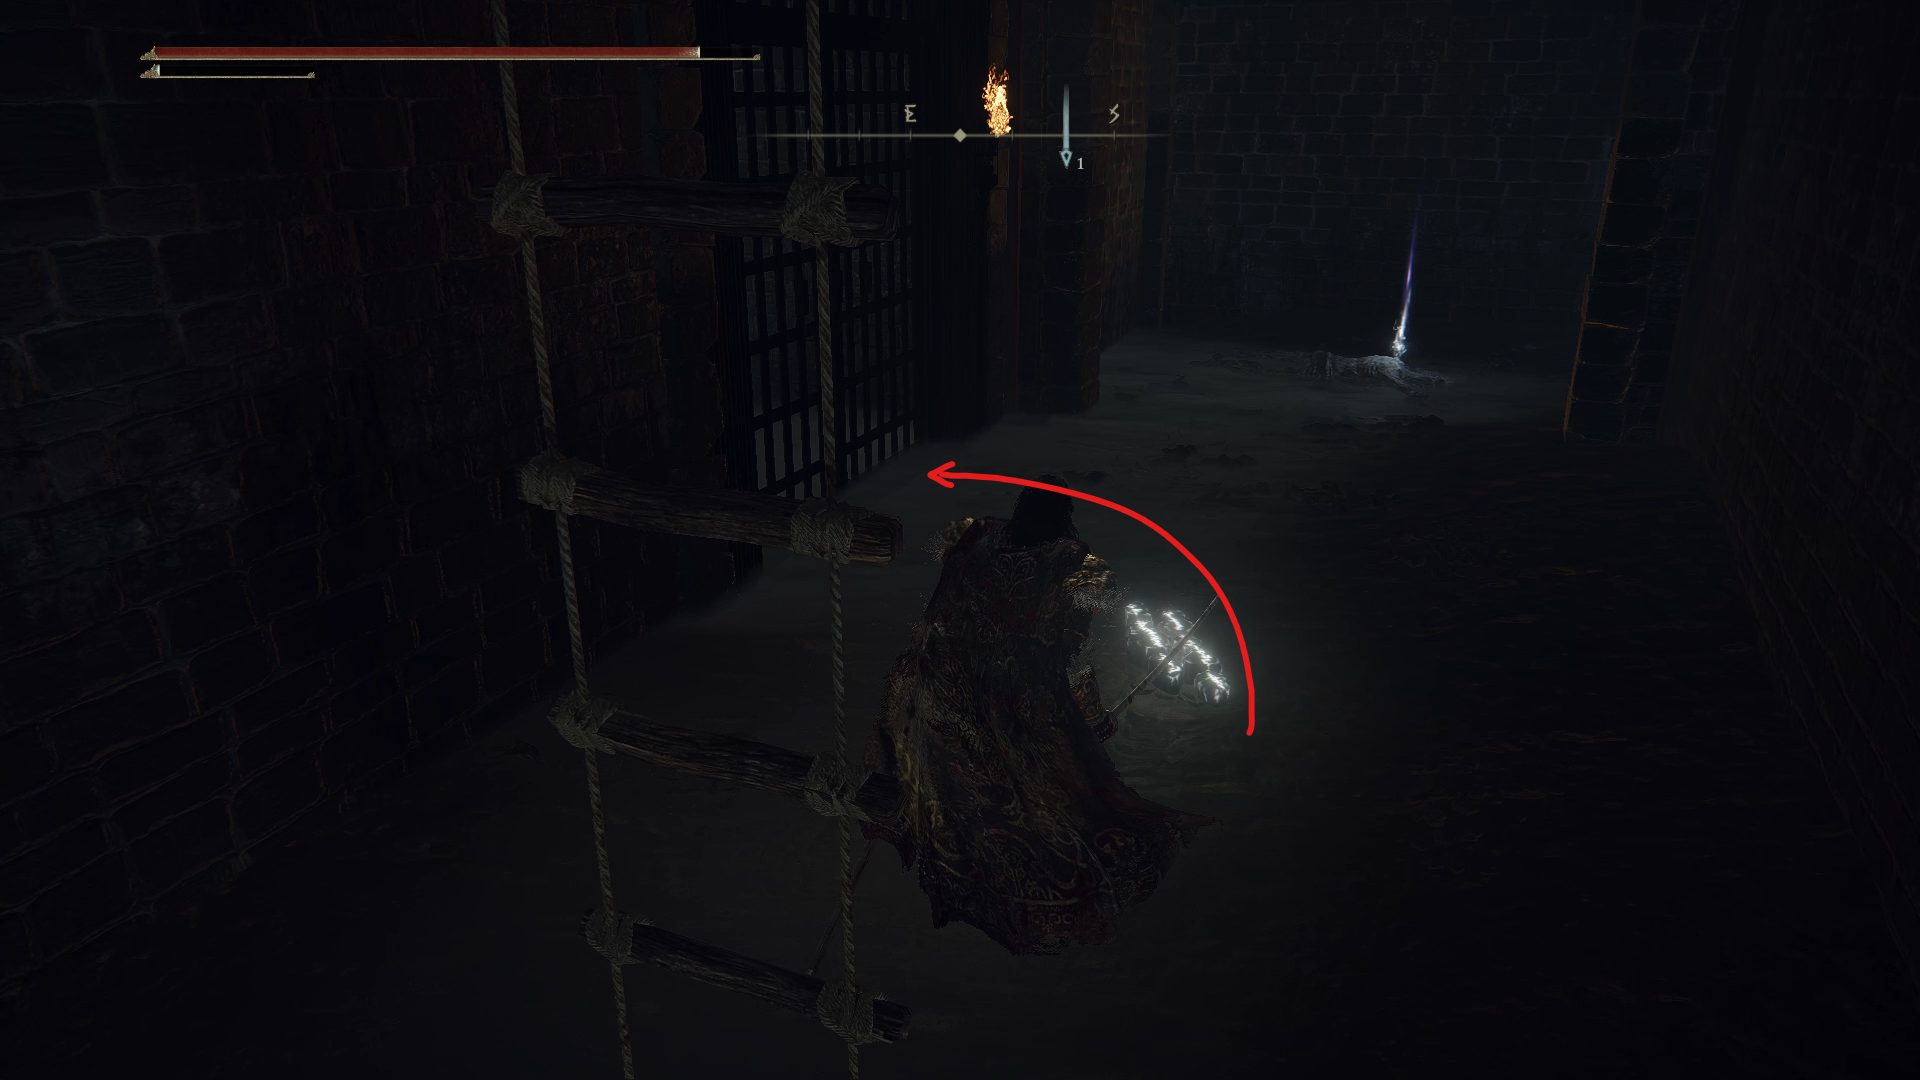
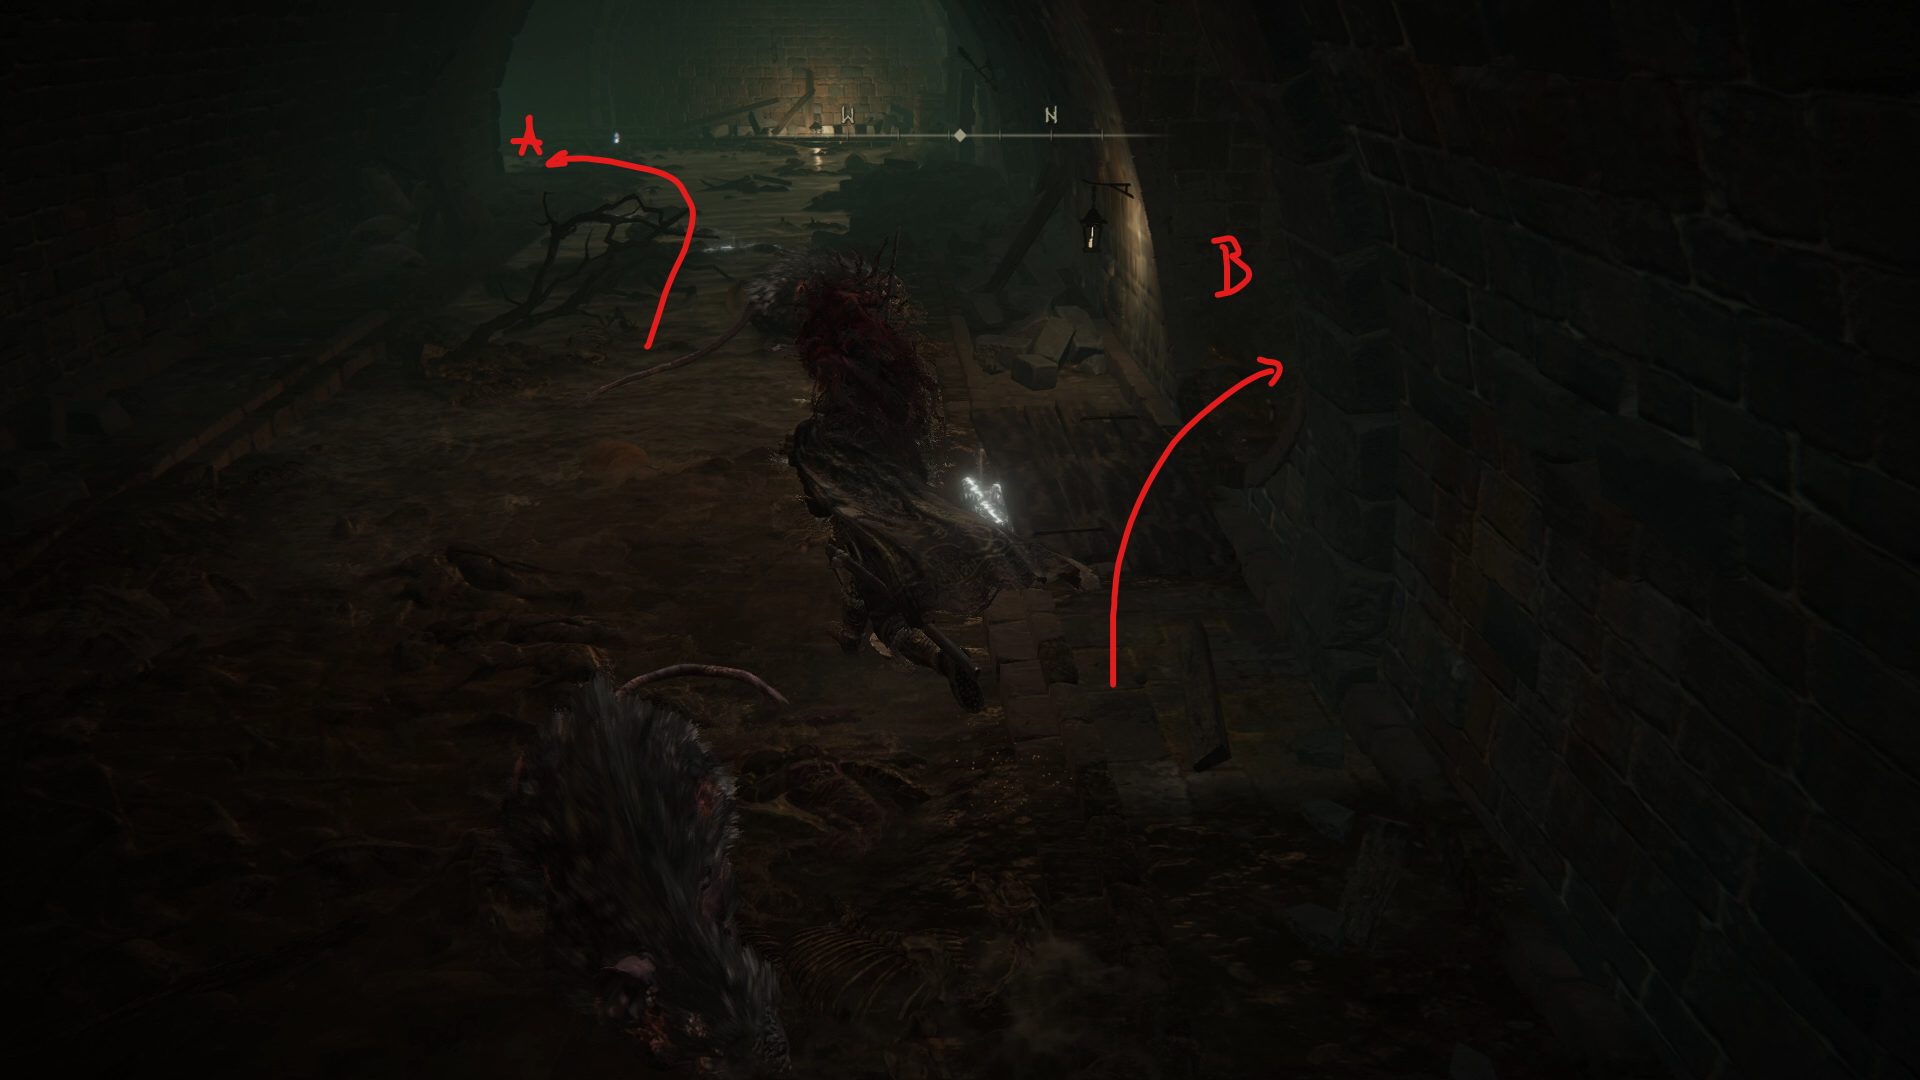
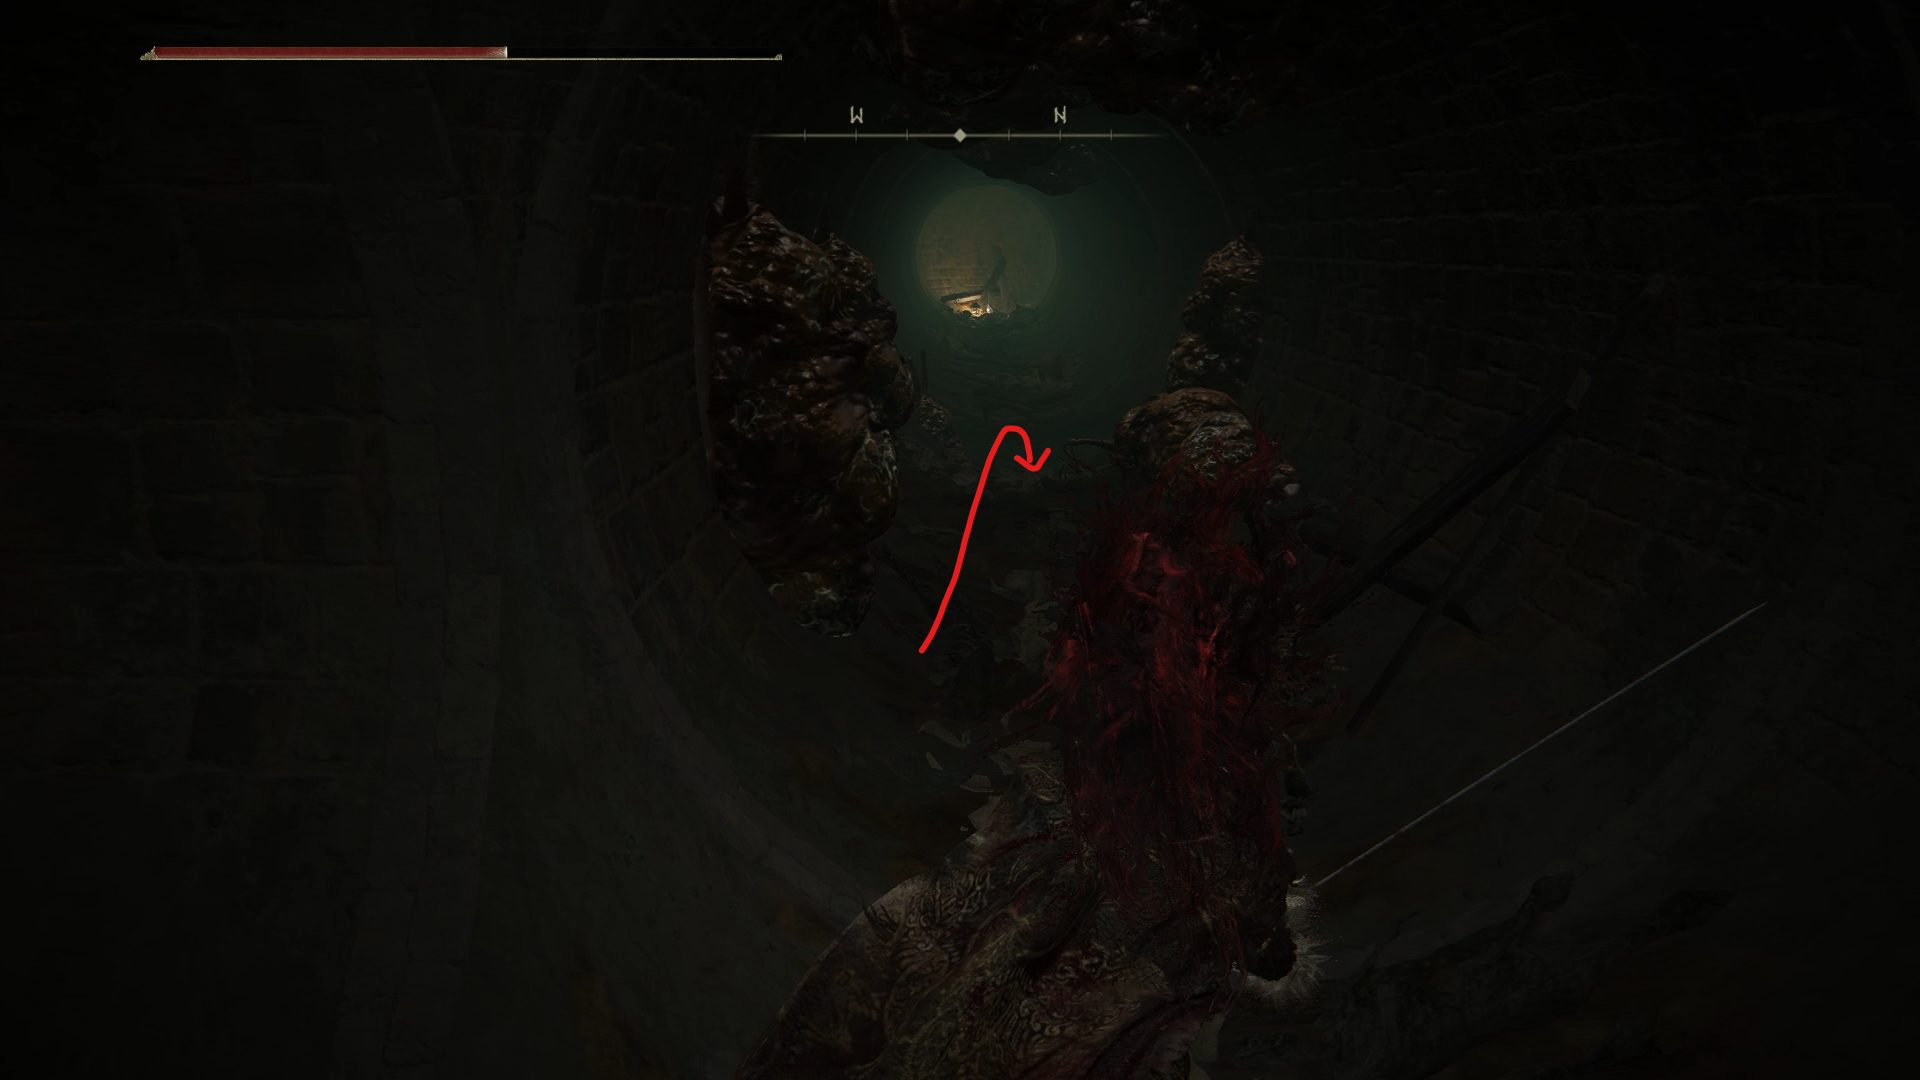
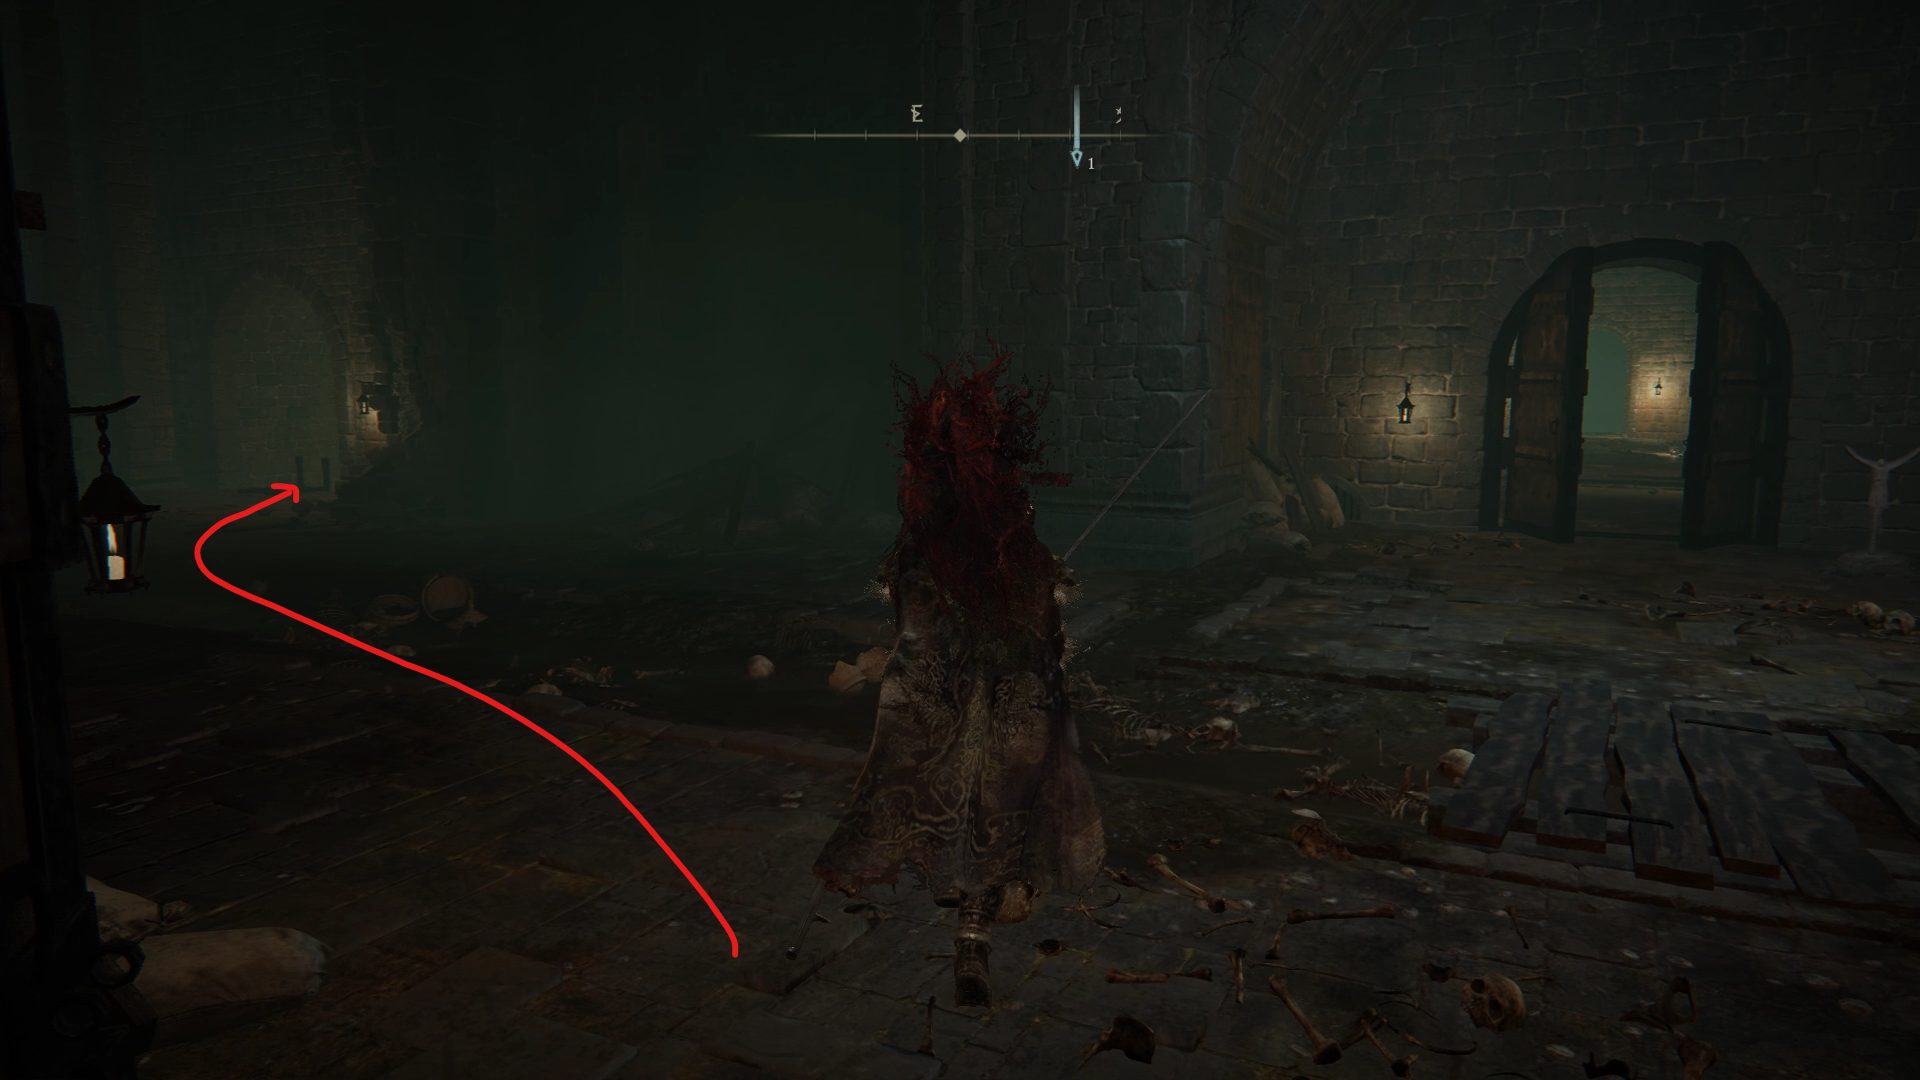
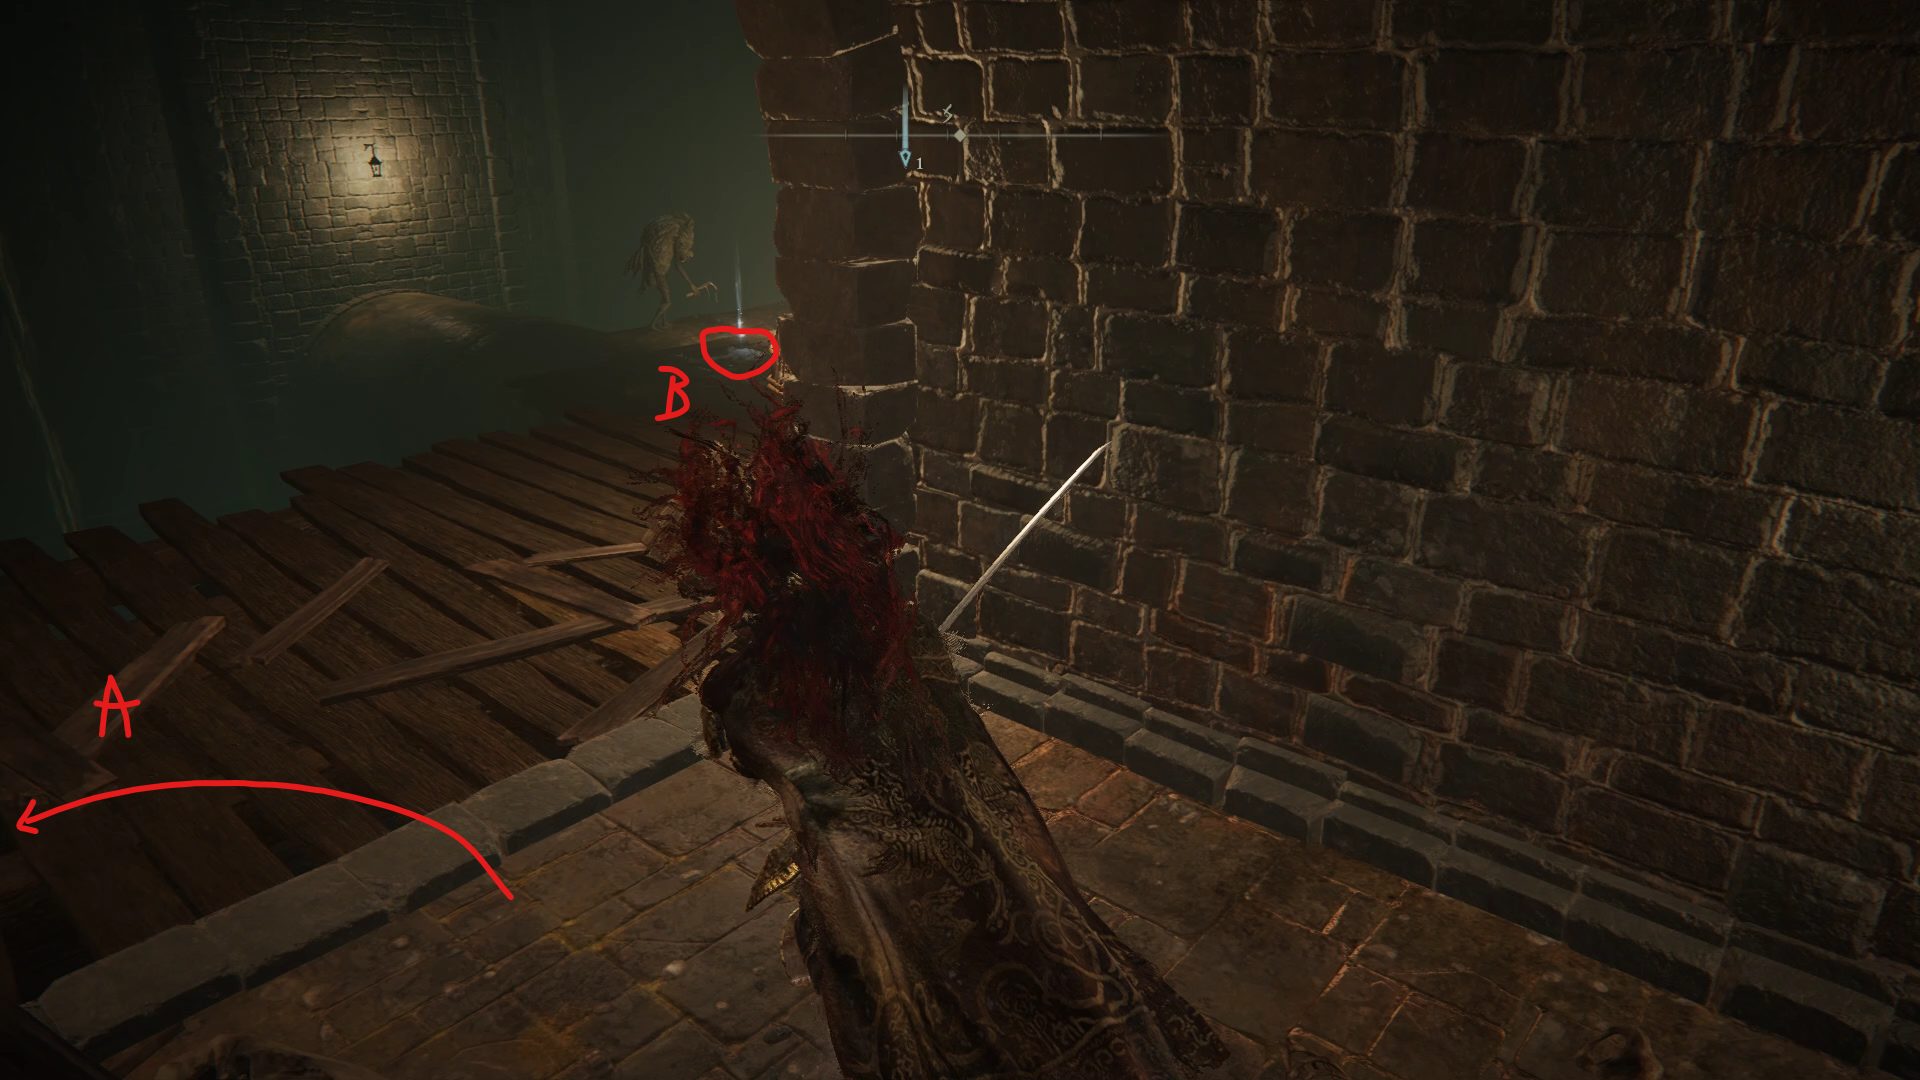
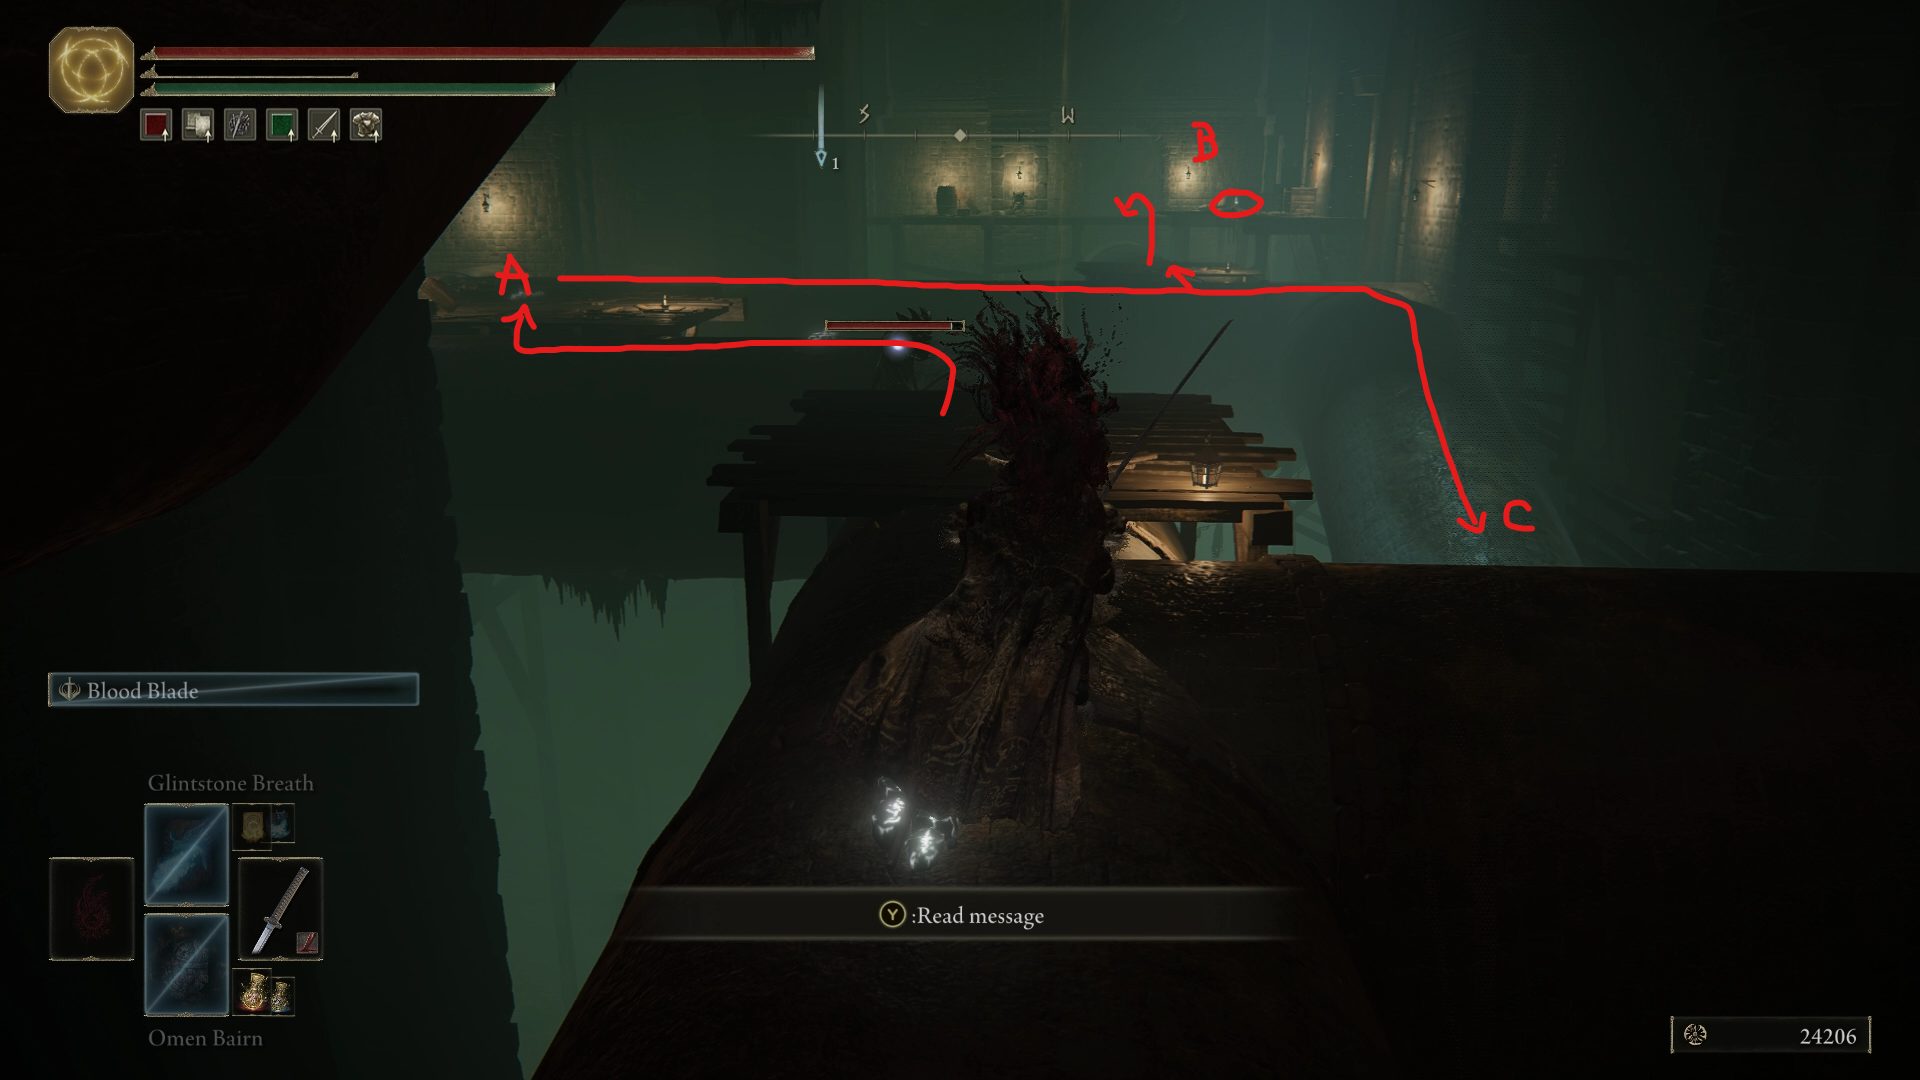
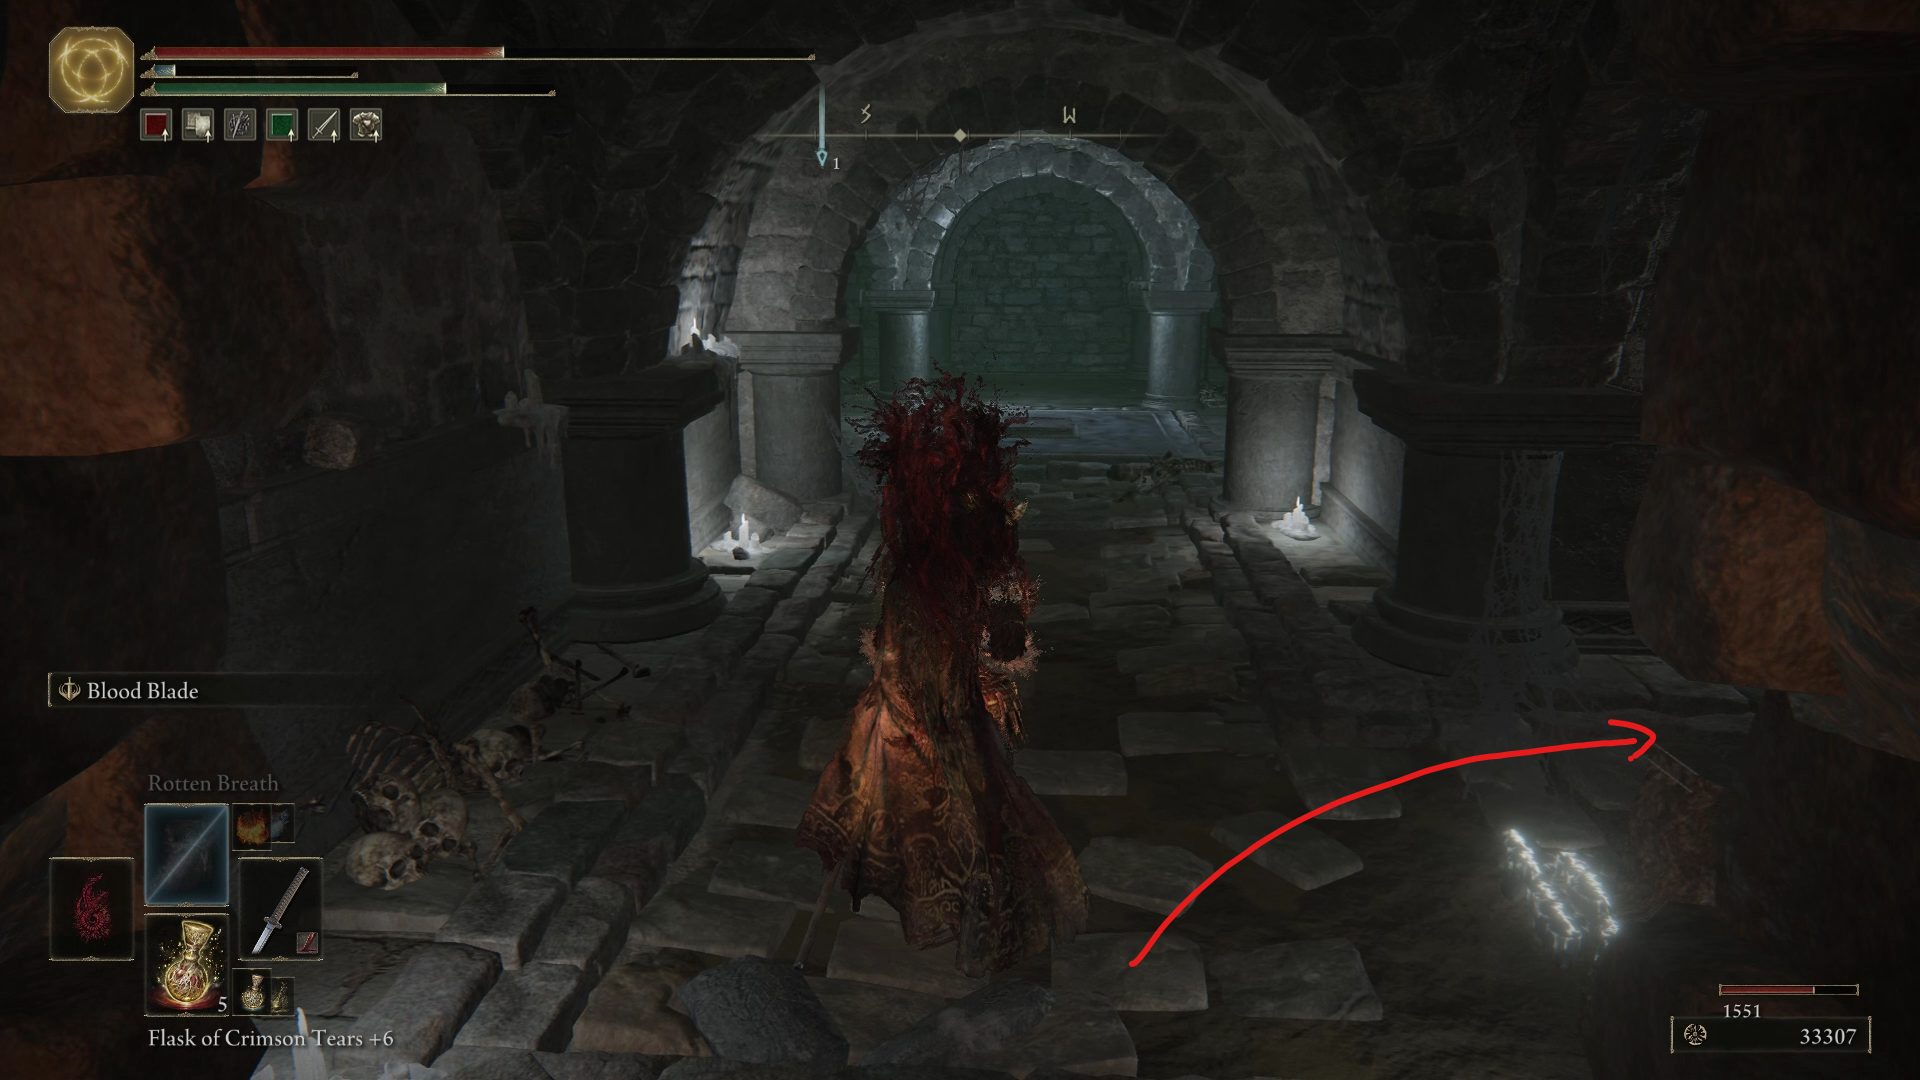
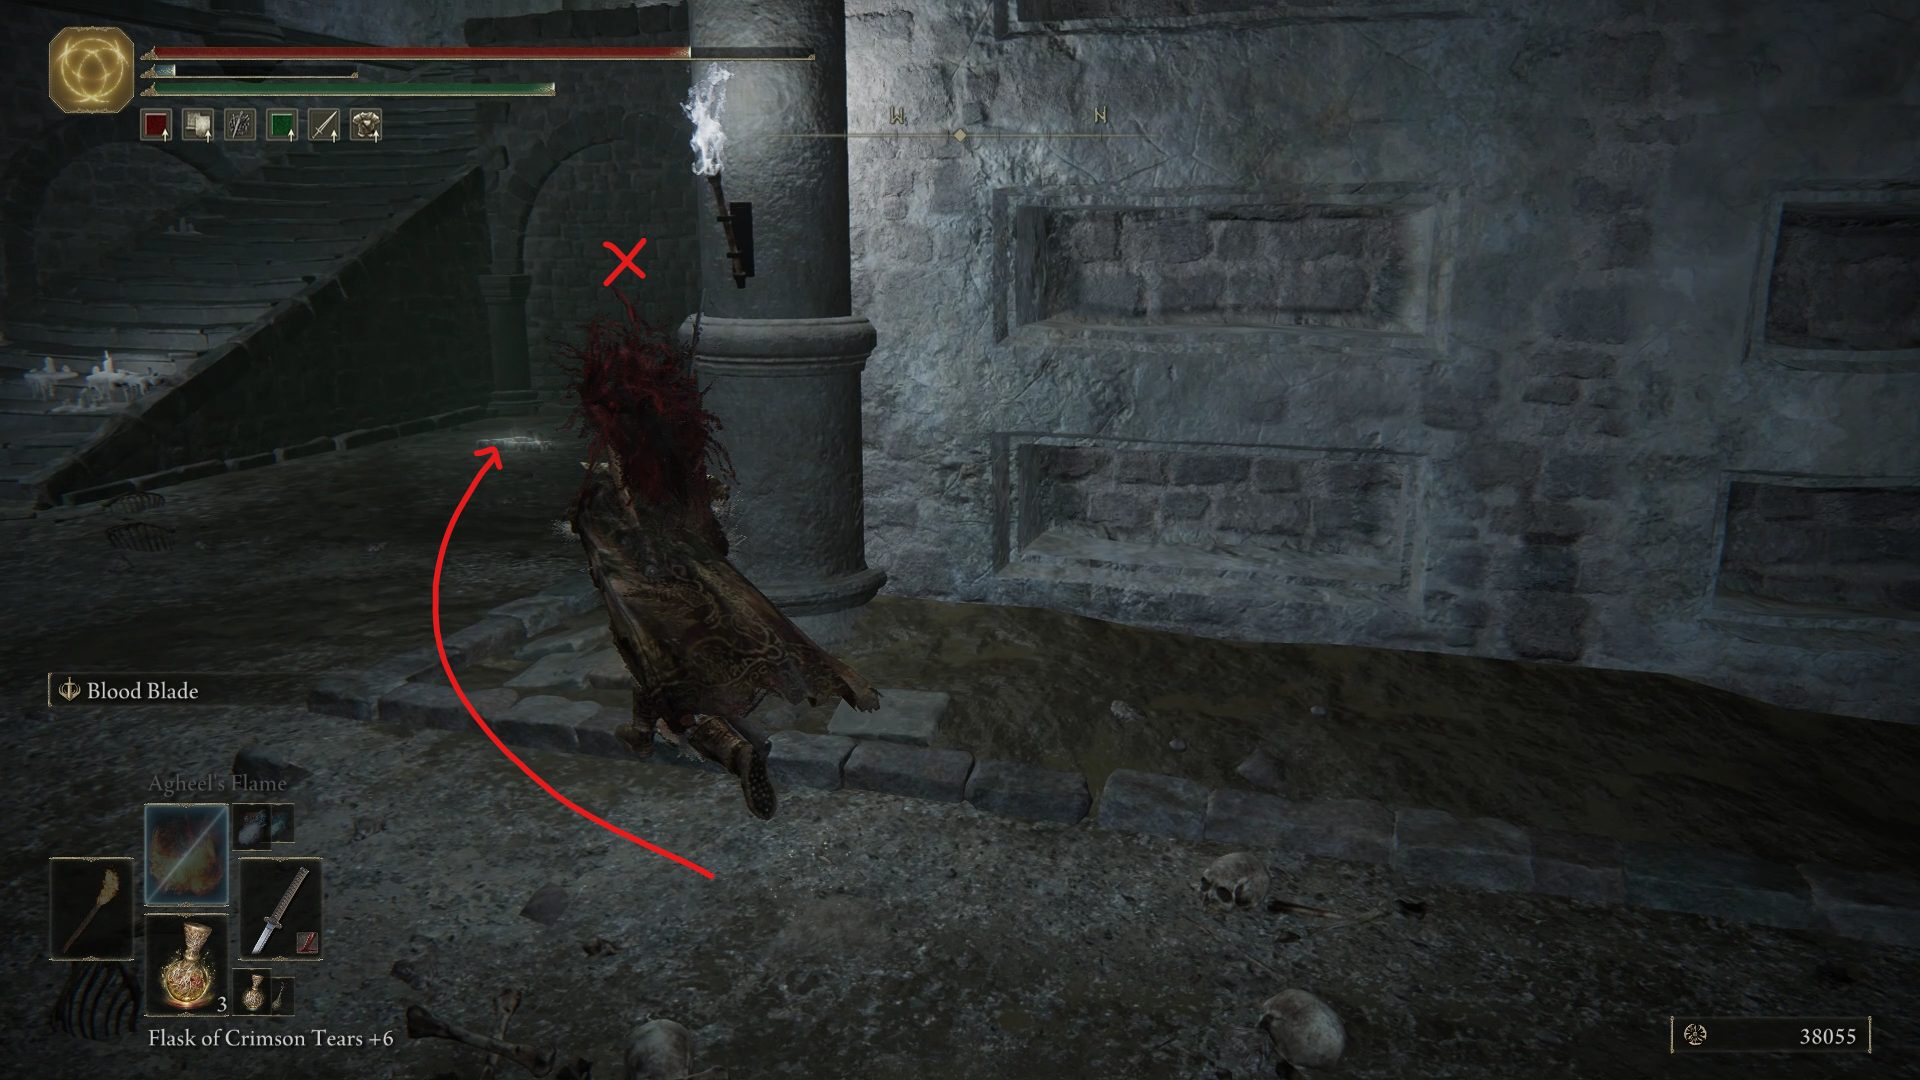
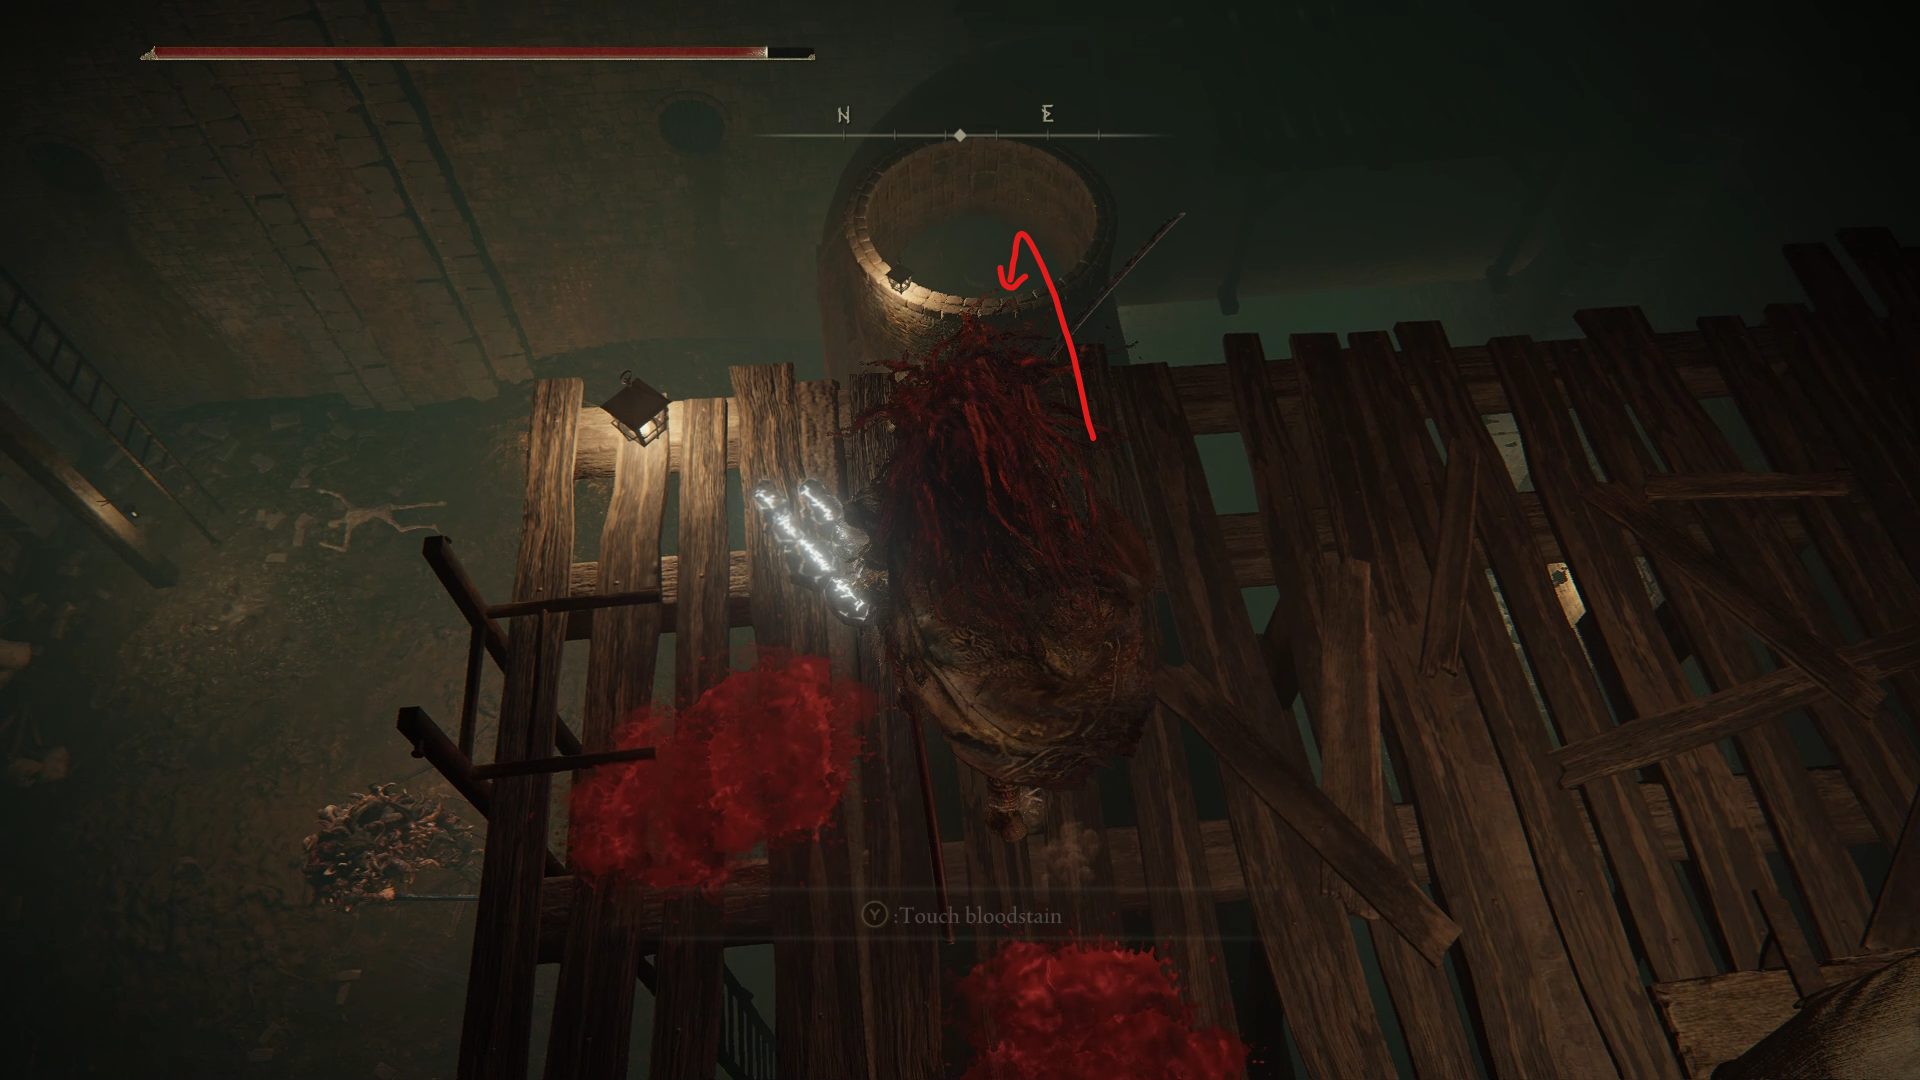
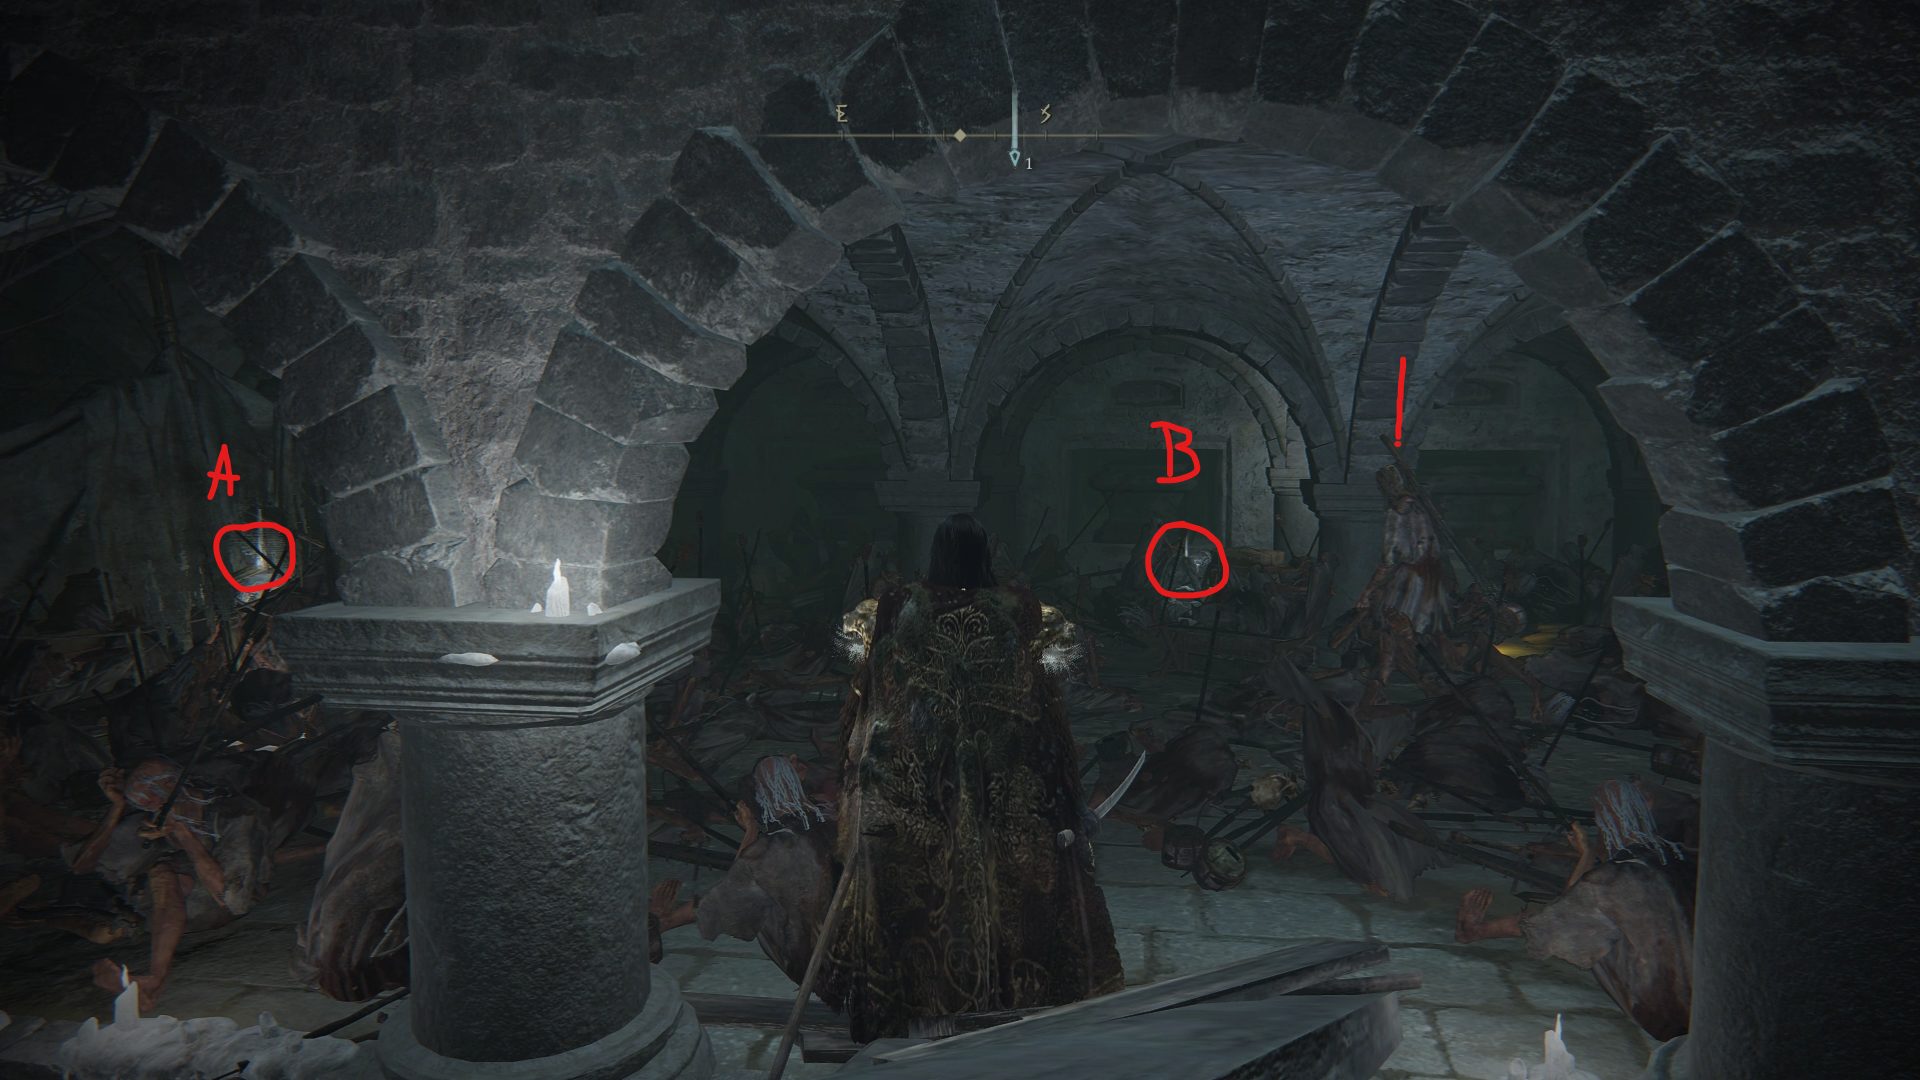
Jump down, and look southeast to find a dead end with a couple of rats and 1x Preserving Boluses. Then, turn around and you’ll see a few rats on the path leading northwest. While one rat is manageable, fighting four at once can be overwhelming. As such, you can always use ranged attacks to pull some of the rats back, and avoid fighting all of them at once. As you go northwest, you might notice a path to your right (B), which we’ll explore after making a short detour. Continue going down the hall and grab the Furlcalling Finger Remedy before turning left (A), which is where you’ll find several poisonous flowers trying to bar your way. Luckily, we can ignore them entirely and just climb the ladder past the flowers, since they won’t be able to bother us up there.
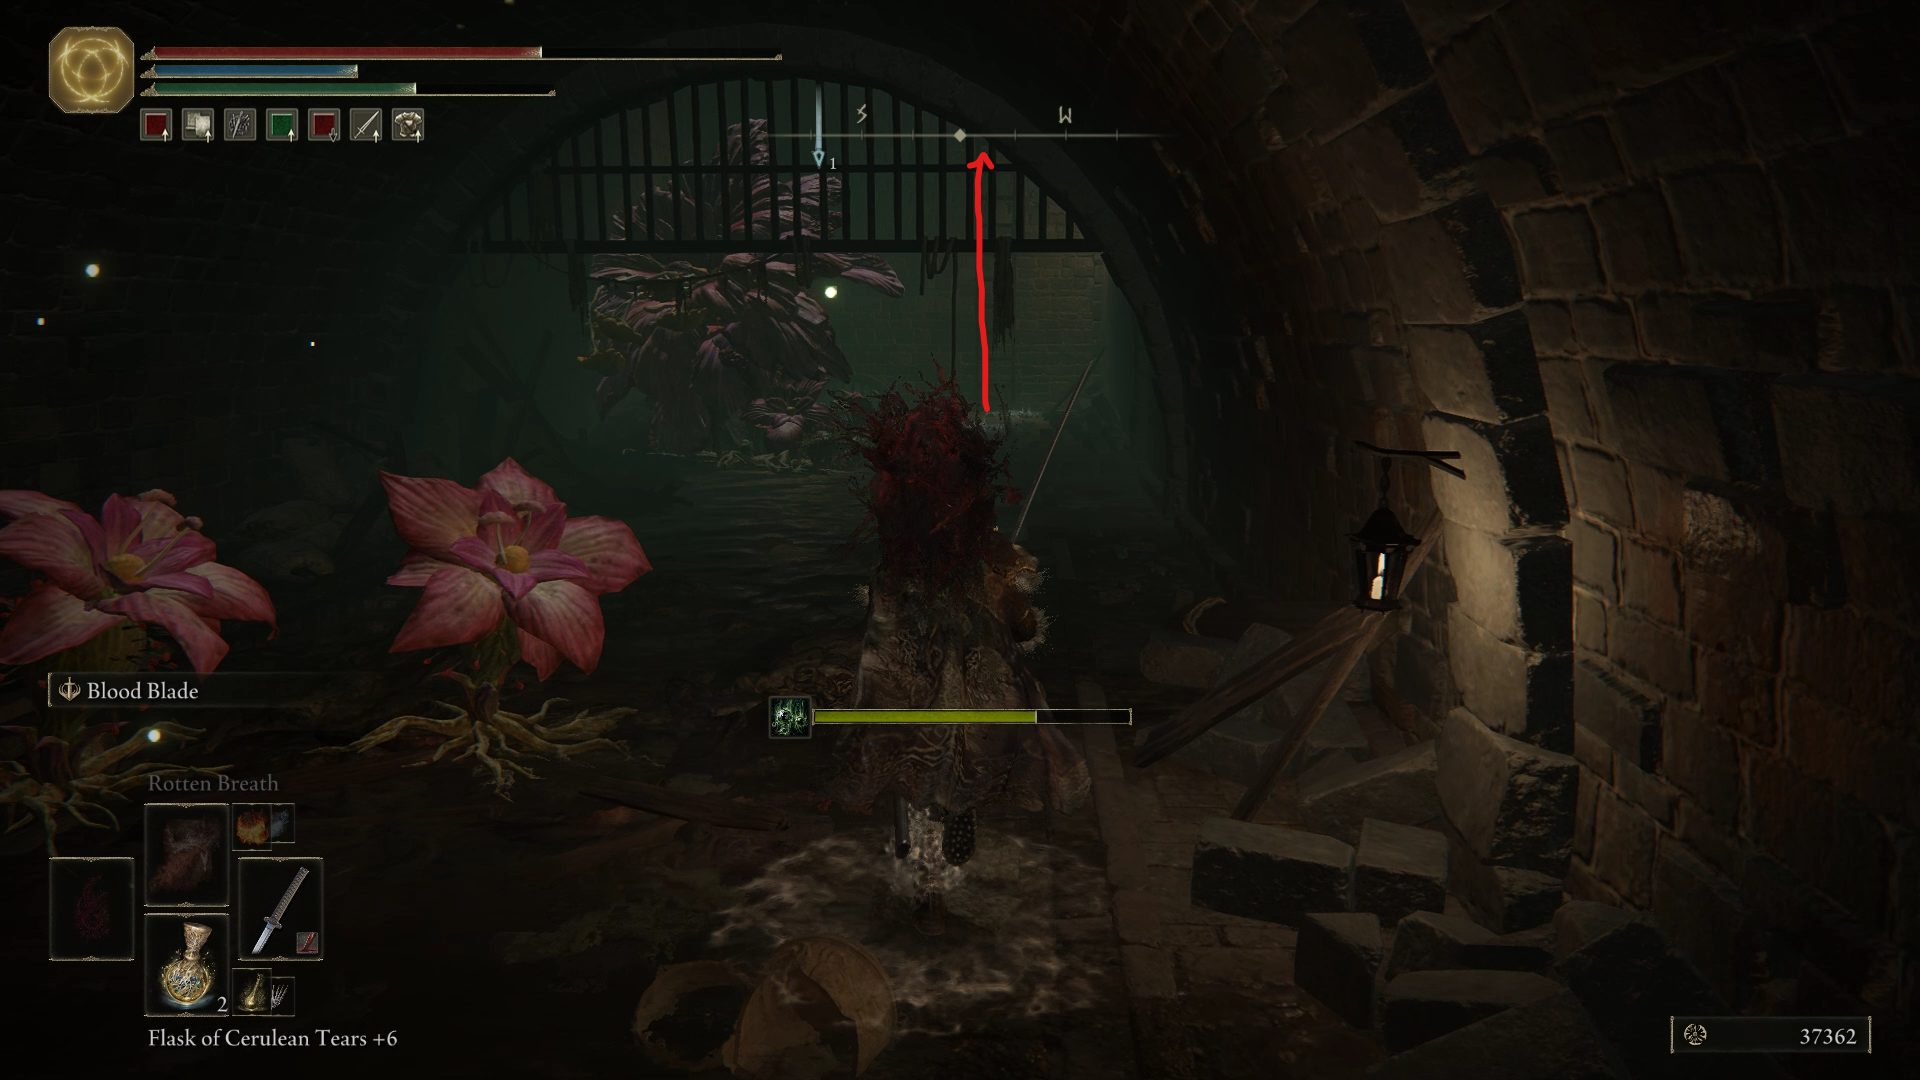
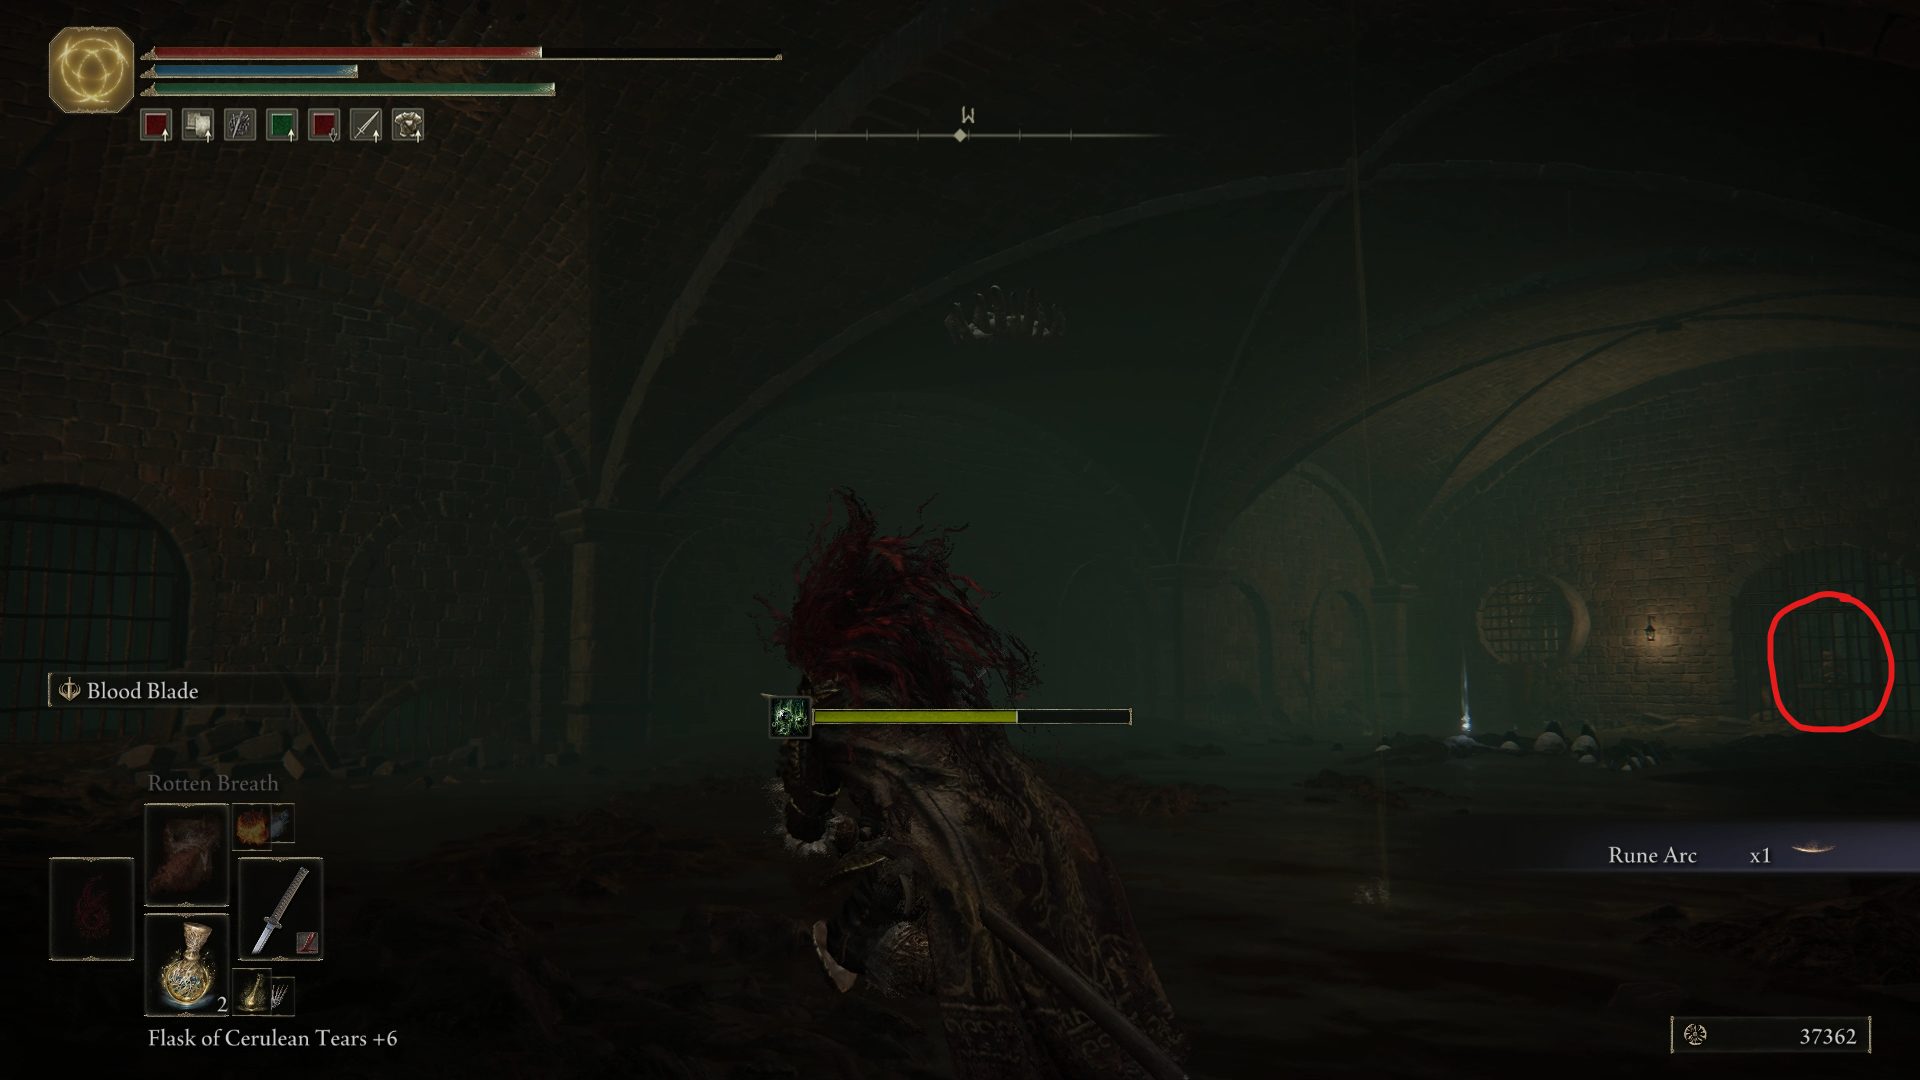
Once you climb this ladder, grab the Rune Arc in front of you, and pay attention to the gross little hands on the ceiling, as well as the bigger but equally as gross one buried underground. While these can be difficult to deal with, they are also very weak to fire, so don’t hesitate to craft some Fire Pots if you have no other ways of dealing fire damage. After dealing with these enemies, grab the Lost Ashes of War and head towards the cell in the back of the room.
If you have obtained the Sewer-Gaol Key from the Dung Eater in the Roundtable Hold, which he gives you after you found your first Seedbed Curse, you’ll be able to open the cell and free theDung Eater from his jail. It’s up to you whether you want to let him free or put him down instead, though keep in mind that he can be very helpful during a couple of boss encounters down the line.
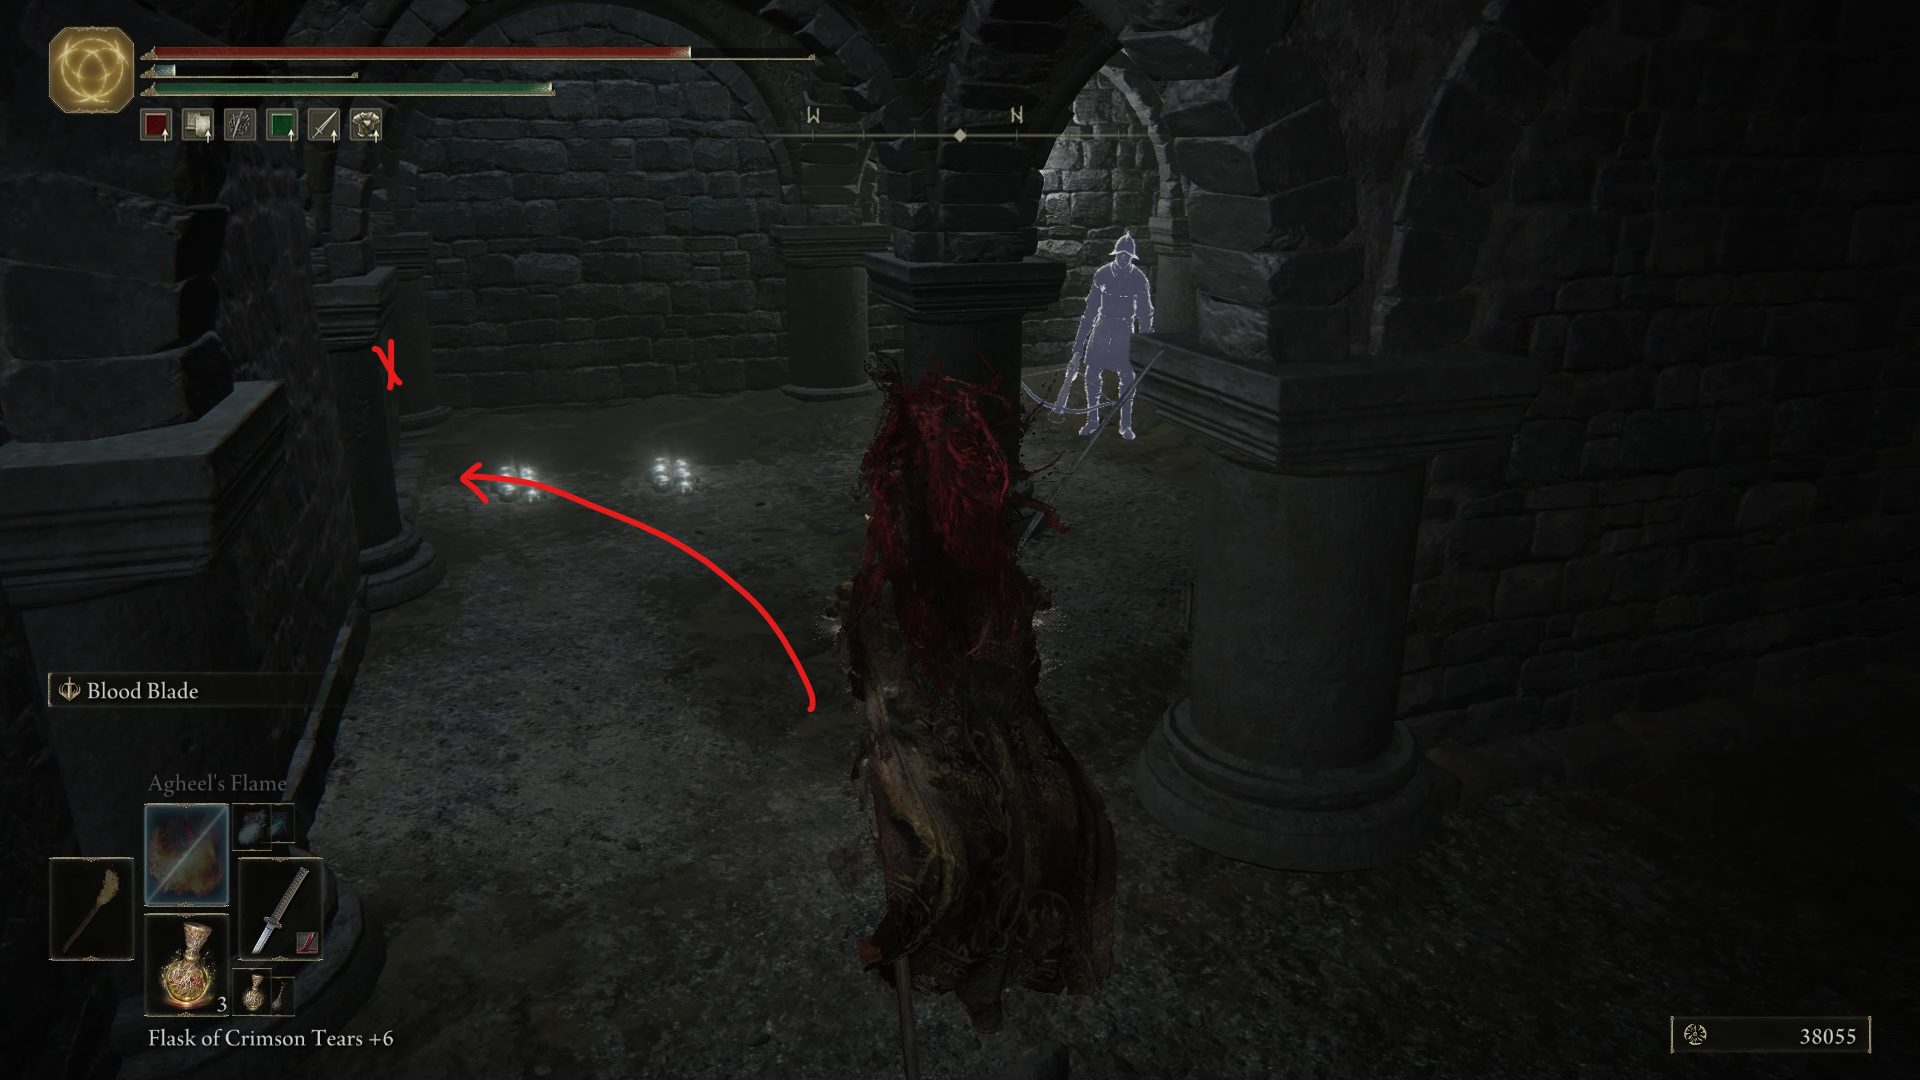
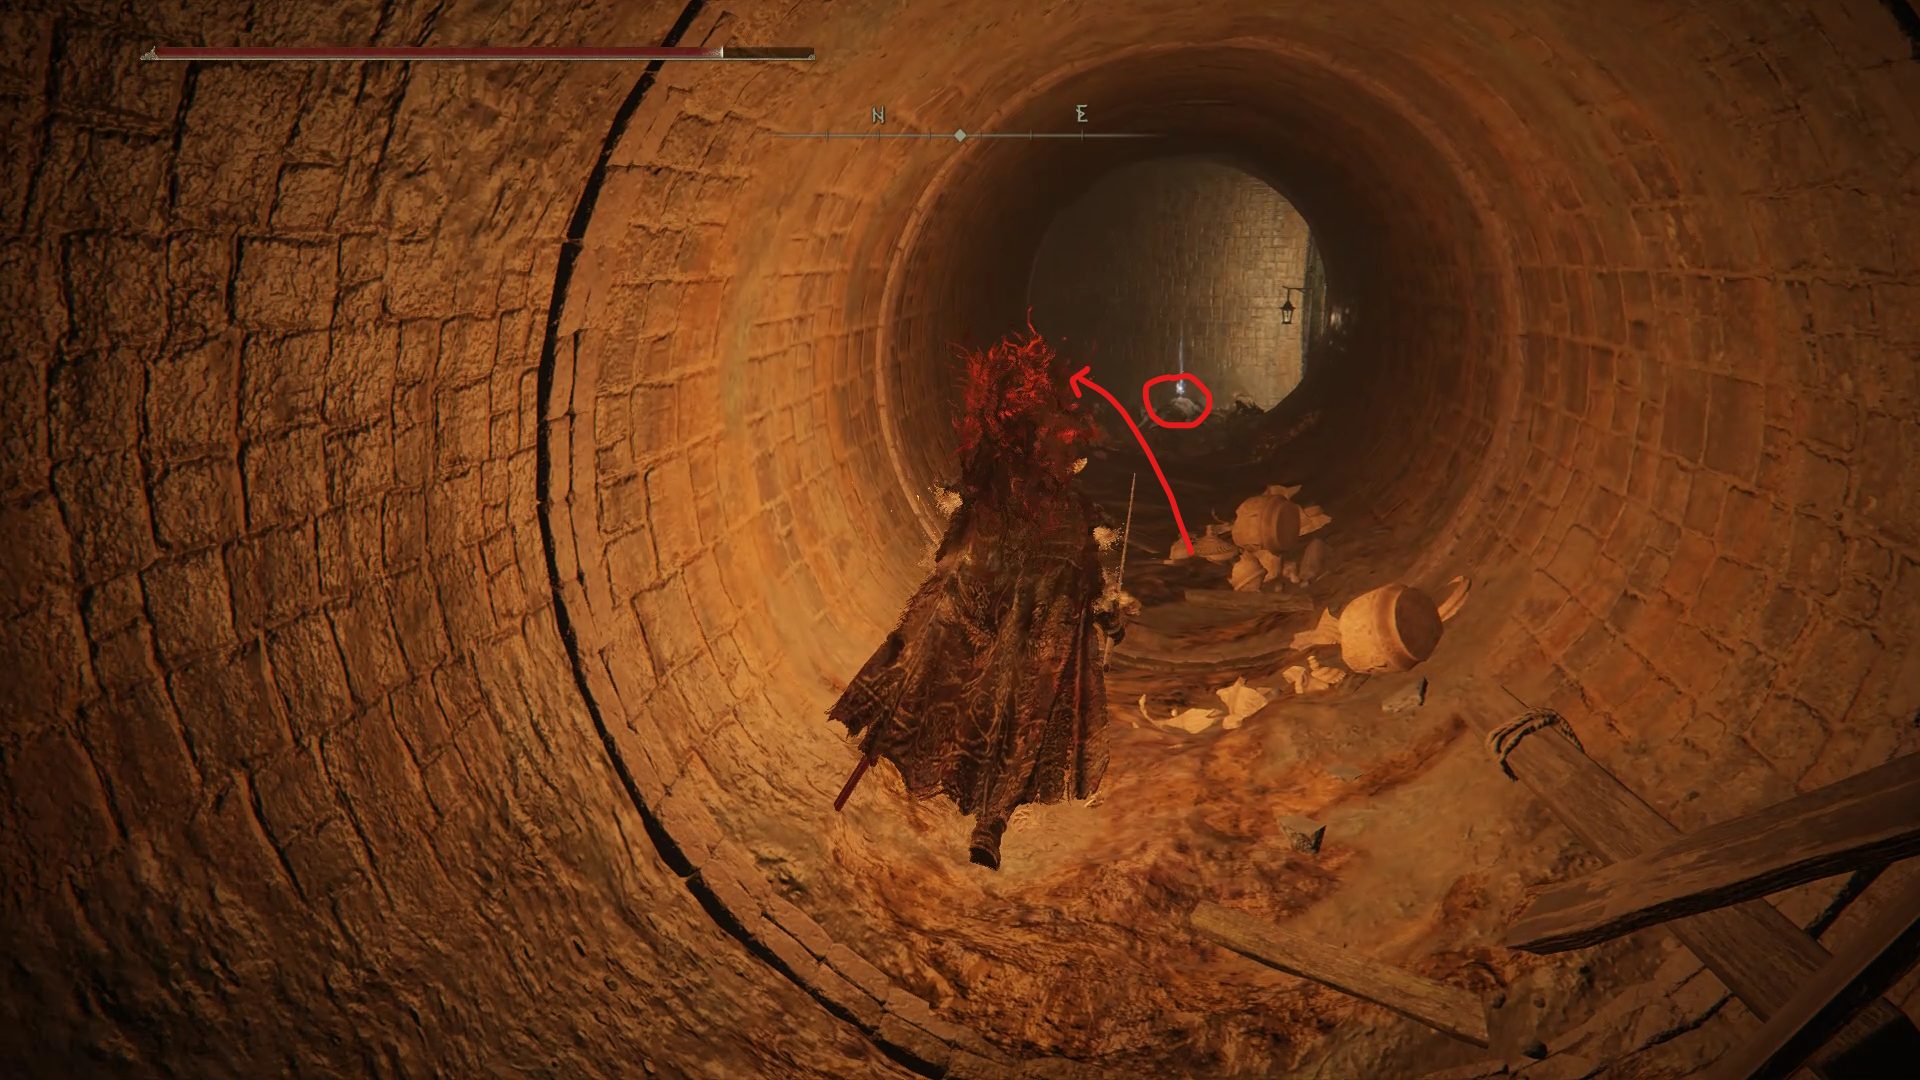
No matter what you chose to do with the Dung Eater, head back to the (B) path that we ignored earlier, and start heading down this new set of tunnels. There, you’ll see quite a few slugs and a hole in the ground. While this may look like a trap, ignore your instincts and jump down there. Follow this new tunnel until you reach a dark room with several enemies crawling around. They shouldn’t be much of a challenge for a season Tarnished, so deal with them and grab the Stonesword Key in the back of the room, which is also where you’ll find a door leading out of this place, to the left.
As you go through this door, you’ll find yourself in more tunnels, and there will be yet more slugs on your way. As you reach a turn with several of those bad boys blocking your path, clear the way and head left, as to the right you will find the hole you jumped down into earlier. There, you will reach yet another hole leading down, and a corpse right past it. First, grab the 10x Rainbow Stone Arrow (Fletched) from the dead guy and, you guessed it, jump down the hole.
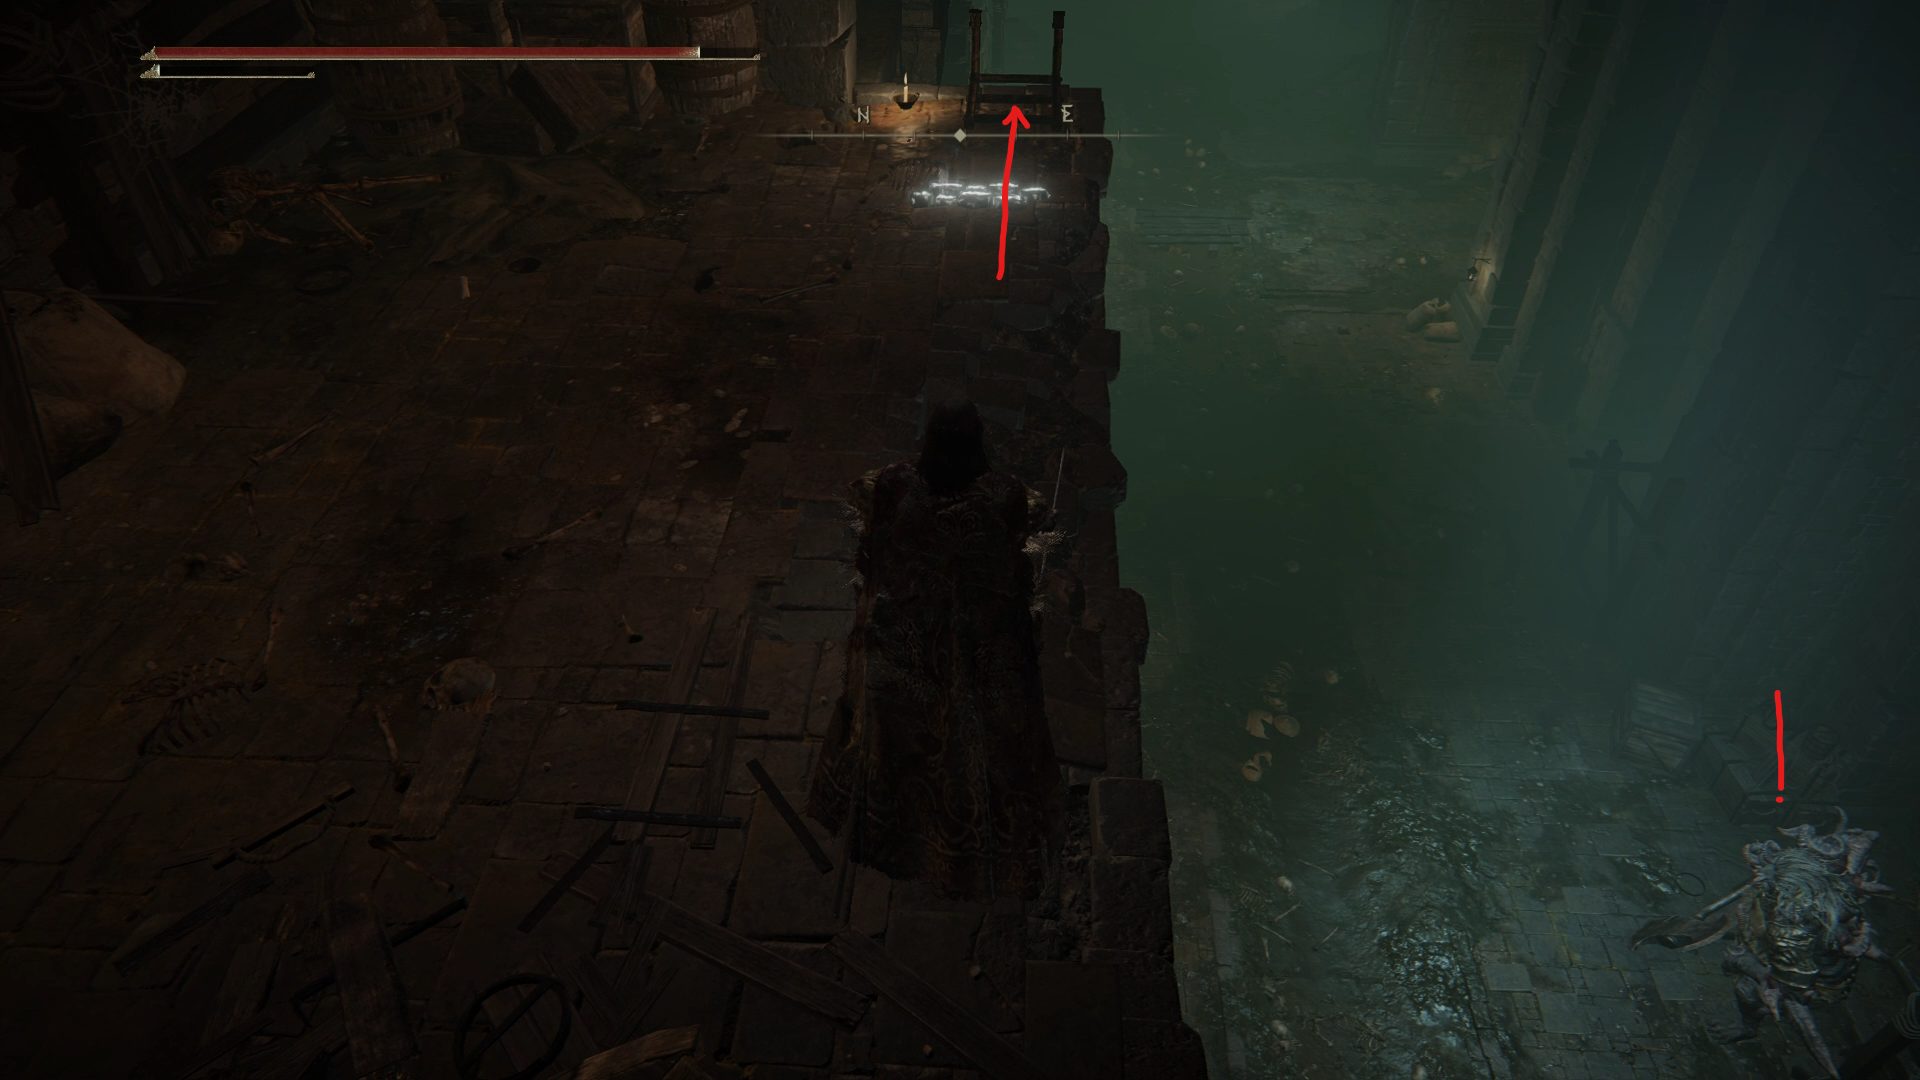
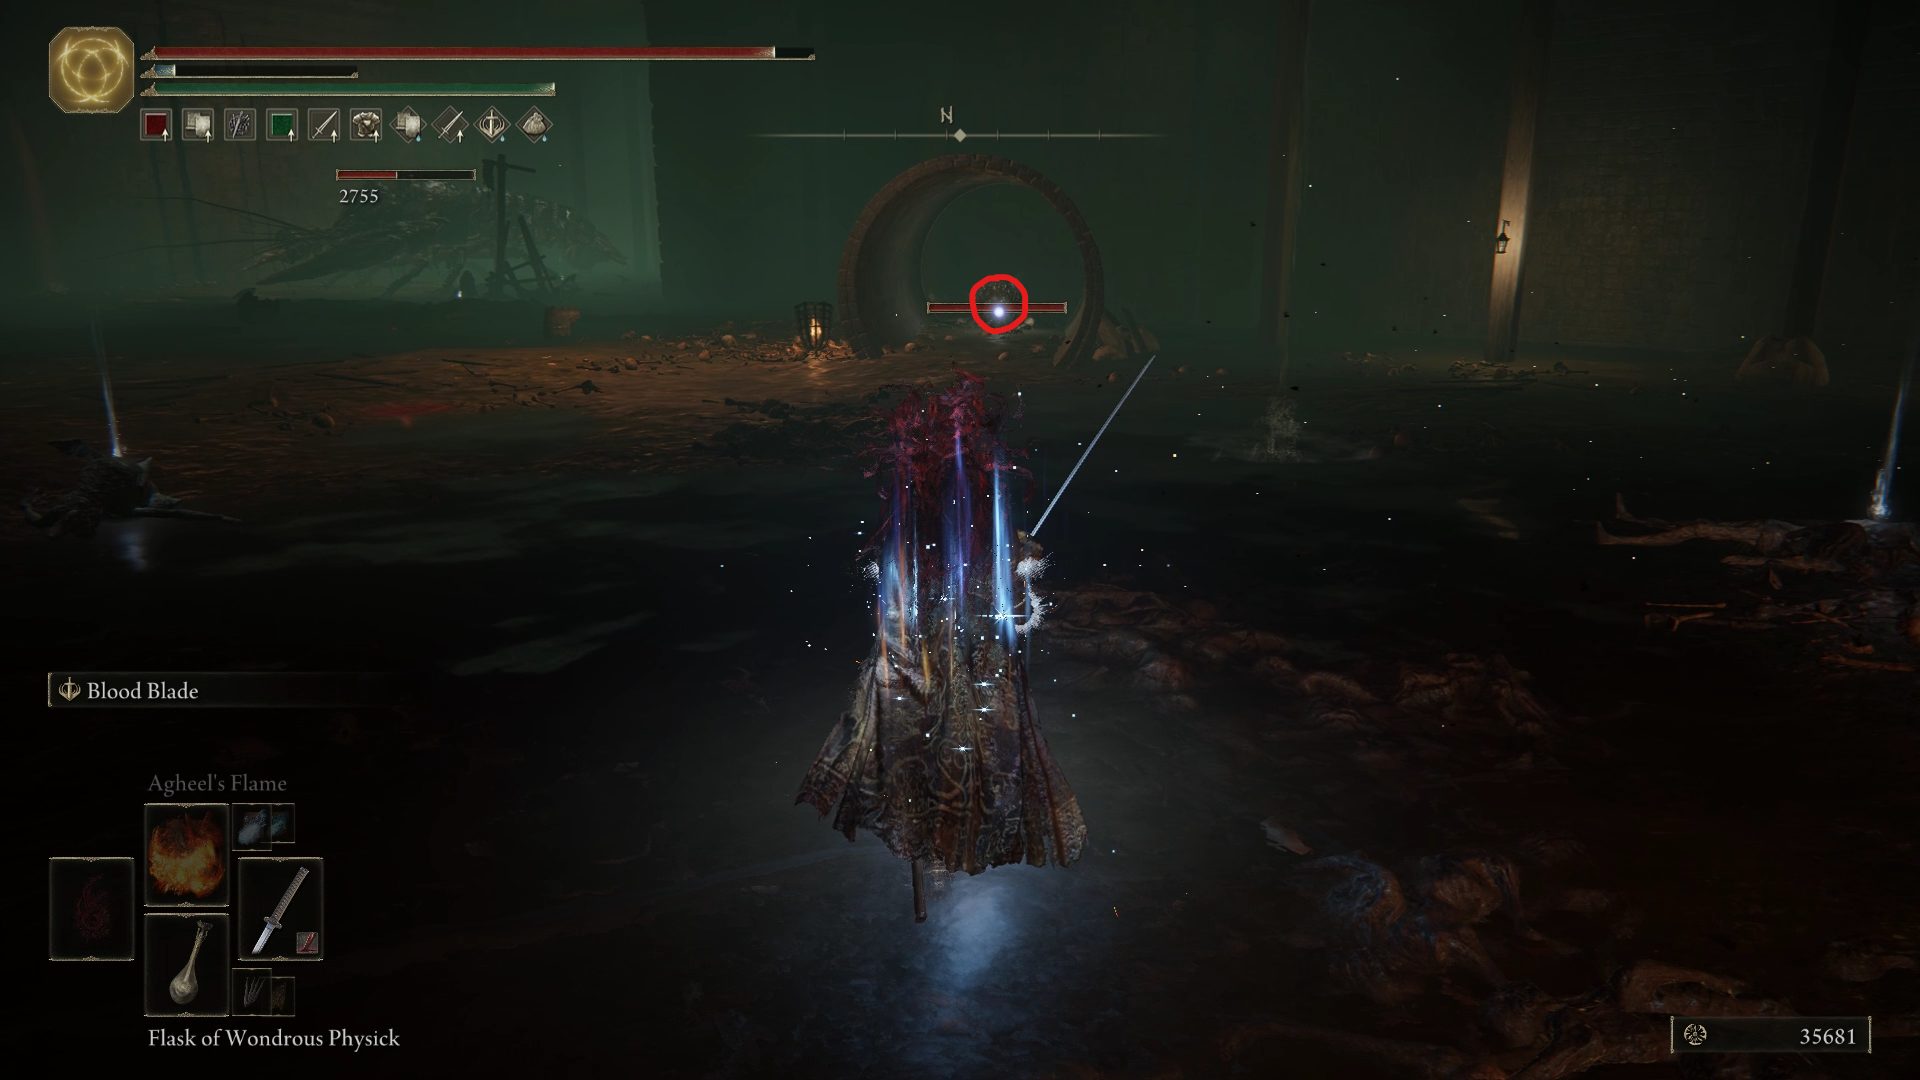
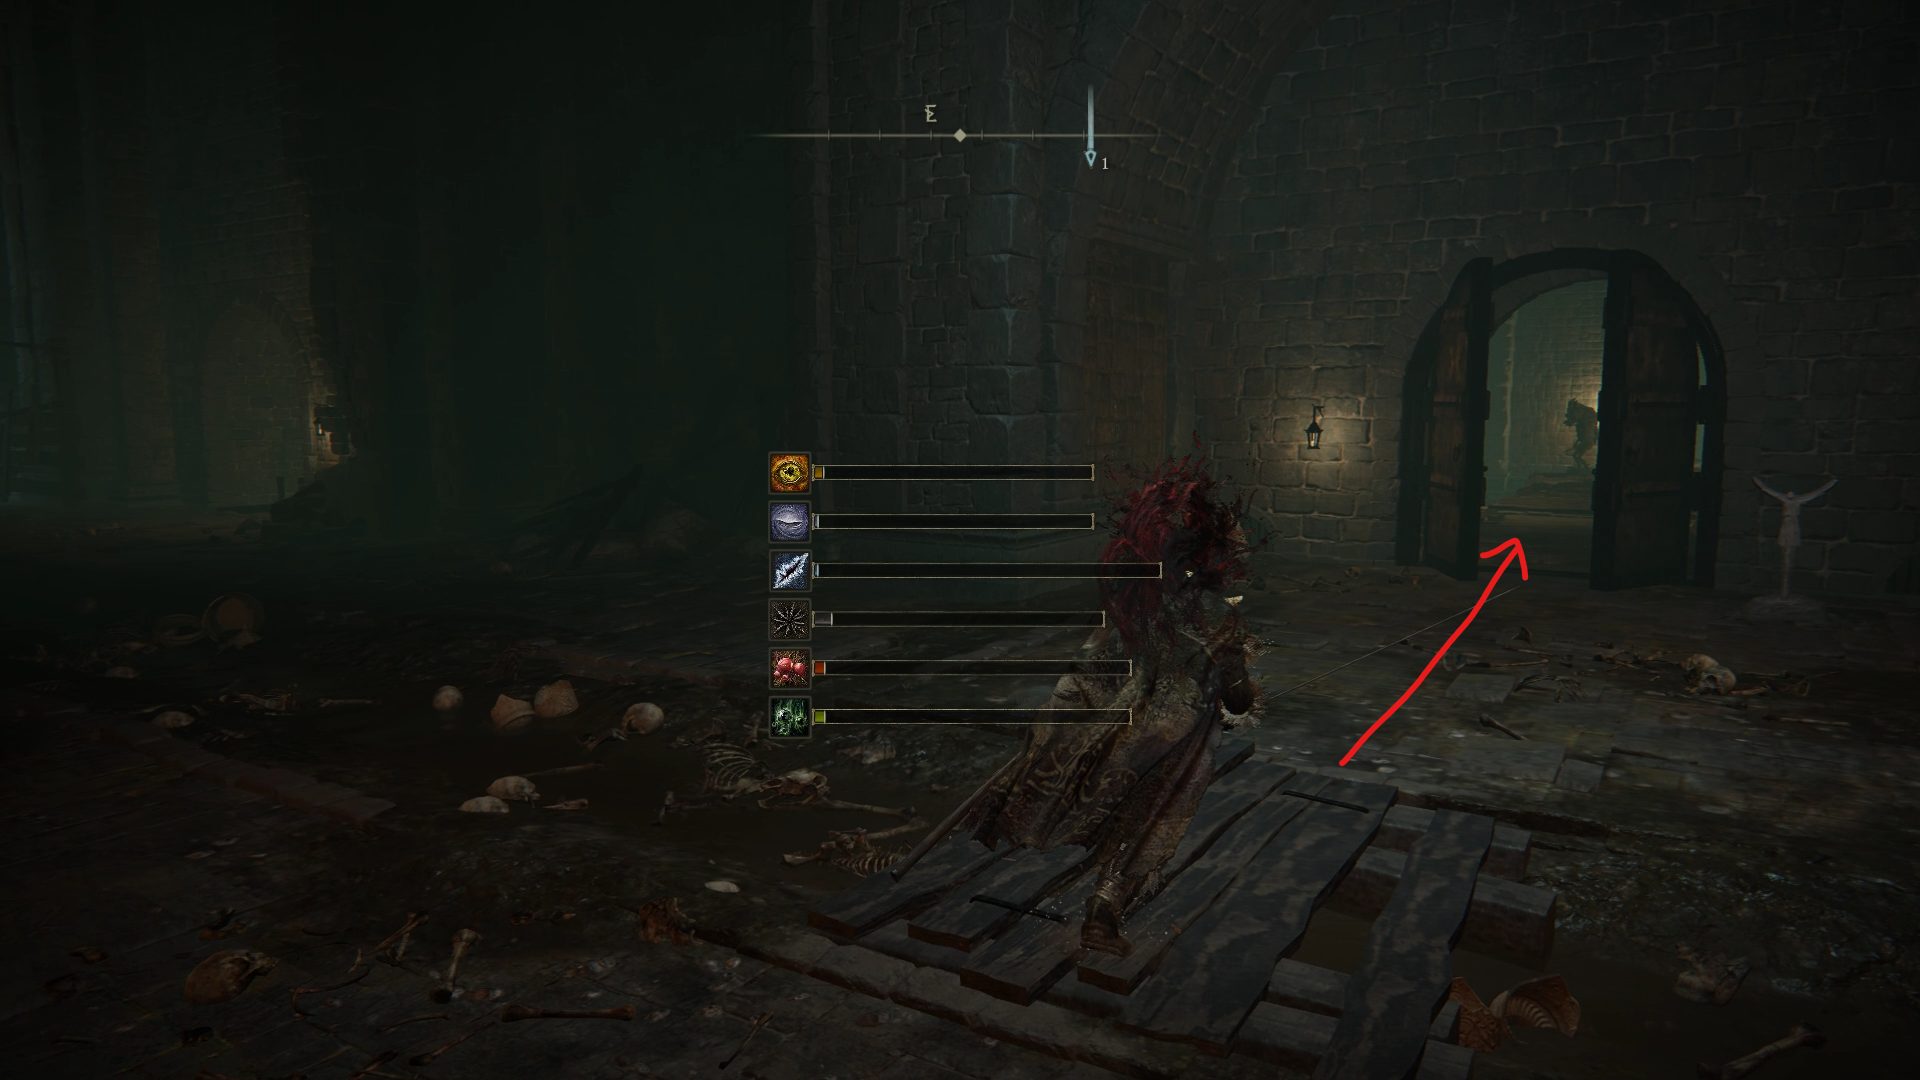
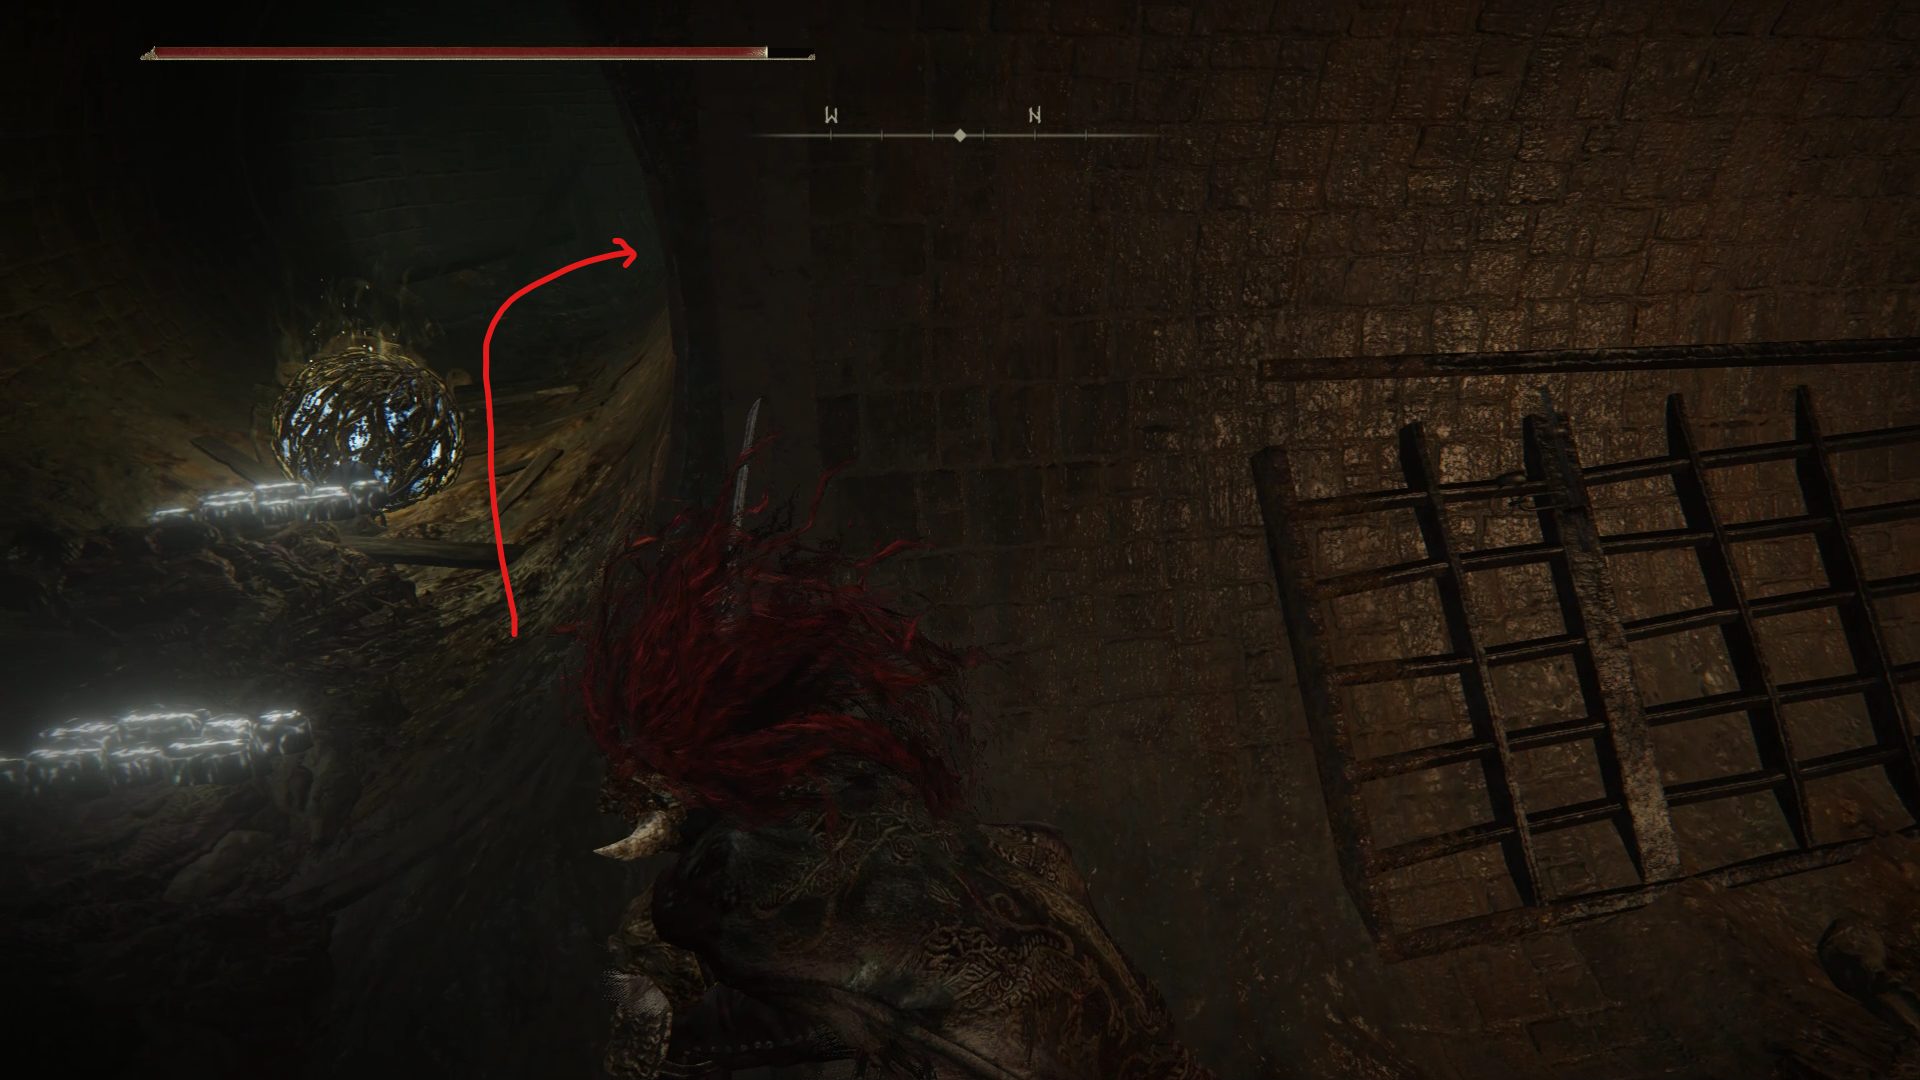
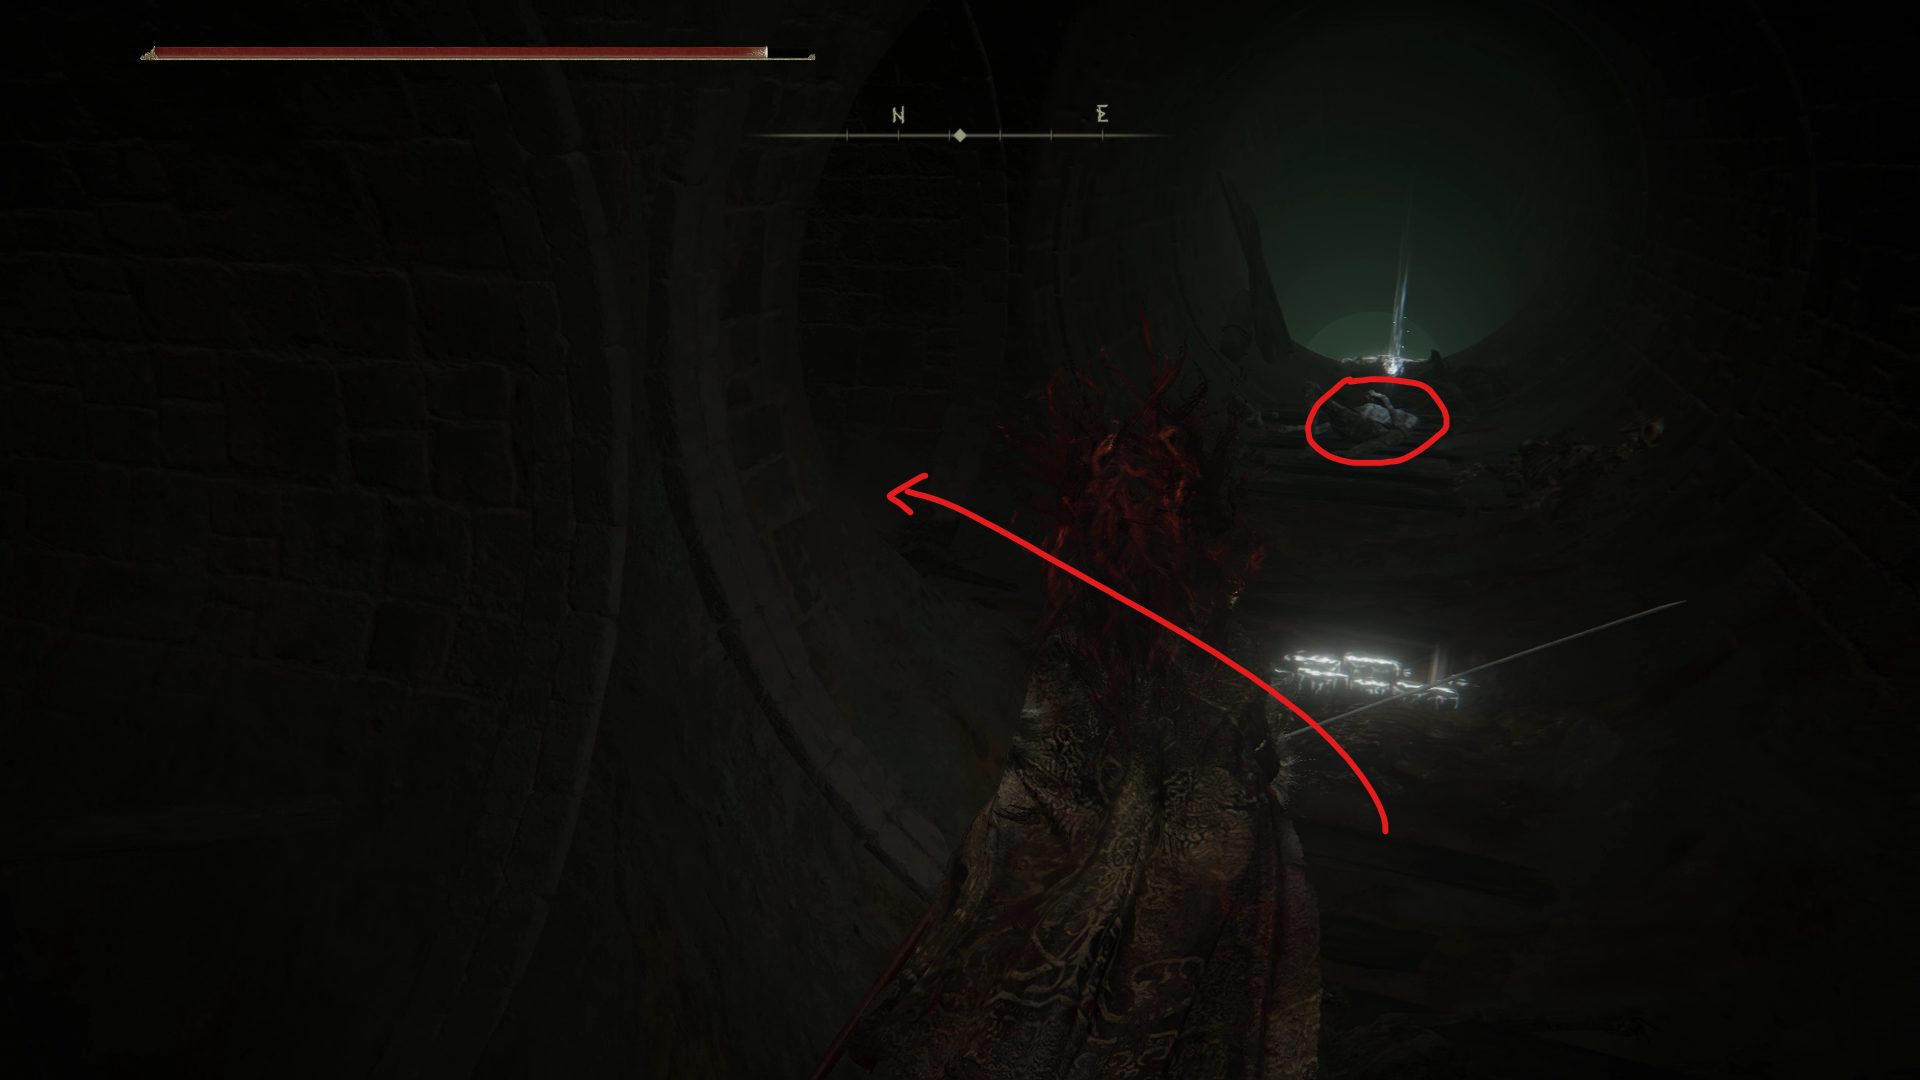
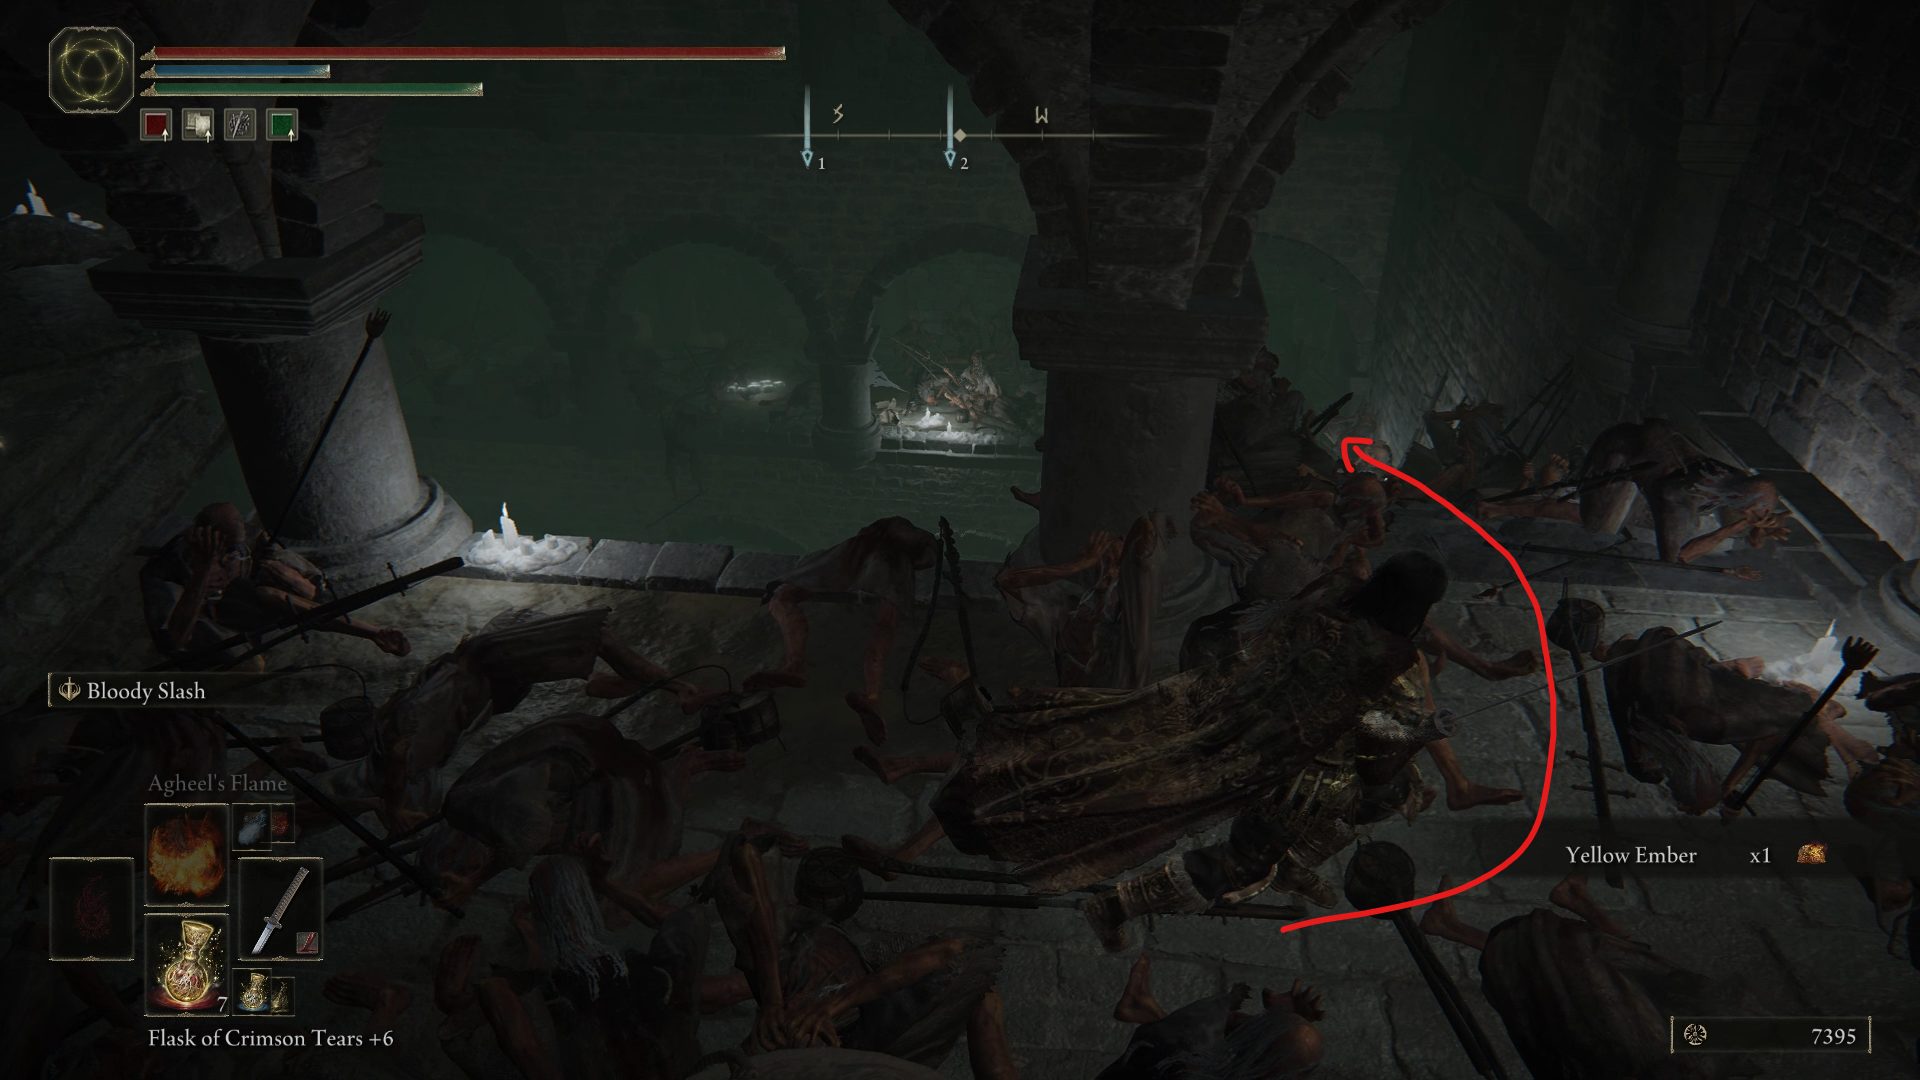
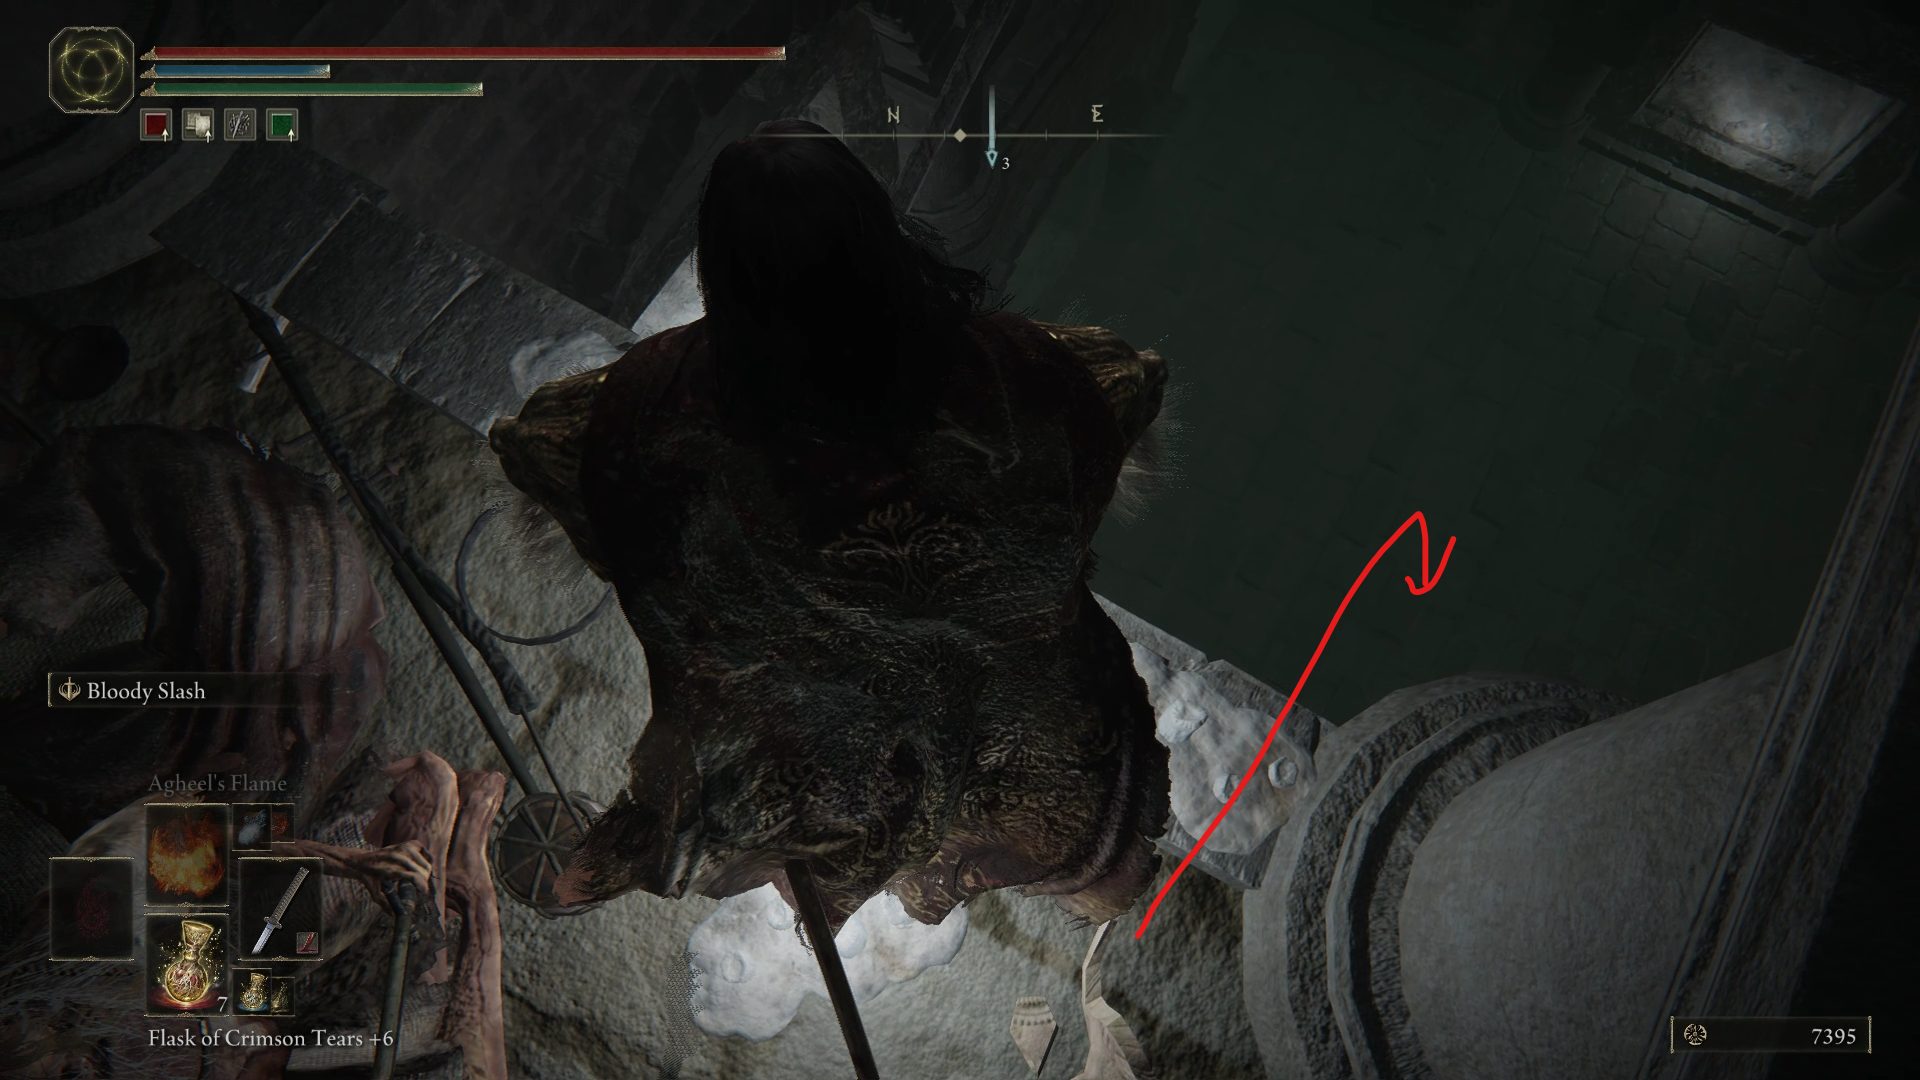
Down there, you should first take care of the enemy trying to ambush you behind the small mound of dirt next to you, before turning your attention northeast, towards the back of the room. While it may look like there is nothing more than a few regular enemies and some loot, a Revenant will spawn as you get closer to the back of the room. If this enemy proves troublesome, keep in mind that using the Heal incantation twice will be enough to kill the Revenant. Defeating it will grant you a Ghost Glovewort [6], and you’ll be able to grab 5x Grave Violet as well as a Smithing Stone [7] from the corpses in this room. Once you’ve grabbed everything, head to the western corner past where the enemy was ambushing you and enter the tunnel. Go forward until you reach an open metal gate, and continue through, as the path to the right is where you jumped down earlier.
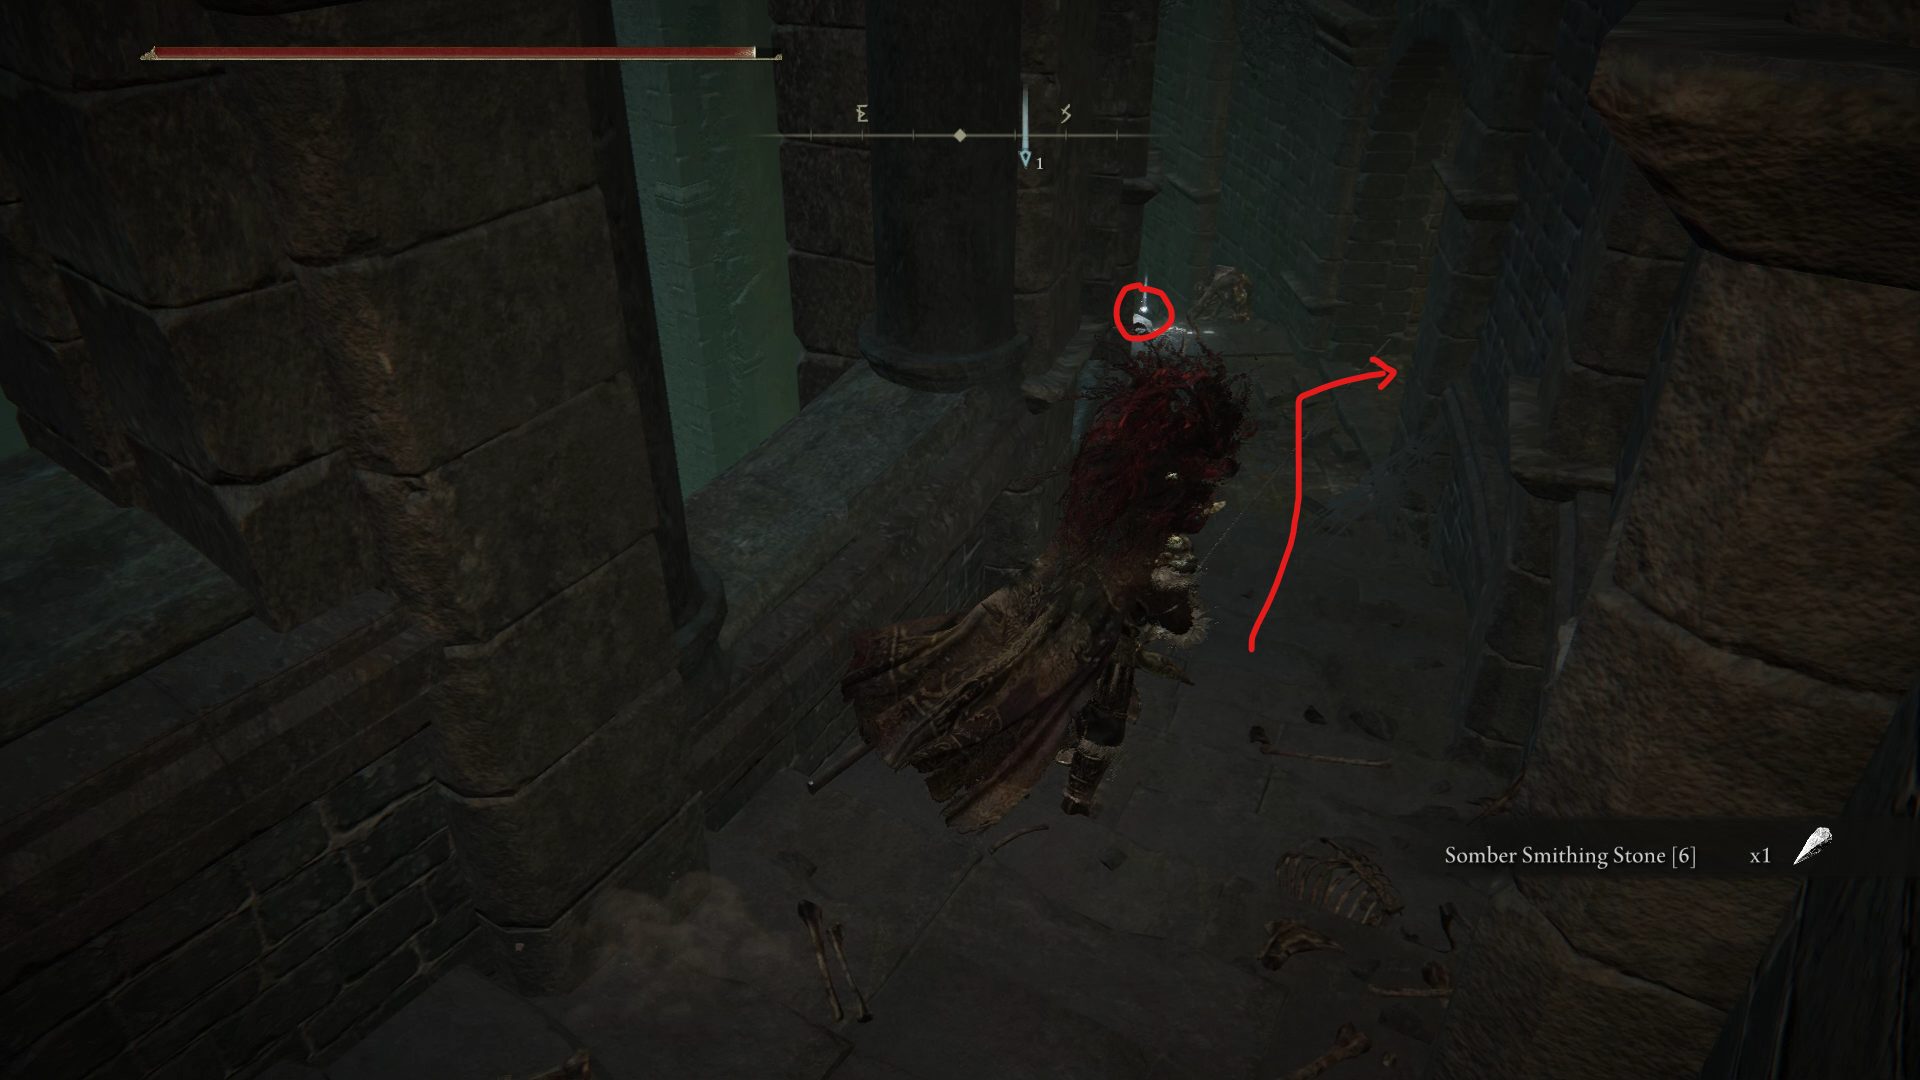
While continuing down this path, you will reach a turn to the right with several slugs leaping out to stop you. Where they leapt out of is a dead end, but you can grab a Fireproof Dried Liver there before you continue following the tunnel. The end of these tunnels is nigh, and you’ll very quickly reach a square room with a ladder, an Omen watching over it, and a Somber Smithing Stone [8] on a corpse in the middle.
Somber Smithing Stone [8] + Ambush
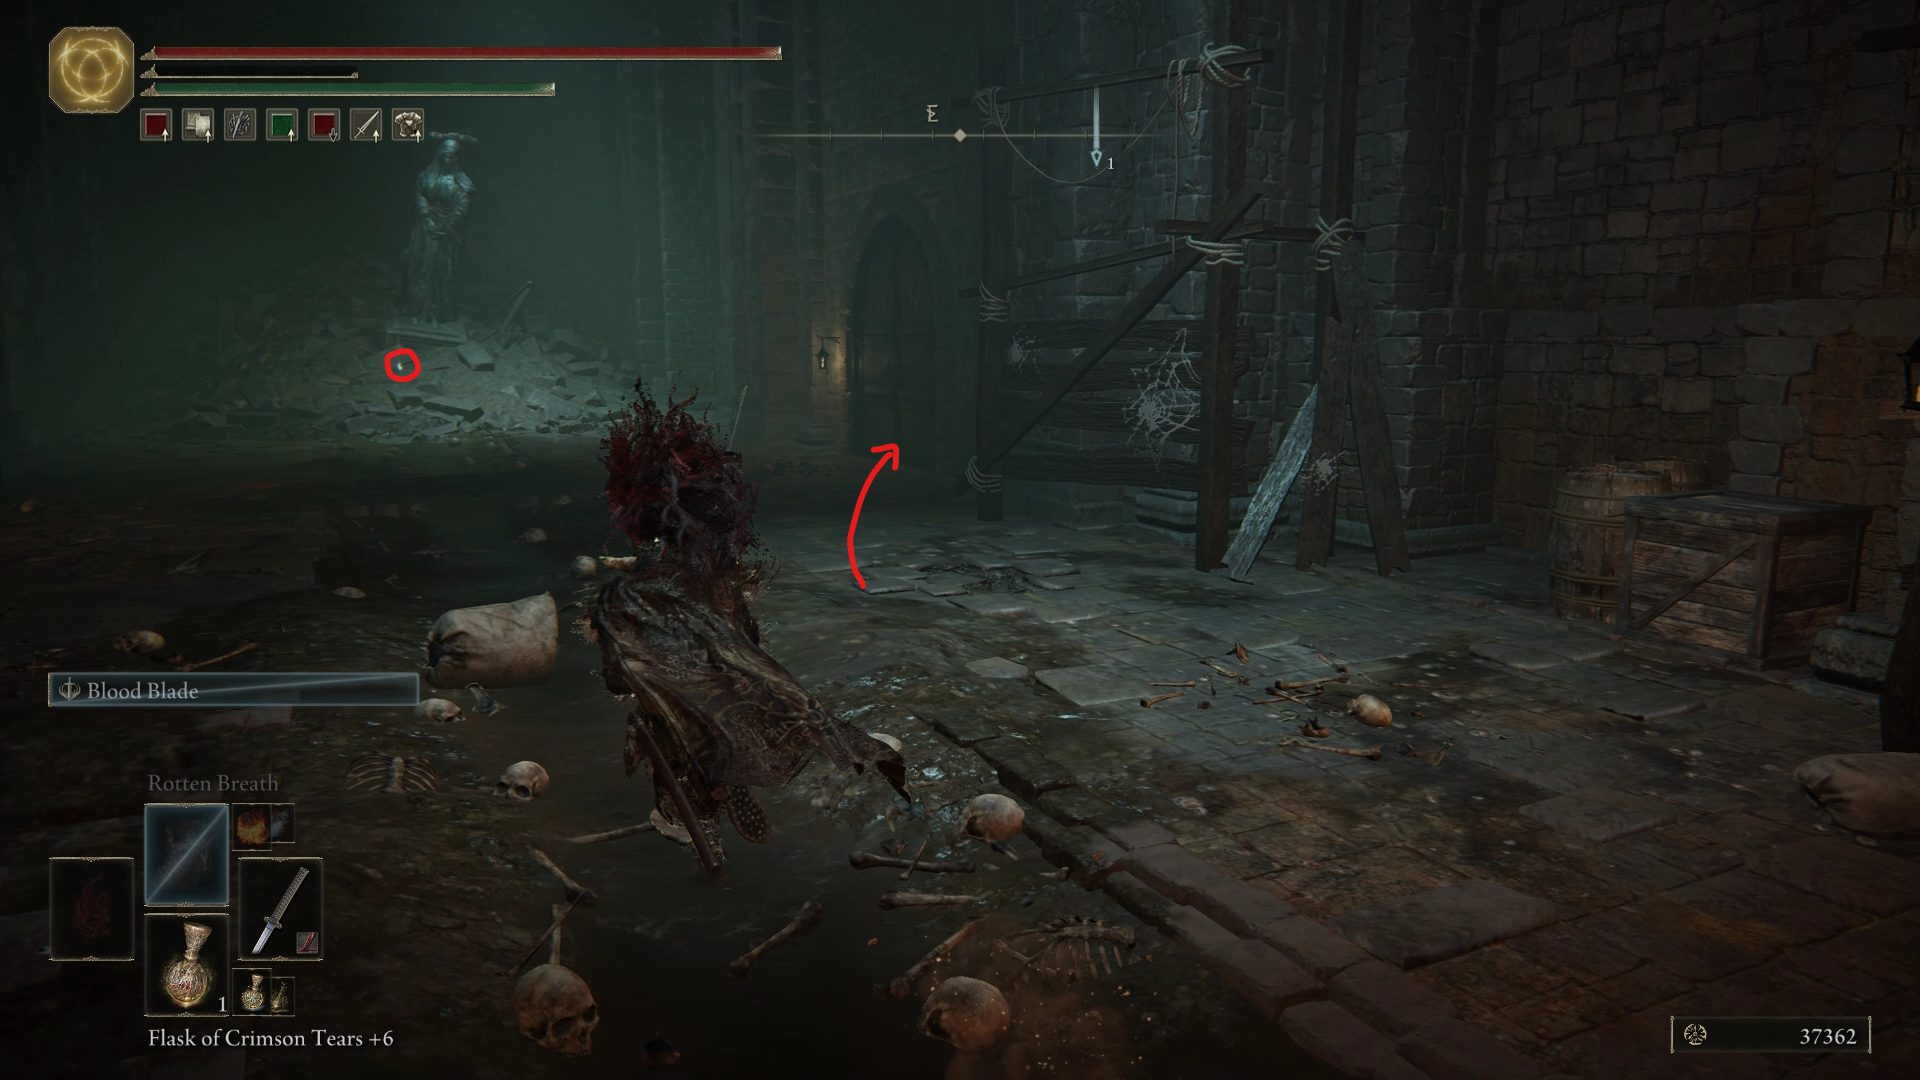
As soon as you enter the room, the big guy will jump down to beat you up. If you’re really struggling with this part, you can always climb the ladder as soon as the Omen jumps down, and go right to use the lever that opens a shortcut to the first site of grace. Once the Omen is dealt with, open the shortcut in the area where the big guy jumped down from if you haven’t already, deal with two of his friends by the statue and grab the Smithing Stone [7] before going through the nearby door.
By going through that door, you will reach an open area with a small broken staircase. If you go right, you’ll reach a dead end and a corpse with a Grace Mimic. Grab the item if you like, or just turn left straightaway and jump down to the small path below. As soon as you land, you’ll be next to a loot beetle that drops a Somber Smithing Stone [6], so chase it down the stairs, kill it, grab the String at the end of the path and enter the hallway to your right.
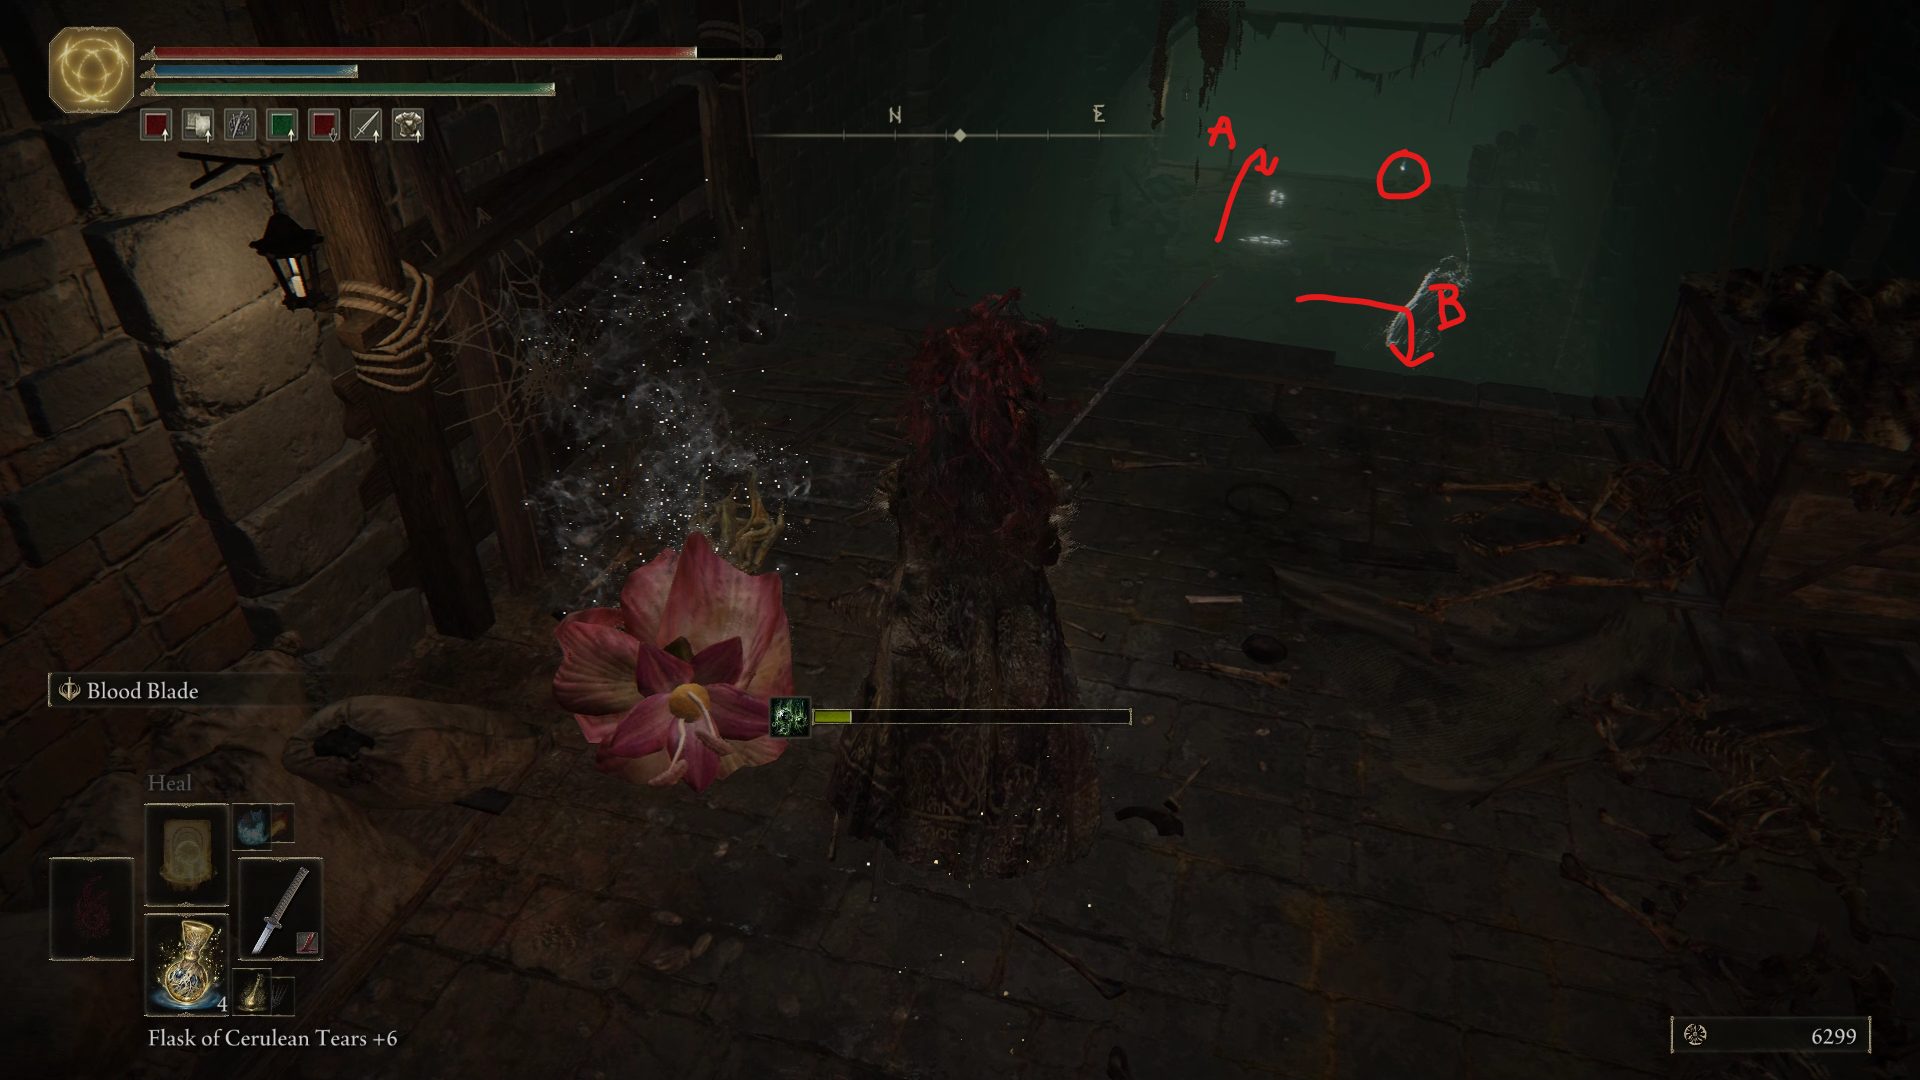
Grab the Warming Stone at the start of the hallway, and go through the hallway while slaughtering the helpless enemies on your way until you reach an area with two different paths, and 2x Fire Grease hanging from the ledge.
(B) is the path forward, while path (A) will take you to the Nomad Ashes. If you decide to go down the ladder to grab the ashes, you should very quickly see a big flower enemy below. As you go down the ladder however, several Basilisks will start running at you, so you can either go back up the ladder and use ranged attacks to deal with them, or go through the door to your left, next to the flower, and fight them in the hallway to avoid the floral foe. Once the Basilisks are dealt with, grab the Nomad Ashes at the end of this hallway, grab the 8x Poisoned Stone behind the flower enemy, and go back up the ladder.
Now, it’s time to explore the path (B). Pick up the Preserving Boluses where this path begins, and follow a new set of tunnels. There, you will encounter even more Basilisks. The first turn right will lead to a locked door that opens from the other side, so continue further down the tunnel and take the next turn to the right.
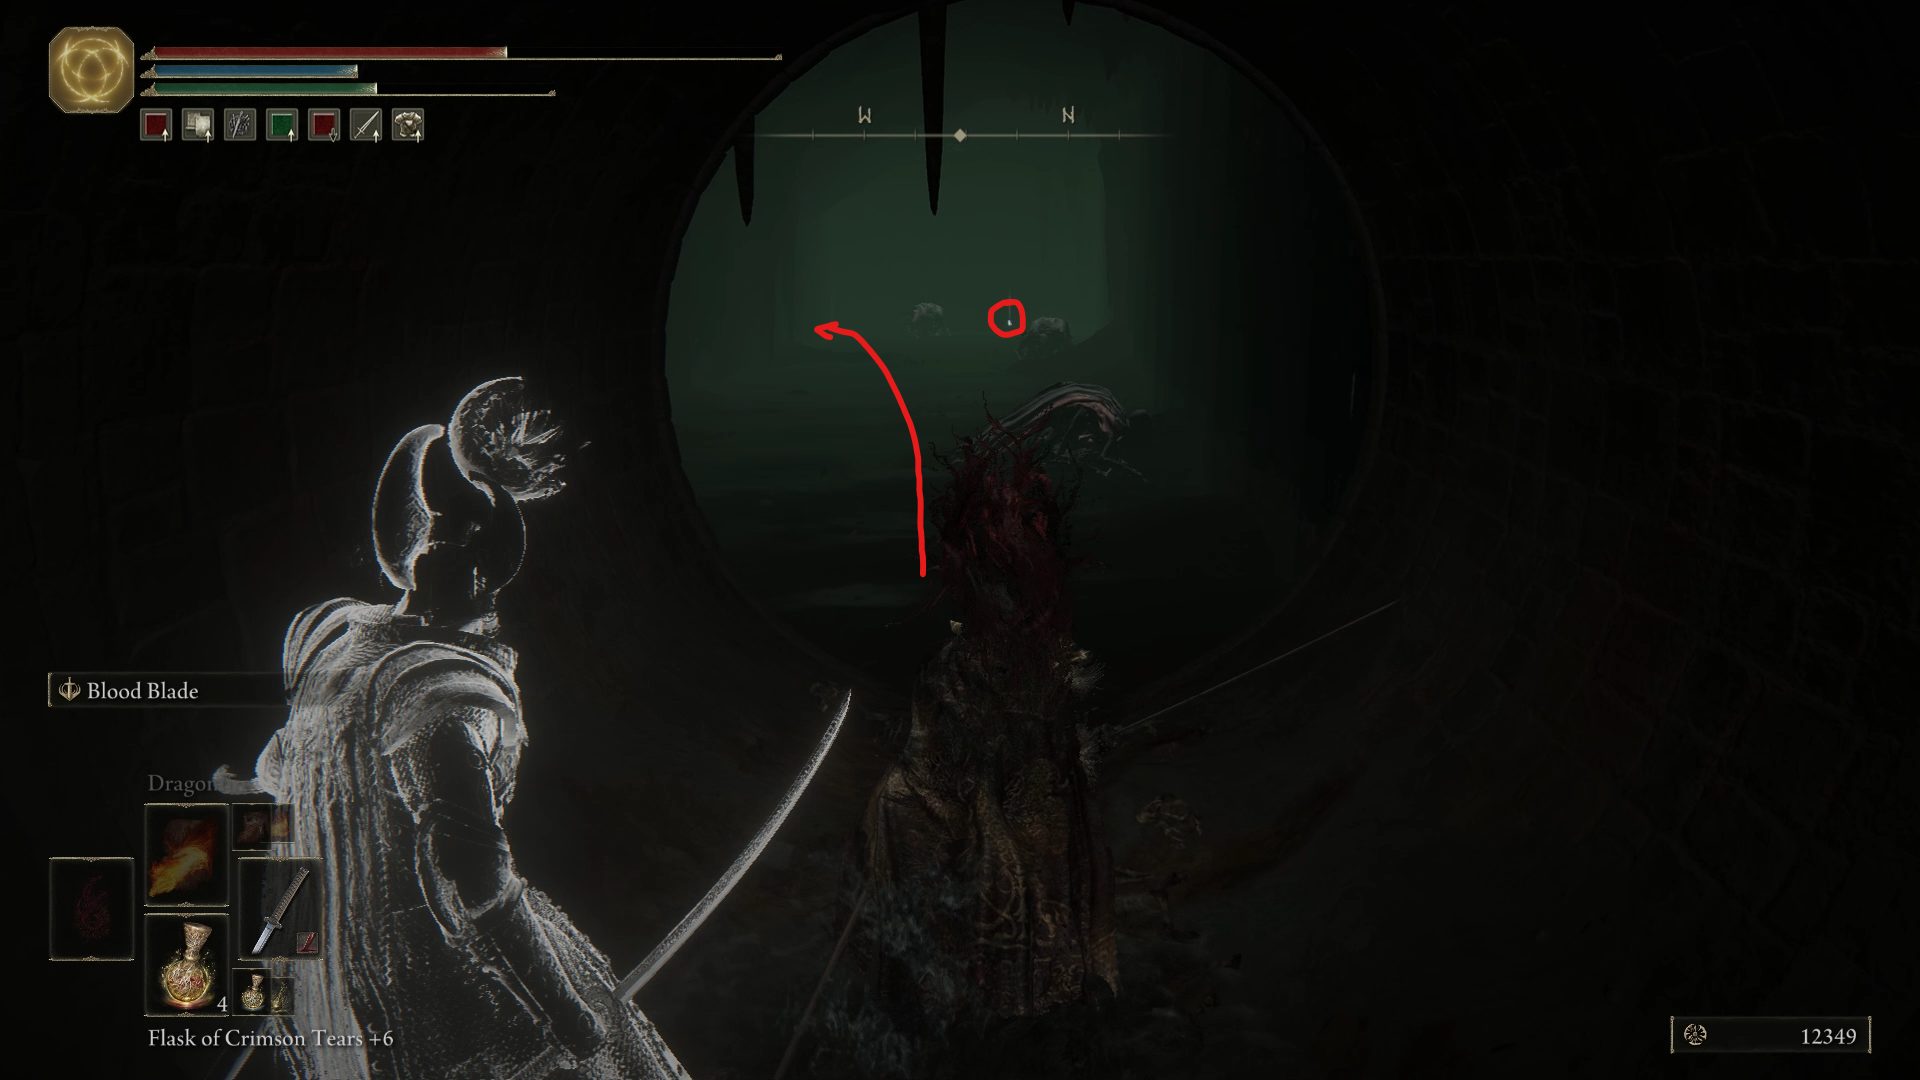
You should reach a big room with an Omen enemy and a bunch of goodies laying on the ground. While 1x Dappled White Cured Meat, 2x Golden Centipede and 3x Glass Shard might sound luxurious, this particular Omen will drop an Omen Bairn reusable item when defeated. When he has been dealt with, go up the ladder to reach a wooden platform that leads to a wooden bridge. On it, you will find an Imp enemy standing next to 3x Poisoned Stone. Backstab him off the bridge, grab the Poisoned Stone and open the door in front of you to unlock another shortcut to the Underground Roadside site of grace.
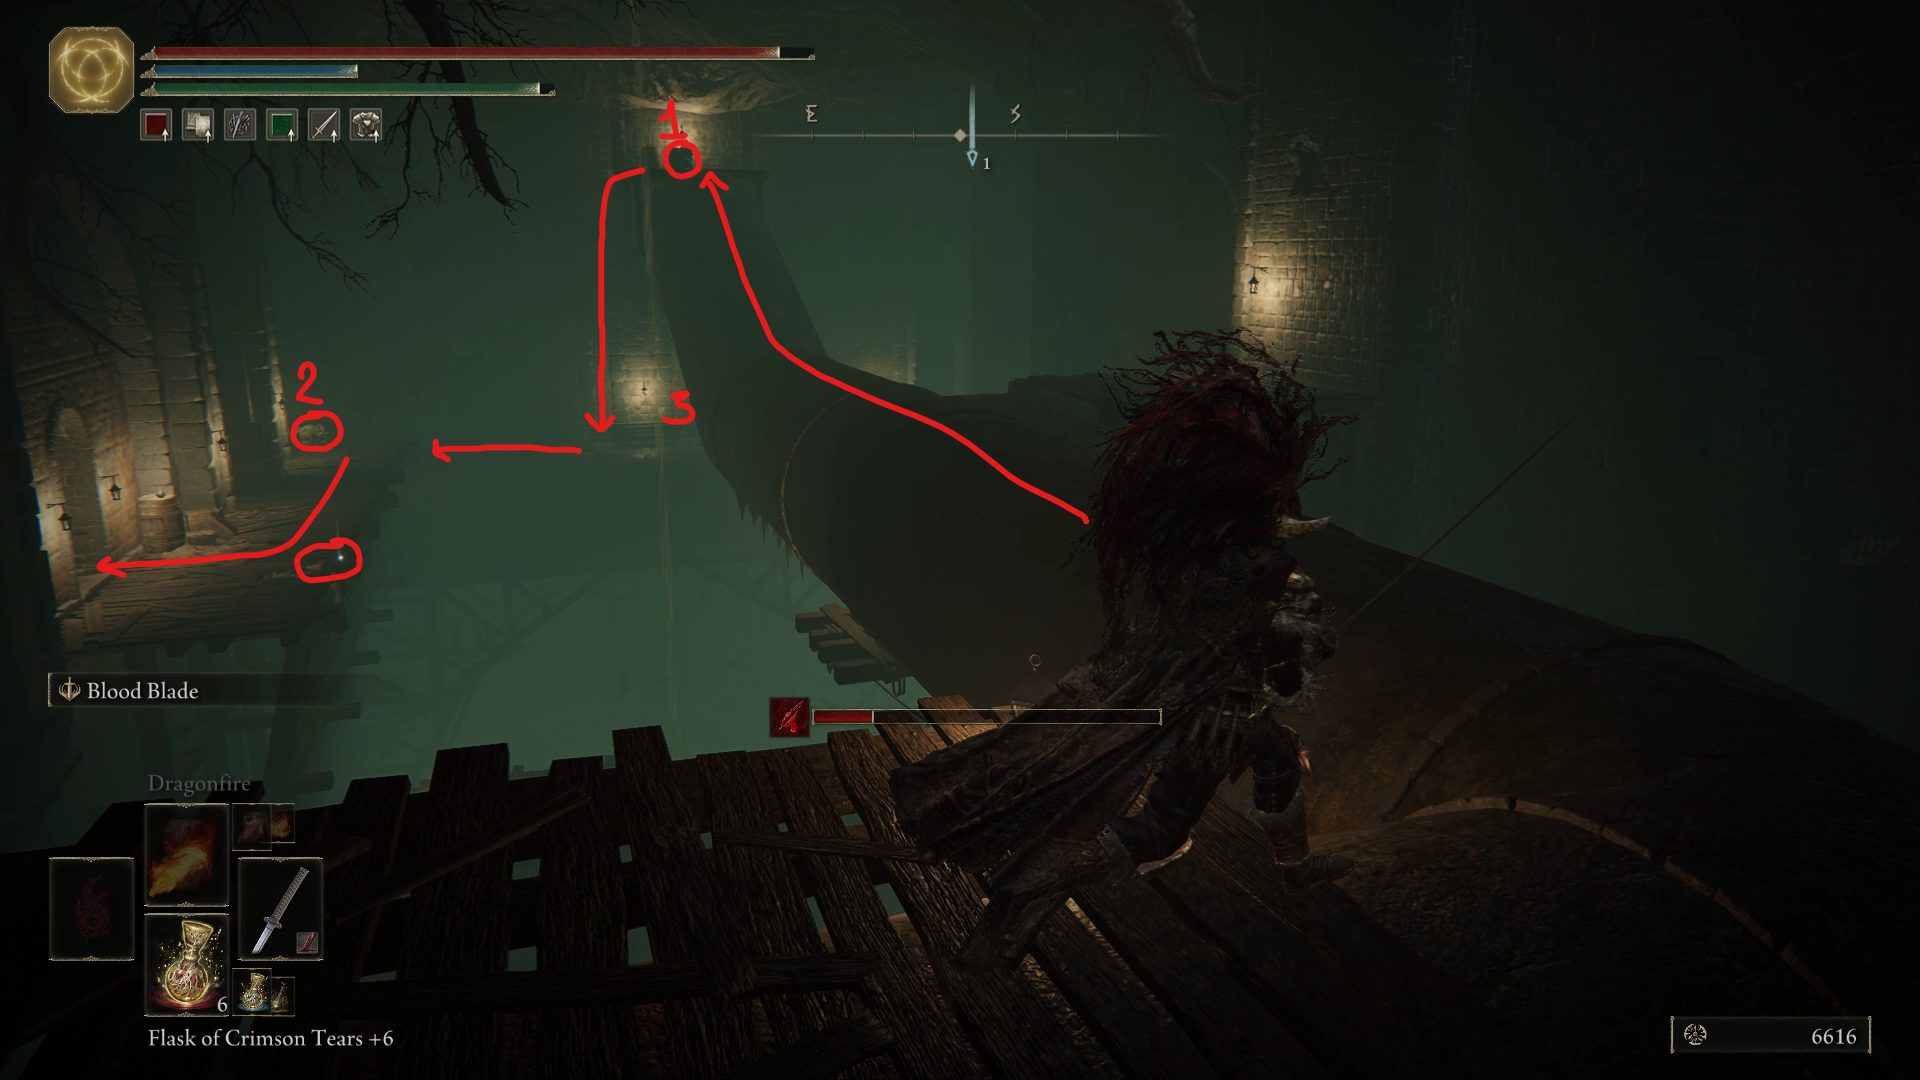
Head back to the site of grace and rest to refill your flasks if you need to, and turn around to face the door that you just unlocked. Instead of going back in, climb down the ladder right next to the door to find yourself right below the wooden bridge. There, grab the 1x Freezing Grease (A) to the left before going right, where you should see another corpse with 10x Serpent Arrow (B), and an imp patrolling nearby, so don’t go for the arrows just yet.
The area you’re about to explore has quite a few imps patrolling, as well as hanging from the pipes nearby to try and ambush you. With that in mind, wait for the patrolling imp to go away and jump towards the corpse with the arrows (B). An imp will shortly jump down to attack you, so be prepared to dodge and deal with this pesky ambusher. Once you have your arrows, you’ll have to follow the pipes southwest, but there are even more imps to deal with along the way.
For the imps that are hanging above you, use any sort of ranged attack to get them to come down to deal with them on your own terms. Make sure to deal with these imps 1 by 1 as you won’t have much room to dodge roll on the narrow platforms in this area. There are only a couple of things left to grab in this area, but you will have to work for it.
First, as you continue towards the wooden platform (A), don’t go running for the loot as there is a total of 4 imps to deal with before you can safely grab the 5x Fire Grease. There is two imps hanging off the pipes below the platform, one on the pipe above, and another imp behind the wooden crates. Ideally, you want to try and fight them one by one by using ranged attacks to draw them out. Once they have been dealt with, instead of continuing southwest, make a small detour to grab the Somber Smithing Stone [6] on the pipe that goes northeast (C), but watch out for yet another imp hanging on the wall above your loot.
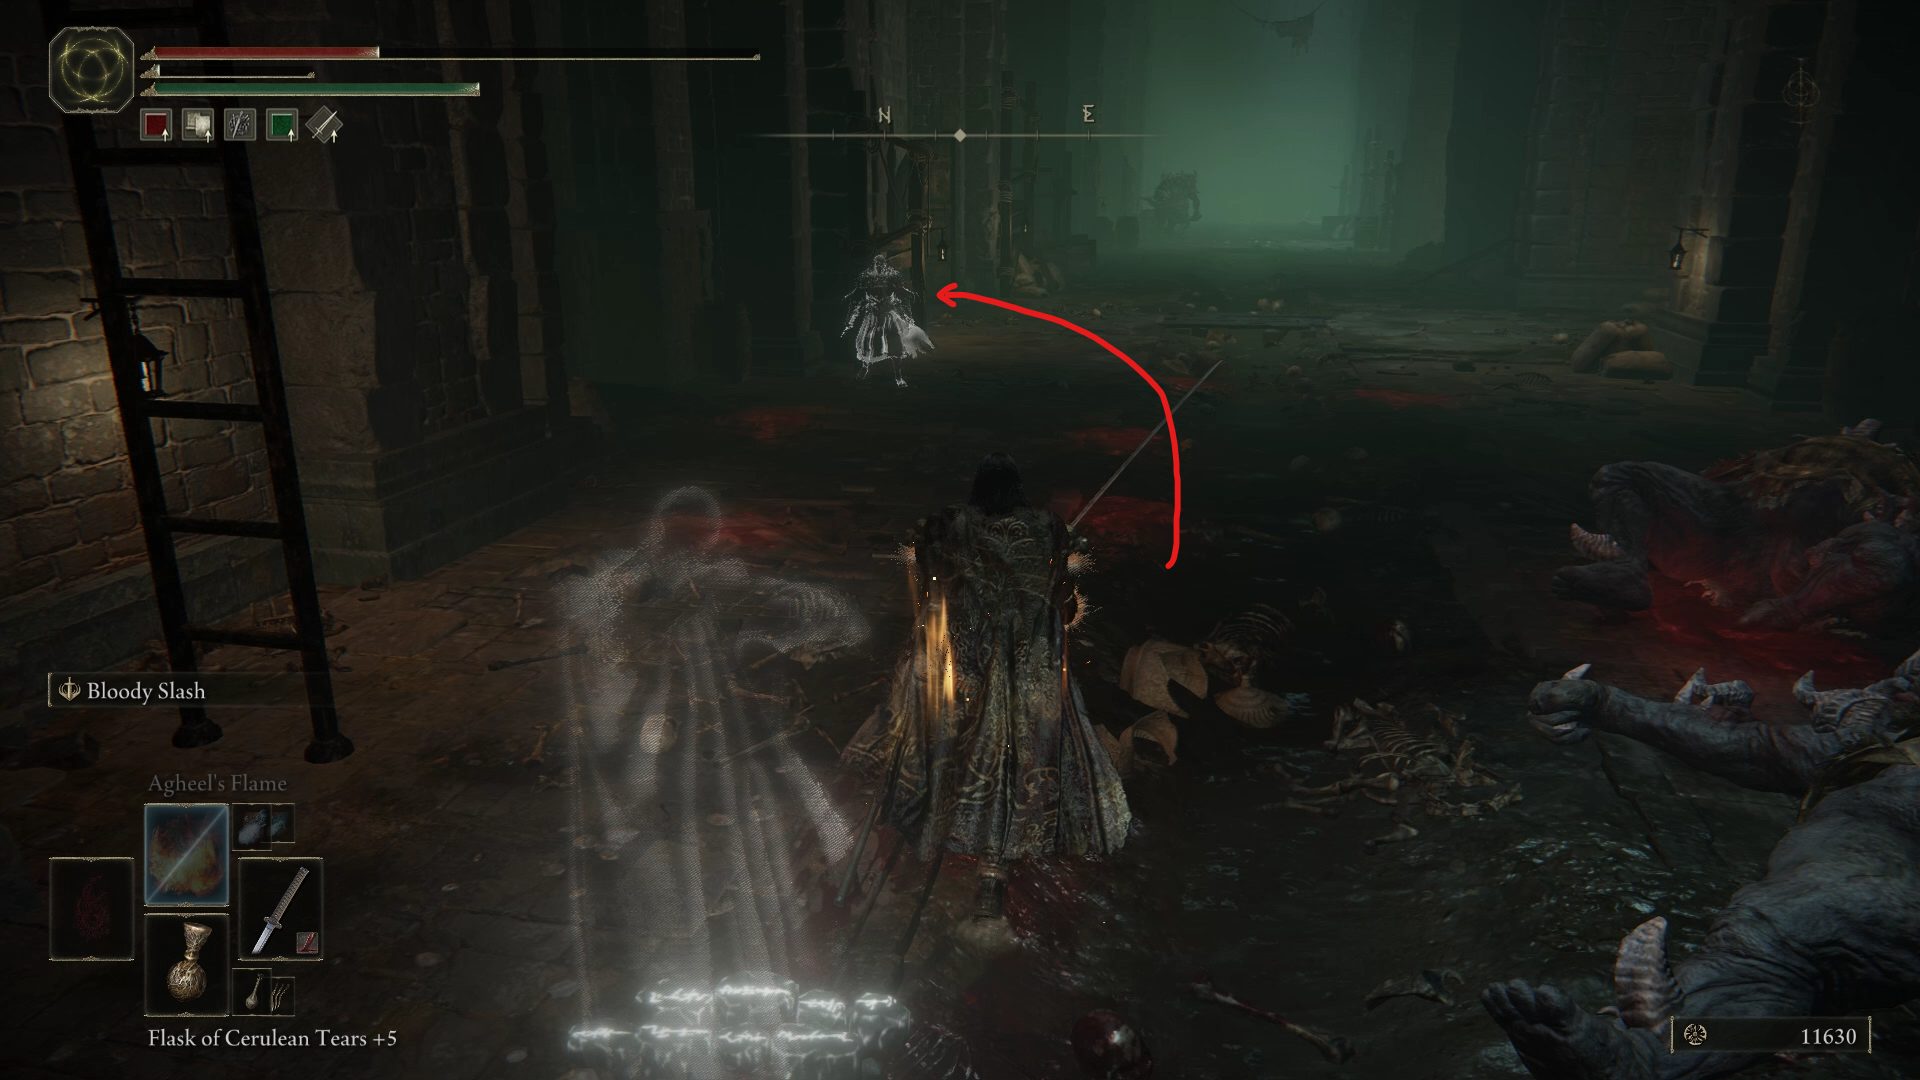
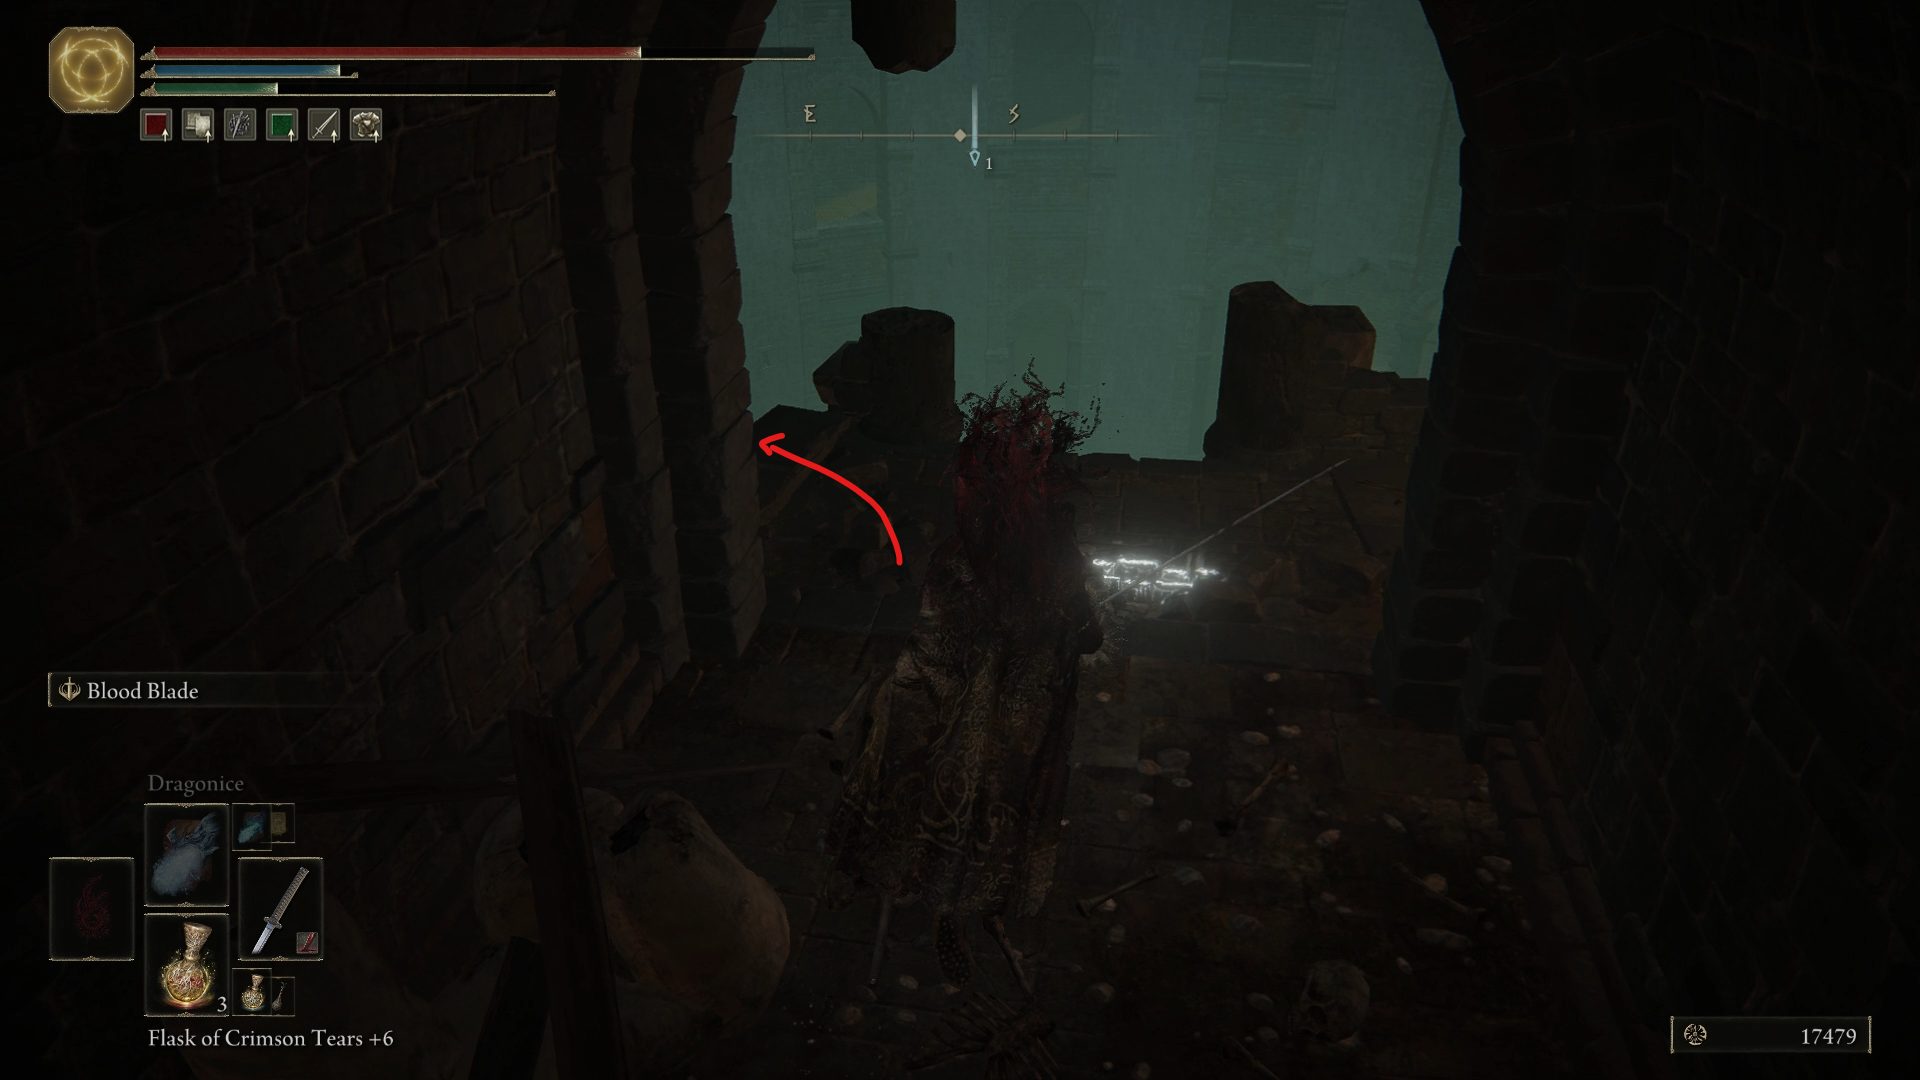
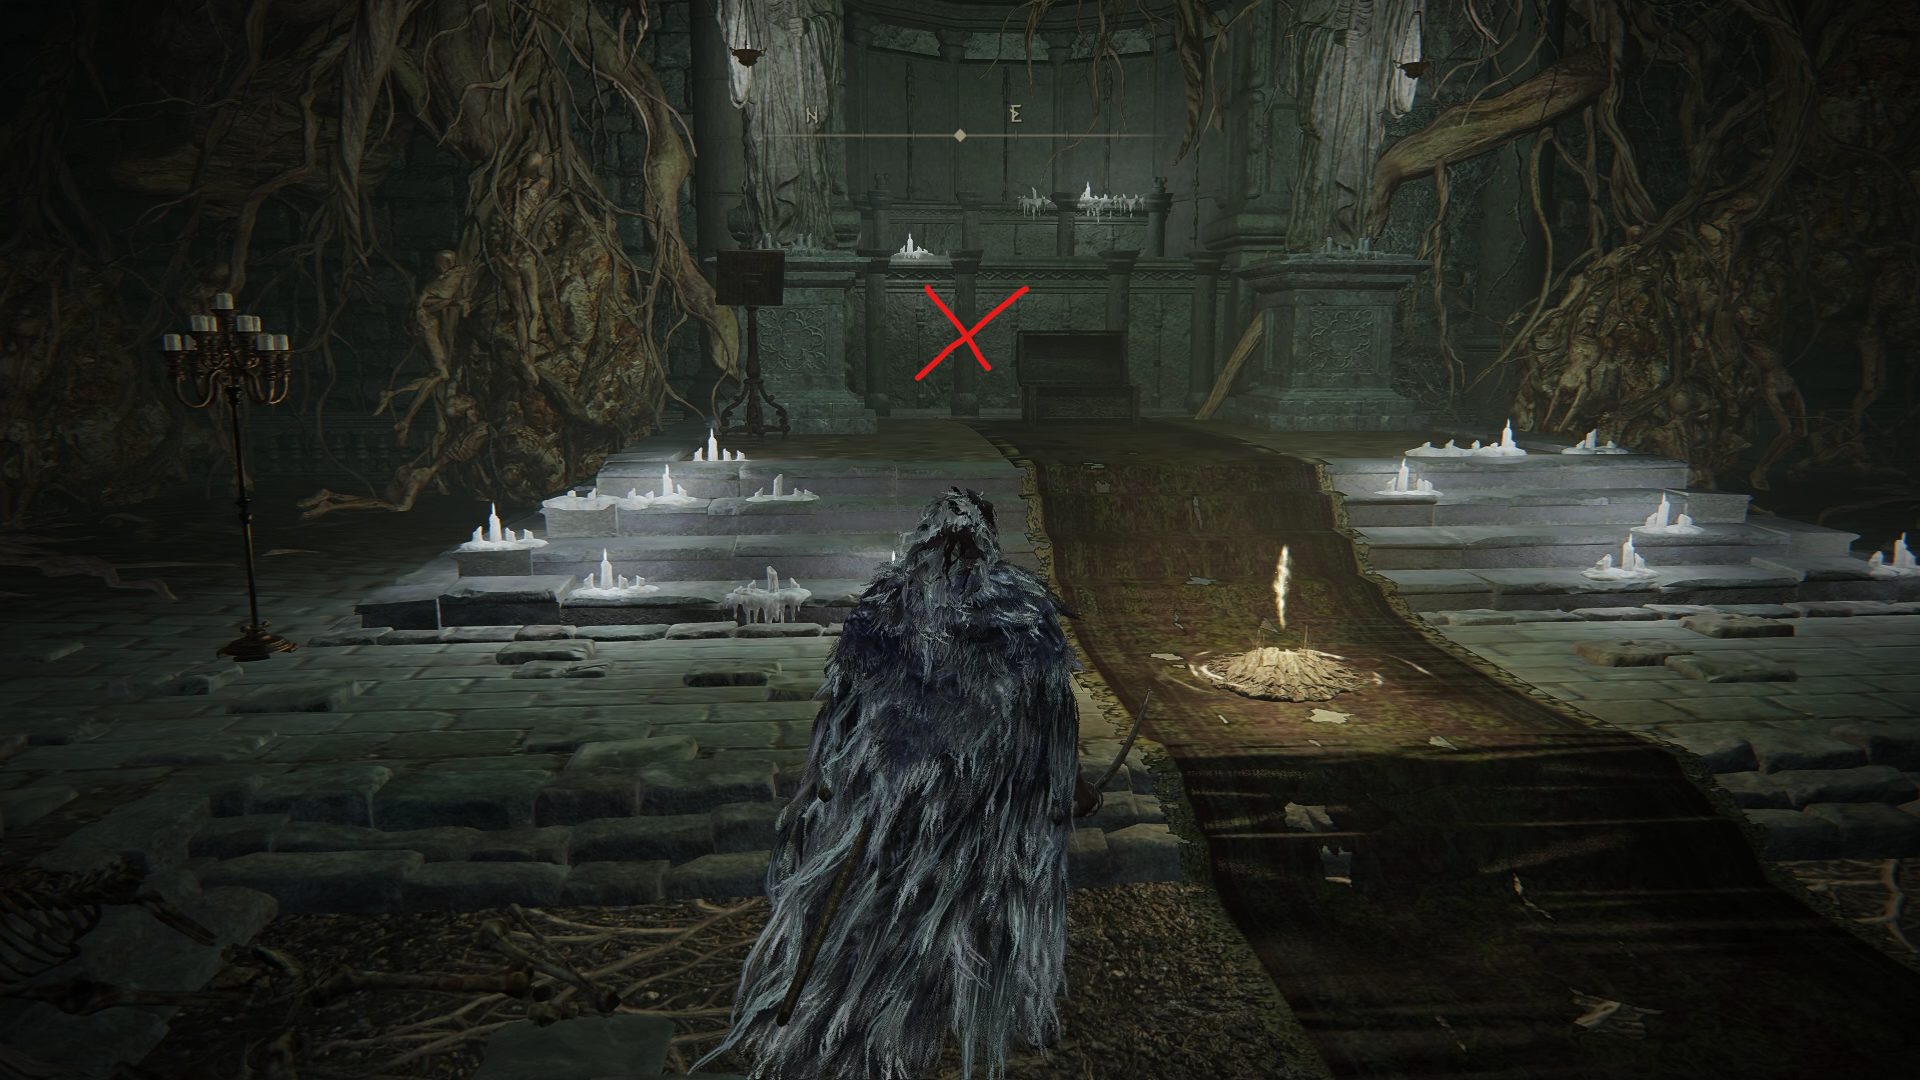
Now all you have to do is jump up on the wooden platform to the southwest, grab the Smithing Stone [7] from the corpse, go through the door and go up the stairs. As you go up the stairs, make sure to crouch as there is another ambush ahead of you, and the enemy is much tougher than an imp. The enemy will be behind the corner to your left, though you should ignore him for now and go right instead while continuing to crouch, to unlock another shortcut to the first site of grace, which could come in handy if you end up dying to the Omen in this room. Now deal with the Omen and grab the Shadow Bait incantation from the corpse next to the statue.
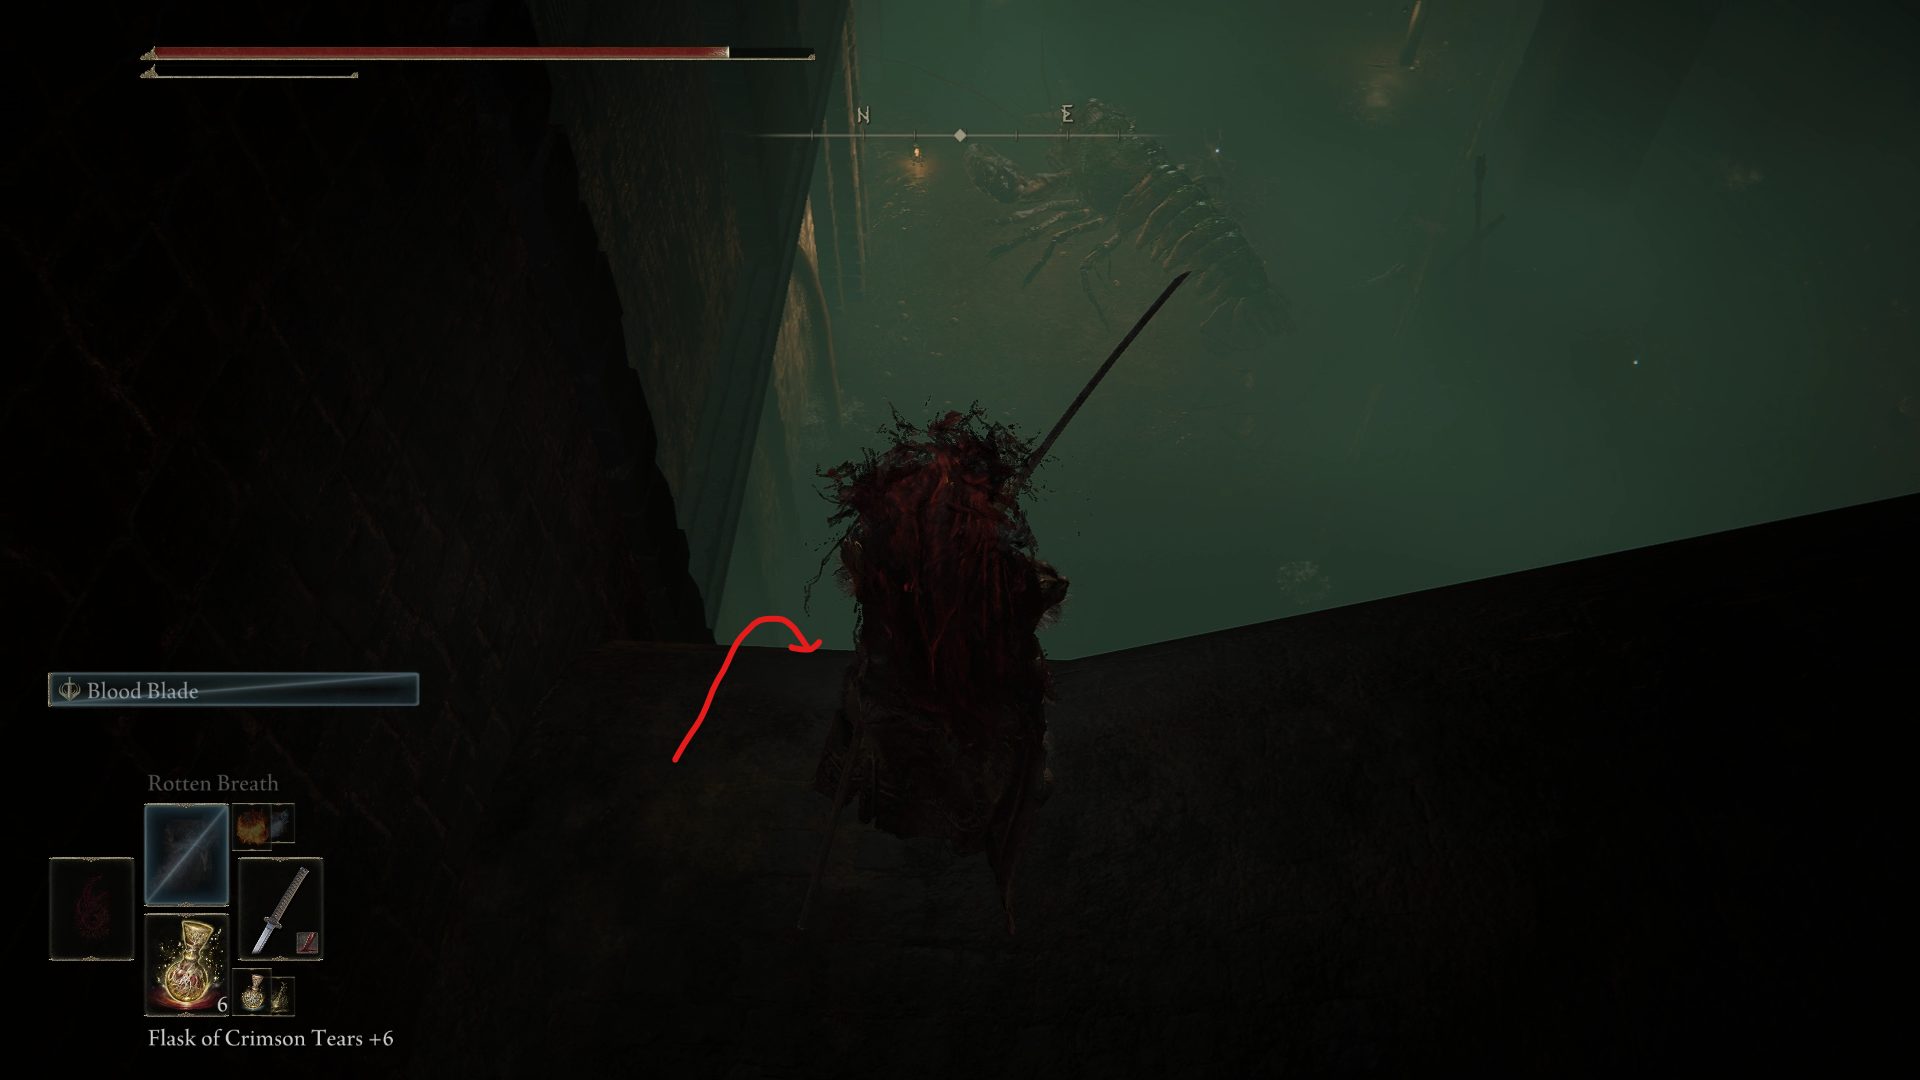
Go back down the stairs and back into the room with all of the pipes and you should see a pipe below, which is where we’ll be going next. Jump down to this pipe, and go to the spot that’s the closest to the ground to avoid dying to fall damage as you go all the way down to the Giant Crayfish. You will still take some fall damage, so you can always equip the Longtail Cat Talisman or use some Soft Cotton that’s probably just wasting away in your inventory. Additionally, don’t hesitate to use ranged attacks on the Giant Crayfish before going down.
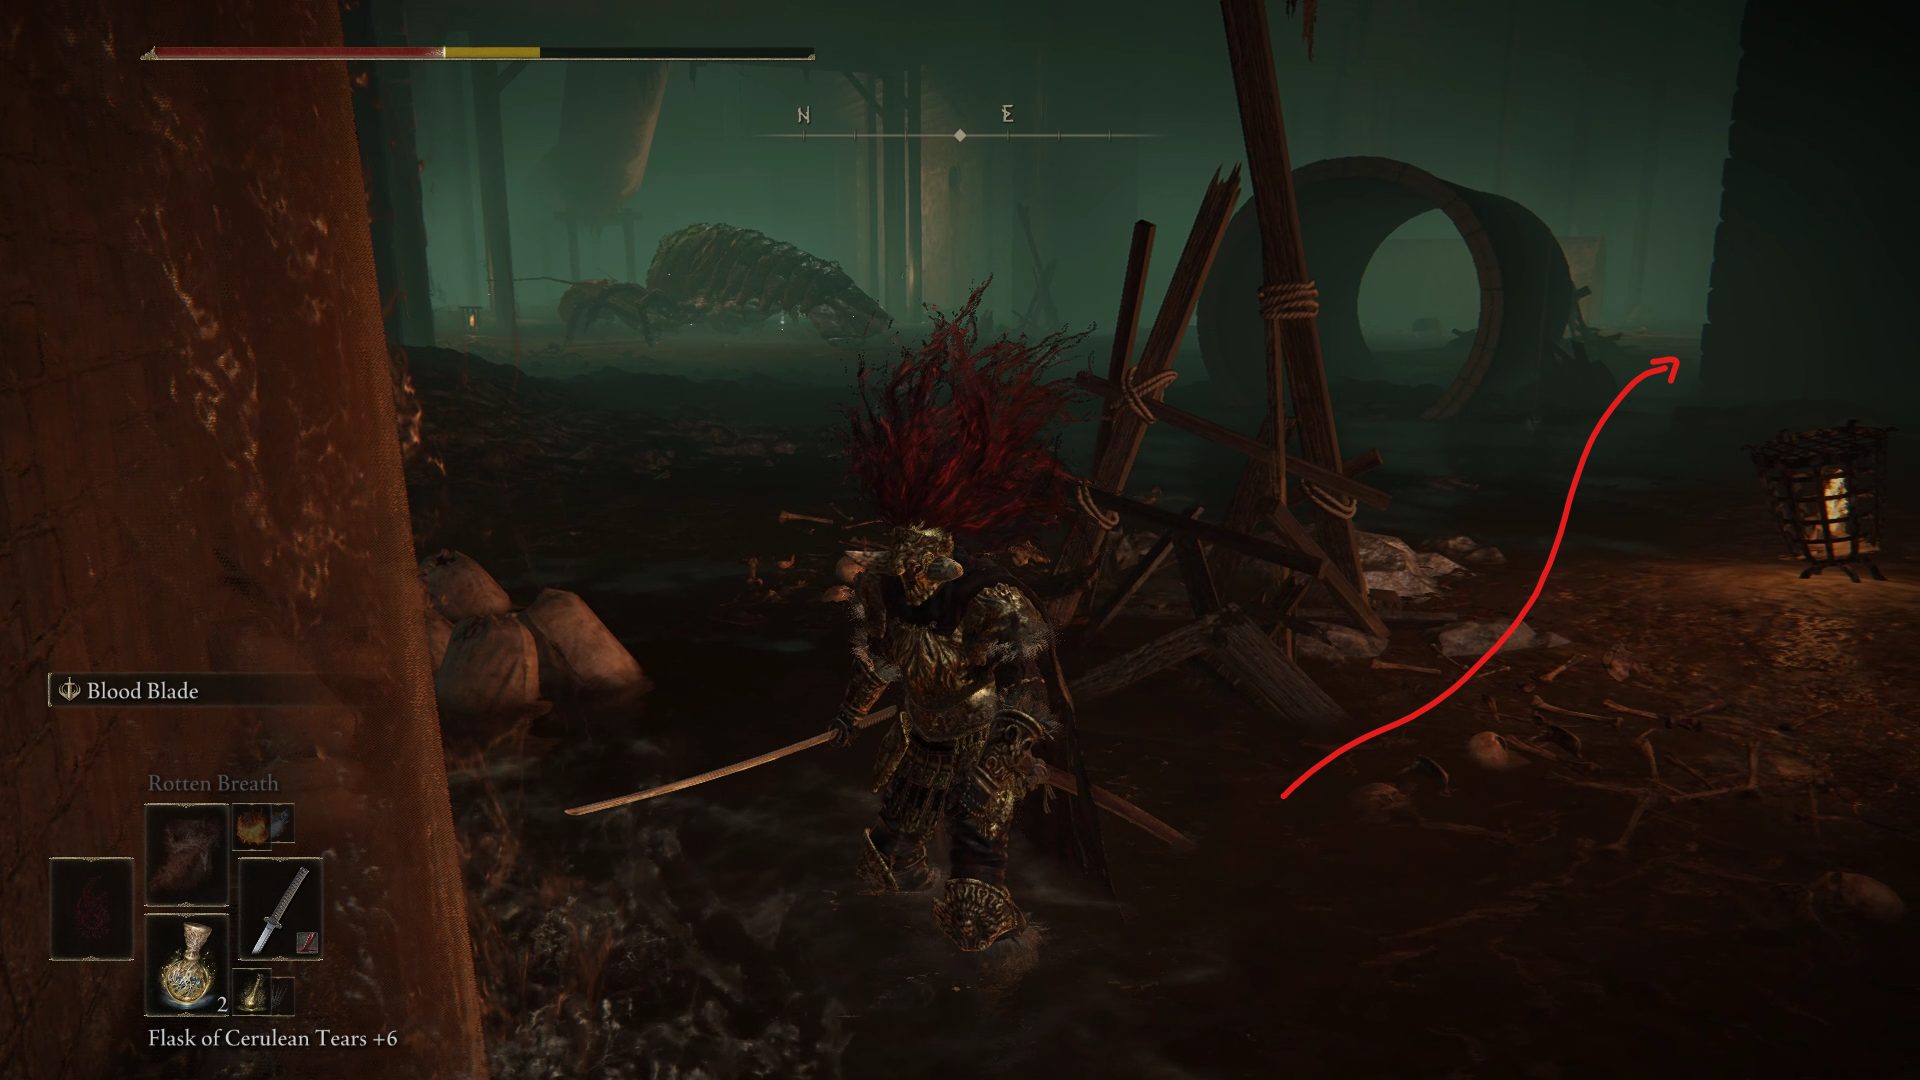
You’ll find quite a few items down here, but the crustaceans will get in your way and can also be quite tough to deal with. With that in mind, instead of fighting them straight away or/and going for loot, we recommend grabbing the site of grace nearby before coming back to this room and dealing with the crayfish.
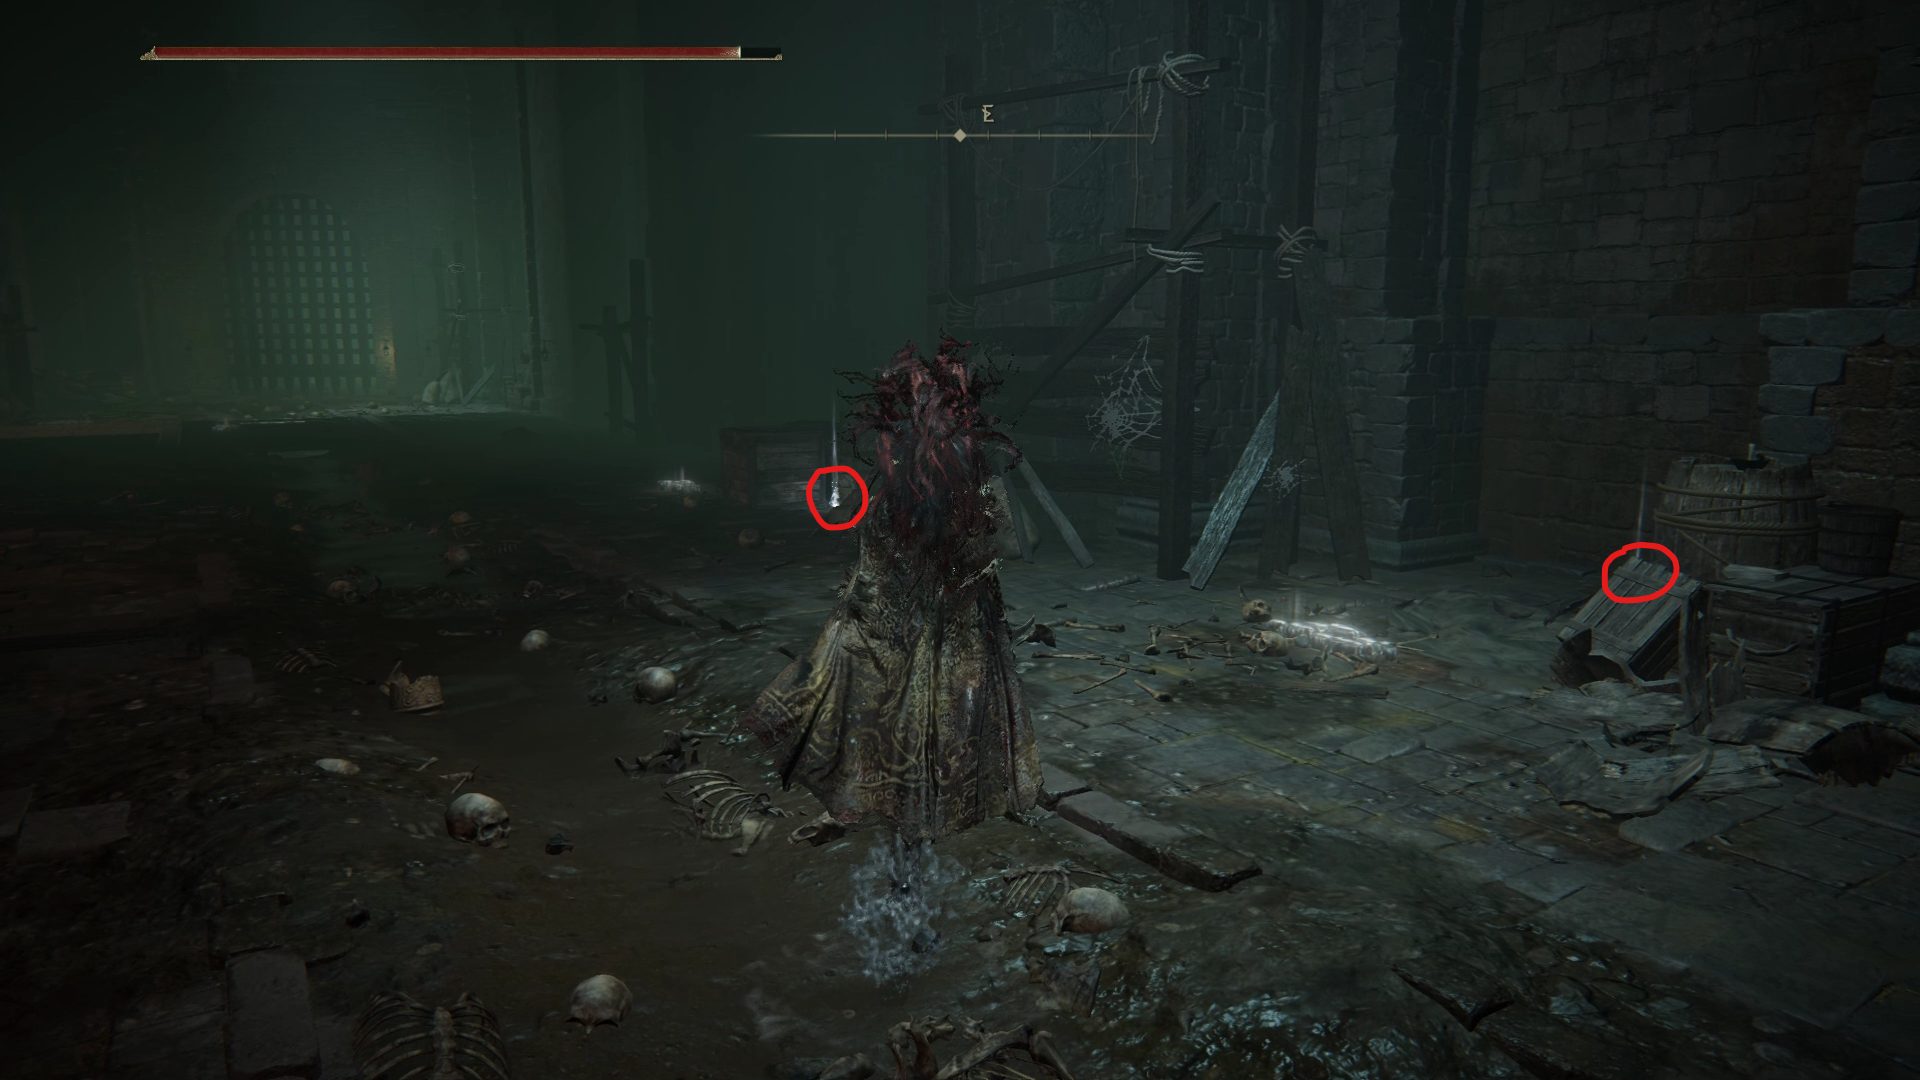
Grab the Leyndell Catacombs site of grace and head back to the room with the seafood. While the two Giant Crayfish can be difficult to deal with at the same time, the hole in the wall that leads to the site of grace you just grabbed will make it much easier. Since they’re too big to follow you into the catacombs, you can either use ranged attacks through the doorway to attack them, or bait their attacks by running in and out, and retaliate as soon as they’re finishing an attack. Once they’re dead, make sure to kill the loot beetle with the Somber Smithing Stone [7] in one of the broken pipes, and grab the 2x Smithing Stone [7], Mohg’s Shackle, 1x Somber Smithing Stone [7] and 2 more Smithing Stone [7].
Loot beetle dropping 1x Somber Smithing Stone [7]2x Smithing Stone [7] + Mohg’s ShackleSomber Smithing Stone [7] + Smithing stone [7]
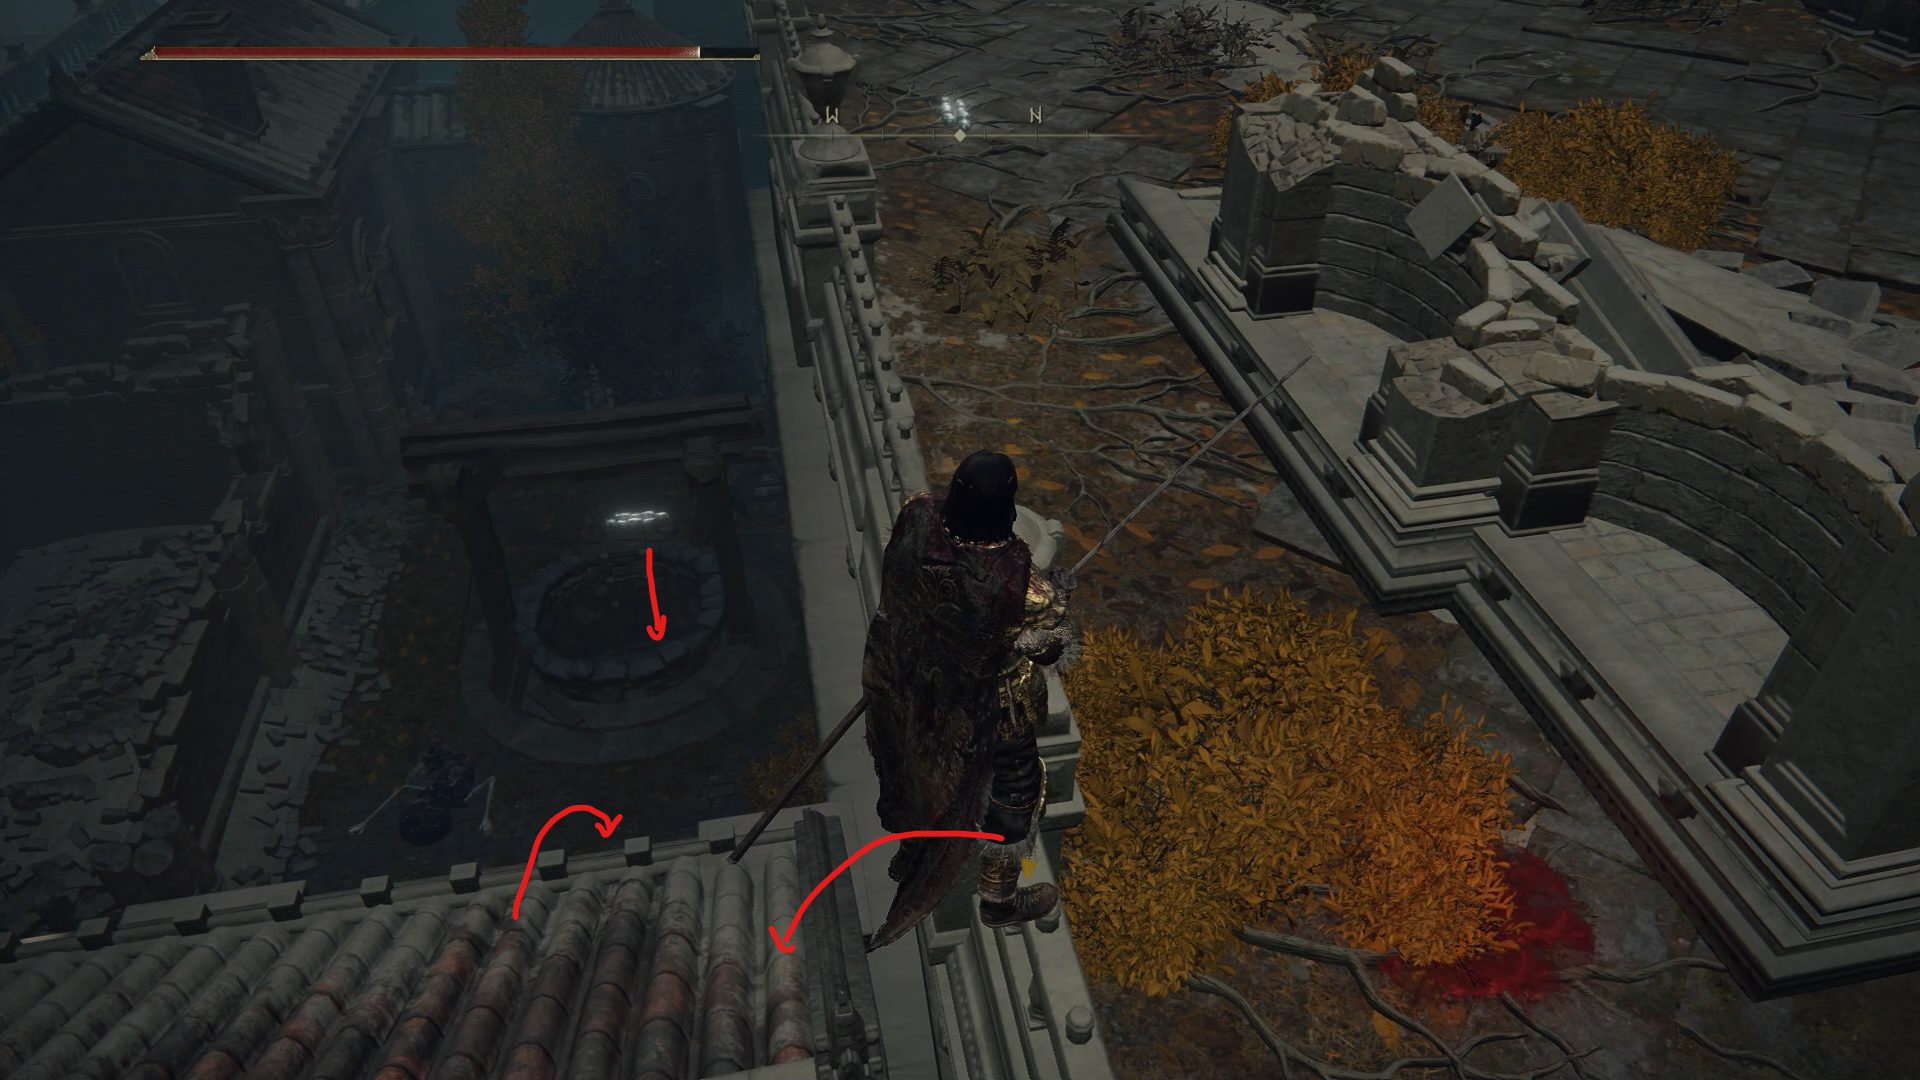
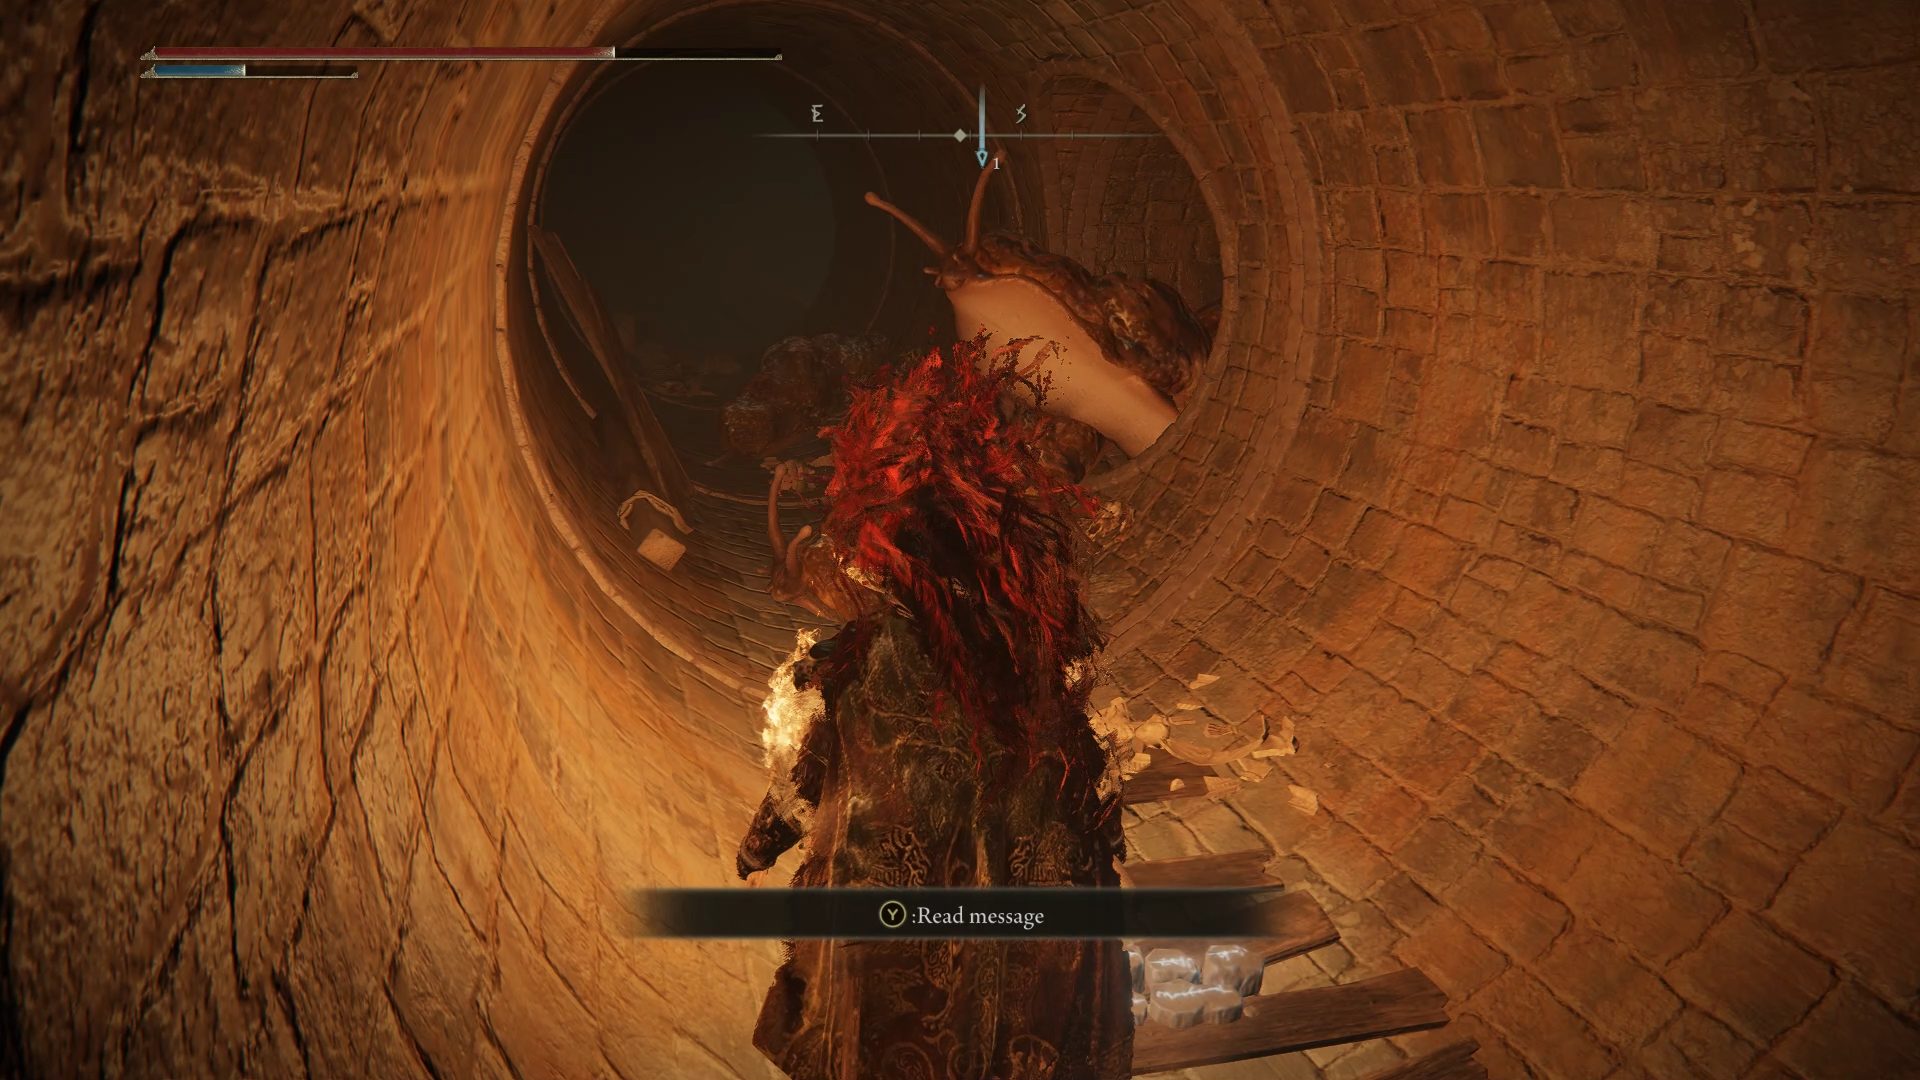
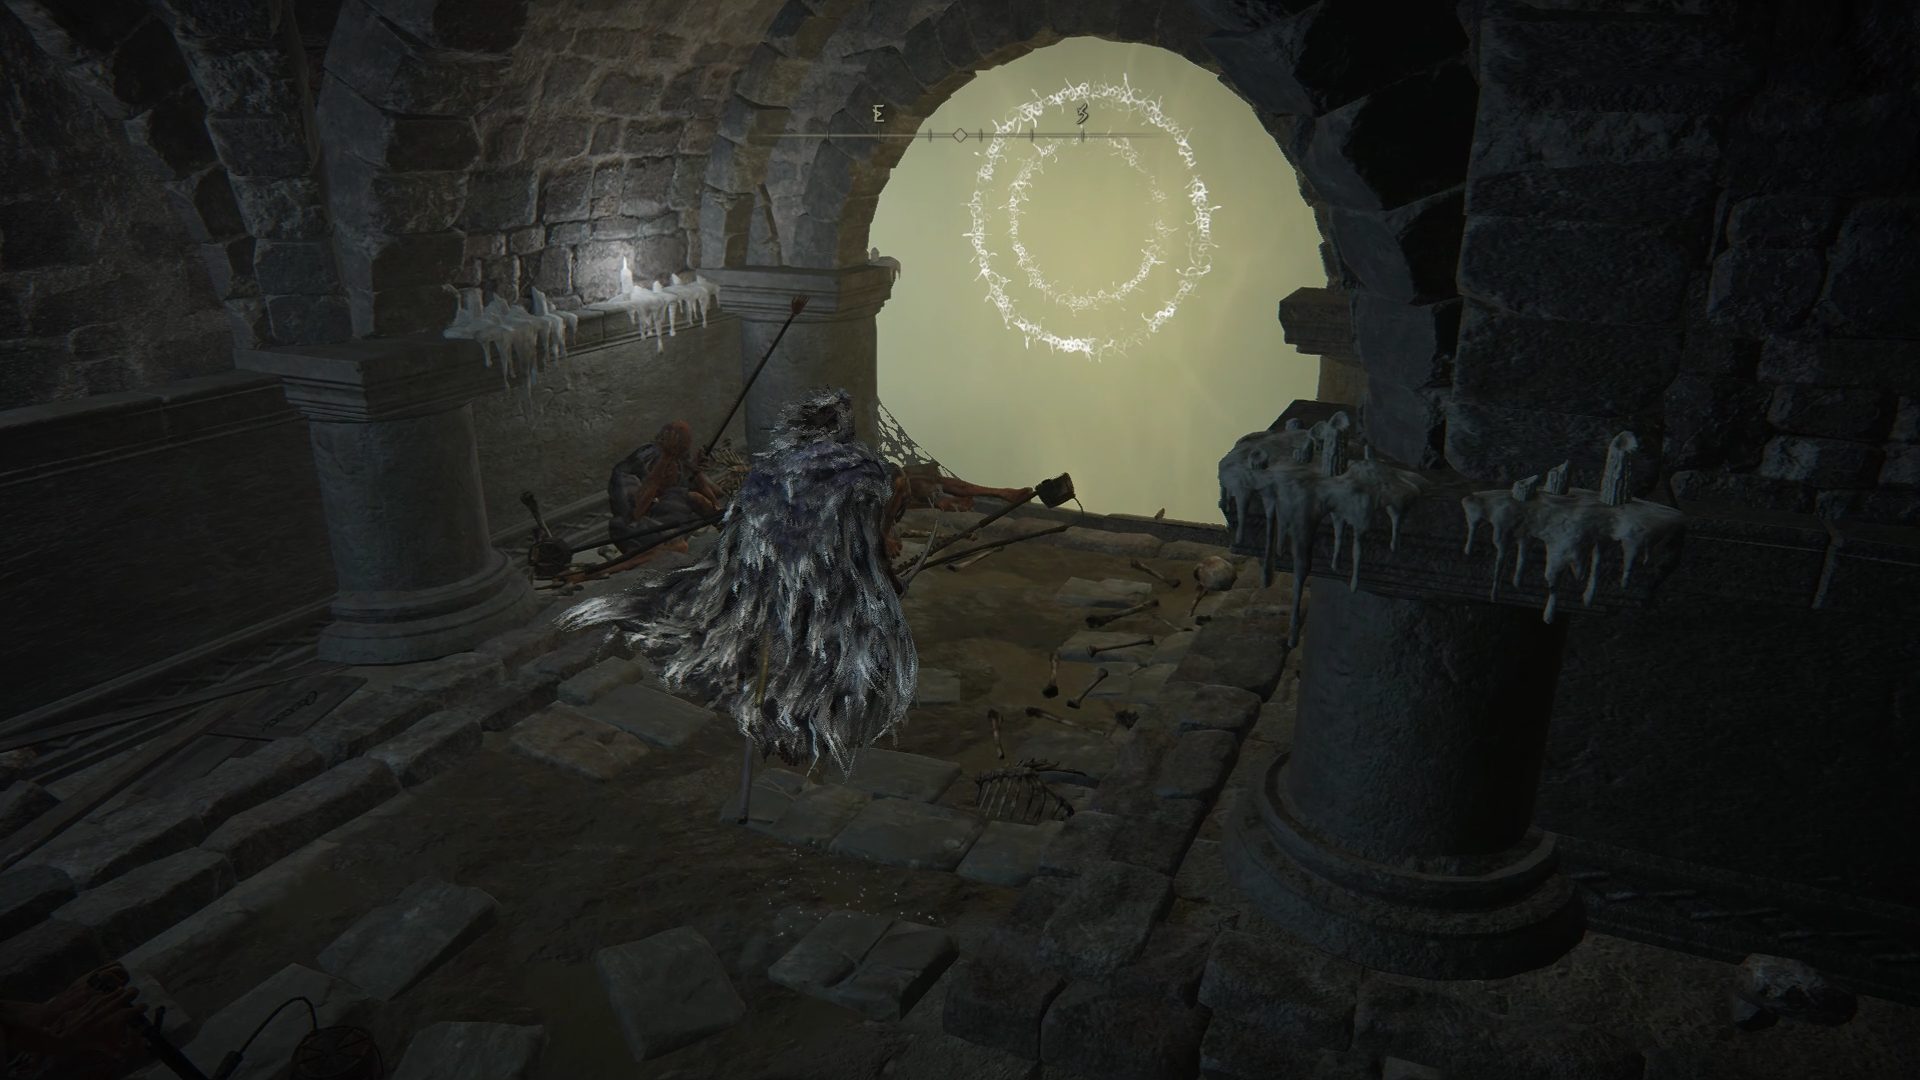
Now head back to the hole in the wall that leads to the Leyndell Catacombs site of grace, and go towards the elevator in front of you instead of going down the stairs that lead to the site of grace. Ride this elevator all the way to the top and you’ll see a room with a few spectral enemies ahead of you. Instead of wasting your time by attacking them, there are a couple of illusory walls next to the stairs, which is where you’ll find the snail summoning these ghosts, as well as the Haligdrake Talisman +1.
Illusory wall 1Illusory wall 2
With this bad boy in your bags, head up the stairs and start going through the hallways. Grab the Golden Rune [11] on a corpse on your way through, and you should very quickly reach a lever next to some stairs. Interact with the lever to unlock a shortcut to where we found the Shadow Bait incantation, and travel back to the Leyndell Catacombs site of grace.
Use the tabs above to navigate to Part 2 of this walkthrough!
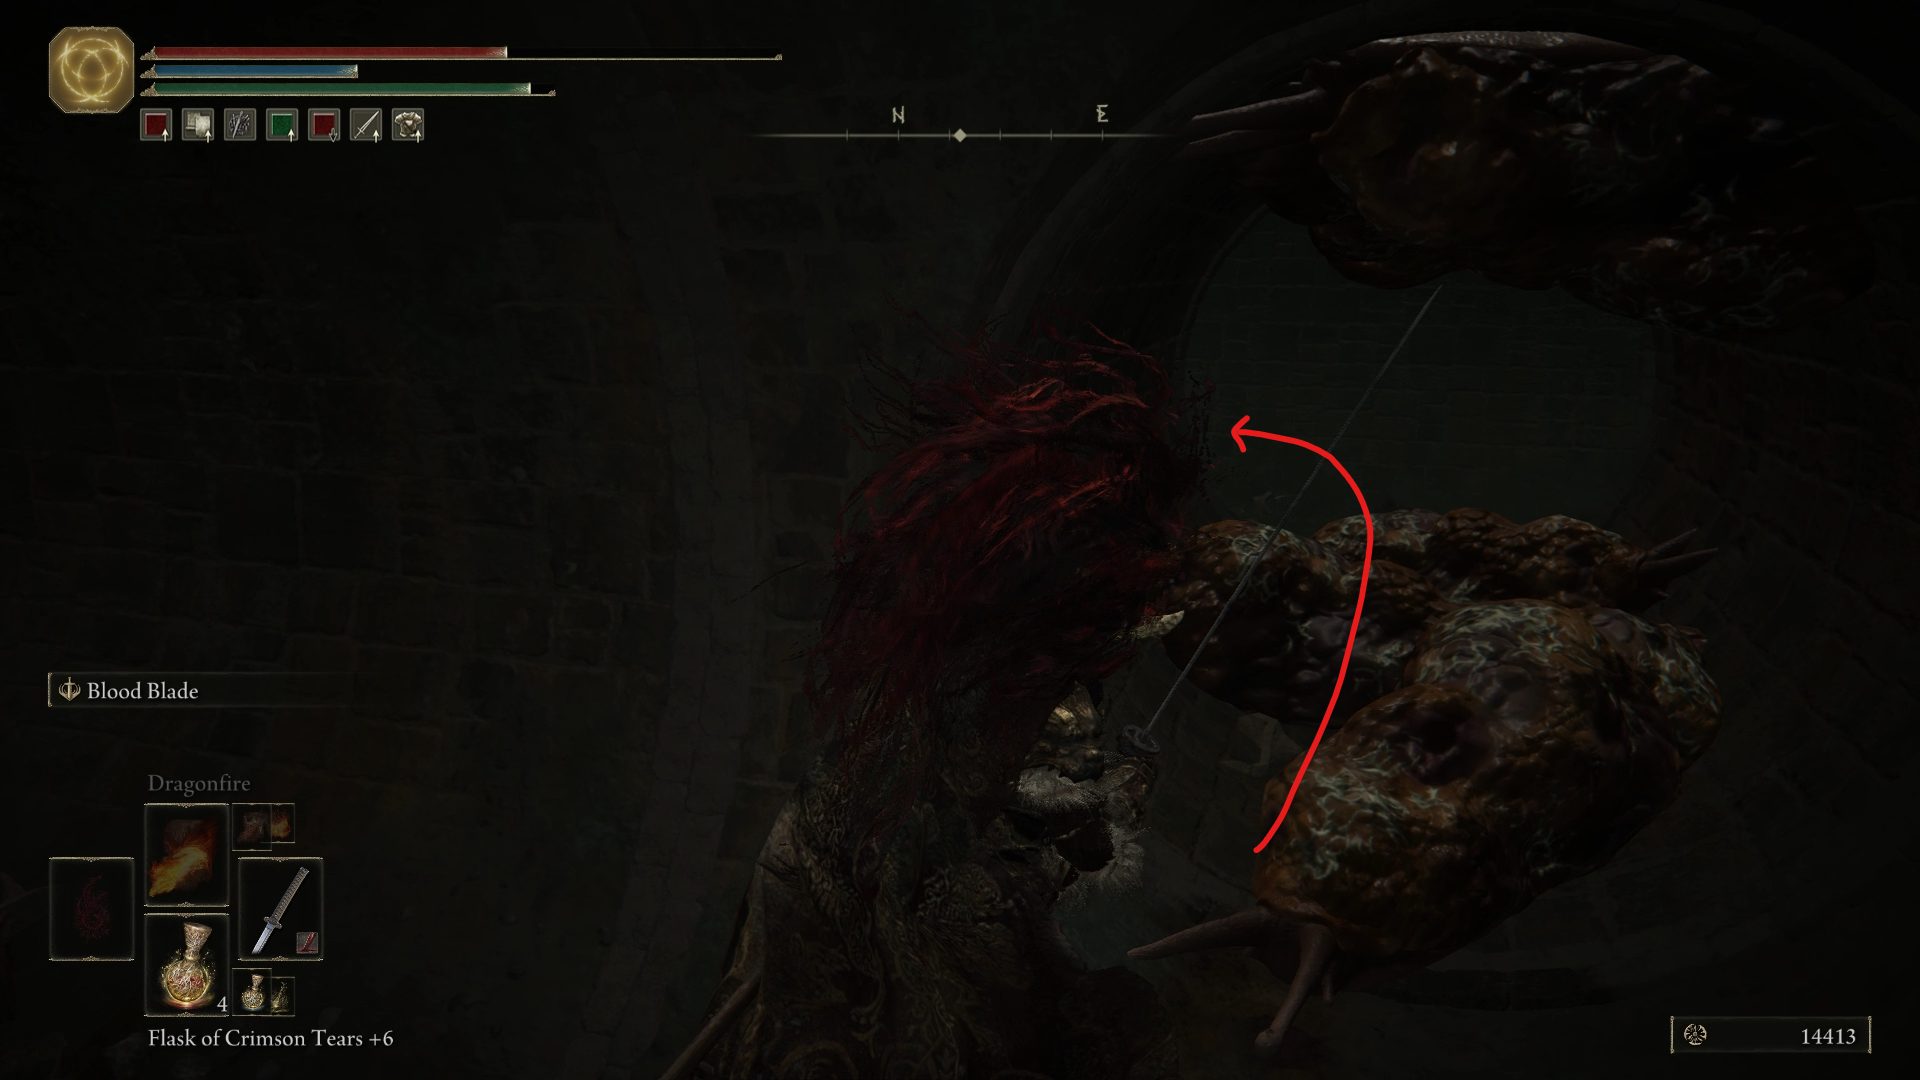
Go back to the Underground Roadside site of grace, and this time around, go through the door that leads to the wooden bridge, and climb on top of yet another pipe. Follow it all the way to the end until you can jump down to another one below, which is very conveniently close to a wooden platform. This section of the room is just as infested with imps, so stay on your guard as you move around. Once you’re on top of the wooden platform, grab the Golden Rune [10] and go through the door to find yourself above an area that we already explored towards the start of the walkthrough. This time however, you’ll be able to jump in the opening of a pipe, which will take you to a series of very confusing hallways.
3 imps + Golden Rune [10]
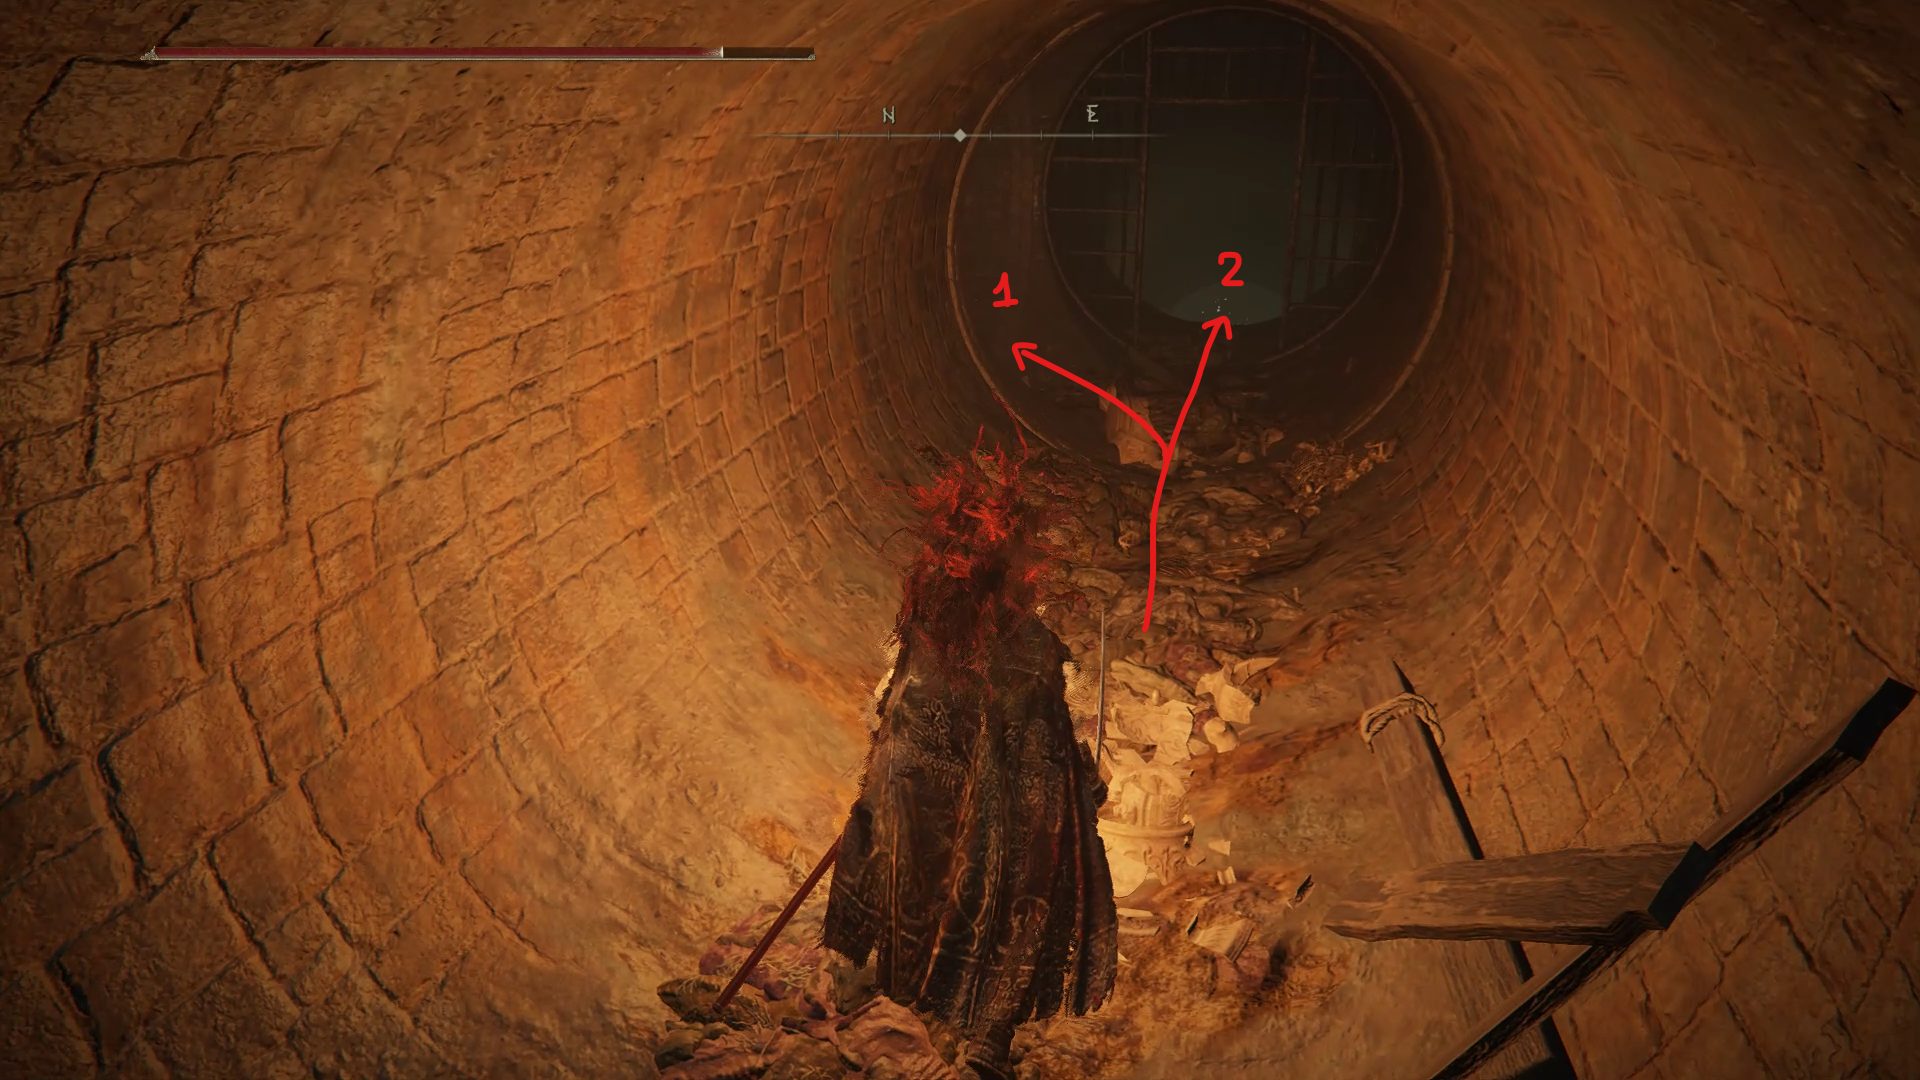
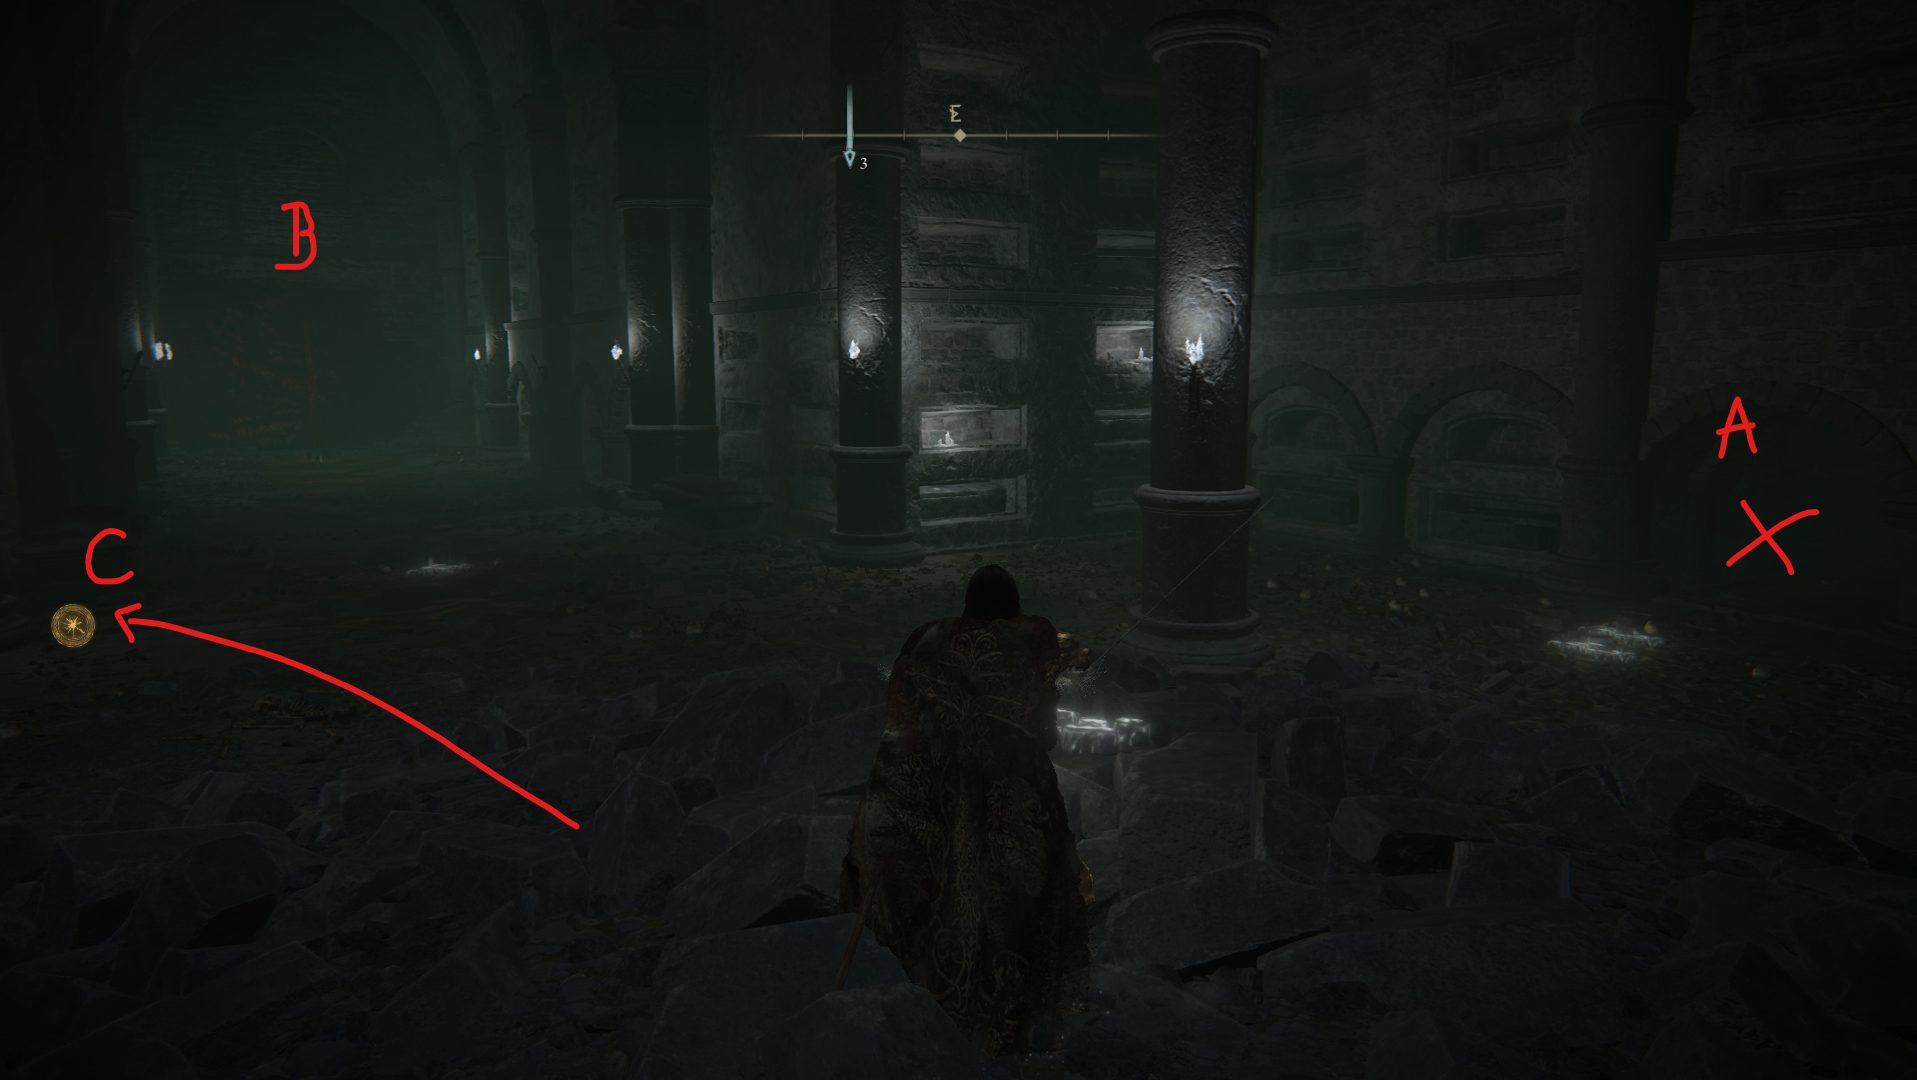
Once you’re inside, if you go southeast you’ll be going towards the end of the dungeon, but there are a couple of things that we can grab before doing so. So for now, go southwest instead. Once you reach the open gate, you’ll have two different paths you can take: path (A) with a Golden Rune [8] and 4x Smithing Stone [7], and path (B) with a Warming Stone and a Smithing Stone [8].
Golden Rune [8]4x Smithing Stone [7]
Warming Stone (1) + Path forward (2)Watch out for the ambush to the right
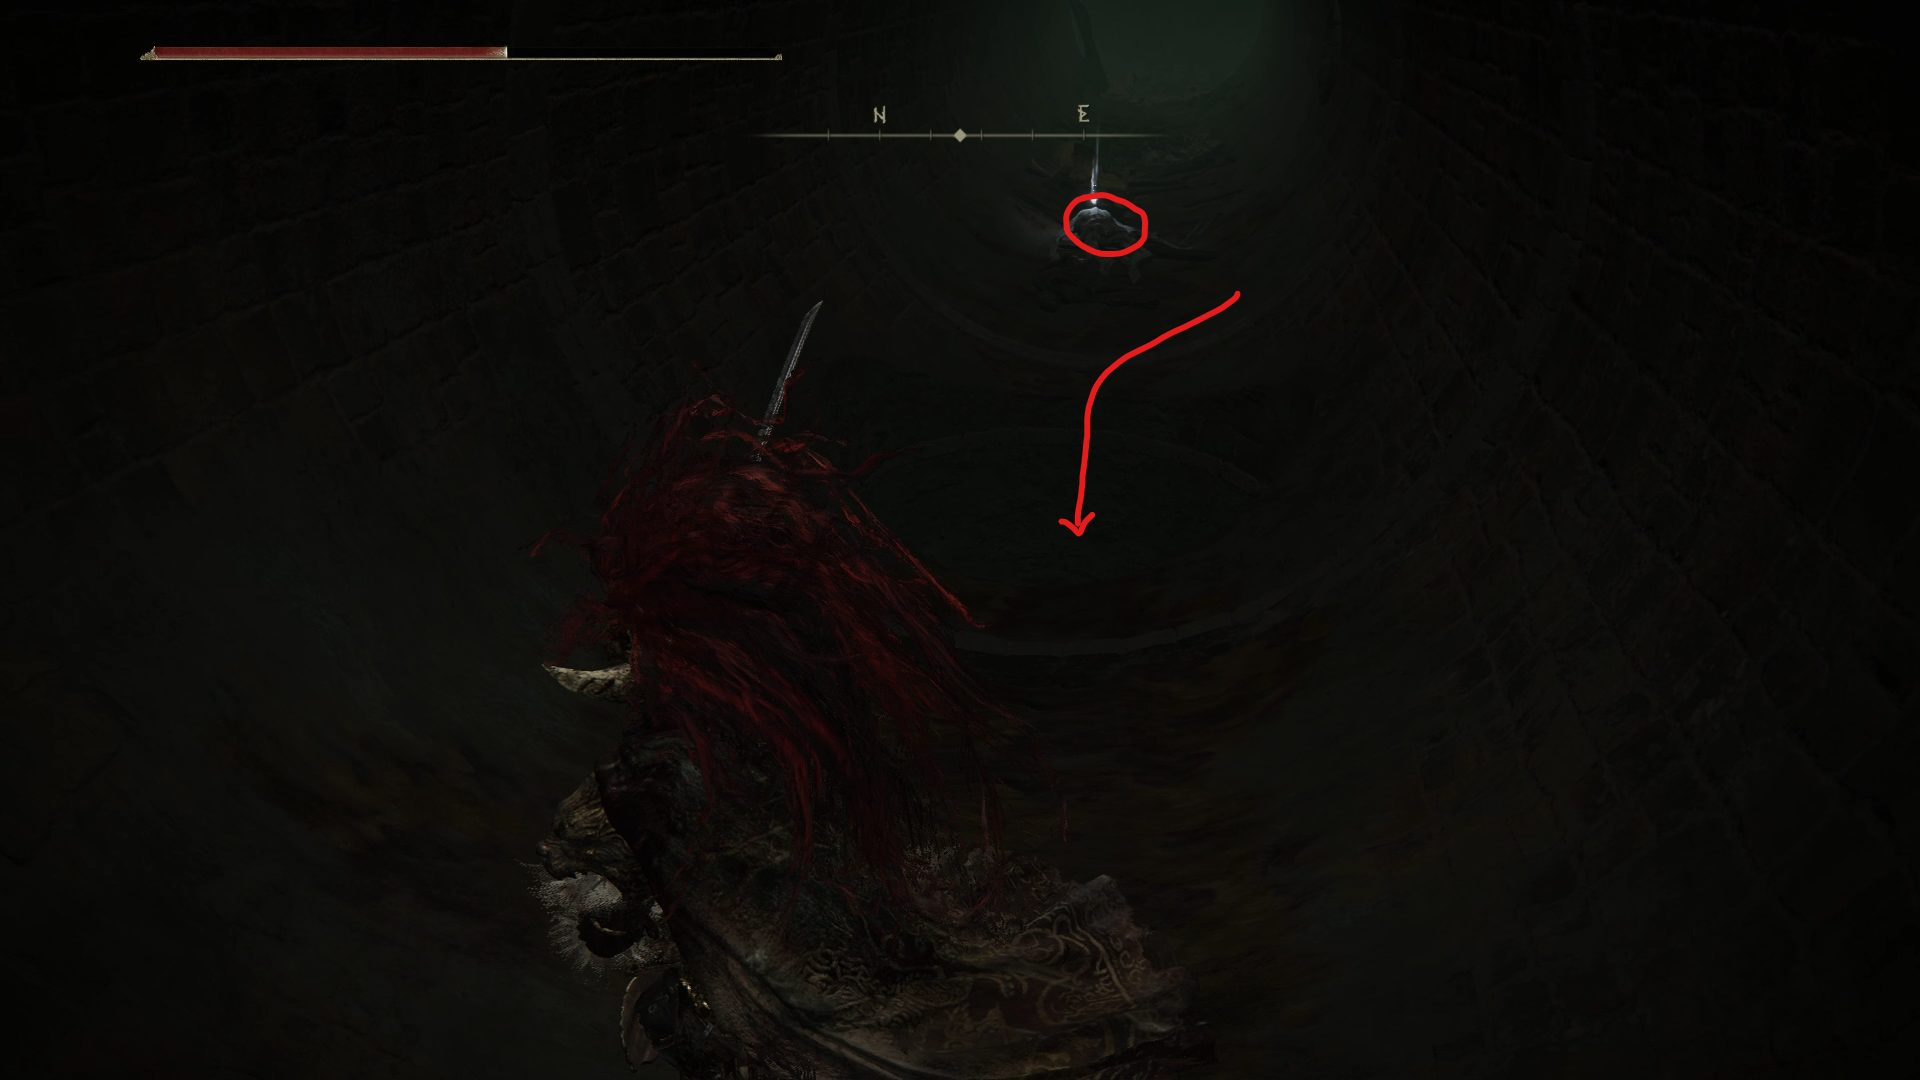
Now go northeast to get back to where you landed, and continue down this tunnel until it turns southeast. Once this tunnel turns northeast again, you’ll have another forking path next to a corpse with a Golden Rune [11].
If you go straight, it will not only lead you to a huge rat, and you will also risk falling into a hole in the ground that would drop you down to a section that you already visited before. Instead, go left and kill the small pushover rat before jumping down the hole in the ground, as this one will take you one step closer towards the end of this fecal themed area. Once you’re there, face southwest to find a weak enemy and a Smithing Stone [5] and open the shortcut to the left before going back where you landed, and start going northeast.
This time, at the end of this path, you will find a ladder going down and you’ll finally be out of the sewage. You will however be in a relatively small room with pot enemies of varying sizes, a Ritual Pot and an elevator taking you down to this area’s last site of grace: Forsaken Depths.
With how close the site of grace is, you can always skip these enemies and take the elevator down to the site of grace to activate it before going back up, or just grab the Ritual Pot before running away by taking the elevator, like a coward.
Now, if you head northeast from the Forsaken Depths site of grace, you’ll find yourself in a room with a Smithing Stone [6] on the side, and several stairs that lead to this area’s boss: Mohg, the Omen.
Once Mohg, the Omen is defeated, activate the site of grace and grab the Erdtree’s Favor +1 from the chest next to the altar in the back. Now, attack the altar to reveal the way to an optional area that will allow you to progress towards the Lord of Frenzied Flame ending. Past this illusory altar, the way will be blocked until you defeat Morgott, the Omen King in Leyndell, Royal Capital.
Illusory Wall
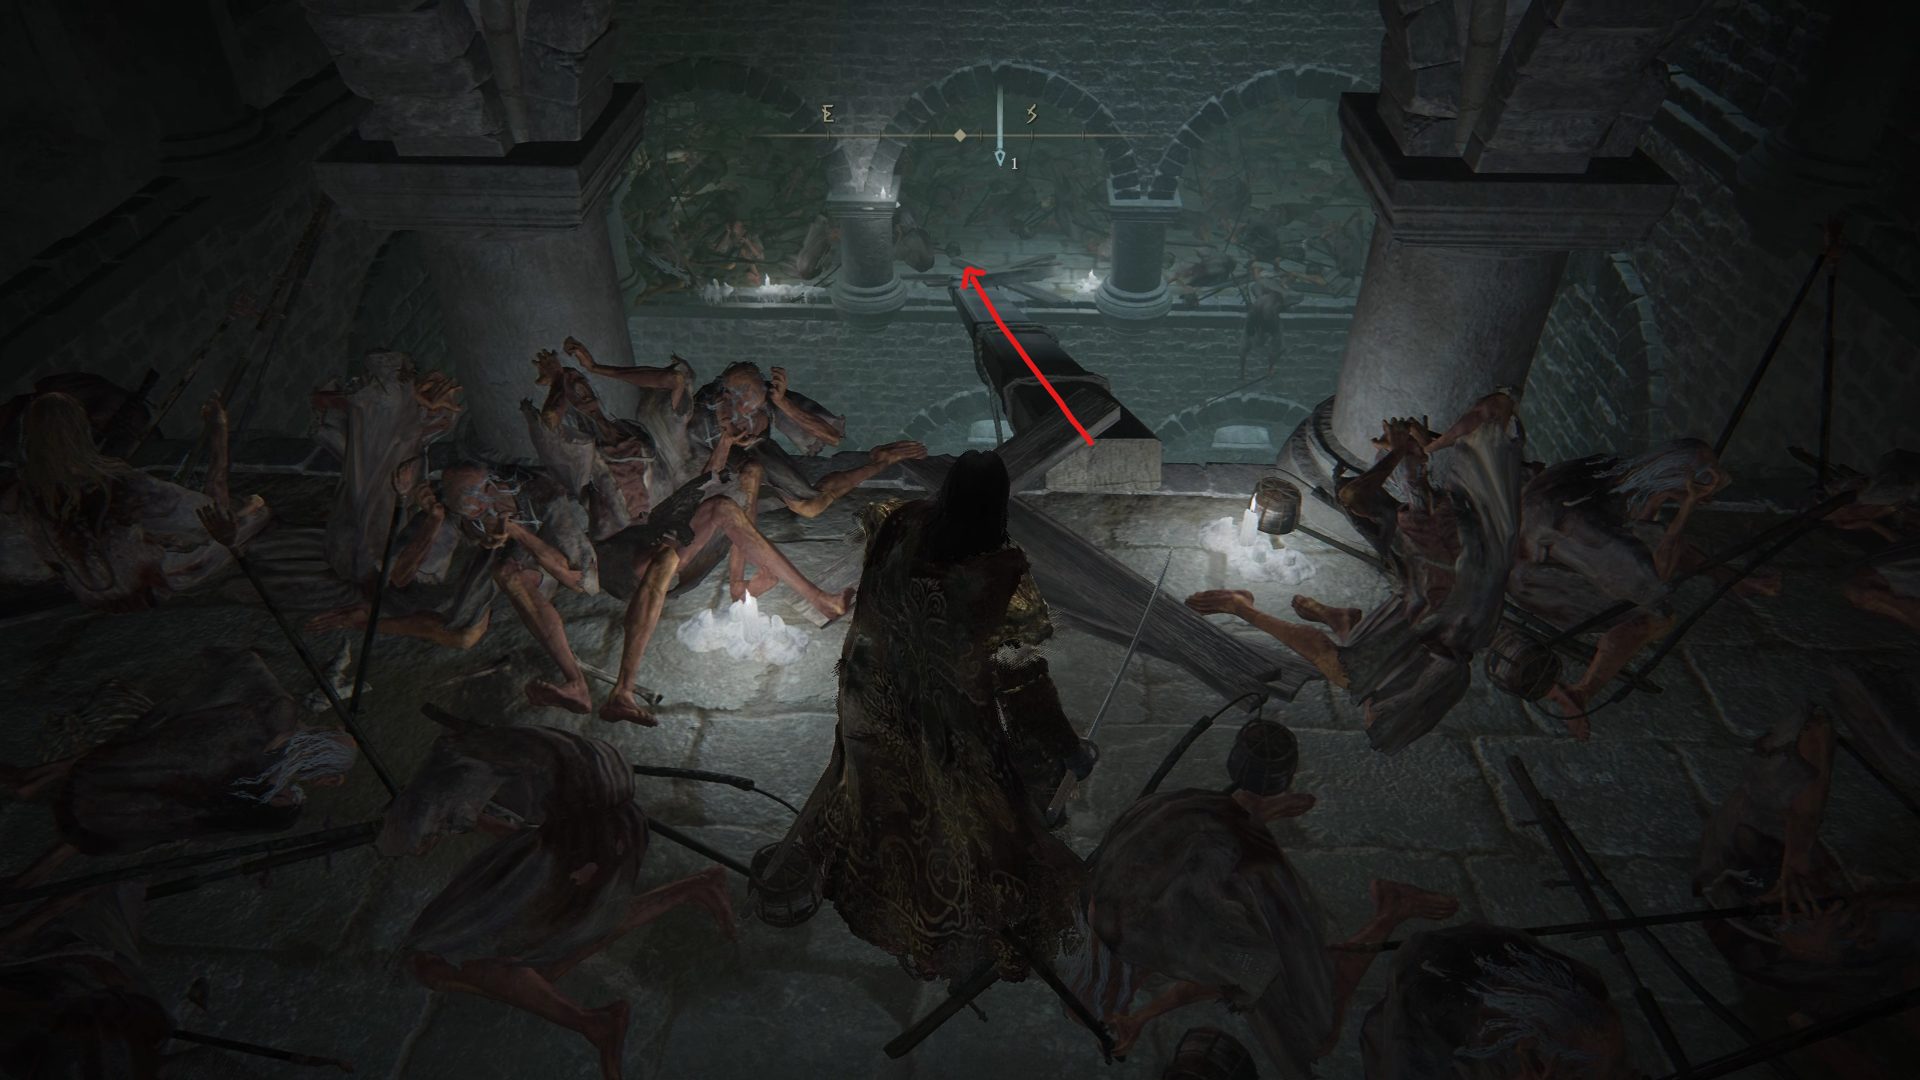
Once the path is no longer sealed, go through and you will reach an area filled with corpses. There, walk across the wooden beam leading to a lower section and you will find yourself in a similar looking area but this time, you will meet your first enemy. These enemies, while weak, have very strong frenzied incantations that can also be used to destroy some tents nearby. With that in mind, grab the patrolling enemy’s attention and bait one of his frenzied attacks at the tent to be able to grab the Nomadic Merchant’s set (Head, Chest and Legs), then kill the enemy and grab the 5x Grace Mimic in the back of the room before going further.
Go down the stairs and you will reach yet another area with tents and a patrolling enemy. Here, you can use the patrolling enemy in the same way to break the nearby tent. This time however, the reward is 5x Eye of Yelough, so it’s up to you whether it’s worth it or not.
Look for another beam, follow it to the alcove at the end to grab a Golden Rune [11], and then, jump to another wooden beam under the previous one and grab the Frenzied’s Cookbook [2] in yet another alcove.
From the alcove with the cookbook, go down the beam to an area with several very chill enemies and grab the 3x Heft Beast Bone before going towards the ledge. To go further, you’ll have to jump down to several sarcophaguses sticking out until you reach a sarcophagus with the Inescapable Frenzy incantation, and another area filled with corpses.
There, you will find yet another tent with an item, though the enemy will be a bit further, next to the Fingerprint Stone Shield. If you decide to grab him and drag him to the tent, you’ll be able to grab the Note: Miquella’s Needle (click here for the note’s details).
Now all you have to do is go down the nearby stairs and jump down to the very bottom, at which point the floor will crumble, and you will find yourself in an open area with 3 important things nearby. To the very left, you’ll be able to grab the (C) Frenzied Flame Proscription site of grace. The gate in the back (B) can be unlocked by un-equipping all of your armor and interacting with it. However, as soon as you touch that door, you will be on track towards the Lord of Frenzied Flame ending, which can only be reverted by finding and using Miquella’s Needle. Lastly, there is also an illusory wall (A) to the right that leads to a chest with a Rune Arc, and another illusory wall that leads to Deeproot Depths.
Video game fan since TMNT: The Manhattan Project, I'm always on the lookout for games that could top Outer Wilds or Disco Elysium, or for new songs to listen to.
Just to add that Hyetta will also be at Frenzied Flame Proscription if you’ve been doing her quest. If you accept the three fingers then she will give you the Frenzied Flame Seal (& some Frenzyflame Stones). The unique passage to the Deeproot Depths gives you the Root-Facing Cliffs site of grace, It also nets you a Numen’s Rune for popping a mama ant & a succession of corpses give you; a Smithing Stone (6), a Formic Rock, a Golden Rune (8), another Golden Rune (8), a Golden Rune (5) & the last one ten Golden Arrows. Cannot reach any of this from Deepwood Depths proper. As always, great guide & I’m still looking forward to the expansion!
Ryak
11 months ago
In part2 where there is “Path A” and “Path B” there should be at least a note to go back where you entered this maze.


Just to add that Hyetta will also be at Frenzied Flame Proscription if you’ve been doing her quest. If you accept the three fingers then she will give you the Frenzied Flame Seal (& some Frenzyflame Stones). The unique passage to the Deeproot Depths gives you the Root-Facing Cliffs site of grace, It also nets you a Numen’s Rune for popping a mama ant & a succession of corpses give you; a Smithing Stone (6), a Formic Rock, a Golden Rune (8), another Golden Rune (8), a Golden Rune (5) & the last one ten Golden Arrows. Cannot reach any of this from Deepwood Depths proper. As always, great guide & I’m still looking forward to the expansion!
In part2 where there is “Path A” and “Path B” there should be at least a note to go back where you entered this maze.