While Mt. Gelmir is a relatively small area, several quests will require you to progress through this area, and there is a good amount of interesting loot, as well as the Volcano Manor legacy dungeon.
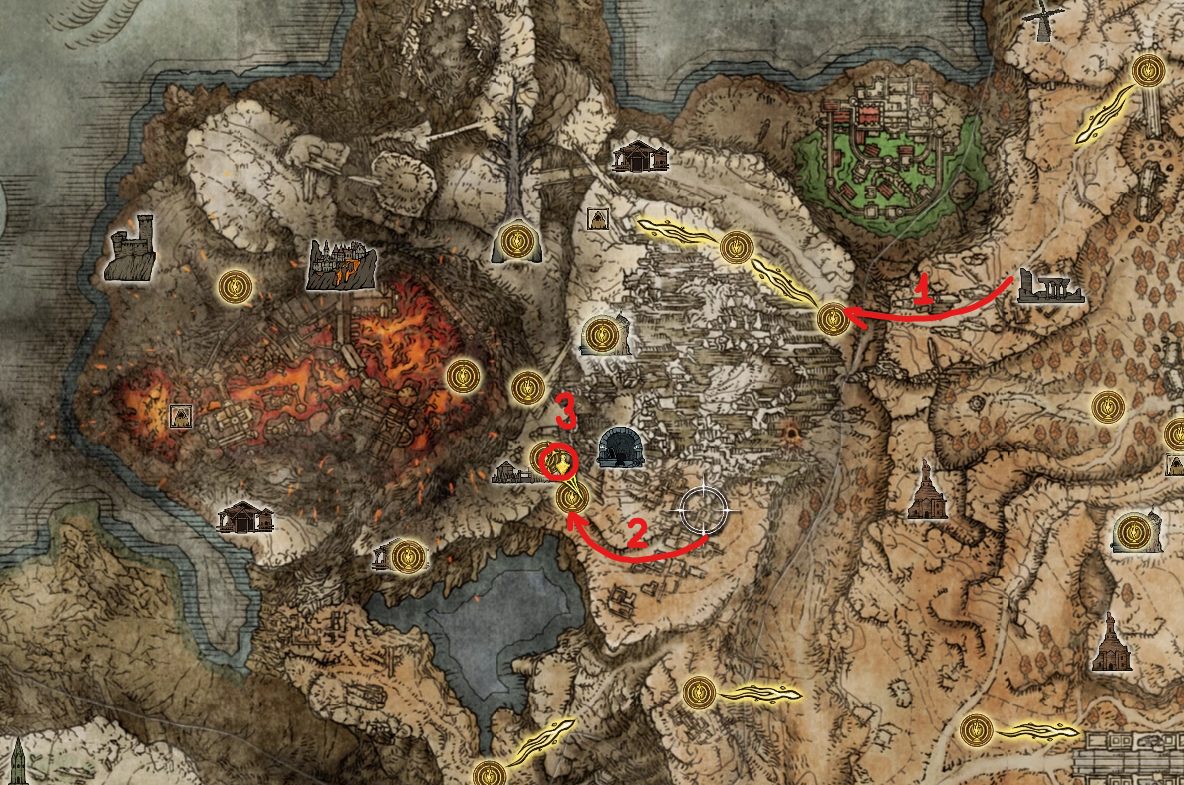
Mt. Gelmir can be found west of Altus Plateau, and it can be accessed 3 different ways.
This first entrance is the one we recommend, and all you have to do is follow the road from Altus Plateau that leads to a suspended bridge, and cross it to enter Mt. Gelmir. This is the entrance that we’ll be starting at in this walkthrough.
This entrance is equally as straightforward, and all you have to do is enter the ravine, which is next to the Wyndham Catacombs dungeon. You’ll reach the Seethewater River site of grace, which we’ll cover later in the walkthrough.
This third and last entrance is accessed through the area that can be accessed by getting grabbed by the Abductor Virgin, which can be found at the bottom of the Academy of Raya Lucaria legacy dungeon. Once you defeat the Abductor Virgins boss in that area, you’ll gain access to the Abductor Virgin site of grace, which is right above the ravine entrance to Mt. Gelmir. If you exit through a nearby hole in the wall, you’ll be able to follow a path down to the Seethewater River site of grace.
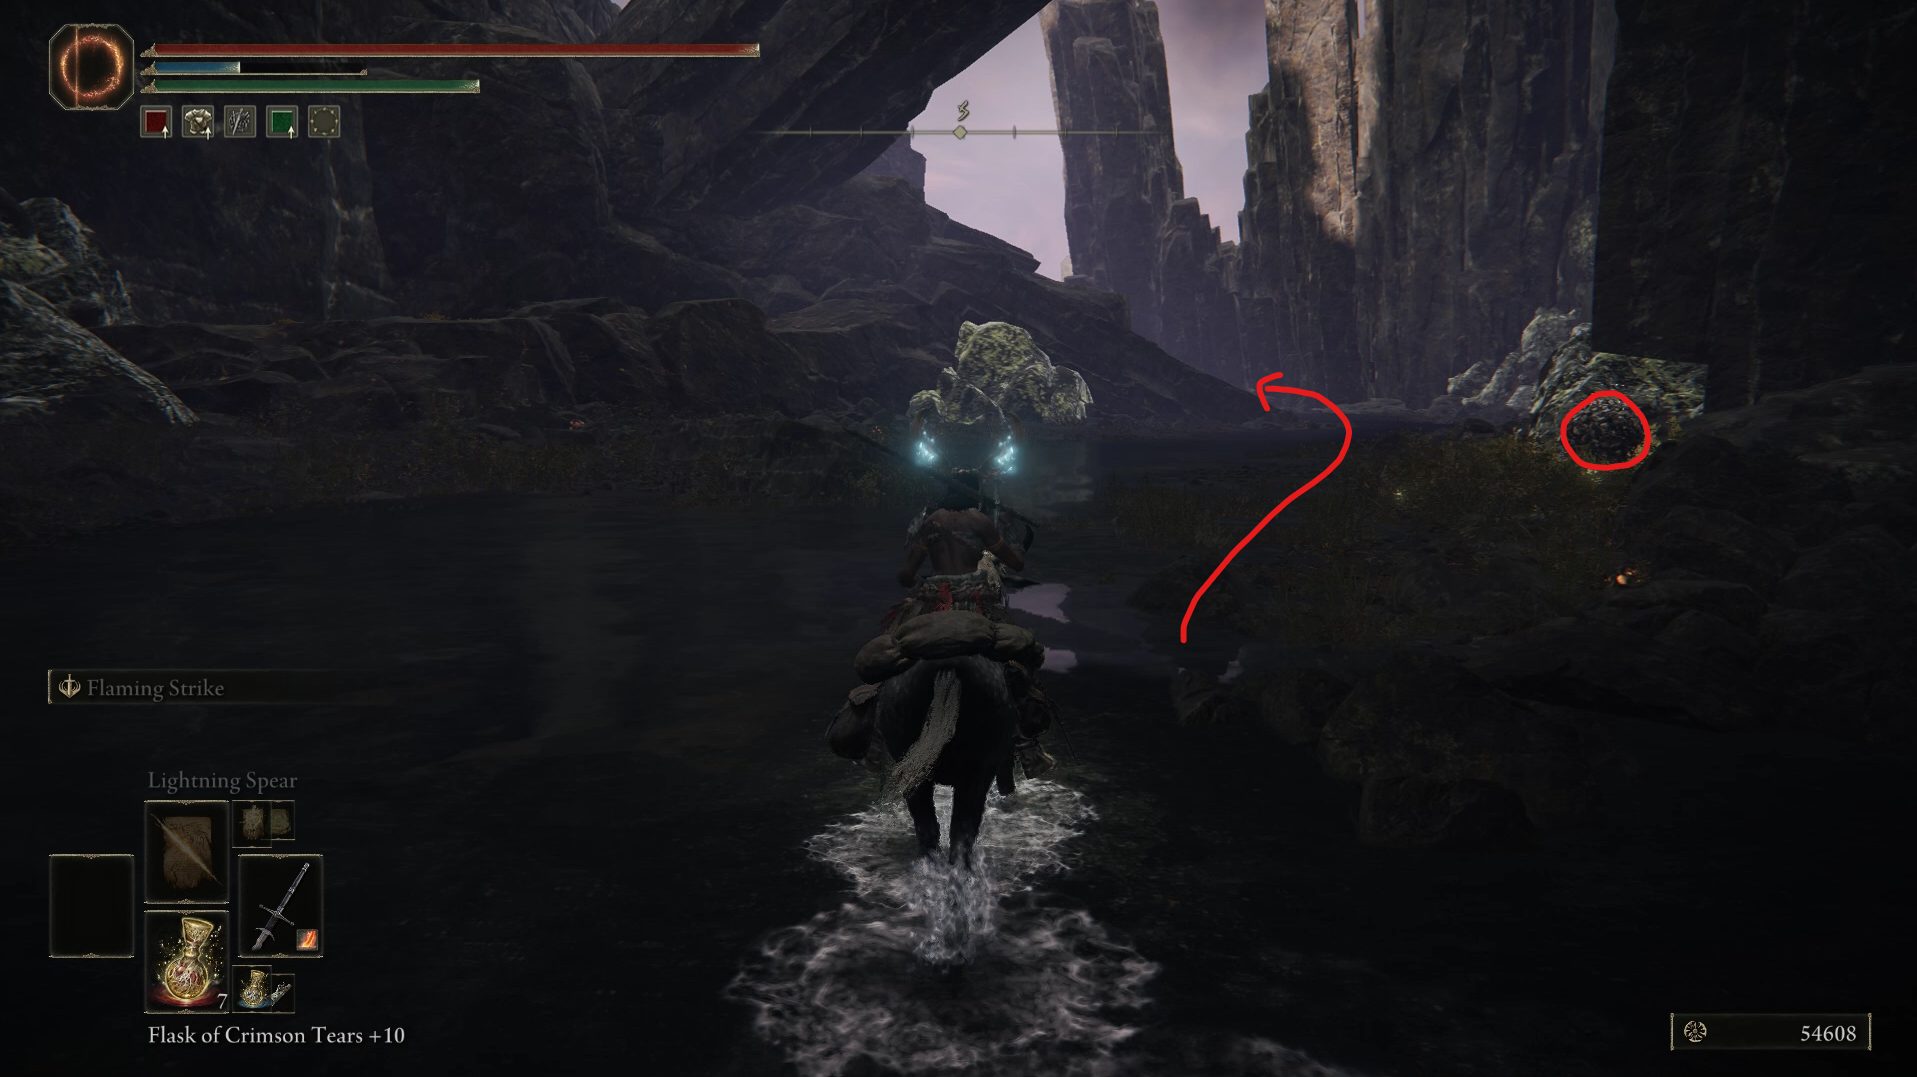
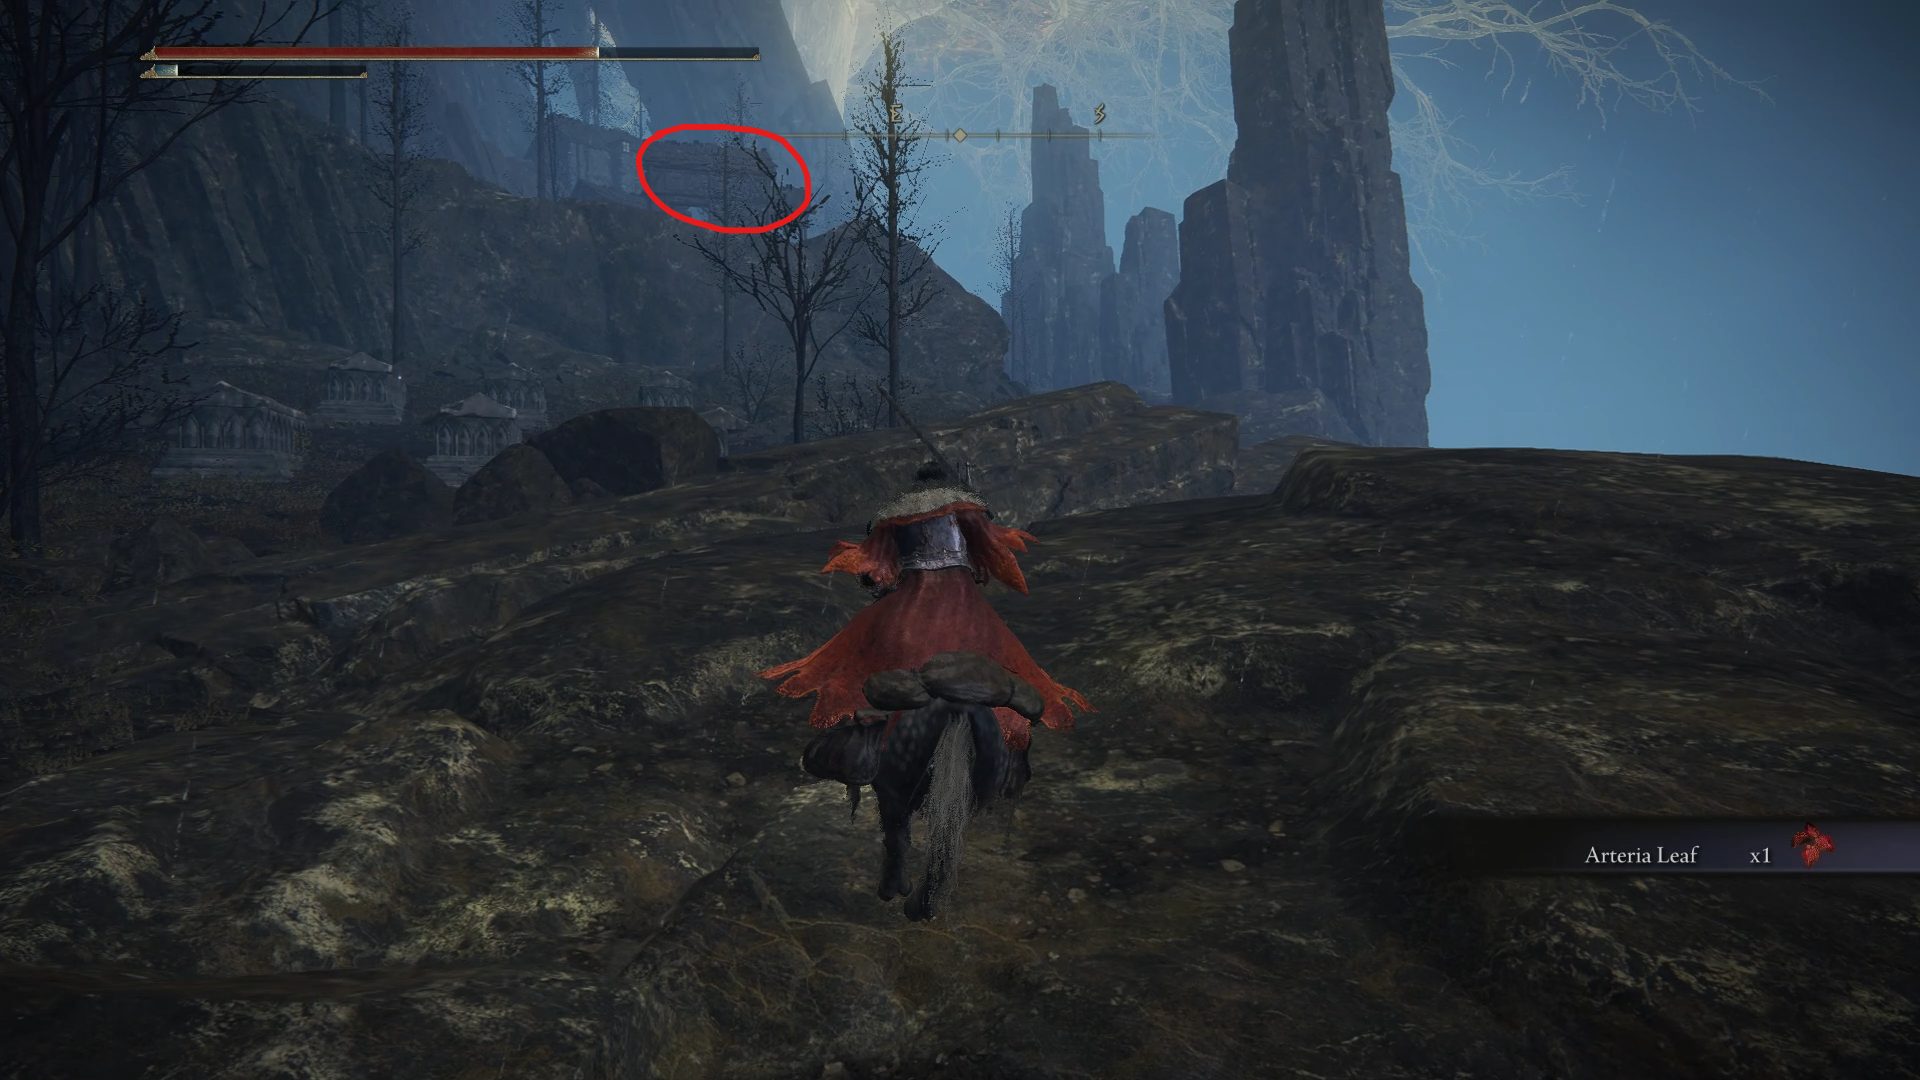
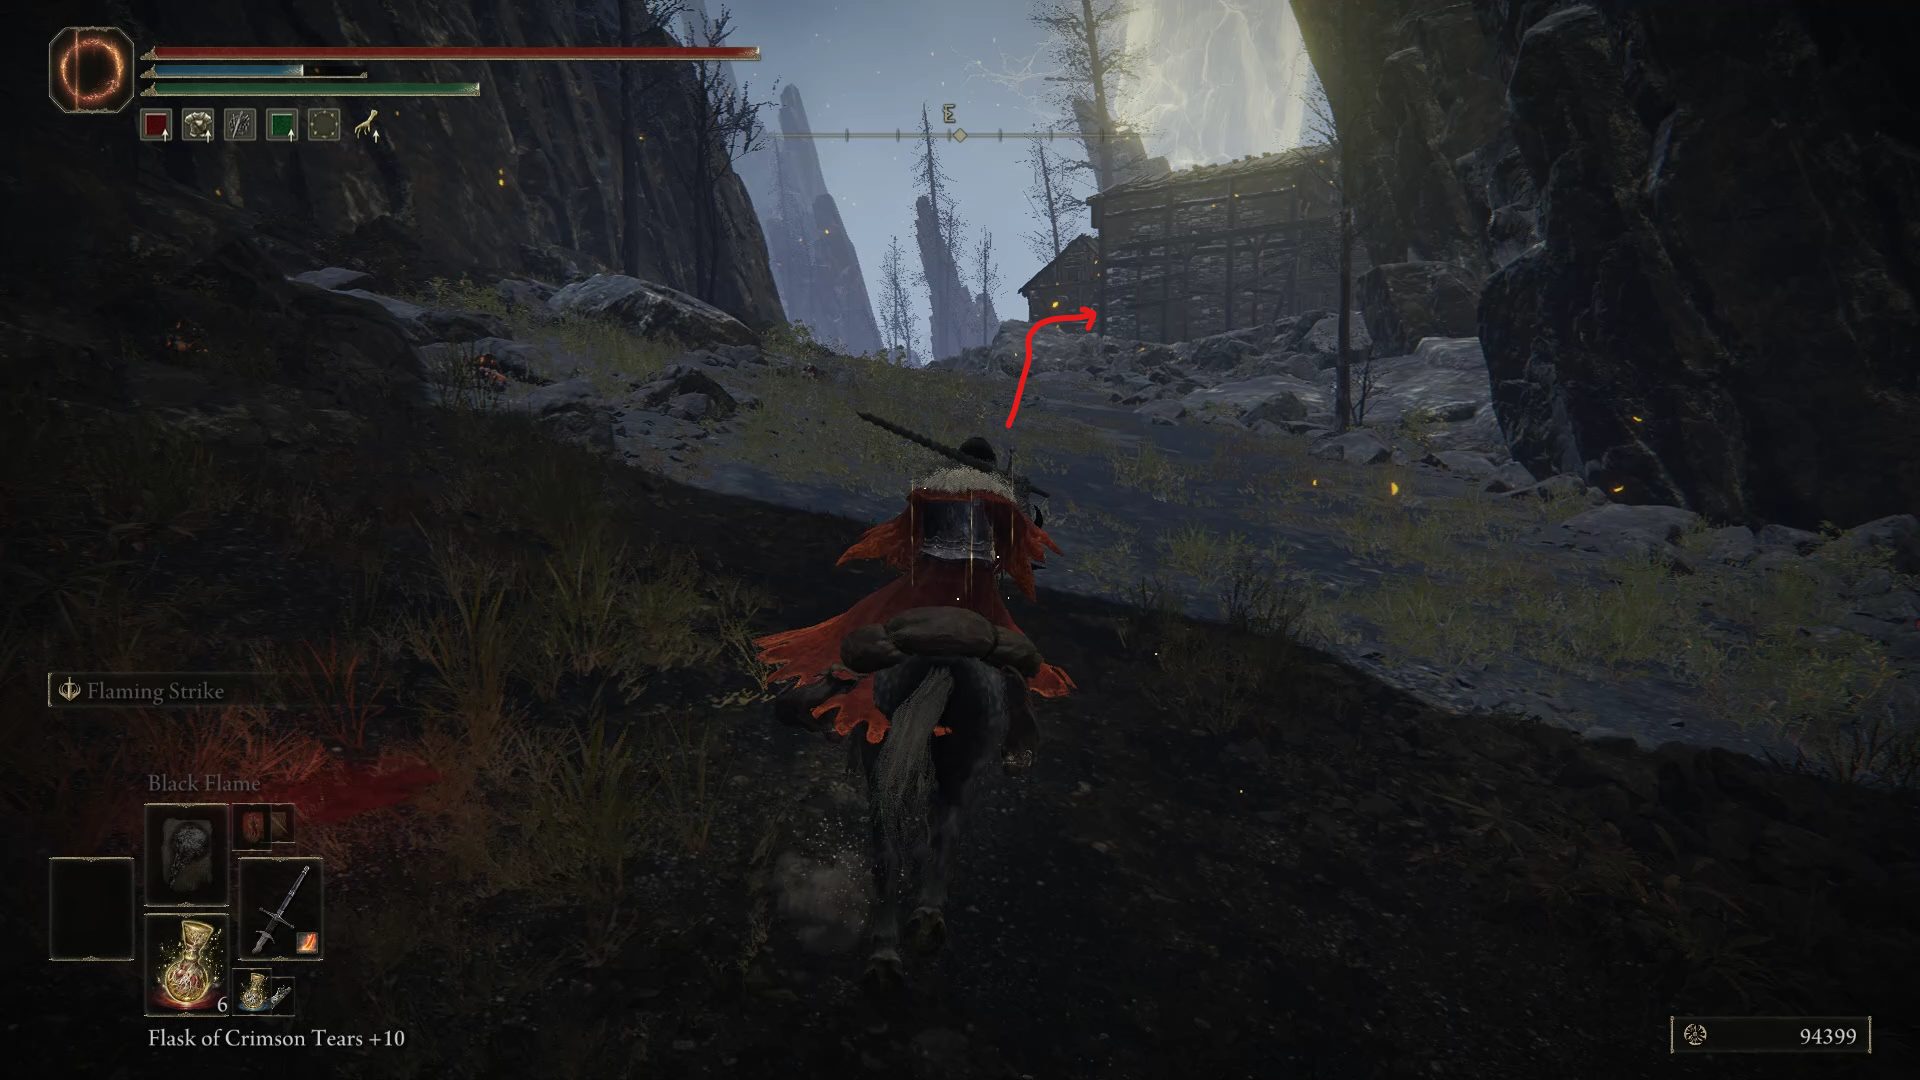
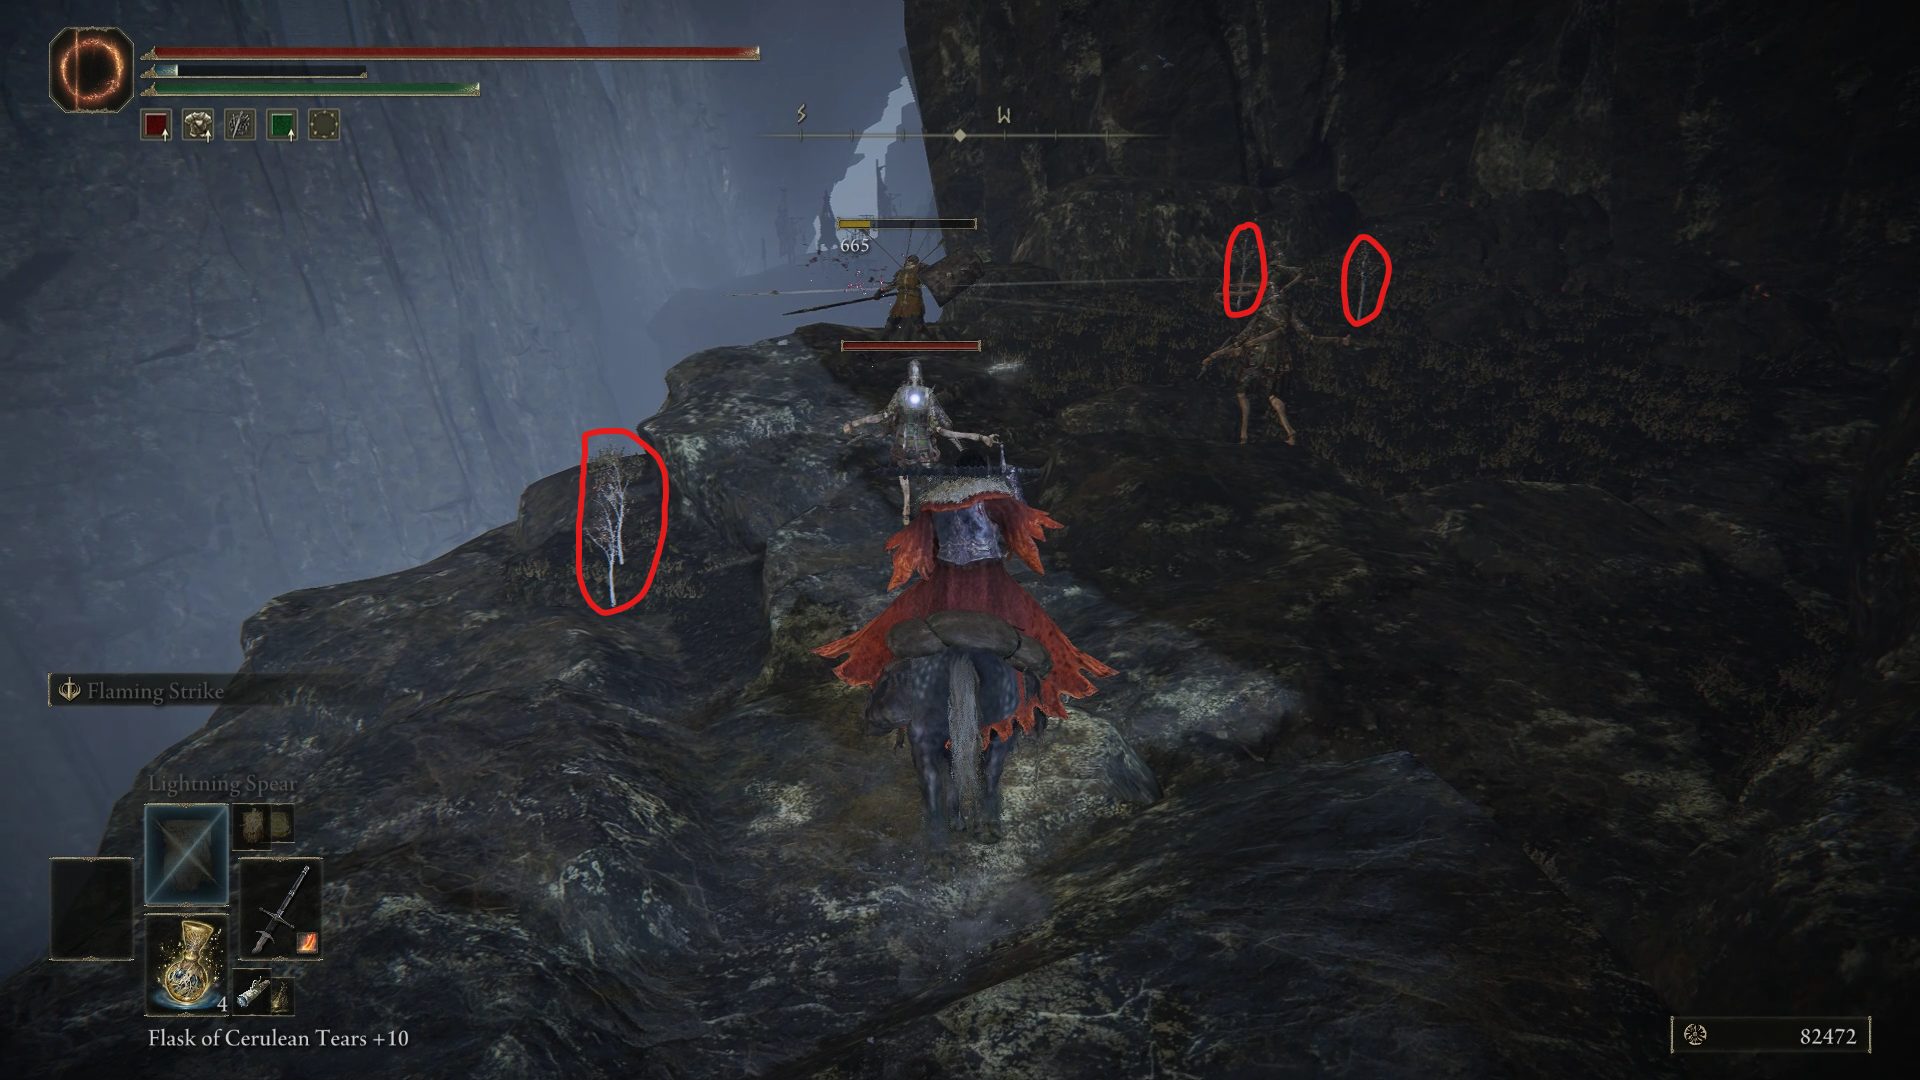
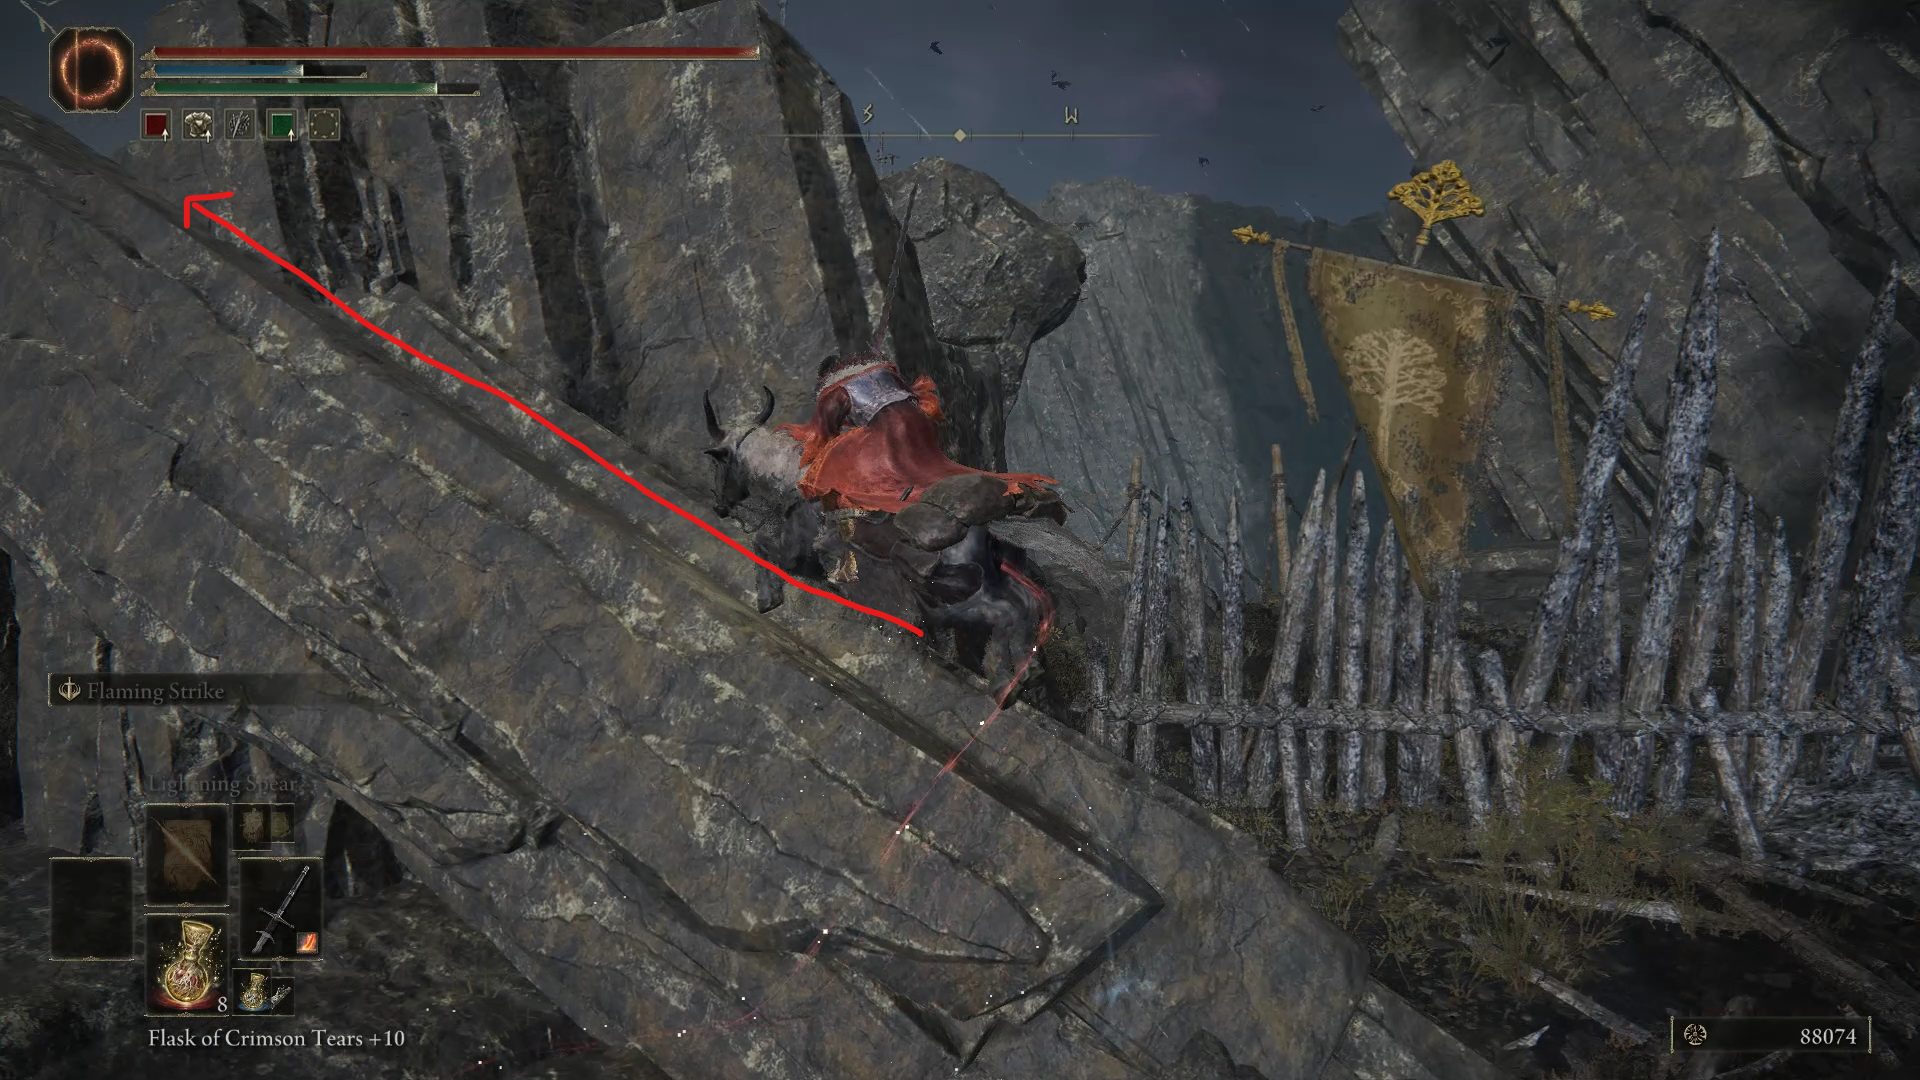
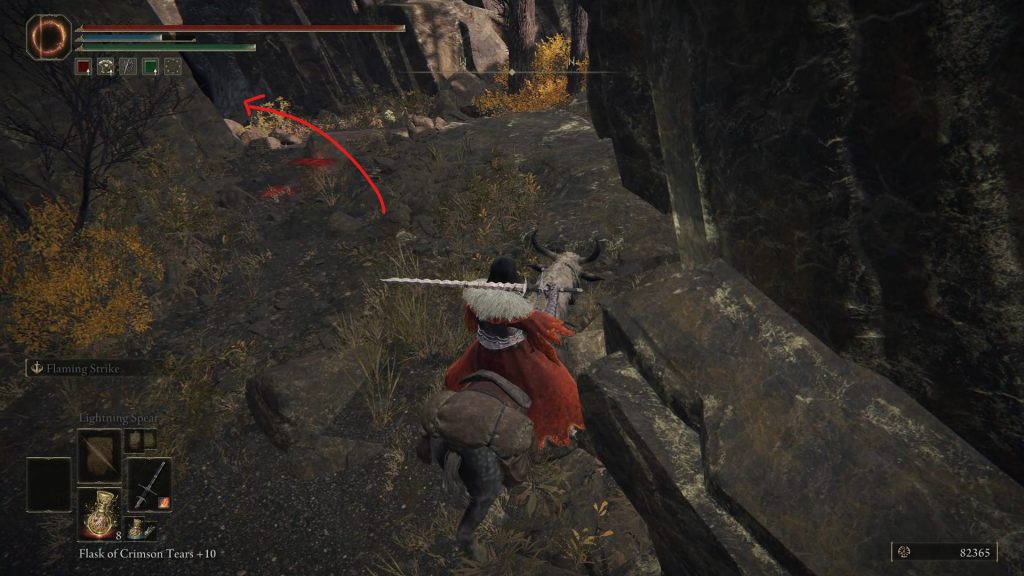
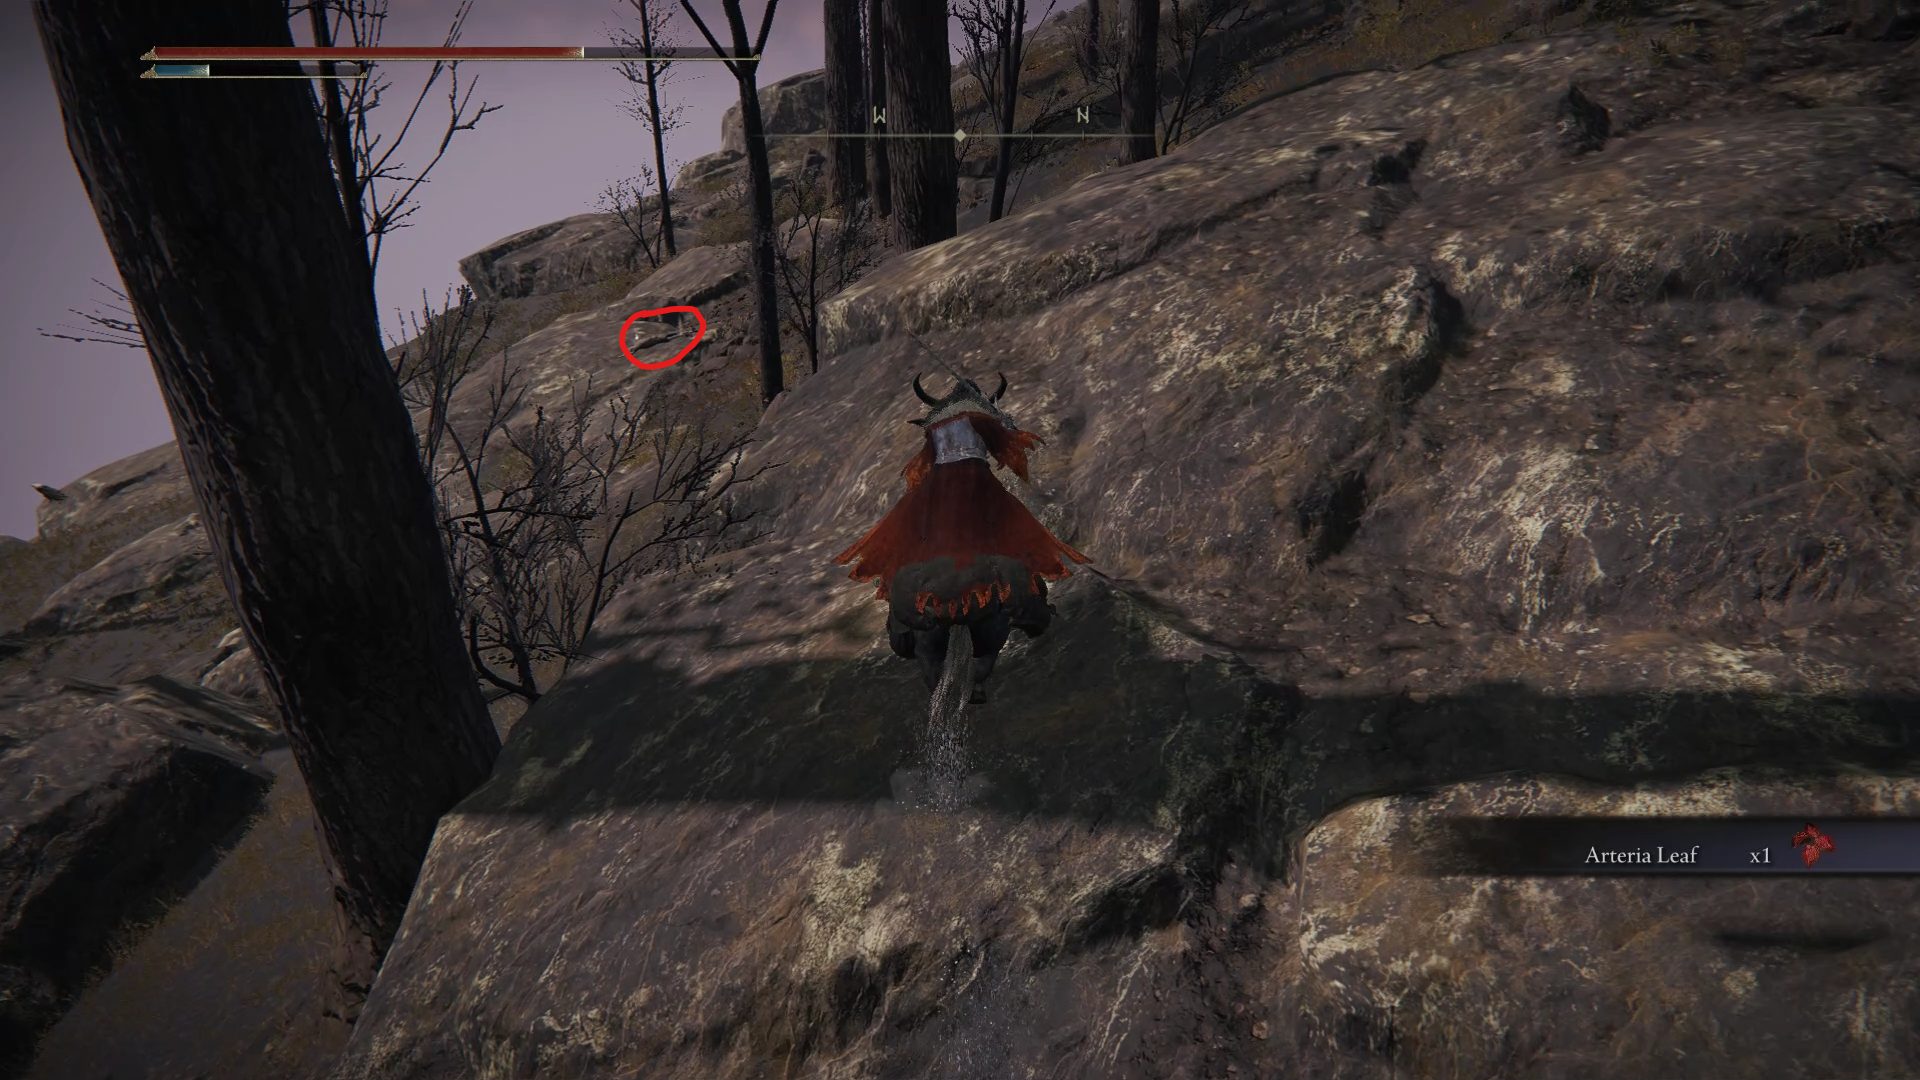
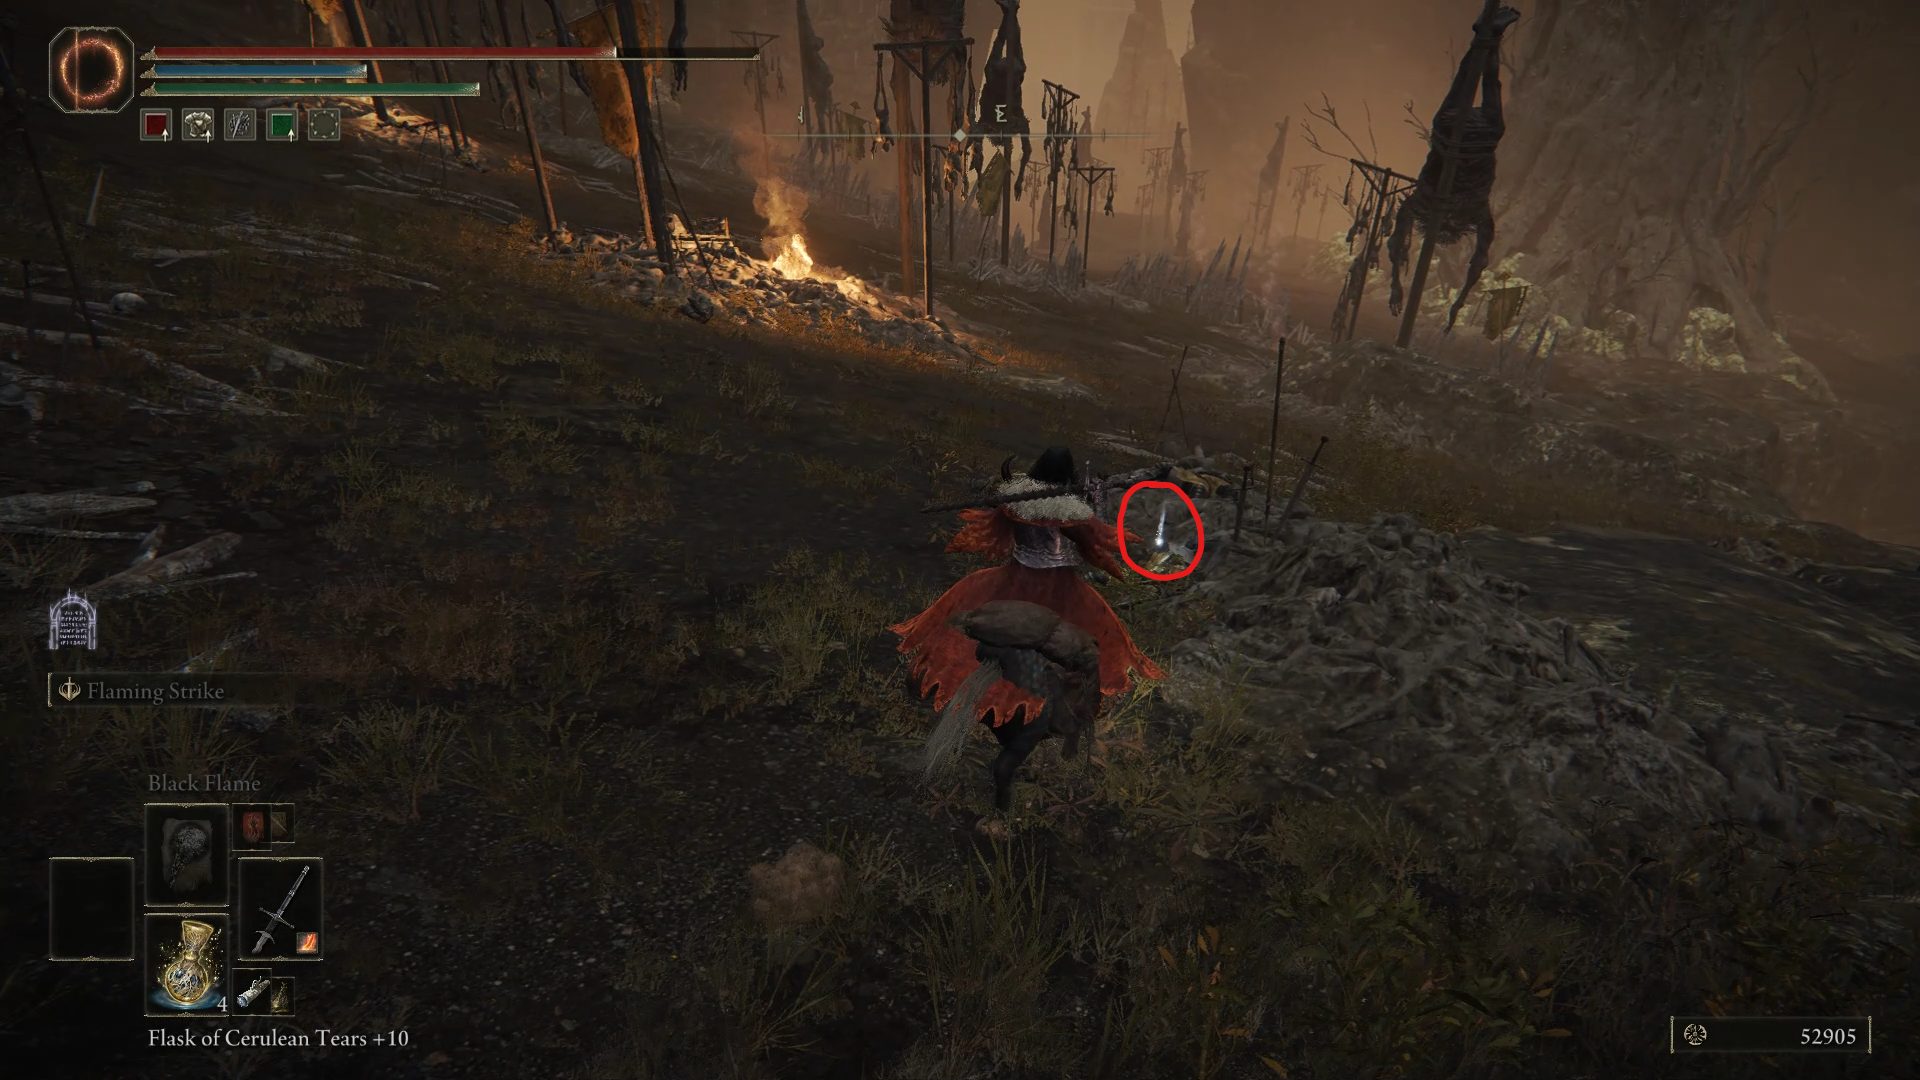
Once you’ve entered Mt. Gelmir through its northeastern entrance (entrance number 1 in the How to Get to Mt. Gelmir above), make sure to grab the nearby Bridge of Iniquity site of grace at the other side of the suspended bridge. From there, your only way forward is going northwest, which is where you will find several Iron Virgins fighting a group of soldiers. While there are several items next to those enemies, we recommend grabbing the 2x Arteria Leaf and running past them. All you’ll be missing out on is 3x Blood Rose and 6x Throwing Dagger, which can both be acquired through less painful means throughout the game. Continue down this path until you find the Corpse-Stench Shack by the side of the road.
2x Arteria Leaf + Path forwardCorpse-Stench Shack
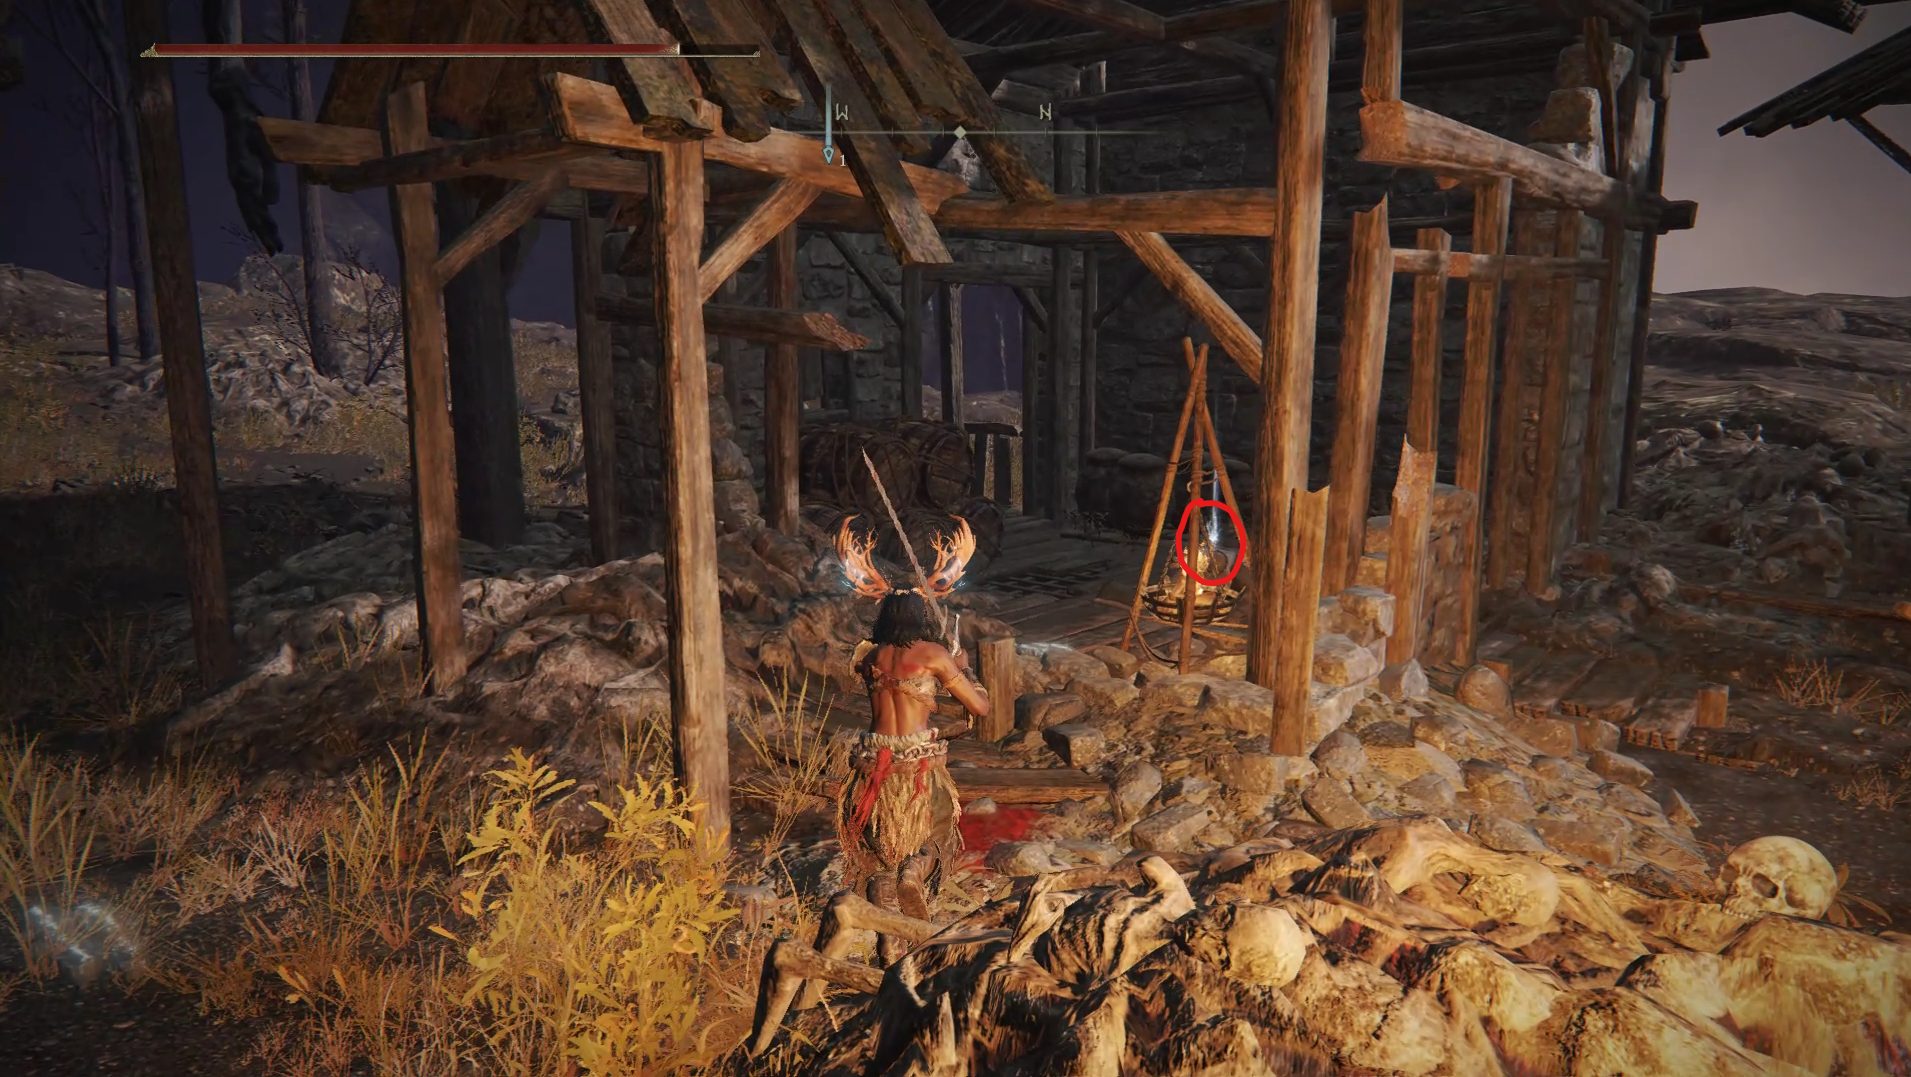
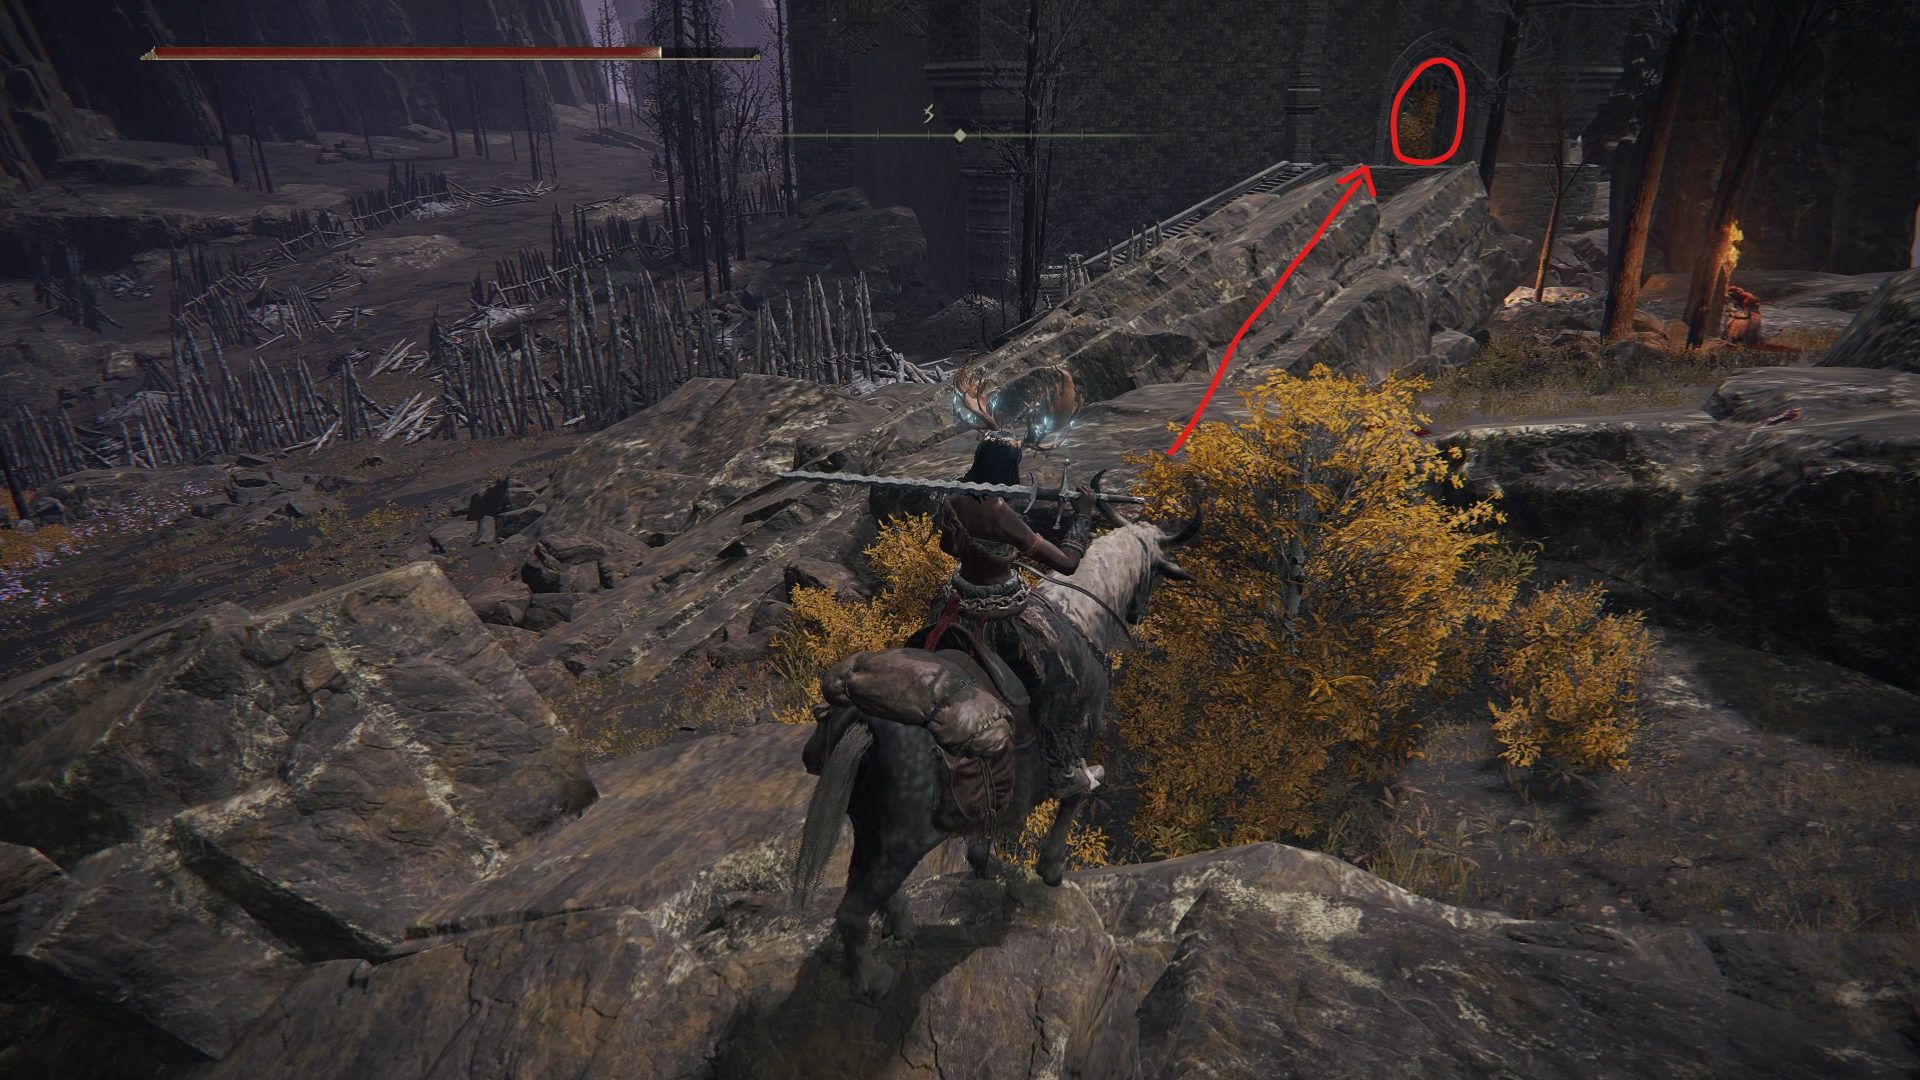
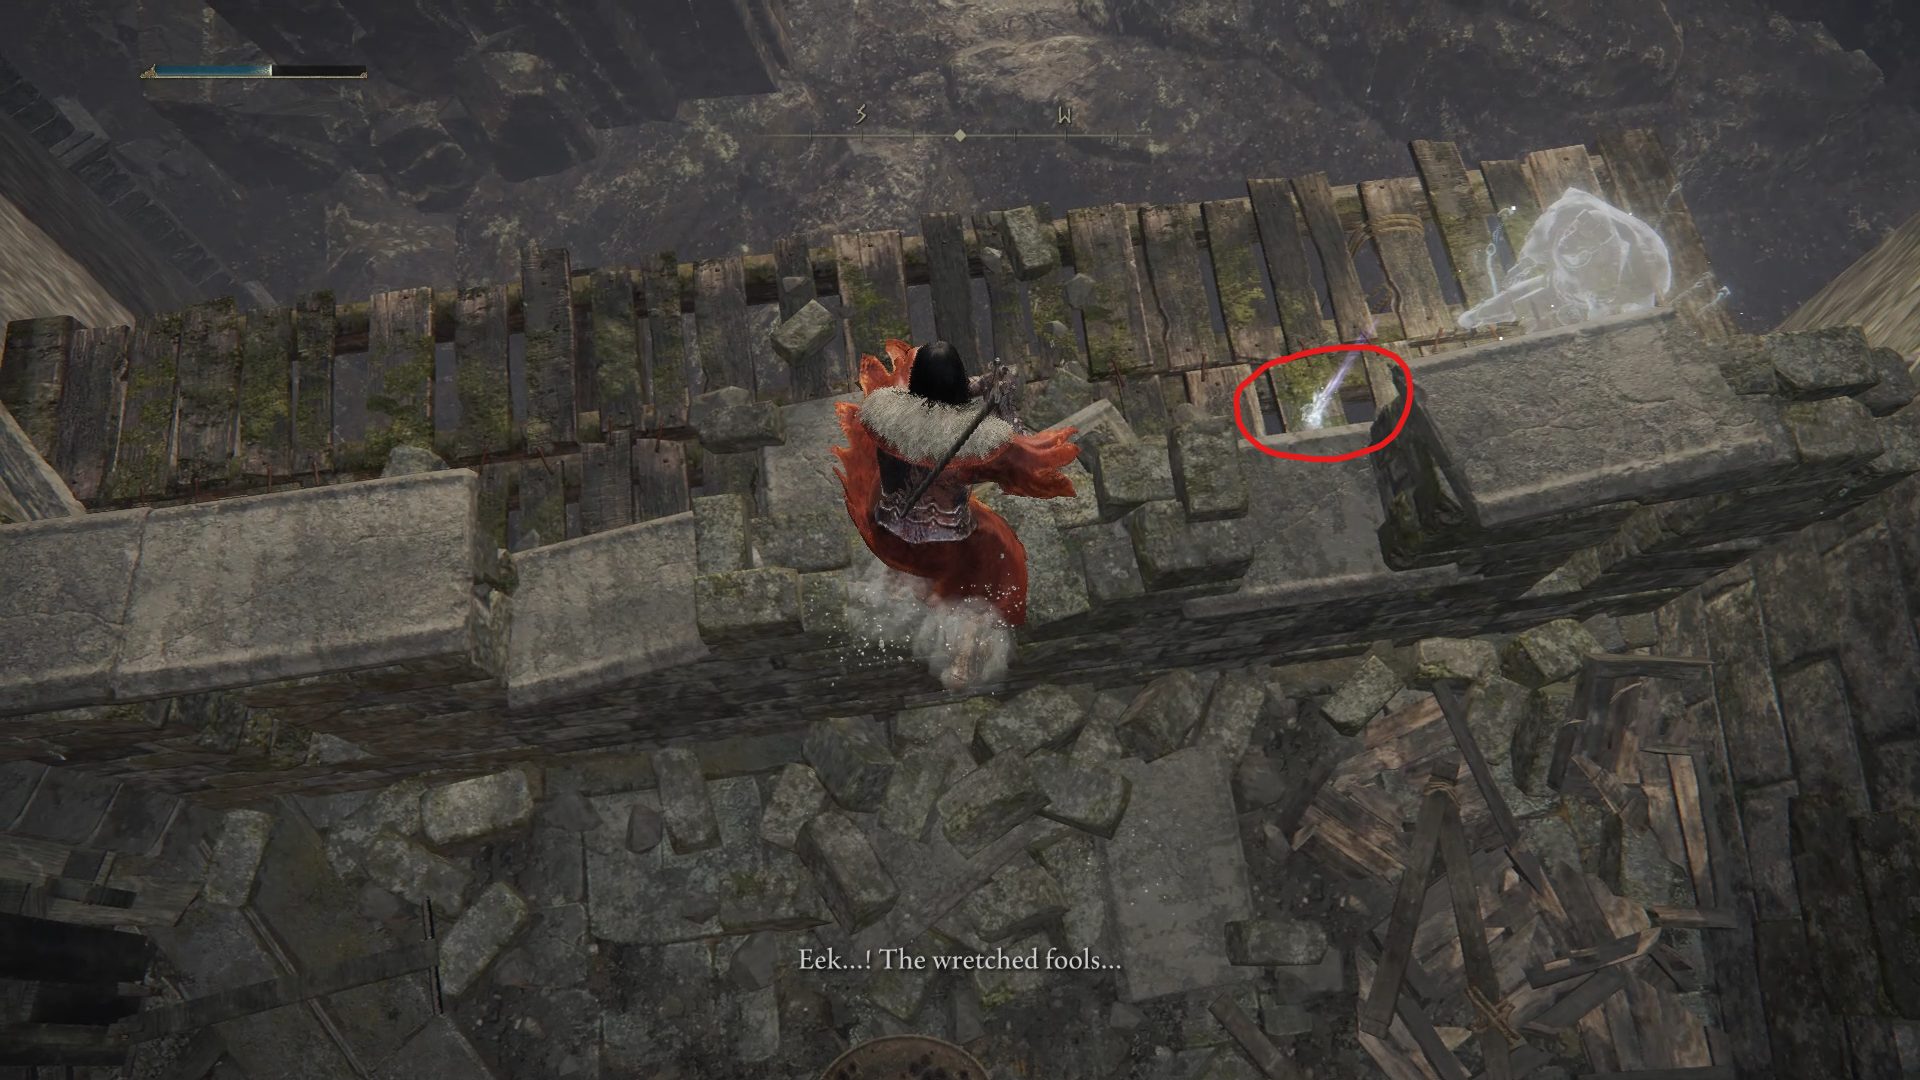
As you get closer to this shack, you’ll be invaded by Anastasia, Tarnished-Eater, which you have already fought next to the Smoldering Church in Limgrave. Her attacks are identical to the first time you encountered her, and defeating her will reward you with the Sacred Butchering Knife. Once she’s defeated, enter the shack to grab the Golden Vow incantation, and head to the nearby broken bridge to grab the Stonesword Key.
Golden Vow locationStonesword Key location
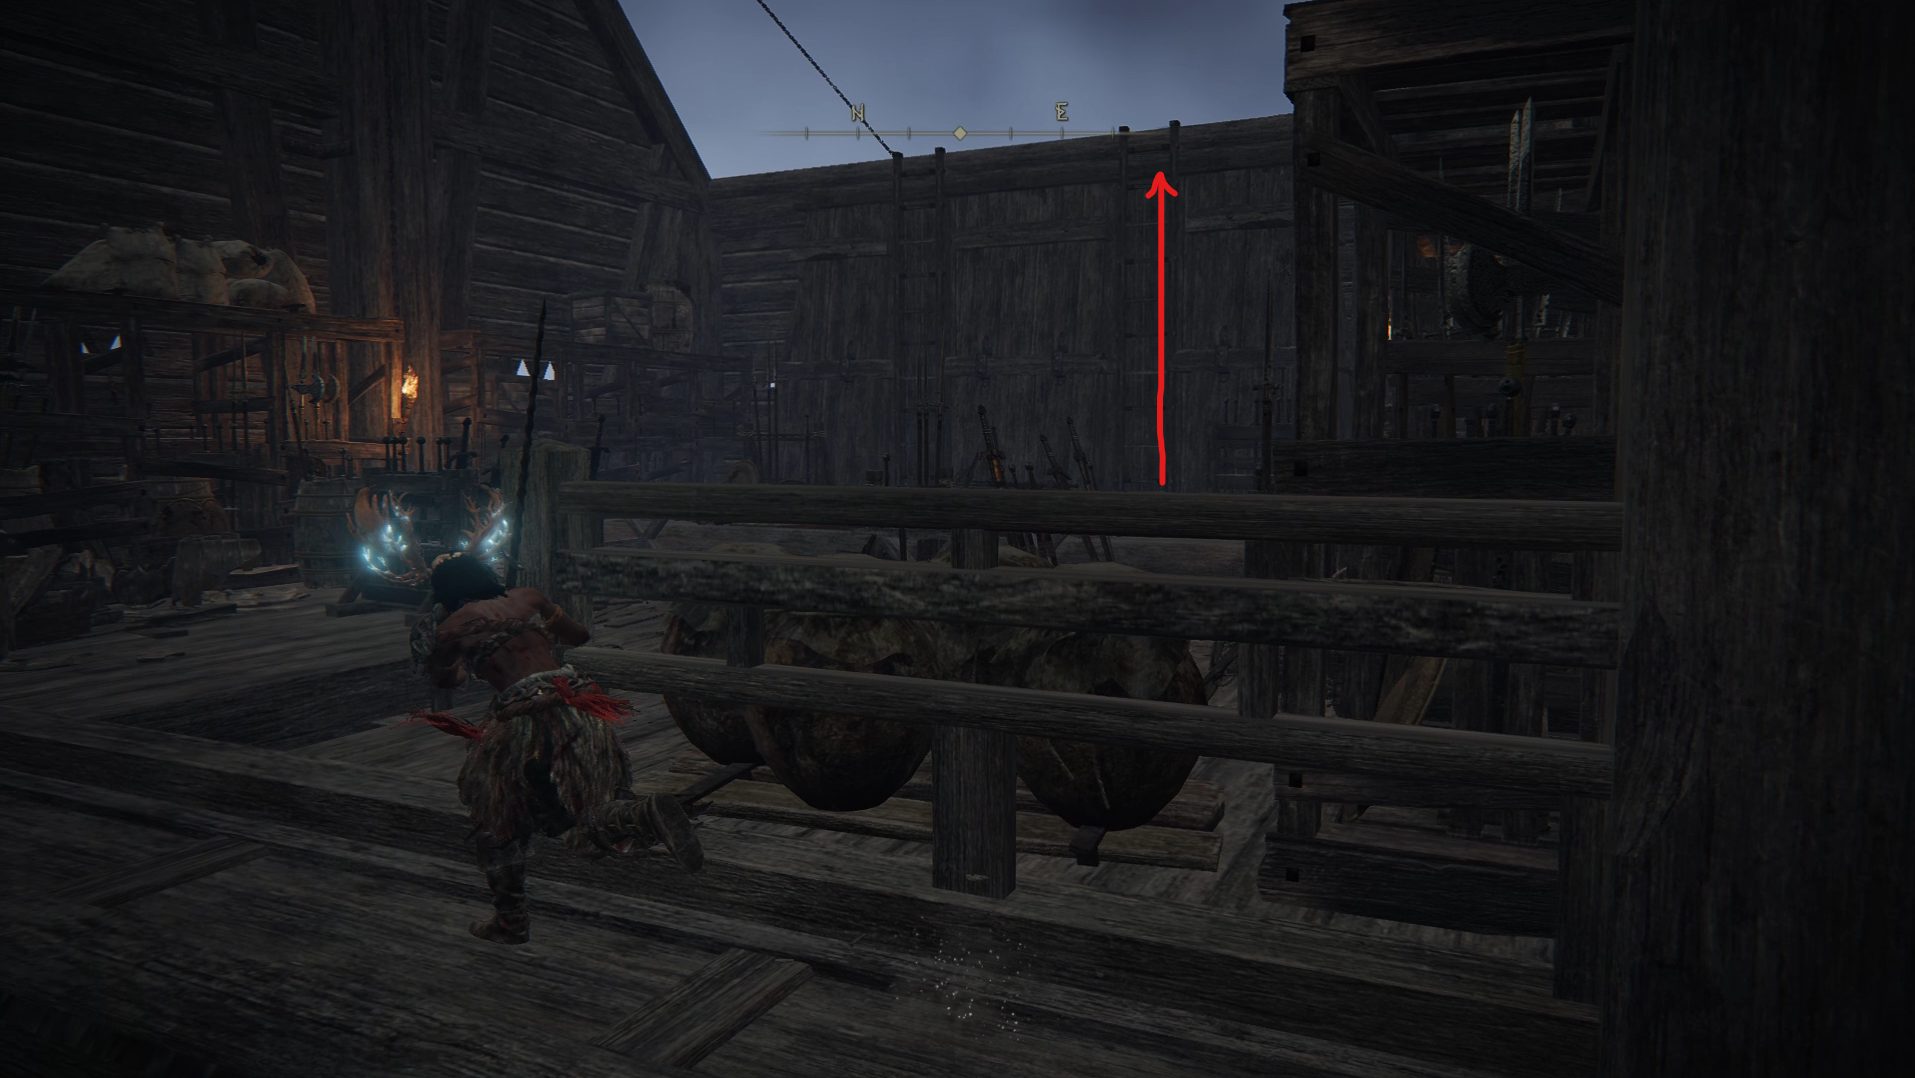
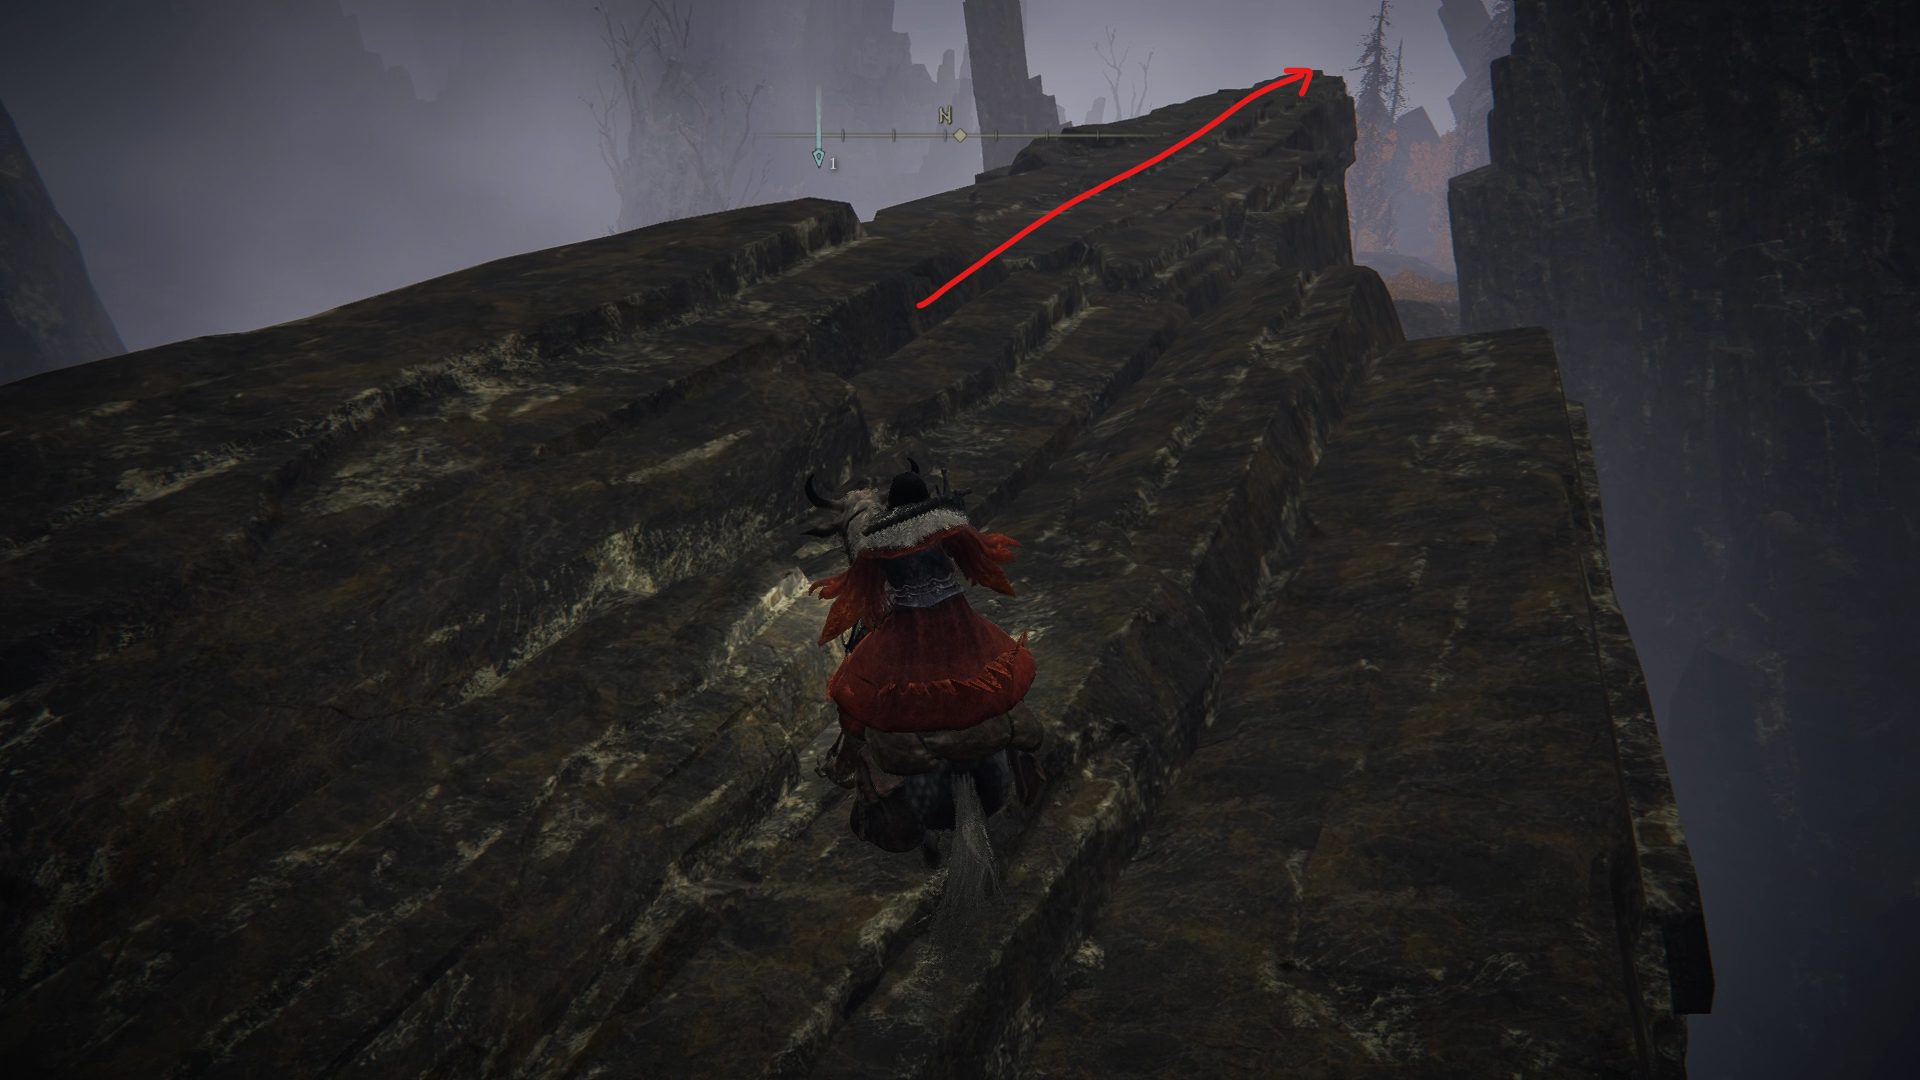
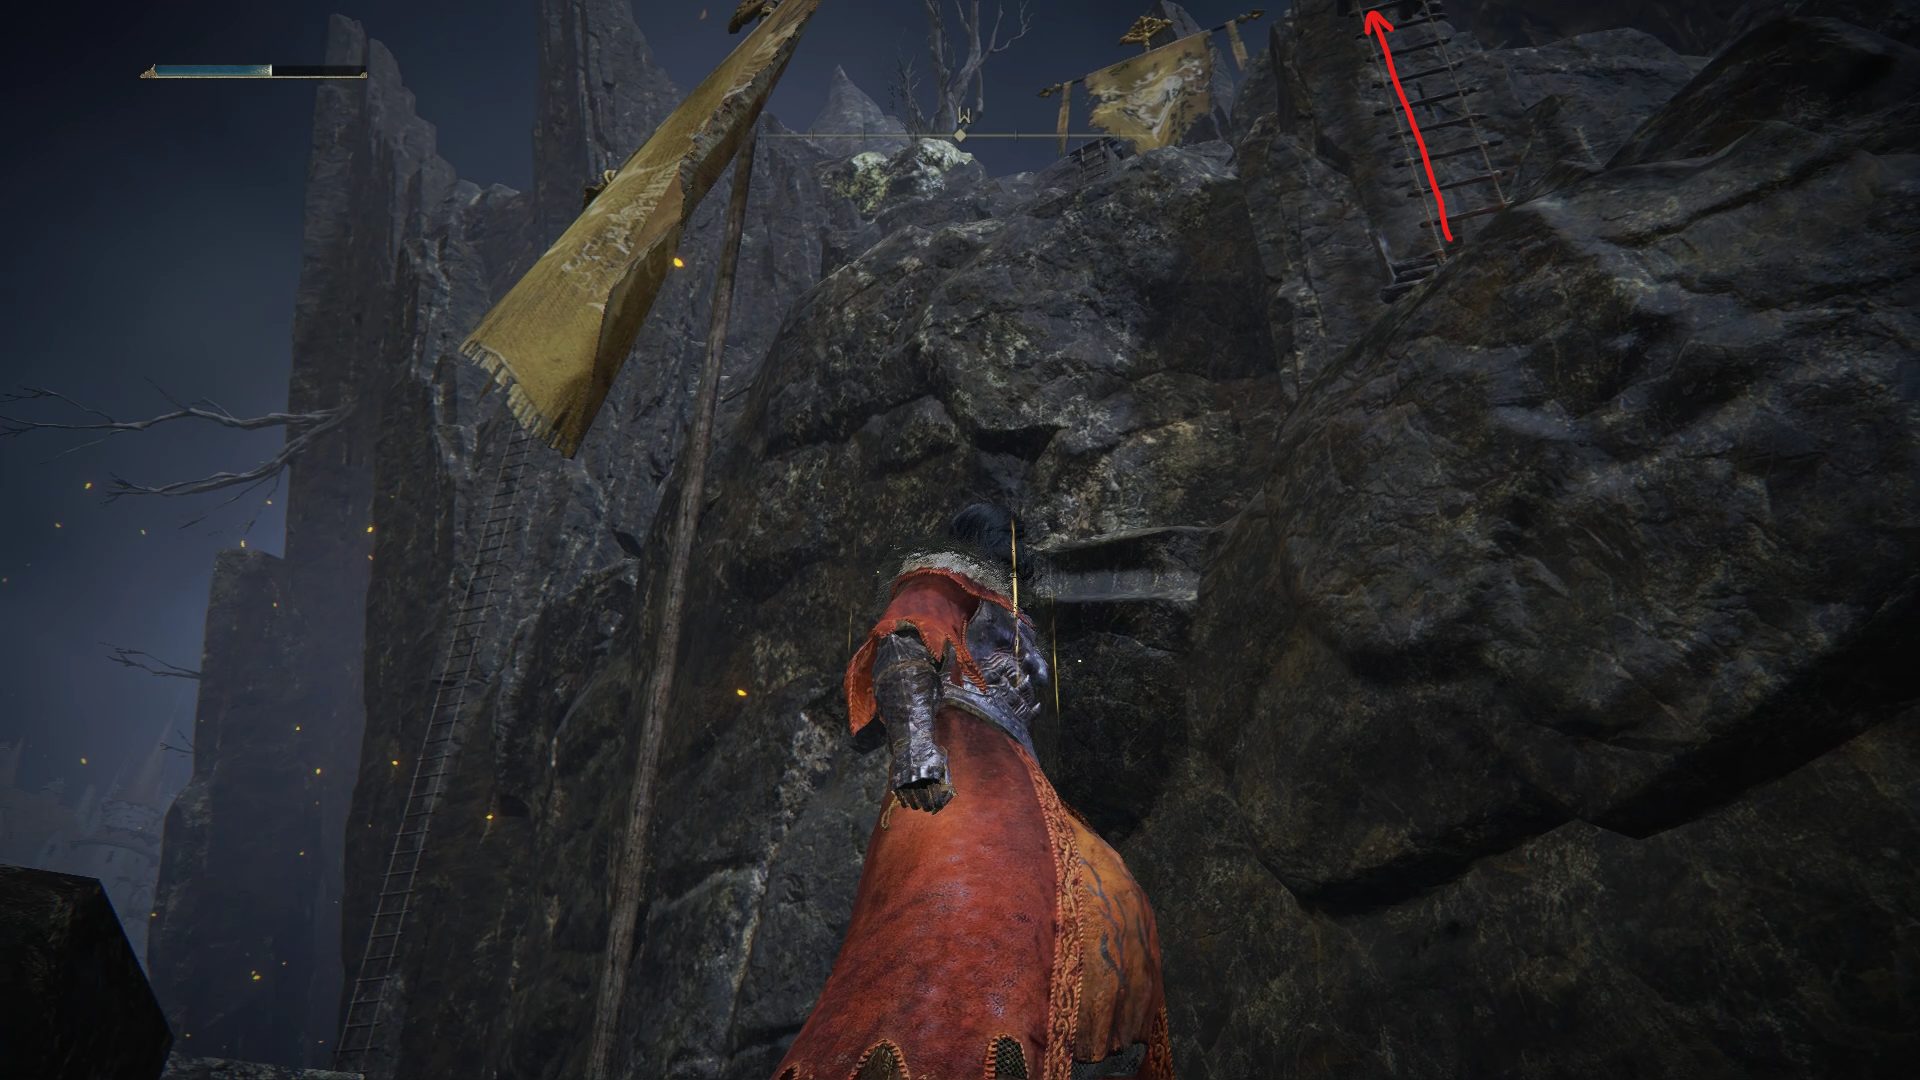
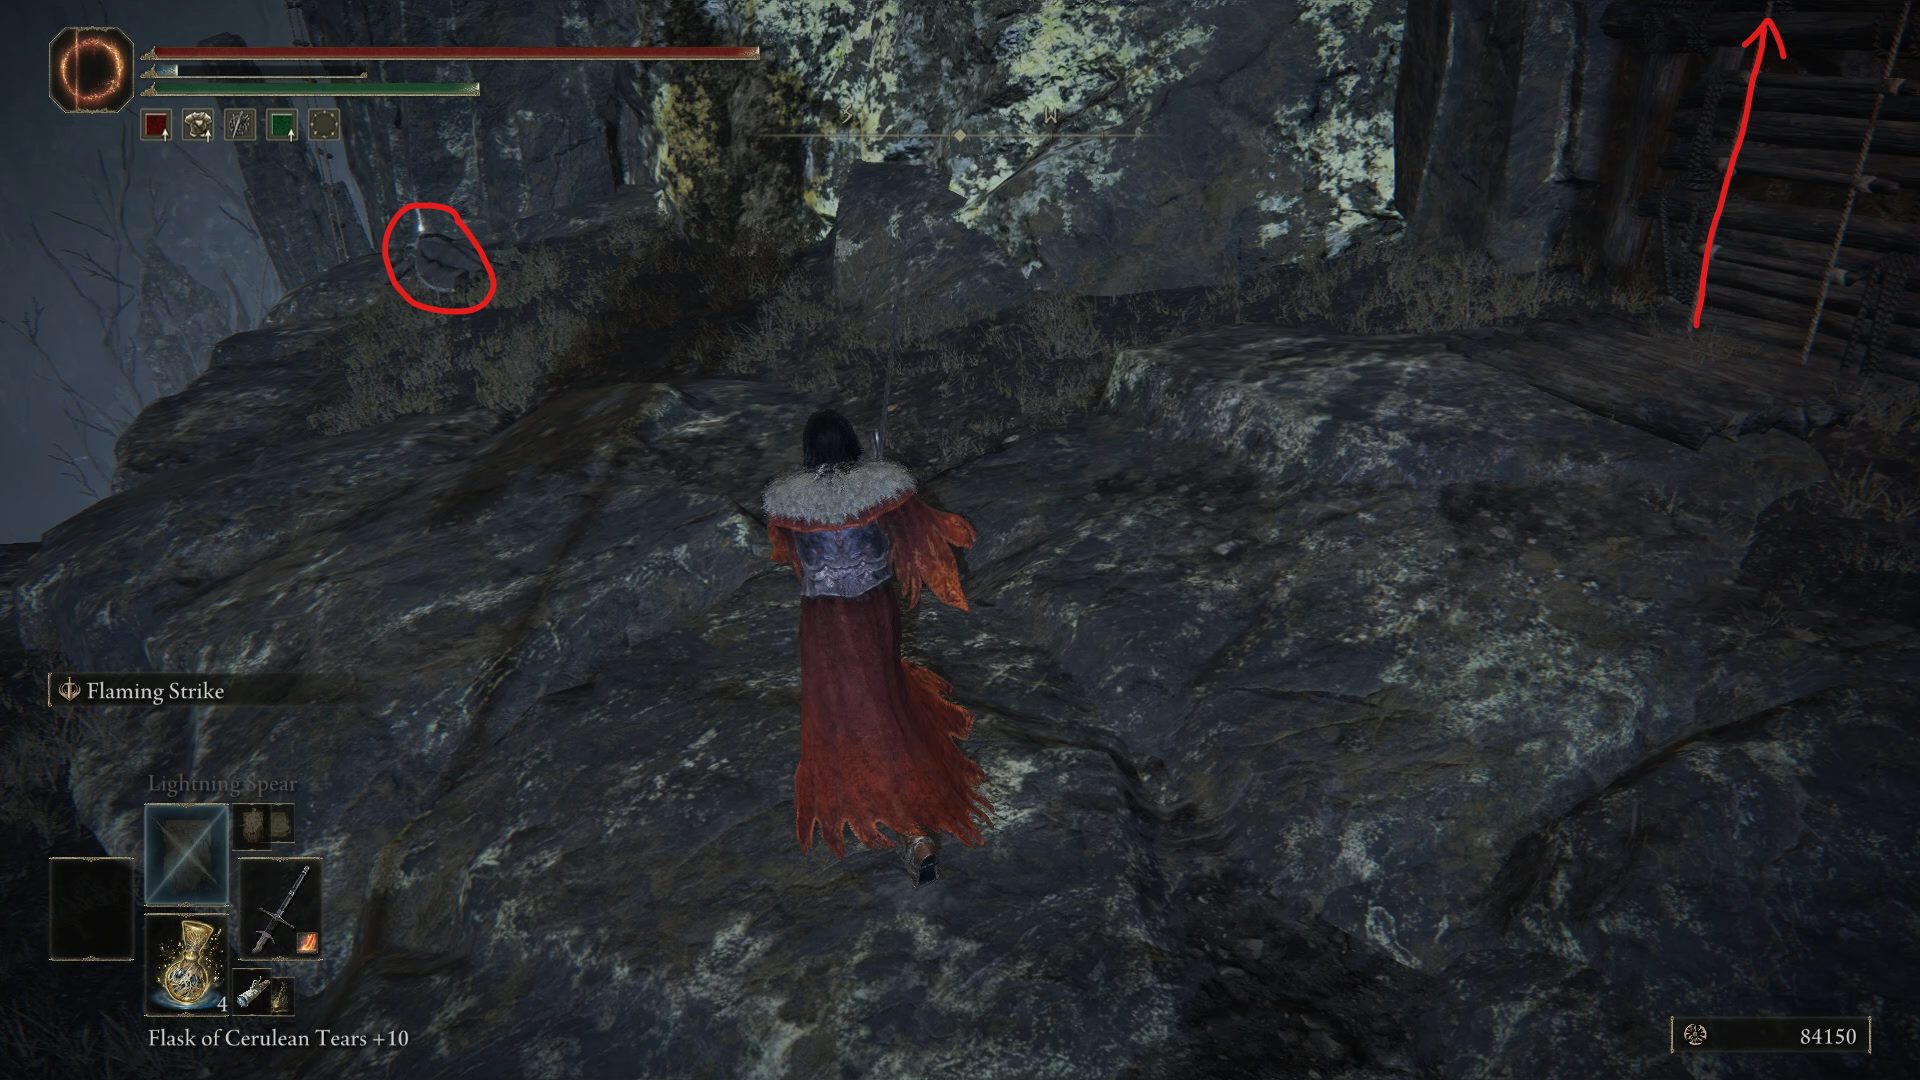
With these items pocketed, start heading back where you came from and follow the mountain side to the south until you reach a ladder going up the mountain. Go up the ladder and head southeast to find your next site of grace: First Mt. Gelmir Campsite.
As you may have noticed, there is a cemetery nearby, and well, you know the drill. As any Tarnished would, desecrate the cemetery by grabbing everything that isn’t nailed down, and continue southeast past the cemetery to find a wolf resting next to a corpse in a chair. Dirty your hands further by murdering the wolf resting by its former owner’s side, and plunder the Somber Smithing Stone [6] from the deceased.
Now, head west towards the nearby enemy camp. There, you can choose to either kill or ignore the soldiers while heading past the siege tower, grabbing the Golden Rune [6] on the nearby corpse, and grabbing the Pulley Bow found all the way at the top of the siege tower.
Golden Rune [6] location
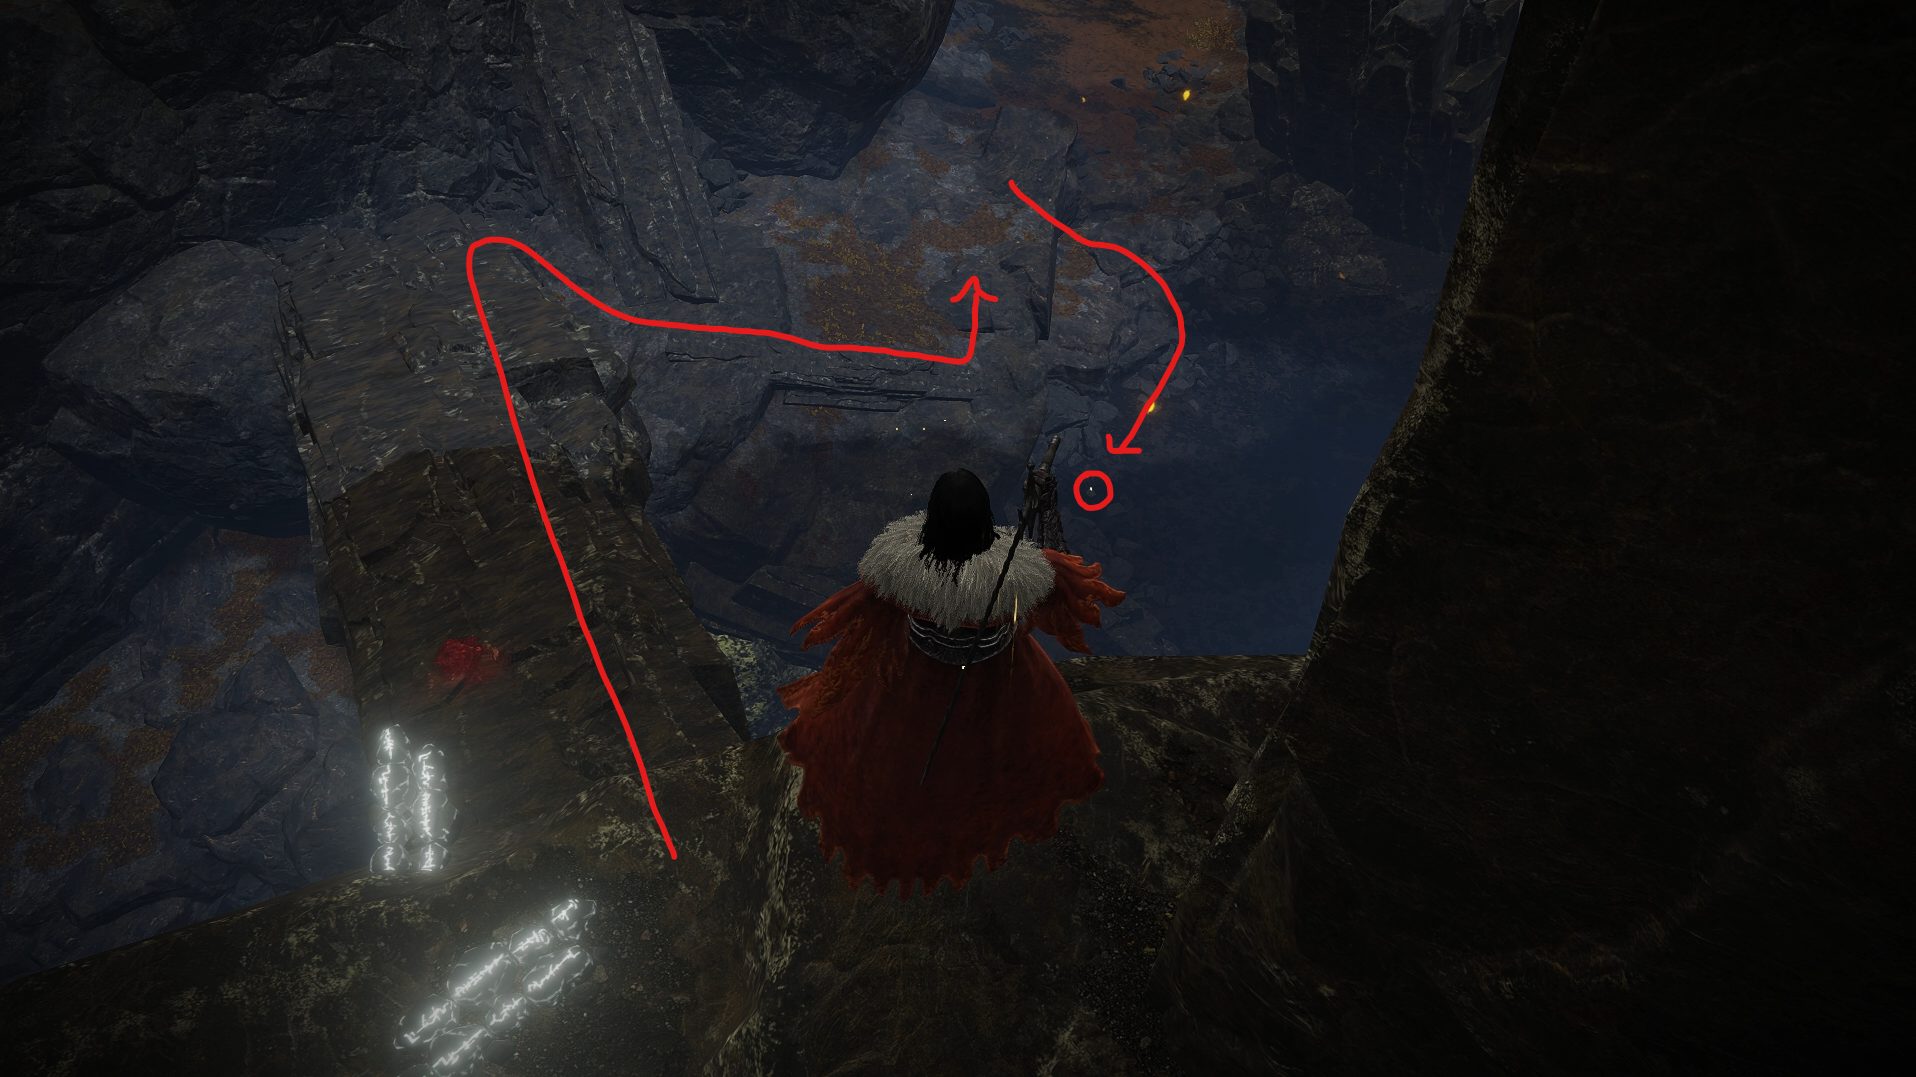
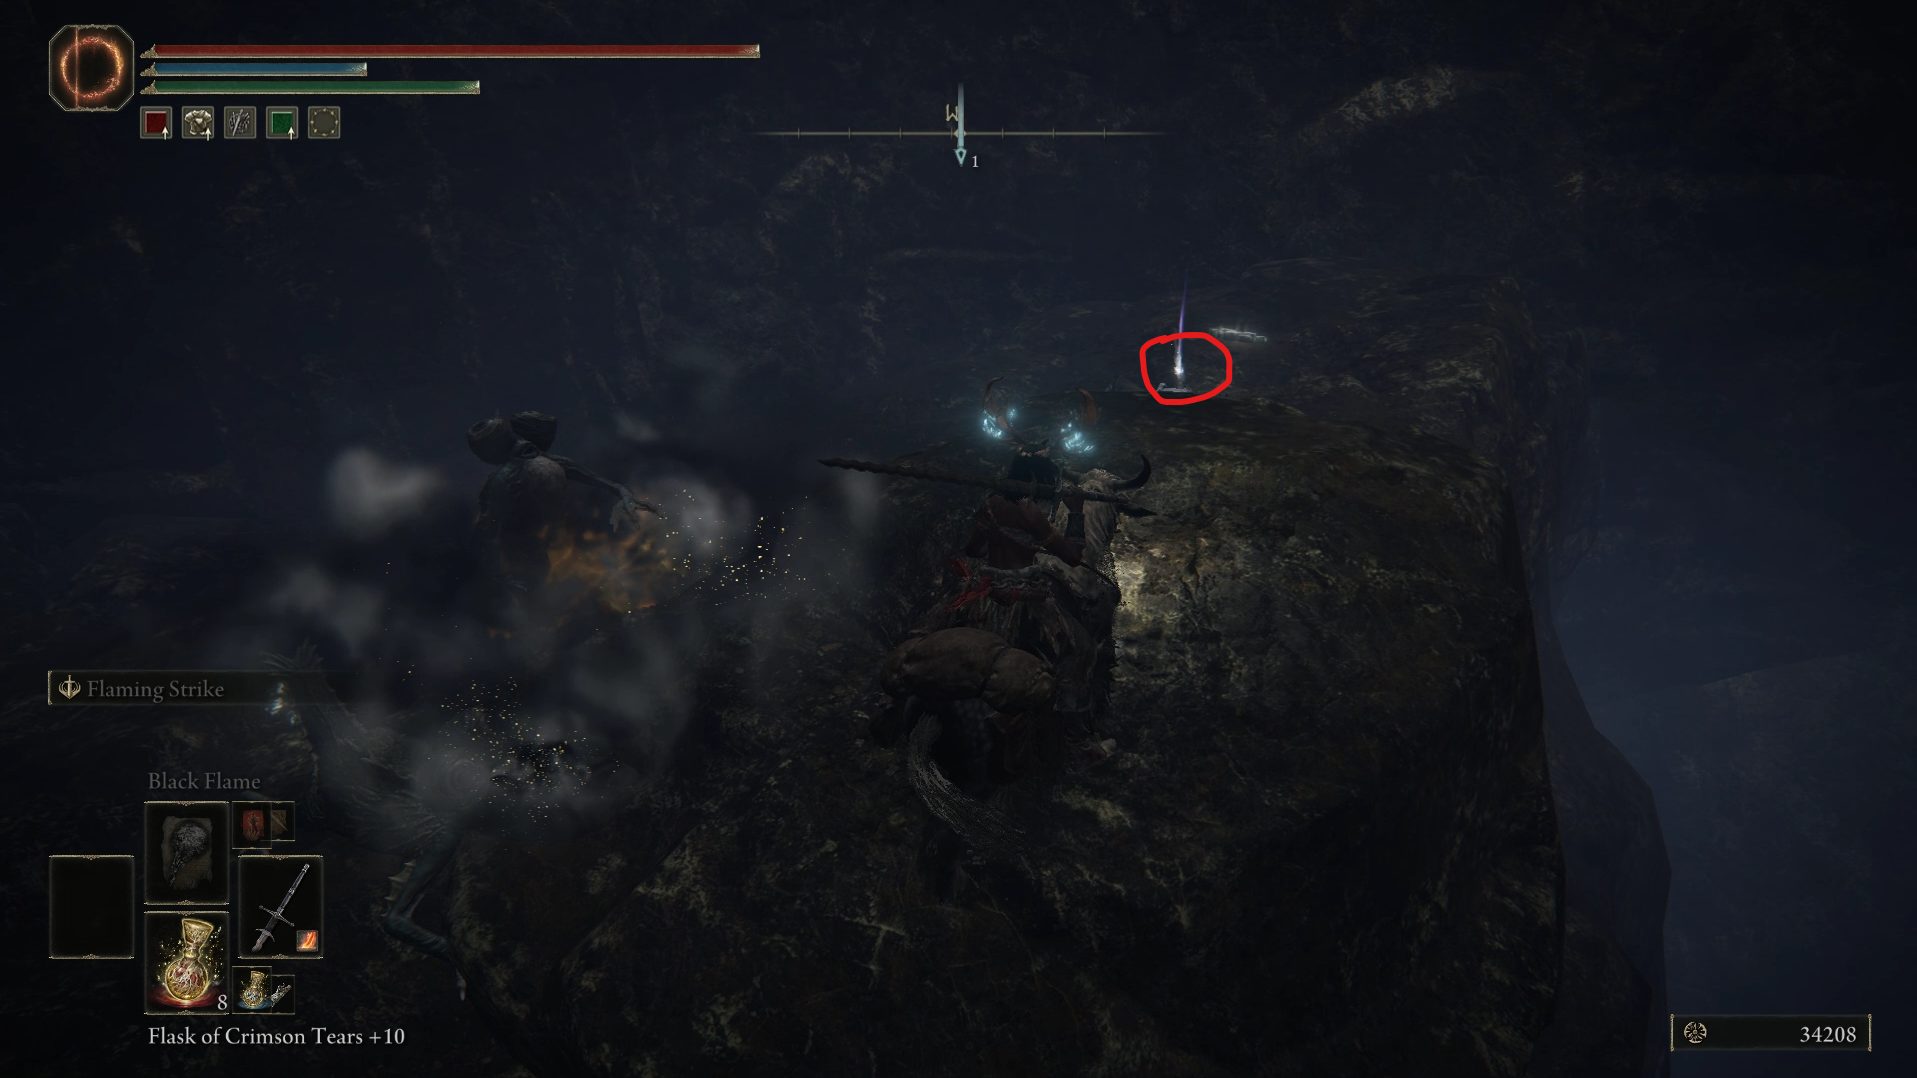
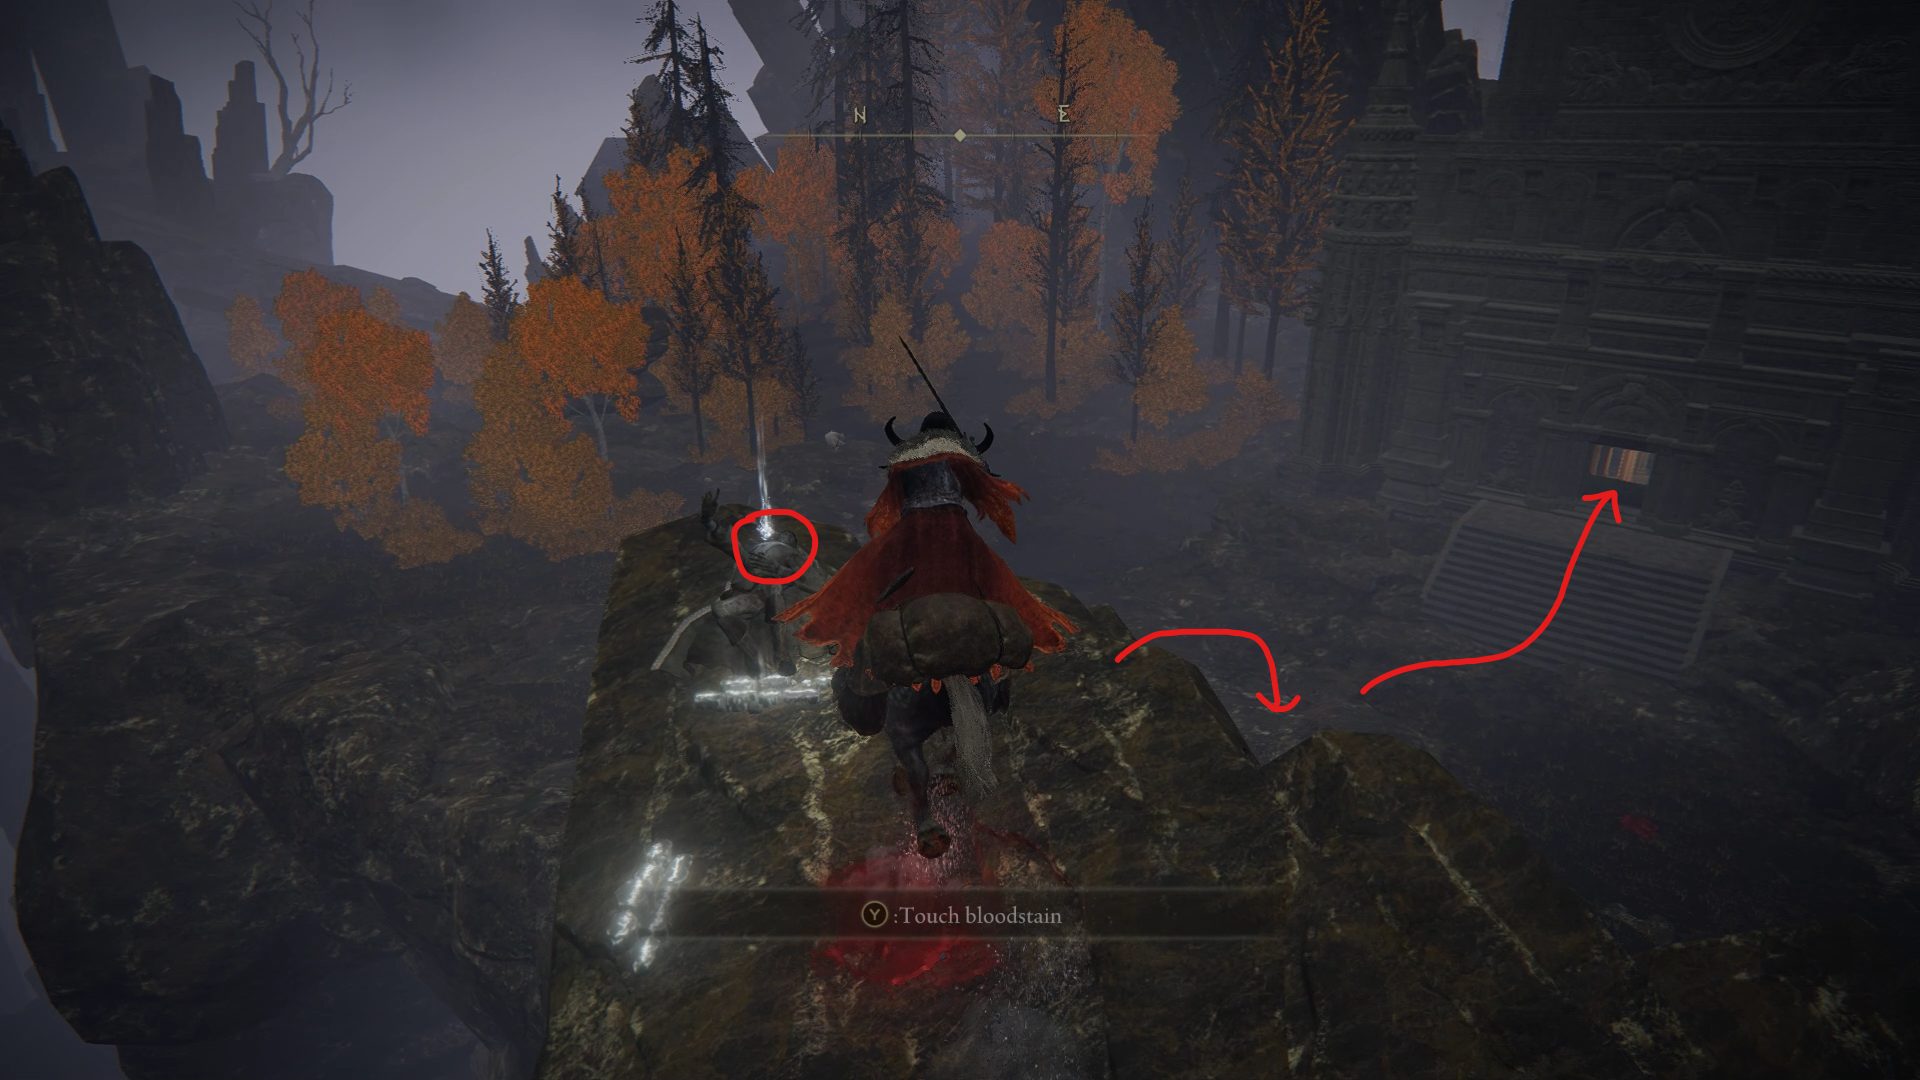
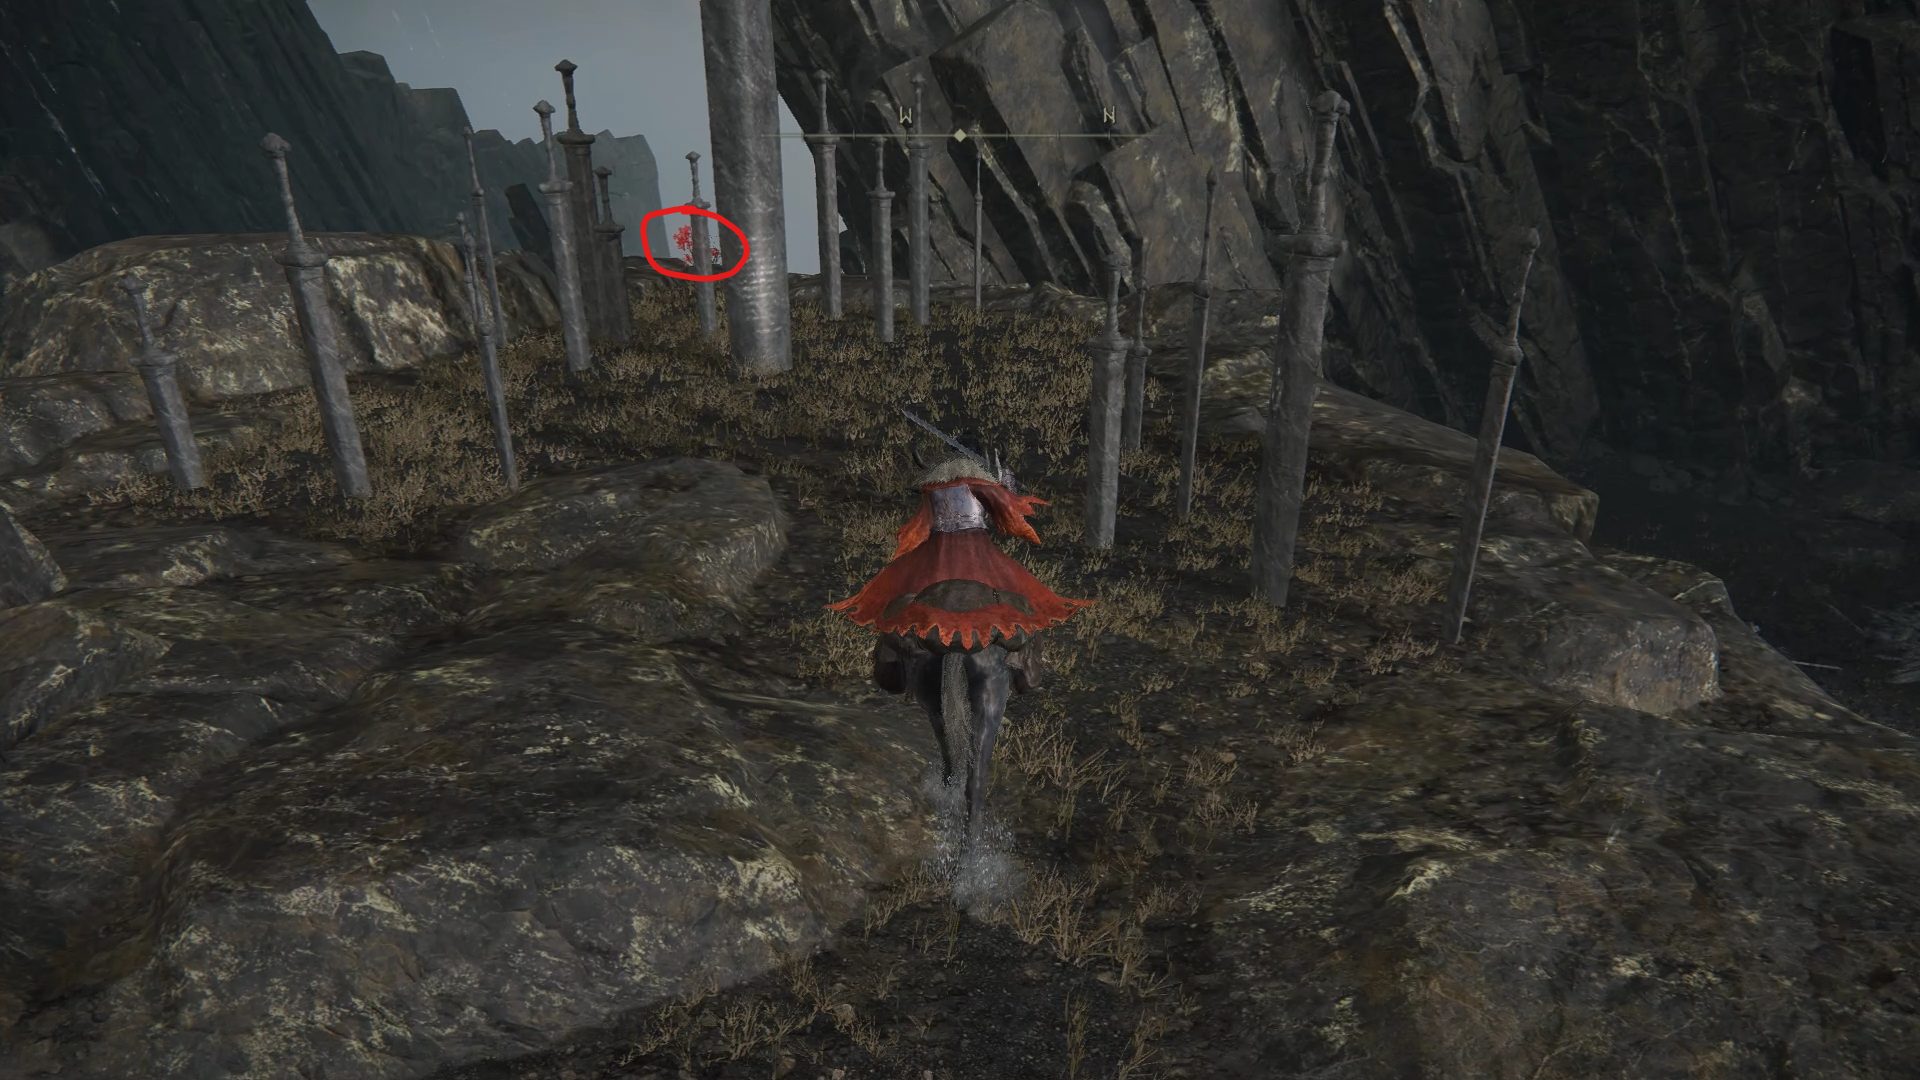
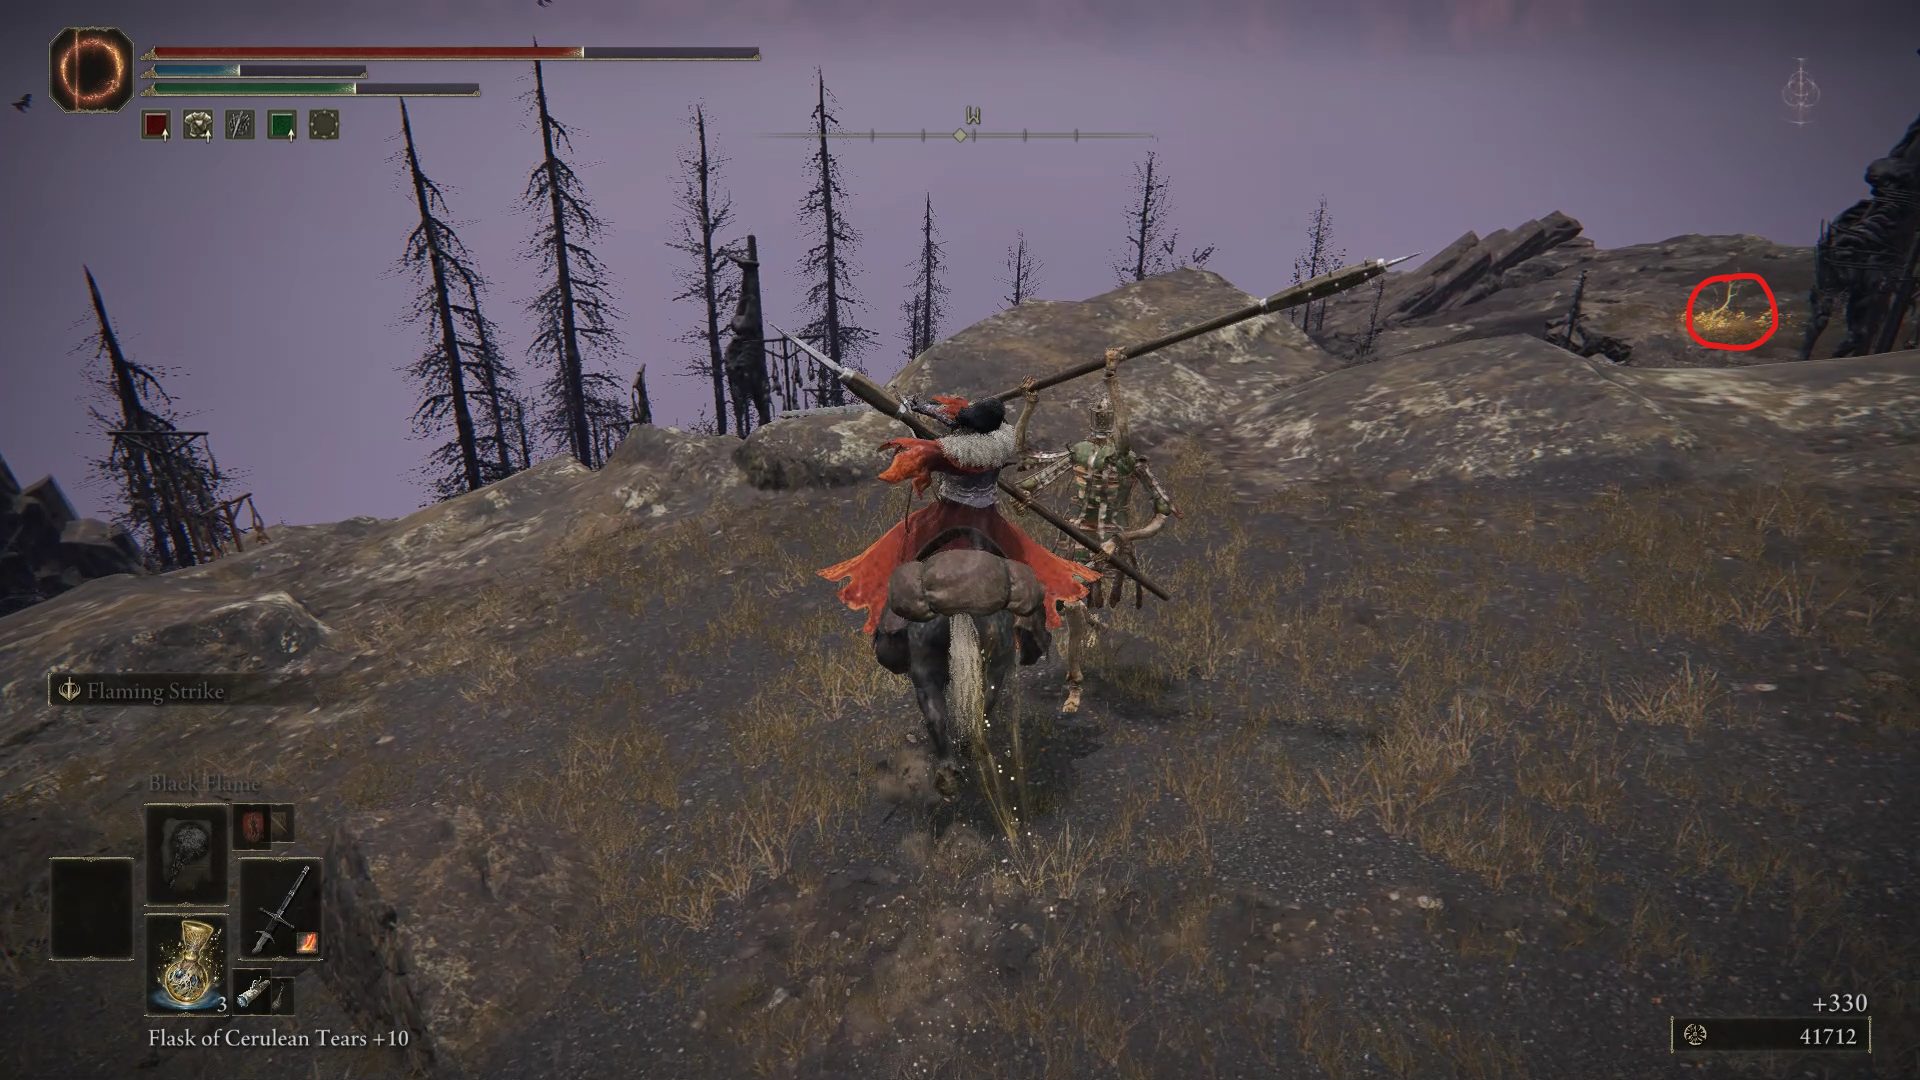
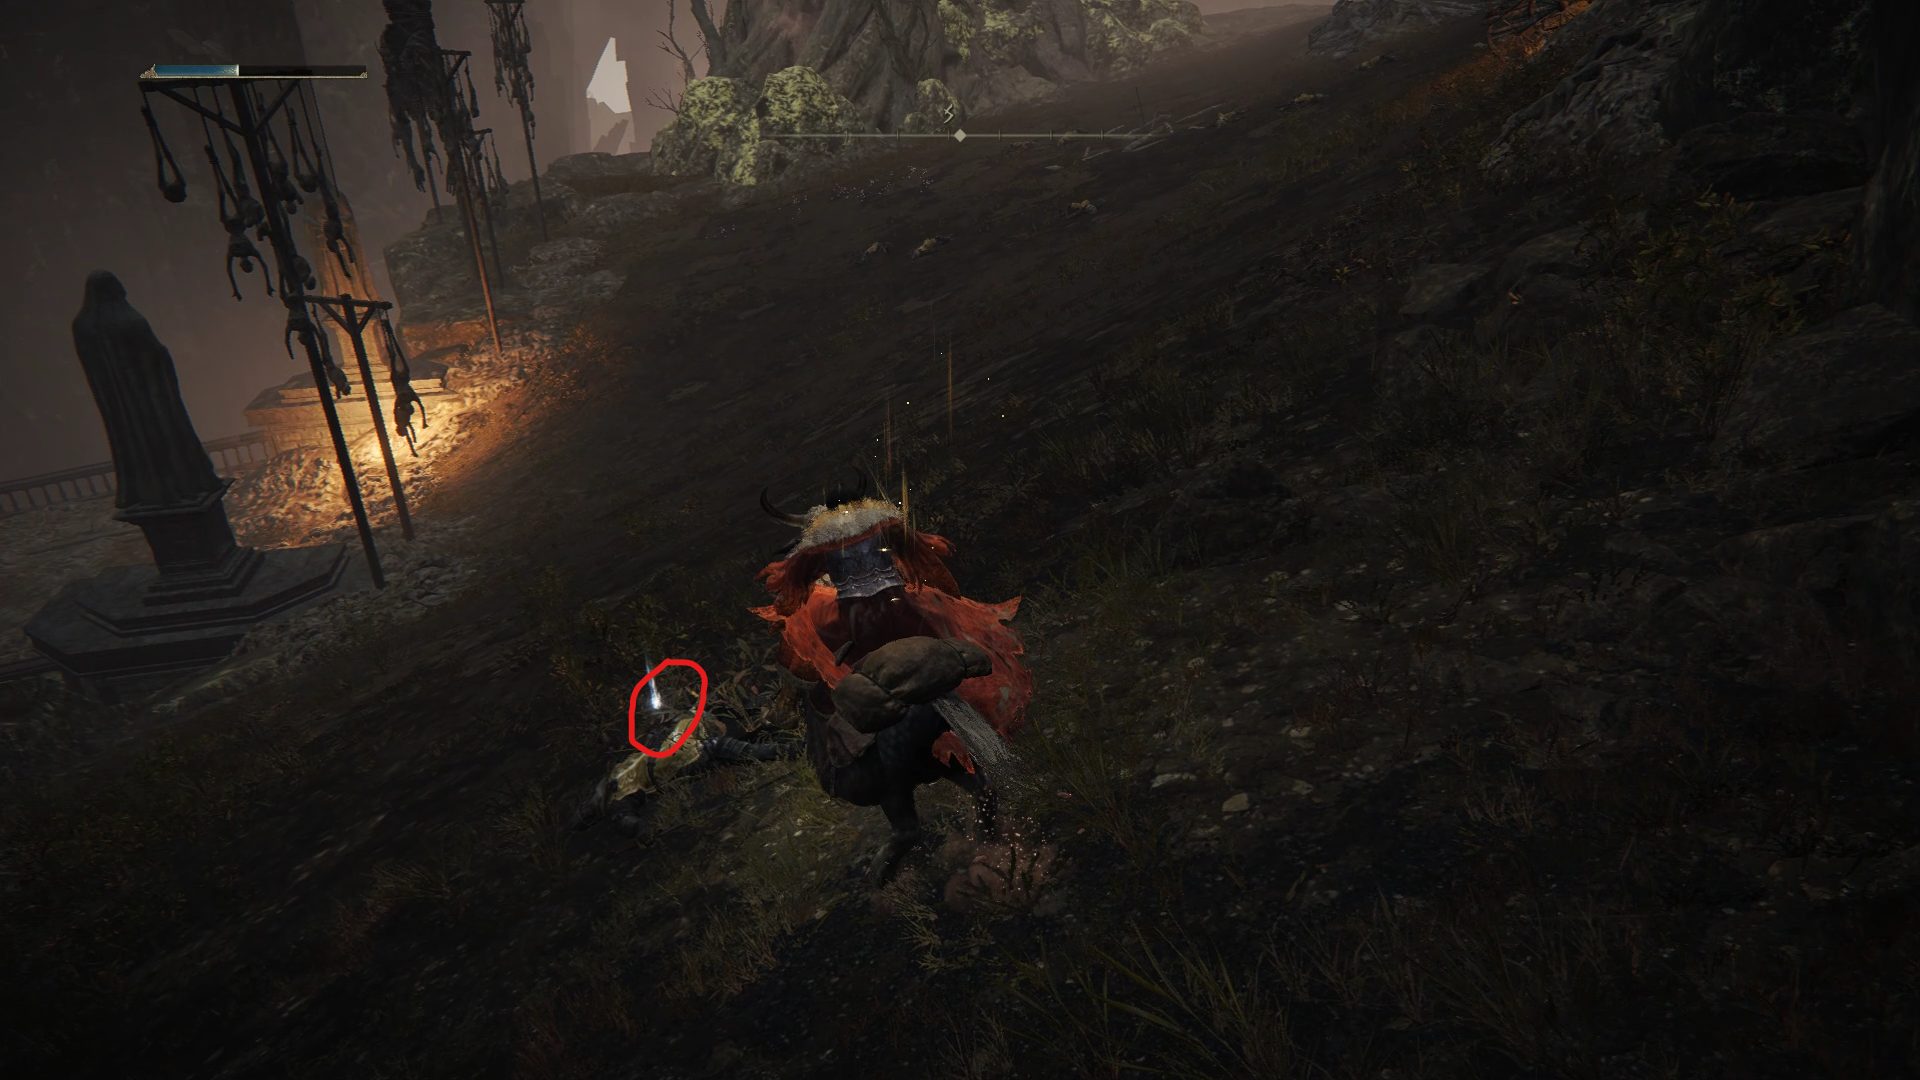
Go back down, and this time head northwest until you reach a glowing message on the ground that reads “Rainbow Stones lead the way to riches…“. From there, if you look south, you’ll notice some Rainbow Stones, which is where we’ll be going next. As you reach the first stone, look to your left to find Patches crouching nearby. Exhaust his dialogue, and although he’s obviously up to no good as usual, resume following the Rainbow Stones by the edge of the cliff until you reach the last one.
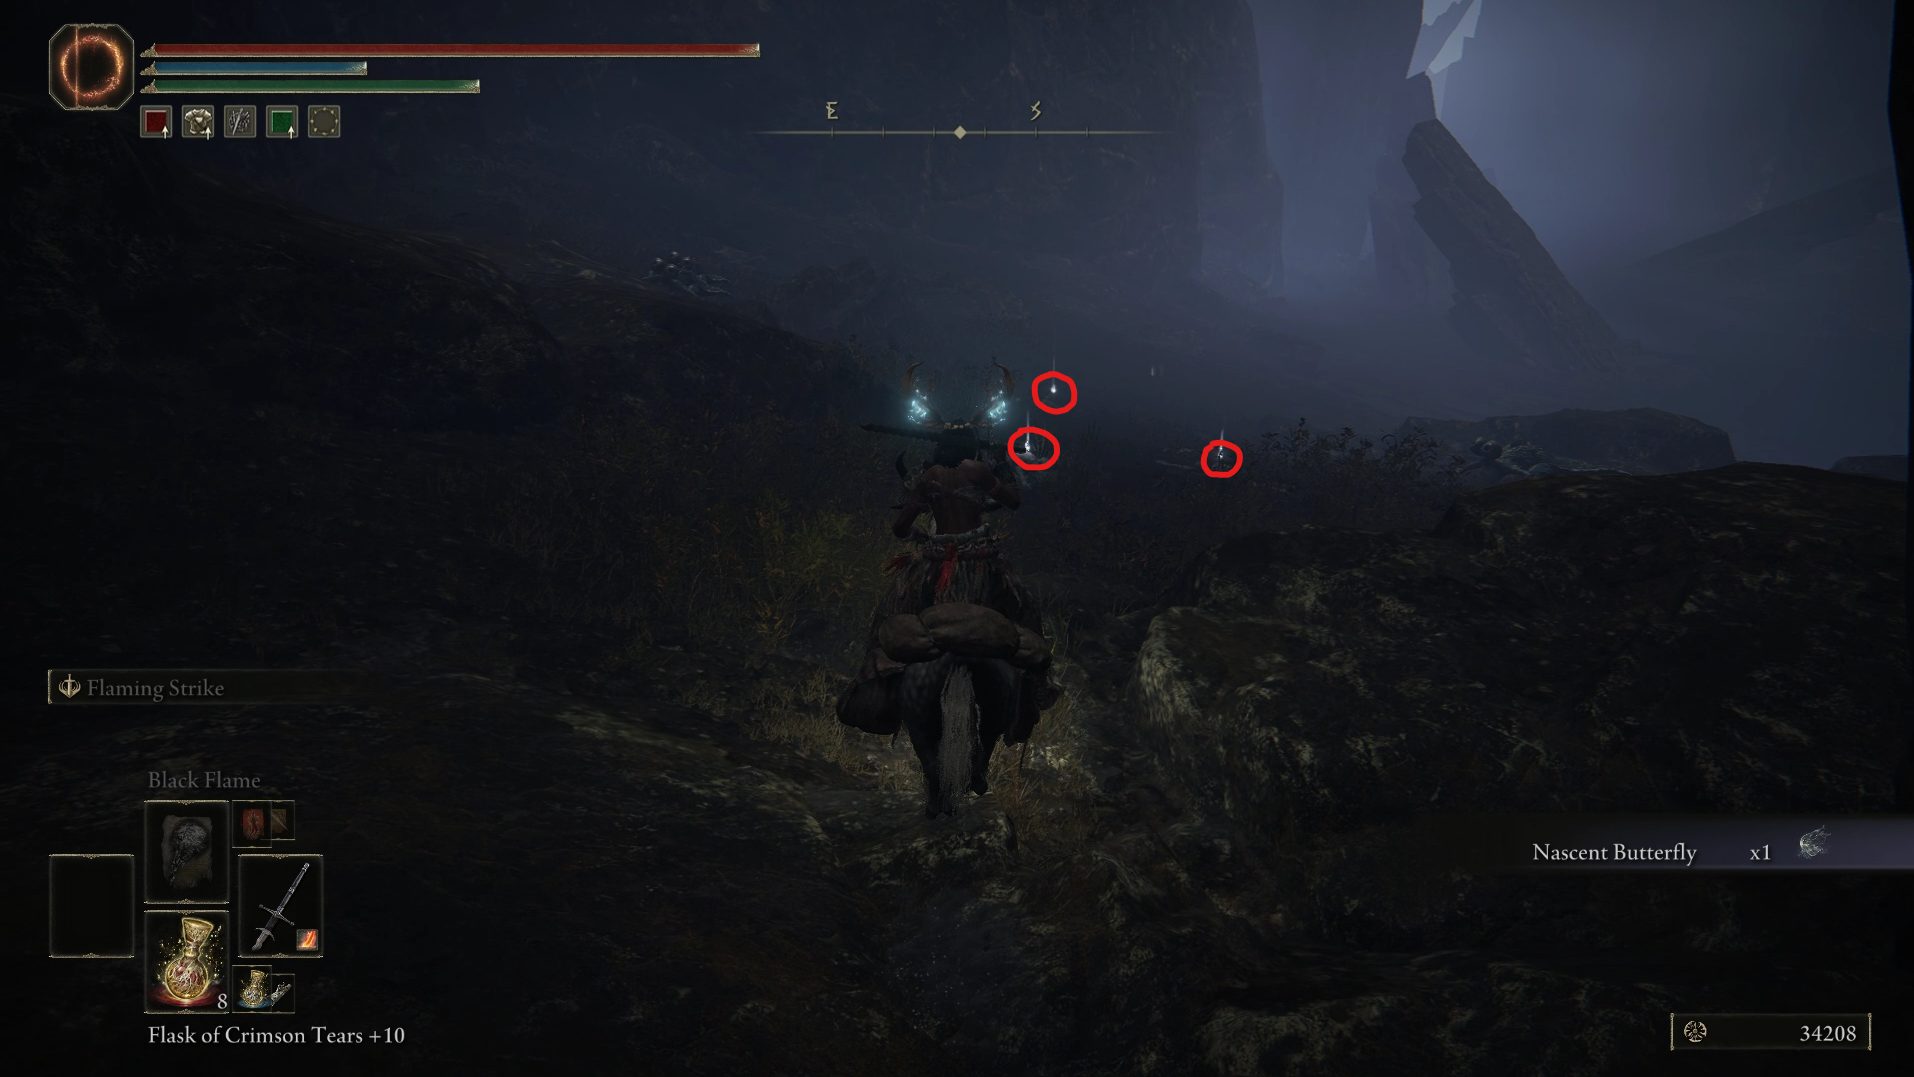
As you approach the last stone, a cutscene will play, after which you will find yourself at the bottom of the ravine. While this sounds like a bad thing, you can choose to be optimistic and see it as a safe way down the cliff. Once you’re done cursing the bald bandit, mount up and quickly grab the nearby Nascent Butterfly as well as the Glass Shard, 2x Hefty Beast Bone the Rejuvenating Boluses, as several Basilisks will be making their way to kick your ass.
While these Basilisks can be challenging, mounting up and staying on the move will allow you to avoid most of their attacks, and you’ll be able to take as long as you need to kill them while remaining safe. If you look west once you’ve dealt with these pests, you’ll see an enemy guarding the way to a fog gate locked behind an imp statue.
Spending 2x Stonesword Key at the imp statue will unlock the entrance to your first Mt. Gelmir dungeon: Seethewater Cave.
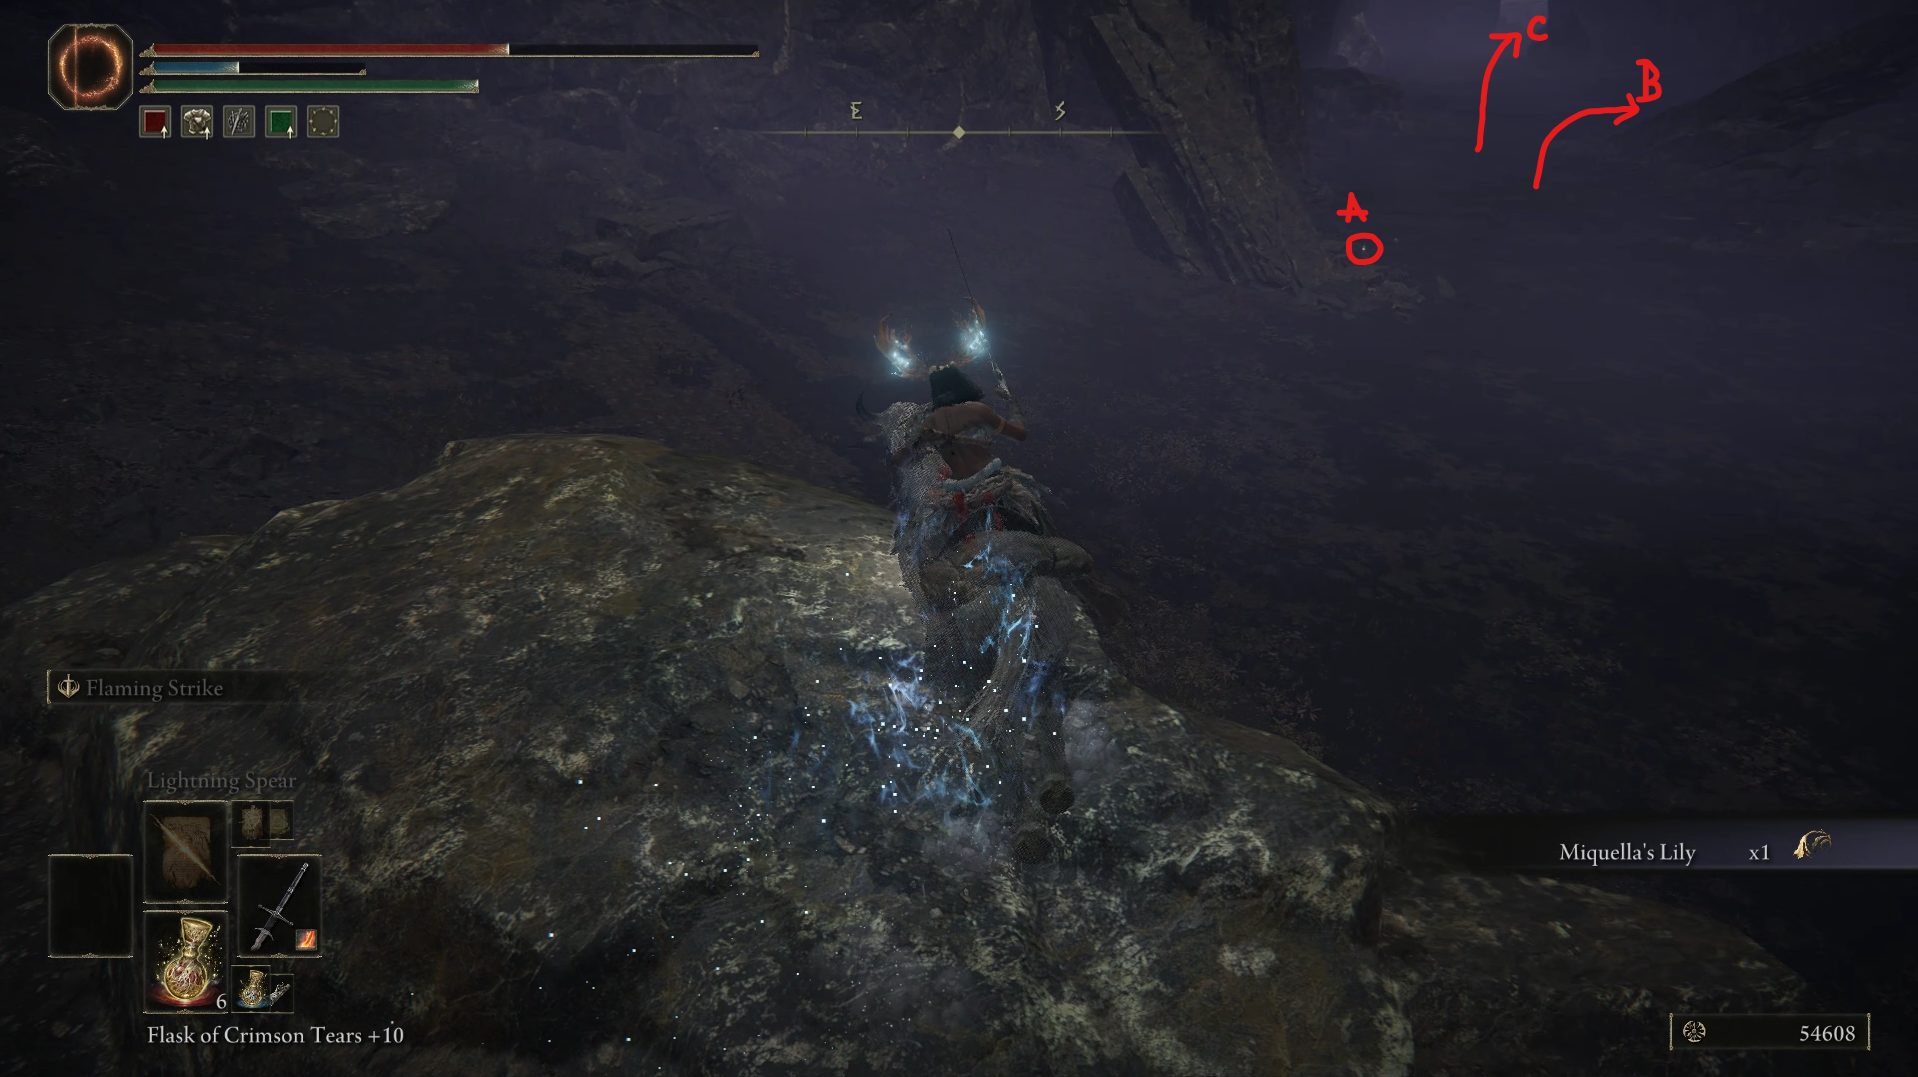
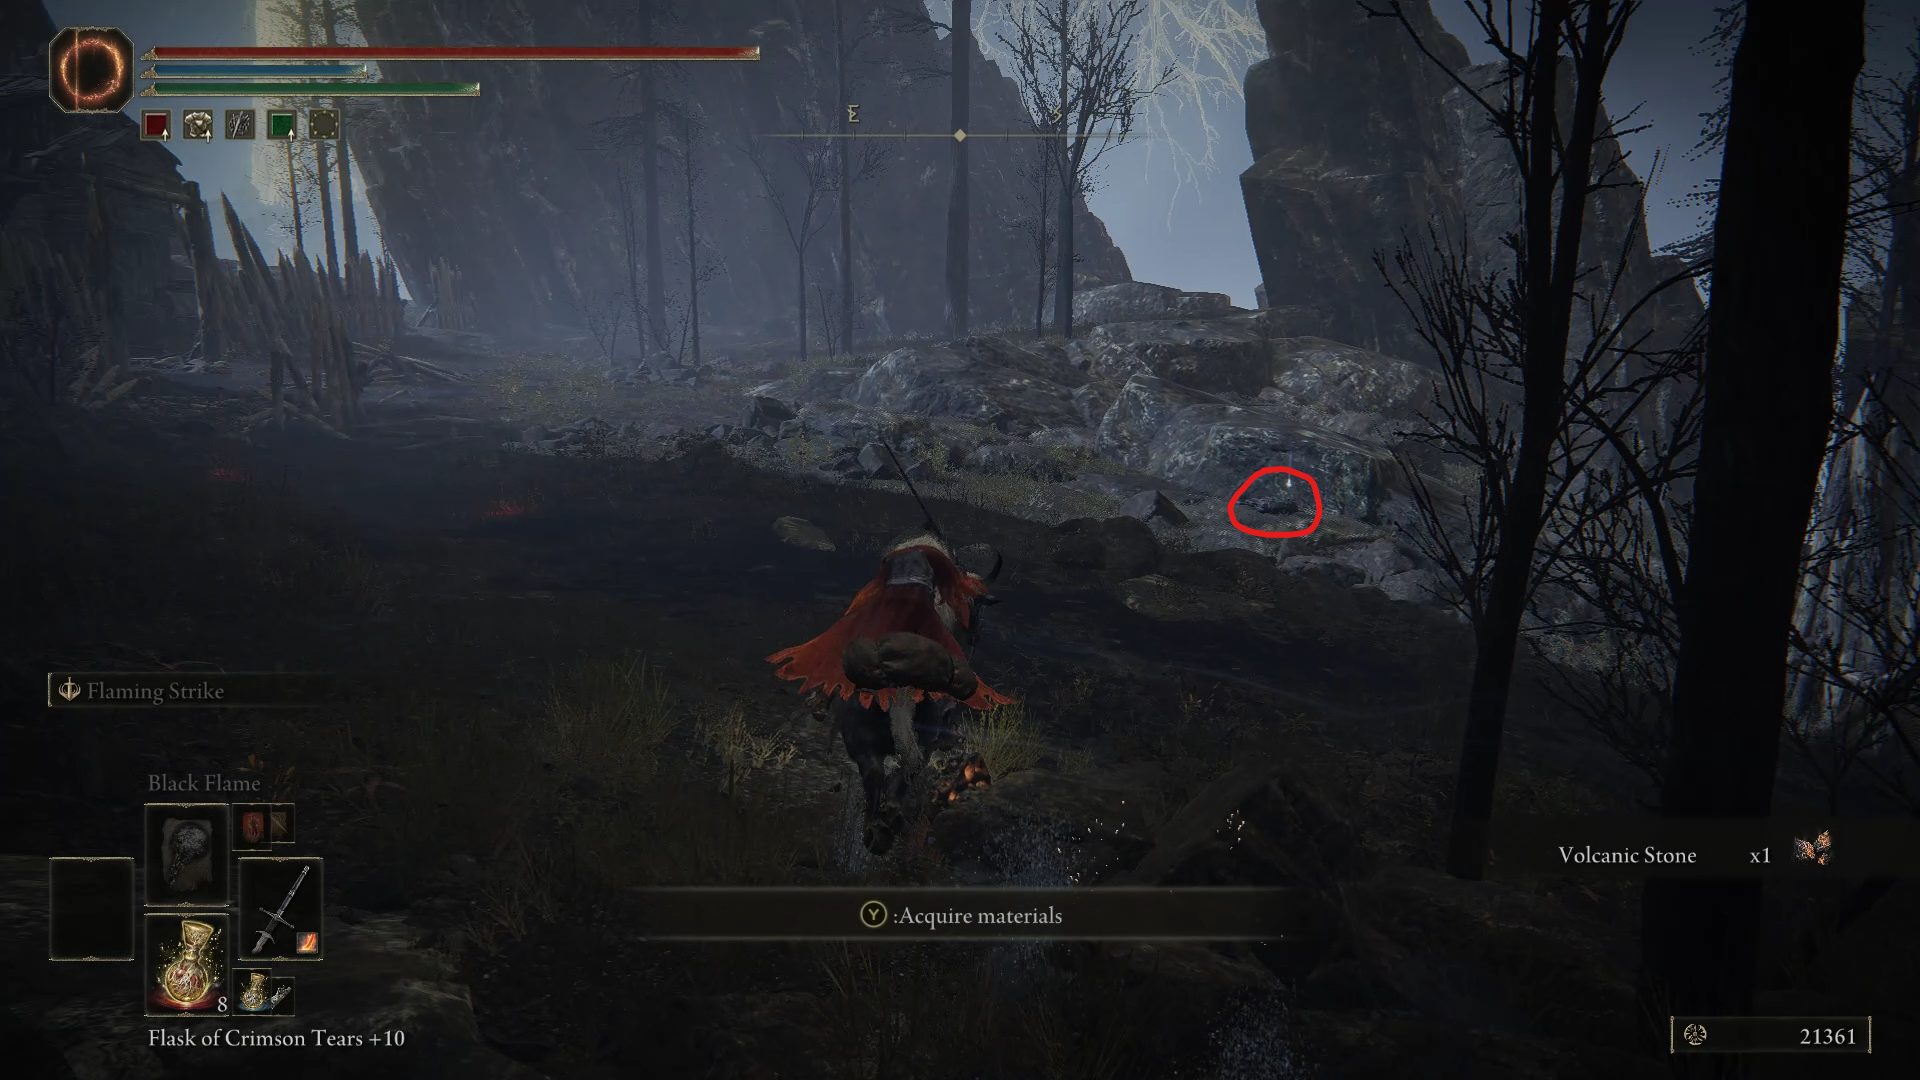
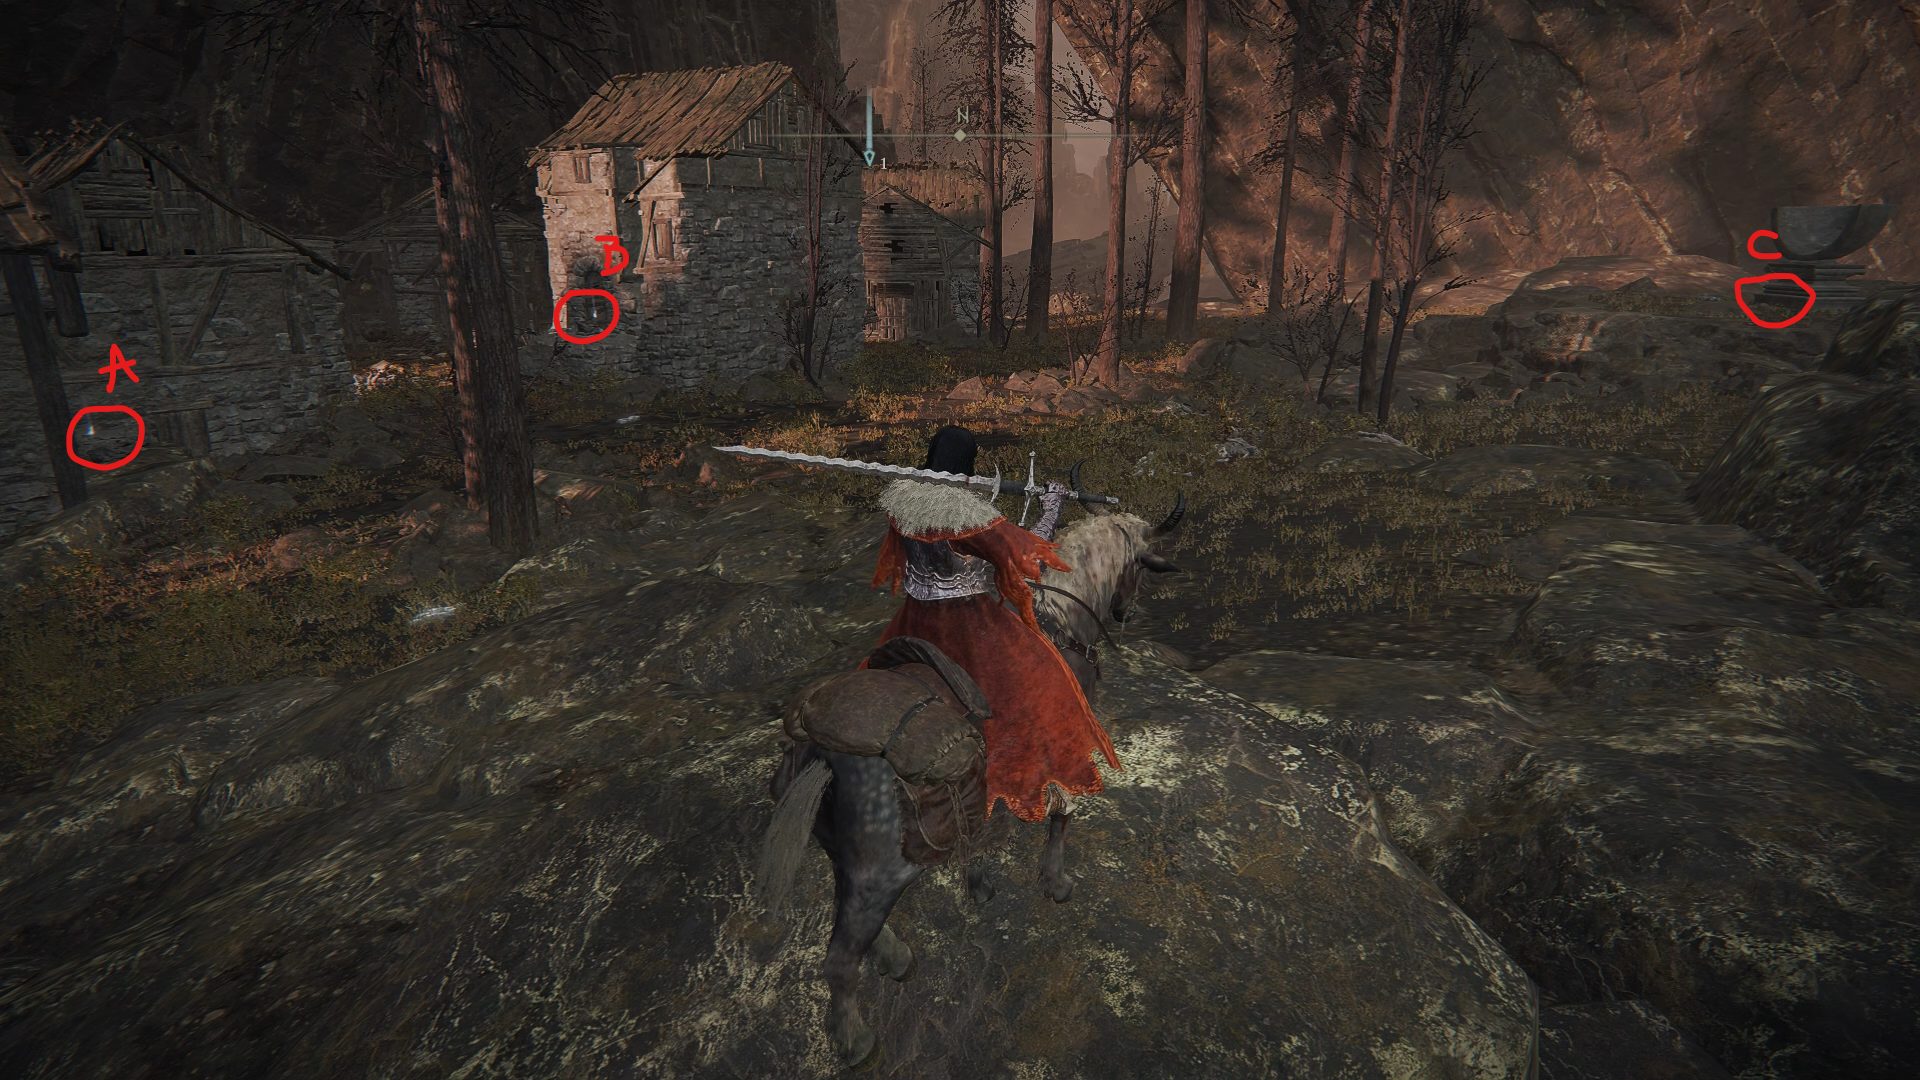
As you come back out of the dungeon, start heading south-southeast, and grab the Smithing Stone [5] (A), the Golden Seed (B), and continue further through the ravine (C).
Continue forward while avoiding several geysers on your way, and you’ll eventually reach a thicker than normal loot beetle.
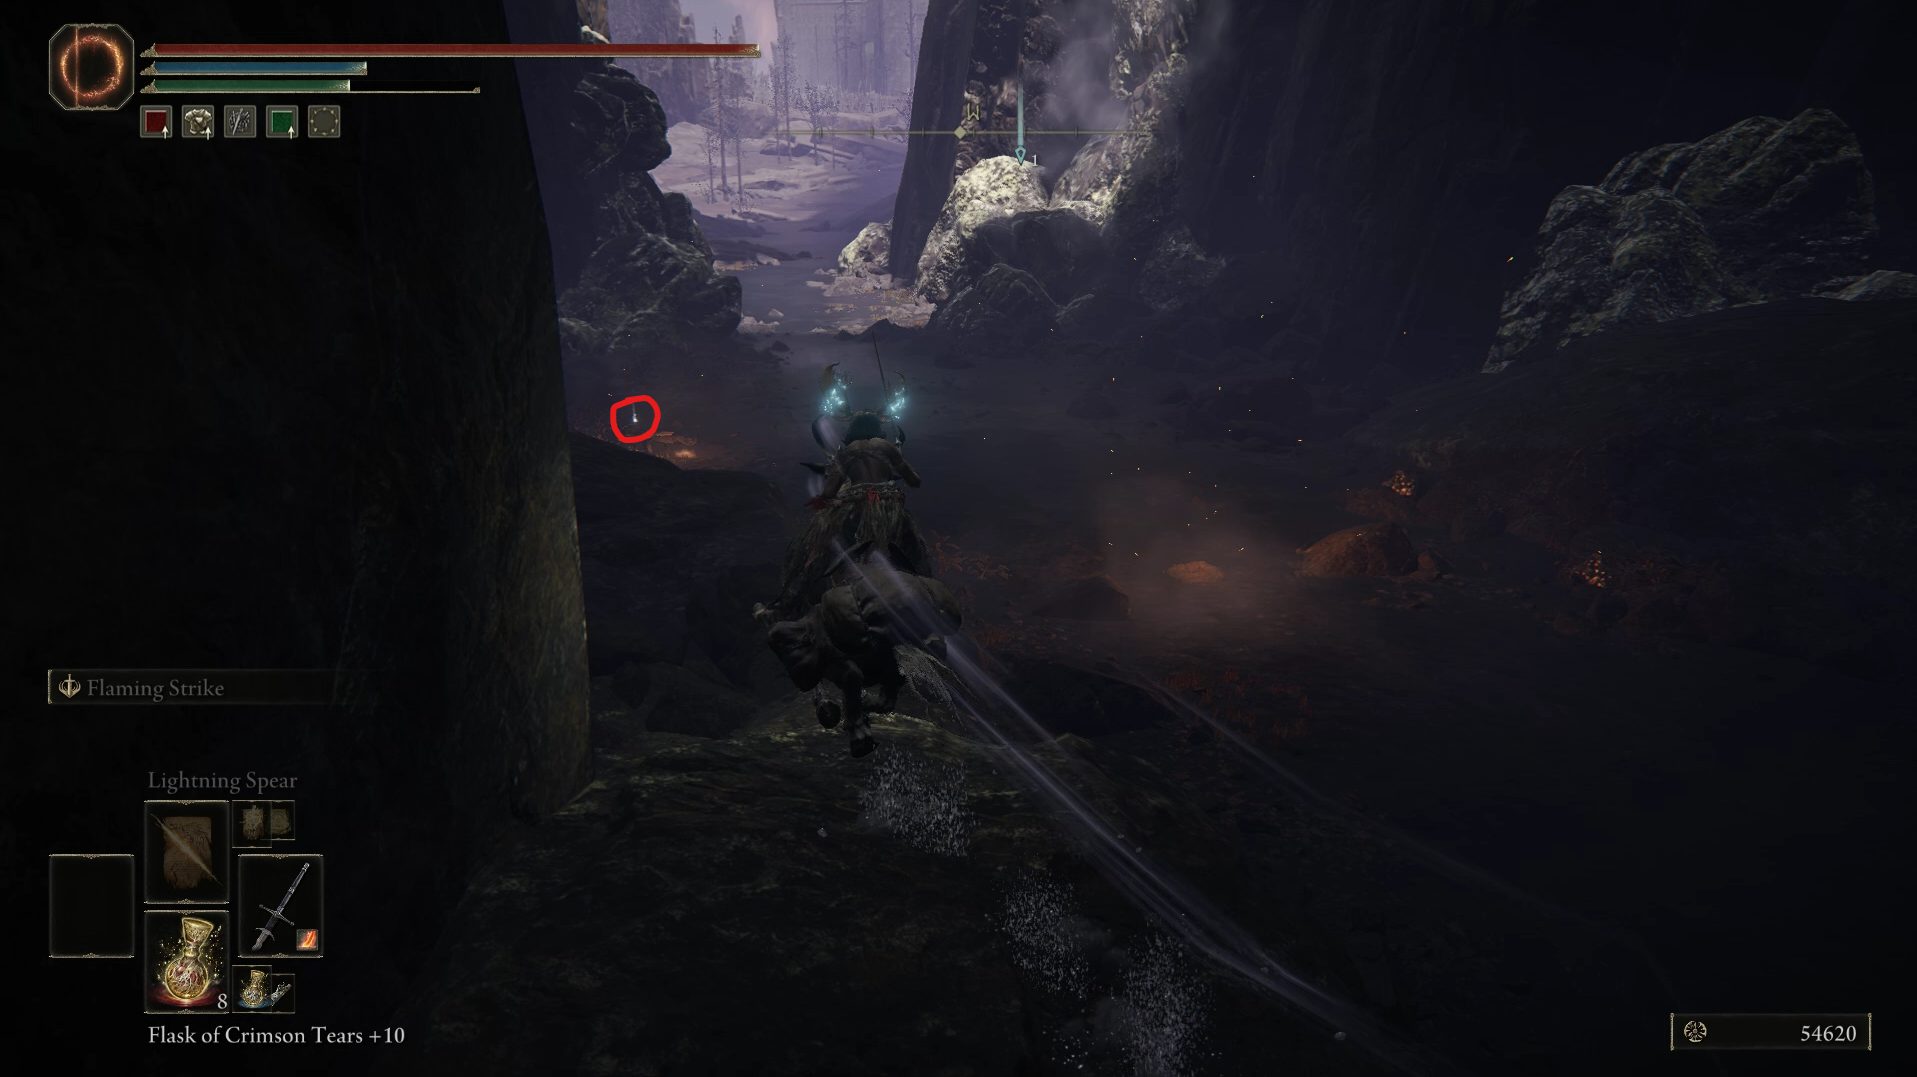
Defeat it, grab the Ash of War: Barrage, continue a bit further and you will reach another site of grace: Seethewater River.
Now backtrack through the ravine to the entrance to the Seethewater Cave dungeon, and take the path west. There, you should see several slow walking enemies, and another batch falling down from above as you get closer.
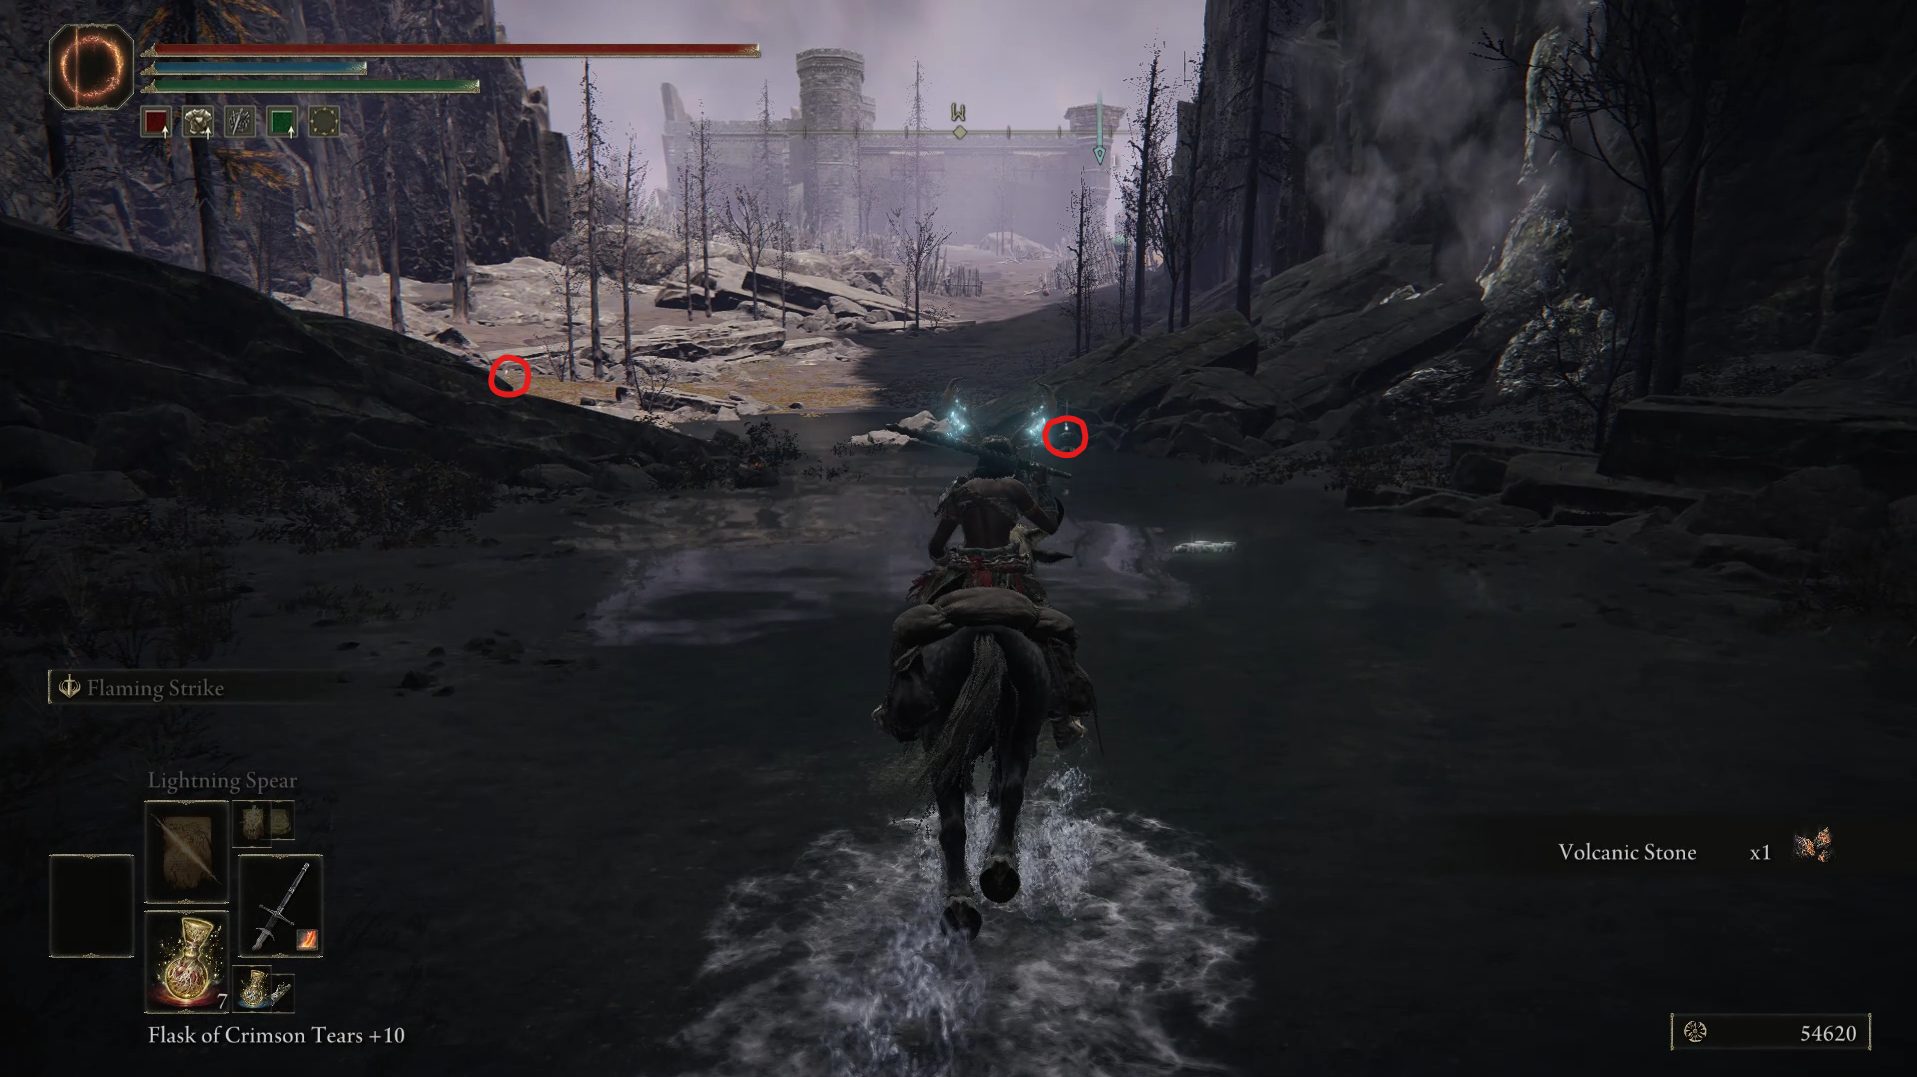
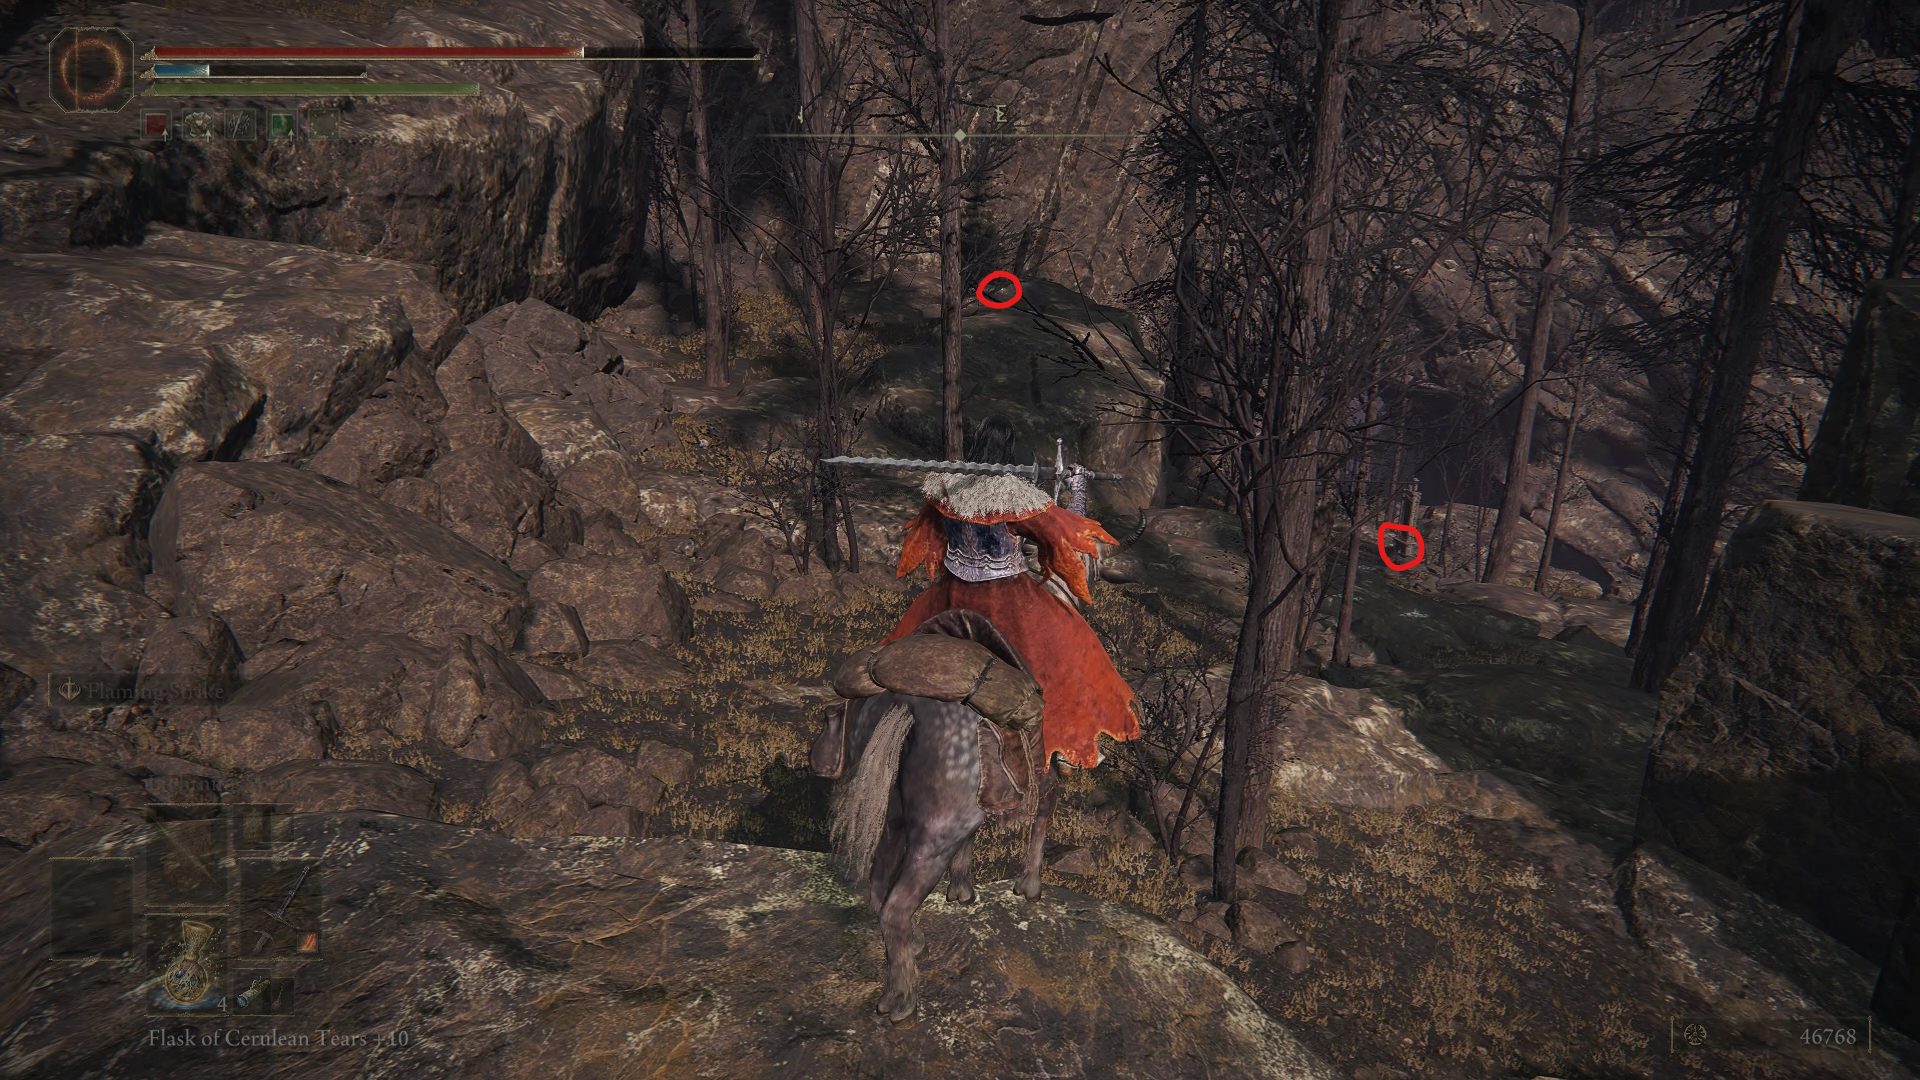
Continue riding past those guys, make a couple of stops to grab the 3x Fireproof Dried Liver as well as the Golden Rune [6], and you’ll make it to the next site of grace: Seethewater Terminus.
3x Fireproof Dried LiverGolden Rune [6] + Site of grace
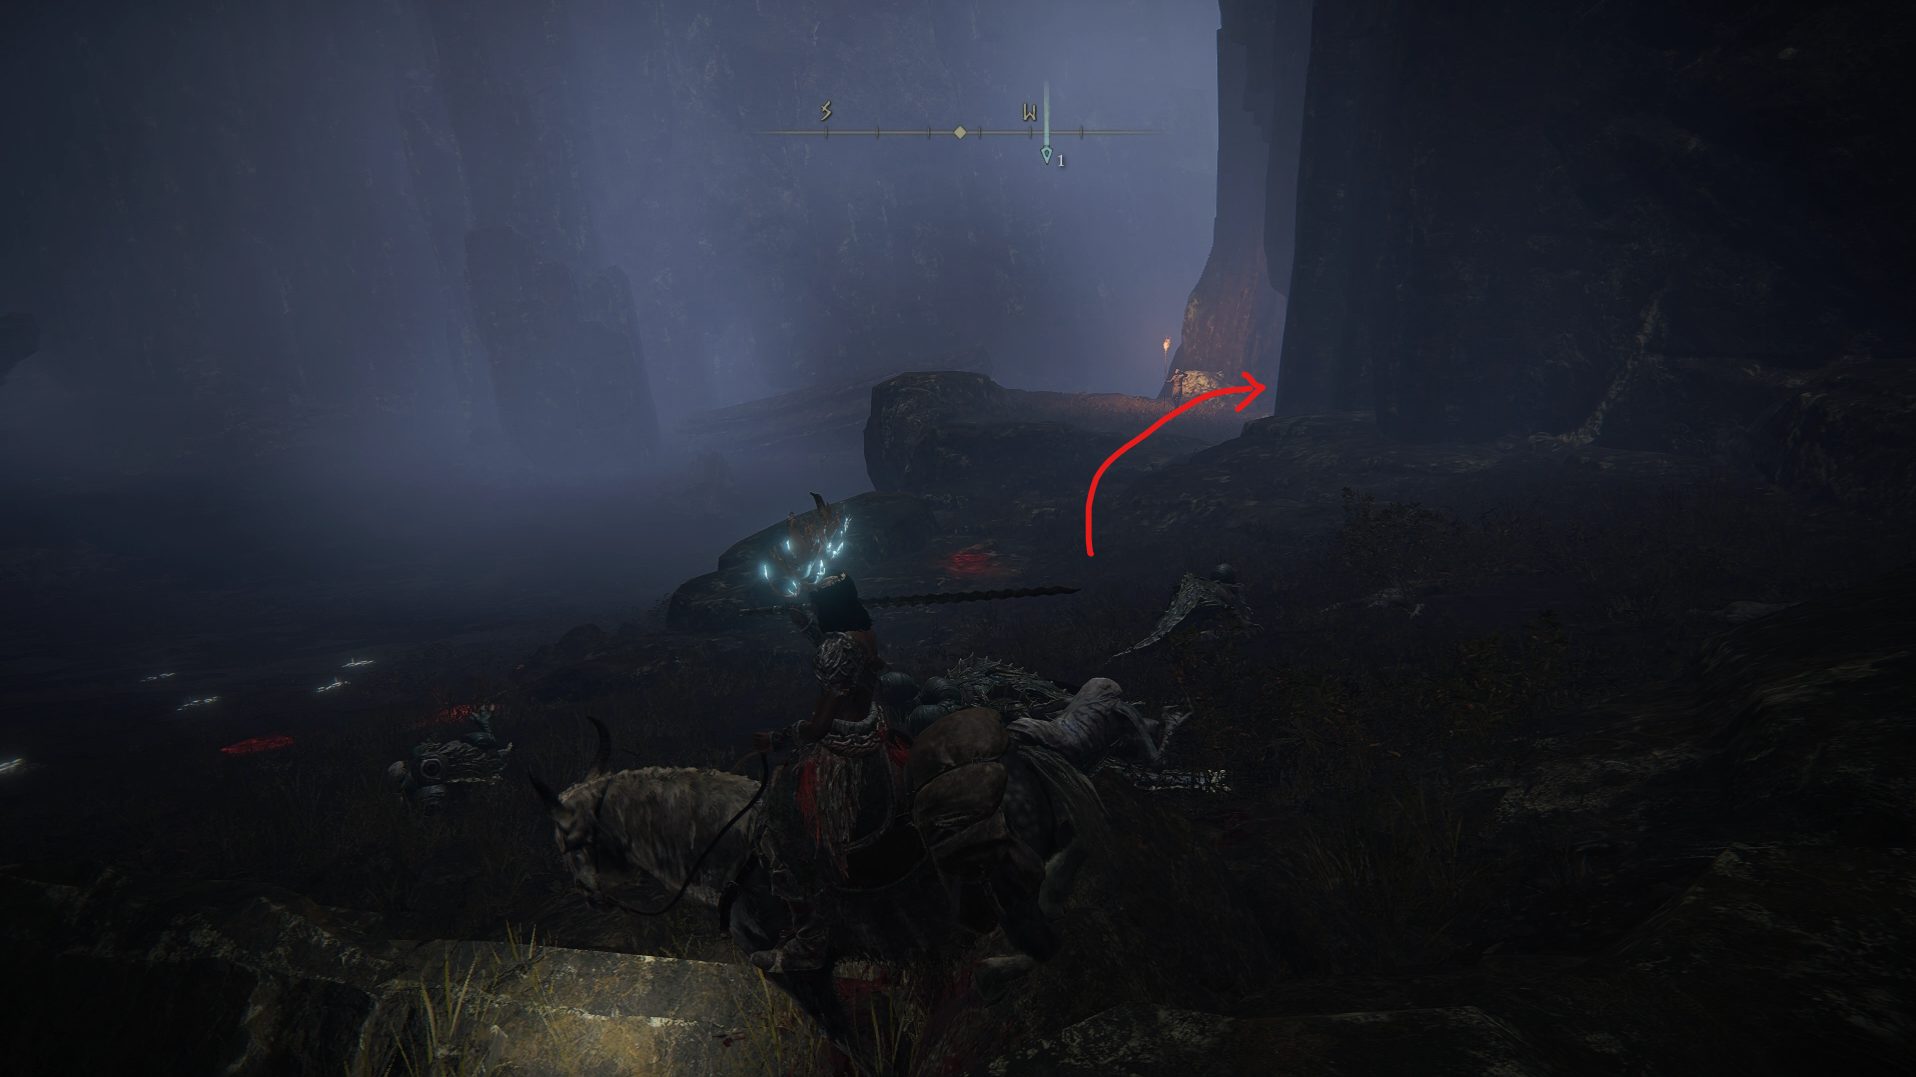
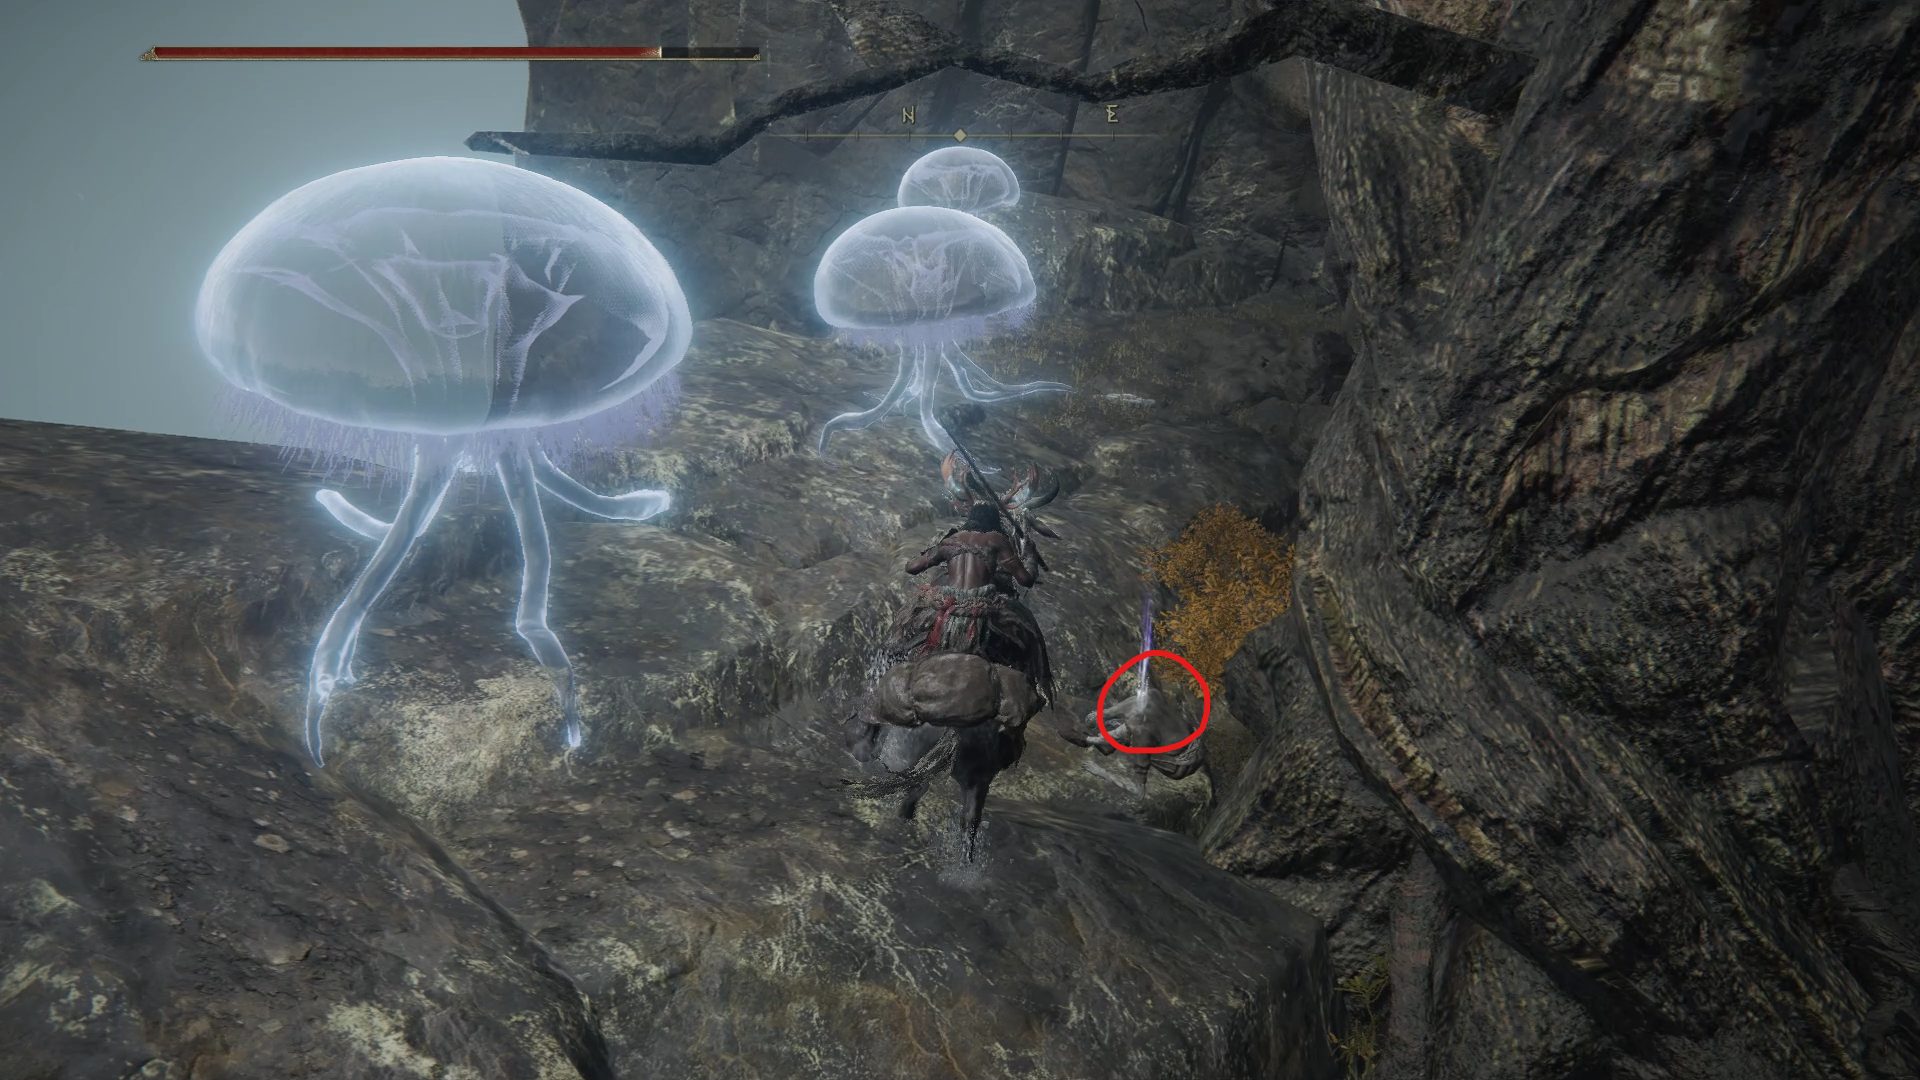
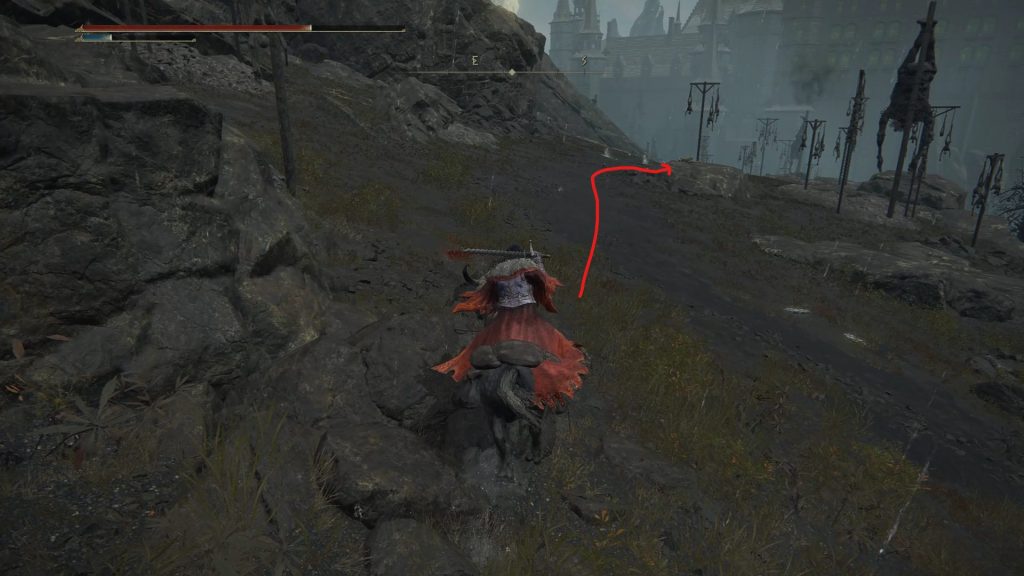
Our next destination is Fort Laiedd located west of this site of grace. While there is a fairly high amount of enemies around this fort, if you skip them you will only miss out on some Smoldering Butterflies, 5x Mushrooms, and some Fire Blossoms (dropped by the Flame Chariots). With that in mind, start by heading north towards the tree surrounded by friendly Jellyfish, and grab the Stonesword Key that can be found behind it.
From there, head southwest towards the fort’s entrance, and make sure to deal with the enemies that are on your way to avoid being disturbed once you’re inside.
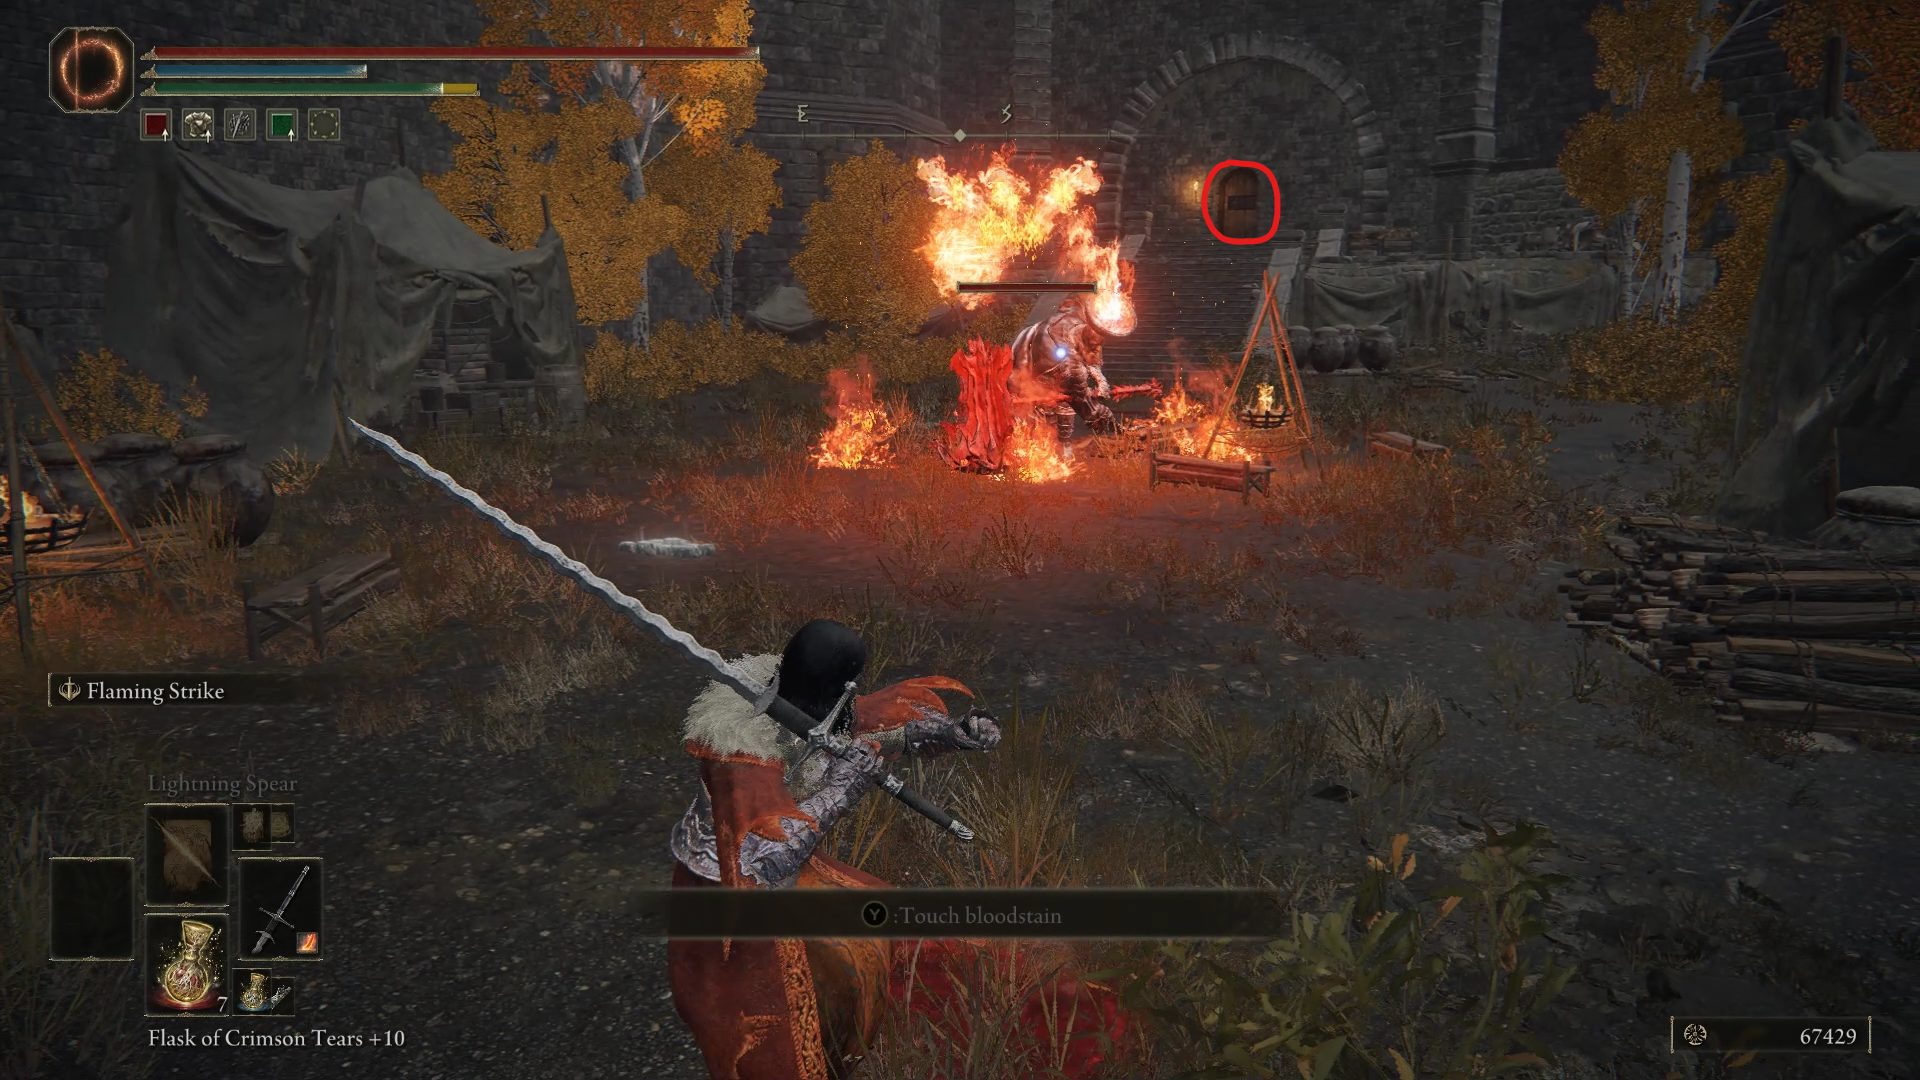
Once you’re inside, you’ll have to deal with the fort’s only enemy: the Prelate. While it may look imposing and threatening with its huge hammer and oddly shaped head, dealing with it is fairly straightforward. If you have access to ranged attacks, wait for the Prelate to start slowly walking towards you before attacking him from range. This will make him sprint towards you to try and attack you, at which point you can just run away from him and attack again once he’s busy either swinging his hammer, or taking a stroll towards you.
If you’re playing a melee character, you might want to wait for the flames to stop erupting from his head before dealing with him. While waiting, don’t hesitate to use items such as Throwing Daggers to reduce his health. Once the flames subside, run close to the Prelate to get him to start swinging, then run out, and wait for the end of his attack to punish him with one of your own. Now dodge/run out, and repeat the process until he’s dead. Defeating him will reward you with Prelate’s Inferno Crozier.
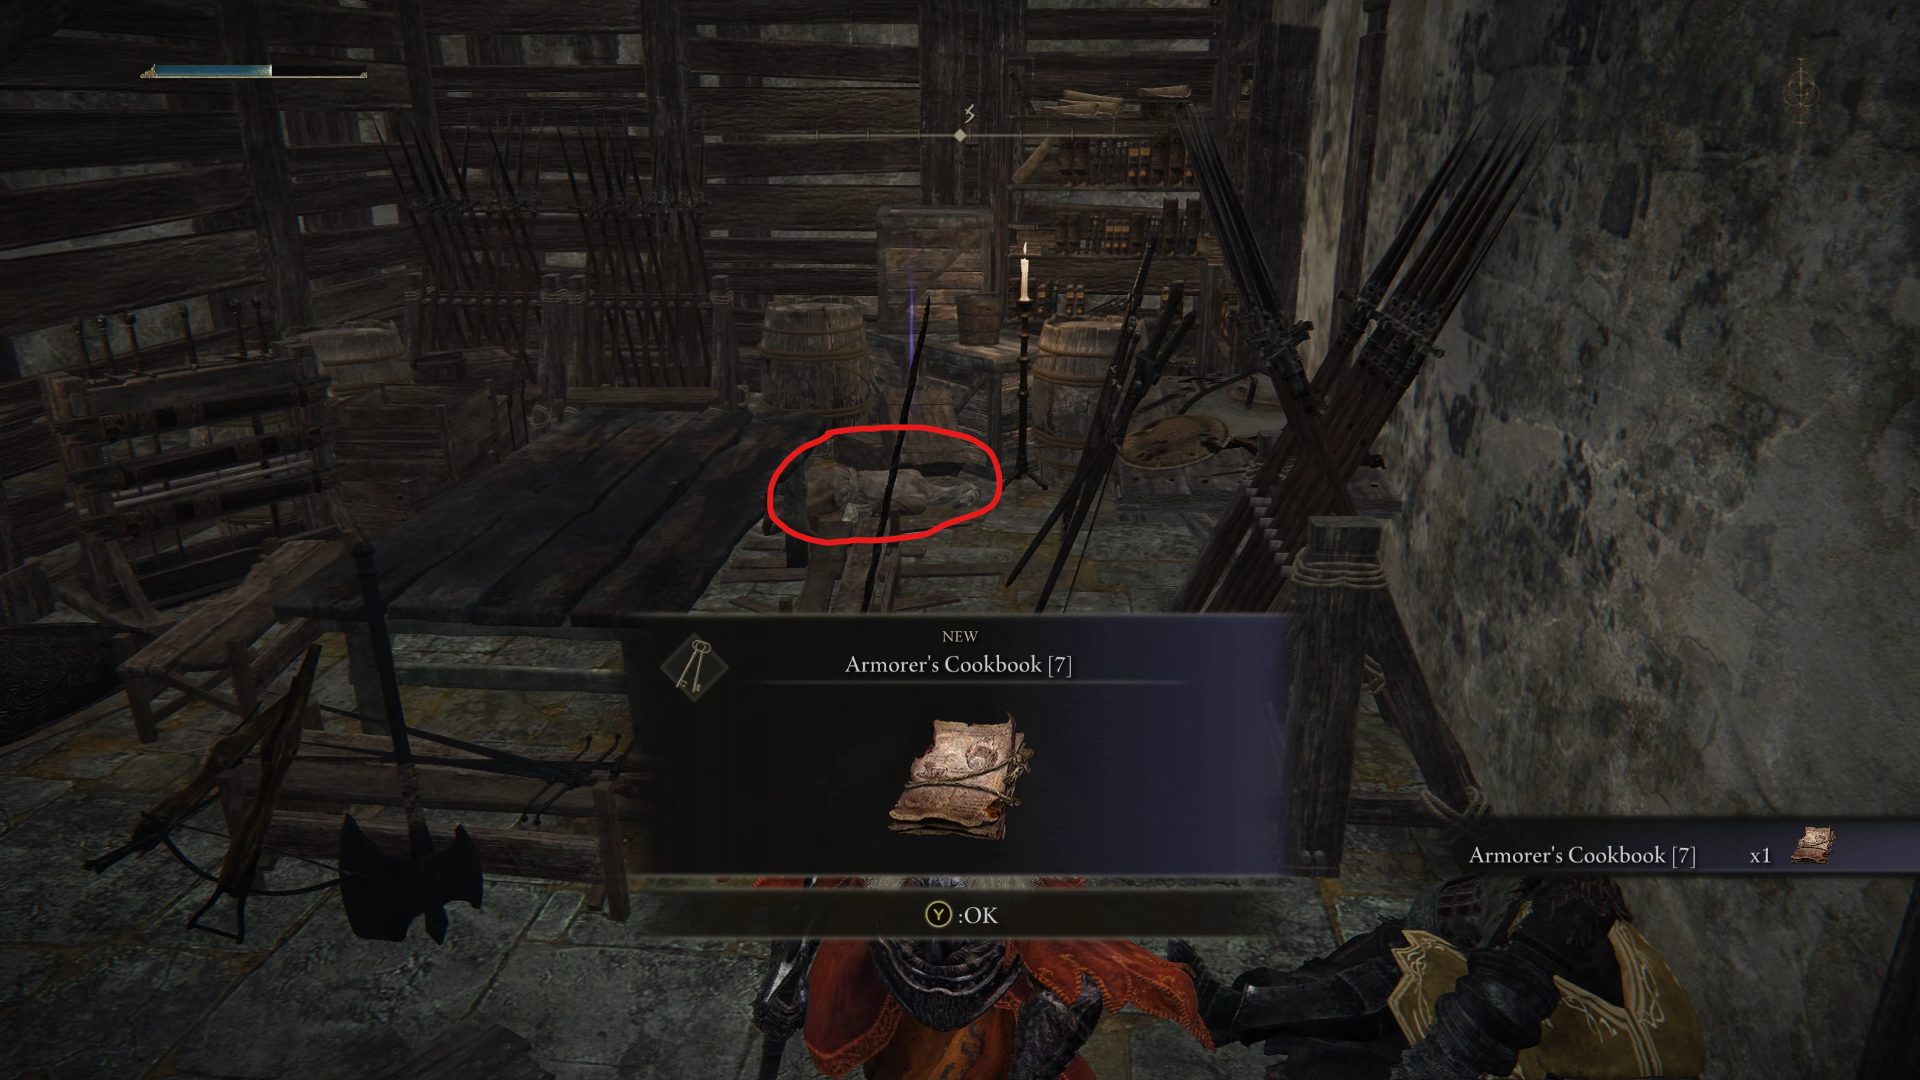
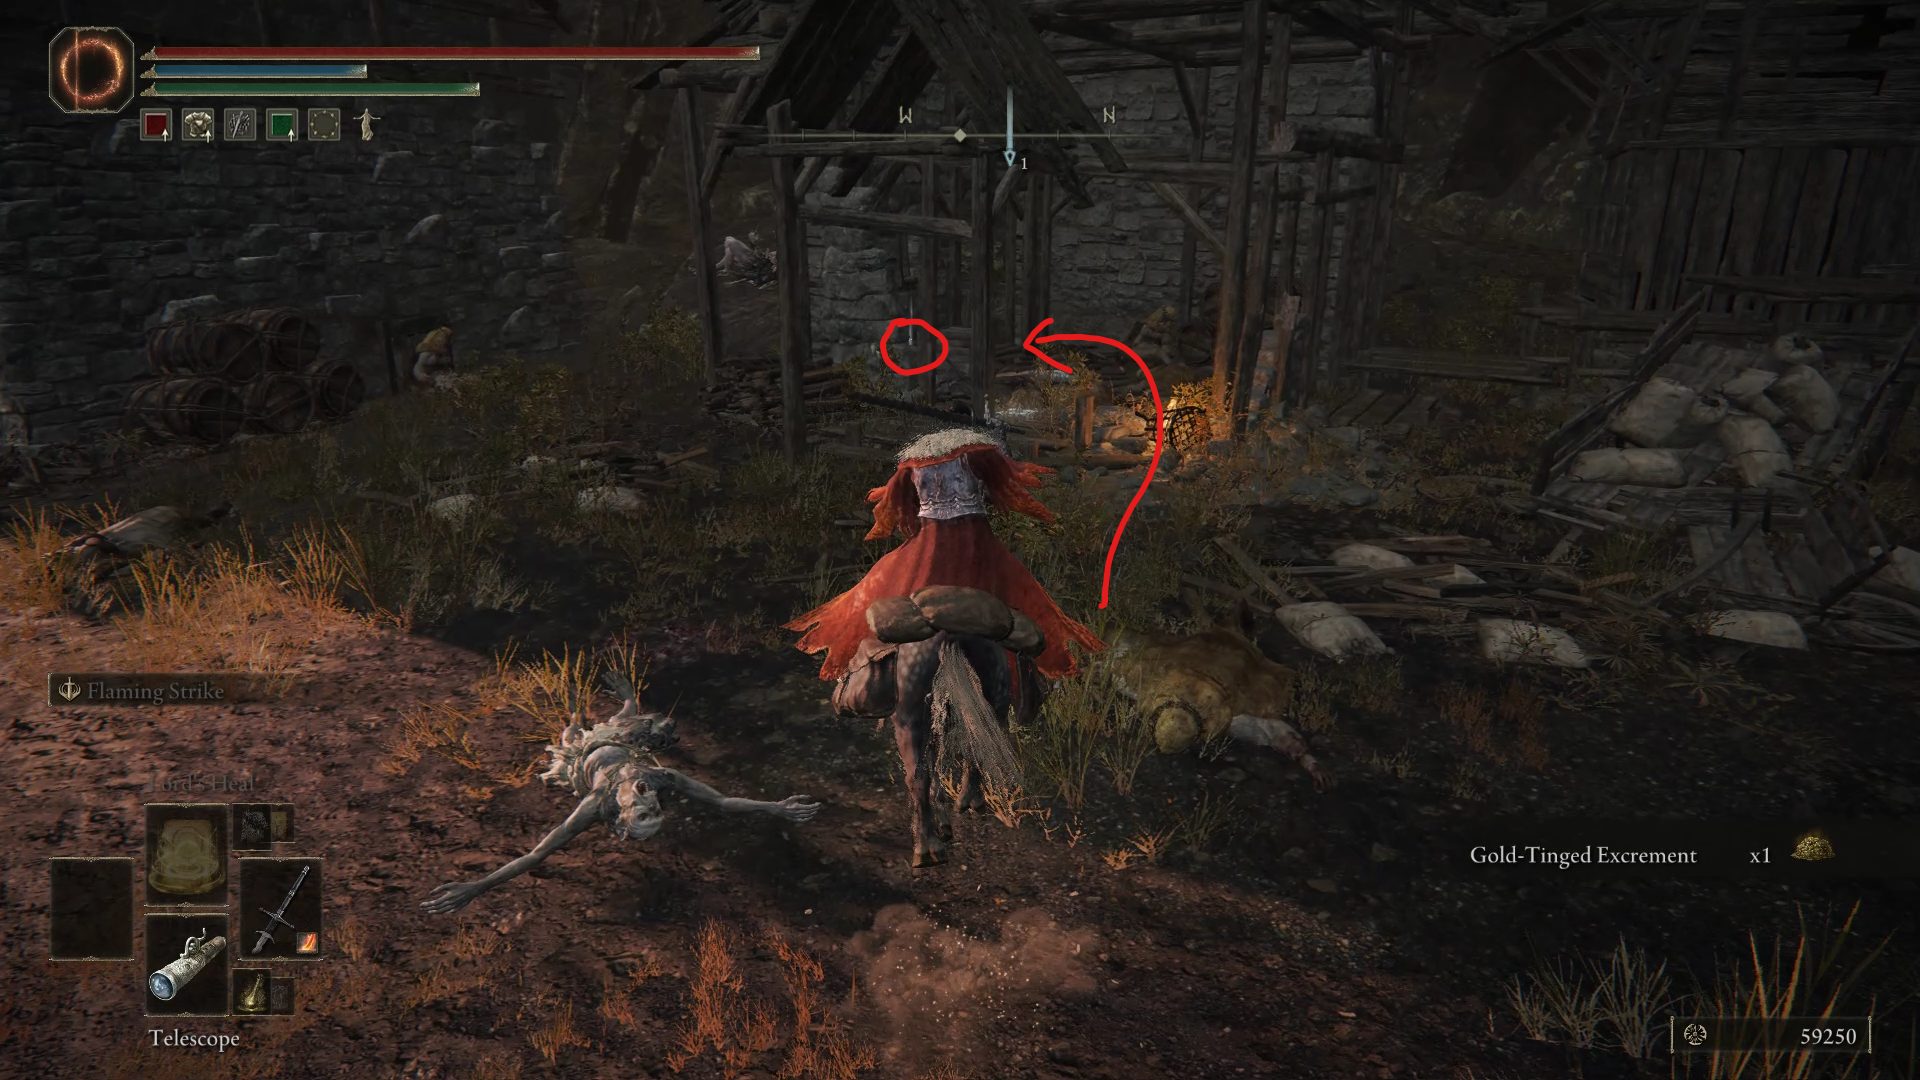
Now that he’s dealt with, go through the door in the back of the fort’s courtyard and grab the Armorer’s Cookbook [7] next to the stairs. Go up the stairs, grab the Golden Rune [8] and the 3x Slumbering Eggs on the nearby corpses, and head towards the western tower. There, jump over the damaged part of the wall and you’ll find a ledge with a talkative ghost and the Fire Scorpion Charm.
Fire Scorpion Charm location
Leave the fort and start heading south towards the lava lake. On your way, you can choose to go through the fort’s rear to grab some Sacramental Buds, which will also give you an opportunity to backstab a Flame Chariot.
As you get closer to the lava lake, make sure you’re ready to fight this area’s first open world boss: the Magma Wyrm.
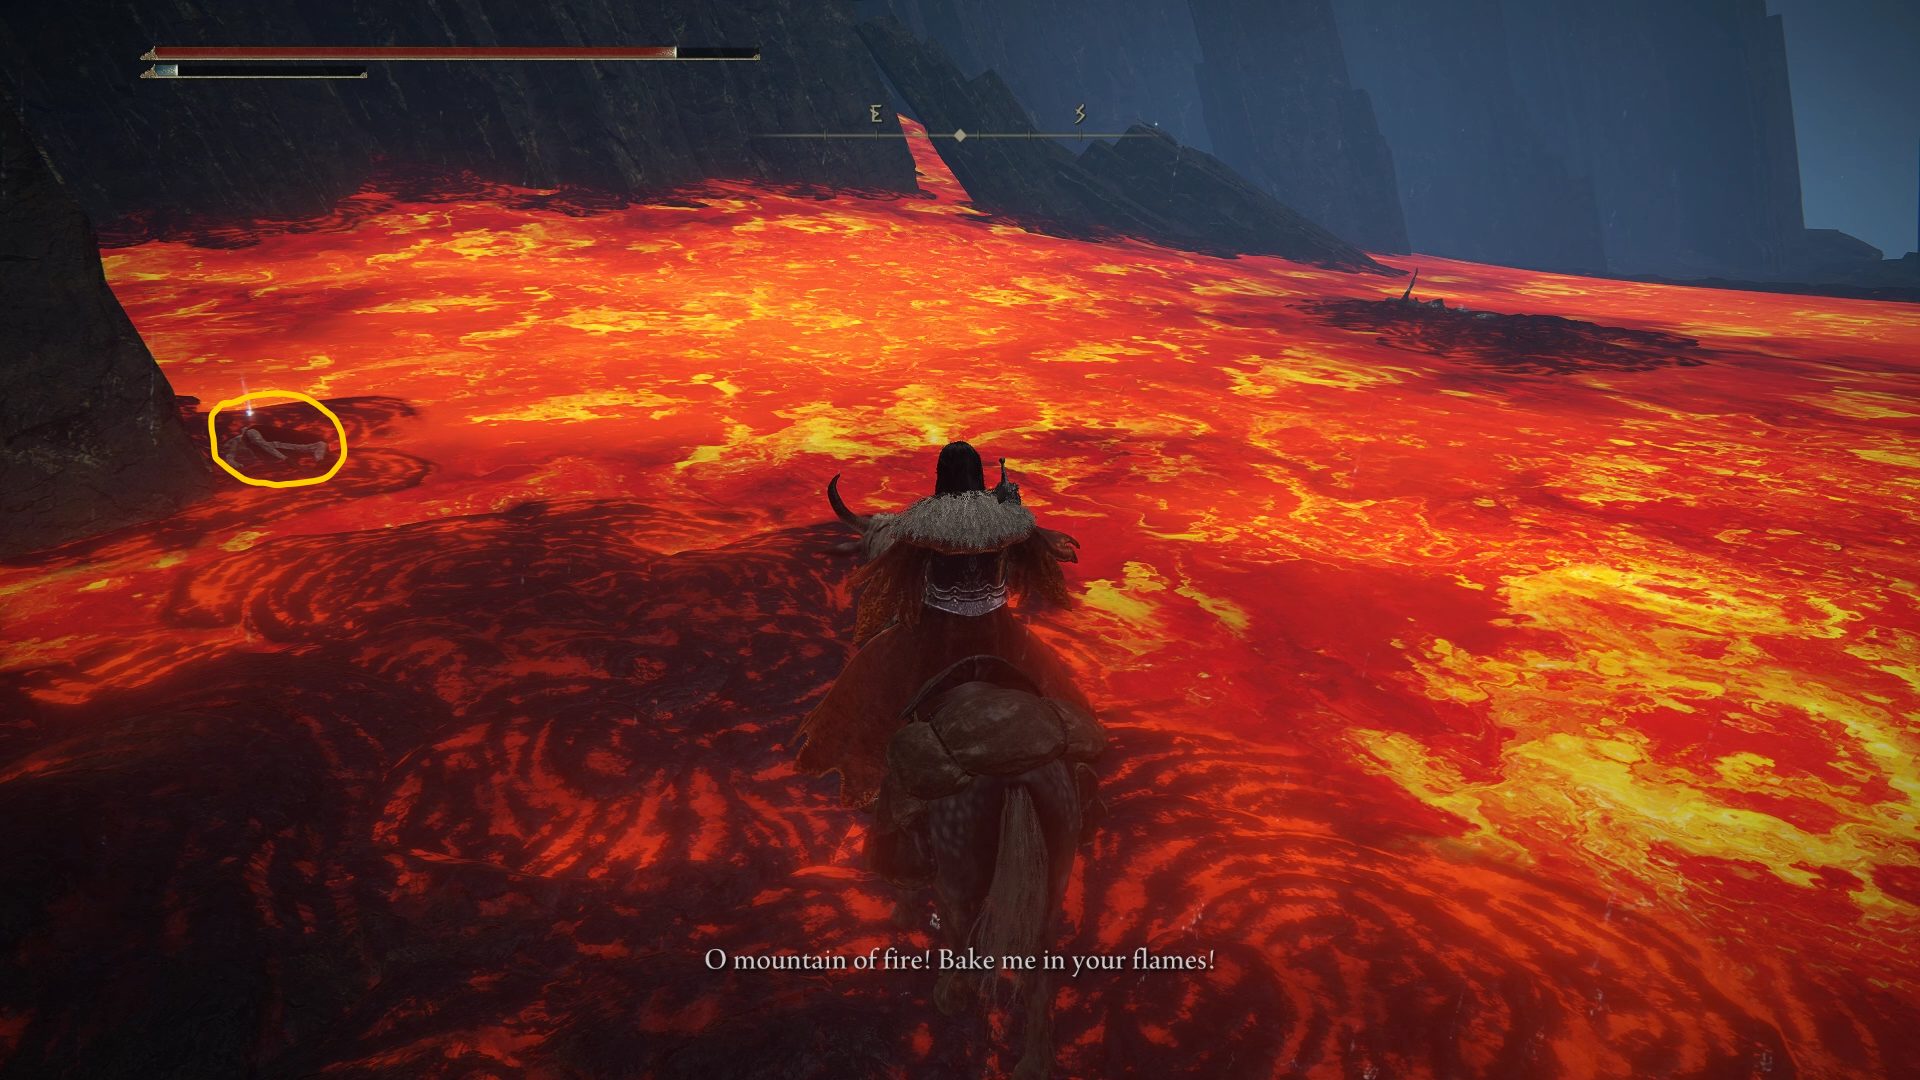
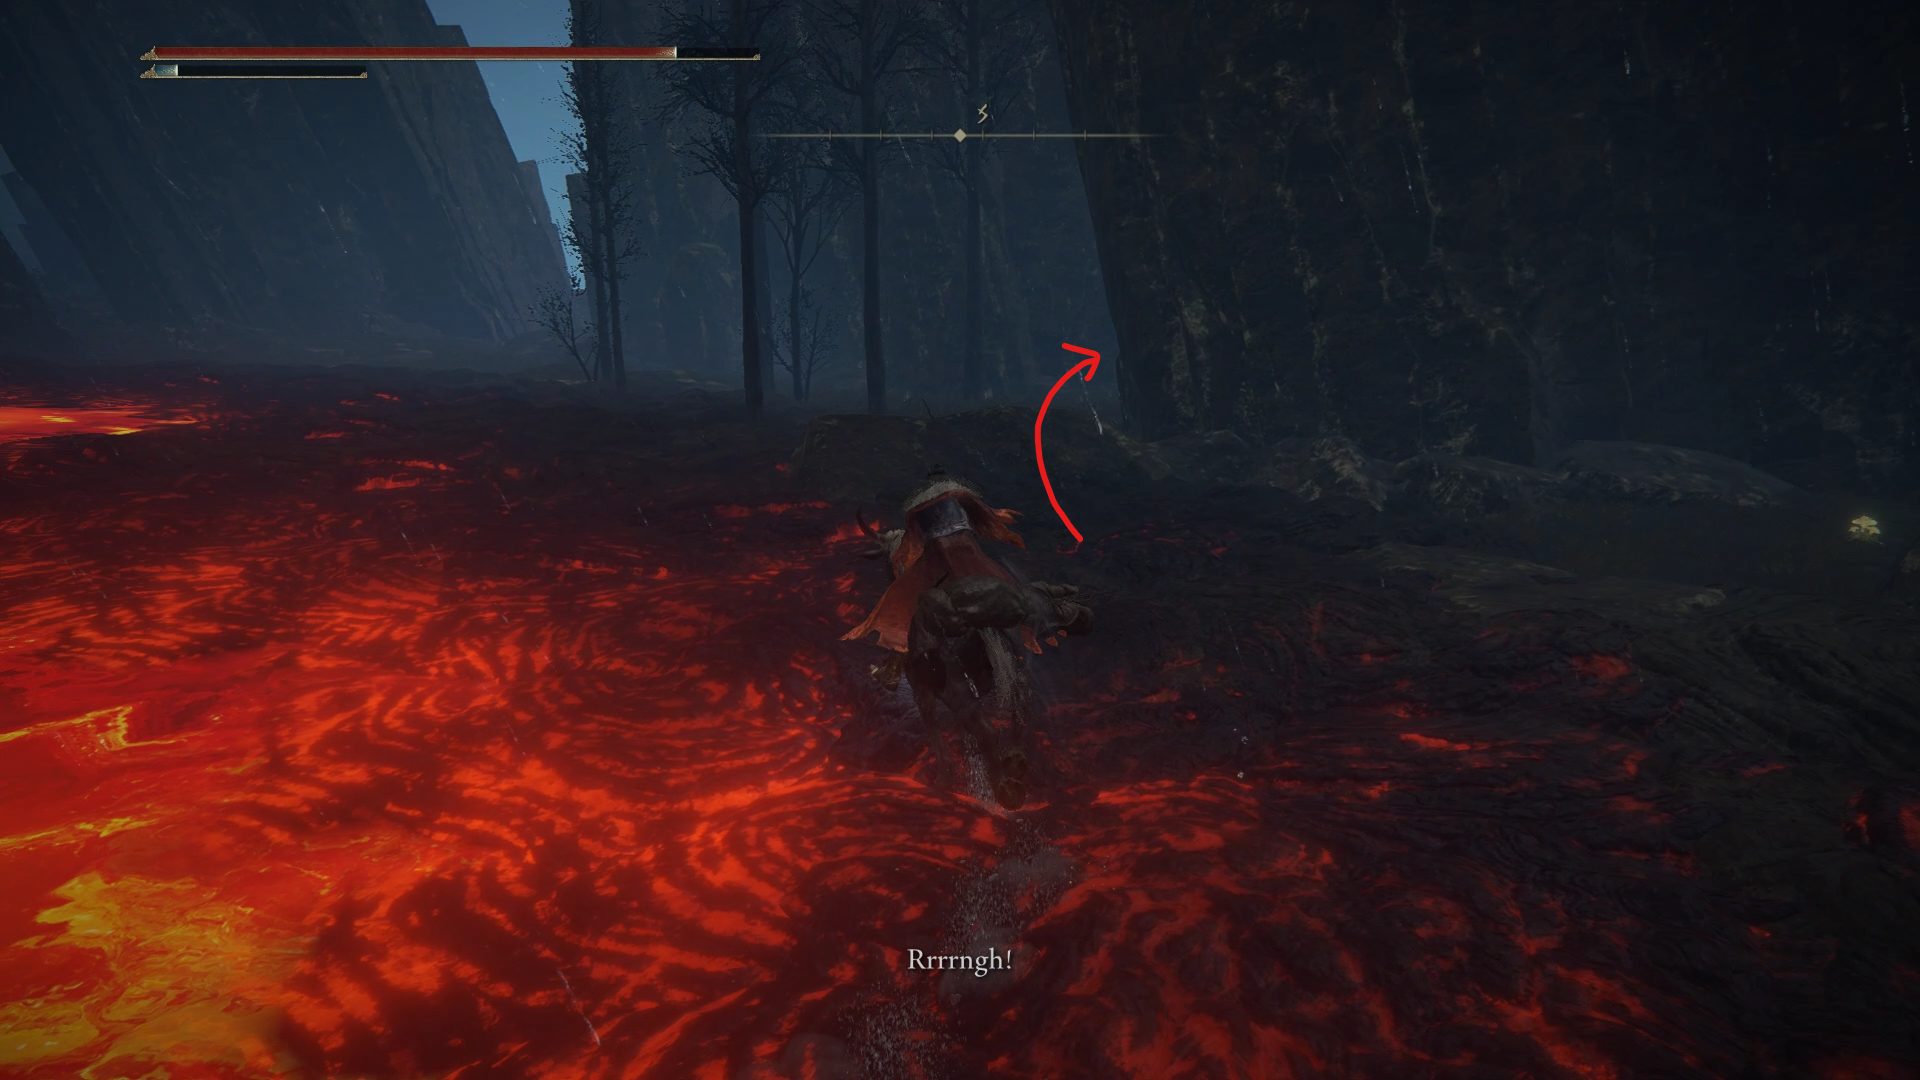
Now that the boss is dead, there are a few things to grab in and around of the lava lake. Make sure to remain mounted to quickly traverse the lava, and keep double jumping to reduce the amount of damage taken while doing so.
From the rock with the Golden Rune [5], you’ll be able to speak to Alexander by standing close to the edge. Exhaust his dialogue, and he will reward you with the Jar.
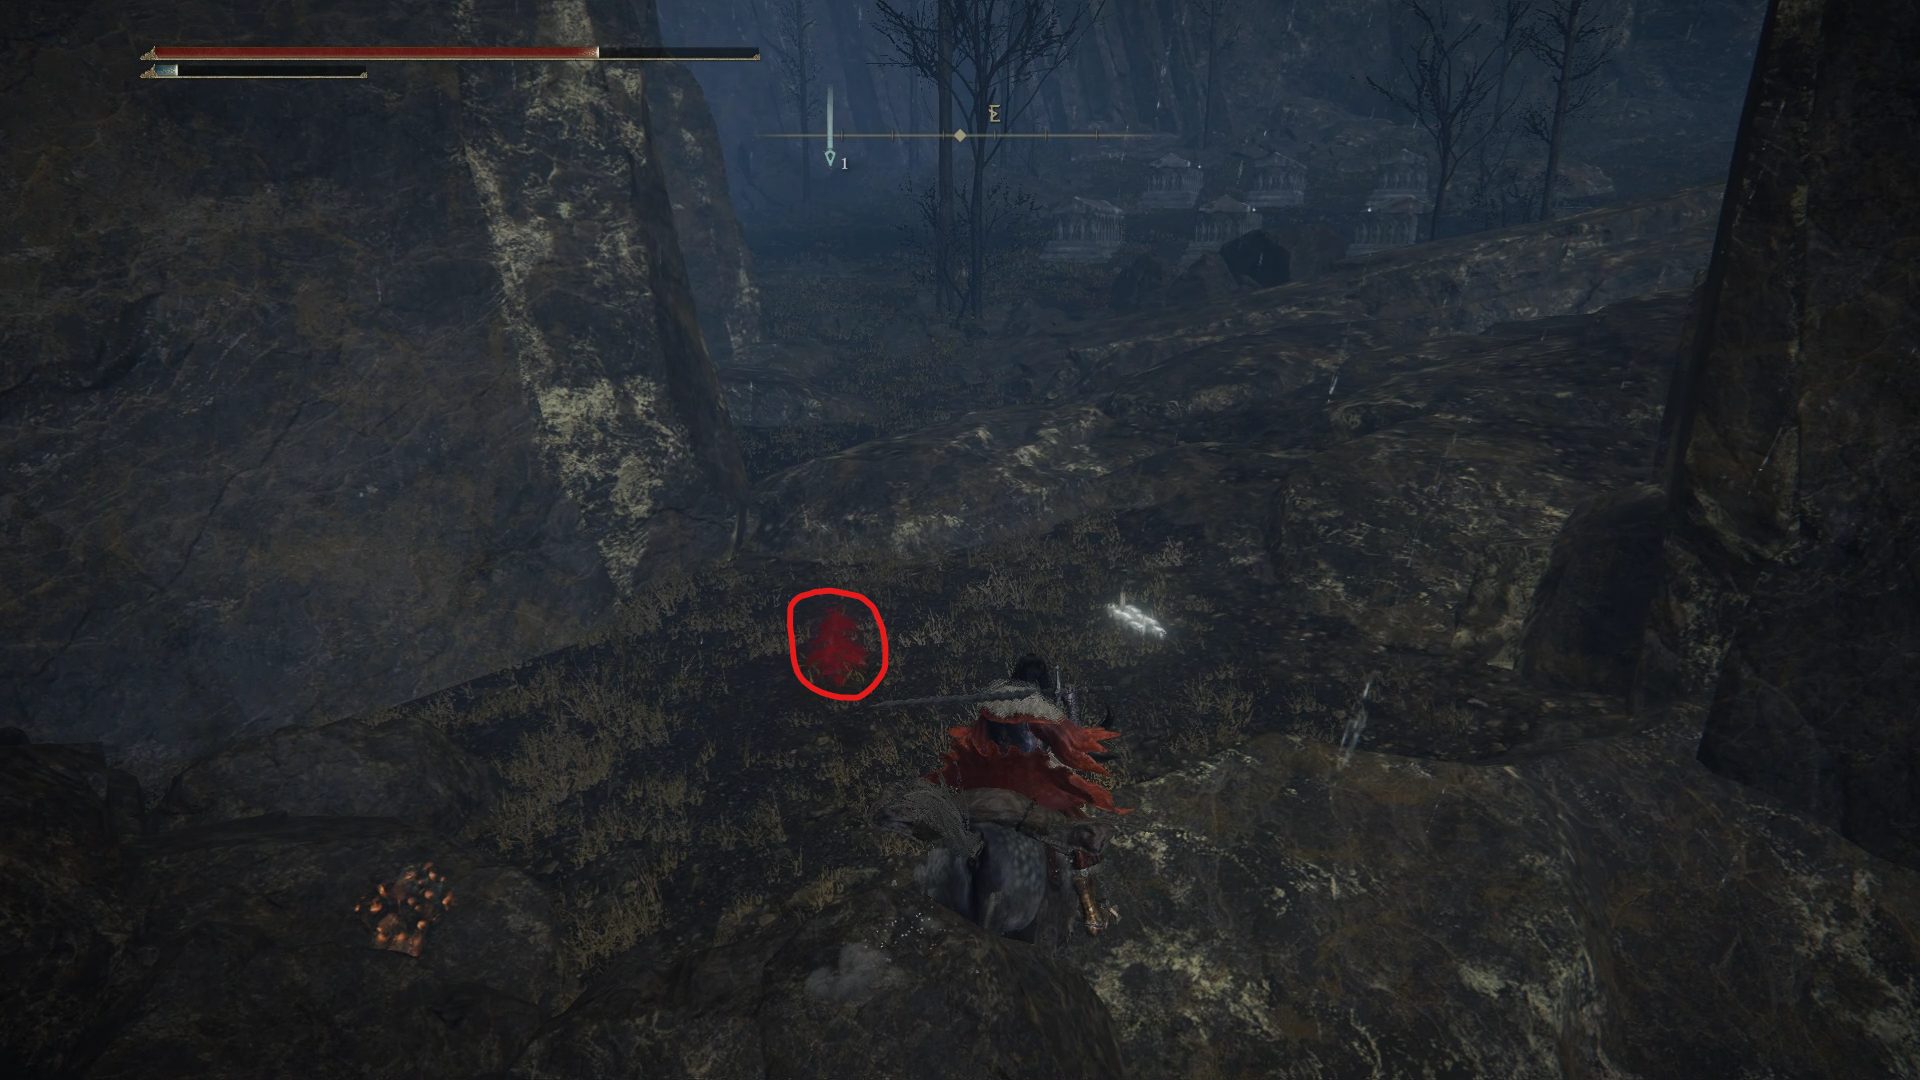
Now leave the lake by going southeast, defeat a few demi-humans on your way, and continue forward until you reach yet another cemetery. Right before reaching it, grab the Arteria Leaf growing nearby, and start looting the cemetery by grabbing anything you like with your grave-defiling hands. Then, continue going east until you reach the Hermit’s Shack.
Arteria LeafHermit’s Shack
As you get closer to the shack and deal with the nearby demi-humans, make sure to avoid going further east, and grab the Roiling Magma sorcery inside of the Hermit’s Shack. Make sure to deal with all of the nearby enemies before going east, at which point a Lesser Runebear will show up on your path. And while it may sound like bad news, you can use this enemy to break a nearby cracked statue to gain access to 3x Smithing Stone [6].
To do so, just patiently wait next to the statue and the bear will end up walking on top of it, which will be enough to crack the statue open. Once you’ve grabbed the Smithing Stones, you can either run away from the bear and continue east, or fight the bear to be able to grab the nearby loot in peace. If you run away, all you’ll be missing out on is a Trina’s Lily and a Gravel Stone, though you can also try to grab those on your way out.
Trina’s LilyGravel Stone
Additionally, if you decide to fight the runebear, you can climb on top of the Hermit’s Shack and use ranged attacks to make it easier, although you will still have to dodge the bear’s roar.
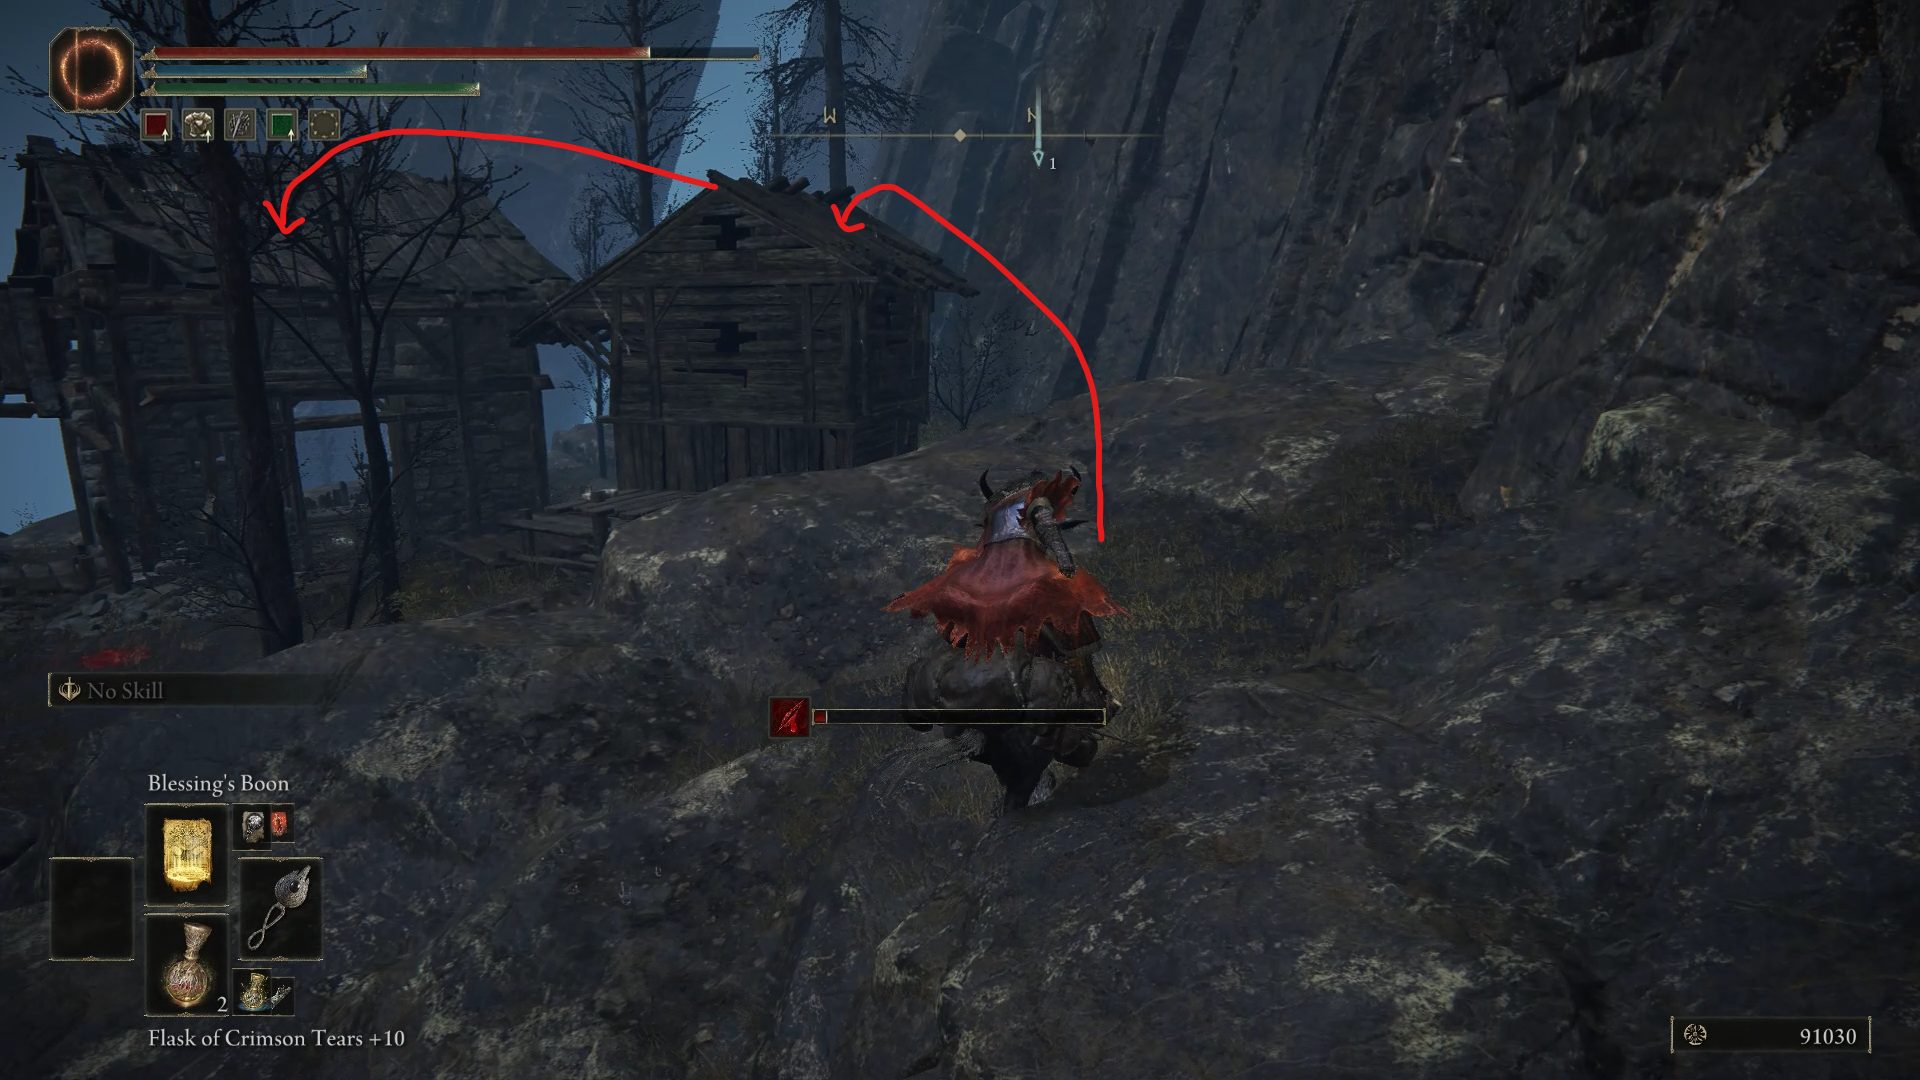
If the bear is out of range, jump down, wait for him to come closer, and climb back up on top of the shack. Once you’re done with this area, continue heading east and you will reach a new site of grace: Craftsman’s Shack. Once you’re there, make sure to grab the site of grace and the Pulley Crossbow on a corpse nearby.
Grab the Miquella’s Lily growing behind the shack with the Pulley Crossbow and start heading east-northeast towards the path with the wooden barricades. As you get closer to the barricades themselves, an angry Iron Virgin will charge the nearby demi-humans, which will create a window for you to slip past them and continue towards the village found at the end of the path. Make sure to grab the 2x Sacramental Buds by the village’s entrance, and proceed inside.
If you’re interested in grabbing more Sacramental Buds, you can find 4 of those growing close to the location of the Starlight Shards. Otherwise, exit the village and head north, and you should very quickly notice a group of enemies next to a much bigger demi-human: the Demi-Human Queen Maggie.
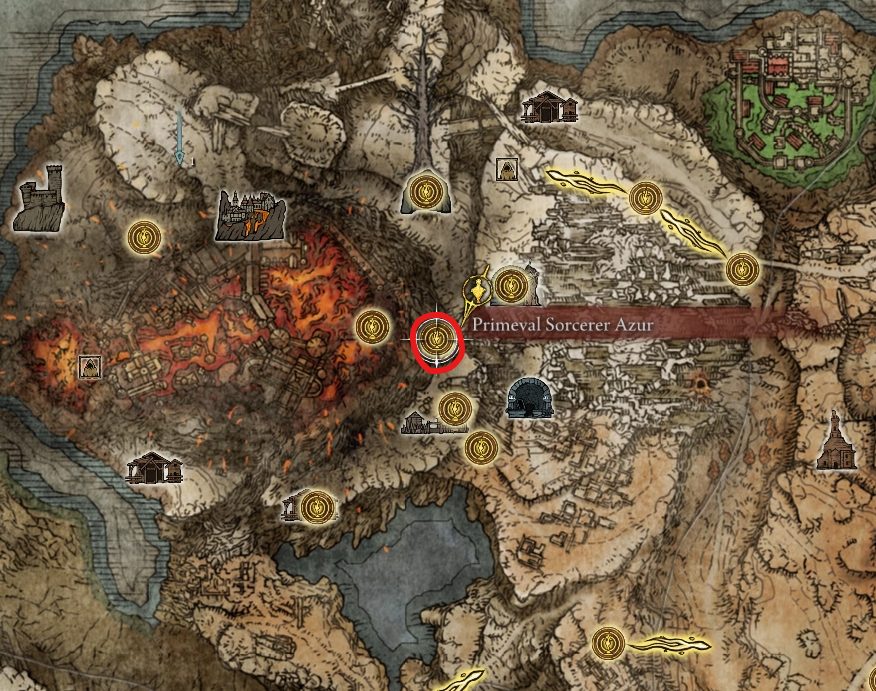
Once the queen has been laid to rest, continue further north. Don’t jump over the cliff just yet, and turn left to find the Primeval Sorcerer Azur and a site of grace named after him.
Grab the site of grace and interact with the NPC to get the Comet Azur sorcery. Having done so, you’re now able to advance Sorceress Sellen‘s quest to its next step by speaking with her in Limgrave, and then travelling to the Sellia Hideaway dungeon in Caelid.
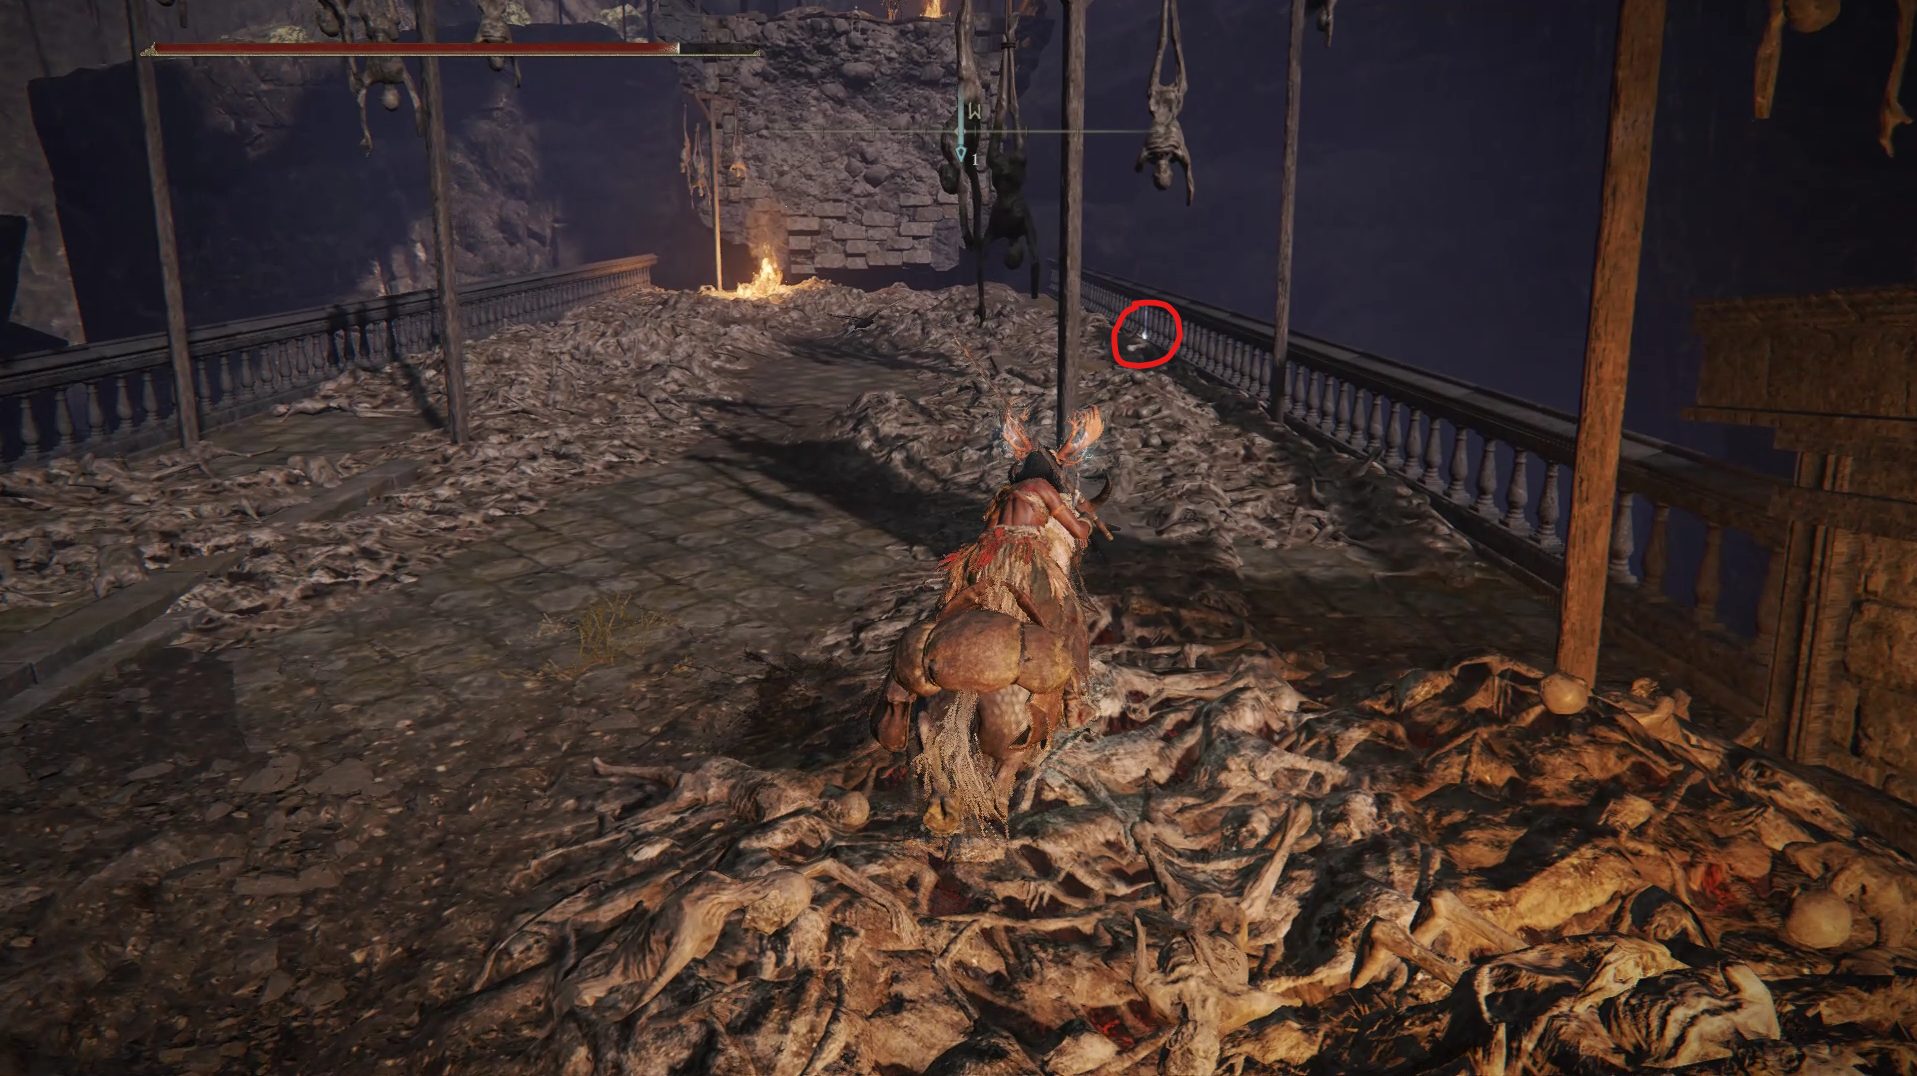
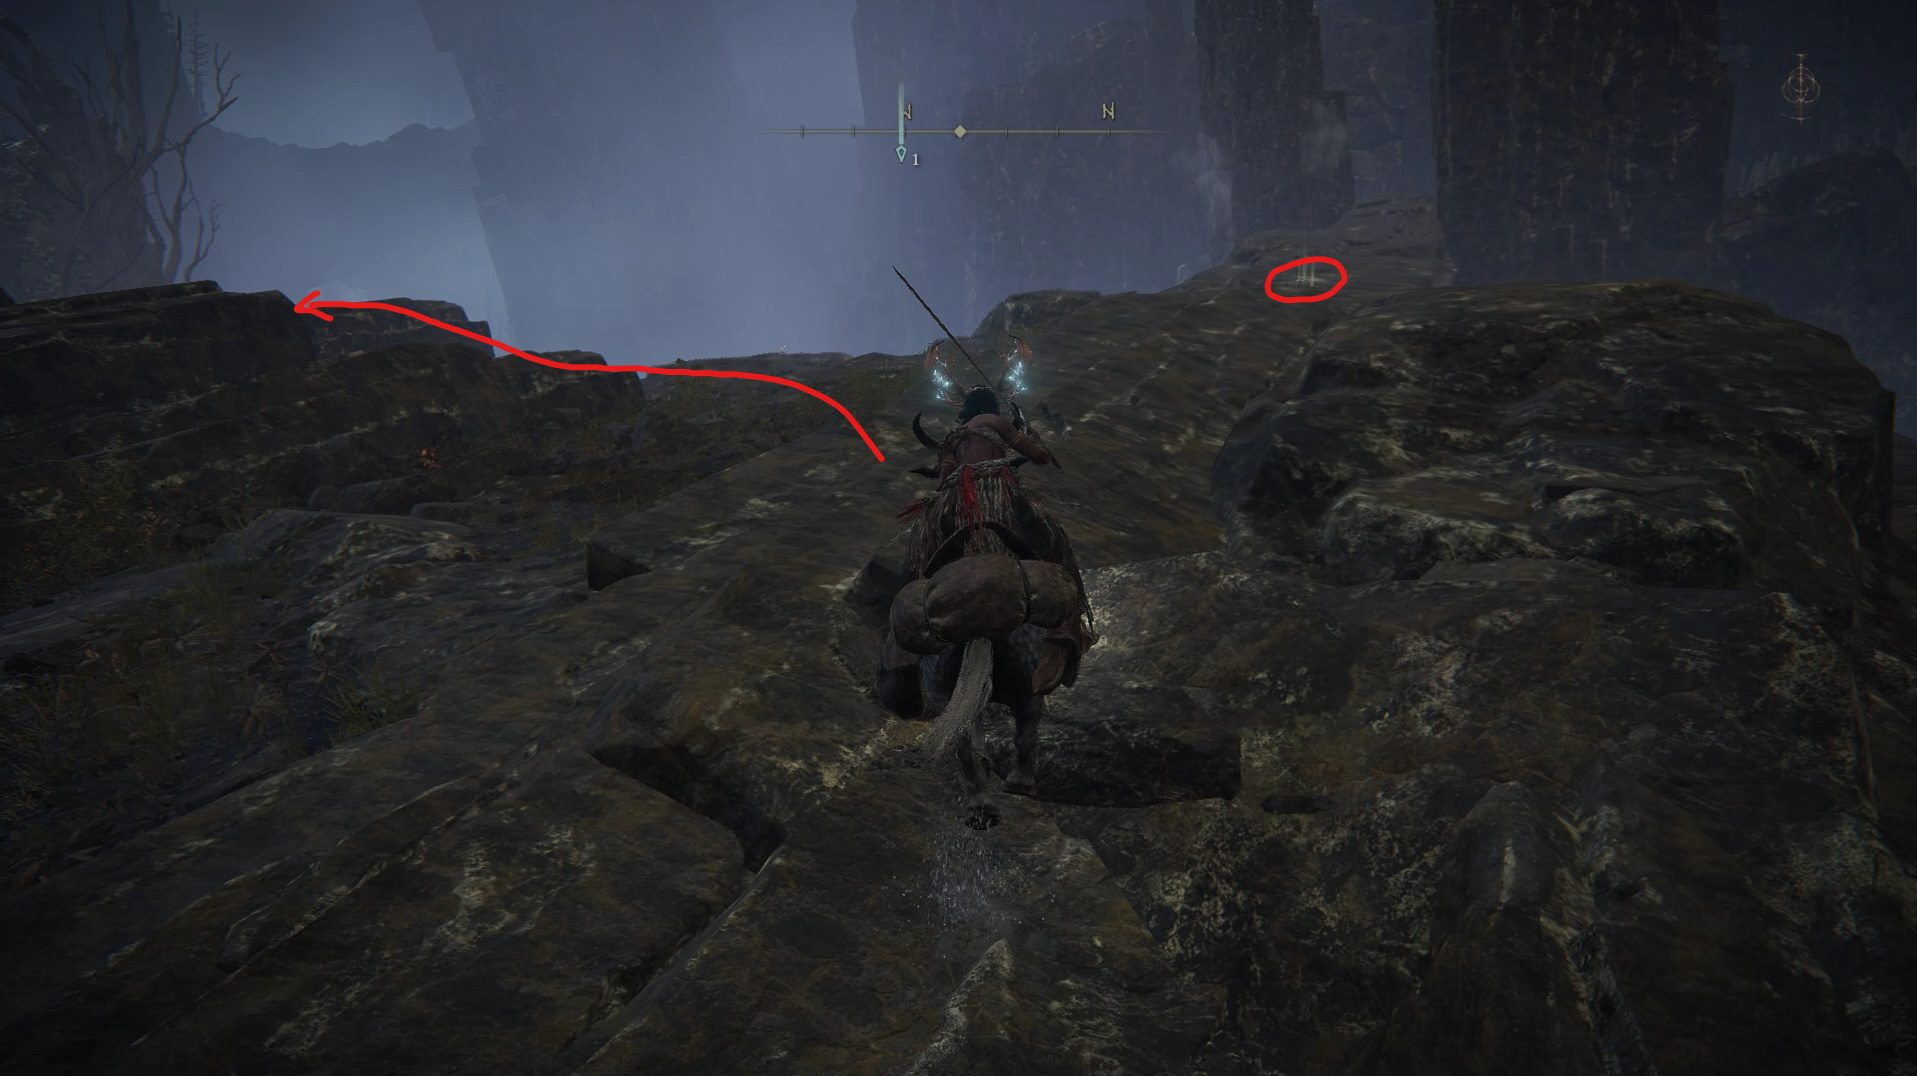
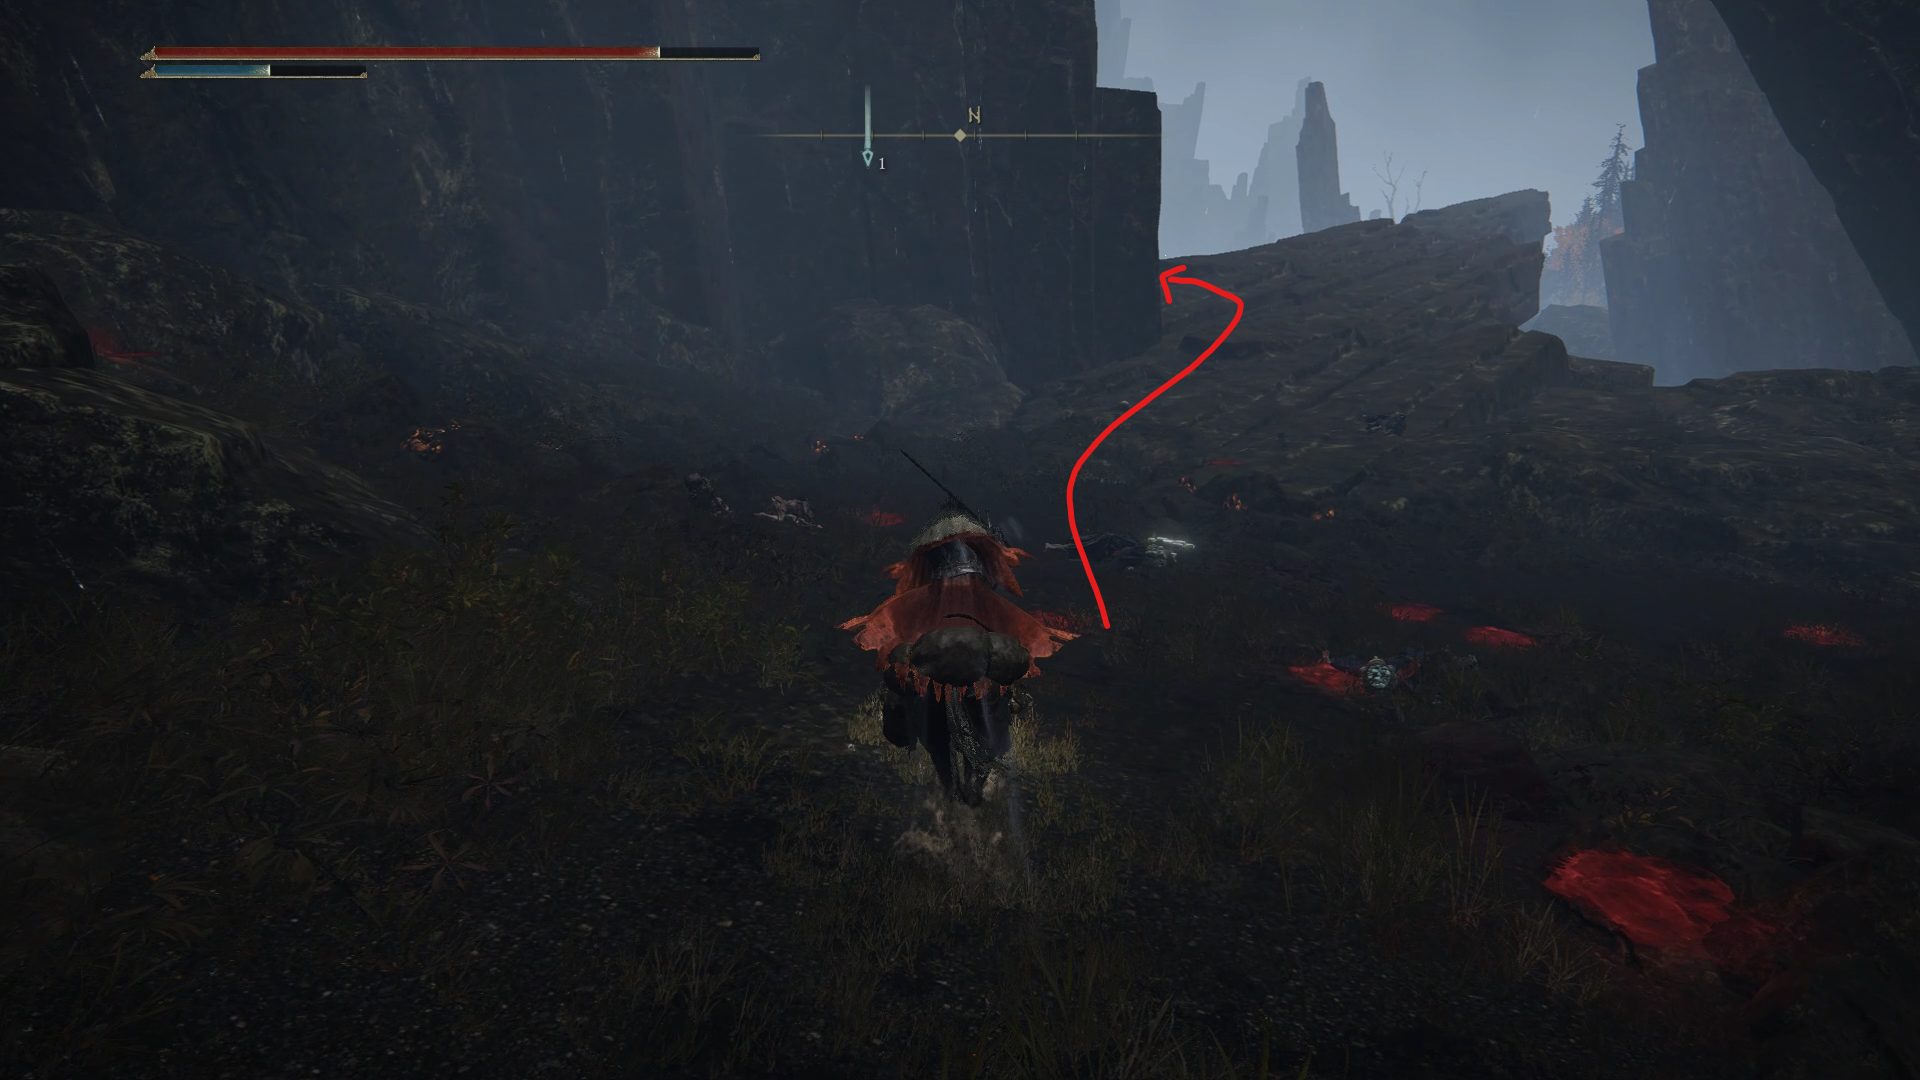
Now, from the Primeval Sorcerer Azur site of grace, climb the rock formation northeast, grab the Golden Rune [6] near the edge and jump down to the area below. If you look east, you’ll see the entrance to another dungeon: Gelmir Hero’s Grave.
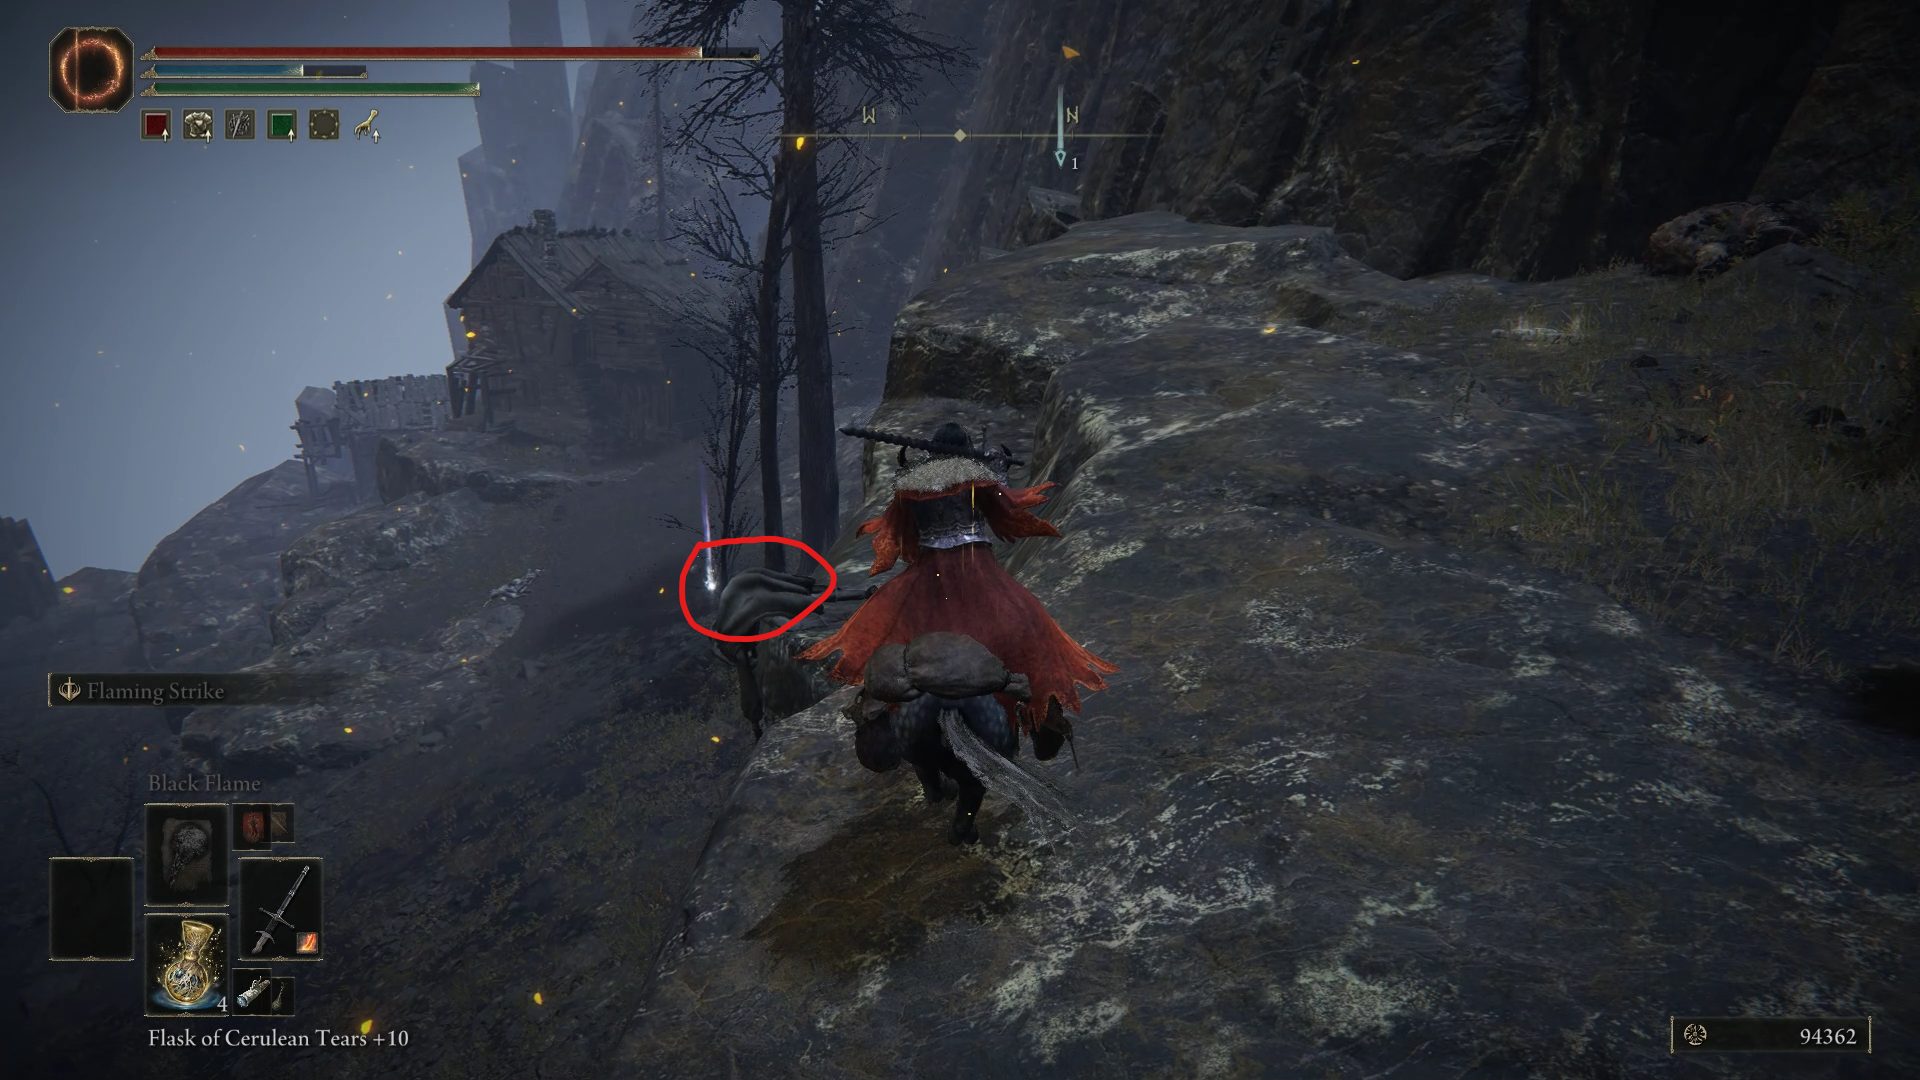
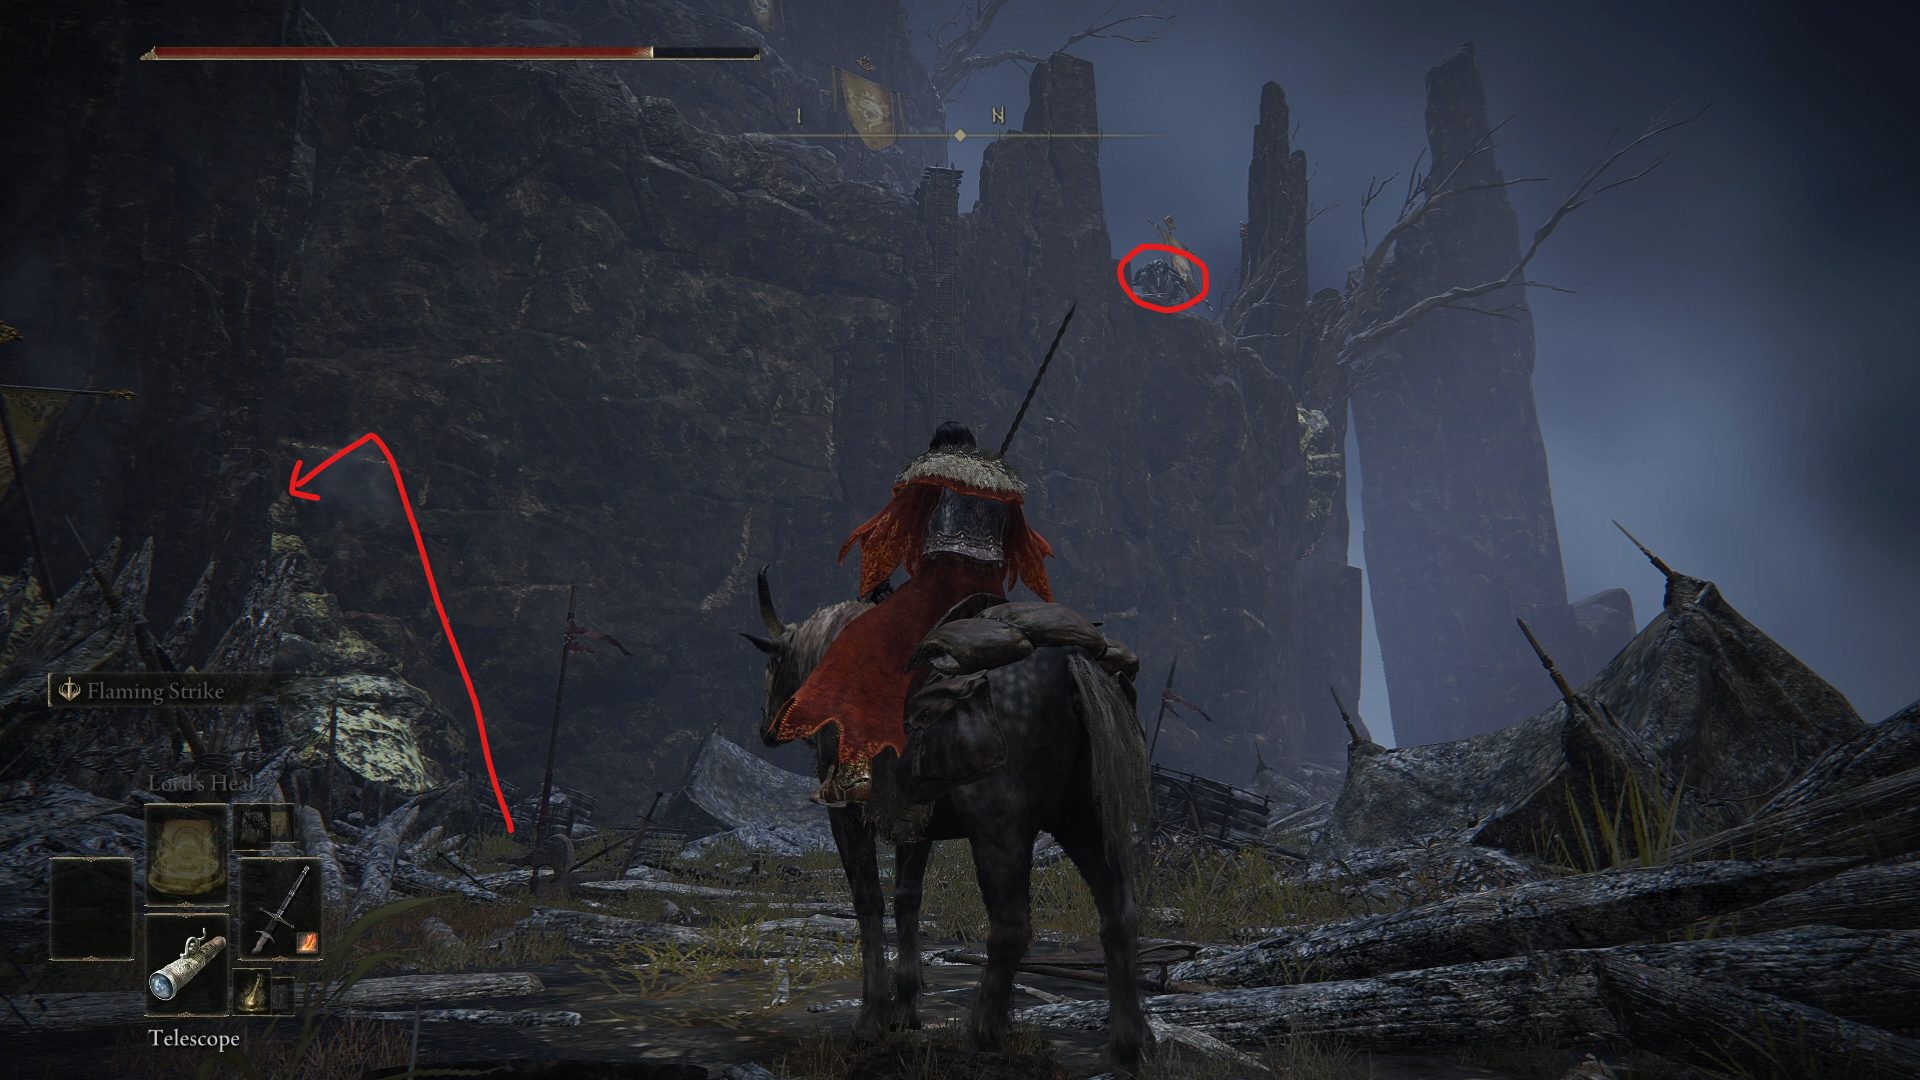
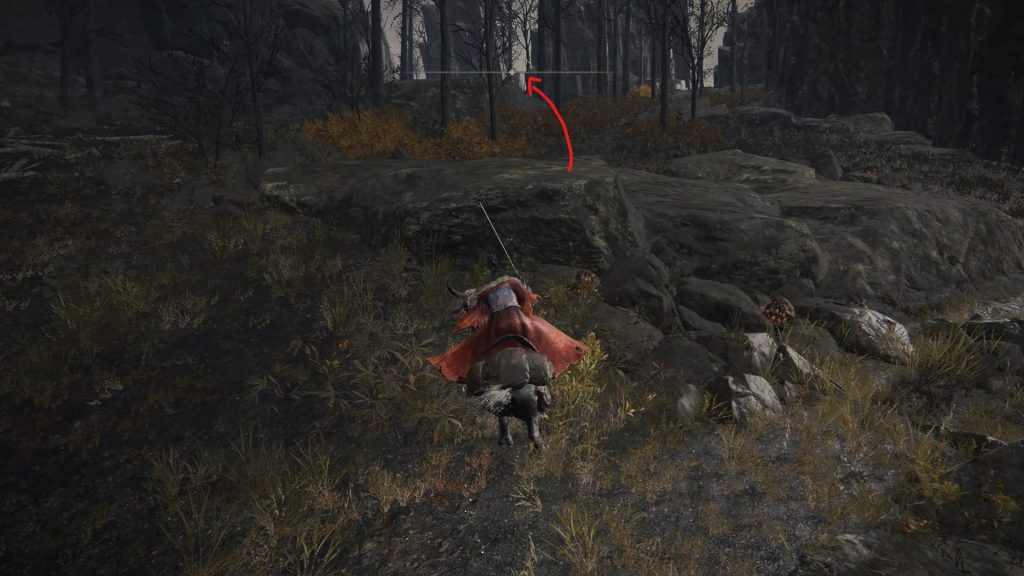
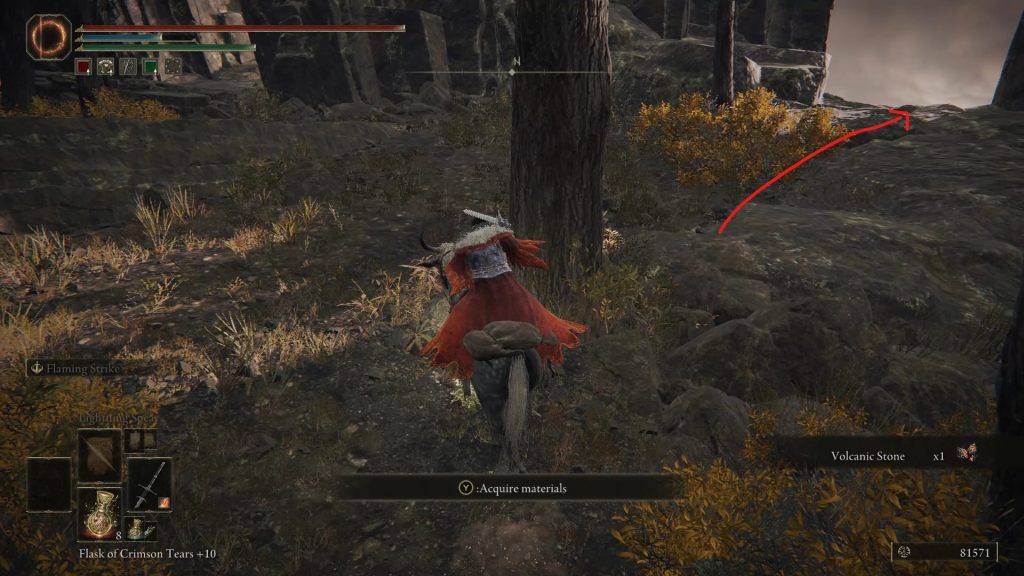
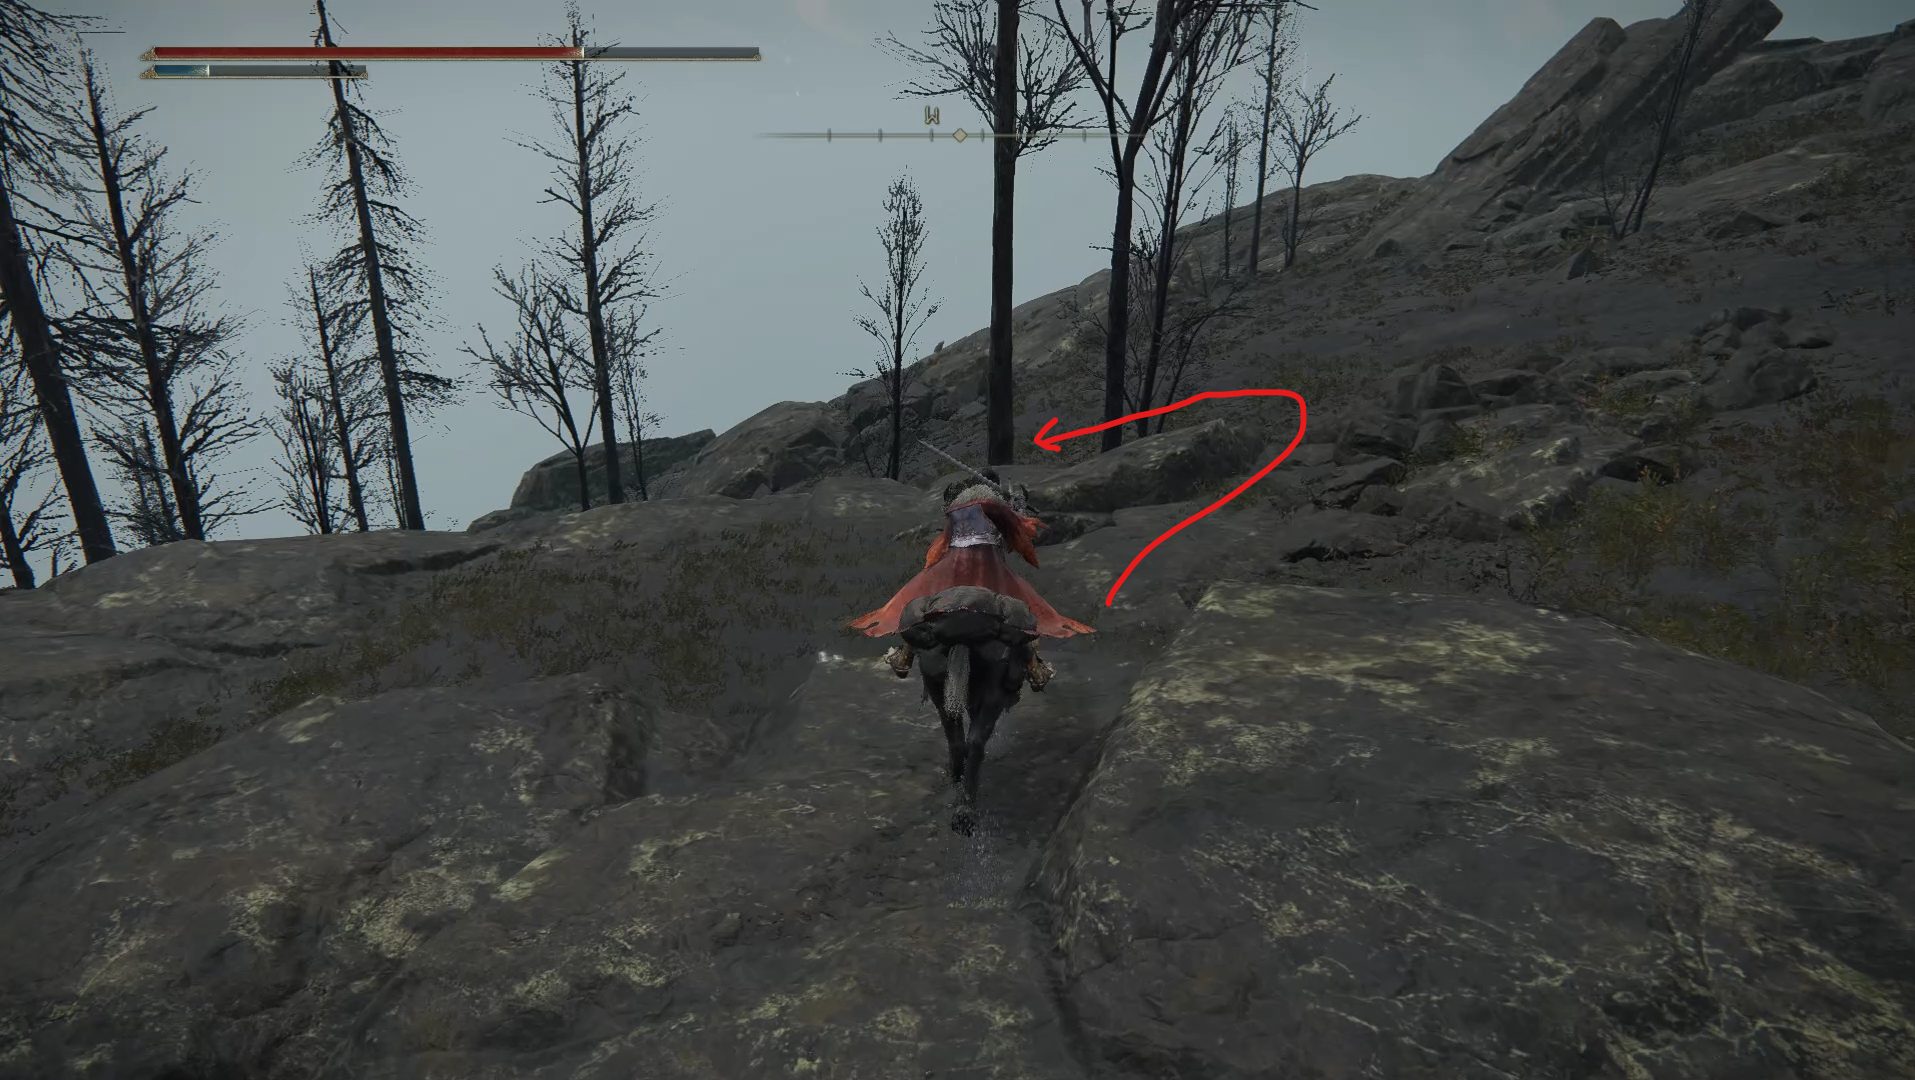
As you come out of the dungeon, we’ll now be heading north through the nearby patch of trees. Except for the wolves you will meet on your way and the few mushrooms growing nearby, there is nothing is nothing interesting to find in these woods, so continue through towards Patches. As you reach Patchesonce again, exhaust all of his dialogue and head to the protruding rock that used to have the message about the Rainbow Stone treasure. This rock formation allows you to continue northwest by crossing over to the other side of the ravine, which we’ll cover in Part 2 of this walkthrough.
Use the tabs above to navigate to Part 2 and continue reading our walkthrough!
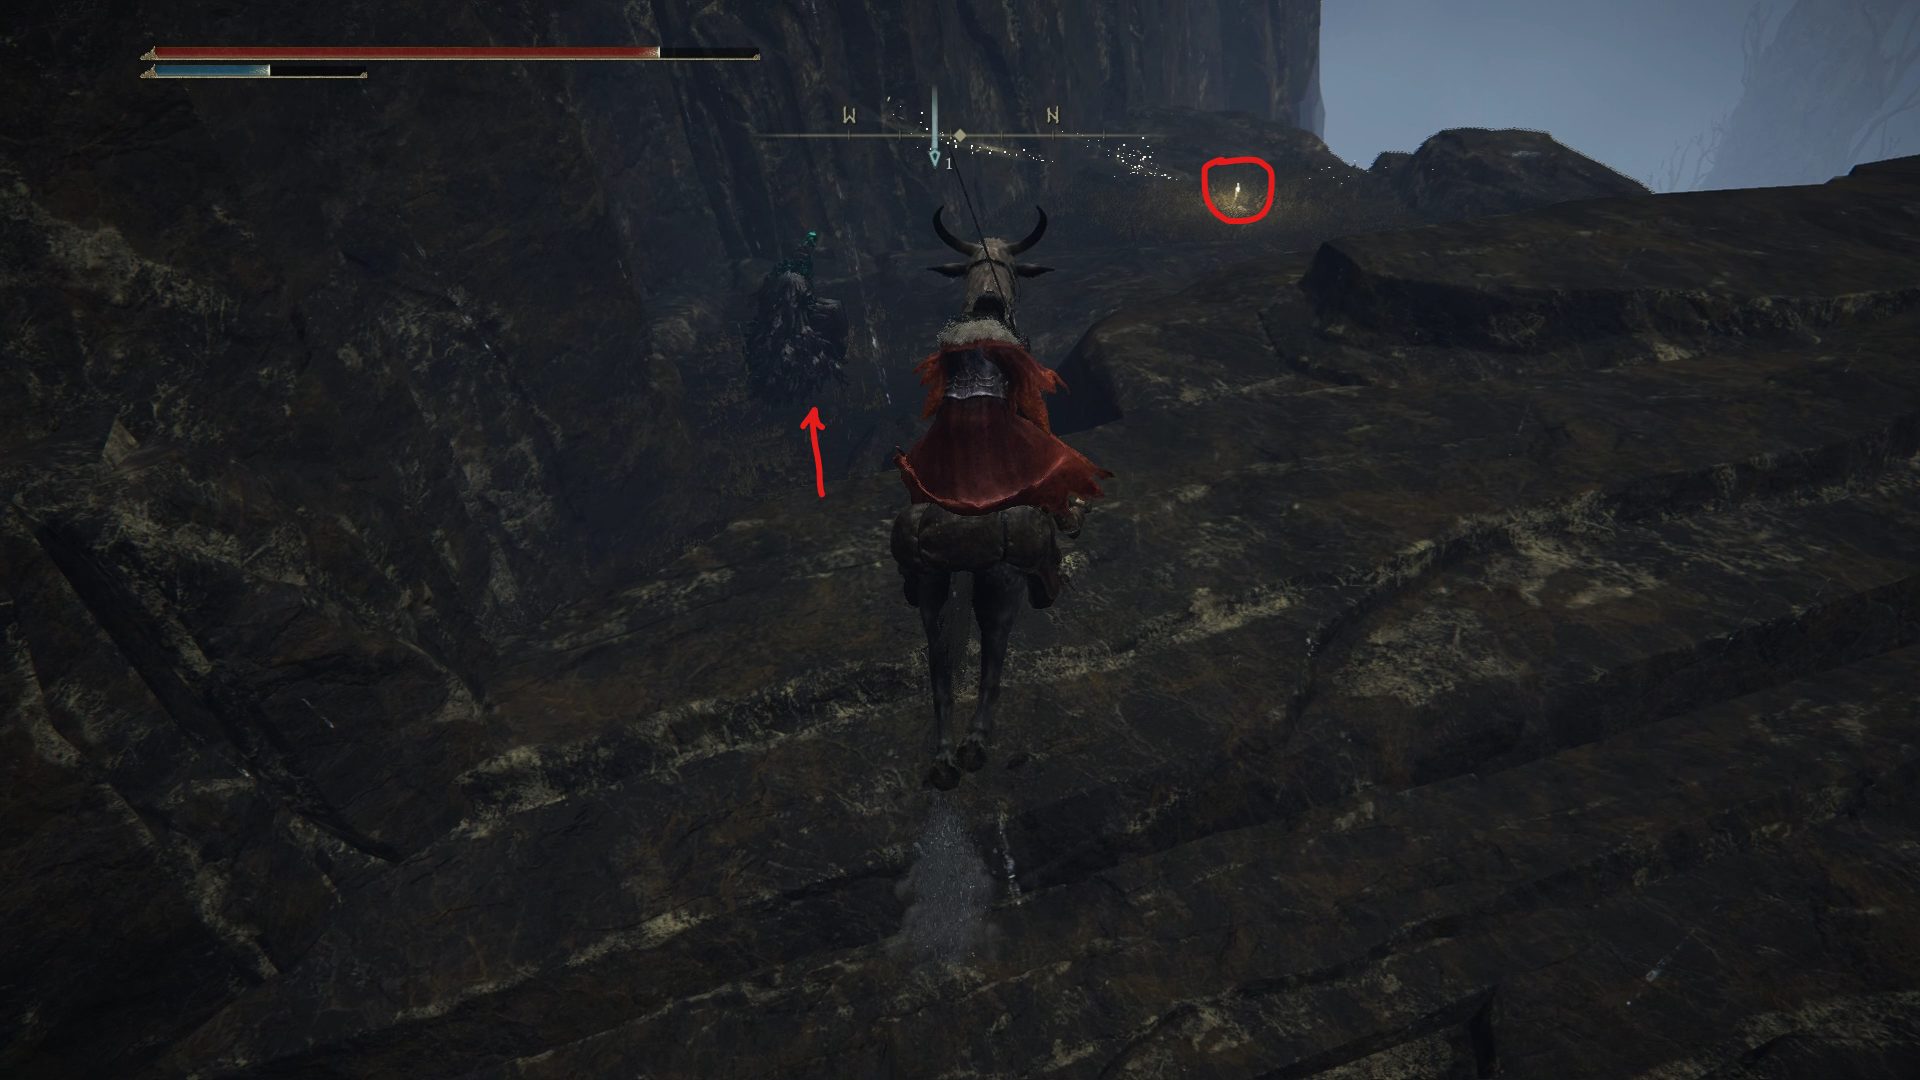
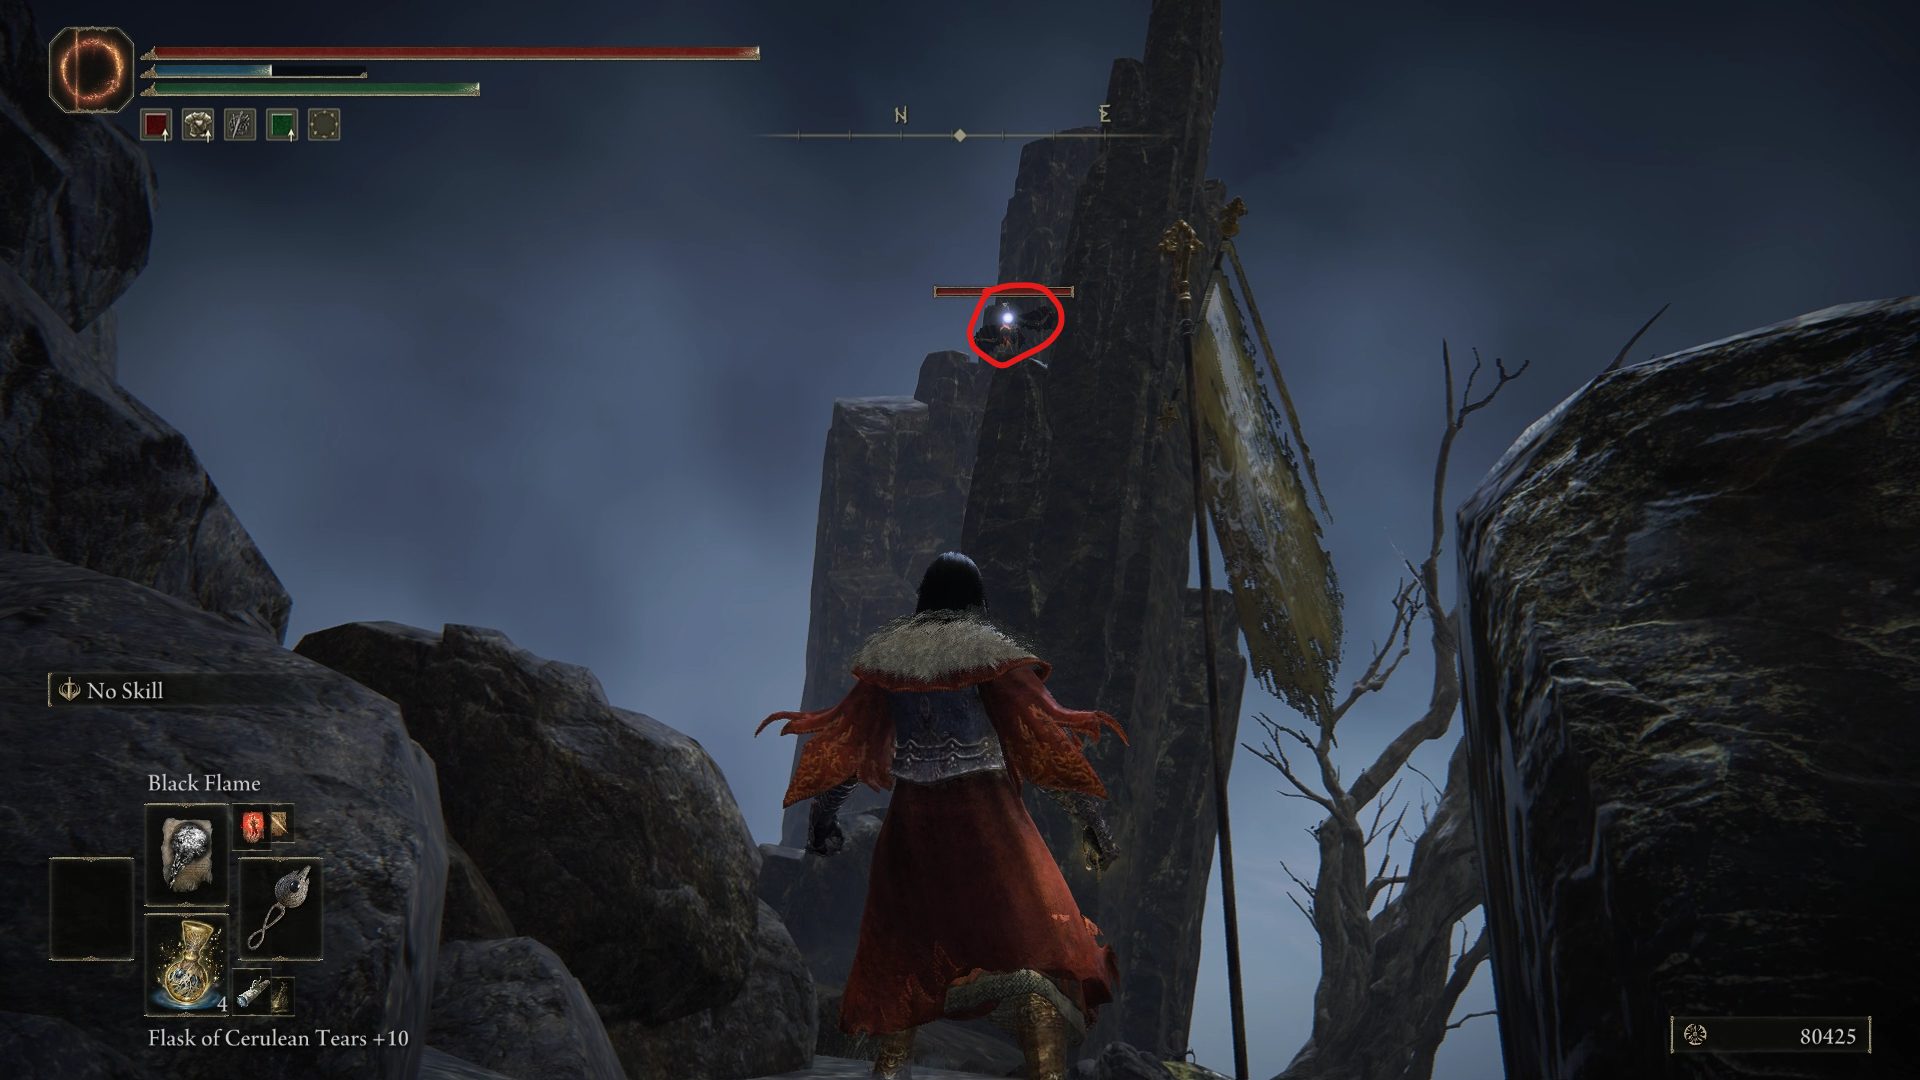
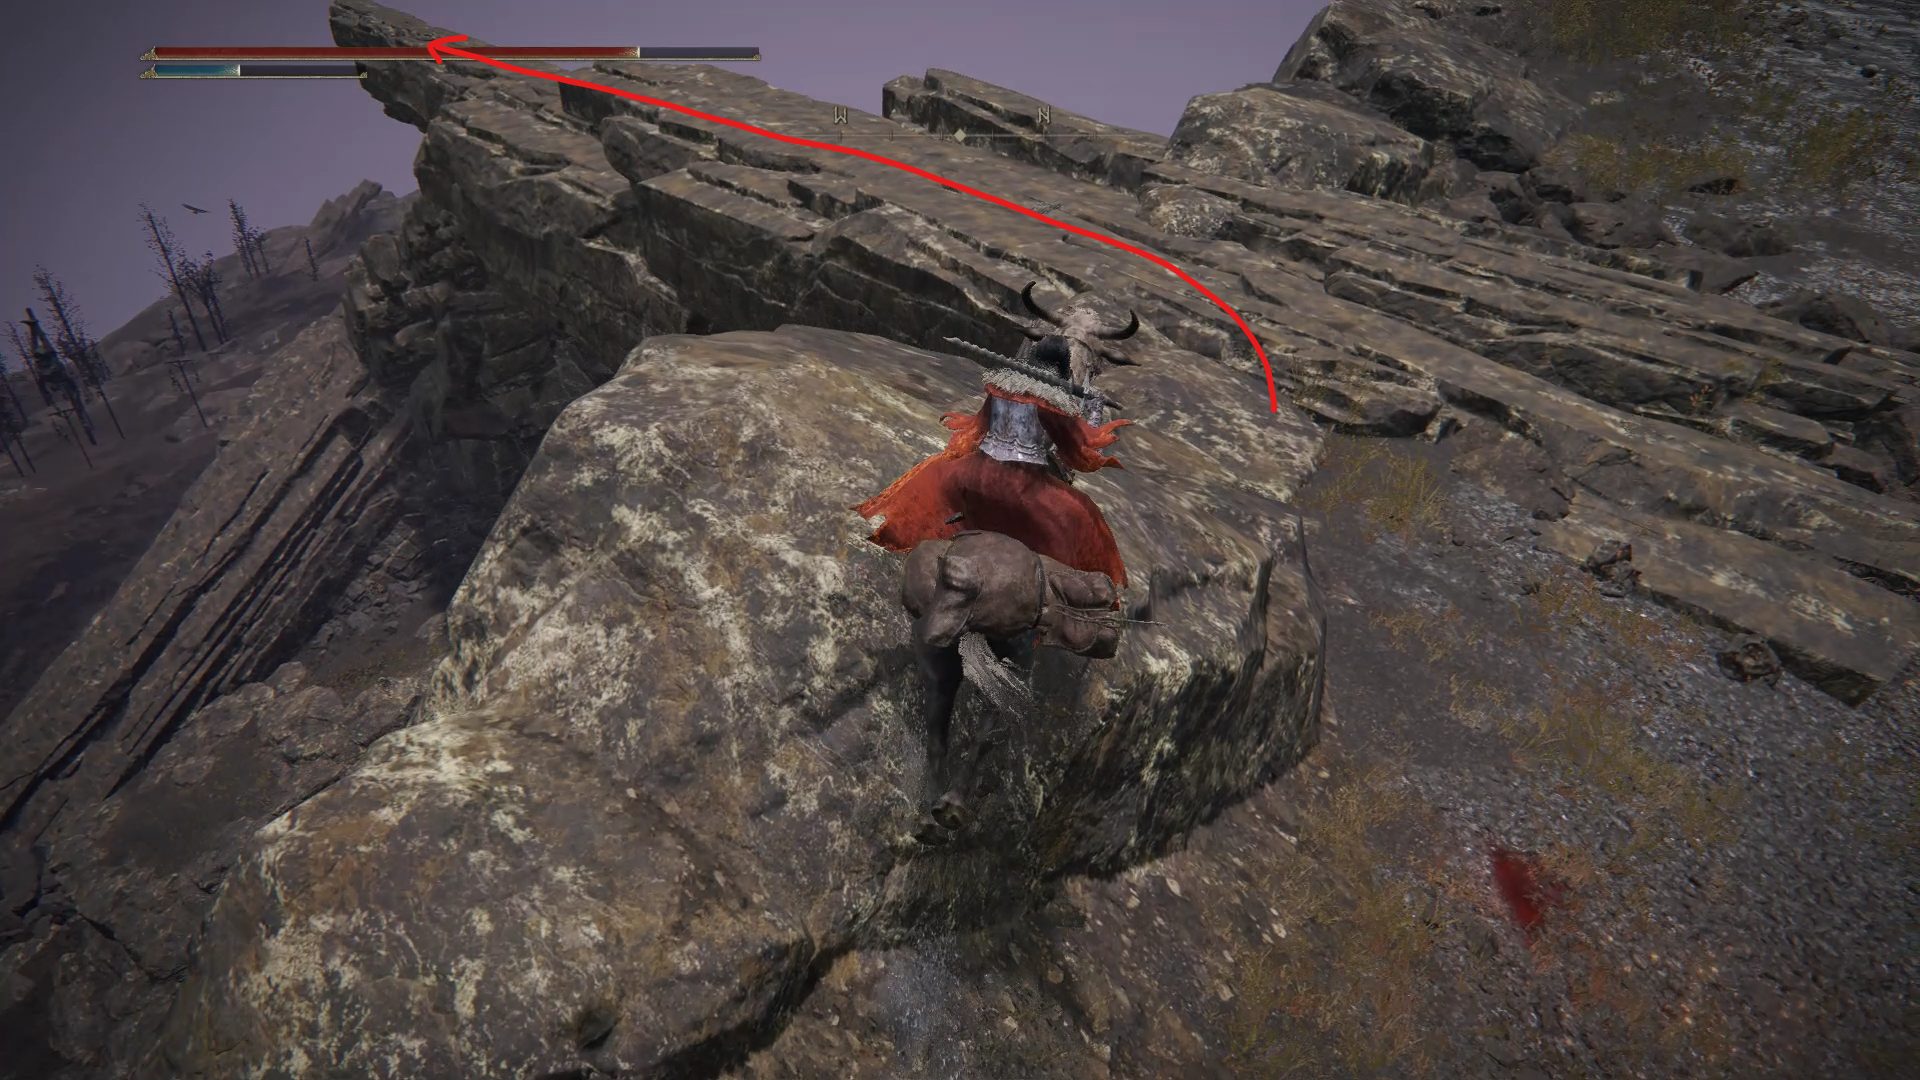
Continuing where we left off in part 1, you should be standing next to the protruding rock near Patches, which we can use to reach the other side of the cliff and go northwest. As you cross to this next area, if you look up to the north you’ll see a Grafted Scion enemy standing there, itching to jump down to surprise you. If you have access to ranged attacks, you can climb on top of the rocks to the left of the ladder, which will allow you to safely kill the boss. If the scion ever walks out of range, just jump down to get him to come closer, and climb back up to continue throwing things at it.
Once he’s been dealt with, grab the 2x Soporific Grease and the Scavenger’s Curved Sword by the ladder, and then use that ladder to climb up to the next section. There, if you go northwest you can grab 1x Trina’s Lily, and southwest you can get a total of 4x Sacramental Buds. In both of those places however you’ll be ambushed by several marionettes, so it’s up to you whether you want to risk it or not.
Ambush on the path to the Trina’s LilyTrina’s LilyAmbush on the way to the Sacramental Buds4x Sacramental Buds
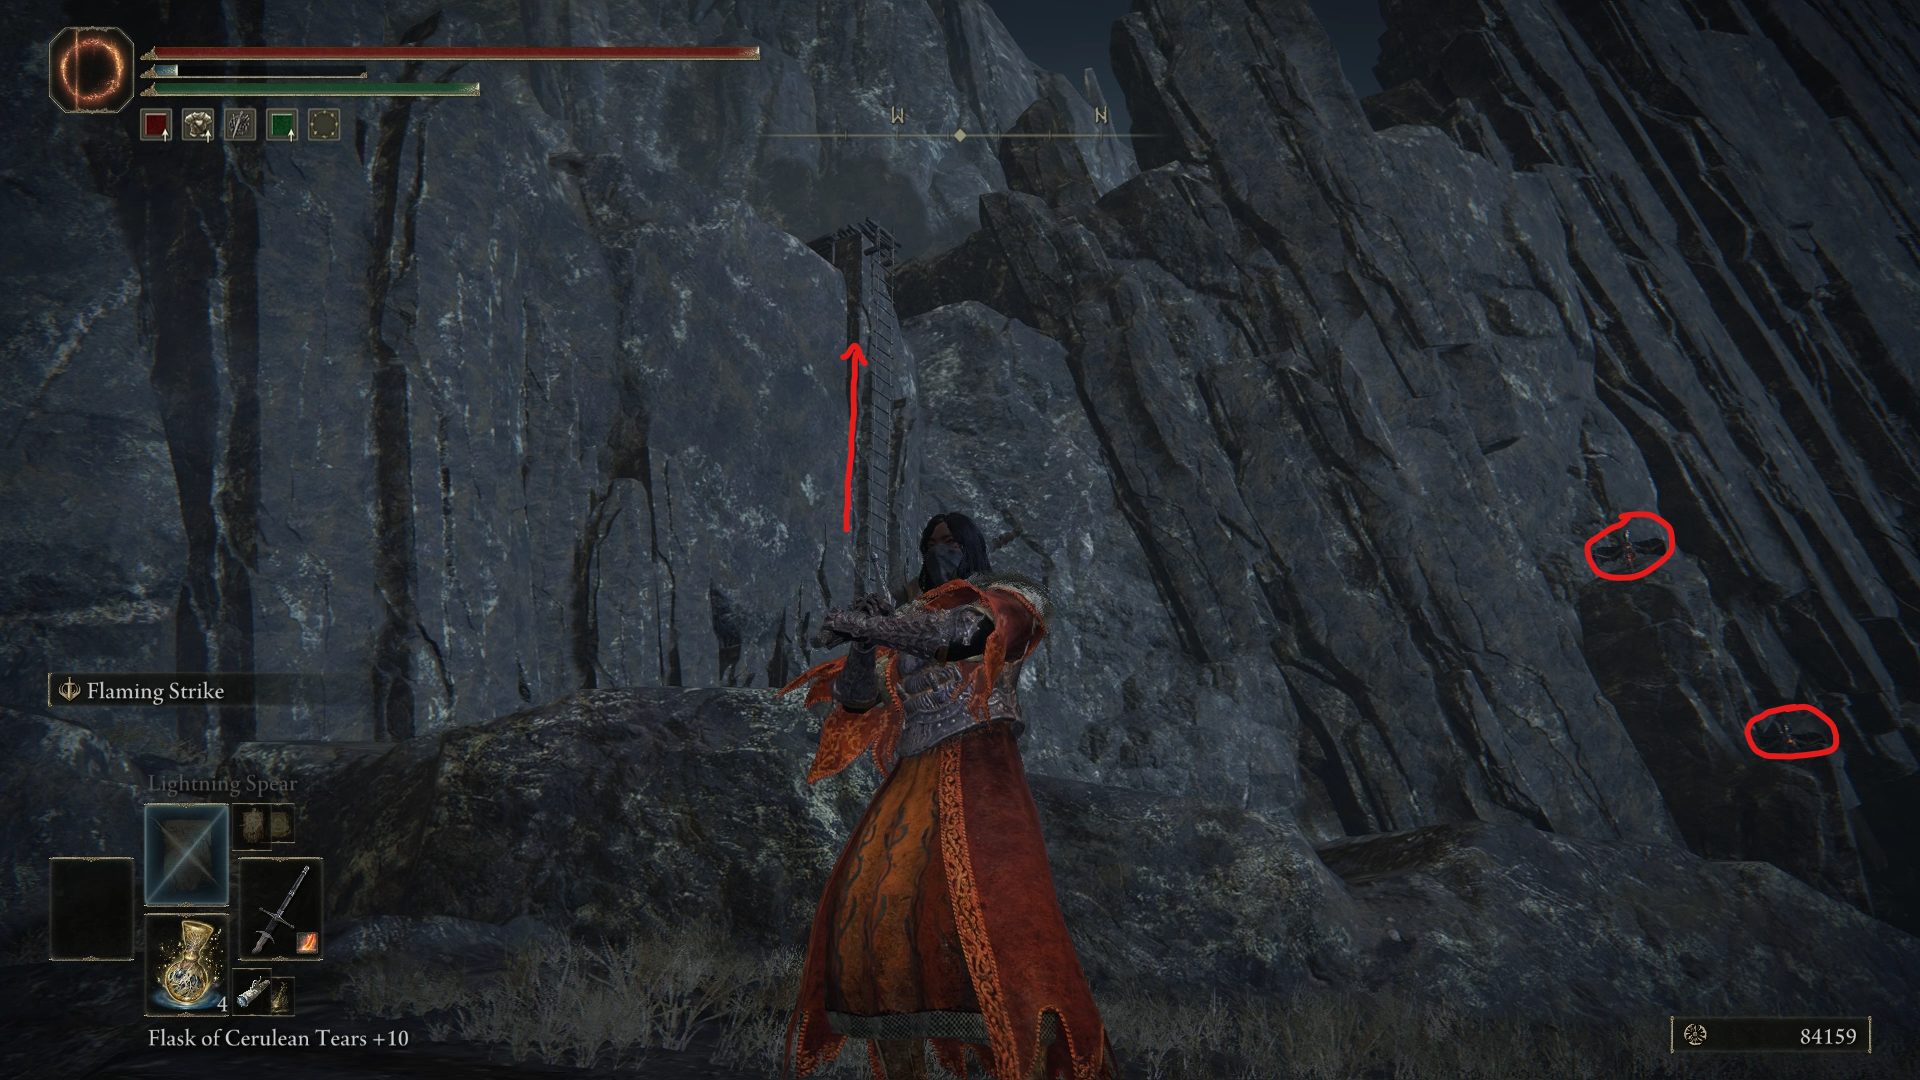
Once you’re ready to resume climbing, there are 2 ladders that can take you up the mountain. We’ll be taking the shorter one that you can find north. Once you made your way up, grab the 5x Great Arrow and climb yet another ladder to the next section. There, on your way to the final ladder, you’ll be ambushed by 2 more flying marionettes, so keep an eye on those as you get closer to the ladder. Once they’re dealt with, climb this ladder all the way up.
5x Great ArrowYet another ambush
Up there, you should see the remnants of a camp, and several frenzied enemies. These enemies have access to several frenzied incantations, one of those being a short range scream that can very quickly inflict damage and dismount you, so be careful as you deal with these soldiers and knights. Once you’re done, there is only a couple of things to grab in this camp, though we can also visit a nearby merchant selling the Nomadic Warrior’s Cookbook [20].
3x Eye of YeloughUse this rock to climb up1x Eye of YeloughLadder leading to the merchant
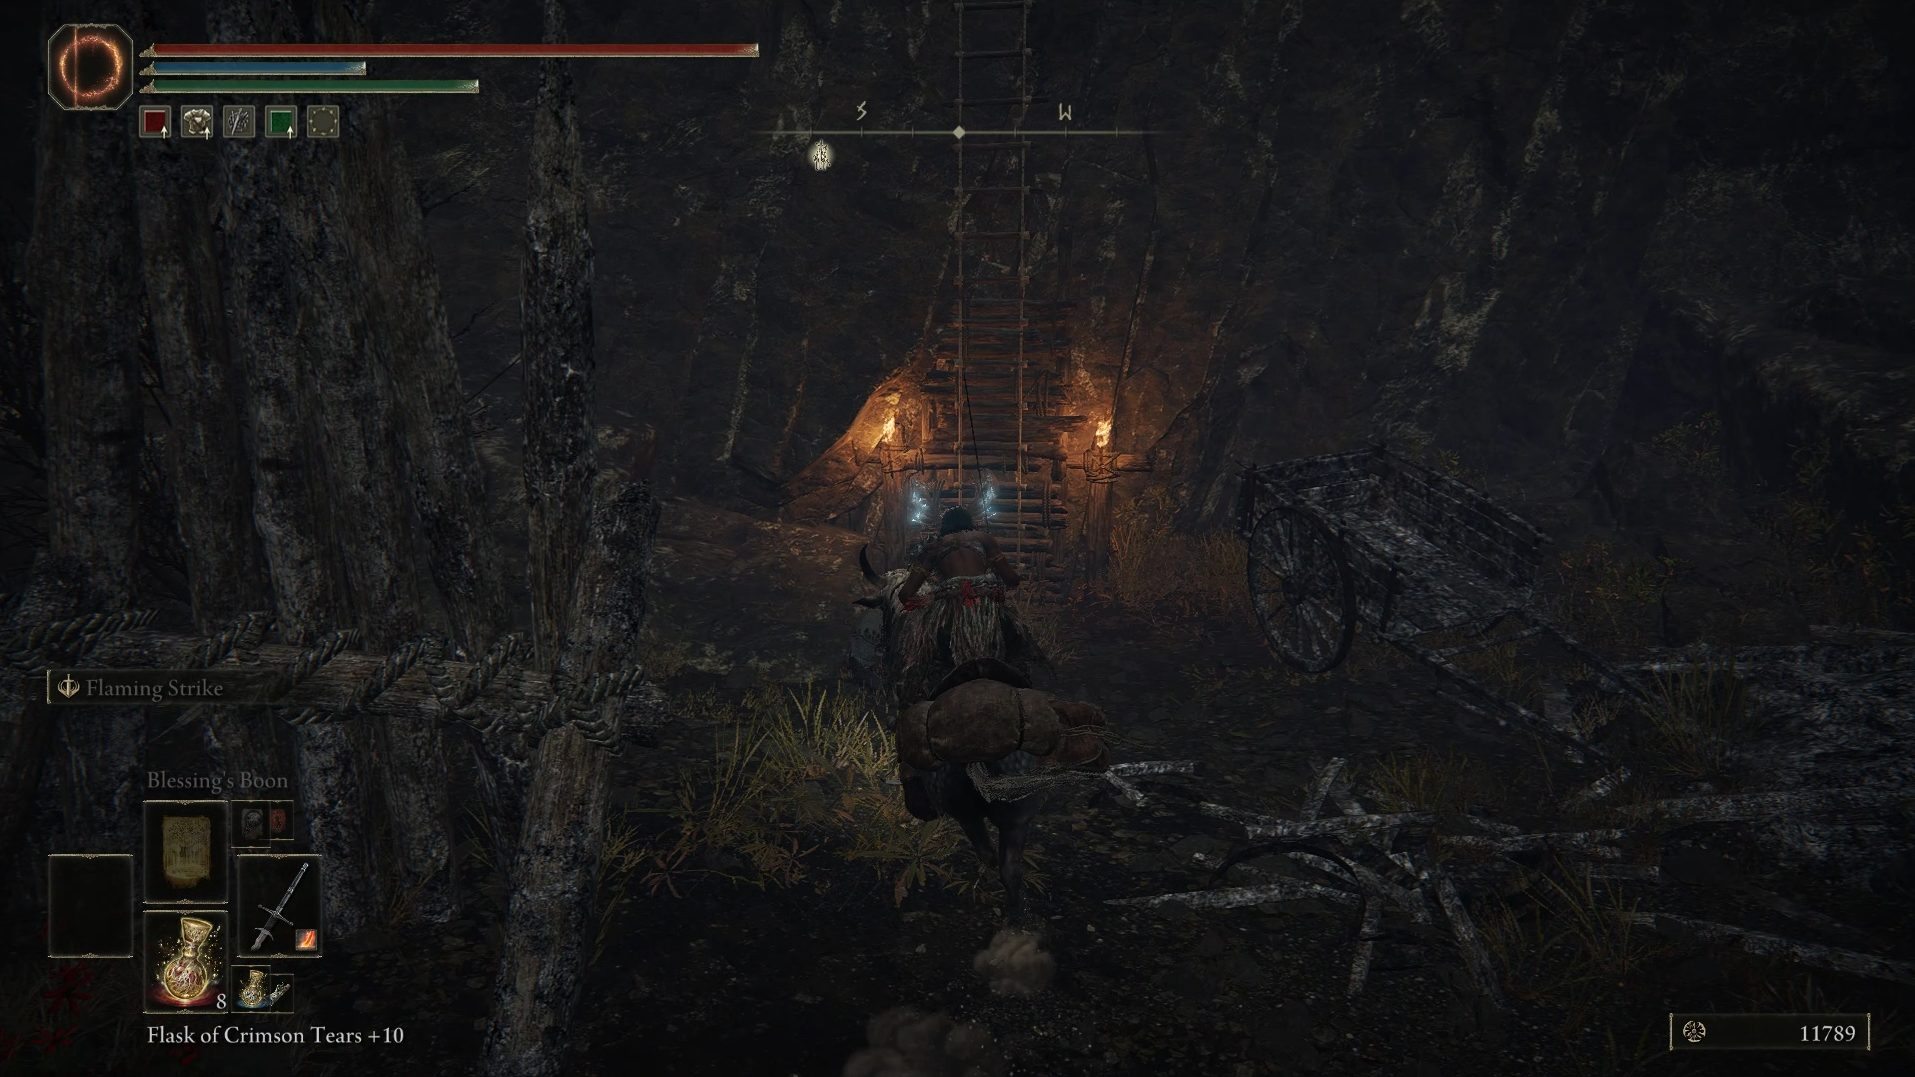
When you’re ready, start heading through the woods north of the camp. Continue going through the woods and dealing with the demi-humans on your path until you reach the entrance to the Volcano Cave dungeon.
As you come out of the dungeon, go through the burned down camp you explored earlier, and cross the hanging bridge found southwest of the camp.
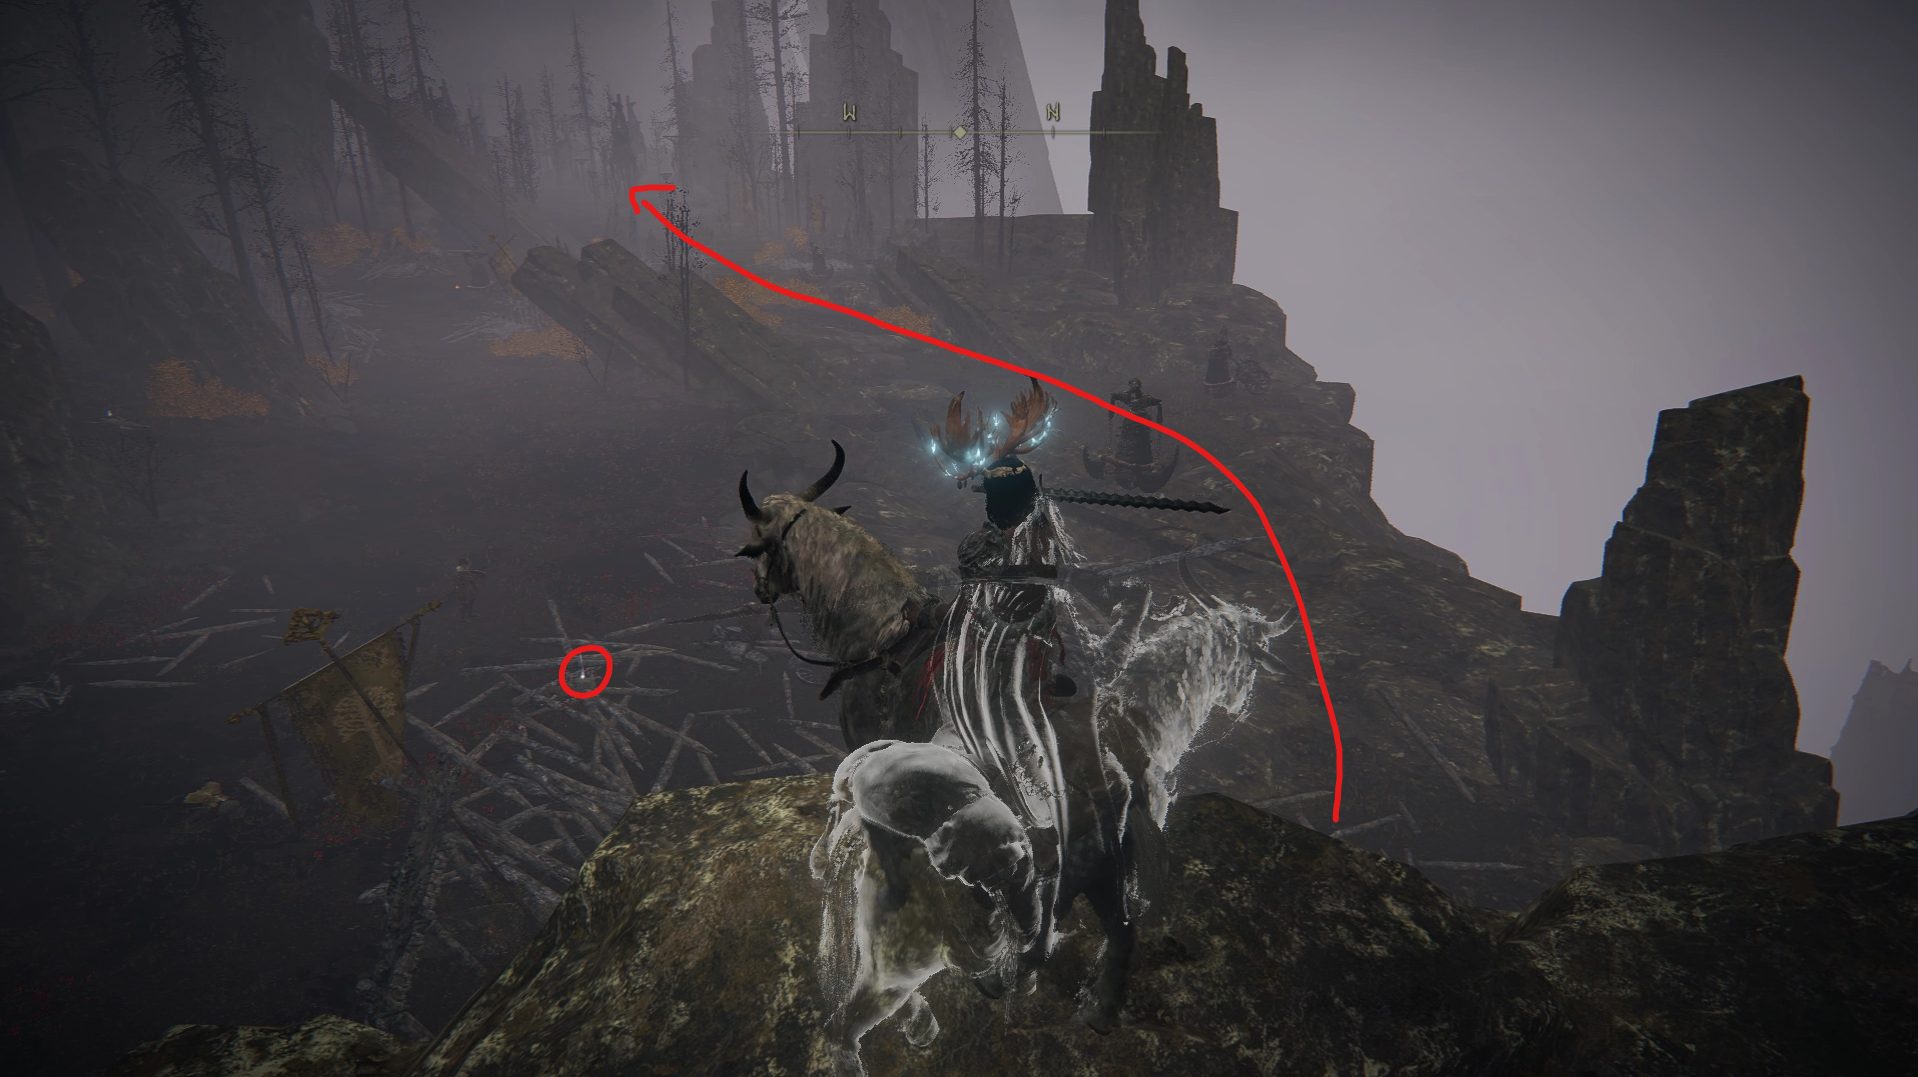
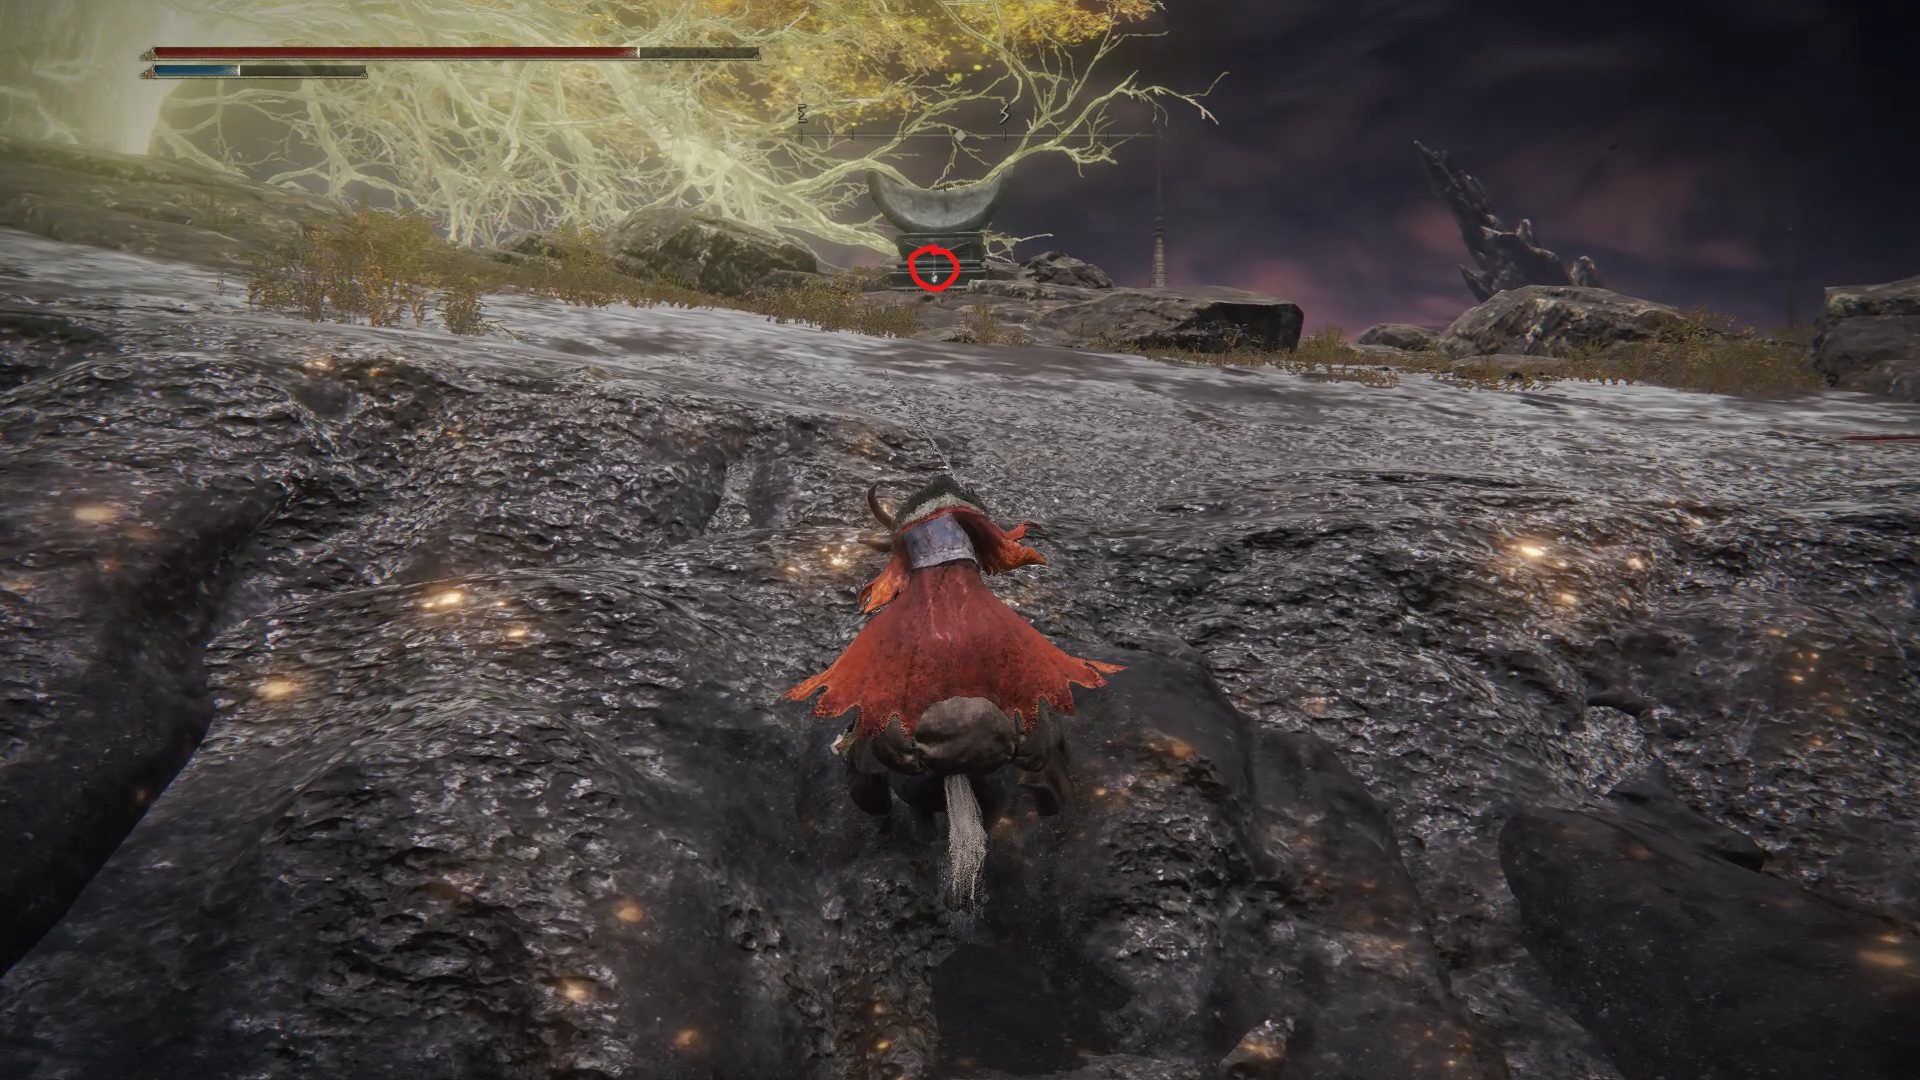
On the other side of the bridge, grab the Ninth Mt. Gelmir Campsite site of grace, continue going west along the cliff to grab a Nascent Butterfly, and take the Spiritspring next to the site of grace to climb directly into the optional Full-Grown Fallingstar Beast boss fight.
Once the boss is dead, grab the Starlight Shards southeast of the boss room, and climb on top of the protruding rock to the west to find the path that leads to the Volcano Manor.
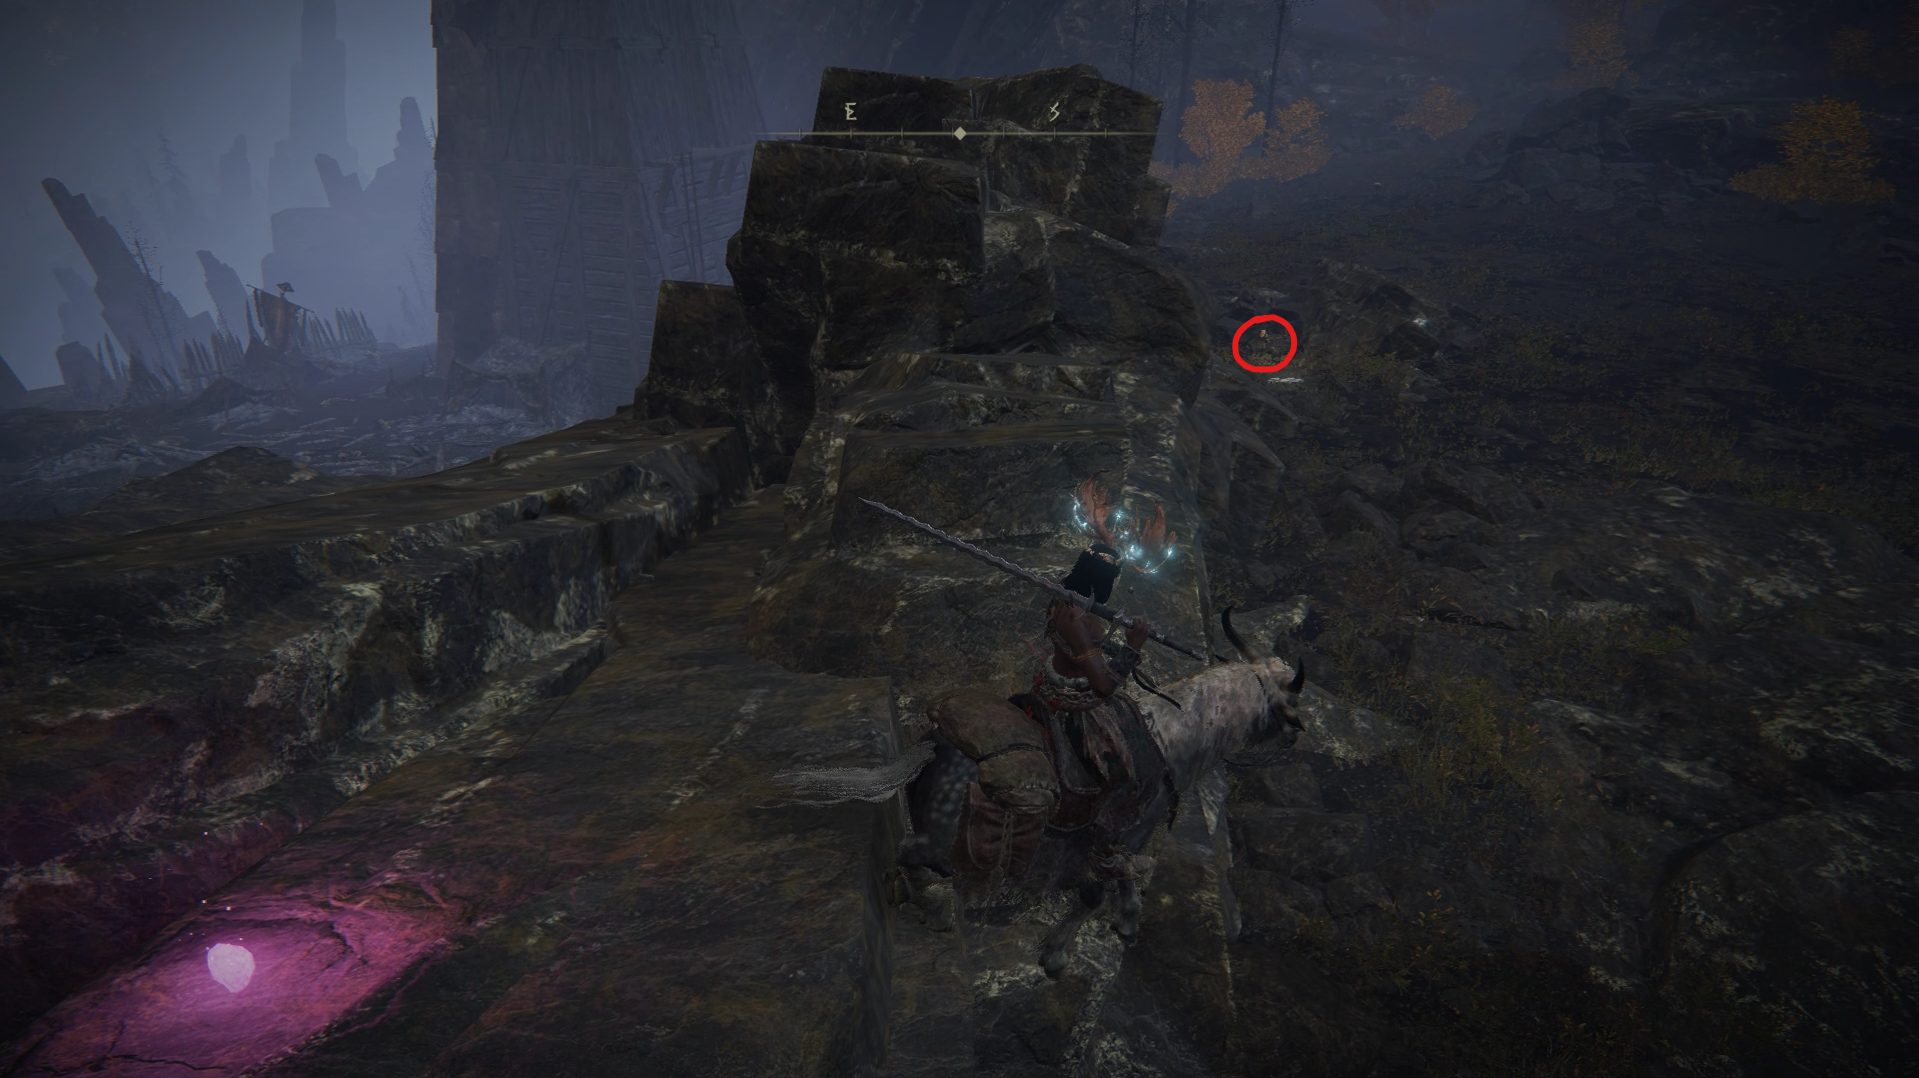
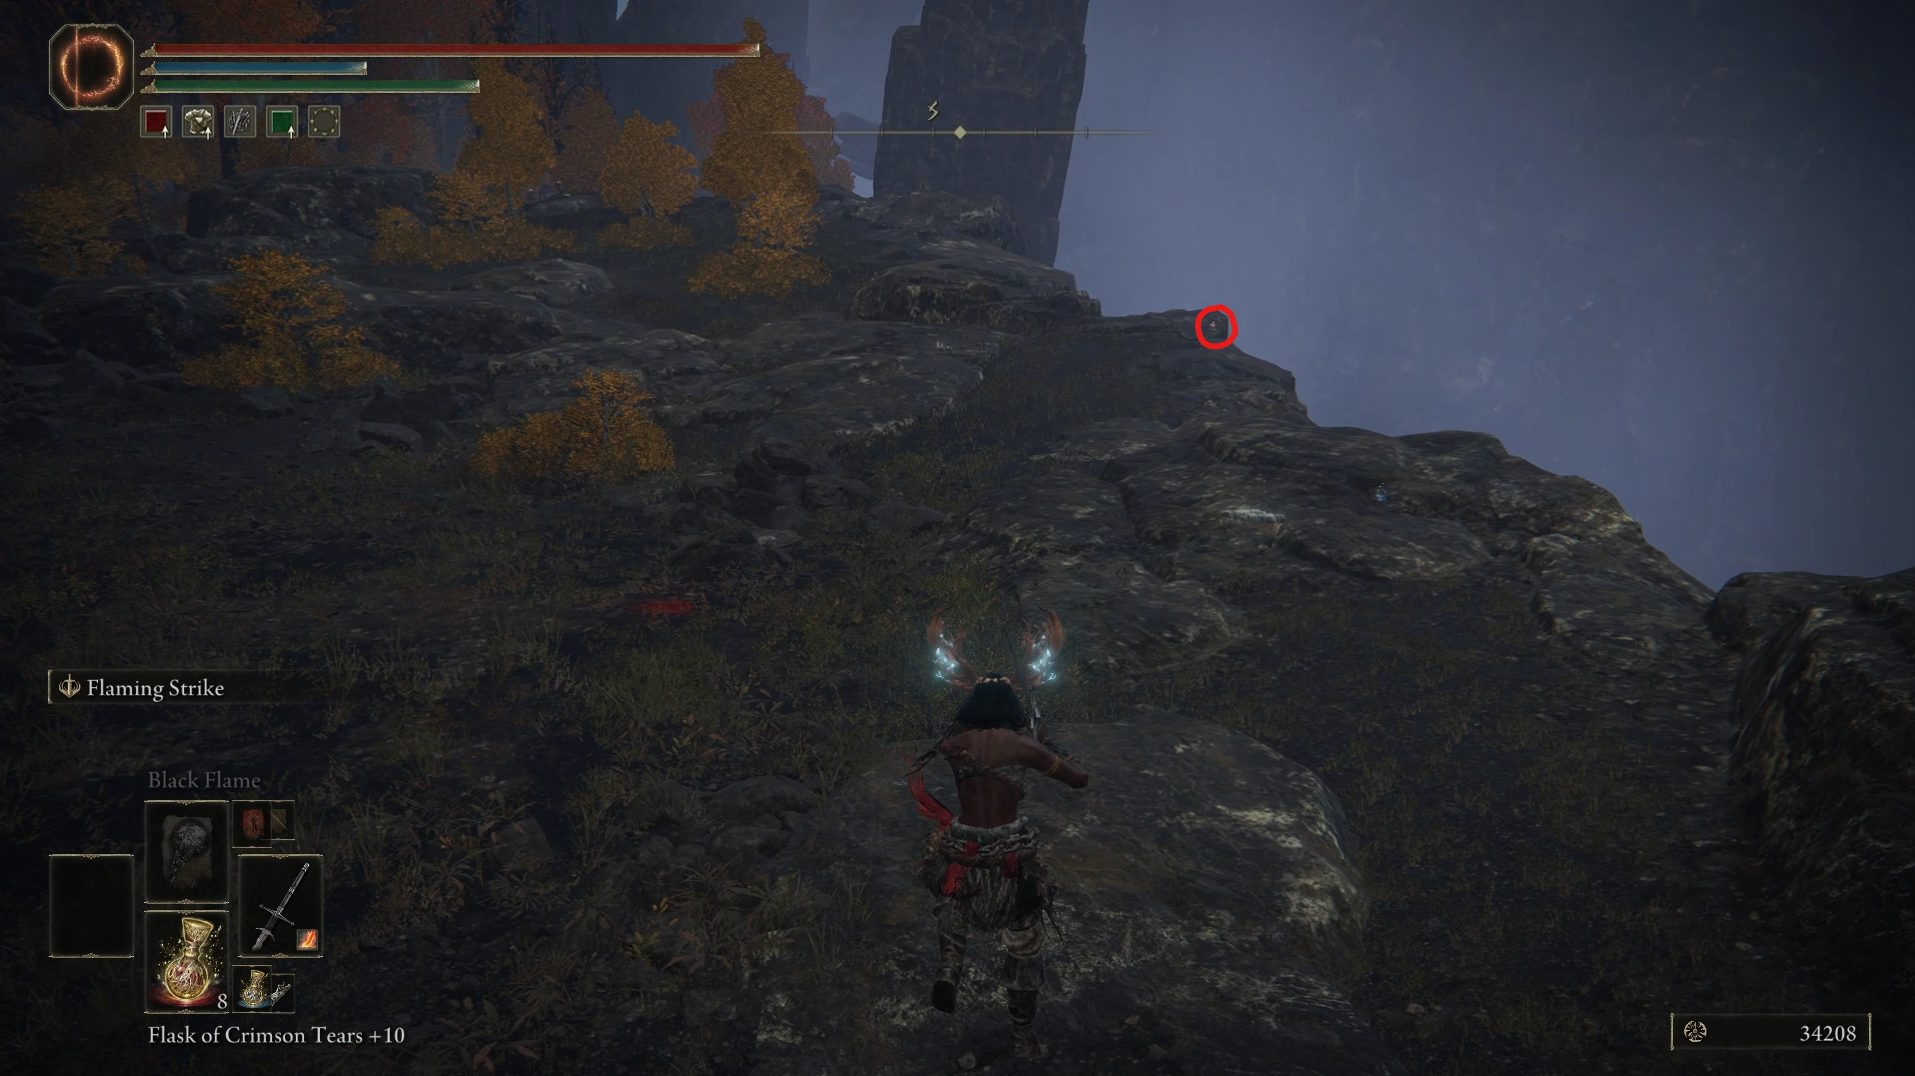
Once you start descending, you will have to face several marionette enemies, which can be much easier if you take out the ones equipped with a bow first. Right below the rock you used to come down, you can grab a Golden Rune [3], and then, head west-northwest to grab a Golden Seed.
From there, head southeast to where an invisible loot beetle is rolling around, and make sure to bring some patience with you.
This rock will be your best bet at besting this enemy. You can just wait there and try to land a hit every time the beetle does a U-turn. If you have access to area of effect spells such as Dragonfire, make sure to use those to preserve your sanity. Once you defeat this beetle, you’ll be reward with Ash of War: Through and Through.
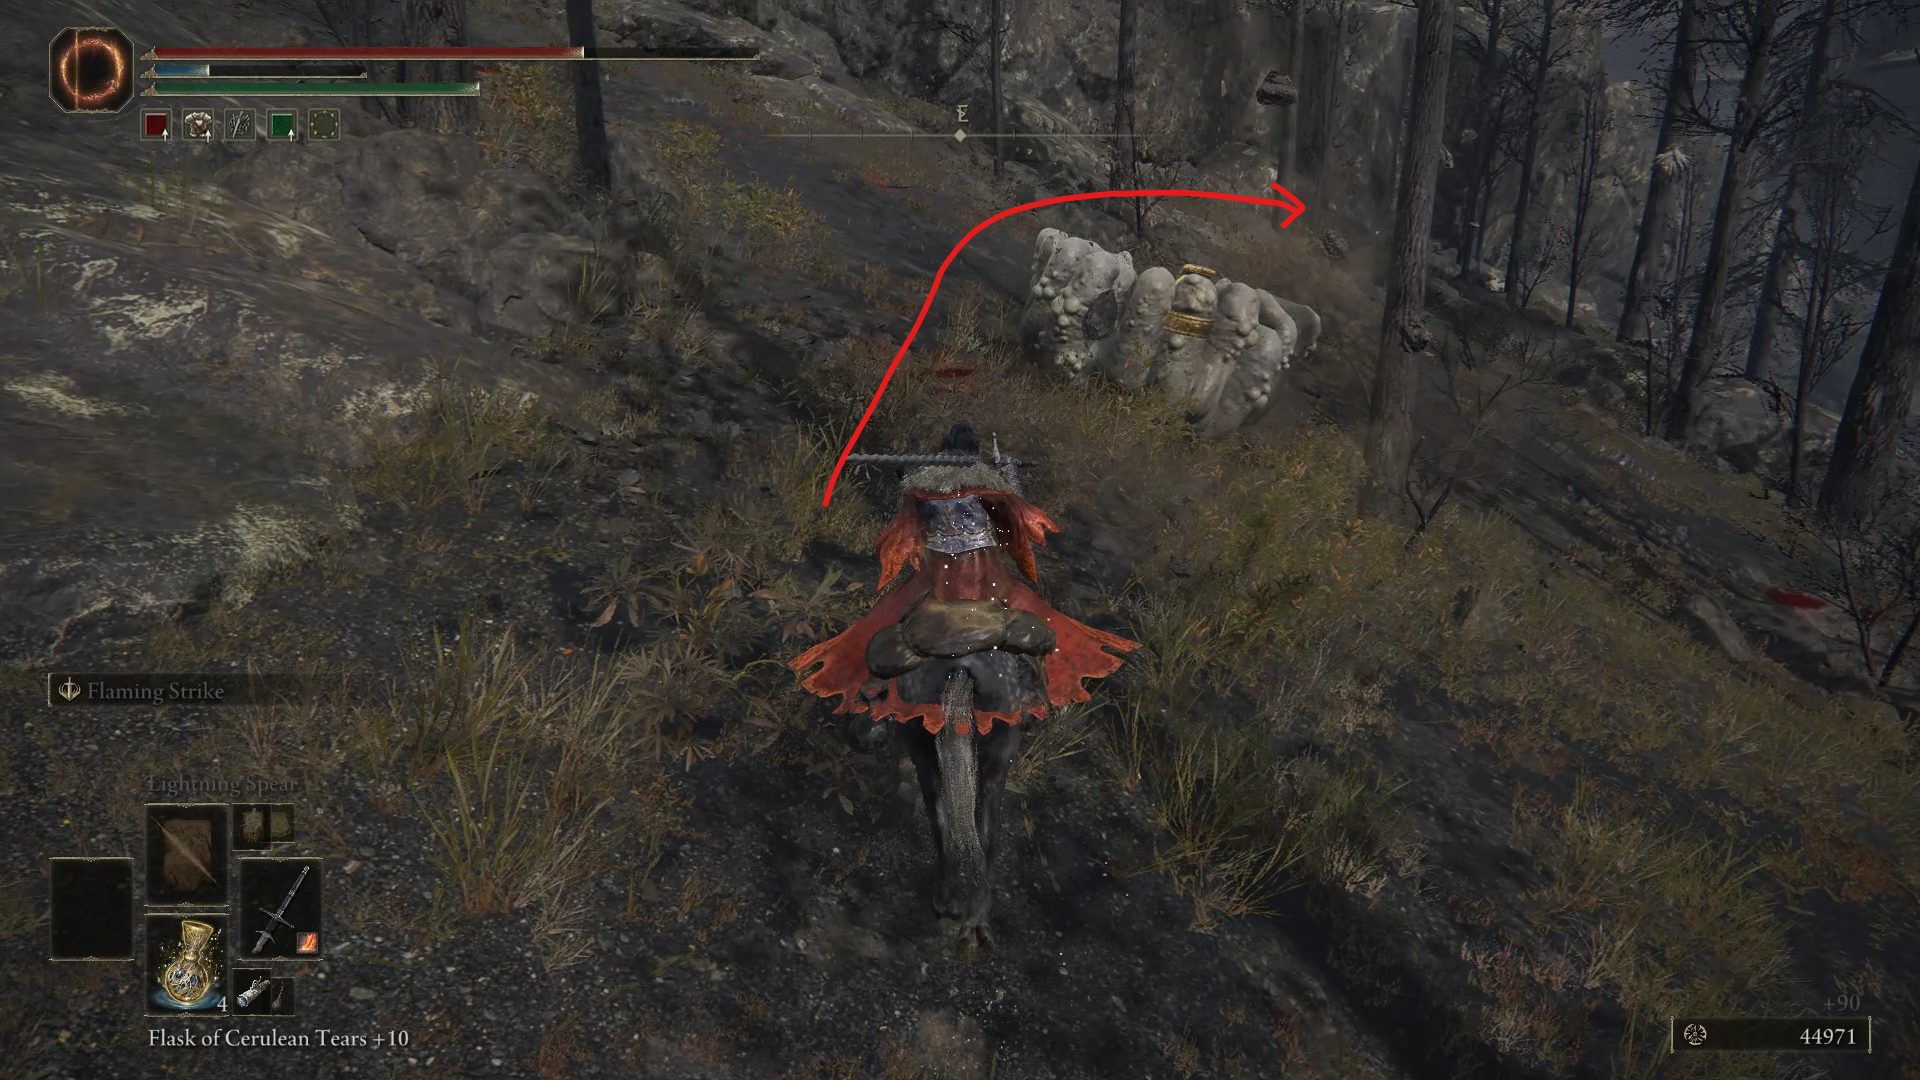
Now, we can make our last detour before heading towards the Volcano Manor. From where the loot beetle was, go west to find a path with sad-looking trees, and gross-looking hands that can drop Somber Smithing Stone [4] fairly often.
Before going further, if you have trouble dealing with these and hate getting slapped around, they’re weak to fire, so make sure to craft Fire Pots and/or equip fire incantations or a weapon dealing fire damage. As you go down, keep in mind that these enemies can both be buried underground and perched up on trees. Now that you’re warned, there are a couple of things to grab in this forest as you go further down.
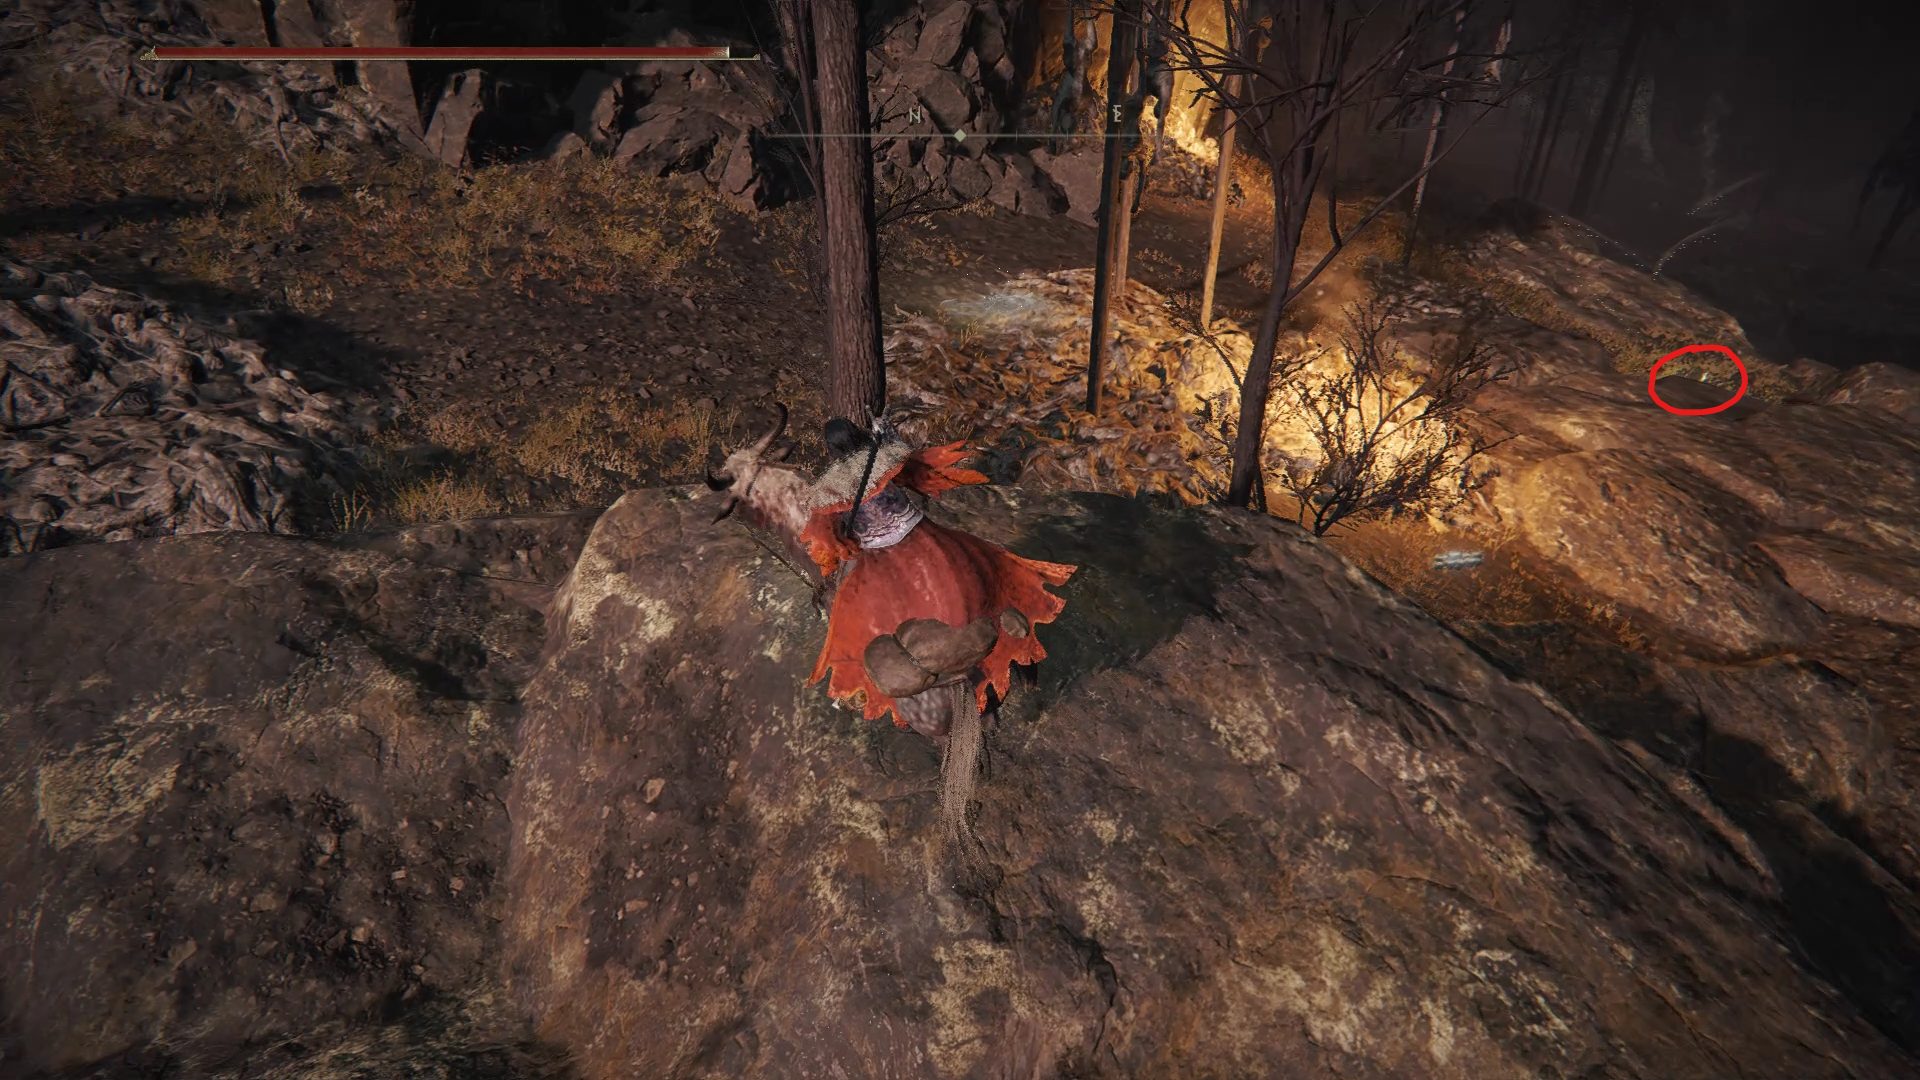
Path to Arteria Leaf1x Arteria LeafGolden Rune [3] west of the Arteria Leaf location
Once the path starts heading east, you should sea a small monument in the distance, which is where you can find the map for Mt. Gelmir. First, grab the Dragonwound Grease to the left, and watch out for the small hands climbing up from the nearby ledge to ambush you. Once they’re dealt with, continue toward the small monument and deal with the much bigger hand before grabbing the Map: Mt. Gelmir.
Dragonwound Grease + MapMt. Gelmir map location
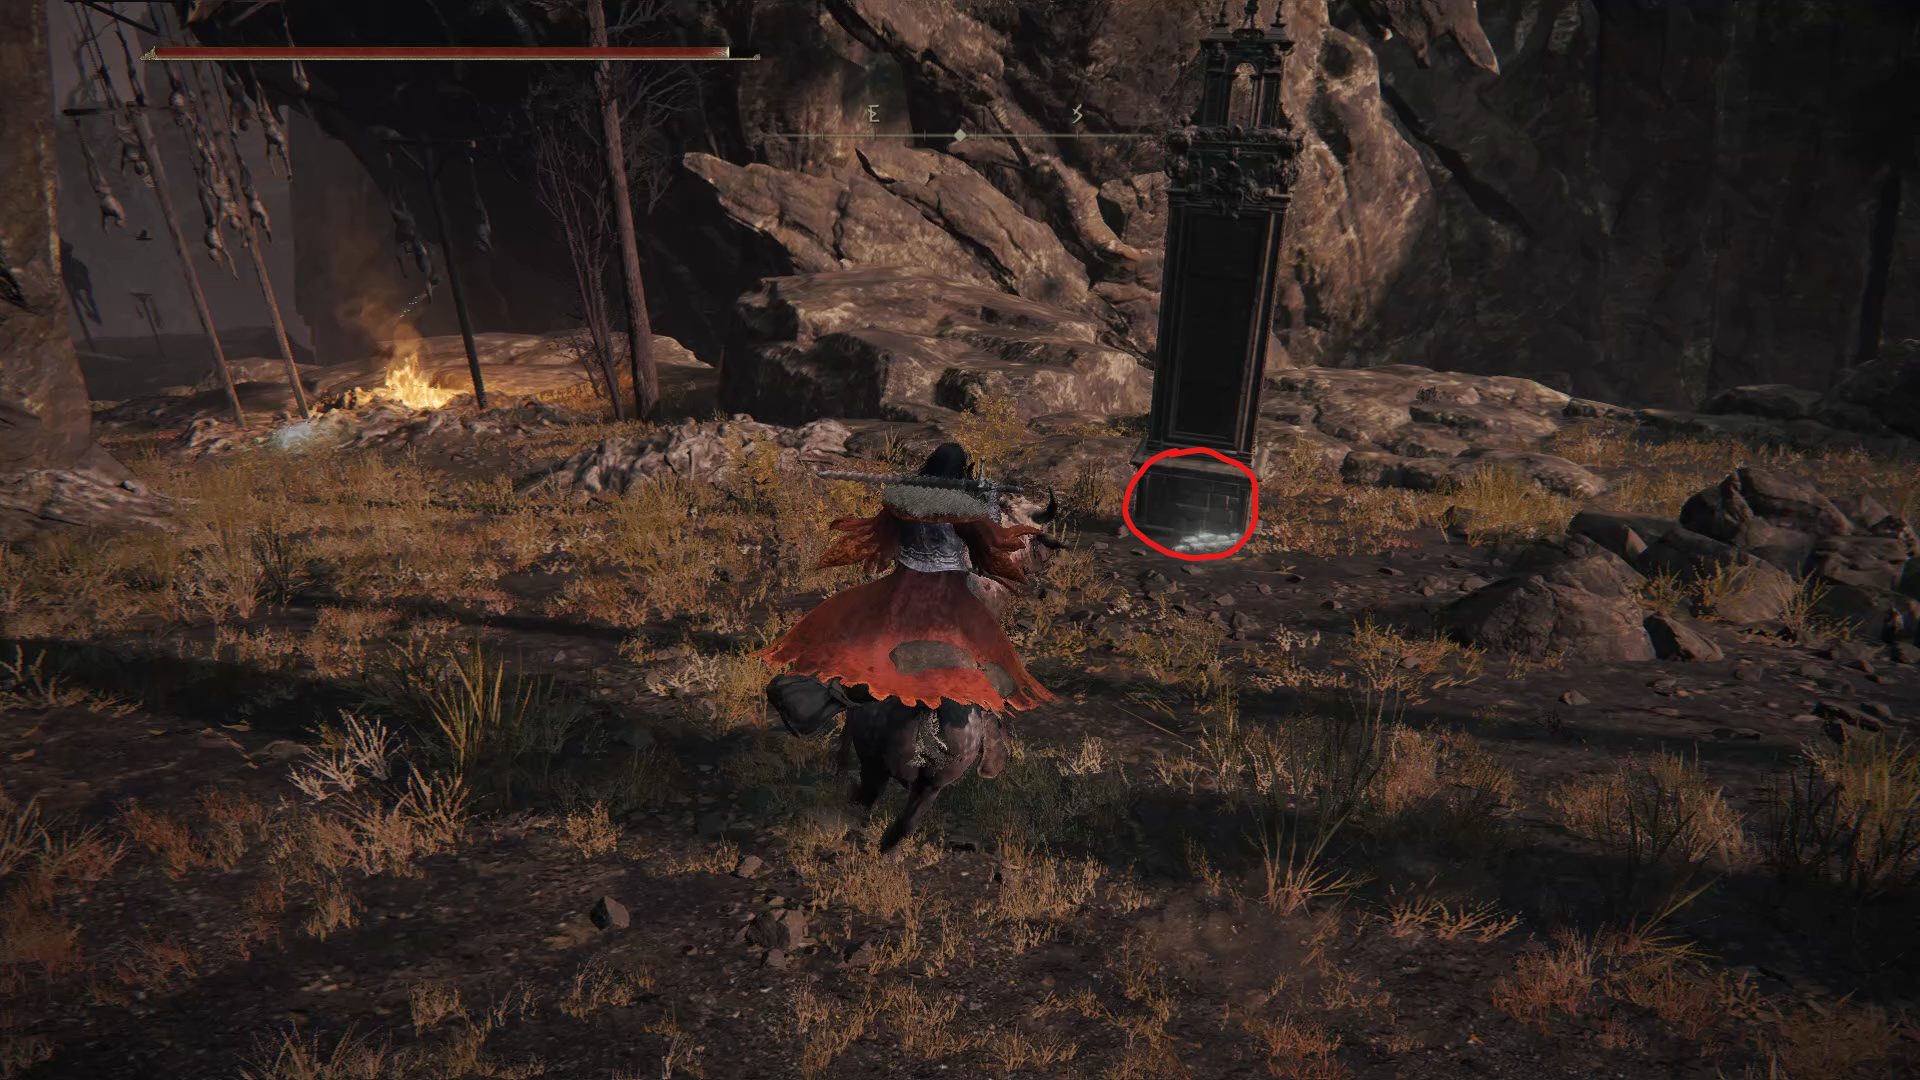
From where the map was, continue heading east and grab the Road of Iniquity site of grace.
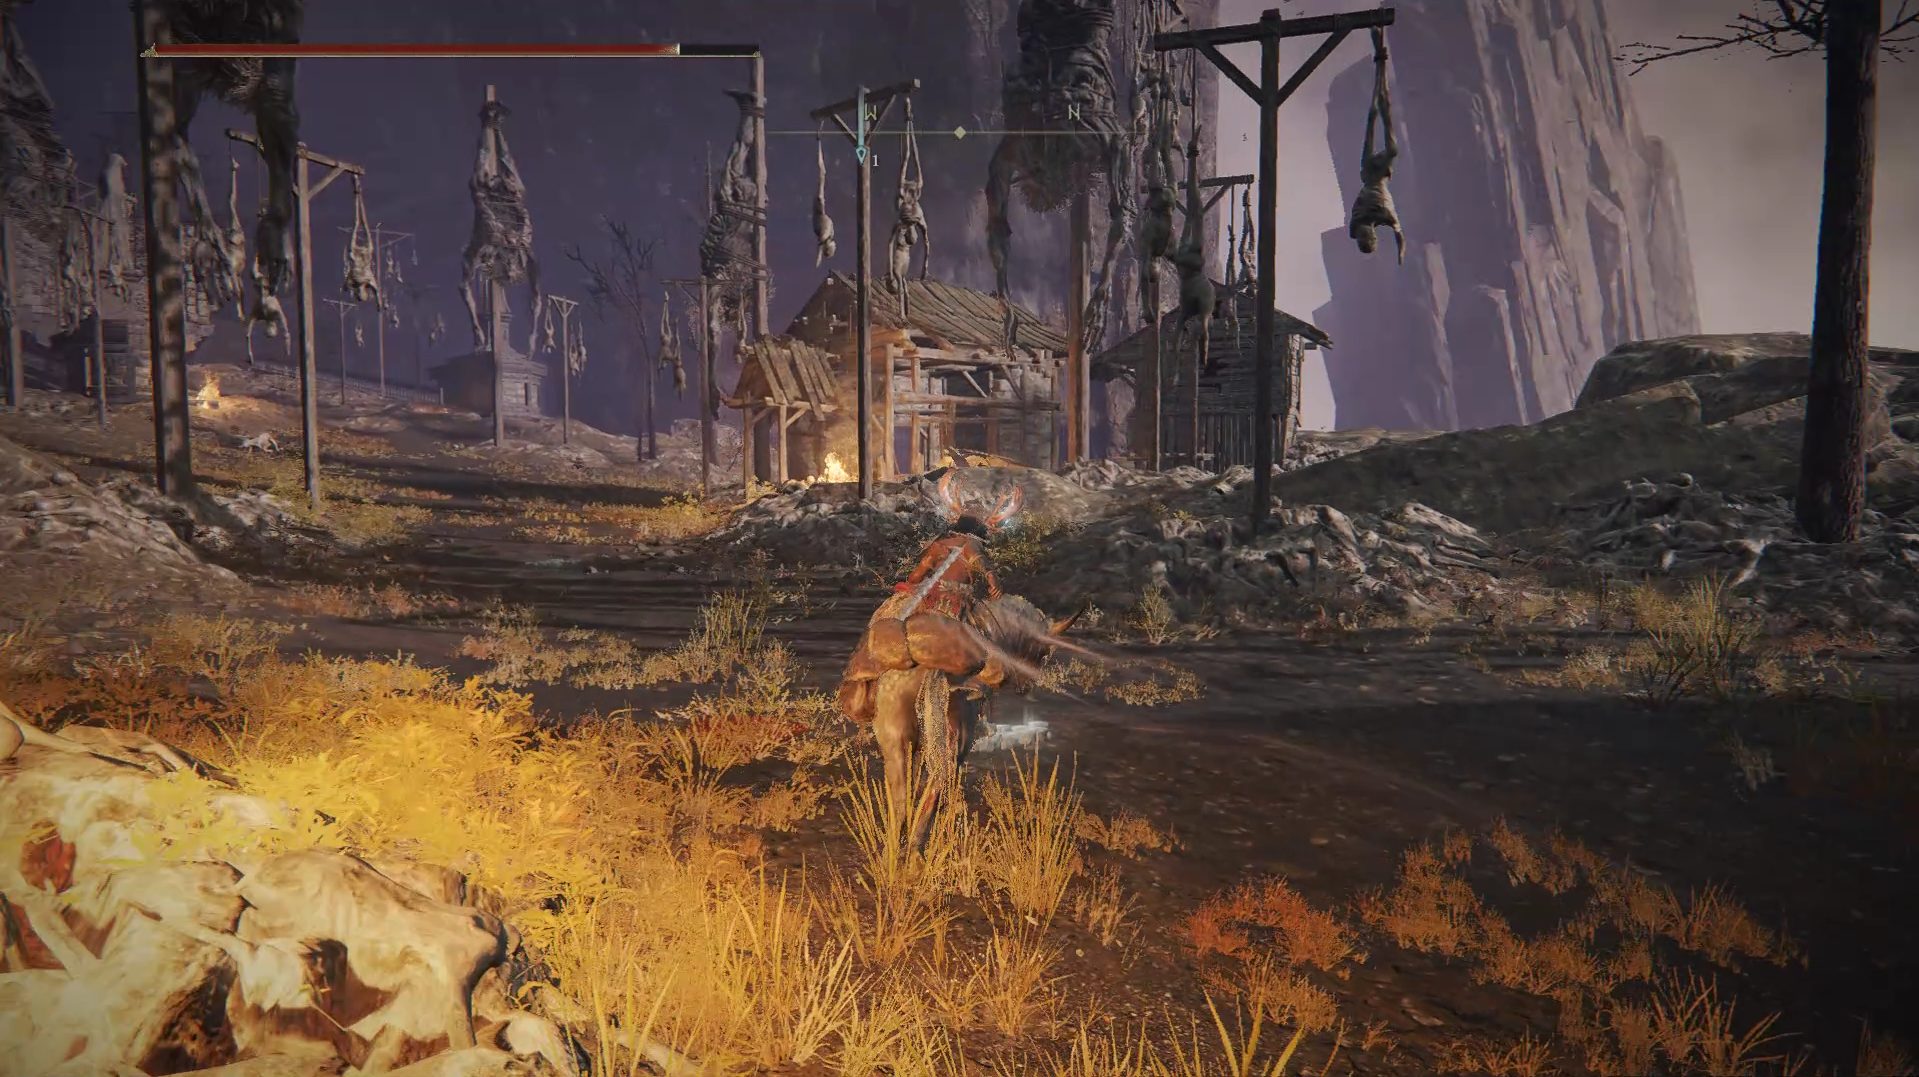
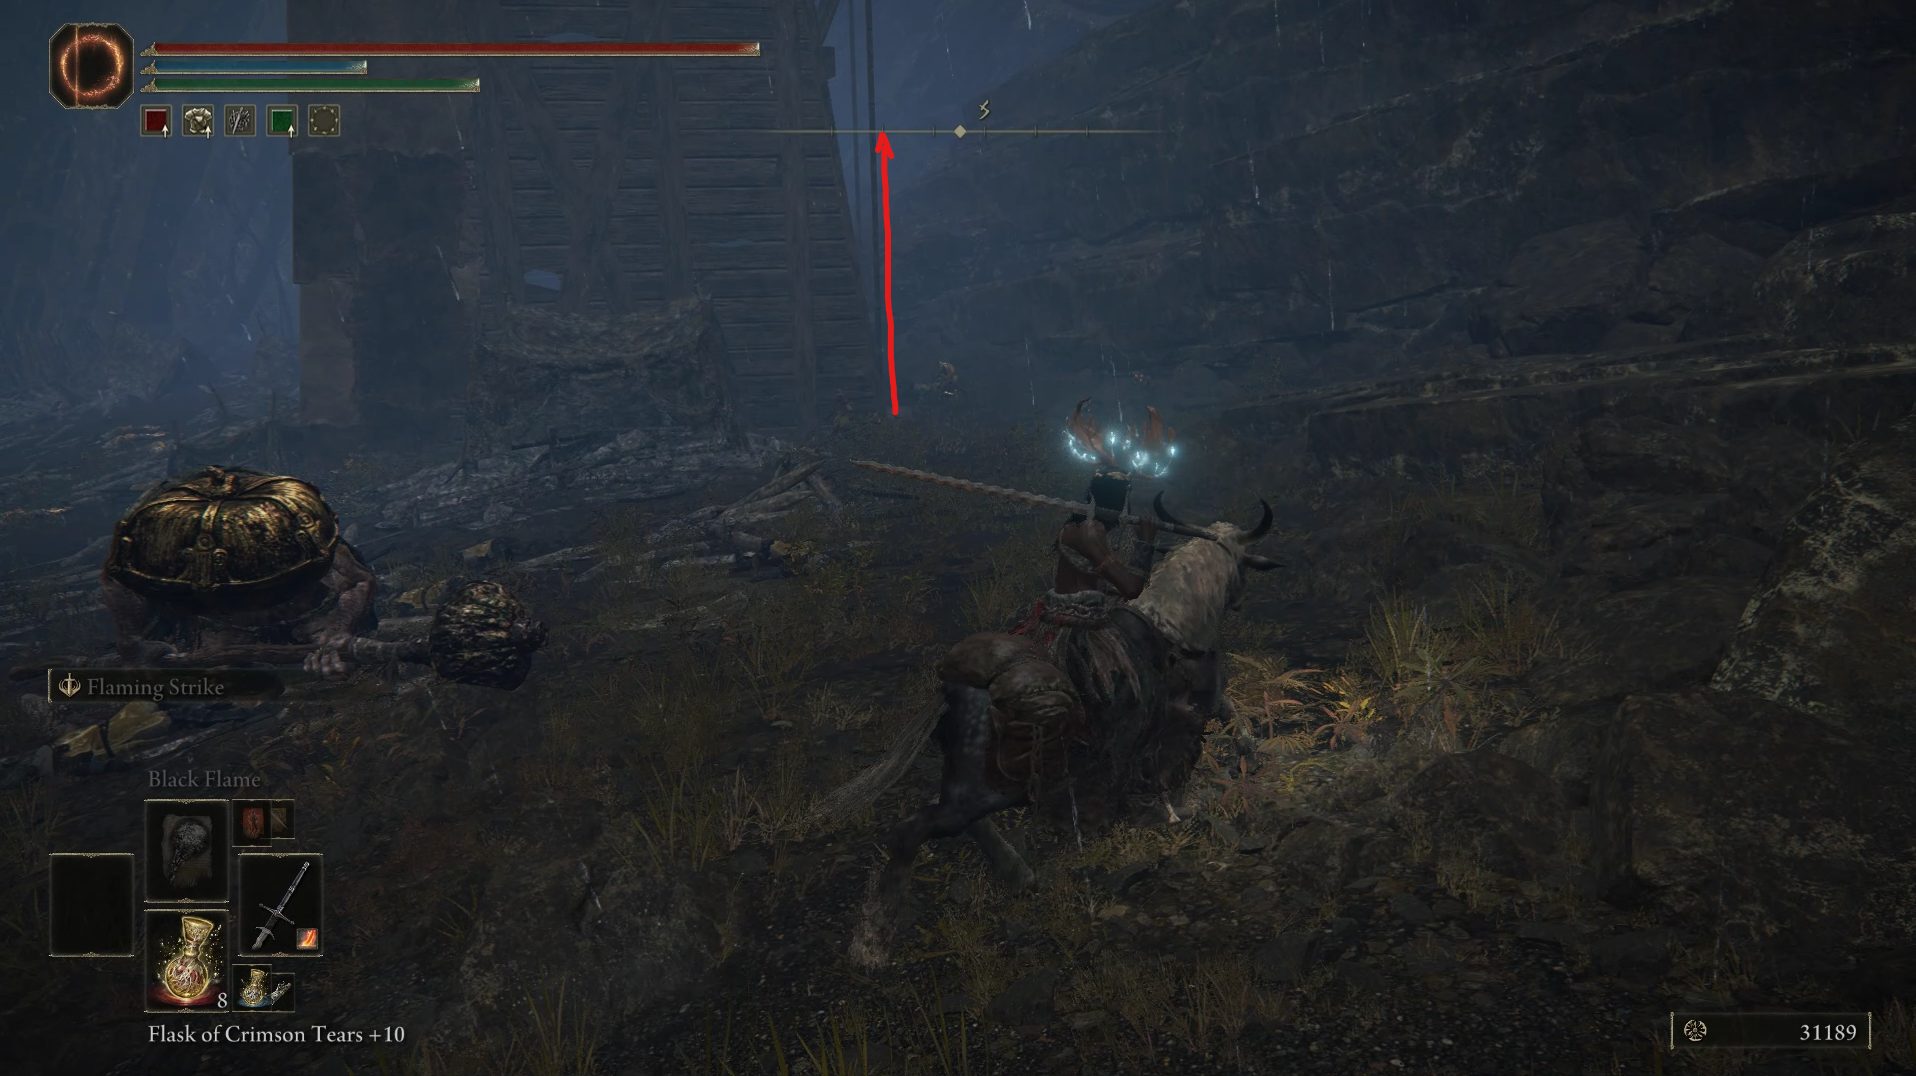
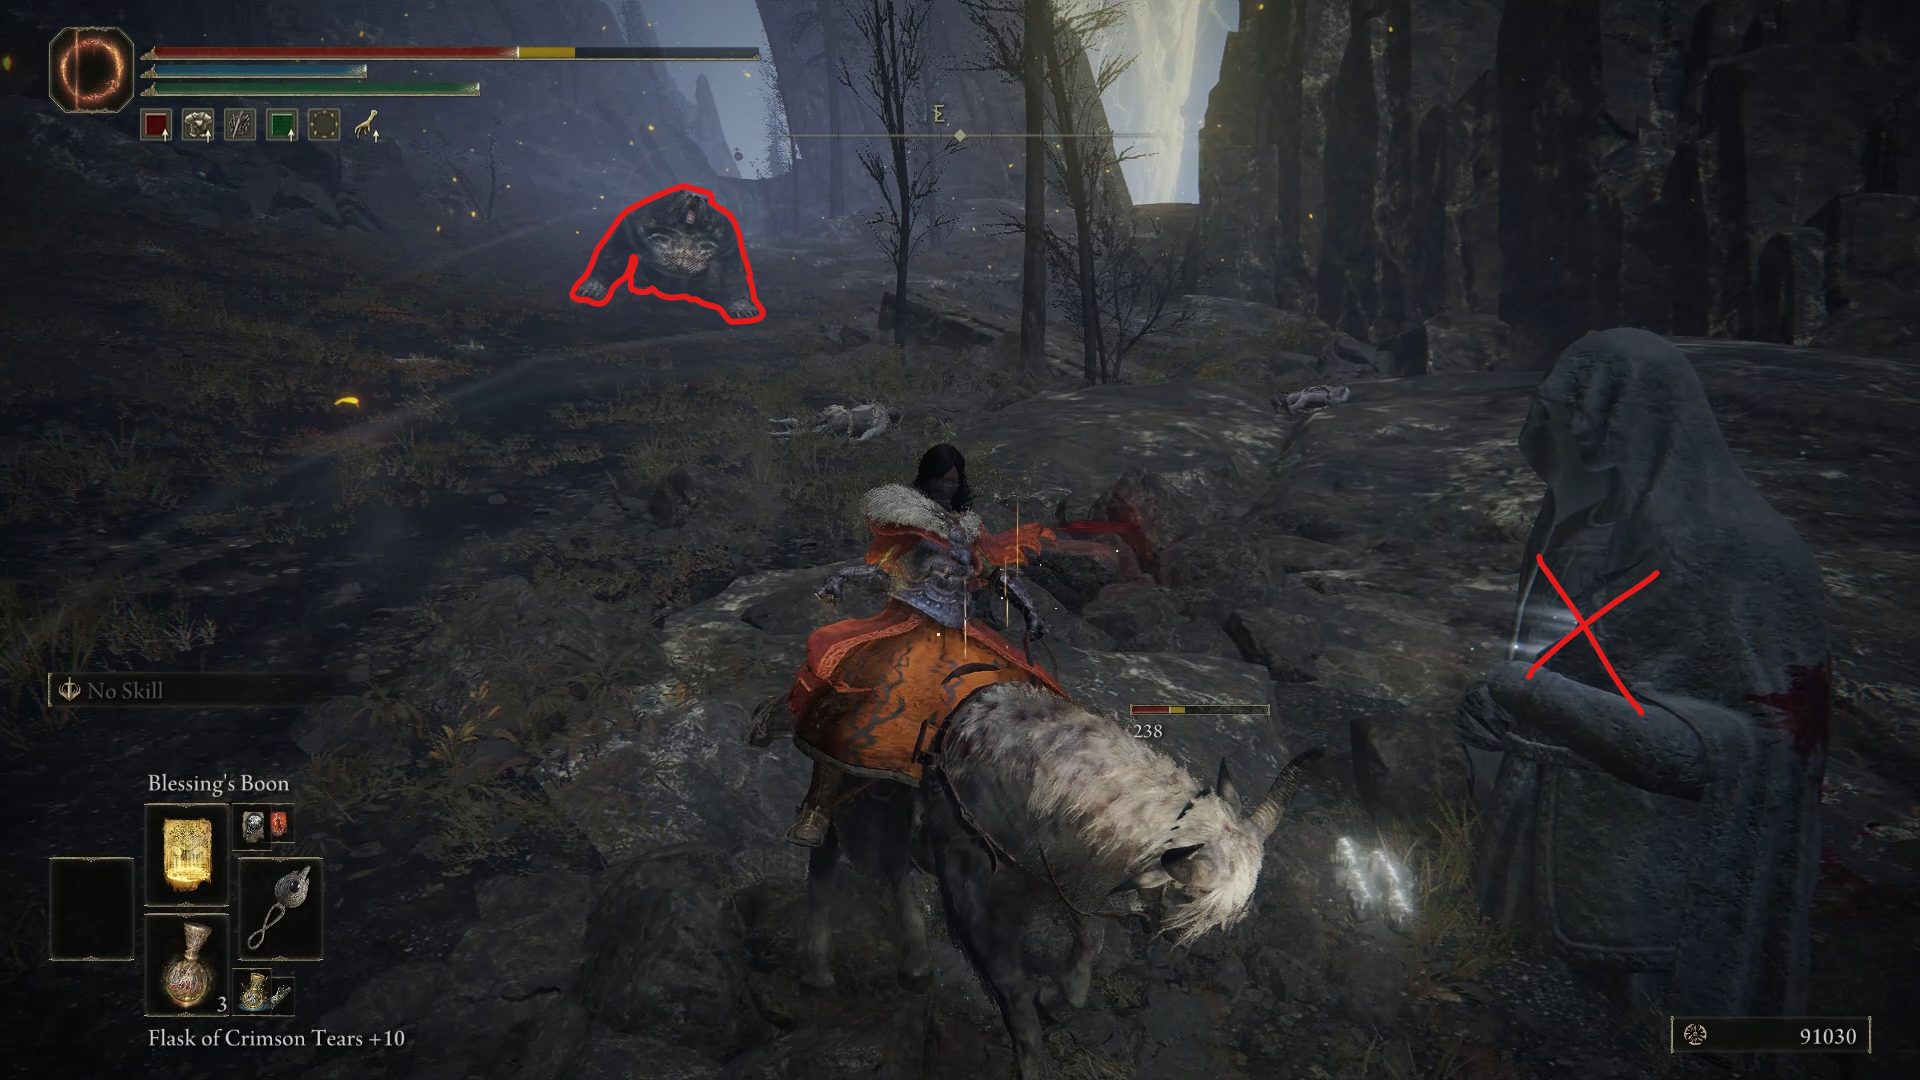
Once you got some well-deserved rest, continue going further east and ignore the big fella in the distance for now. Instead, go to the left, past the fire, to find several soldiers gathered around your 3x Sacramental Buds. Help them join their friends and grab your crafting materials.
Now that it’s time to deal with the big guy, make sure to stay on the move to avoid the Death Blight buildup. Staying close to him and even closer to his butt will be the safest place to be, except for when he starts spreading Death Blight around him. And to close in the distance, the head slam will give you plenty of time to come close, as long as you manage to dodge it. Defeat this freaky creature and you’ll earn yourself a Larval Tear.
Now continue going east towards the Minor Erdtree, grab the 5x Fan Daggers on the way, and you’ll encounter another optional boss: the Ulcerated Tree Spirit.
With this boss defeated, there are a couple of things to grab close to the Minor Erdtree:
5x Golden Arrow behind the tree3x Drawstring Fire Grease3x Beast Blood
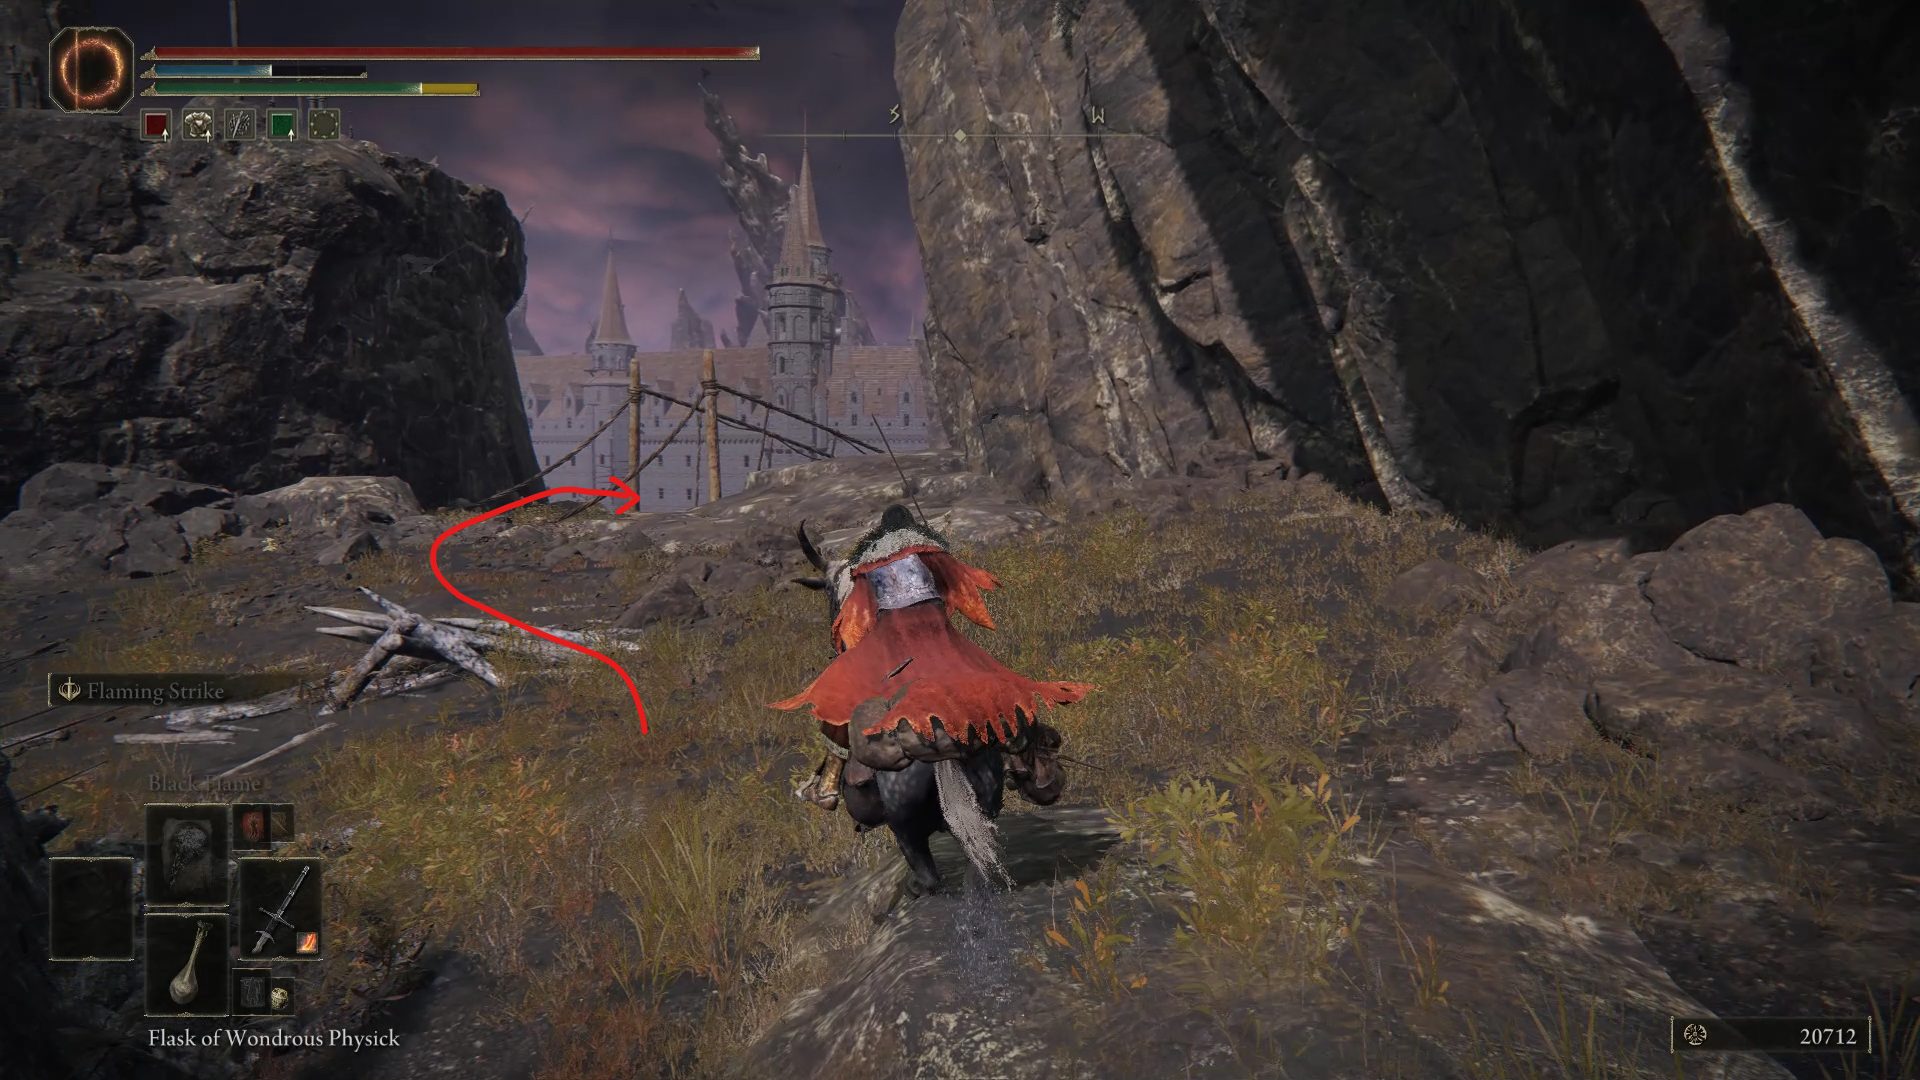
Now, it’s time to travel back to the Ninth Mt. Gelmir Campsite site of grace (if you want to avoid running through the forest full of hands) and start heading toward the Volcano Manor.
Get back to the rock past the Full-Grown Fallingstar Beast, and if you look south you should see the Volcano Manor itself. As you’re coming down from this rock, jump down while facing east to grab the Golden Rune [7],
You may have noticed a fancy looking giant standing in front of the manor’s entrance, but luckily for you, killing him will not reward you with anything other than satisfaction so you can simply run past him and enter the Volcano Manor. However, if you’re feeling brave (and greedy), you can also grab the Sacramental Buds growing east of the manor’s entrance beforehand.
Video game fan since TMNT: The Manhattan Project, I'm always on the lookout for games that could top Outer Wilds or Disco Elysium, or for new songs to listen to.
Thank you guys. Been waiting for this!! ðŸ‘
Chris W.
1 year ago
Thanks as always for a great guide. Might be worth mentioning that at the Demi-Human Queen Maggie site, one of the sorcerers is towards the cliffs (where starlight shards and sacramental buds are), and is elevated above other lesser enemies – can be missed at first look, and will ambush with magic attack, doing some damage.
Also: even easier (cheesier!) combat method for Queen Maggie: jump up onto one of the closest shack roofs, facing her (north east side works well) – you can summon archer Latenna here on the roof, and use your own ranged attack as well. Tons of damage to her before she even reaches the shack, and when she does she still can’t touch you. Finish her off. Done.
Chris W.
1 year ago
Trina’s Lily in the north east area near mountain face, after defeating Ulcerated Tree Spirit.
viito
2 years ago
In the forth you will miss a Fire Scorpion Charm medal as well
Alex
1 year ago
Hey, thank you very much for your guides, can u help me, if i died after patches knocked me from the cliff, how i can find a way to get back down there?) i am rl struggling with that…
Hey Alex! Southwest of Altus Plateau you can reach the Seethewater River site of grace, and just ride past it into Mt. Gelmir. Alternatively, you can descend there from the area that you get to by letting the Abductor Virgin kill you with its grab attack, at the bottom of the Academy of Raya Lucaria legacy dungeon.
You can also check out the “How to Get to Mt. Gelmir” part of this guide at the top of this page for more detailed instructions. From the 3 different entrances to Mt. Gelmir shown there, both 2 & 3 will lead you to that part of Mt. Gelmir. Hope this helps!
iluvu3000
11 months ago
Thank you for the great guide! Just to note – and this might have been part of a patch after the walkthrough was written – but the big weird wormface creature with the death blight, is now actually disguised as one of those undead fire humanoids. When you kill it, it transforms into the wormface. Easy enough to kill as it appears to have fairly low poise.


Thank you guys. Been waiting for this!! ðŸ‘
Thanks as always for a great guide. Might be worth mentioning that at the Demi-Human Queen Maggie site, one of the sorcerers is towards the cliffs (where starlight shards and sacramental buds are), and is elevated above other lesser enemies – can be missed at first look, and will ambush with magic attack, doing some damage.
Also: even easier (cheesier!) combat method for Queen Maggie: jump up onto one of the closest shack roofs, facing her (north east side works well) – you can summon archer Latenna here on the roof, and use your own ranged attack as well. Tons of damage to her before she even reaches the shack, and when she does she still can’t touch you. Finish her off. Done.
Trina’s Lily in the north east area near mountain face, after defeating Ulcerated Tree Spirit.
In the forth you will miss a Fire Scorpion Charm medal as well
Hey, thank you very much for your guides, can u help me, if i died after patches knocked me from the cliff, how i can find a way to get back down there?) i am rl struggling with that…
Hey Alex! Southwest of Altus Plateau you can reach the Seethewater River site of grace, and just ride past it into Mt. Gelmir. Alternatively, you can descend there from the area that you get to by letting the Abductor Virgin kill you with its grab attack, at the bottom of the Academy of Raya Lucaria legacy dungeon.
You can also check out the “How to Get to Mt. Gelmir” part of this guide at the top of this page for more detailed instructions. From the 3 different entrances to Mt. Gelmir shown there, both 2 & 3 will lead you to that part of Mt. Gelmir. Hope this helps!
Thank you for the great guide! Just to note – and this might have been part of a patch after the walkthrough was written – but the big weird wormface creature with the death blight, is now actually disguised as one of those undead fire humanoids. When you kill it, it transforms into the wormface. Easy enough to kill as it appears to have fairly low poise.