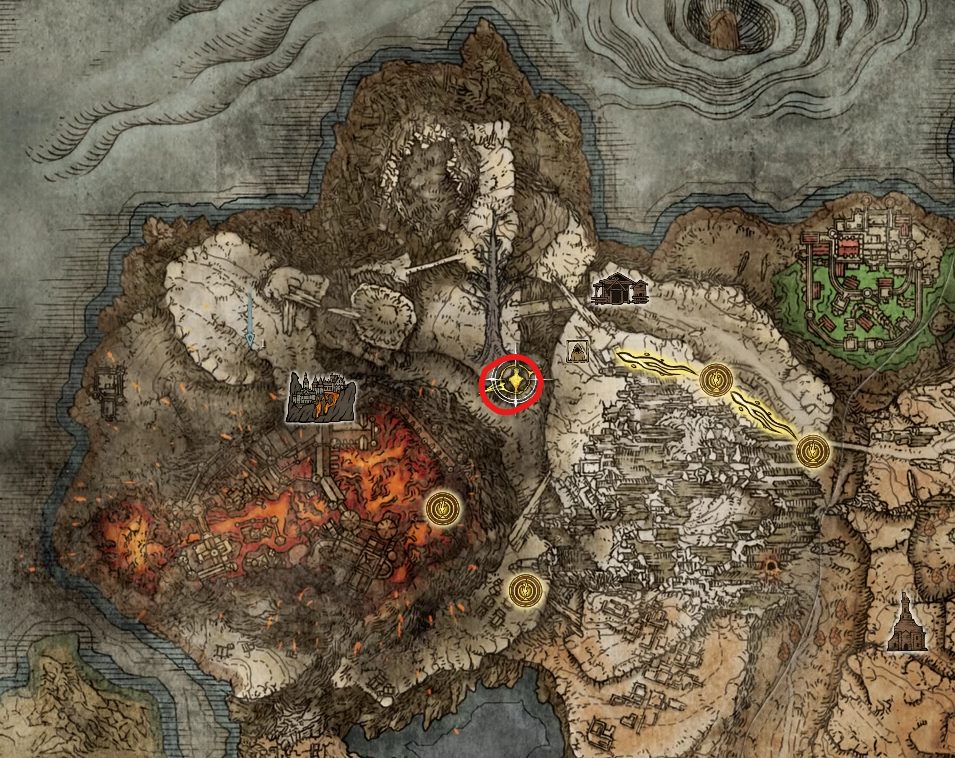
This short dungeon found in Mt. Gelmir is filled with enemies that will attempt to poison you, as well as poisonous waters that will attempt to do the same. With that in mind, it’s recommended to either purchase Neutralizing Boluses, or craft them if you acquired the Armorer’s Cookbook [2].
As usual, the first thing you should do is grabbing the site of grace found at the cave’s entrance, as it could otherwise get awkward if you die. Now, while you’re starting to go through the cave, you’ll very quickly stumble upon a patrolling soldier.
The room that soldier came out of doesn’t really have any loot except for 2x Budding Cave Moss, and you can just skip it unless you really want to beat up his friend and grab the crafting materials. Continue further through the tunnels and you’ll reach a hole with several platforms that can help you reach the bottom safely. Once you get all the way down however, you’ll land straight into poisonous waters, so be prepared with consumables or the Flame, Cleanse Me incantation, and remember to avoid rolling as that will cover you in poison from head to toe.
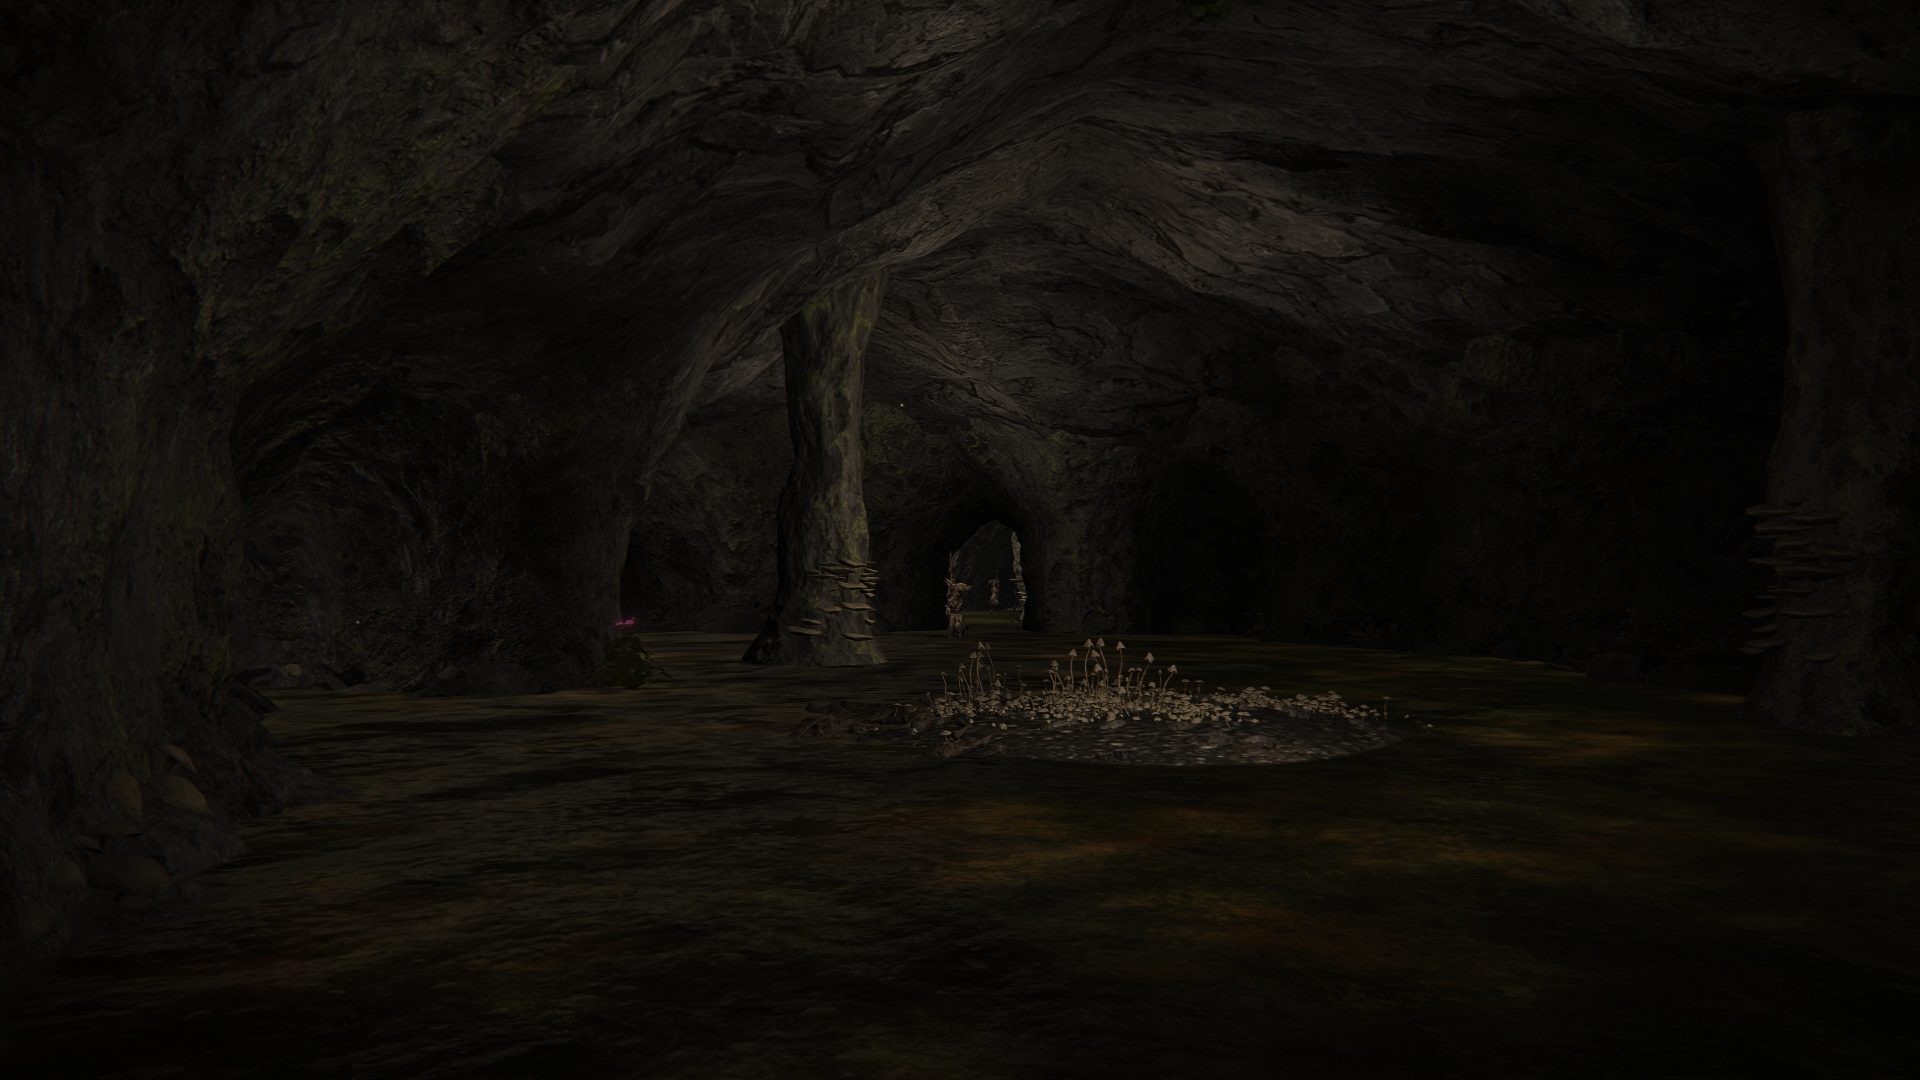
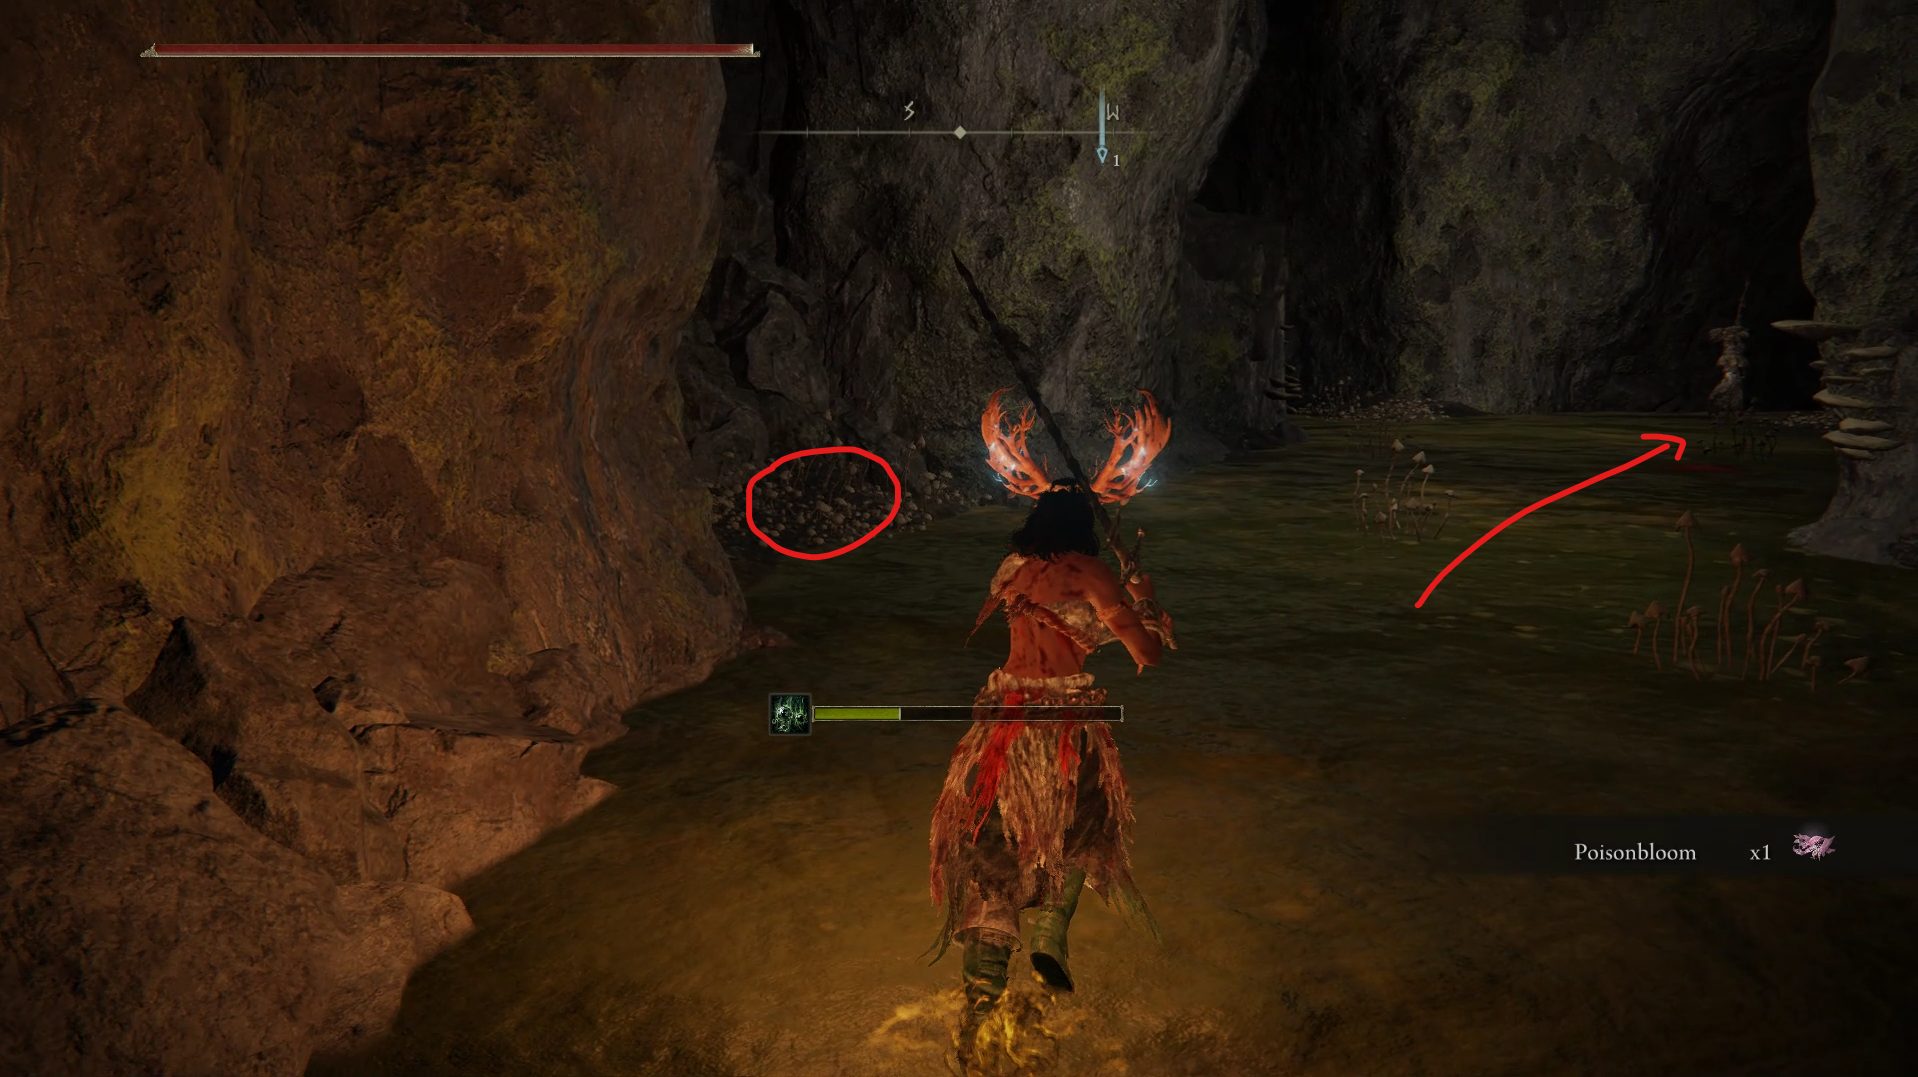
Once you’re in the poisonous waters, keep running forward until you reach a small bit of land right in the middle of the next room. While it’s a safe spot, watch out for the poisonous slime dropping from the ceiling and deal with it to have a bit of breathing room before going forward.
Now, if you look northeast, you’ll see another safe spot with a corpse glowing with loot. As you suspect, there are even more slimes on the ceiling over there, though you can just avoid them and grab the 3x Poison Grease before heading back to the safe spot in the middle of this room. From there, you’ll have 2 paths:
The path (A) leads to a small room with several rats, though your reward for slaughtering them is a mere 4x Lumps of Flesh. The path (B) on the other hand is the path that leads deeper through the dungeon. Whether you made a detour or not, start heading towards the path (B) and deal with the enemy on your way. Just remember to avoid rolling as that will cover you in poisonous water, and you’ll need to use some Soap to become clean again.
Once you get past this first enemy, you will find another small safe spot to your left. From there, if you’re playing a ranged character, you’ll be able to deal with several enemies patrolling in the water all without stepping into poison yourself.
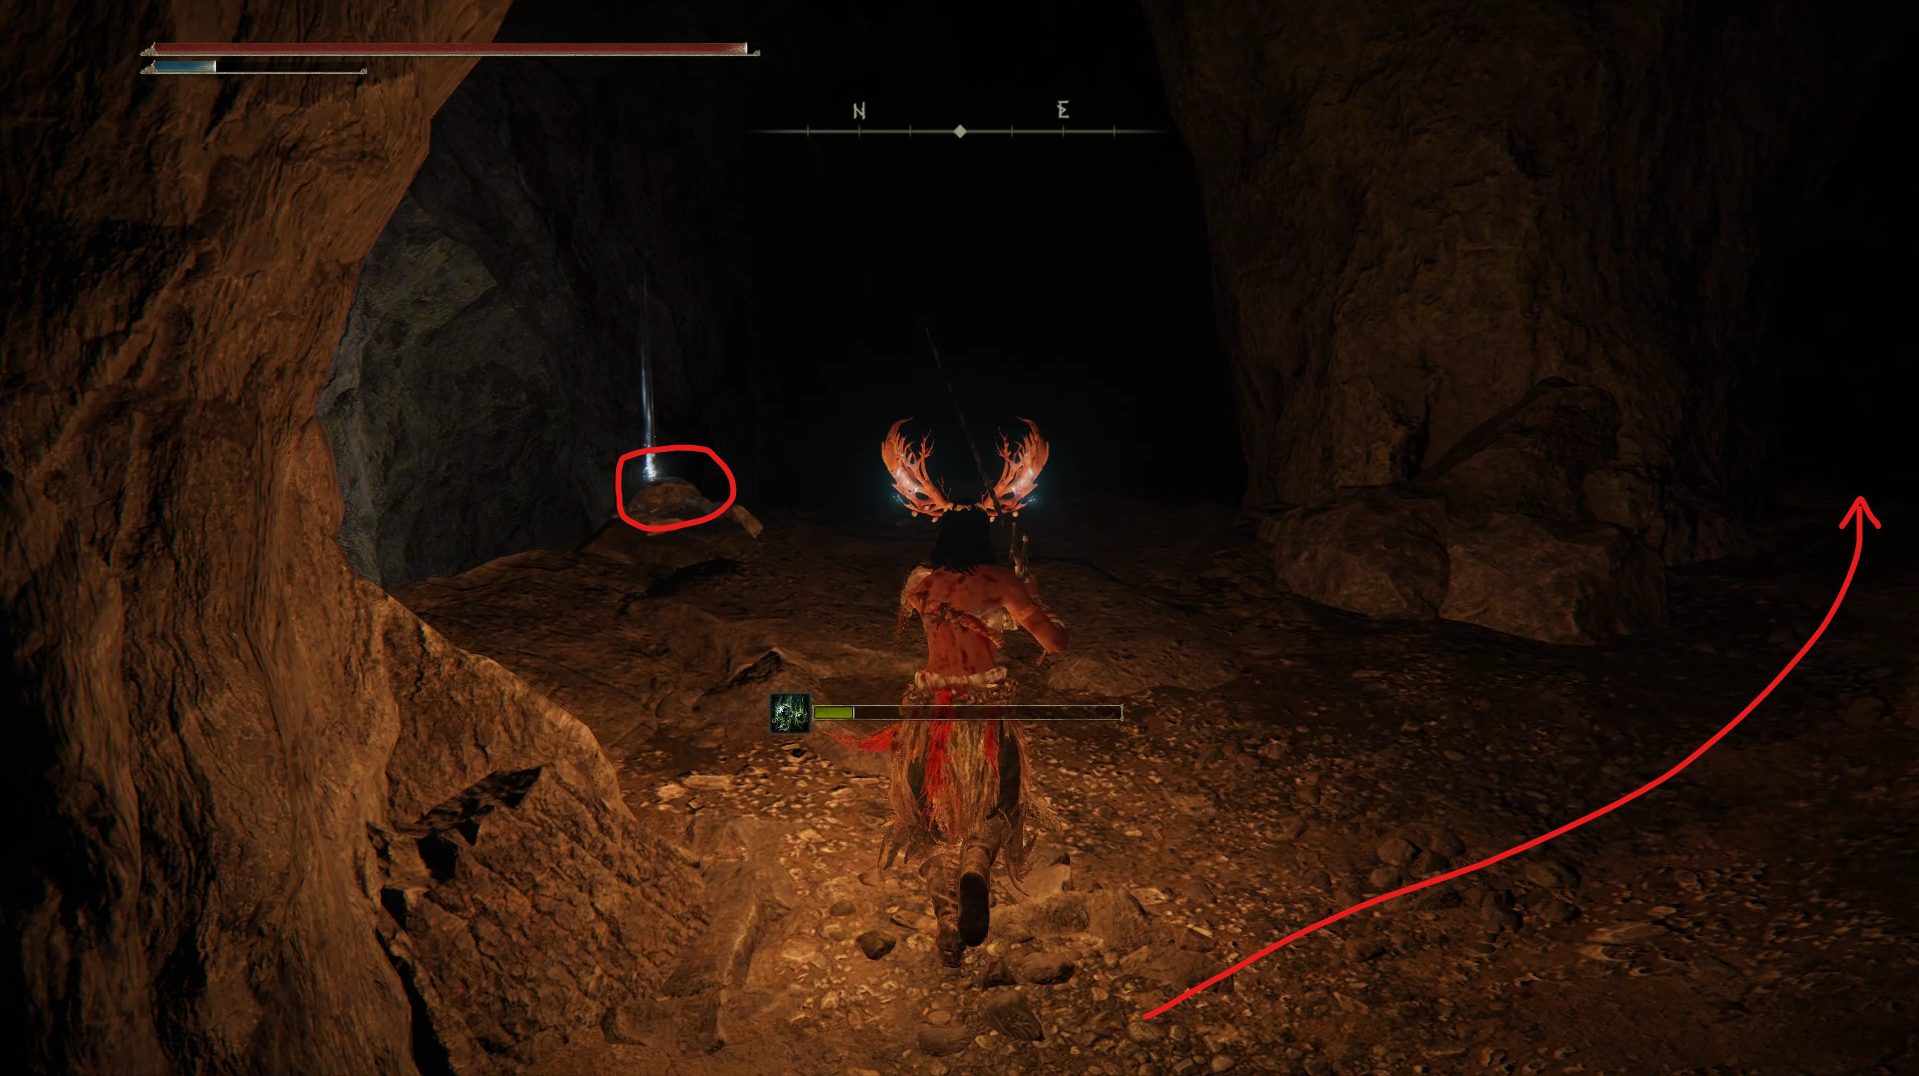
If you’ve dealt with those enemies from range, you can go forward and take the turn south to reach a small bit of dry land with 1x Preserving Boluses. Right above you however there will be a couple more enemies on ledges that you cannot reach from where you are. So keep those in mind as you either kill them or avoid them until later on.
If you don’t have access to ranged attacks, you can hide there to heal up and cure poison, as you will be hidden from any projectiles while you’re next to the corpse with the Preserving Boluses.
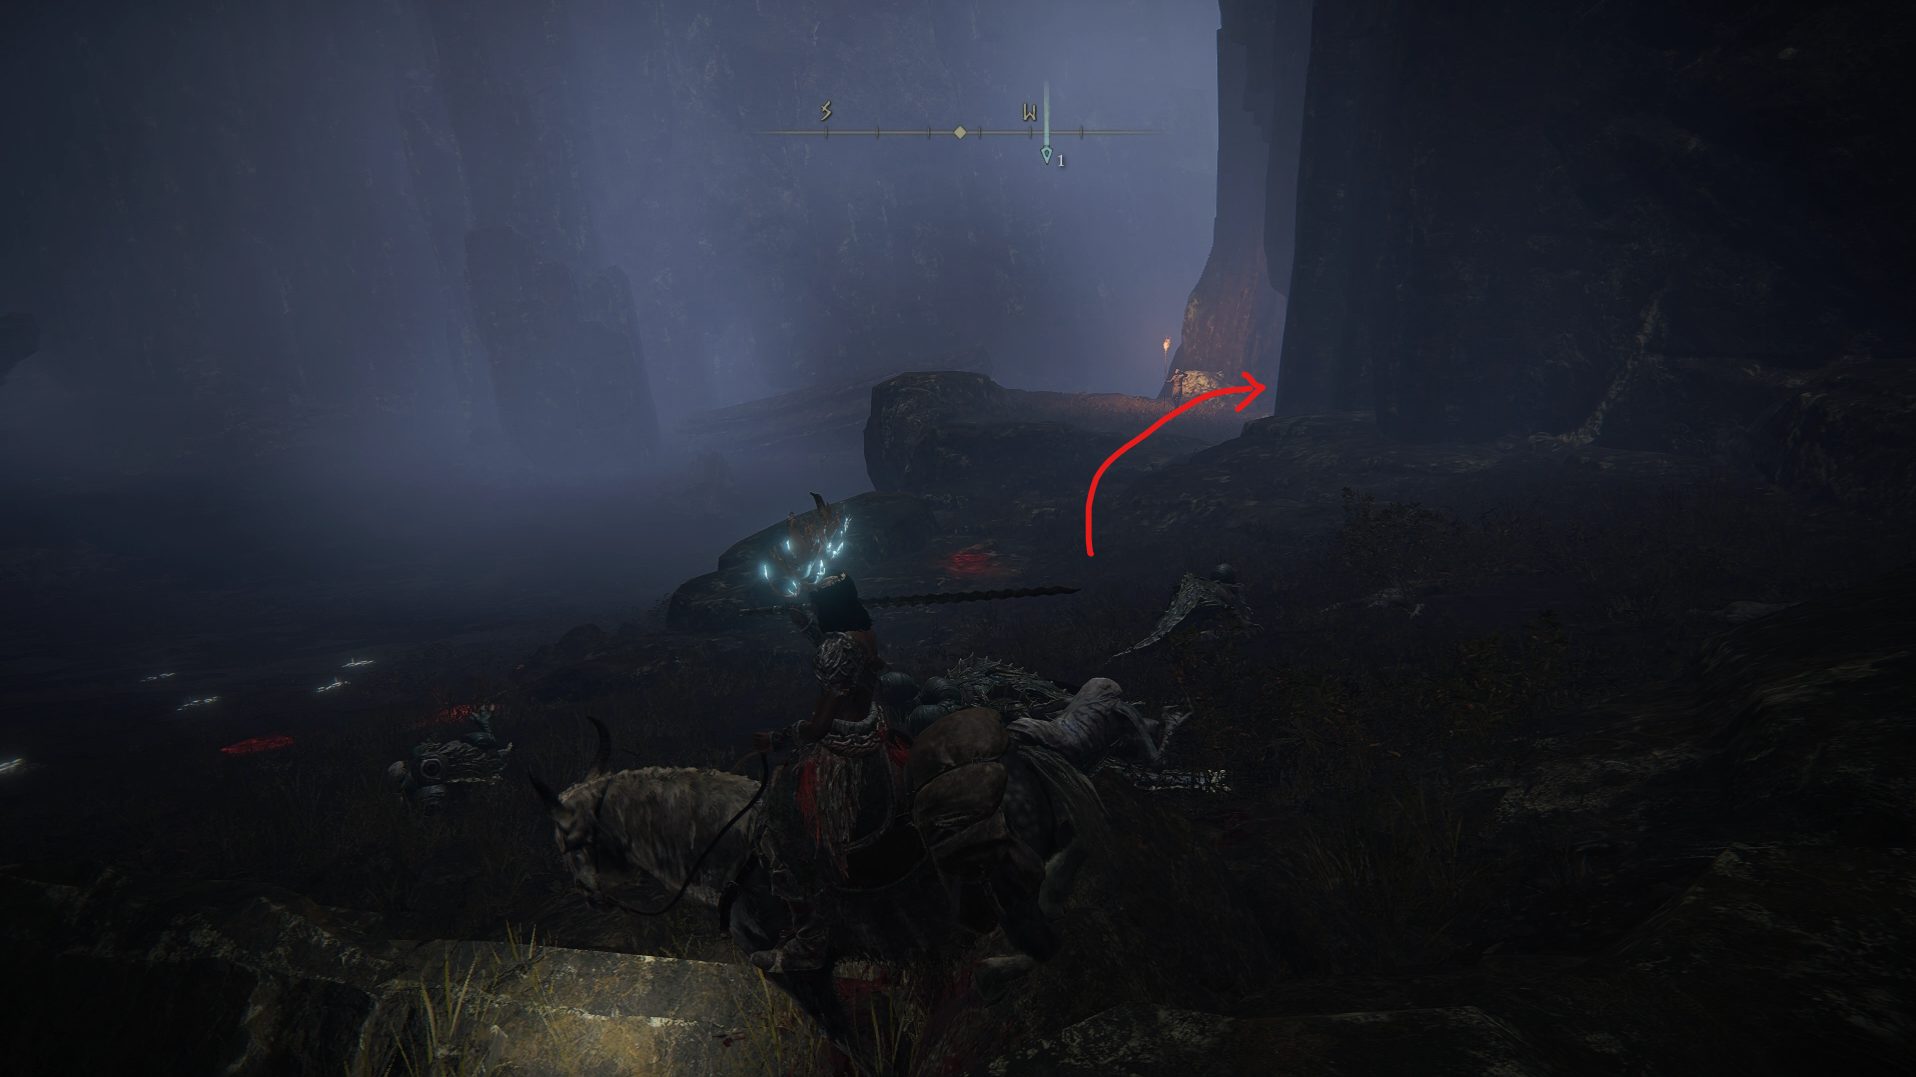
Once you’ve dealt with the enemies in this section (though you can also just skip them and rush through), don’t hesitate to take a small breather on one of the safe spots if you’re low on consumables, until you lose your poison buildup. Then, continue further through the dungeon and you’ll reach another drop down spot. Jump down the poisonous water fall and you’ll have another forking path.
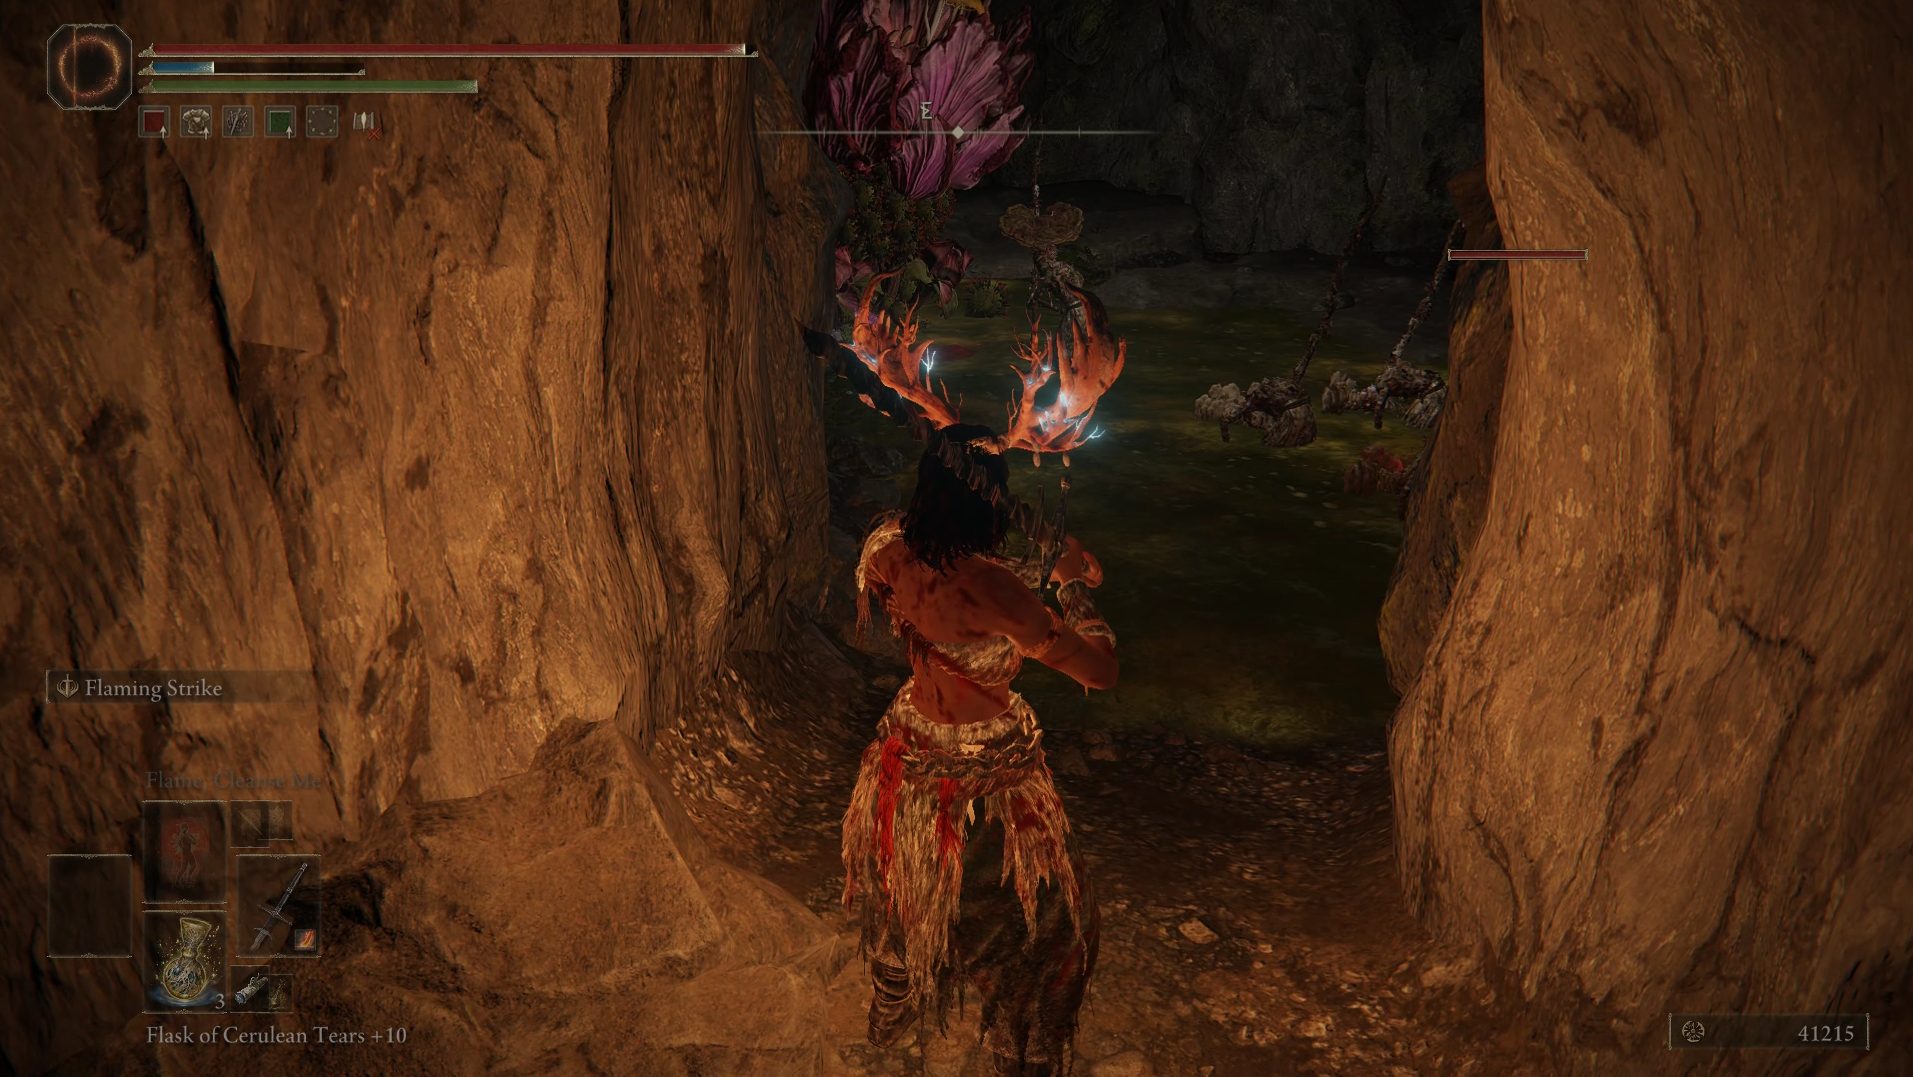
The path (B) leads north towards the boss room, while the path (A) will lead you southwest towards the Mushroom Armor Set. As you make your way through the path (A), you’ll first encounter a couple of rats loitering in the tunnels, and you’ll eventually reach the ledge where a couple of enemies were, or still are depending on what you did earlier. Either way, grab the Golden Rune [7] and head further along this path until you reach the final room with 5 enemies and a Giant Miranda Sprout.
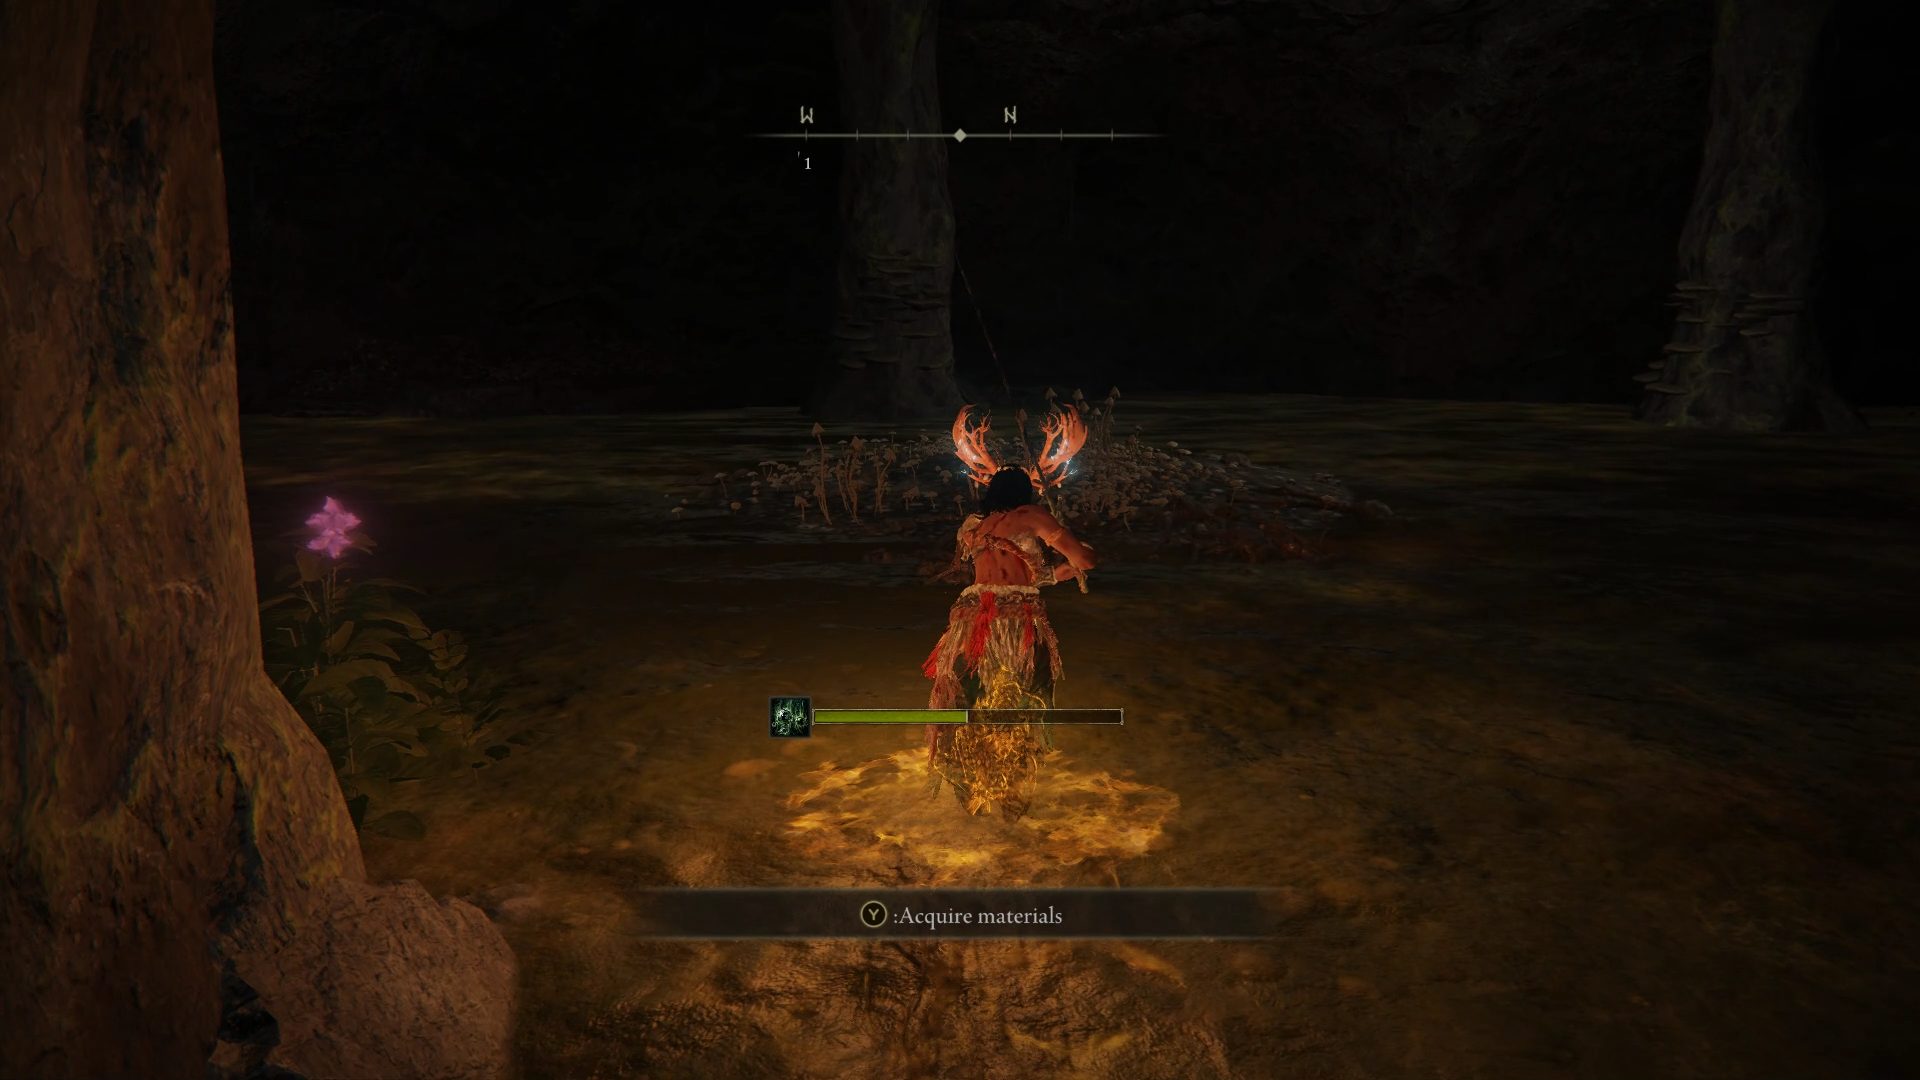
Here, ideally you will want to use ranged attacks to deal with the humanoid enemies first, before focusing your attention on the giant flower. If you’re melee, you can always run in, kill as many of them as you can before running back out and healing up. And if you wait long enough, they will forget you ever existed, and you’ll be able to do so again until they’re all dead. As for the flower, as with the ones you encountered previously, it’s weak to fire damage, so you can always craft Fire Pots, some Fire Grease, or use incantations that inflict fire damage to deal with it.
Once the enemies are dealt with, grab the Immunizing Cured Meat, the Mushroom Head, Body, Arms and Legs, and head back towards the path (B) that leads towards the boss room. There you will reach another hole leading deeper through the dungeon, with again, several platforms designed to make it possible. While jumping down, you’ll reach a small platform with a couple of rats, and you’ll be able to grab 10x Poison Darts there before jumping all the way down, grabbing the Golden Rune [6] in the path going west, and then taking the other path that leads to the Kindred of Rot Duo boss room.
Video game fan since TMNT: The Manhattan Project, I'm always on the lookout for games that could top Outer Wilds or Disco Elysium, or for new songs to listen to.


Y’all created the boss guide but just haven’t linked to it: https://eip.gg/elden-ring/guides/how-to-beat-the-kindred-of-rot-duo-boss-guide/
Thanks for letting us know William!