Please note that this guide is a living document, and we’ll continue to add secrets as we discover them (or you tell us about them!)
From the Margit the Fell Omen site of lost grace, follow the path to the castle and grab the Stormveil Castle site of lost grace by its entrance. To the right from the entrance, there will be a small path that leads to a Furlcalling Finger Remedy. While going back towards the entrance, you will notice a small wooden pathway to the left that you can drop down to. If you drop down, it will lead to a corpse with Fire Grease. After grabbing these, jump down, and head to the left through the hole in the wall, then make your way down and around the stone path to return to the castle’s entrance.
To the left of the main gate, you will find a small doorway leading to a room with Gatekeeper Gostoc advising you to use the opening found in that room, instead of going for the main gate. The main gate is very well guarded, so it’s best to follow his advice and proceed through the opening instead. If you would rather go through the main gate however, speak to Gatekeeper Gostoc, and he will signal the guards to open the gate as you approach it — the walkthrough will take the long route, however.
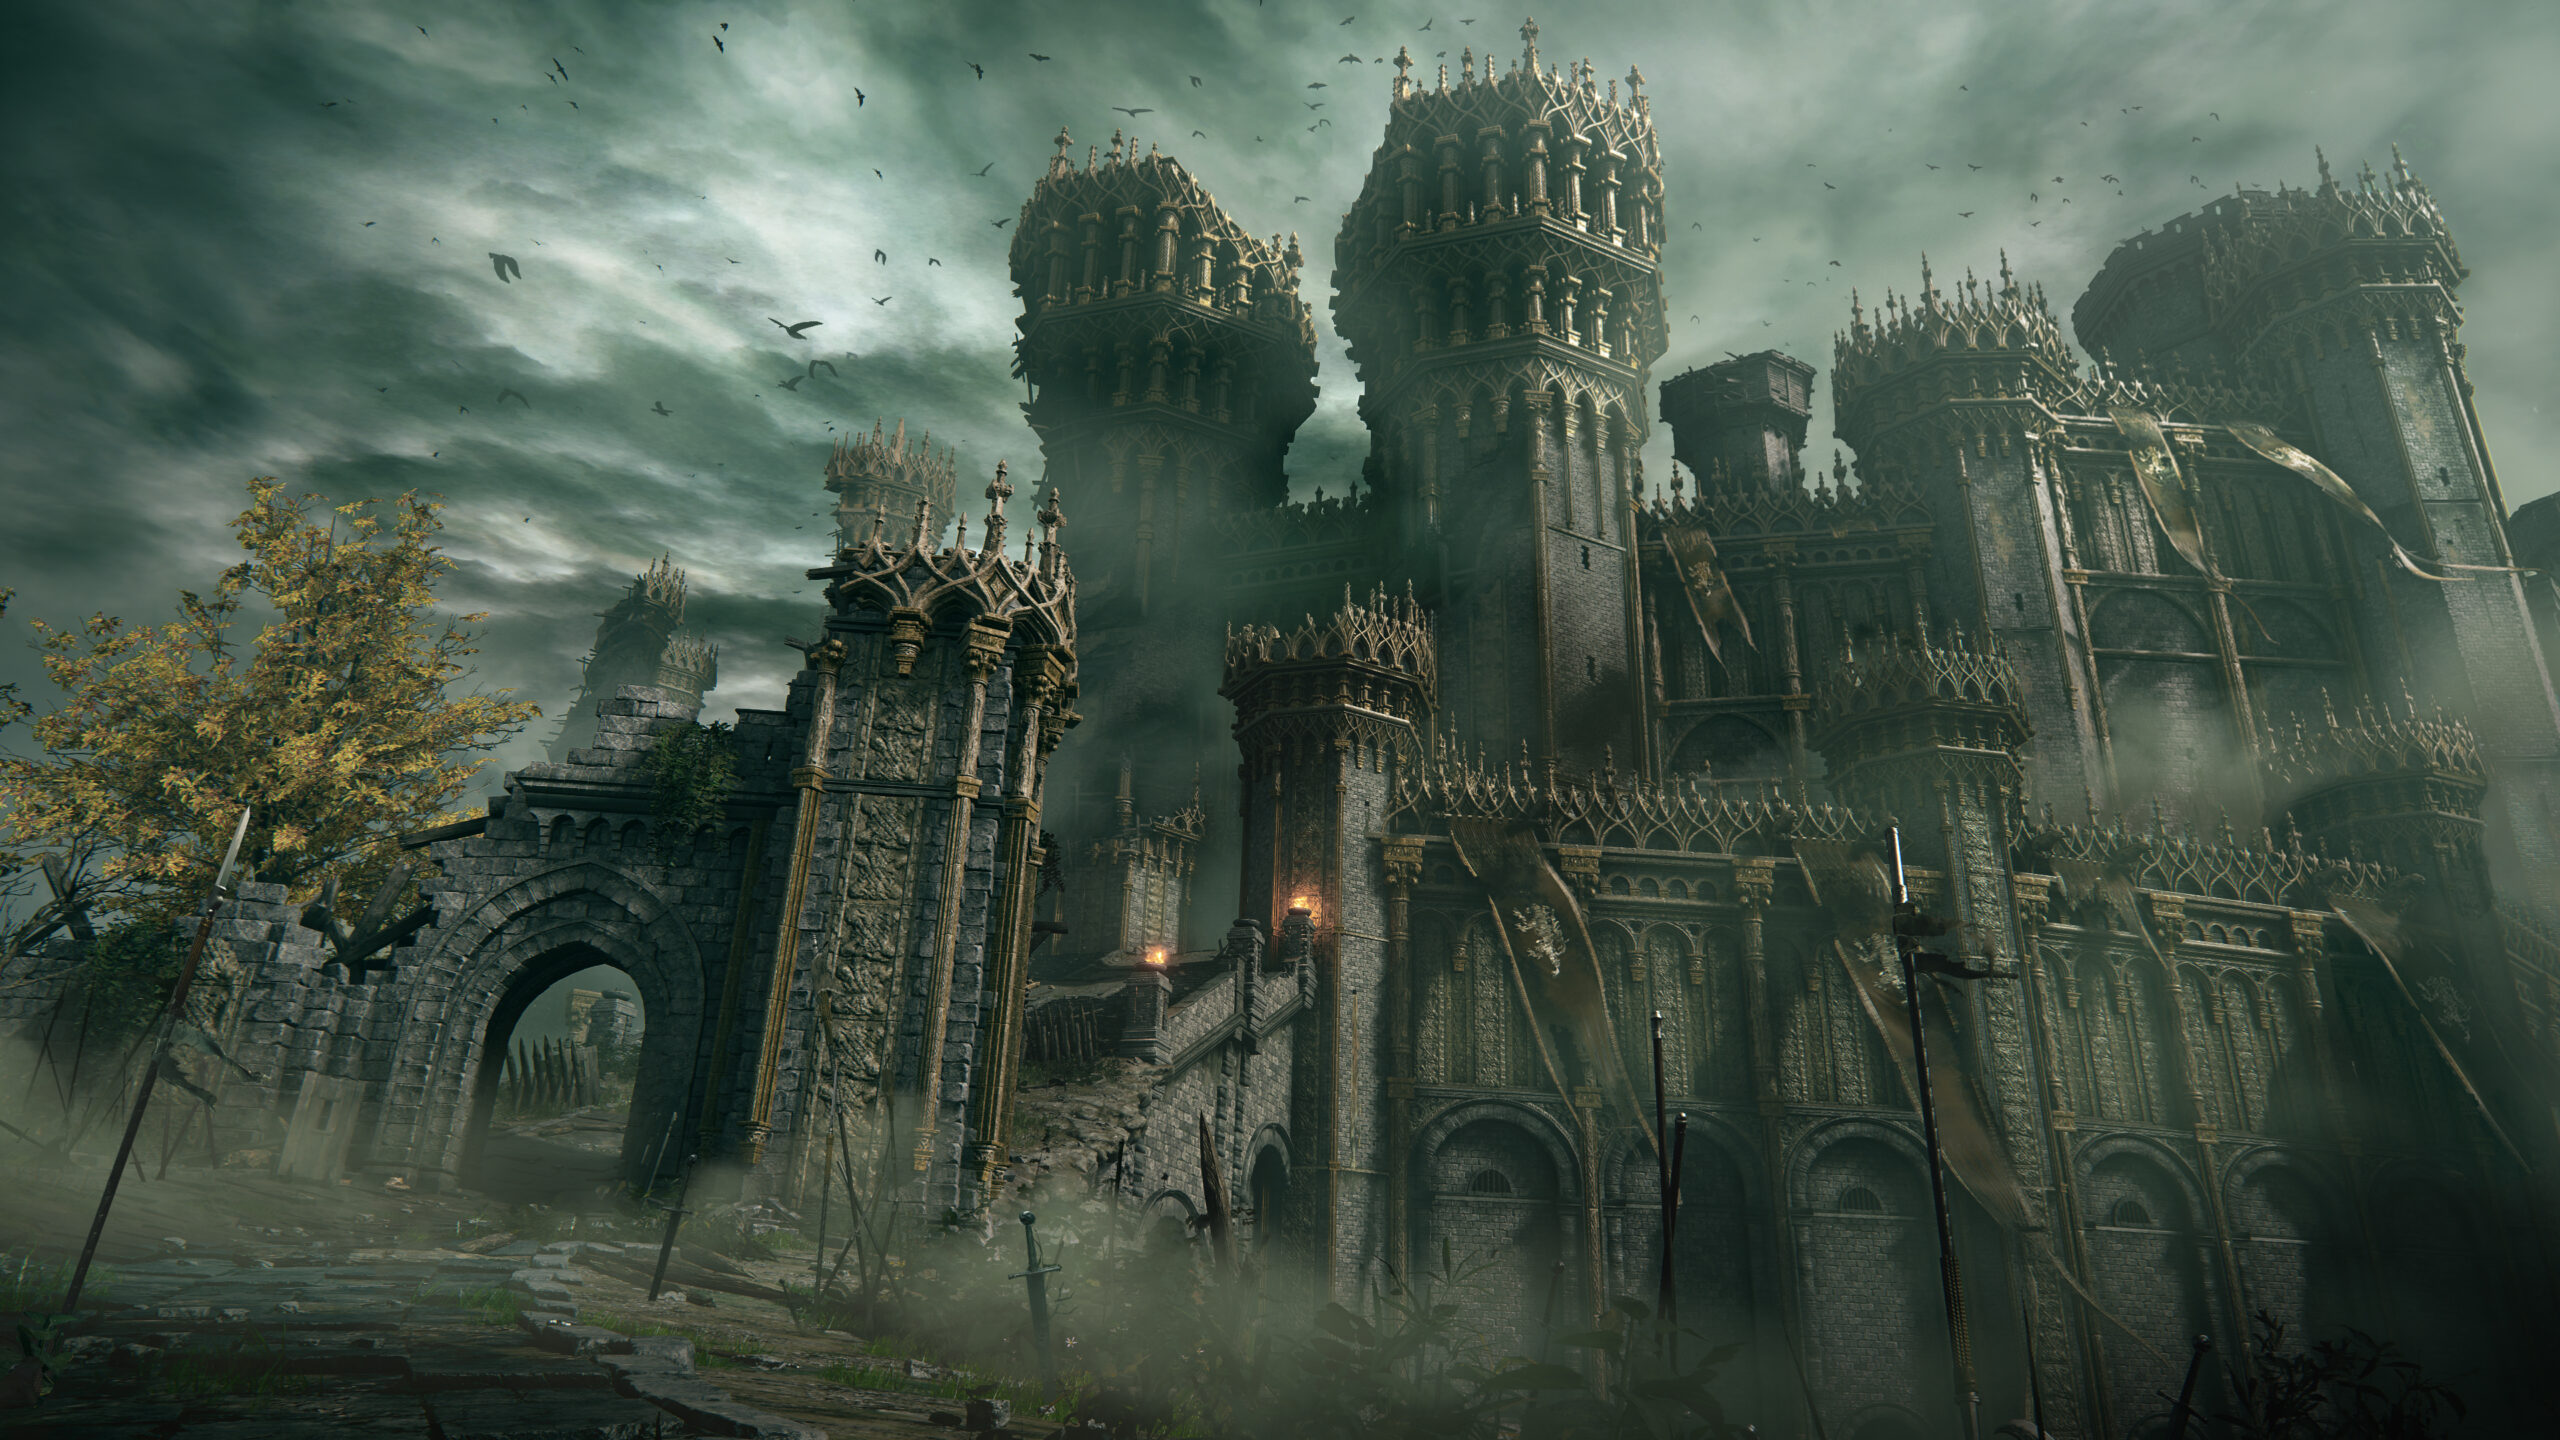
Stormveil Cliffside
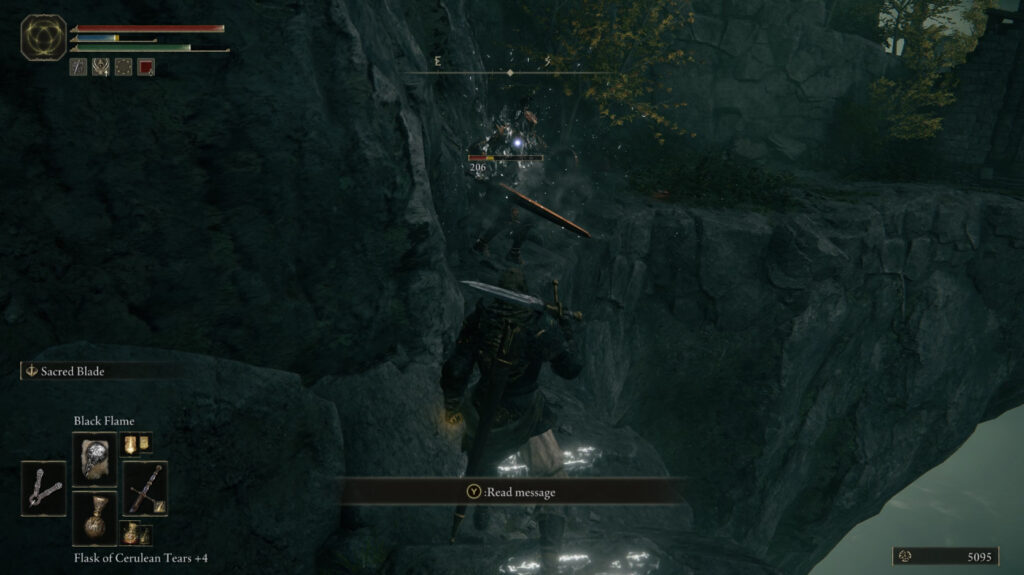
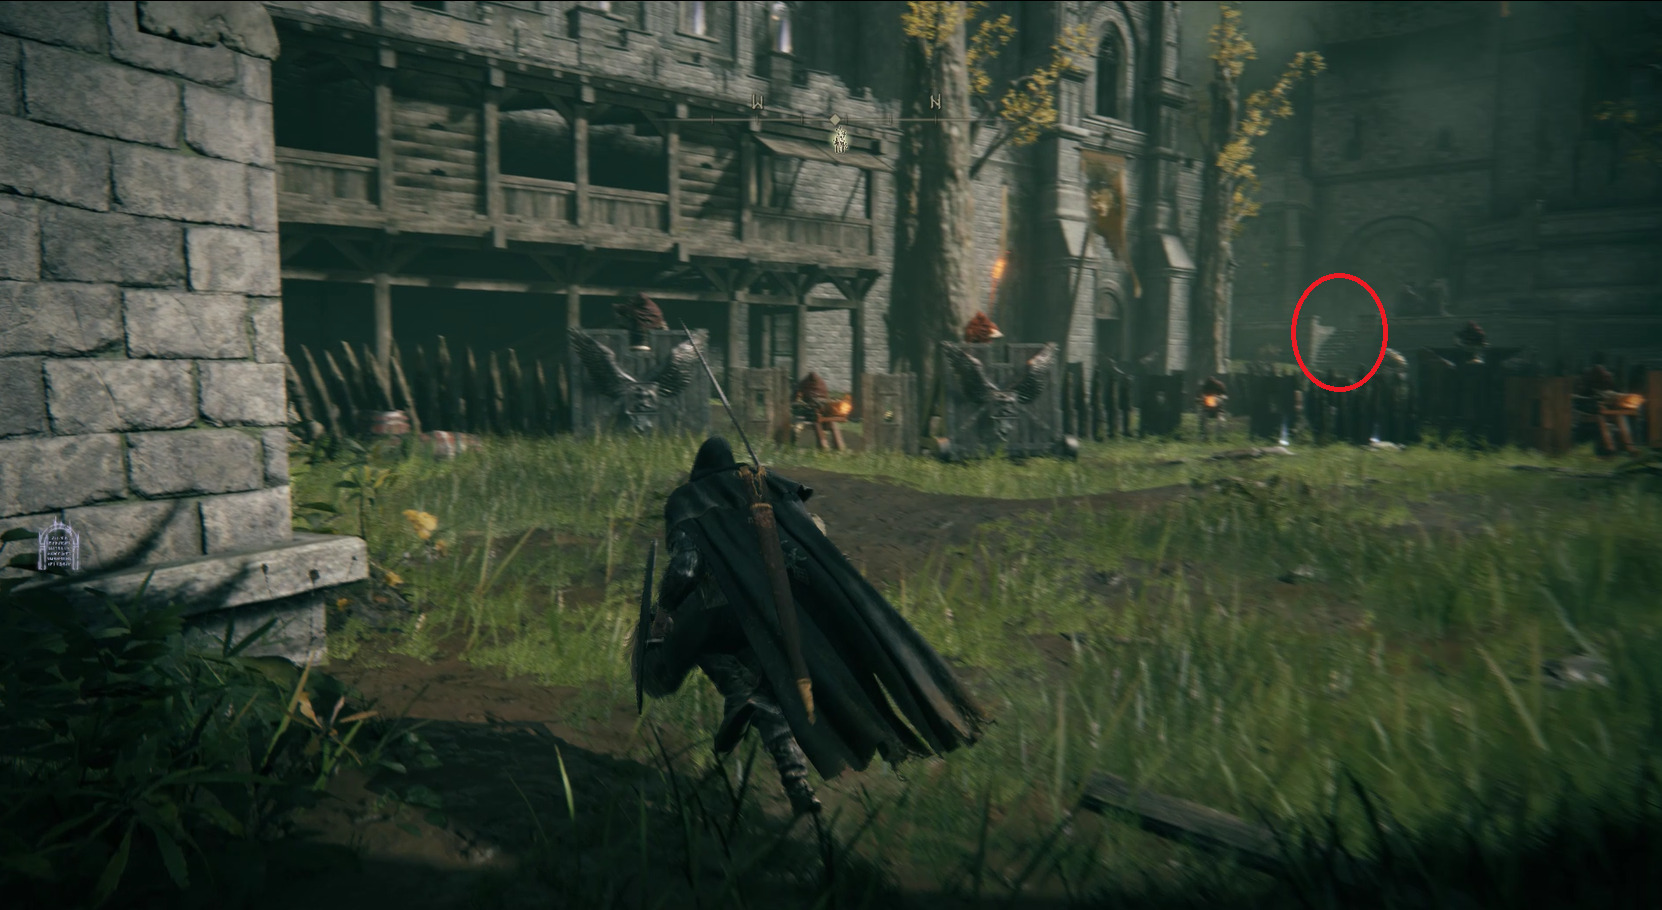
The opening will lead you to an area outside of the walls — turn right and jump up onto the ledge, then make your way forward. You’ll find an area guarded by falcons that have blades instead of feet. As soon as you drop down, you will be under avian attack from the first bird. You want to make sure to dispose of each bird separately, as several of them will make quick work of you. Ranged attacks will prove useful here, especially against birds that are below you as they don’t seem to be able to fly up. Alternatively, a good moment to attack them will be the moment they try to slam you with their bladed feet.
In this area, stick to the left side and drop down to fight 2 more birds, then continue west and you will arrive at a clearing where a falcon is feasting on a nearby corpse. Don’t run in, as you will be assaulted by three birds at once. Use a ranged spell or weapon art to quickly dispose of the one that’s busy eating, and prepare to face two more birds that will descend shortly after. Once they have been dealt with, grab the Smithing Stone [3] on the corpse, and continue north to the Stormveil Cliffside site of lost grace.
The path to the site of lost grace
From there, follow the wooden path going up and you will reach an enemy at the end of it. As soon as you approach him, he will use his horn to alert his nearby friends, so make sure to sprint towards him and take him out to even the odds. Grab the Marred Leather Shield from the corpse on the stairs, then continue. Up the stairs. You’ll reach a doorway — just beyond it on the wooden walkway is a corpse with runes on it, but beware projectiles from the enemy above. Enter the building and go left past the staircase instead of going up. In the back of this dead end, you will find an enemy who’s allergic to jump attacks, and the Hookclaws in the corner. Now go back, and this time go up the stairs.
Before going up, take notice of the barrels at the top of the stairs. The staircase will lead you to a room with two enemies throwing firebombs at you. When these barrels come into contact with a firebomb, they will explode, so make sure to run close enough to the barrels for the enemies to throw their firebombs, and run back down the stairs to avoid the explosion. Alternatively, you can try to roll through the barrels to destroy them, and just rush one of the enemies, before disposing of the second one. Grab the throwing daggers to the right of the locked door past the first enemy.
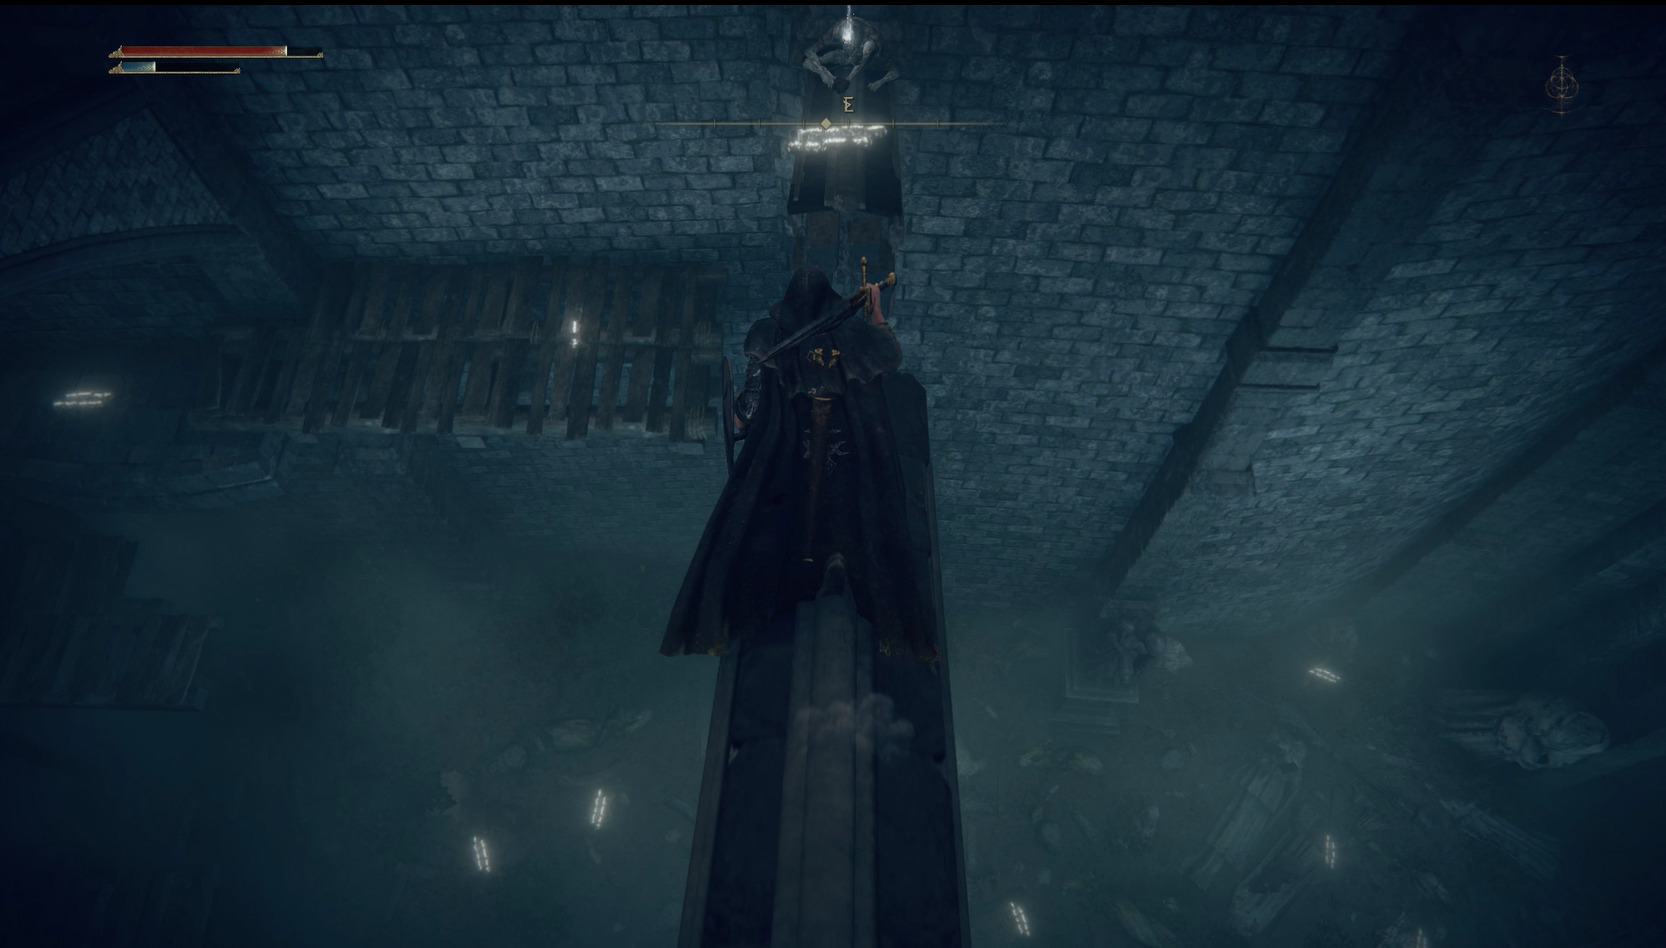
Next to the second enemy, you will be able to climb up into the hole in the wall by jumping. There, grab the St. Trina’s Arrows, then drop down and continue following the wooden path while dealing with the two enemies, then wait for the final enemy to climb down the ladder and take him down. Then climb up, and continue to your right until you reach another hole leading back inside. Use a dropdown attack on the enemy below and continue going up (don’t miss the runes on the dropdown to the right of the next set of stairs).
Free is free
The black door on the right leads to a mini-boss, so make sure to heal and get some FP back beforehand, as it’s a fairly challenging encounter and the door will lock itself behind you. This enemy can be intimidating, but if you roll through his attacks, you can usually get a backstab off for some serious damage.
Castle Proper
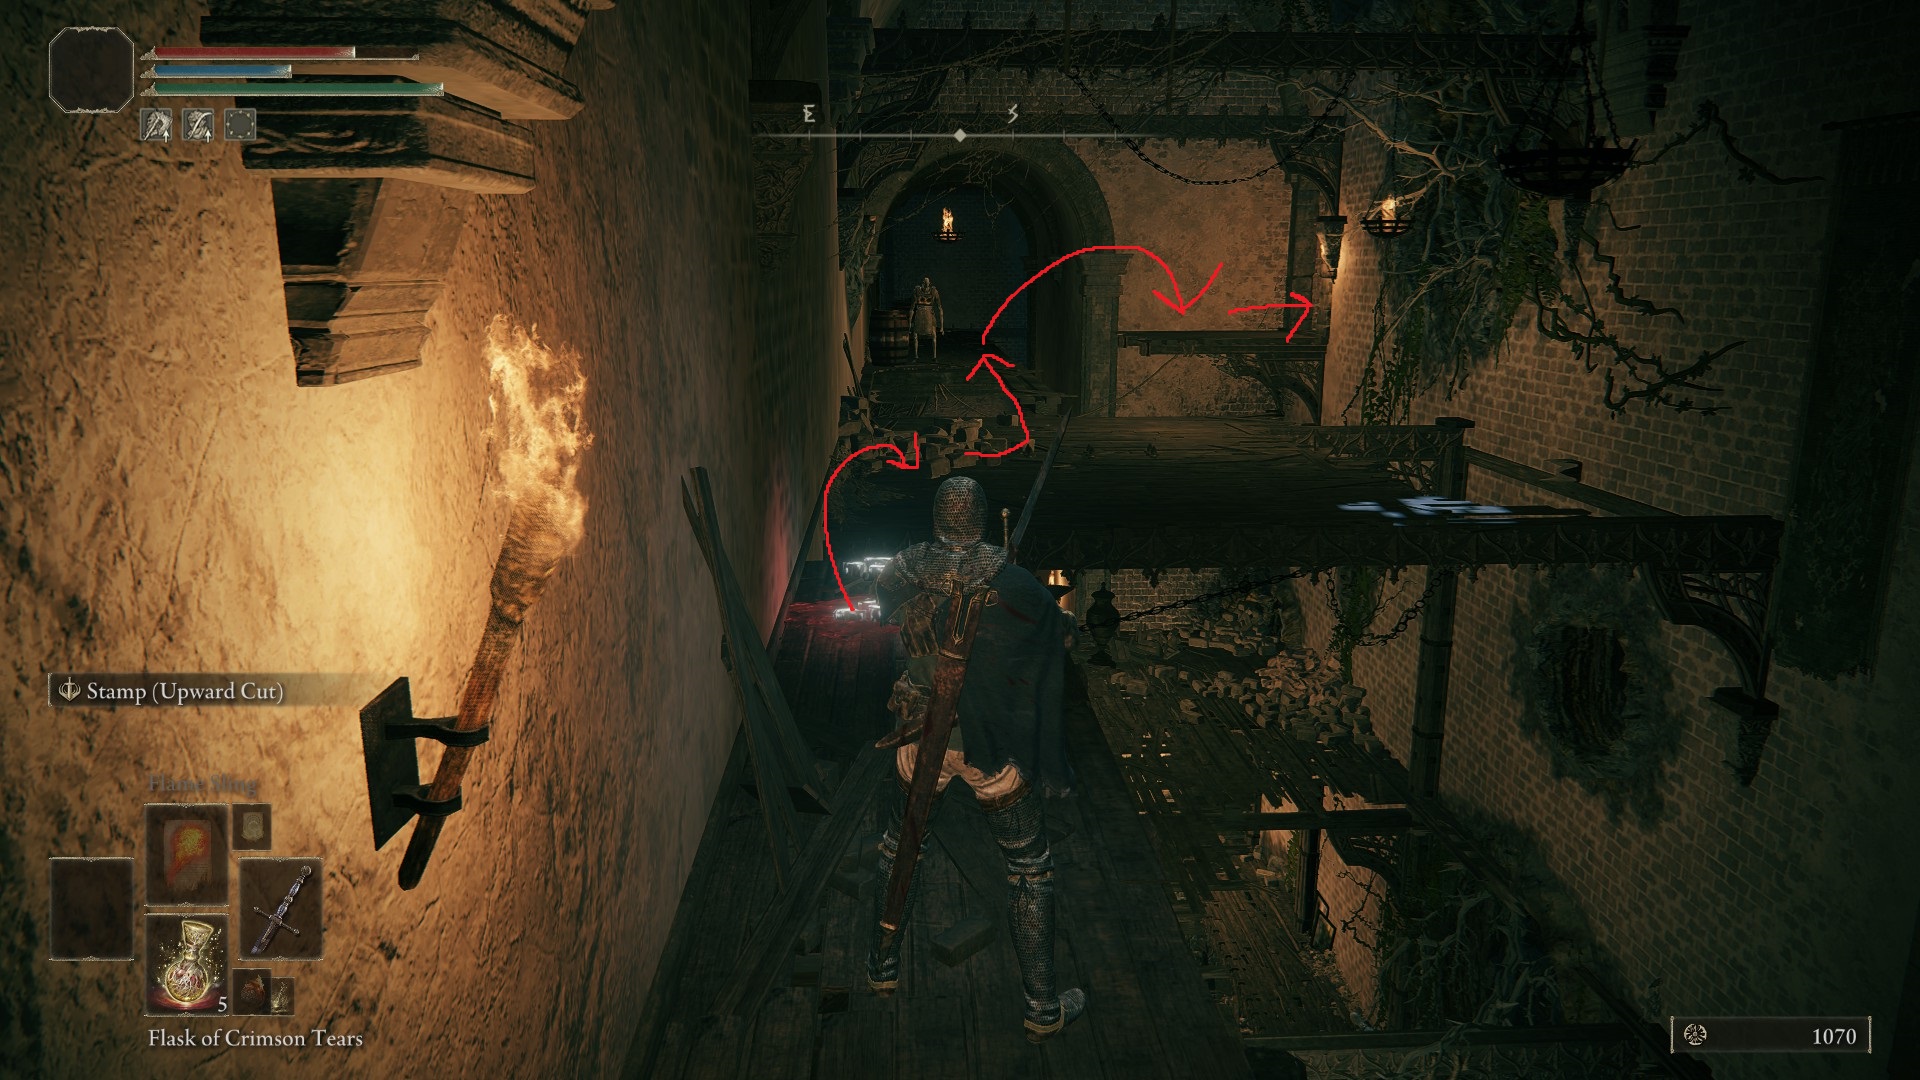
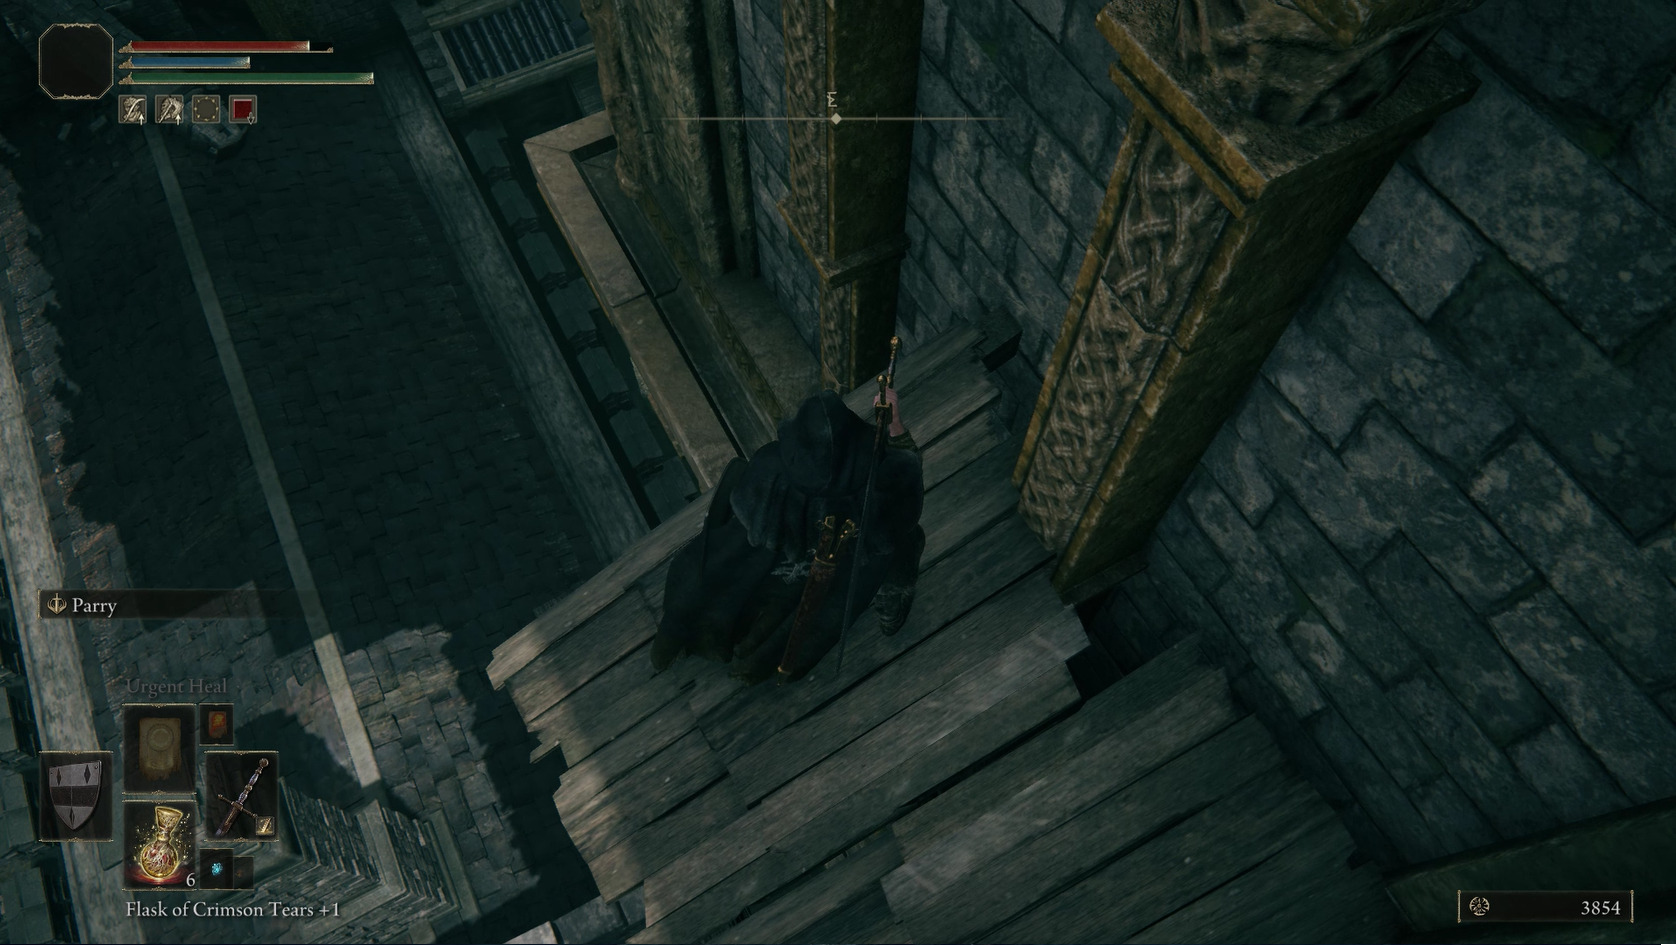
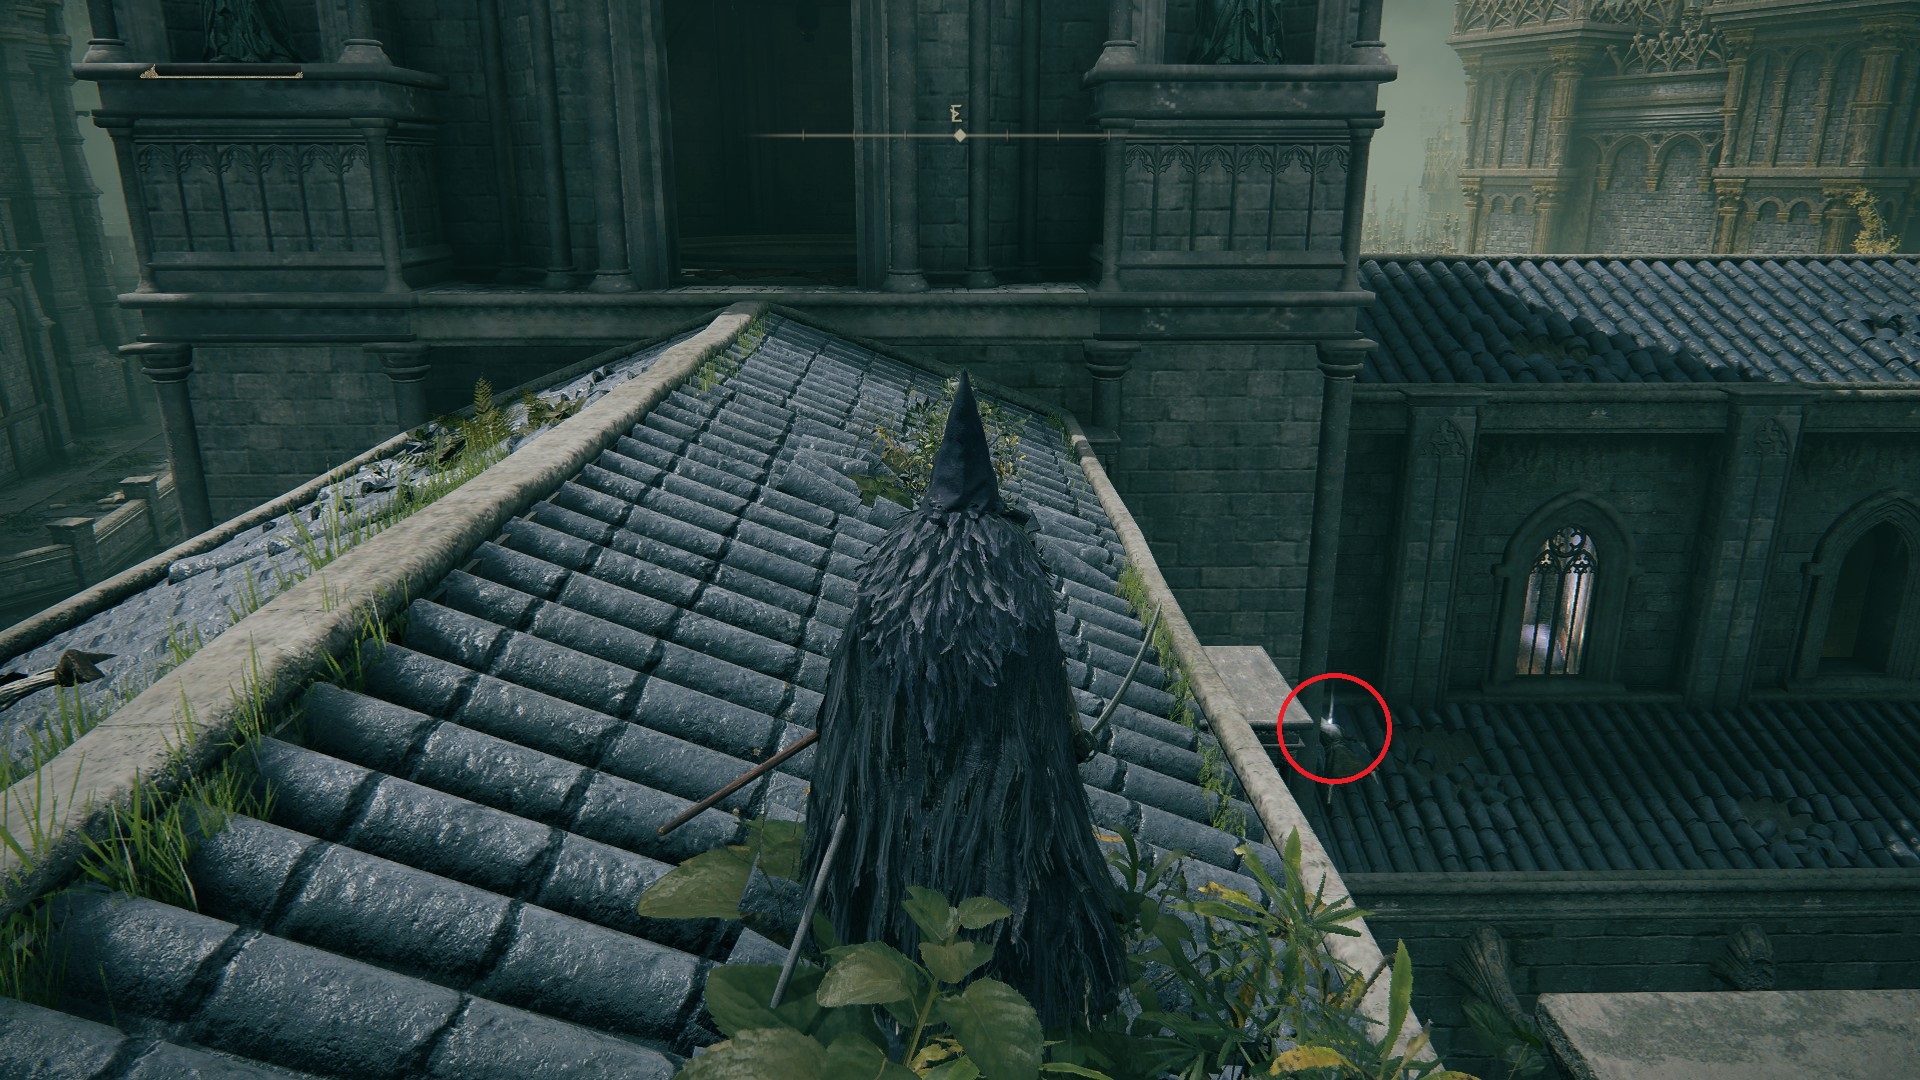
Once the mini-boss is dealt with you will get the Rusty Key, and you’ll be able to loot the Curved Sword Talisman found in this room. Exit the room, then head to the right and drop down, then open the locked door and climb up the ladder. Turn left at the top and take out the enemy there, looting the corpse for the Pickled Feet. Note the doorway that leads outside — we’ll come back this way in a bit. First, turn south and jump across the gap to the next wooden platform and kill the enemy there, then run across the wooden plank that leads further south to another foe. Once he’s dispatched, turn west and jump as indicated in the image below onto the slightly higher wooden platform that leads outside.
You’ll need to kill a few enemies on the precarious stairway — consider drawing them back inside if you aren’t confident fighting on the stairs. Once they’re all dead, follow the stairs down and into the small circular room, where a corpse has the Brick Hammer. You can then drop down from the corpse’s location back inside — you’ll be at the area before the door you unlocked with the Rusty Key, so just head back up the stairs and then up the ladder.
Turn left at the top of the ladder and head through the doorway we mentioned in the previous paragraph, and go outside, then up the stairs. Sneak past this tough enemy and continue up the staircase, then head past the lever and jump across the two gaps to grab the Drawstring Fire Grease. Then turn around and go through the doorway on your left to grab the Rampart Tower site of lost grace.
Go back the way you came and up the wooden staircase, dealing with the melee enemy and ignoring the crossbow guy across the way — you can’t reach him yet. Go through the doorway the melee enemy was walking through, turn right and continue until you reach a doorway leading outside. Kill the enemy hiding on the right, then go towards the elevated platform until the enemy there blows his horn. Then retreat back inside and use the hallway to prevent yourself from being surrounded; the turns here also help against your foes’ ranged attacks. The crossbow-wielding enemy often drops the Soldier’s Crossbow — also loot the body on the platform for some runes.
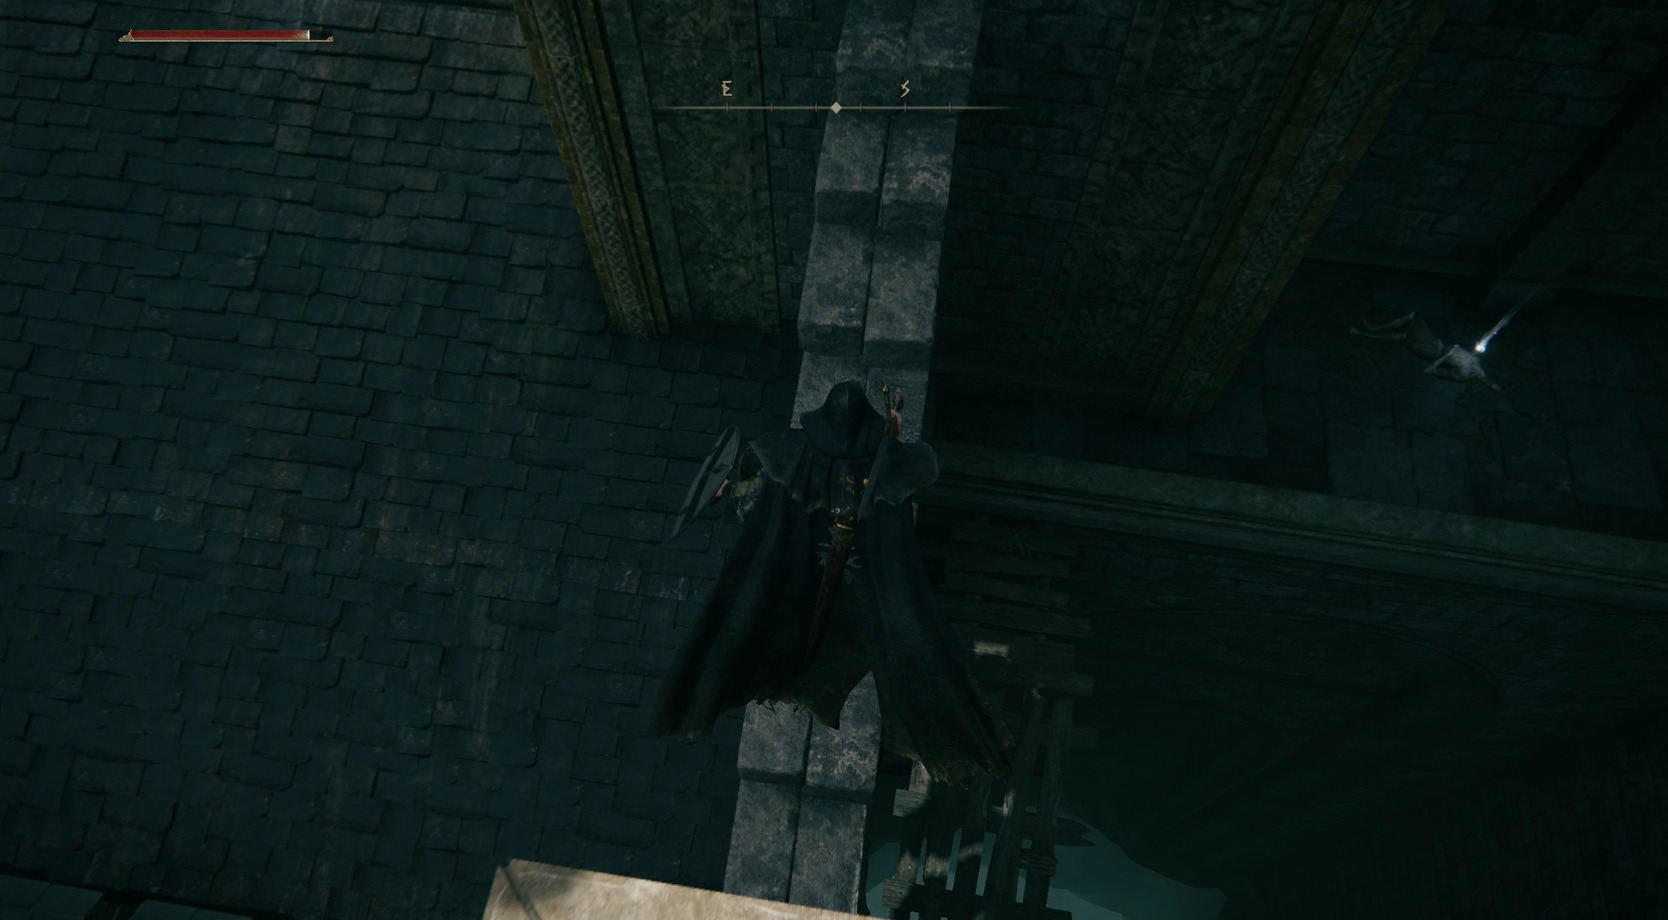
Now, head back towards the doorway that leads back to inside the tower and face it, but don’t enter. Instead, turn around and find the sandbags against the wall on the left. Jump up onto them, then up onto the wall itself. Look left and you’ll see a wooden roof that you can drop down onto. Continue forward, dropping down again, then go around the corner to the right and drop down once more, onto the narrow ledge below [1]. Go around the corner to the right again, and you’ll see a series of step-like stones — drop down onto them [2], jump up them until you hit the wall, then drop down to your right and grab the Smithing Stone [2] off the corpse. Turn around and go over the small wooden bridge to the ledge, then follow the ledge around the corner to the right twice.
12
Drop down onto the roof close below you, then jump to the smaller roof to the right [A]. Jump up onto the next roof and look right — you’ll be attacked by another flamethrower hawk. After dispatching it, grab the Dozing Cross-Legged gesture from the corpse. Then go back to the previous roof and jump up onto the broken column, then onto the ledge above [B].
Follow the ledge around the corner and you’ll find an open area with a ladder in the center. There are enemies on either side who may shoot you off the ladder, so take care of the one on the right, then run around the back of the ladder tower and attack the crossbow wielders and the final enemy. With all foes dispatched, climb the ladder to find the Claw Talisman.
Now teleport back to the Tower Rampart site of grace, and head out the doorway to the outside. You’ll see an eagle on the castle wall — drop off the ledge on your right as it approaches and its barrel should miss. Take it down — utilize jumping attacks when needed — and continue forward, where you’ll find two eagles instead of one. Pull them one at a time with a ranged attack. If you don’t have magic or a ranged weapon, you can equip the crossbow you picked up (craft some bolts if you don’t have any) and shoot the birds with it — the first one will drop its barrel and attack you, and then you can find the second one hiding on the left and draw it to you with the crossbow as well. Leave a weapon in your hand to swap to after the initial bolt is fired.
Once the birds are down, head up the platform on the left and go to the northern edge and jump up (carefully) onto the wall[1]. There’s a series of dropdowns[2], and you’ll be able to grab the Marred Wooden Shield from a corpse. From the shield, drop twice to the south, then a third time to the northwest — the ground will break beneath you, but that’s OK.
12
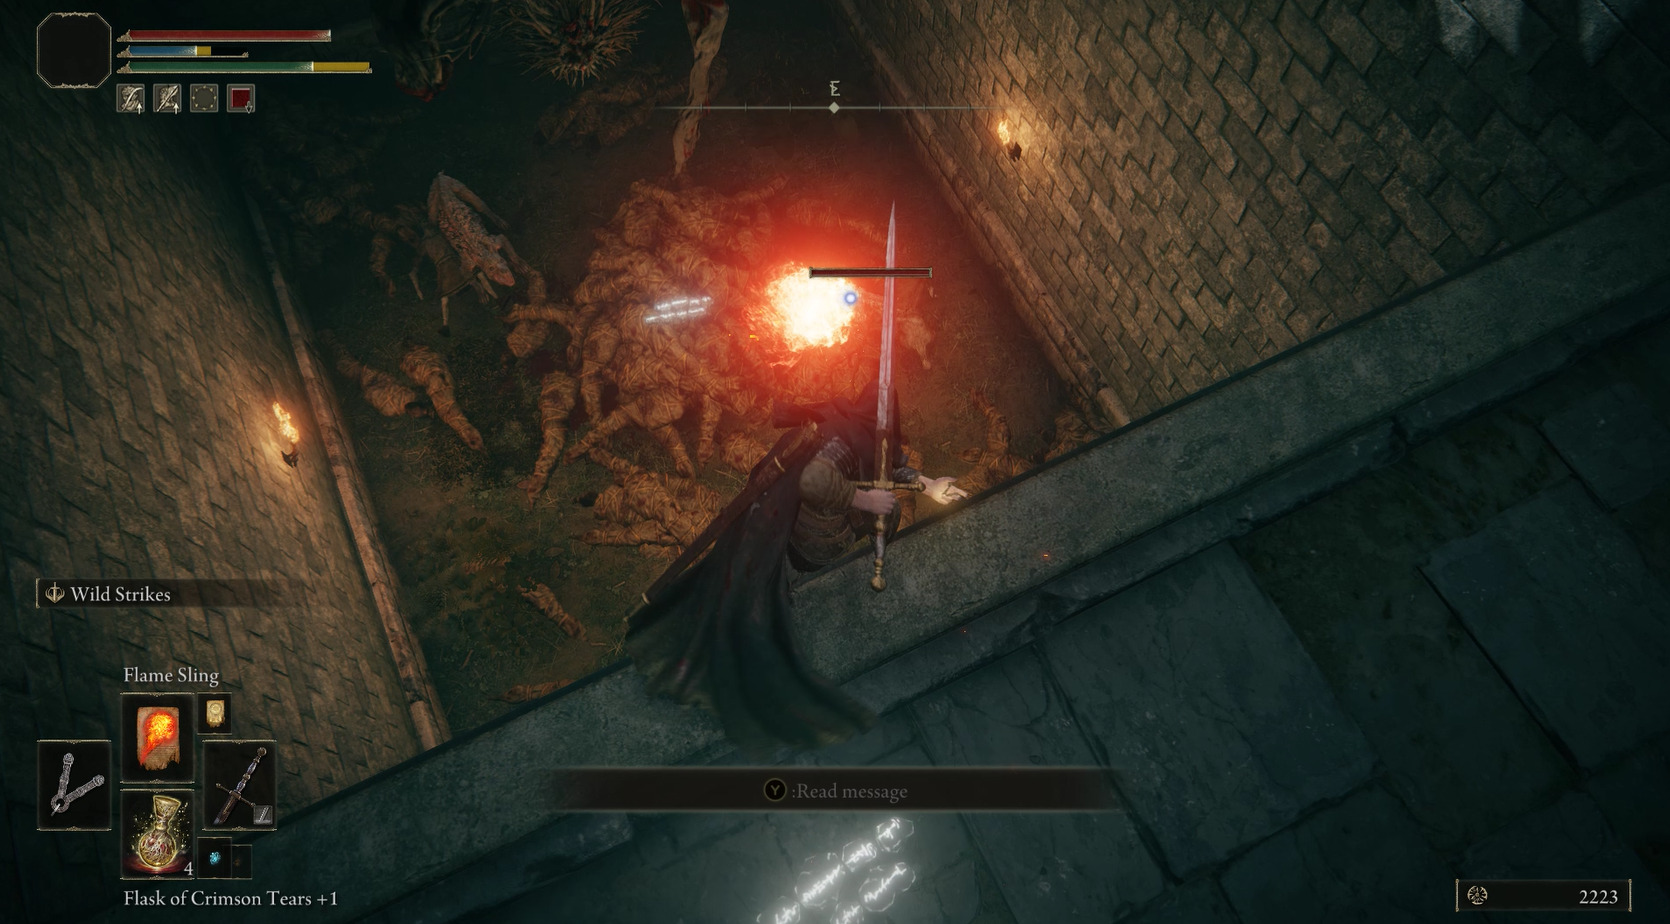
Head southeast to kill the loot beetle carrying the Ash of War: Storm Assault, and continue in that direction. The path will become very narrow, and on the other side of the narrow section is a more open area — you should see a Crucible Knight walking through a doorway. If you’re a melee user, you can fight him in the open area until you run out of flasks, but ranged/magic users will want to get close enough to aggro him and then run to the other side of the narrow part of the path. From here, the knight cannot reach you, and you can safely fling spells or projectiles.
When the Crucible Knight goes down, you’ll receive the Aspects of the Crucible: Horns incantation. Go back across the narrow path heading southeast and turn left to find a Somber Smithing Stone [2]. Continue southwest through the stone doorway, go up the stairs, and turn left — you’ll see a set of stairs leading back inside the castle. Head through and take the elevator, and you’ll find yourself in the room that leads to the Tower Rampart site of grace. Head back to it, rest, then leave via the northern doorway and clear the birds again.
Go straight, ignoring the stairs for now, and continue to the far corner where there are some barrels. Careful of a bird here which will suicide itself with its exploding barrel, then grab the Smithing Stone [2]. Then return to the stairs and take them down, go out onto the roof, and then drop down to the right to find x5 Kukri.
Then drop down through the nearby window and turn right to meet Sorcerer Rogier, who can teach you various spells. Leave the room via the doorway to the north, then turn right and go through the doorway there, and then right once more to head back outside. There’s a patrol here with a tough knight and his backup, but you can use the ladder to the right on the path ahead to avoid the patrol — wait for them to be further down the rampart, then climb the ladder and wait for them to go past (towards Rogier) — you can then slide down and continue to the south and into the building.
There’s an enemy sleeping in the corner on your left, but he doesn’t guard anything and you can ignore him. Continue forward and you’ll enter an area with a dead giant hanging upside down. Here you’ve got three paths, but we’re going to unlock the shortcut first — look down into the pit below the giant and note the two dogs. Take them out from range if you can, then grab the Chrysalids’ Momento from the top of the corpse pile. Note that you can give this item to Roderika in the Stormhill Shack to advance her quest and receive a Golden Seed — if you wait until you’ve defeated the boss of this area, she’ll be gone from the shack (leaving a seed behind) and you can find her in Roundtable Hold; it’s unclear if this prevents you from completing her questline.
The dogs can be pretty dangerous, so try to take at least one down before you drop
Go through the doorway on the other side of the room, and quickly take your first left to find an elevator, and ride it up to unlock a shortcut back to the Rampart Tower site of grace. If you need to heal, reset at the site of grace, then go right back down the elevator you just came up. Enter the next area cautiously, as there’s a very tough enemy in this central room. Fortunately, you don’t need to kill it if you don’t want to, since it can’t follow you into the other rooms or up stairs. If you don’t want to fight it, just grab the Stanching Boluses on the right side of the room, then run/roll past the foe and grab the Highland Axe. Now sprint to your right and go up the stairs wooden — there is one enemy here plus another that comes down the next set of stairs, so take the first one out quickly. The group of enemies sitting by the fire may come up the stairs, but they’re weak and easily dispatched.
Now go up the next set of stairs and sneak towards the doorway — there’s a tough knight guarding a chest in this room. You can sneak up behind him and backstab him, or ignore him and go up the stairs on your right (as you enter the room) and open the chest. Grab the Mimic’s Veil from the chest, then sneak out the door opposite where you came in. Once outside, turn left and jump up onto the sandbags. Sneak up to and backstab the enemy to your left, then grab the Gold-Pickled Fowl Foot. Then go up the wooden stairs and around the corner. At the end of the wooden platform there’s a ladder on the left — climb it, then go straight and drop down onto the wooden platform below, ideally doing a jumping attack towards the enemy down there.
Turn around and open the locked door there (this will be useful in case you manage to die to the next foe), then turn around and go right around the corner, then left up the short stairs and onto the wooden platform. Take out the crossbowman on your left, then open the chest to find x3 Pickled Turtle Neck. On the corpse on the edge of one corner platform you’ll find a Stonesword Key.
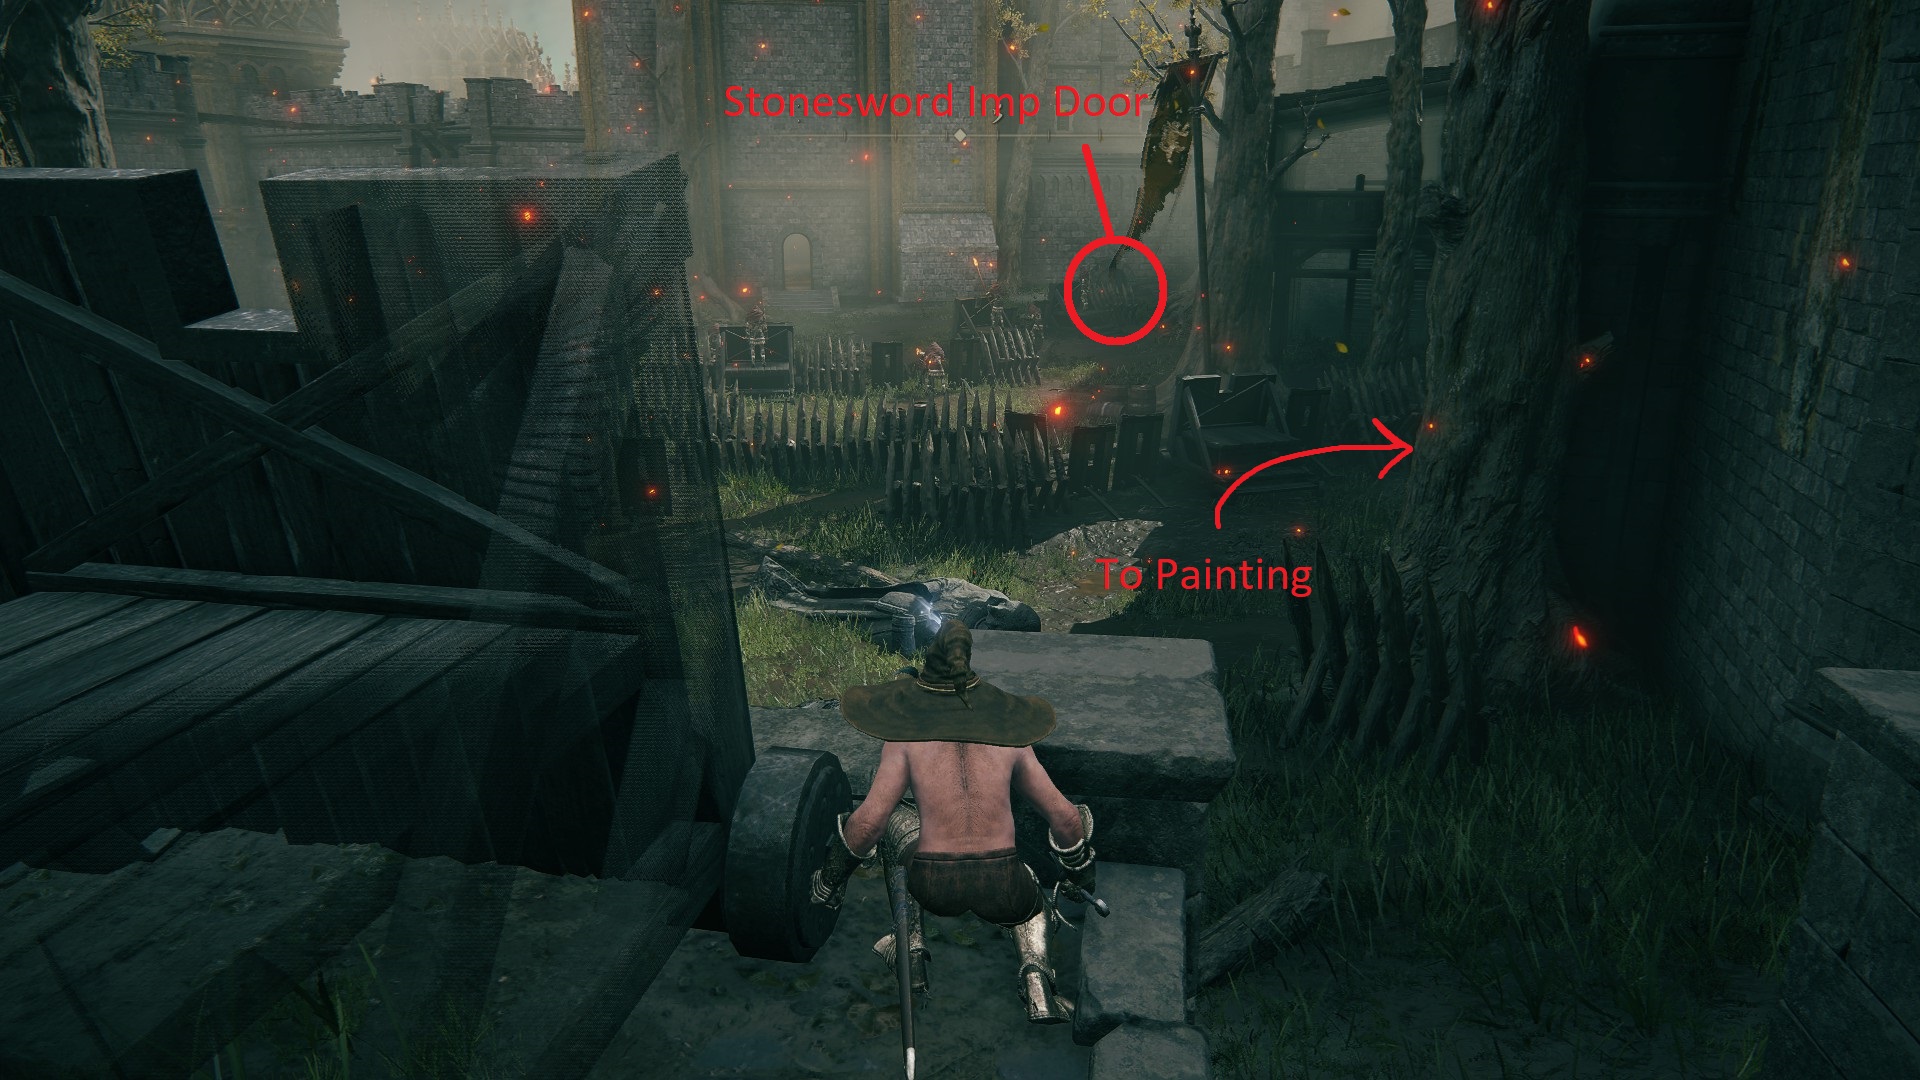
From the platform, you can drop down into the room with our many-limbed friend again, this time heading through the doorway in the northwest corner. Outside, grab the Somber Smithing Stone [2] from beneath the statue. If you have a Stonesword Key, you should use it here and open the fog gate across from the statue. There are two slow but dangerous enemies in here, and you can grab the Iron Whetblade from the corpse by the fire, as well as the Hawk Crest Wooden Shield from another in the corner — this room also contains the Misericorde on another corpse. Go back the way you came, and this time turn left at the big painting on the wall. Make your way through this room (you can take the doorway on the left up to grab some Arrows if you want) and then head outside into an ambush.
Courtyard
Your best bet is to not fight at all here at first. Instead, sprint to your left immediately, go right around the right-hand tree, continue north behind the enemies sitting down, and weave your way through the barricades to continue north. Go up the left-hand stone staircase — you’ll probably have to roll to avoid being hit by the big sword-wielding enemy here — and grab the site of lost grace inside the doorway that lies straight and slightly to your left once you climb the stairs. The dog might chase you inside, but as long as you tag the Liftside Chamber site of grace right as you come in, it won’t matter if it kills you.
The circled stairs (and the site of lost grace just beyond them) are your goal
Now, you can collect the items in the courtyard at your leisure if you decide you want them, and die without a lengthy runback. Note that Spirit Summons are available in the courtyard. In the courtyard, the right-hand raised and covered platform (relative to your new site of grace) has x12 Fire Arrows (and an ambush, so watch the side of the platform the item is on). The platform on the other side of the courtyard has the Wooden Greatshield. The item in the middle on the corpse is a Smoldering Butterfly, and the item on the stairs leading to the main gate is a Golden Rune [4].
Many enemies will fail to notice you if you go slow, so you can usually fight just 2-3 at a time. The large enemy doesn’t appear to drop anything, so it can also be avoided — but watch out for his dangerously high-hp doggo. Don’t miss the x2 Smithing Stone [1] on the corpse leaning off a ledge just to your right as you exit the site of grace room, or the room with the Prophecy Painting on your right as you go down the town stairs from the site of grace. You can now pick up the Warhawk Ashes from Weeping Peninsula — see here for details.
If you have a Stonesword Key and want to pick up the Godslayer’s Seal and Godskin Prayerbook (relevant to Faith builds), you can head into the basement room that lies south across the courtyard from where the big enemy and his dog sit, on the right-hand side of the far wall. You’ll have to fight through a mob of rats, and then you can open the stonesword imp fog gate door and find both items in chests. Continue out the door to the outside, grab the Golden Rune [4] from the corpse, and go right around the corner and up the ladder. Continue forward, grab the x10 Arrows off the corpse on your right, then turn left and continue to the next ladder.
There are two knights at the top — climb the ladder, grab the x3 Festering Bloody Finger from the corpse, then sneak up and backstab the one facing away from you. The other will charge you while you complete the animation, so immediately roll away back towards the ladder and jump down. Attack them as they climb down the ladder, using AOE spells or attacks if you have any, and you should be able to eliminate the one you backstabbed quickly, then 1v1 the other knight.
Continue north-northeast across the small wooden bridge, and watch out for the enemies on your left on the other side. Head to the ladder on the western wall, take out the two enemies here, then climb up onto the platform to grab the Nomadic Warrior’s Cookbook [10]. At this point, you’ve got a lot of paths that all lead back to areas you’ve already been — the simplest thing is to teleport back to the Liftside Chamber site of grace.
Once you’ve finished collecting whatever items you wanted from the courtyard, go up the stairs that are east when you’re standing outside of the Liftside Chamber site of grace. There is a fire-breathing version of those blade-footed birds — ranged attacks are ideal if you have access to any. Otherwise, try to roll through its attacks and use jumping attacks if it flies too high. A second one sits on top of wooden defenses past the top of the stairs, and there are stairs to your left where the bird sits you can grab a Smithing Stone [2] — take out the sleeping enemy on your right before you pick it up.
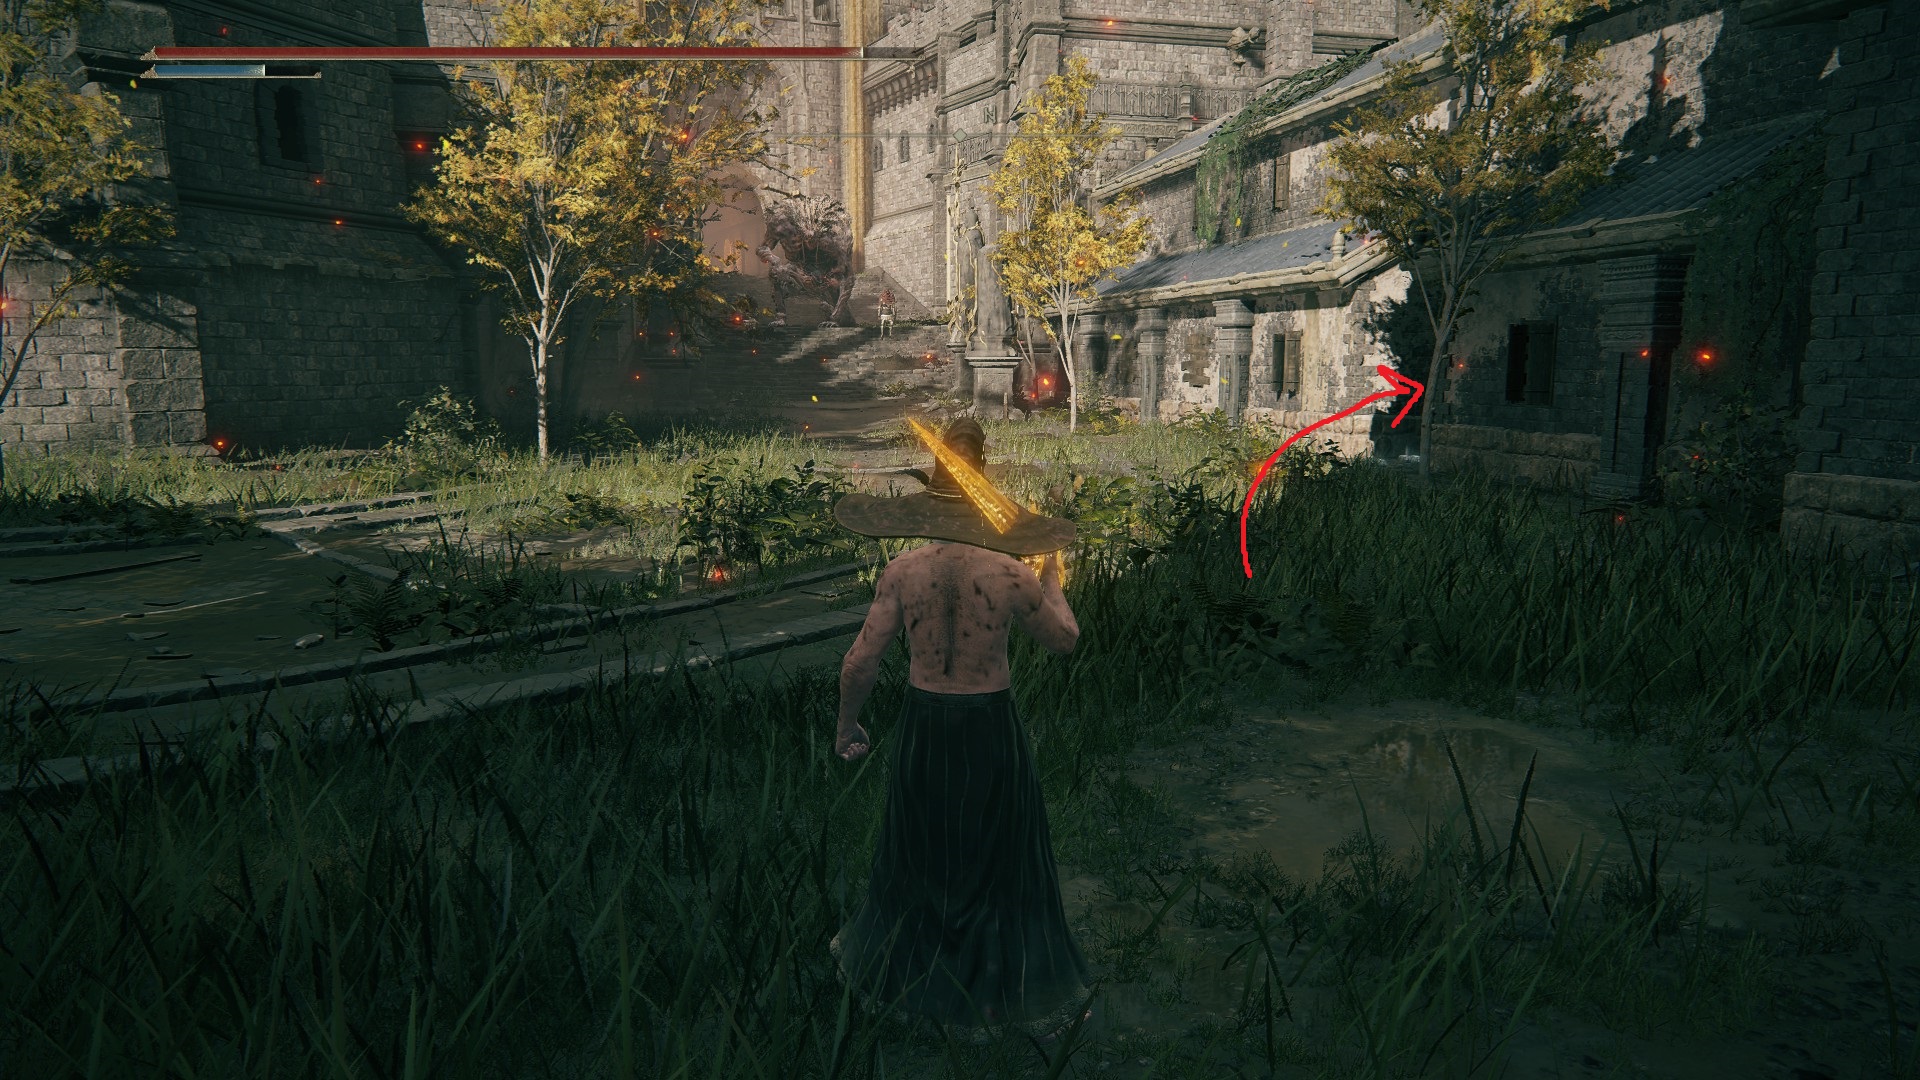
Then continue forward, eliminating the crossbowman. Past him, look right to find a stone doorway; head inside to speak with Nepheli Loux, a Warrior who, if you exhaust her dialog, will be available to summon for the next boss fight. Once you’ve finished speaking with her, grab the Smithing Stone [1] in the corner behind you, then leave the room and turn right to find a small Erdtree. At its base lies a Golden Seed — grab it, then turn left and head towards the giant on the top of the stairs. Look to your right and you’ll soon see a narrow, dark ally.
Enter the doorway to find Nepheli Loux, then grab the Golden Seed from the treeThe alley with the smithing stone
Go down it to find a Smithing Stone [2], then go back the way you came, all the way back to the Liftside Chamber site of grace.
In the room with the site of grace, find the elevator shaft and pull the lever to call the elevator. Take it up, then proceed outside and take the left through the stone archway. In the next area, you’ll see a bunch of pot people on your left. Try to lure them out with ranged attacks or by moving in slowly, and take them out one at a time. If you make too much noise, you’ll have to fight the big pot. His spinning attack can take some serious chunks from your health bar if you roll backwards, so always roll towards and past him instead of away. Once he and his smaller buddies are defeated, grab the loot in the dark corner the big pot was chilling in, x2 Cracked Pot (go figure). Now head down the ramp, and catch the loot beetle to gain the Ash of War: Stormcaller. Continue through the doorway at the bottom of the ramp and through the hall to the next room, where you’ll find the Secluded Cell site of grace.
The boss is nearby (in the golden fog gate just outside this room) but we’ve skipped two areas, which we’ll cover now — feel free to skip ahead to the boss fight if you like.
The Crypt
If you choose to grab the items described in the next section, make sure you spend your runes, since this will likely be a one-way trip.
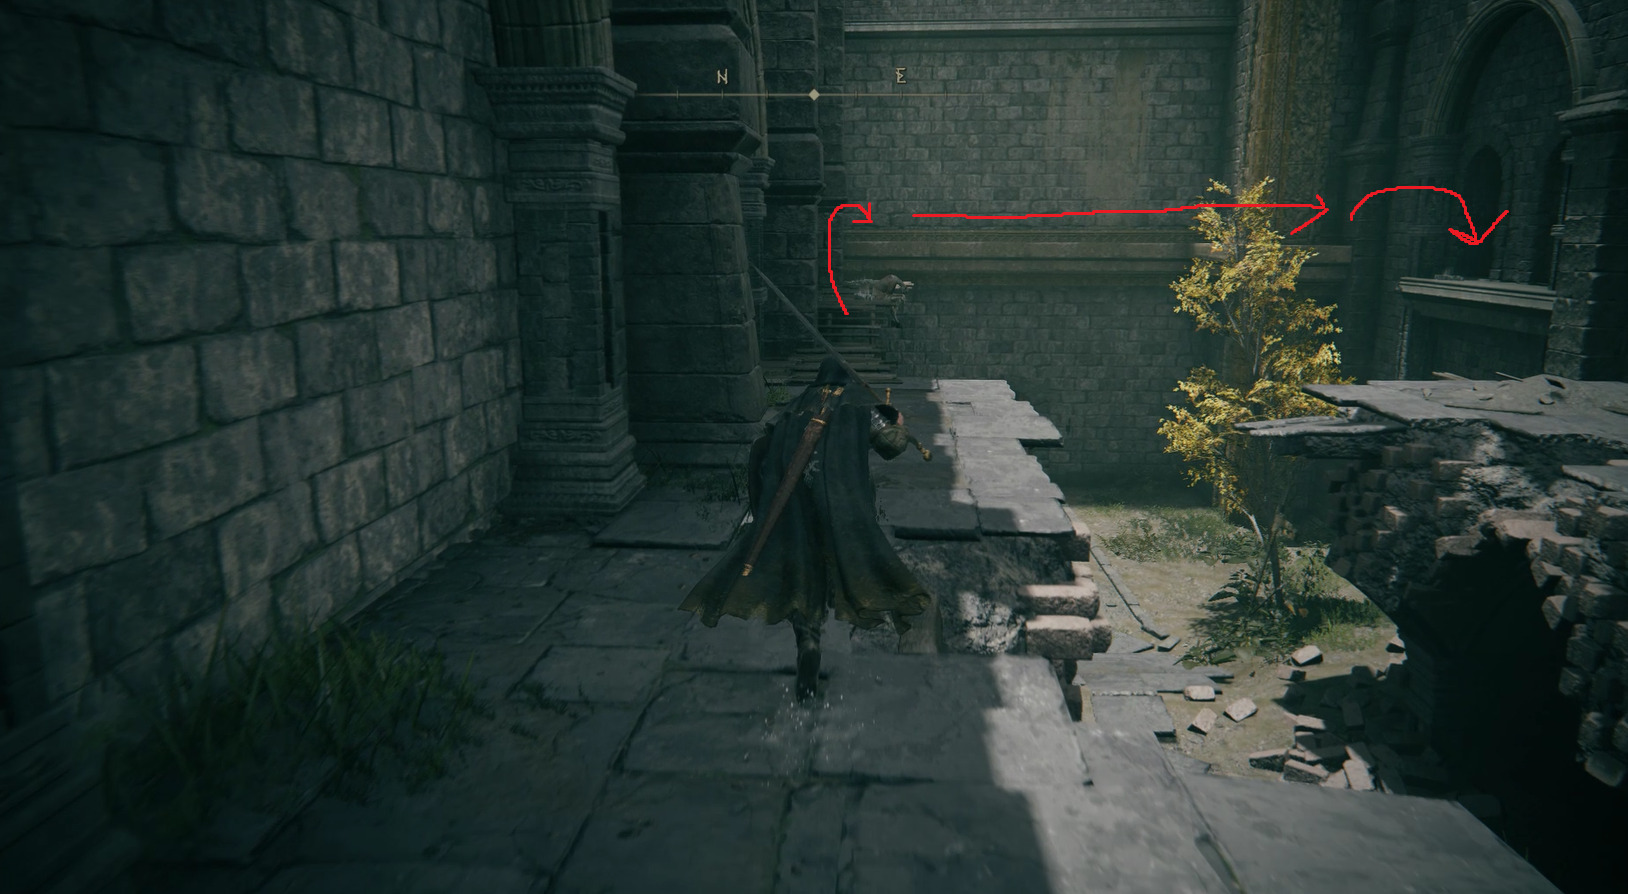
From the Secluded Cell, head straight through the doorway and outside to return to the previous area with the pots. At the top of the ramp, go right and then right again to run along the left-hand of the room. At the end of the wooden walkway, you can jump forward onto the ledge. Then make your way around it and do a running jump to reach the doorway just across the small gap. Rather than trying to turn the final corner, jump at the corner instead.
You’ll find yourself outside again — turn right and go into the doorway there. In the dark room, go up both sets of stairs and onto the wooden walkway. Turn right and jump across the gap to grab the Smithing Stone [2], then jump back across, and jump up the broken stones to the southwest to continue froward. There are two items on corpses in the far right corner — grab them and then go through the nearby doorway. You’ll enter a room with lots of sleeping enemies, including one just around the corner to your right. Take him out, then the one in the opposite corner sitting with his legs over the edge. At this point, a few enemies will be walking up the stairs. They’re fairly weak, so handle them however you like, then kill the rest of the sleepers in here and grab the Manor Towershield from beneath the staircase.
Now go straight from the stairs outside and loot the Smithing Stone [3] from the corpse. Turn left jump onto the stone ledge there, then continue forward until the ledge is broken, at which point you should drop down onto the rocks below. You’ll need to drop a few more times, and eventually you’ll land near a doorway. Go past it to loot a corpse (you’ll need to jump up on the rampart, so be careful) to receive a Golden Rune [5]. Then go through the doorway, and exit the small room to find yourself in another open area. Go left here, up the stairs and through the door — this door is the previously locked one in the Liftside Chamber site of grace room.
Now go back through the door you just opened, and go back the way you came. Turn left at the open wooden door, and jump over the small gaps to reach the lower stone platform. There’s a bat in the dark area just ahead of you, hanging from the ceiling — it guards an Arteria Leaf. Continue down the next set of stairs, but be careful — they are broken and end abruptly. Two bats will aggro when you reach the bottom of the stairs — it’s best to kite them back up the stairs and use ranged attacks if possible. With them taken care of, drop down if you haven’t, then look east to see an item on the far wall — you’ll need to jump to reach it.
You don’t need a running start — just make sure you’re aimed straight at the other ledge
Grab the Smithing Stone [2], then drop down to the left. Continue dropping down to the next wooden platform until you reach the ground.
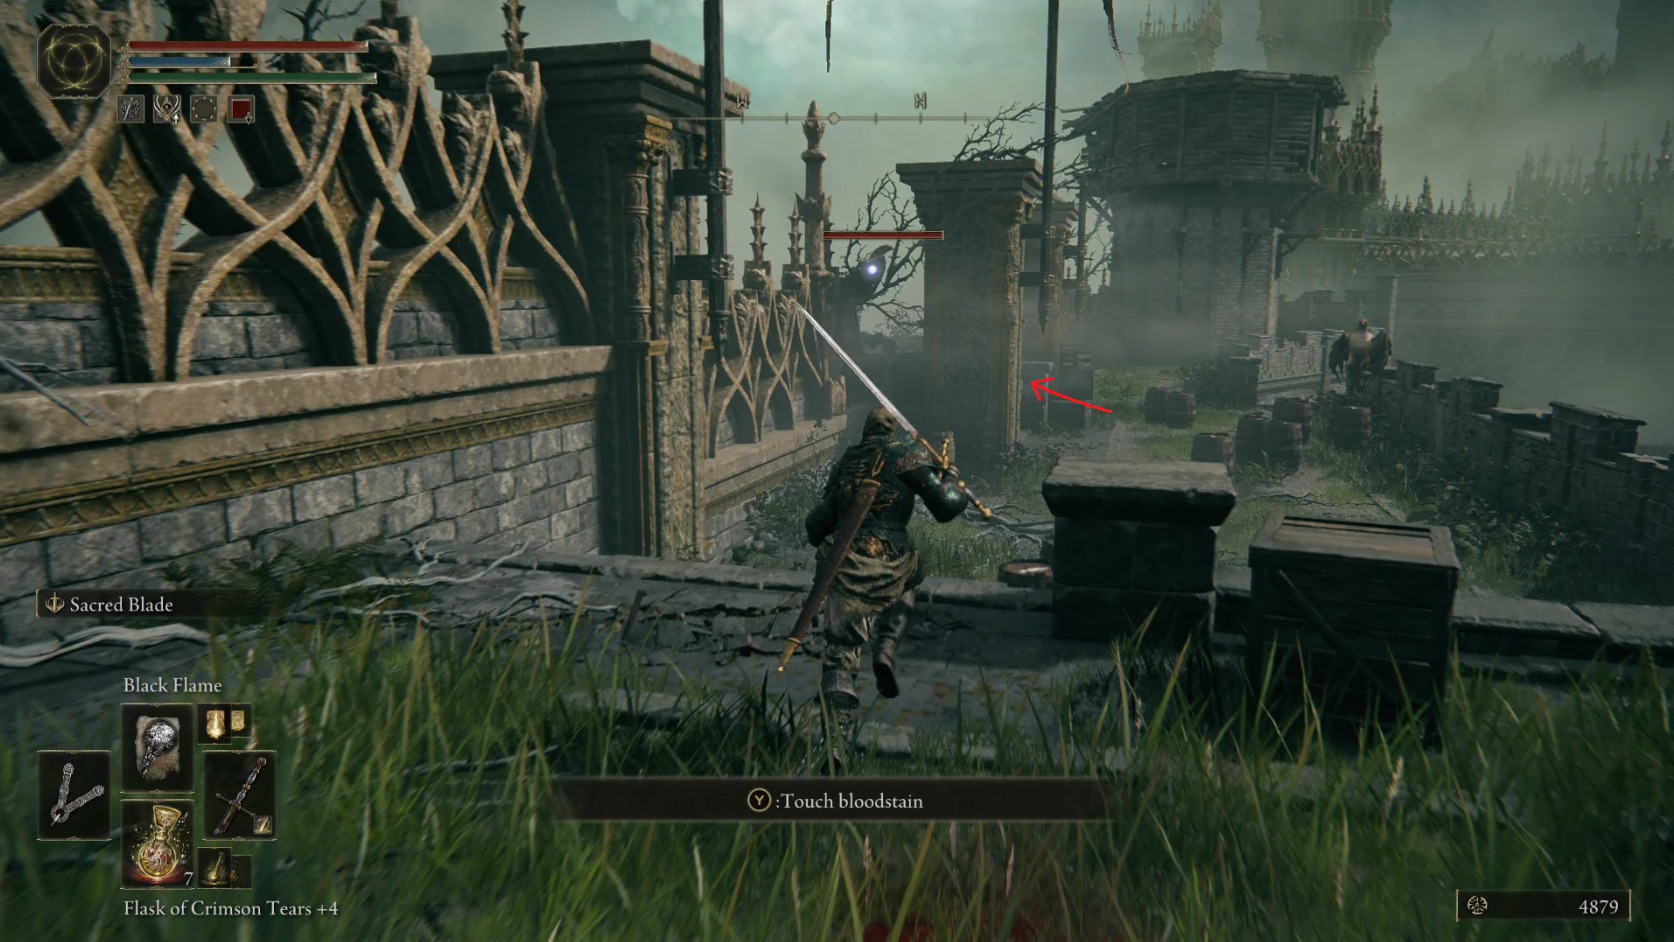
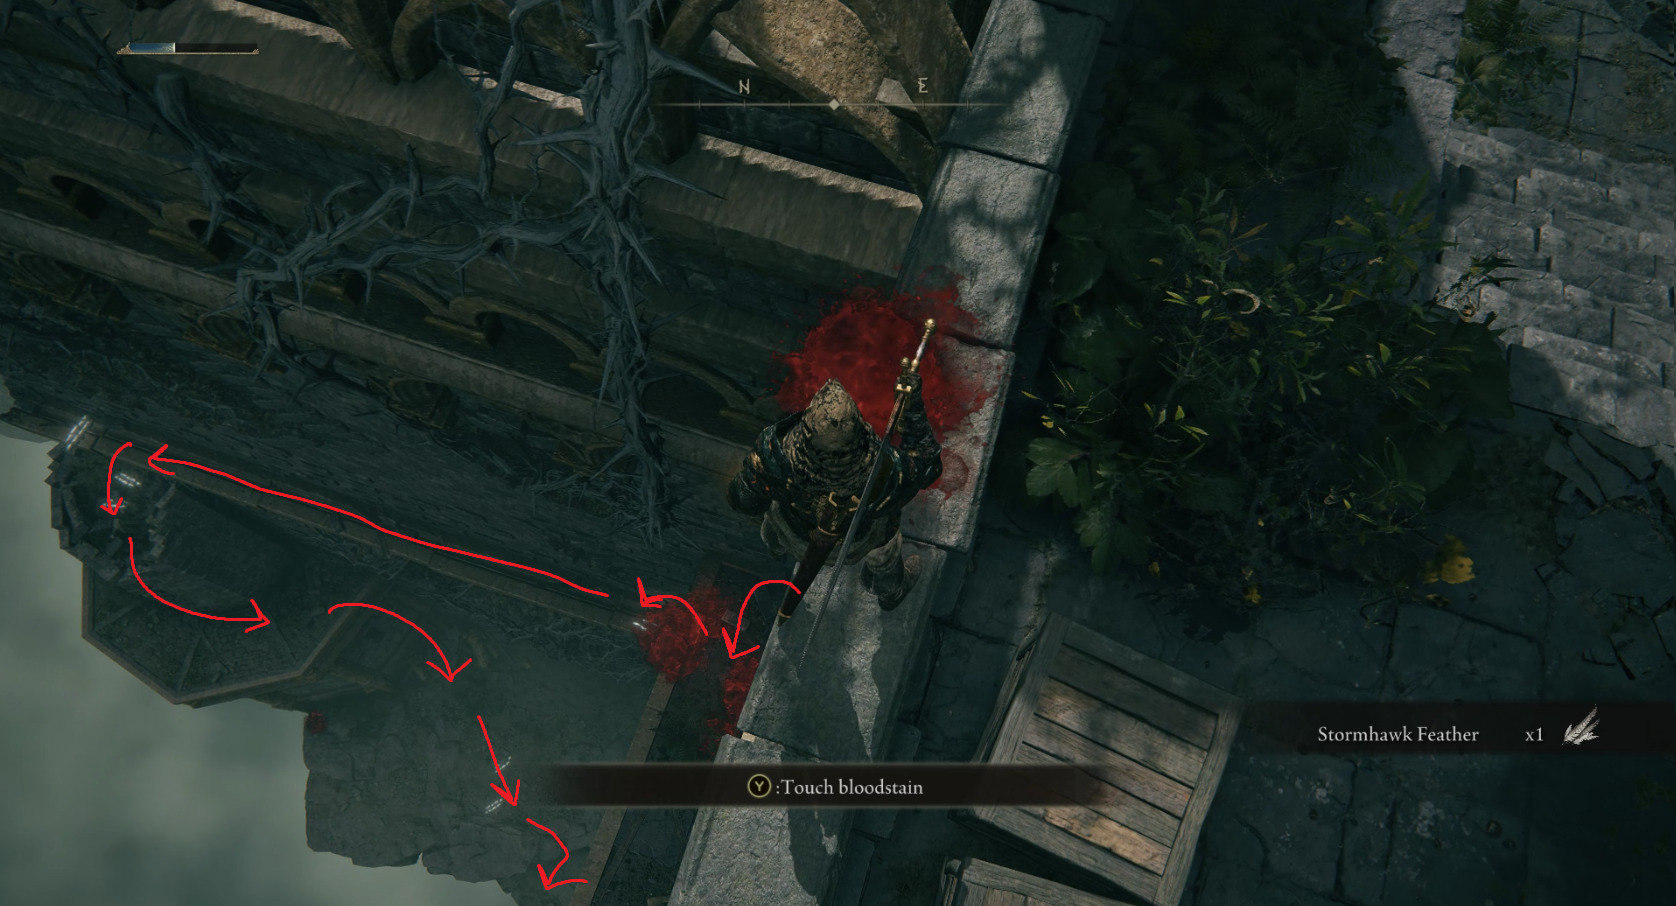
Head south, where you’ll find some pretty tanky rats. Past the first group is a larger rat — it’s actually easier to handle, since it mostly uses slow jumping attacks. Take care of him and continue south, where you’ll find a loot beetle that drops Rancorcall. Keep going south through the ruins and you’ll see a large area, likely full of bloodstains as well as items. Either prepare for a tough fight, or else note the item locations and get ready to grab them and run. The most useful item is the one on the left, a Stonesword Key, and the one on the right in the room beyond, the Prince of Death’s Pustule. If you fail to defeat the enemy here, feel free to come back later, unless you really want what it drops (4500 and a Golden Seed). Either way, once you’ve grabbed both the Stonesword Key and the Pustule, you can teleport to the Liftside Chamber.
If you do try to defeat the boss, here are a few tips, in case you don’t want to read the whole guide: rather than standing behind it, stand in front so you can see what it’s doing, and roll when it attacks (which usually involves swinging its head or tail at you). All of its attacks are slow and telegraphed, but be careful of the tail sweep that ends his charge. There are long windows where you can attack after all of its moves.The hardest move to dodge is probably the one where it writhes away from you, then swings its tail, so watch for that one. If you see a tail sweep coming, you can actually jump over it and attack, then attack again. During Phase 2 (once it’s electrified) it will sometimes start screaming — back way off to avoid the AOE that follows.
Castle Gate & Limgrave Bridge
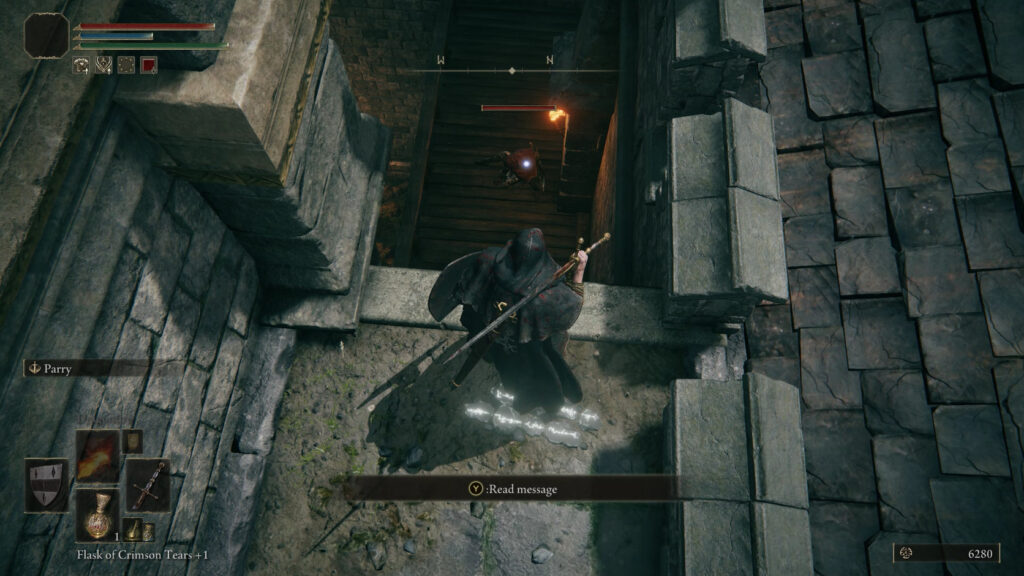
From the Liftside Chamber, head out the doorway that leads to the courtyard, and sneak across the left-hand side of it. You can ignore the first enemy guarding the stairs with the ballista, then backstab the one at the bottom of the stairs. Backstab one of the three enemies in front of him and then take down the other two. You’ll be targeted by a ballista at the bottom of the stairs, so roll diagonally and make it to the eastern wall.
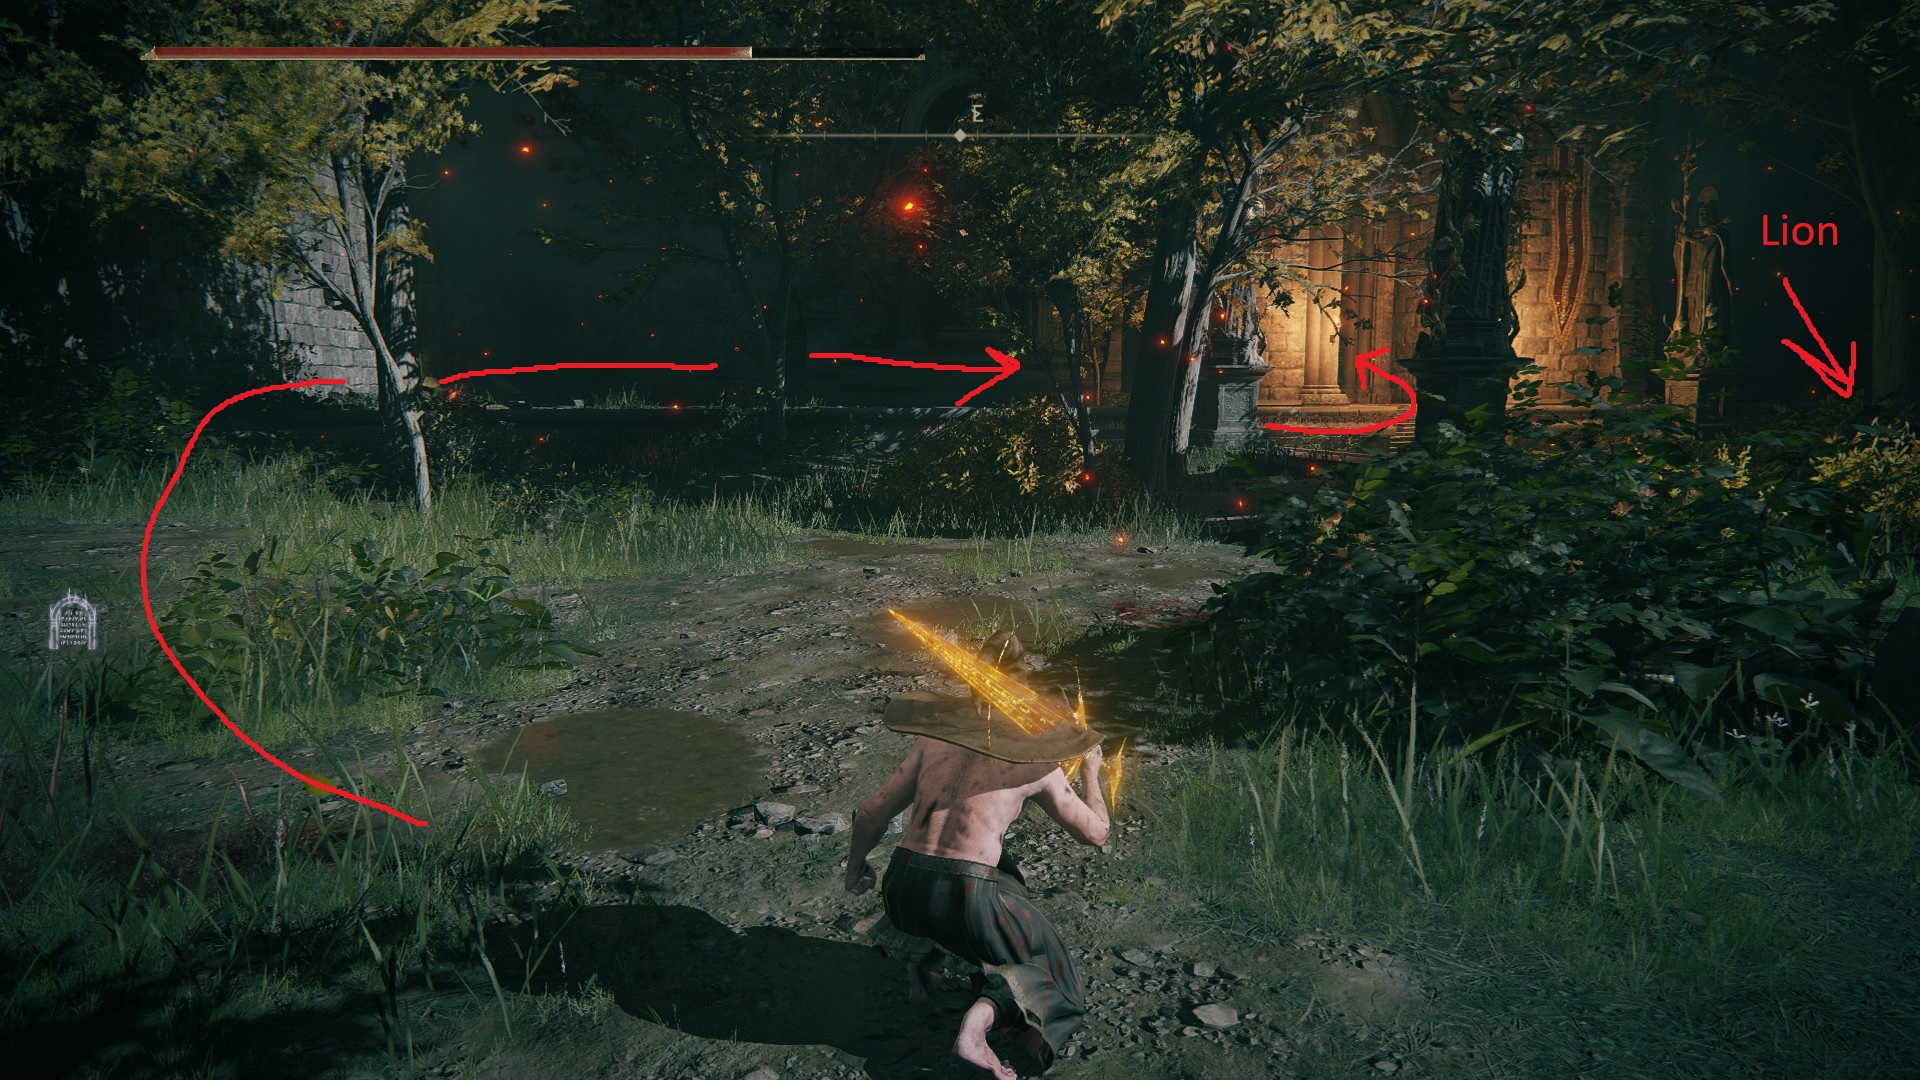
Through the archway, you’ll find a bunch more enemies with their backs turned. Clear the first group, then sneak to the left, keeping as close to the wall as possible so you don’t alert the lion miniboss in the northern corner. Make your way through the large flame-lit archway and through the room with the statues to find the Limgrave Tower Bridge site of lost grace. Go up the stairs, and on a corpse to the left of the next doorway, you’ll find the Boltdrake Talisman.
There are a few more items to grab, but it’s mostly runes and some mediocre armor, so again, feel free to skip to the boss at this point. Otherwise, head back the way you came, and this time hug the southwestern wall. If you’re doing OK on flasks and HP, feel free to take the stairs you’ll eventually find on your right, and clear all the ballistas, making sure to destroy them after you kill their users.
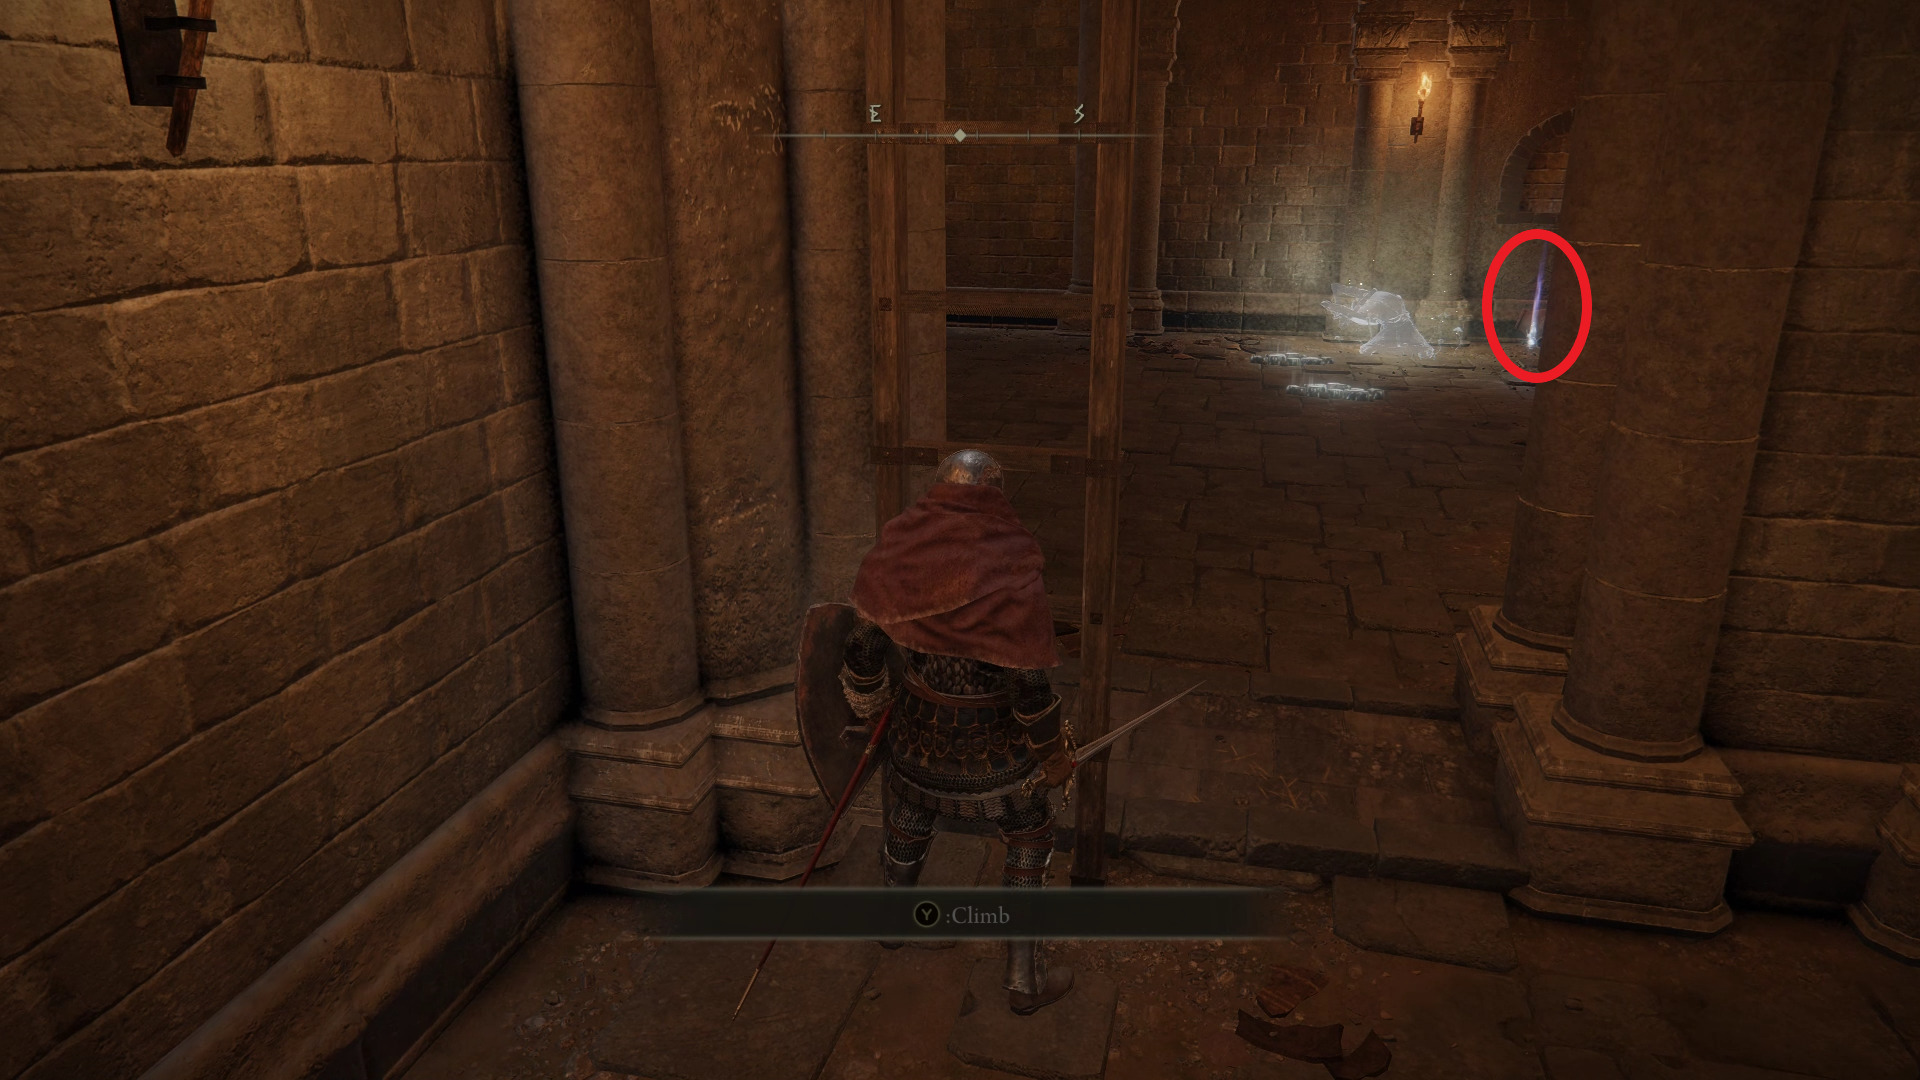
Otherwise, make a break for the doorway pictured below and grab the Gateside Chamber site of lost grace, then come back out and finish clearing the area. (There are a couple of Smithing Stone [1] on corpses by the ballistas, if you’re trying to decide if it’s worth it.) Grab the Golden Rune [5] from the nearby corpse, then go through the doorway past the site of grace to also find the Commoner’s Simple Garb.
Open the gate using the huge lever nearby, just for convenience’s sake. If you want, you can drop down the hole near the site of grace to speak with the Gatekeeper, who will now sell you items, including the Festering Bloody Finger. You can then attempt to grab the items by the main gate entrance, though this will be difficult if you haven’t cleared the ballistas — you’ll get x5 Ballista Bolt, and a Golden Rune [2] plus a Golden Rune [1] for your trouble.
When you’re ready, you can teleport to the Secluded Cell — take a right just outside the doorway and head through the fog gate to face Godrick the Grafted.
Where to Go After Stormveil Castle and Godrick
If you still haven’t gone to Weeping Peninsula, it’s best to go now if you want it to be a challenge at all. If you’ve already cleared Limgrave and Weeping Peninsula, Liurnia of the Lakes is the best area to go to next — you can access it via the closed door in the boss arena that you can open after beating Godrick.
NOTE: Once you defeat Godrick (which we’re sure you will eventually) you’ll be able to go through the big double doors on the opposite side of the area from where you entered. There’s only one path forward, so we won’t walk you through every step, but make sure you don’t miss the Shabriri Grape on the corpse in the final room before you reach Liurnia of the Lakes.
Video game fan since TMNT: The Manhattan Project, I'm always on the lookout for games that could top Outer Wilds or Disco Elysium, or for new songs to listen to.
I don’t believe I saw this mentioned, but you can obtain Roderika’s Crimson Hood on the pile of corpses under the hanging giant (the same place you grabbed the Chrysalid’s Memento) if you complete her quest and then come back. I usually make a quick detour after getting the memento, quick travel to her, and then the Roundtable Hold so I can start upgrading my summons. The Crimson Hood is on the pile after I come back to finish Stormveil up.
I’ve got the Crimson Hood mentioned in Roderika’s wiki entry, but we haven’t yet gone through all the walkthroughs and added the links to the relevant NPCs (because we still don’t have most of the NPCs done). Eventually we’ll have a link to it at the start of the guide, but for now your comment will probably help a lot of people 🙂
knigget
2 years ago
Your guide is amazing thank you
Gerry
2 years ago
The rot dragon actually drops a golden seed upon its death
There is a lot to capture, I only found the misericorde by following this 🙂 Thank you for this guide, I am a casul gamer and this is the best guide I have found!
That’s awesome, thanks for sharing! It makes me so happy that Elden Ring has brought in more casual players to my favorite series of games. I wish you the best of luck in your adventures through the Lands Between, and please feel free to leave specific questions anywhere you’re struggling.
First off. Your guide is truly amazing. I played through on my own the first time. I’m on round 2 and using you. I missed so much before.
However there are a few menial items you missed. Not making insults or Jabs. Just sharing. I.e. when you leave liftsode cater amd go past the eagles. You go down the stairs. But just before you enter that coupola you can jump on a roof to your right. Just above the tarnished wizard. I forget what the item is. But again it’s menial
Also way back at storm hill shack. When you bring us up near the finger reader crone. Headed towards the trail you can bypass stormveil on. There is an ash of war Beatle out there
Thanks Brent, I know the spot you’re talking about, totally missed putting it in. Thank you! As for the bypass of Stormveil, we actually have that skip explained in our Limgrave guide. Still, we love when people share tips and secrets, so please keep letting us know about stuff, it never hurts to see if it’s something we missed (like the item above Rogier 🙂 )
Willy_Spiel
2 years ago
Past the limgrave tower bridge site of grace is a bunch of giants leading to a teleporter to the divine tower. It’s the location of Godriks great rune I feel should be mentioned


I don’t believe I saw this mentioned, but you can obtain Roderika’s Crimson Hood on the pile of corpses under the hanging giant (the same place you grabbed the Chrysalid’s Memento) if you complete her quest and then come back. I usually make a quick detour after getting the memento, quick travel to her, and then the Roundtable Hold so I can start upgrading my summons. The Crimson Hood is on the pile after I come back to finish Stormveil up.
I’ve got the Crimson Hood mentioned in Roderika’s wiki entry, but we haven’t yet gone through all the walkthroughs and added the links to the relevant NPCs (because we still don’t have most of the NPCs done). Eventually we’ll have a link to it at the start of the guide, but for now your comment will probably help a lot of people 🙂
Your guide is amazing thank you
The rot dragon actually drops a golden seed upon its death
Thanks for the correction Gerry!
Behind the fog gate with the iron whetstone and Hawk Crest Wooden Shield is also the Misericorde
Nice catch Sarah, dunno how I missed that!
There is a lot to capture, I only found the misericorde by following this 🙂 Thank you for this guide, I am a casul gamer and this is the best guide I have found!
That’s awesome, thanks for sharing! It makes me so happy that Elden Ring has brought in more casual players to my favorite series of games. I wish you the best of luck in your adventures through the Lands Between, and please feel free to leave specific questions anywhere you’re struggling.
First off. Your guide is truly amazing. I played through on my own the first time. I’m on round 2 and using you. I missed so much before.
However there are a few menial items you missed. Not making insults or Jabs. Just sharing. I.e. when you leave liftsode cater amd go past the eagles. You go down the stairs. But just before you enter that coupola you can jump on a roof to your right. Just above the tarnished wizard. I forget what the item is. But again it’s menial
Thank you a ton for this guide
Also way back at storm hill shack. When you bring us up near the finger reader crone. Headed towards the trail you can bypass stormveil on. There is an ash of war Beatle out there
Thanks Brent, I know the spot you’re talking about, totally missed putting it in. Thank you! As for the bypass of Stormveil, we actually have that skip explained in our Limgrave guide. Still, we love when people share tips and secrets, so please keep letting us know about stuff, it never hurts to see if it’s something we missed (like the item above Rogier 🙂 )
Past the limgrave tower bridge site of grace is a bunch of giants leading to a teleporter to the divine tower. It’s the location of Godriks great rune I feel should be mentioned
Thanks for the feedback Willy, and I agree — we’re still working on getting all the extra side stuff and quests into the guides.