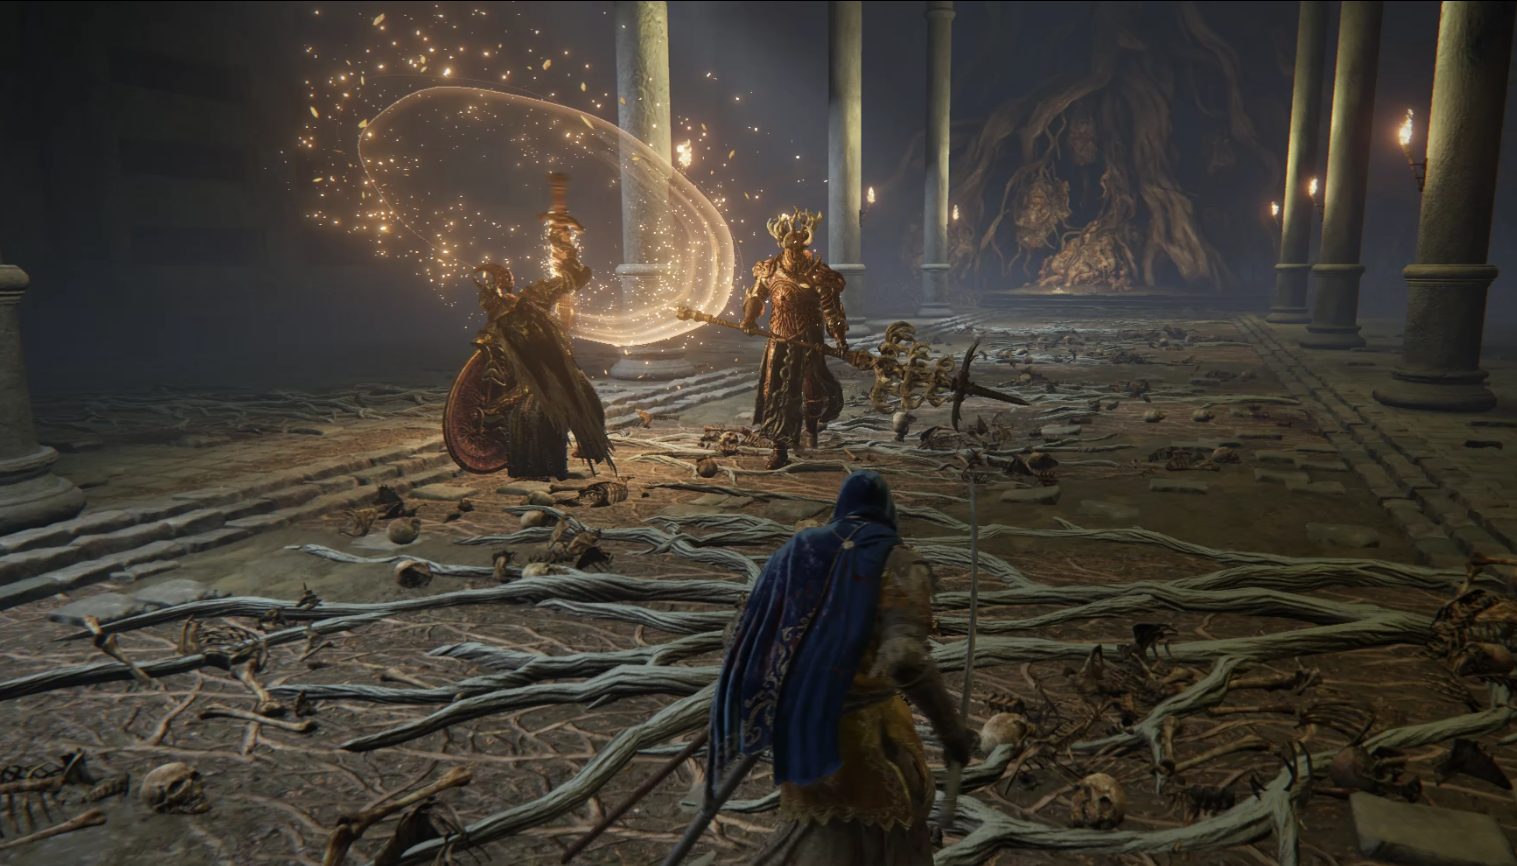
This duo boss is found at the end of the Auriza Hero’s Grave on the Altus Plateau. It can be tough to find windows to attack vs these guys, but with some persistence and the willingness to learn their moveset, it’s not an impossible battle by any means.
General Tips
Both bosses can be parried and staggered, but neither can be backstabbed.
While Ordovis has his shield up, you won’t be able to damage him, so don’t bother.
Only the spear boss has a ranged attack in phase 1, and the plunging attack from both bosses is easy to see coming, so you can make space to heal by running away across the arena.
Strategy
Having help for this fight is crucial, so you should definitely consider summoning another player for help with this boss. The fight is much, much easier when you don’t have to 2v1. (The summoning pool by the dungeon’s site of grace is a good spot to look for summon signs.) At a minimum, make sure your favorite tanky summon is as upgraded as possible before you go through the fog wall.
Melee Strategy
This strategy is designed for situations where you find yourself 2v1. However, if you’re in a 1v1, you can do the same basic pattern, but punish any time the boss you’re fighting finishes a combo (rather than worrying about all the positioning stuff).
You’ll want to take down Ordovis (sword and shield guy) first, mainly because he’ll be in front more often. As you can see in the GIF below above, you’ll want to bait an attack from Ordovis any time the spear knight is decently far behind him. Stick to a single leaping heavy attack, beginning it as soon as you see the end of a combo from Ordovis. After getting your attack in, you’ll need to immediately roll backwards twice to avoid some of the quicker attacks the knights have.
Because of the need to do a jumping attack and then roll away twice, make sure you’ve got a decent chunk of stamina before moving in to attack.
If the spear knight ends up in front of Ordovis, sprint around the arena to reposition so that the spear guy is further back than Ordovis. There are two reasons to play it this way: First, the spear knight sometimes casts a ranged attack — this lets Ordovis get far enough away from him that you can counter Ordovis without the spear guy stabbing you. Secondly, you can punish Ordovis with a leaping heavy even while the other knight is close, and the spear knight’s first attack will often go over your head.
Obviously, attacking in these situations is risky, and shouldn’t be done unless you’ve got plenty of HP and flasks left. However, the positioning demonstrated in the GIF above is applicable any time you’re 2v1. Once Ordovis goes down, 1v1ing the spear knight isn’t too tough — you’ll need to roll his attacks and punish when he misses, but it’s a heck of a lot easier to do it when there’s only one of them.
Ranged Strategy
Ranged characters will have a little more freedom to attack — if you’re far enough away, you can attack safely, but watch out for lunging attacks from both knights that can catch you from a fair bit away. Target the knight with the spear first, and sprint around the arena. Be patient, and only attack when they’re too far away to counterattack you.
Once the spear knight is down, you can take on Ordovis. Don’t waste spells when his shield is up. Instead, wait for him to get close enough to attack, then roll away a few times — if it’s a combo you recognize that doesn’t end with a thrust or gap-closer, you can attack him while he finishes his combo.
Phase 2 & A Note on Healing
Both crucible knights add a couple of moves during phase 2, but mostly continue doing moves from phase 1. During phase 2, Ordovis (shield and sword guy) will use the Tail Whip after his combos, but especially after landing from his Flying Plunge — don’t bother punishing the Flying Plunge unless the attack will kill him (or you’re ranged). Conversely, the spear-wielding knight can be punished when it misses its Flying Plunge attack. Additionally, Ordovis will start chaining the Tail Whip after some of his thrusting attacks, so watch for that as well.
Healing can be tough, but once you learn which moves don’t chain into others, you can find windows to heal. Ordovis’s Stomping Combo can be rolled away from (twice) and then you can heal while it finishes. Otherwise, just try to sprint away (like in the Ranged Strategy GIF) and heal once you’re far enough away you know their attacks can’t reach you.
Moveset
Learning the moveset for both knights is essential for winning this fight — you’ll need to start attacking right as they finish their own attack/combo if you want to have any hope of damaging them (without getting hit in return).
Ordovis (Sword and Shield)
Ordovis will often chain combos into the Lunging Stab, so don’t attack him at the end of a combo if you’re low on health.
Stomp – This move is common to both knights — a quick stomp with no windup that immediately does damage in a fairly large area in front of the knight. Often chained into other moves. Roll backwards as they stomp to avoid.
Stomping Combo – Ordovis raises his front leg and his sword at the same time. He then stomps, followed by a vertical slash from high-to-low, and then he spins himself into two horizontal slashes from (your) right to left. Two backwards rolls is usually enough to put you out of range of this combo.
Diagonal Slash – Ordovis raises his weapon high, then brings it down diagonally across his body from (your) left to right.
Double Diagonal Slash – Ordovis raises his weapon high, then brings it down diagonally across his body from (your) right to left, then again from the other side.
Dragging Slash – Ordovis drags his sword on the ground, then swings it upwards — this is often chained into other attacks, so be careful about punishing it.
Slash Slash Stab – Begins like the other slashes, with an overhand slash diagonally from (your) left to right. This is followed by a right to left horizontal slash. Ordovis then takes a few steps and finishes with a strong stab.
Triple Slash – Ordovis runs towards his target and slashes from (your) right to left. This is followed by an overhand diagonal slash, and then finishes with another horizontal slash. Often chained into the Lunging Stab.
Lunging Stab – Ordovis takes a few steps forward, then stabs with his weapon — this attack is very long, and can catch you off guard when you think you’re out of range.
Whirlwind Slam – Ordovis starts spinning his sword behind him, and glowing particles begin to coalesce — after a brief delay, he slams his sword down, doing damage in an AOE in front of himself.
Shield Bash – Ordovis ducks behind his shield and runs towards his target, then swings his shield upwards into them.
Phase 2
Flying Plunge – The boss sprouts wings and flaps up into the air, then dives down at his target. Roll towards the boss when it plunges towards you to avoid.
Tail Sweep – The boss sprouts a tail and sweeps it once or twice in a circle. The second sweep, when it occurs, covers a huge area, so its best to get way out of range once you see the first one.
The Other Guy (Spear)
This knight also chains attacks, although less often.
Stomp – This move is common to both knights — a quick stomp with no windup that immediately does damage in a fairly large area in front of the knight. Often chained into other moves. Roll backwards as they stomp to avoid.
Horizontal Slash – The knight brings his weapon behind him, then swings it horizontally from (your) right to left, sometimes ending this attack by hitting the ground, sometimes not. Sometimes he doubles this attack.
Double Slash – Looks a lot like the Horizontal Slash, but it doesn’t hit the ground hard ever, and the boss brings it back the other way.
Triple Slash Combo – Begins with a jab that comes around and hits the ground, then the spear is brought upwards from the ground, and finally swings from (your) left to right horizontally.
Stab + Slash – The knight pokes with its spear, then slashes with it from (your) right to left.
Spear Drill – The knight holds his spear over his shoulder and it starts spinning and glowing — after a brief delay, a projectile will fly towards his target. If you’re running perpendicular to the attack, it will miss.
Stab – The knight jabs quickly with his spear — this is relatively short-ranged compared to his other thrusting attacks, but comes fast.
Running Stab – The knight jogs towards his target and stabs with a long thrusting attack.
Stab + Spin – The knight gets a running start and then stabs his target before spinning in a circle and swinging his spear horizontally. There are two variants of this (the horizontal attack comes from different directions), but they’re functionally the same.
Slam + Sweep – The knight slams his spear down into the ground, then drags it in a circle as he spins, then slashes horizontally with it.
Dagger Grab – The knight manifests a dagger in its left hand, then stabs at his target with it — this is a grab move and will do serious damage if you don’t avoid it.
Phase 2
Flying Plunge – The boss sprouts wings and flaps up into the air, then dives down at his target.Roll towards the boss when it plunges towards you to avoid.
Dagger Grab – The boss manifests a dagger and then lunges forward with it, doing massive damage if it hits its target.
Unabashed FromSoftware fanboy still learning to take his time with games (and everything else, really). The time he doesn't spend on games is spent on music, books, or occasionally going outside.