- Rewards:
- Limgrave –
 Bone Peddler’s Bell Bearing,
  2,700
2,700 - Liurnia – Meat Peddler’s Bell Bearing, 18,000
- Caelid – Gravity Stone Peddler’s Bell Bearing, 50,000
- Altus Plateau – Medicine Peddler’s Bell Bearing, 18,000
- Shaded Castle –
 Marais Executioner’s Sword,
  Briar Greatshield,24,000
- Summons Available: Some Locations
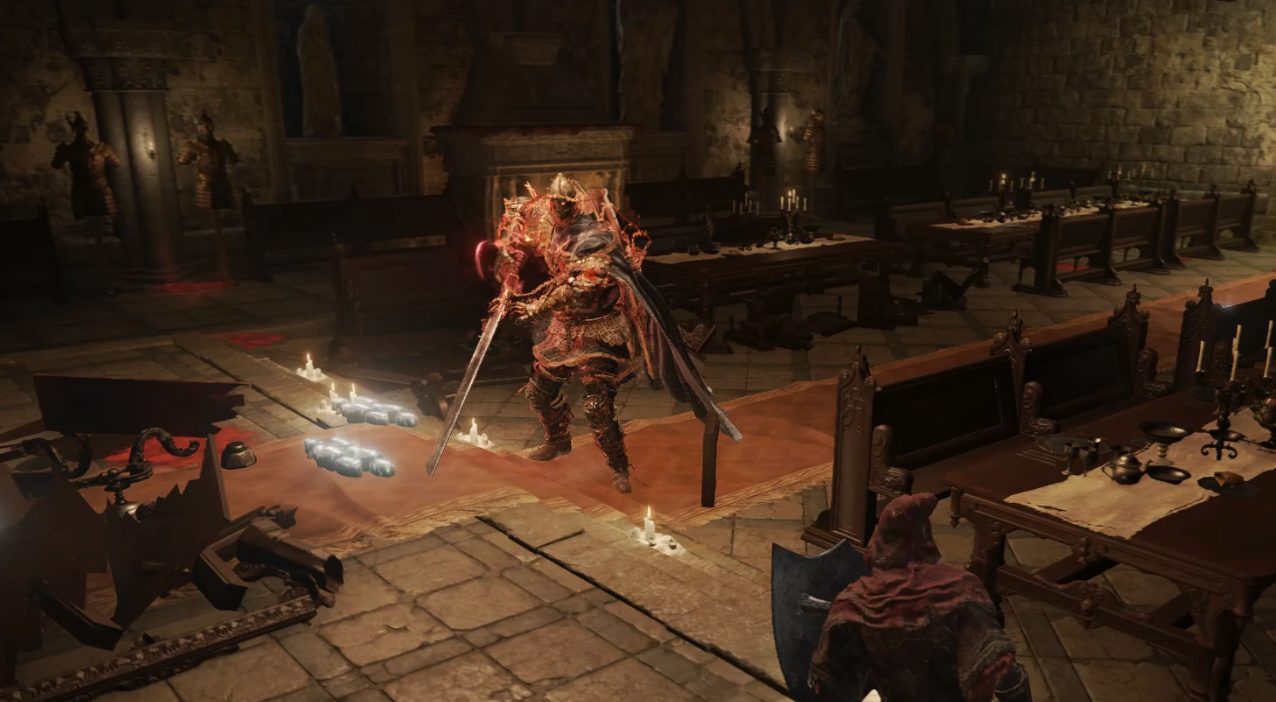
Found at the end of the Shaded Castle on the Altus Plateau, as well as near merchants throughout the Lands Between, this boss isn’t too complex, but has the ability to two-shot most characters. In this guide, we’ll give you both general tips as well as specific strategies for defeating Elemer of the Briar, aka the Bell Bearing Hunter.
General Tips
- To get the Bell Bearing Hunter to spawn at each location, you’ll need to speak with the merchant there, then rest there, then teleport new a new site of grace, then teleport back to the merchant and pass time until night.
- [Shaded Castle only] The boss will always start with his back turned — if you start sneaking as soon as you go through the fog gate, you can get right behind him and charge a heavy attack to start off the fight.
- Despite having colorful moves, all of the boss’s attacks can be blocked with a 100% physical resistance shield like the
 Beast Crest Heater.
 - Heavy jumping attacks (and Spirit Summons with multiple spirits) will eventually stagger the boss, allowing you to critically strike the boss from the front.
- Despite being humanoid, this boss cannot be backstabbed.
Strategy
[Shaded Castle only] When you pass through the fog gate, you should immediately summon a spirit. The best option is probably the  Demi-Humans, since they’ll last for the whole fight and help immensely with staggering the boss. Then, sneak up to the boss and charge a heavy attack if you’re melee, otherwise cast your slowest, most powerful spell at him.
There isn’t really any trick to this boss fight — he’s got a bunch of relatively simple combos, and none of his attacks are particularly quick except for the Sword Throw and the Shield Bump. If you’re melee, let him target your summons, and once he finishes an attack, jump in with a leaping heavy attack, then roll away from him. Ranged characters will naturally want to stand far away and let the summons tank while flinging spells.
If you’re trying to beat this boss in a location where you can’t use summons, or get unlucky and find yourself targeted by the boss often, here’s what you can do: Equip a 100% Physical Defense shield like the Beast Crest Heater. Then, hold block while the boss is doing his attacks, but still try to roll — just roll as late as possible. The easiest way to die in this fight is by rolling early, so this technique will guarantee that you either block or roll through his attacks.
For most attacks, rolling past/behind the boss is ideal, but against the Sword Slashes, rolling away helps avoid the final part of the combo. You can block at least one or two of the regular sword swings (the ones that aren’t glowing red), as well as the two shield attacks, but try your best to roll all of the attacks where the boss’s weapon glows red, and don’t ever attempt to block every attack in a 3-4 hit combo.
Moveset
All of the boss’s attacks have a recovery period in which you can cast a spell or respond with a melee attack of your own.
- Shield Slam – The boss takes his shield off of his back and slams it on the ground, doing AOE in a small area around where the shield lands. Occasionally, the shield will glow red after it hits the floor — if it does, keep rolling away to avoid an even larger AOE.
- Shield Bump – The boss leans his back towards his target, then dashes rapidly towards his target. He blocks all attacks directed towards his shield while doing this, so don’t bother attacking and then try to roll once he zooms towards you (this attack can also safely be blocked).
- Slash ‘n Thrust – The boss swings his sword from (your) right to left, then stabs with it.
- Slash Slam Slash – The boss swings his sword right to left, then does an overhand slam, and finally the sword glows red and the boss does a right to left swing.
- Double Slash – The boss slashes left to right, then his sword glows red, and after a brief delay he slashes the other direction.
- Whirlwind Slashes – The boss raises his sword over his shoulder and points it towards his target as it begins to glow red. Then he slashes with the sword from left to right, whirling it over his head twice before slamming it (for a total of four attacks).
- Sword Throw – The boss’s sword glows red, and it then flies at his target and returns to him in an arc.
- Sword Slashes – The boss’s sword glows red and he turns his body away from you, then flings the sword at you. It slashes twice and then returns to him, at which point he does a final diagonal slash. If you’re far away from him, you can block this with your shield — it will probably break your guard, but his final attack is short-ranged.
- Sword Drill – The boss’s sword glows red and begins spinning — after a brief delay, he stabs it into his target, then yanks it back towards himself. Roll to the side to avoid this, and don’t even think about blocking it.
- Grab – The boss’s hand glows red and he attempts to grab his target after a decent delay. He charges this for awhile, so wait until the hand is moving towards you to roll. This grab also has some pretty BS targeting, so even if Elemer is targeting your summons with it, you should still roll as he grabs.


Just commenting to add that the altus plateau button is still greyed out. Thanks again for your guide!
Really appreciate all your QA Jason 🙏
I think they patched the Shaded castle fight, I crouched as soon ad I traversed the mist and he turns right around
I think sneaking assumes muting your steps sound. It can be done either by consumables (soft cotton), by skills (Assassin’s Gambit) or with talisman (crepus’s vial).