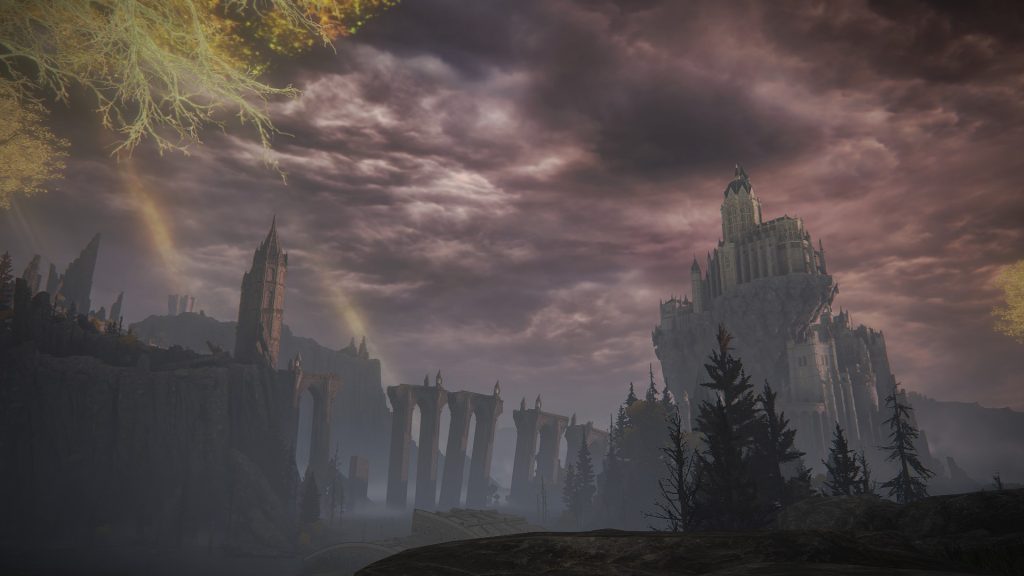
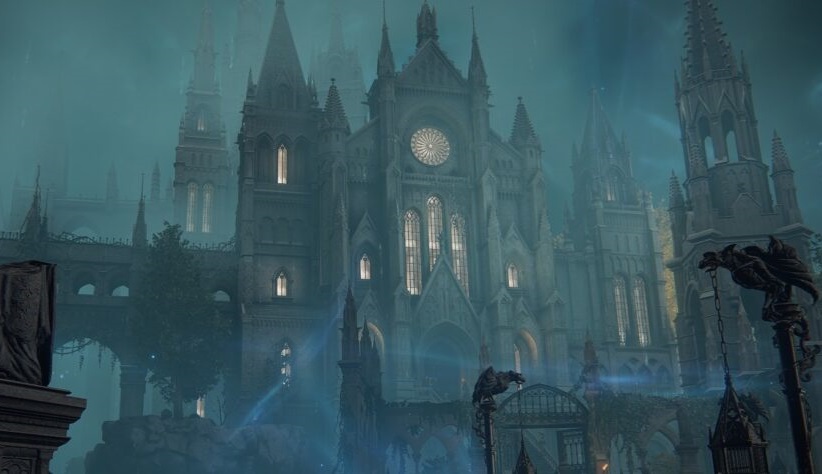
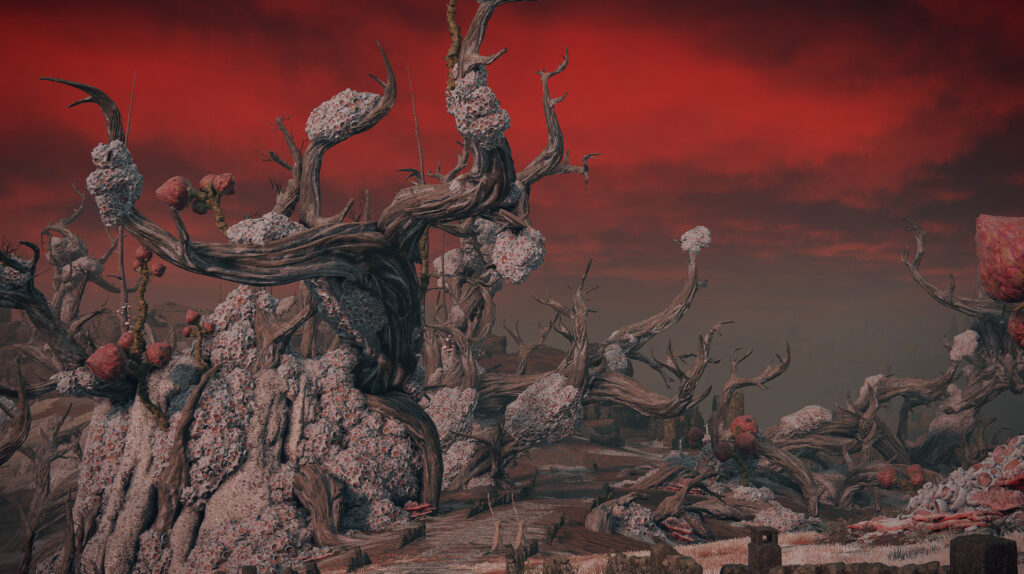
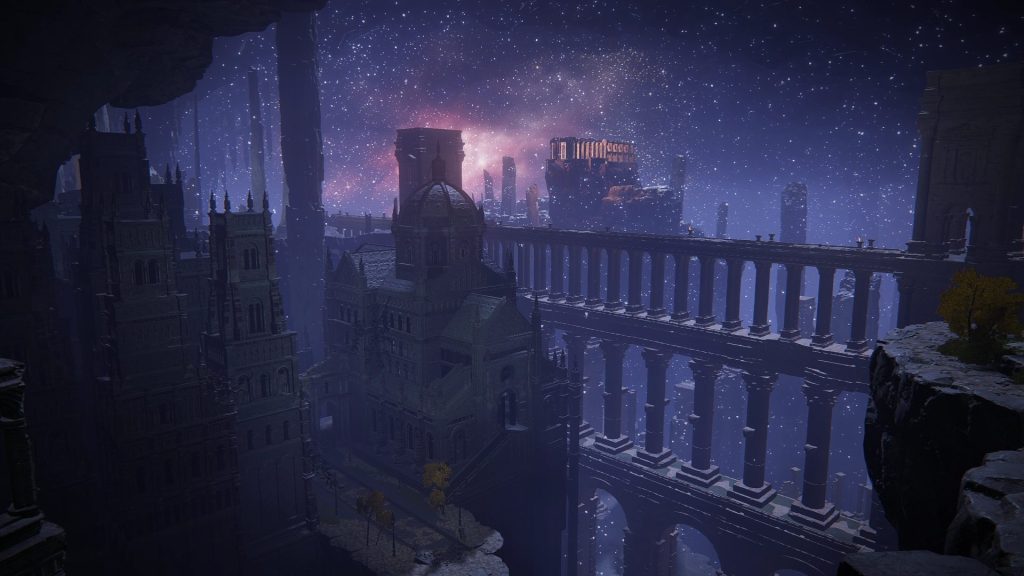
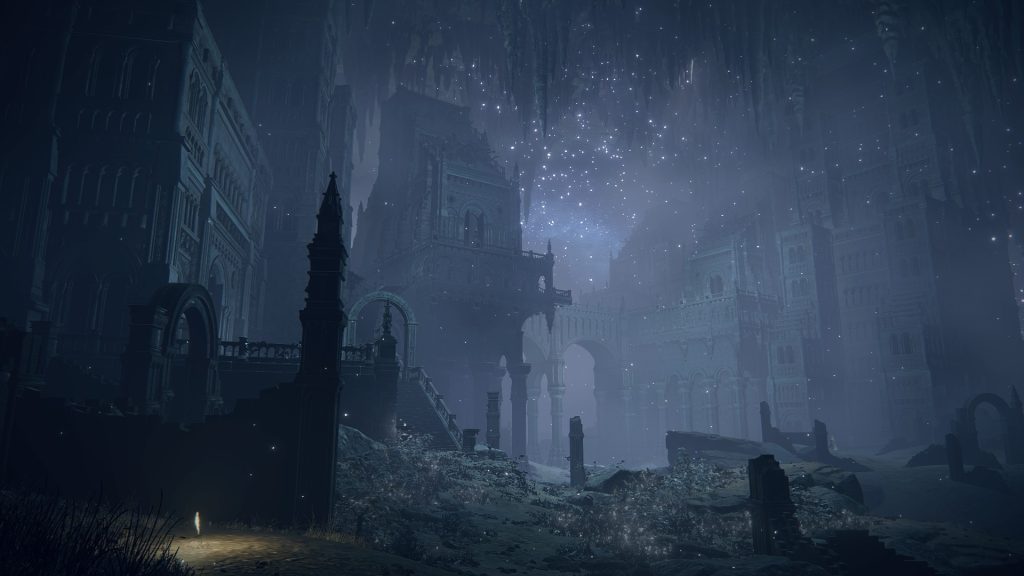
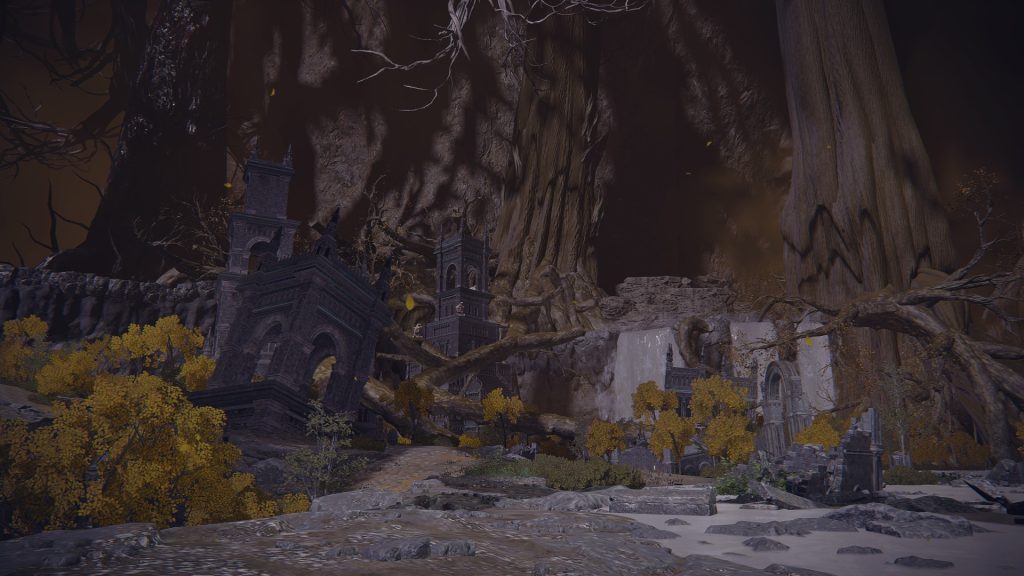
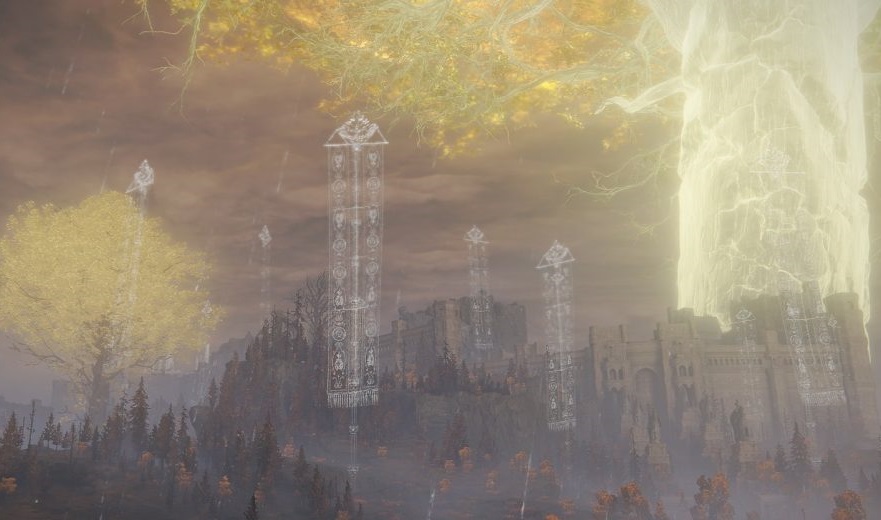
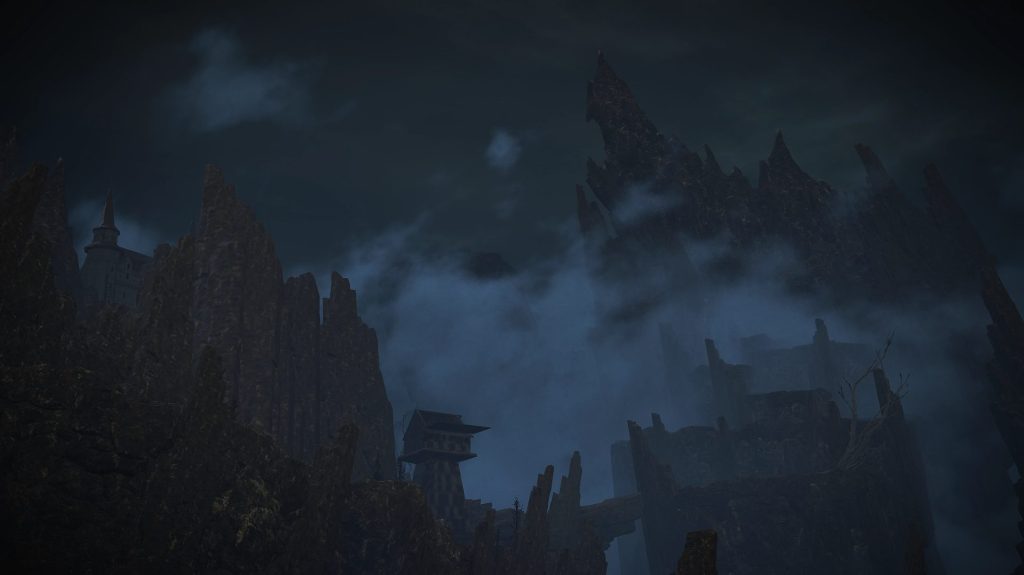
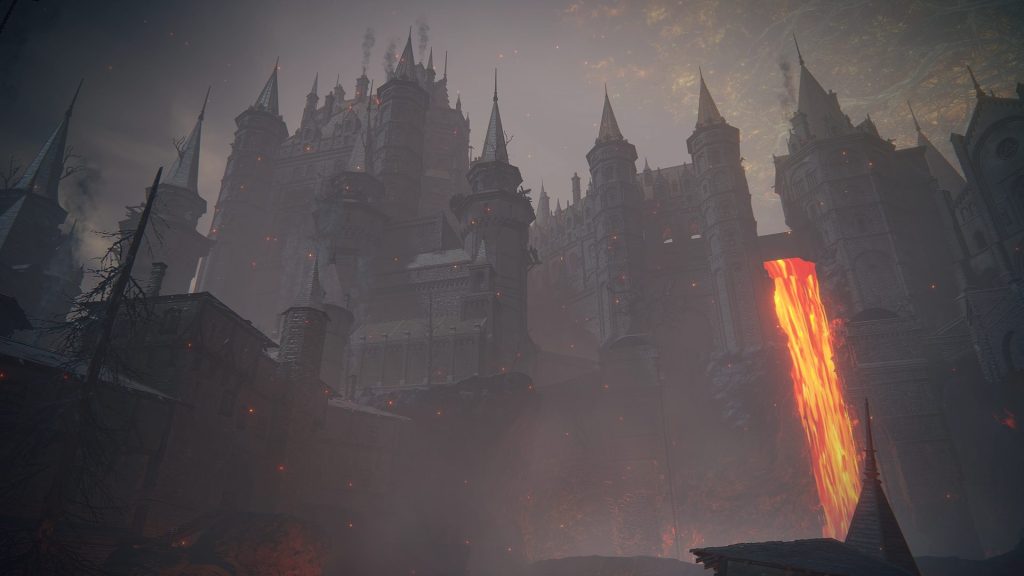
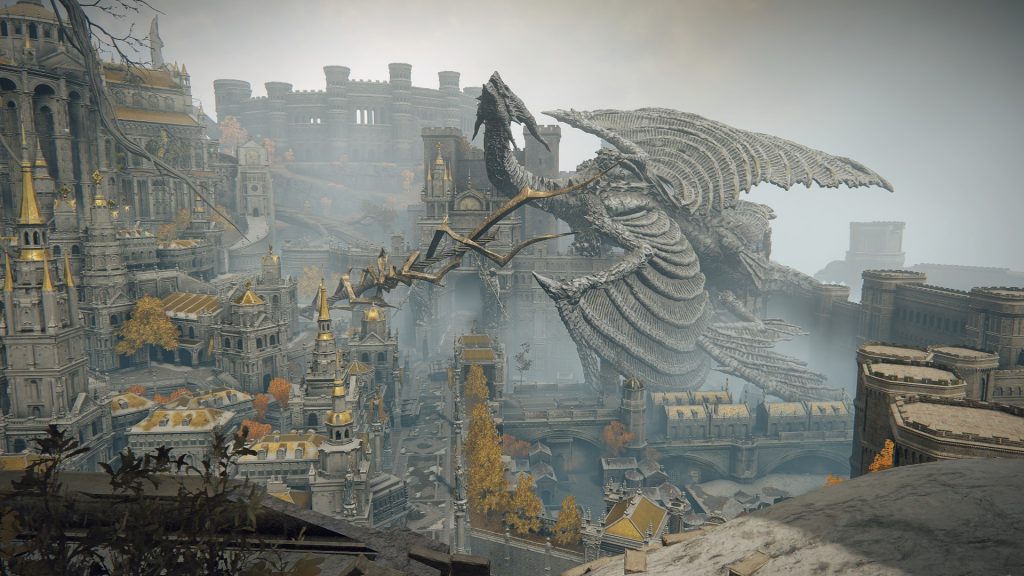
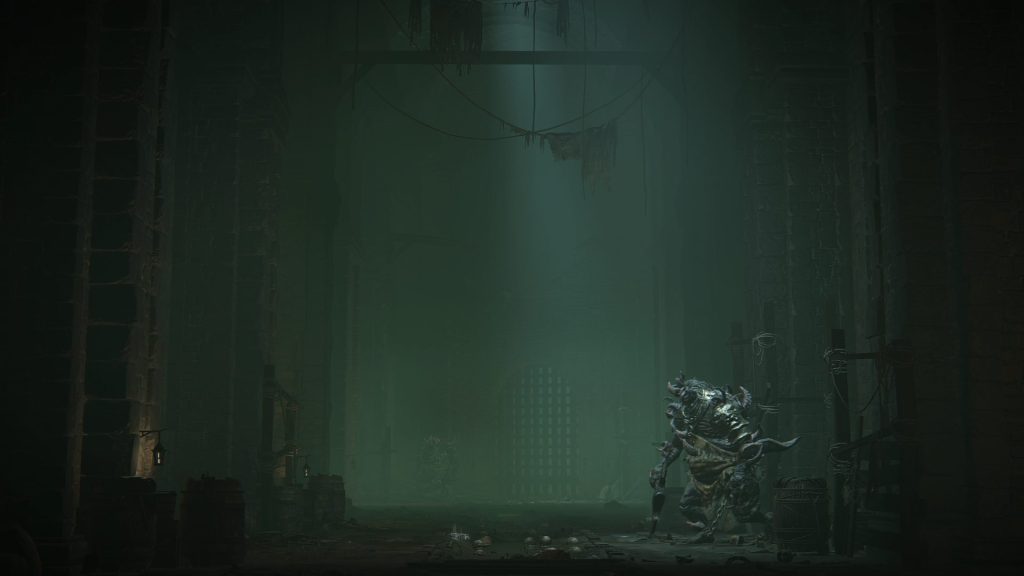
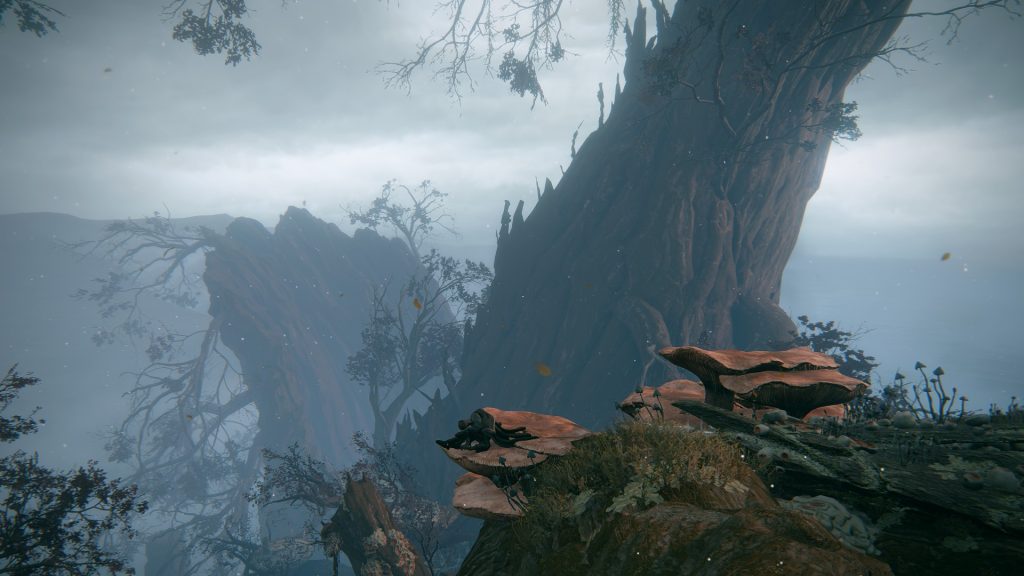
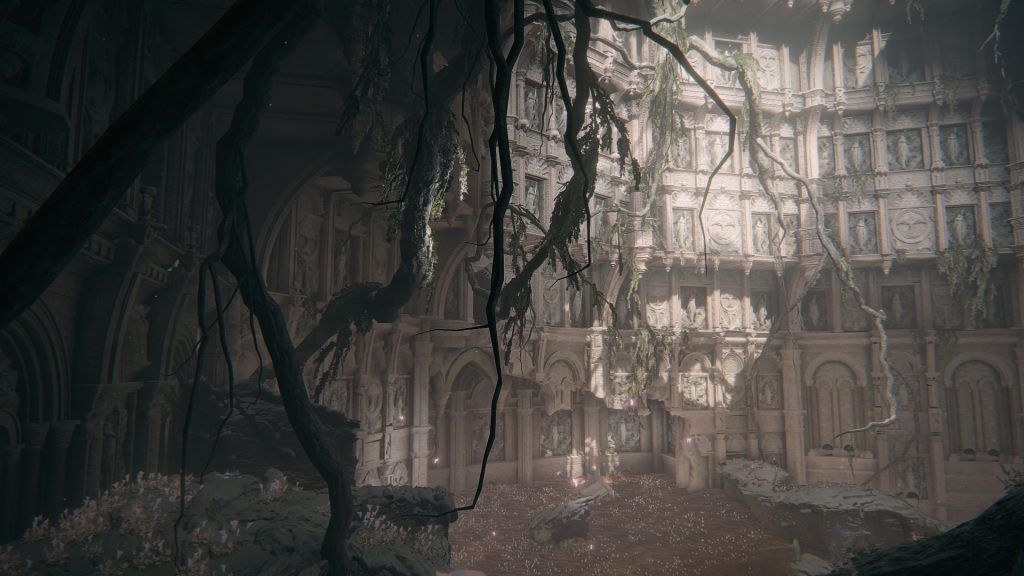
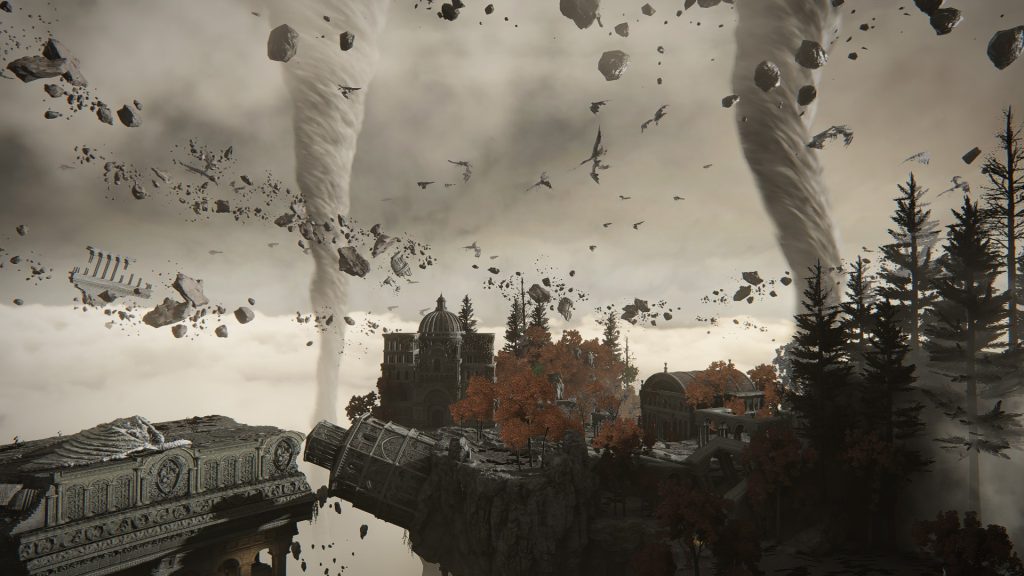
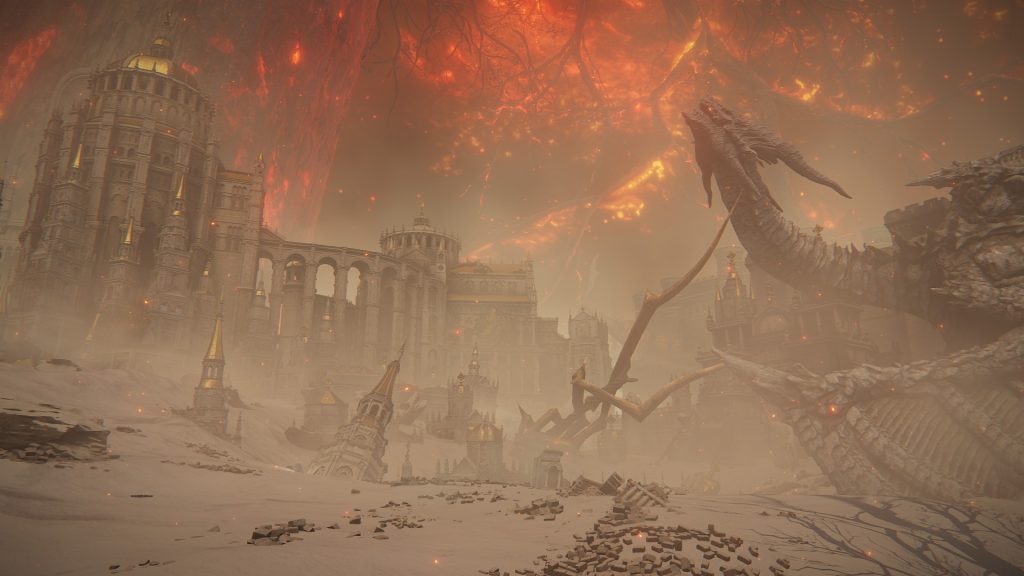
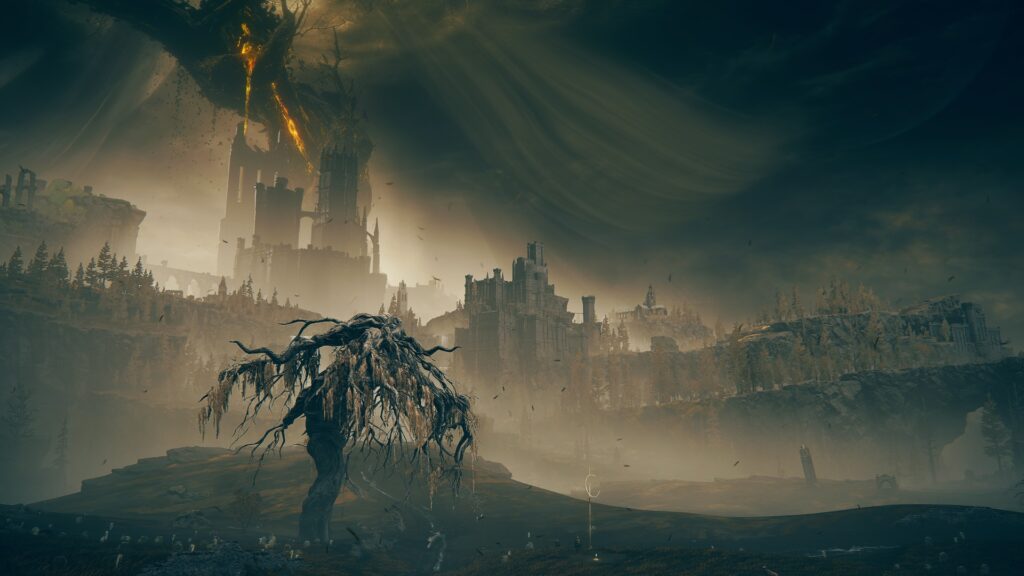
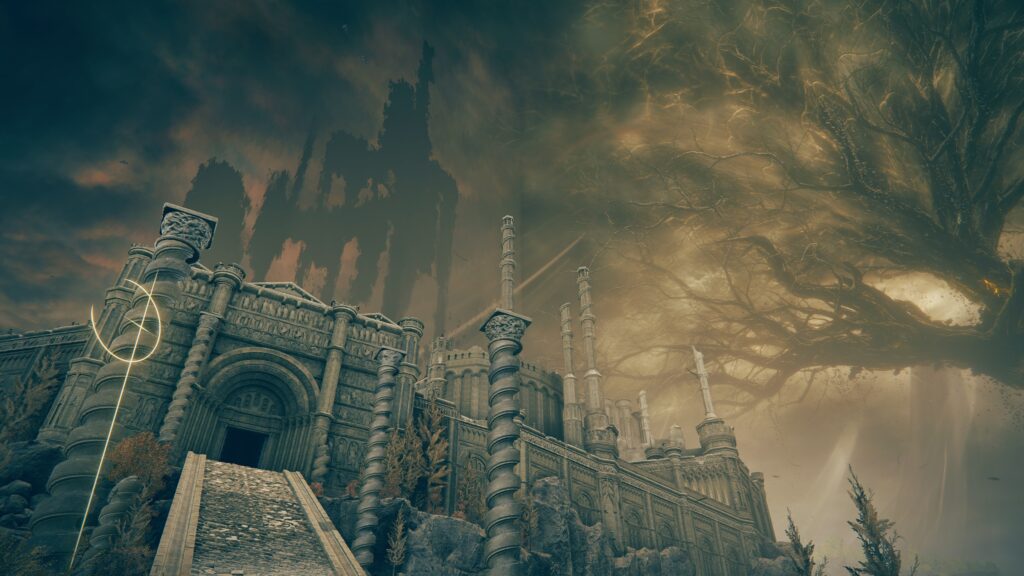
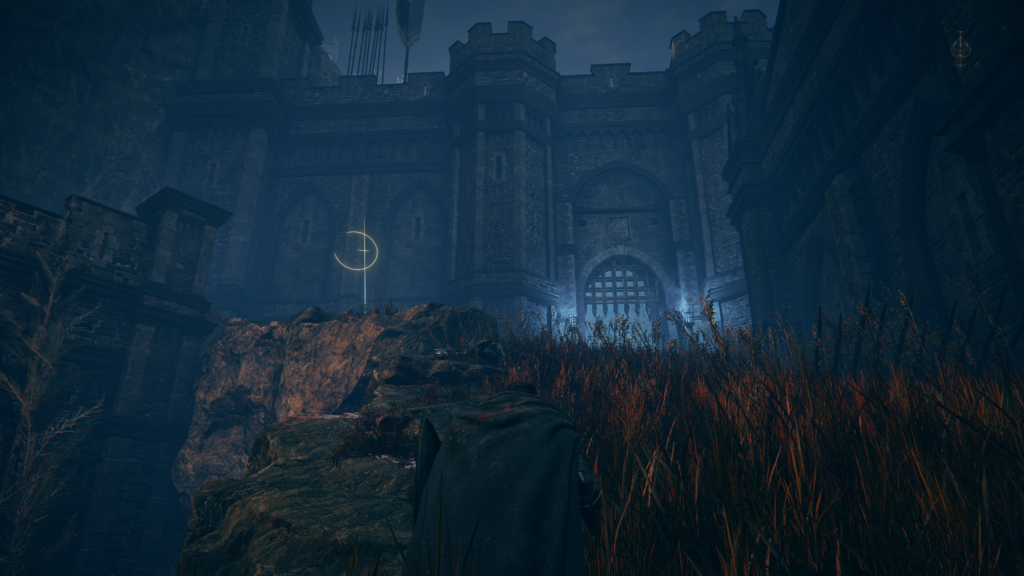
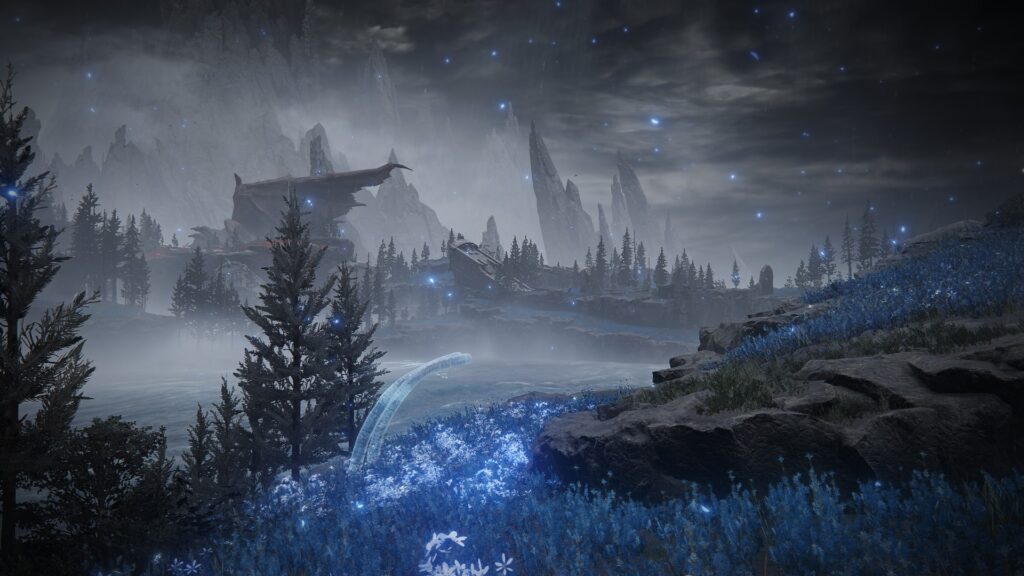
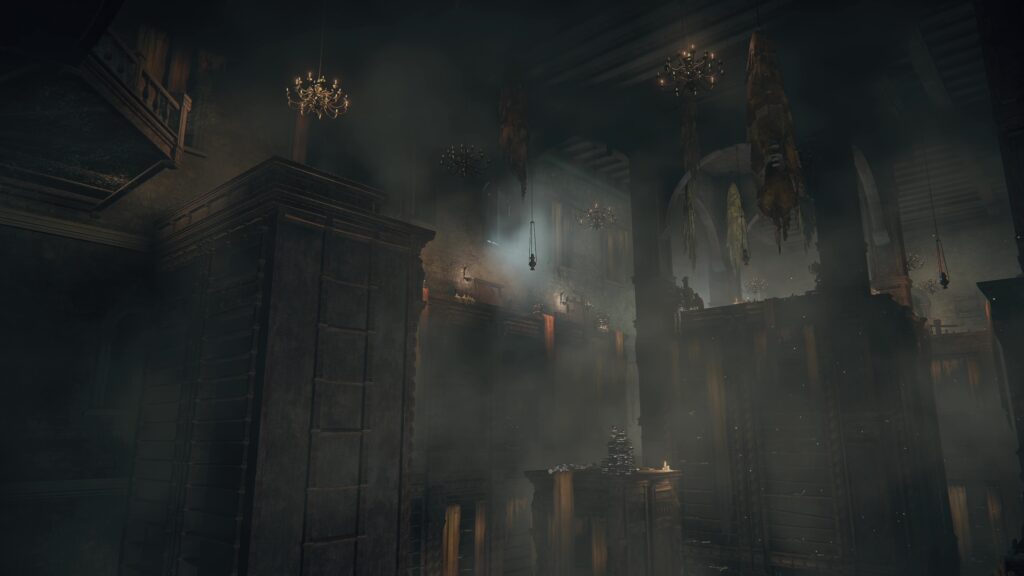
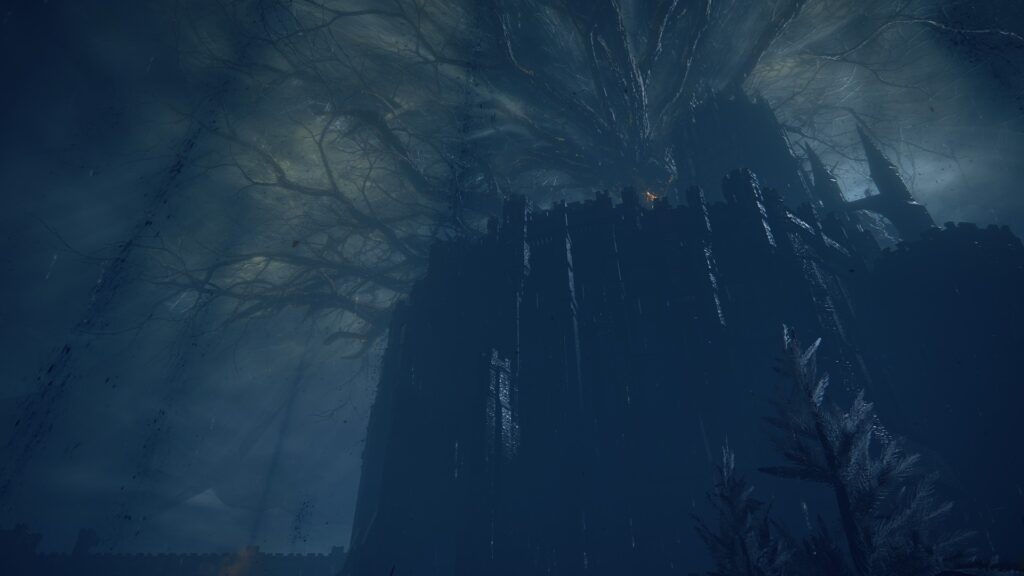
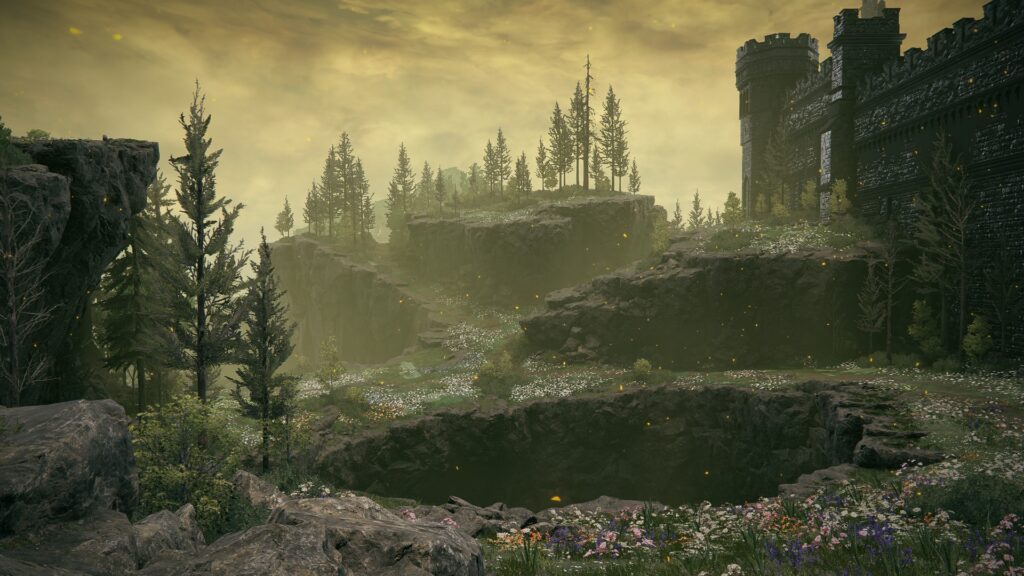
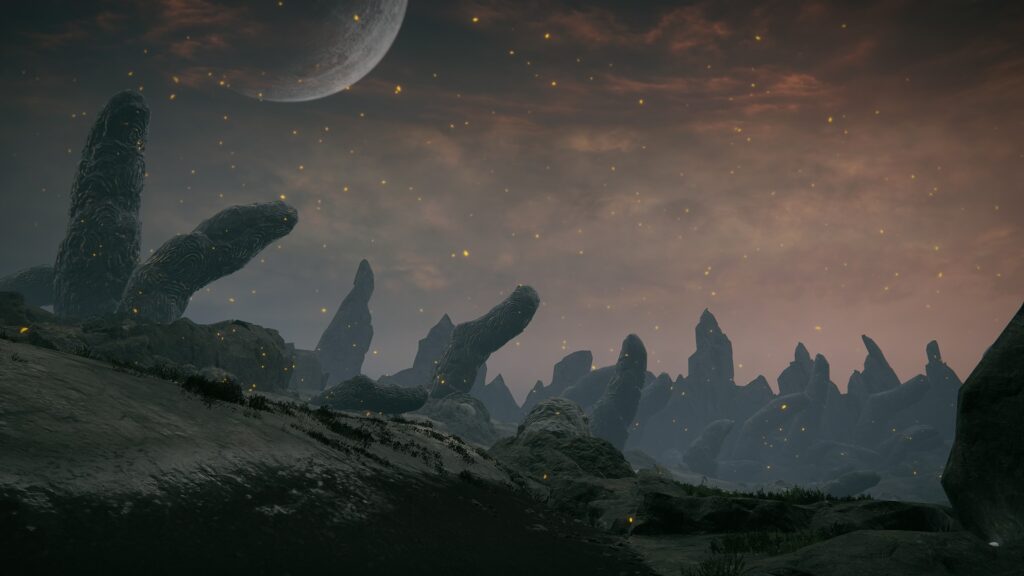
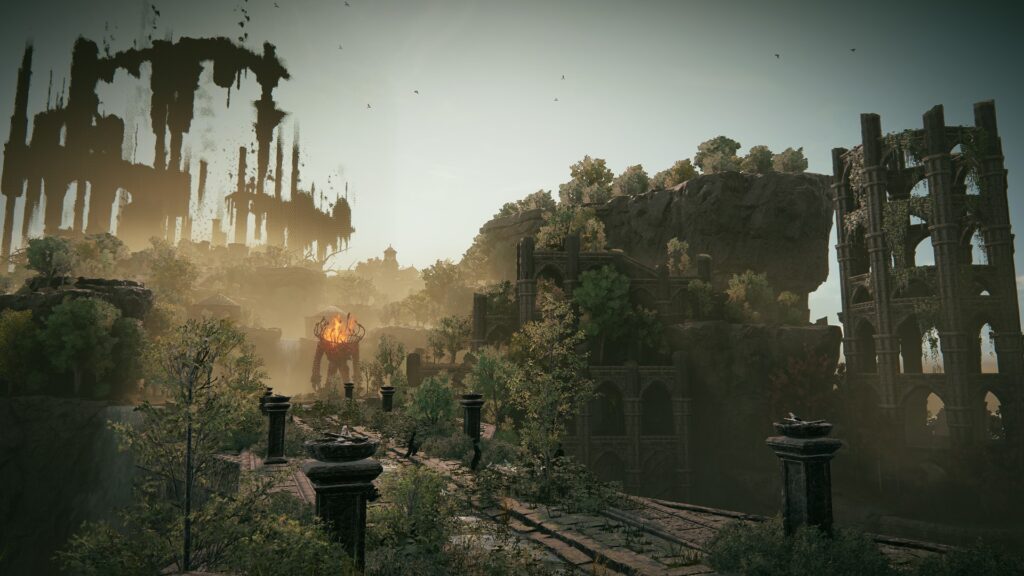
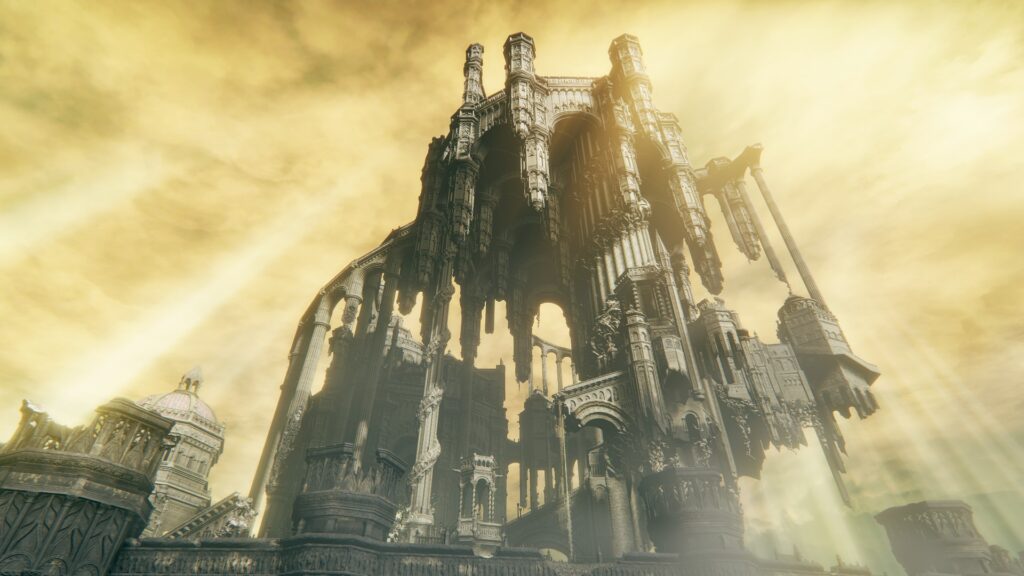
In the list below, you can find guides for the bosses in the Enir-Ilim region of the Realm of Shadows (Shadow of the Erdtree expansion). We also have a dedicated Enir-Ilim Walkthrough to assist you in your travels (or feel free to use the walkthrough menu below).
There are only two bosses in the final area of the DLC, and both are impossible to miss — the first one is at the very end of the area, and the second one is just beyond the first.
Enir-Ilim Bosses:
Read on for details on each boss, plus links to detailed guides for each fight!
- Summons Available: Yes
- Location: Cleansing Chamber Anteroom
- Rewards:
 300,000
- Leda’s Armor
- Leda’s Sword
- Dane’s Footwork
- Verdigris Greatshield*
- Verdigris Set*
- Falx*
- Hornsent Set*
- Freyja’s Greatsword*
- Freyja’s Set*
*depending on quest outcomes
Needle Knight Leda and her allies block the way to the final boss, Promised Consort Radahn. Most of the NPCs you’ve encountered in the Land of Shadow will make an appearance, either as friend or as foe. As this is a fight against NPCs, it will play very differently than most of the boss fights in Shadow of the Erdtree.
Who her allies are (and who you can summon as your own allies) depends on which quests you complete and how you complete them. If you aren’t a big fan of how combat NPCs feels, make sure you complete Thollier’s questline to ensure you have two NPCs of your own to summon!
- Summons Available: Yes
- Location: Gate of Divinity
- Rewards:
- 500,000
- Remembrance of a God and a Lord
The final boss of Shadow of the Erdtree is as challenging as you’d expect, despite the nerfs the boss caught soon after the release of the DLC. You already know Radahn — you had to defeat him previously in order to reach the Land of Shadow — but this time he’s got a few new tricks up his sleeve (or on his back).
Everything about this boss is tough, from the health pool and the dodge timings, to the difficulty in telling what the heck is going on through all the particle effects. It’s best to save a  Larval Tear or two for this fight, as many players will likely find they need to change their build to overcome this particular challenge. Fortunately, we’ve got an easy-to-execute strategy for you in the guide below.