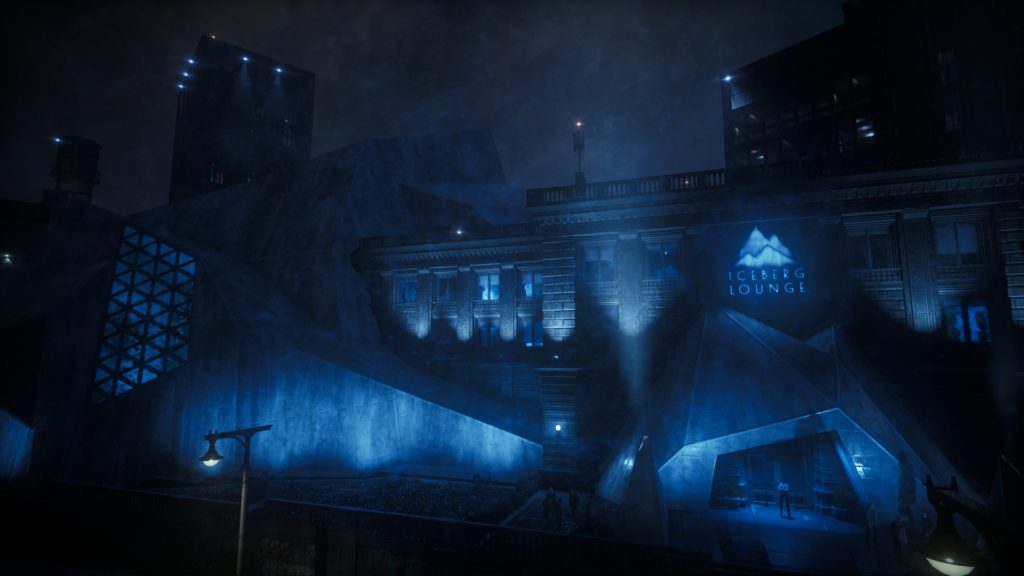
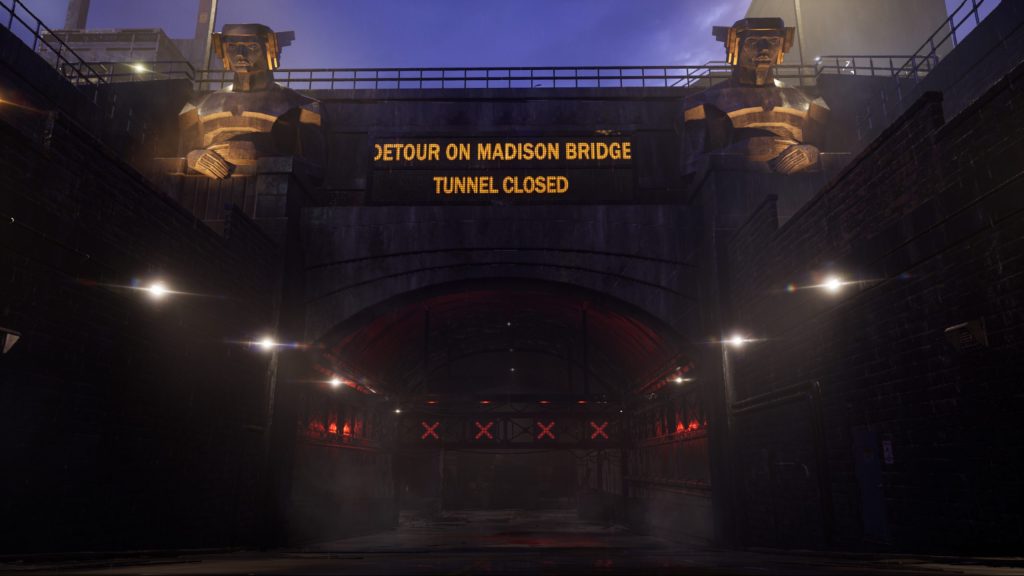
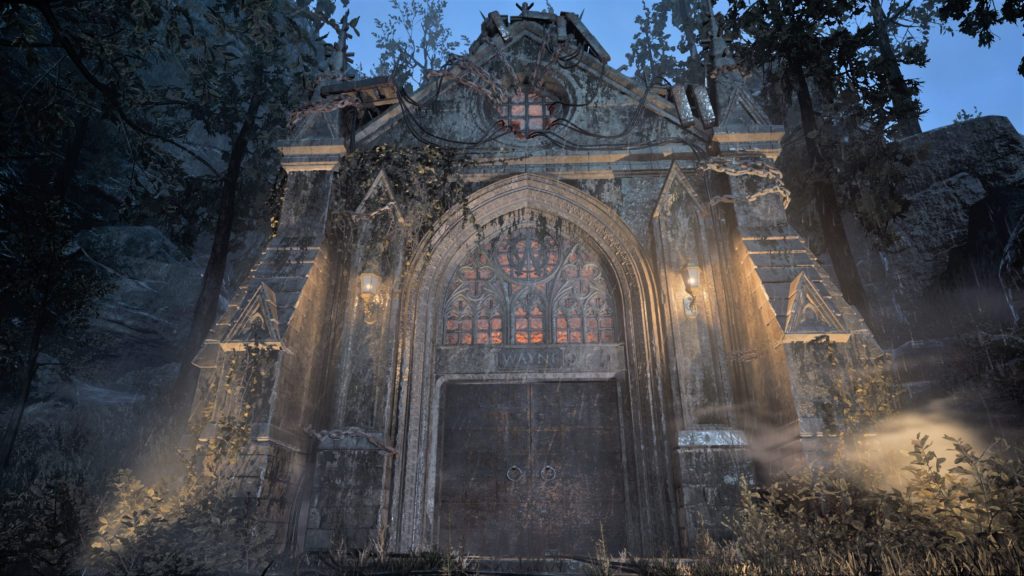
This mission starts after you receive a call from the Penguin, who desperately wants to speak with you. Upon entering the Iceberg Lounge, Mission 5.1 ends, and 5.2 begins.
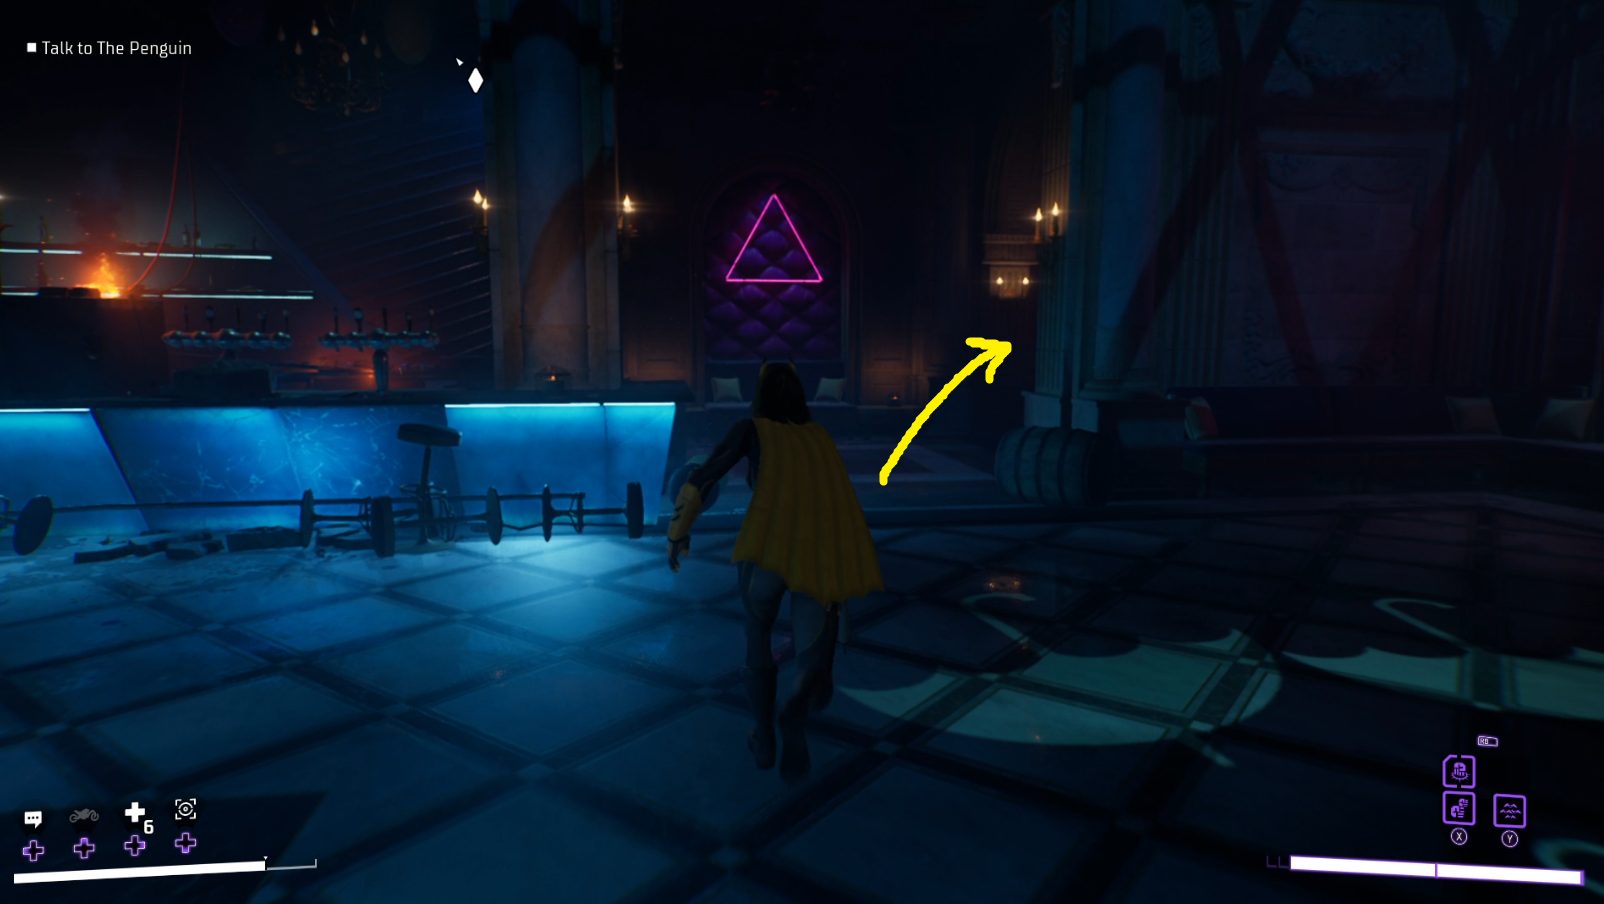
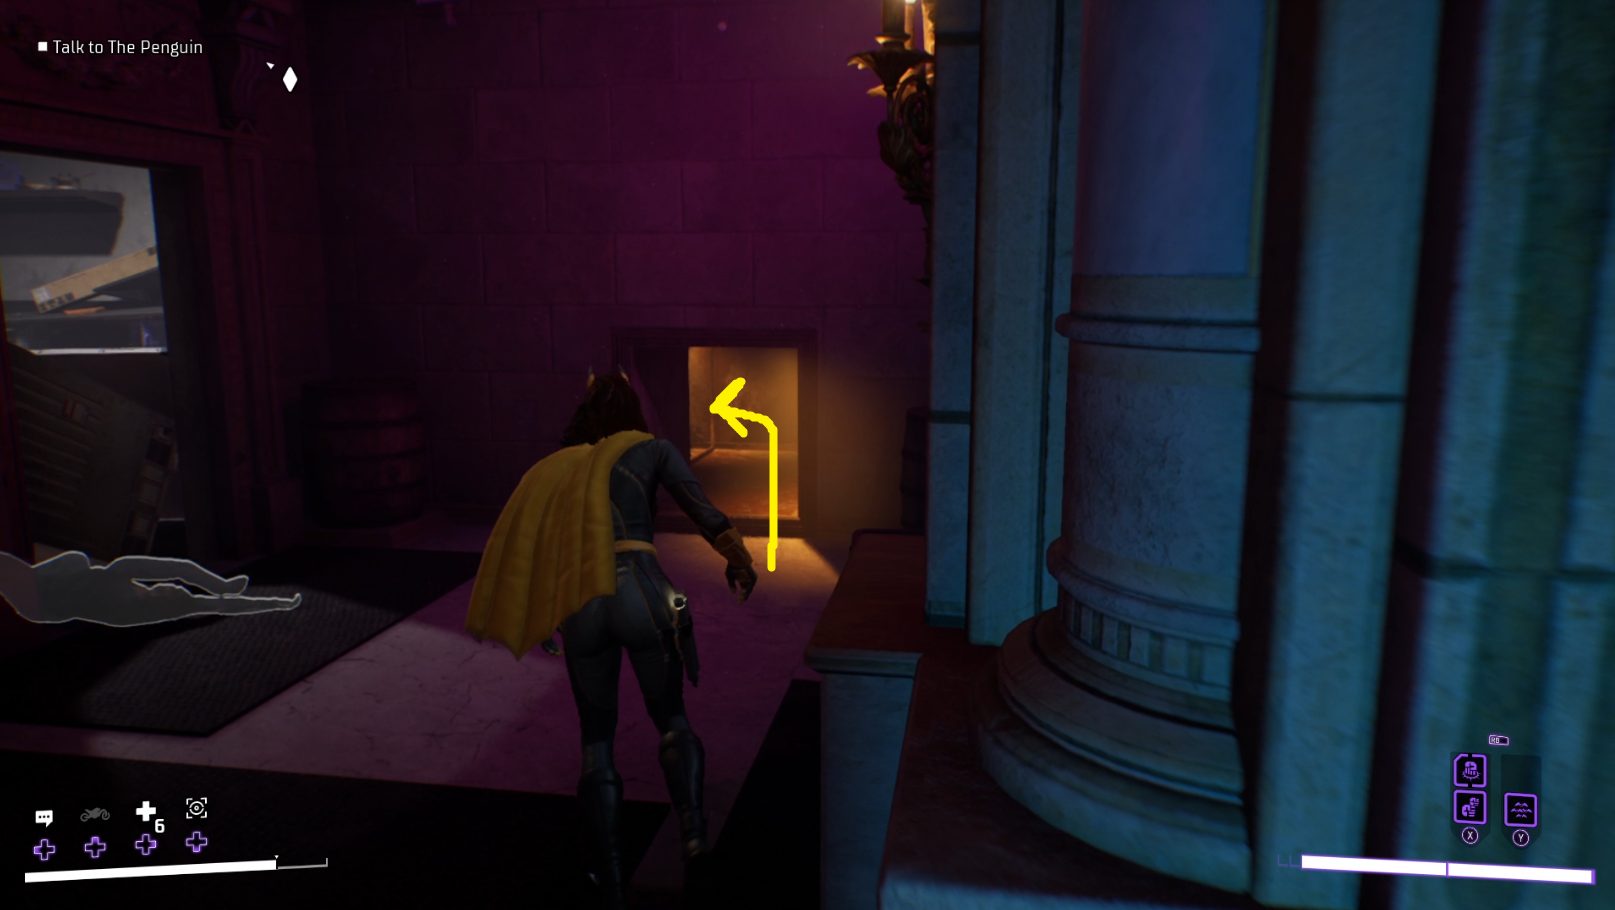
Once inside, head forward into the club, but ignore Penguin’s cries for help for now. Go down to the first floor, and head towards the room to the right of the bar (1). The doorway is blocked, but you can crouch (/ ) and crawl through the vent to the right of the doorway (2) — make your way into the room and open the chest, then head out the way you came in.
12
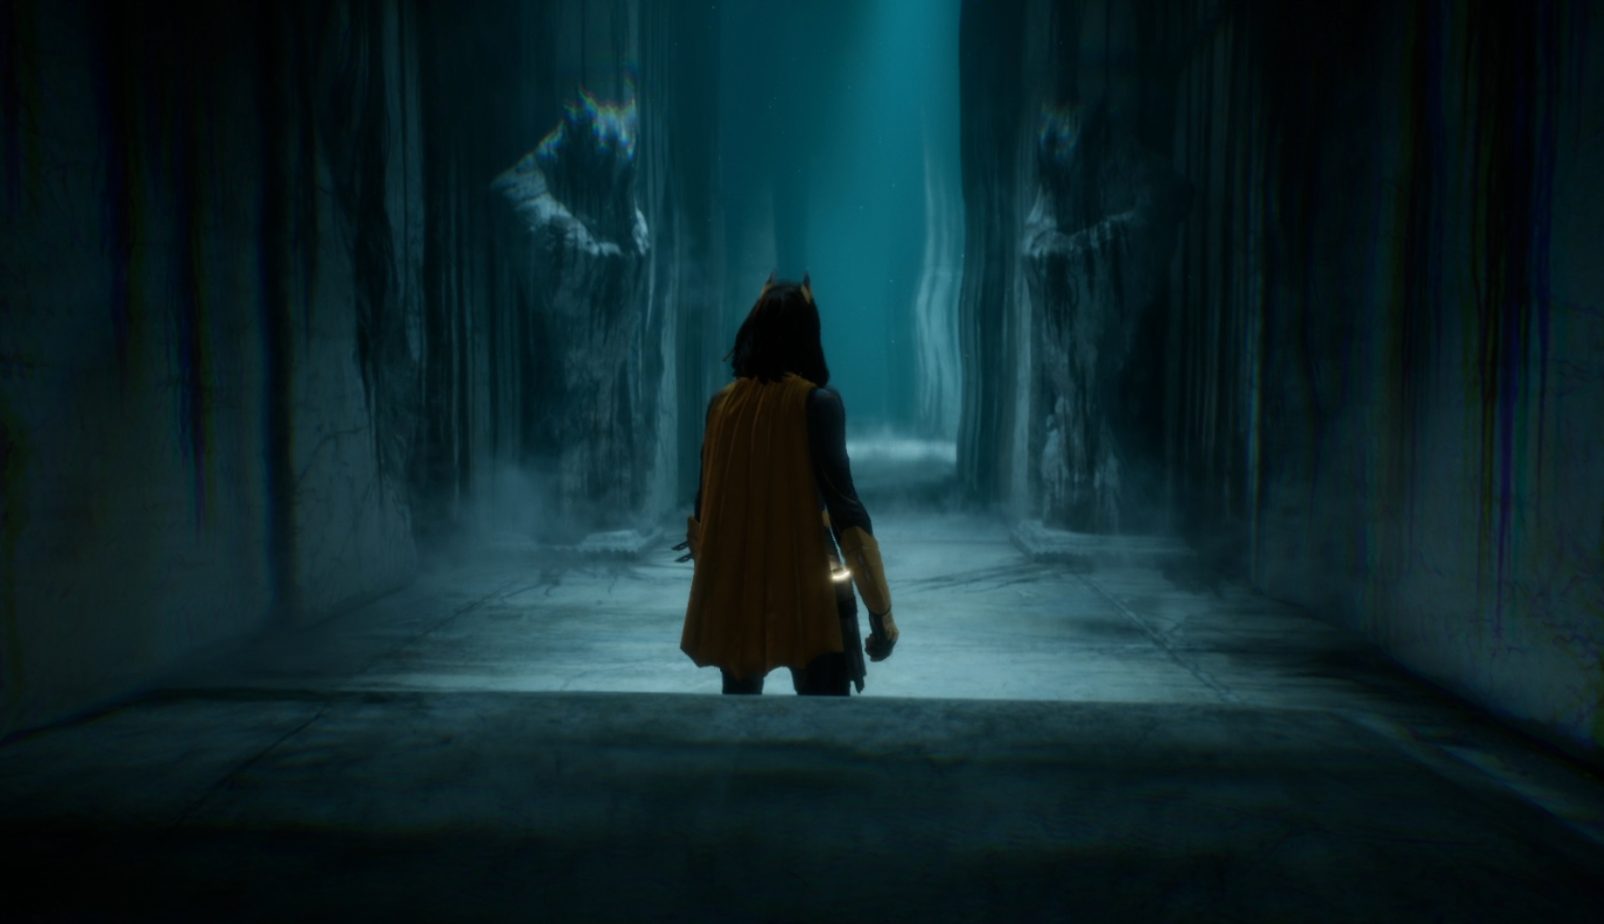
Go to the center of the club’s main room, then grapple up to the second floor where the objective marker indicates. Go into Penguin’s office, and you’ll find him pinned to the wall — approach him and a cutscene will play. When it finishes, you’ll find yourself in the Labyrinth. The Labyrinth seems like a maze, but as far as we can tell, you can’t actually get lost. If you die here, you’ll find yourself back at the “start” of the level, but it appears to somewhat save your progress. If you die, keep an eye out for traps while continuing forward again.
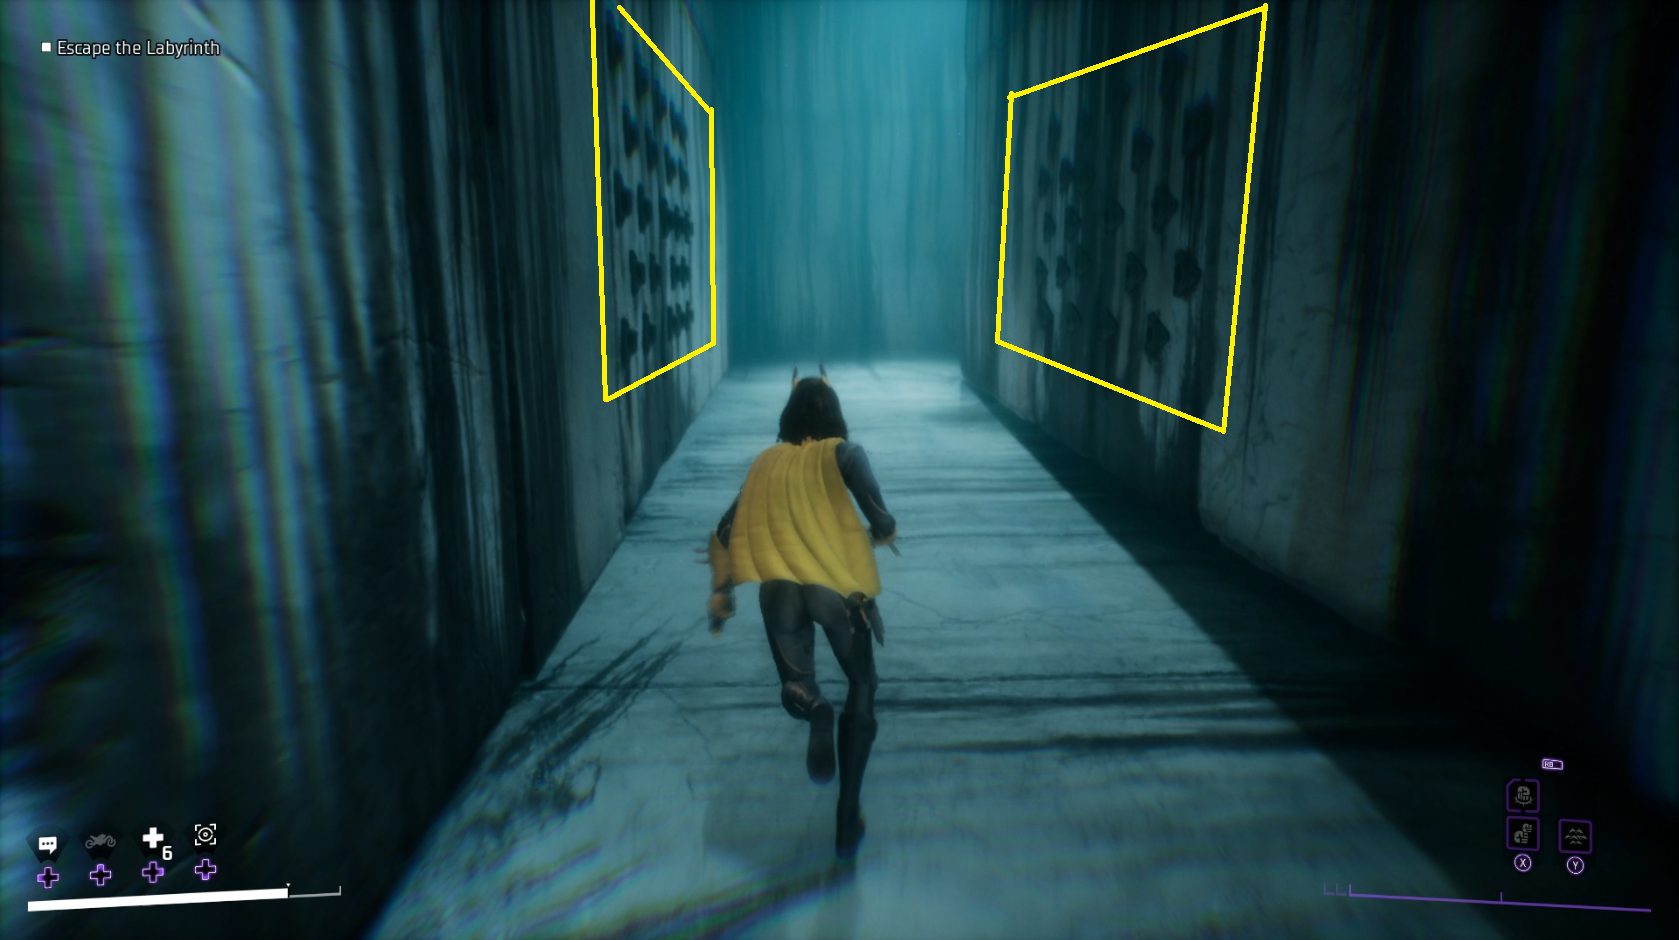
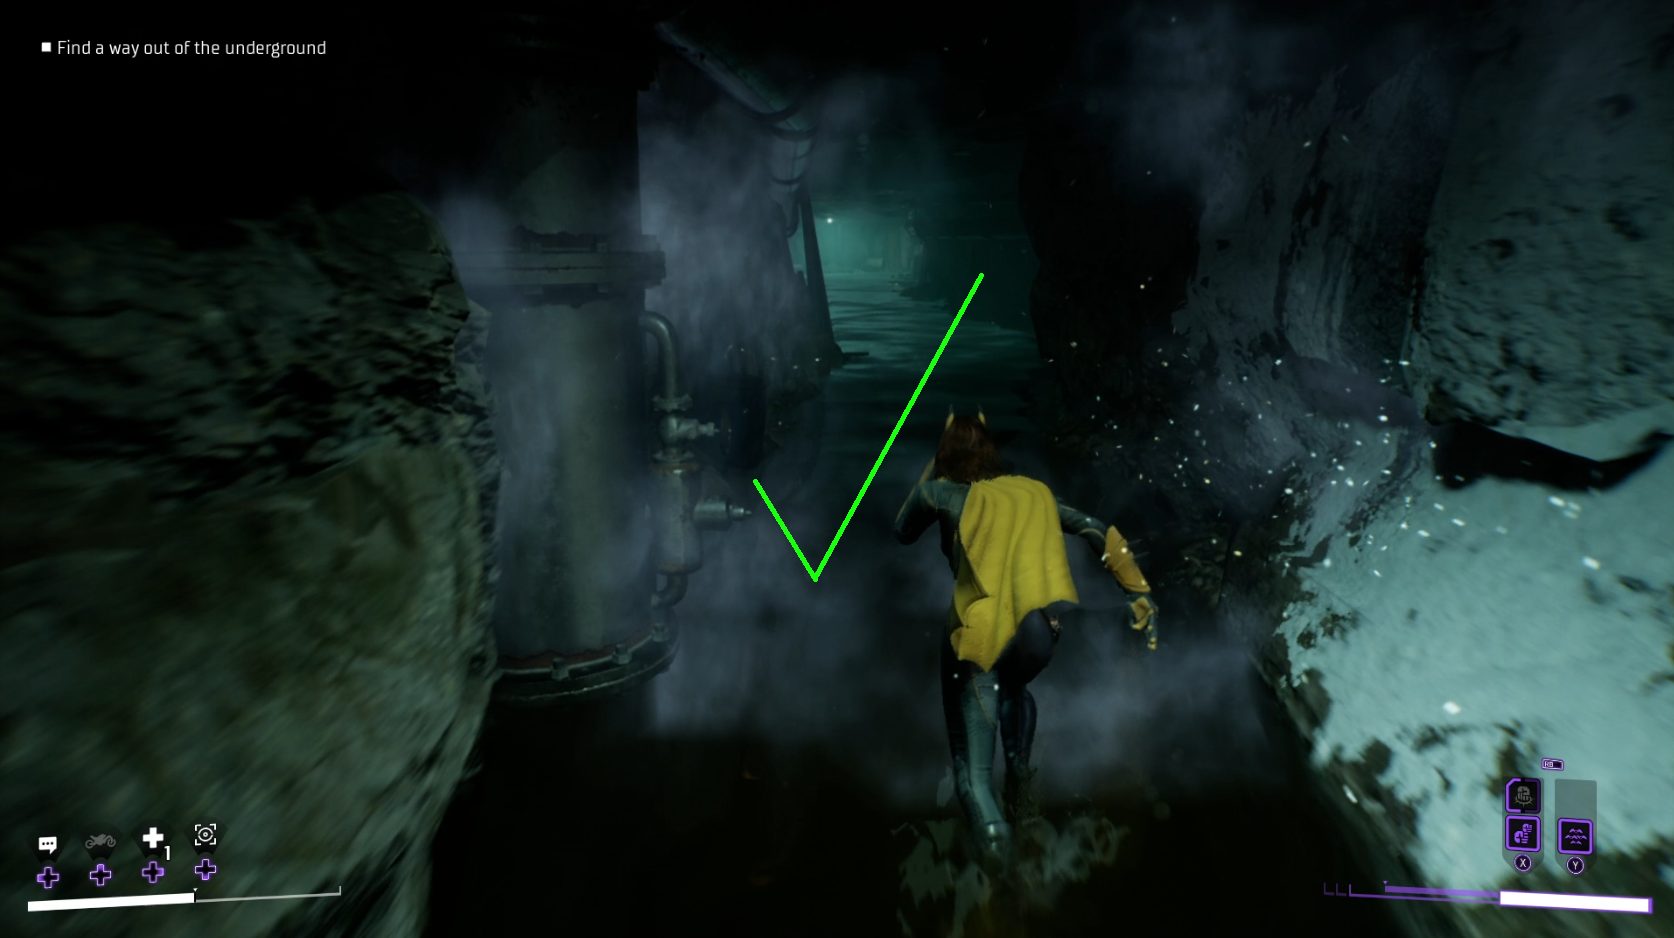
Walk forwards until you can run, then do so, but be careful! Around the corner will be a trap, easily spotted by the holes in the walls. Crouch (/ ) and you’ll be able to pass the spikes safely. This trap will show up a few times, so keep an eye out for it any time you round a corner.
See this? Time to duck
The next trap you’ll encounter will be a room full of spinning blades — again, crouch as you move through it, following the rotating blades as they move away from you to safely cross the room.
After this trap, continue until you hit a dead end, then go back the way you came. Instead of finding the previous trap, you’ll find a new trap with some flames on the ceiling. To avoid getting crispy, don’t walk on areas of the floor that have black scorch marks. Go to either far corner of the room to find a hallway that lets you continue deeper into the Labyrinth.
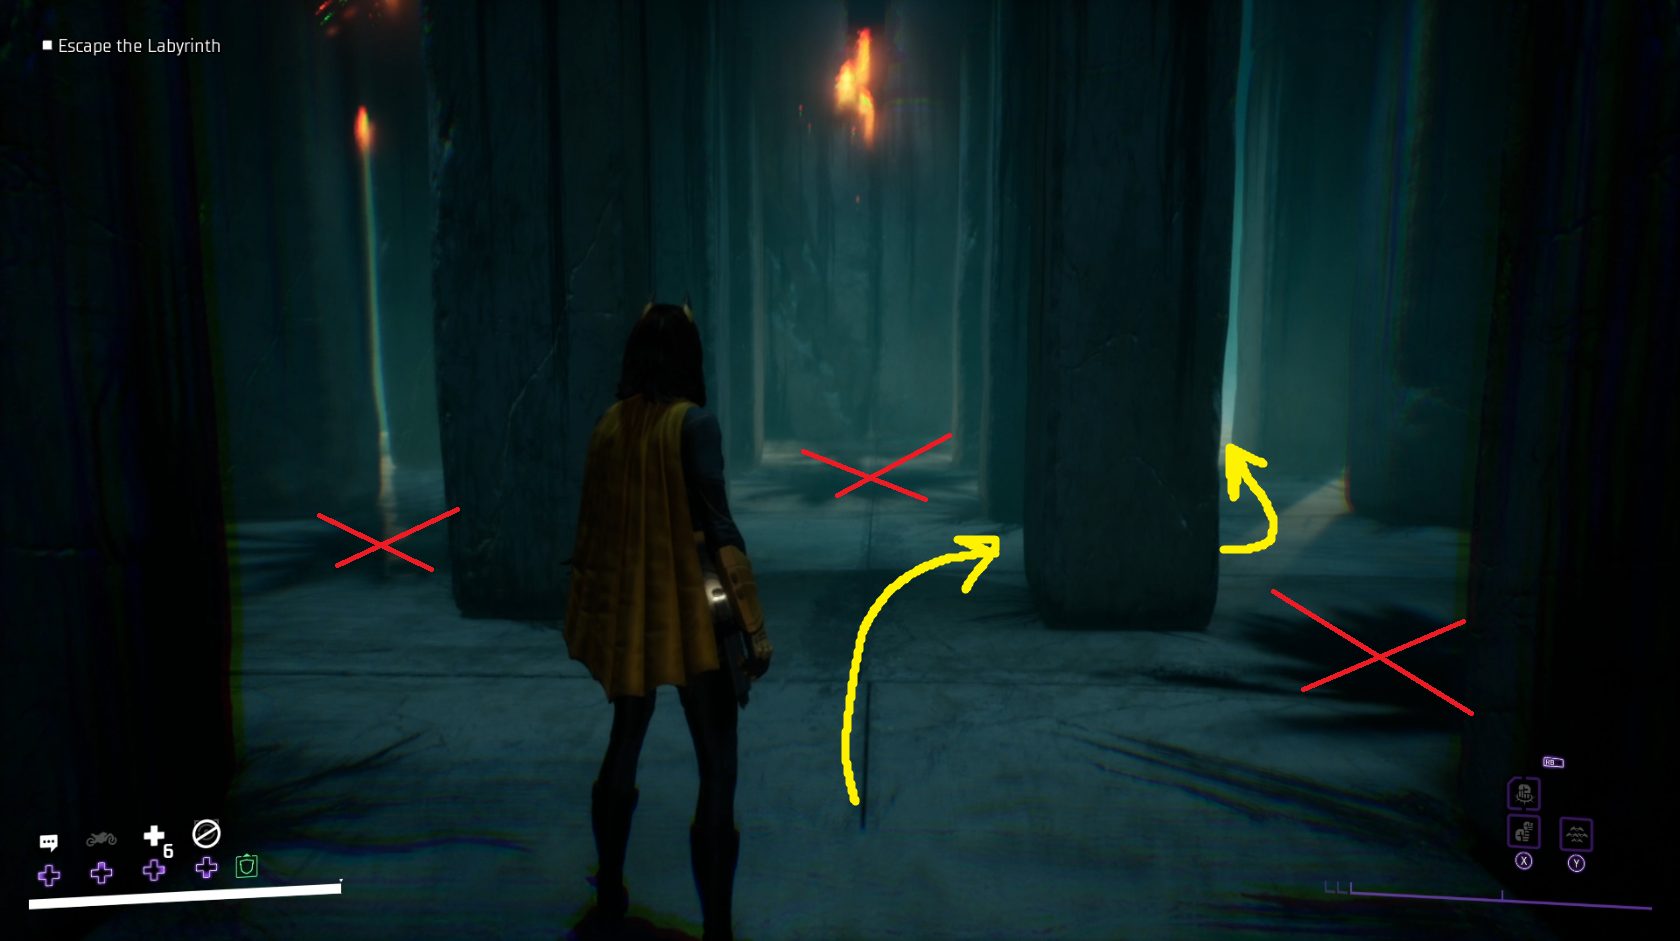
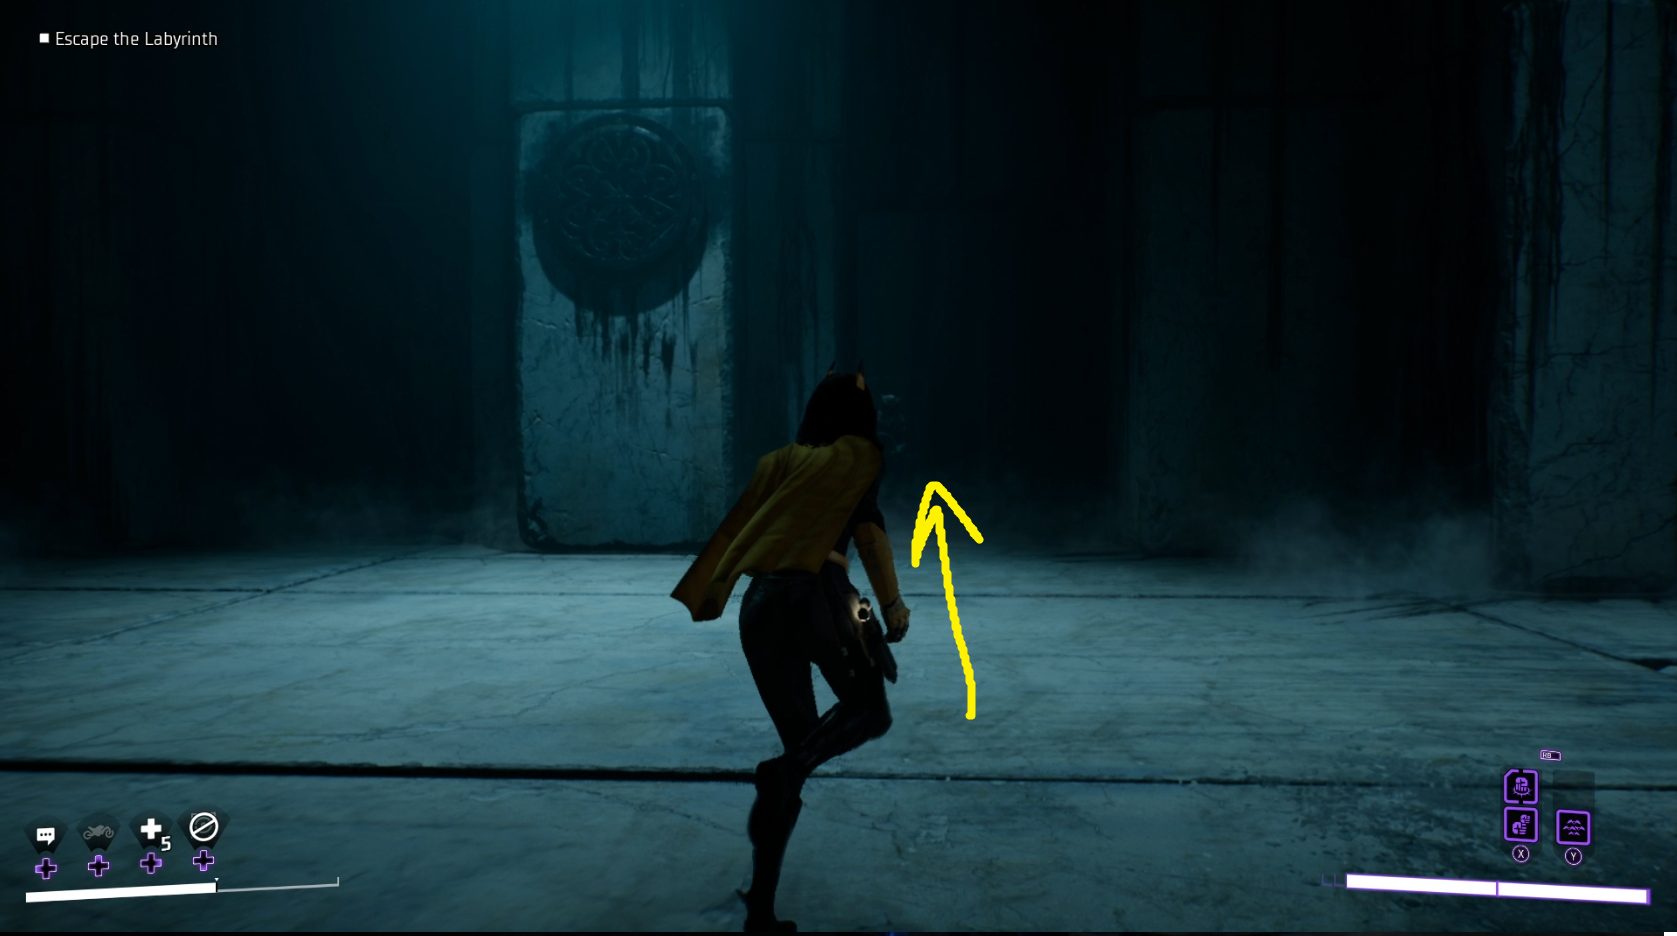
You’ll start to hear some demoralizing commentary from Batman (RIP), then come across a disturbing scene. Continue past it by going left or right, being careful not to run into spike traps as you round the corners. At each new scene, go left or right and keep going forwards. Eventually, you’ll come to a door — it will tease you a few times, but eventually you’ll be able to open it and go through.
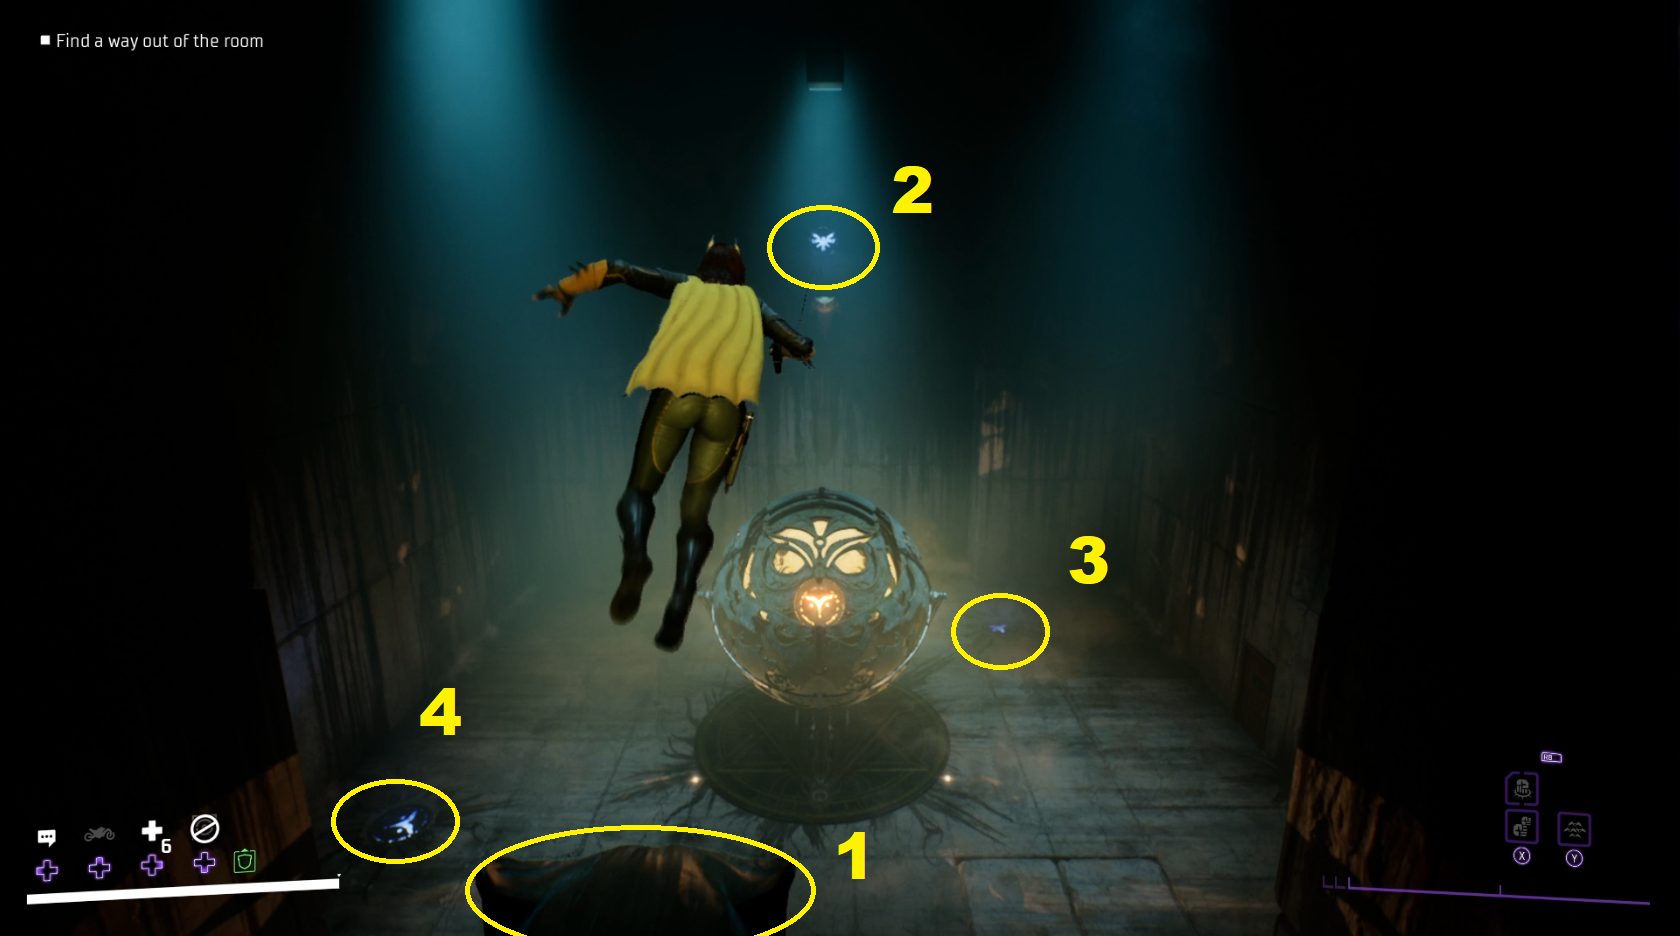
In the next room is an environmental puzzle you need to solve to progress — messing up the puzzle means fighting a couple of Talons, so examine the room carefully before touching anything.
There are four switches that you can activate simply by standing on them — two on the floor, and two high on the wall on either side of the room. The floor ones can simply be stepped on, while the two on the walls need to be grappled to (perching on the object you can grapple to will activate the switch). Activate all the switches fast enough, and the way forward will open.
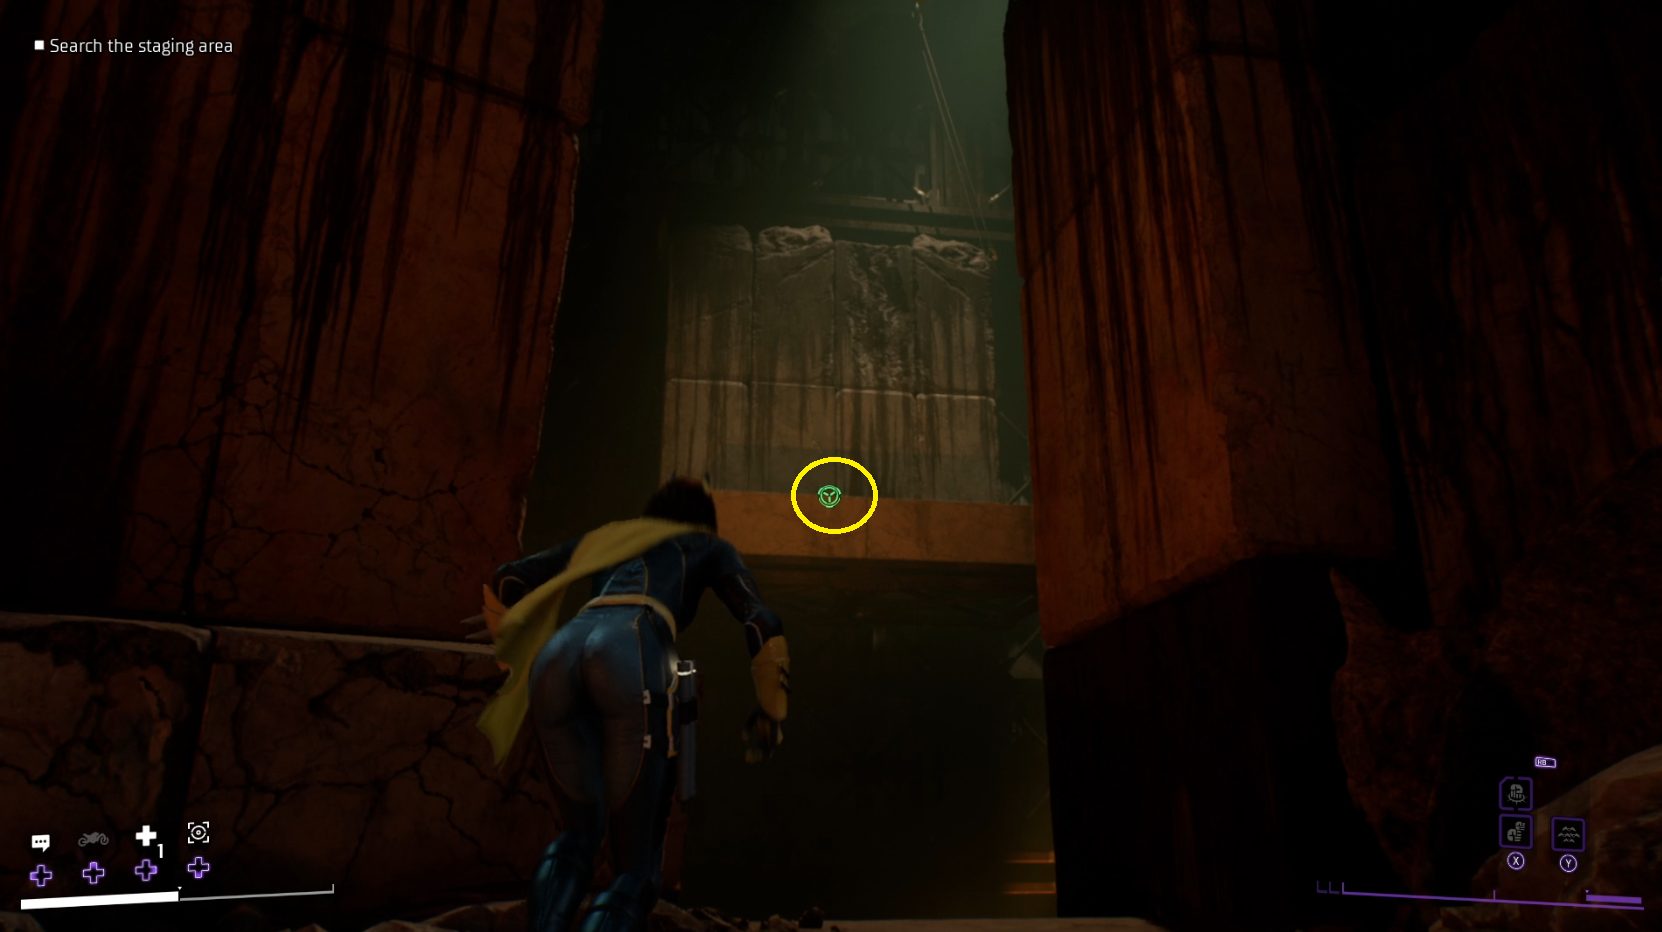
Once you’ve solved the puzzle, the orb in the center of the room will shine its spotlight on a set of red double doors — head to them and go through (// ). Go left or right past the statue and around the corner, and in the next room you’ll have to defeat a few Talons. After defeating all of them, a passage will open to either side of the circular metal grate on the wall, and you can continue forward.
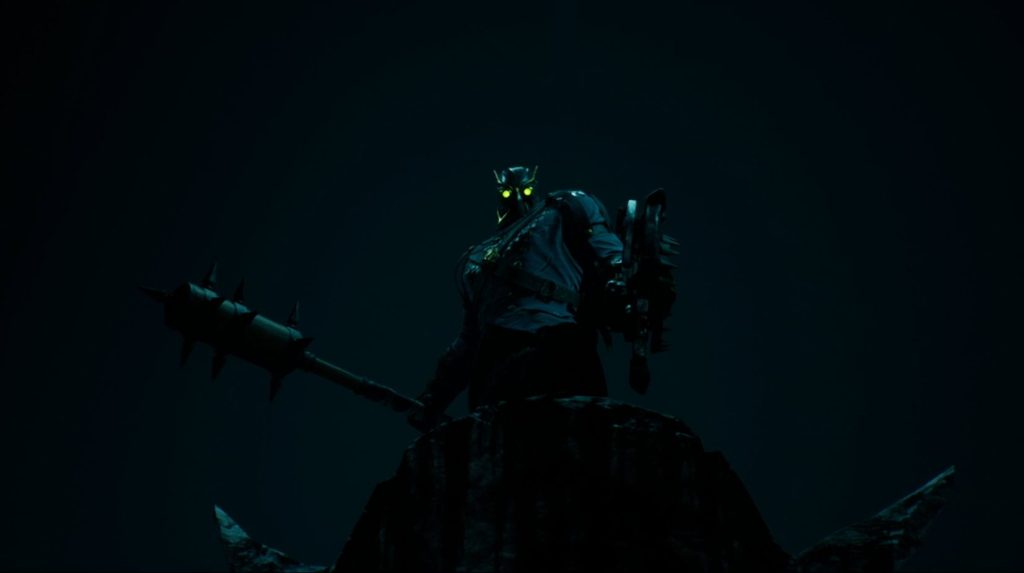
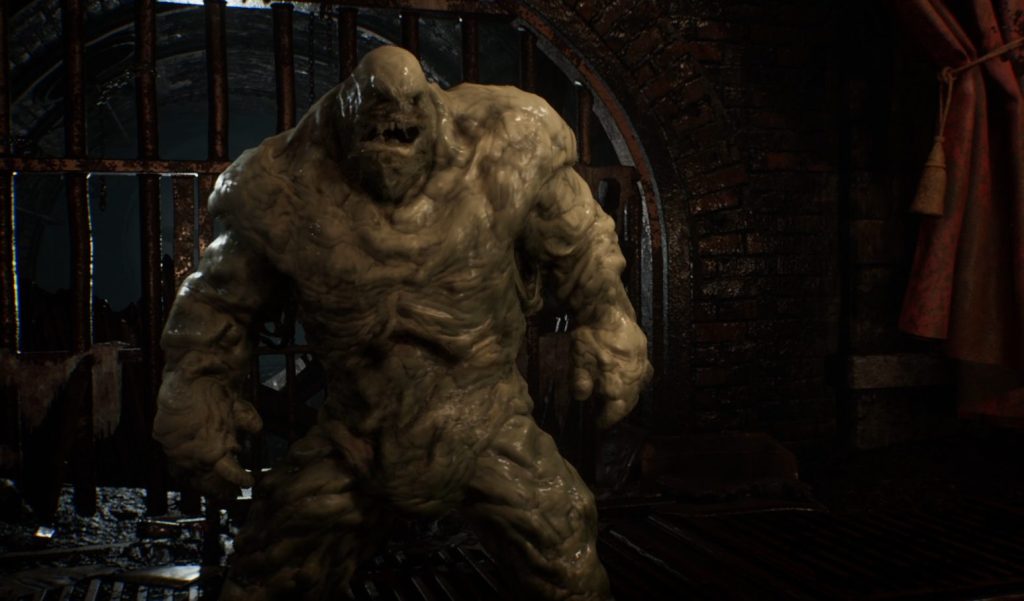
Once again, you’ll be able to go left or right around the corner to proceed, and in the next area you will once again need to fight some Talons. In this room, you can also earn bonus rewards for using Momentum Abilities to defeat your foes. When the last one goes down, a passage forward will open, and you can again make your way left or right into the next area. A cutscene will play once you get far enough, and then you’ll face off against your first Gladiator Talon. This foe will often block your attacks, so make sure you hold the melee attack button (//) to do a heavy melee attack any time you see the shield icon (assuming it’s safe to attack).
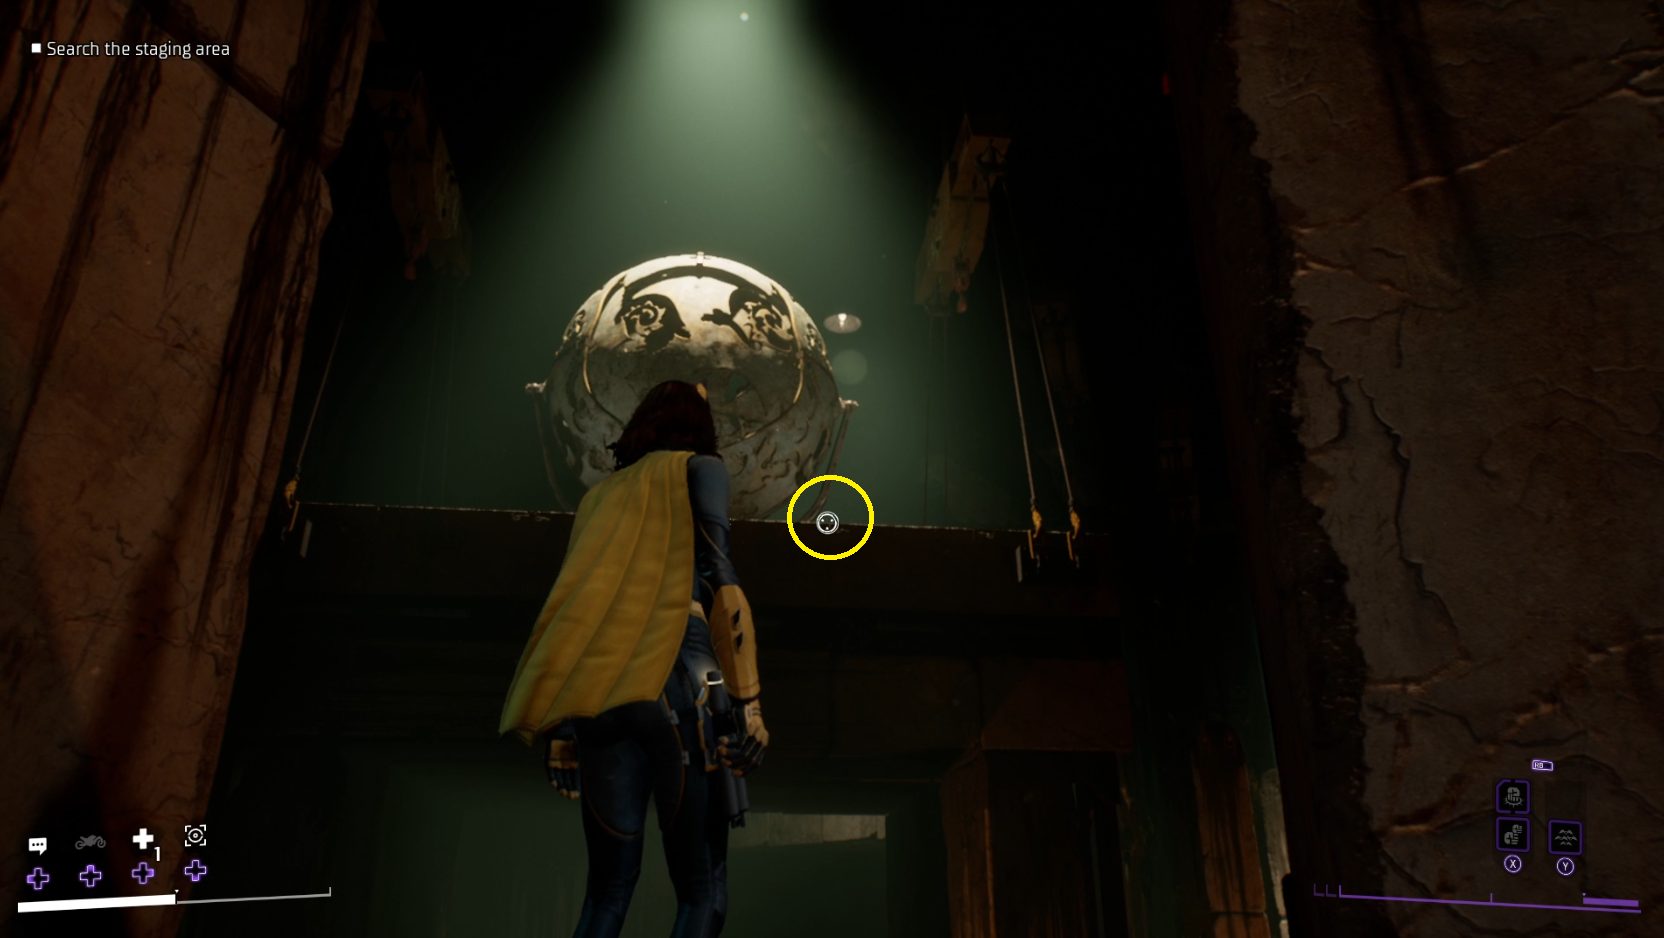
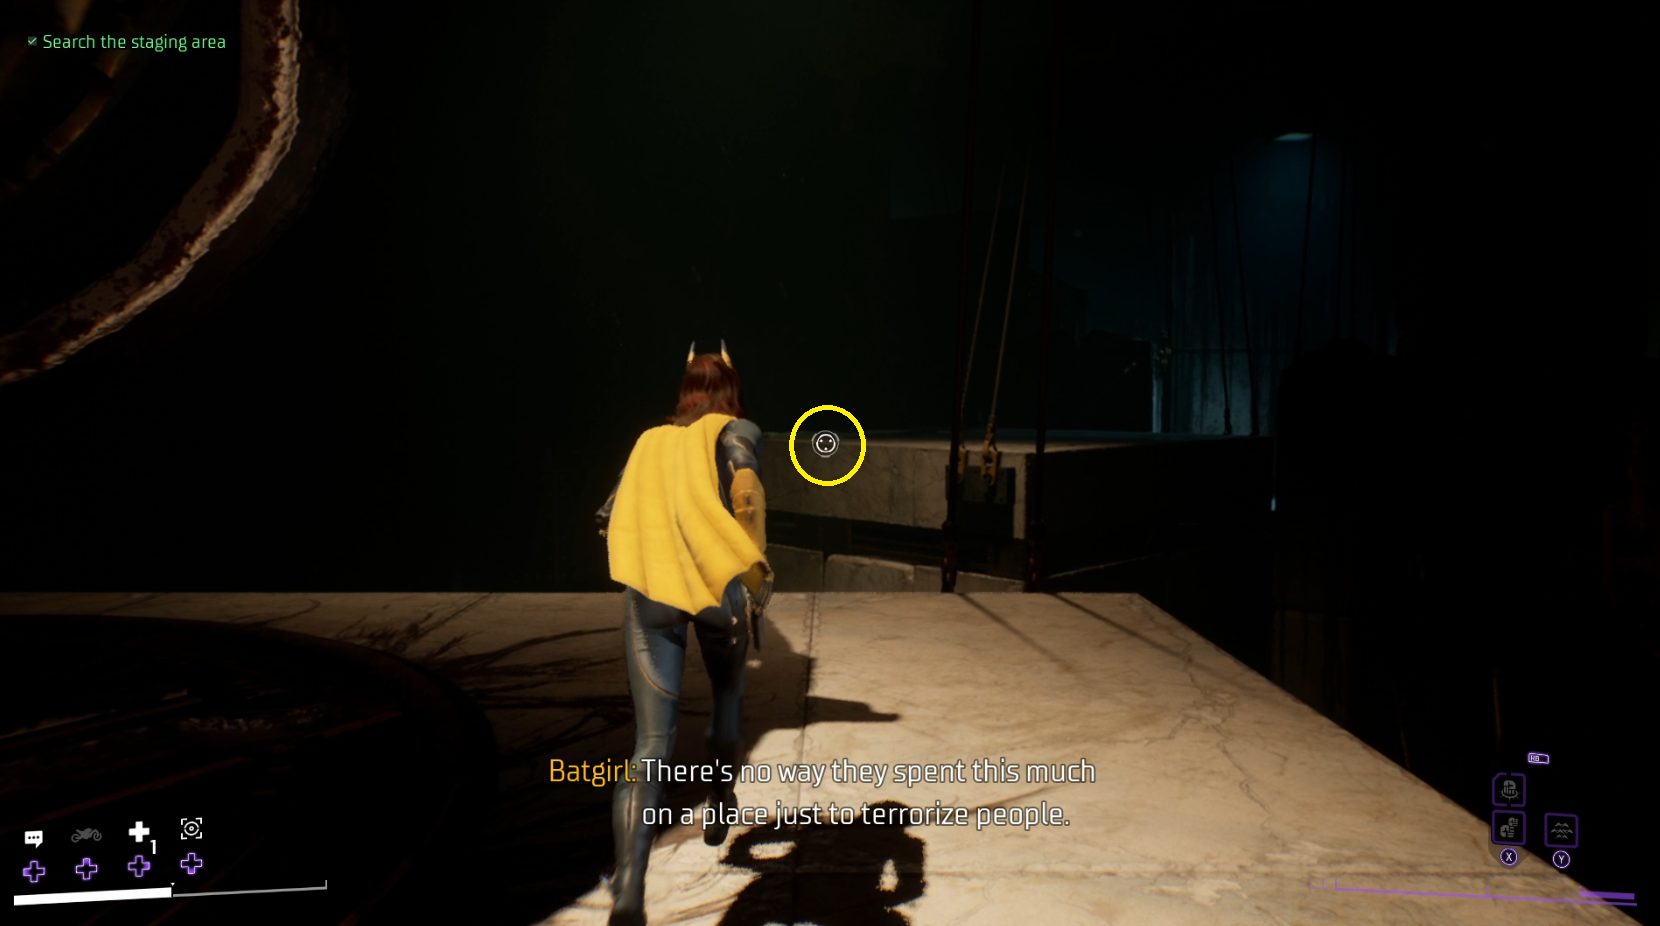
After defeating the Gladiator Talon, the statue that falls in the cutscene will create a hole in the floor. Drop down through it, then grapple to the nearby platform (1). Then turn right and grapple to the next platform, and then run forwards and grapple once more to the subsequent platform. Here you’ll need to turn around, and then grapple up to the platform with the large orb on it (2). Run to the other side of this platform and grapple forwards yet again (3), then one more grapple in this direction will take you to a platform with a chest (4).
1234
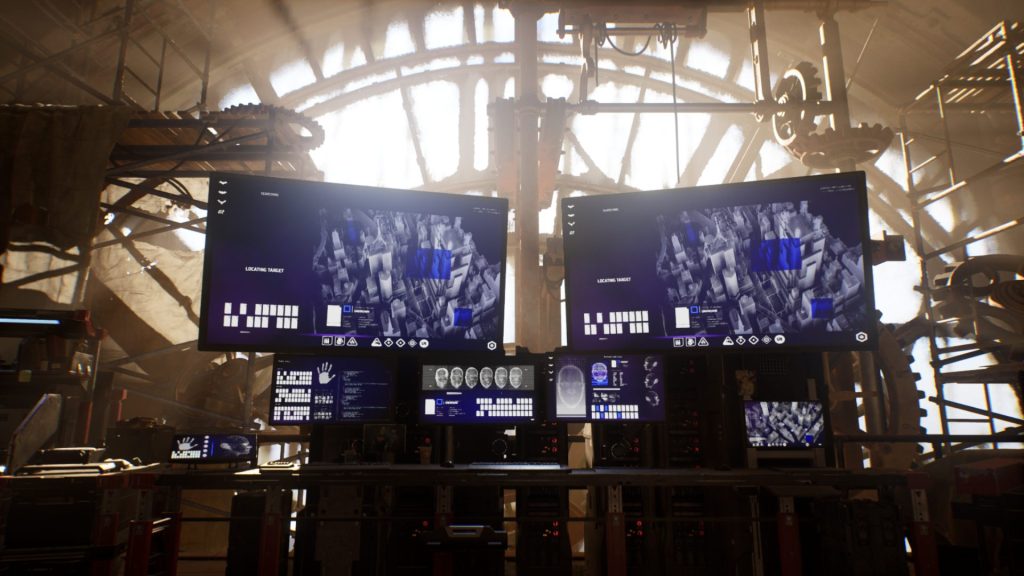
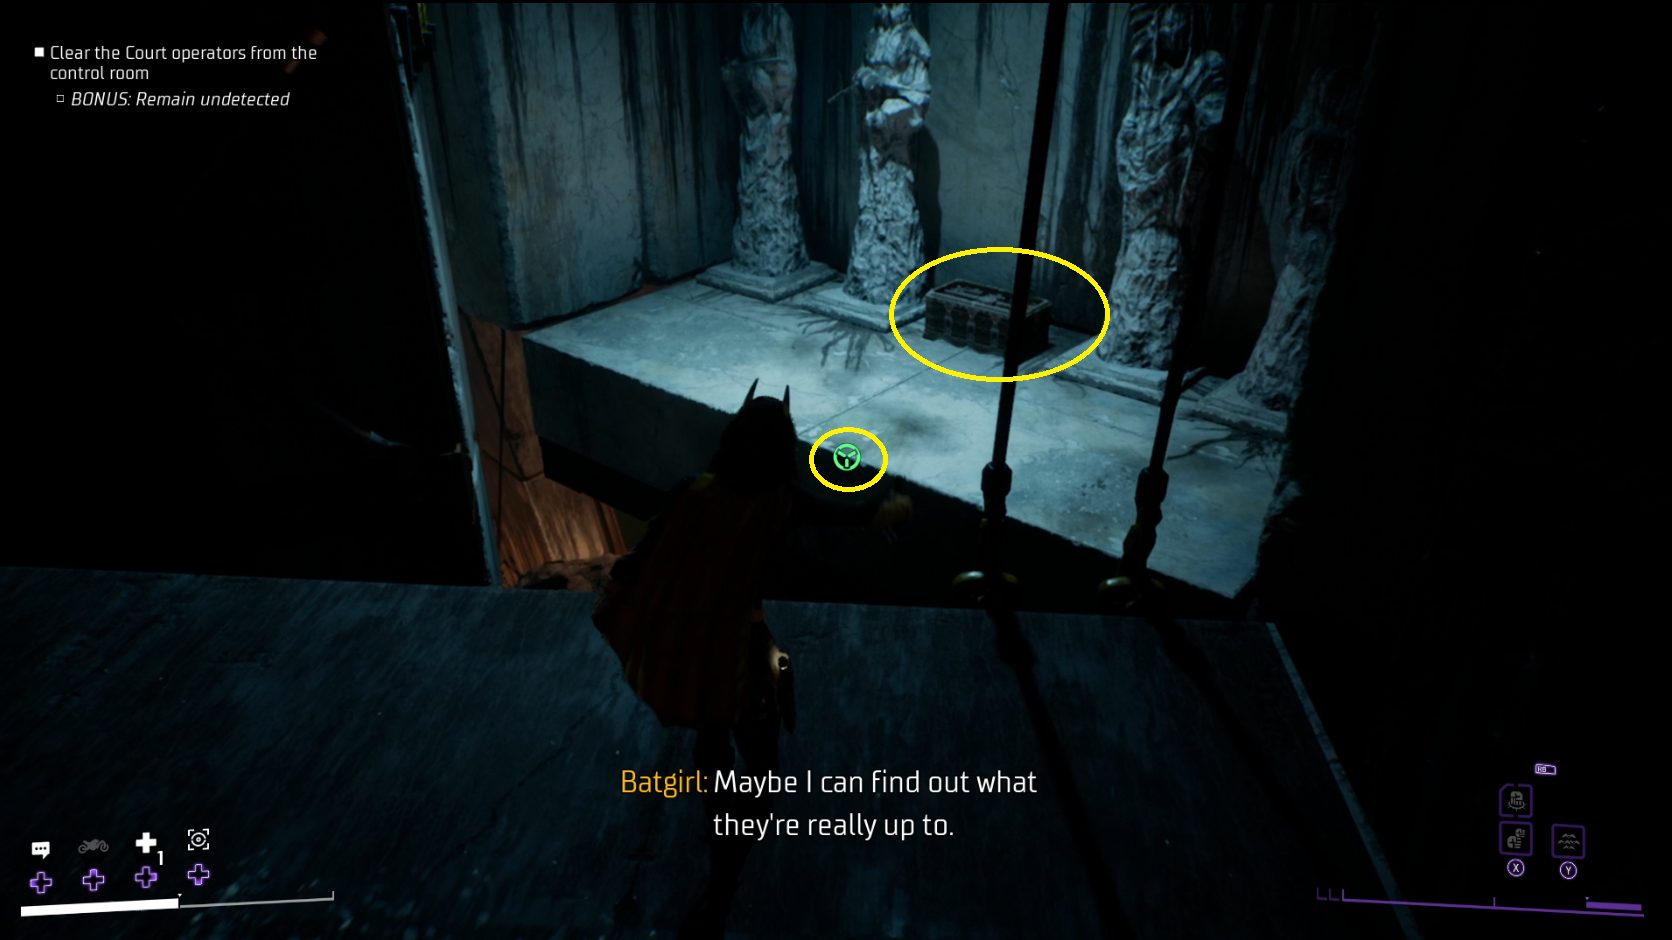
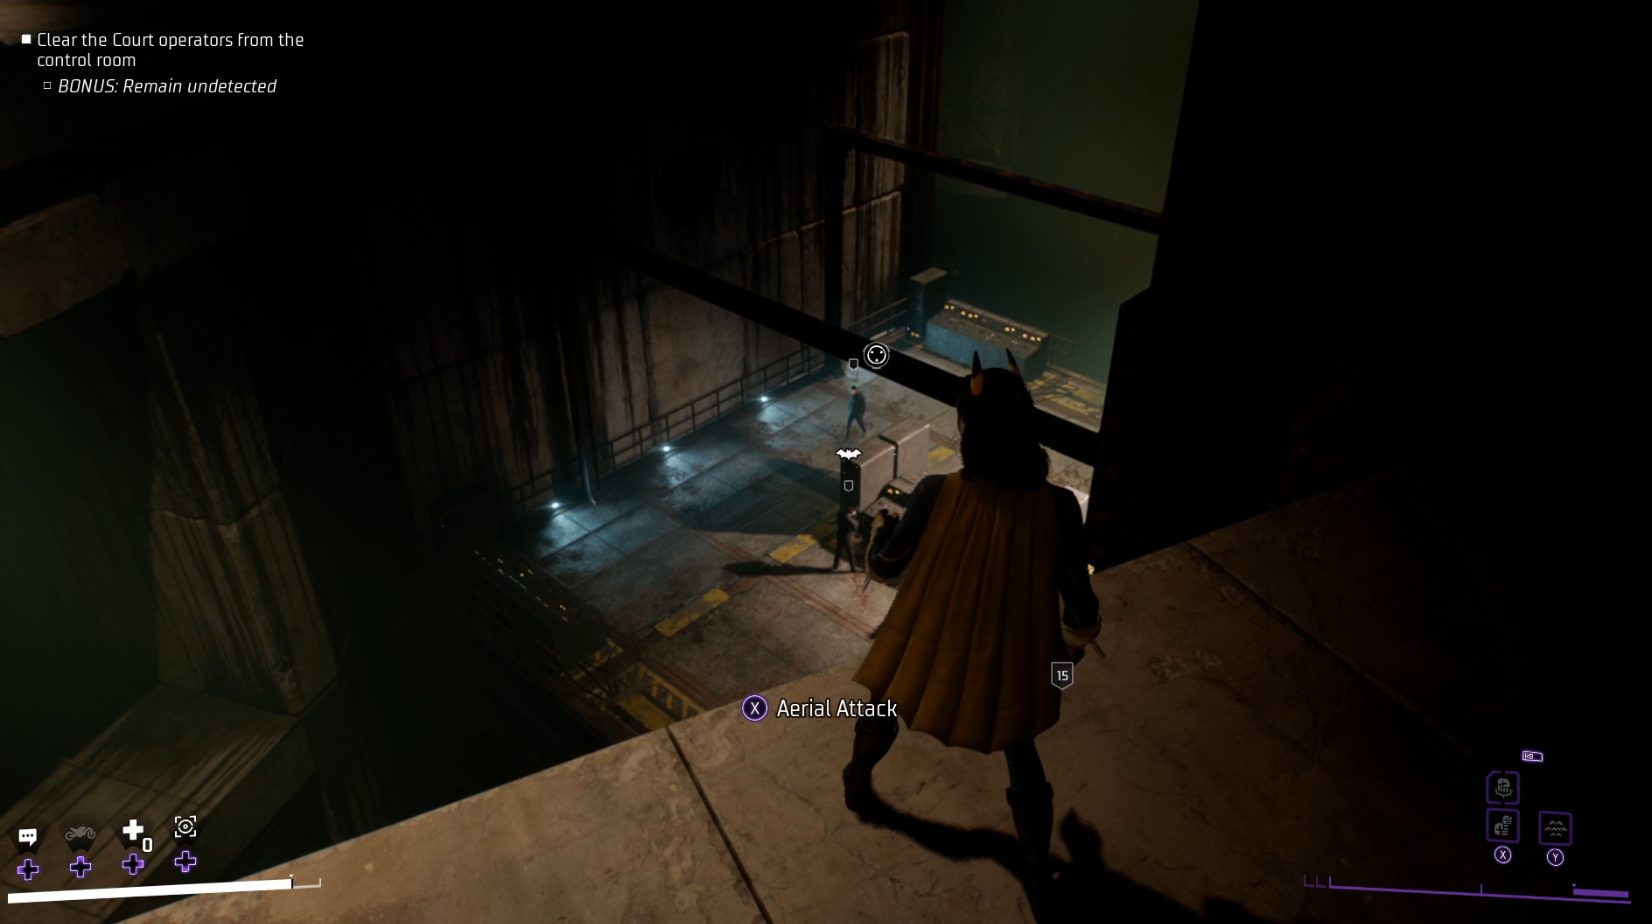
Once you’ve opened the chest, grapple back to the platform you just came from, then go to the other side of it and look down — you should see a group of Court operators near some control panels (1). You’ll need to defeat them, so note that you can grapple to the beams above them to make stealth takedowns easier — remaining undetected will grant you some bonus rewards. The other benefit of remaining undetected here is that you won’t have to fight any Talons, who will spawn if you get spotted.
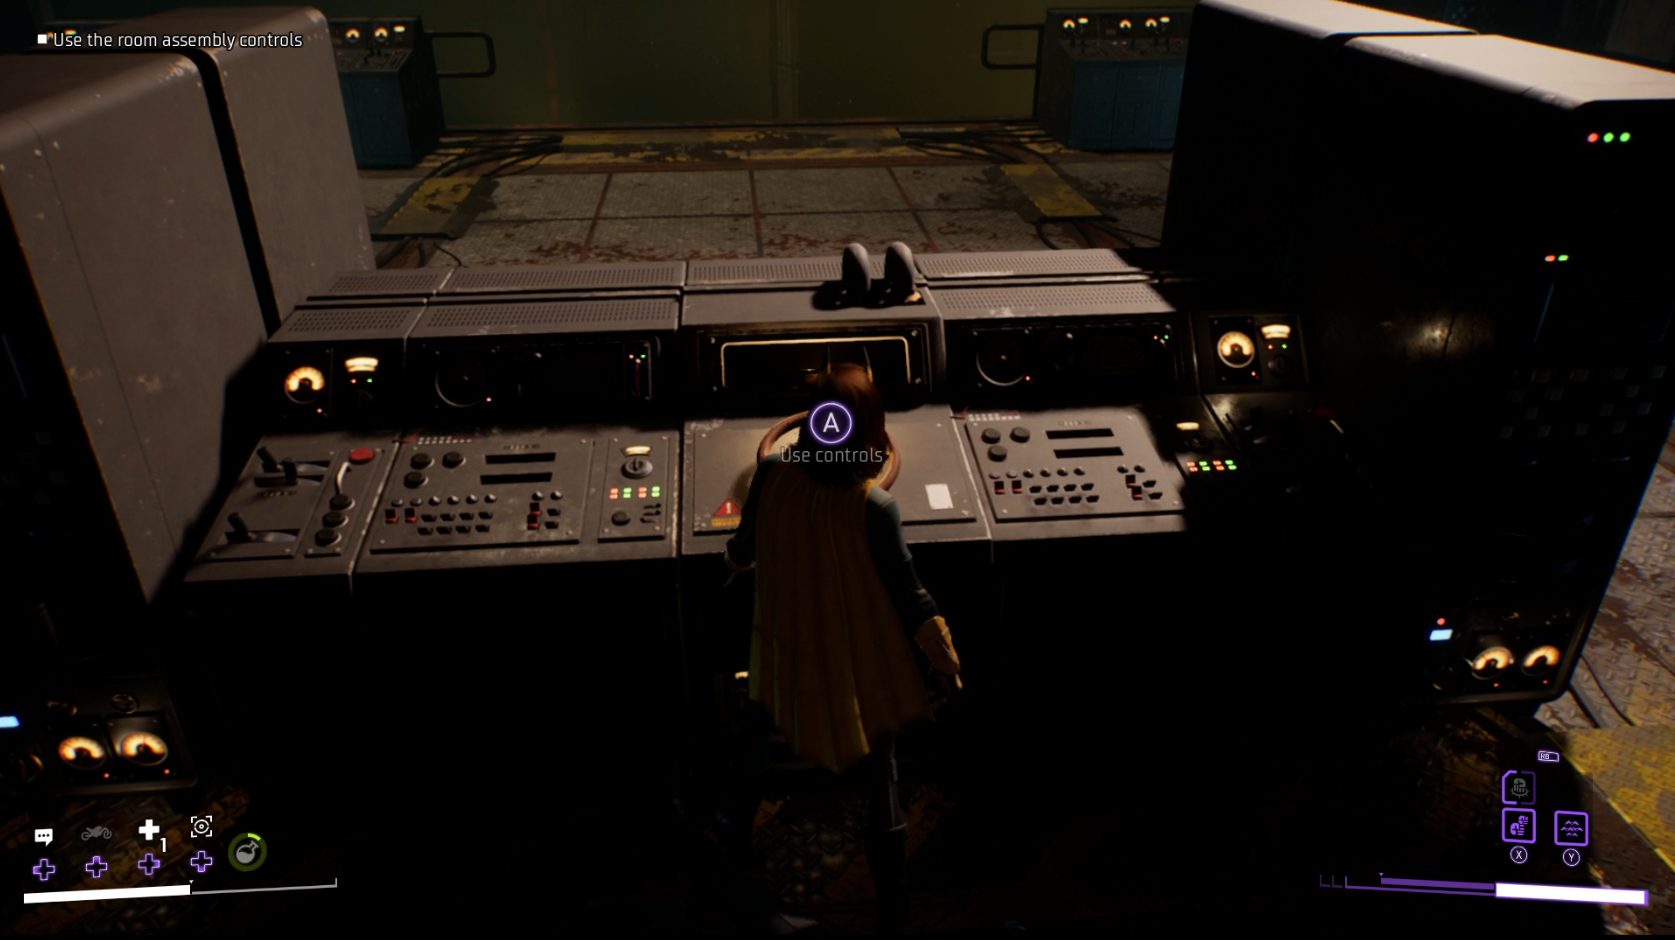
With all the enemies here defeated, you’ll be able to use the room assembly controls by holding // while standing in front of the wheel (2).
12
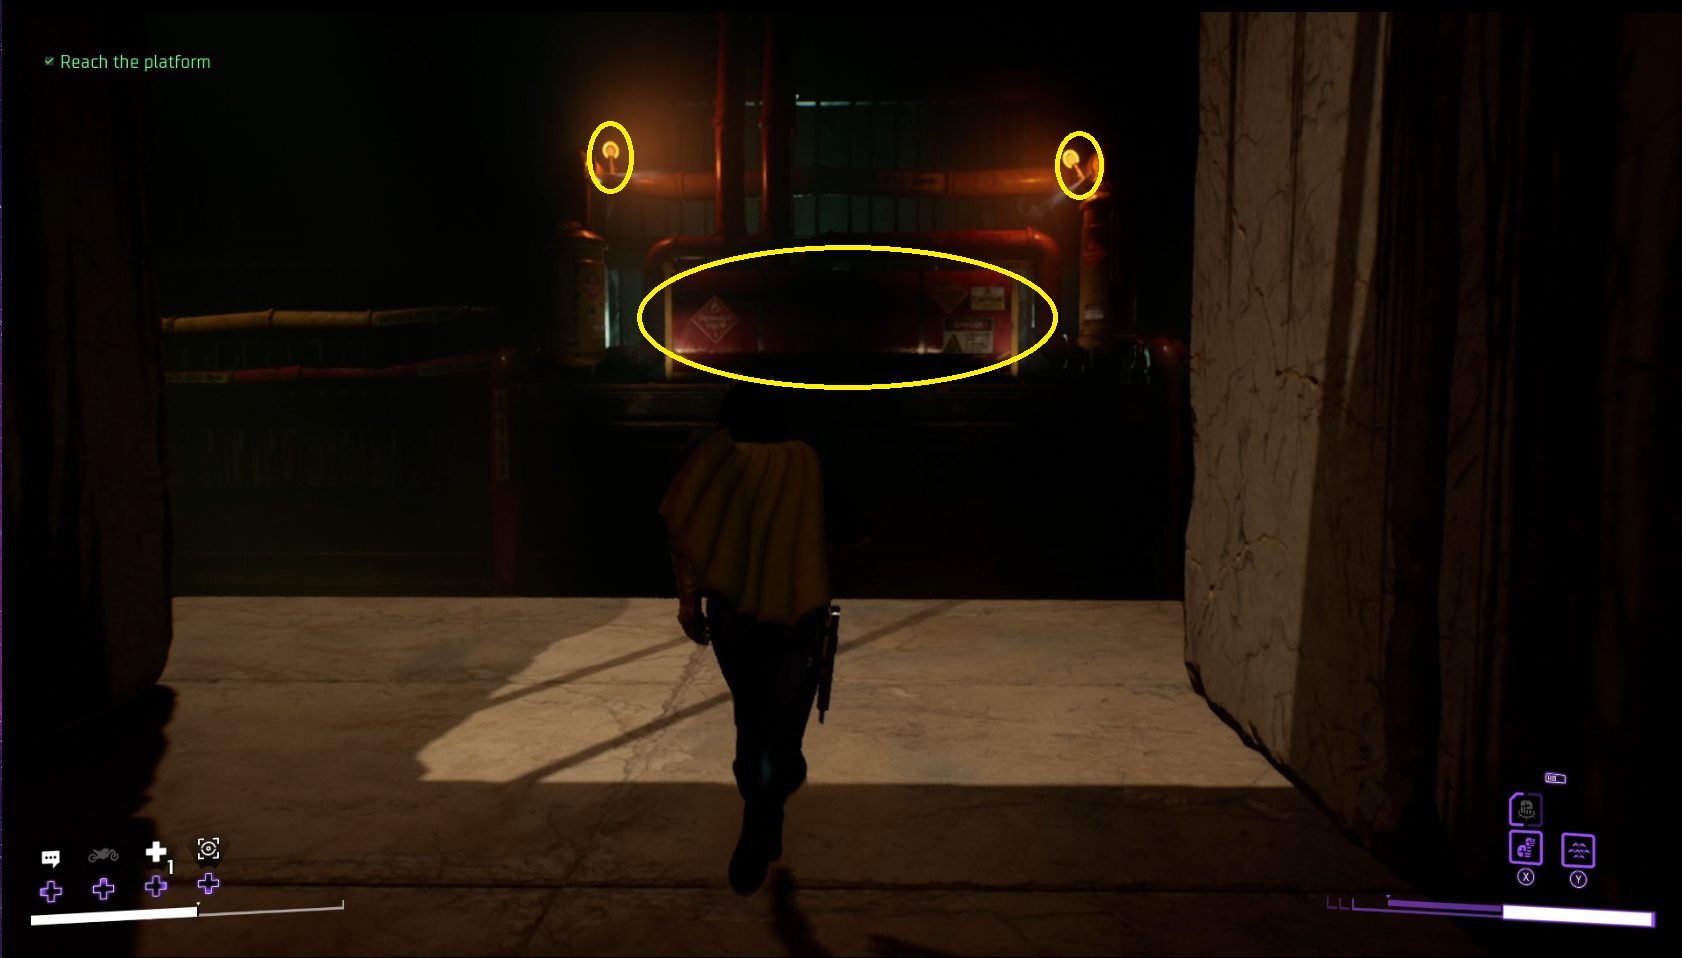
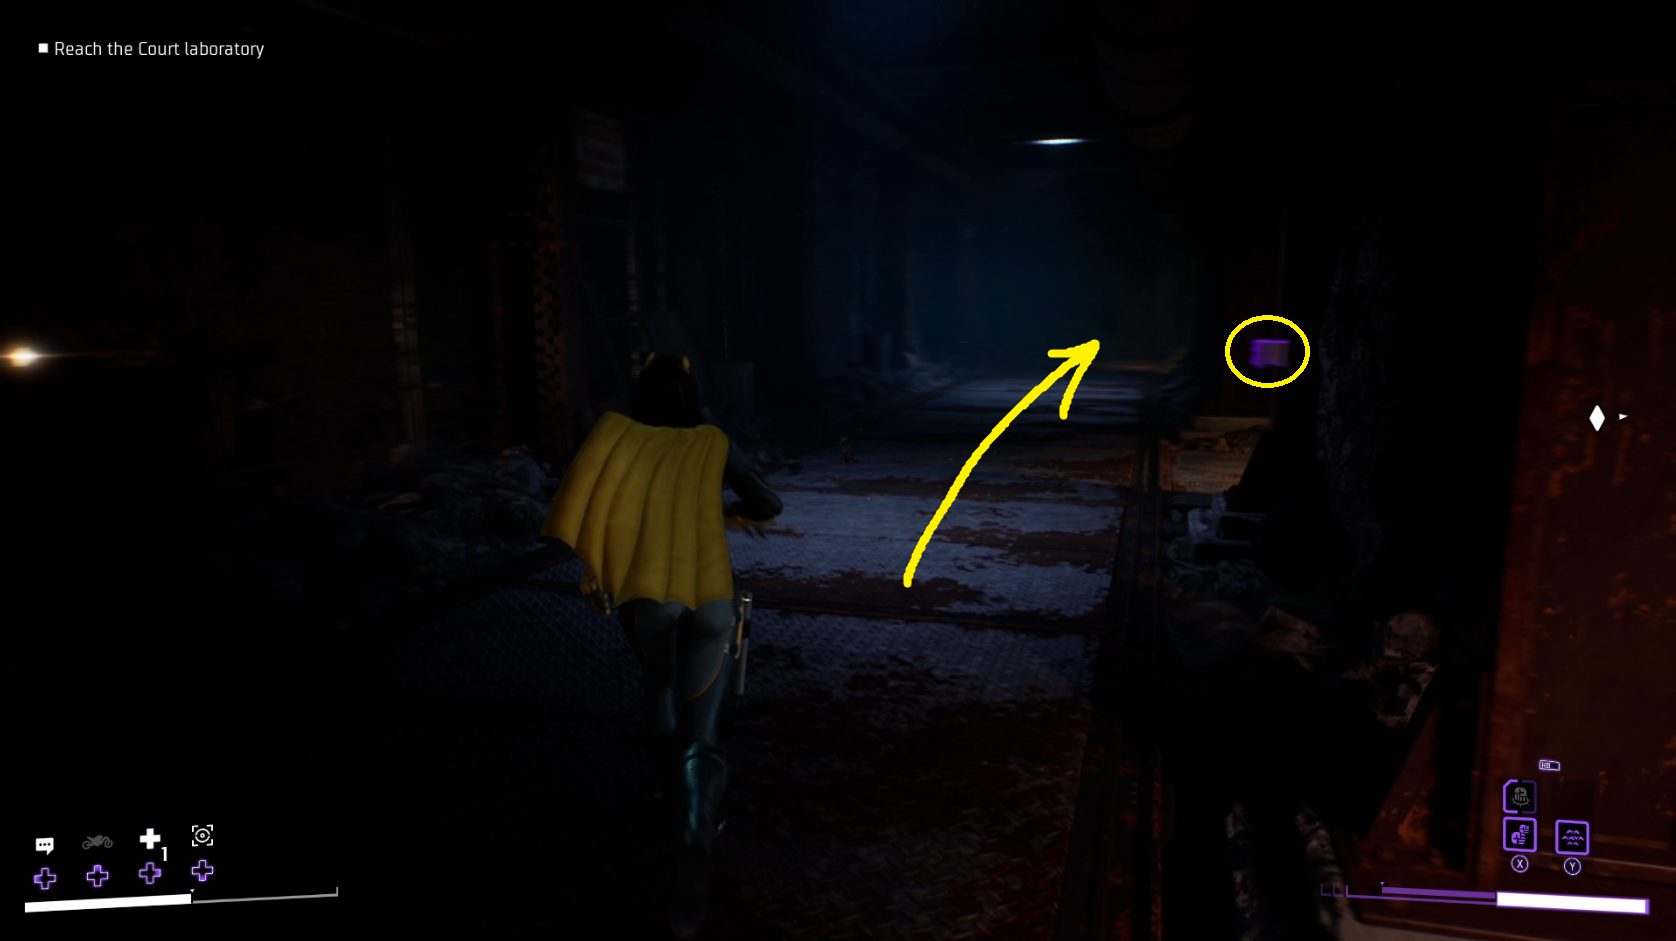
Doing so will create a way forwards — follow the objective marker and grapple to the platform. Walk to the other side of it, and you’ll be prompted to scan the fuel tank. After scanning the tank, you’ll need to hit both fuel nozzles with a ranged attack. Hold /to aim, and then press /to fire.
The tank and nozzles are circled
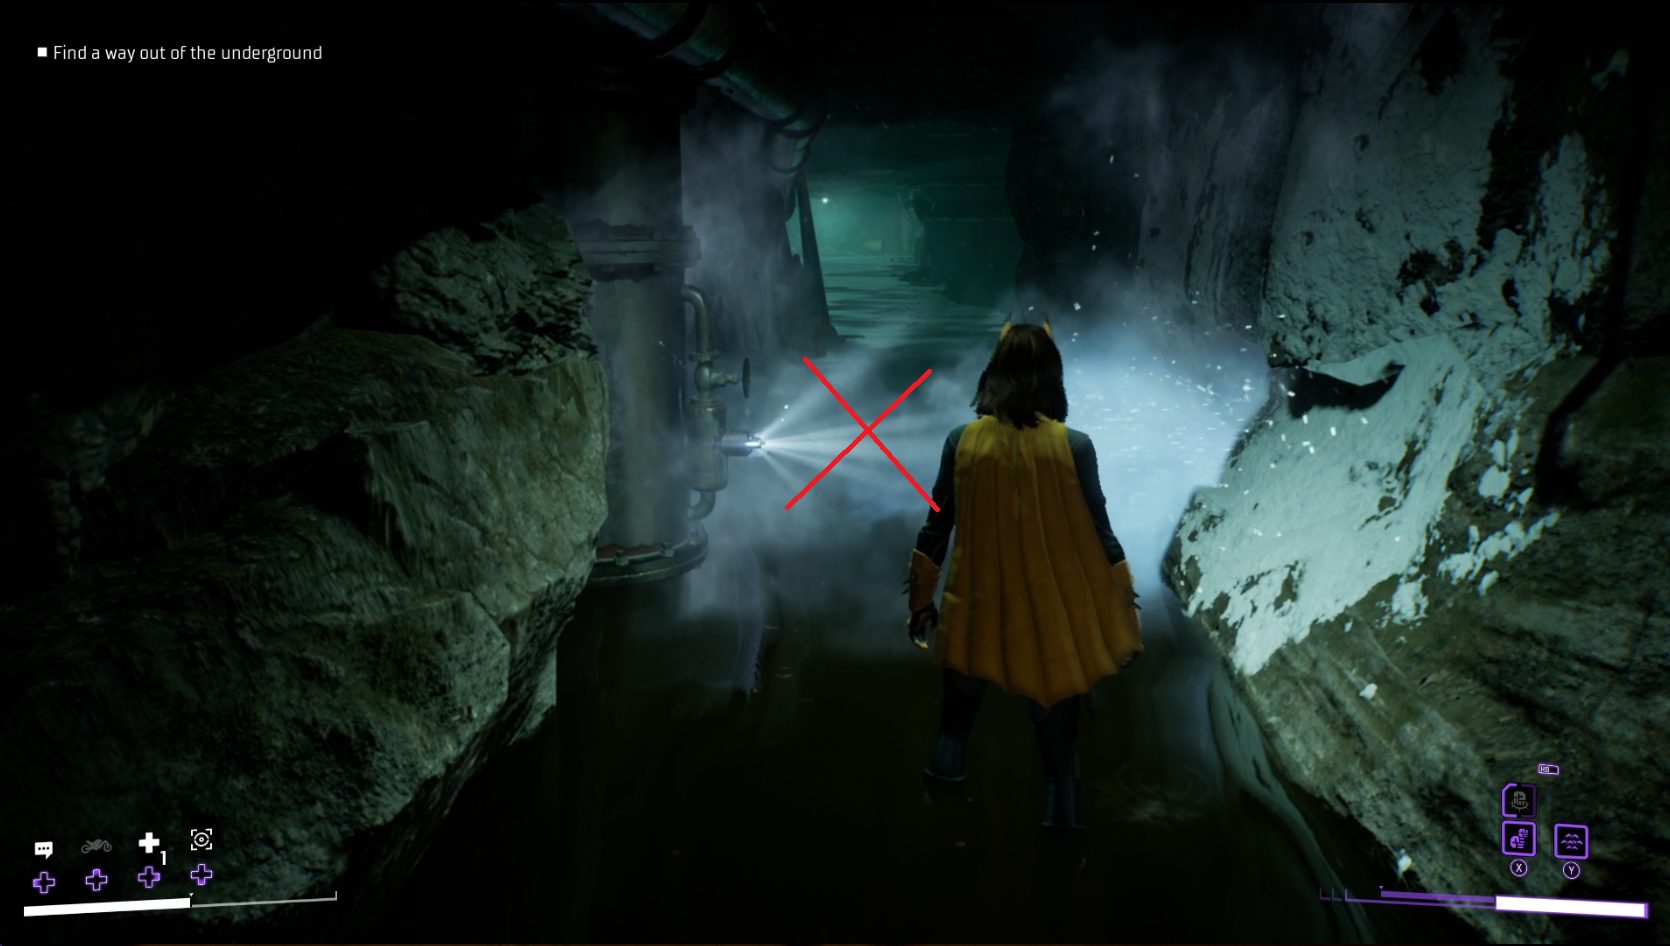
Destroying the tank will create a path forwards, so grapple towards the objective marker, then jump down into the hole just beyond where the fuel tank exploded. Head forward and you’ll see two paths on your right — either is fine, but make sure you wait for the freezing mist to subside before running past.
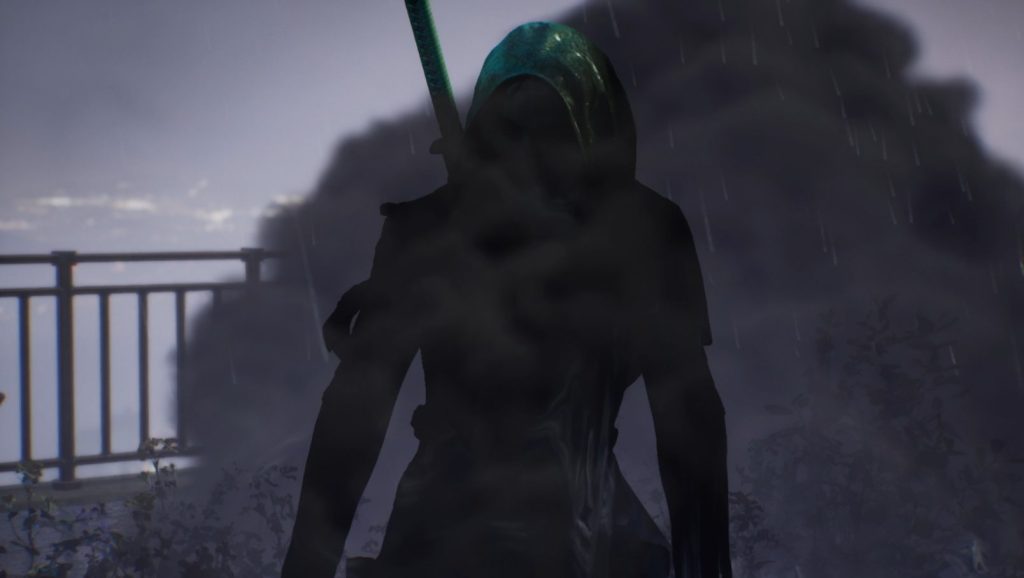
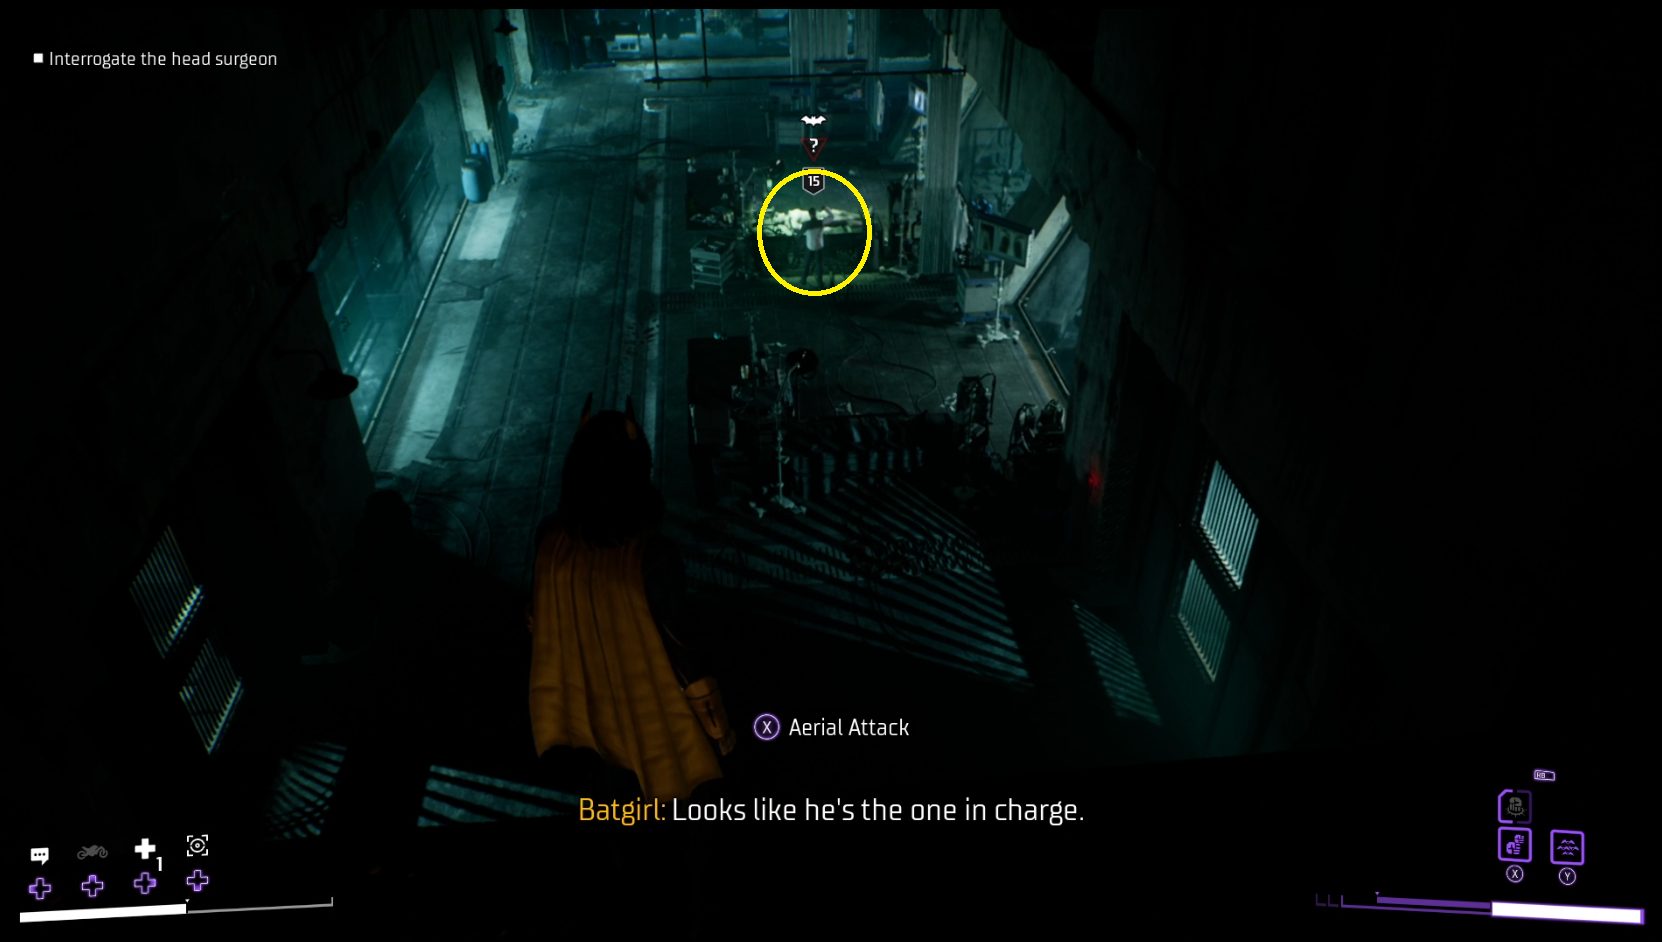
Continue forwards, and you’ll hit a dead end where the objective marker indicates a place to grapple upwards. Do so and then turn right, but before you continue following the marker, go to the end of the hall, where you’ll find a chest (1). Open it, then follow the objective marker to the vantage point (2). From here, you can see the head surgeon. Sneak up to him and grab him with / , then press / / to interrogate him.
12
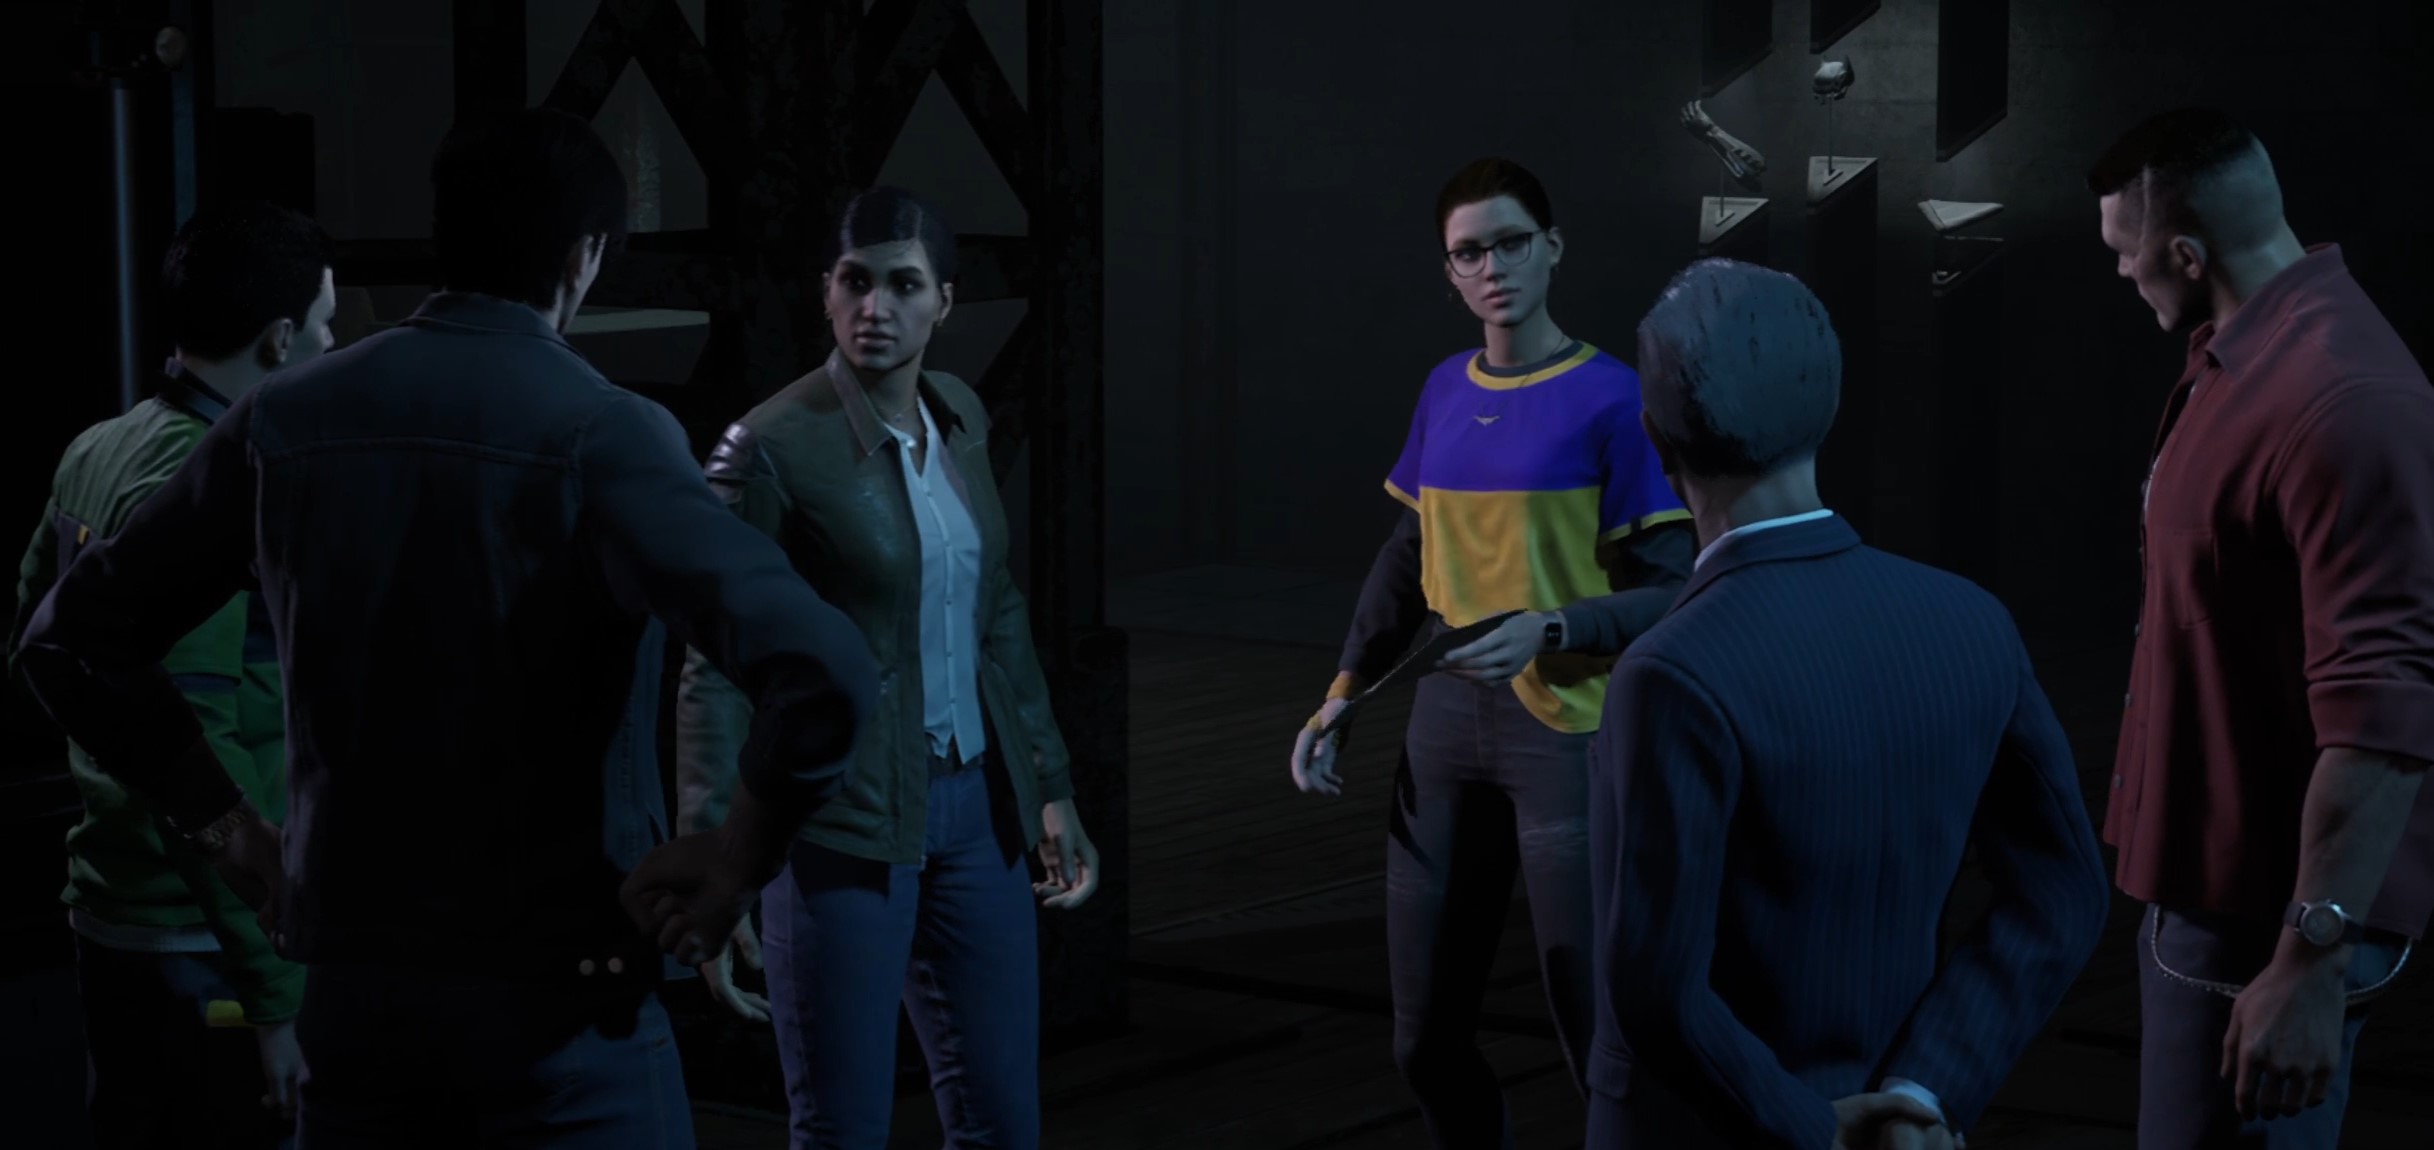
He’ll give you some interesting info on the Talon project, and you’ll thank him by knocking him out. That done, the objective marker will lead you to a gate — use the panel on the wall to the left of the gate to open it (// ), then head through. Activate the elevator the same way, and a cutscene will play. When it ends, you’ll be in a room full of Court operators. They’re all very spread out, so it’s easy to sneak up and Stealth Takedown each of them, one by one.
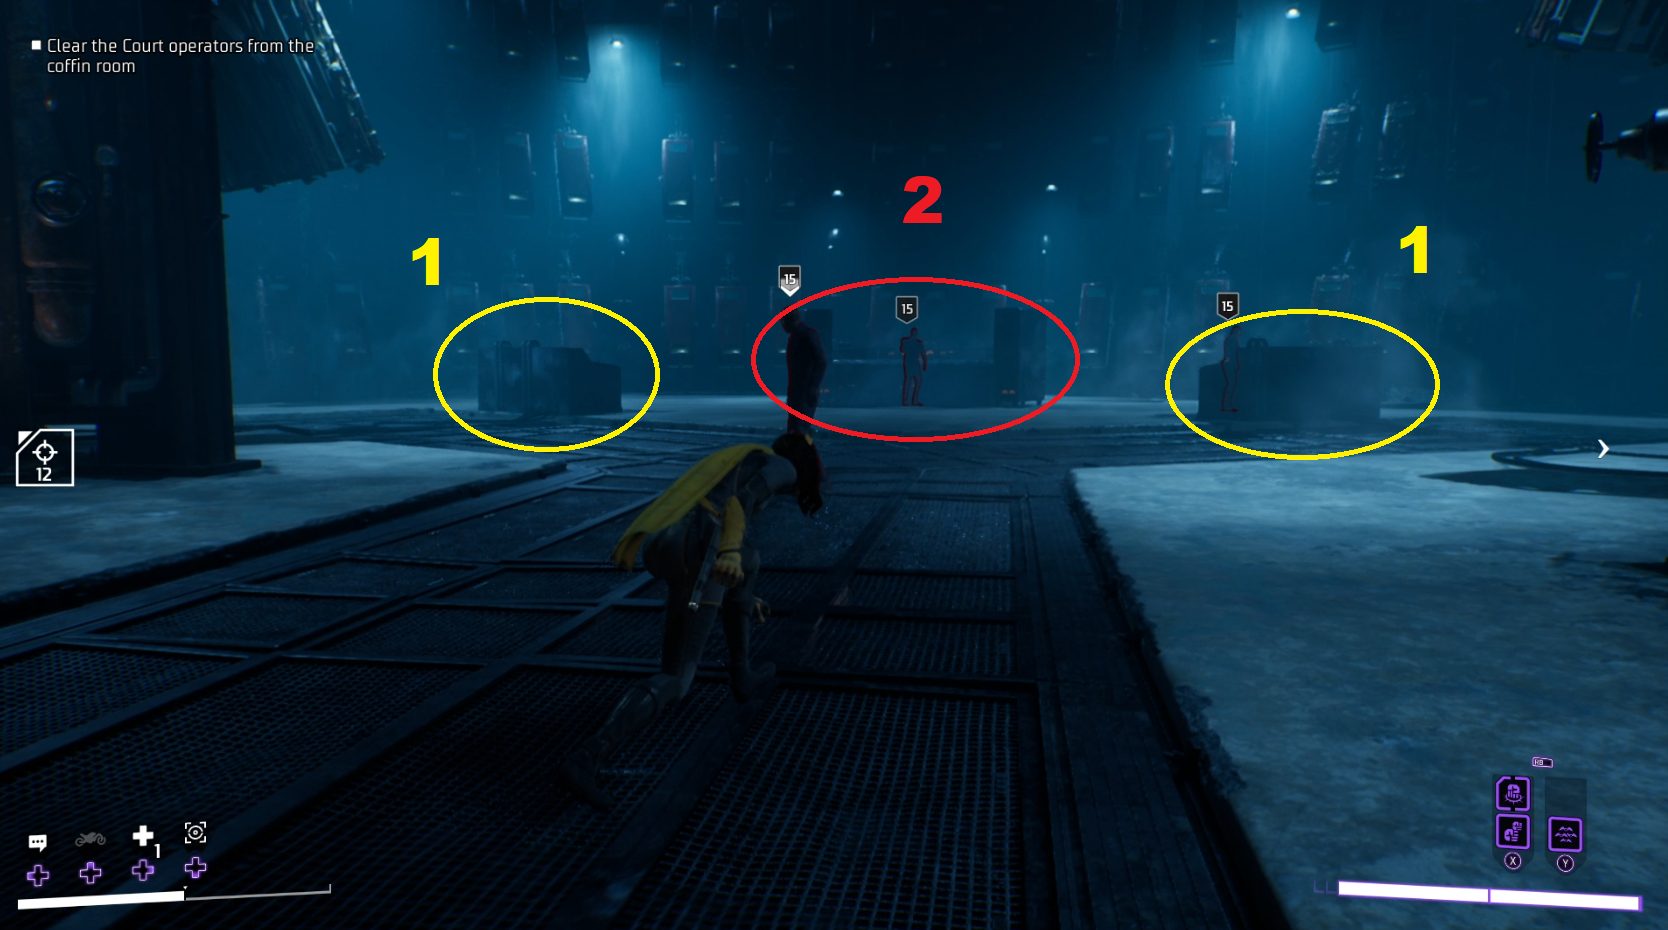
Once the last one goes down, you’ll need to override the hibernation controls, which is done from two panels (marked in yellow below) with // . After activating each panel, you’ll be attacked by a handful of Talons. Don’t walk into the freezing mist that starts spraying from the walls, but know that you can throw the Talons into it for some good damage. After overriding both hibernation controls, the failsafe controls (marked in red below) will become available, and you can interact with the final panel.
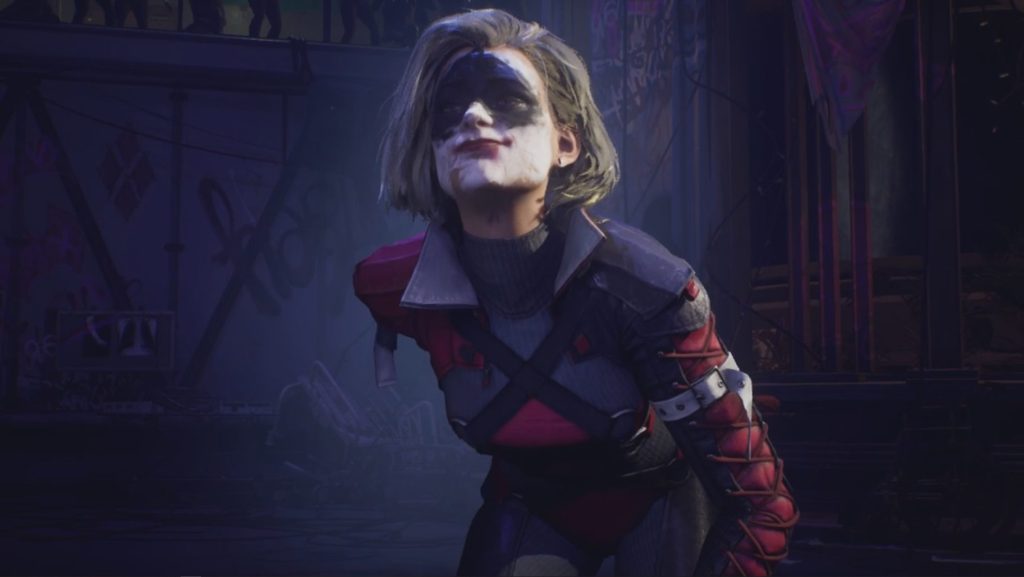
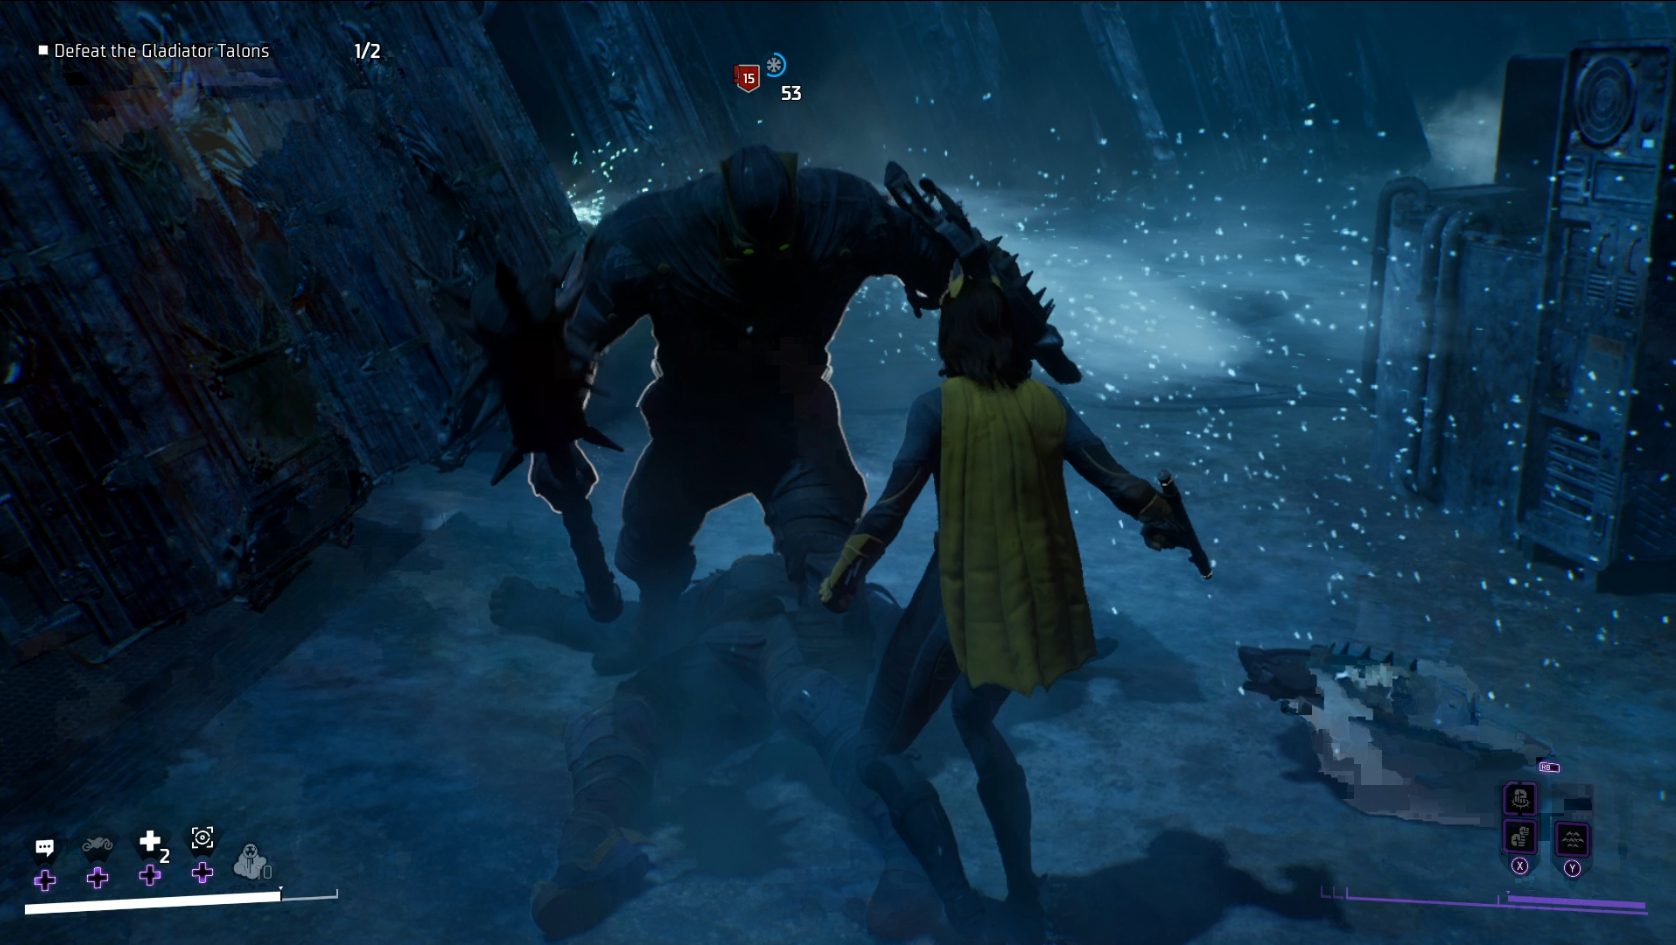
After overriding the failsafe, you’ll have to fight two Gladiator Talons. This can be a challenging fight, but you can make it easier by making sure you’re only fighting one at a time. You might also want to try positioning yourself near one of the freezing jets of mist, and then attacking the Talon(s) while their back is to the freezing mist — if you hit them while they’re close to it, they’ll end up in the mist and take extra damage.
Insert your best cold-related one-liner here
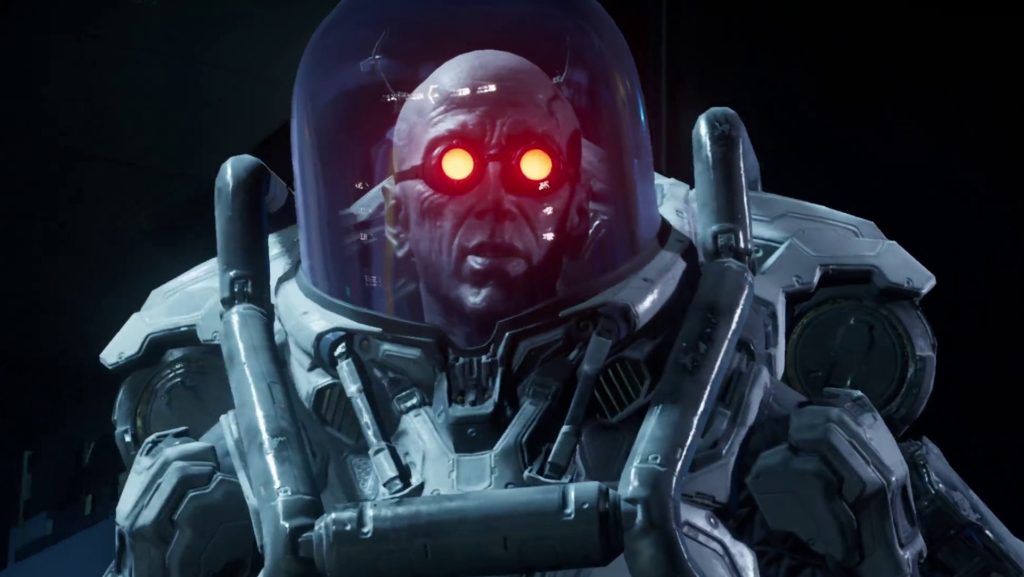
With both Gladiator Talons down, another cutscene will play, and when it ends you’ll find yourself outside. At this point, you can fast travel back to the Belfry. There, you’ll watch another cutscene, and then receive your mission rewards!
Unabashed FromSoftware fanboy still learning to take his time with games (and everything else, really). The time he doesn't spend on games is spent on music, books, or occasionally going outside.