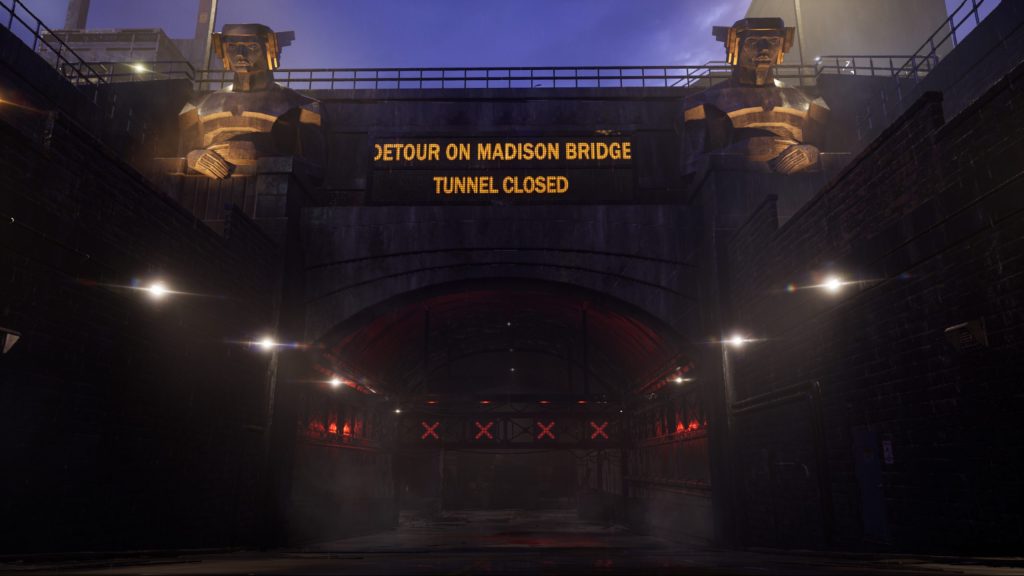
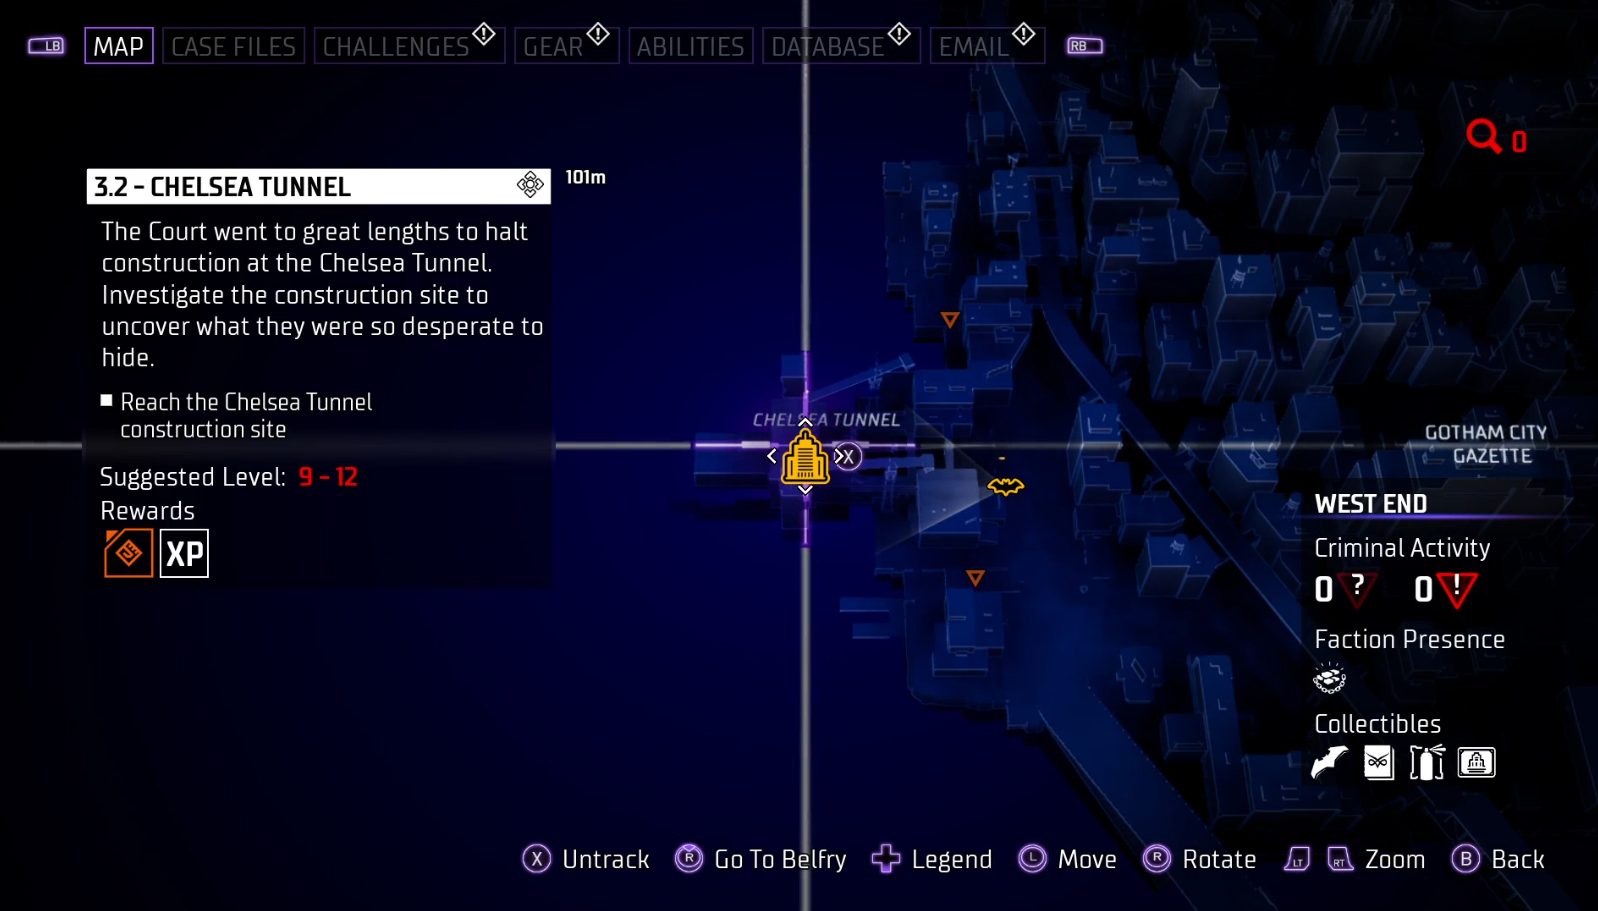
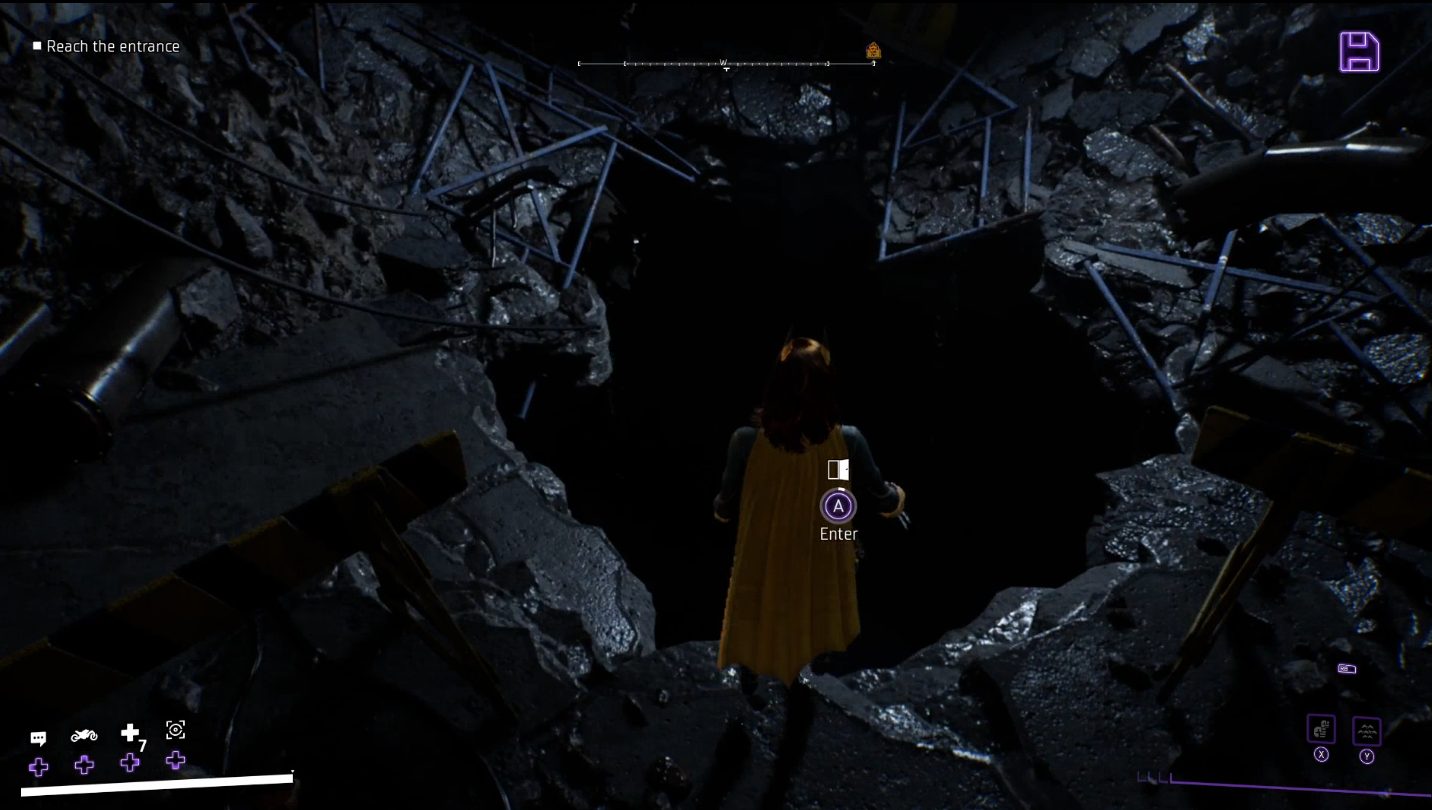
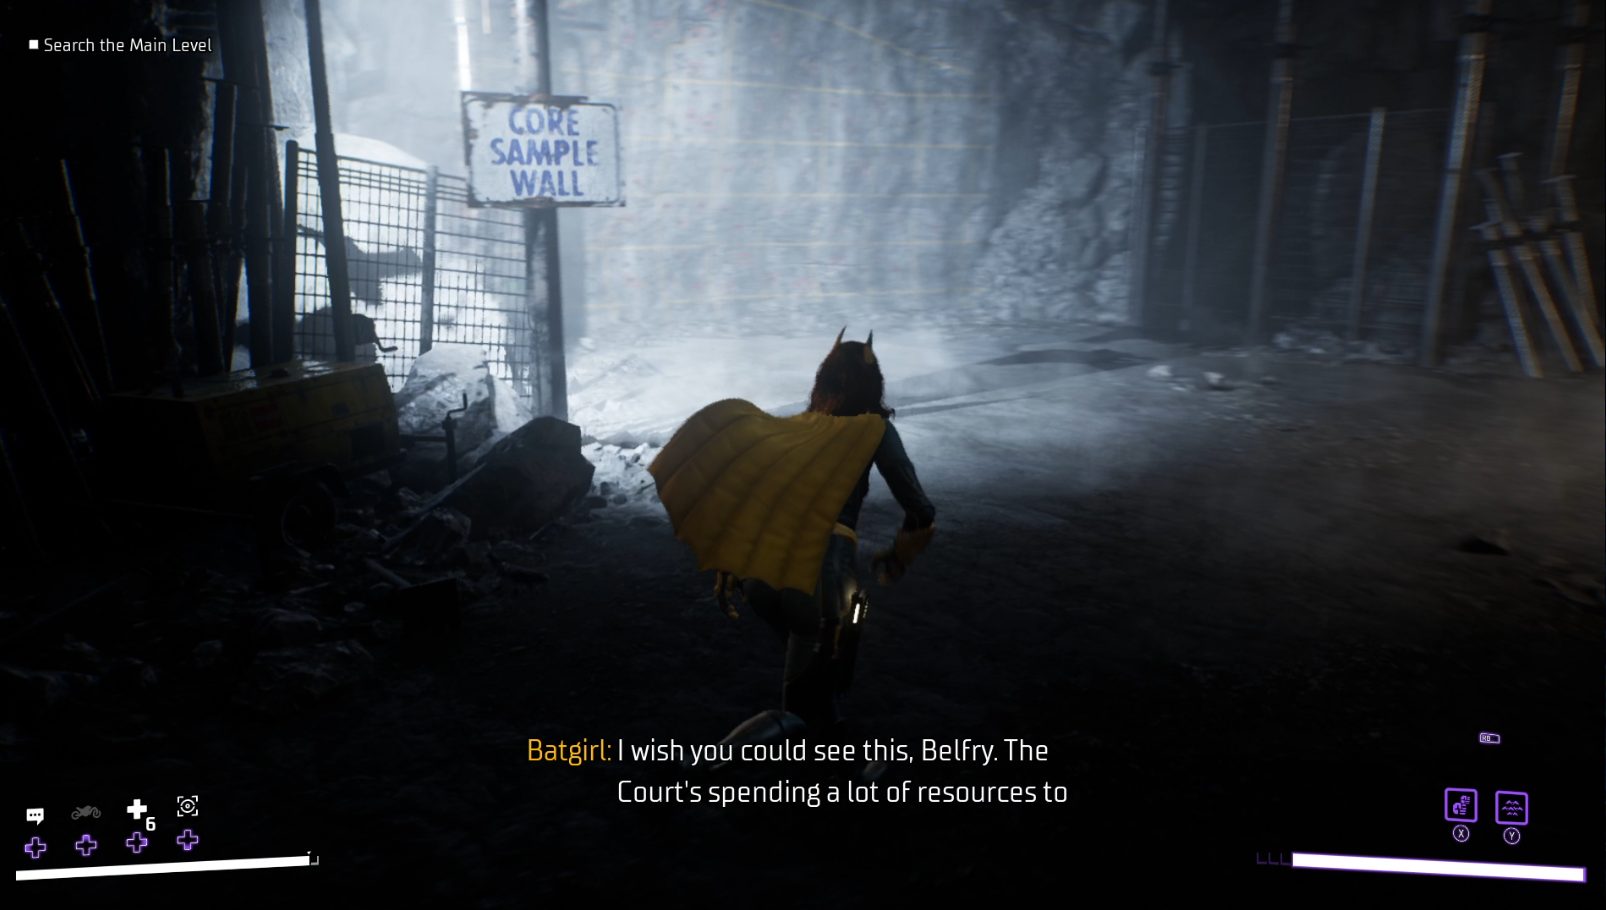
Clues in a Court of Owl’s hideout have led the Knights to the Chelsea Tunnel, where the Court of Owls have prevented construction on the project from continuing.
If you’ve just finished Mission 3.1 – The Key, you’ll be very close to the Chelsea Tunnel — it’s found on the west side of West End, northwest of the Belfry.
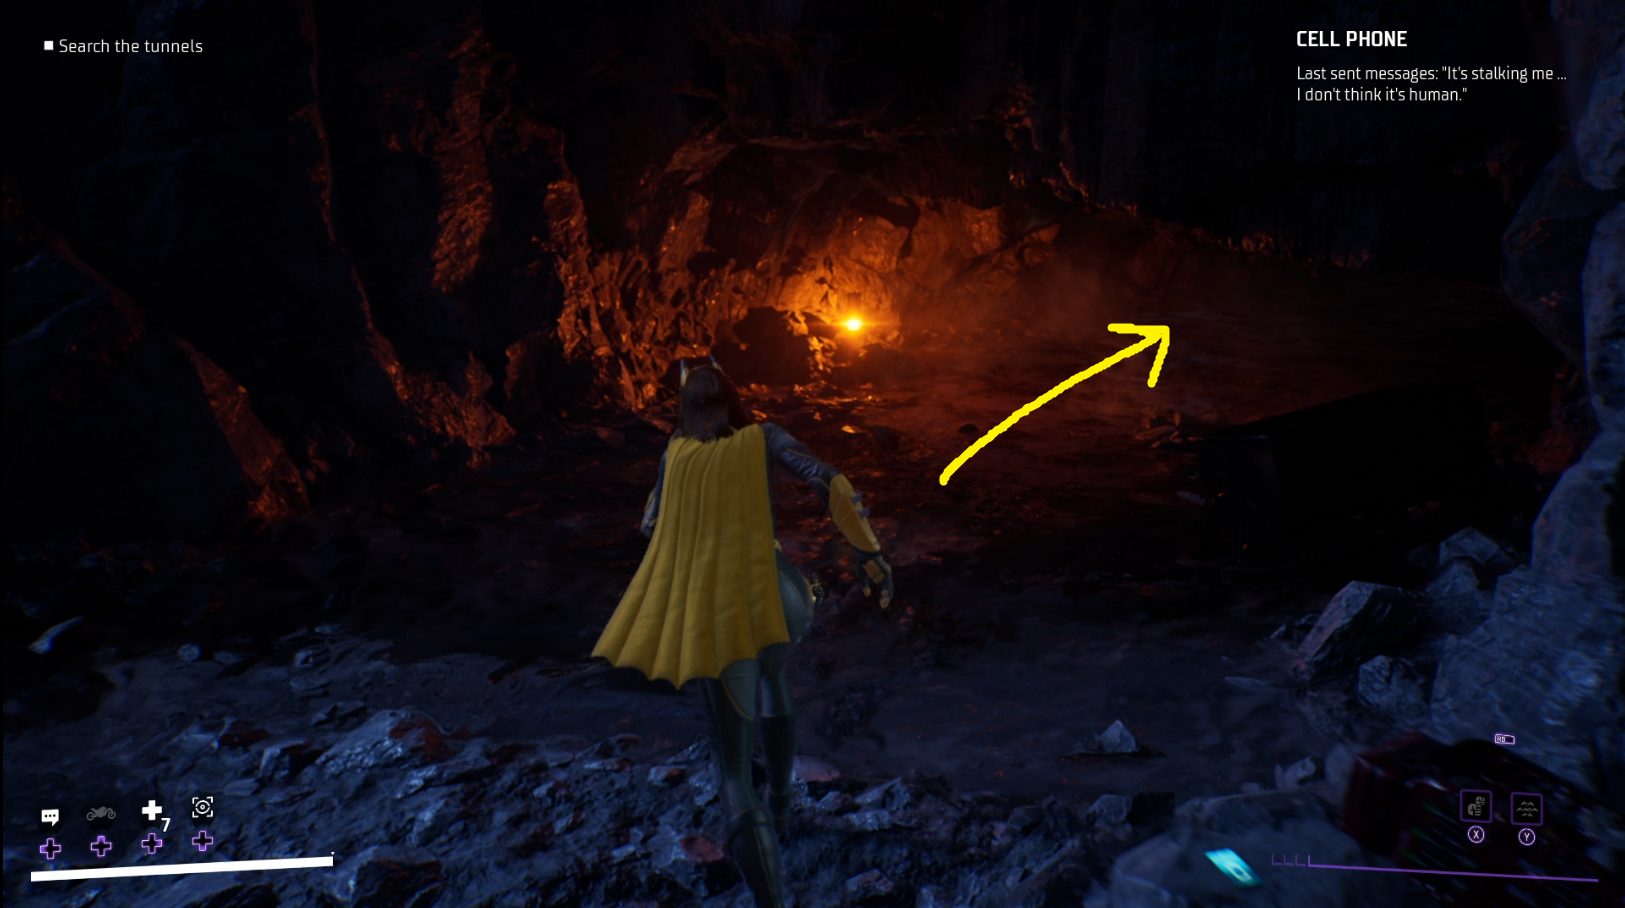
Make your way into the tunnel, and when you hit the dead end, look up and to the left — you’ll see a ventilation shaft you can grapple into (1). In the next room, drop down, and head towards the flickering work lights. Nearby, you’ll be able to enter a hole in the ground (2).
12
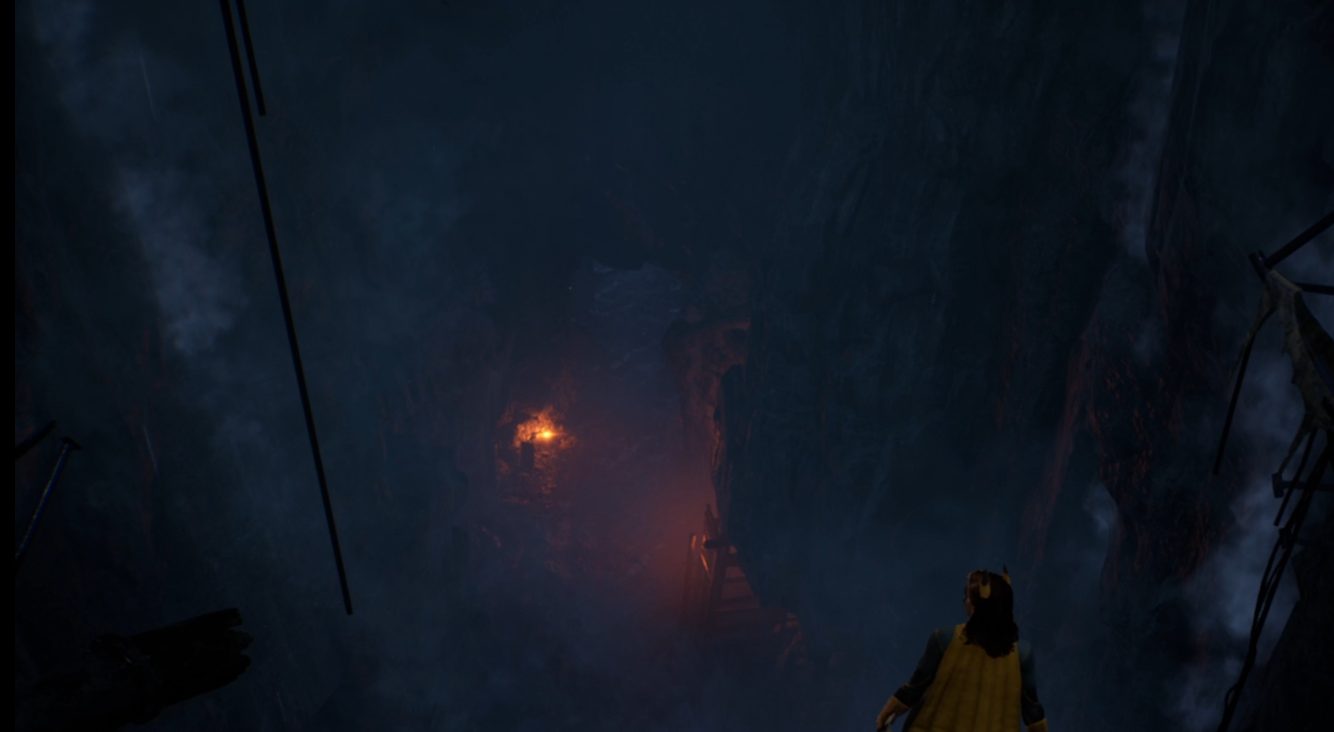
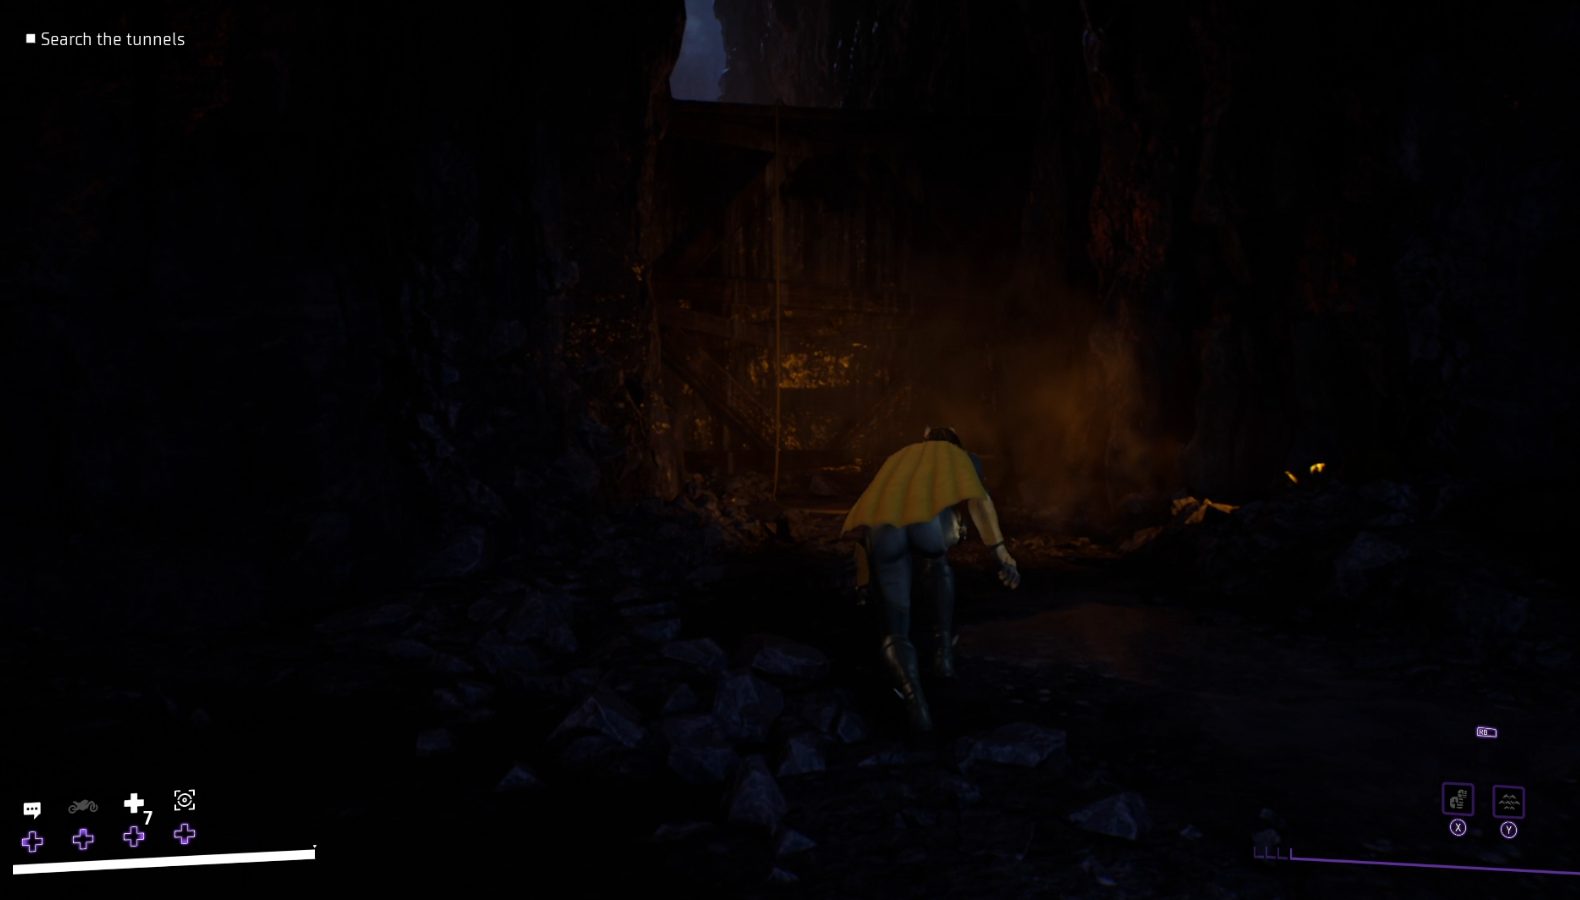
After the cutscene, drop down and head towards the narrower part of the tunnel. The tunnel will curve, and you’ll need to crouch to continue past the orange work light (1). Once through the narrow section, drop off the ledge and turn left to continue forwards, where you’ll need to climb the wall next to the work light (2).
12
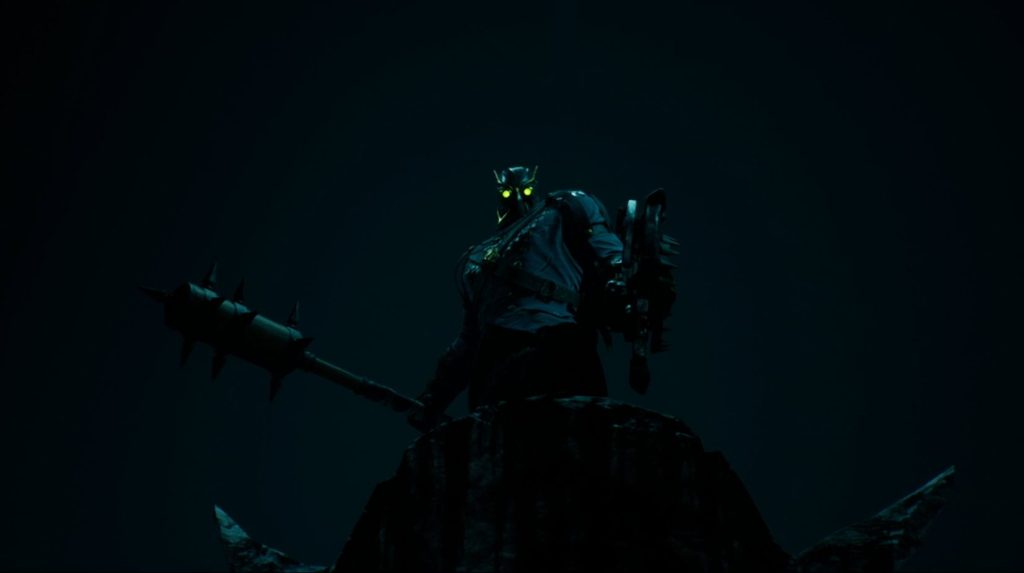
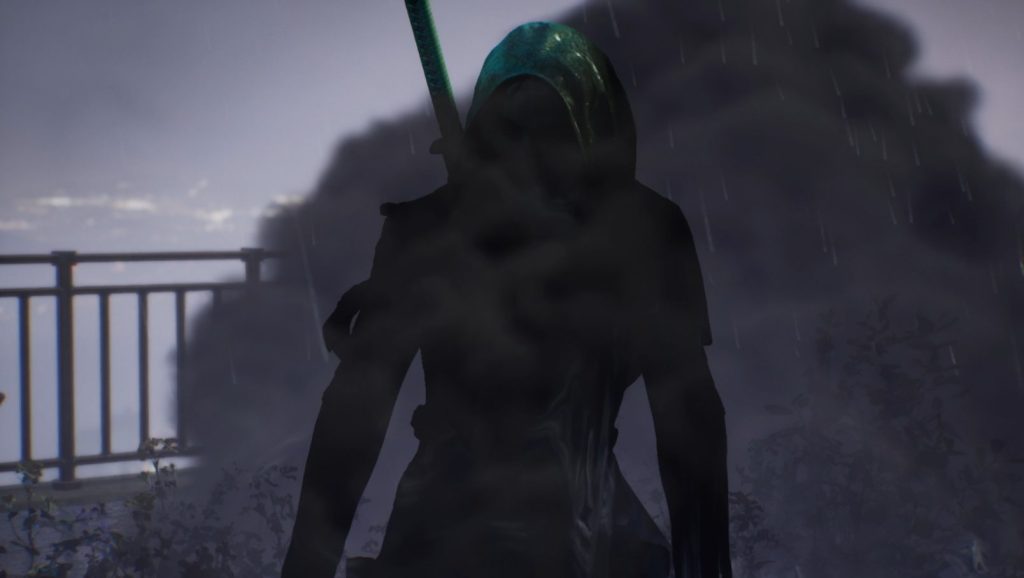
Climb the next wall as well, then keep moving forwards, jumping the gap and turning right to climb two more walls. Move forwards a bit, and you’ll have to drop down to continue. A bit farther into the tunnel a cutscene will play, and then you’ll be facing a new enemy type — a Talon.
These foes dodge your normal attacks, so you’ll have to hold the ranged attack button (// ) to do a heavy ranged attack, which will stun them and allow you to hit them. You can also use area-of-effect abilities to damage them as well. When they’re low health, using your Grab ( / ) and then striking them is an effective technique (since they can’t dodge it).
The icon on the enemy indicates they’ve successfully been stunned by a heavy ranged attack
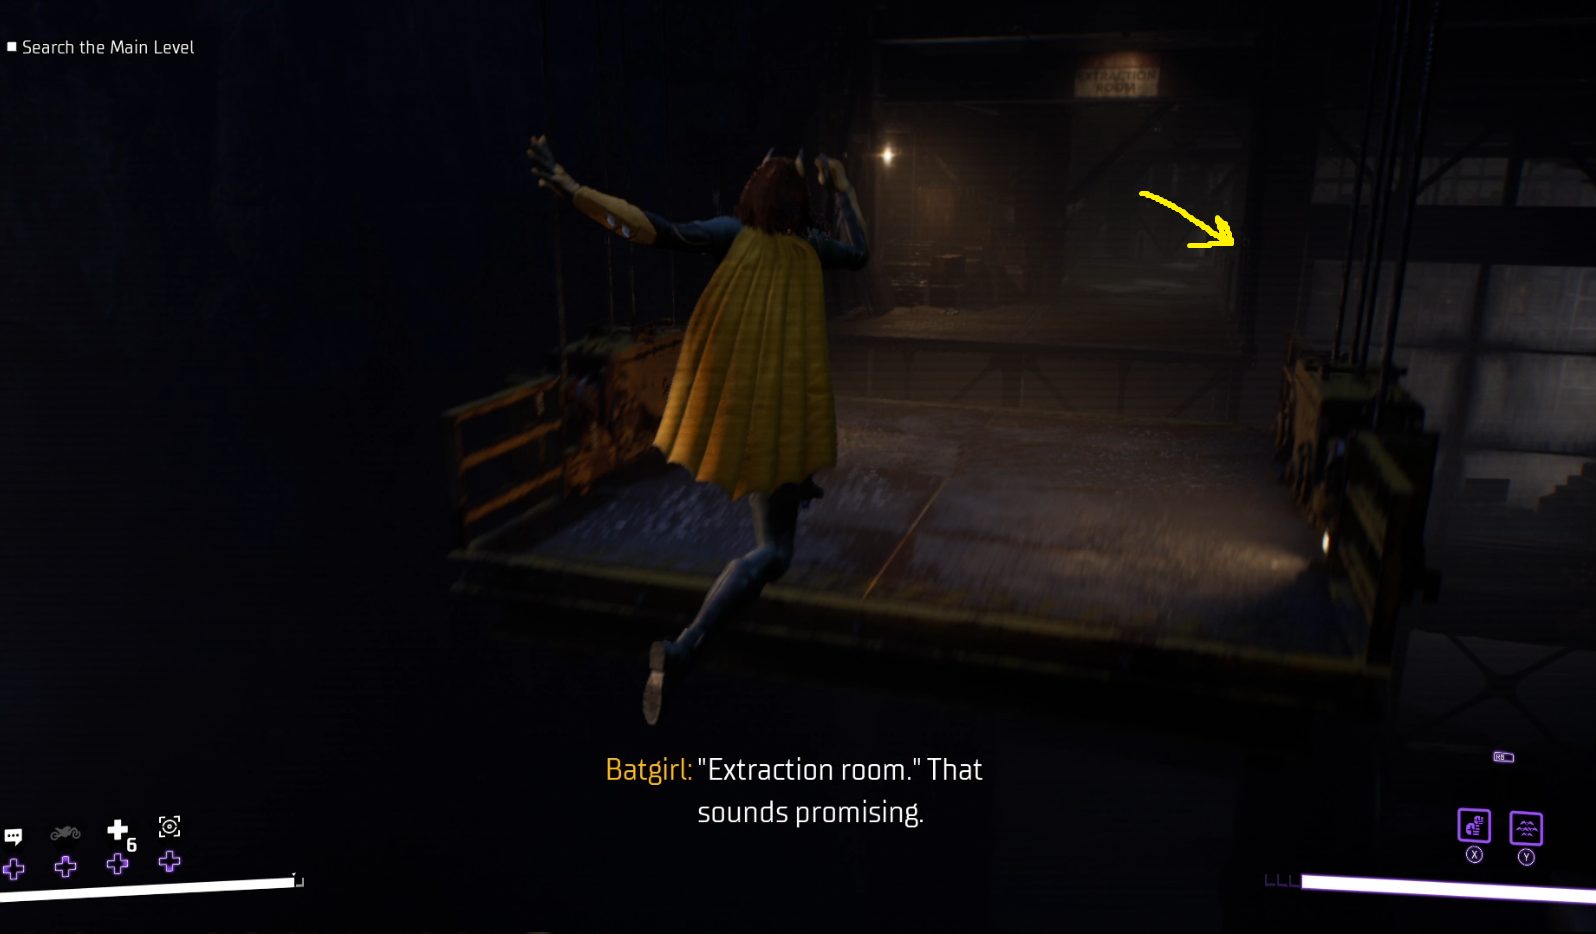
Once you’ve defeated the Talon, go down the tunnel towards the orange light, turn right, and go through the double doors. Then turn left, leap the gap, and continue forwards and leap the next gap as well. At the other end of this platform, look towards the broken cart bridge, and you’ll be able to grapple to it (1). Turn right and look down and grapple to the next platform (2). Then look towards the objective marker, grapple towards it, and climb up the steel girder wall.
12
Go towards the broken machinery, and once you pass it, turn left to drop down to the low ground. Get ready, as once you approach the two burning fires ahead, you’ll be attacked by a group of Talons. Don’t forget about using the heavy ranged attacks (// ) and AoE abilities to damage them! Once you’ve put down all the bird bois, continue forward and leap across the chasm. Before you make your way through the doors, go right around the corner to find a chest.
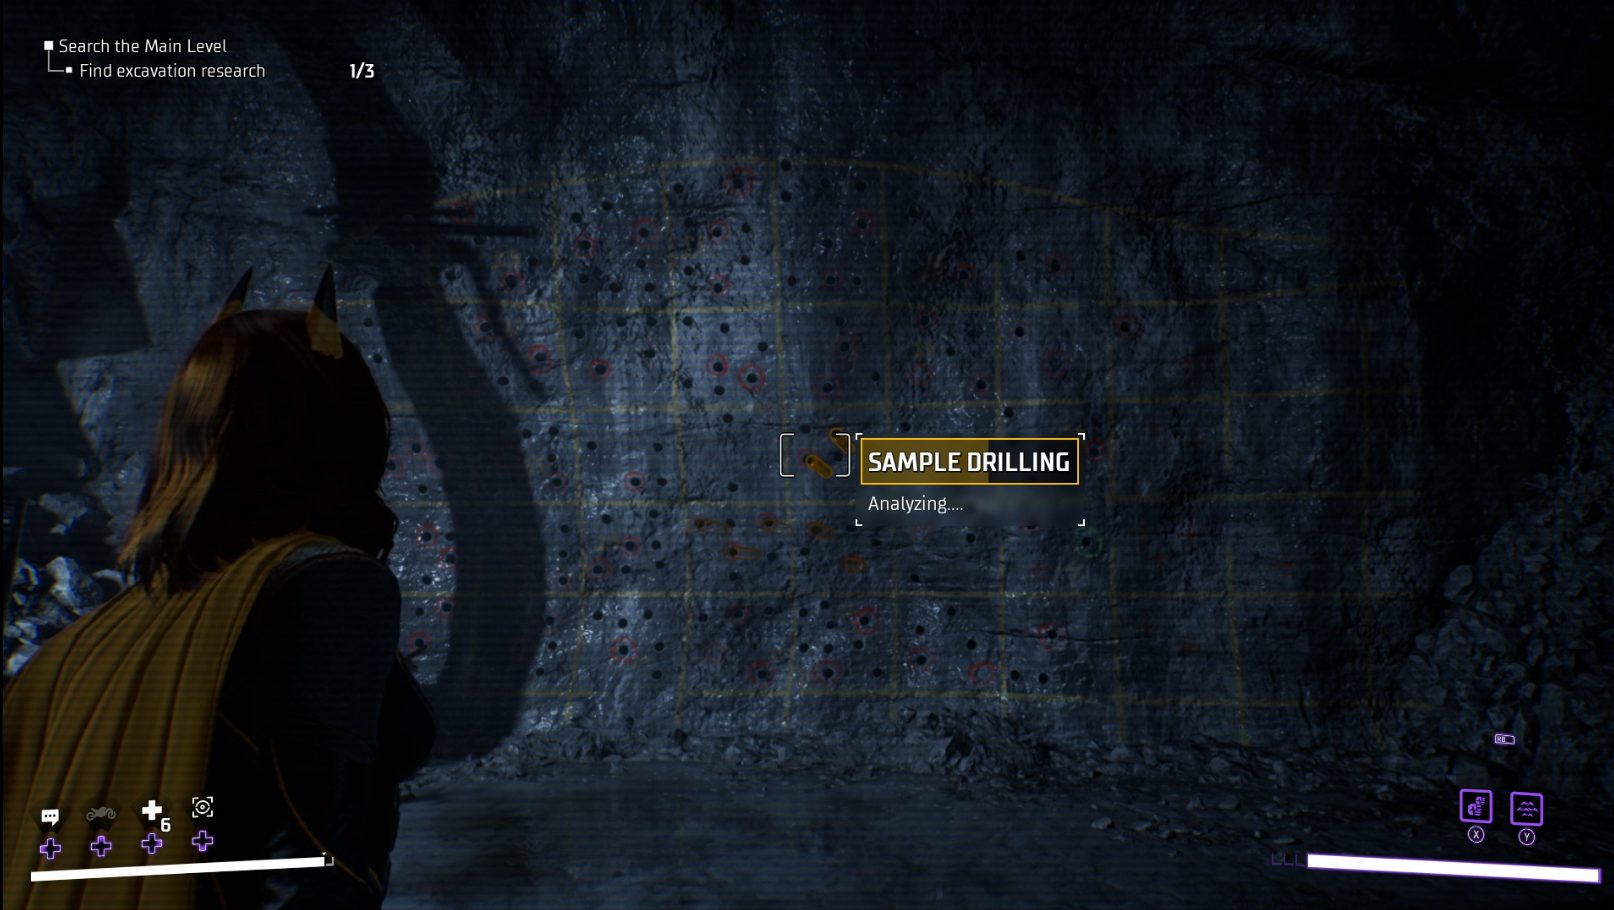
After you’re through the double doors, the objective marker will indicate a spot high above you that you can grapple to. Climb up onto the catwalk and continue forward, and once the path dead ends, jump over the railing to the floor below. Ahead you’ll see the core sample wall (1) — walk over and use the AR scanner (/ ) to scan the Sample Drilling in the wall (2).
12
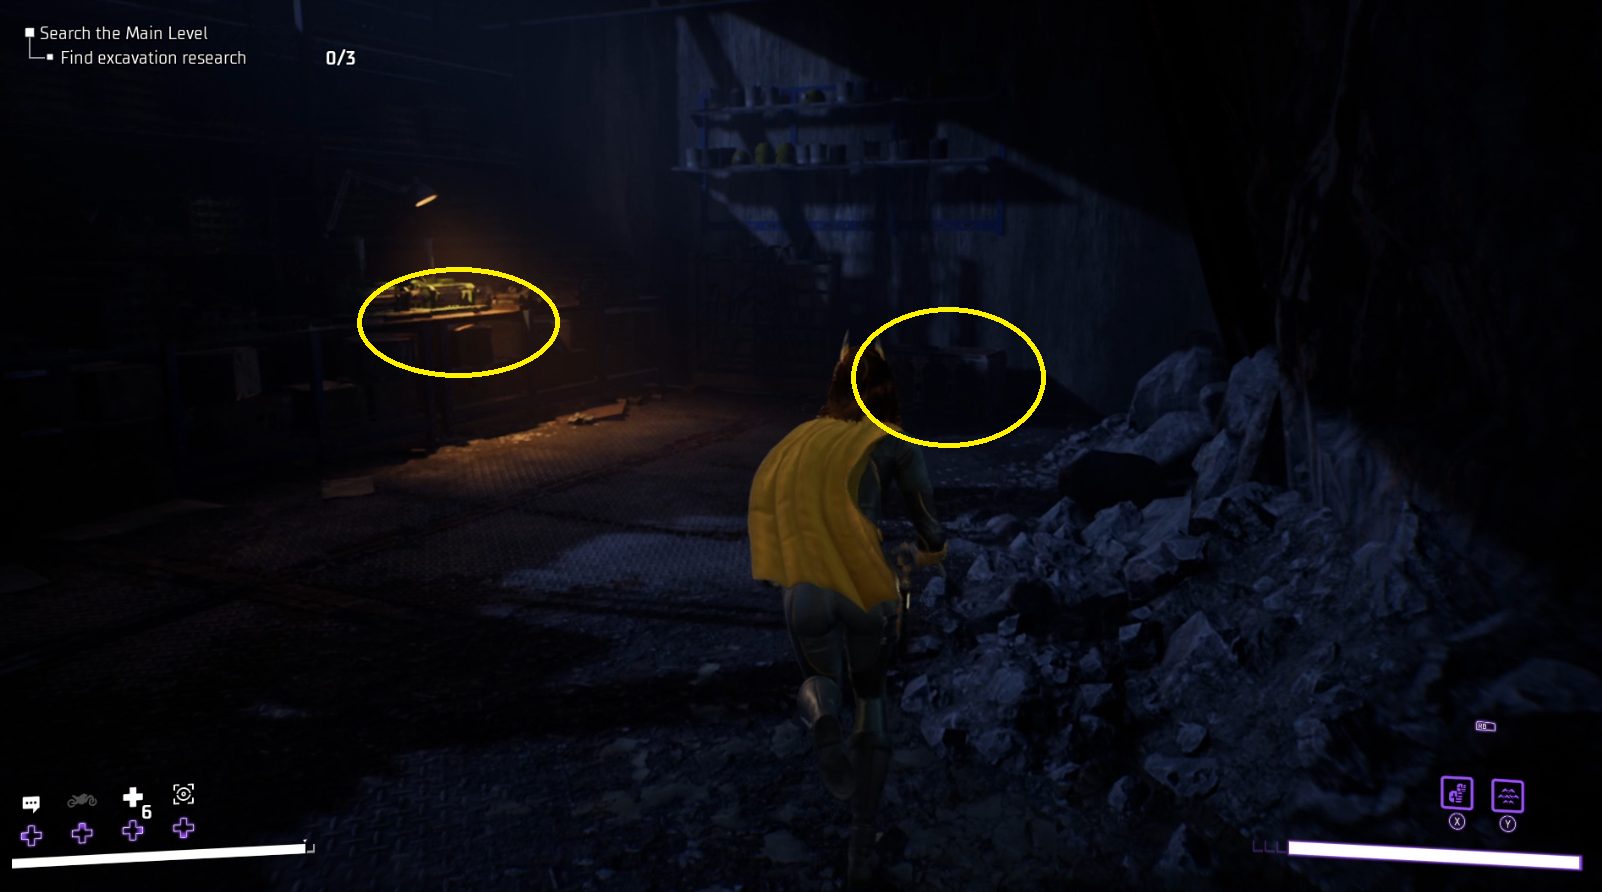
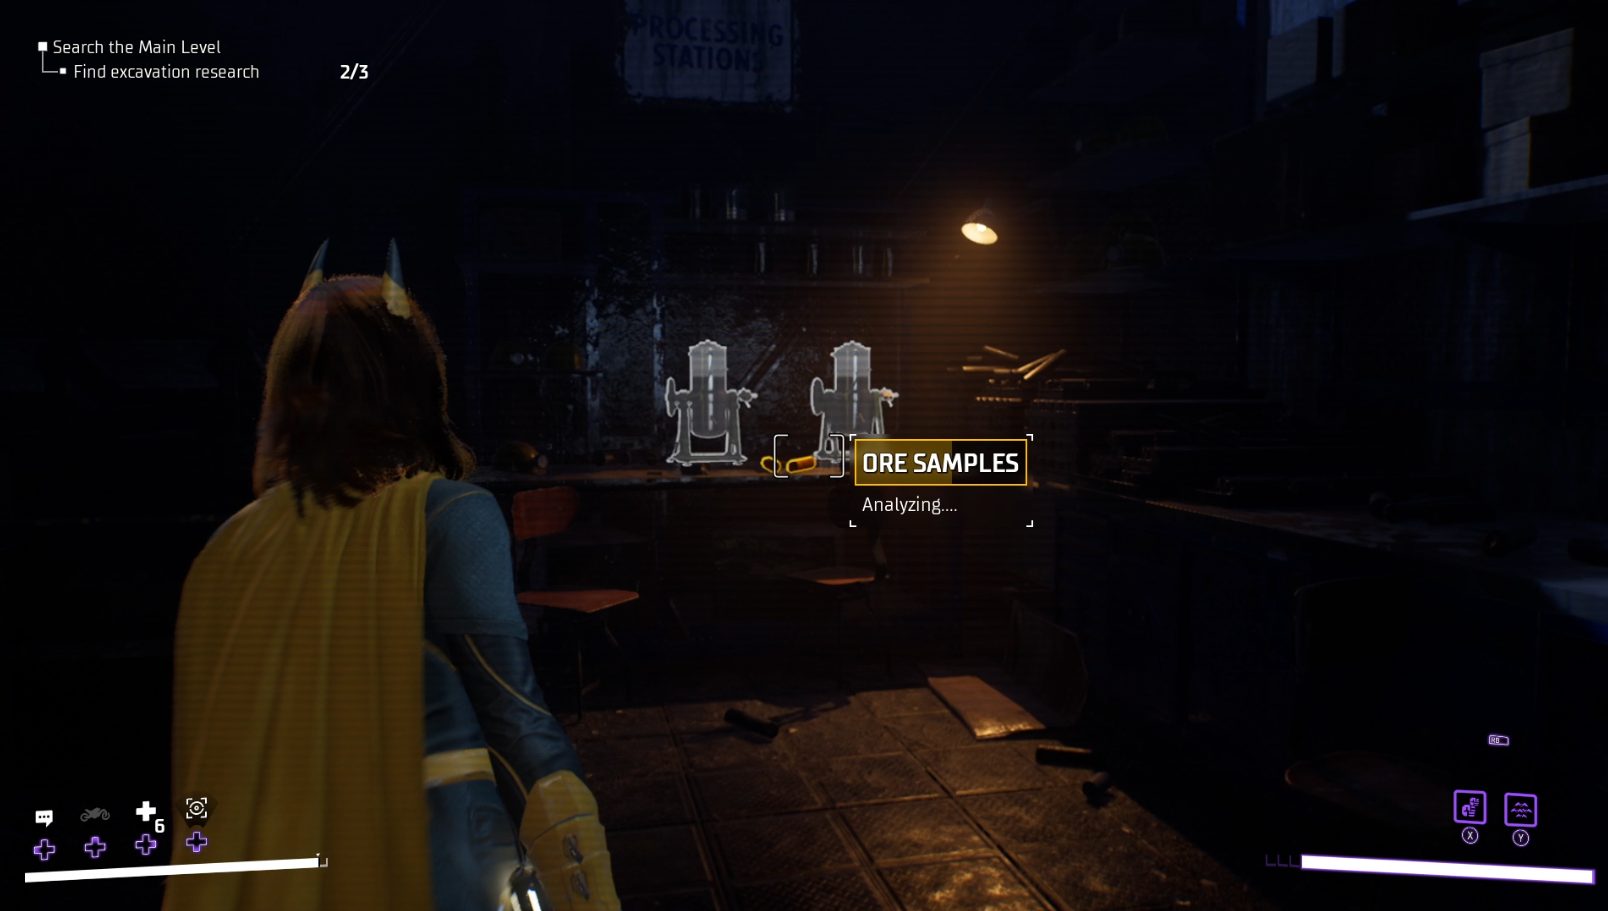
Then turn around and climb up the wall of the nearby lift (1), and go right. Against the far wall you’ll find a chest, and on the table here are the Ore Samples you need to scan (2). Go back to where you climbed up and turn right — here you’ll find the final set of Ore Samples to scan.
12 – Chest on the right, ore samples on the table3
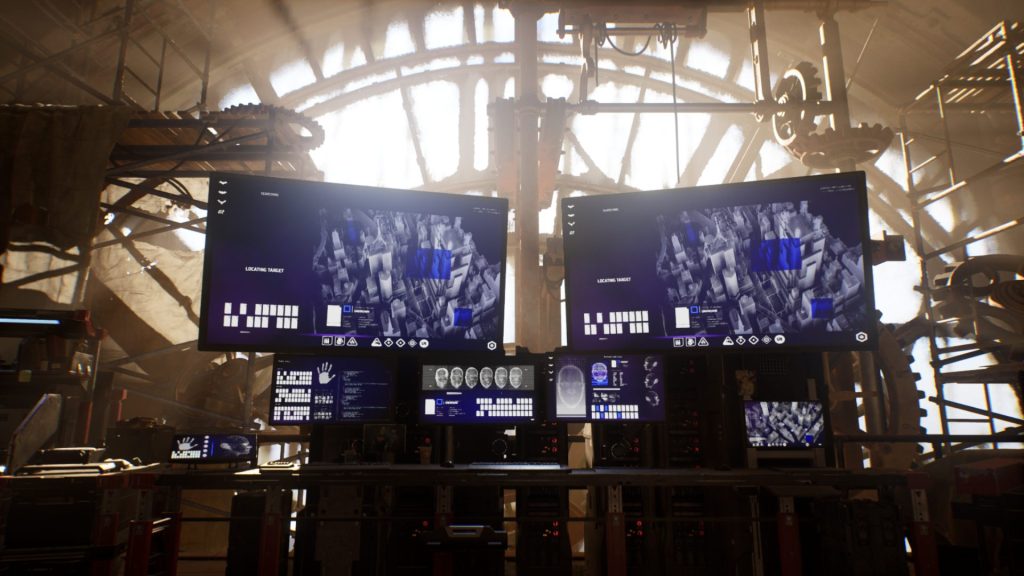
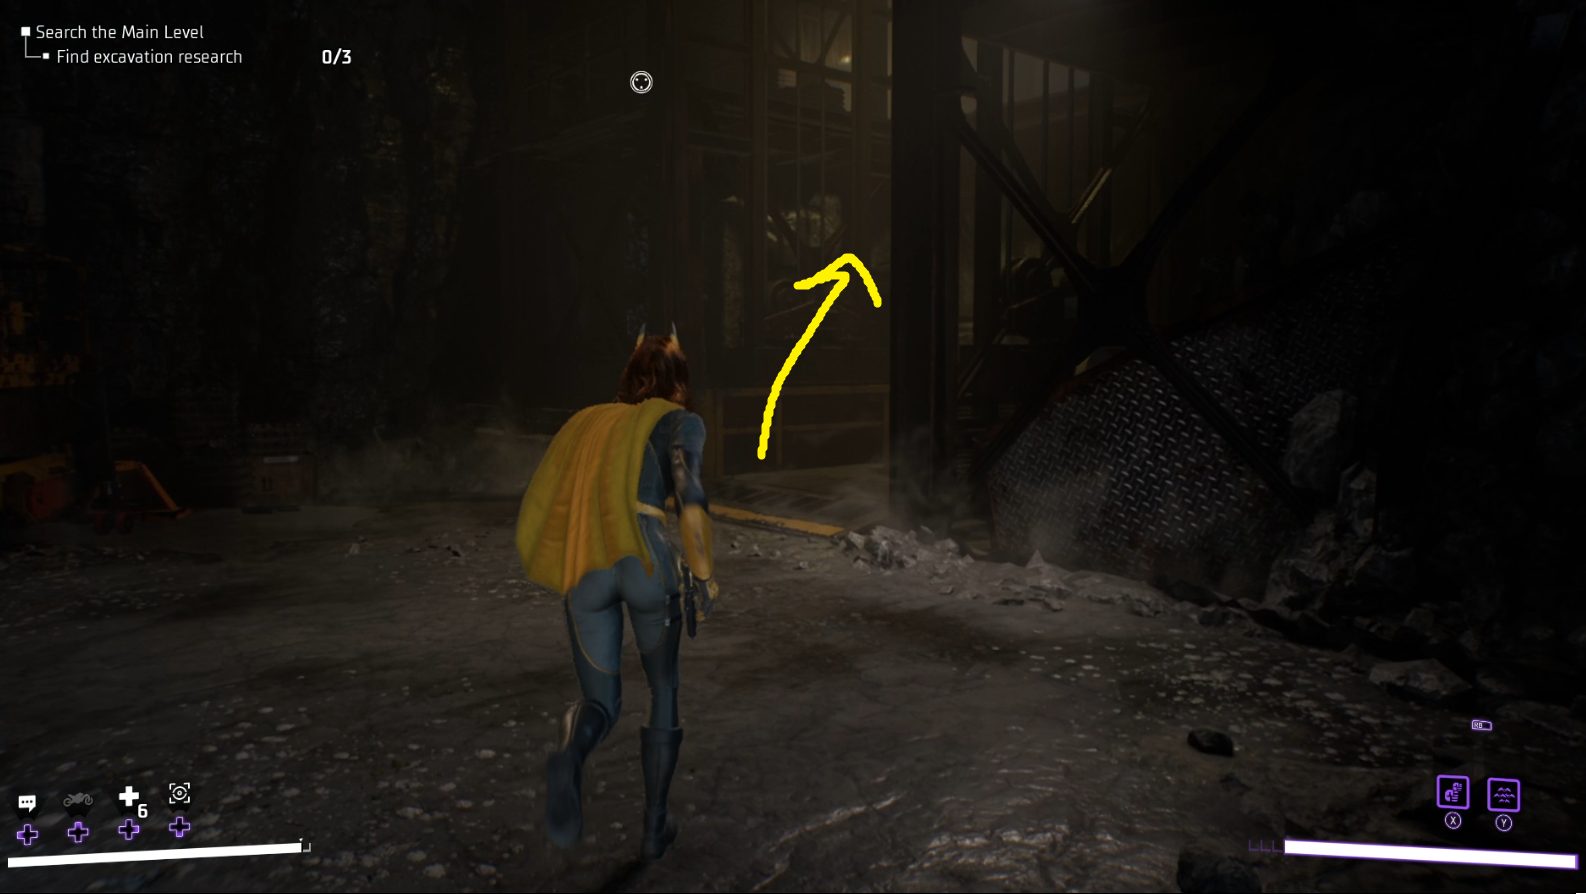
With all three samples scanned, the objective marker will guide you to a door panel — activate it (// ) and then head through. Go straight, climb up the next lift, and continue forward until you can leap across a gap to the right. Leap the next gap as well, and then look down and to the right — you’ll see a workstation there.
Arrow indicates where to look after leaping the gapsThe workstation to investigate
Hop over the railing and interact with the table to investigate it (// ) and start the puzzle.
Select the Composite Ore to the right of the keyboard, then select the Sulfuric Acid (the orange tube), and hit solve.
Composite OreSulfuric Acid
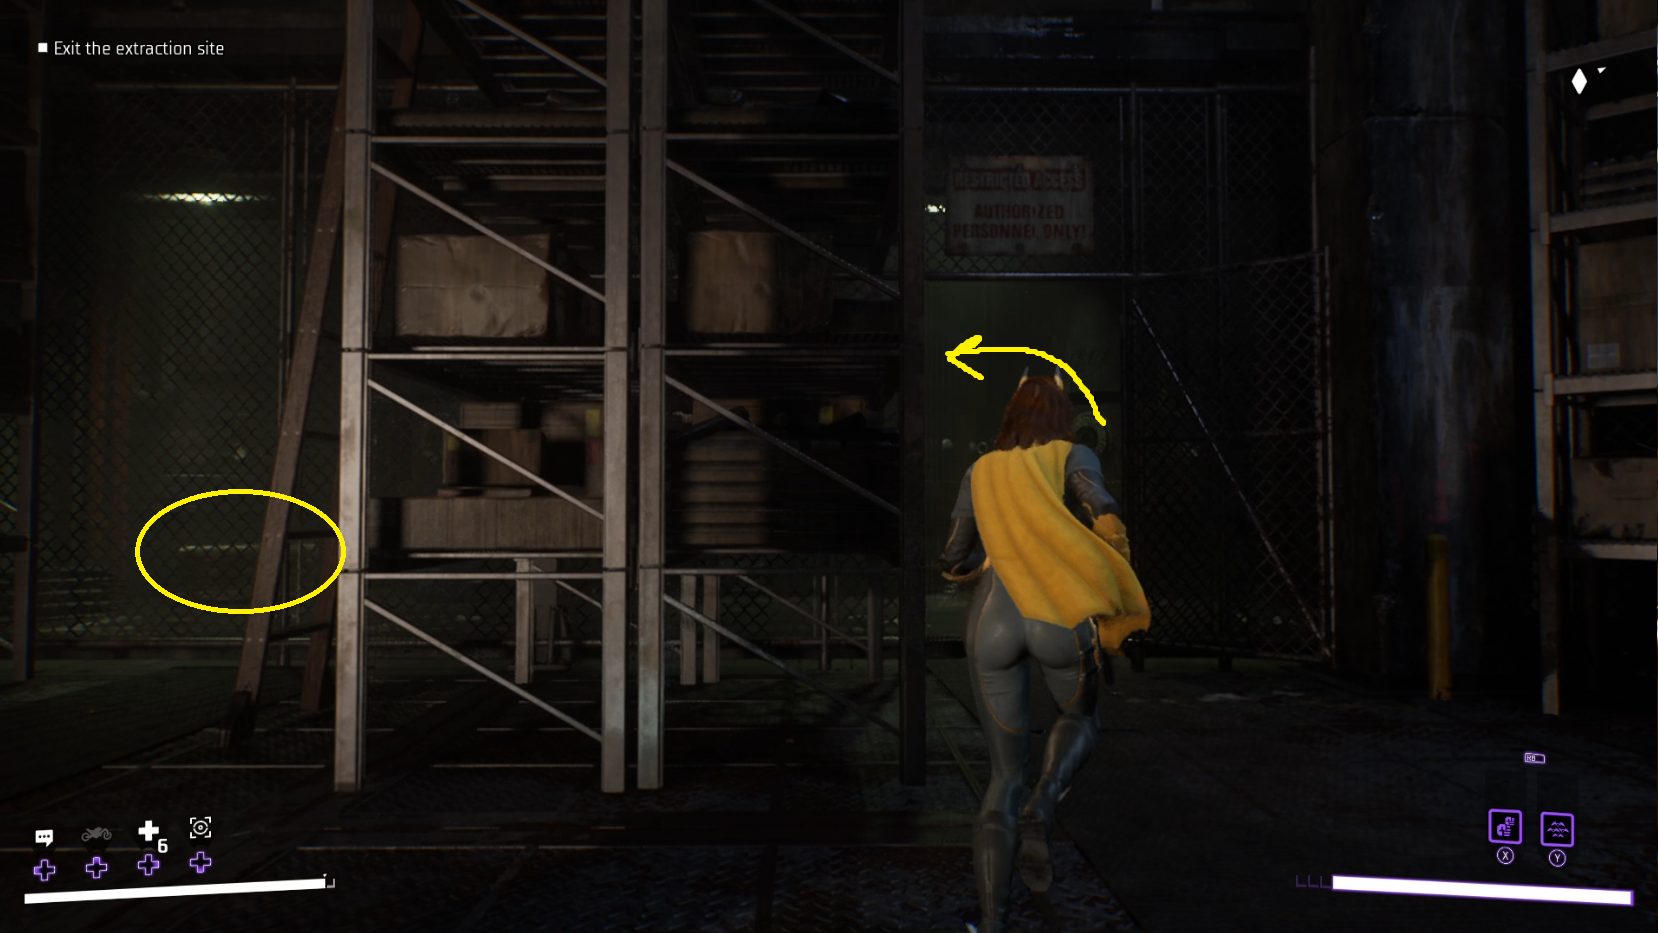
With the Dionesium in hand, turn around and go through the open gate — there’s a chest to the left here (1). Then grapple back up to the catwalk (2) and follow the objective marker to a door panel.
12
Open the door and make your way to the elevator, then activate it (// ) to begin a cutscene. Once it ends, you’ll have to fight a handful of Talons — defeating the last one will begin another cutscene. Then, simply follow the objective markers as you grapple out of the collapsing tunnel, and once you reach the hatch, yet another cutscene will play.
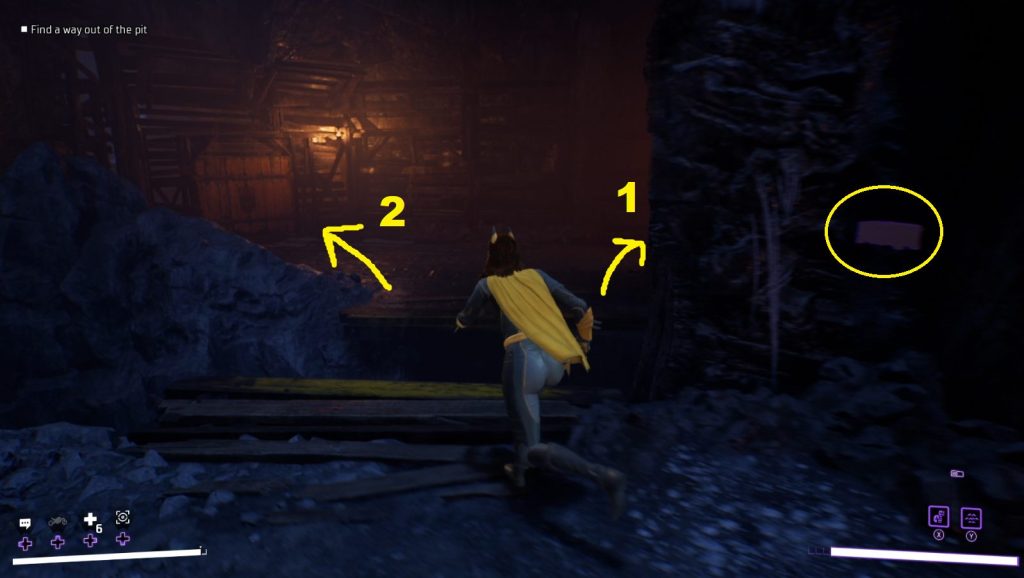
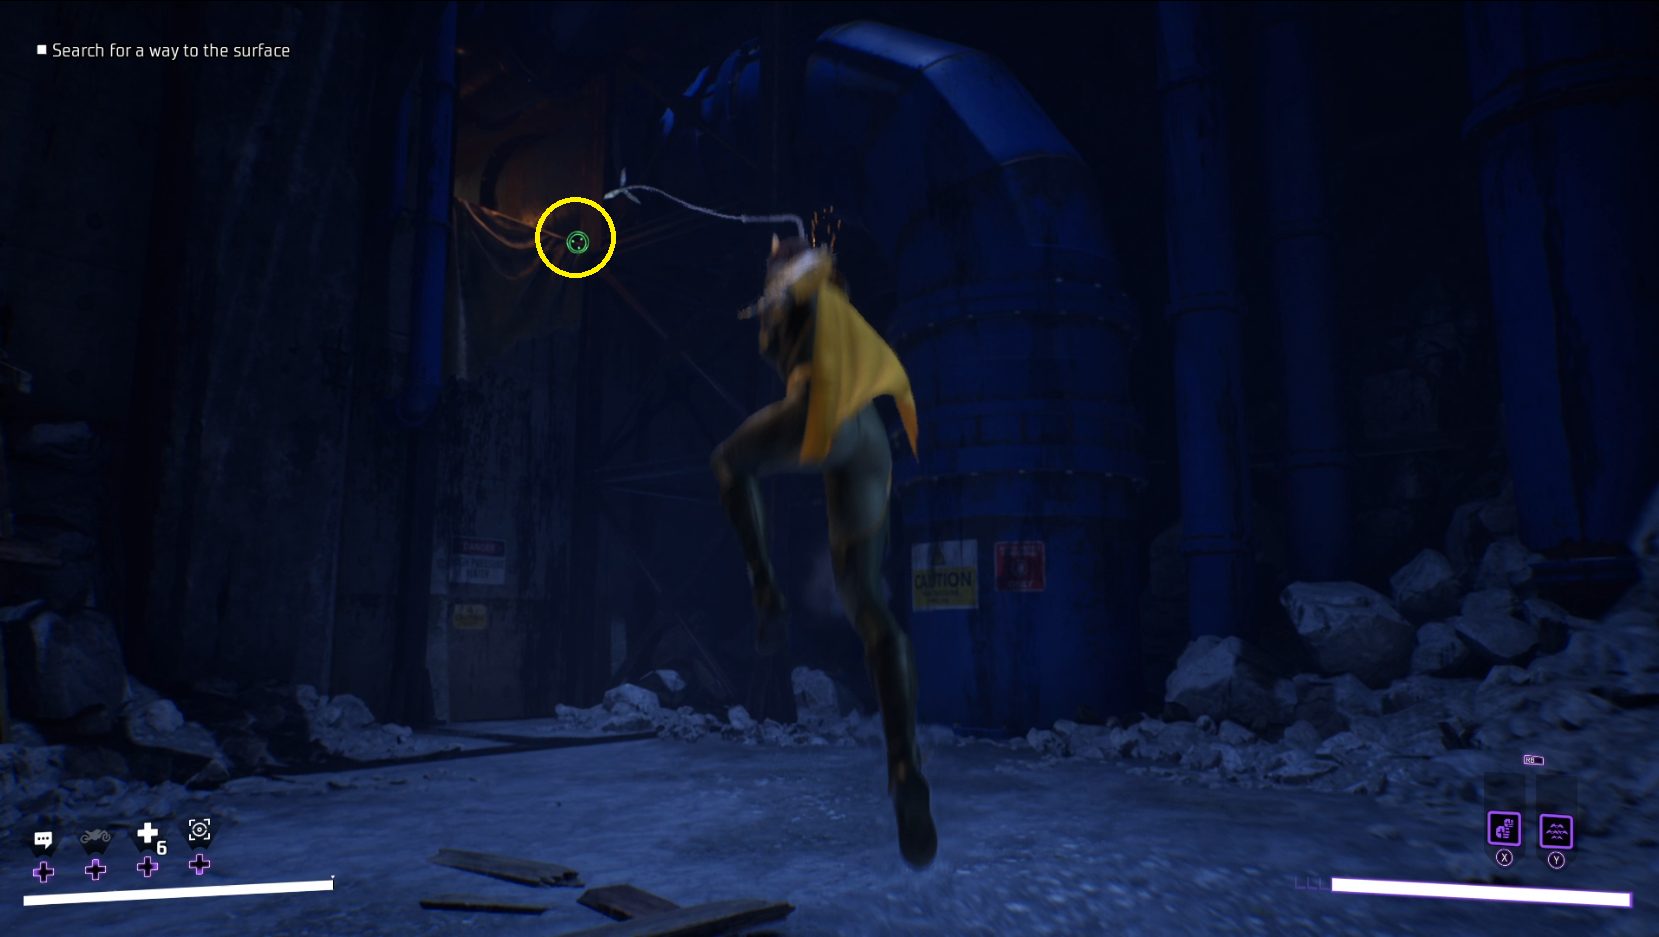
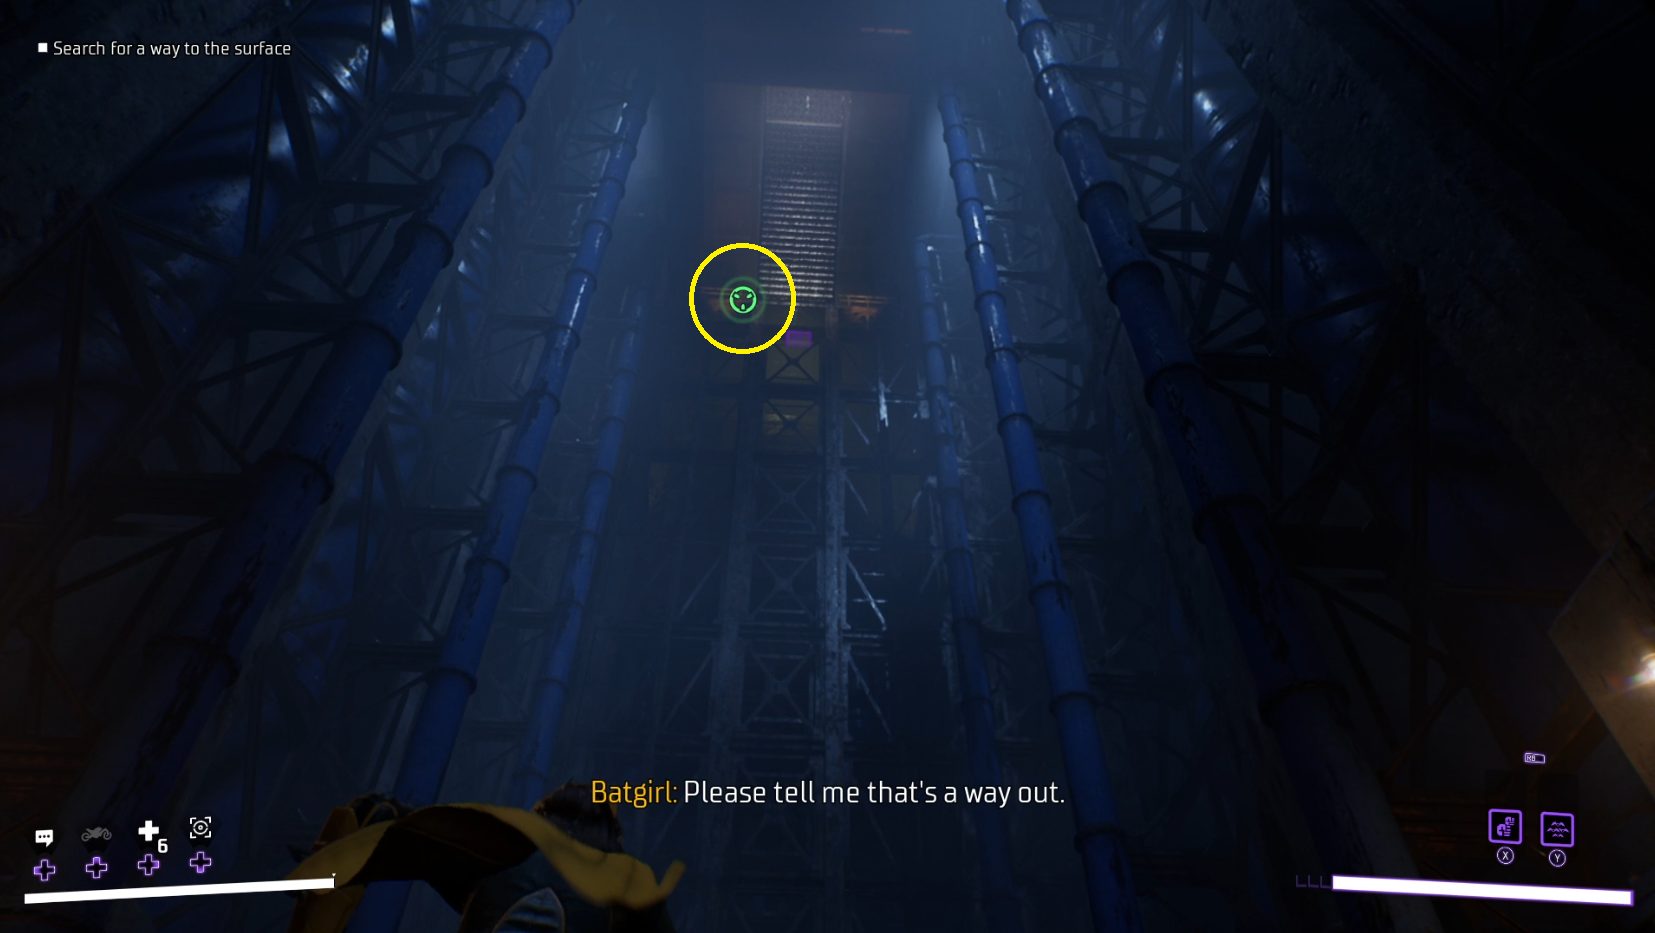
Head to the end of the hall, then turn around and grapple to the floor above (1). Go forwards and turn left where it dead ends, and continue into the dark, rocky tunnel. Turn right and climb up the wall, then grapple up to the pipes (2). Continue forwards, drop down, and then grapple up to the stairs above you (3).
123
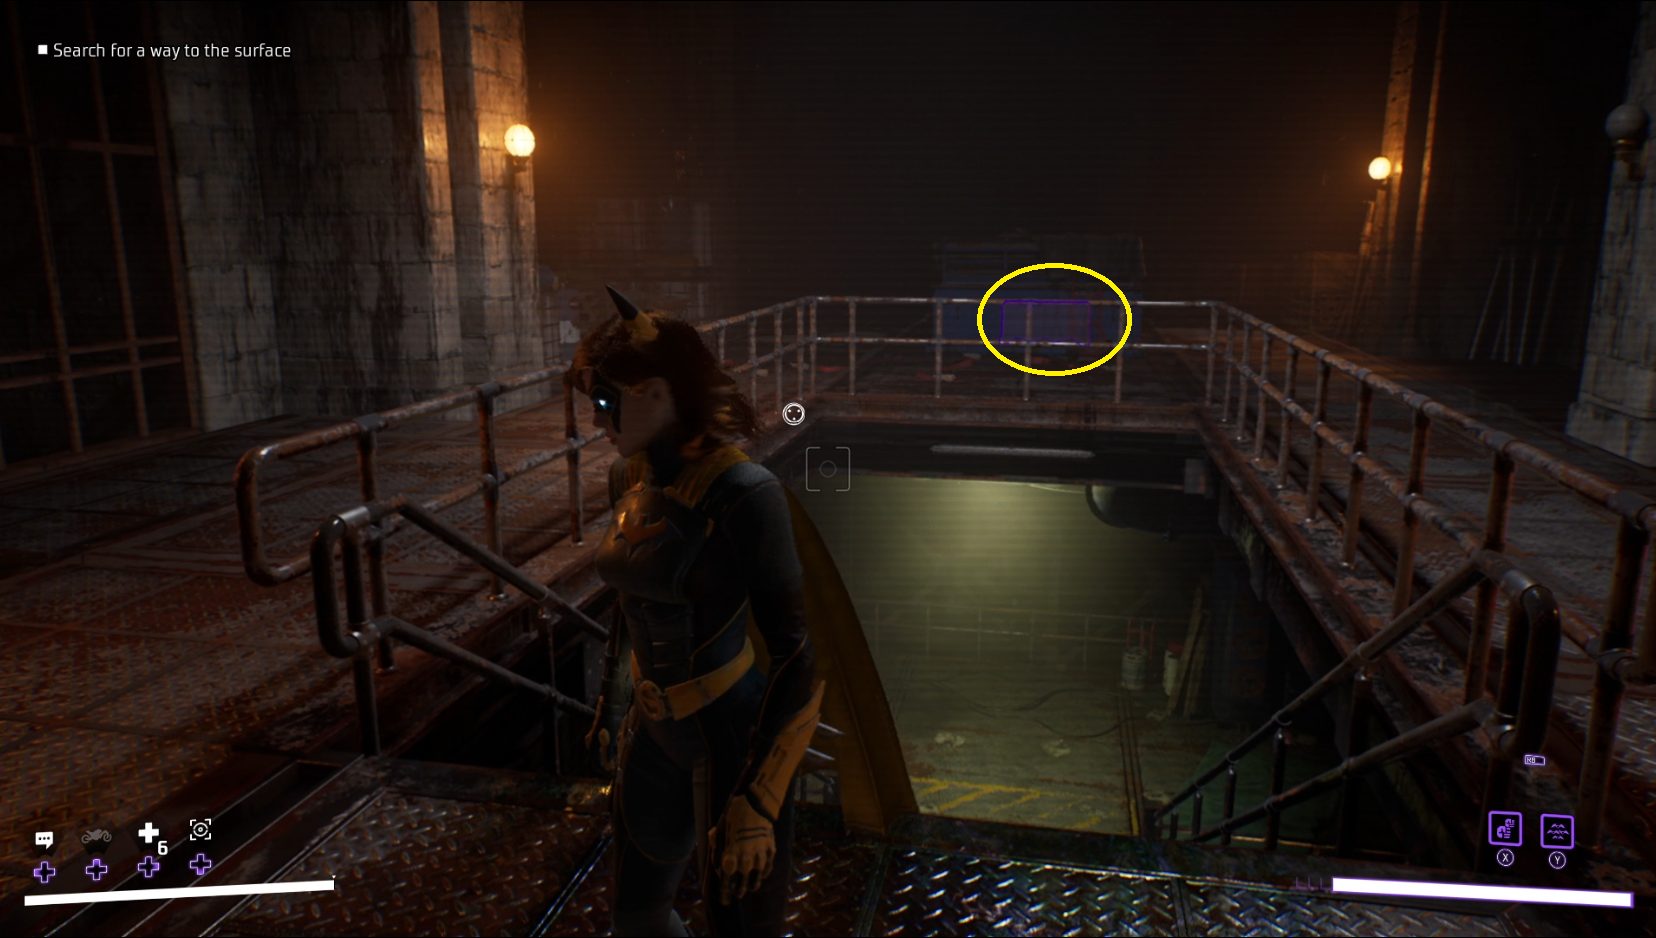
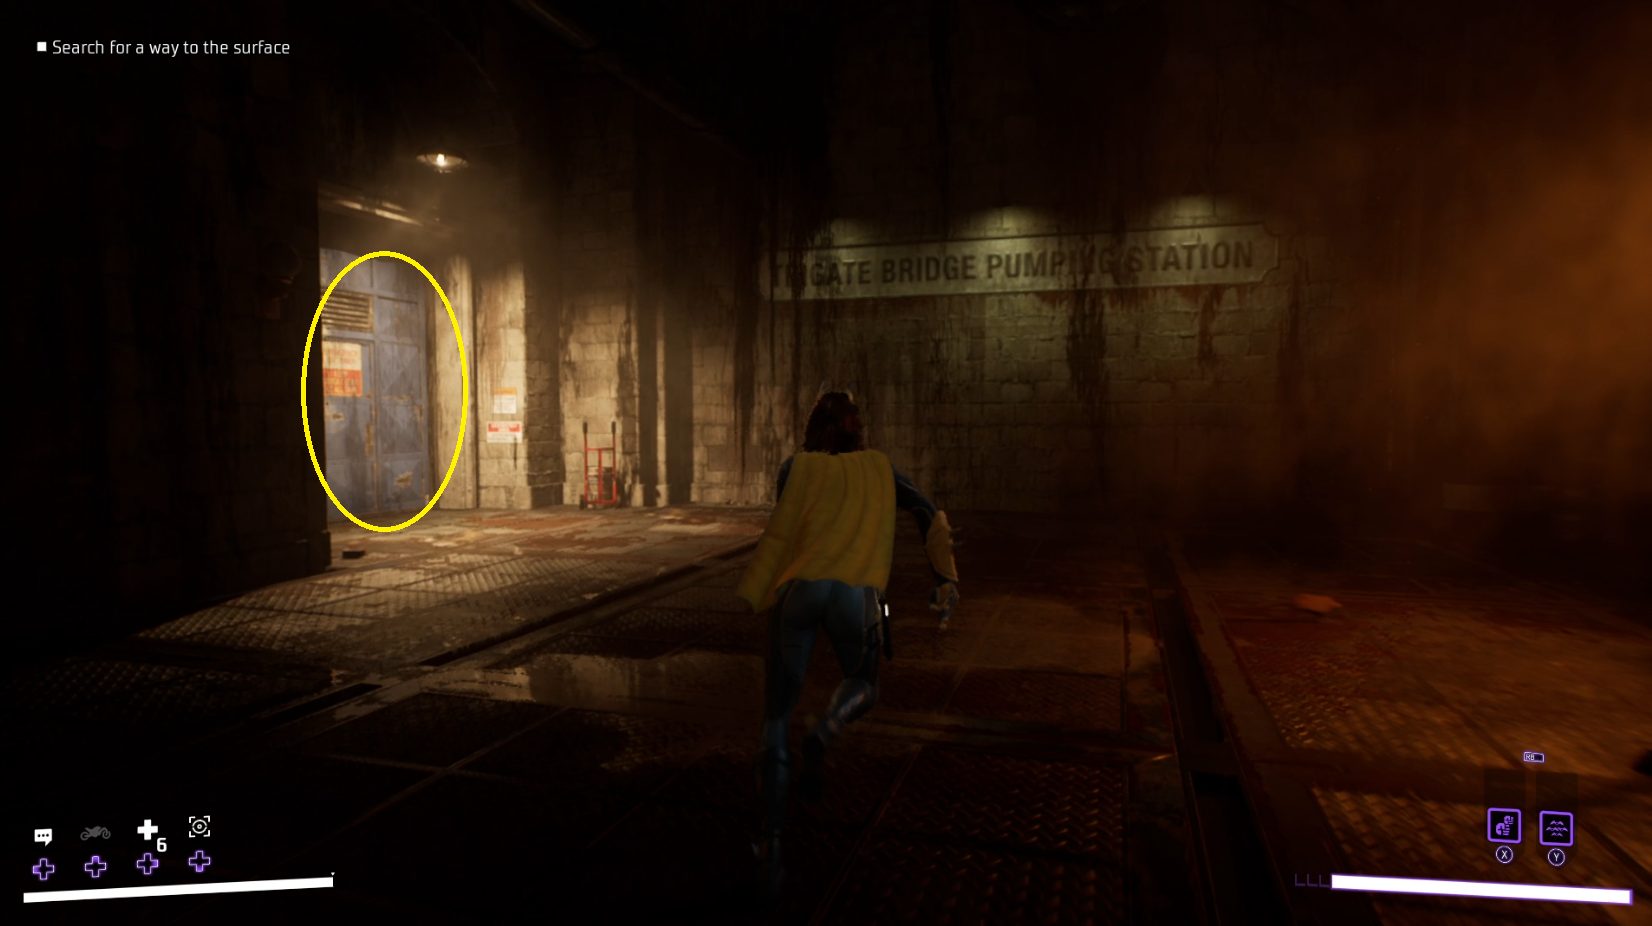
Go up the stairs, and then turn around and find the chest behind the metal containers (1). That done, you can go to the other side of the room and exit through the blue door on the left (2).
12
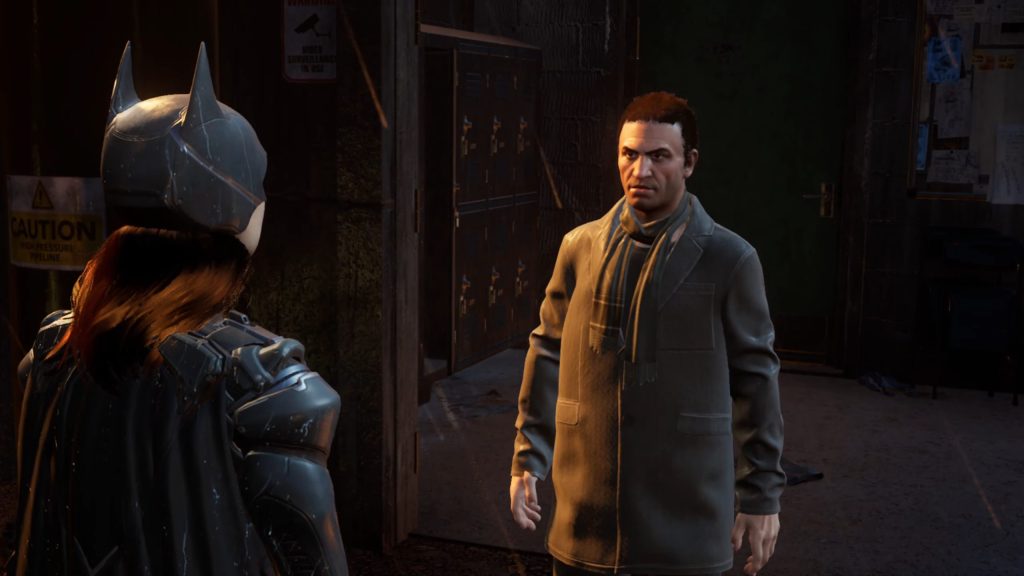
Once outside, your call to the Belfry will be interrupted, and then you’ll need to go meet Talia Al-Ghul. Follow the icon to her location, and you’ll get another cutscene. Once it ends, you can fast travel back to the belfry. There, after a final cutscene, you’ll recieve your mission rewards.Next up is Case 04: The Masquerade!
Unabashed FromSoftware fanboy still learning to take his time with games (and everything else, really). The time he doesn't spend on games is spent on music, books, or occasionally going outside.