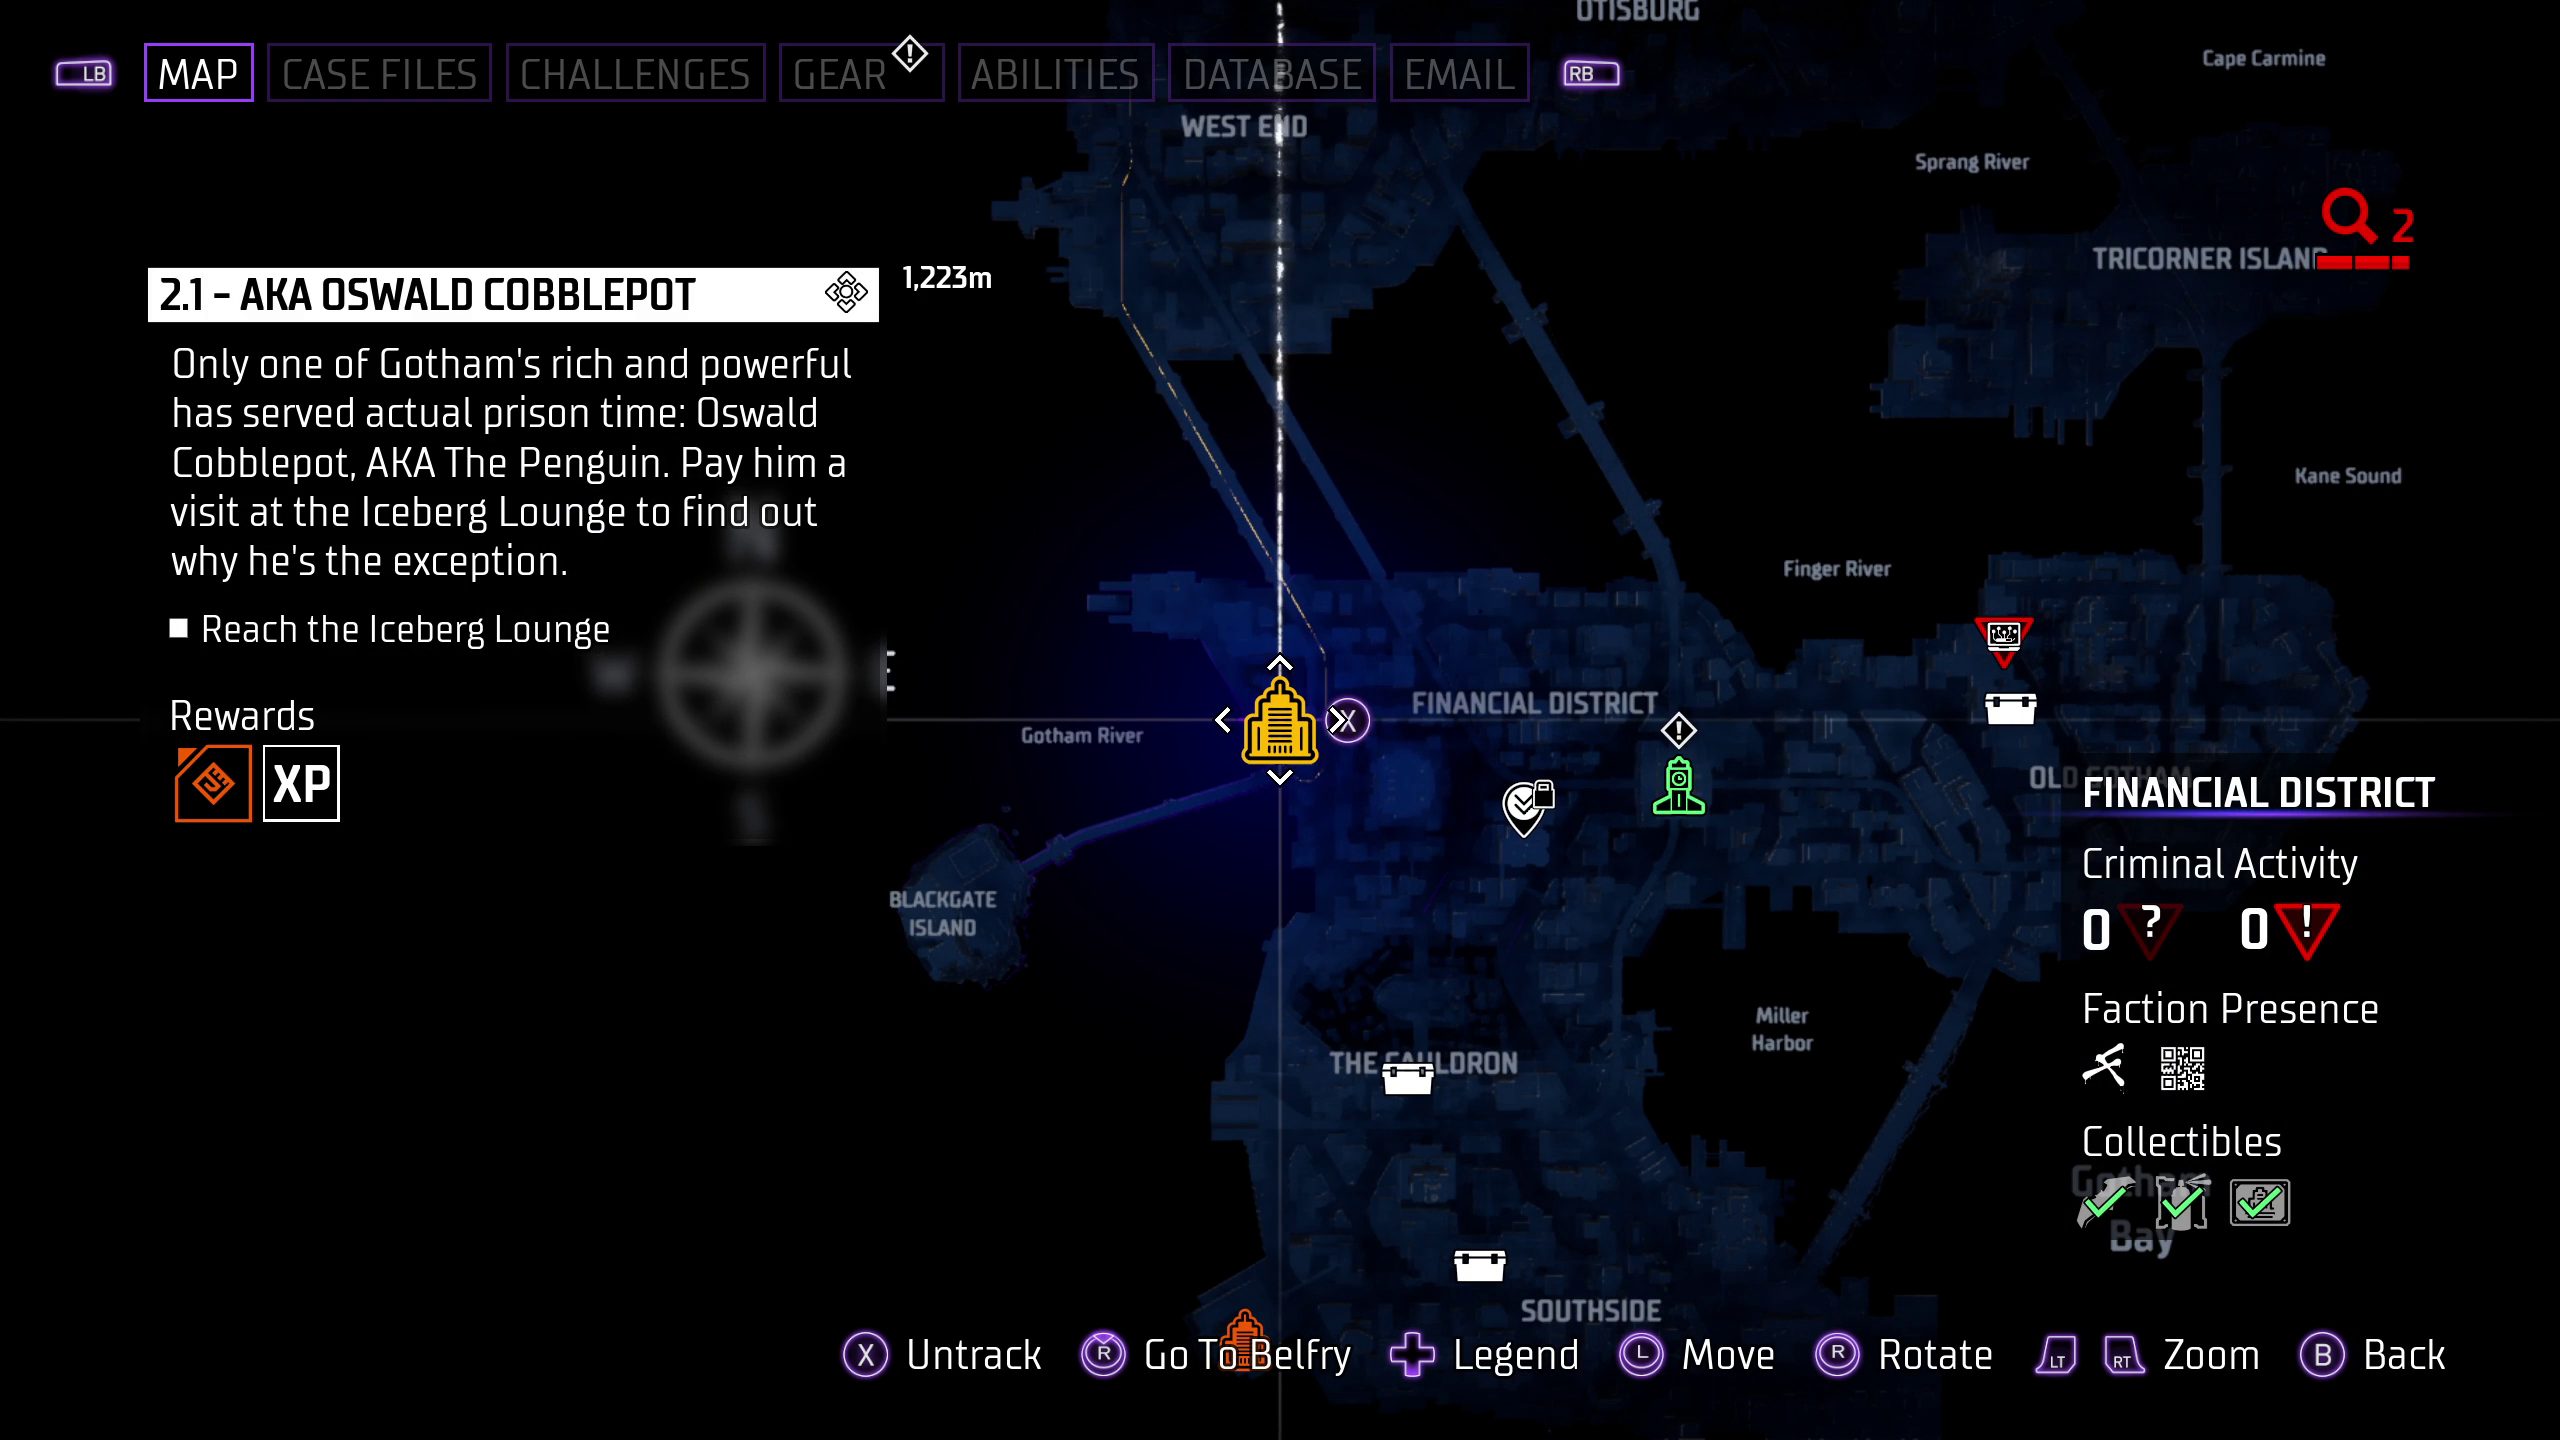
This mission introduces you to the Penguin, AKA Oswald Cobblepot. To do this, you have to go to the Iceberg Lounge, where he claims to have “gone legit.”
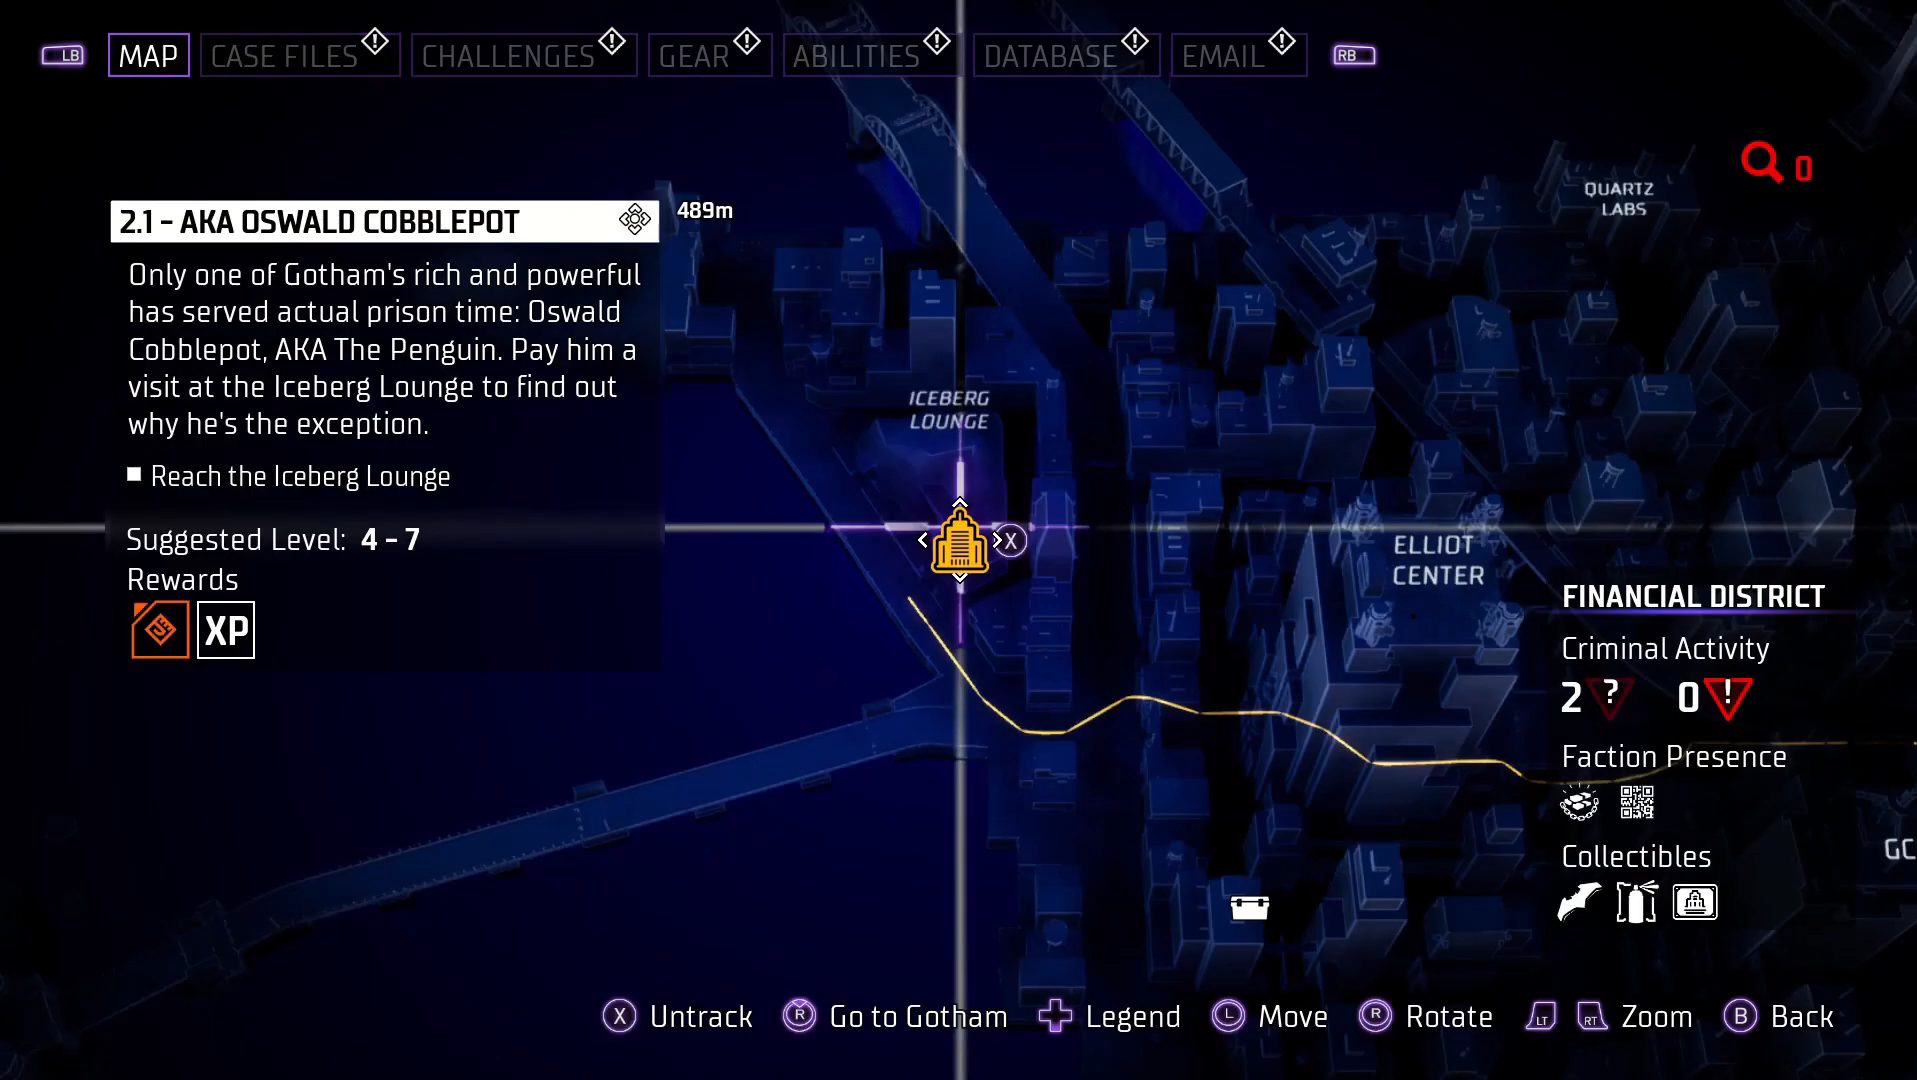
Before you leave the Belfry, go to your map and track the Iceberg Lounge, which will have a yellow “building” icon. The Lounge is along the coast to the immediate west of the Belfry.
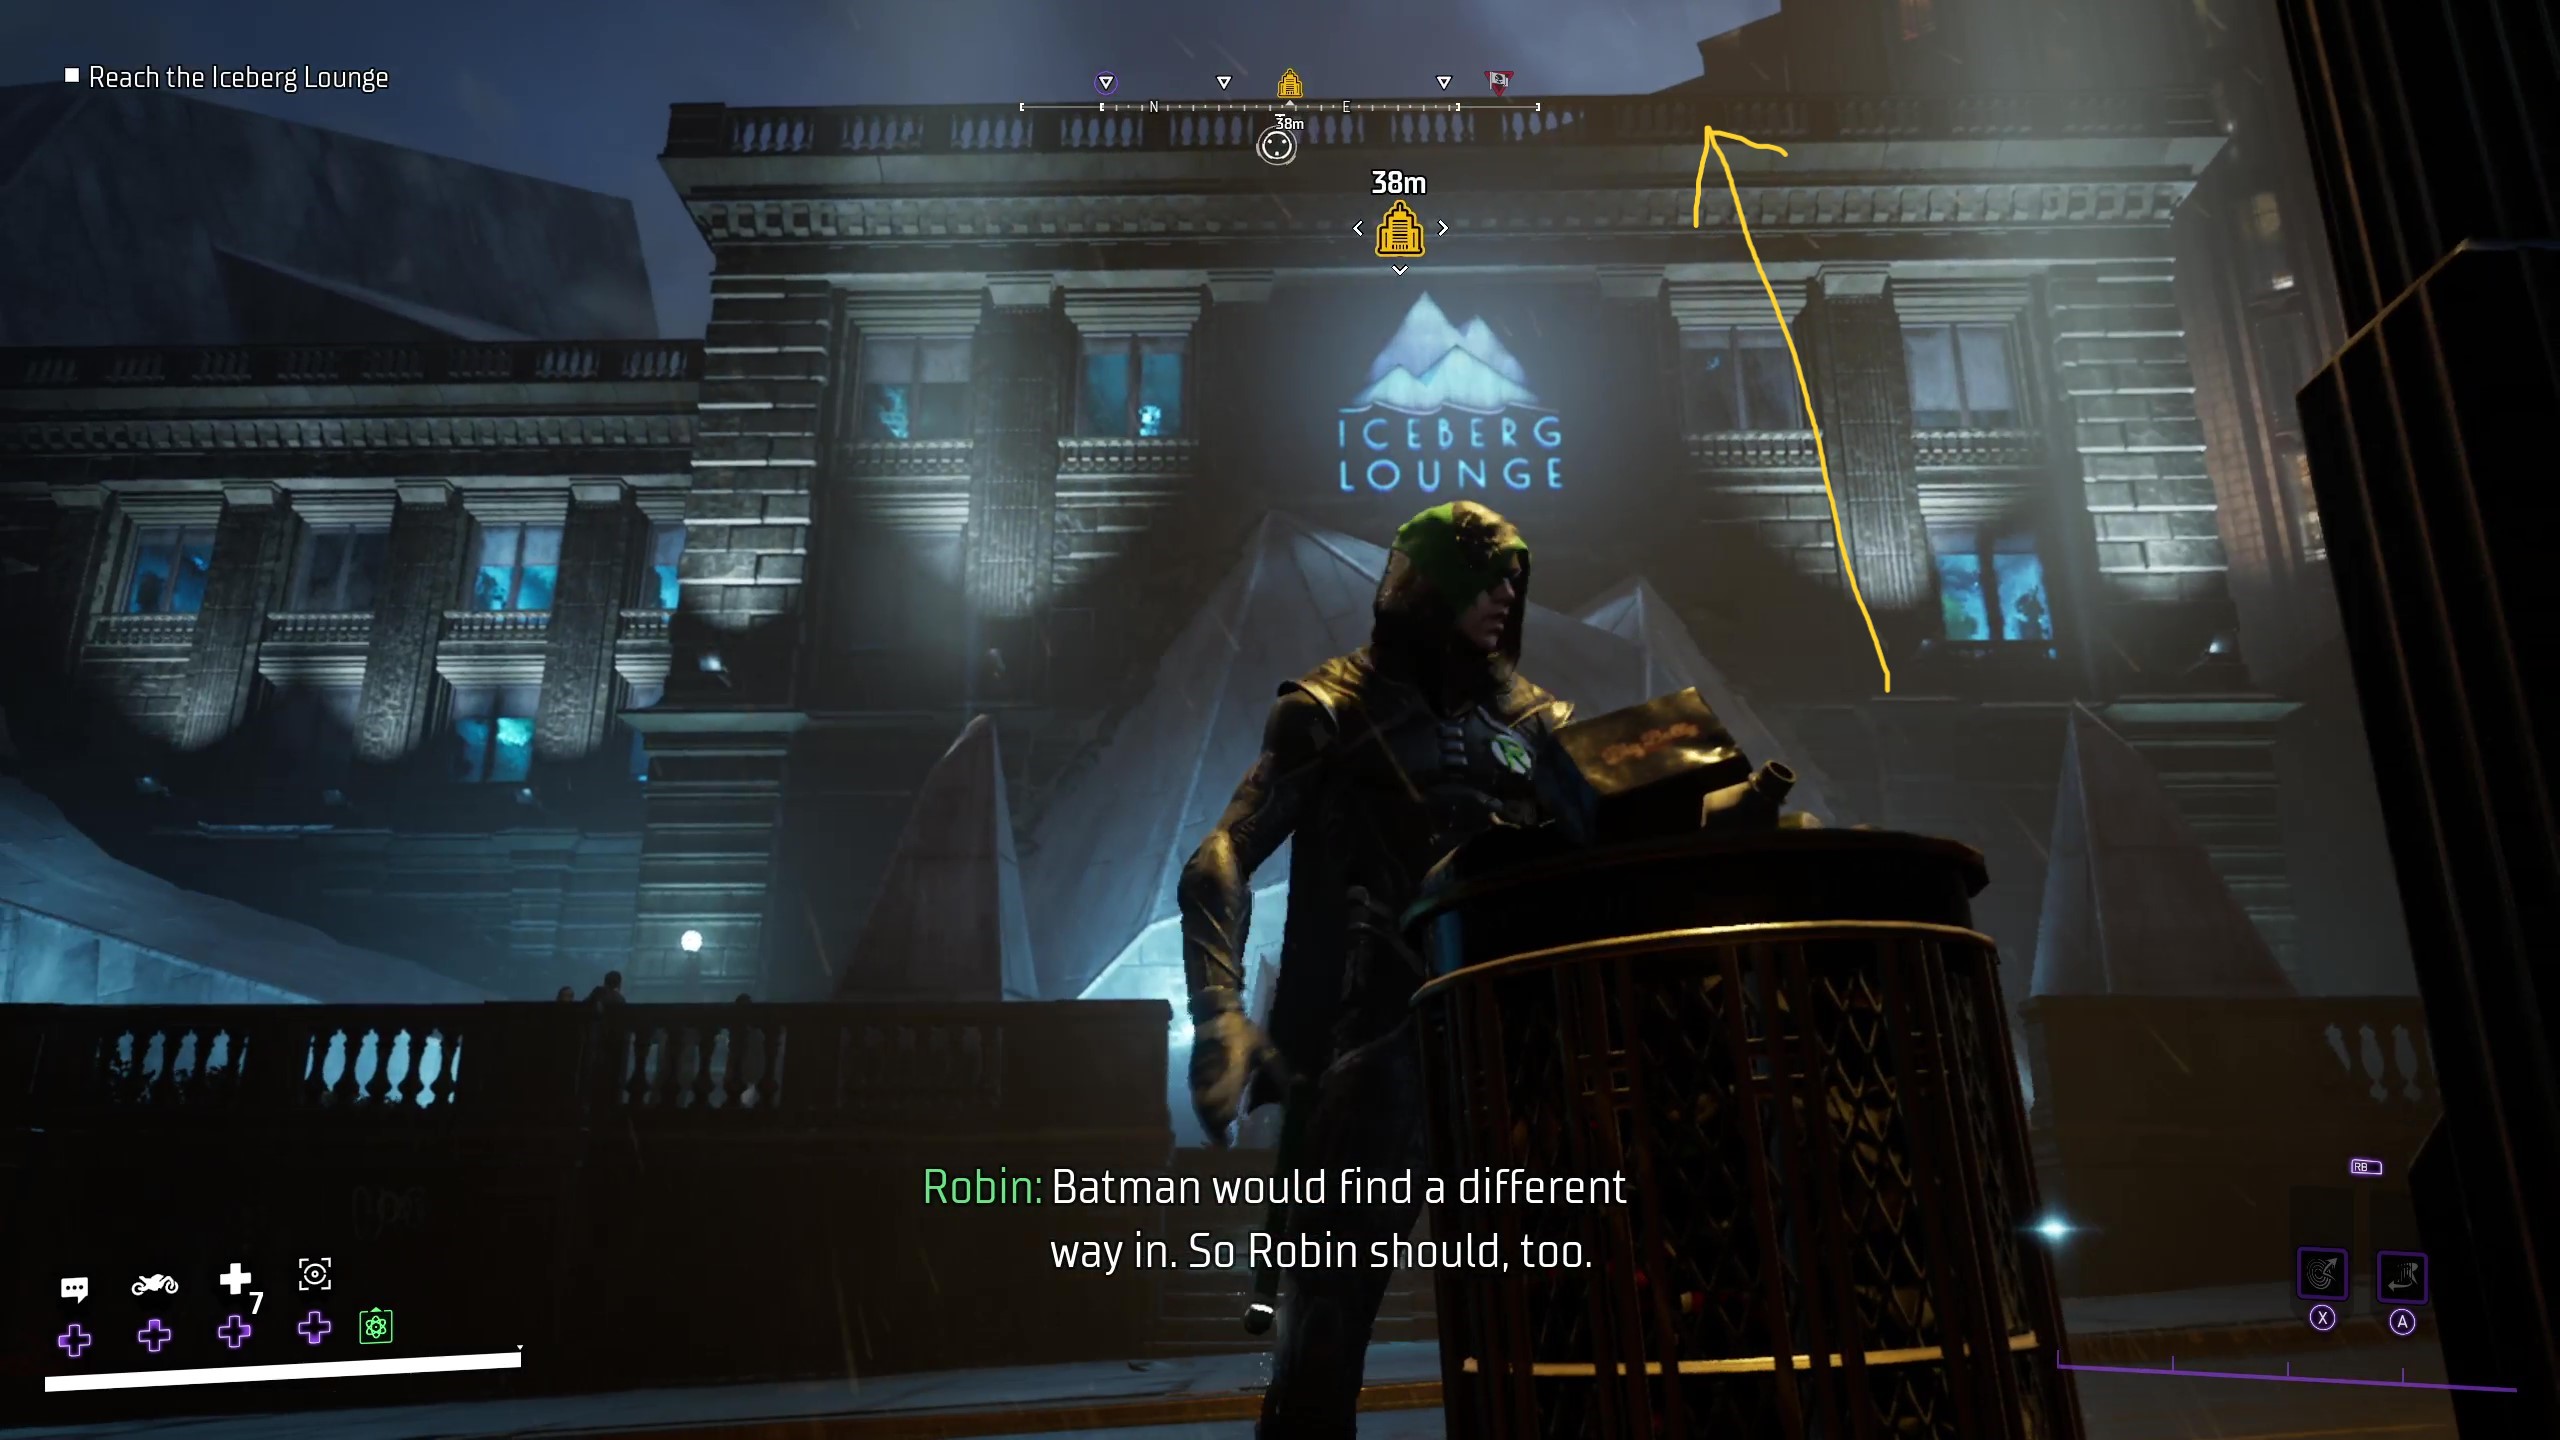
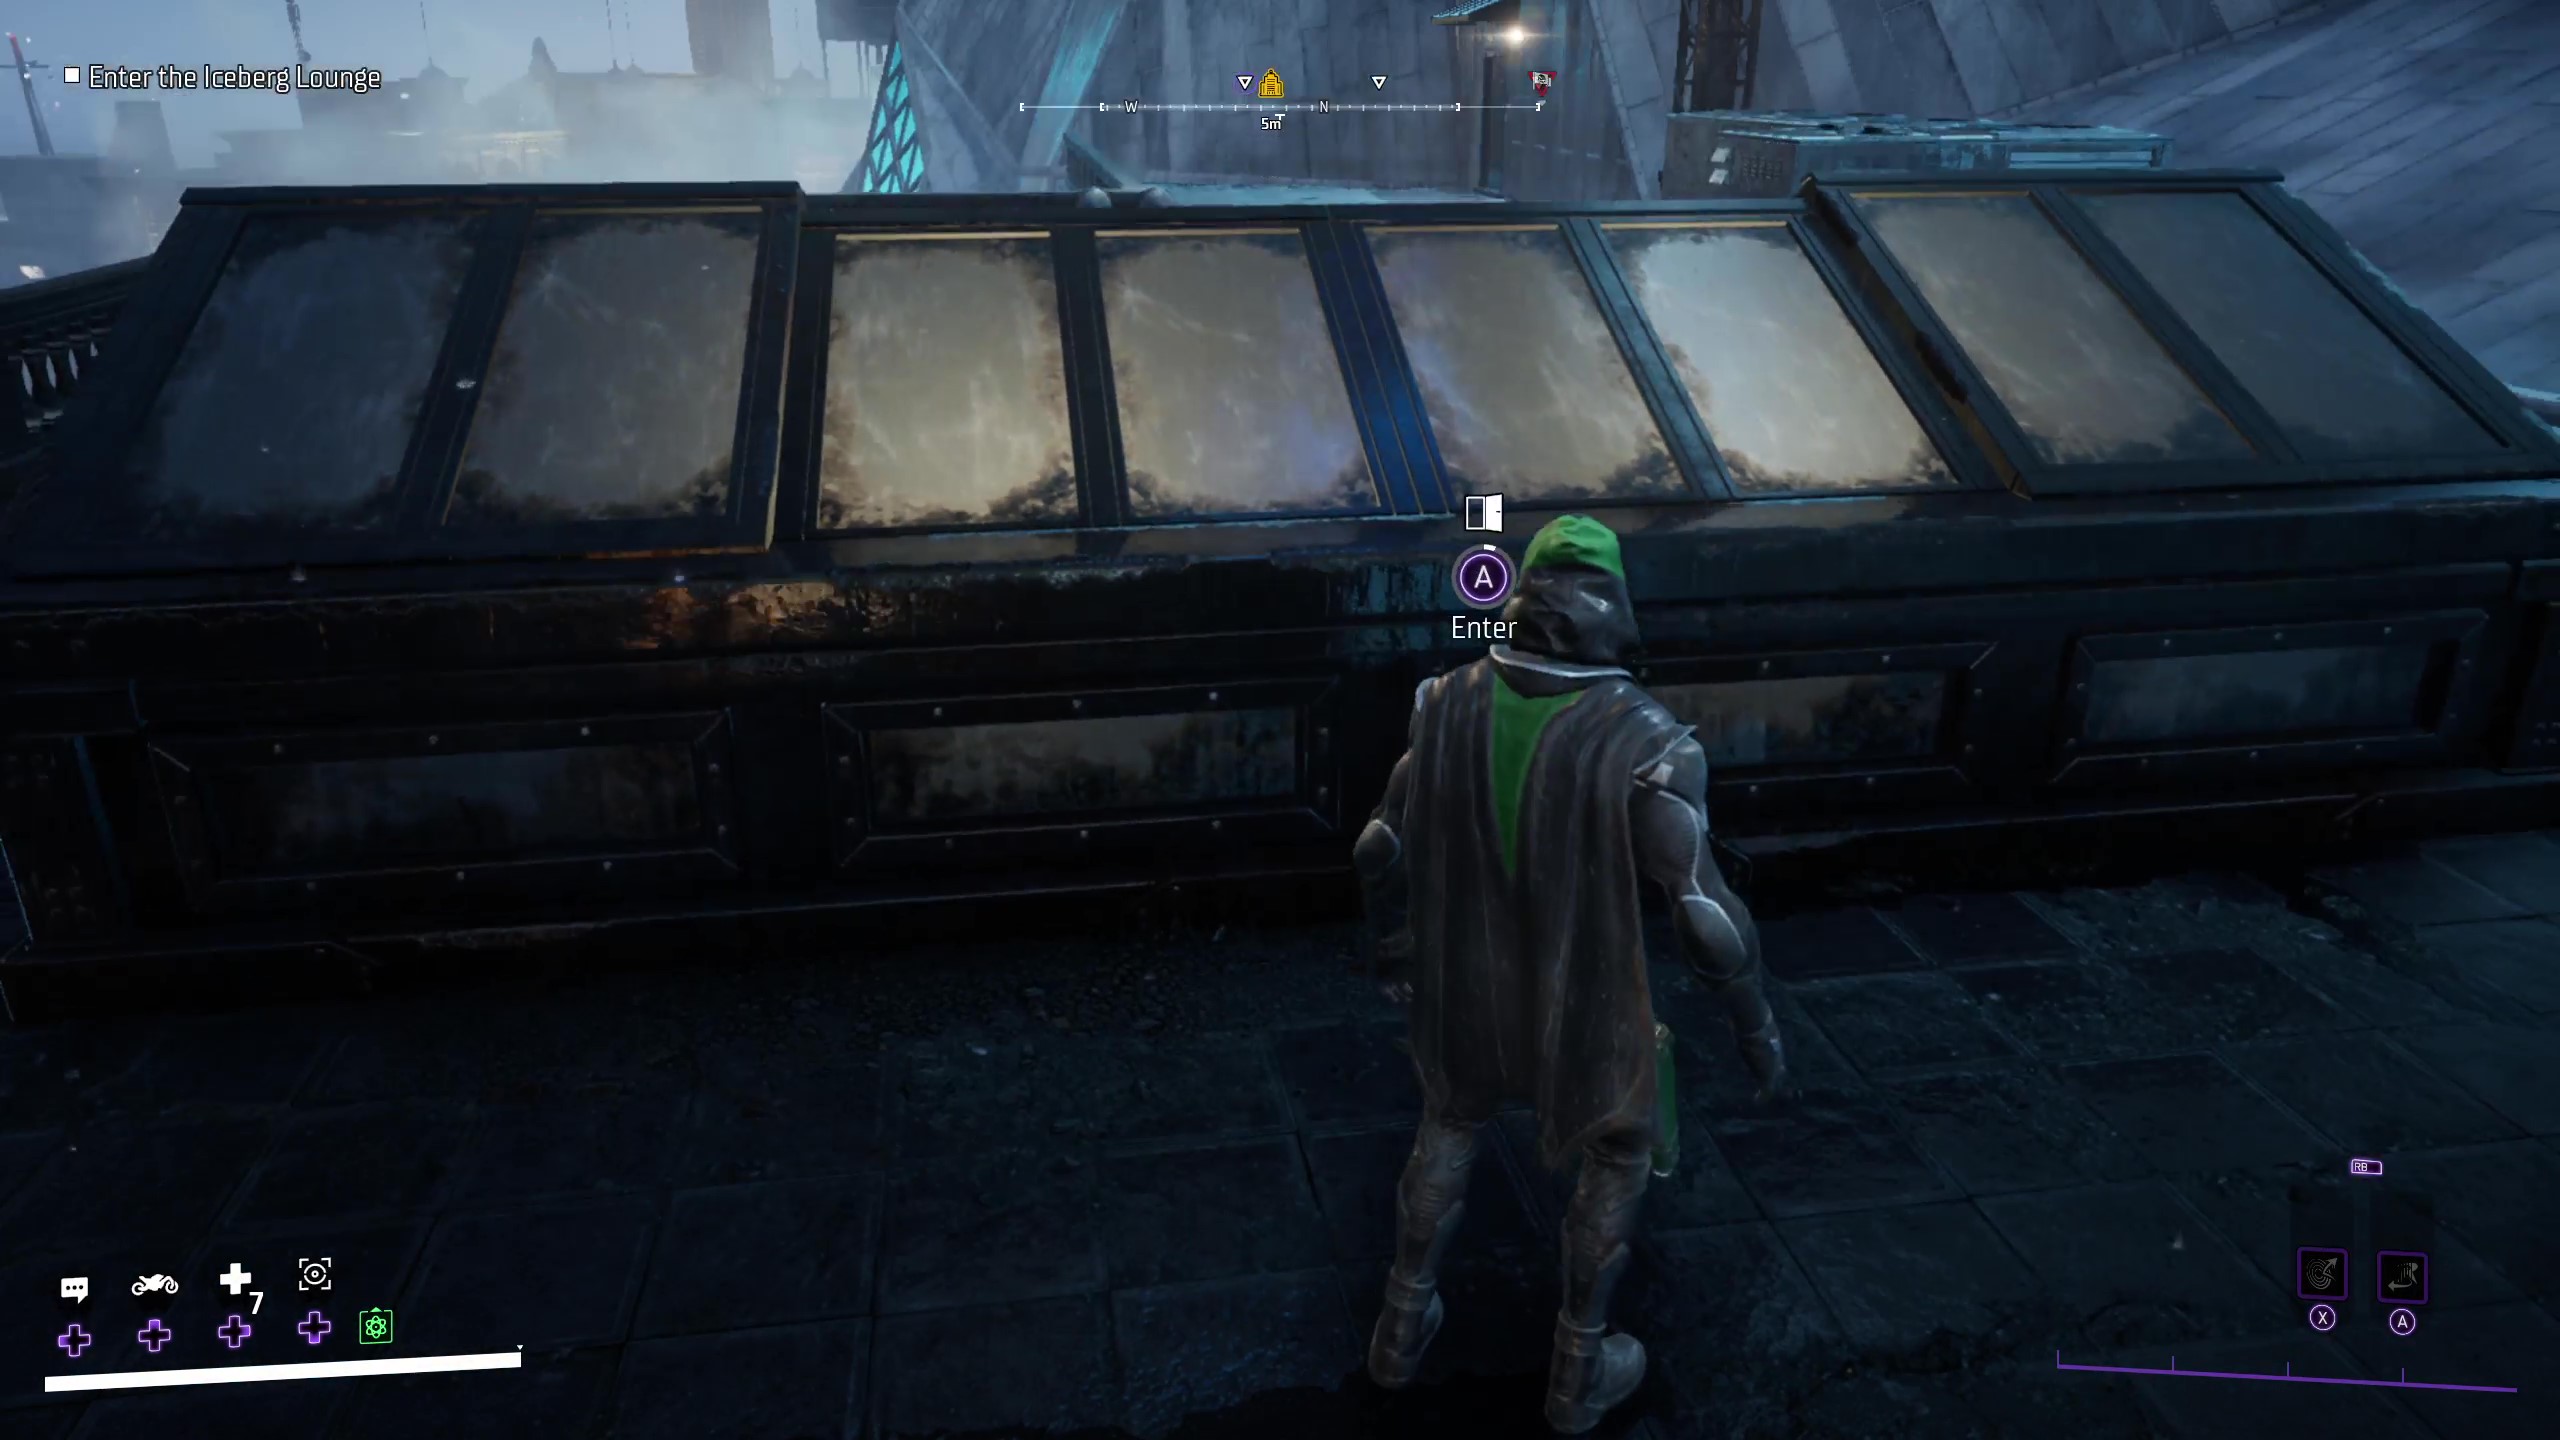
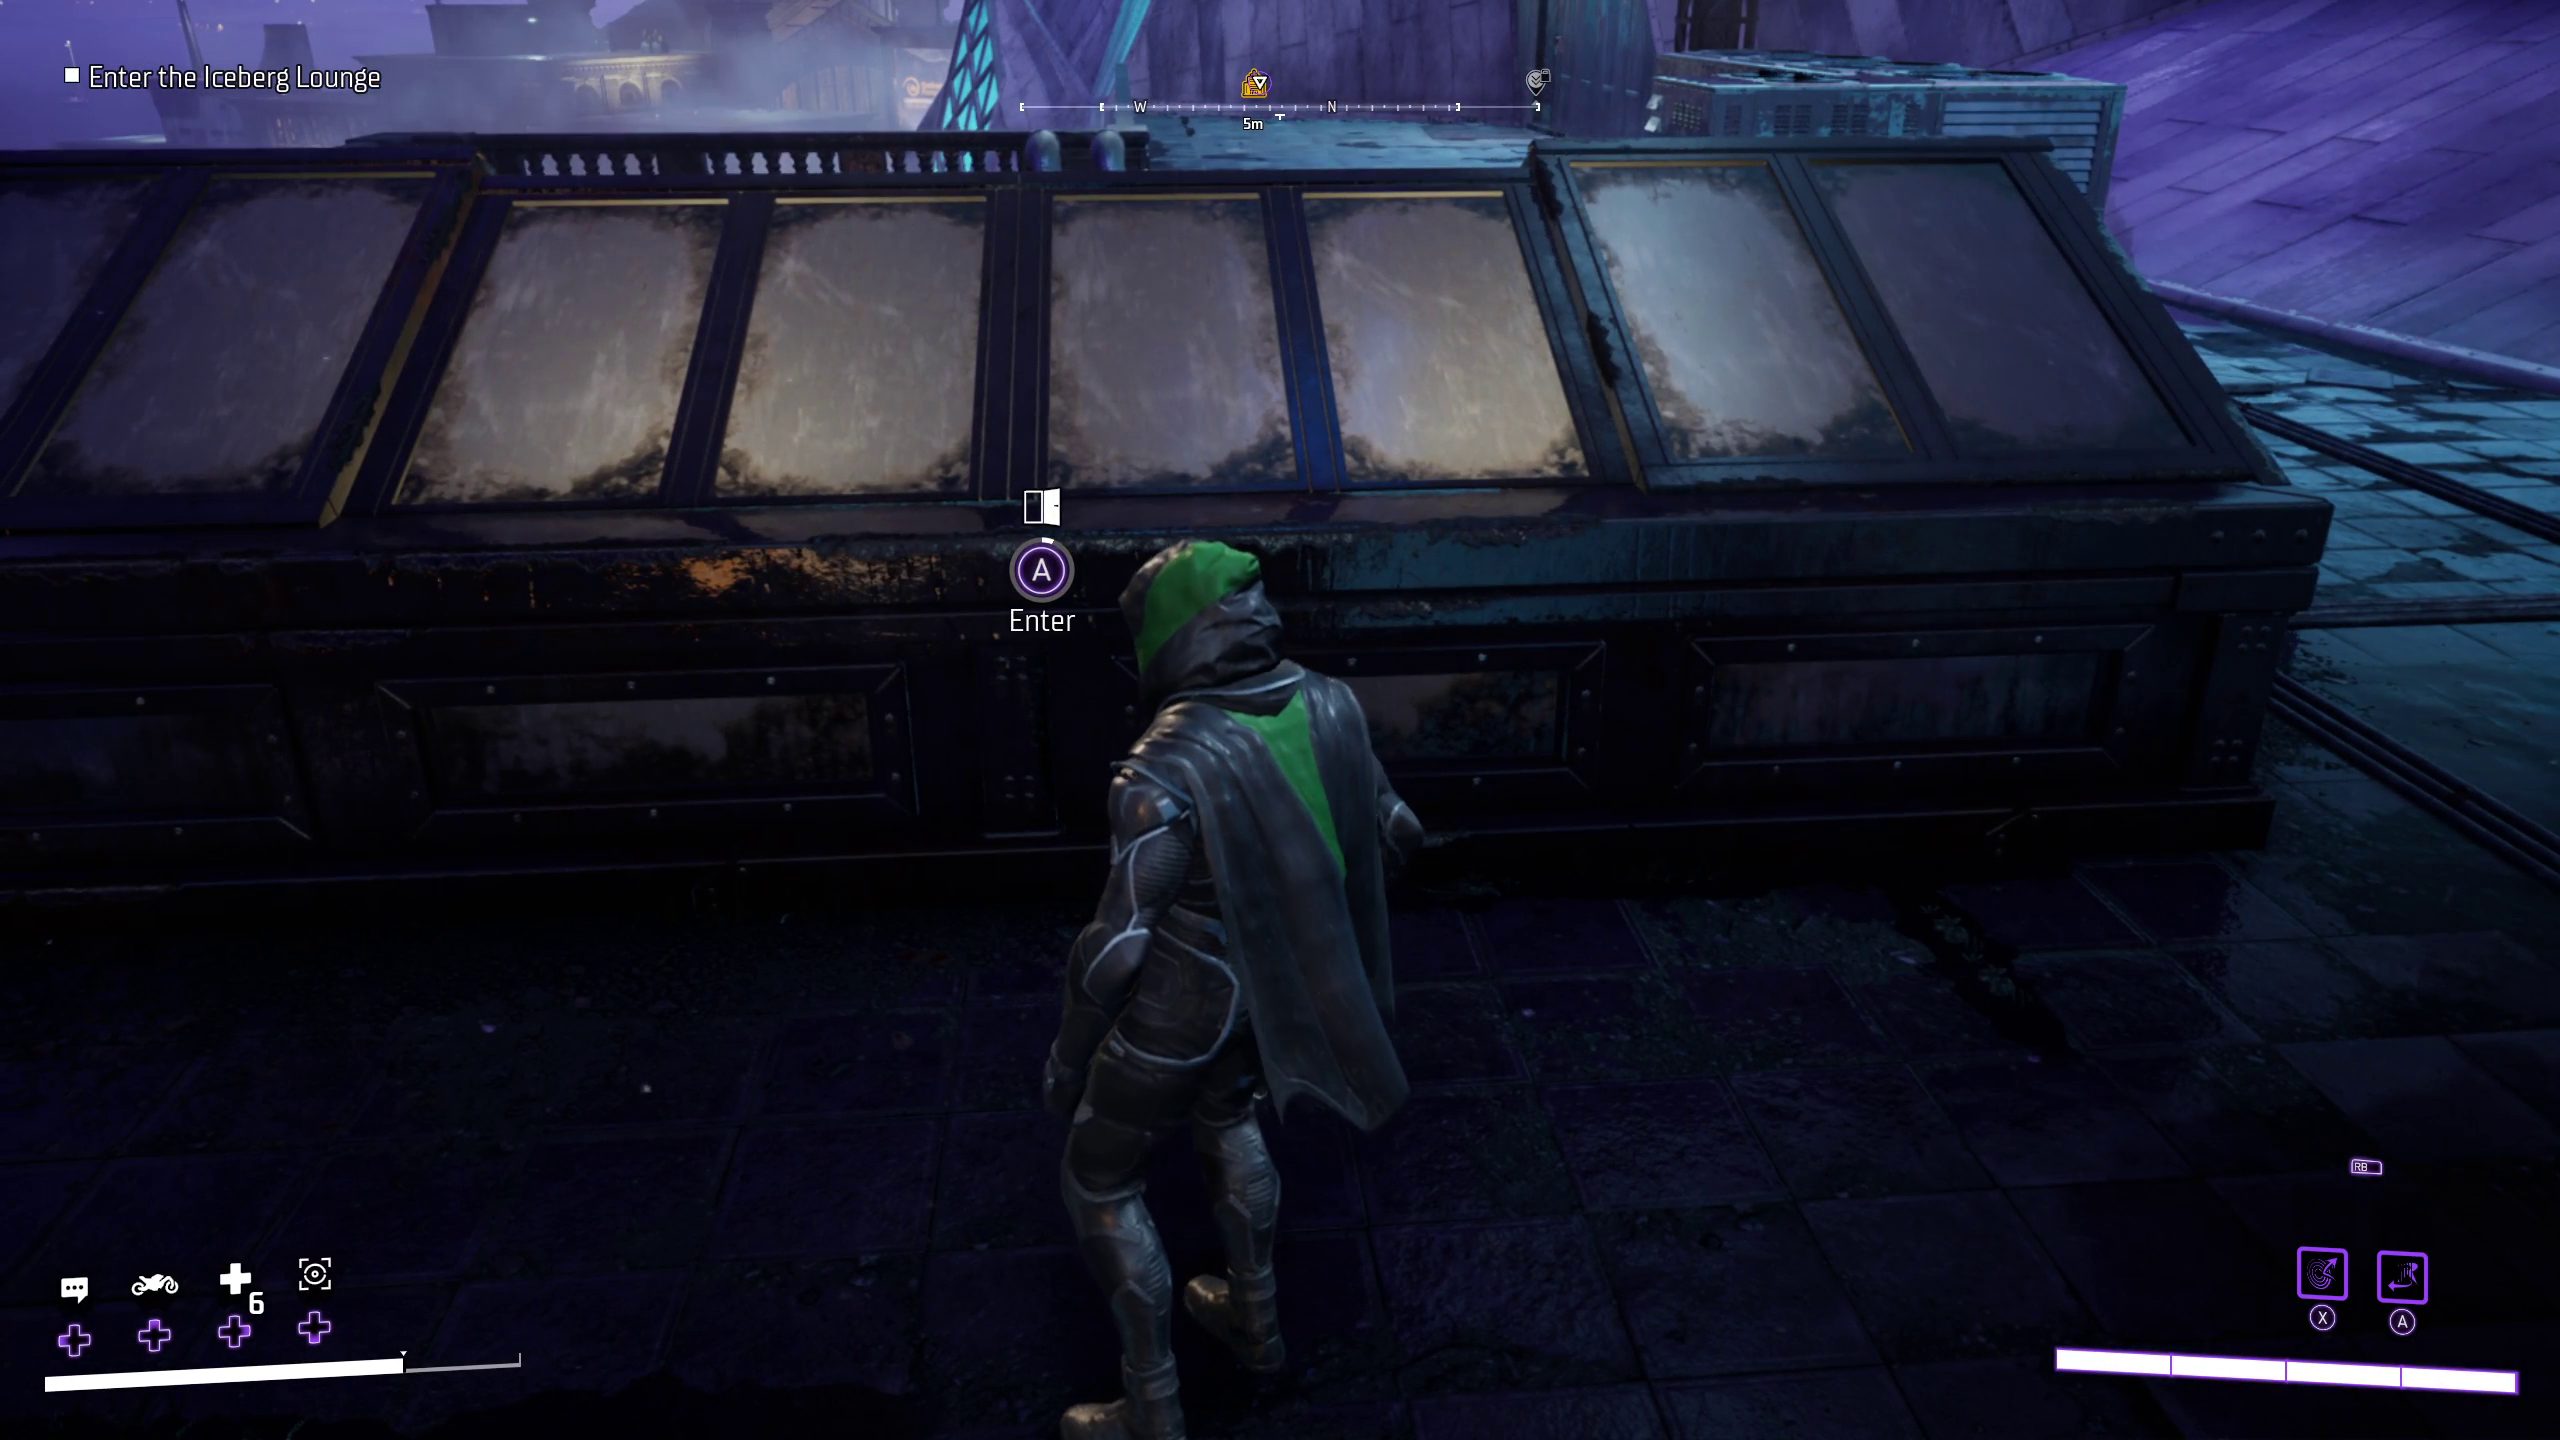
Once you arrive at the Iceberg Lounge, you’ll need to get into the building. In order to do so, you’ll have to make your way to the roof of the building on the south side of it (right above the sign). Once you are on the roof, you can enter the building via the skylight.
Once inside, there will be several items in the room you land in that you can investigate for banter and lore. After you are finished admiring those objects, you can open the door to the lounge itself.
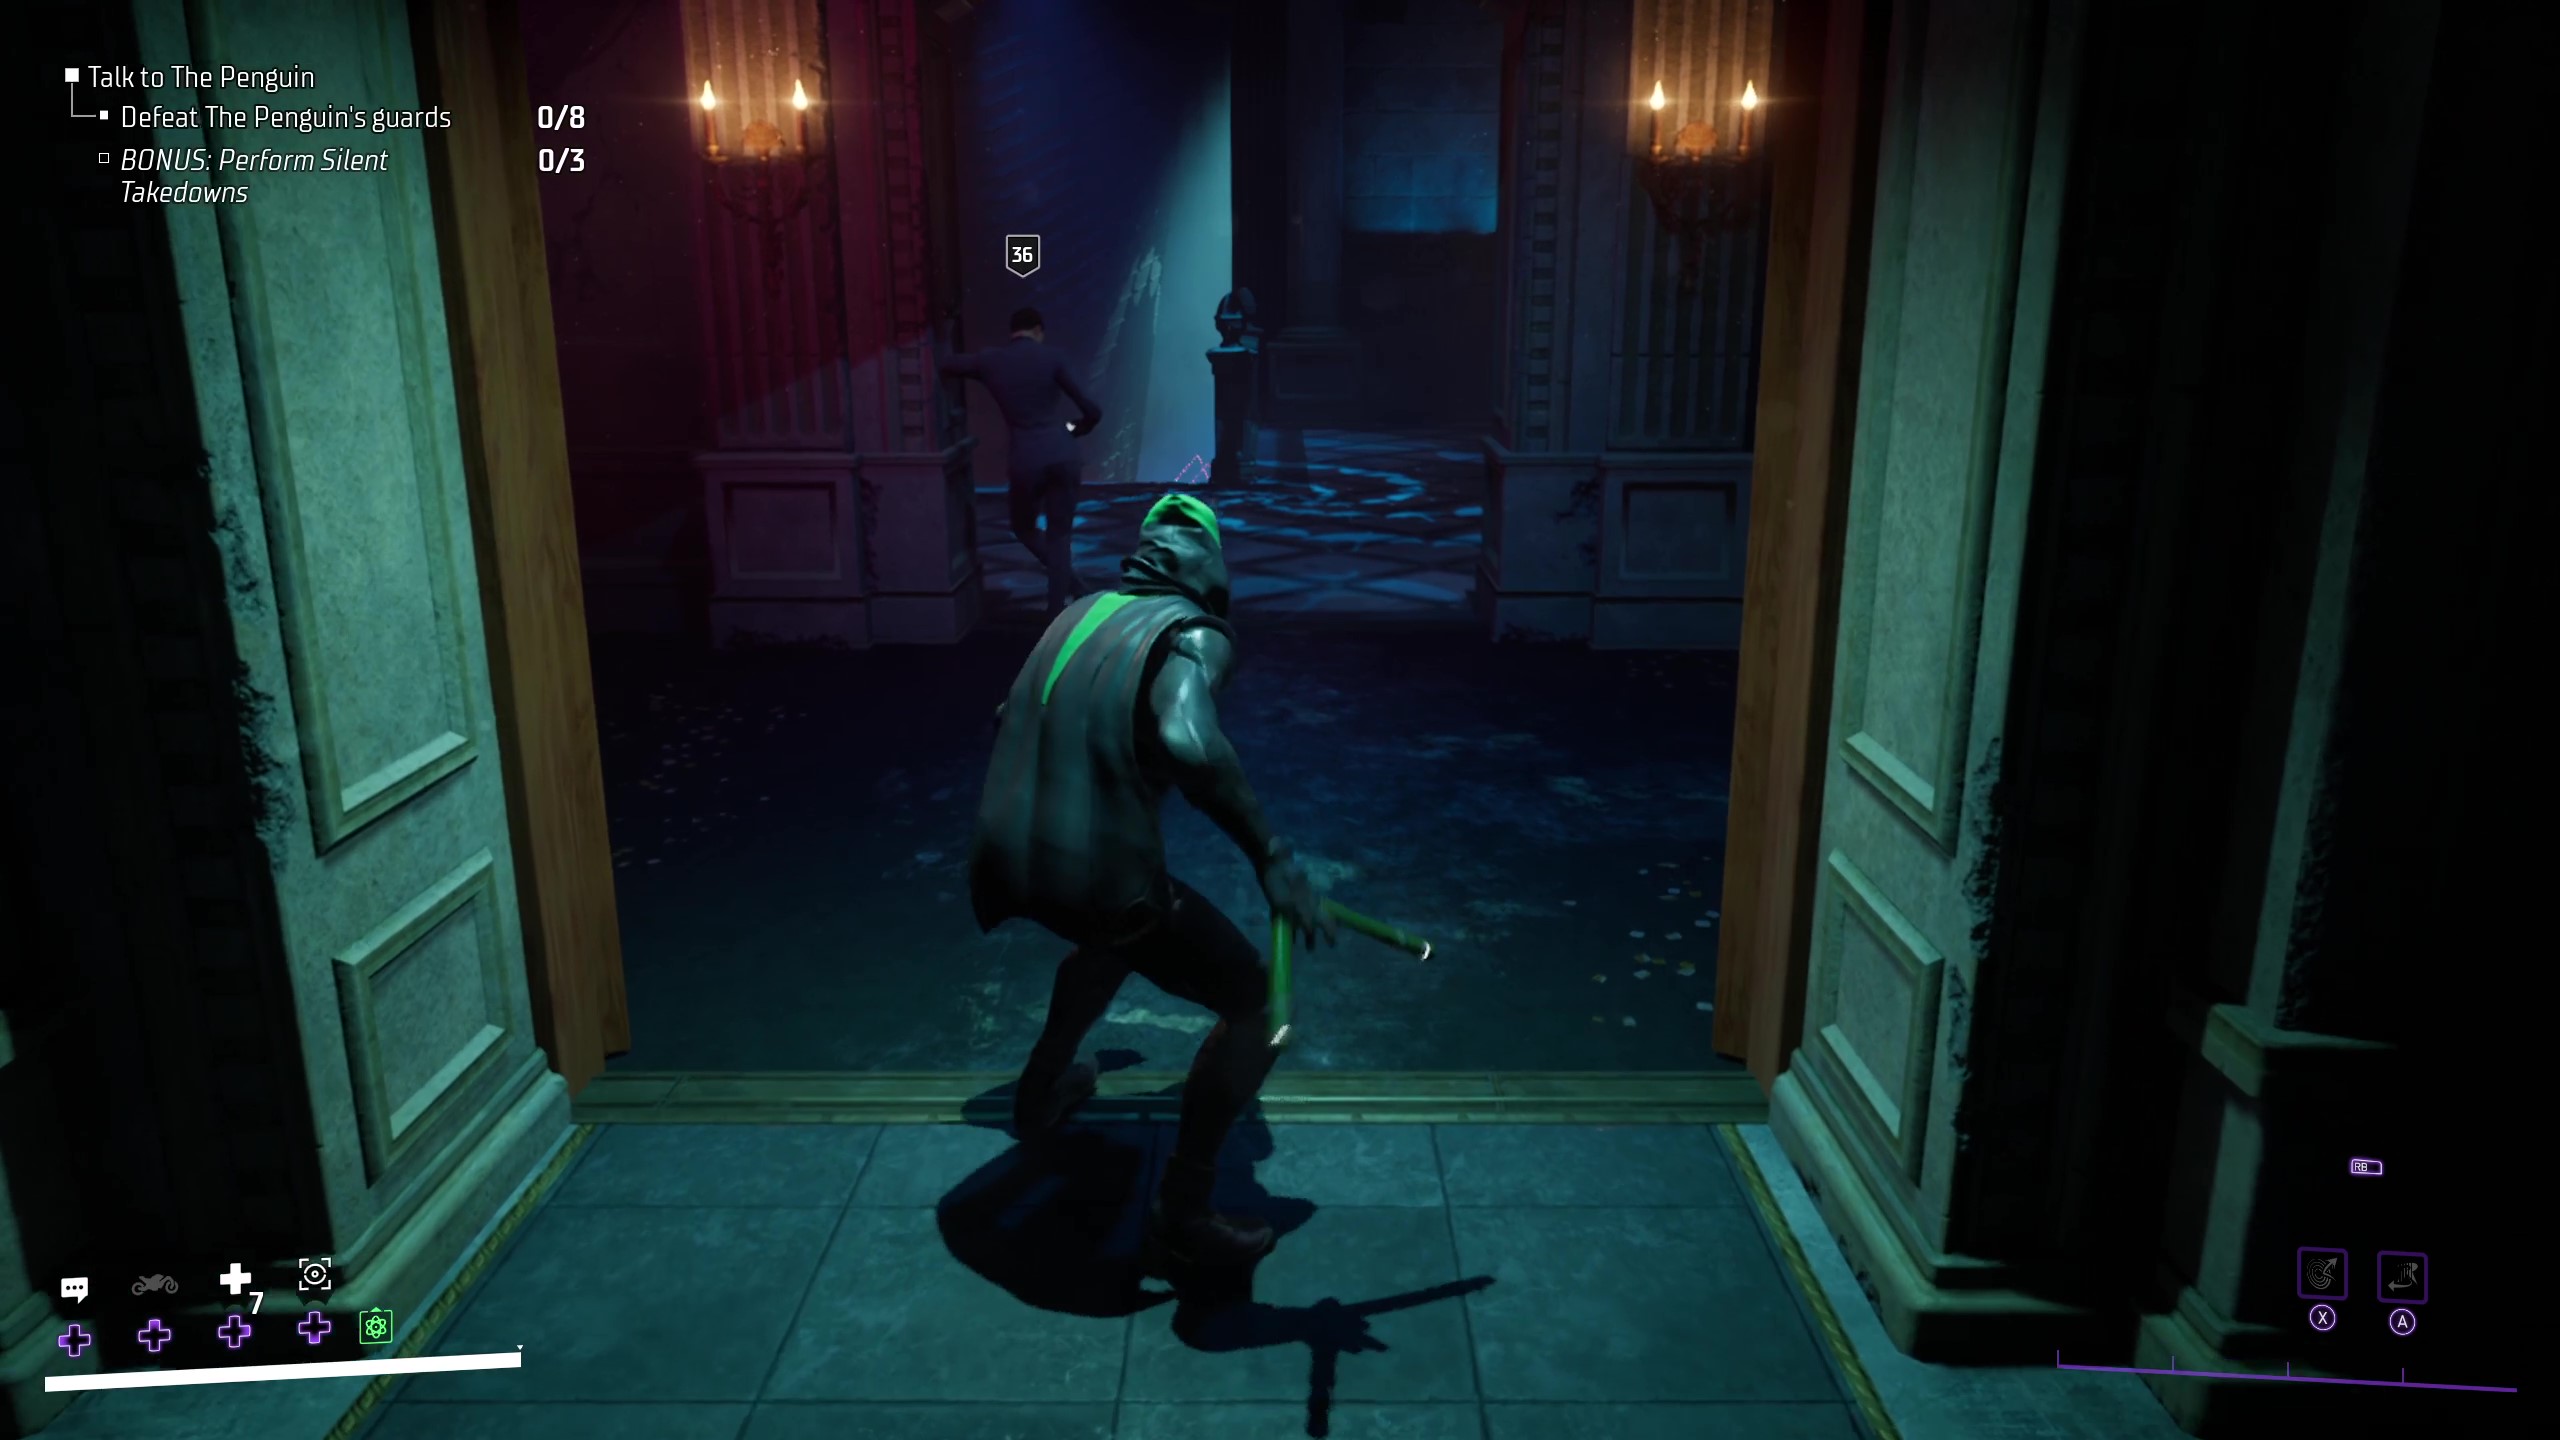
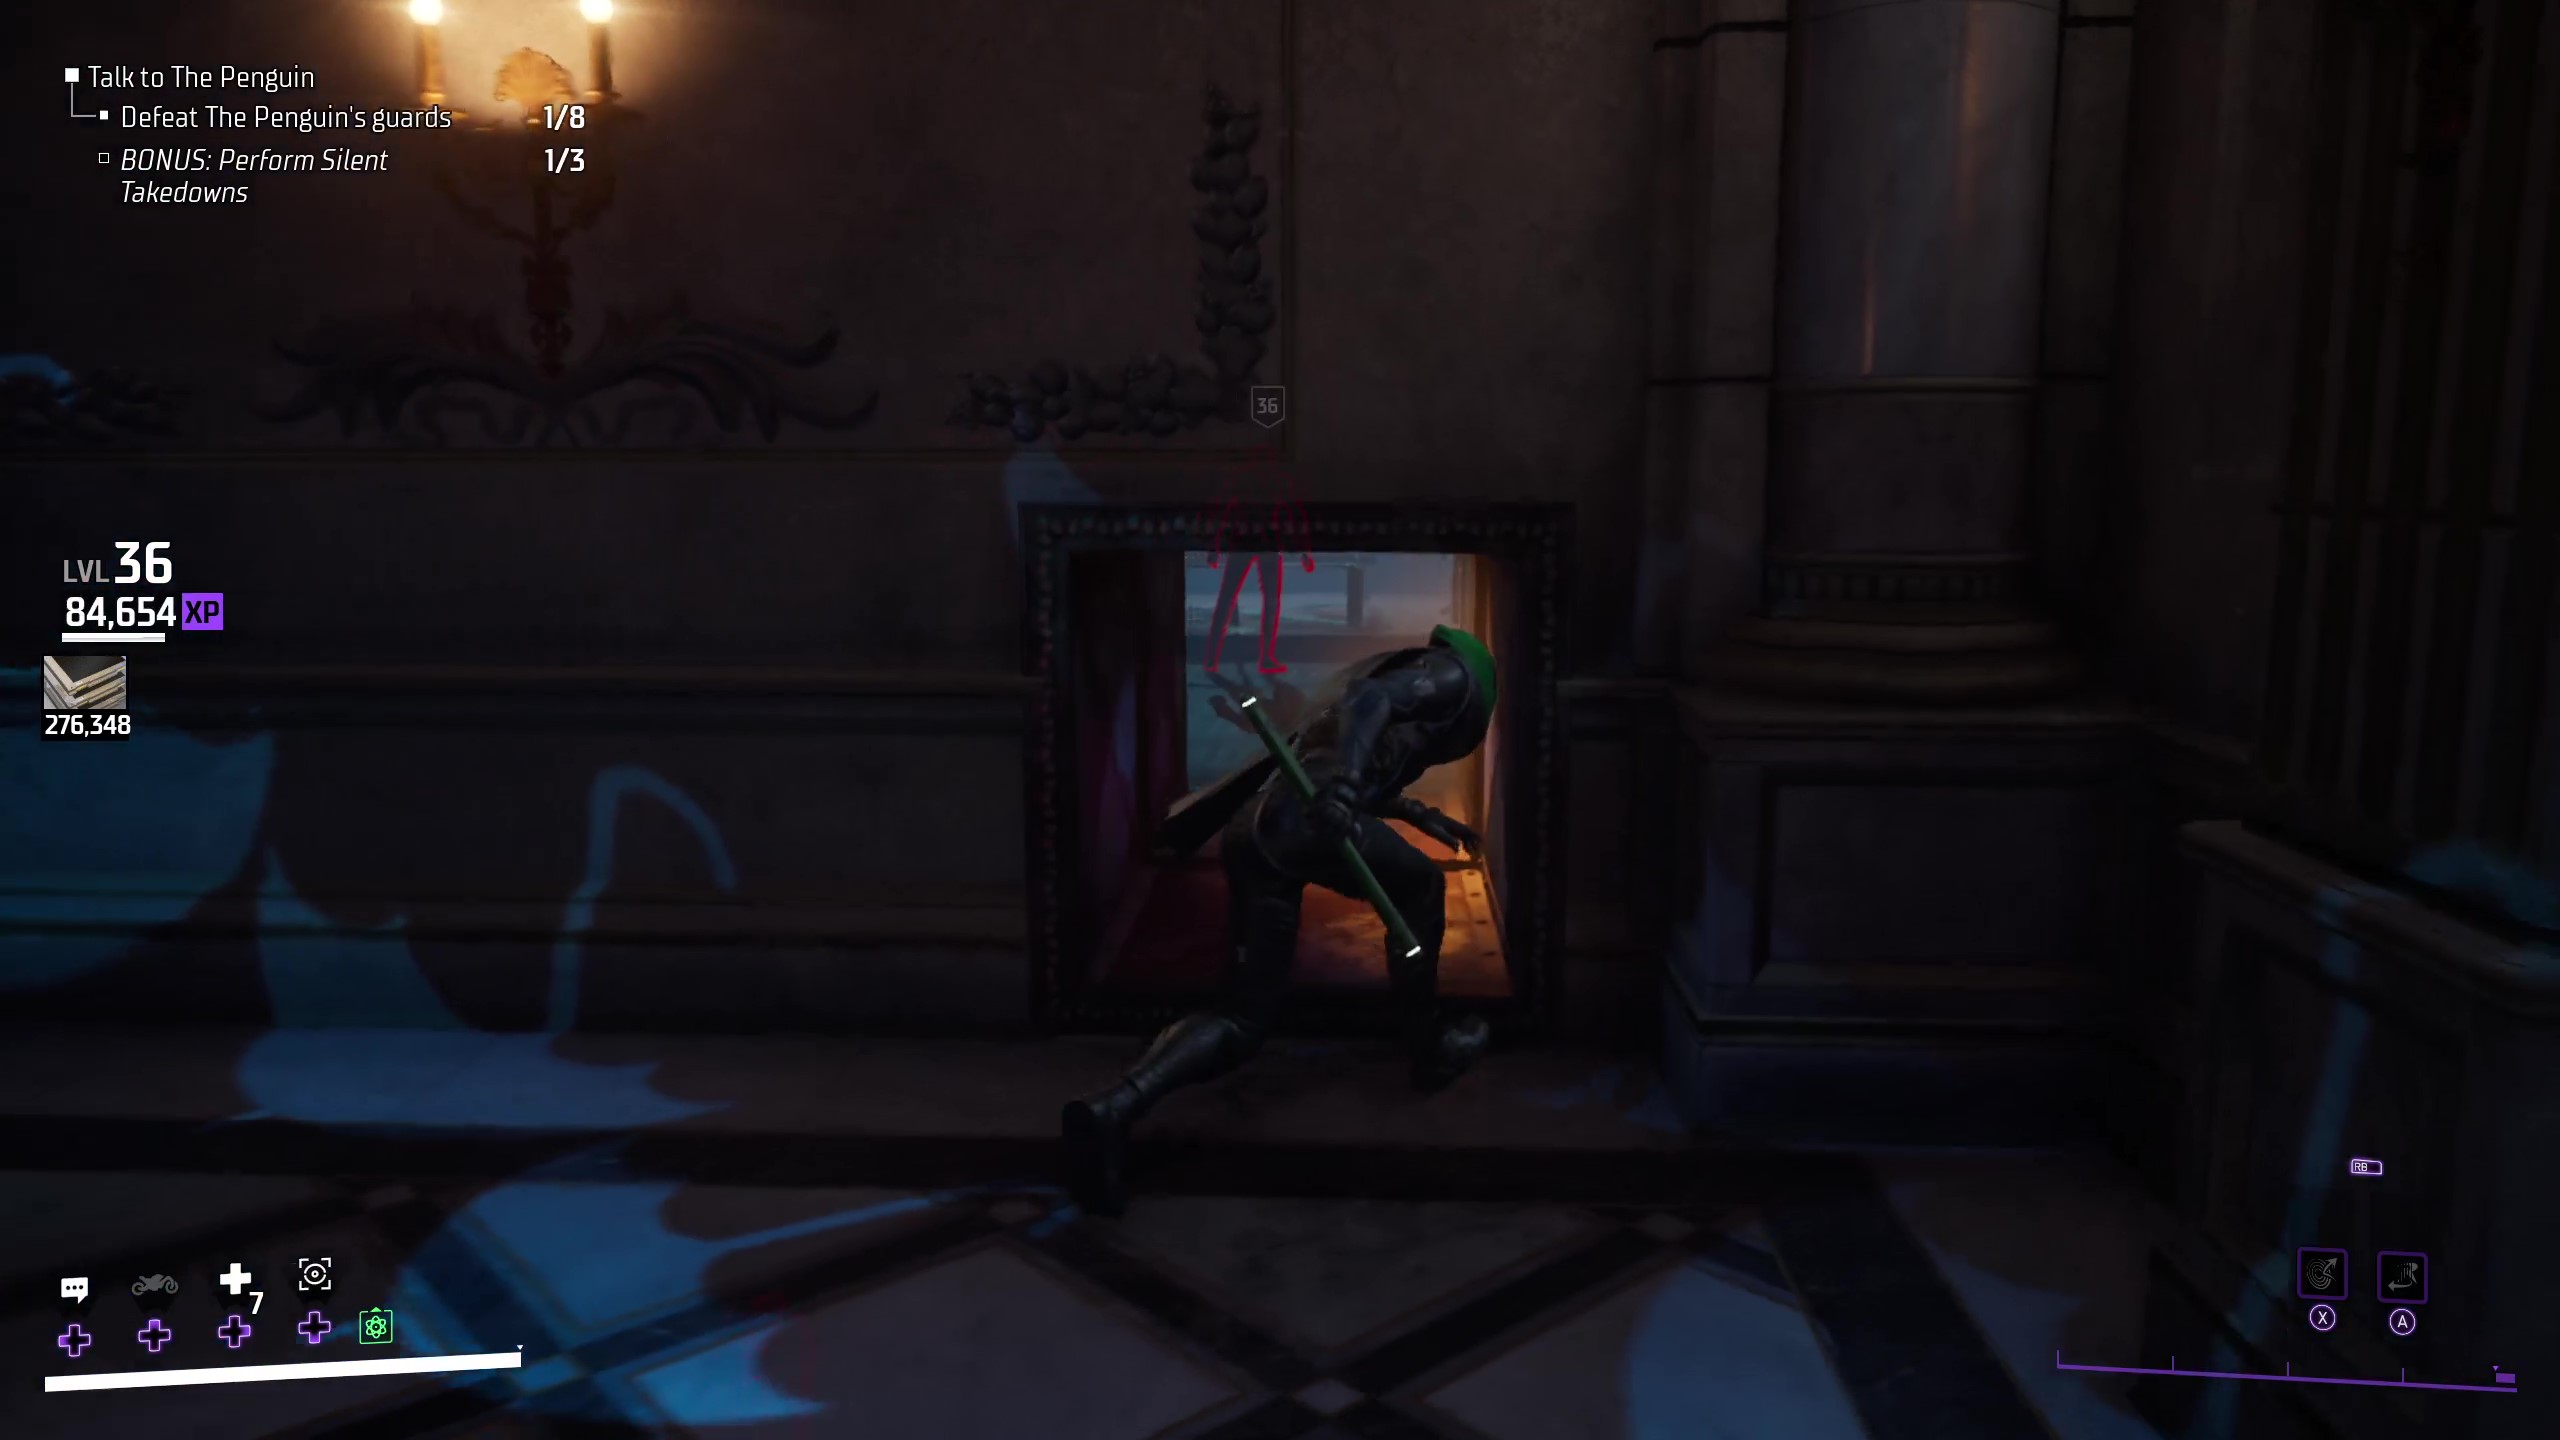
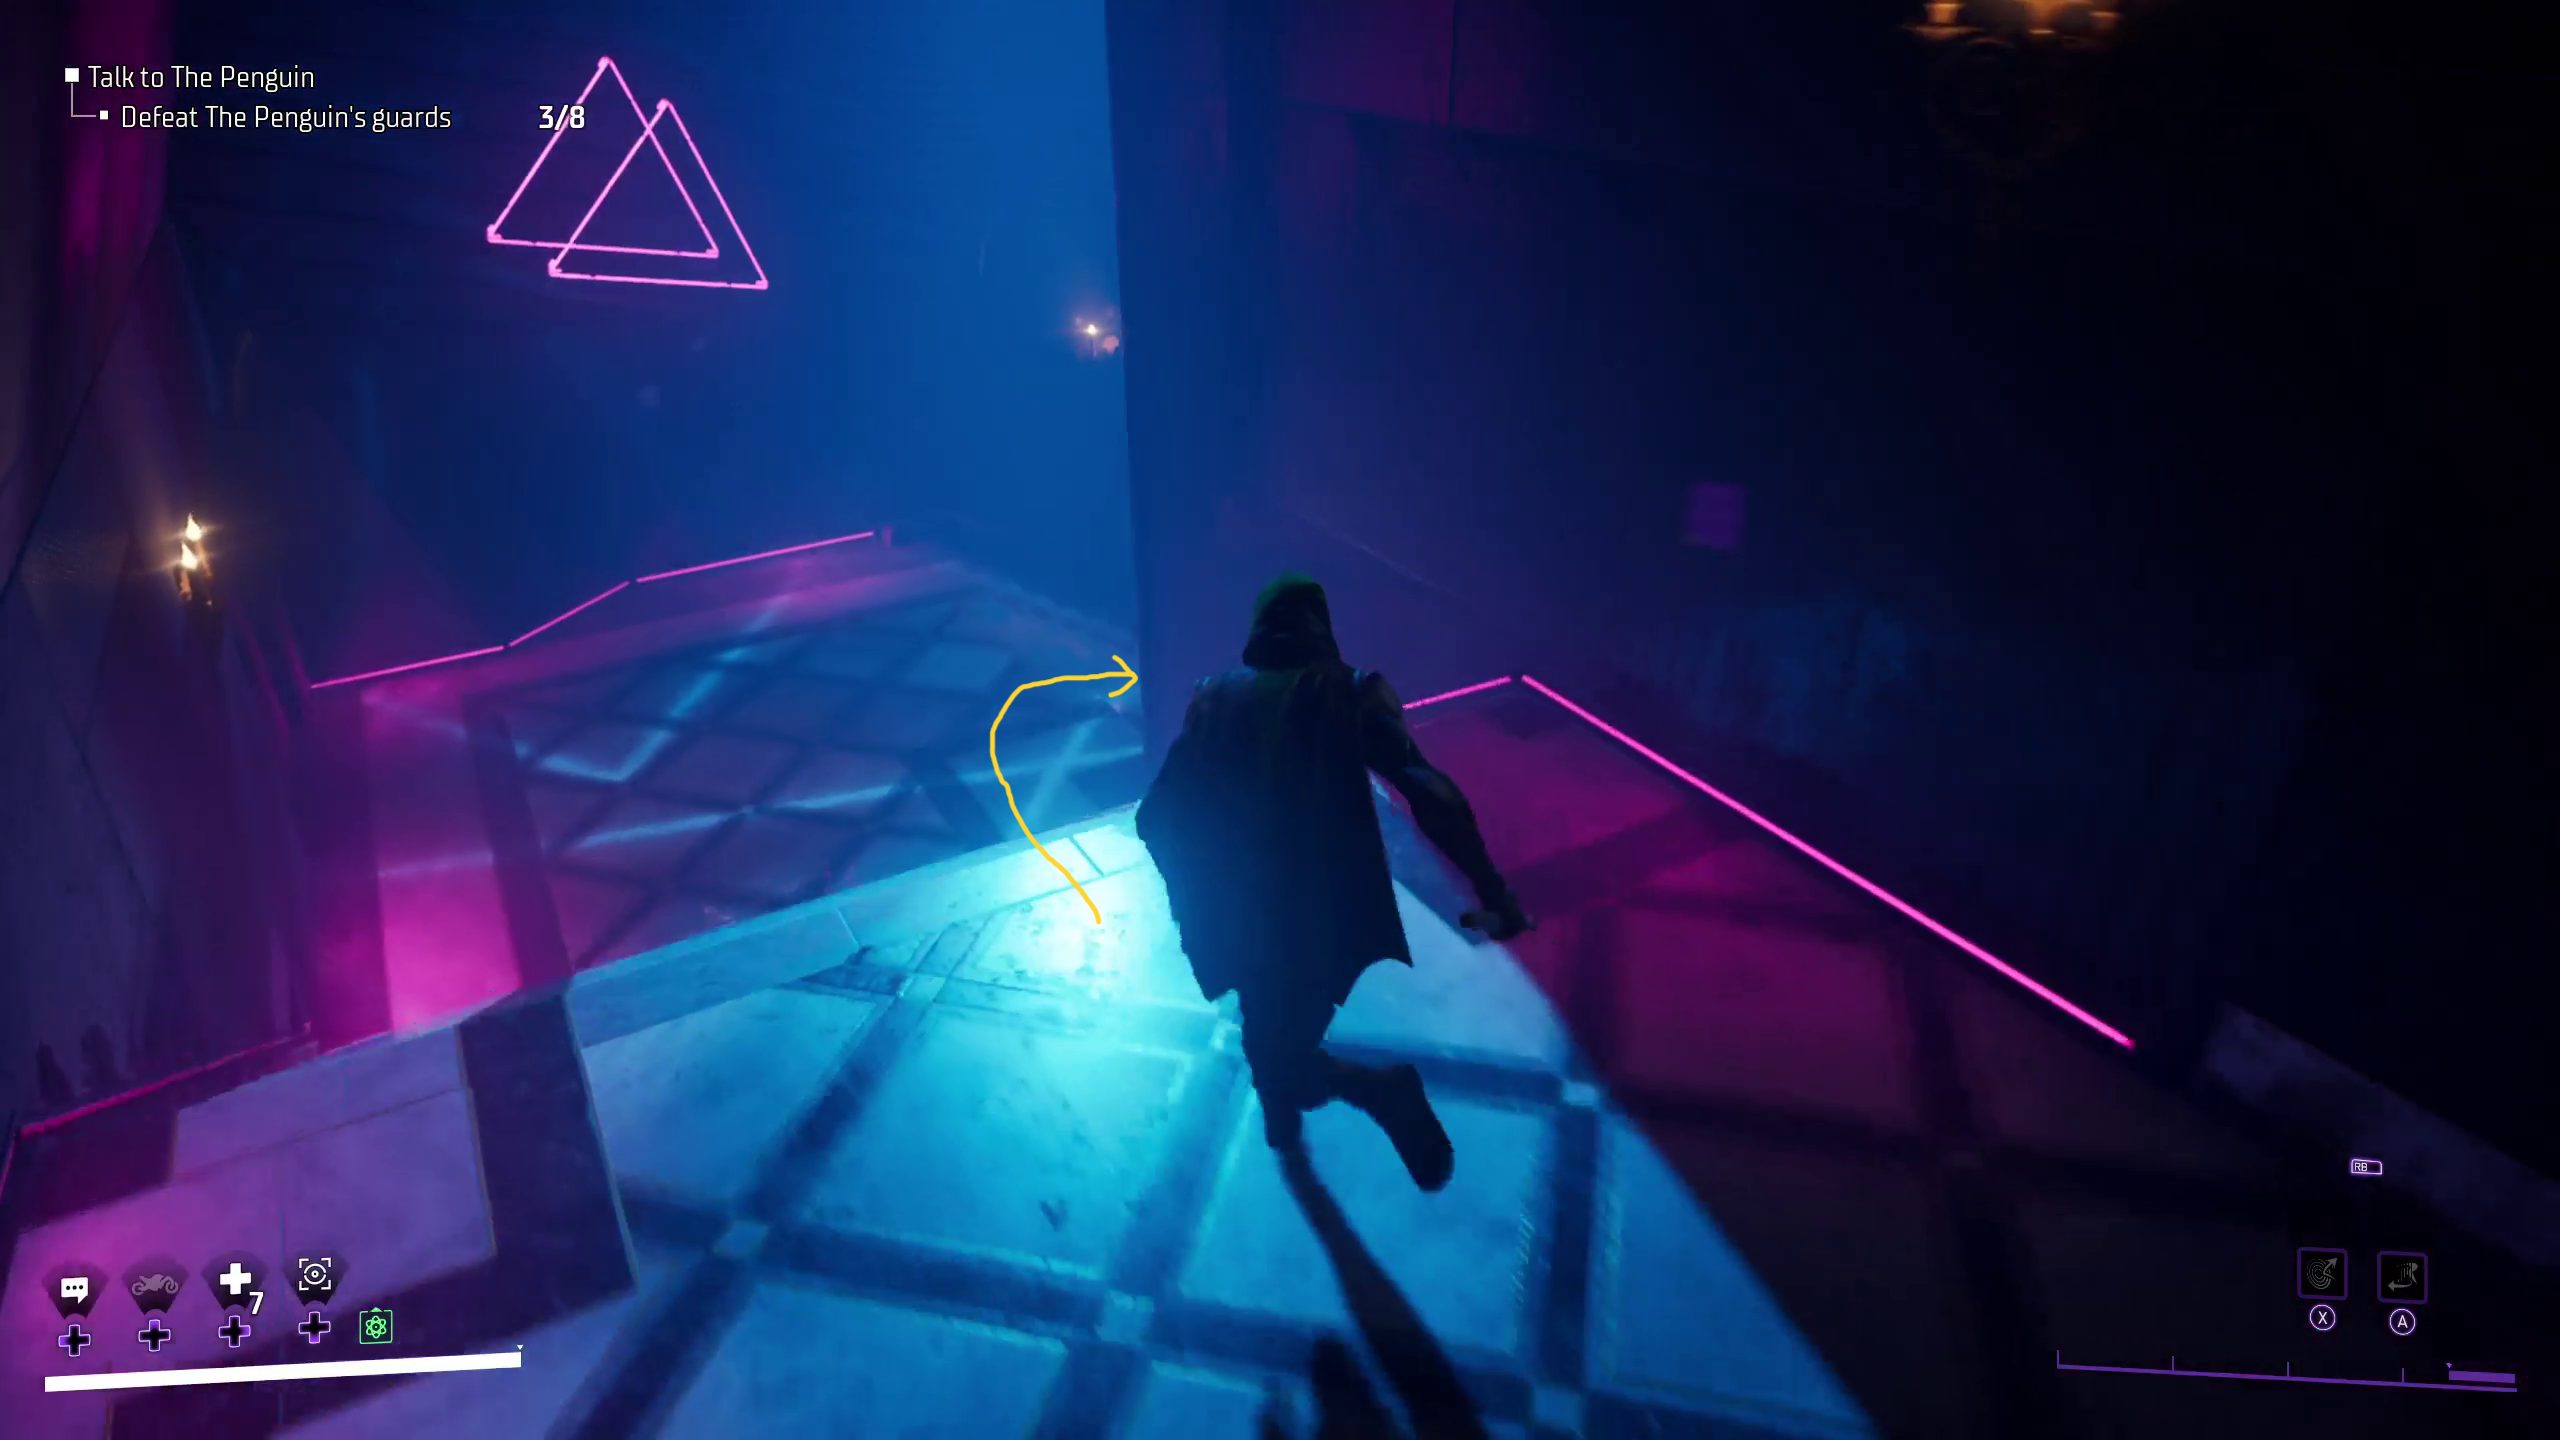
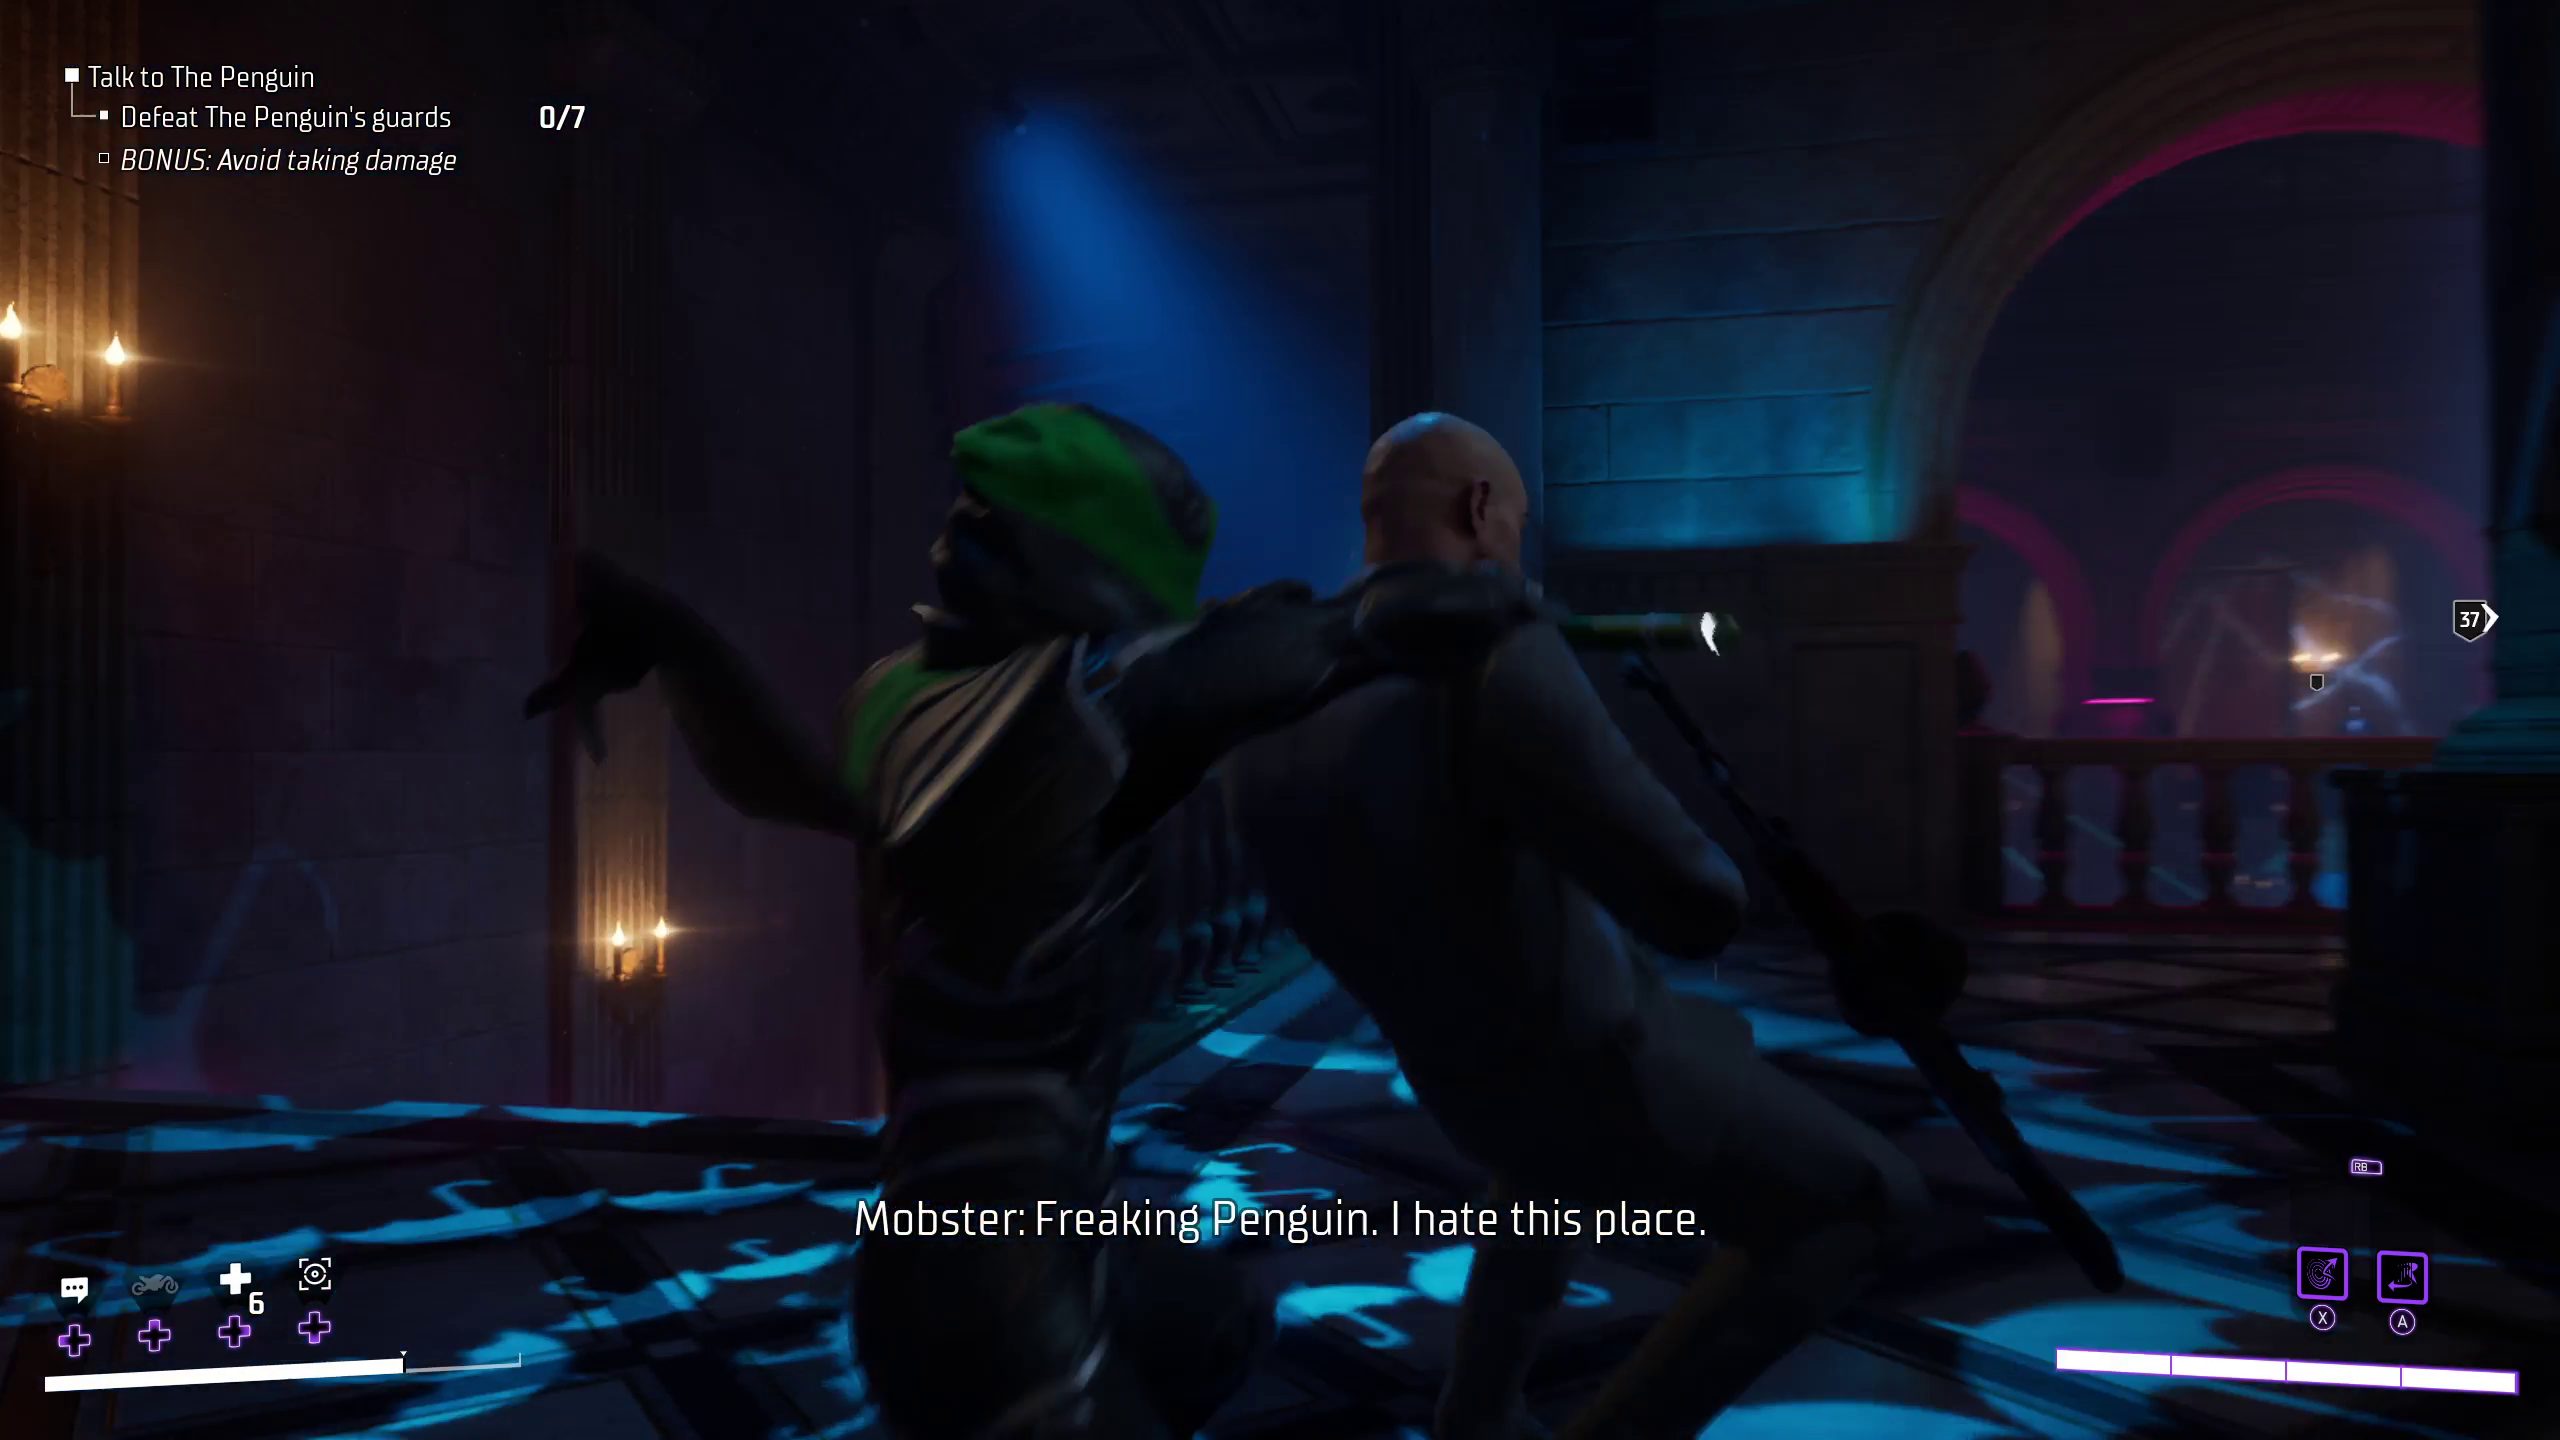
Once here, you will need to take out the guards in this room before you can see the Penguin. If you are able to knock out three of these guards with Stealth Takedowns, you will get a bonus.
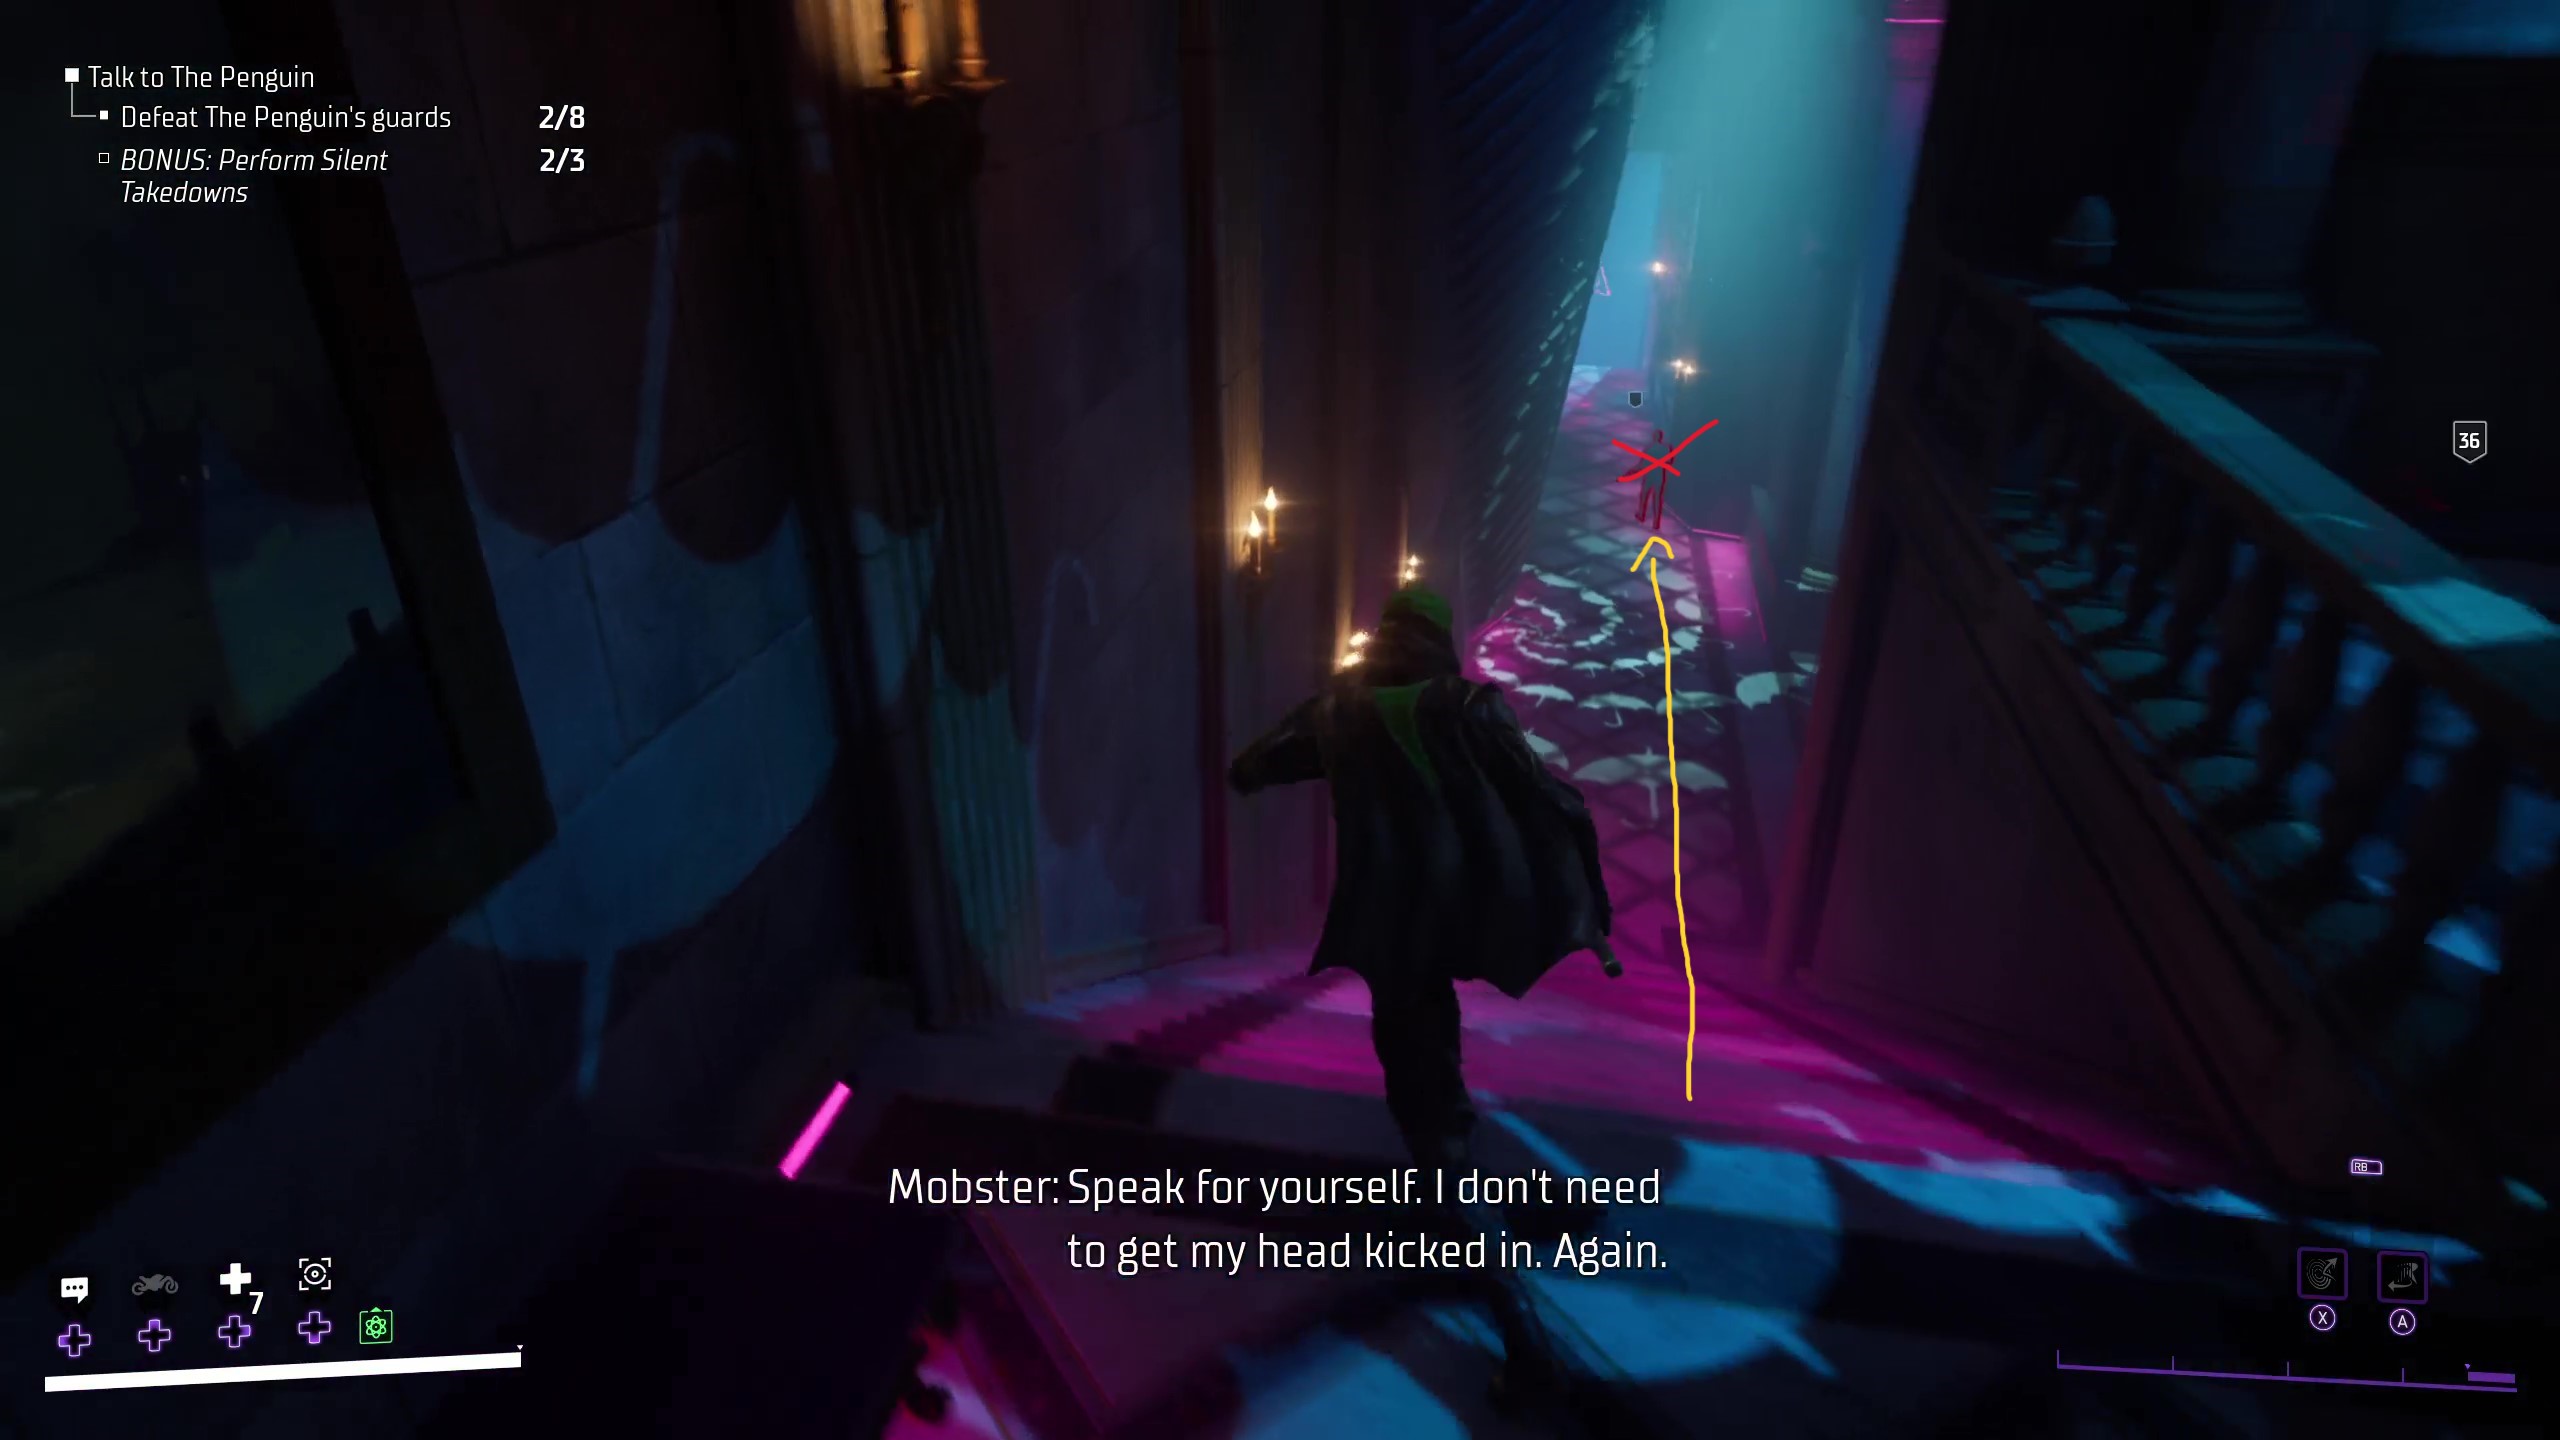
In order to get this bonus, you should get a Stealth Takedown on the first guard, directly outside the room. After this, you should go through the vent to your right, where another guard will be patrolling, who you can get a second Stealth Takedown on. Finally, you can go back to where you knocked out the first guard and down the stairs to your right, which will take you to the backstage of the club. There is usually a guard here, who you can take out to get your third Stealth Takedown, acquiring your bonus.
If you are spotted at any point, don’t forget that you can hold grapple in order to escape with a smoke bomb, which will cause enemies to lose track of you so that you can get Stealth Takedowns on them again.
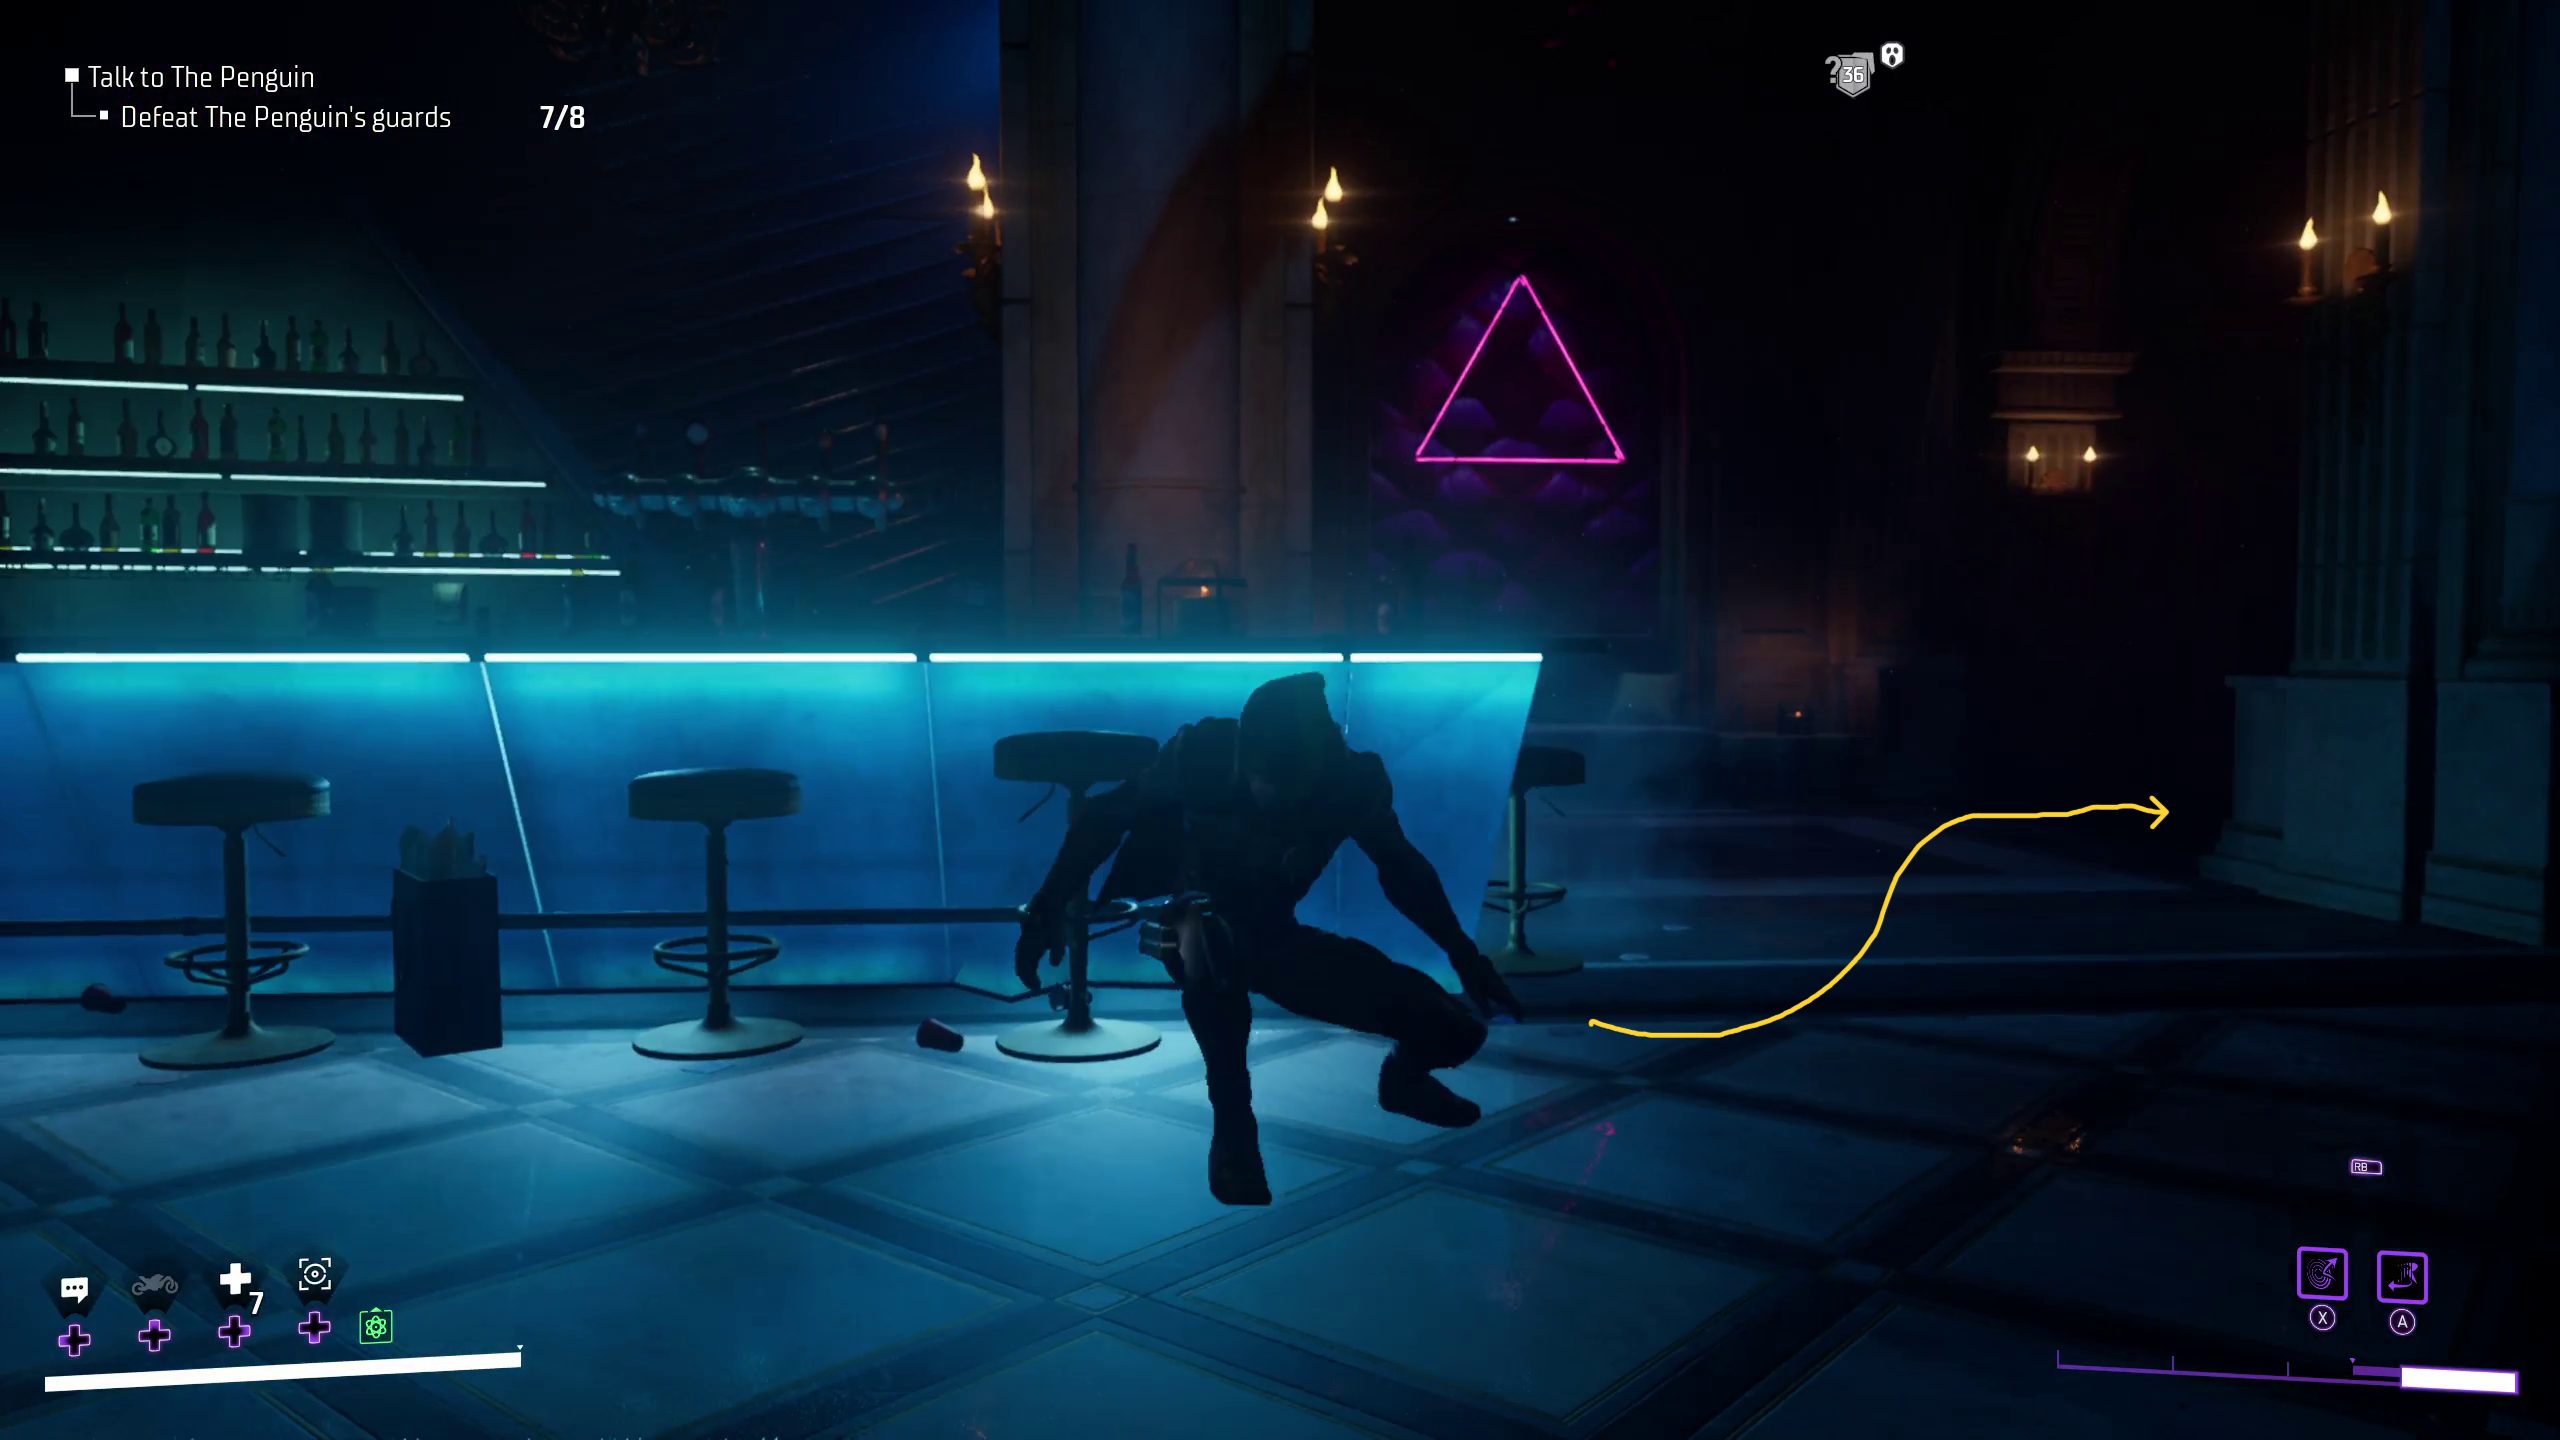
After you’ve taken out those three guards with stealth, you can choose to either take out the remaining guards with stealth, or engage them directly in combat.
After you’ve cleared out the enemies from the club, you should go behind the bar and to the right, where you will find a vent that leads to a chest. Then, return to the club and make your way to the Penguin’s office on the second floor, following the diamond.
Once you break into the Penguin’s office, a short cutscene will play, during which the Oswald Cobblepot will refuse to work with you, as he doesn’t take you seriously. You’ll need to prove yourself to him the next night.
After the cutscene, you can leave by following the diamond. You will go backstage from the club, then go downstairs. On your way out, make sure to grab the chest in the brightly-lit security room, and to check out the Penguin’s Ban List.
Once you leave, you will once again be back out in Gotham on patrol. Before you can continue this mission, you will need to return to the Belfry, though you can take this time to do anything you want to do around Gotham. More activities will open up for you after this mission, however, so it might be best to head straight back.
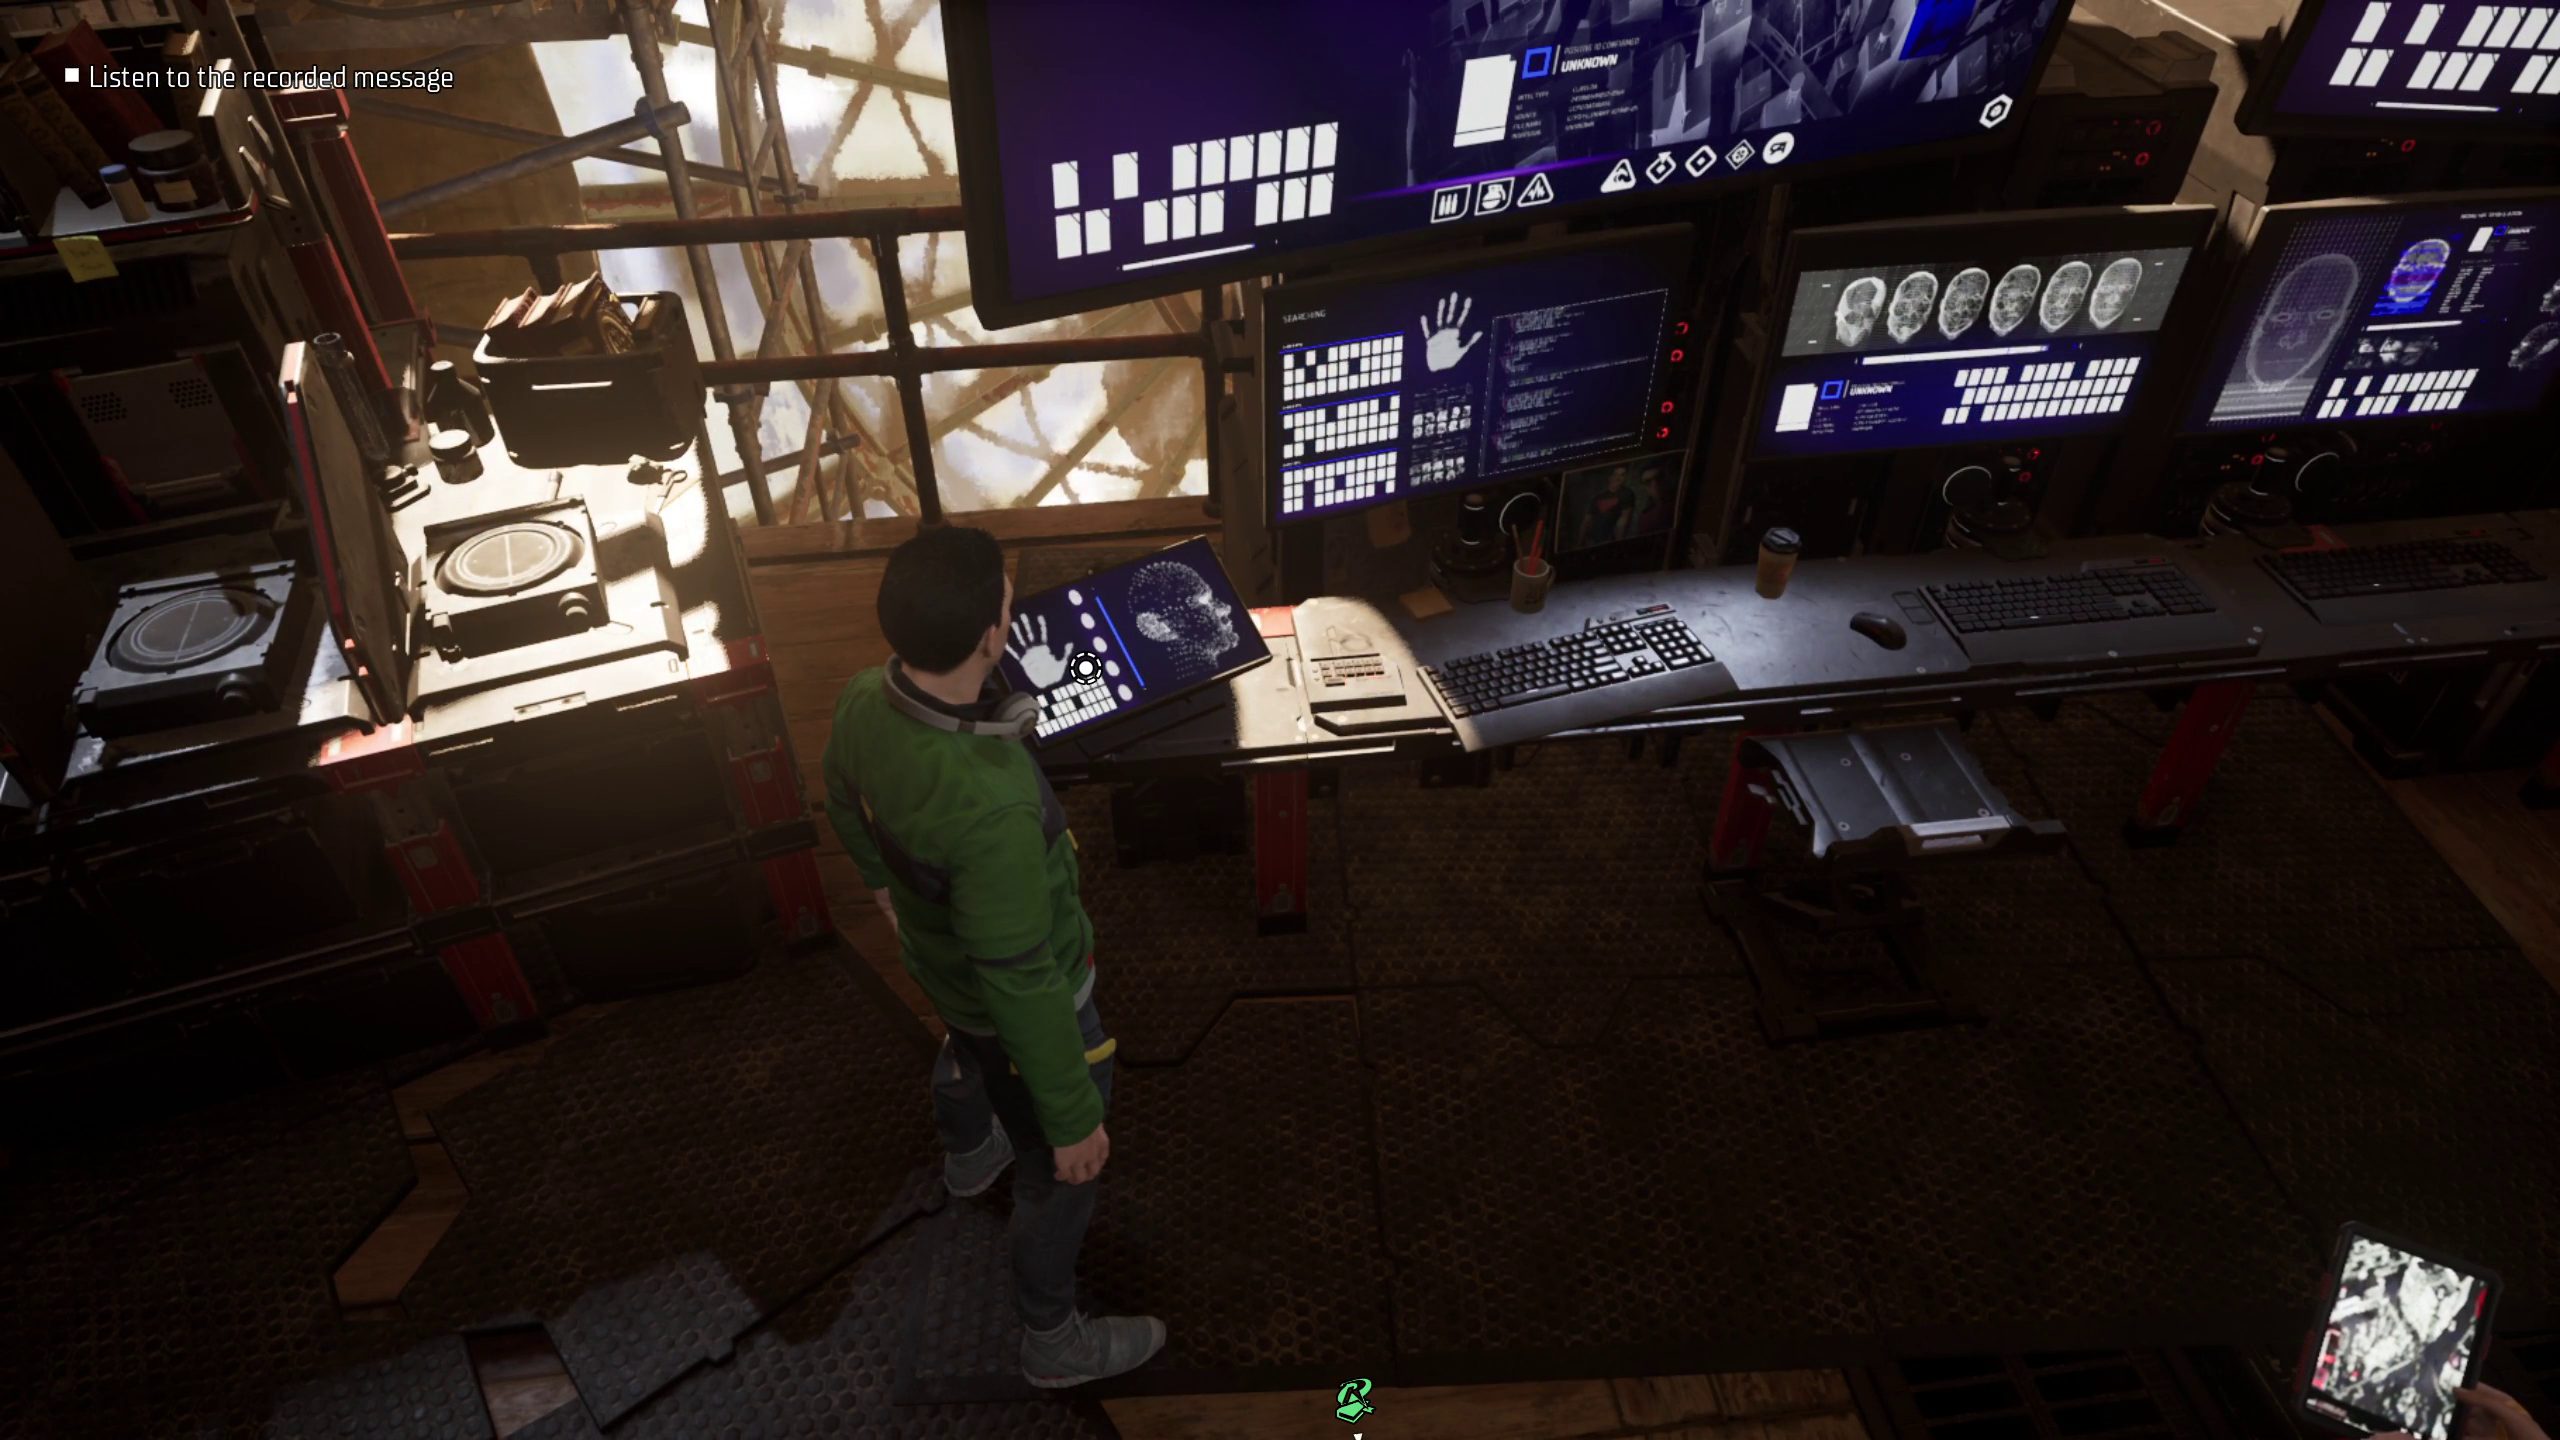
Once you get back to the Belfry, you will need to talk to Alfred, and then listen to a message sent by Lucius Fox.
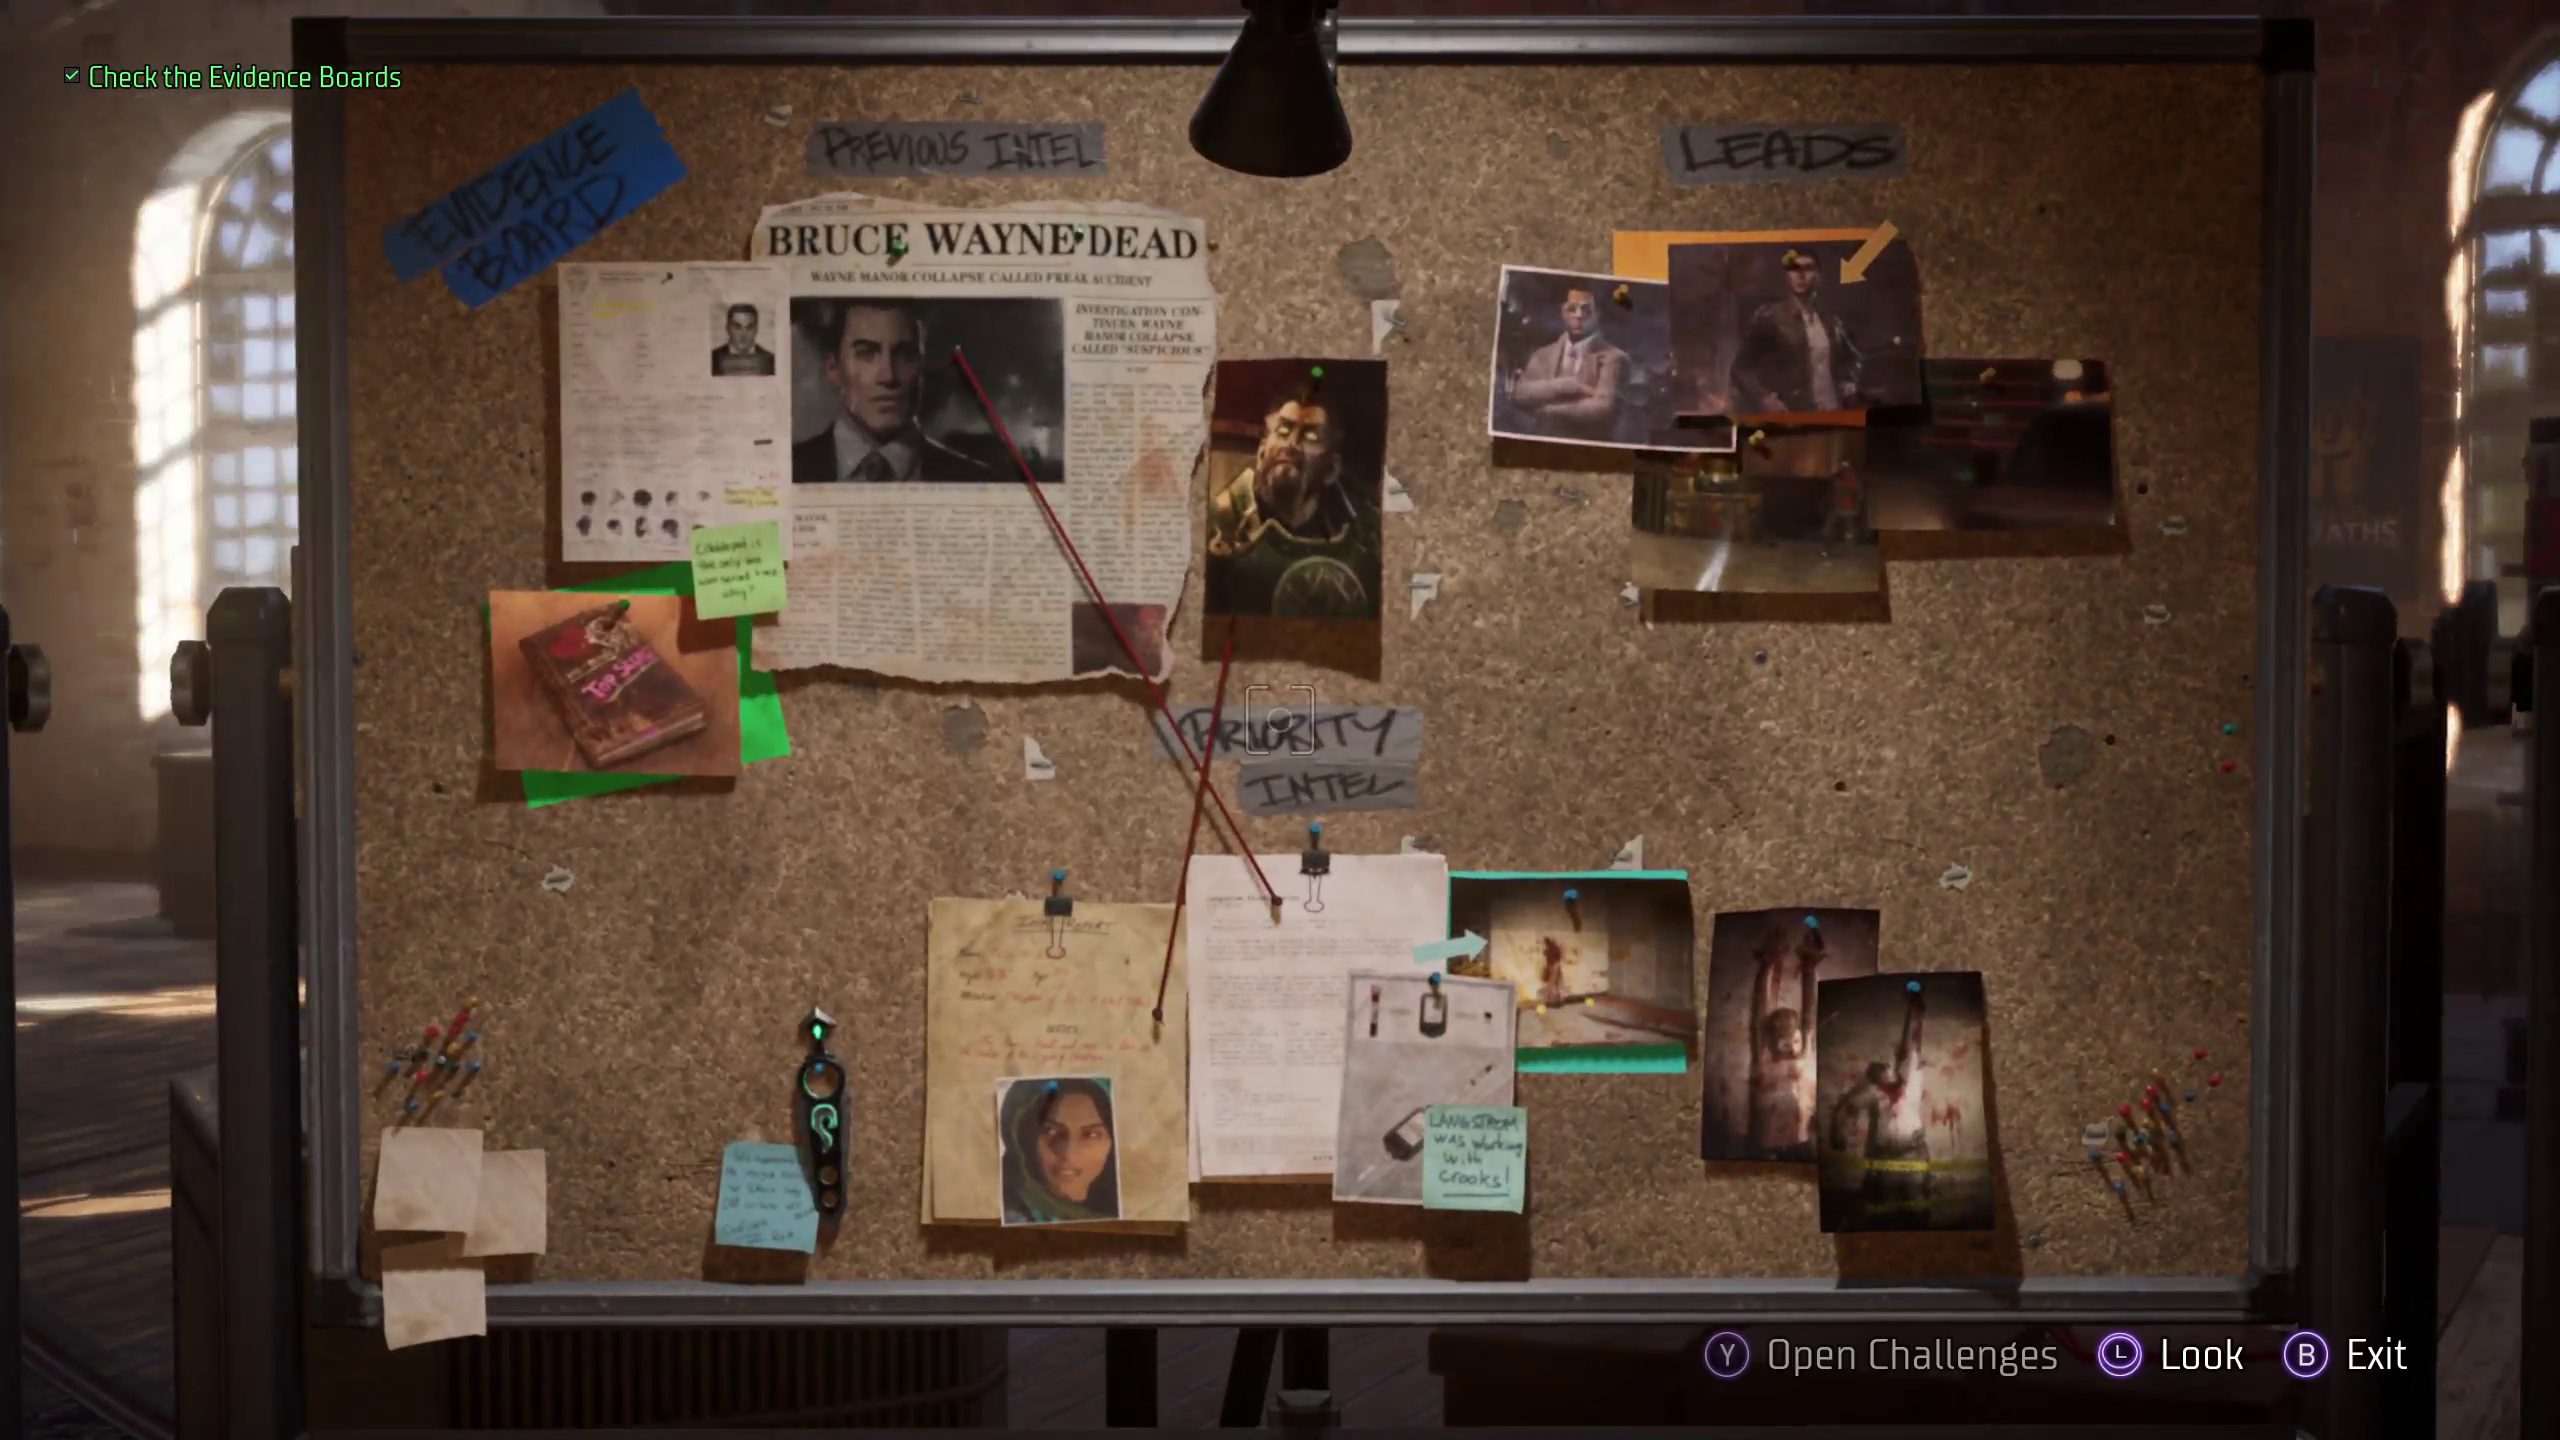
Lastly, look at the Evidence Board, which will populate your remaining tasks for the Batcomputer. These tasks all require you to go around Gotham on Patrol, speaking to your contacts and stopping crimes. You can do these objectives in any order, though our guide has them in the most efficient order for completion.
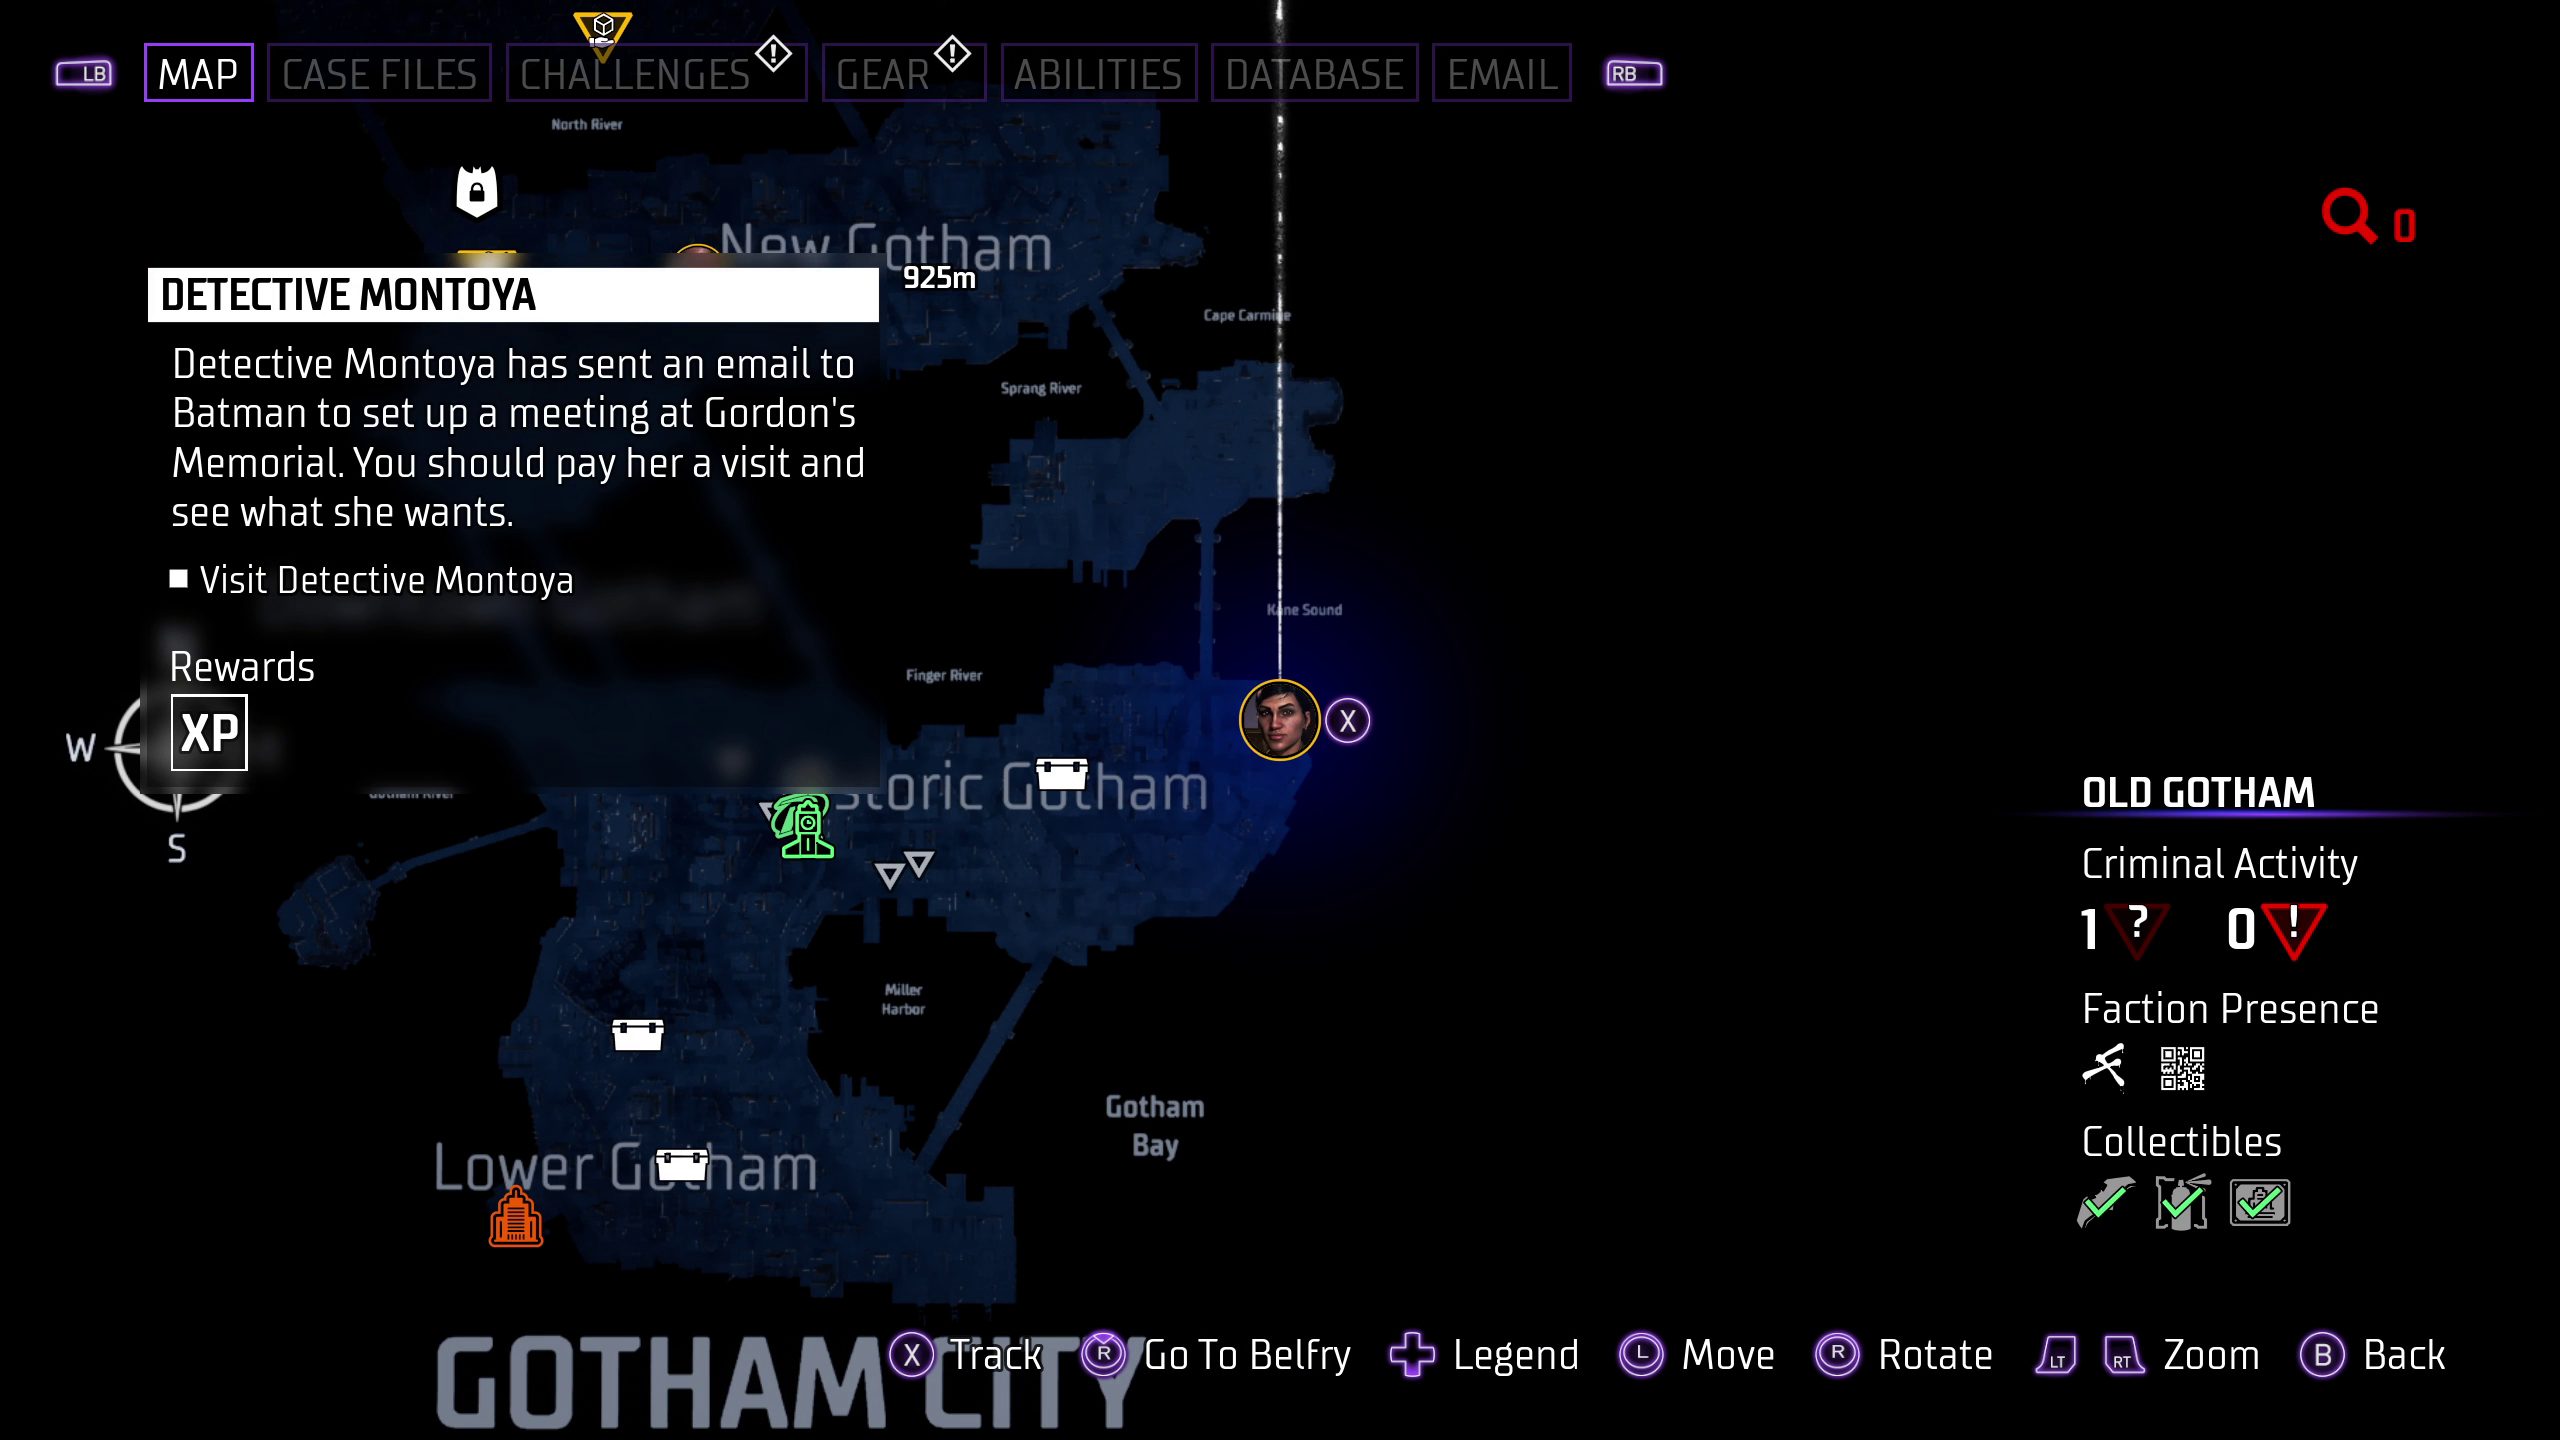
First, you should go to Detective Montoya, who will be near Jim Gordon statue to the east of the Belfry. After a brief chat, she will become your first contact. These are radiant missions you can complete for various NPCs that will give you powerful rewards. Detective Montoya’s involve stopping crimes and saving officers.
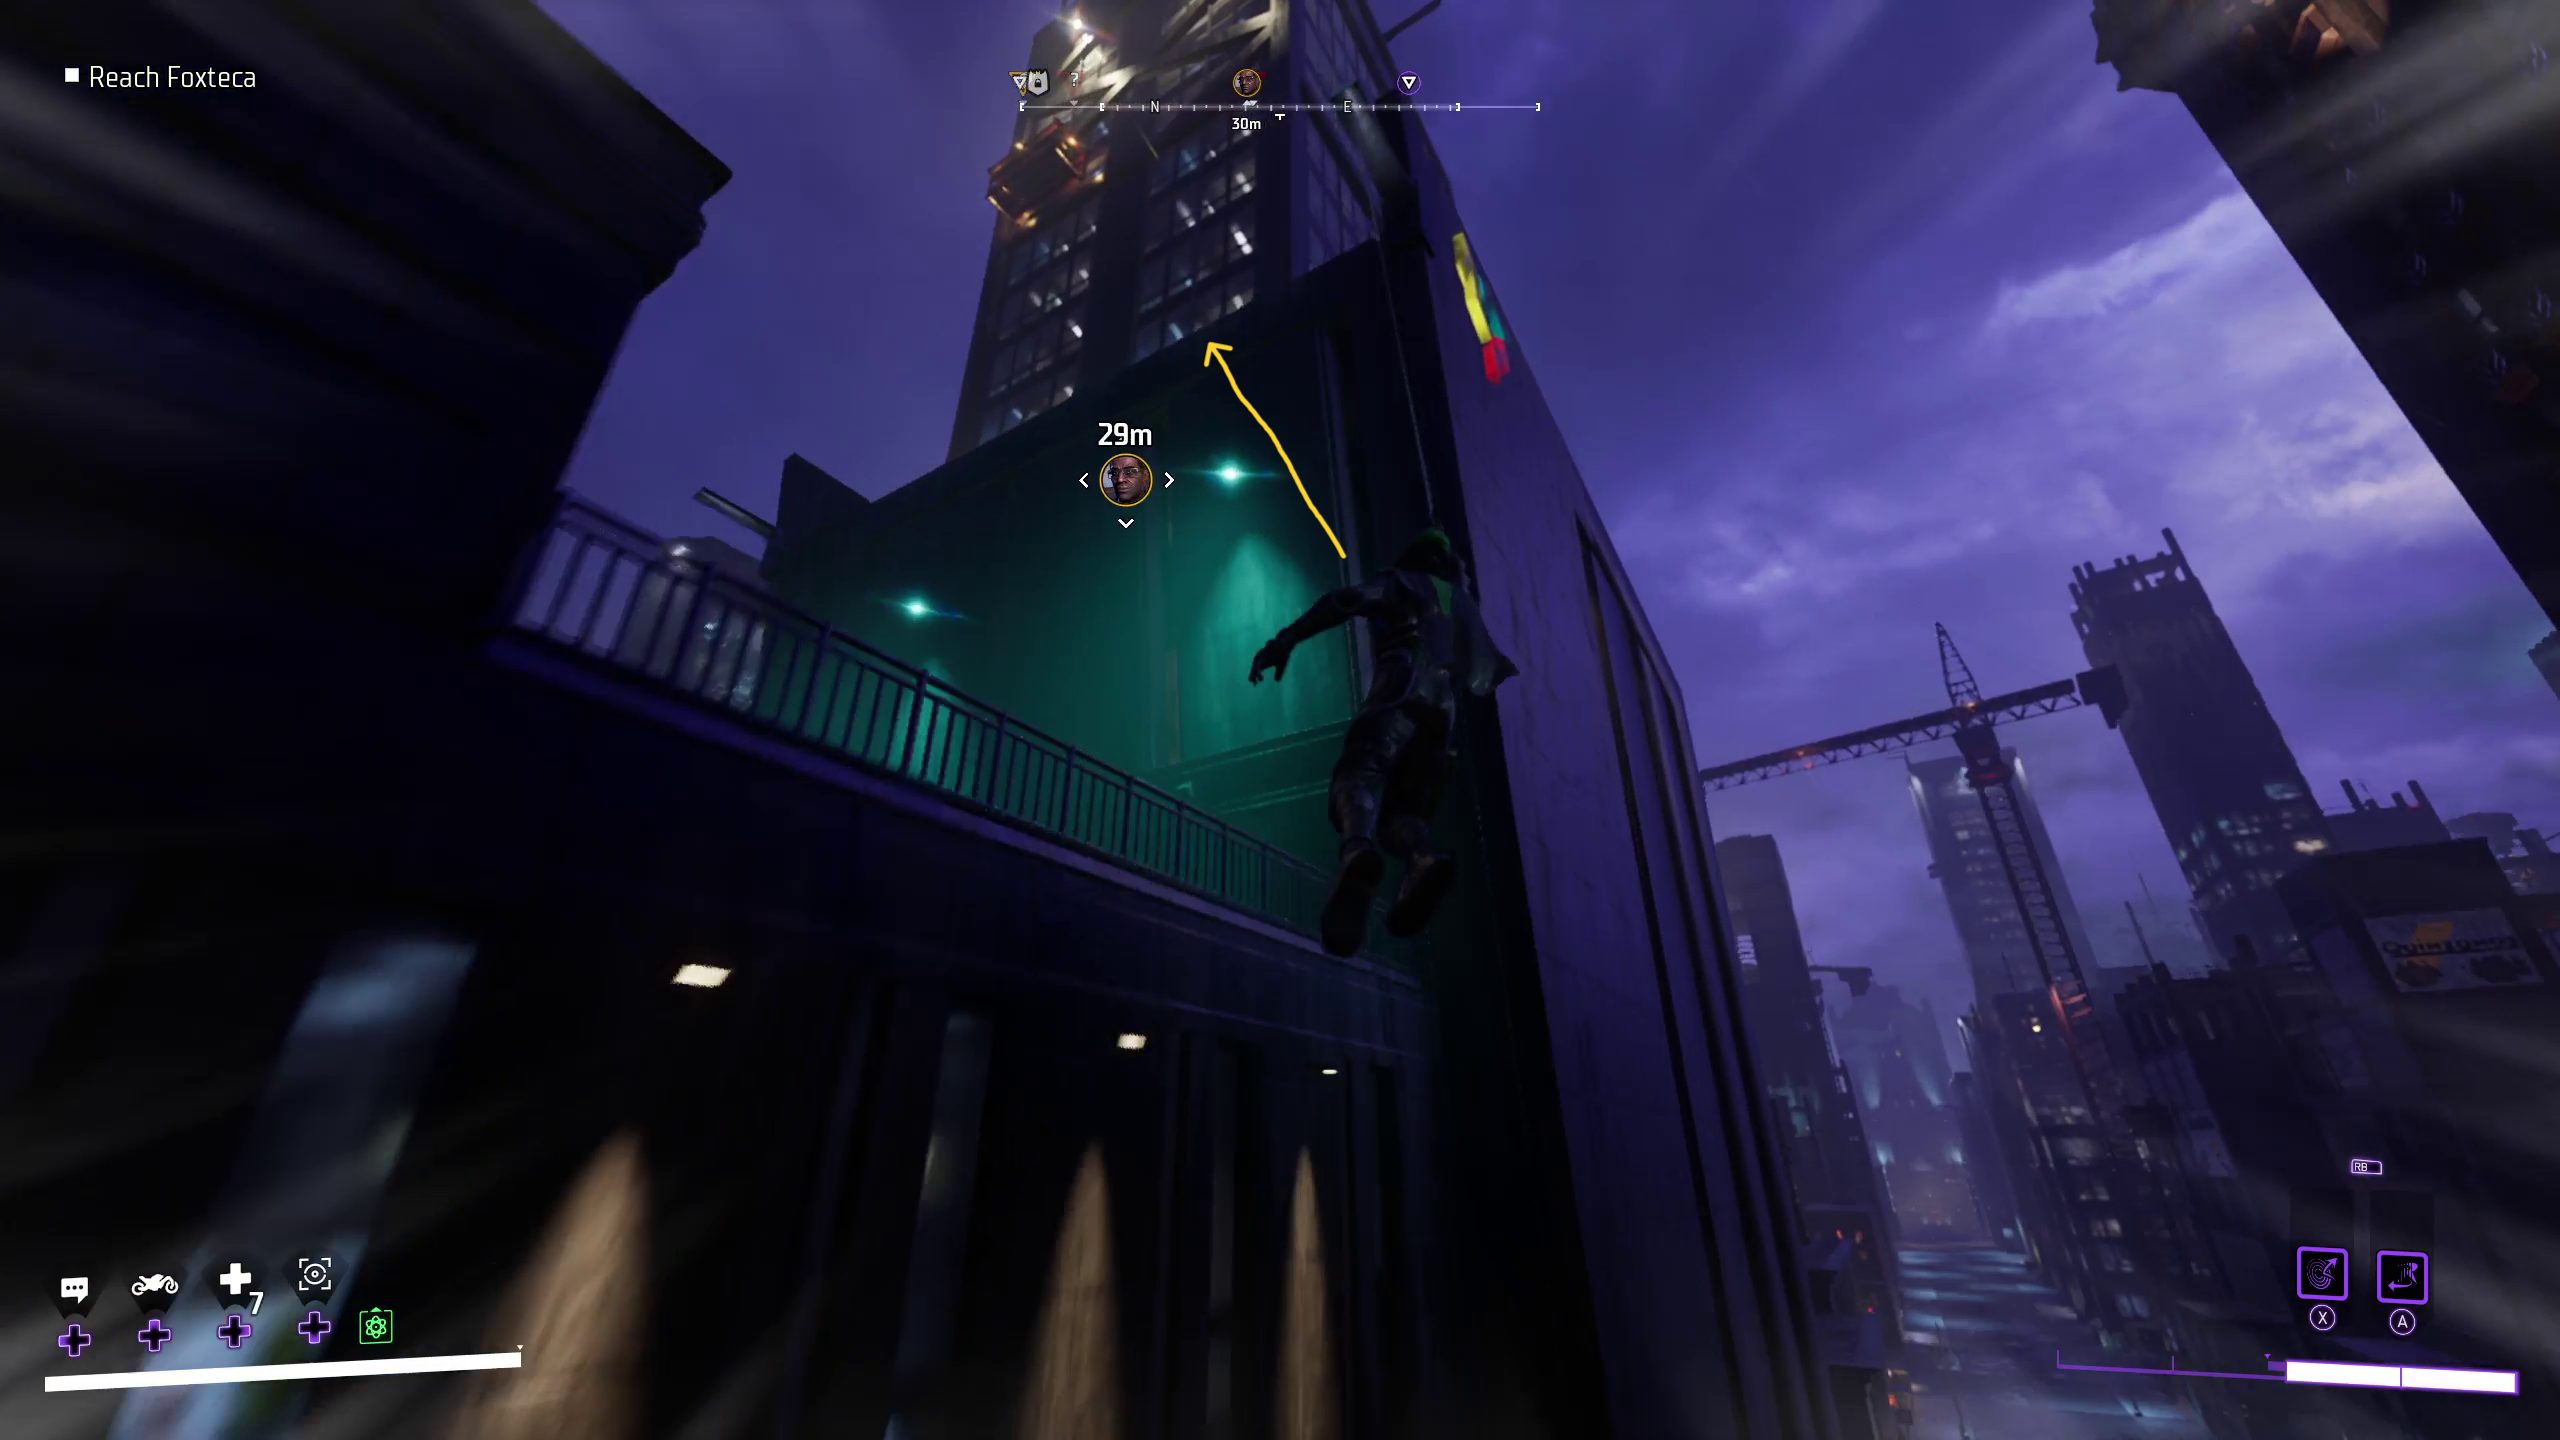
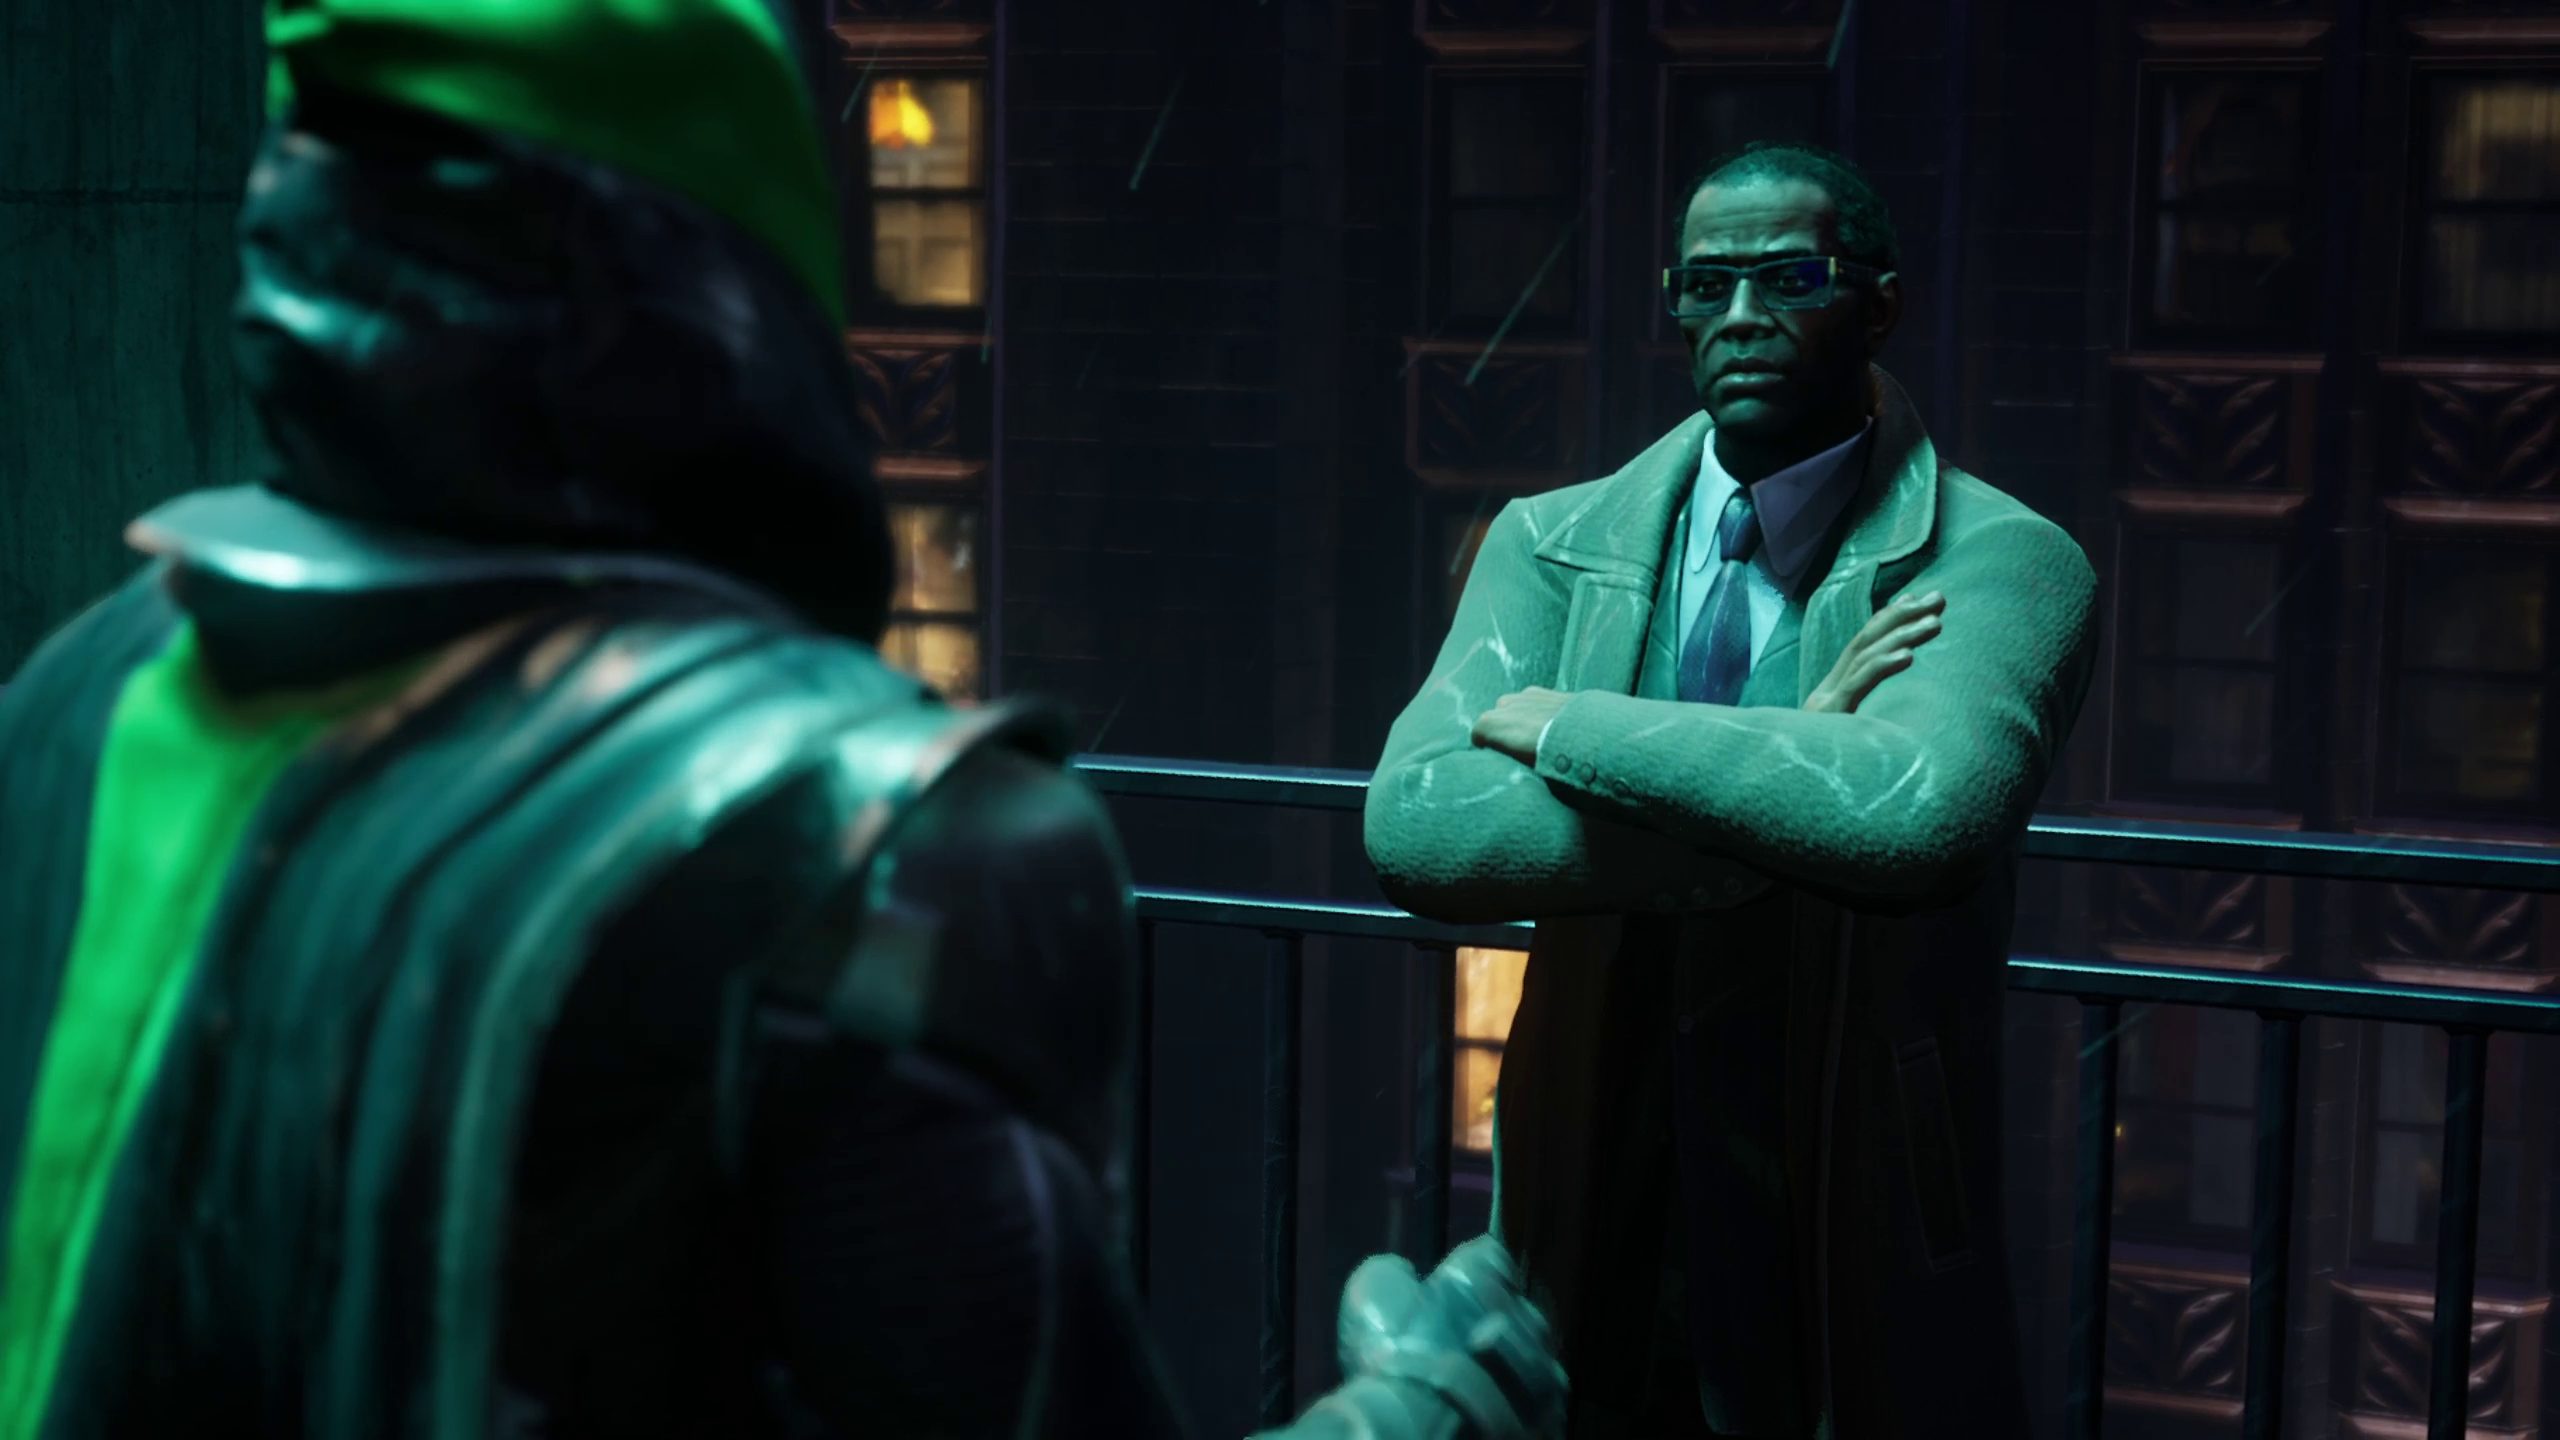
After you’ve spoken to Detective Montoya, you will then need to go speak to Lucius Fox. He will be to the north of the Belfry, on top of one of the lower rooftops of the Foxteca building. Once you get there, a cutscene will play, and he will introduce you to the fast travel drone.
Once this cutscene ends, you should talk to him again. He will introduce your fast travel challenges, which will require you to scan drones in order to unlock the fast travel points themselves. You should do these after completing this mission since they will make traversing Gotham much faster.
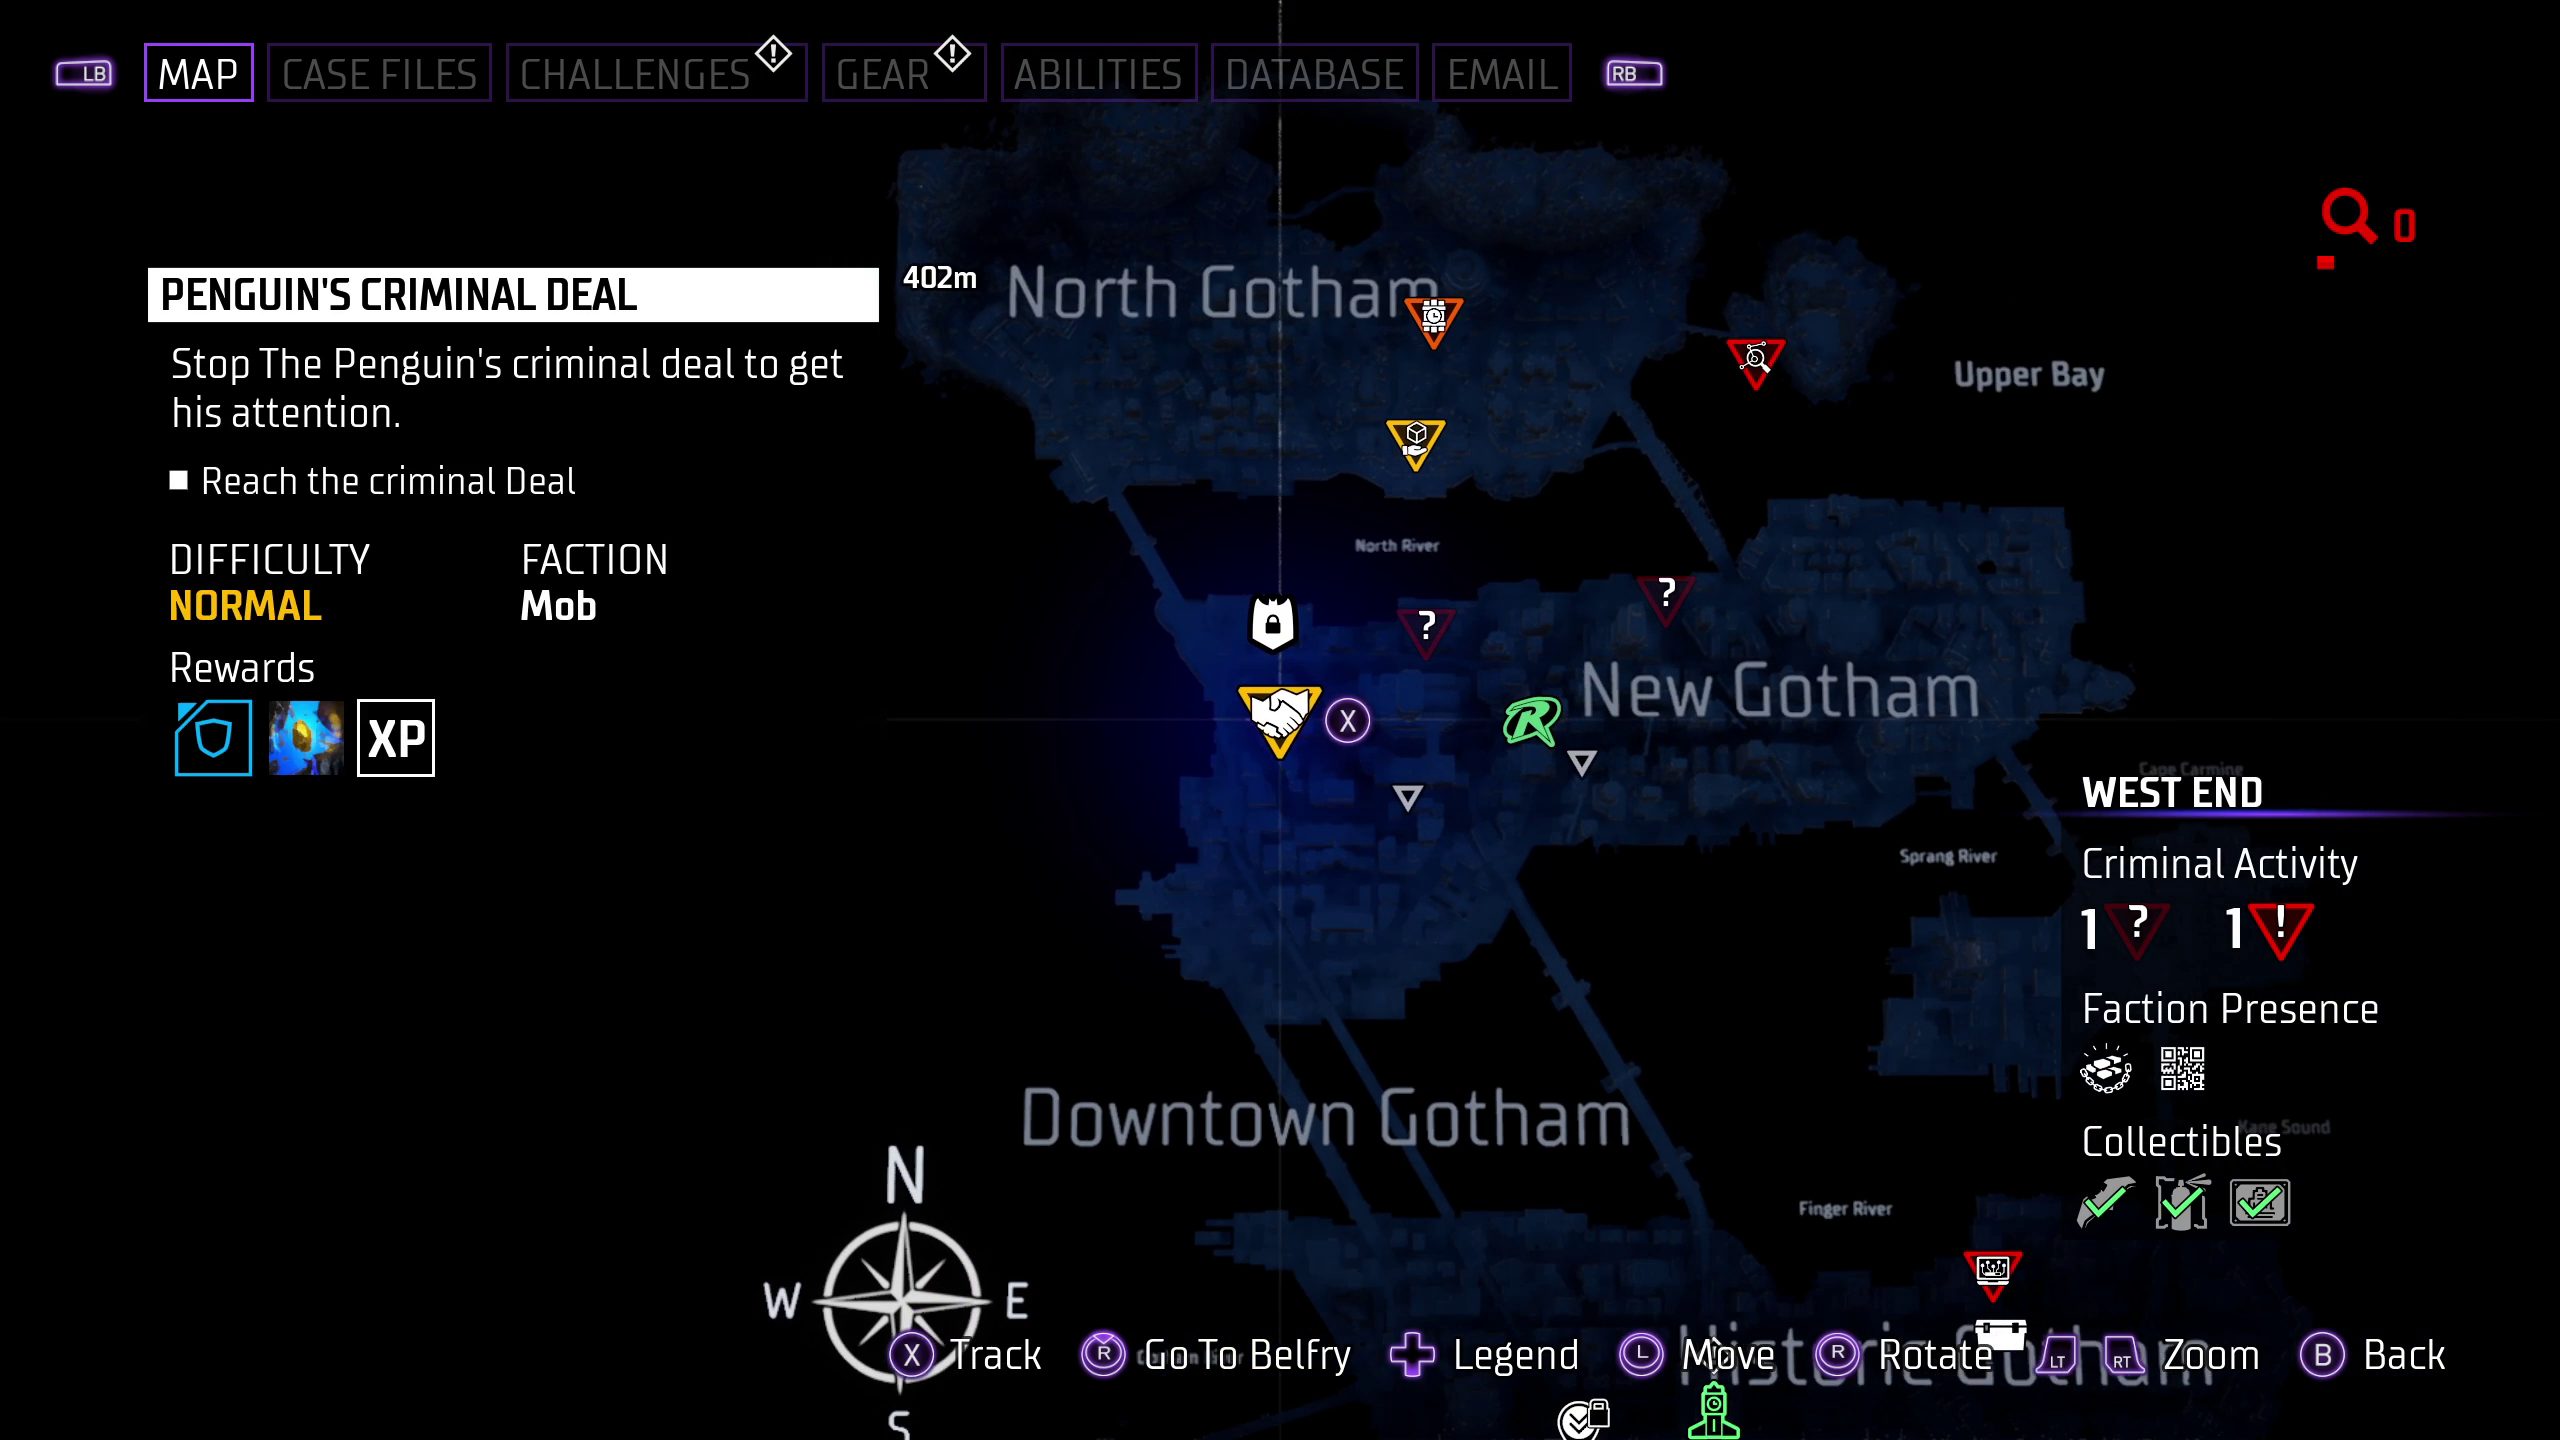
After you are finished talking to Lucius Fox, head to the nearest yellow-outlined crime, Penguin’s Criminal Deal, which will be directly west.
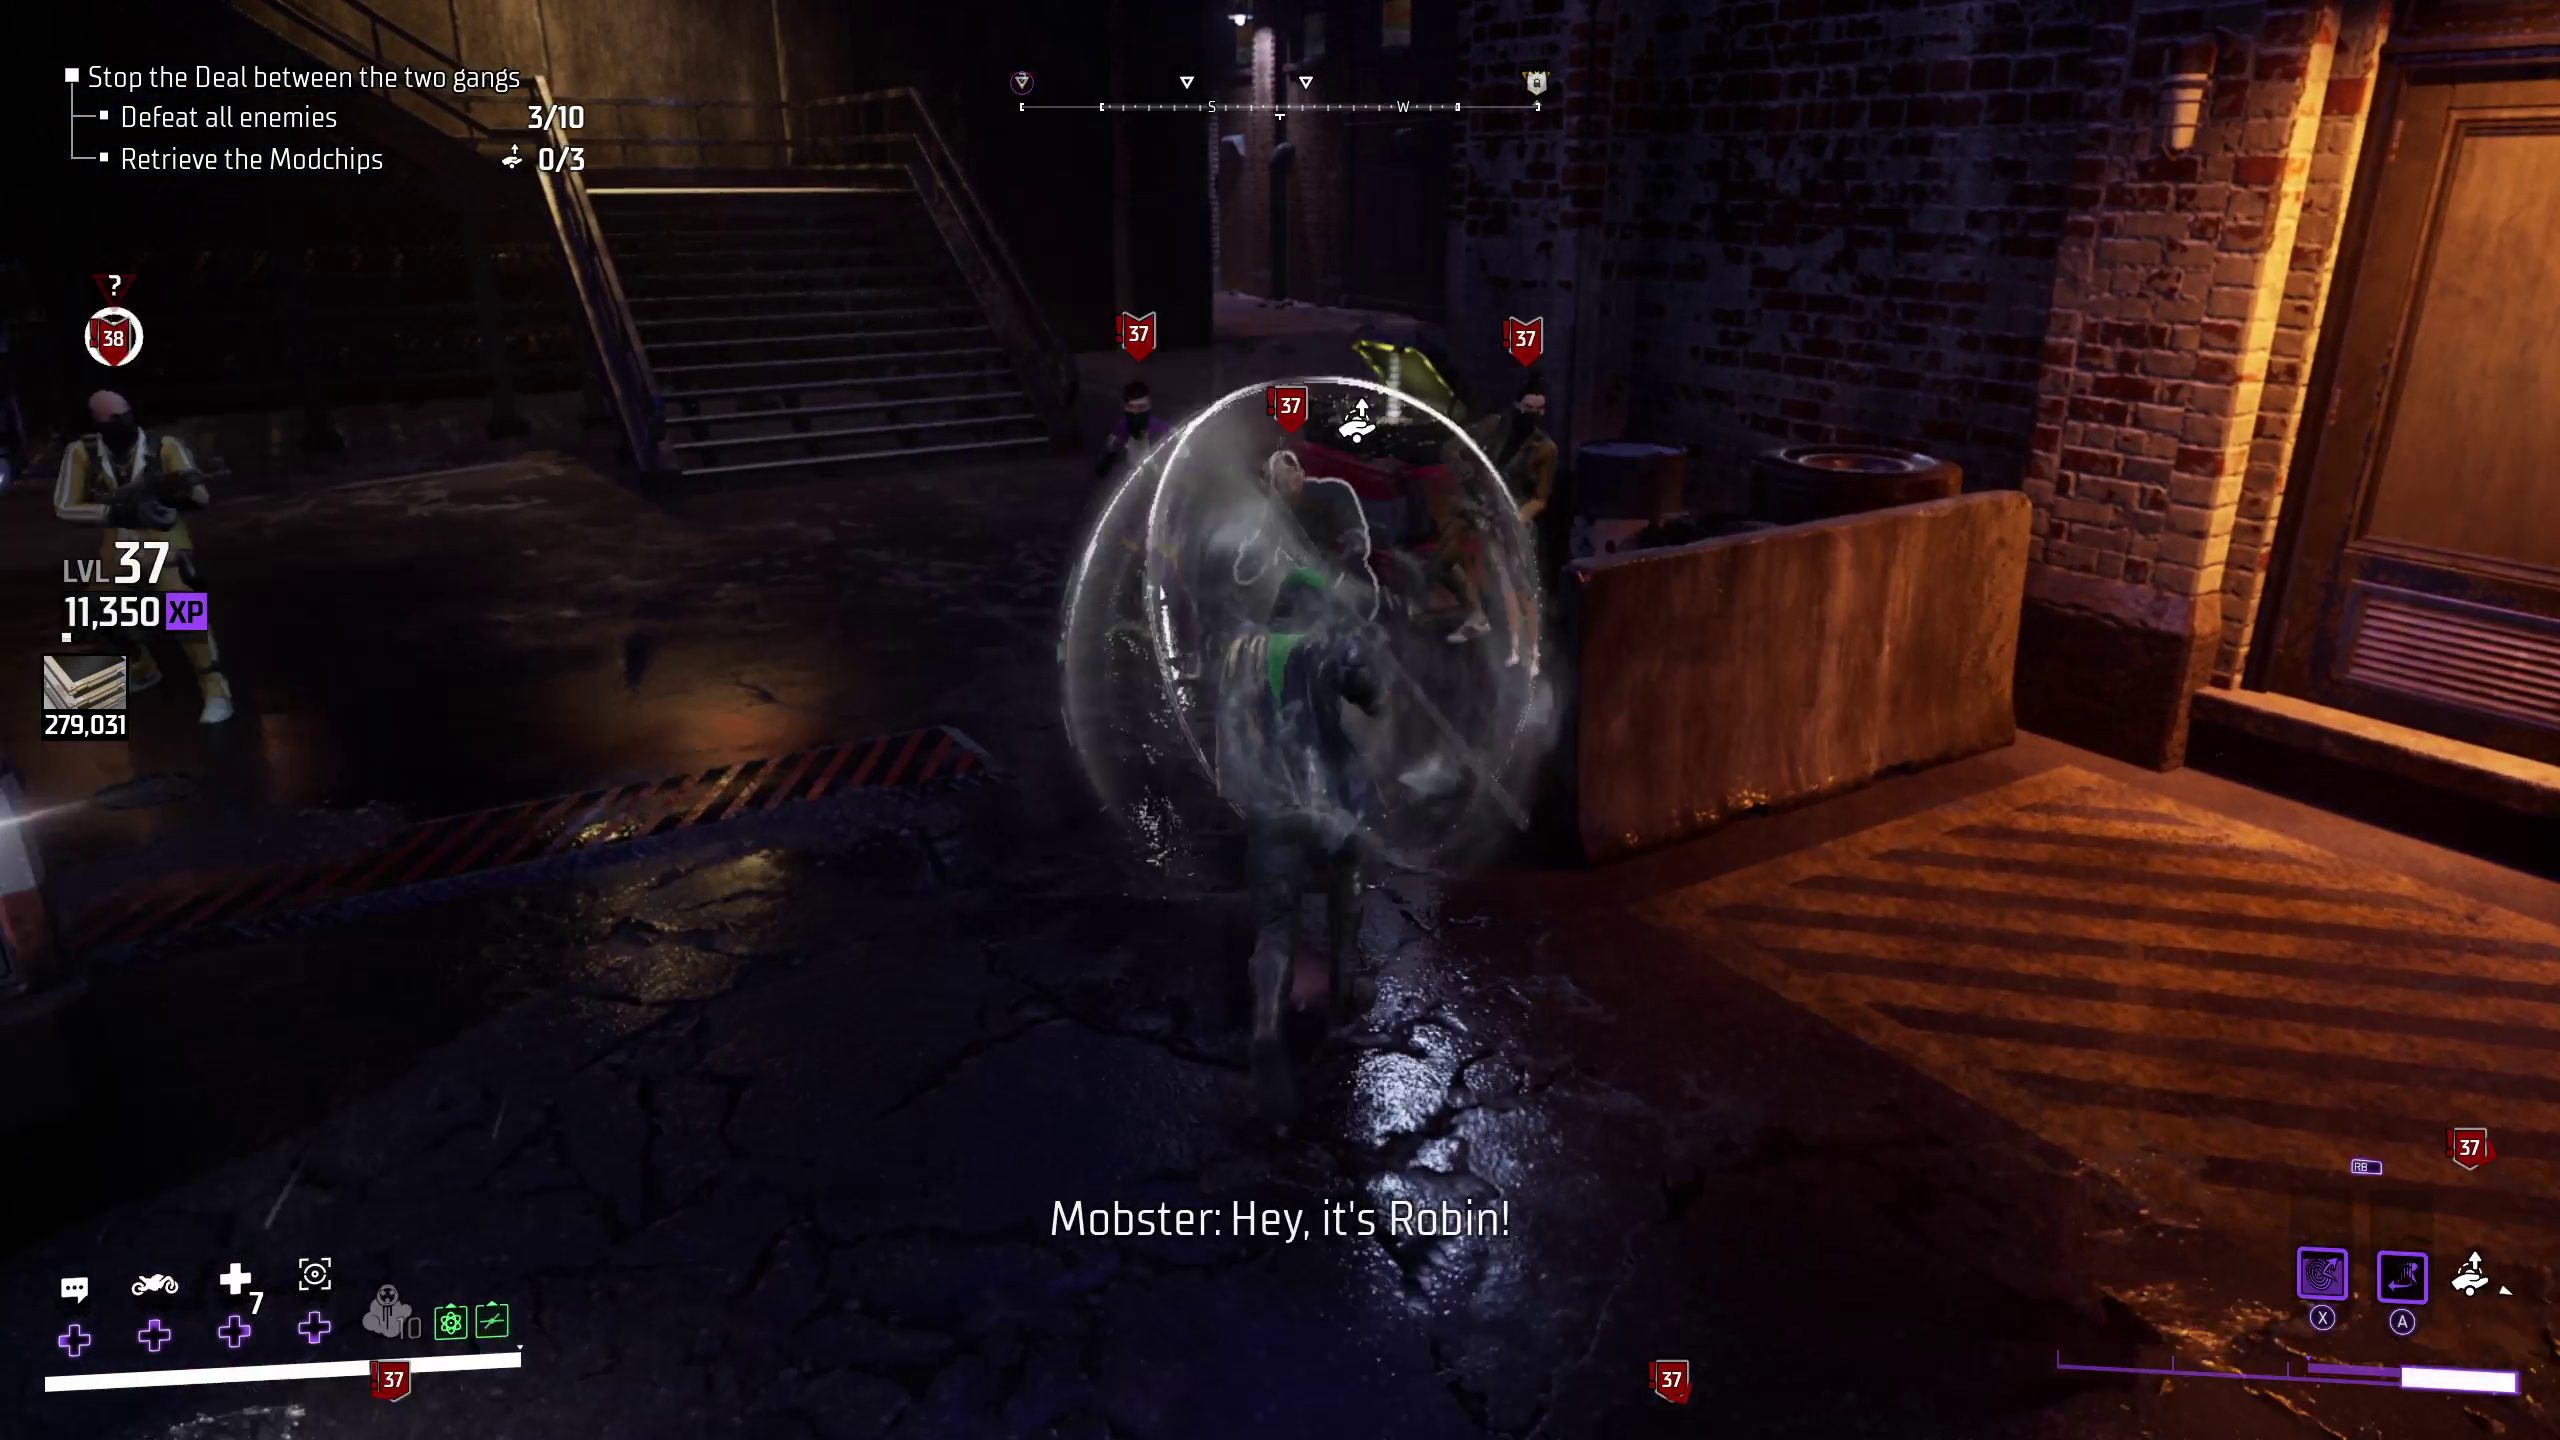
This is a Criminal Deal, meaning that it will involve two factions (in this case the Mob and the Regulators). You will have to dispatch all the members of both gangs, and then retrieve the modchips they were planning to trade.
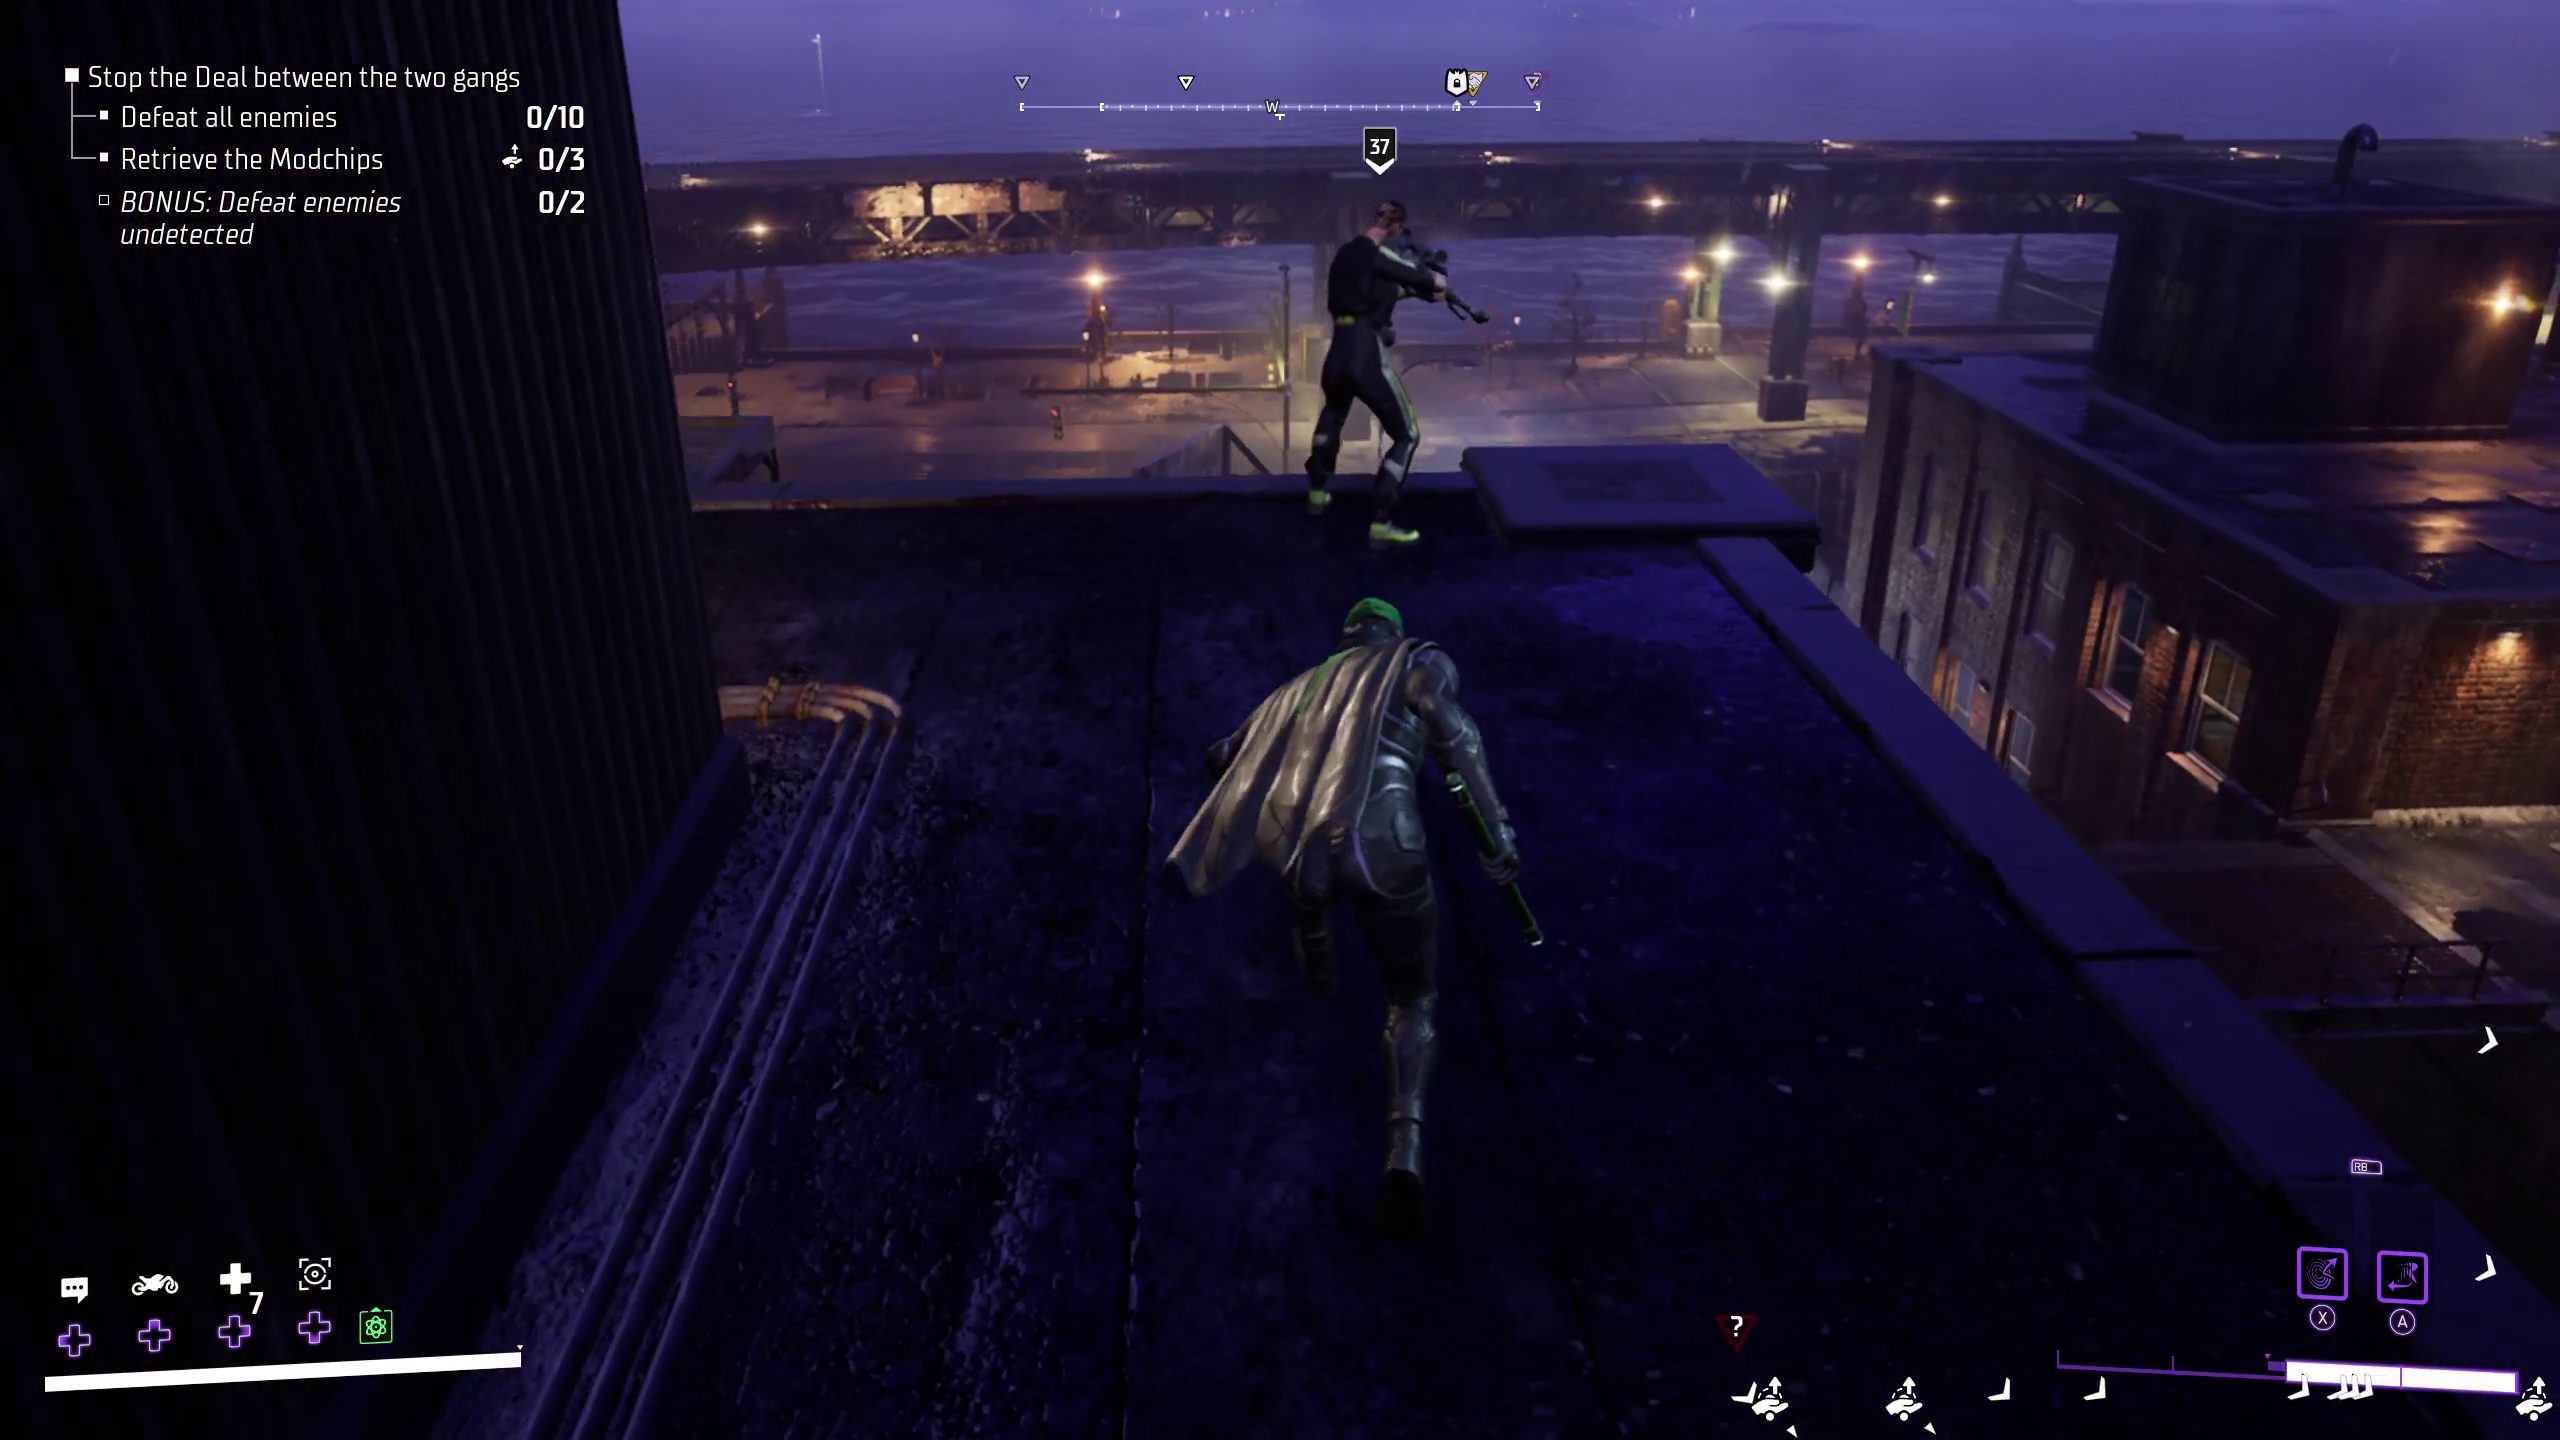
In order to do so, you should start by perching somewhere nearby with a good vantage point and marking all the enemies. This can be a bonus objective, as well, allowing you to get a bonus very easily.
Once you’ve marked all the enemies, you should proceed to take out the snipers on the rooftops. These snipers are very easy to sneak up on, and taking them out can complete another possible bonus objective, to get two Stealth Takedowns.
If enemies have a skull above them, you should try to get a Stealth Takedown on them as well. In order to do so, you will need to be patient, taking them out when they are far away from other enemies that could catch you. Remember that you can always use your smoke grenade grapple to get away, if you are caught, allowing you to try to Stealth Takedown those enemies again.
After you’ve gotten your stealthy bonus objectives, you can then clear out the remaining enemies however you want. Momentum Abilities can make especially quick work of the goons here, even though you will begin to encounter Veteran-rank enemies for the first time (who are just regular enemies with a bit more health and a few extra moves).
If you are having trouble dealing with the enemies, you can check out our Mob or Regulator faction guides.
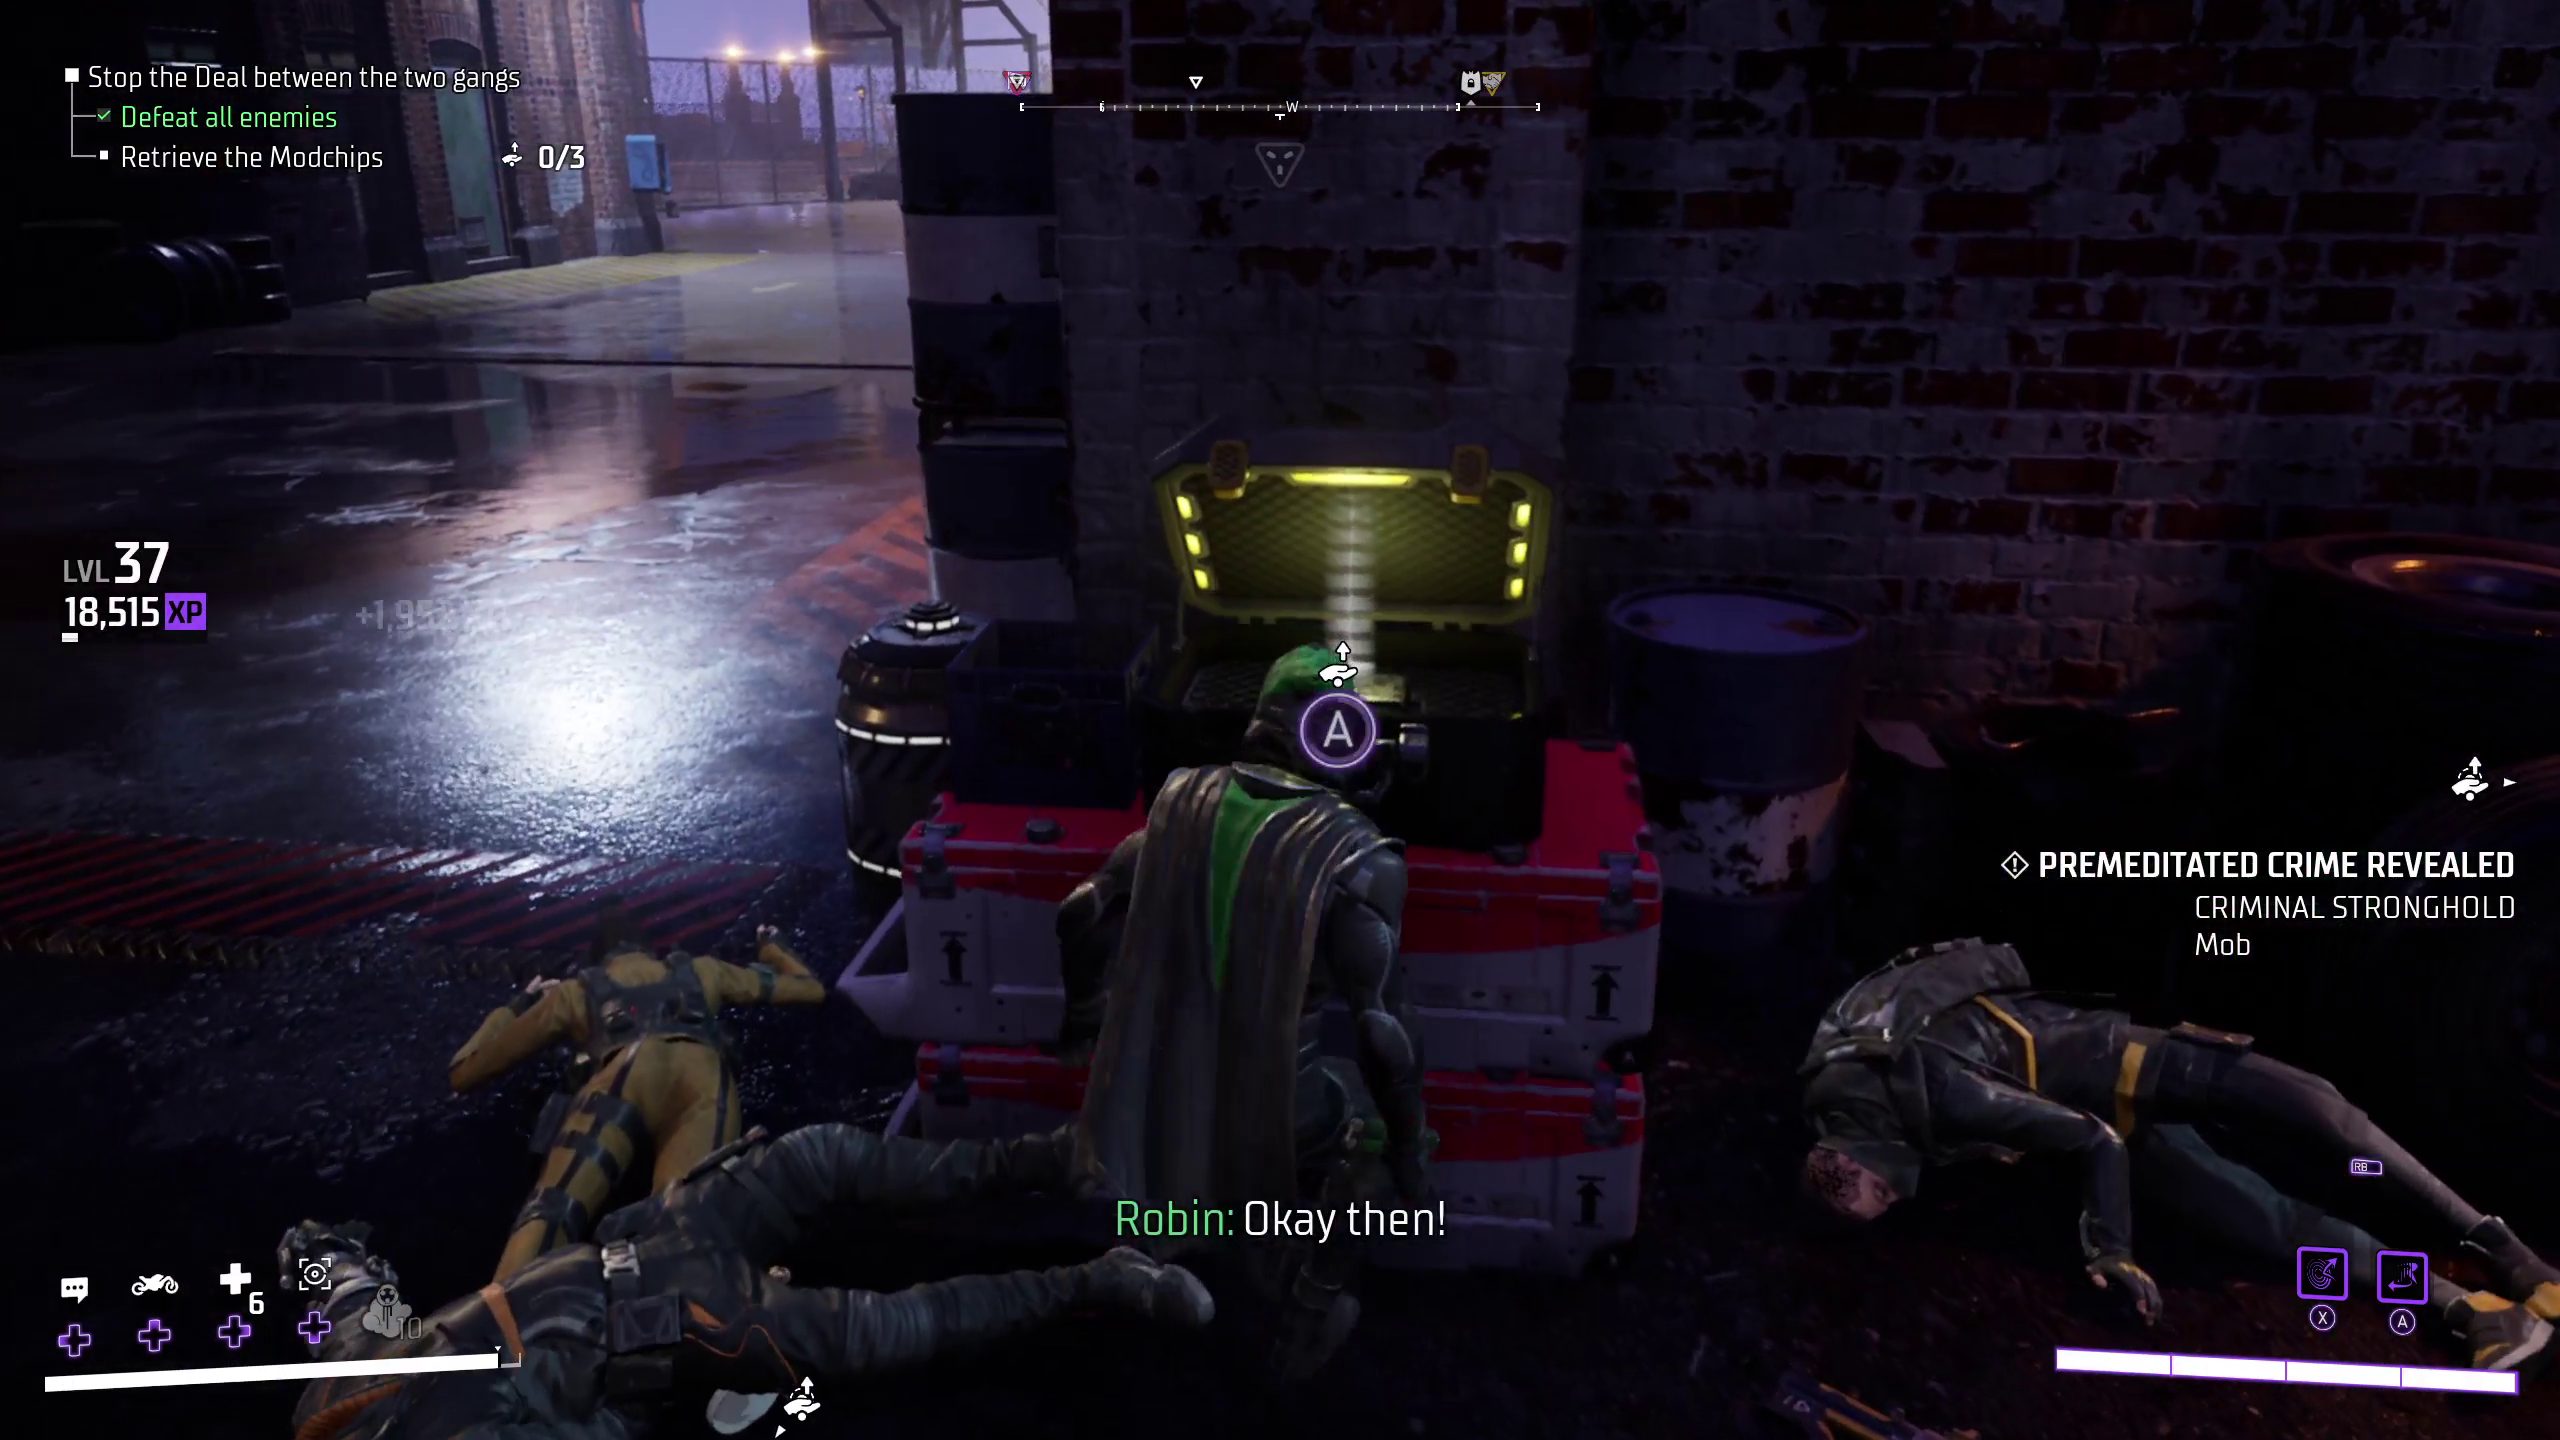
Once you’ve defeated all the enemies, pick up the three modchips to complete the crime.
Next, you will need to go north to the Penguin’s Organ Trafficking crime.
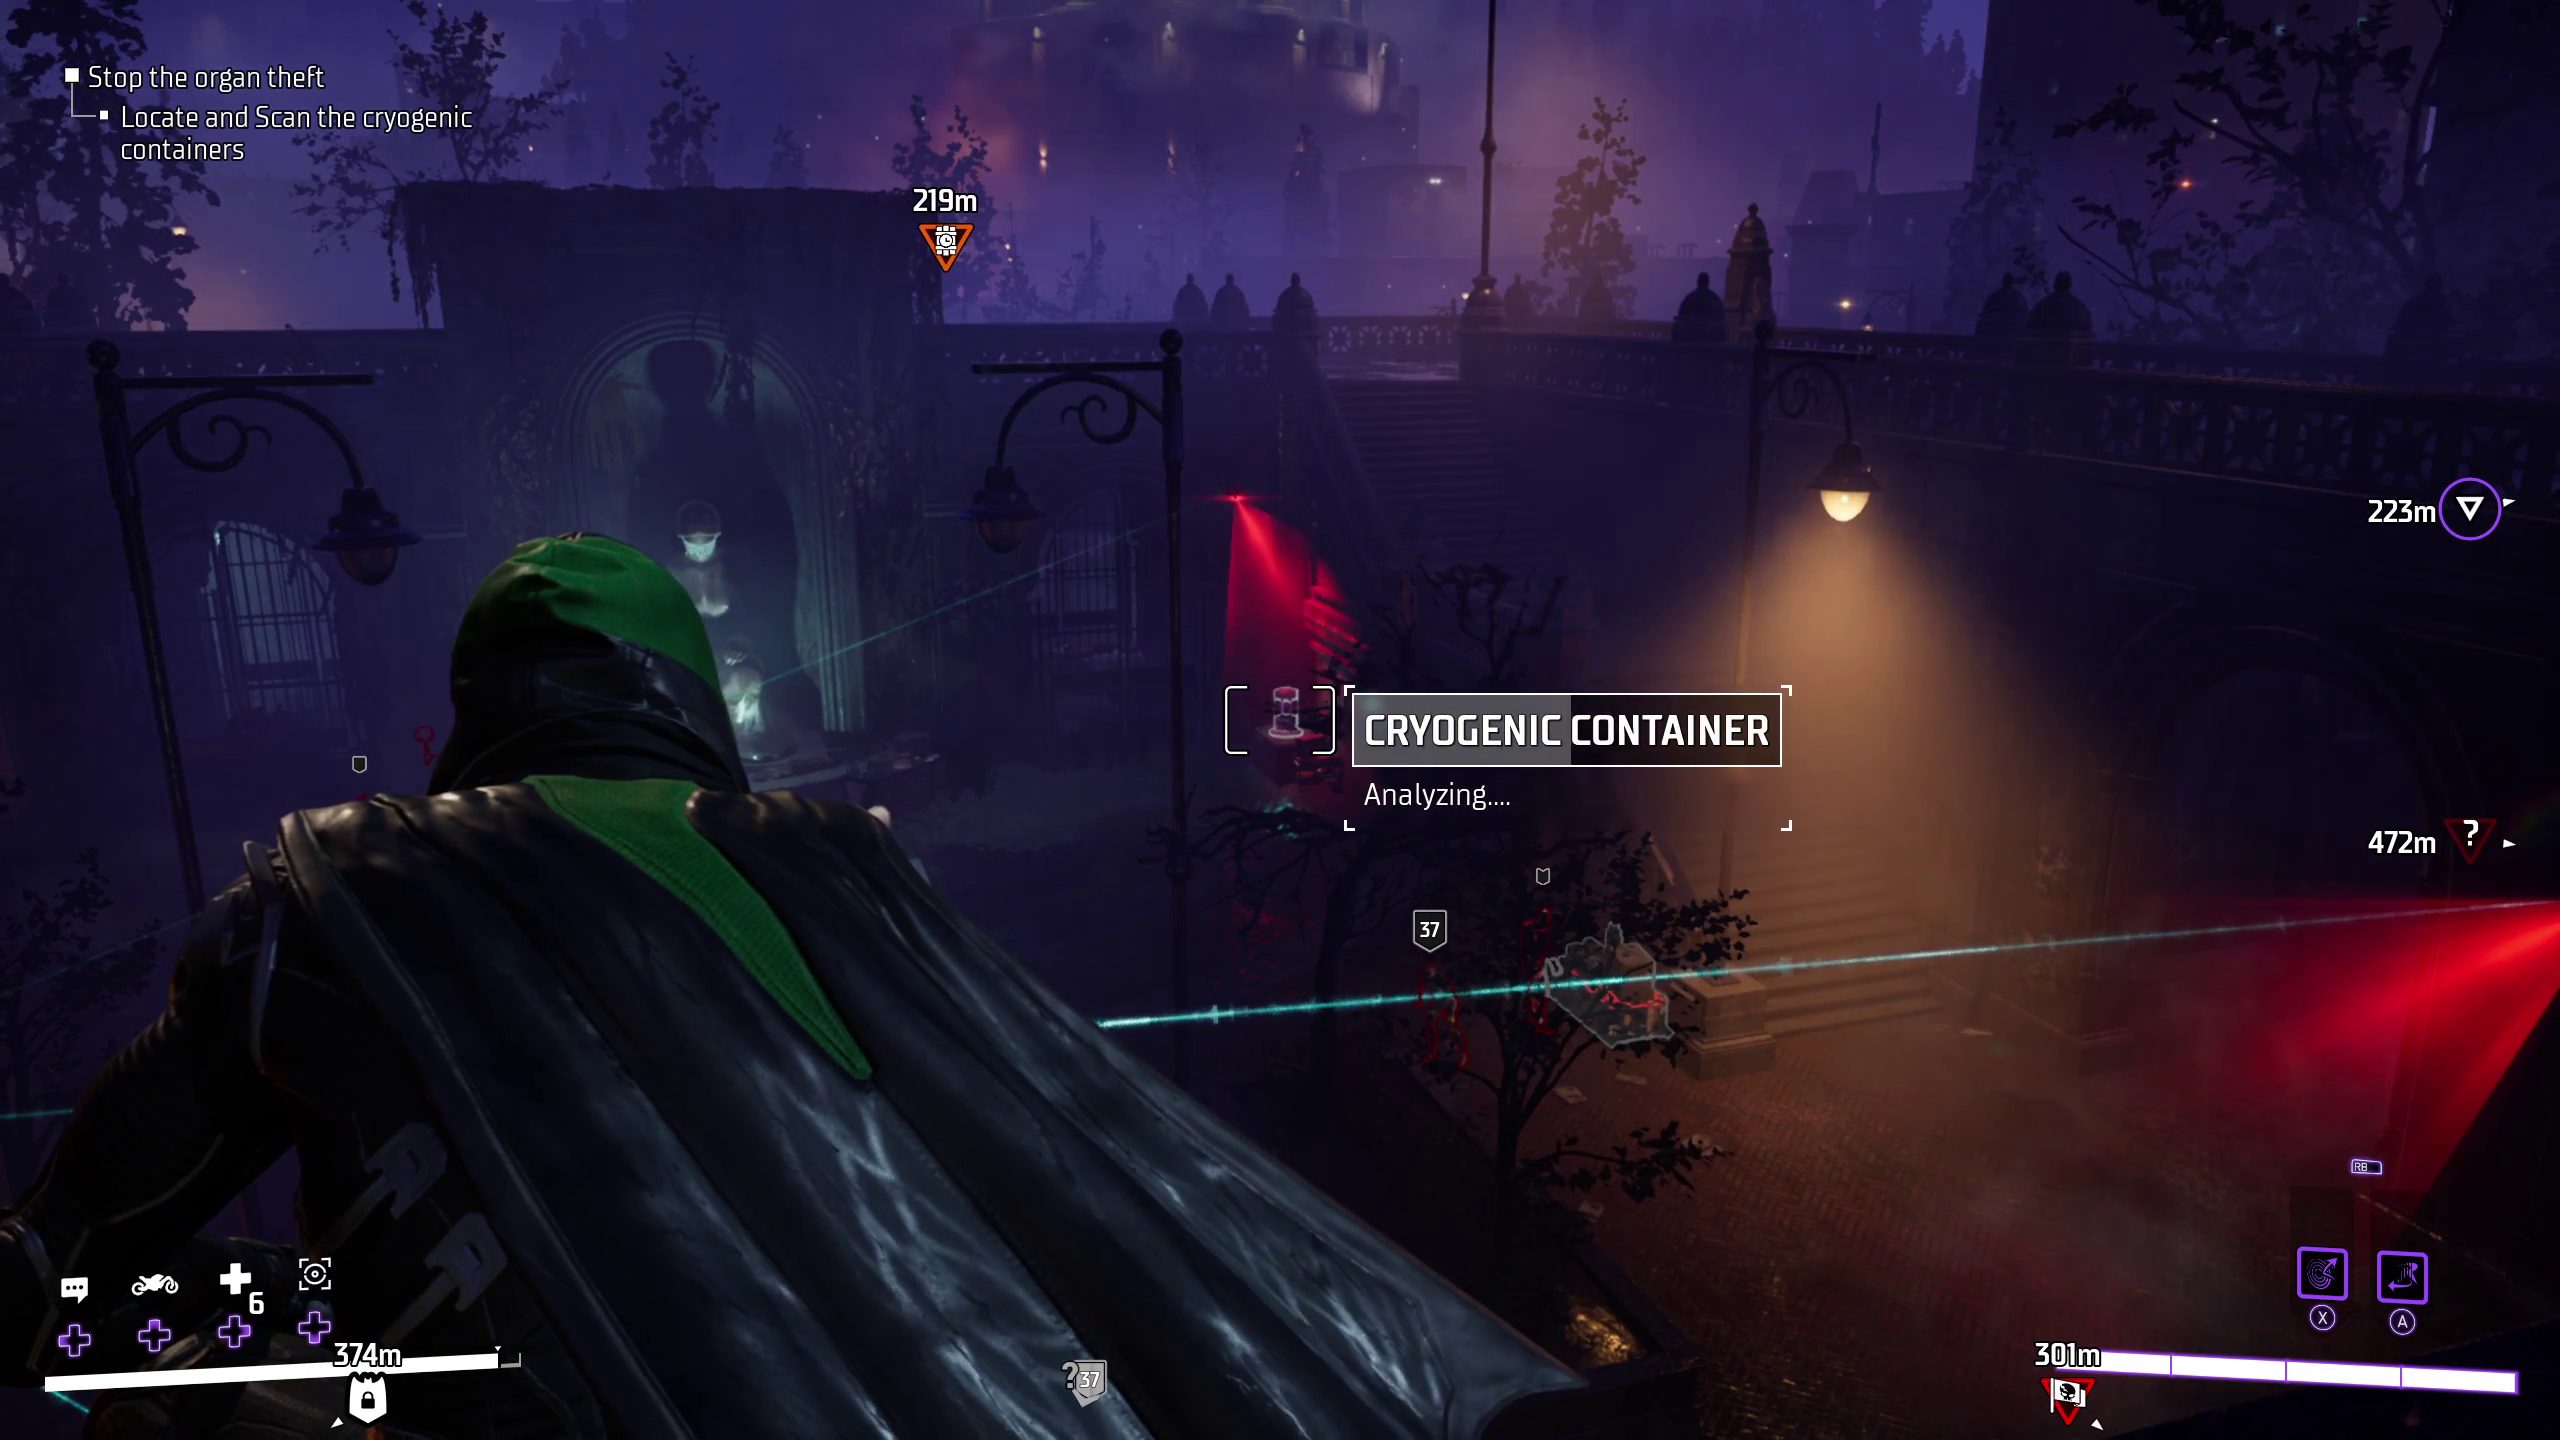
Once you get there, you will need to scan and acquire a cryogenic container, preferably stealthily, and then deliver the organ within to an ambulance nearby. The first this you should do when you arrive, then, is perch somewhere out of sight and scan the area. Your priority should be to scan the cylindrical “Cryogenic Container”, which is the organ you will need to grab. If you do not scan it, you will not be able to pick it up.
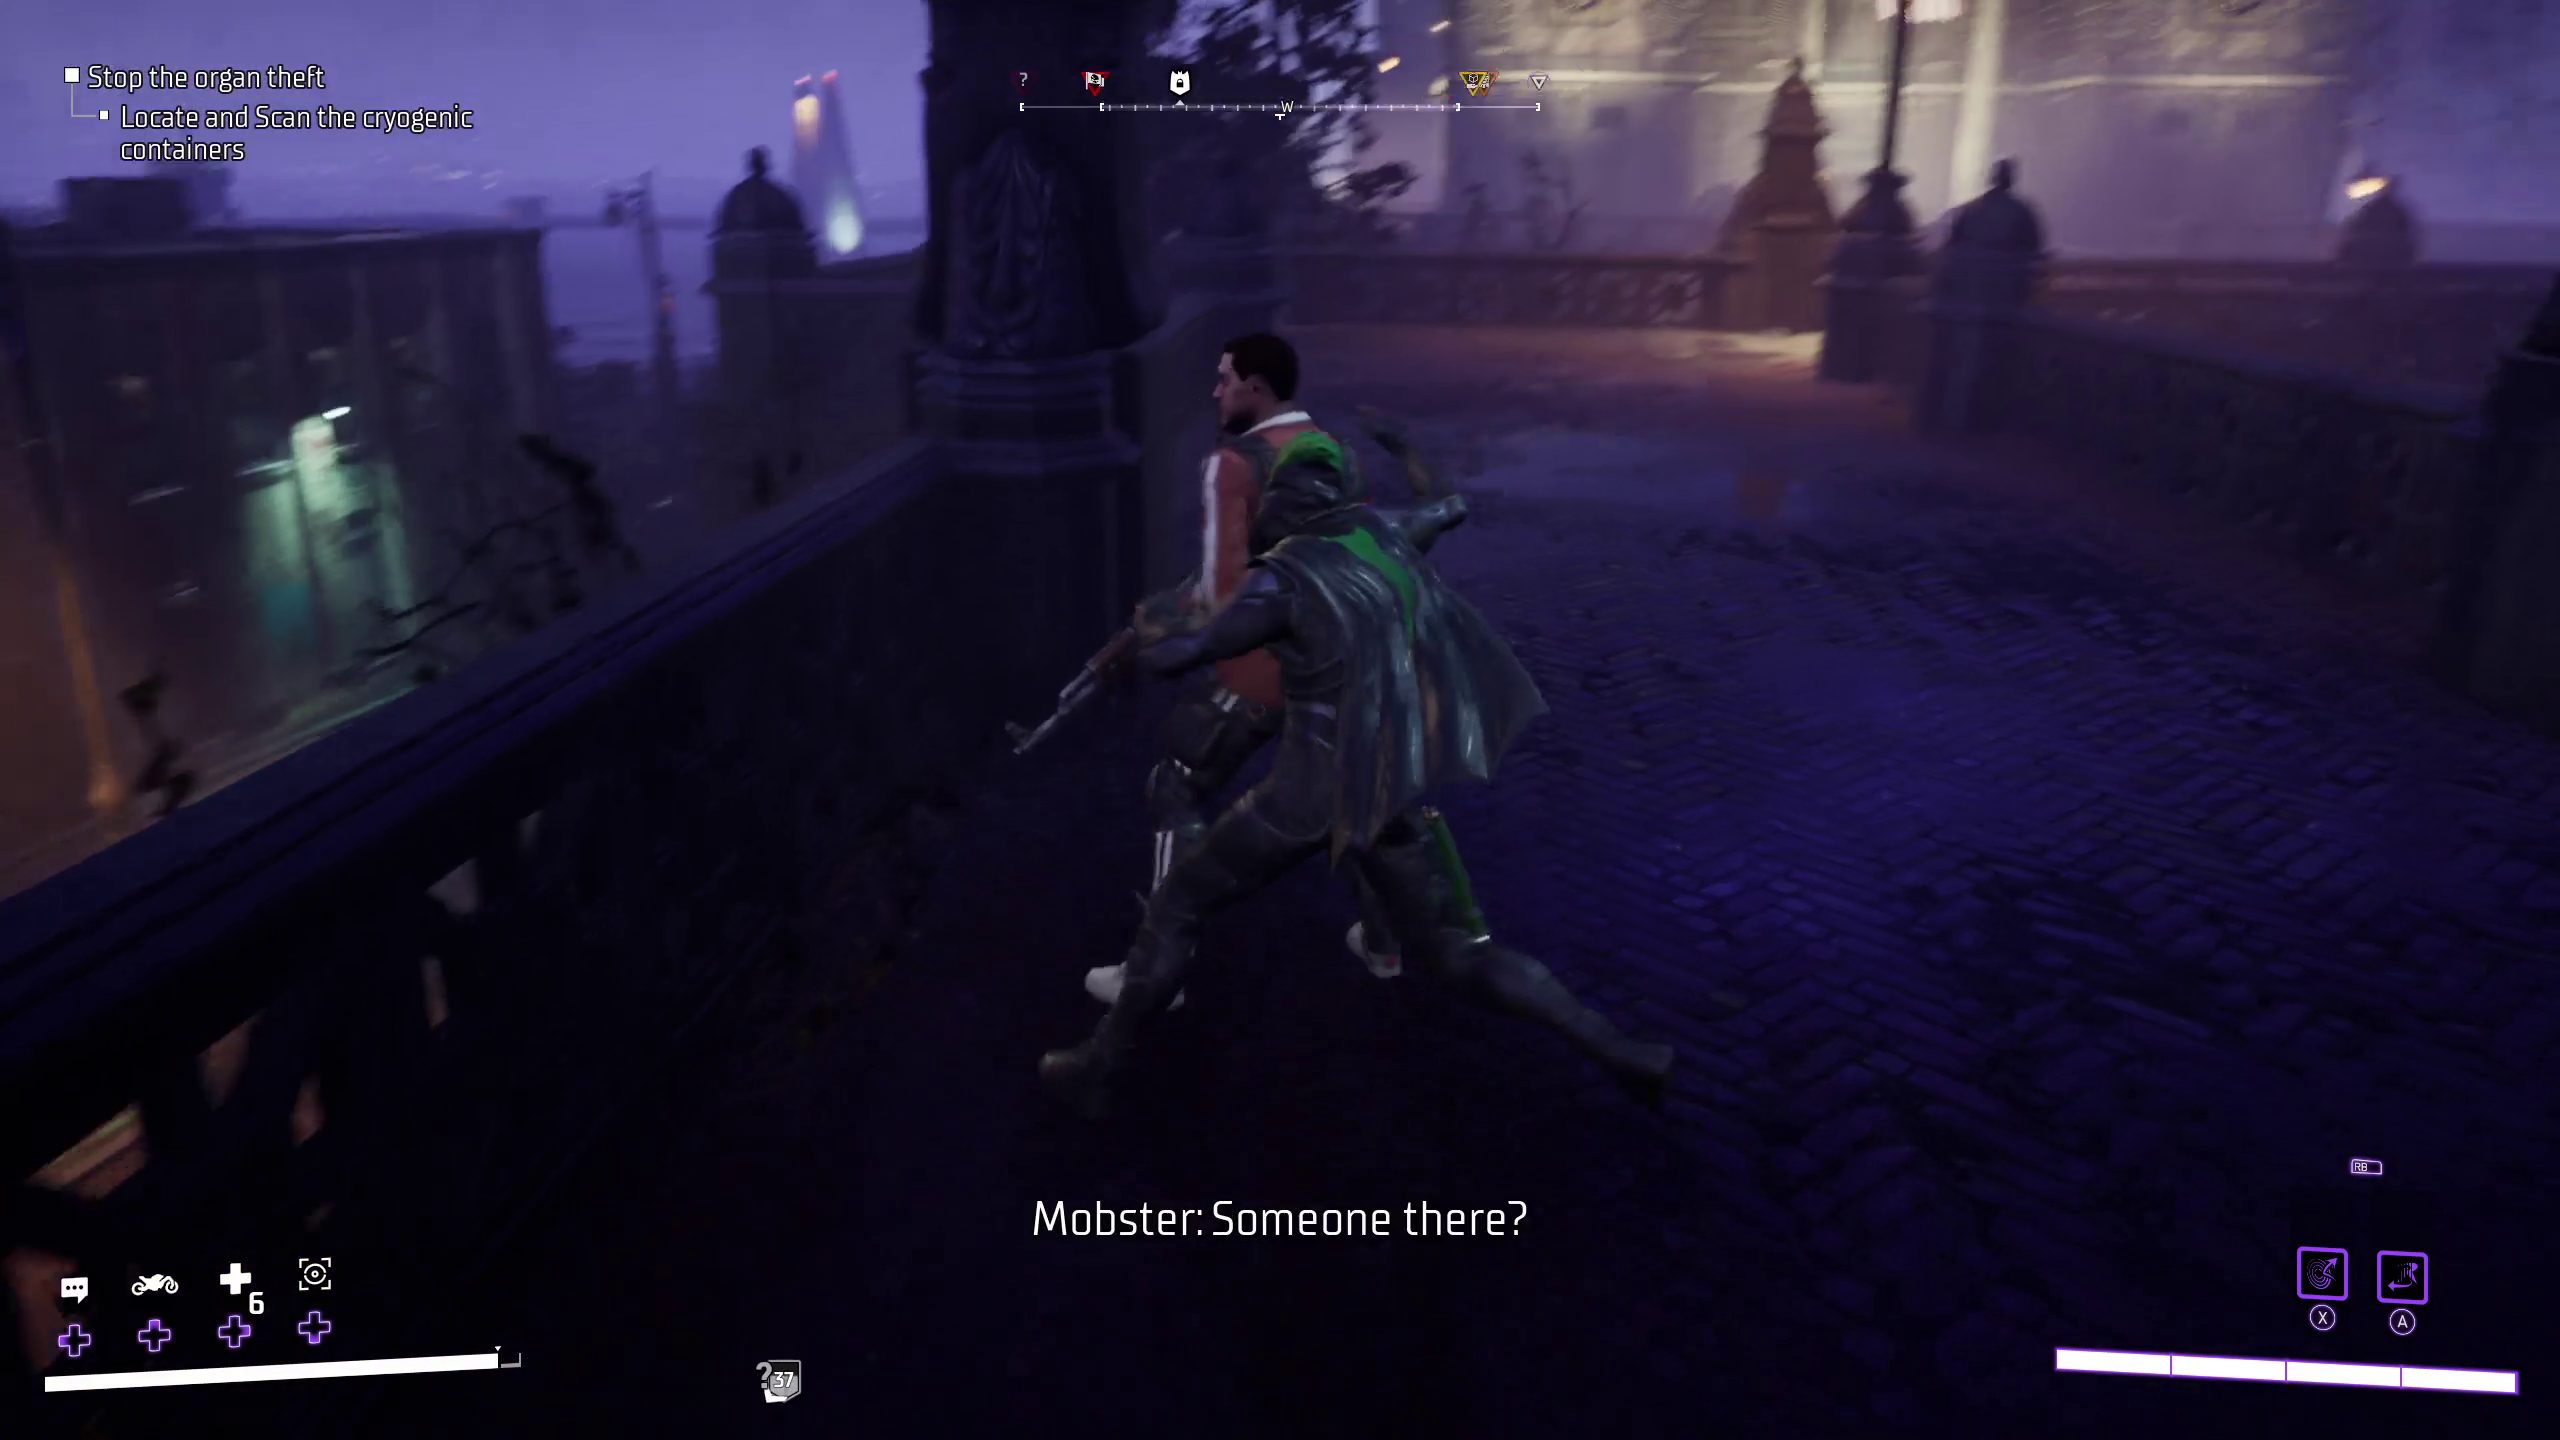
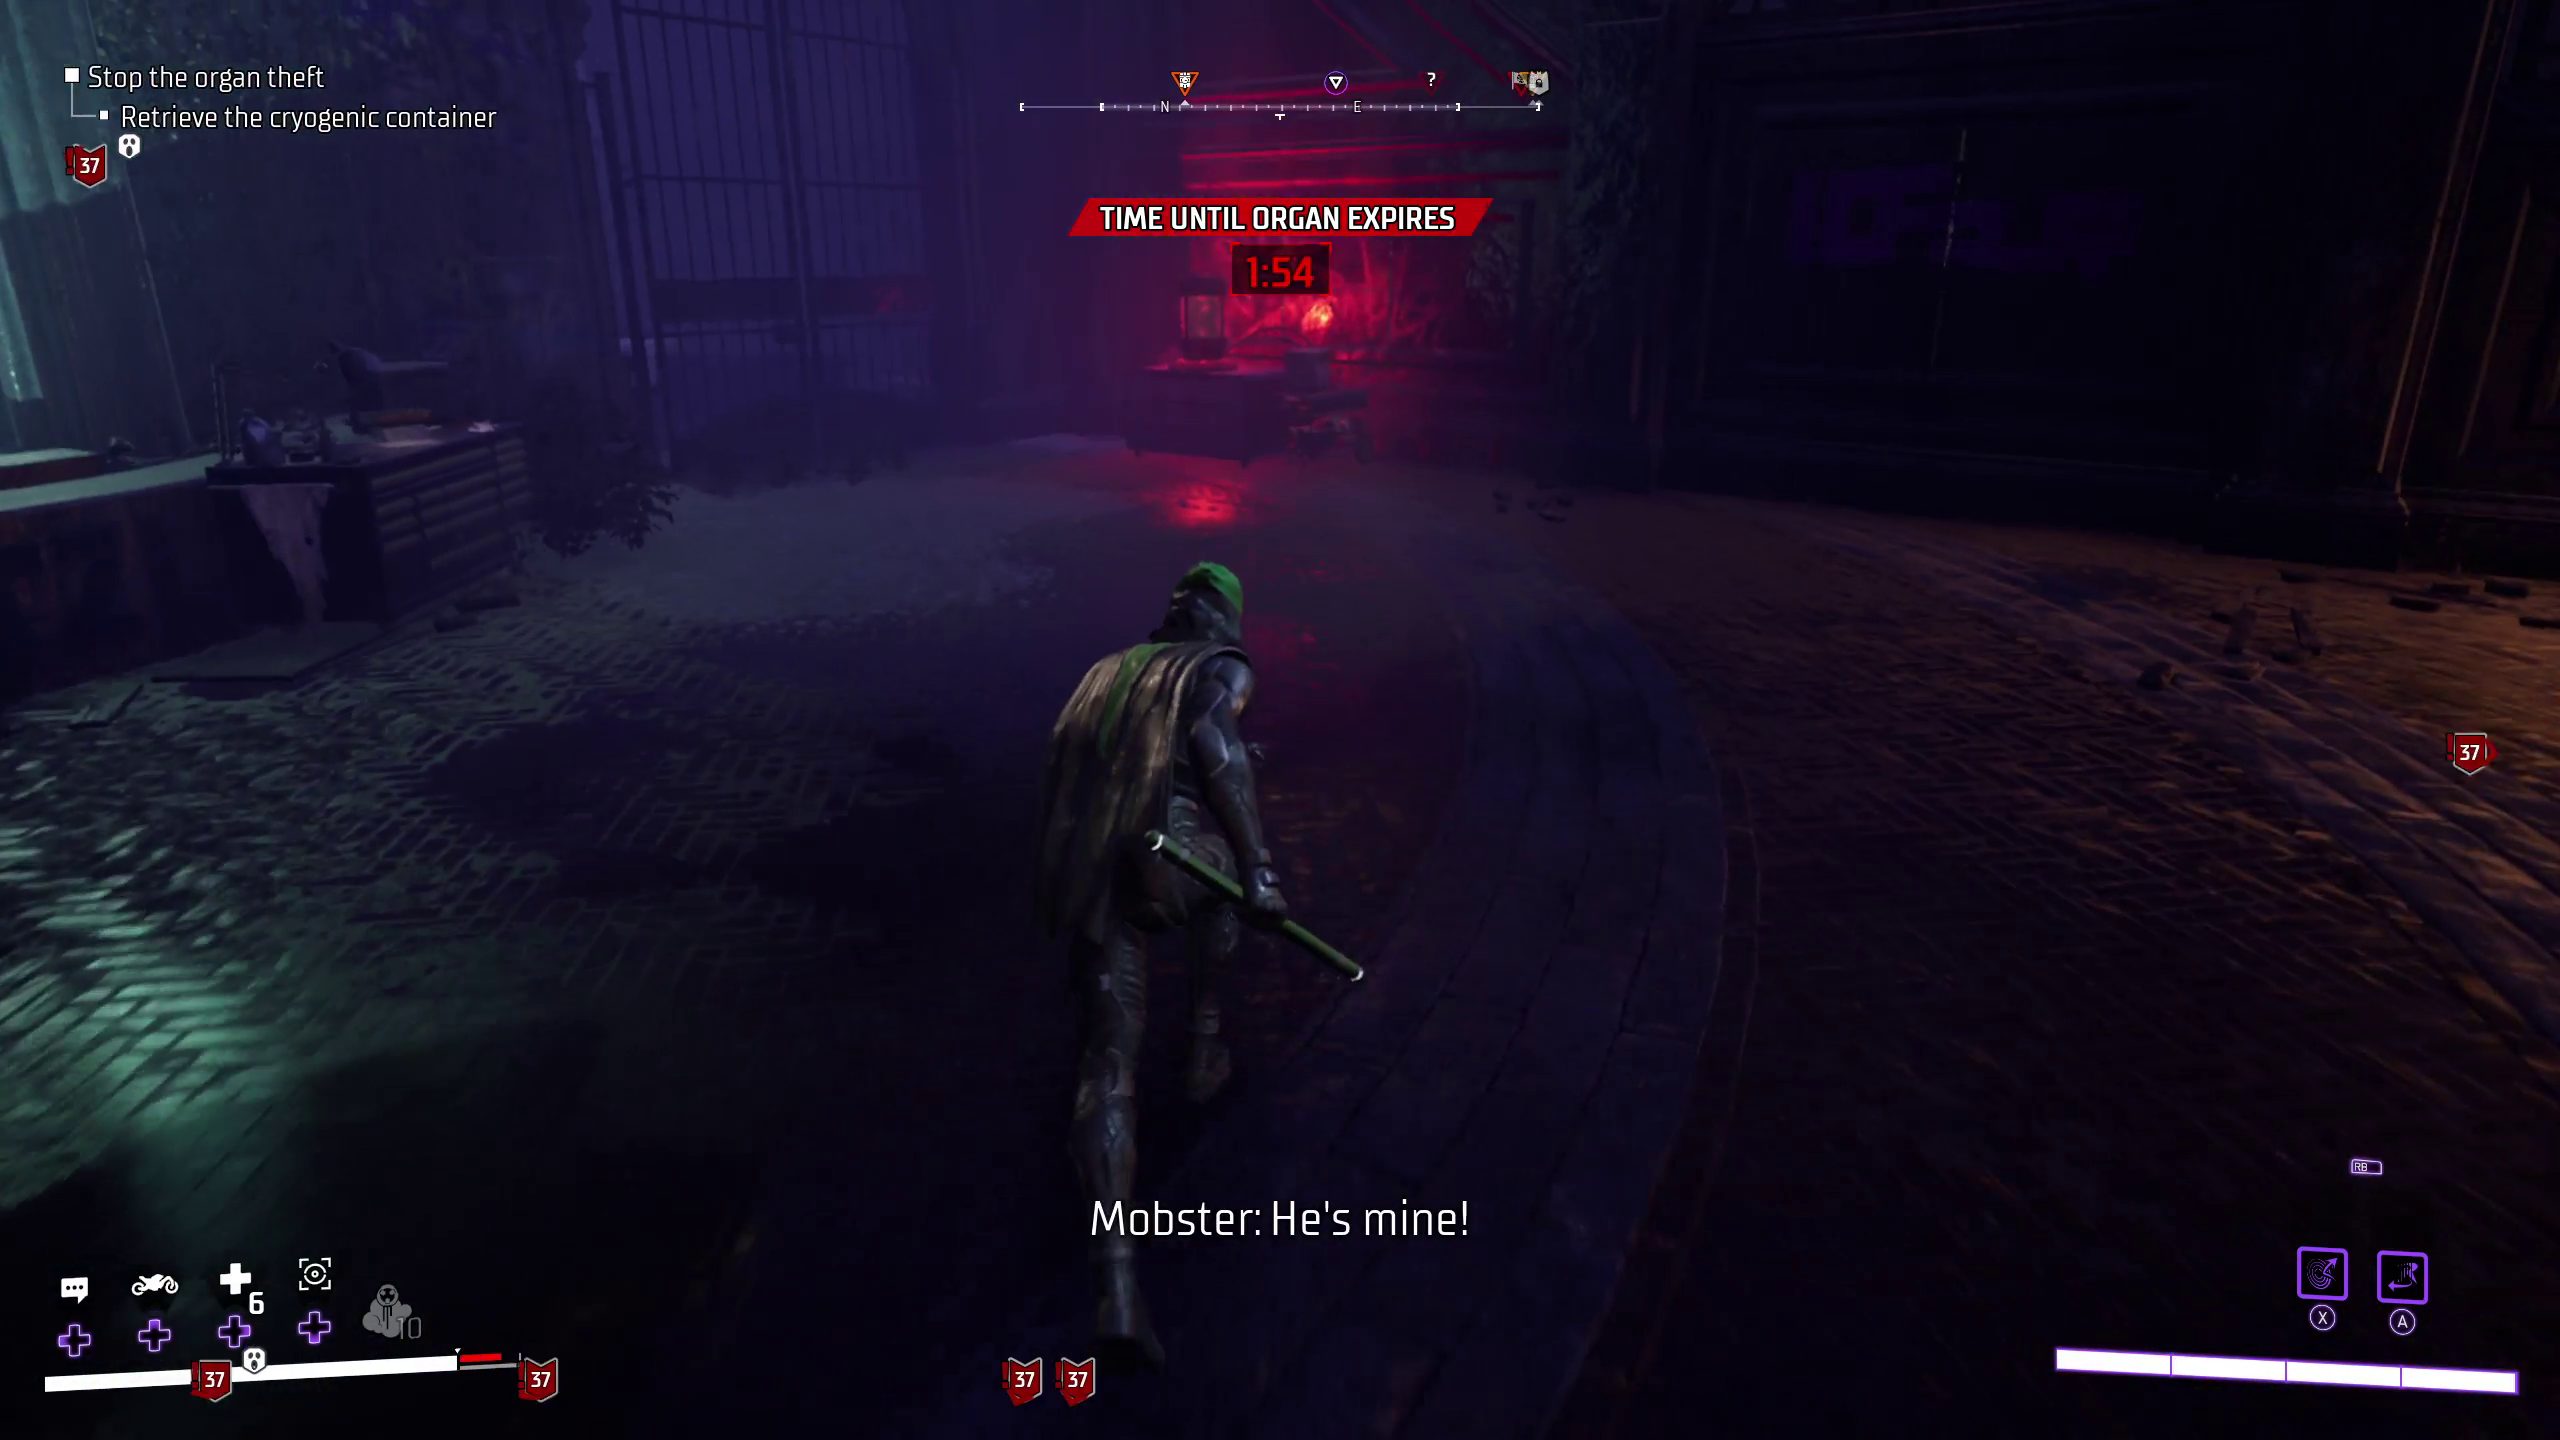
If you are spotted before you pick up the cryogenic container, a 2-minute timer will begin counting down towards mission failure, so you should remain hidden. To do so, you should Stealth Takedown whatever guards it is safe to, and you need to make sure that you disable the cameras (using the wall panel that you can locate in AR) before you go for the container.
You can pick up the organ if spotted, but it can be interrupted by any enemy attacks. If you are spotted, then, it is usually best to eliminate all the enemies before trying to pick it up, so that you aren’t interrupted.
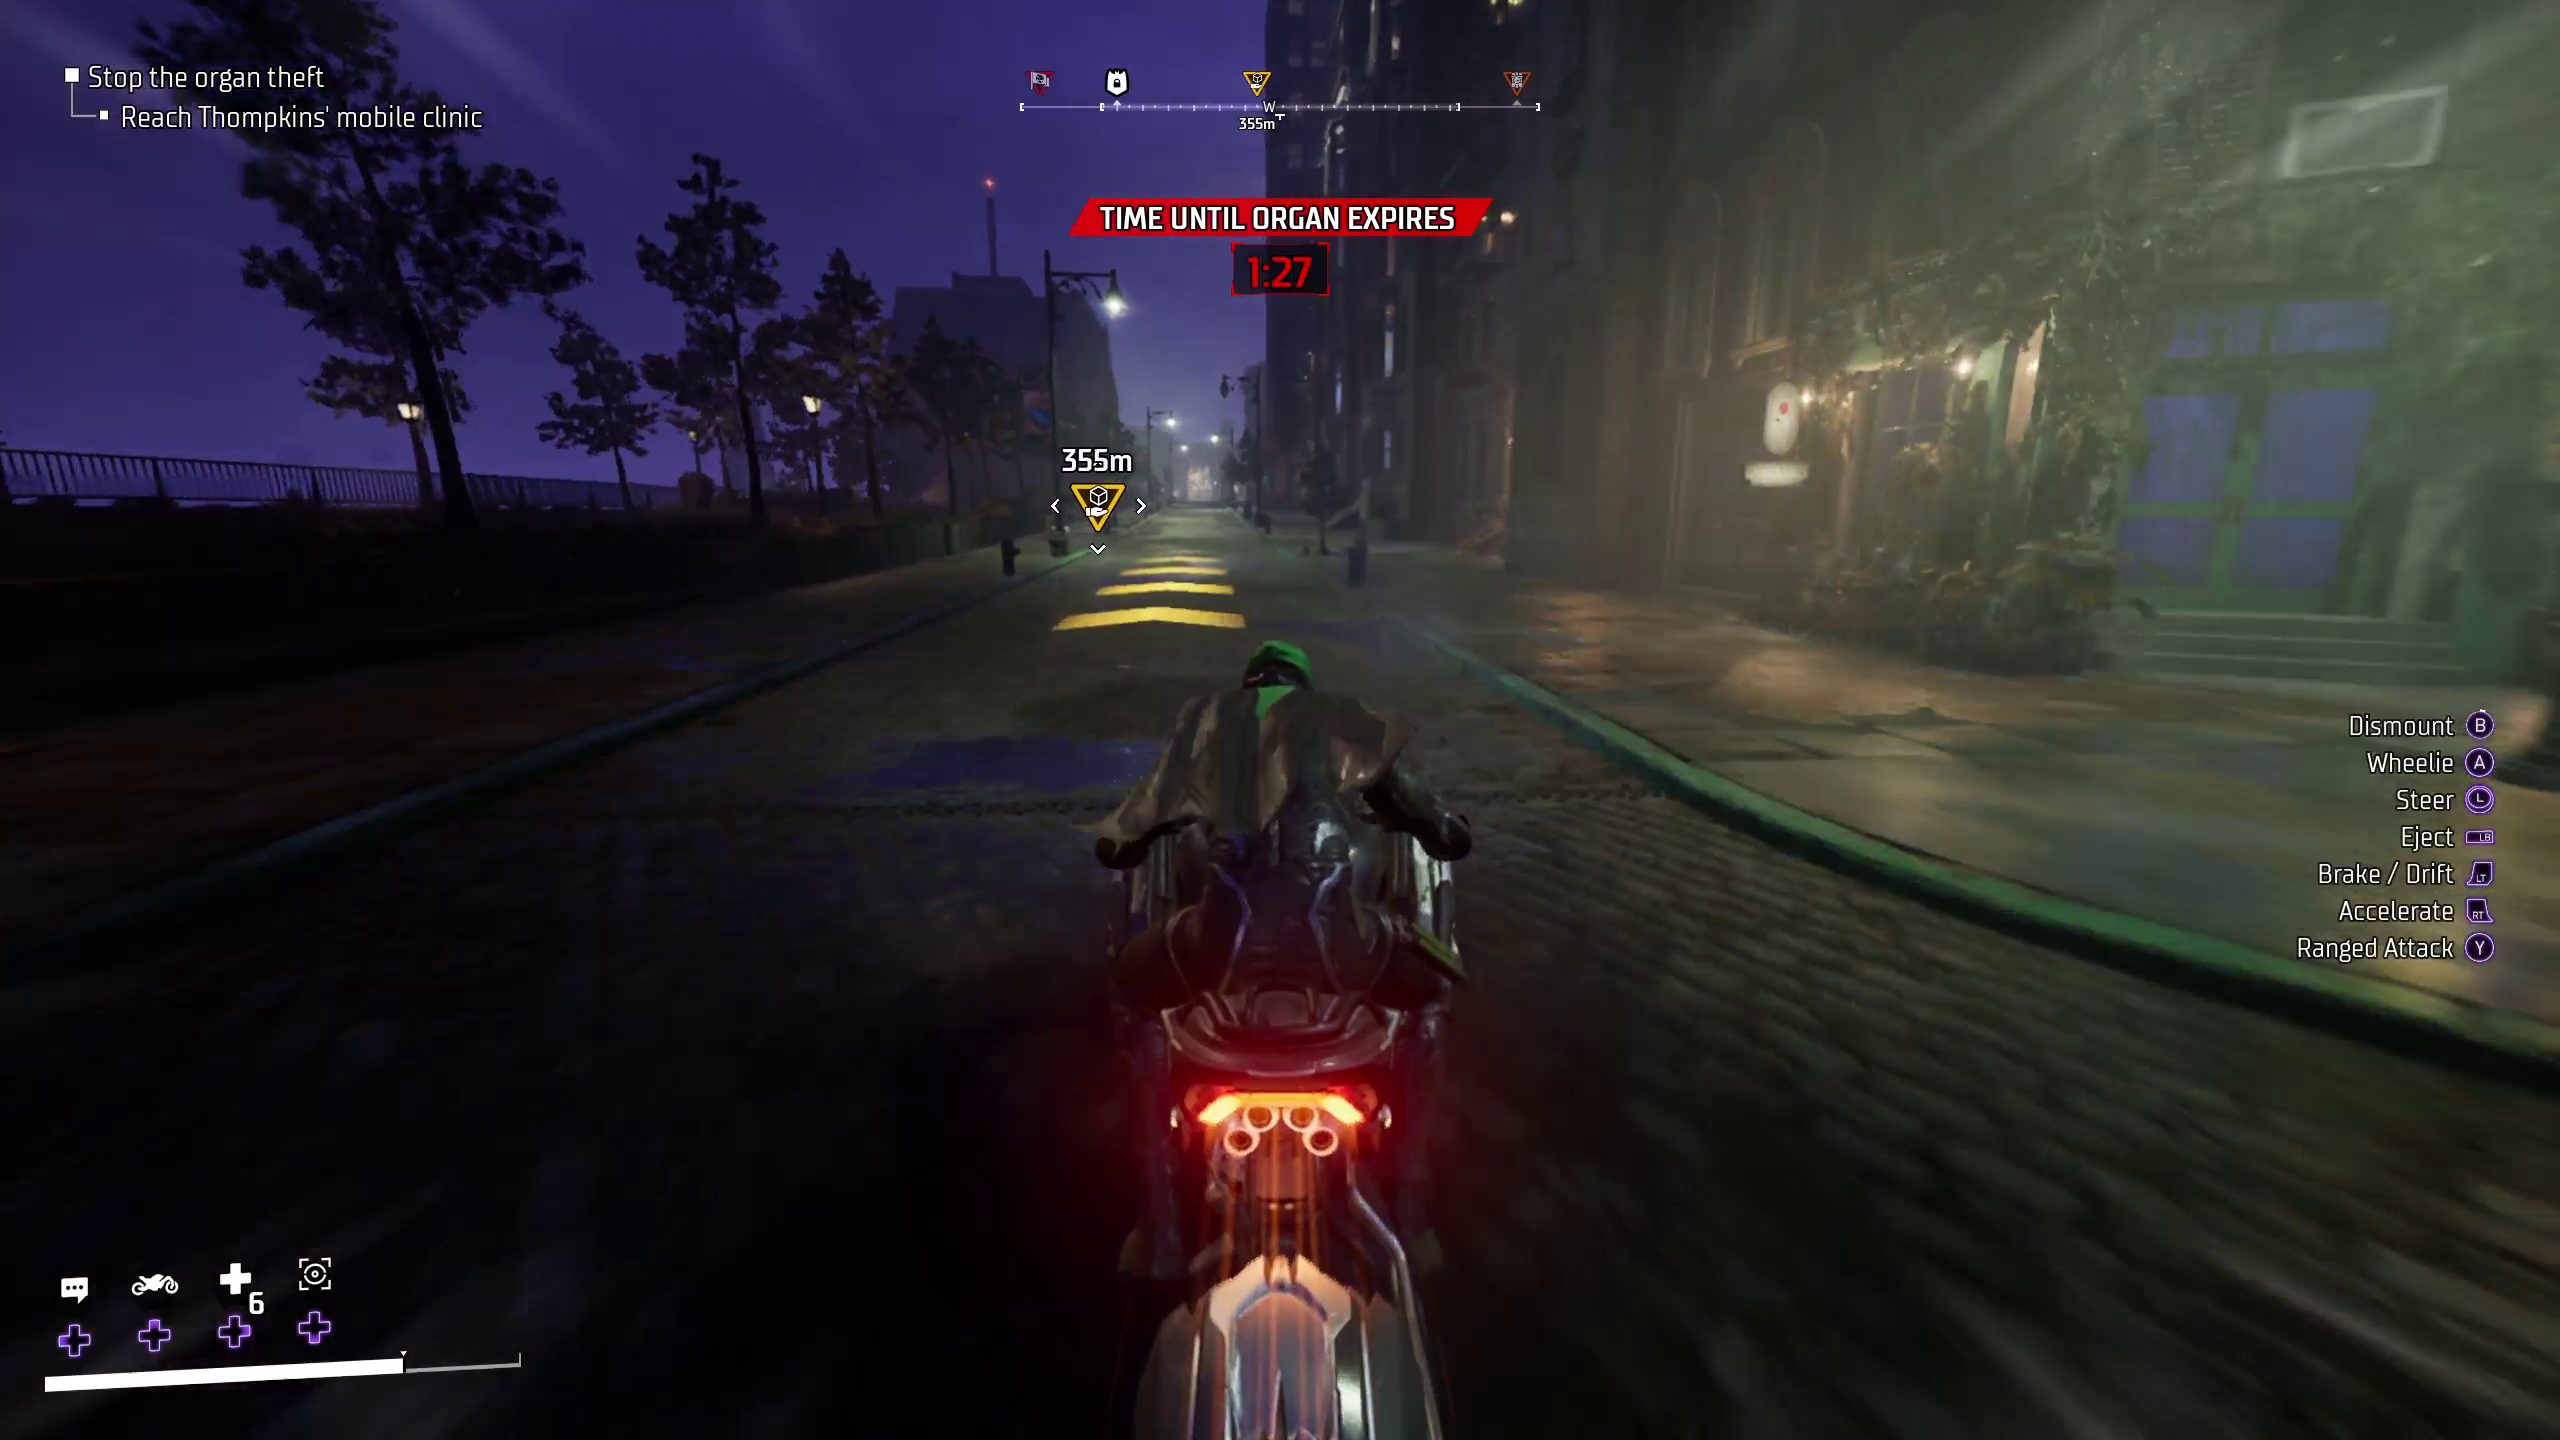
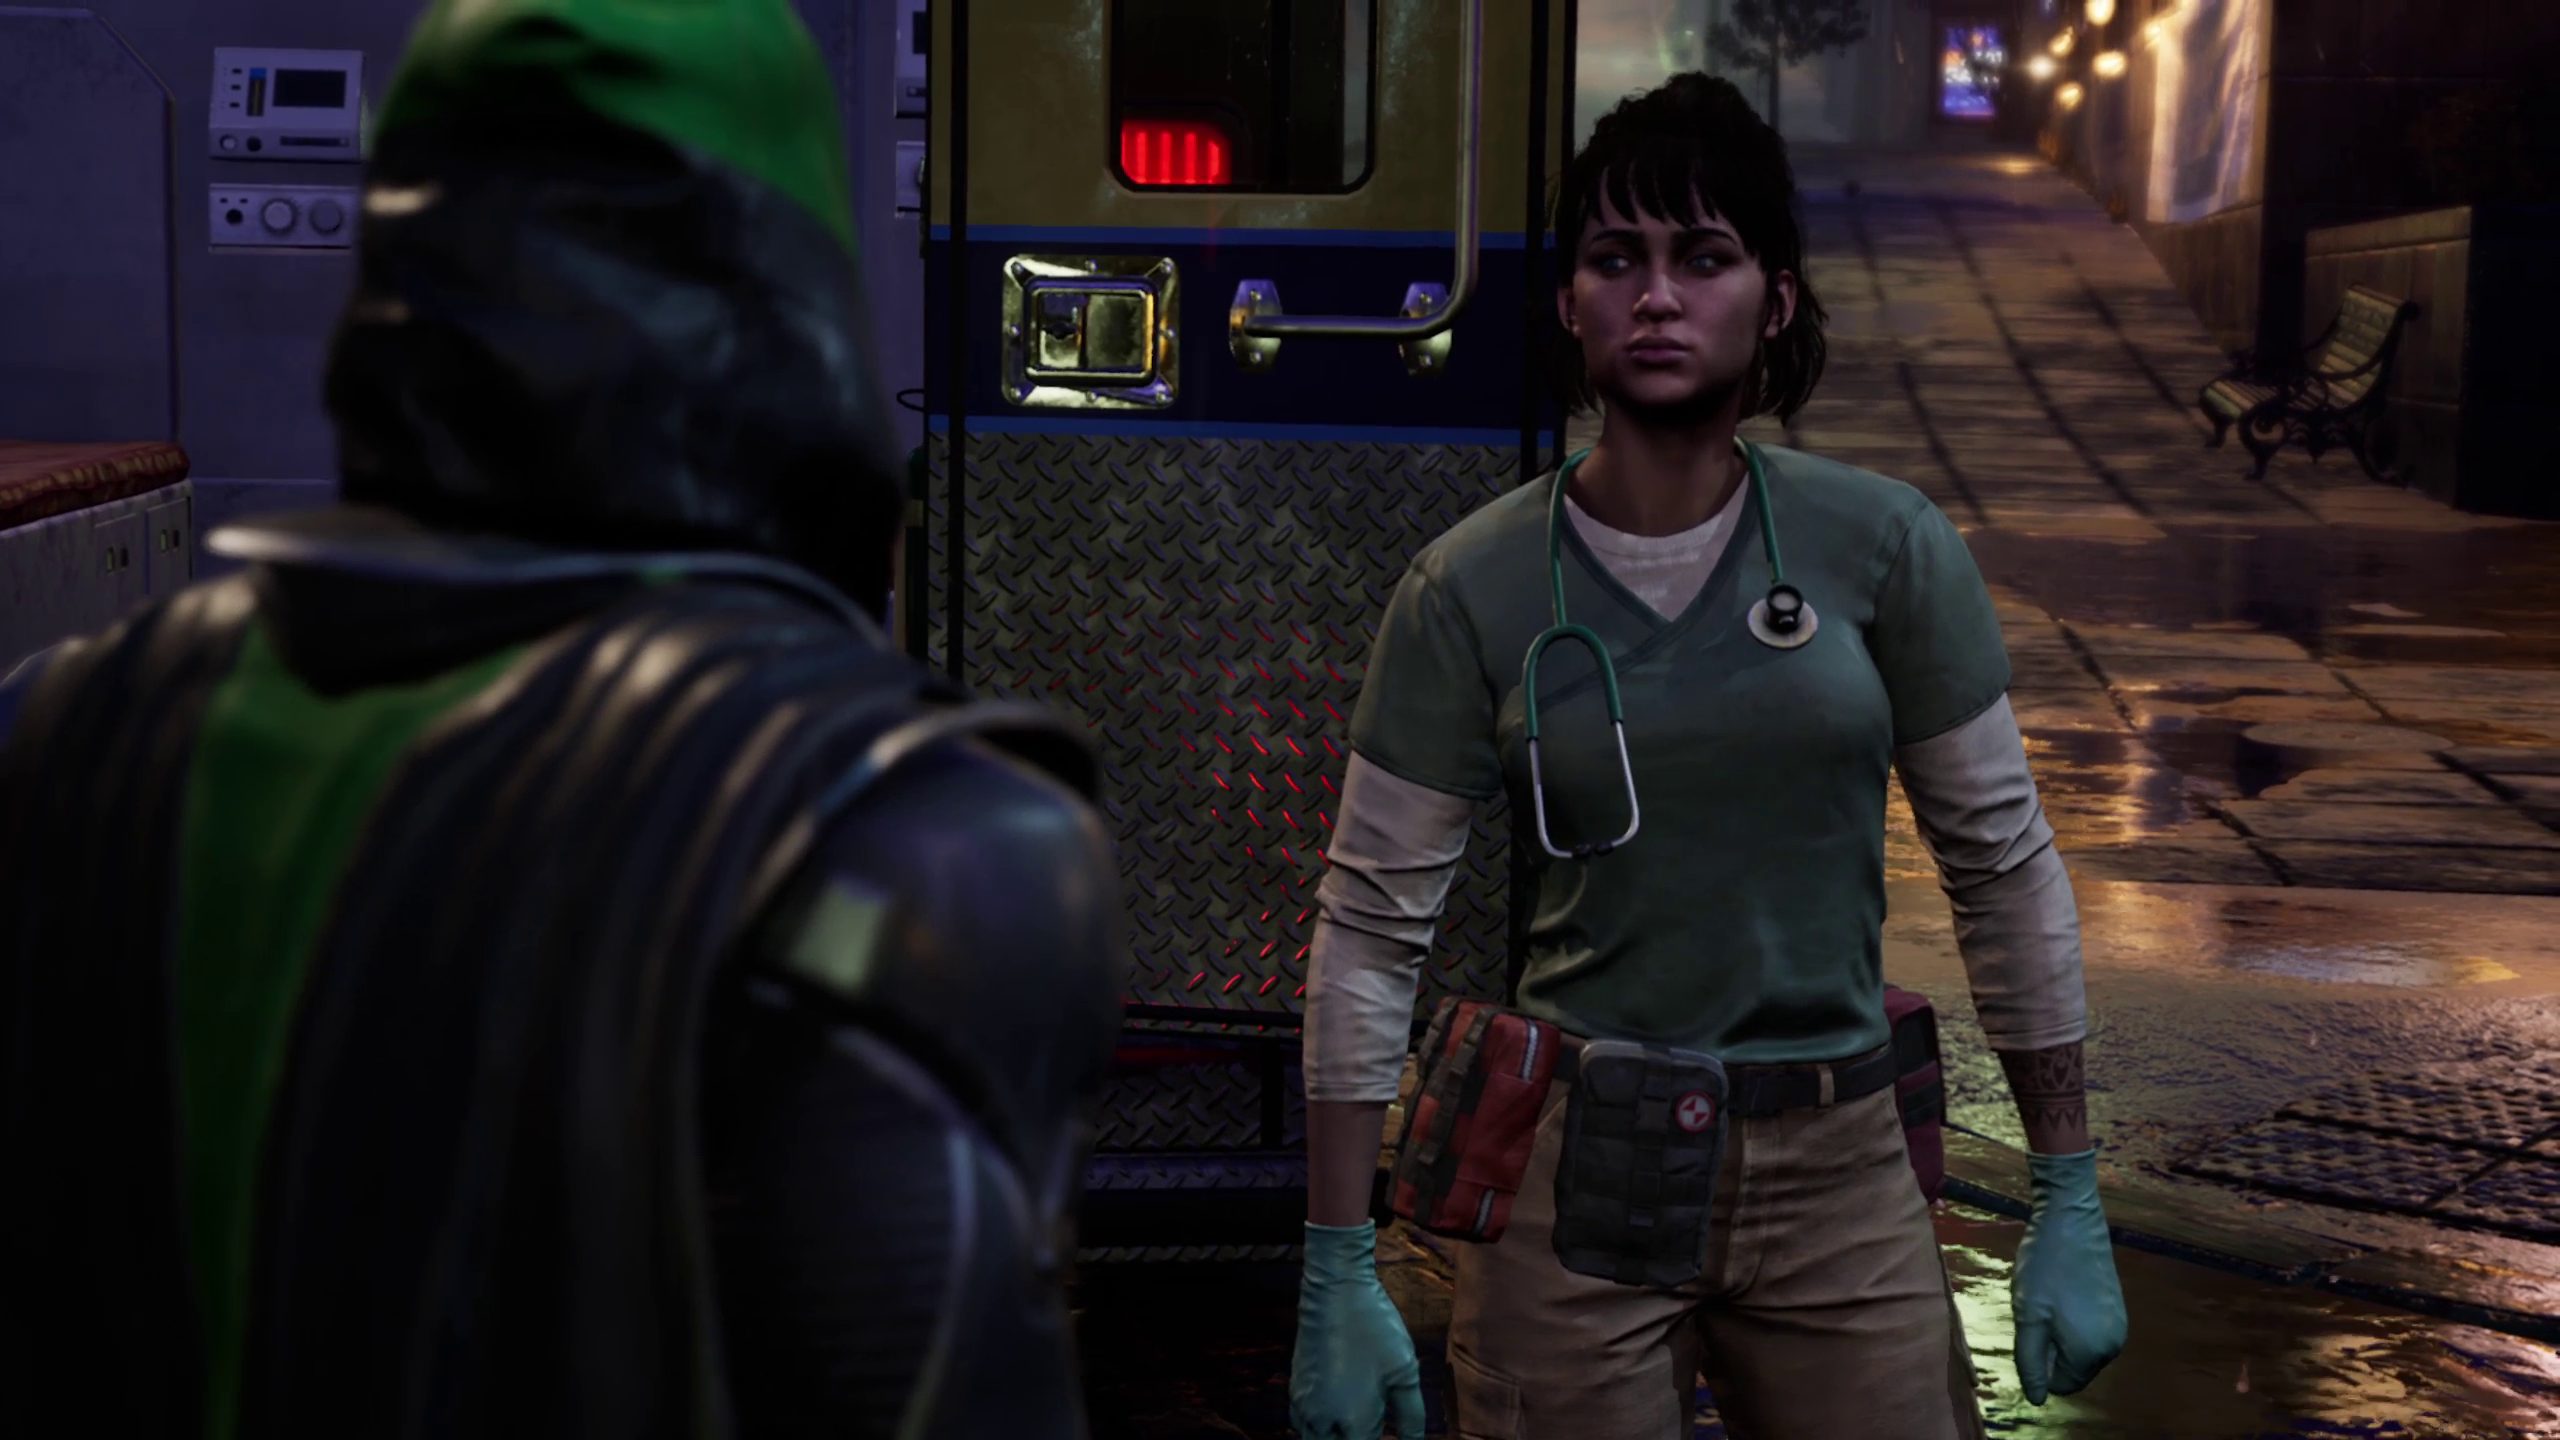
Once you pick up the organ, if the timer has not started already, then it will start. You will then have 2 minutes to transport the organ to the ambulance, which will be marked on your HUD and Map. Simply follow the yellow GPS marker in order to find Doctor Tomkins, who you can talk to in order to deliver the organ, completing the crime.
Next, you will need to head back to the Iceberg Lounge, and then enter from the same skylight as before.
Once you are inside and have opened the door, you will need to take down the enemies in the club again. This time, you will be given a bonus reward if you can clear it without taking damage.
The best way to do begin this is by using stealth, to clear as many enemies out as you can before you are forced to fight. You can stealth takedown the first three guards here the same way as before: start with the guard outside the door, then go to the guard through the vent to the right, then go down the stairs towards backstage.
Among those left, you can perform a Stealth Takedown on several of them if you are careful enough, such as the bartender and the guards upstairs. And, if you are caught, you can hide again by returning to the vent near the entrance.
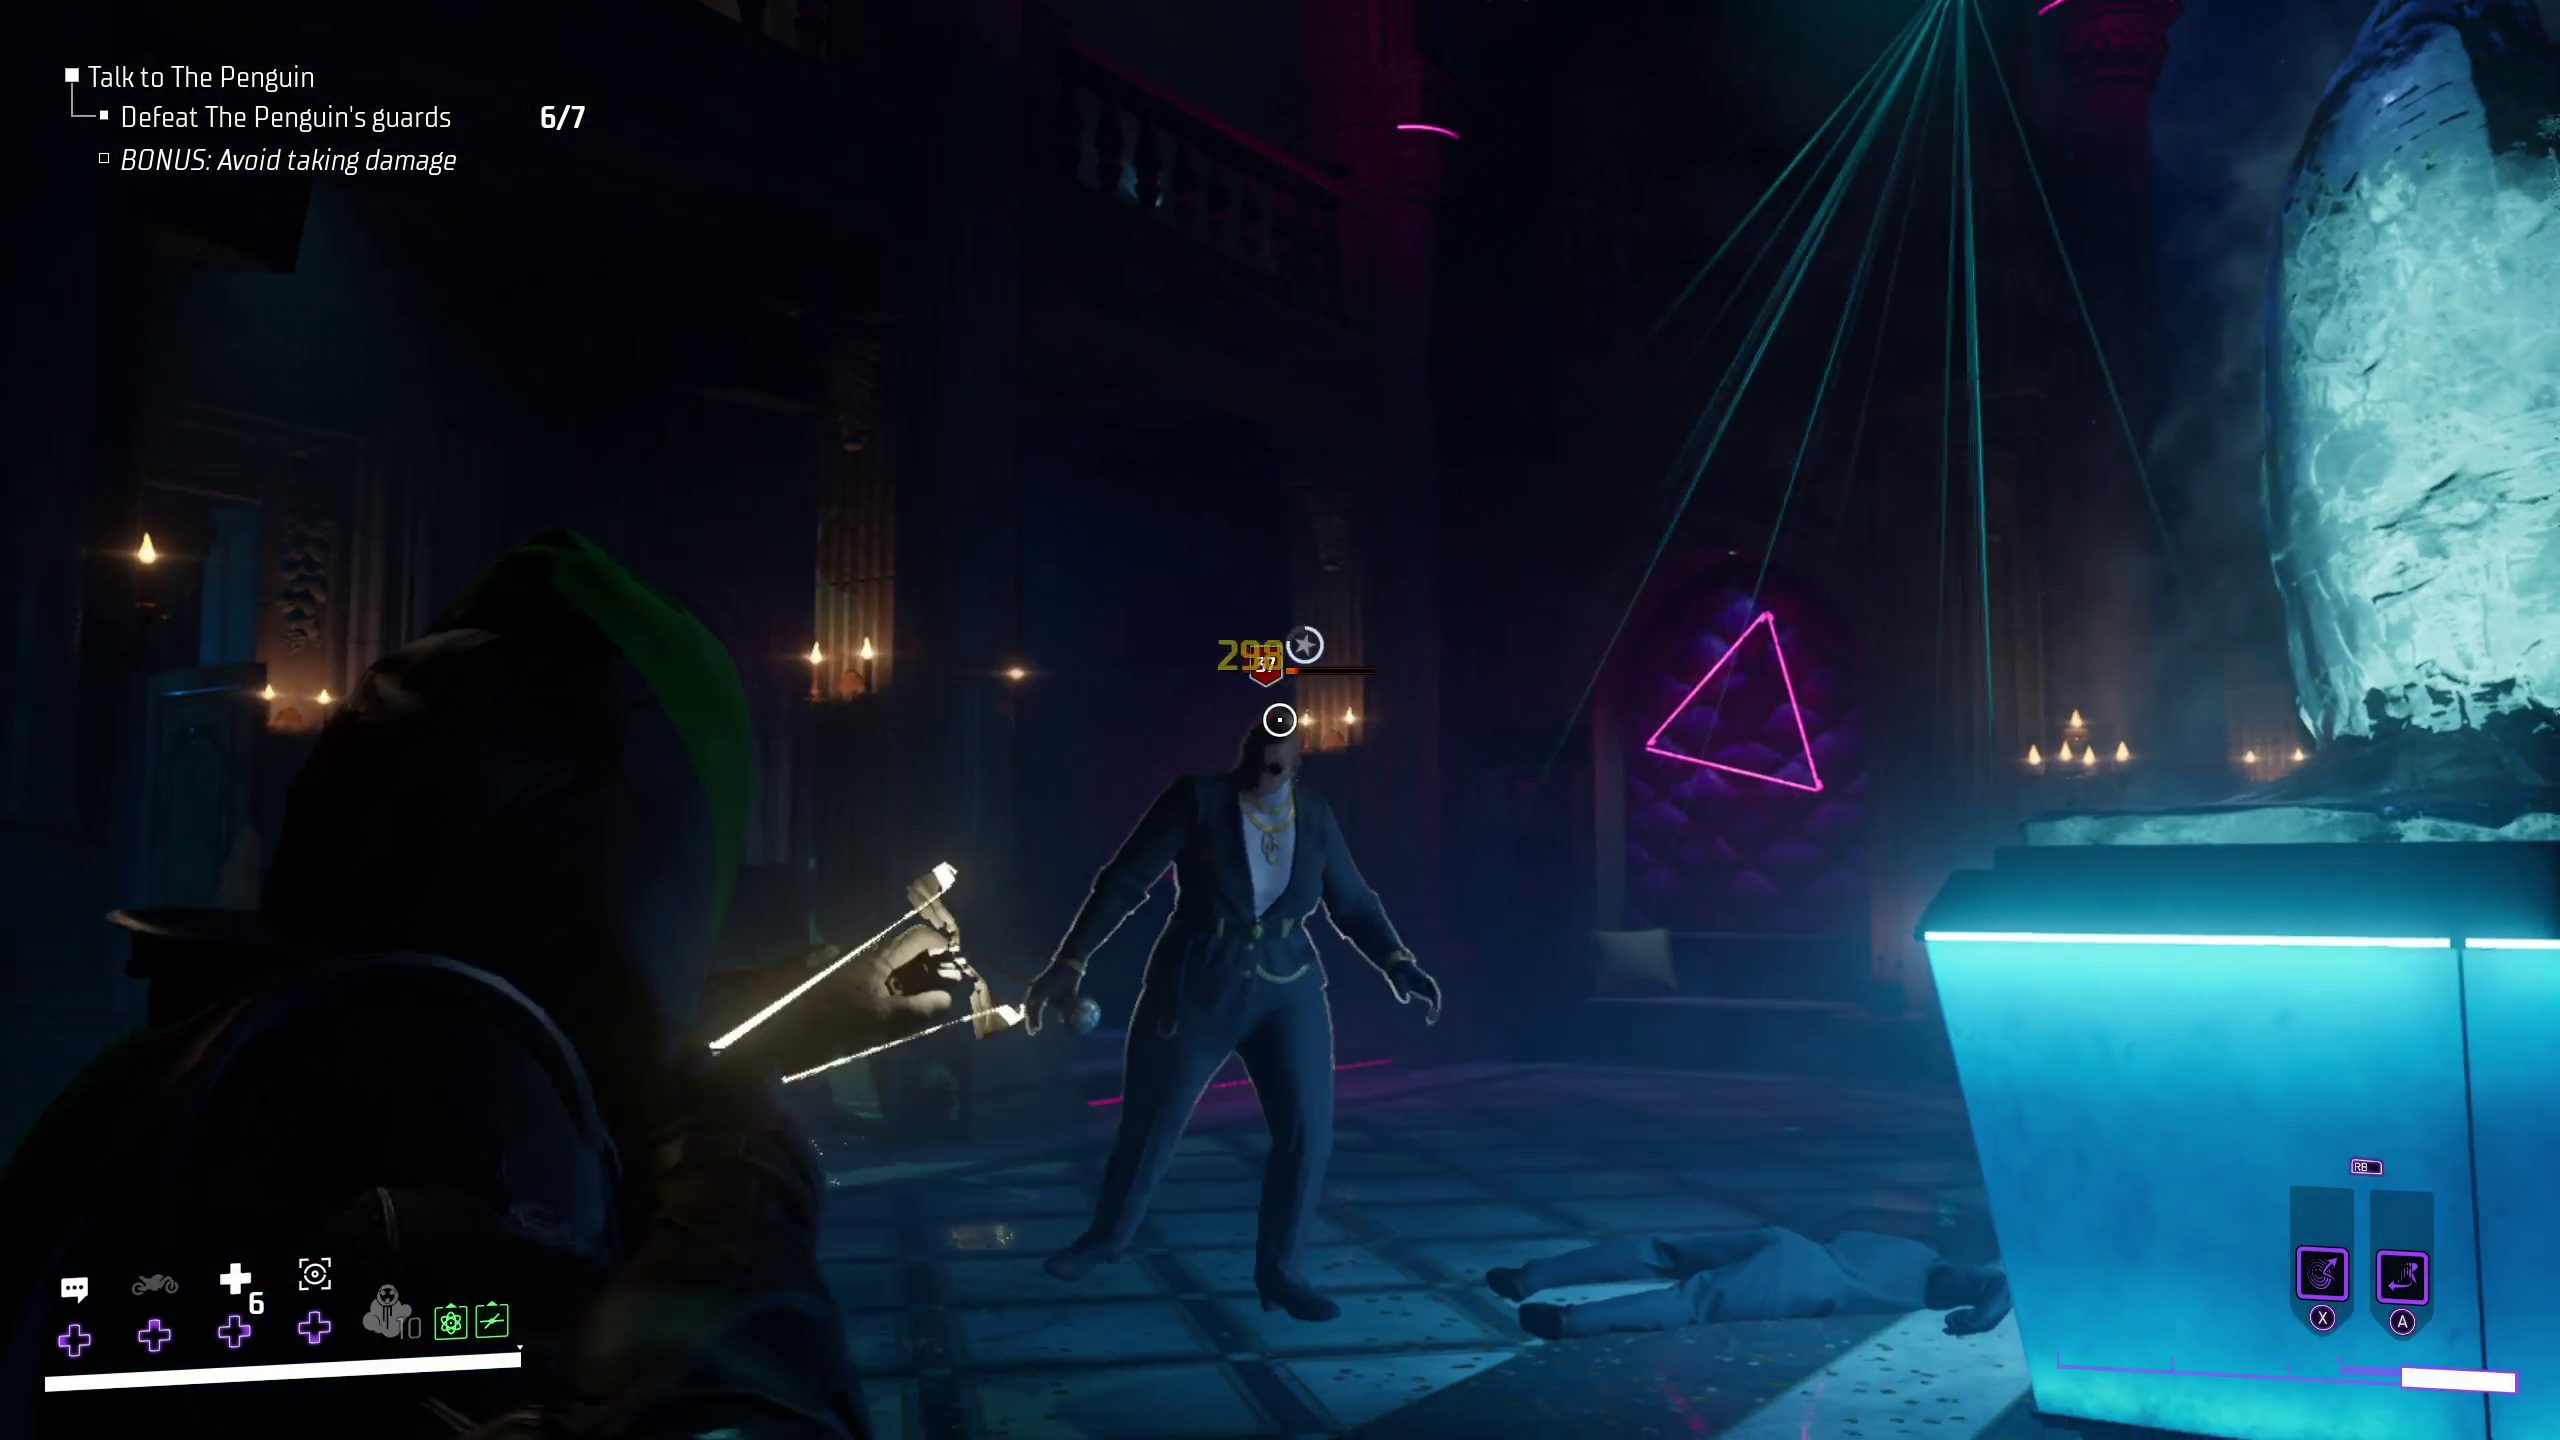
However, there is one enemy, the Godmother, that you will not be able to take out with stealth, and so you will have to fight her here. In order to keep from taking damage and give yourself an advantage, try to eliminate all other enemies first, so you can focus on her. While fighting her, be very mindful of her attacks, and make sure to dodge away from her red combos until the last attack, which will have a jagged marker around it, at which point you can safely counterattack for a few swings. Piercing Momentum Abilities can be helpful here, as they can interrupt her attacks, but other Momentum Abilities can lock you into animations and should be avoided. Similarly, ranged attacks can deal good damage to her from a safe distance.
Once you’ve dealt with all of the guards in the club, you can once again go speak to the Penguin.
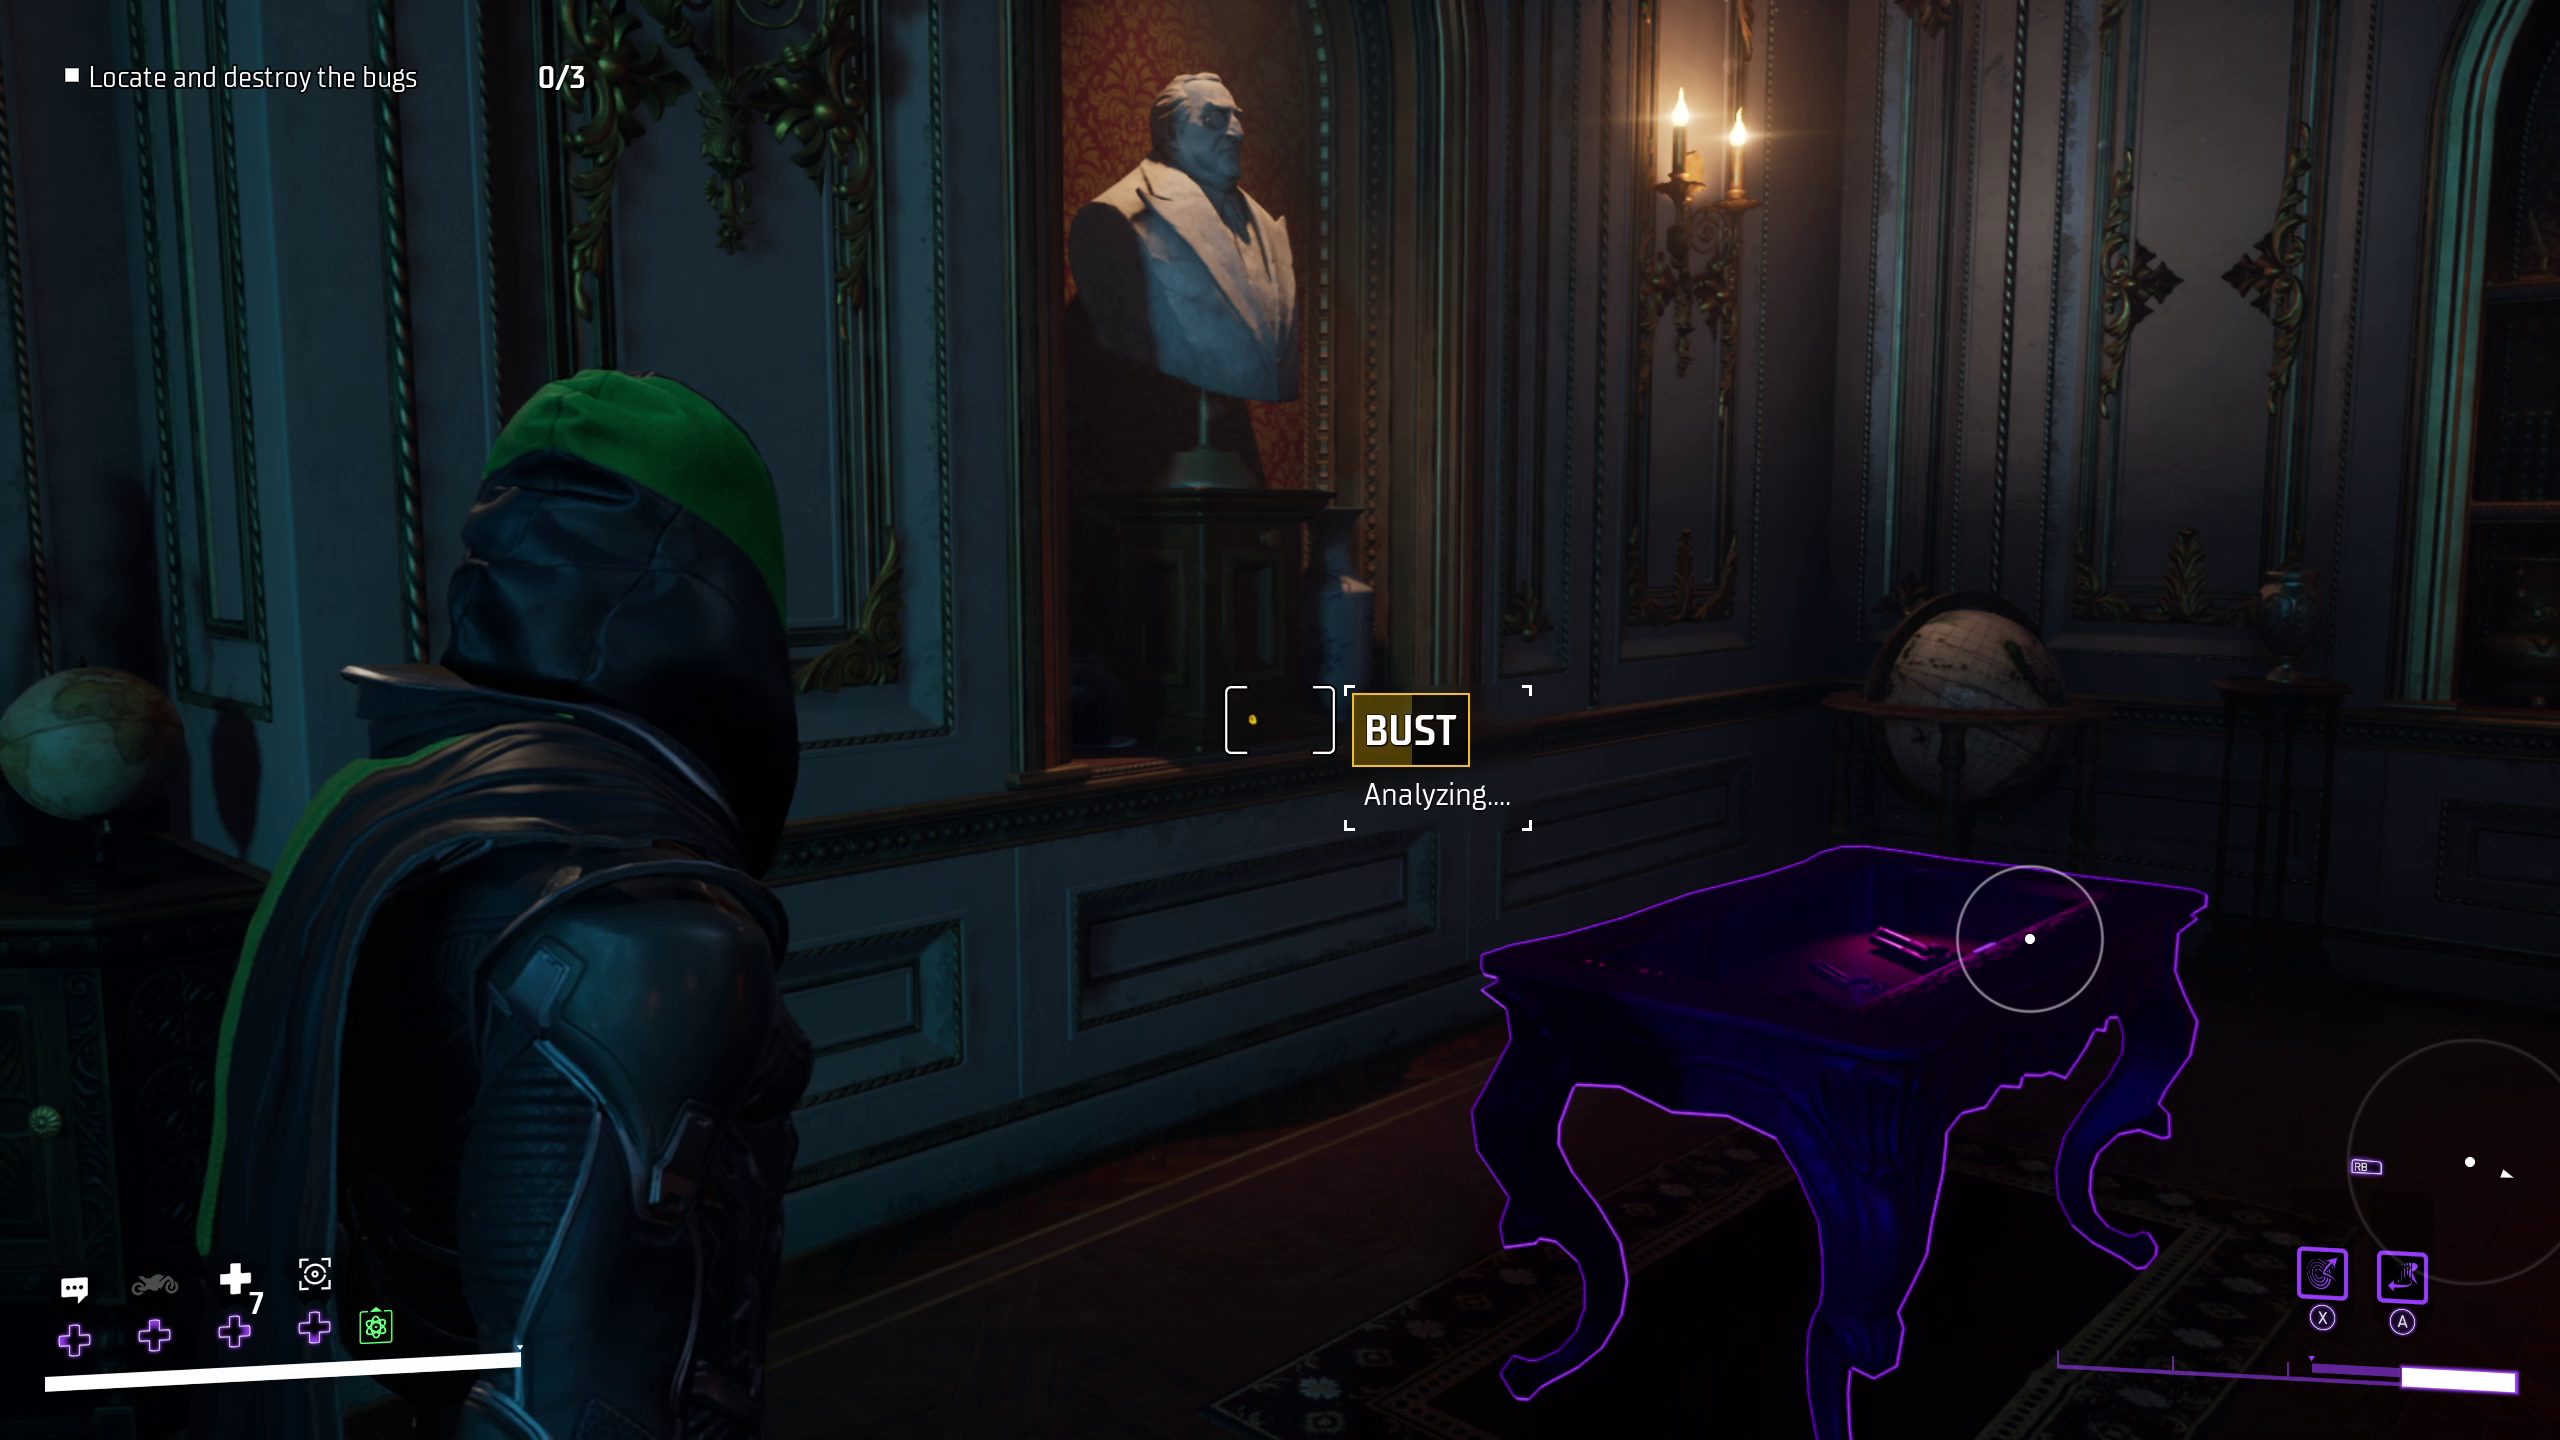
He will hint at you to find 3 bugs that have been planted around his office. These can be tricky to locate, as they only appear in AR as tiny yellow circles on objects around the room. In order to destroy the bugs, you will need to locate them in AR, scan then, and then go up to them and interact with them. It should be noted that none of the bugs are on any of the object that are highlighted in purple by your AR; instead, these are flavor objects.
The 3 bugs, themselves, will be on the following objects:
The Bust behind the gun display case
The Plant behind the Penguin himself
The Lamp sitting on top of his desk
Once you’ve found and destroyed the last bug, the Penguin will ask you to grab a bottle of whiskey from behind him (a diamond will show you which one he is referring to). Grabbing this bottle will initiate a cutscene, during which Cobblepot will reveal the existence of the Court of Owls, and hint at how to find them. After the cutscene finishes, you will be put back outside, completing mission 2.1 – AKA Oswald Cobblepot.
Graves is an avid writer, web designer, and gamer, with more ideas than he could hope to achieve in a lifetime. But, armed with a mug of coffee and an overactive imagination, he'll try. When he isn't working on a creative project, he is painting miniatures, reading cheesy sci-fi novels, or making music.