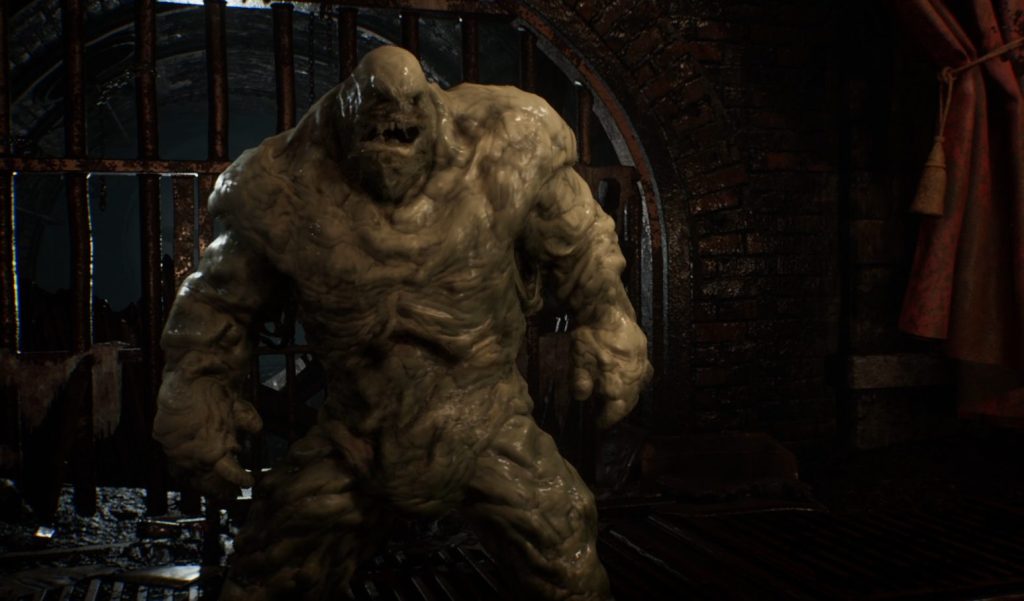
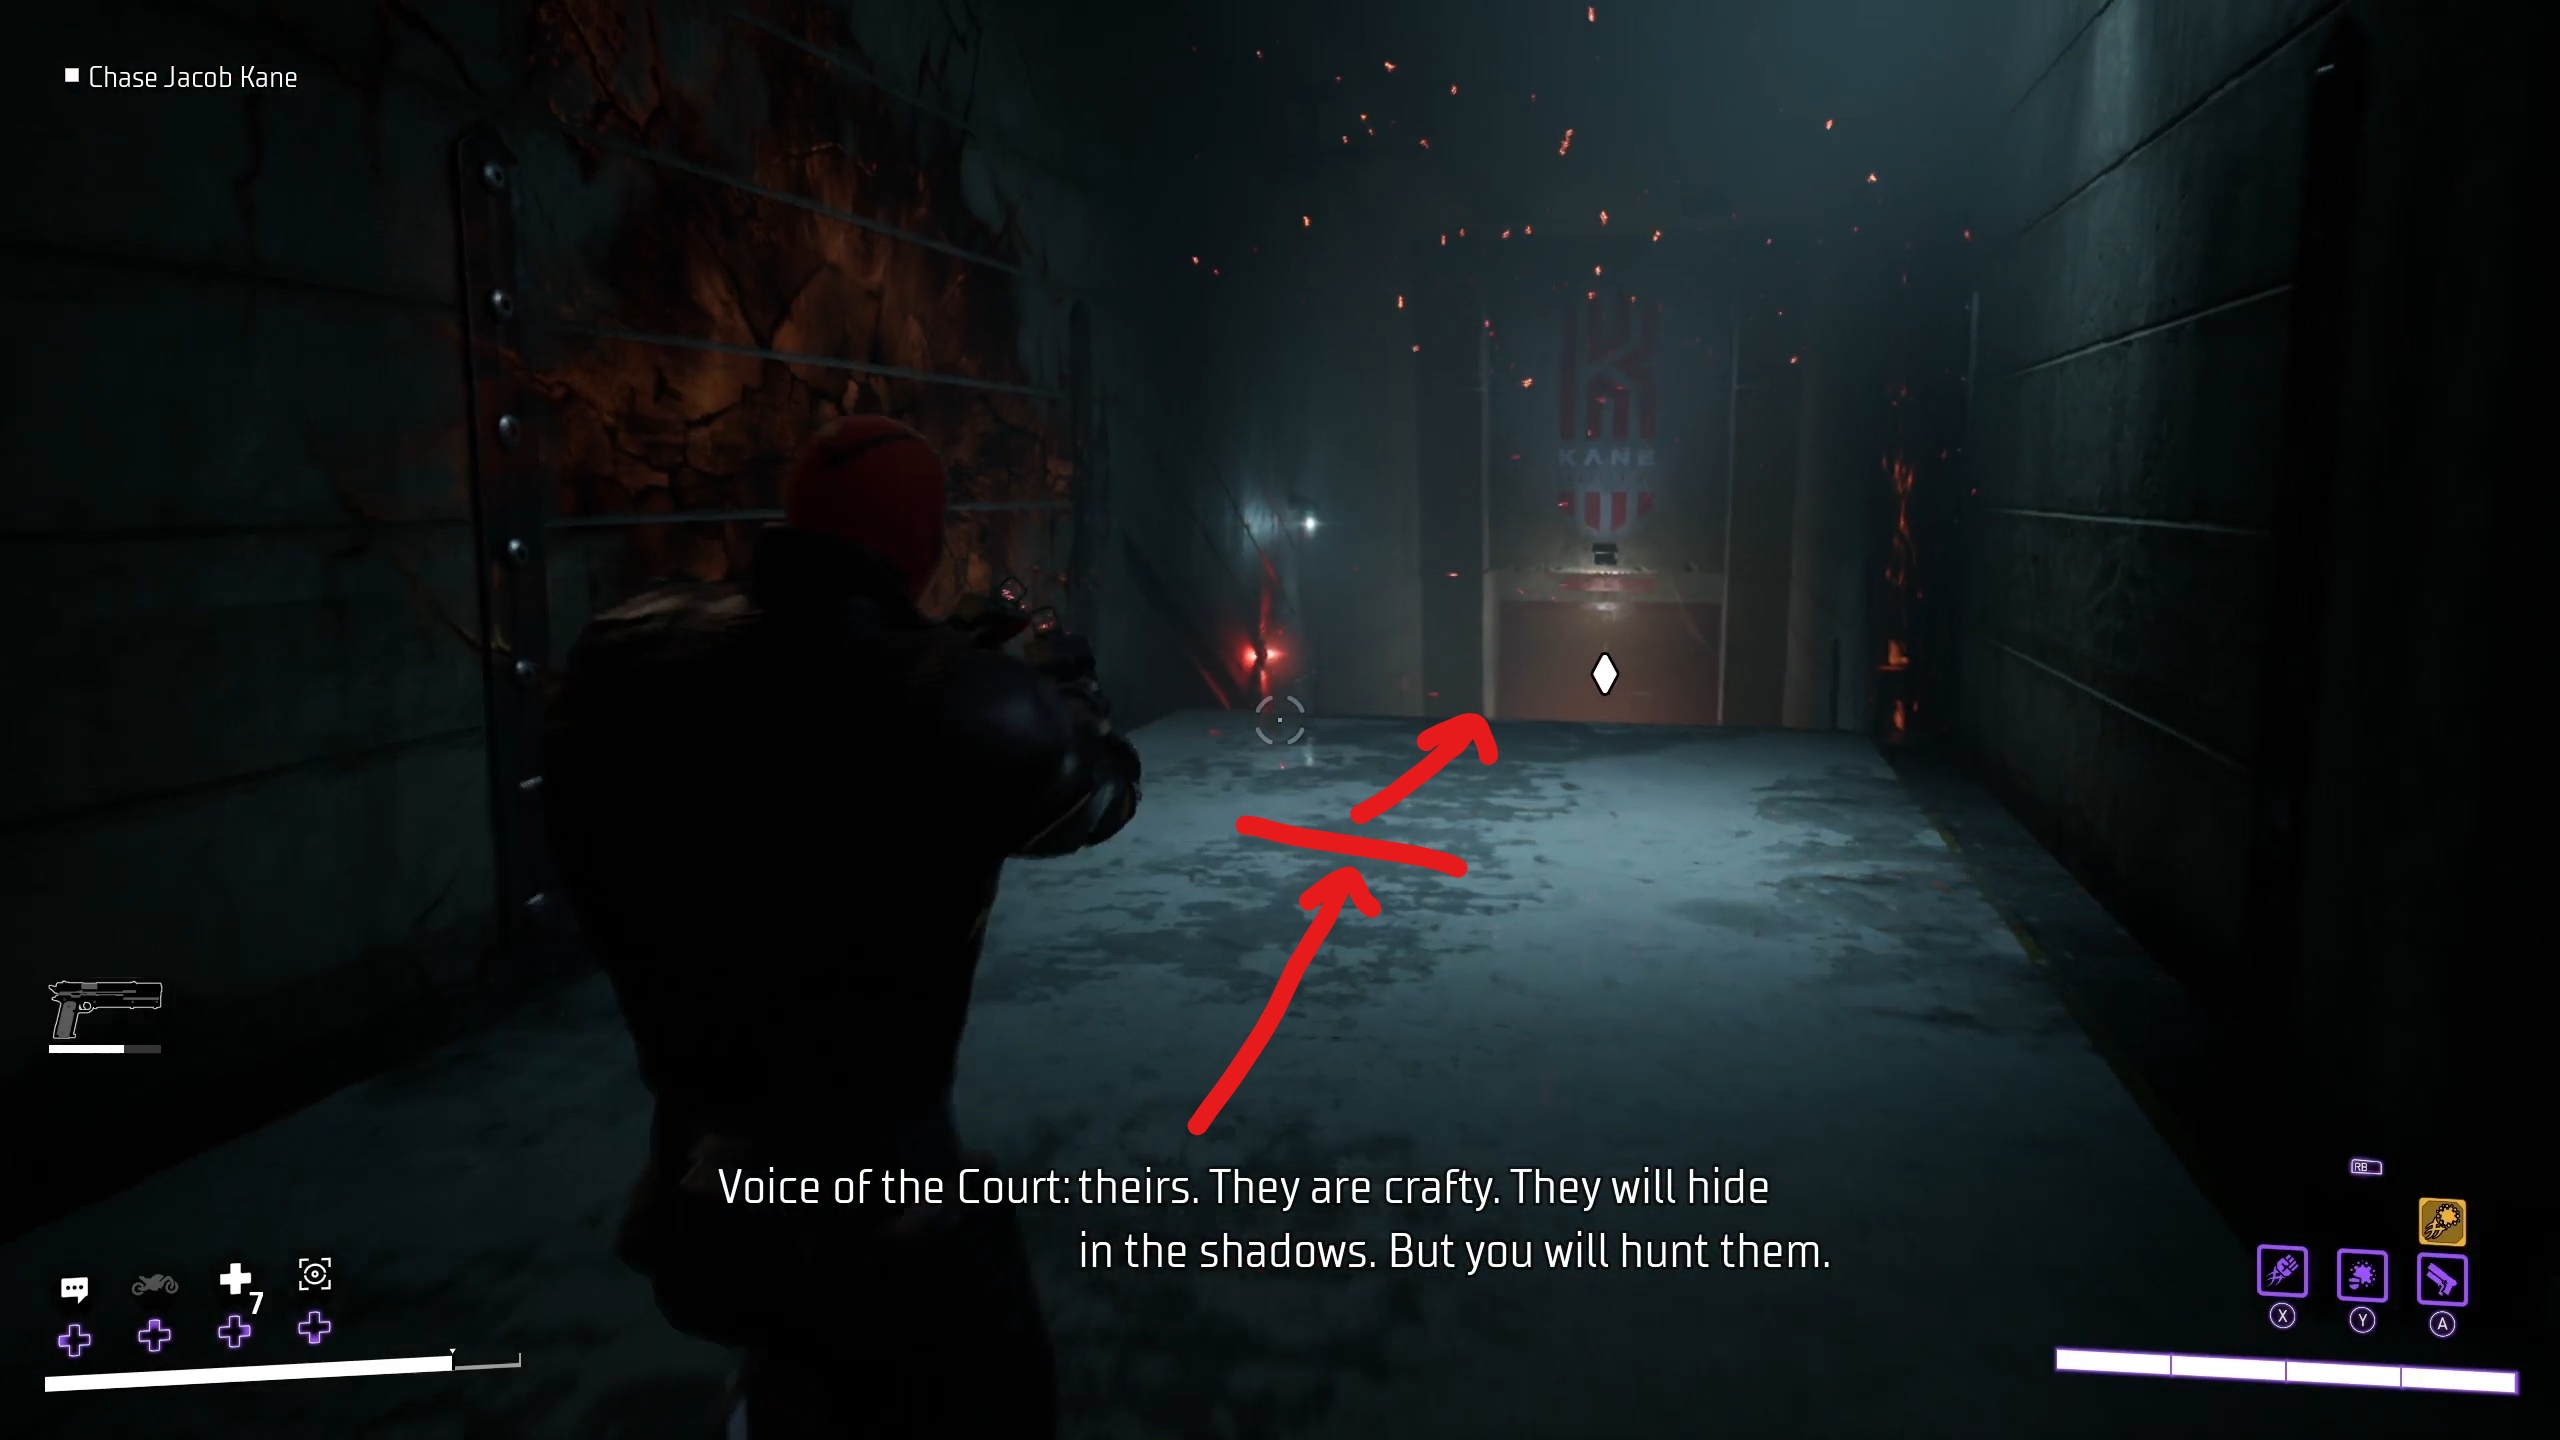
Mission 6.2 – The Voice of the Court will see the Bat-family finally bringing to justice Jacob Kane, who we previously learned is the Voice of the Court. To do so, we will need to infiltrate Kane Industries and bring the man to justice ourselves. Suiting the task, this is the longest mission of the game, so strap in!
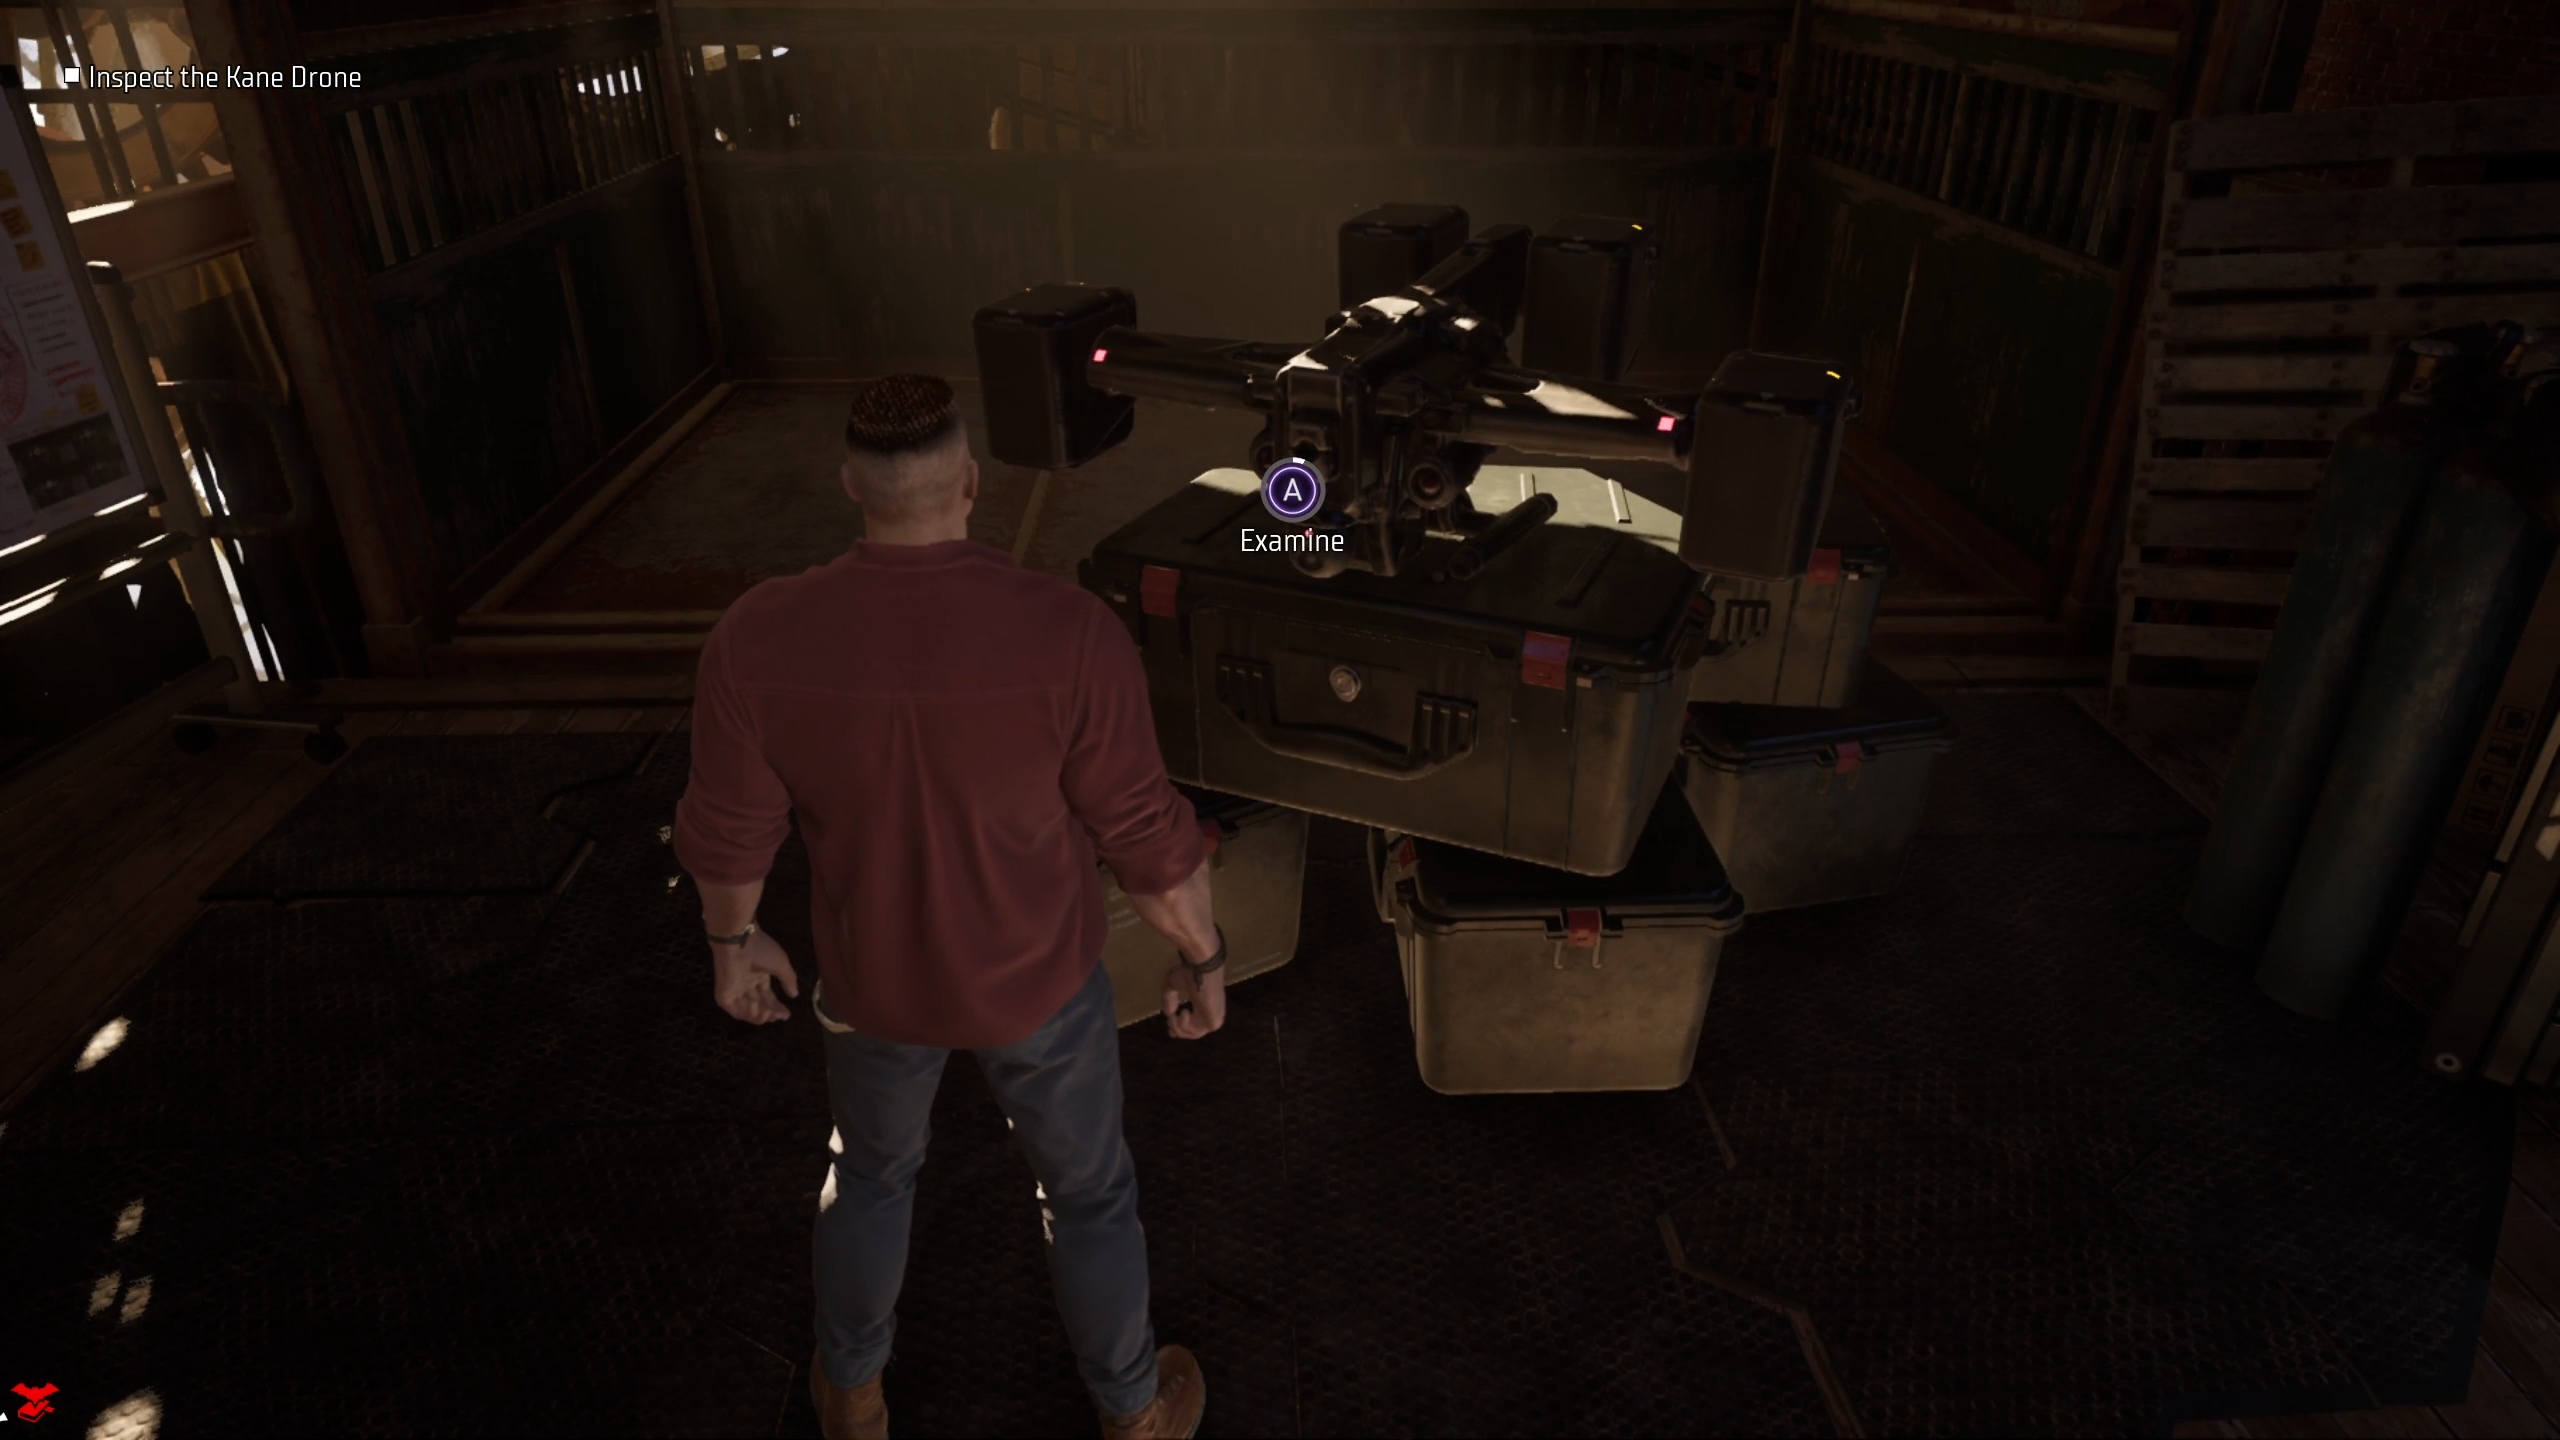
Immediately, this mission begins differently than every other main story mission. Rather than go somewhere in Gotham during a patrol to begin the mission, you will need to initiate it from the Belfry. To do so, simply go to the right of the Batcomputer and interact with the Kane Drone sitting near the Batcycle. It will be marked with a white diamond. After accepting the text prompt, the mission will begin.
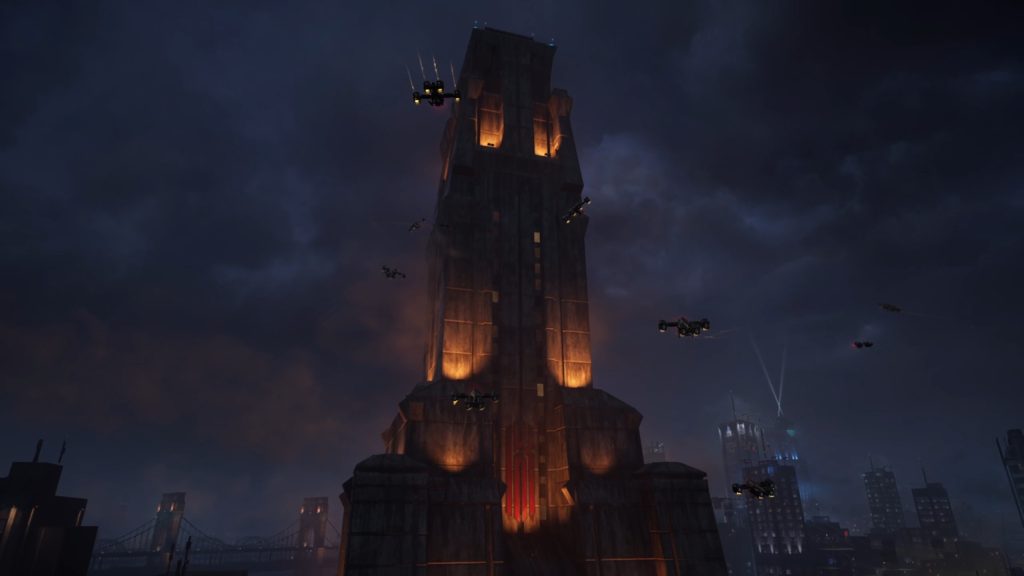
Once you begin the mission, you’ll be instantly transported to just outside of Kane Industries. A cutscene will play, after which you’ll be told you need to get to the roof of the building in order to gain access. .
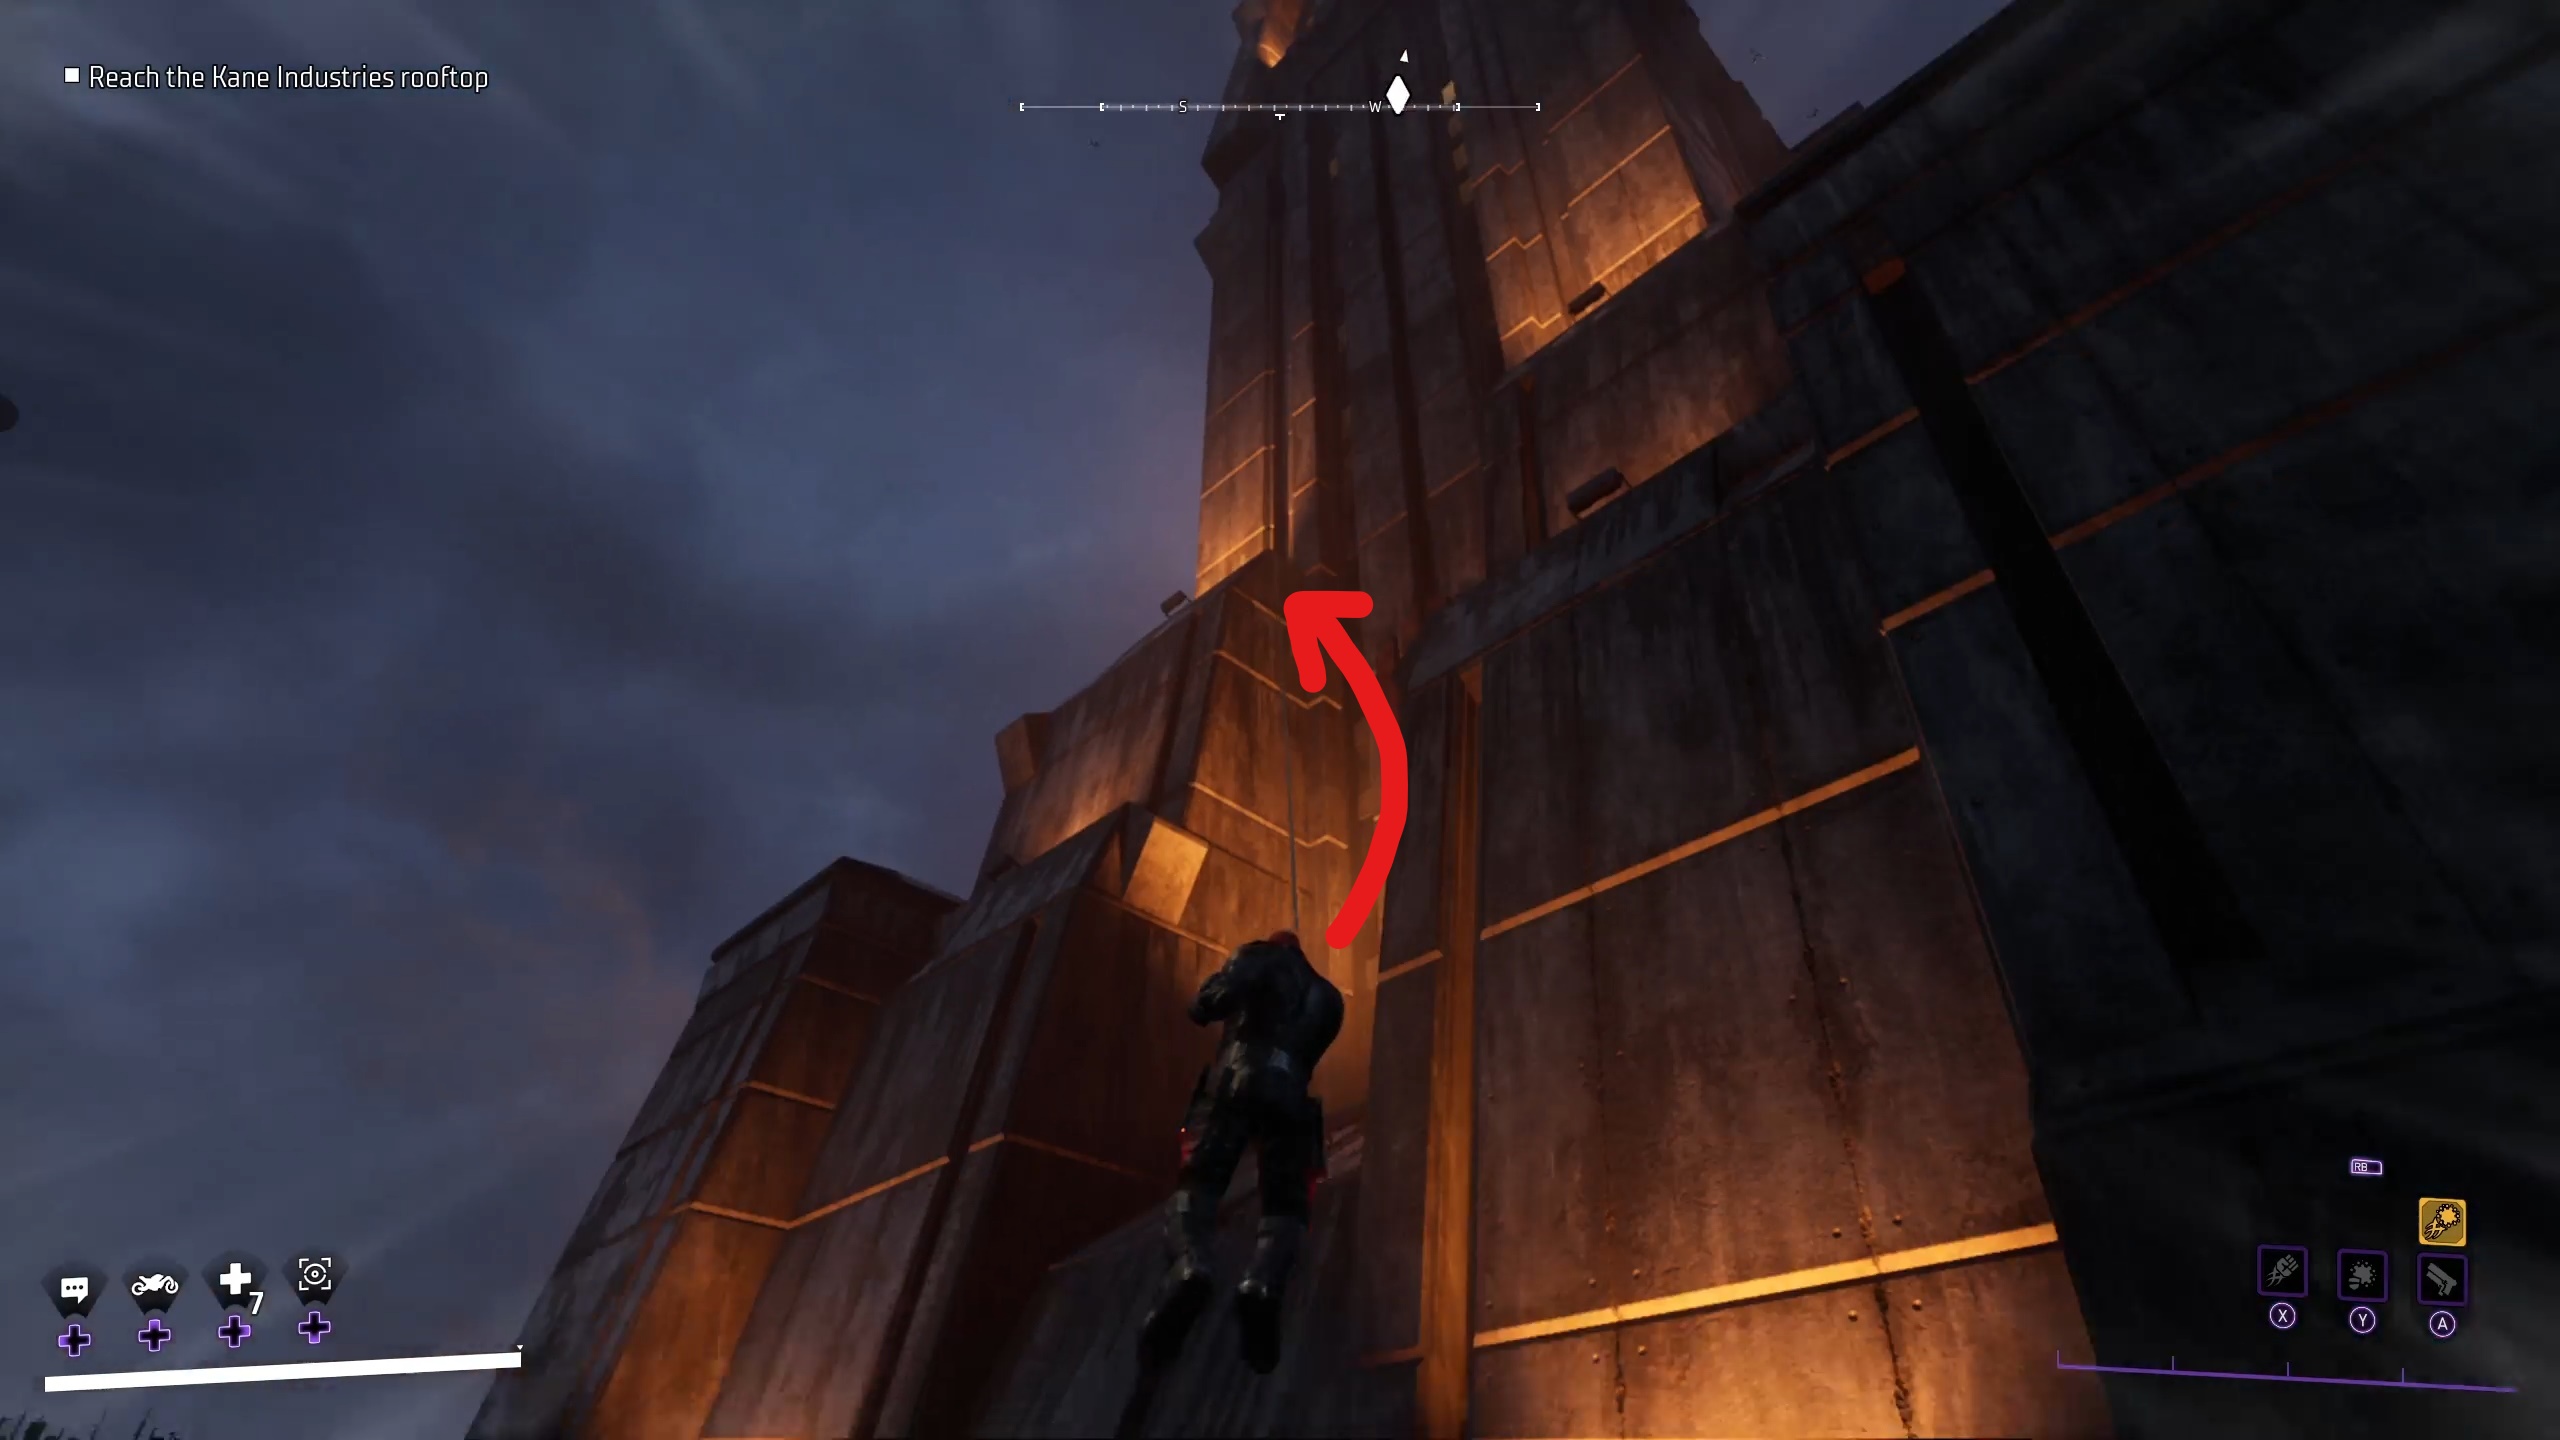
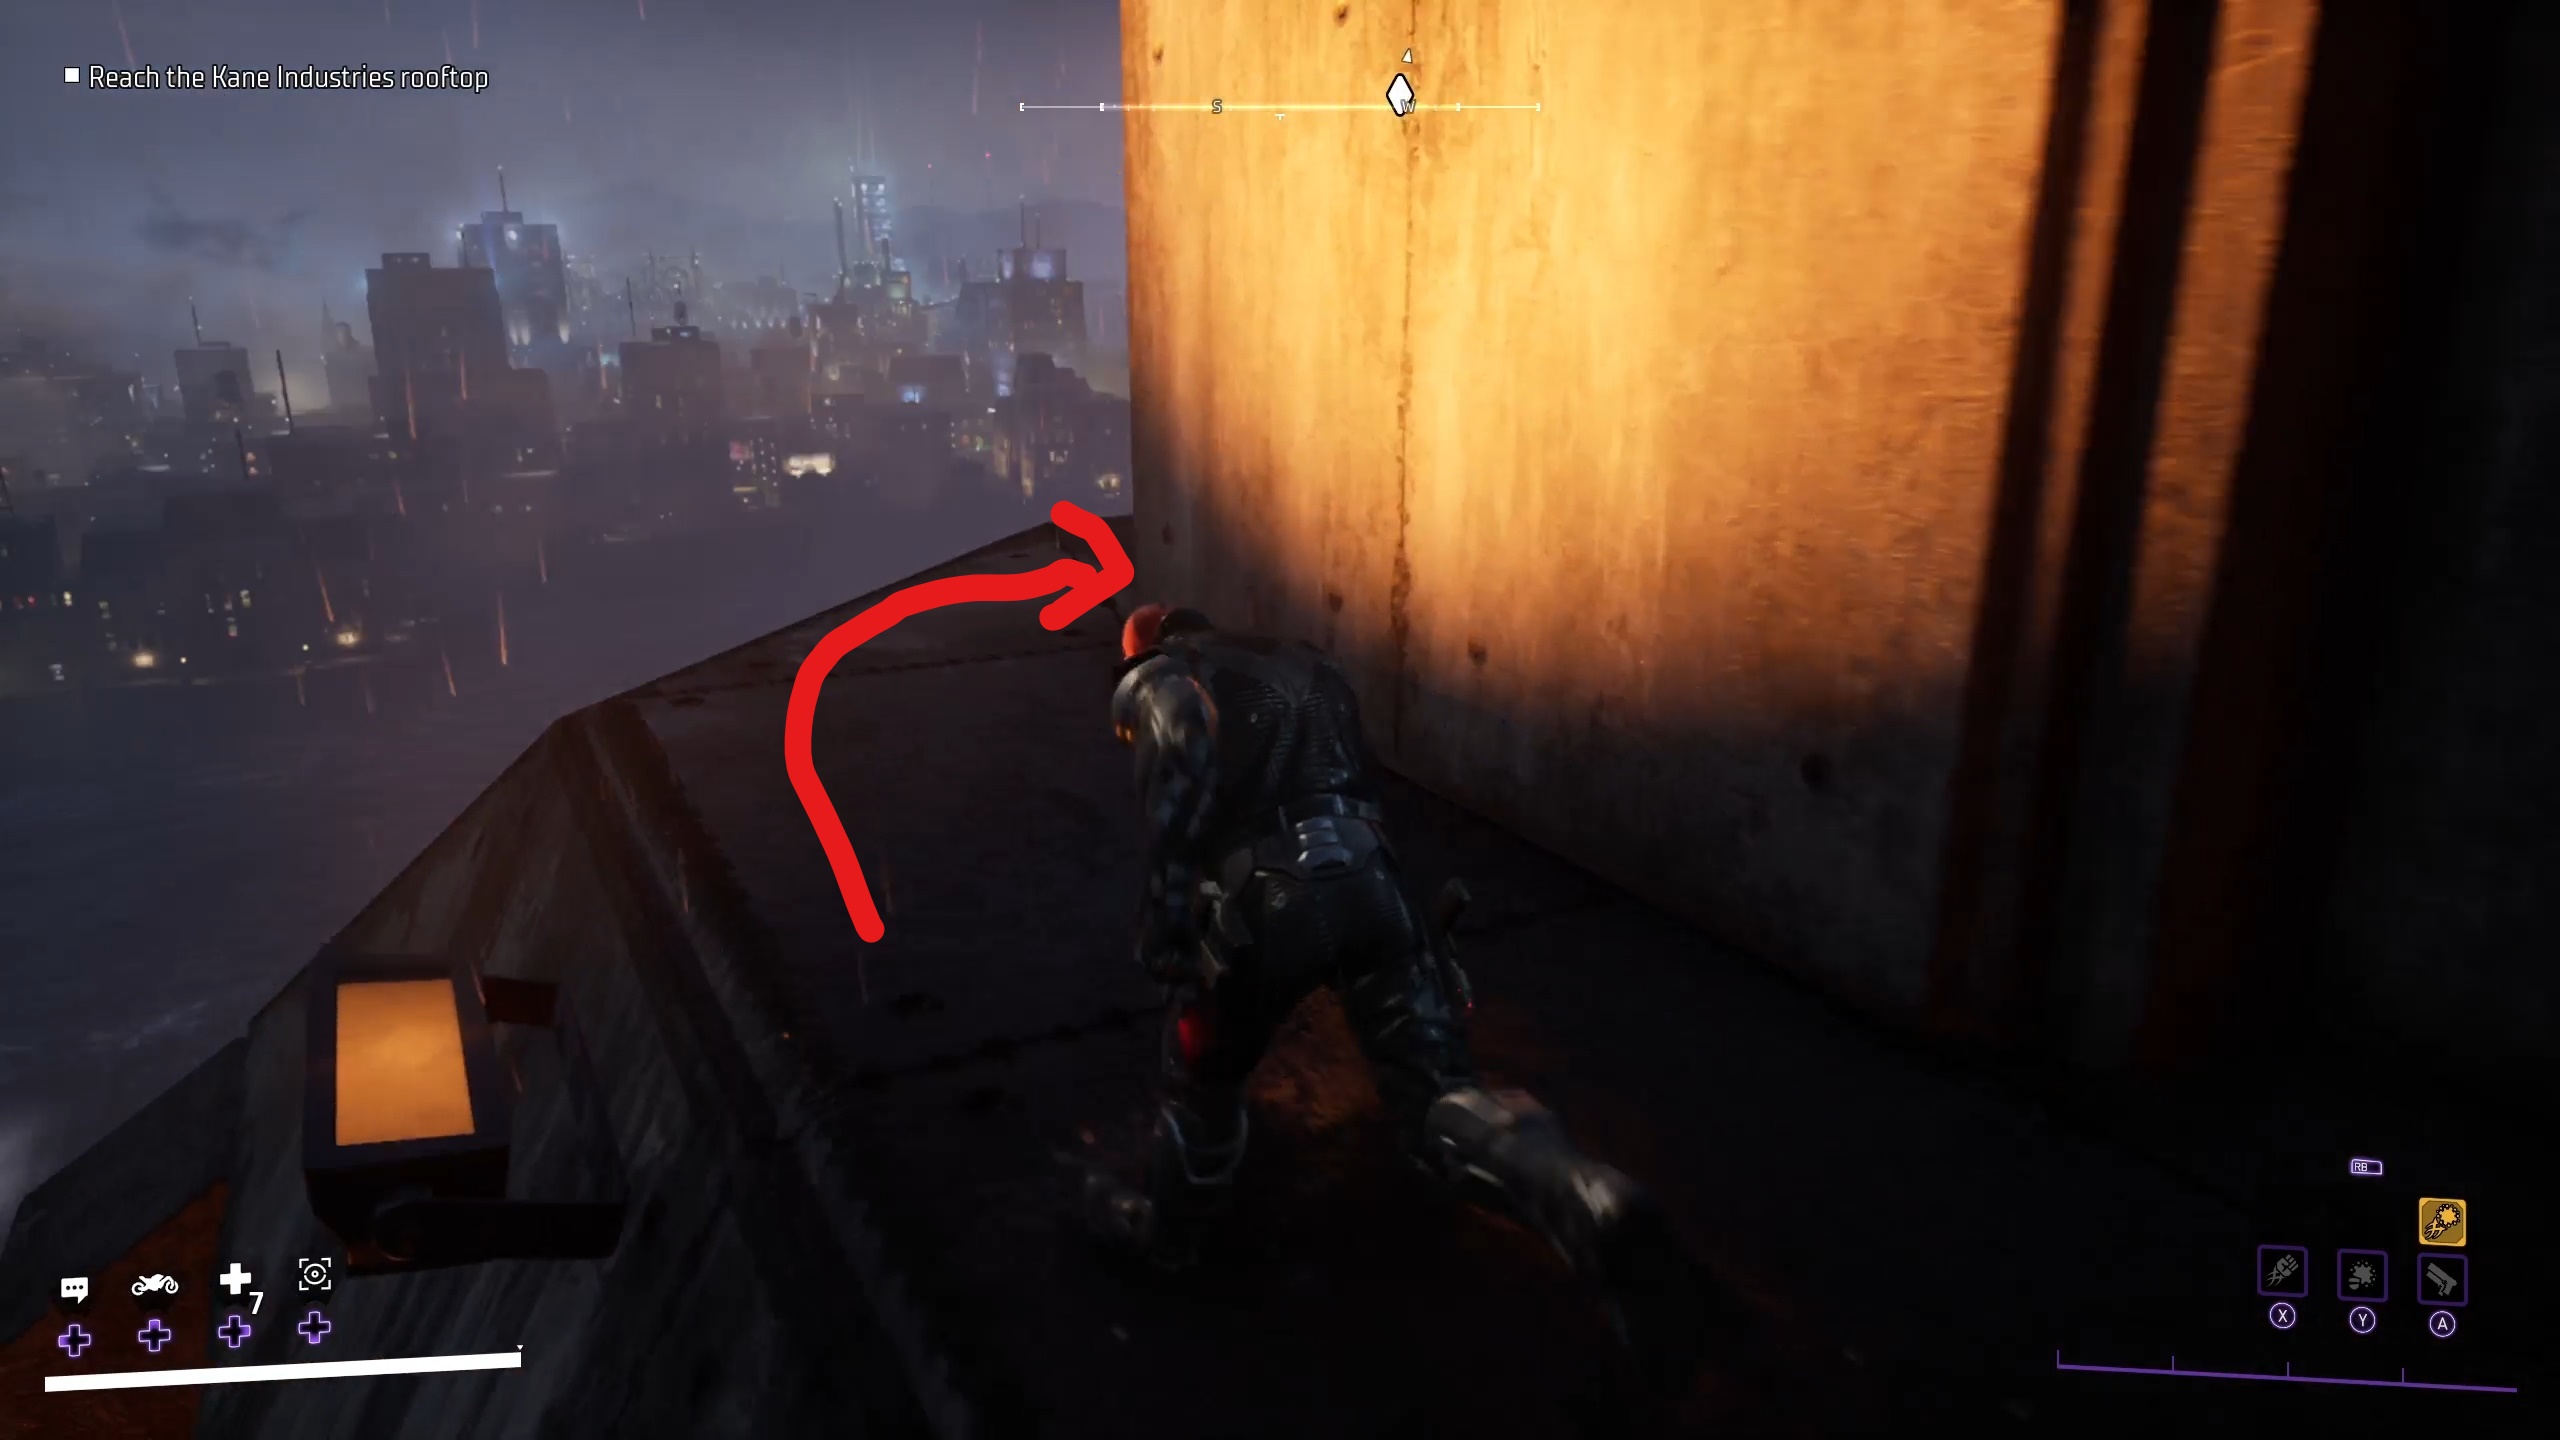
Grappling to the top can be tricky. The key is to find a spot to grapple, and then continue on the flat walkways around the building, looking up, until you find another grappling location. Depending on which vigilante you are using and whether you’ve completed their Knighthood challenge, you may be able to use their movement ability (like Robin’s teleportation or Nightwing’s hovercraft) to gain height without needing to circle the building.
Continuously grapple up, go around the corner, and look for the next grapple spot
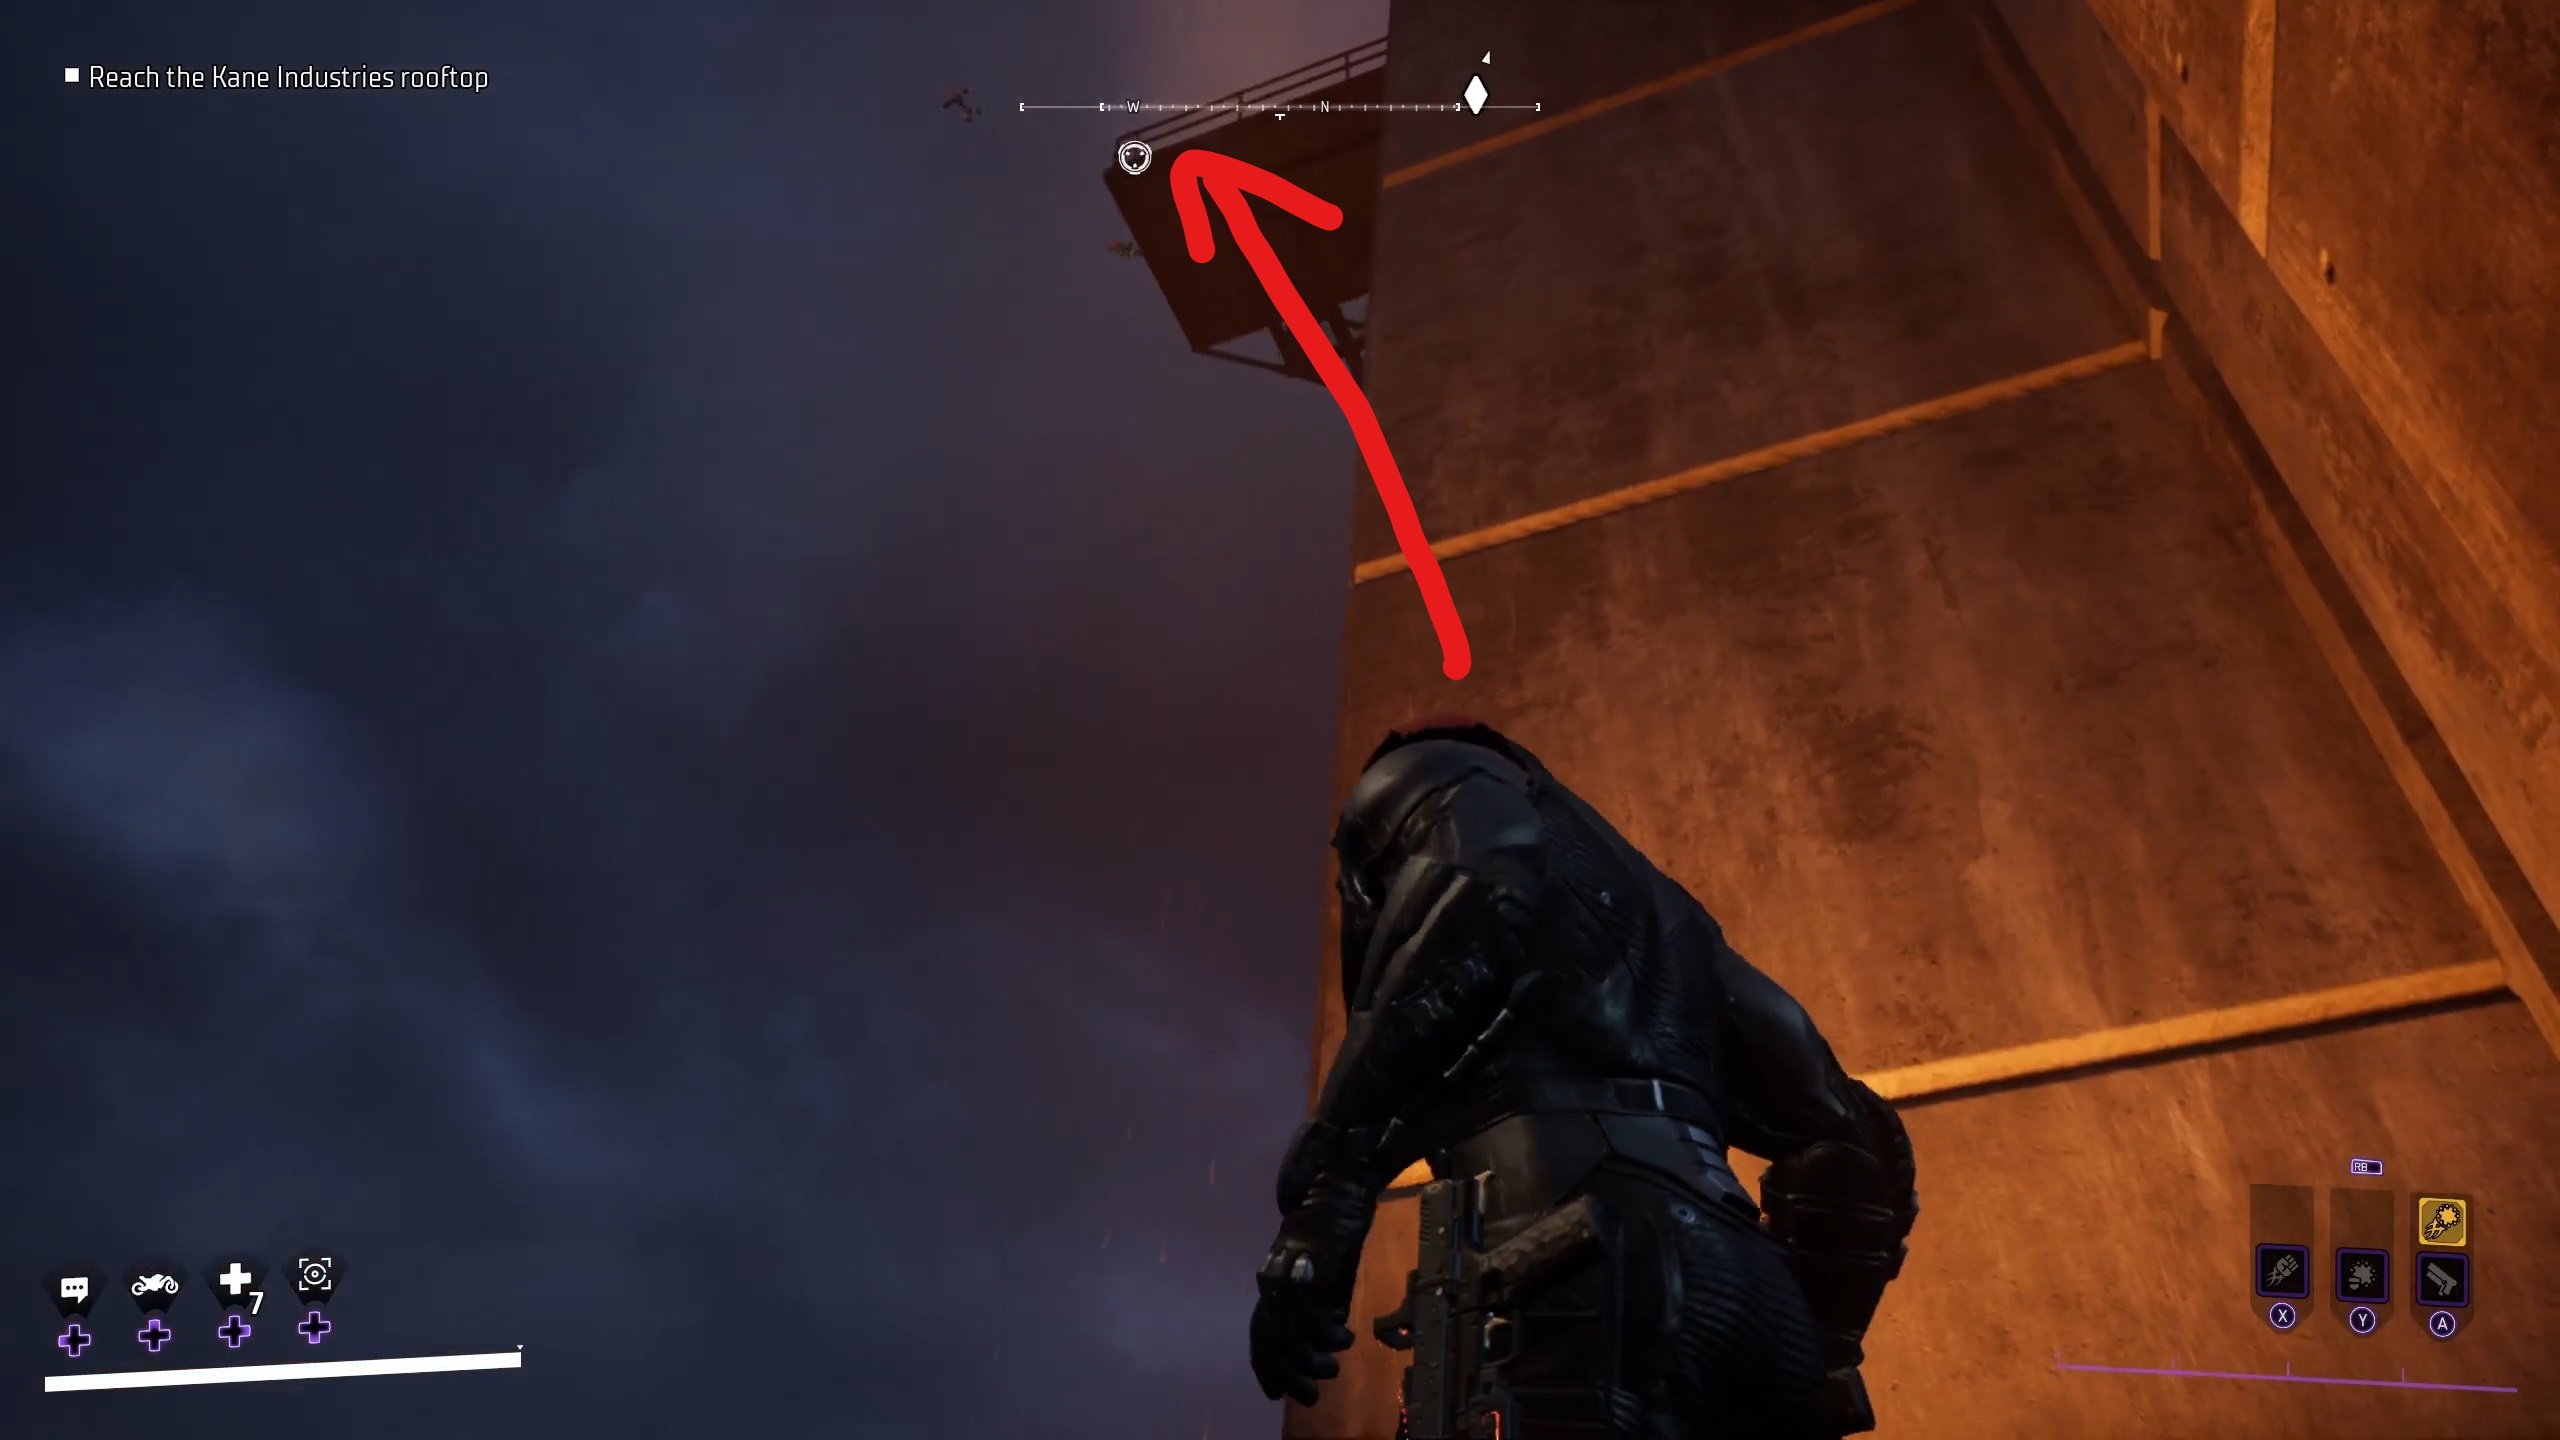
Eventually, you’ll get to the roof of the building. There will be some enemies with guns that you’ll need to defeat, and then you’ll be able to enter the building by going to a panel connected to the rooftop-mounted guns.
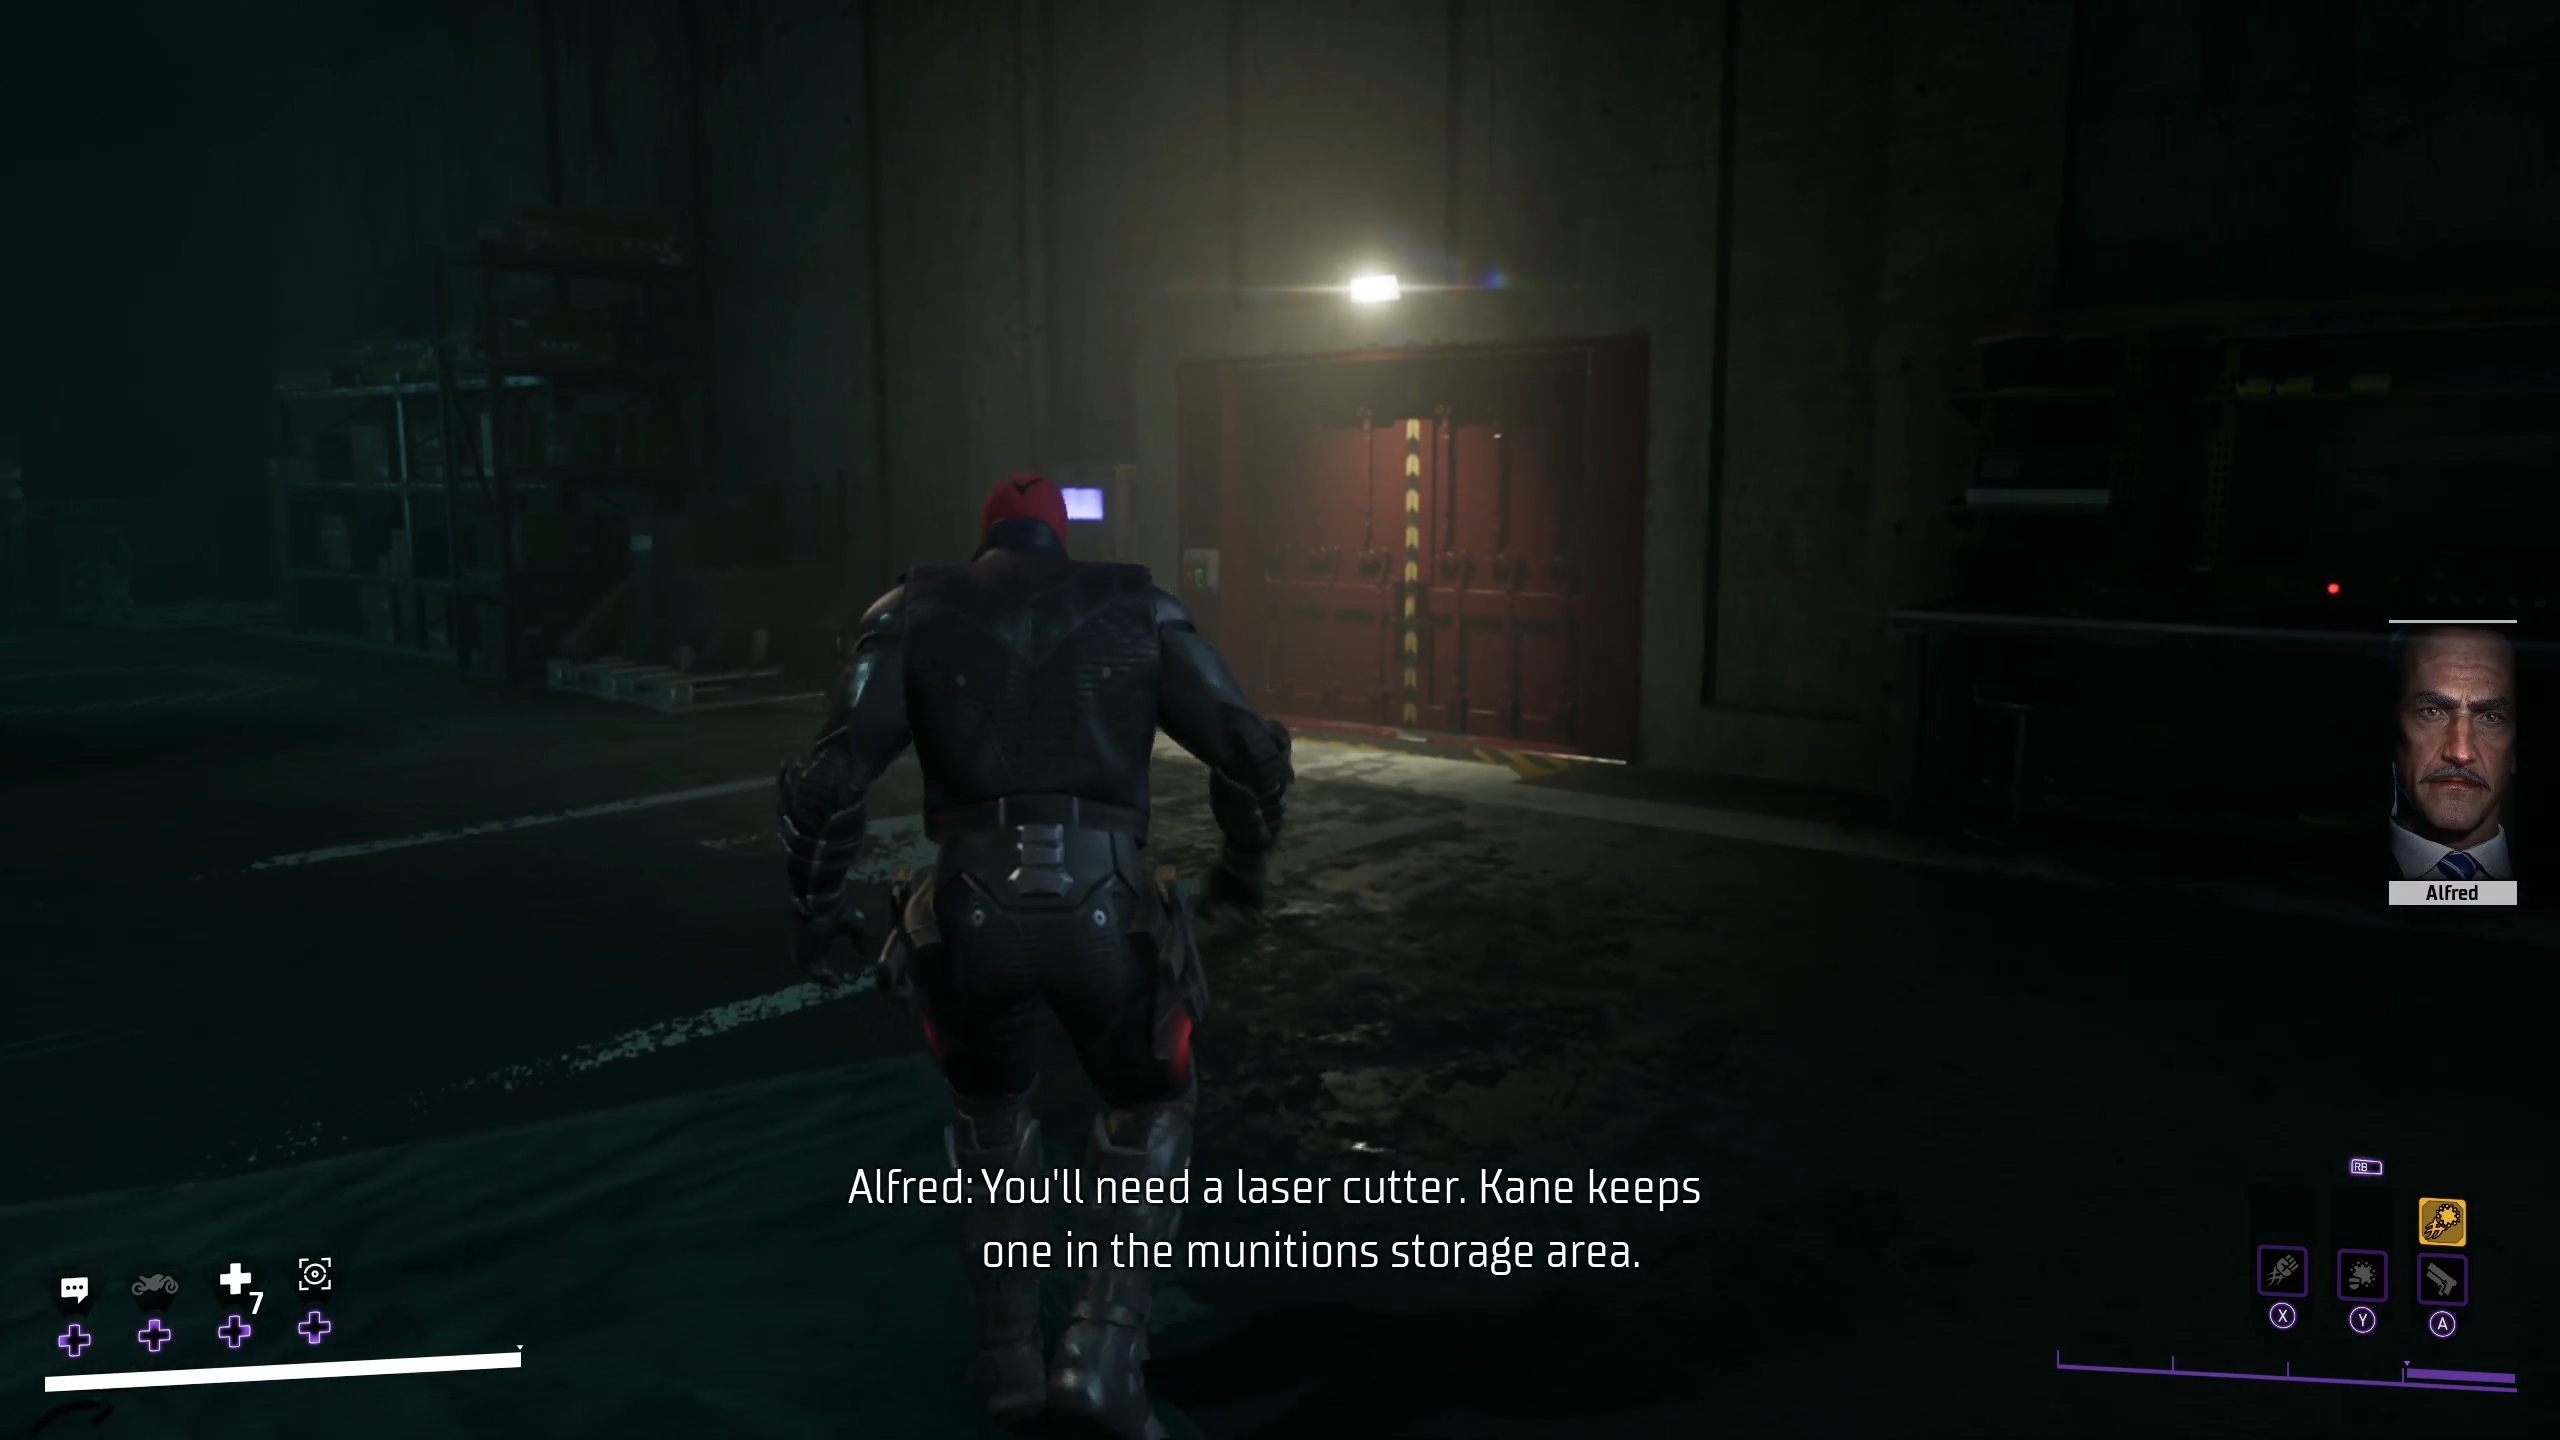
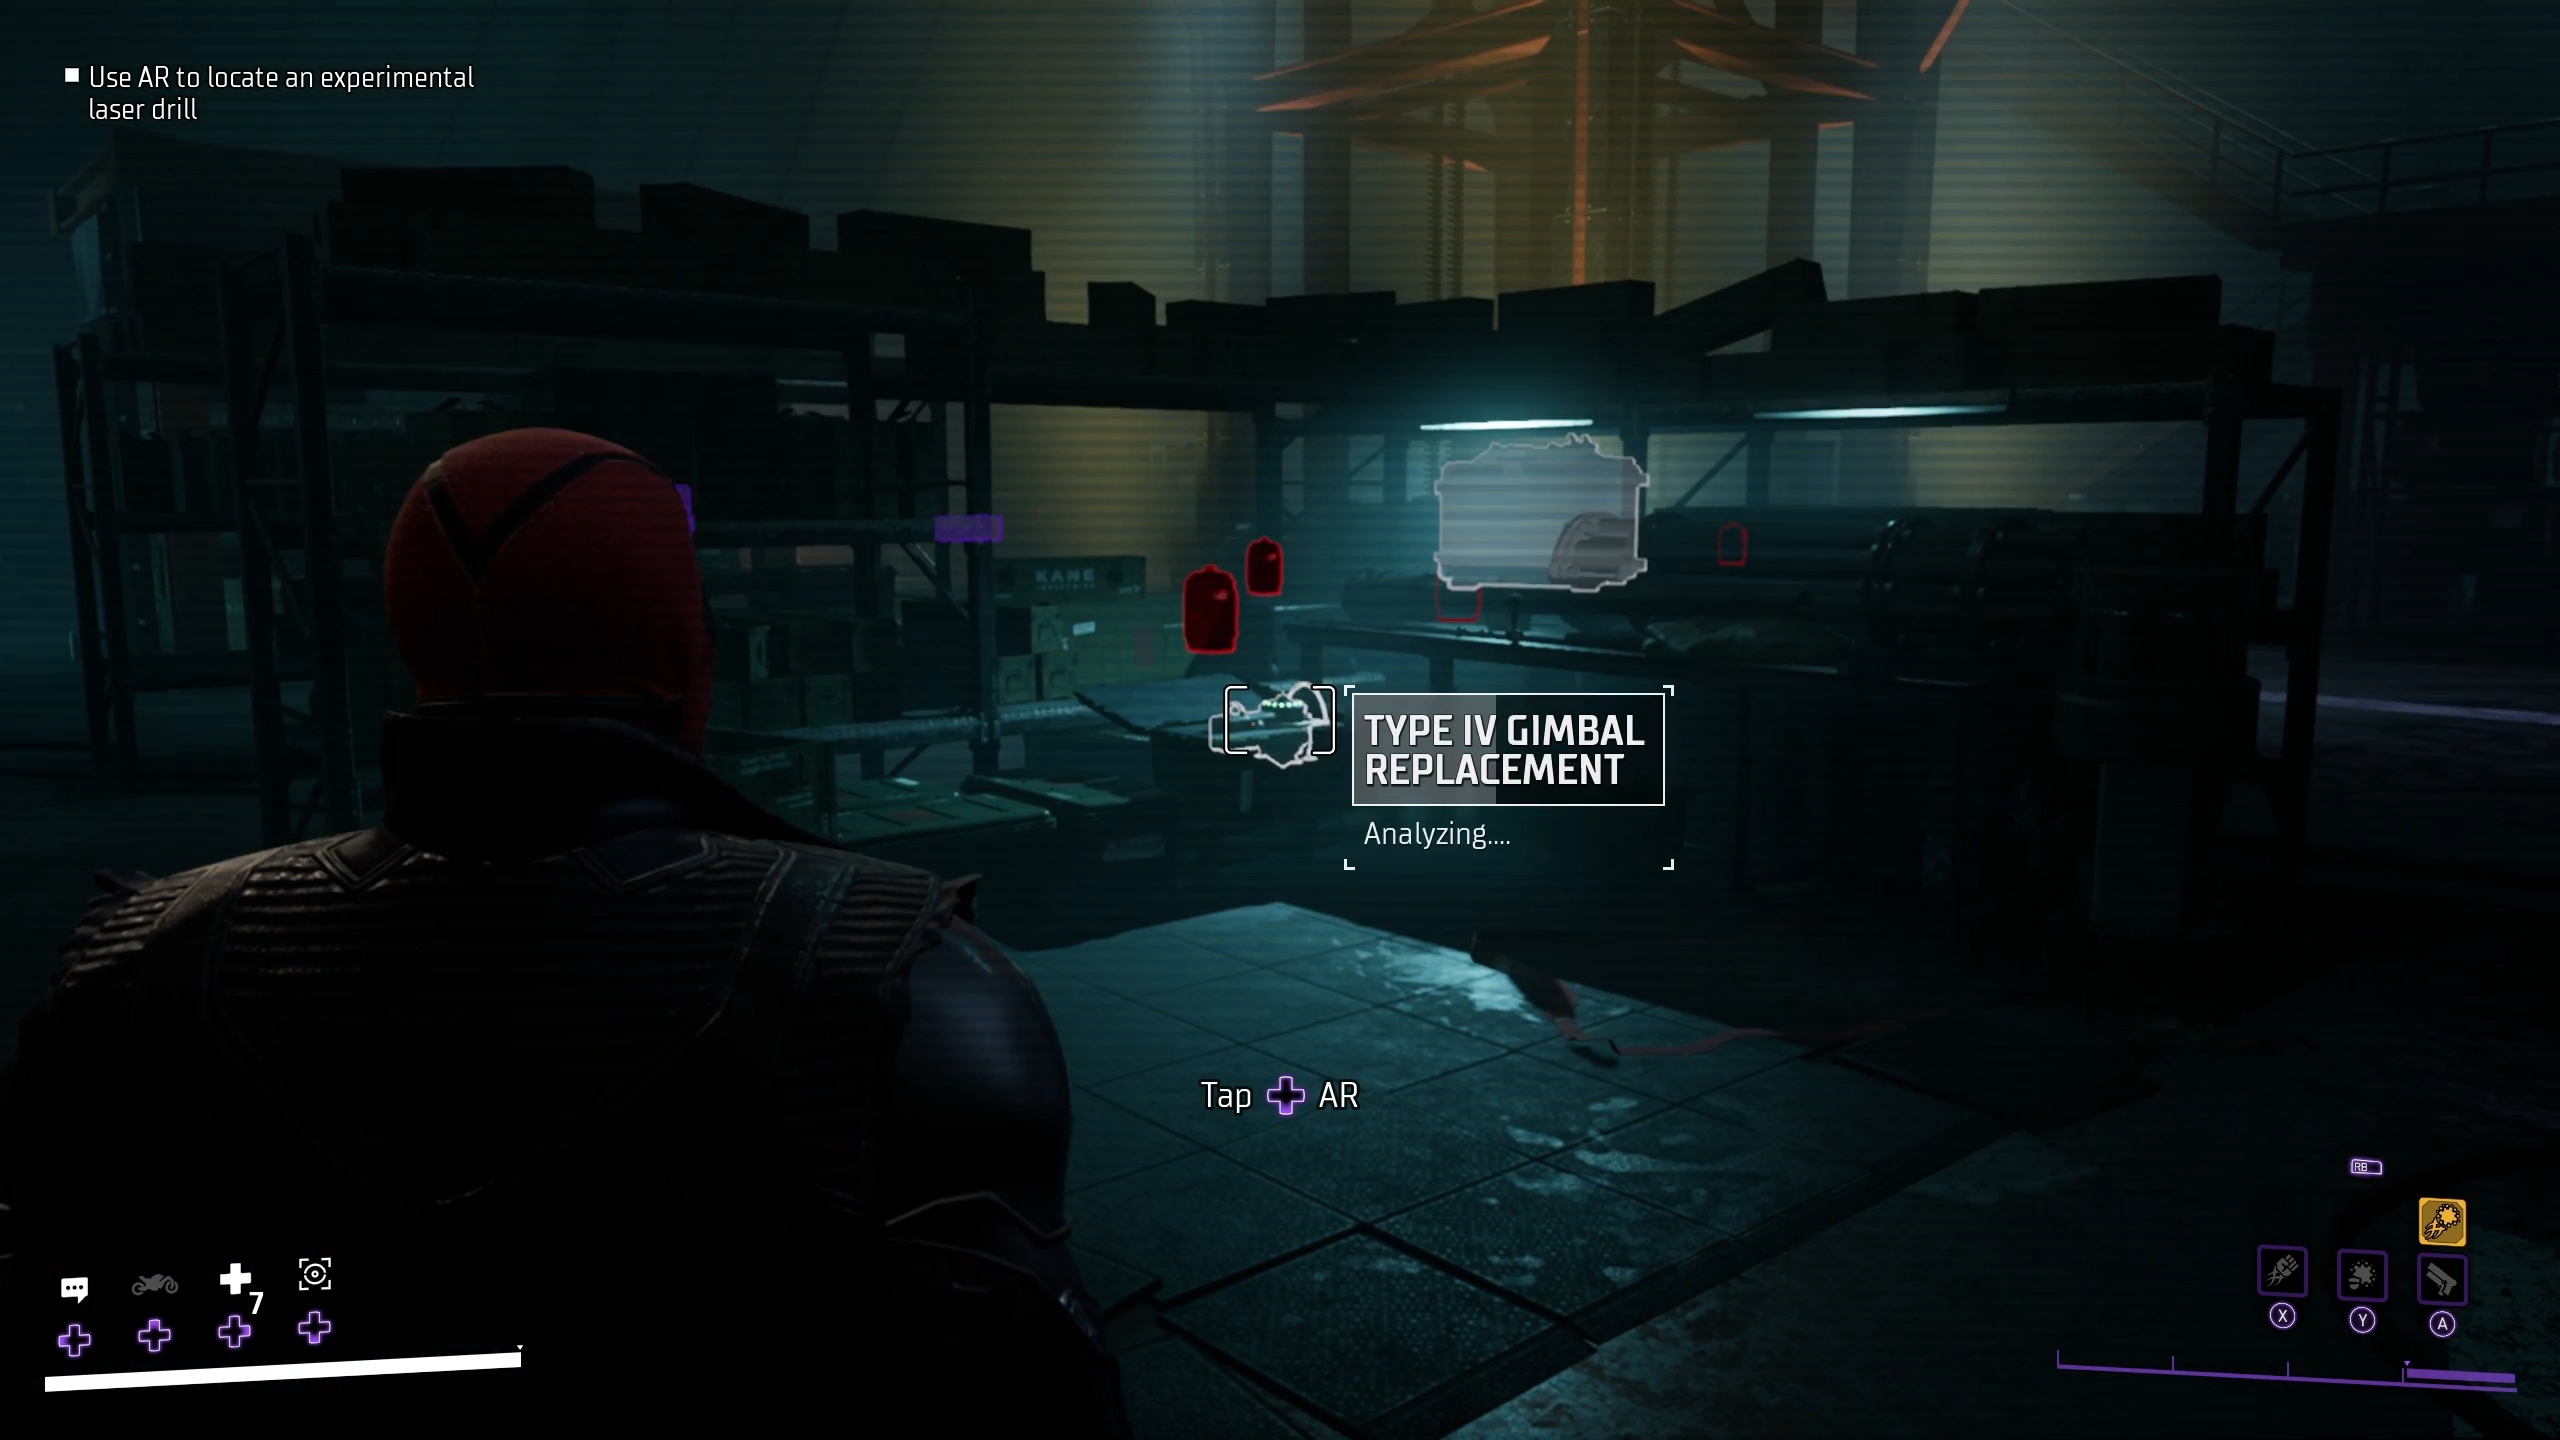
After you drop inside, you should go to the lower floor and begin going toward the illuminated, red metal door. Alfred will communicate with you, letting you know that you’ll need a laser drill to get through. At this point, you should go to the opposite side of the room, towards the corner opposite the bottom of the stairs.
Approach the doorThen turn around and go to the back corner
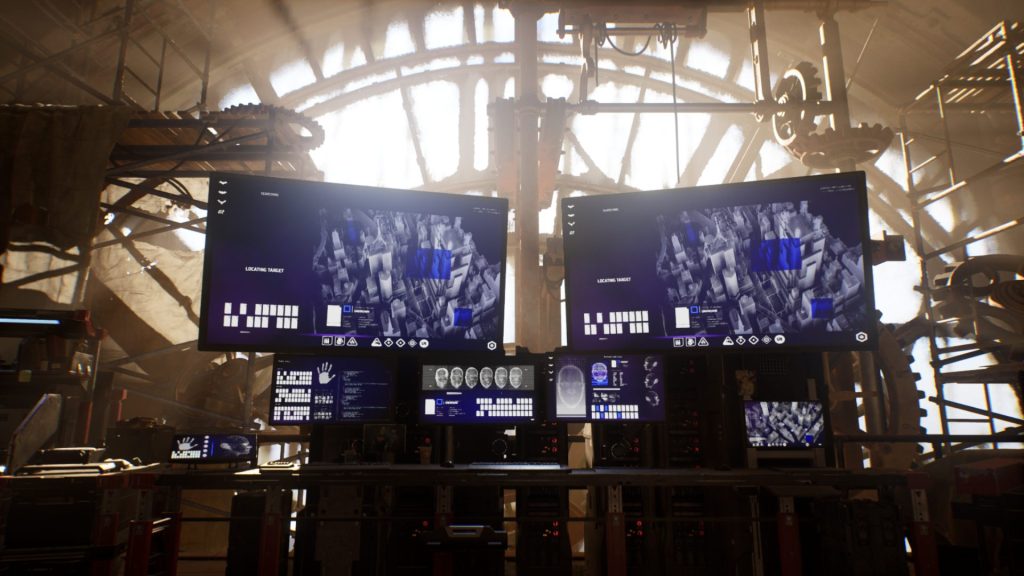
Once you get to the back of the room, you can use your AR to locate several laser drill parts. The only one you need will be in corner created by two metal shelves, rather than against the wall. In AR, it will be called the “Type IV Gimbal Replacement”. Scan it, and then it will become the “Metal Drill,” which you can go up and interact with after scanning to pick up.
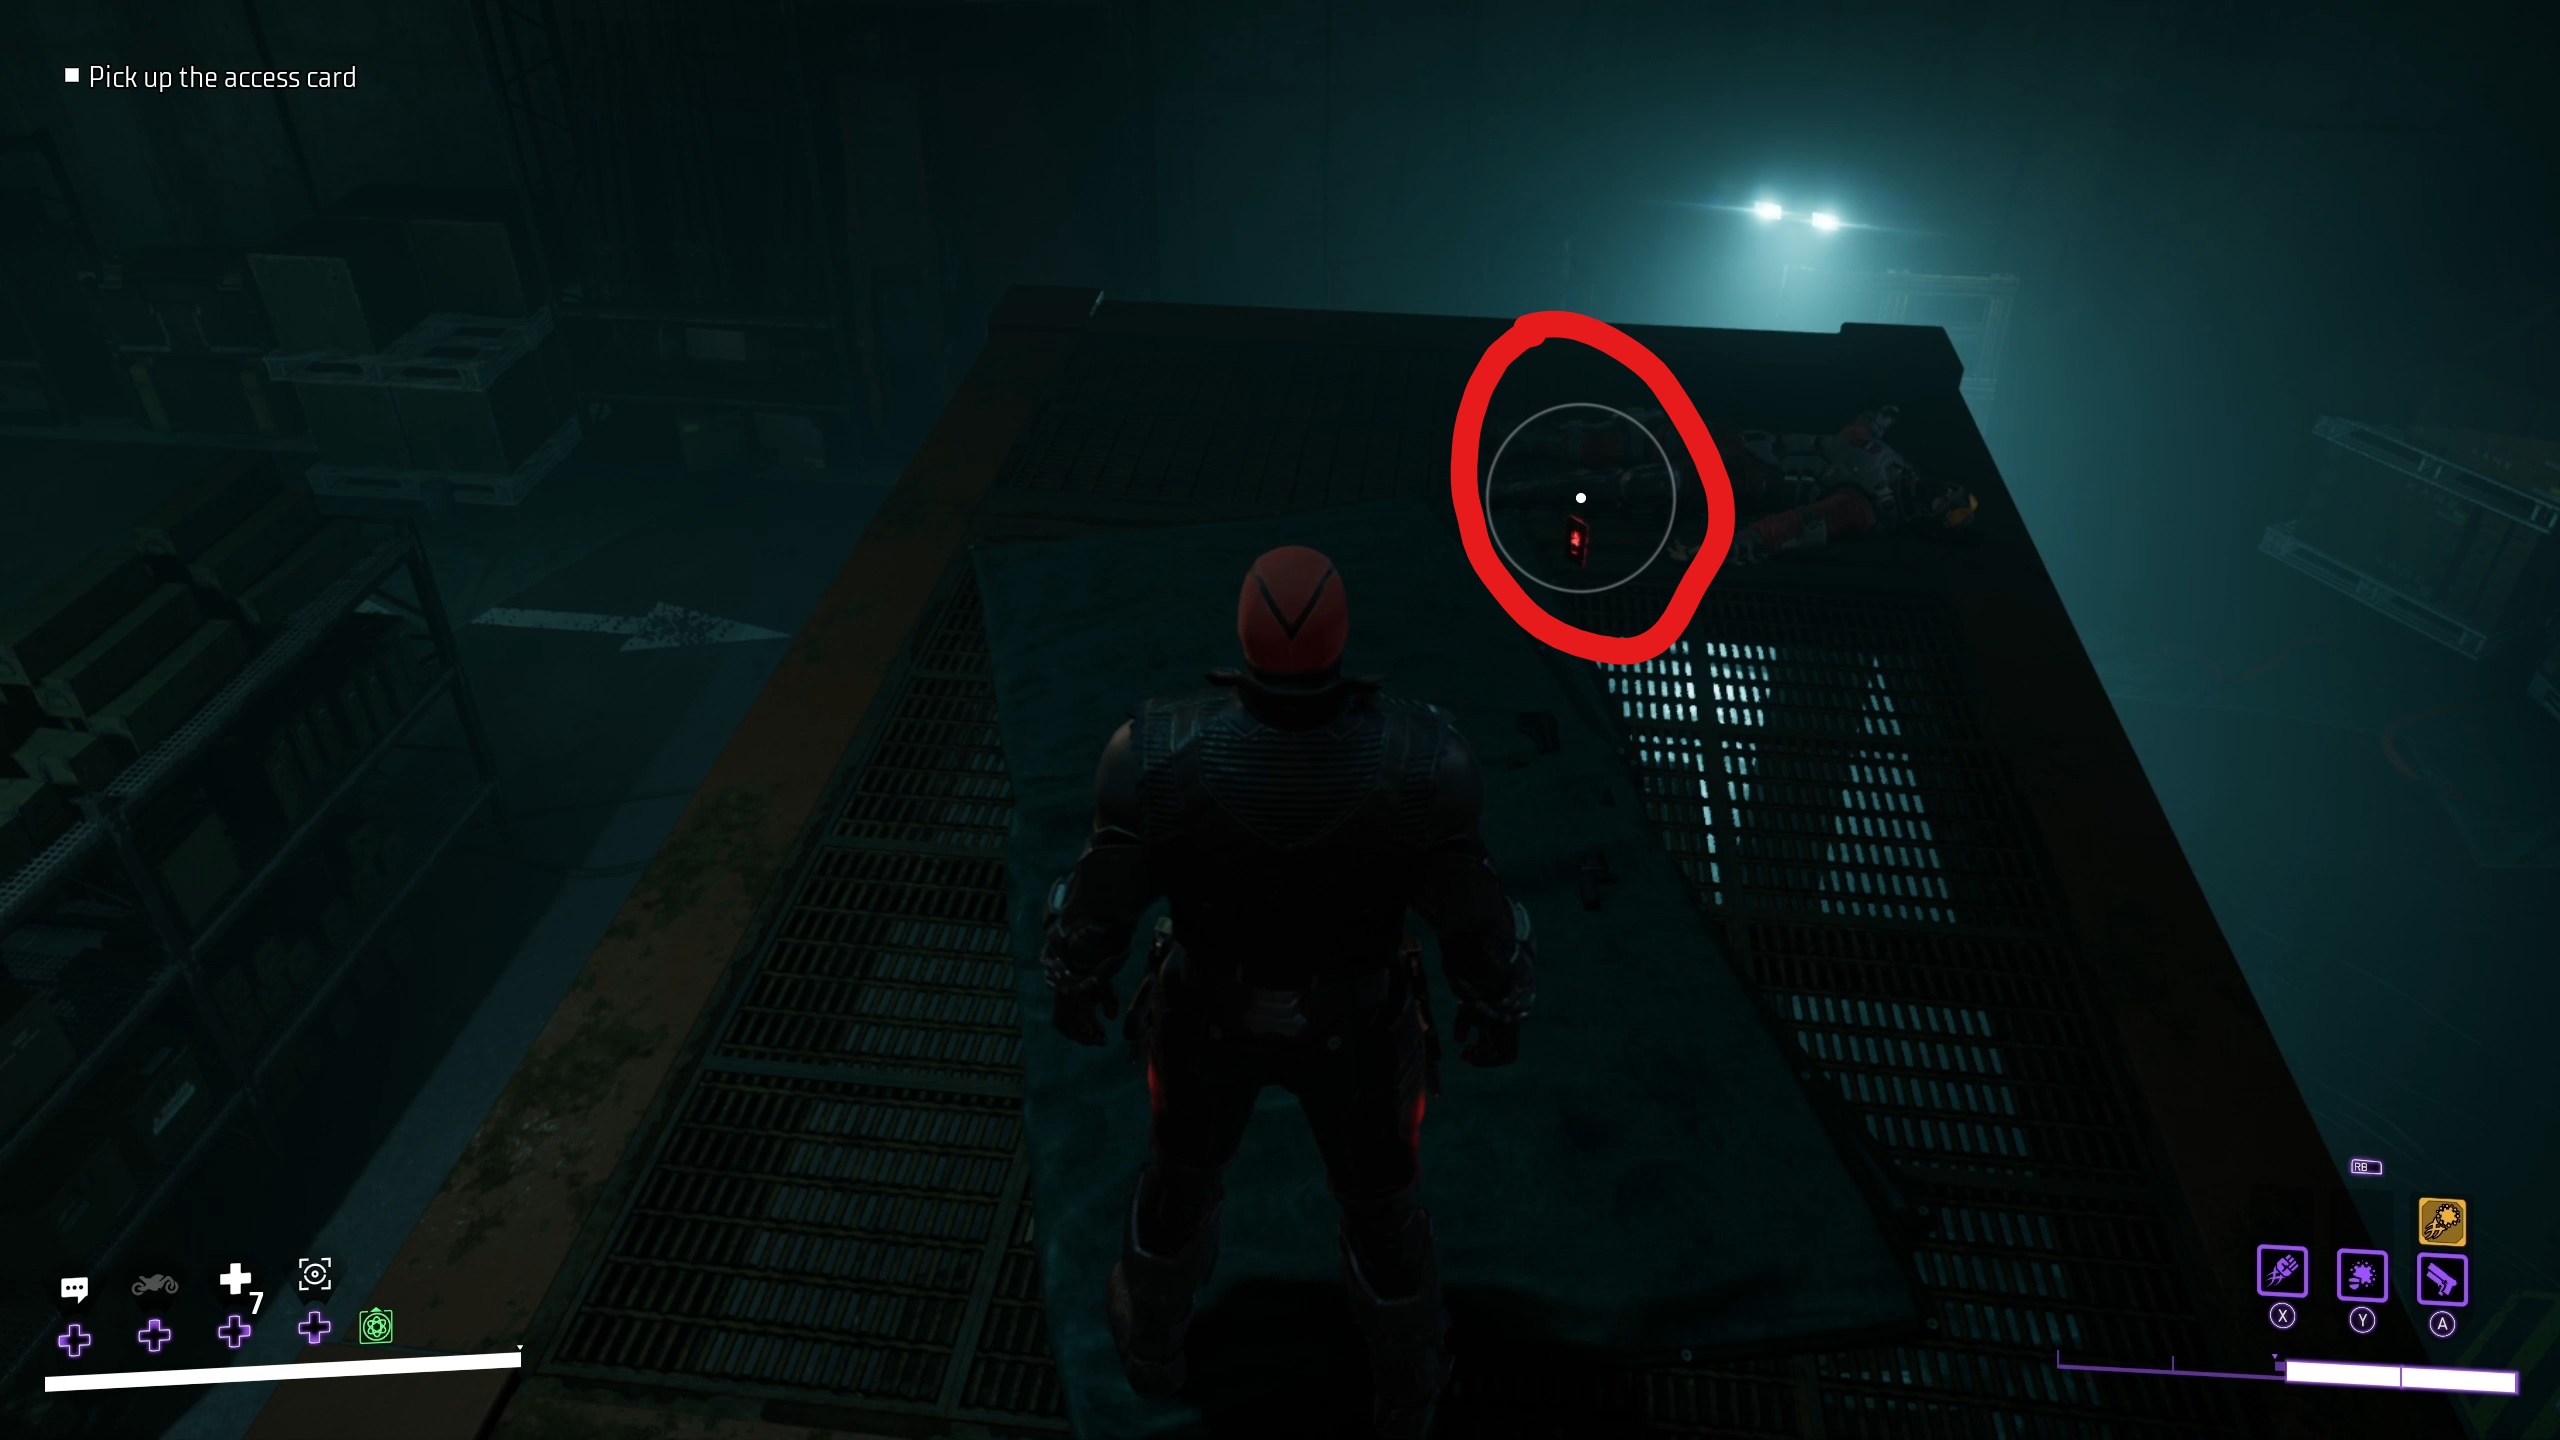
After you’ve picked up the laser, the red door will open for a group of 4 guards. They will filter into the room and split up, which works to your advantage since you will need to defeat them undetected in order to complete the bonus objective. Simply pick off the isolated guards as they filter out using Silent Takedowns to eliminate them all.
The last guard you defeat will drop an Access Card, indicated by a waypoint near his body. Pick this up, which will give you access to the red door from before.
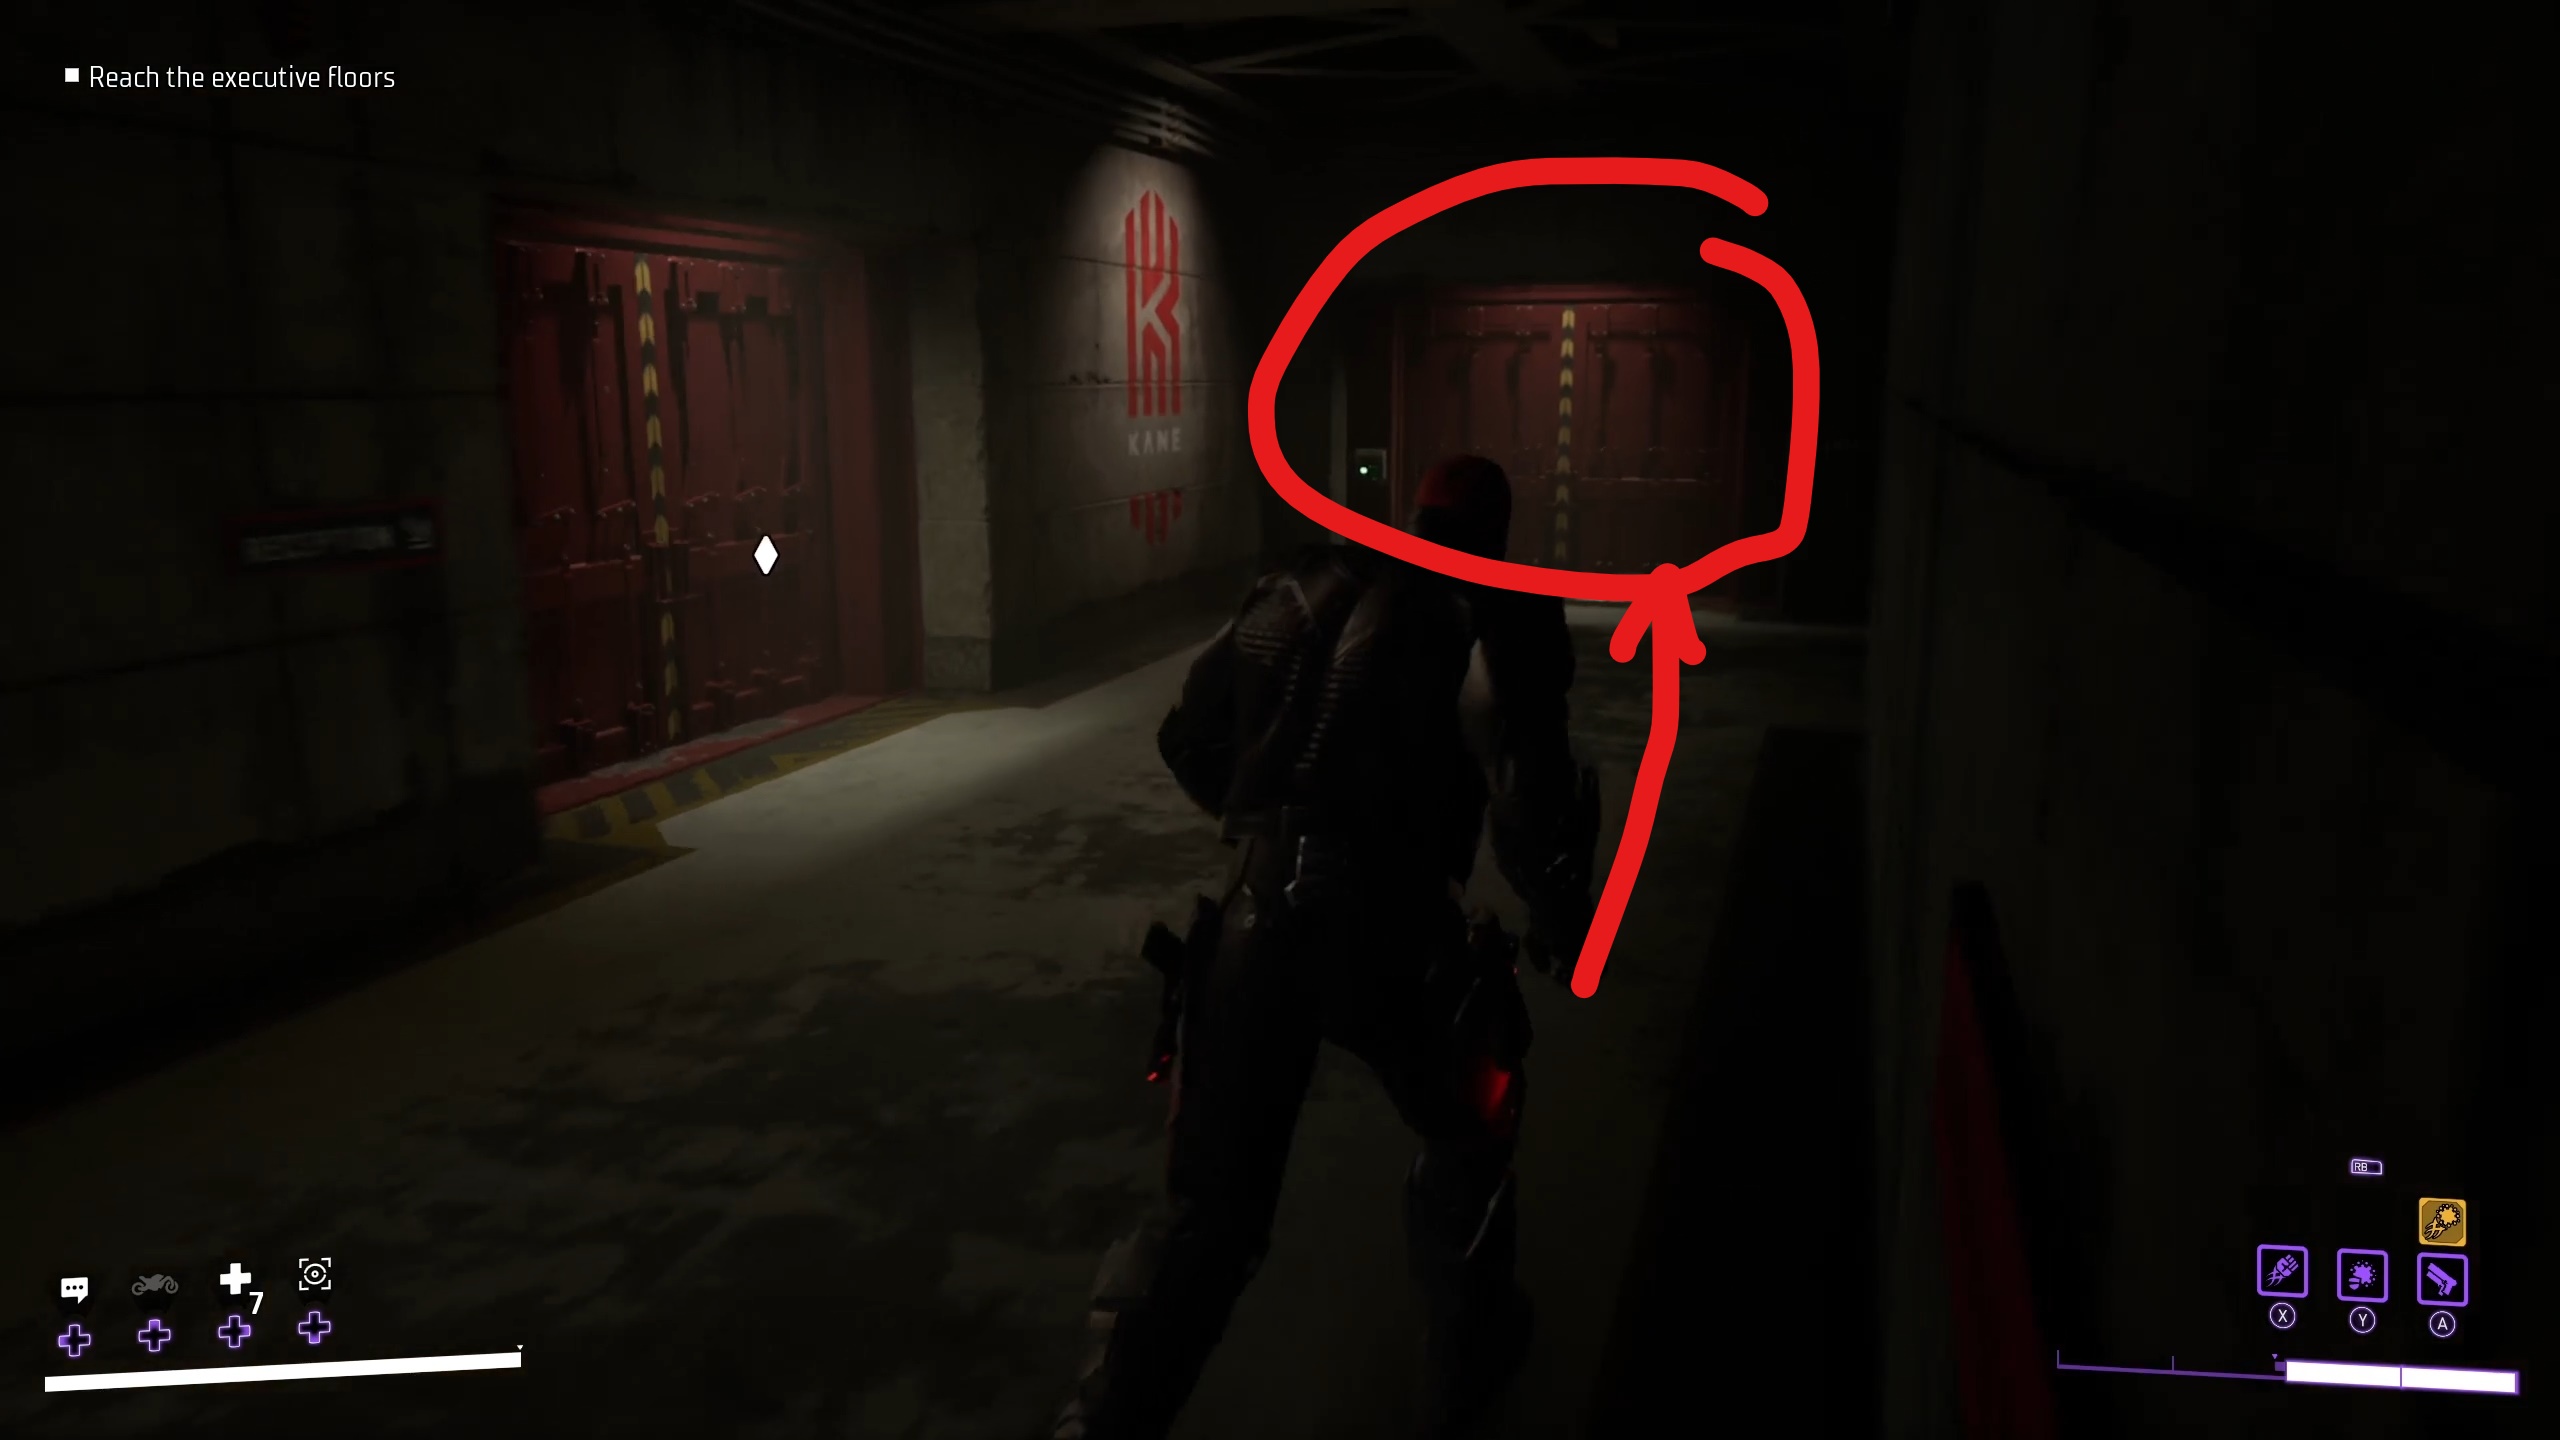
Go through the red door from before, and then continue to the end of the hallway and turn left. Ignore the doors to either side of you and continue forward and jump up to go into the maintenance access at the end of the hallway. Follow this to get into the security station, where you can go up to a green screen to your right to rewrite your access card.
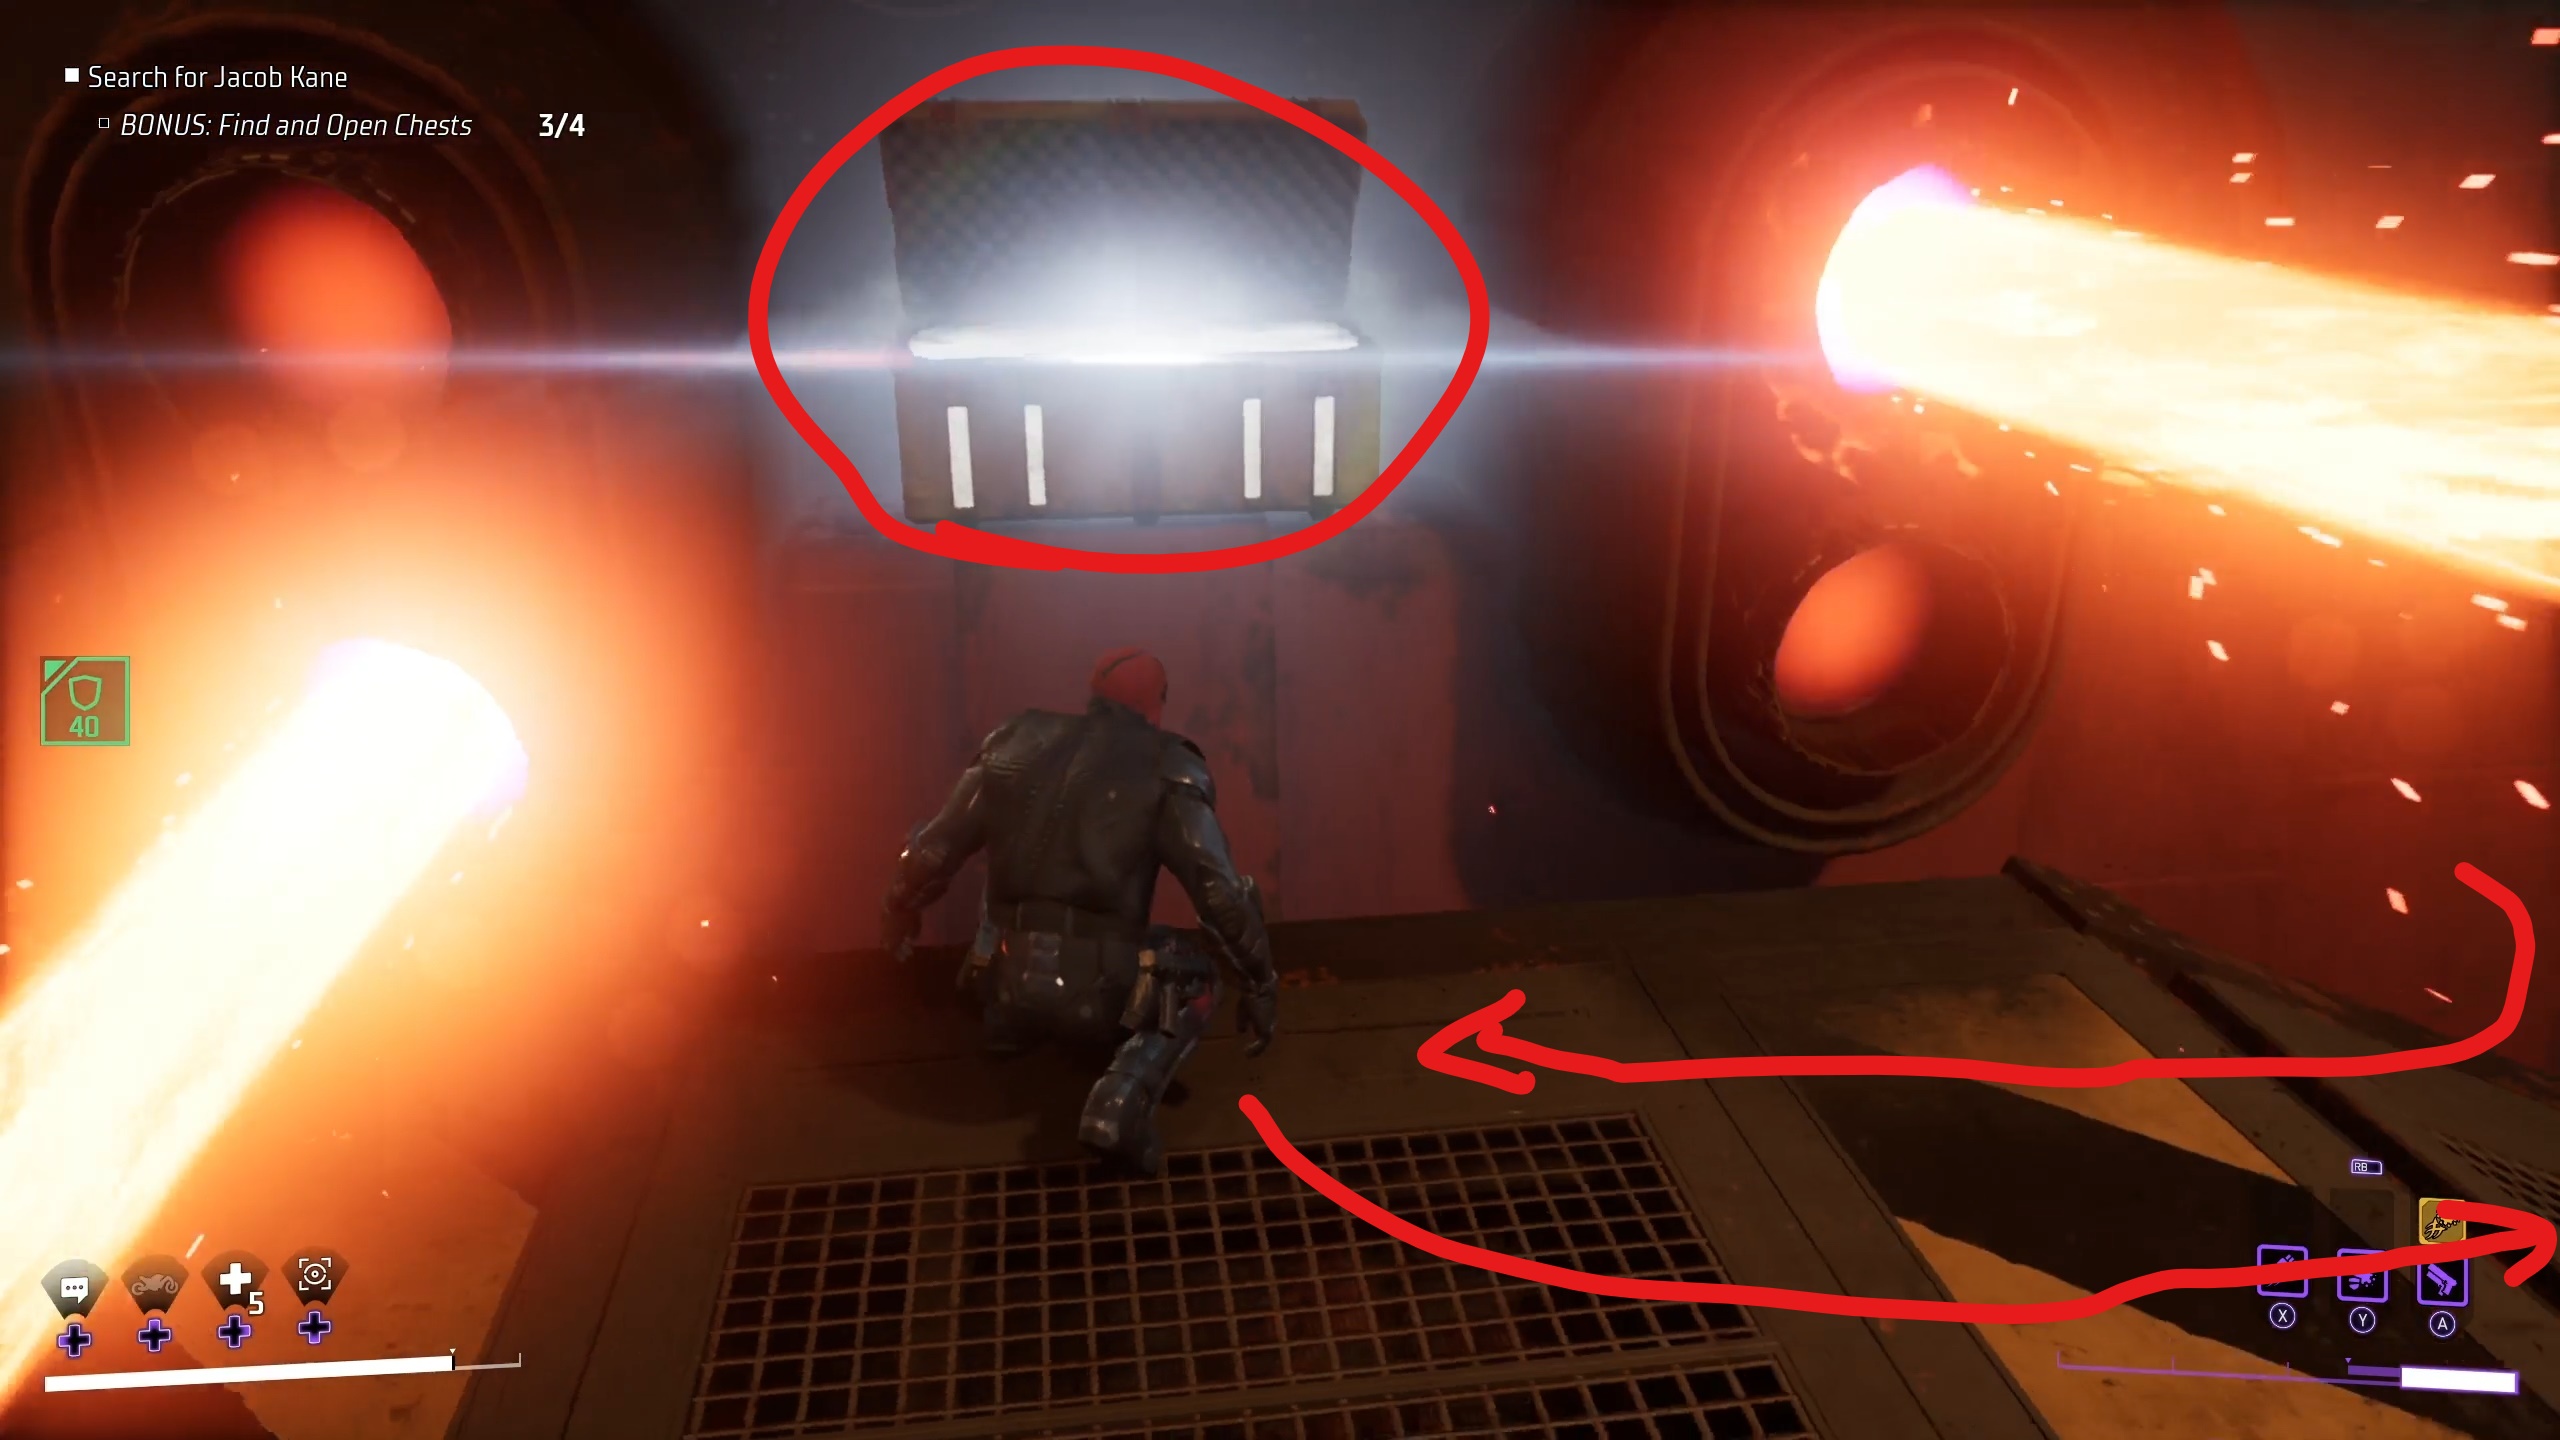
After you’ve rewritten the card, you can open the red doors in the hallway you passed by earlier. Go past the red door on the left in the hall (the one marked with a white diamond) and to the door directly in front of you instead. This will lead to a locker room, where a chest will be waiting in the back corner. After you collect this chest, now you can go back and go through the door marked with a white diamond.
Go down the stairs in this next section until you get to floor 78. The door on this level can be opened by your card, which will get you access to another chest.
After grabbing that, keep heading down the stairway, which will eventually turn in a different direction and lead to another door. There will be 10 guards in the room that you’ll need to take out, then continue through the door marked “Employees Only” at the opposite end of the room and look around the corner to your left to find the chest.
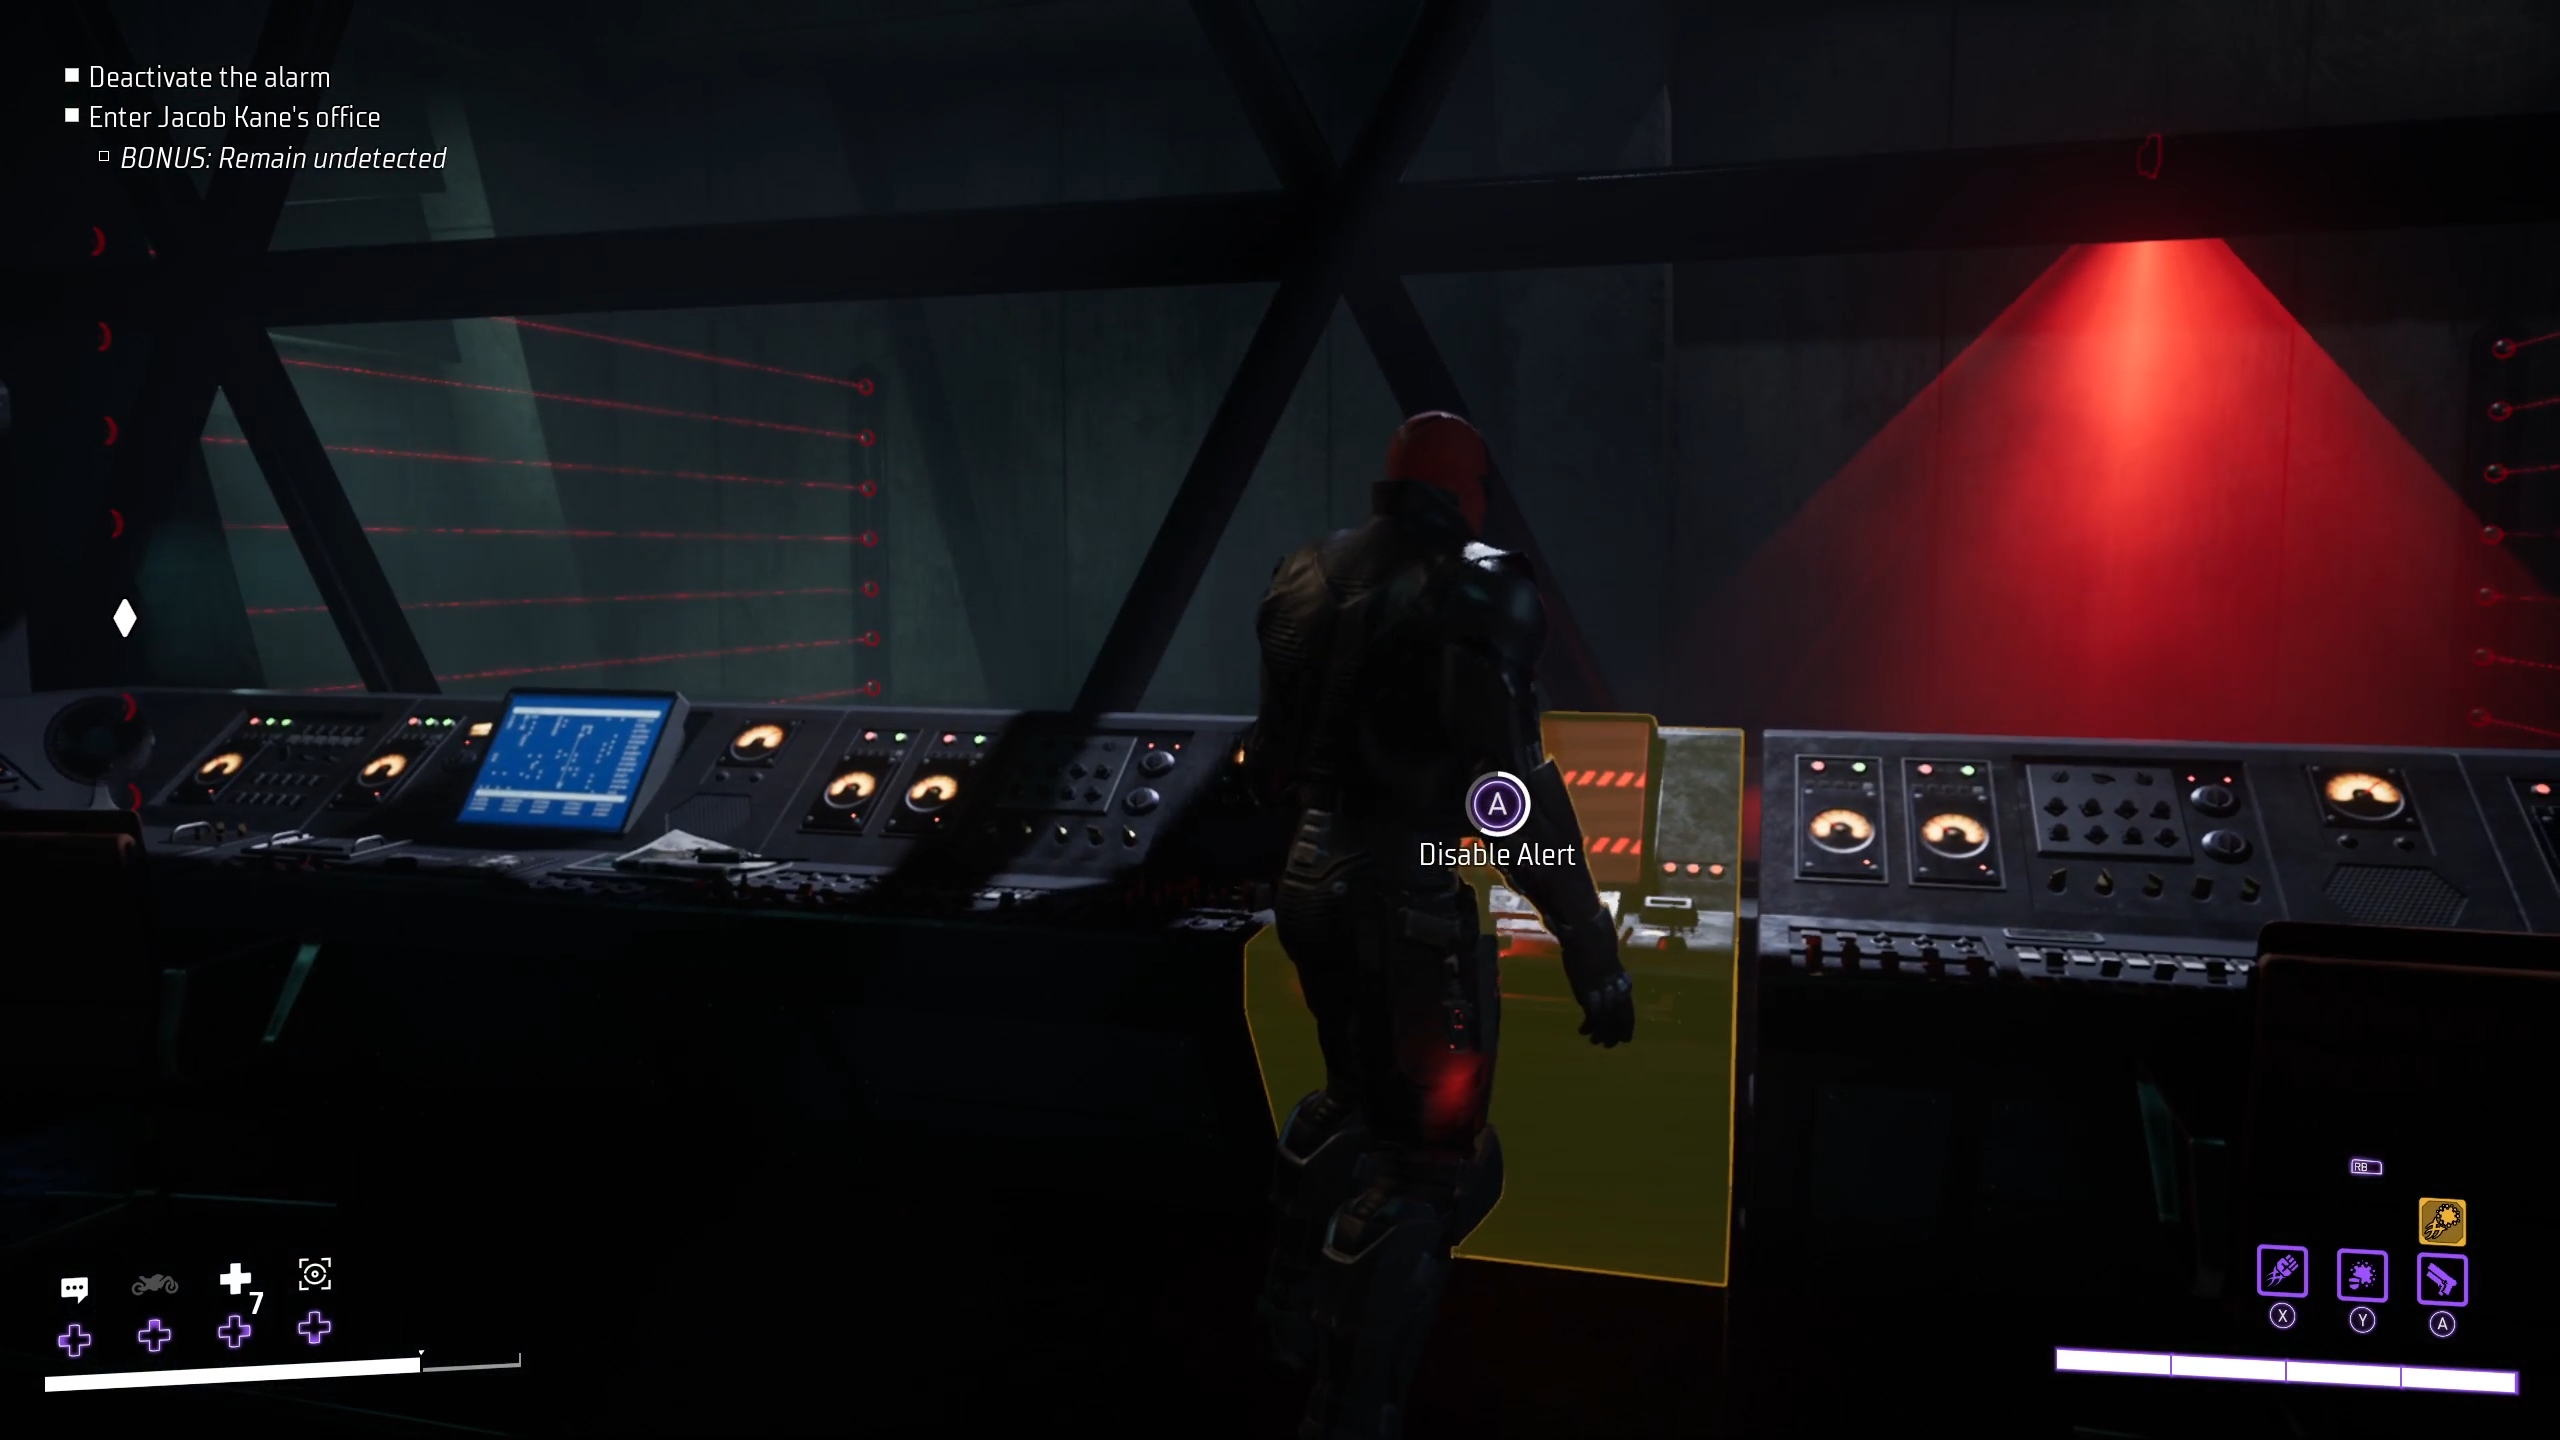
After nabbing the chest, you should go to the circular icon in the same room. Using AR will show that it is connected to a yellow-glowing panel, which will disable the alert.
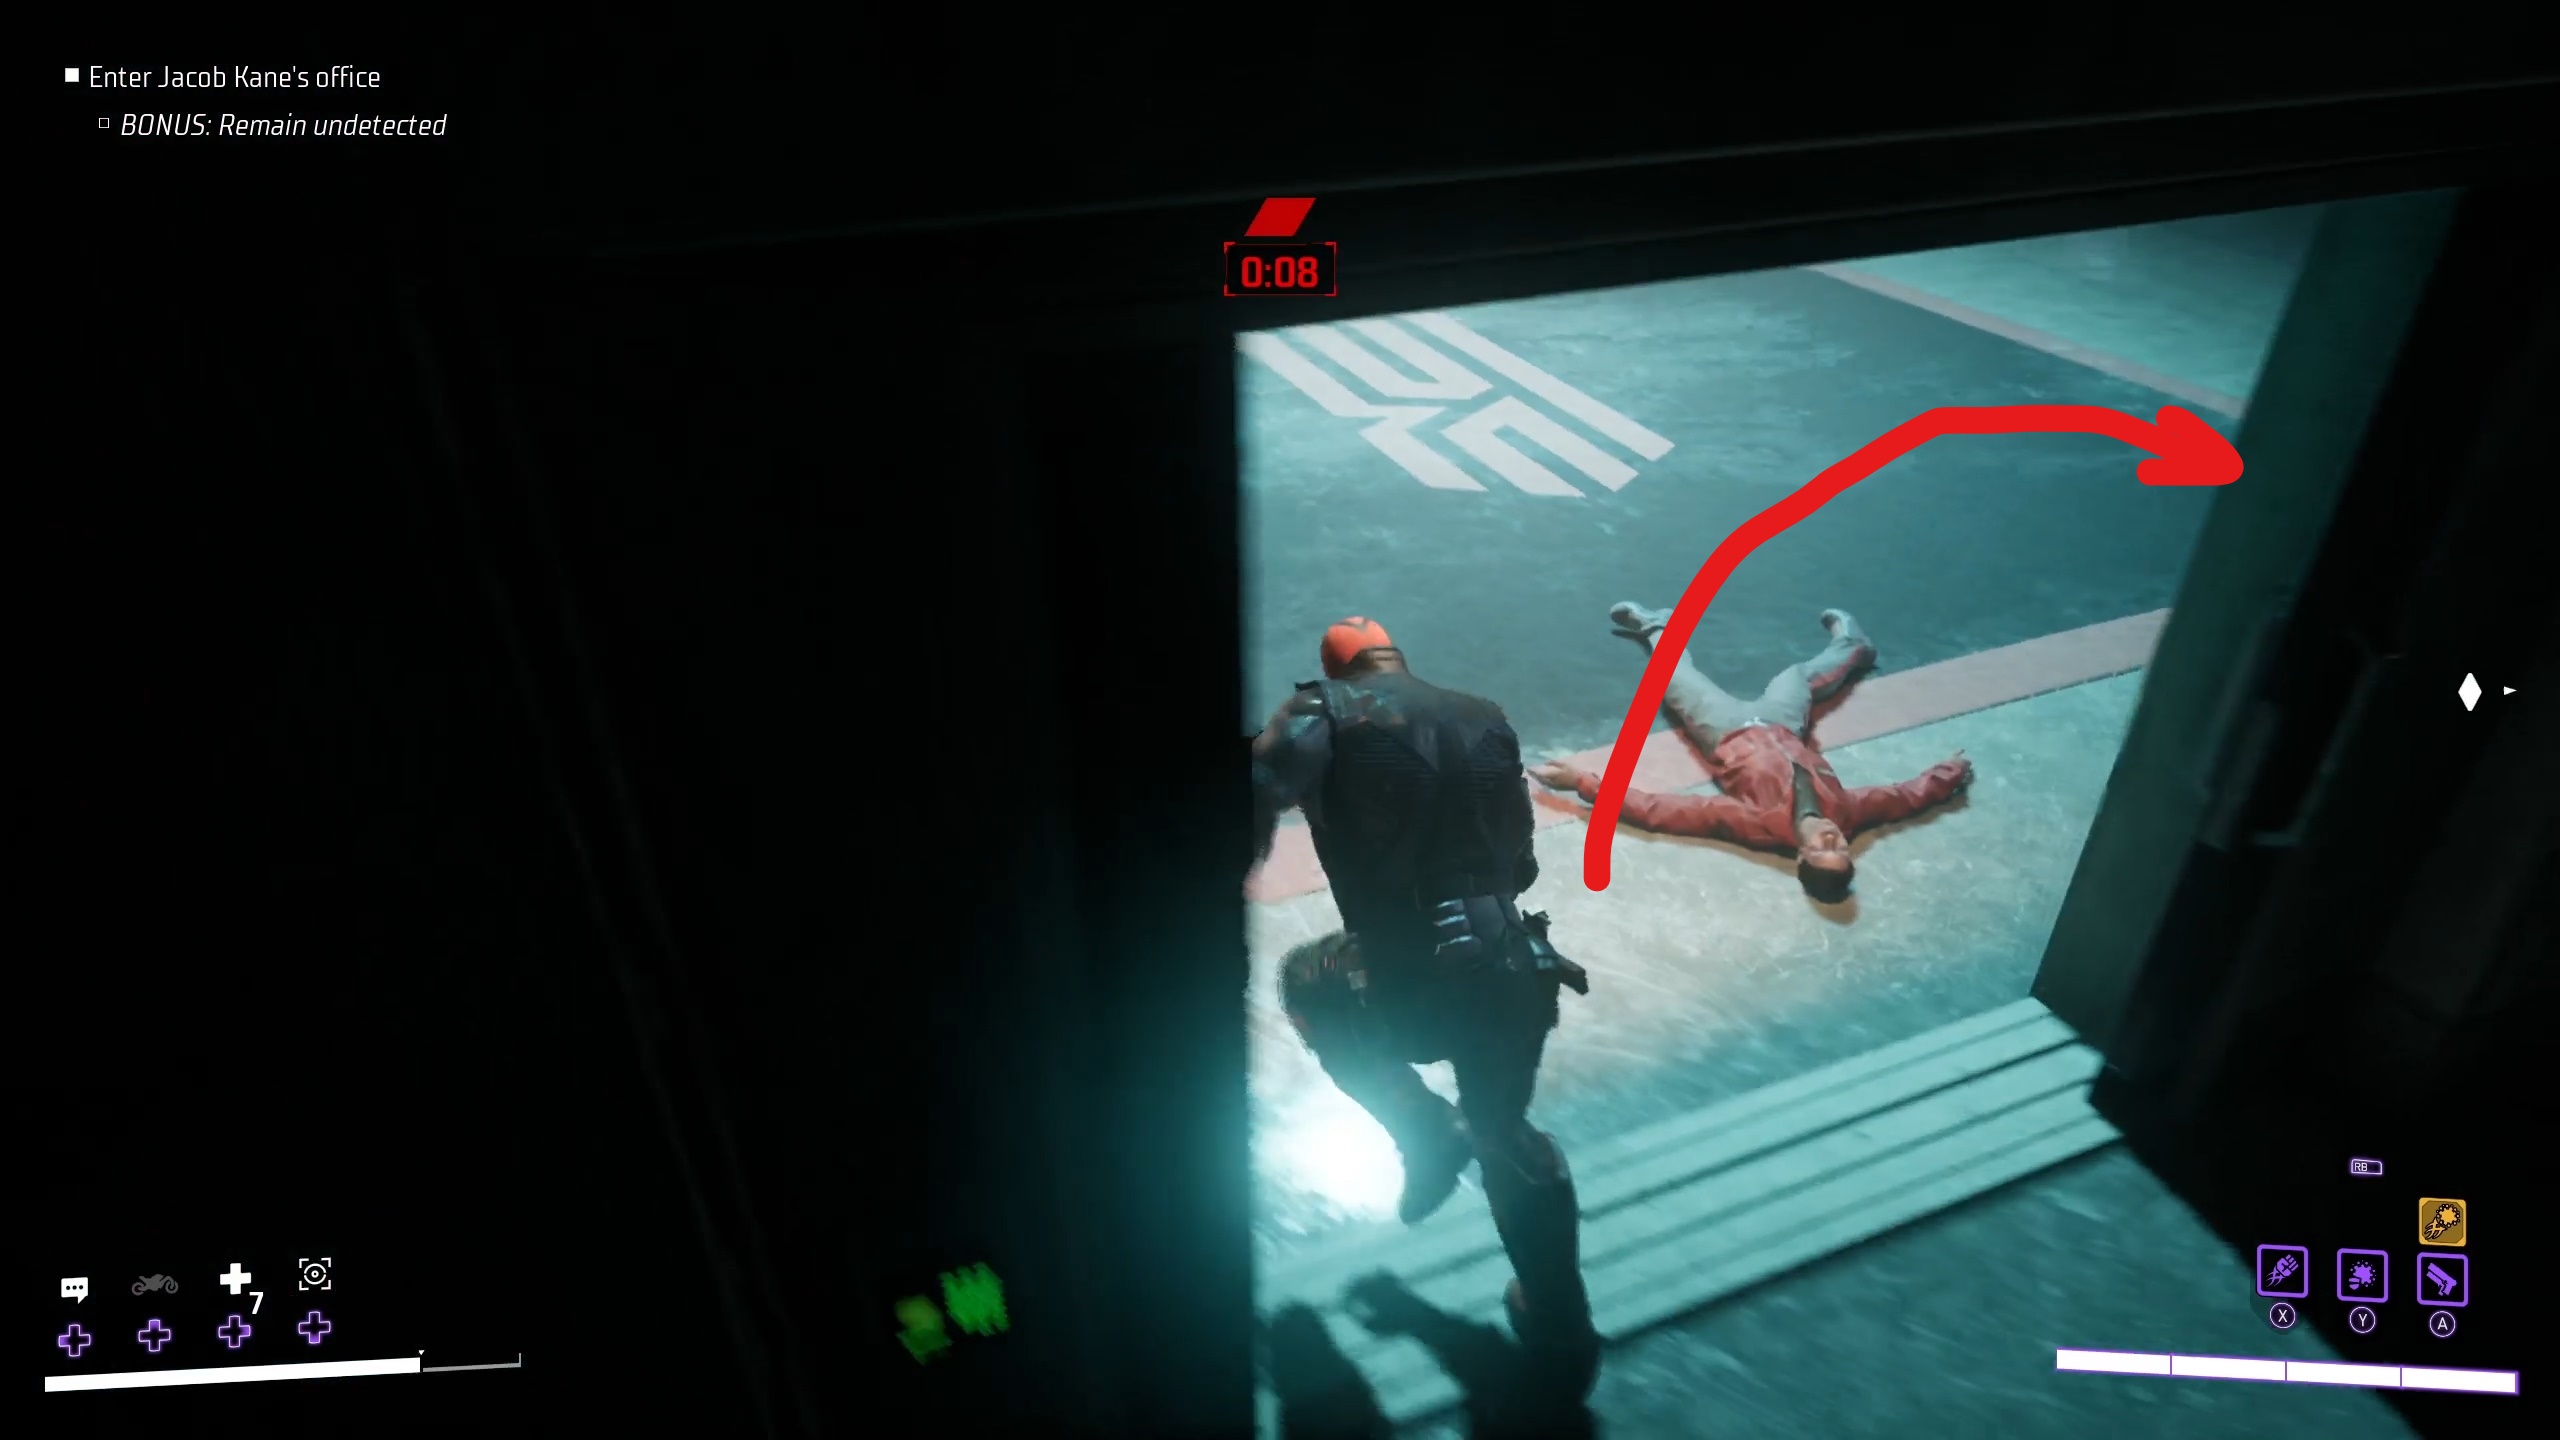
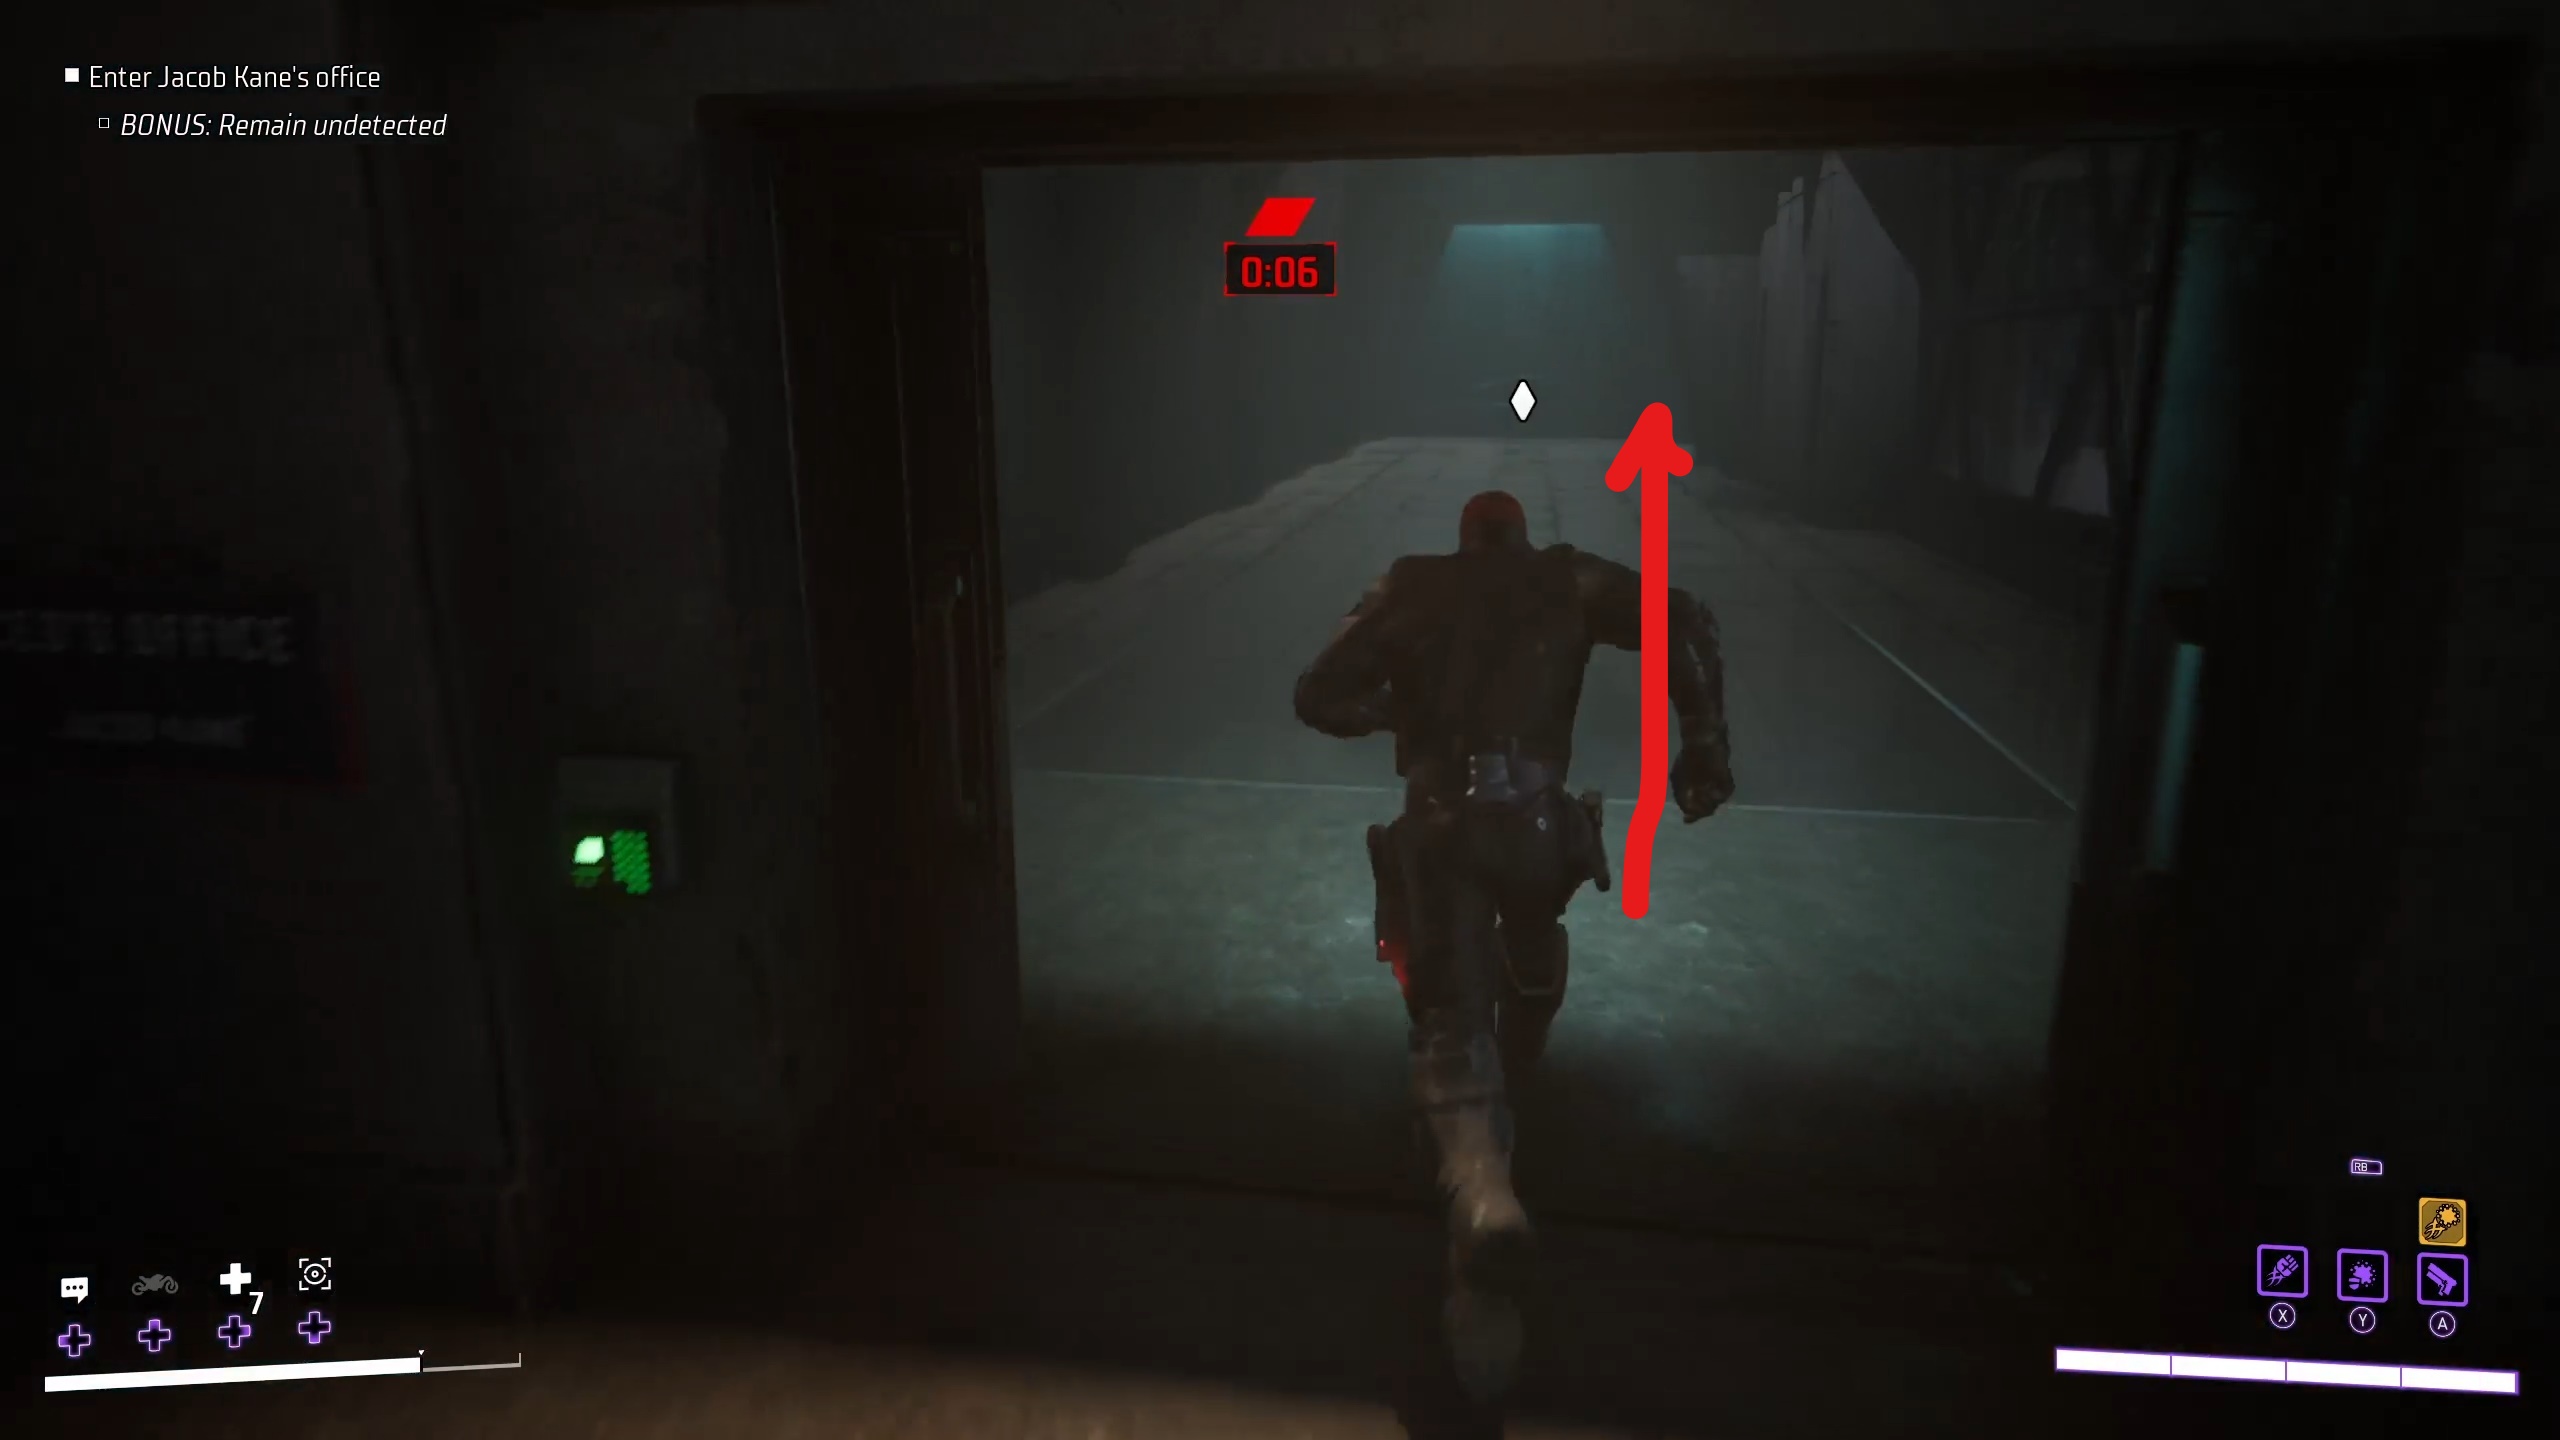
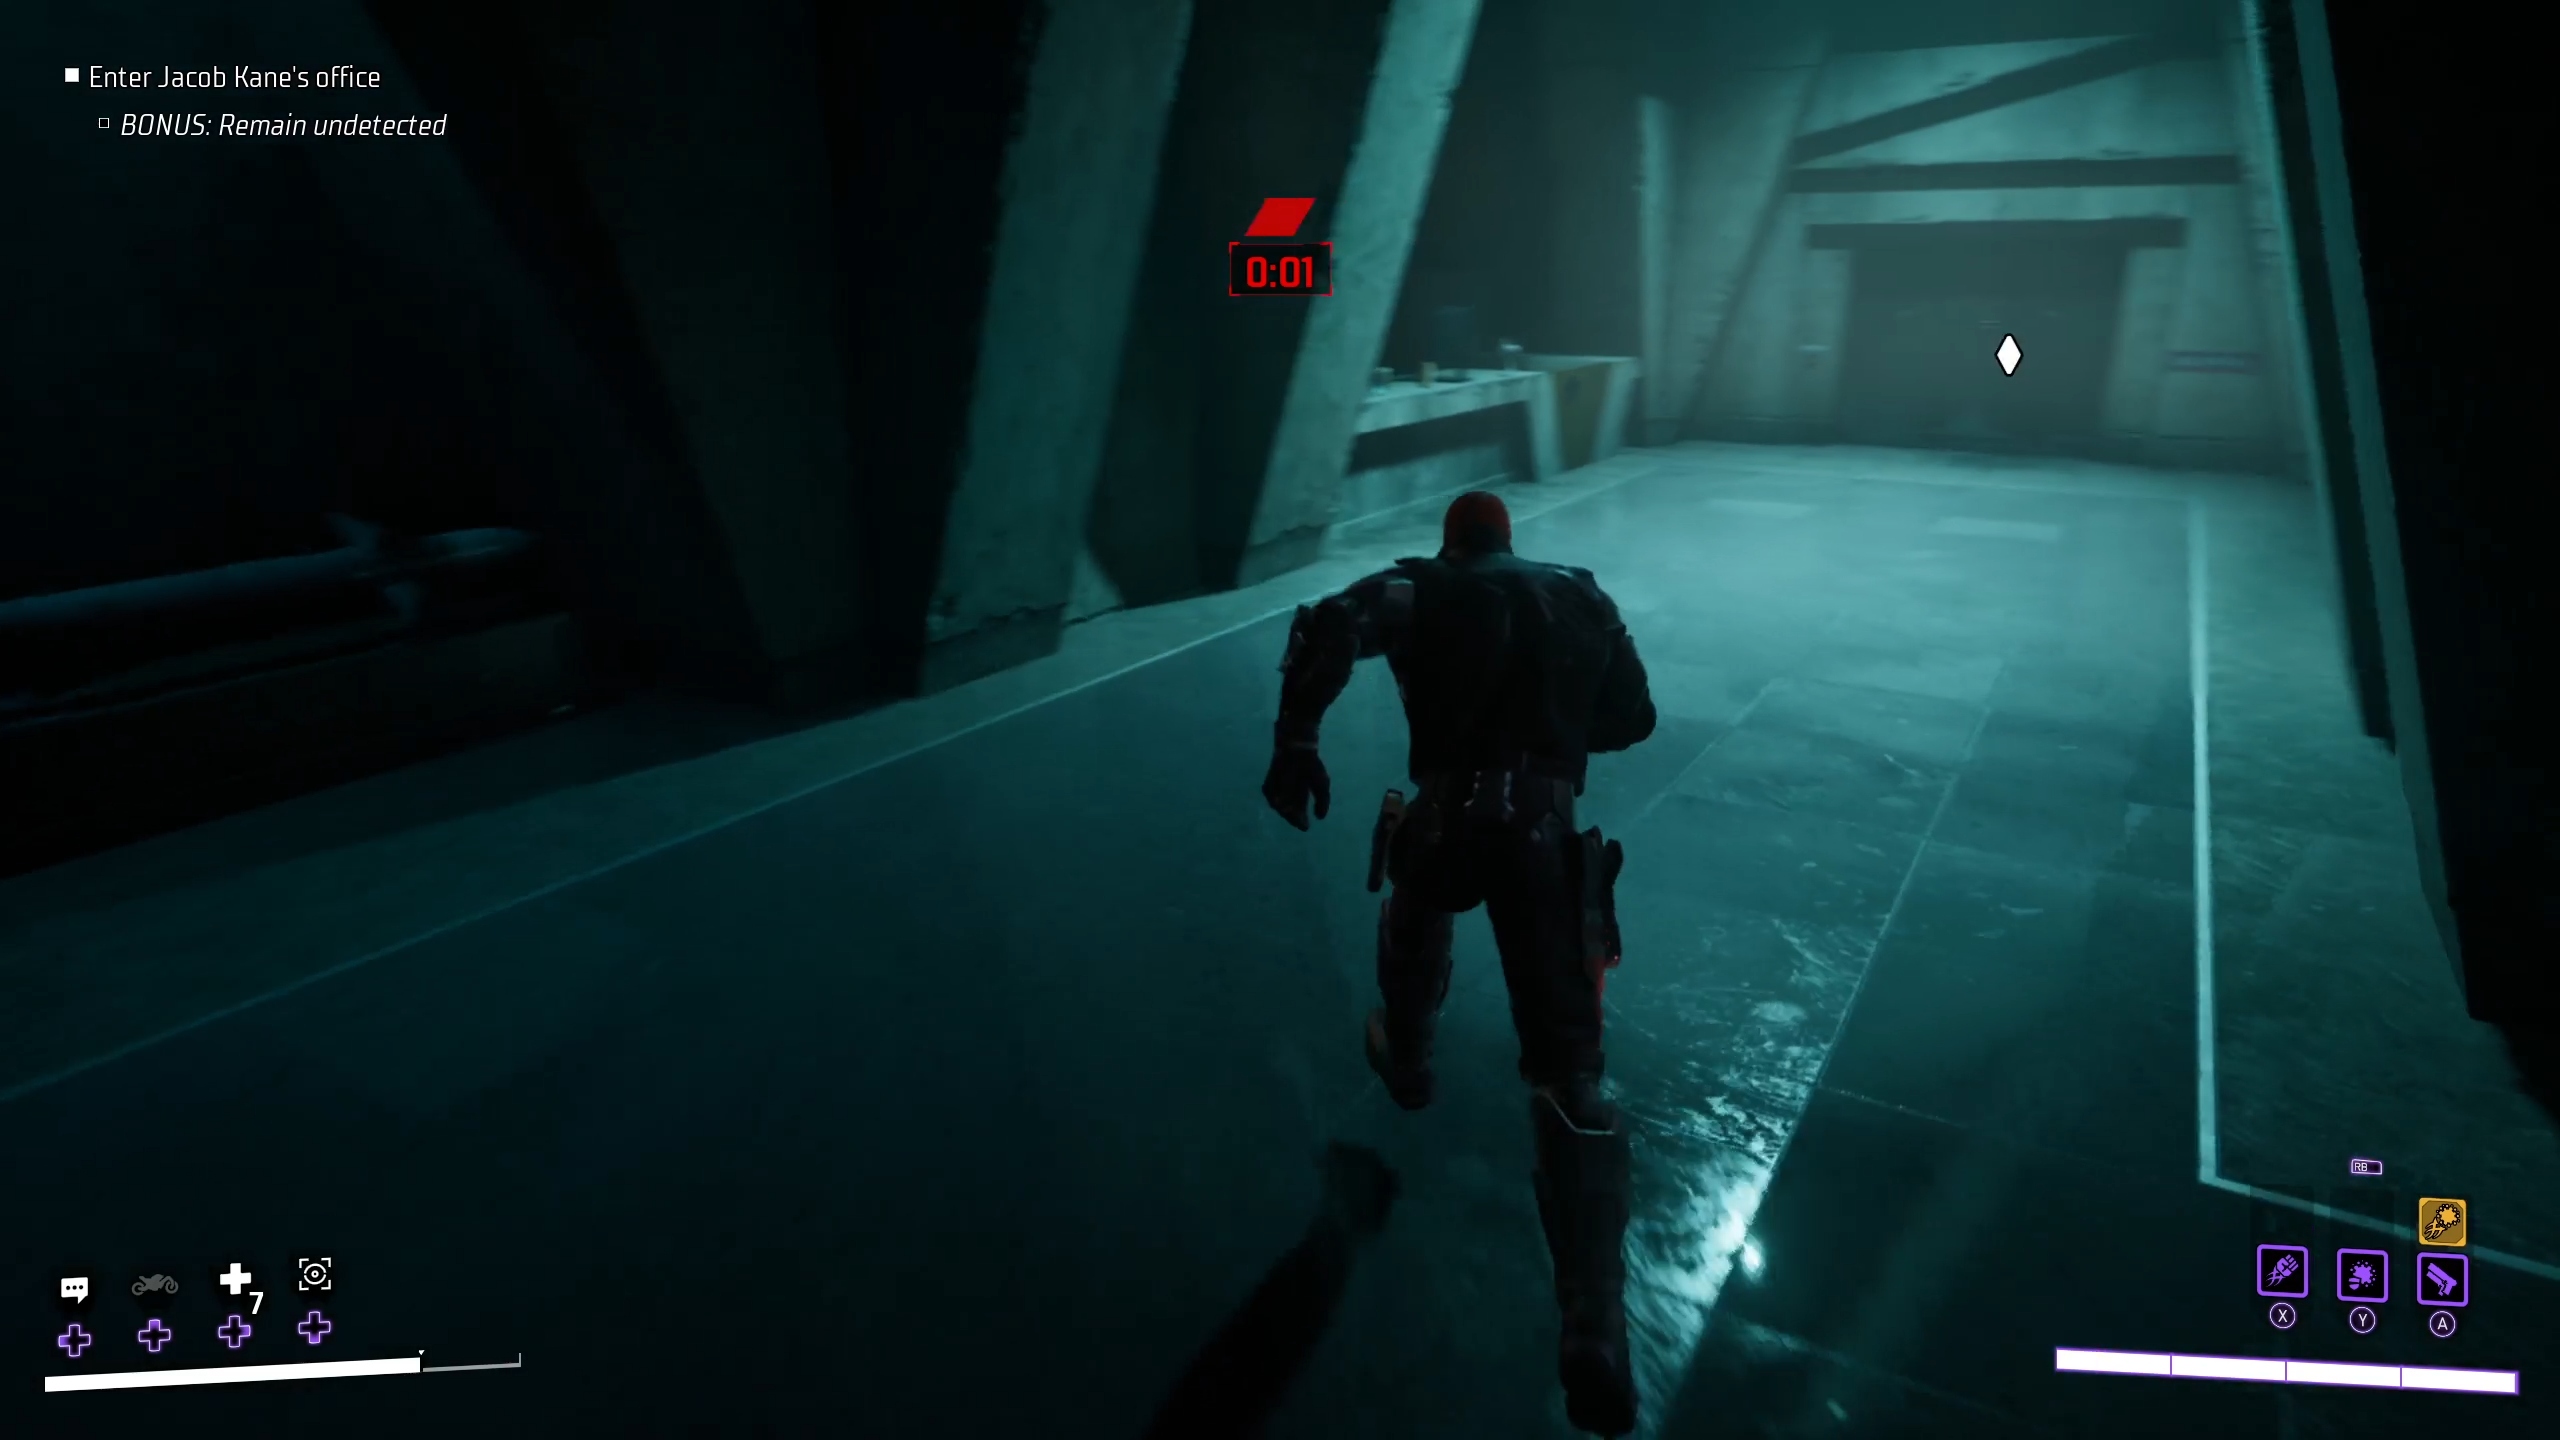
As soon as you disable the alarm, a 15-second countdown will start. Sprint out of this room and around the corner to your right, then immediately make another right into the security corridor. Run straight down the corridor as fast as you can before the time runs out. Once you reach the corner, you’re in the clear.
Around the cornerRun through the corridorAll Clear
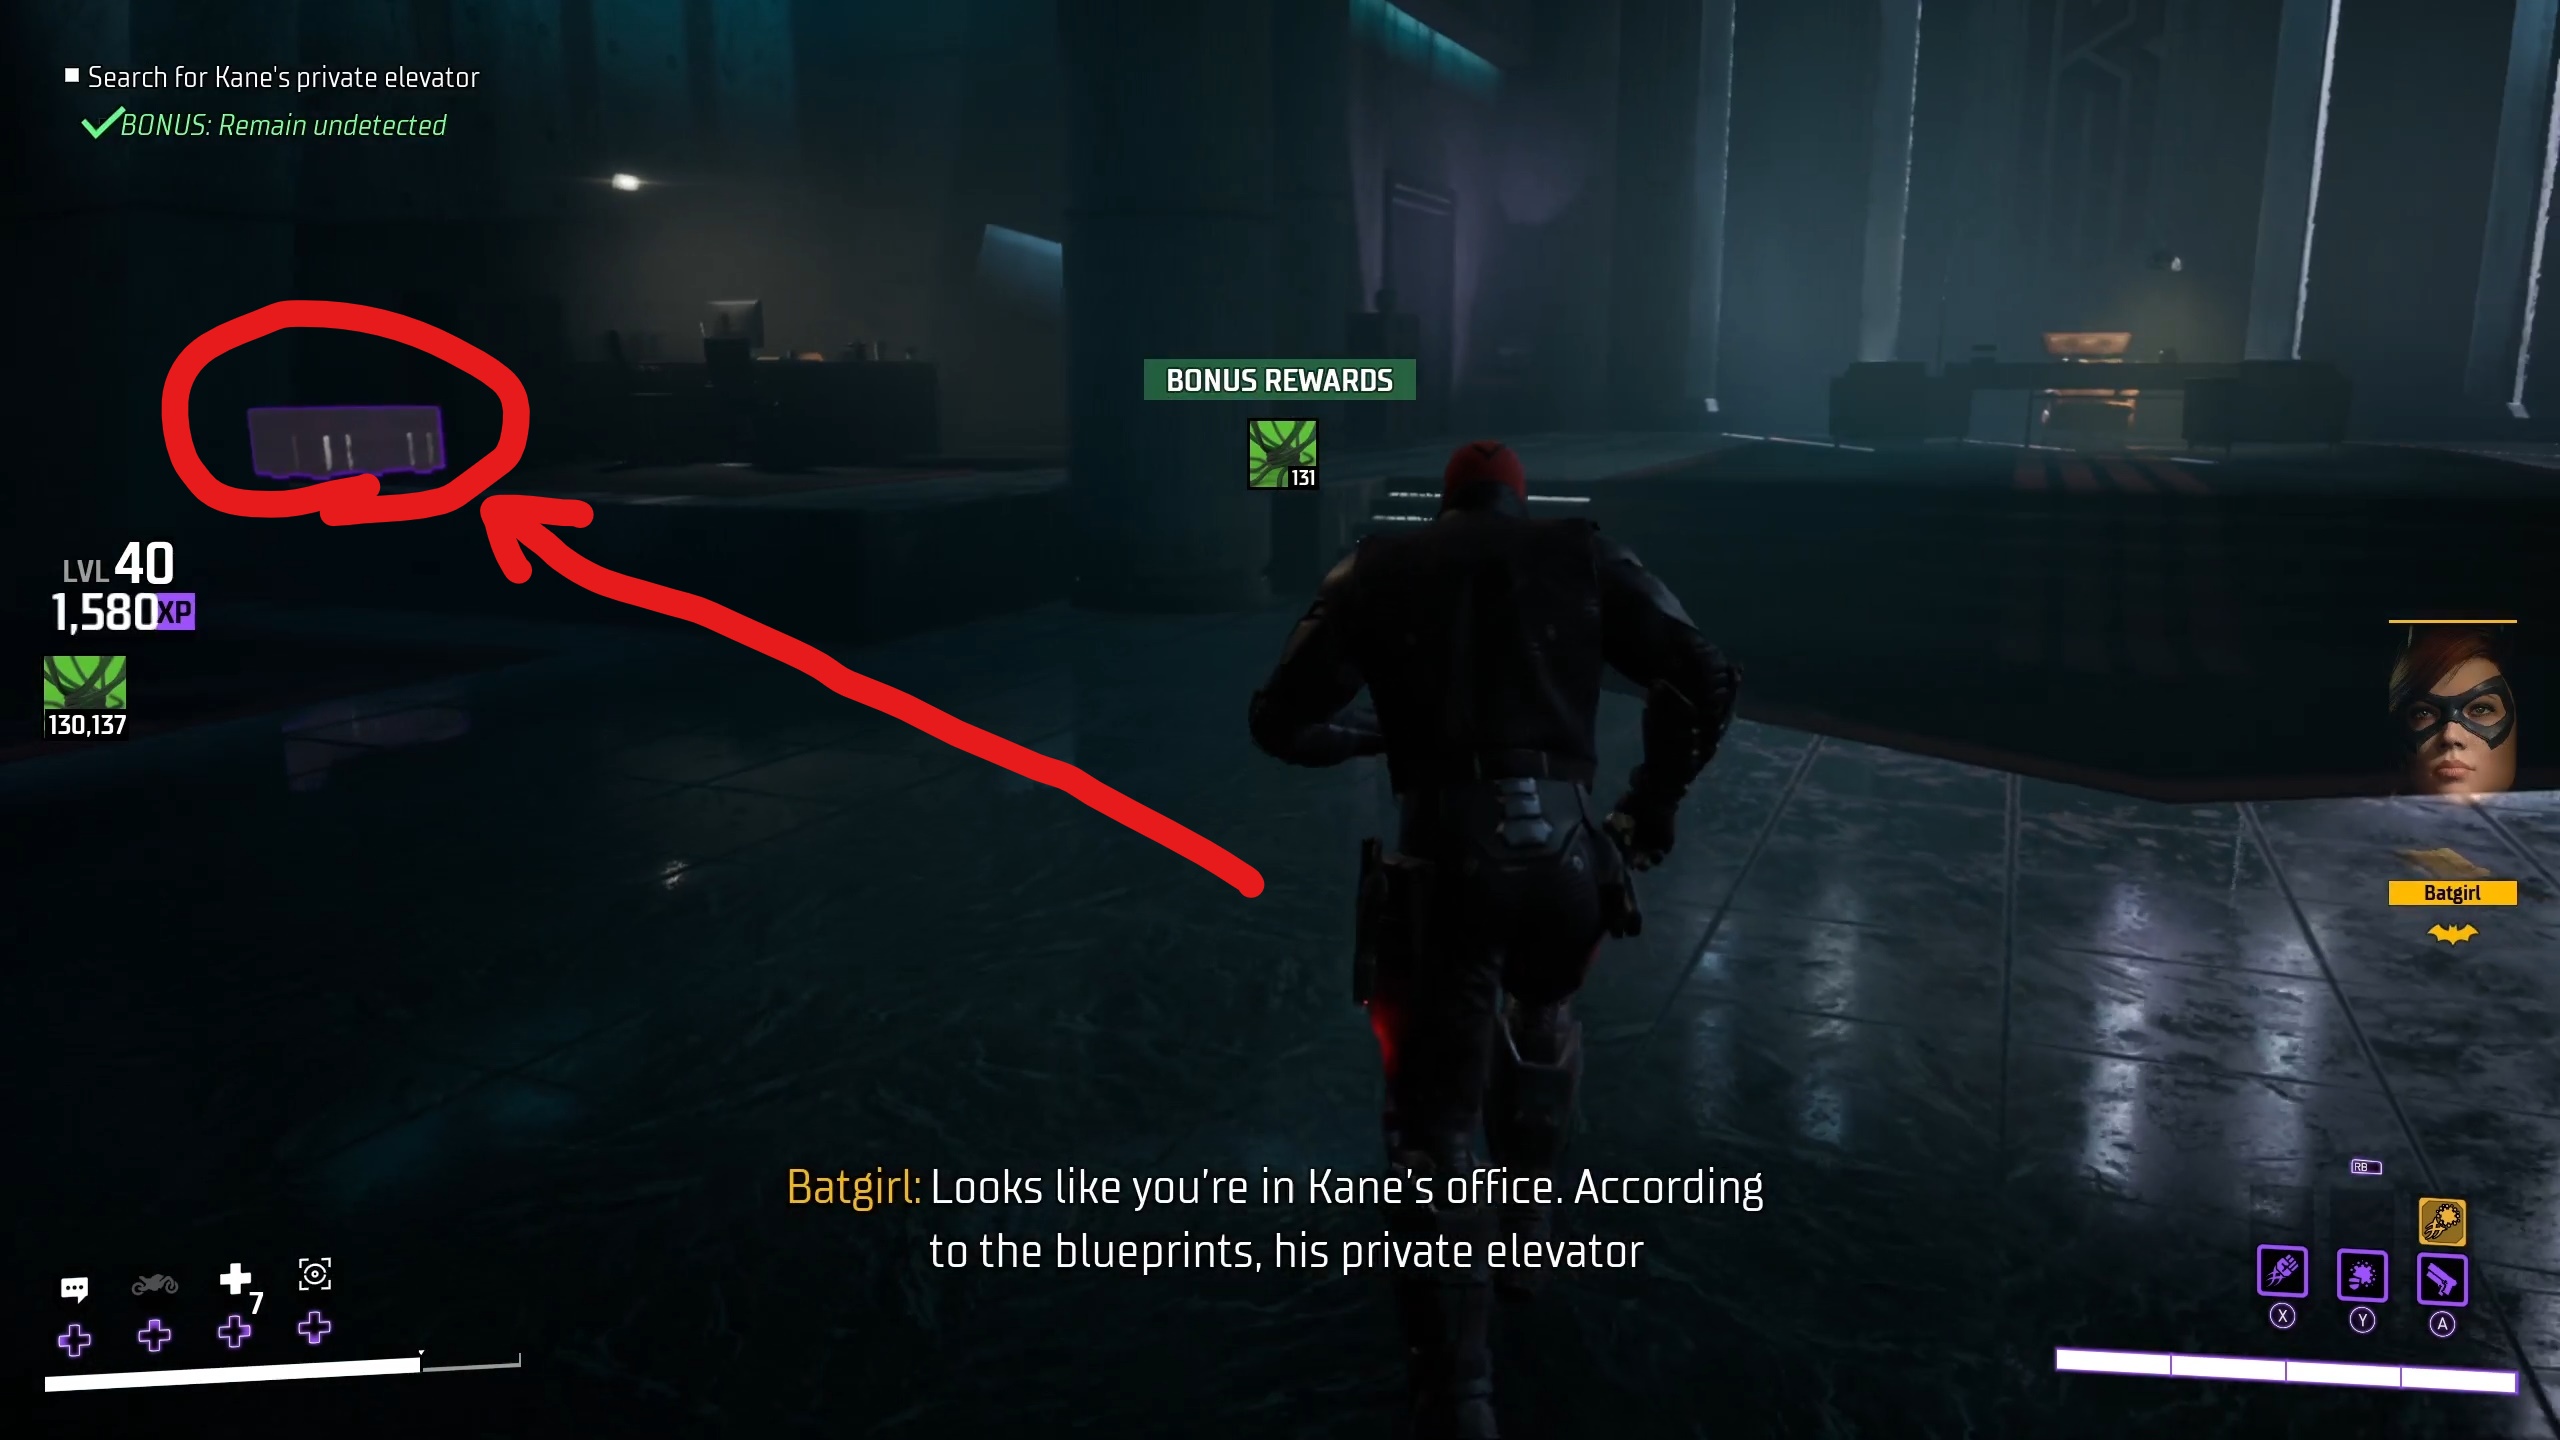
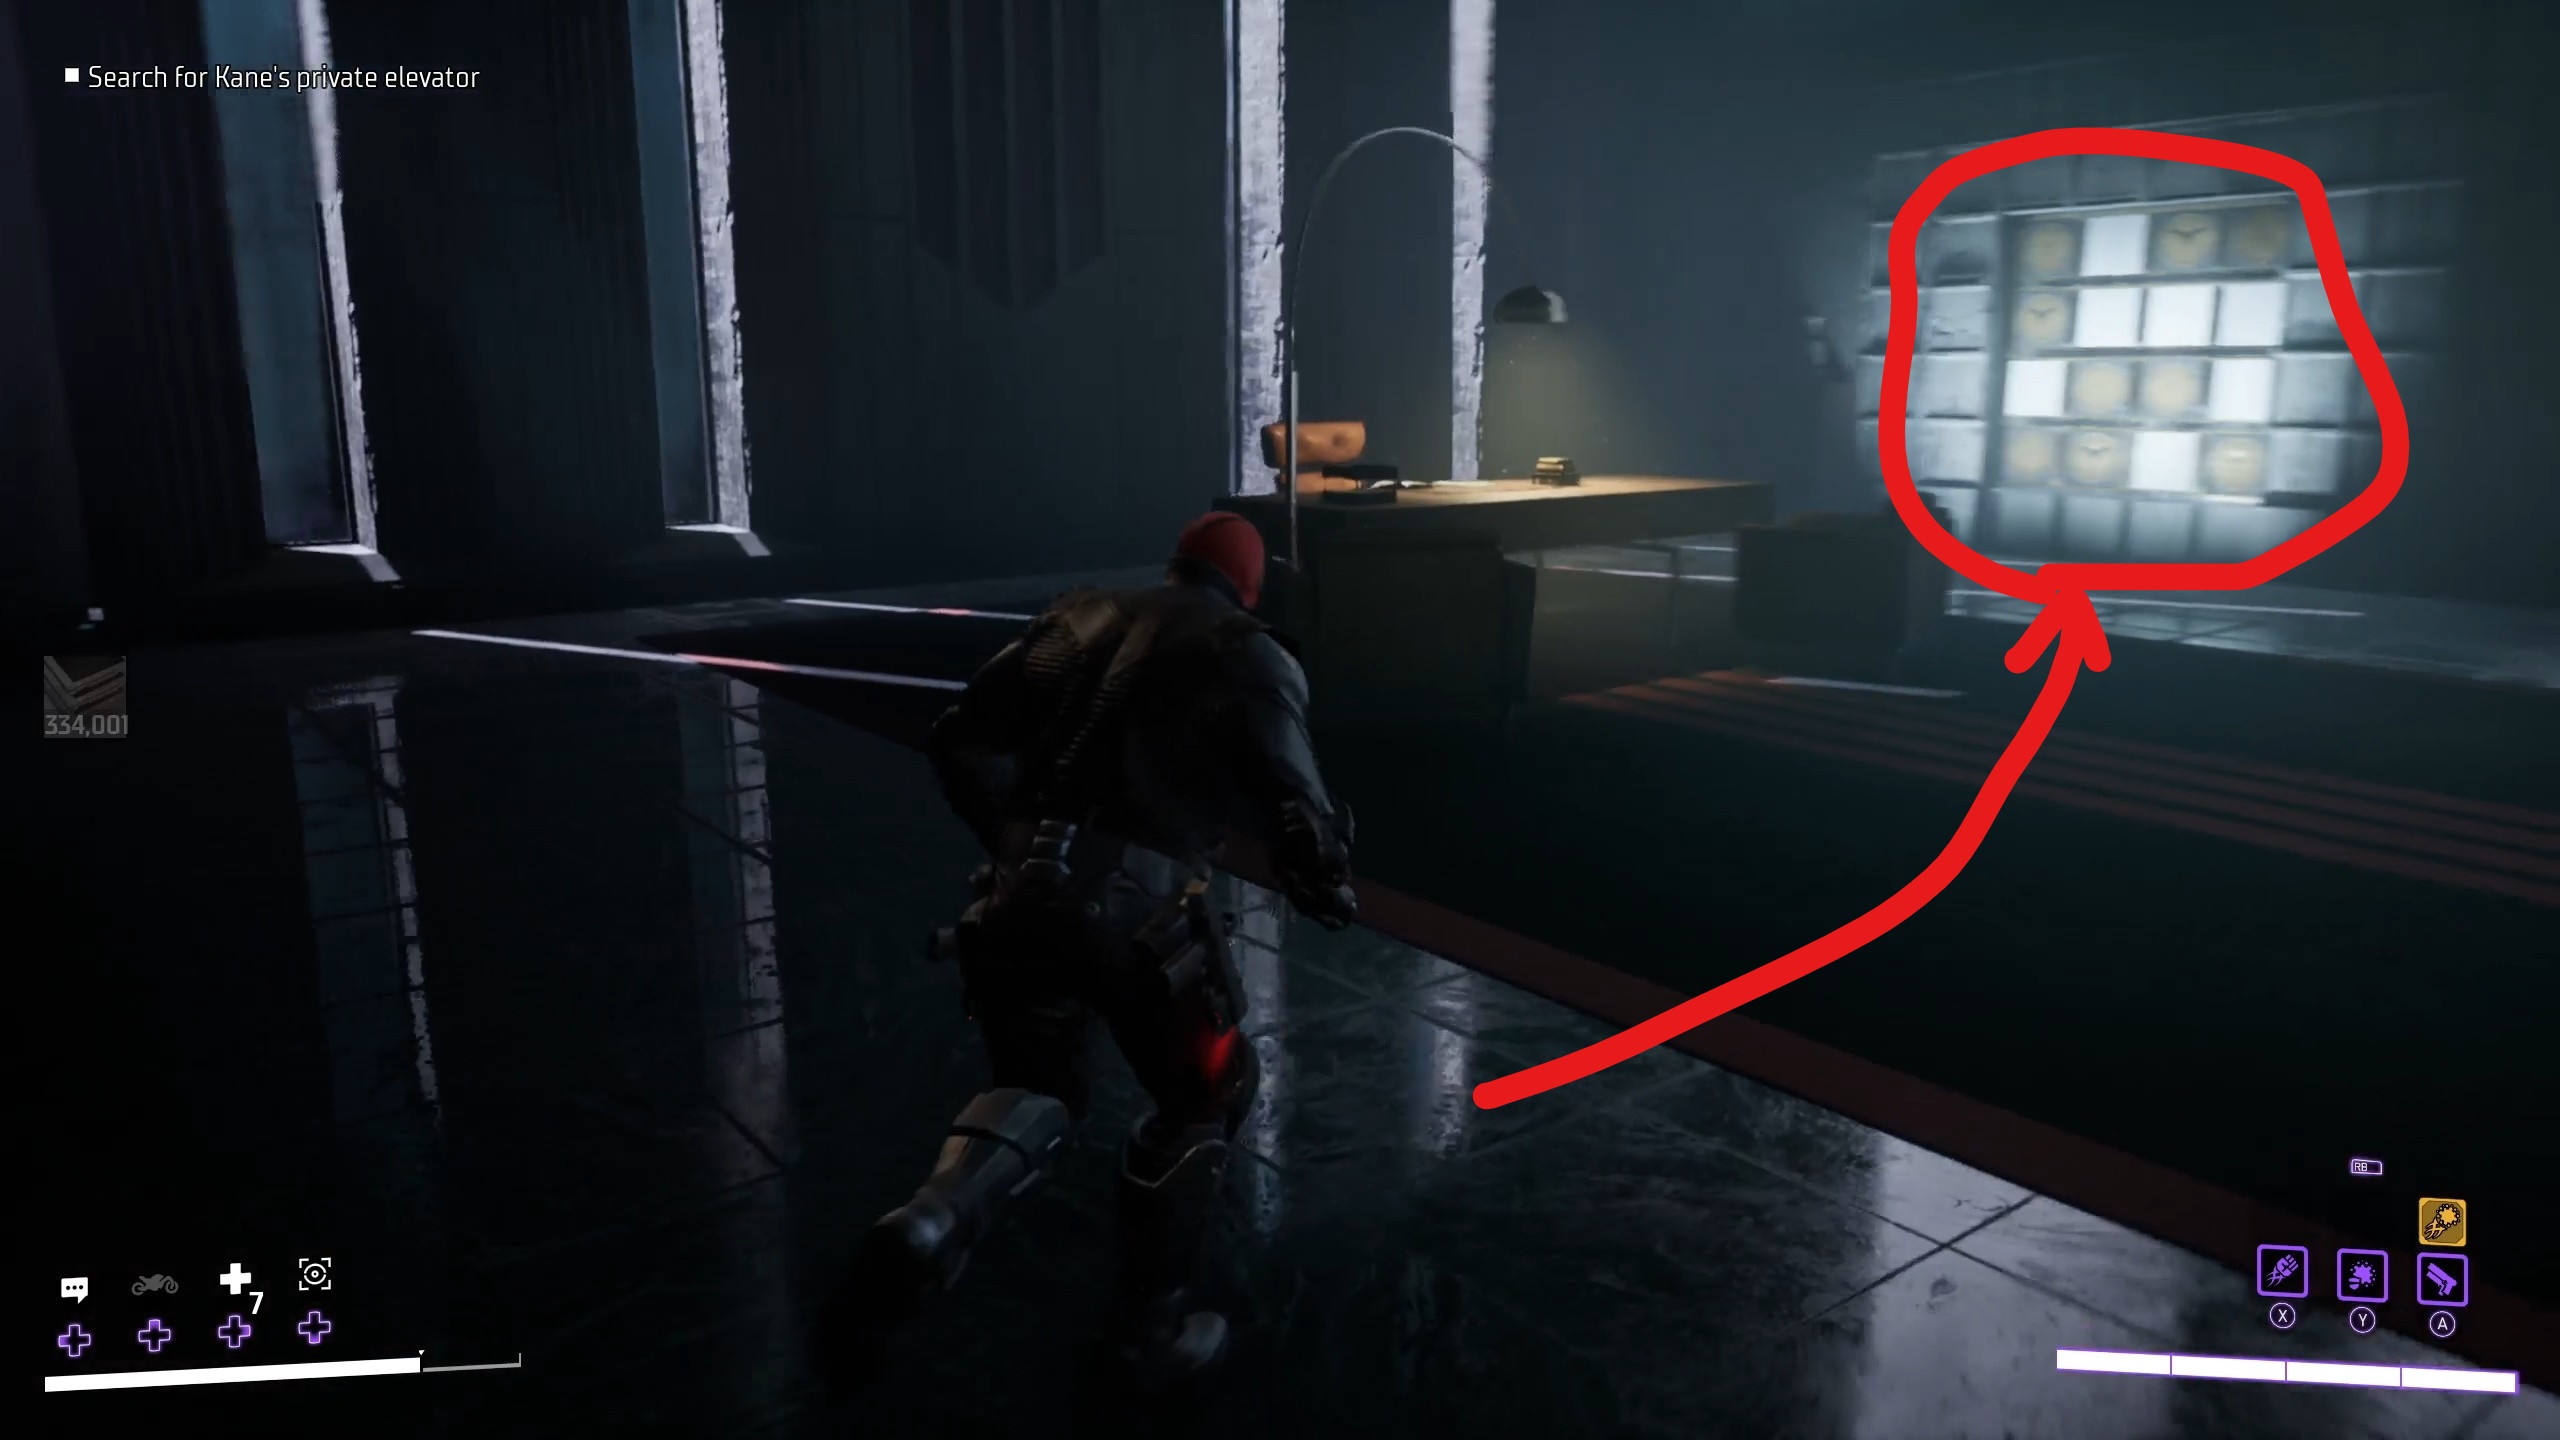
Open the next door to make it into Jacob Kane’s office. Immediately grab the chest to your right, then go to the wall next to Kane’s desk, where a 4×4 grid of symbols will be (this will be highlighted in yellow in AR).
Grab the chestGo to the wall
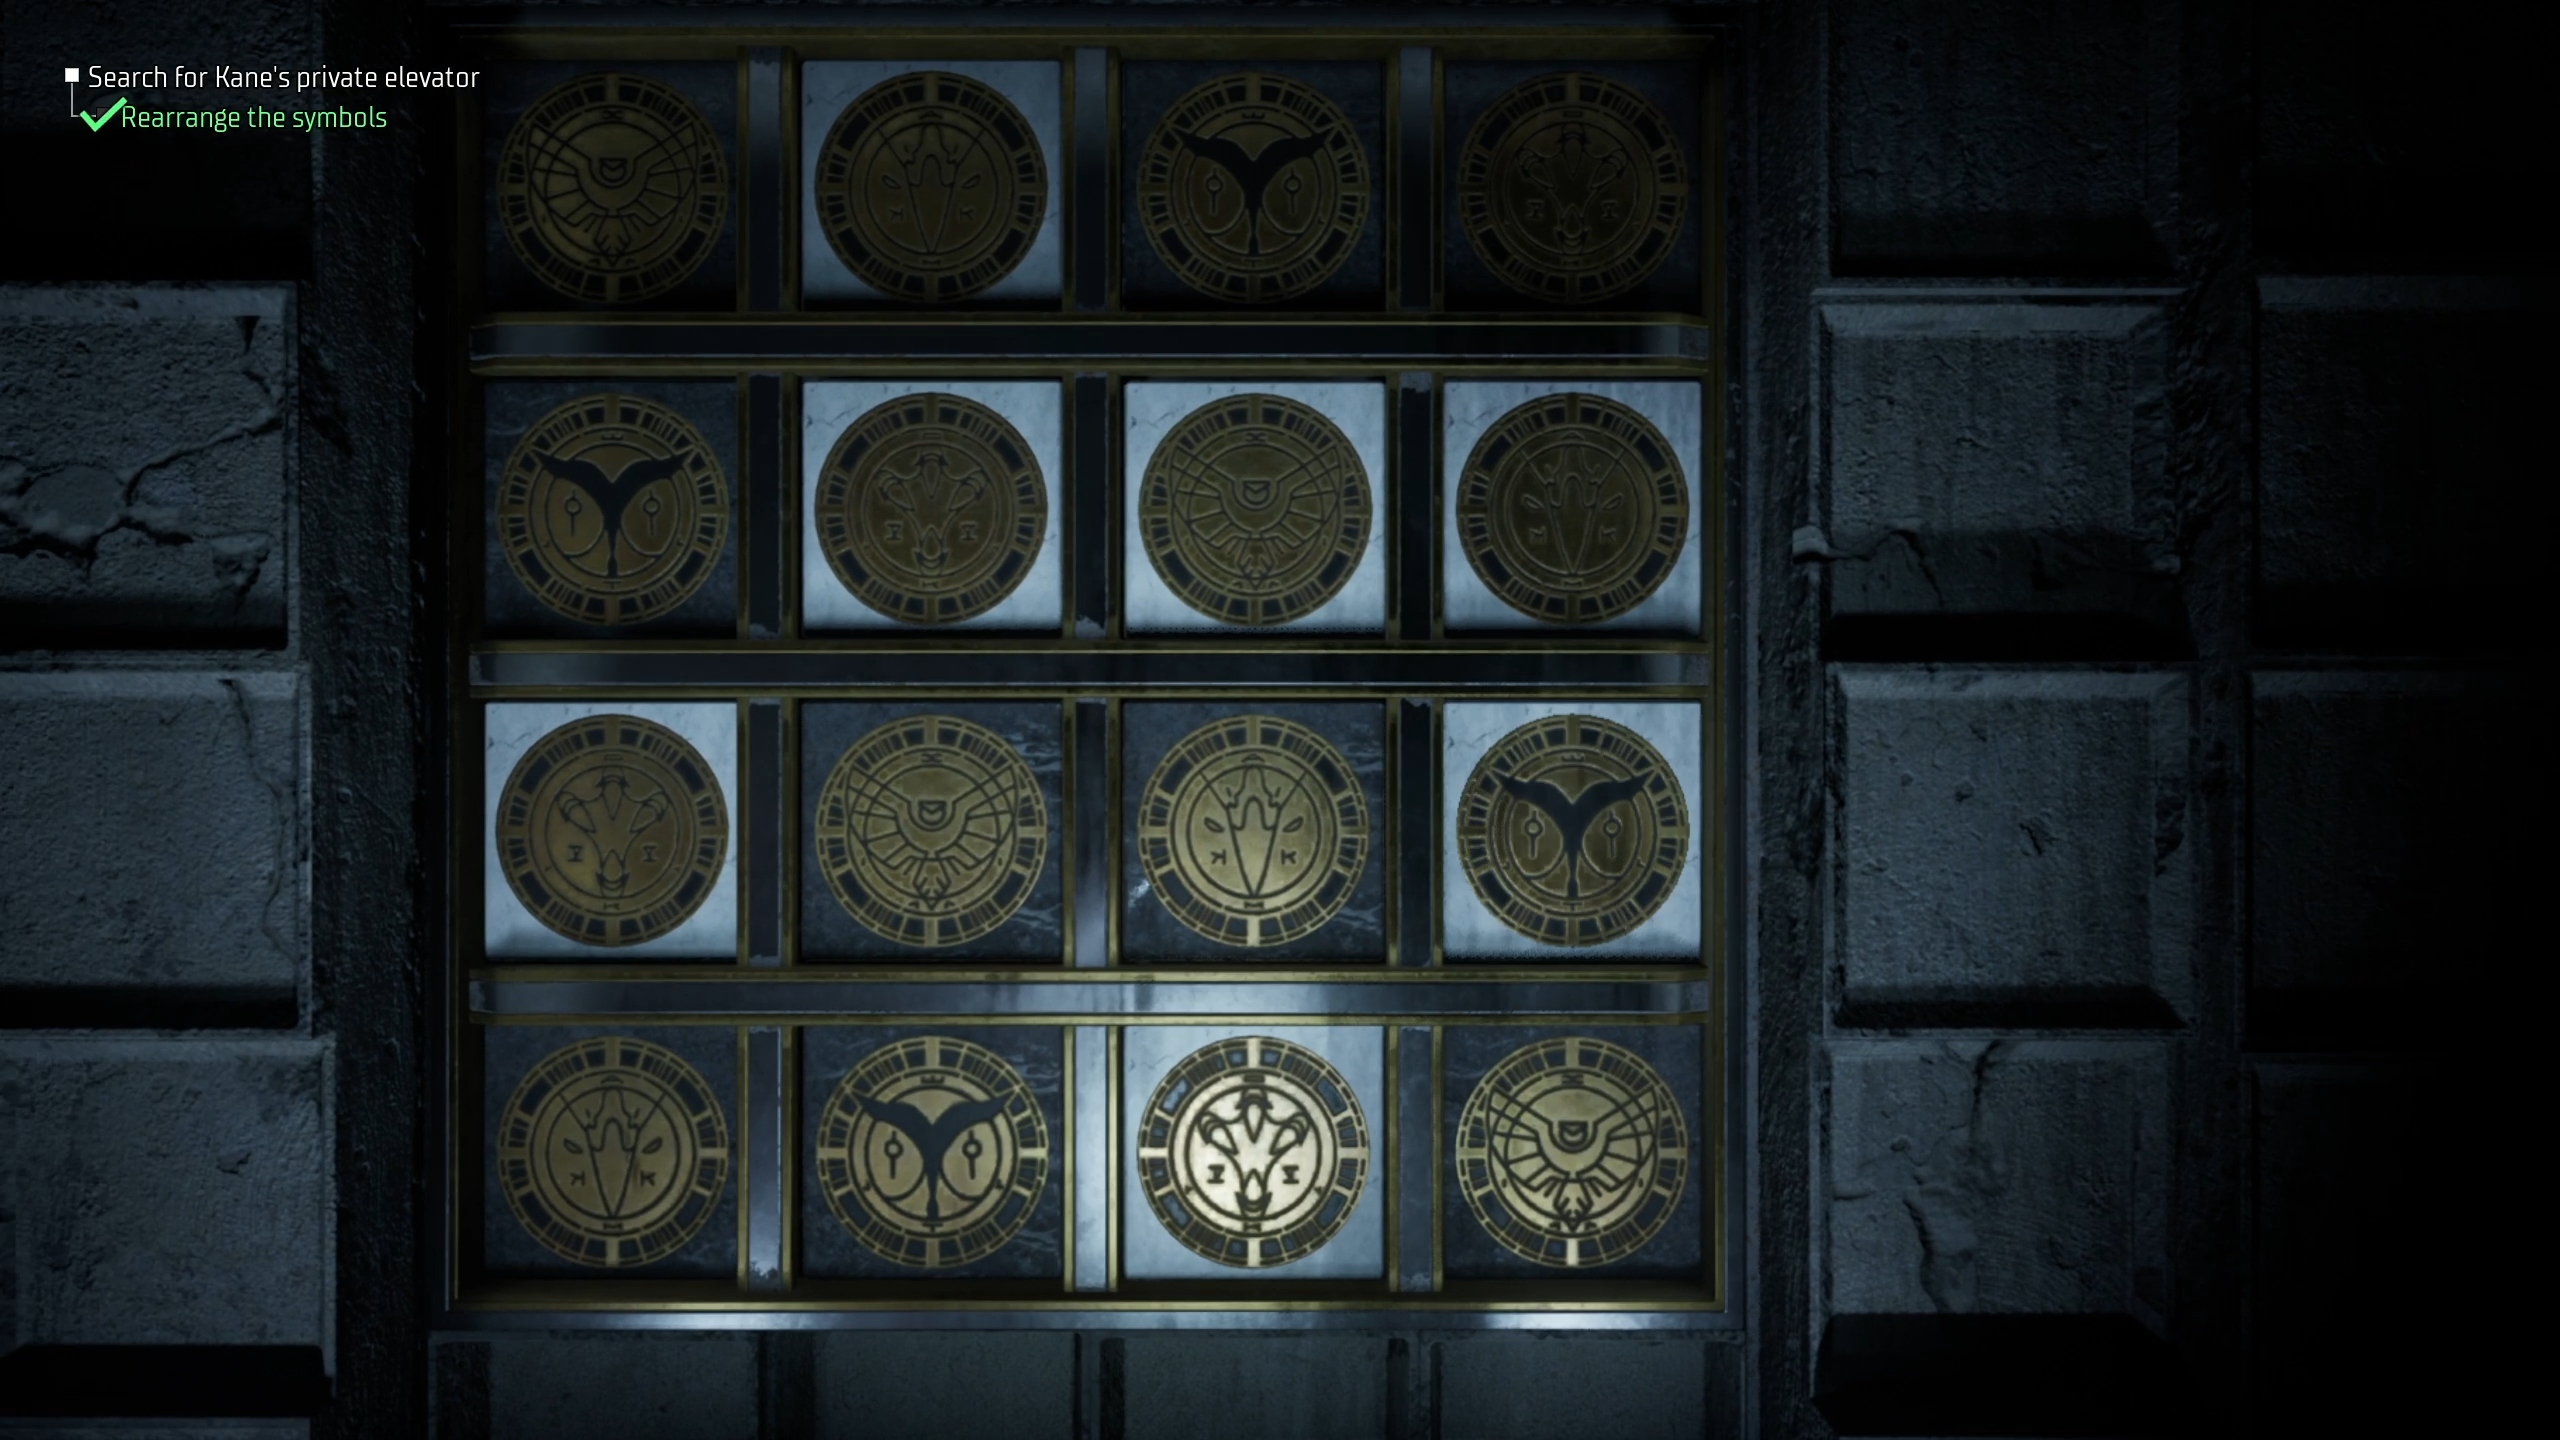
Interacting with this wall will begin with a puzzle, which operates something like Sudoku. You will need to flip the white stones (the dark stones being stuck in place) so that each row and column has only one of each symbol.
Here is the solved puzzle, with all symbols in the correct place:
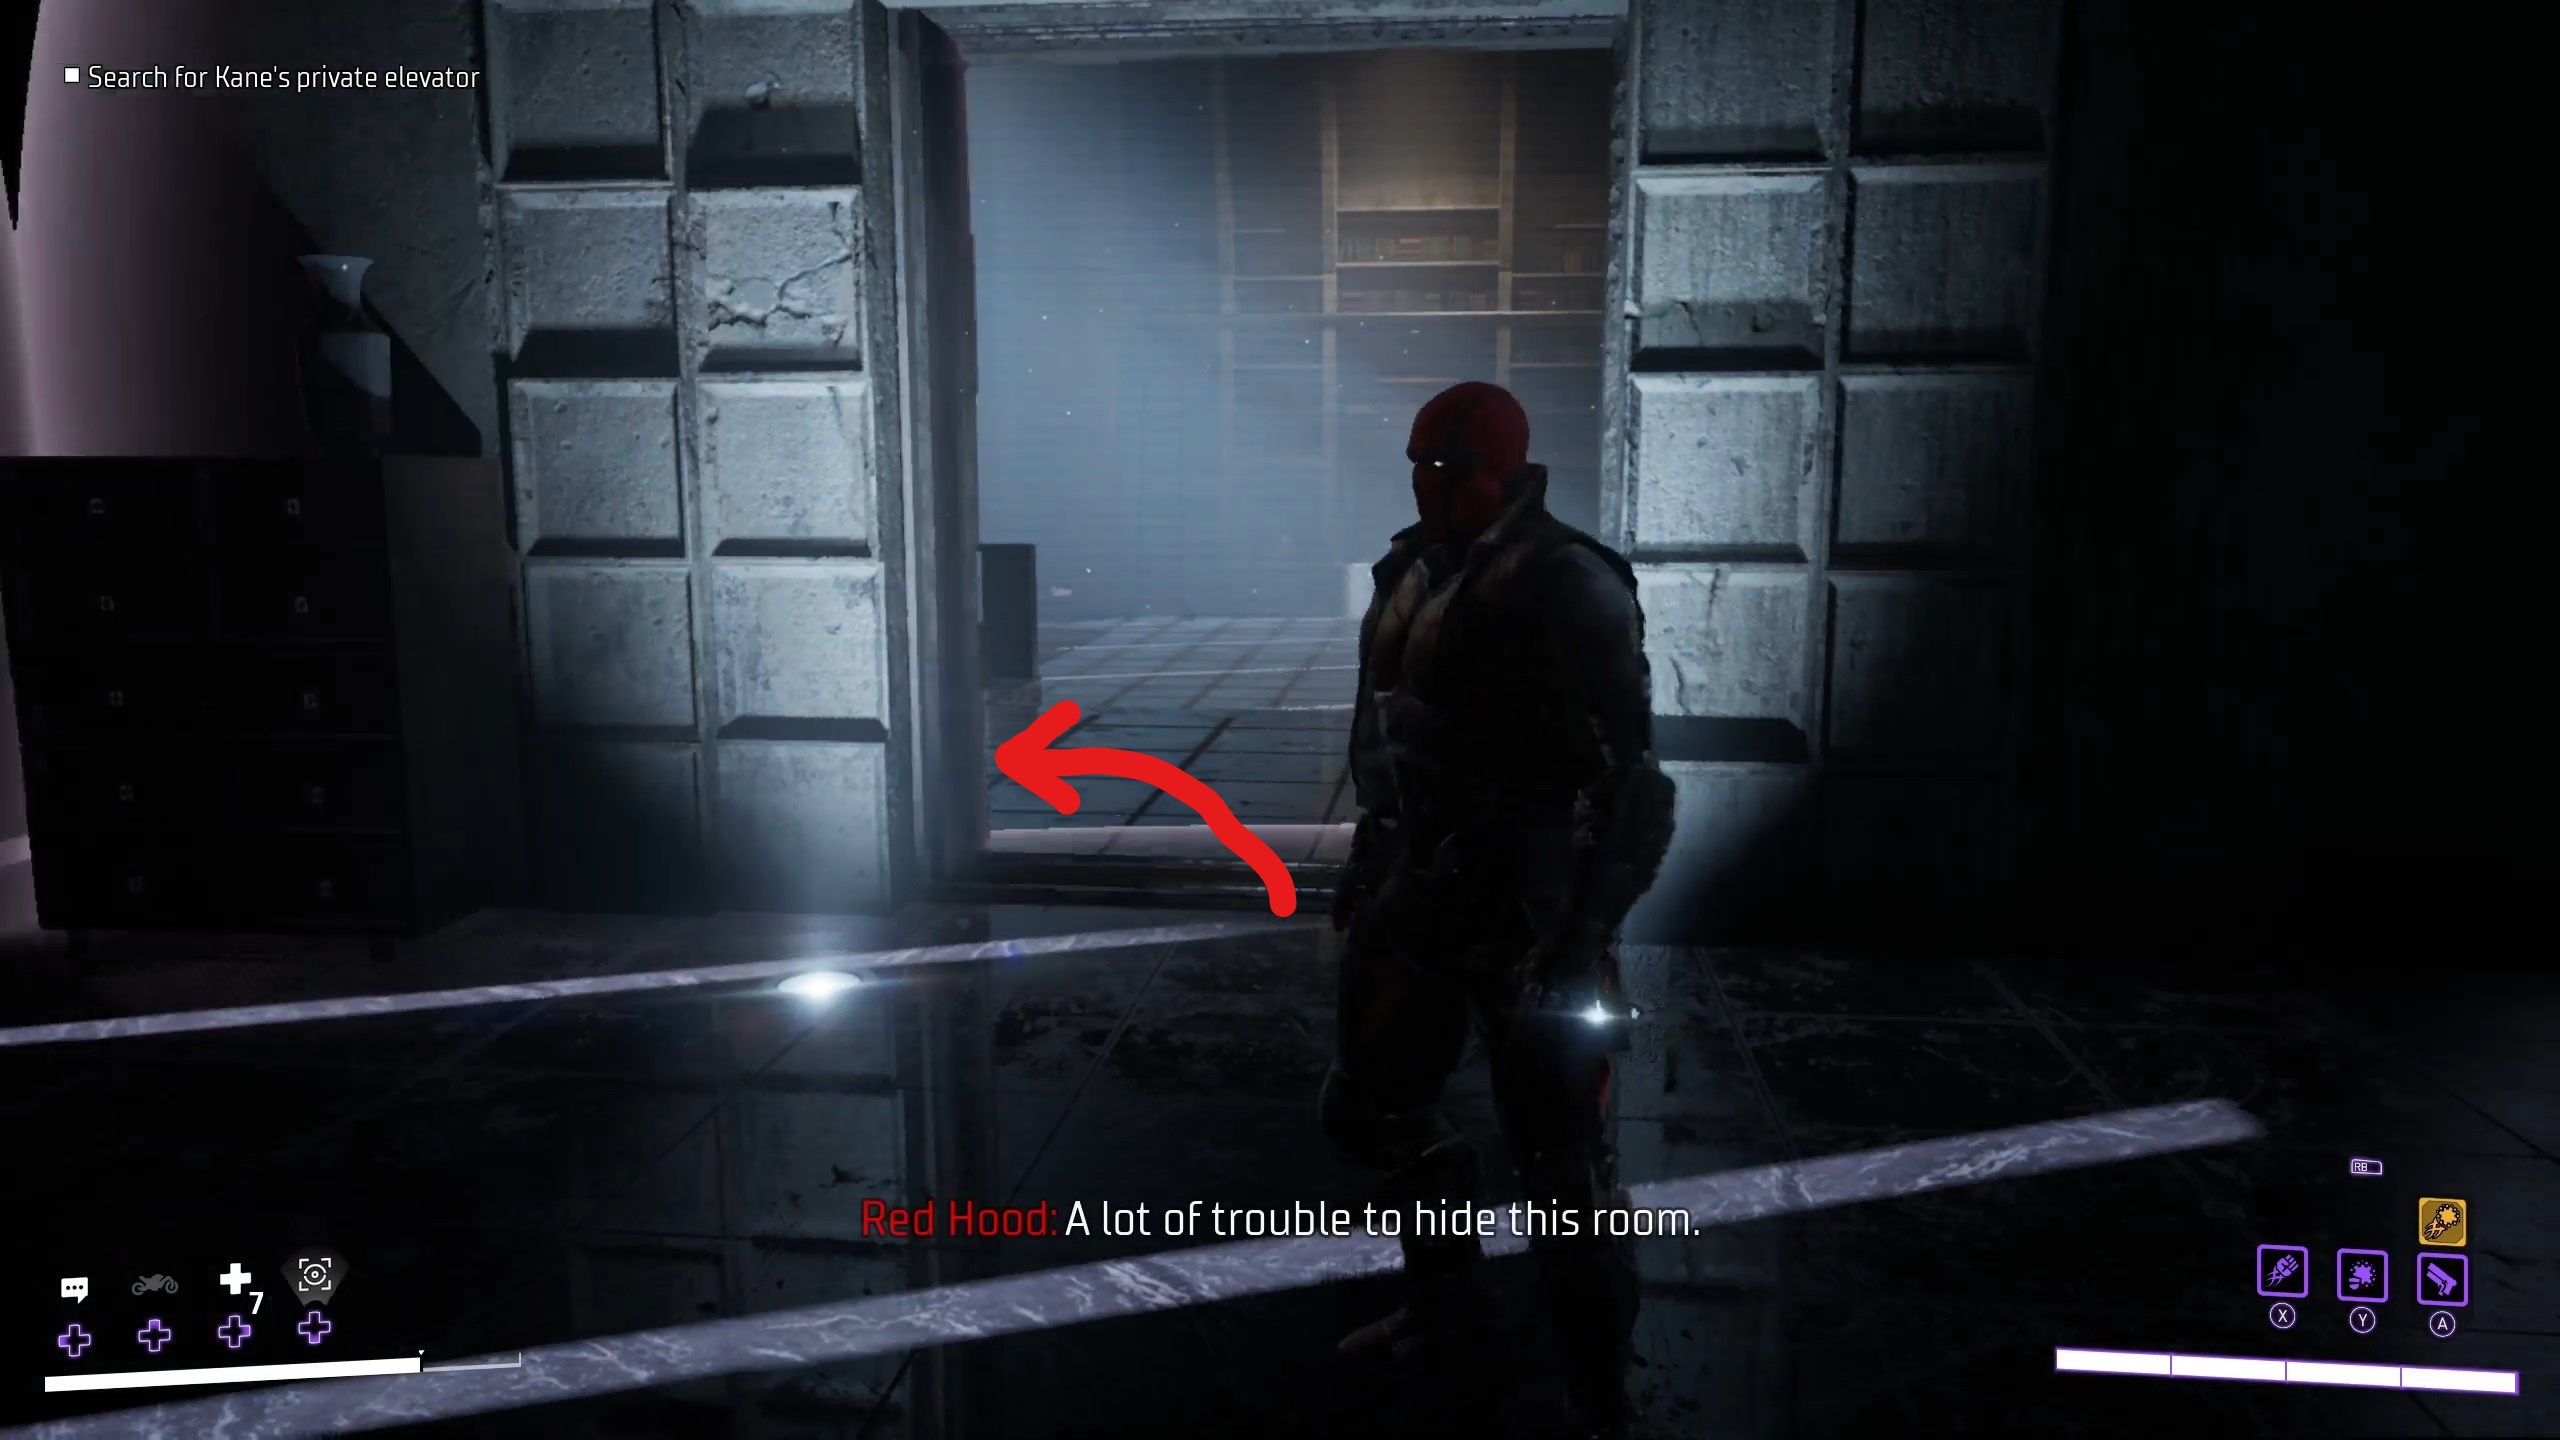
After solving the puzzle, a secret door will open. Go through the door and turn immediately to your left to find a chest. Go down the stairs and towards the other room, where another chest will be around the corner to your right.
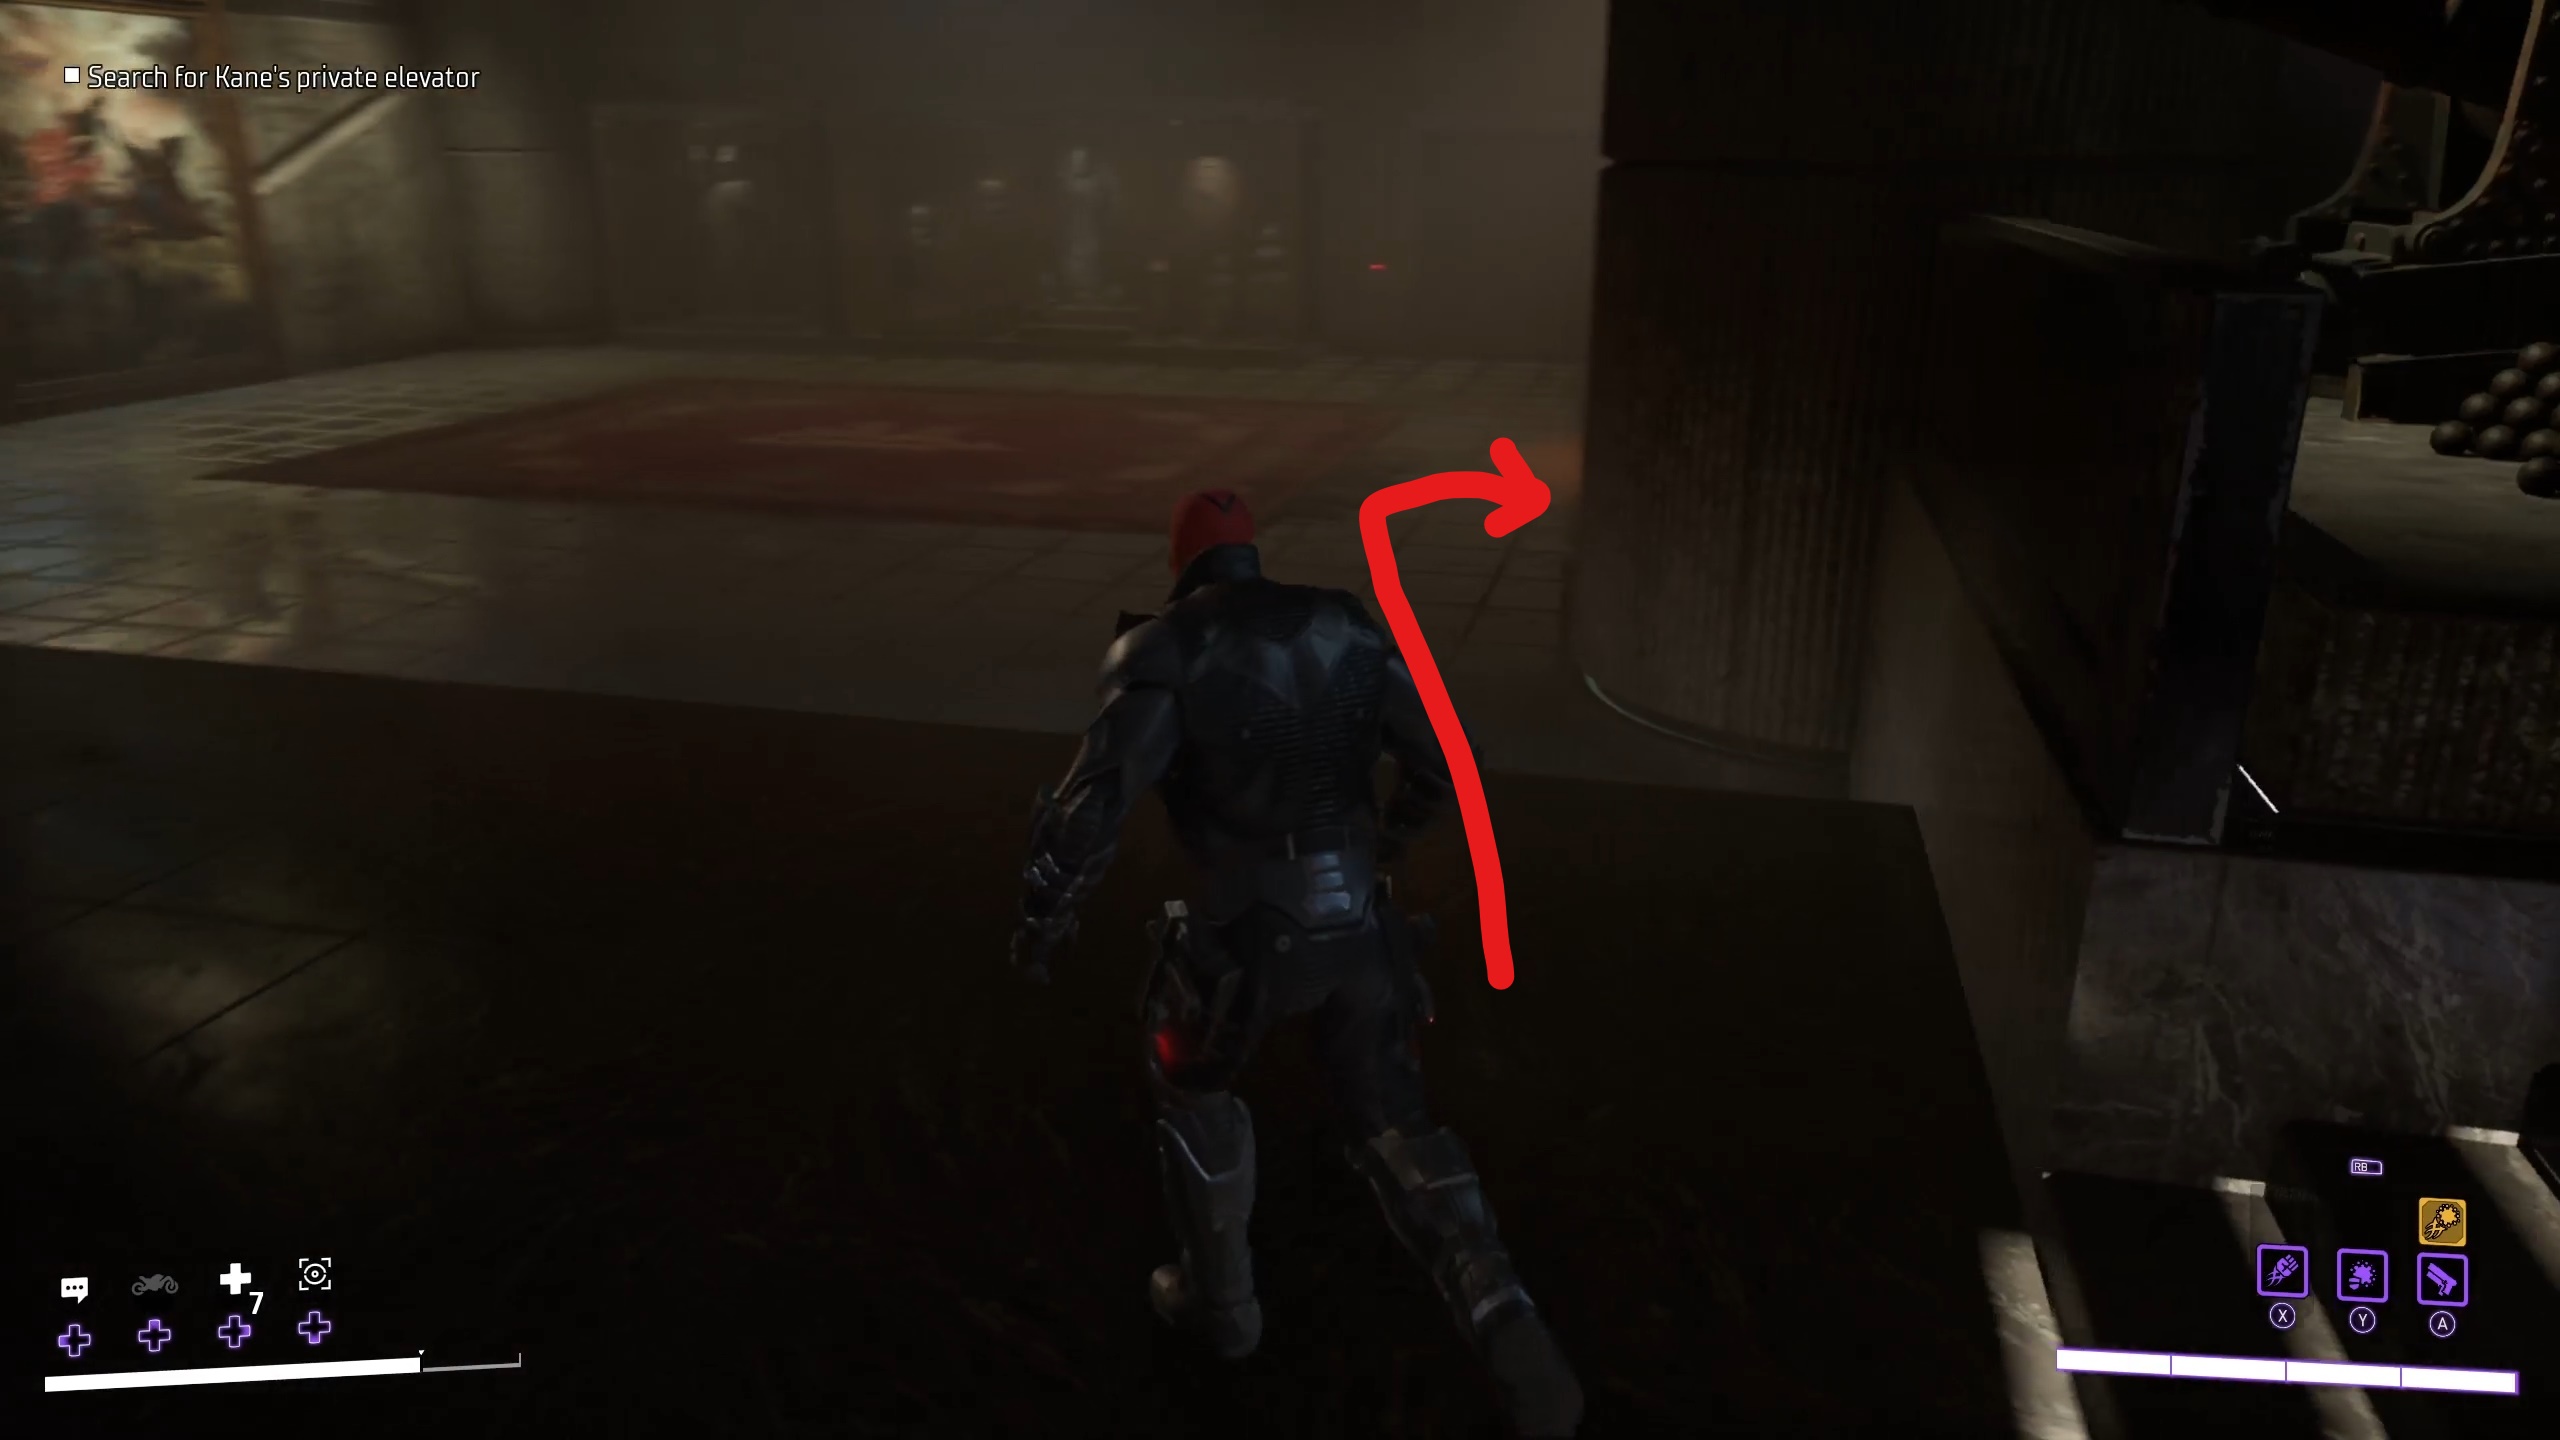
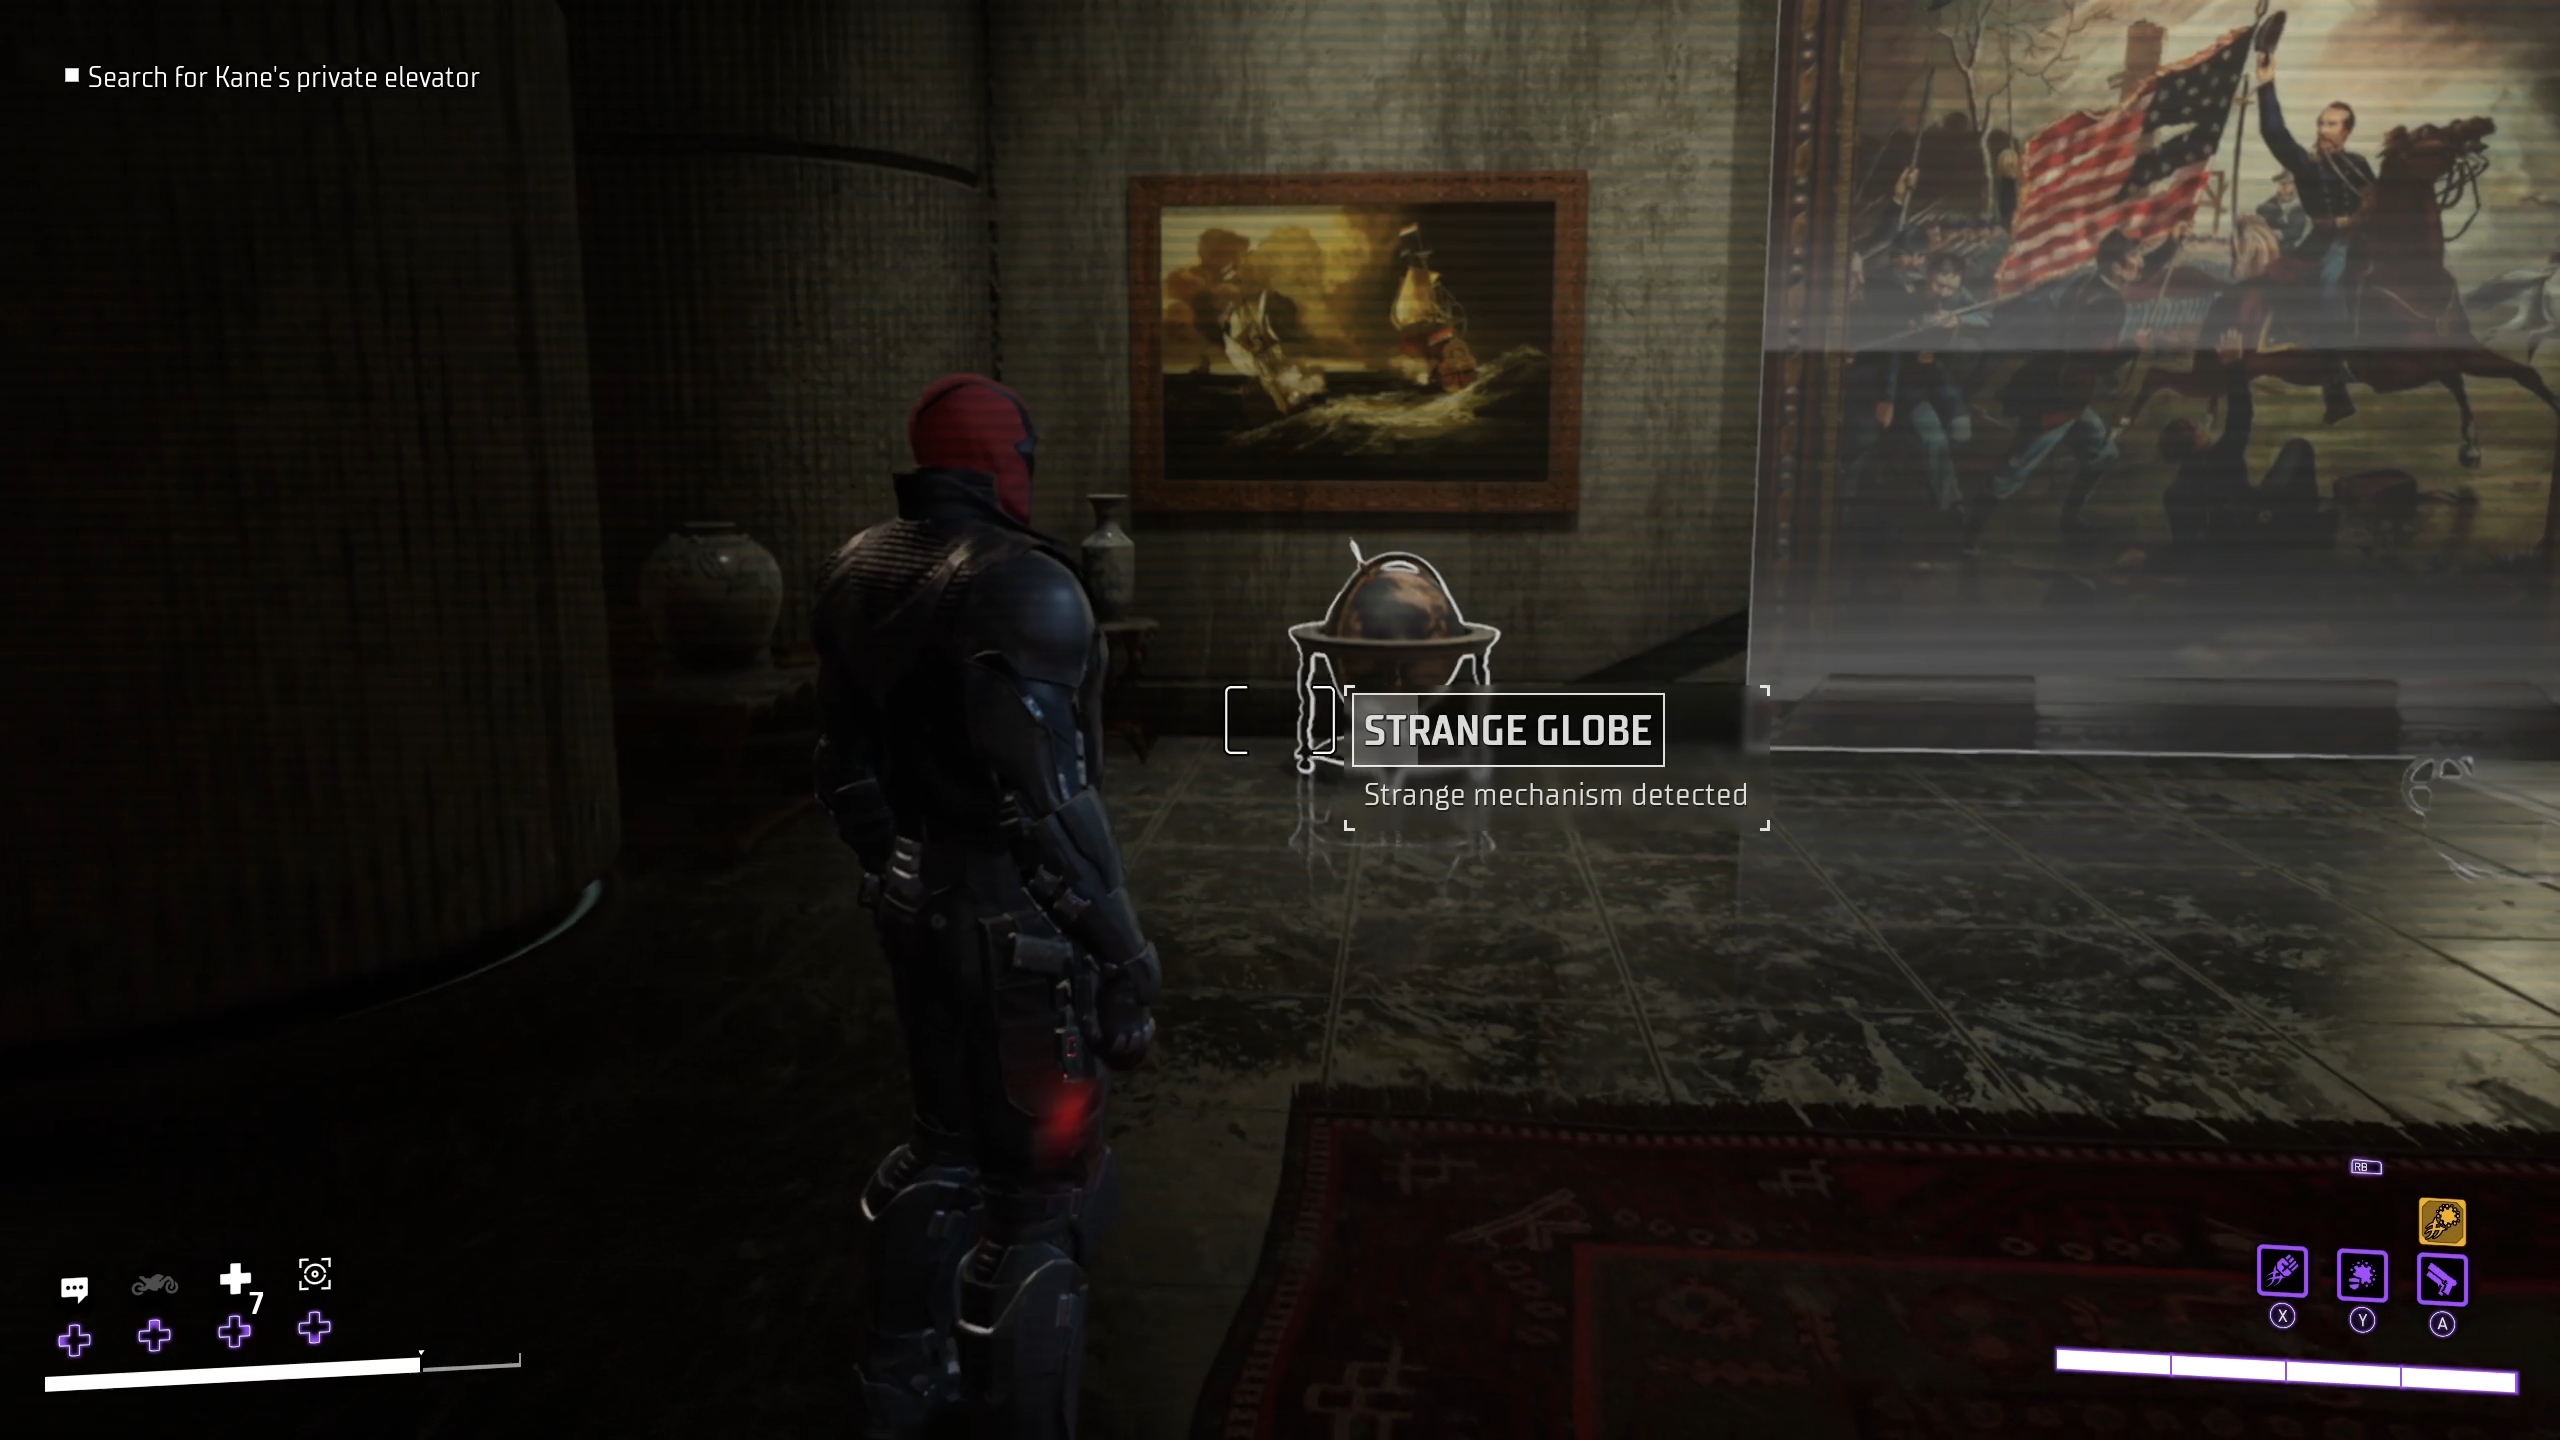
After grabbing the chests, feel free to have a look at the various objects around this room. Once you are ready to progress, you can go towards the globe and large painting in this room, both of which will be highlighted in grey in AR. Scan the “Strange Globe” to reveal a hidden mechanism, and then interact with it to move the painting and reveal another hidden door. After a brief dialog, you can place the laser drill on the newly-revealed door.
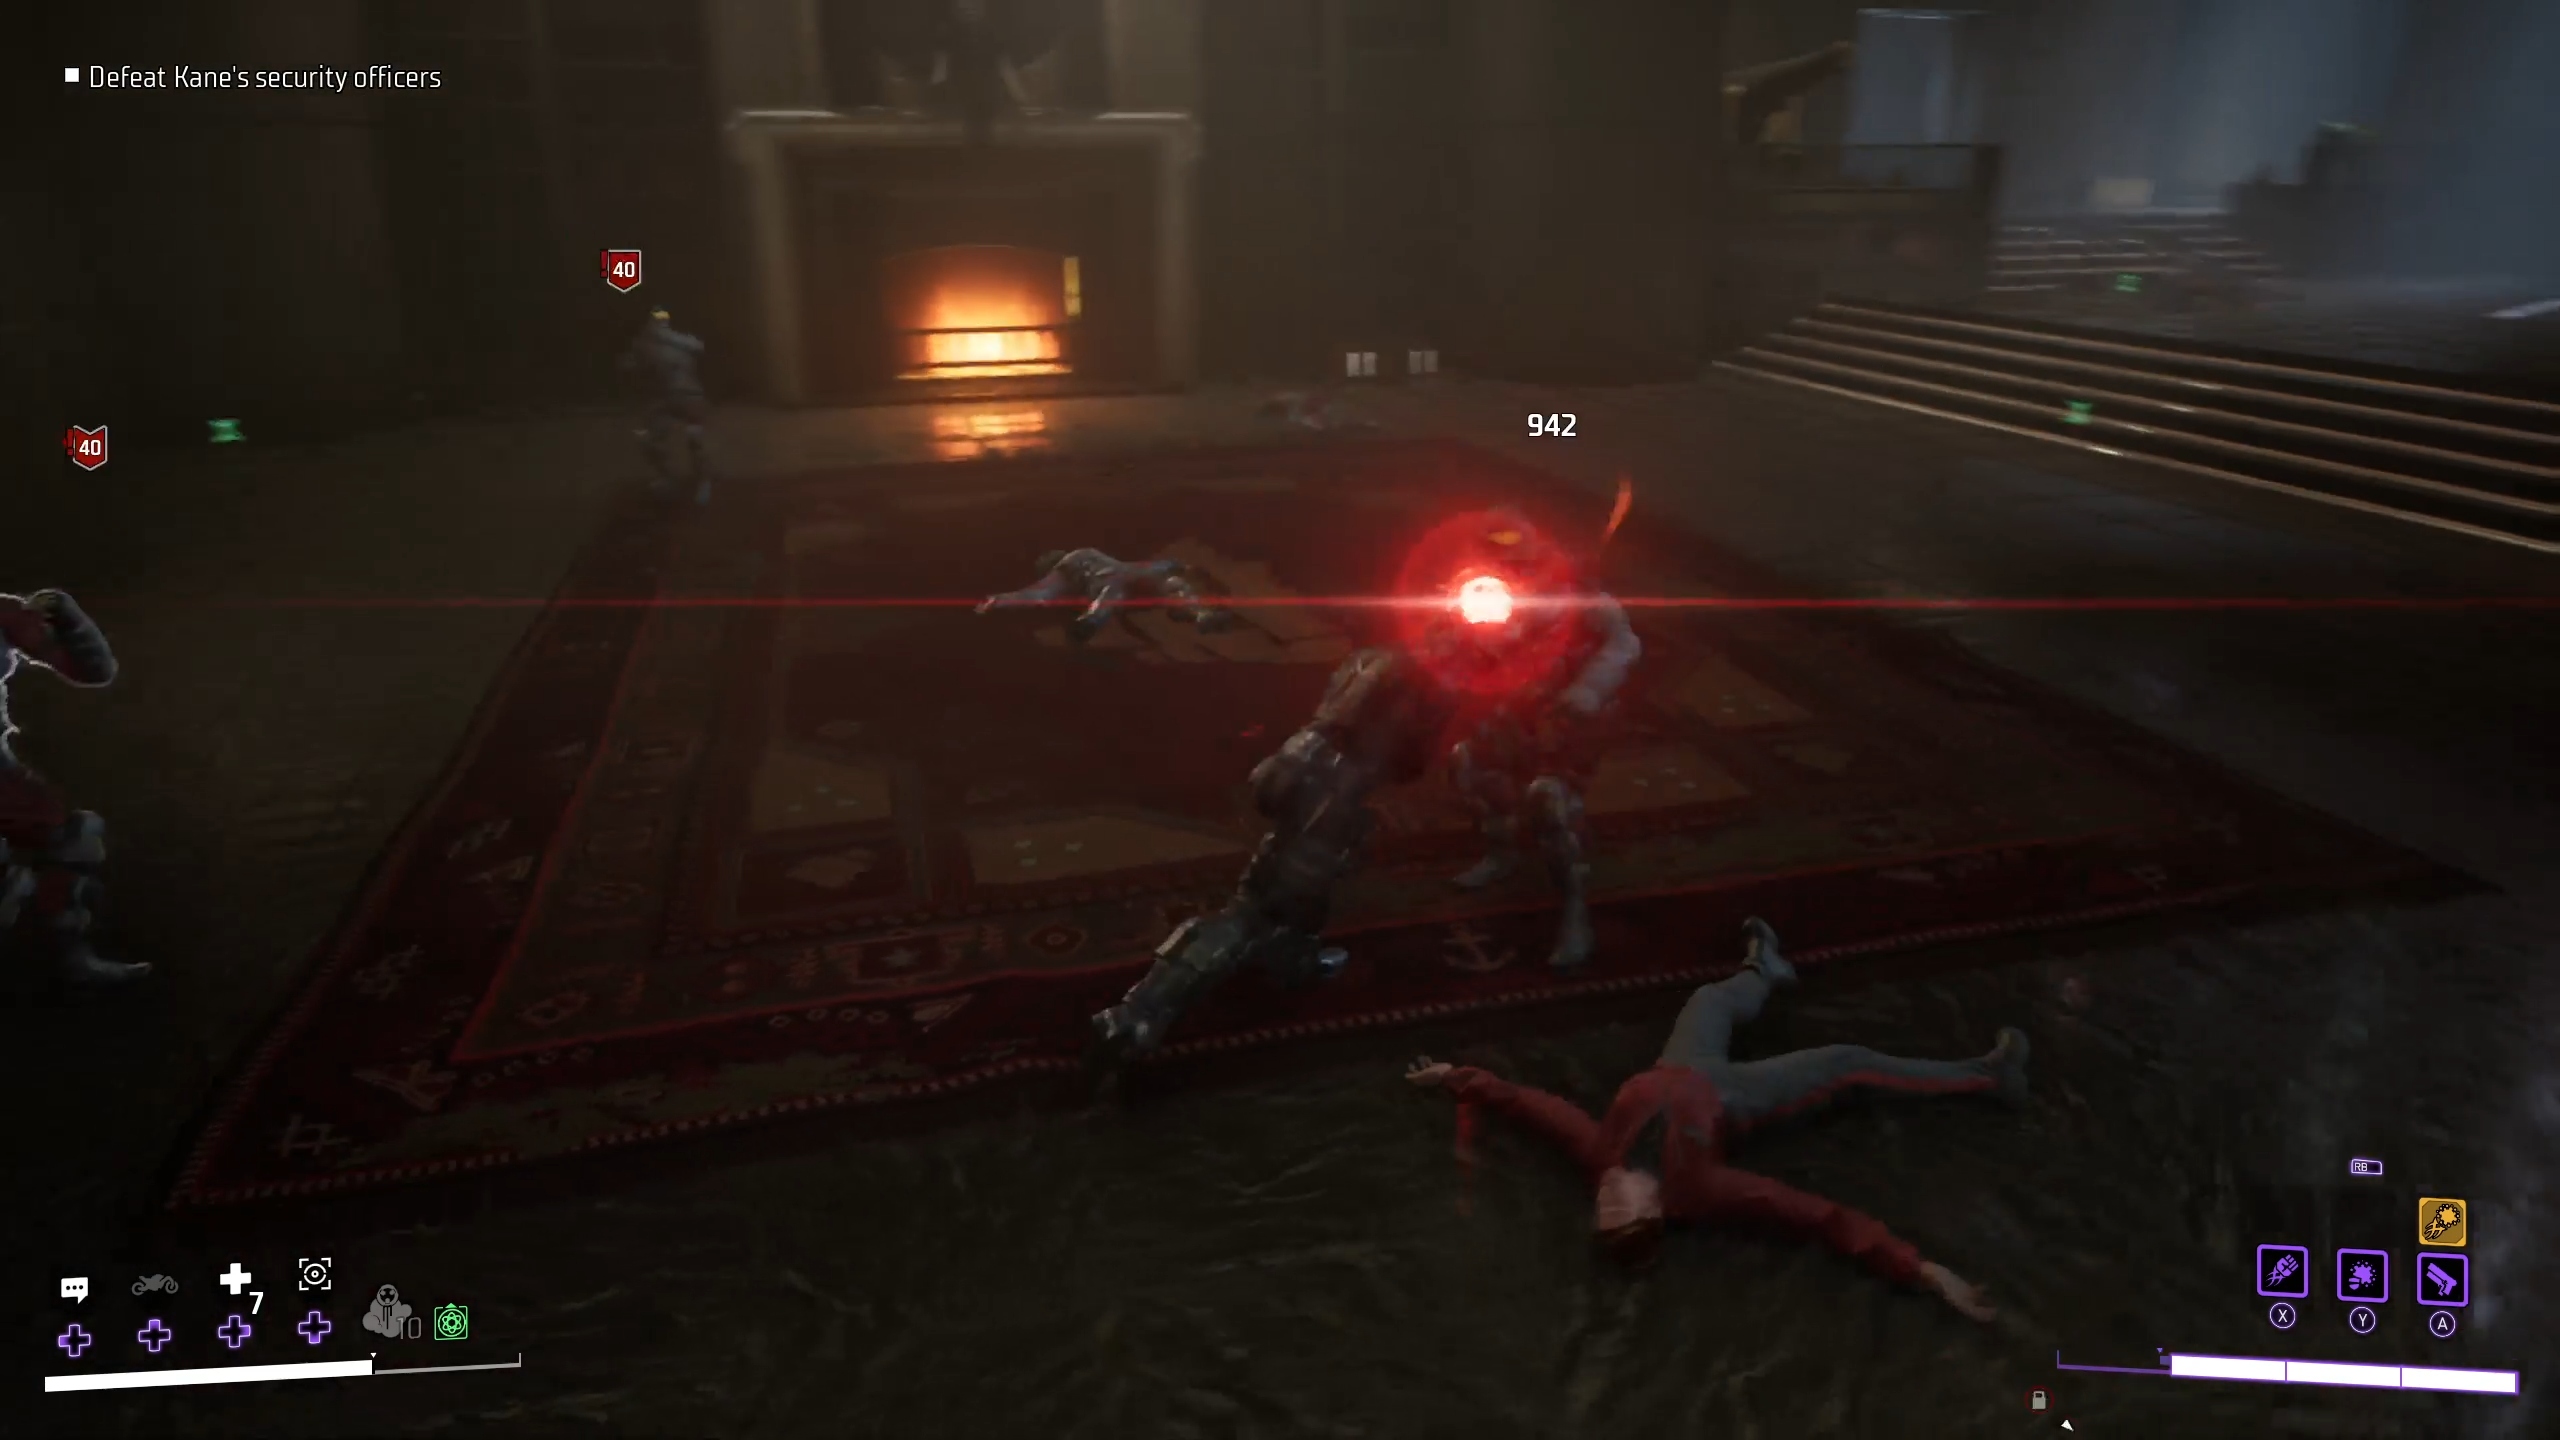
After you place the drill, a short dialog will play, and then the drilling will begin. A percentage will begin ticking towards 100% (at which point the door will open), but first you’ll need to take out waves of guards that will pile into the room.
Your bonus objective here will be to avoid damage. This can be tricky, but the best way to accomplish it is by taking out ranged enemies with your own ranged weapon while avoiding melee enemies. Once the ranged enemies are defeated, you can then carefully pick off the melee enemies, either by keeping them at range or by being very careful with your dodges and attacks.
The drill will pause at 42% and will need to be interacted with in between waves to get it to continue. Once you restart it, another wave will immediately filter into the room, with another coming just before the drill completes its task. You’ll need to defeat all remaining guards before going into the now-open elevator and continuing with the mission.
After going down the elevator, crouch, then go straight forward and around the corner. There will be a few guards in the next room, and your bonus objective will be to take them out using Silent Takedowns. Because there are no grappling locations in this area, you won’t be able to use smoke bombs to return to an undetected state, so you’ll need to use caution to complete this.
The first guard you can take out will be to your right, in the corridor outside the war room, but the others you’ll need to pick off carefully according to the situation. After taking out this first guard, it is usually best to continue going through the corridor to take out the guards there before moving into the war room itself.
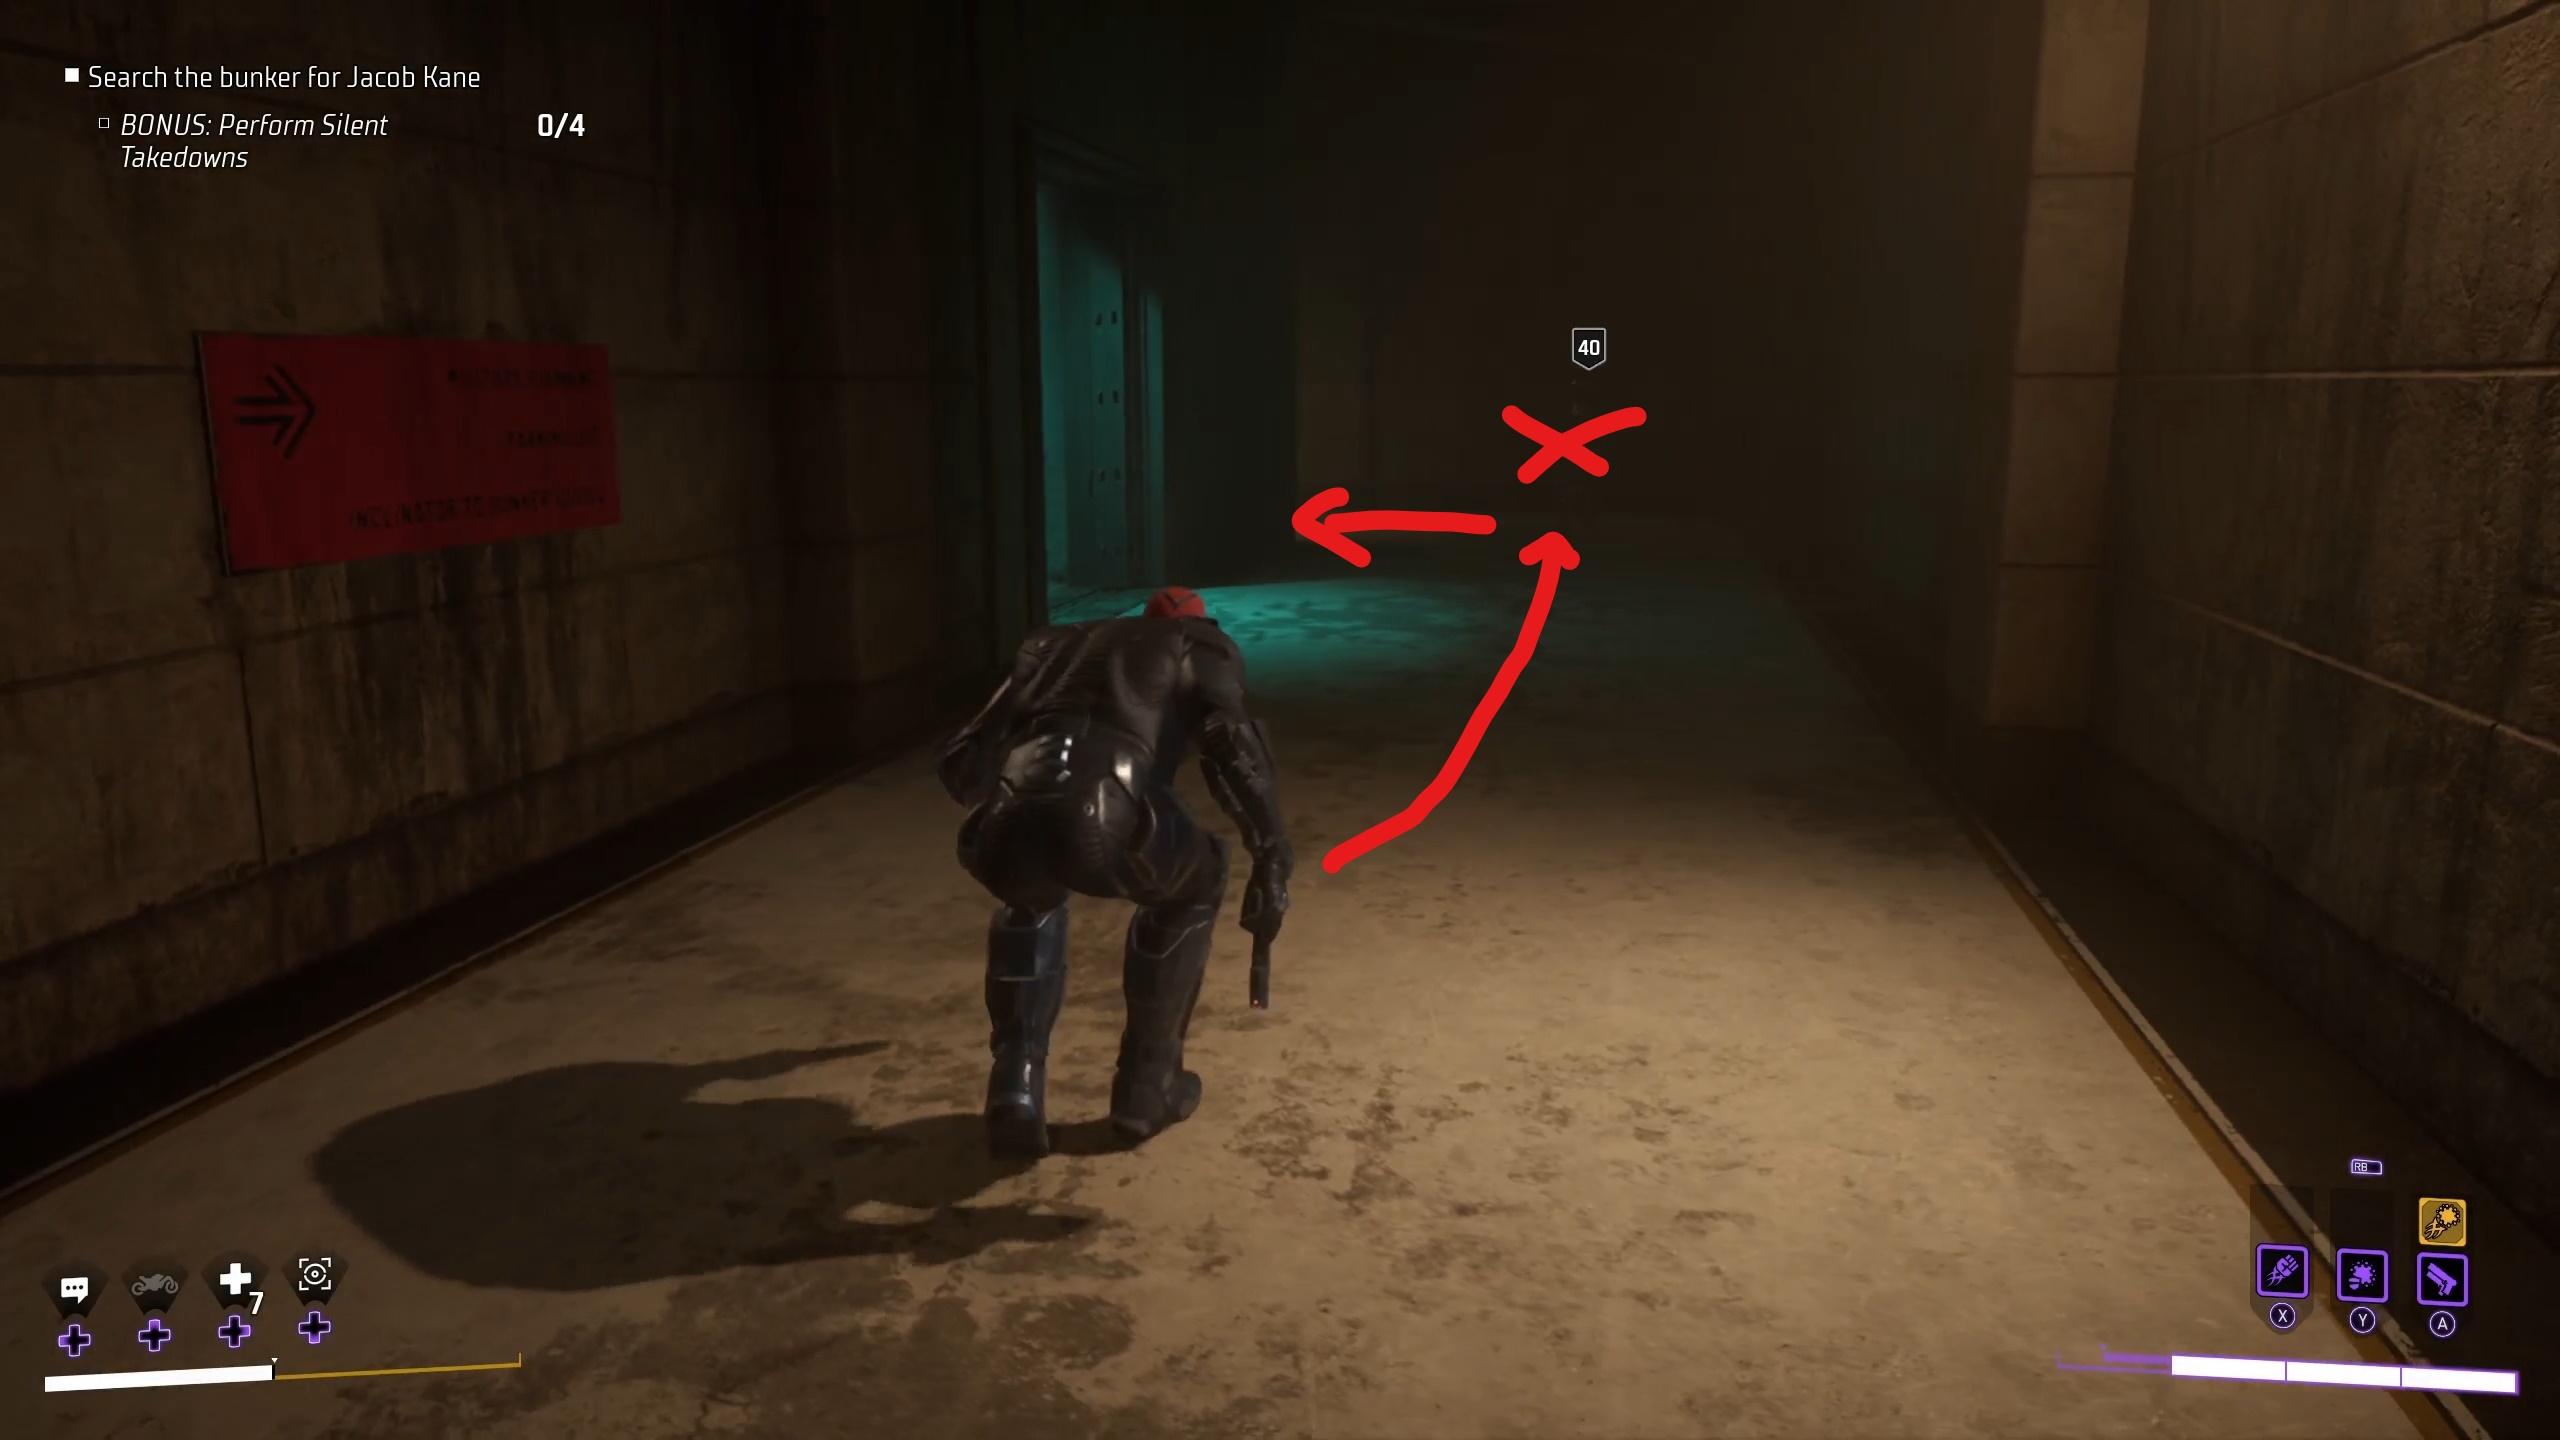
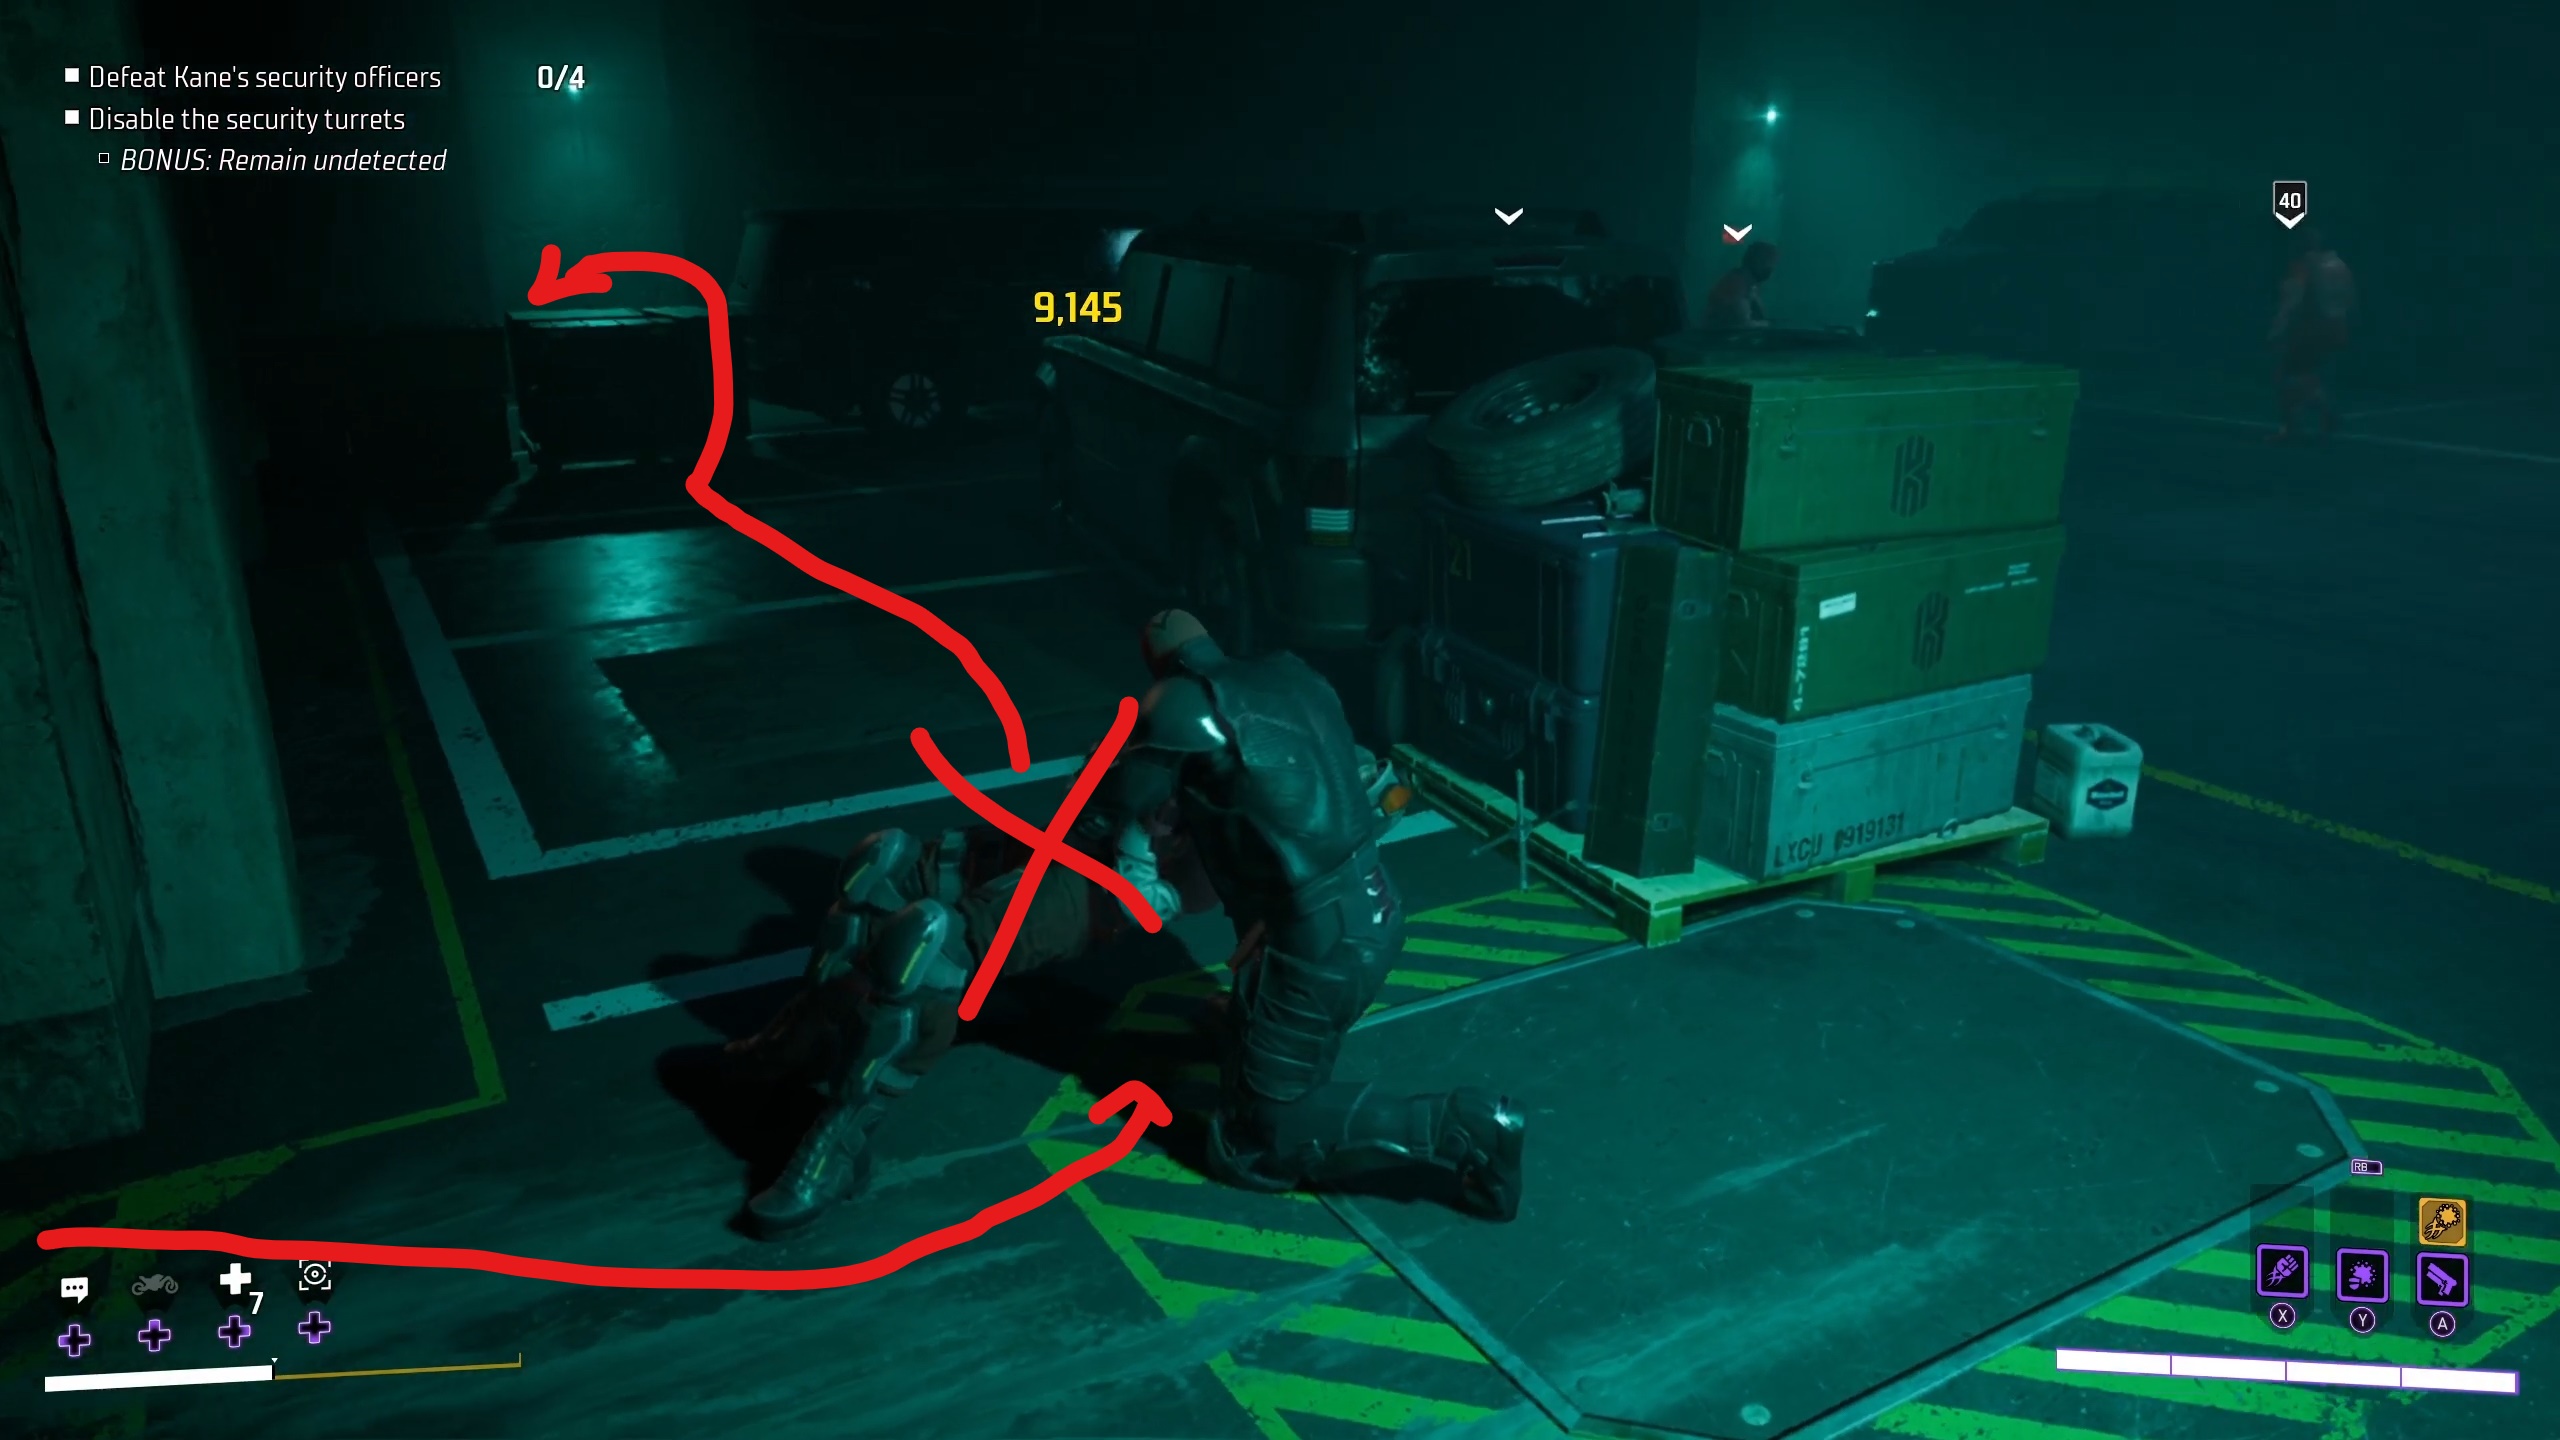
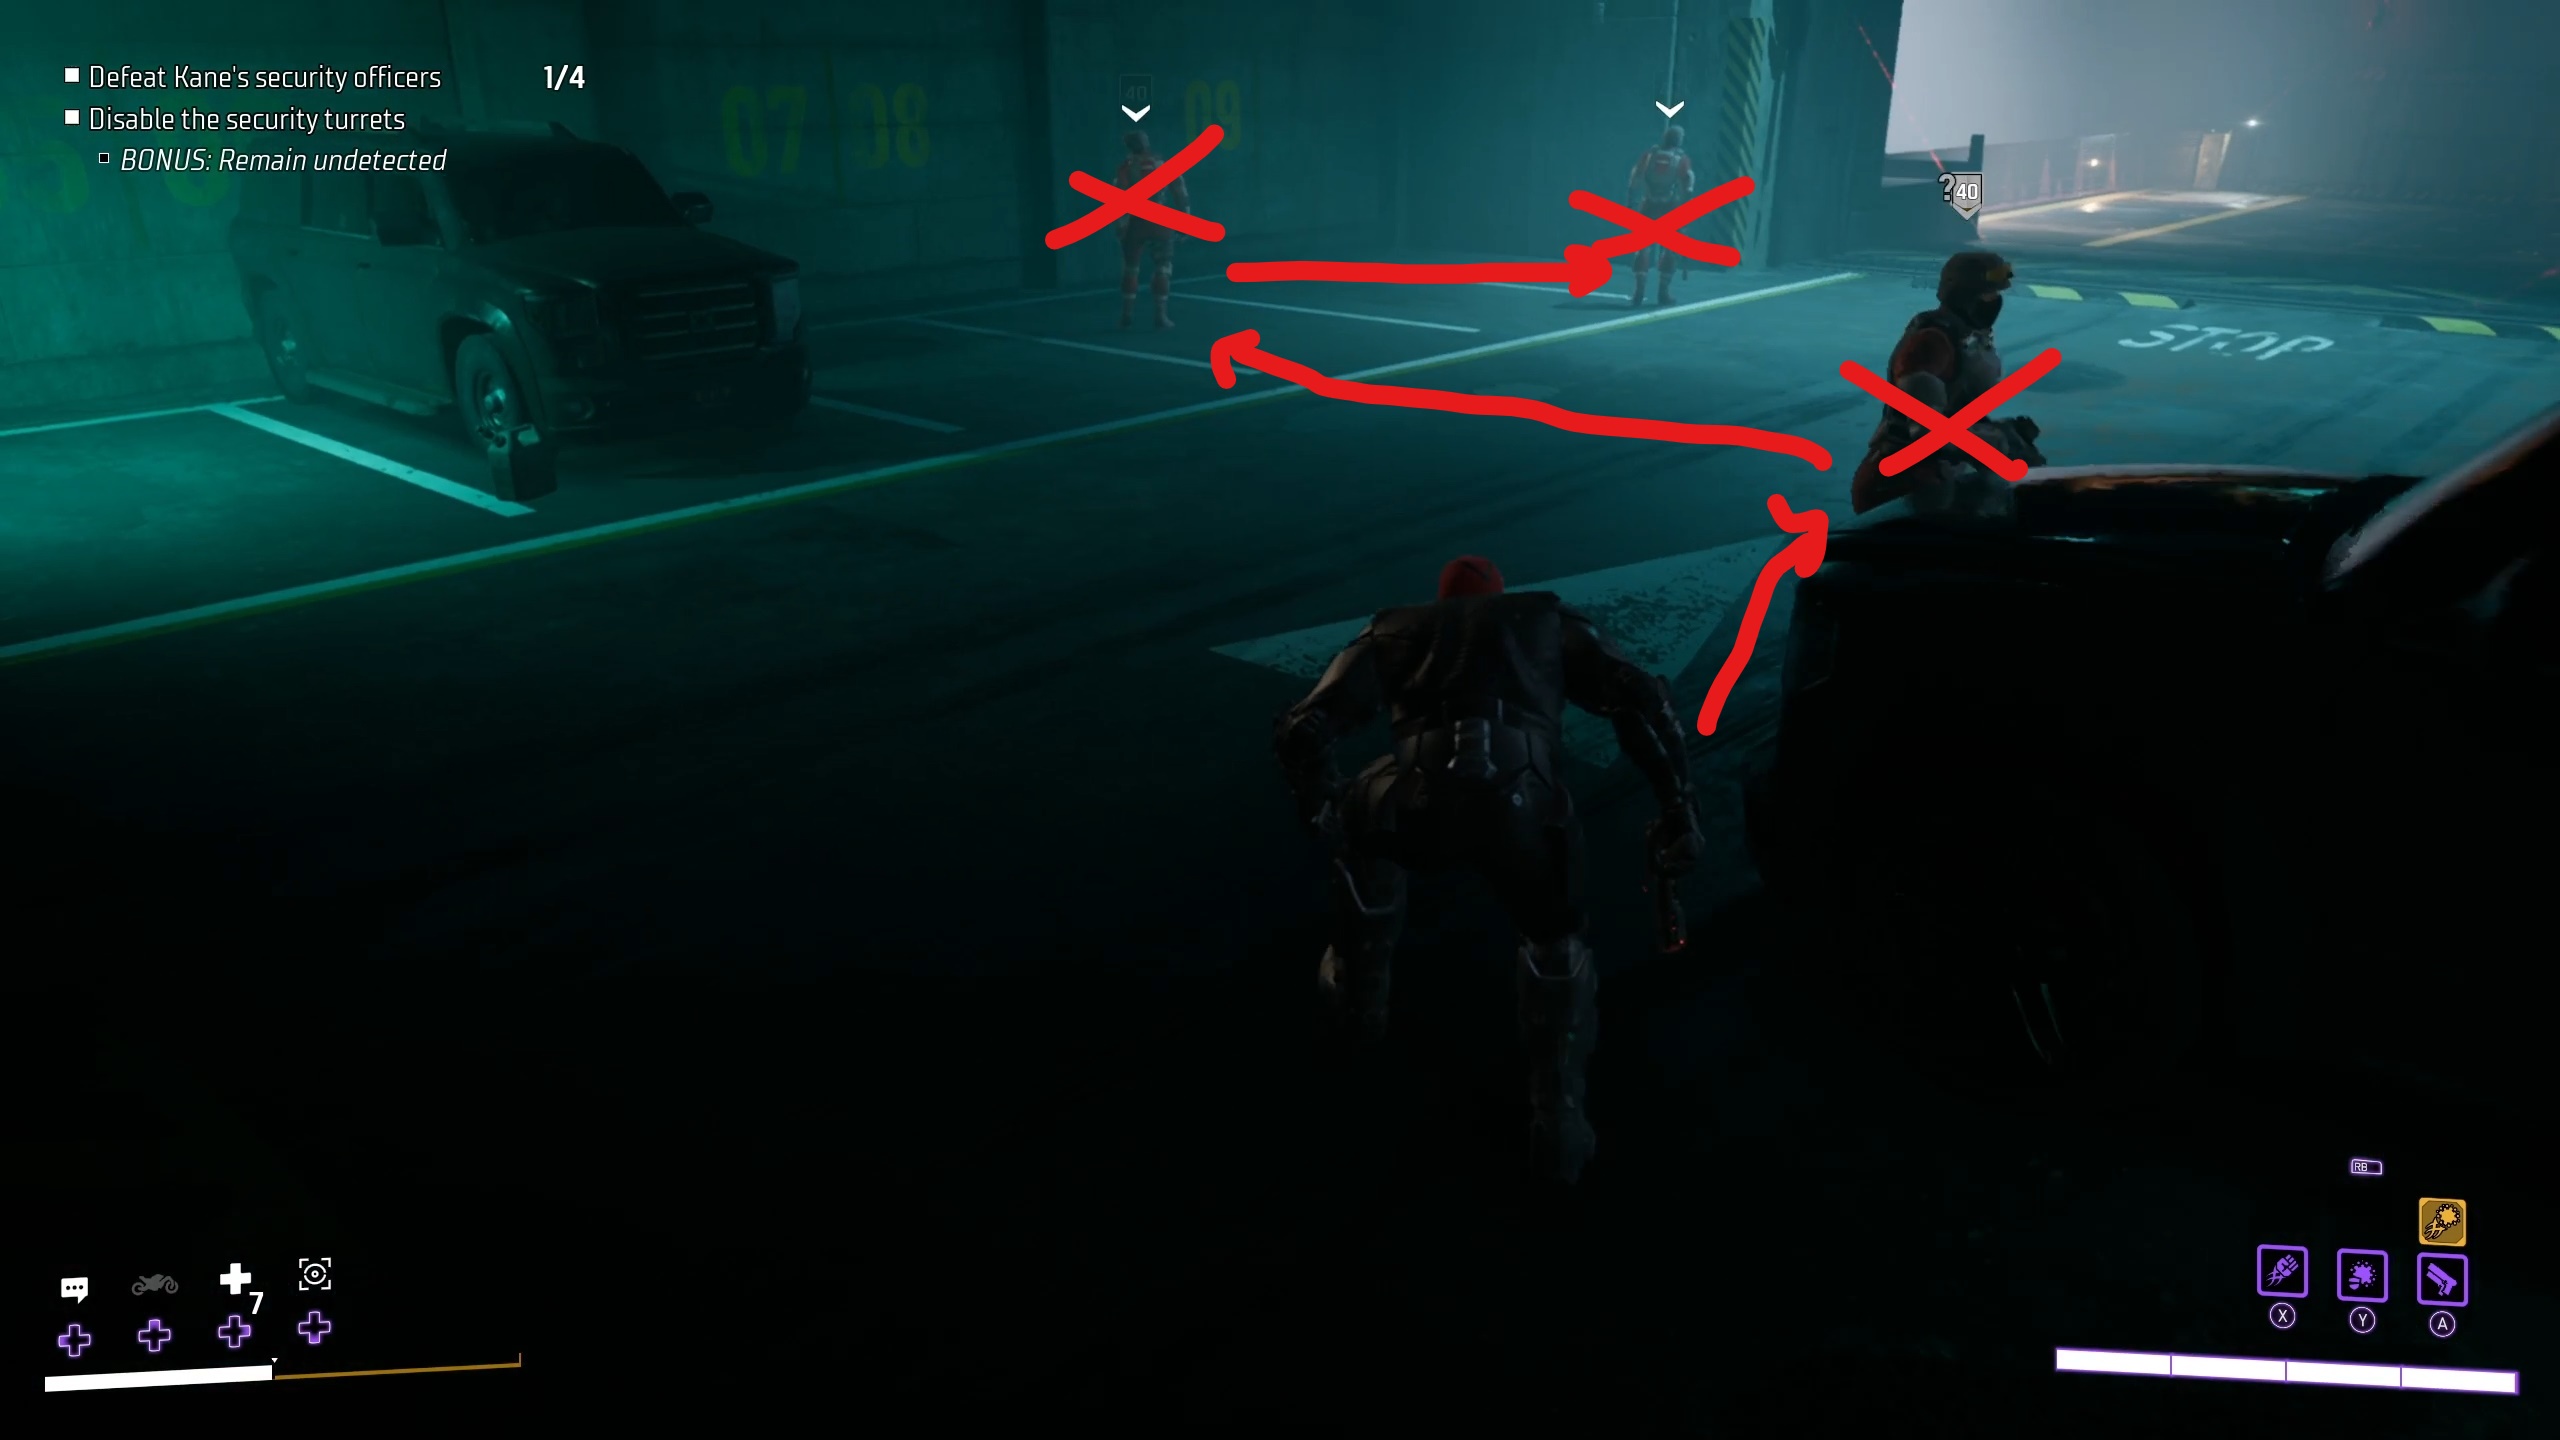
After taking out the guards, you can go back into the corridor and continue down it until you reach a red, metal door. Go through it and then you’ll come across another room, with the bonus objective being to “remain undetected”.
To do so, you can take out the first guard right away, since he will be right in front of you. Then, turn to your left and vault over the boxes, which will put you behind the guard “on-alert.” Once the other two guards aren’t looking, you can take them out. Then, you can simply use good timing to take out the remaining guards.
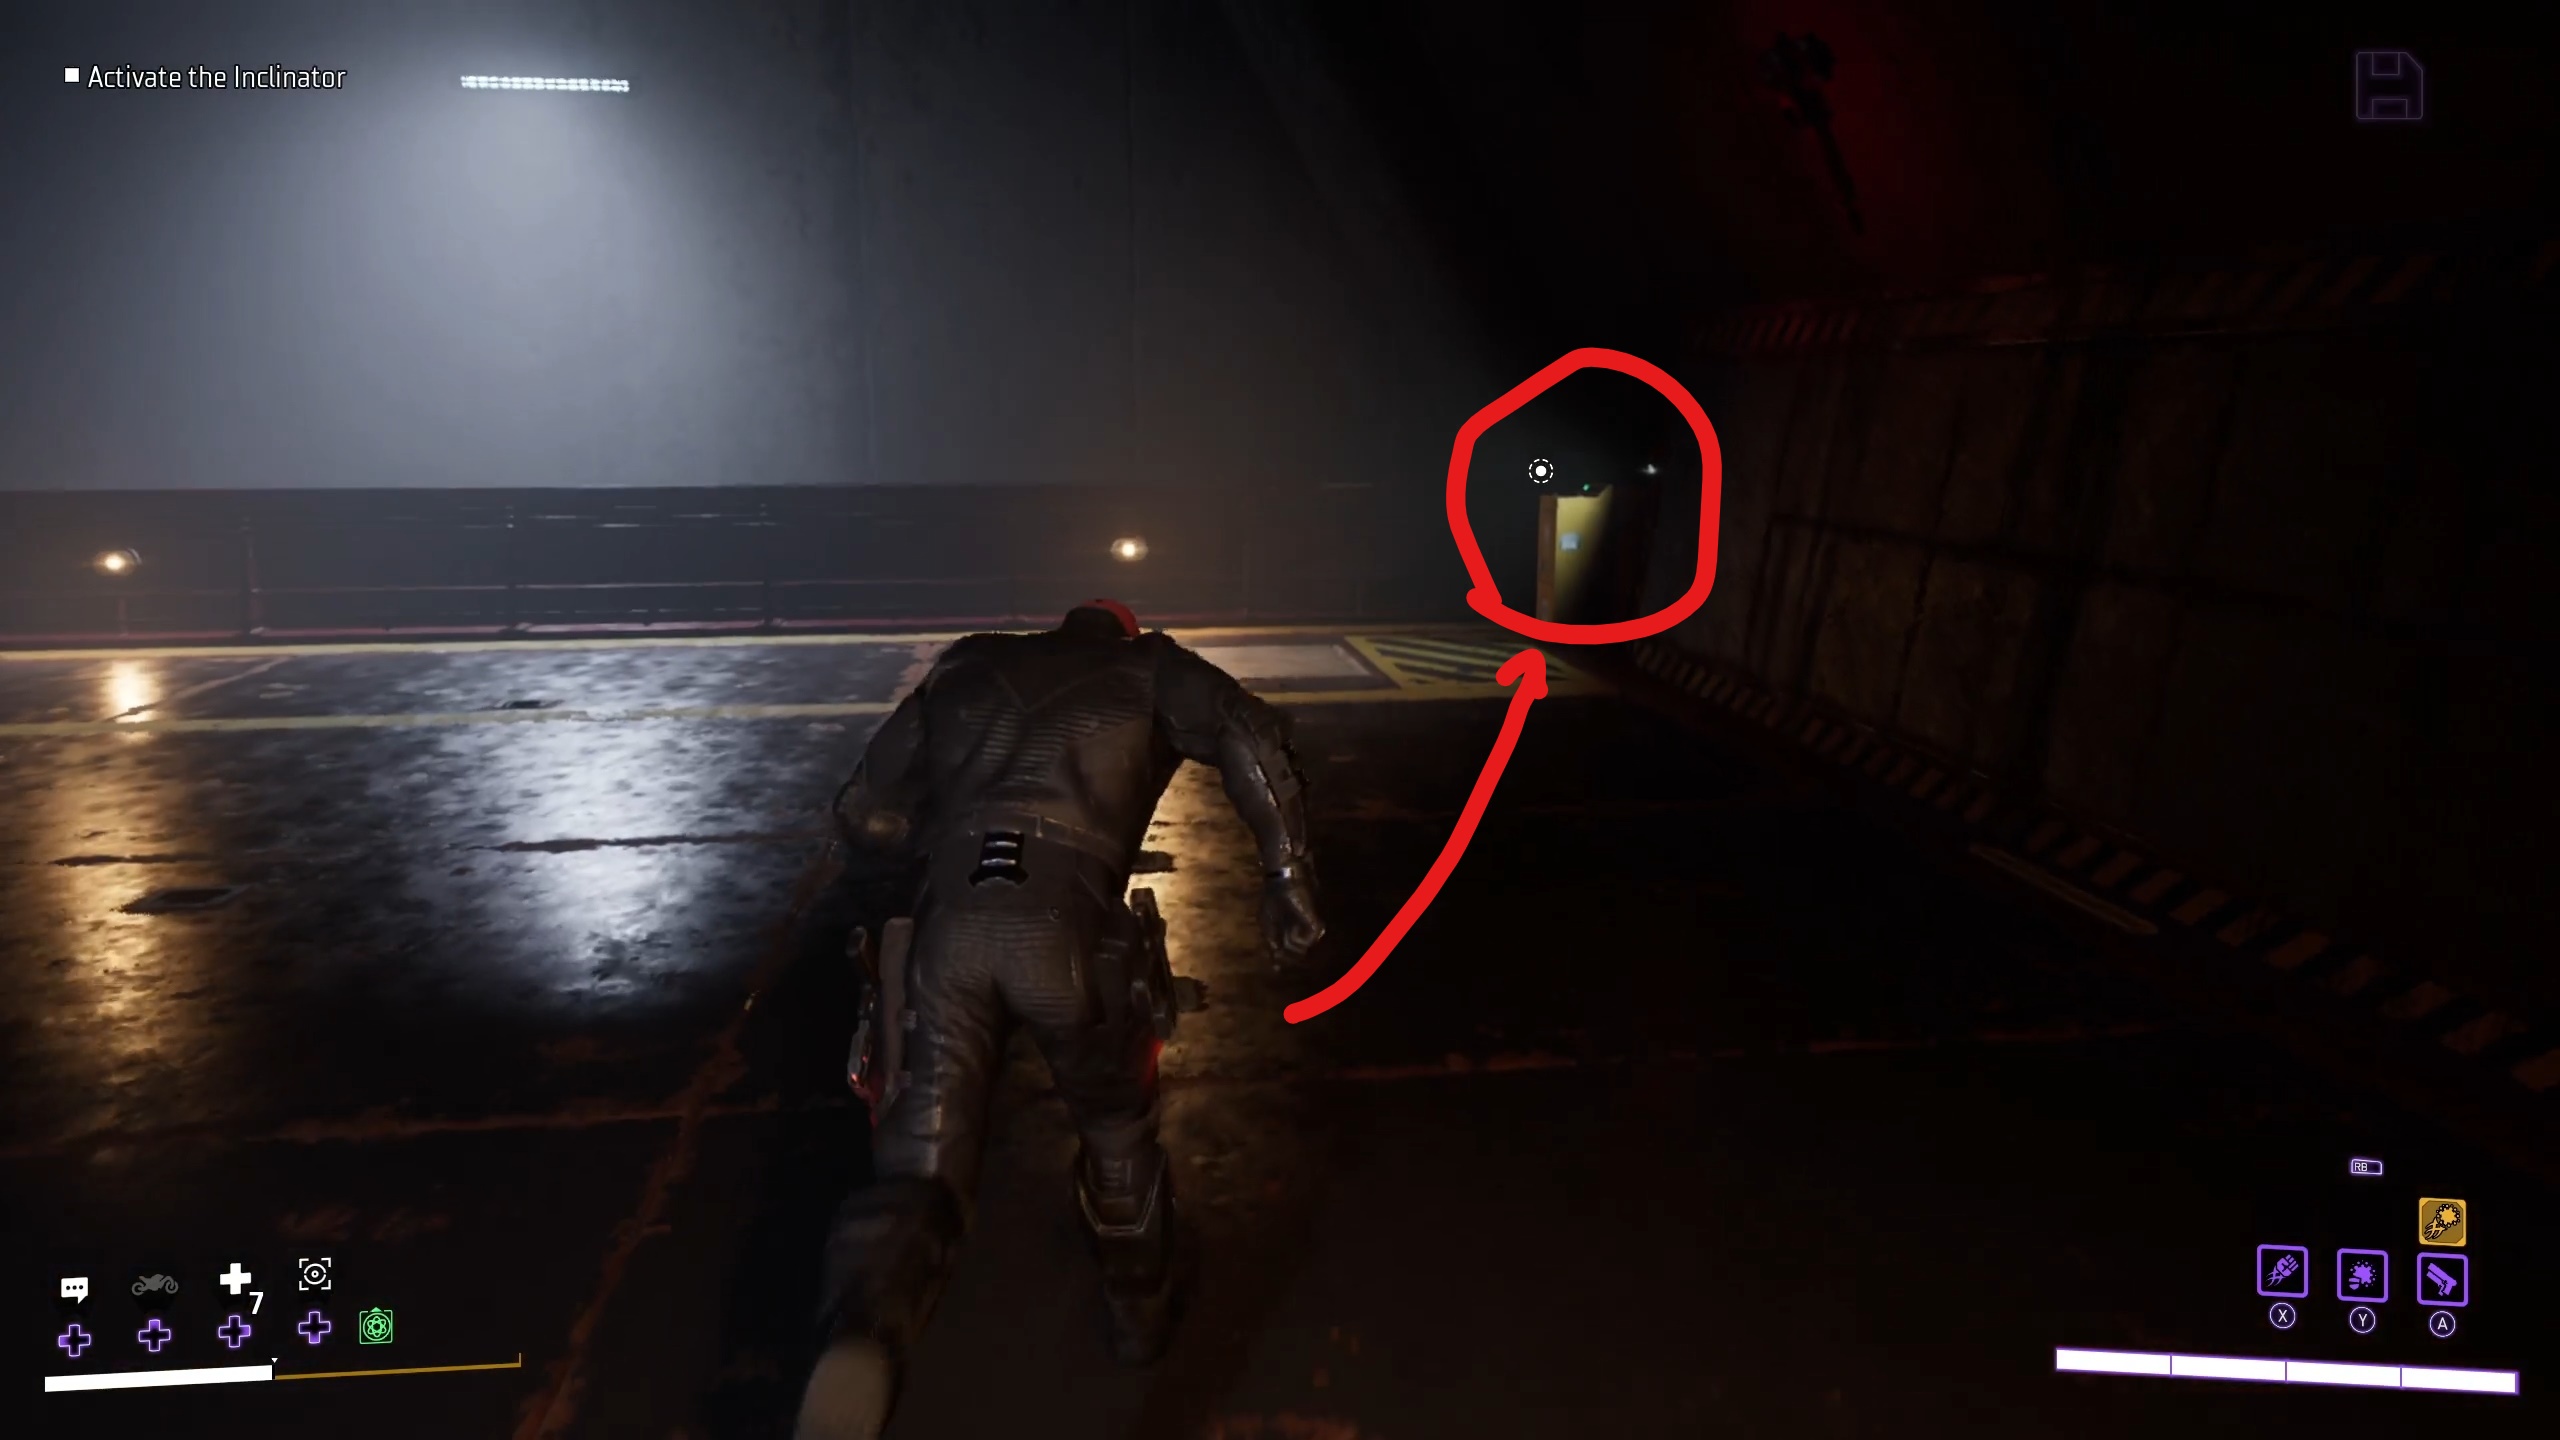
After taking out these guards, you can simply take out the security turrets using your ranged weapons, then continue to the back corner of the room towards a green screen, which you can interact with the start the inclinator.
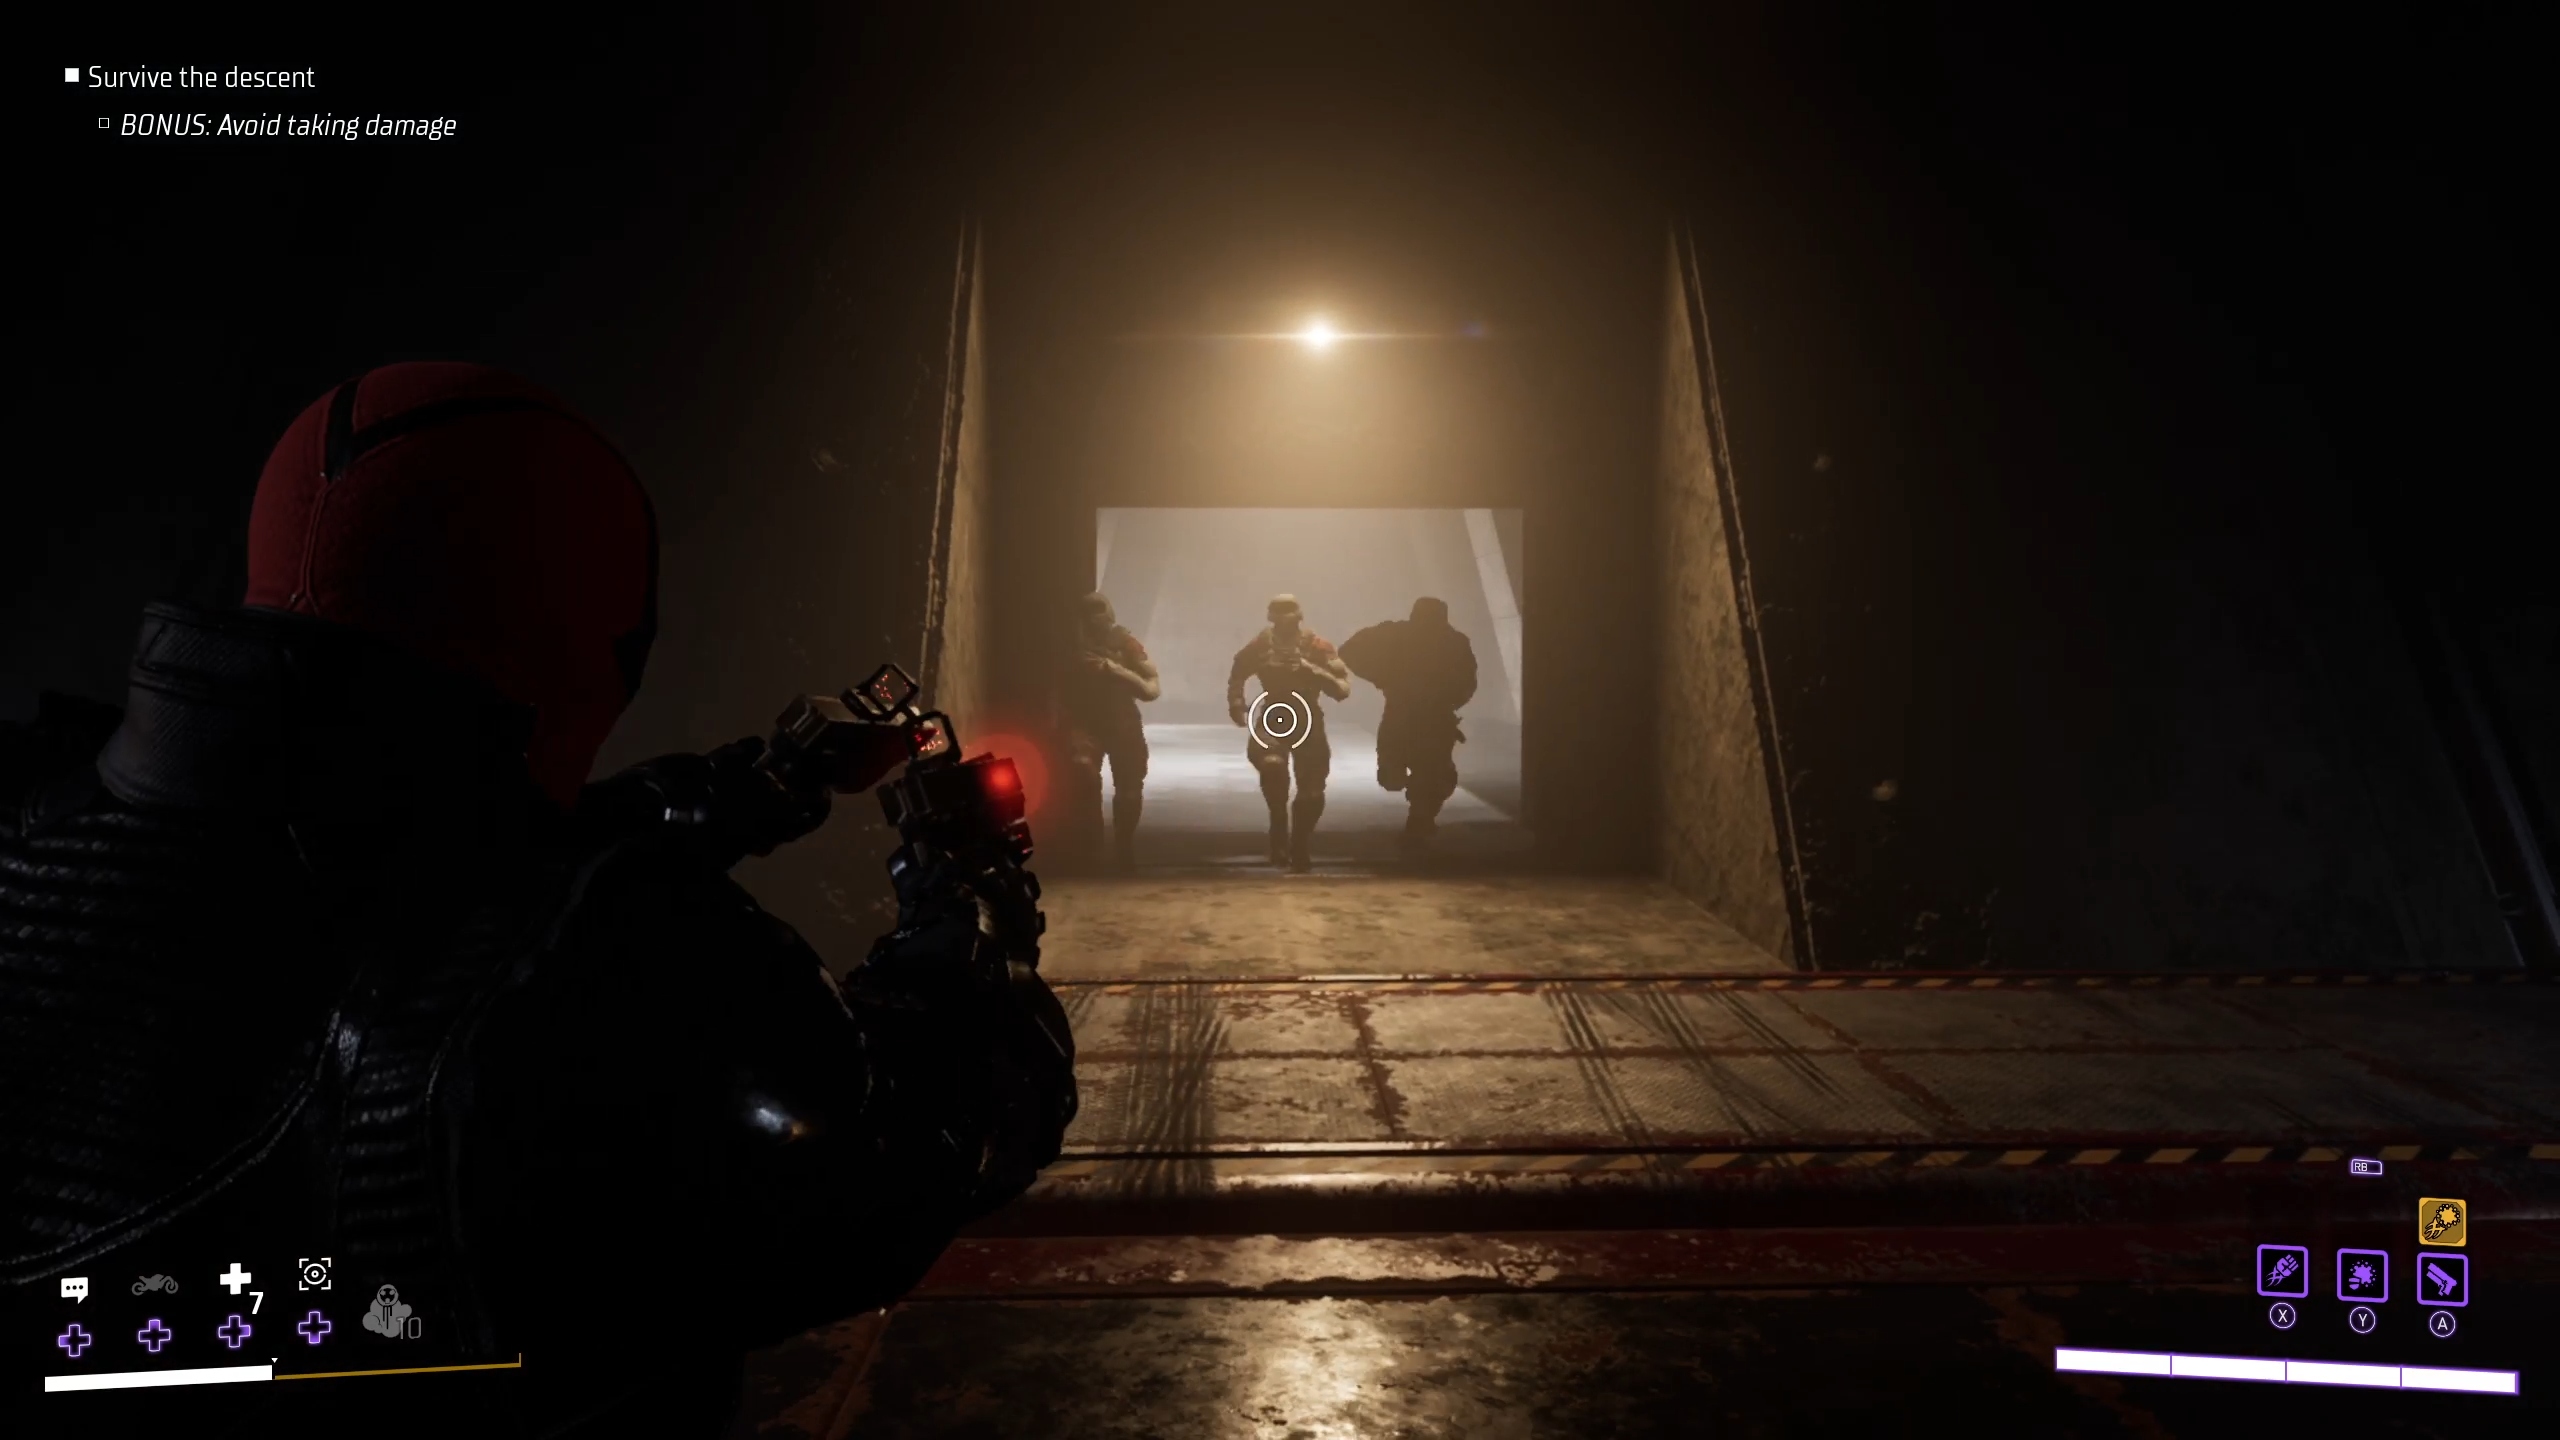
After starting the inclinator, some dialog will play before it starts moving. It will descend for a short while, and then stop to let on some of Kane’s guards. Your bonus objective here will again be to avoid taking damage, so you should take out some of the guards at range before carefully engaging them in melee.
After taking out these guards, the inclinator (and bonus objective) will continue. The dialog will indicate that Jacob Kane is calling off his guards, but you aren’t out of the woods yet.
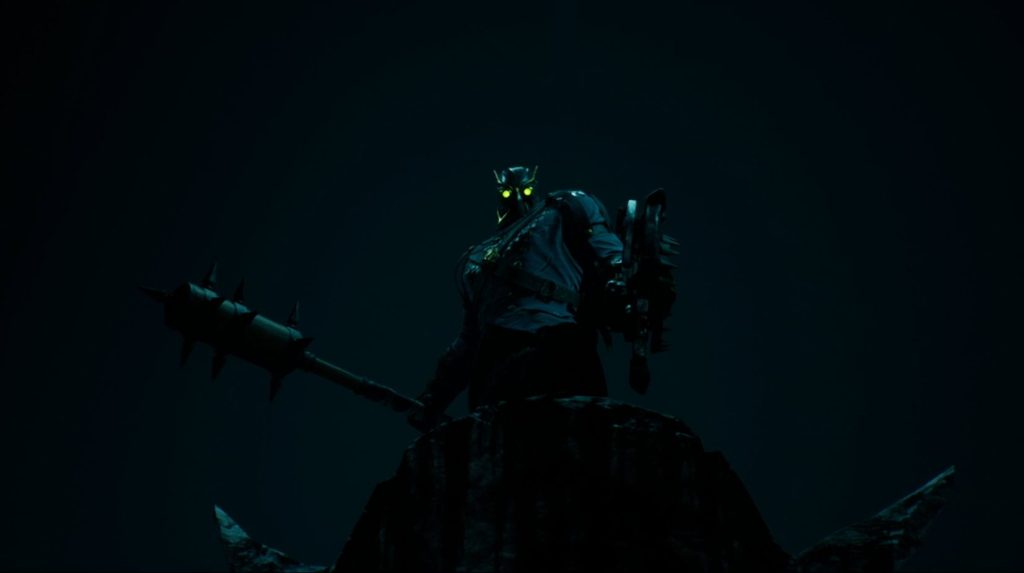
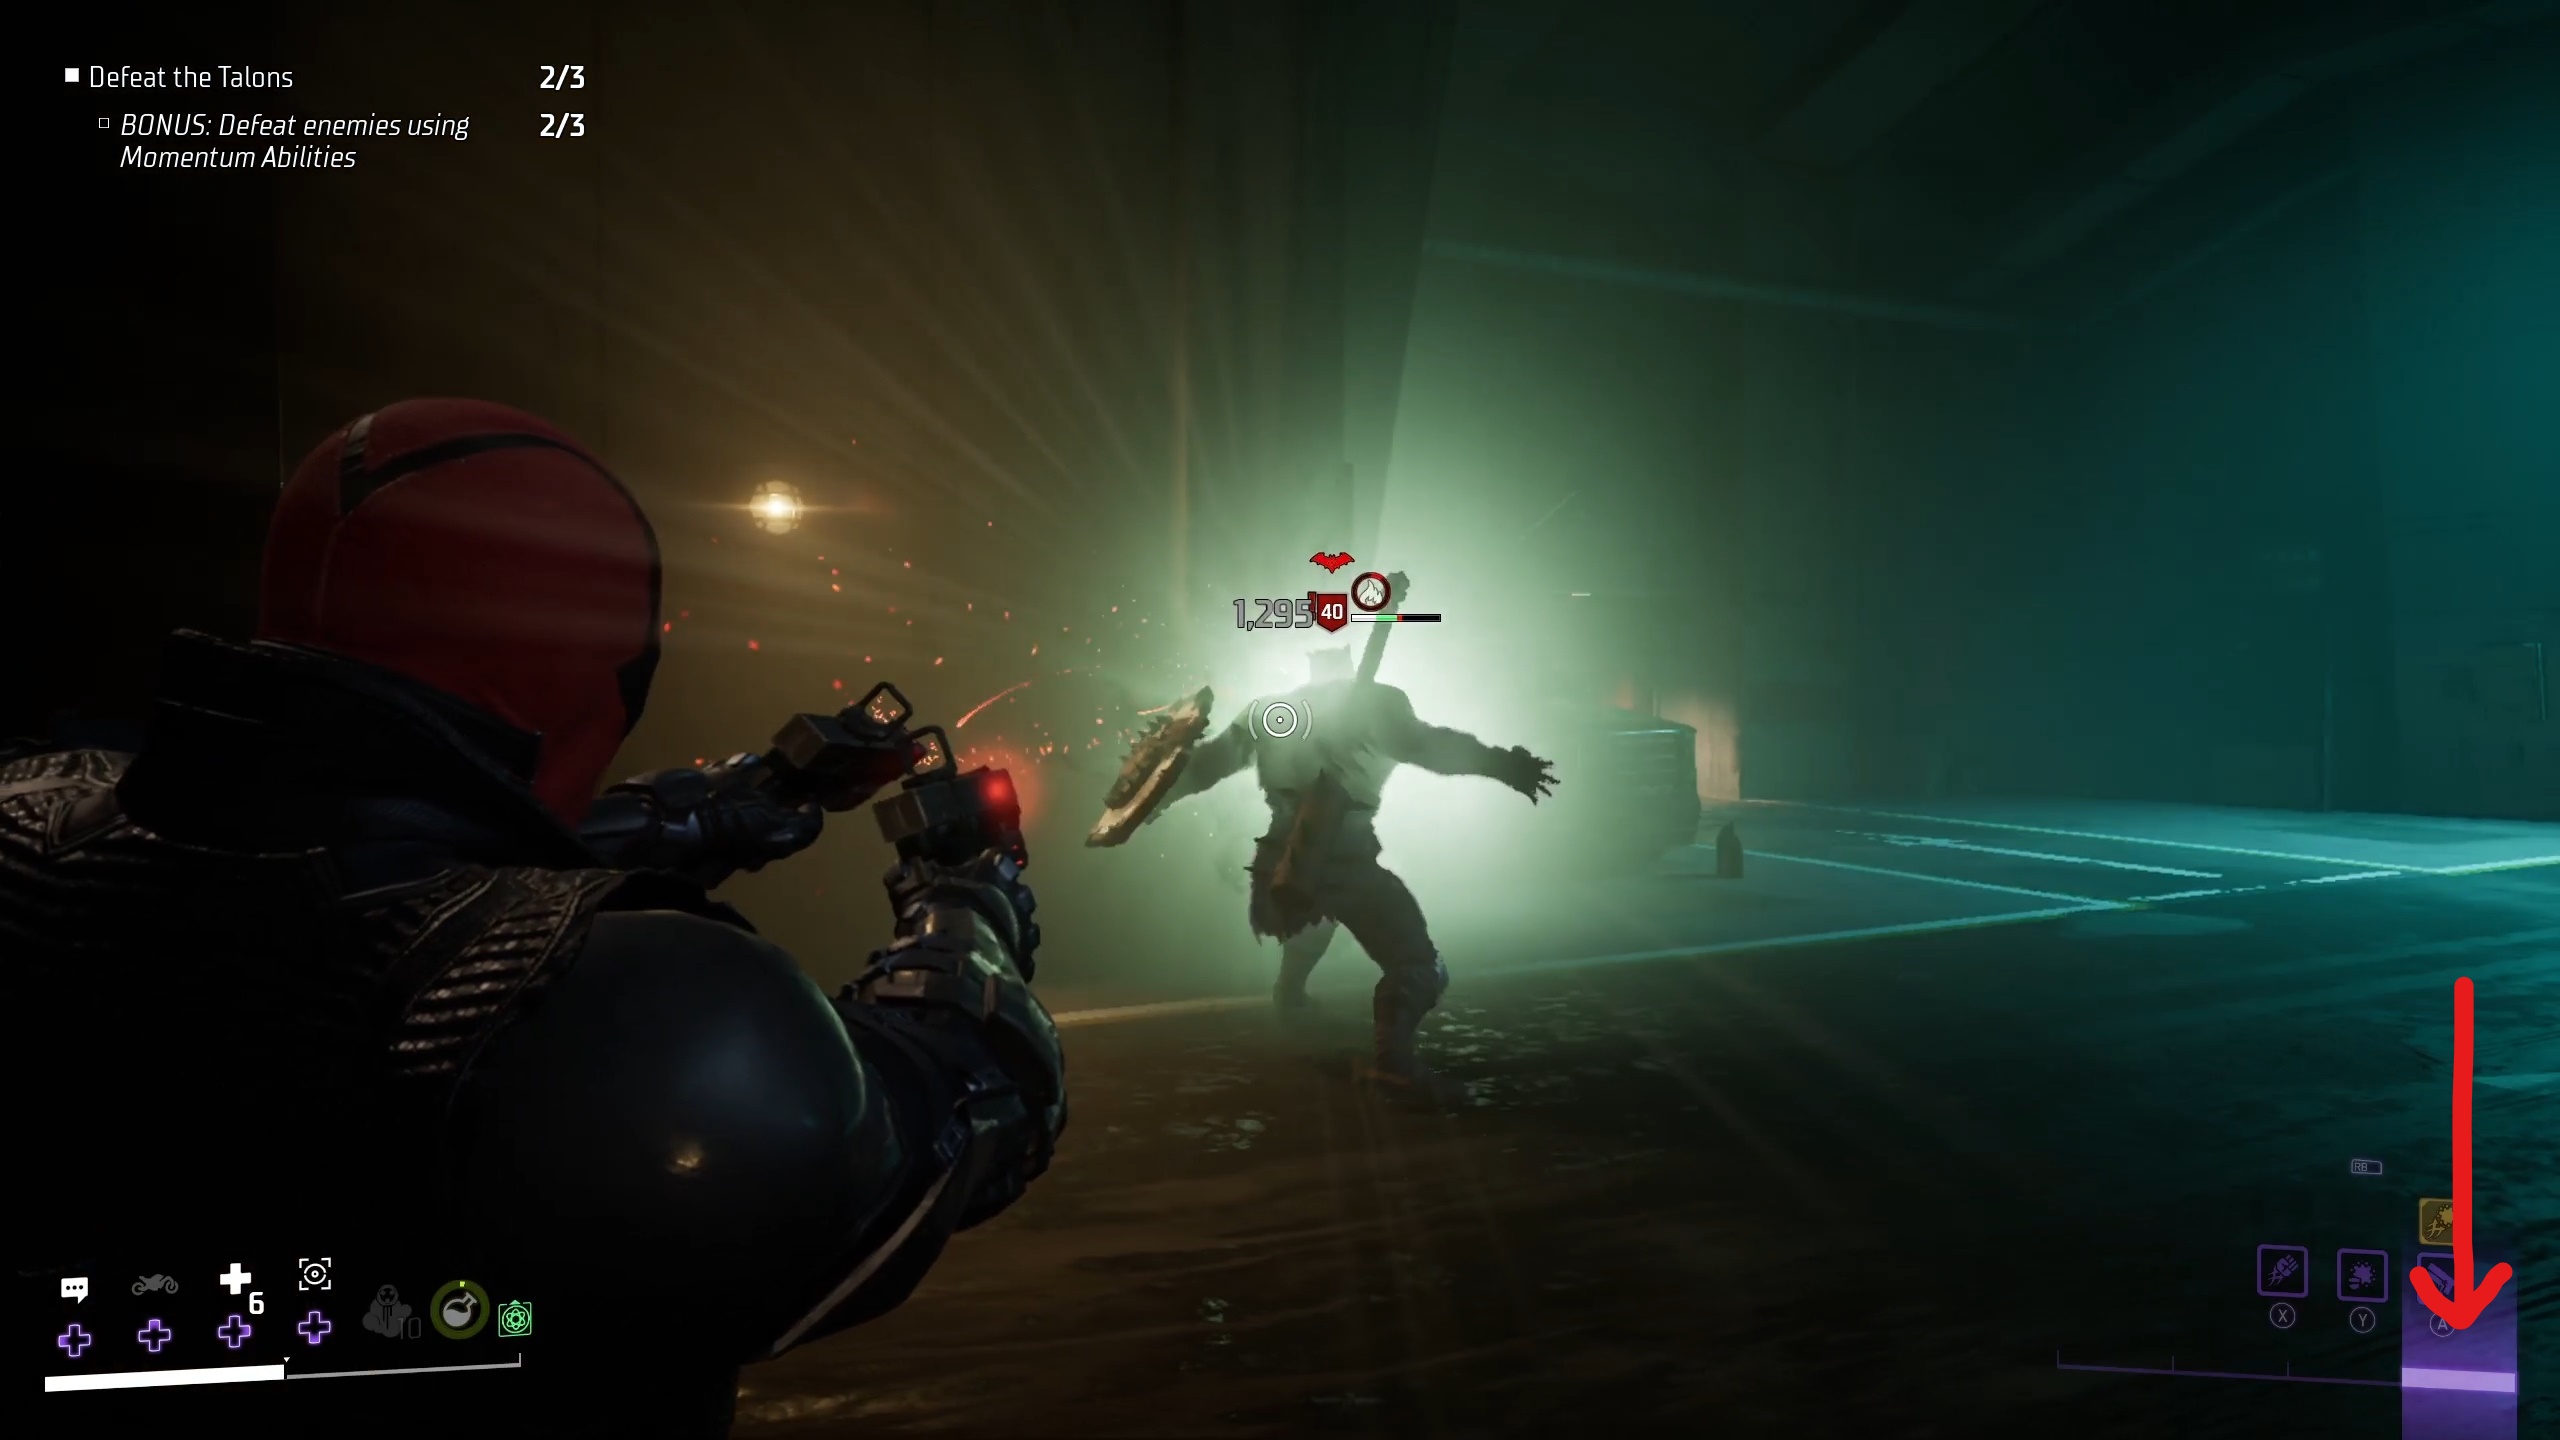
Instead, you will be ambushed by three Feral Talons, who will climb up the sides of the inclinator and attack you. In order to avoid taking damage, you should make sure that all three are on the ground from your Heavy Ranged Attacks (hold // ) before focusing them down to defeat them. After taking out these first three Talons, three more will attack, which you’ll also need to avoid damage from in order to complete the bonus objective.
After defeating all the Talons, the inclinator will finally come to a stop. When the gate opens, you’ll be presented with two more Feral Talons, this time accompanied by a Gladiator Talon. This time, your bonus objective will be to use your Momentum Abilities to defeat all three foes; if you’ve been saving your Momentum Bar, this should be feasible. Otherwise, you can wail on the Gladiator to build it up.
Notice how I use the Gladiator to refill my Momentum Bar
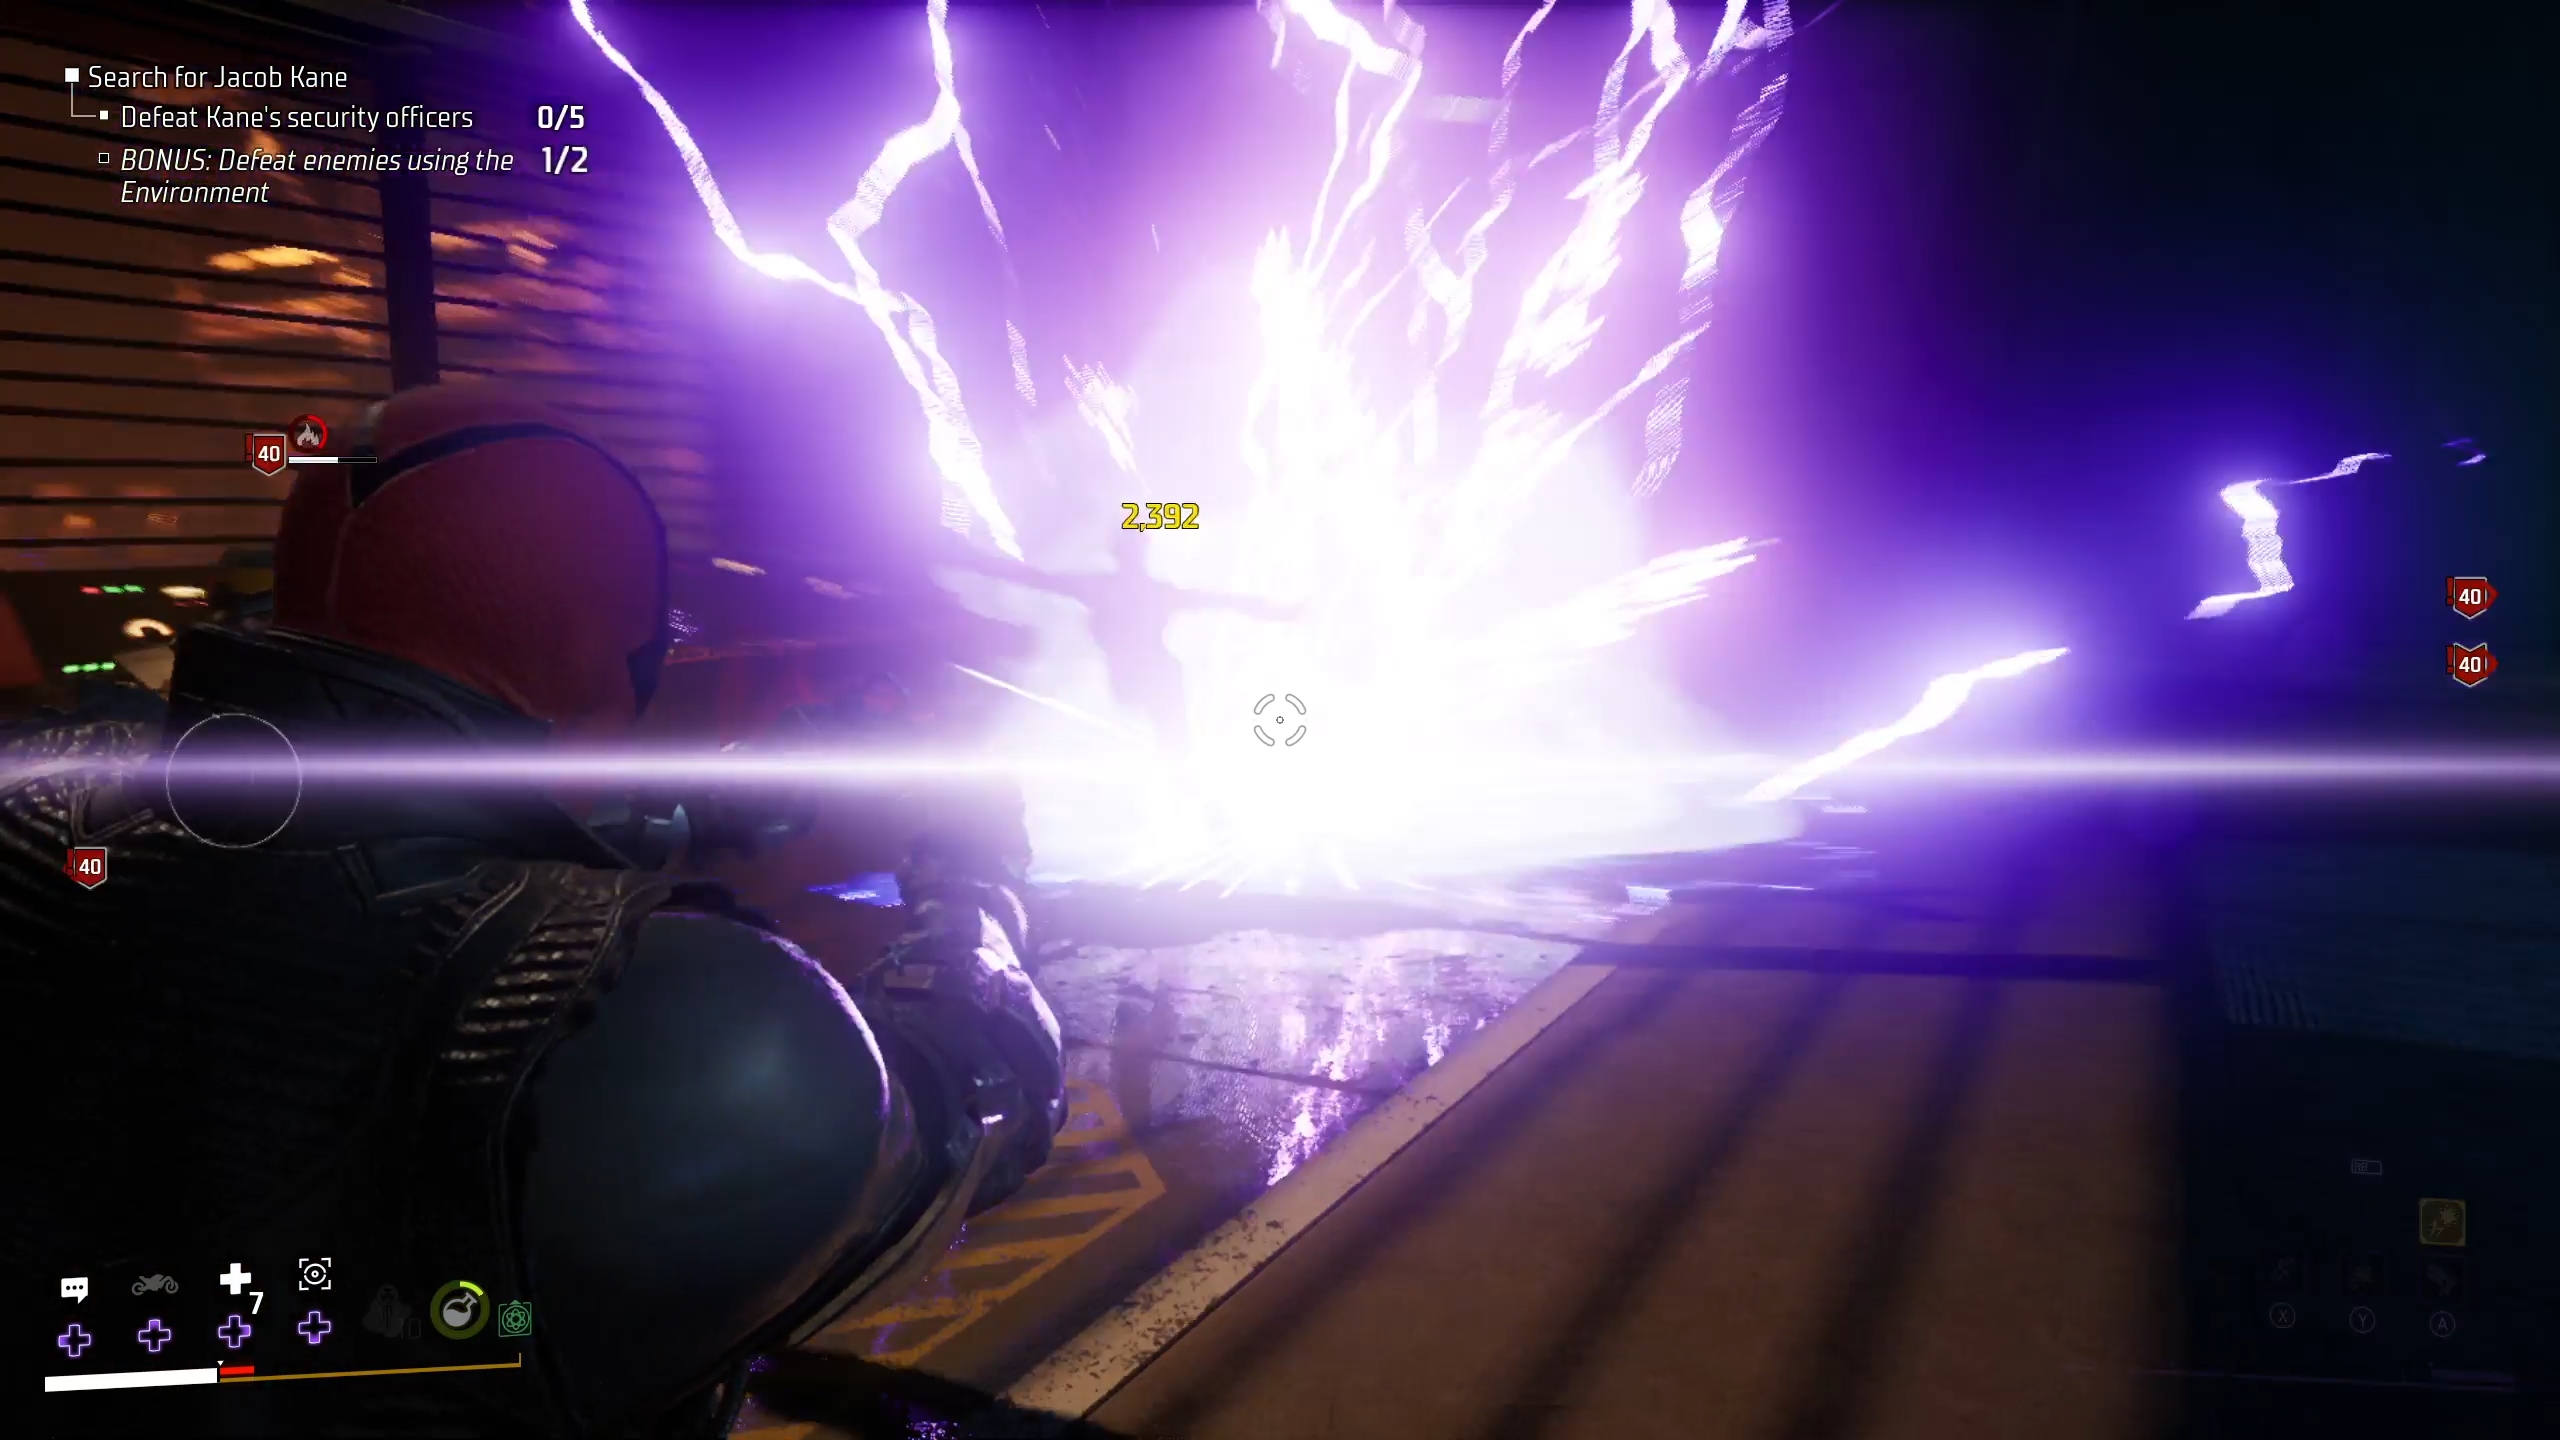
After defeating the Talons, you can continue forward through the door on your left. You’ll come up to a room of guards who you must defeat, with the bonus objective being to defeat them using the environment. In order to do so, you can either wait until they get near the purple Shock barrels, which you can hit with your ranged attack, or you can grab and throw the enemies into the barrels.
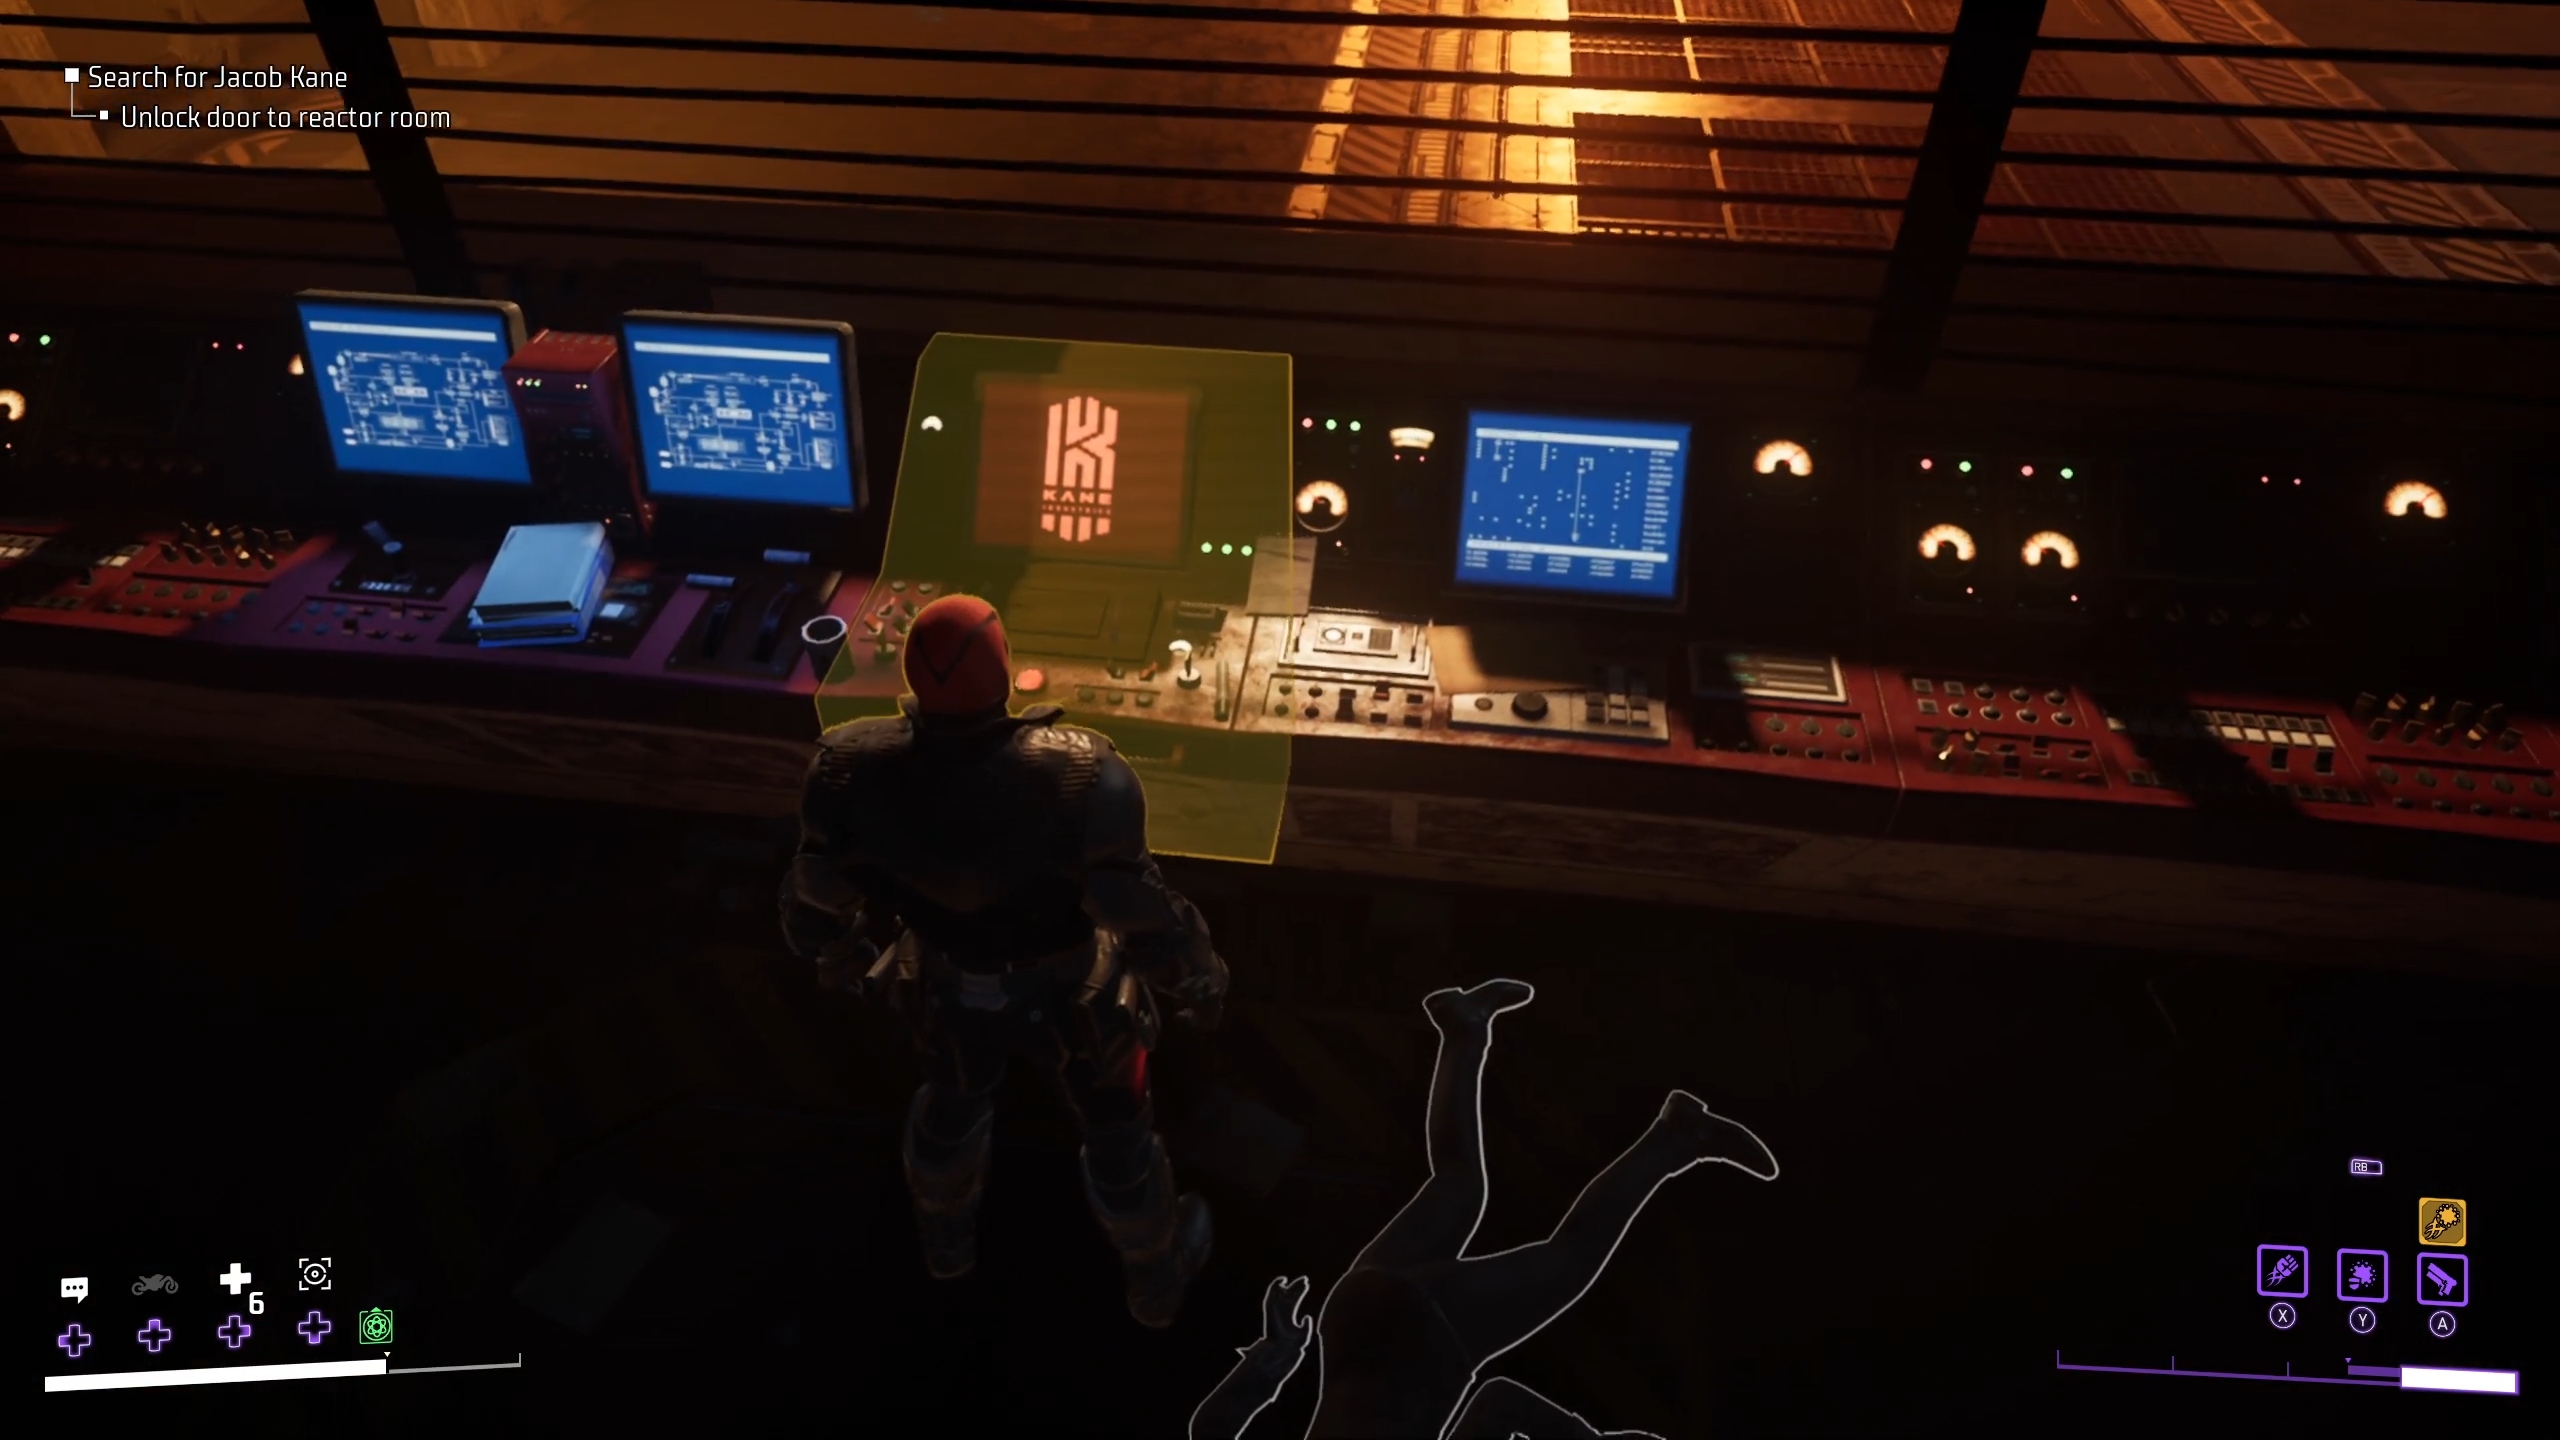
After defeating these thugs, you’ll need to unlock the door to the next room. To do so, simply go up to the window with the red control panel below it and interact with the panel. Then you can go to your left and continue through the door and hallway to reach the reactor room.
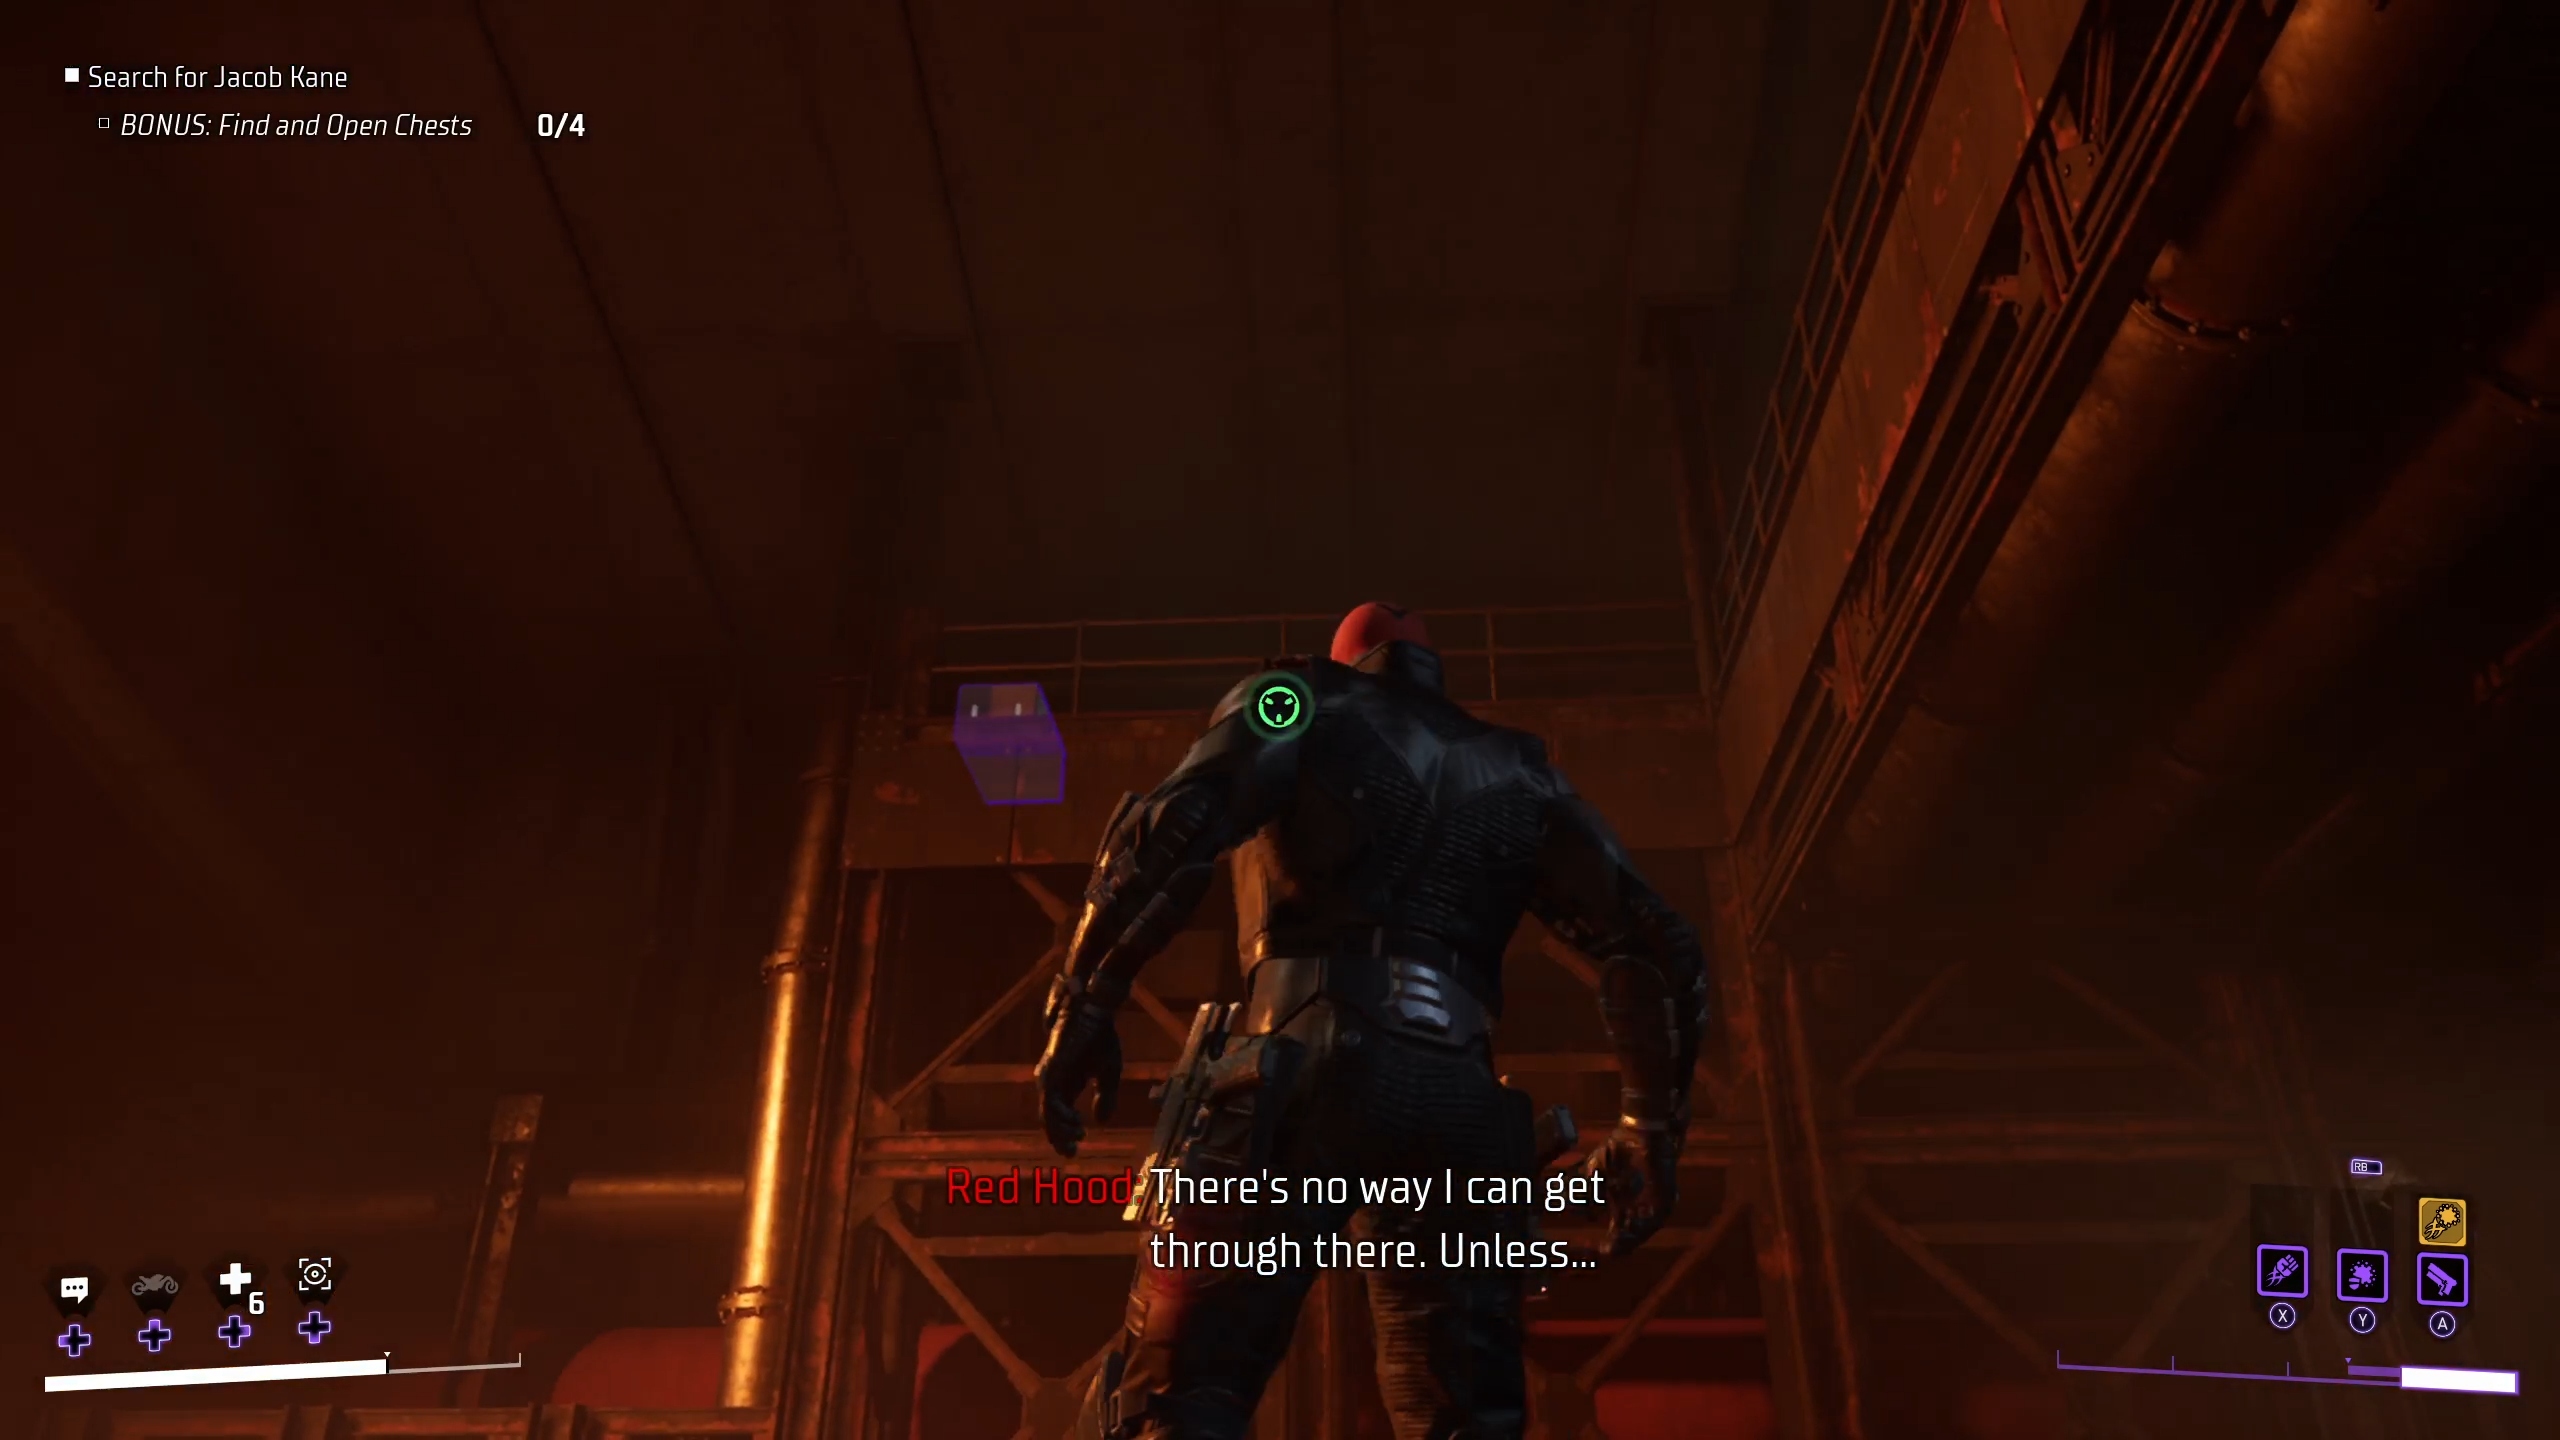
Once inside the reactor room, you’ll be met with a bonus objective to collect 4 chests. The first of these will actually be right in front of where you enter, if you simply look up. Grapple up to grab the chest.
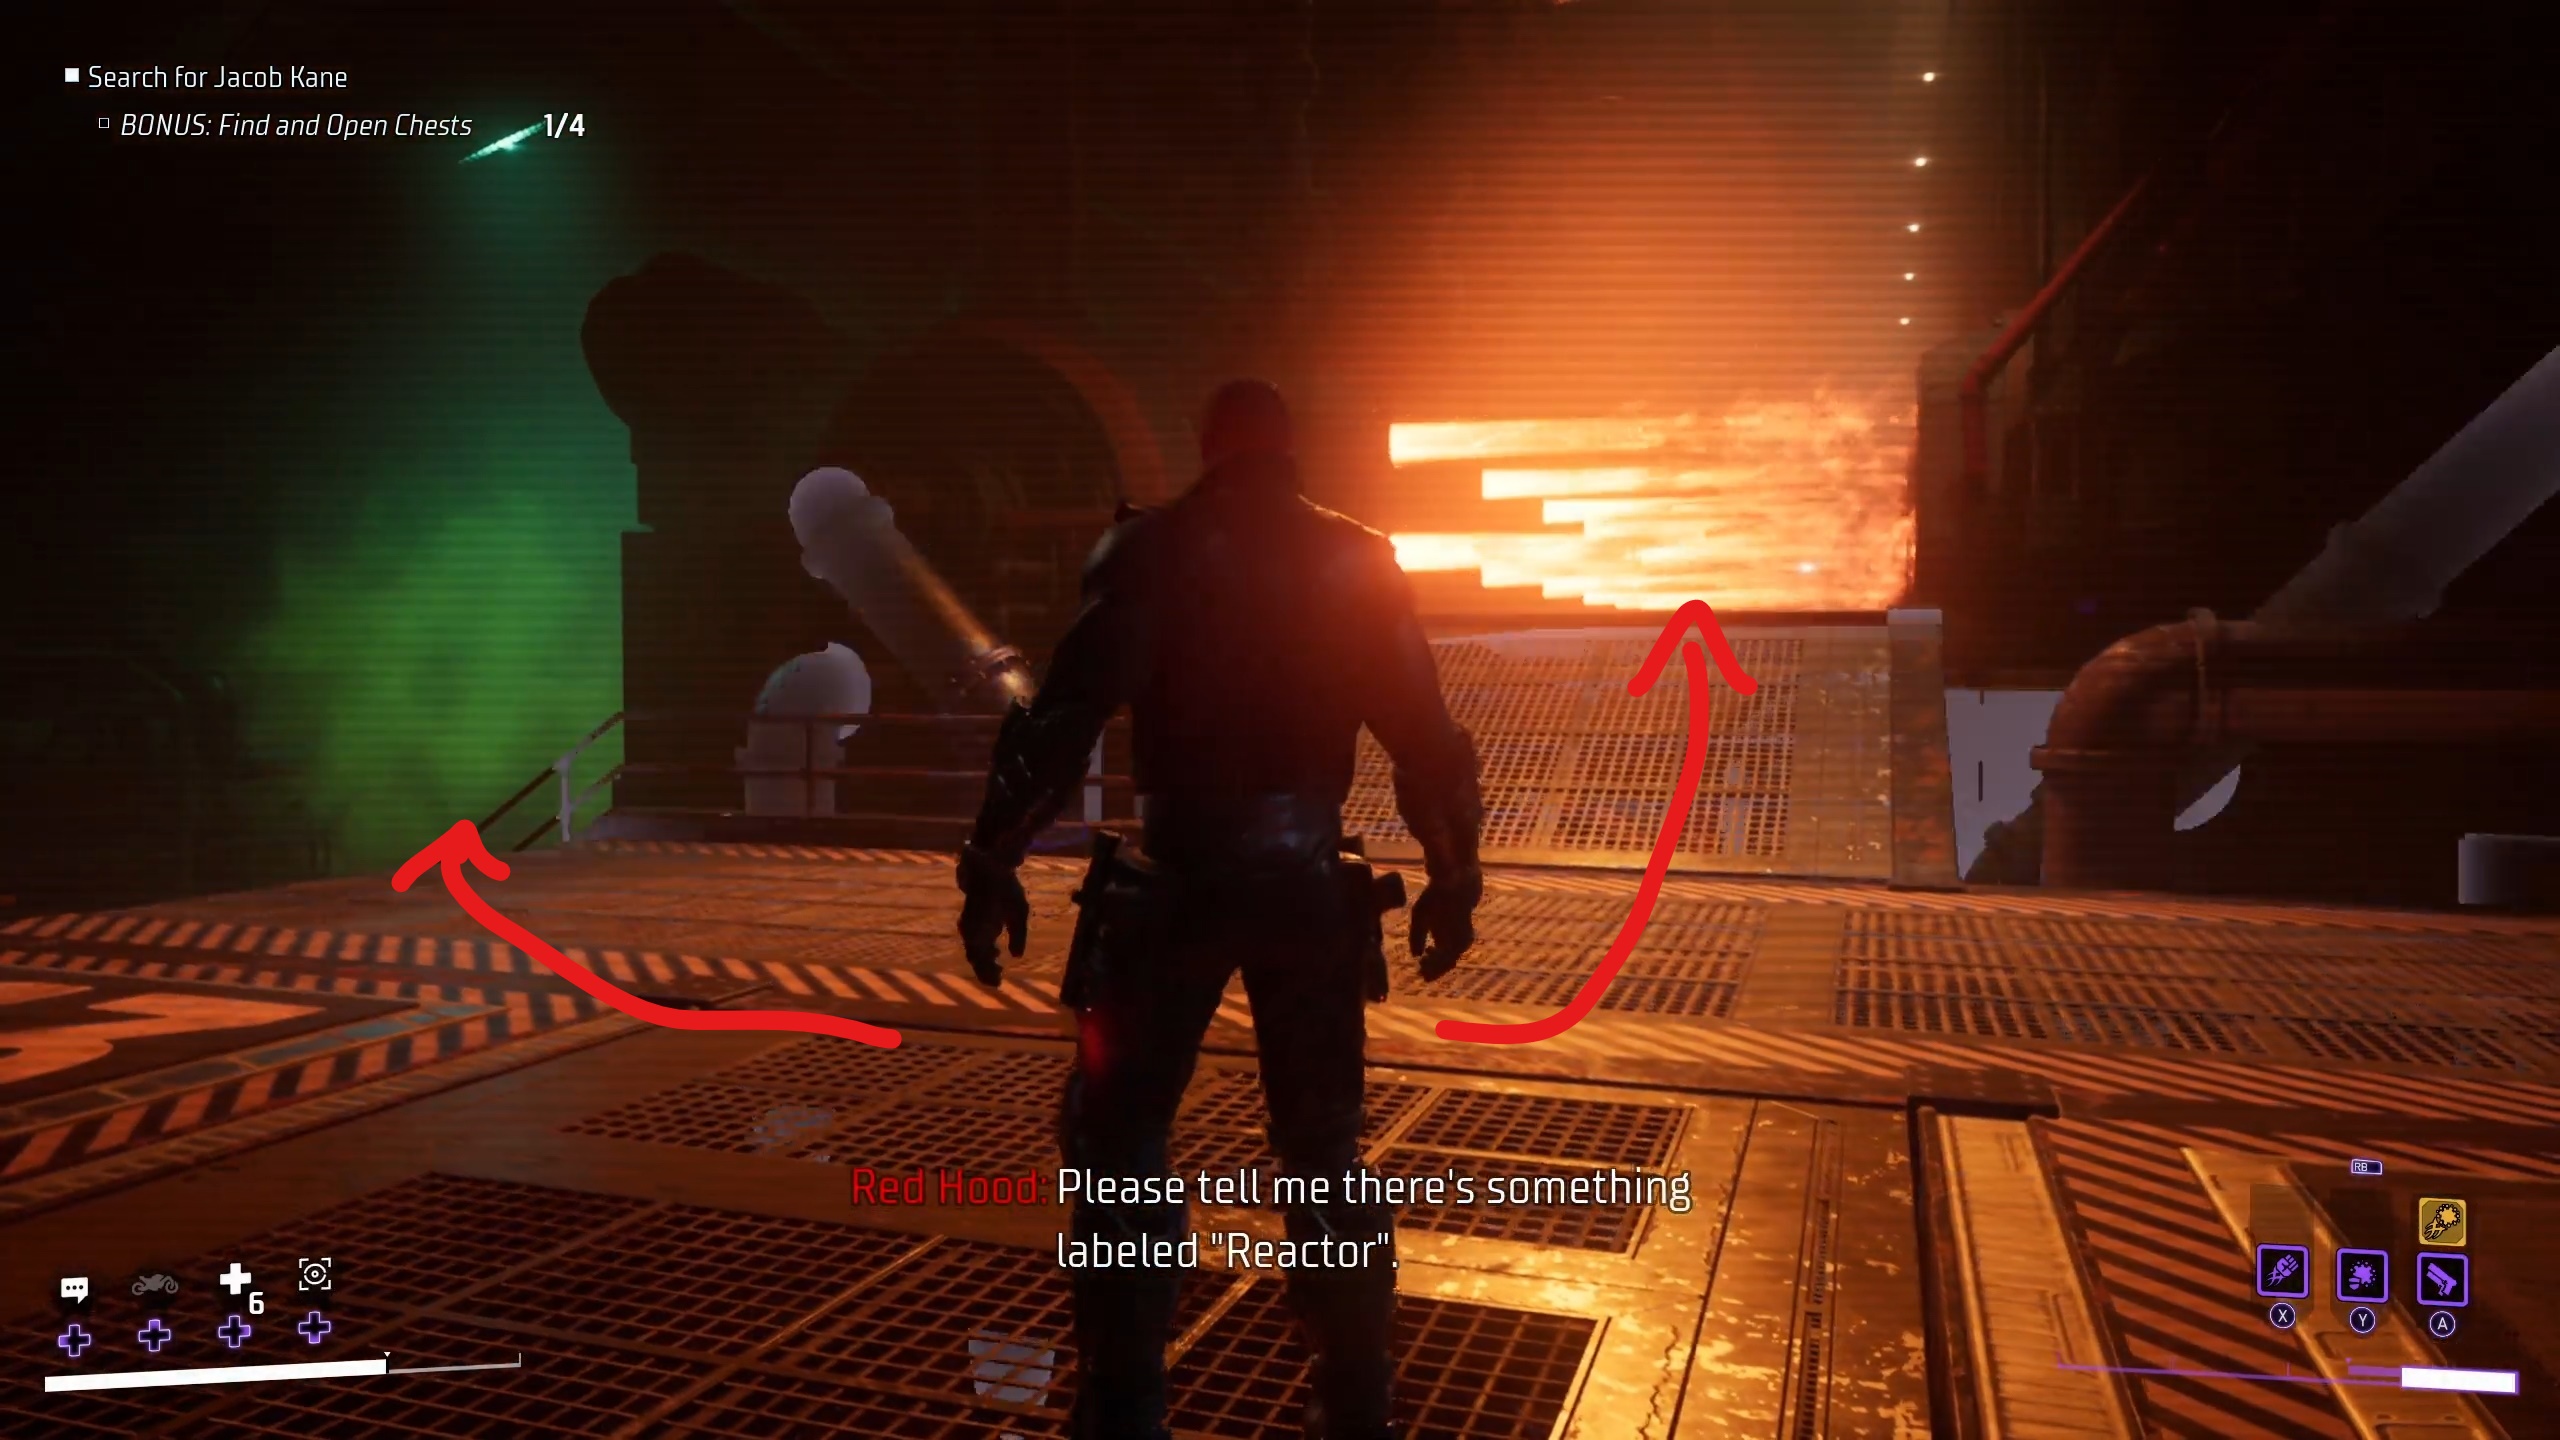
The next two chests will be halfway through each of the two ways that you can use to progress: the lower section filled with poisonous gas, and the upper section with fiery spouts.
To start, you should go to the lower section filled with gas. This is a simple timing puzzle, where you’ll simply need to wait for the gas to dissipate before running to the next section without any pipes. As you go through, make sure to collect the chest!
Once you’re on the other side, you can head up the stairs and go to the fire jets. The chest here is right before the final fire jet, so you only need to wait for it to cycle to the top vent, go under that, collect the chest, then go right back out where you came in.
The fourth and final chest will be a little ways deeper into the facility, so you can progress through the door to your right and continue down the hallway, eventually reaching said chest, completing the bonus objective.
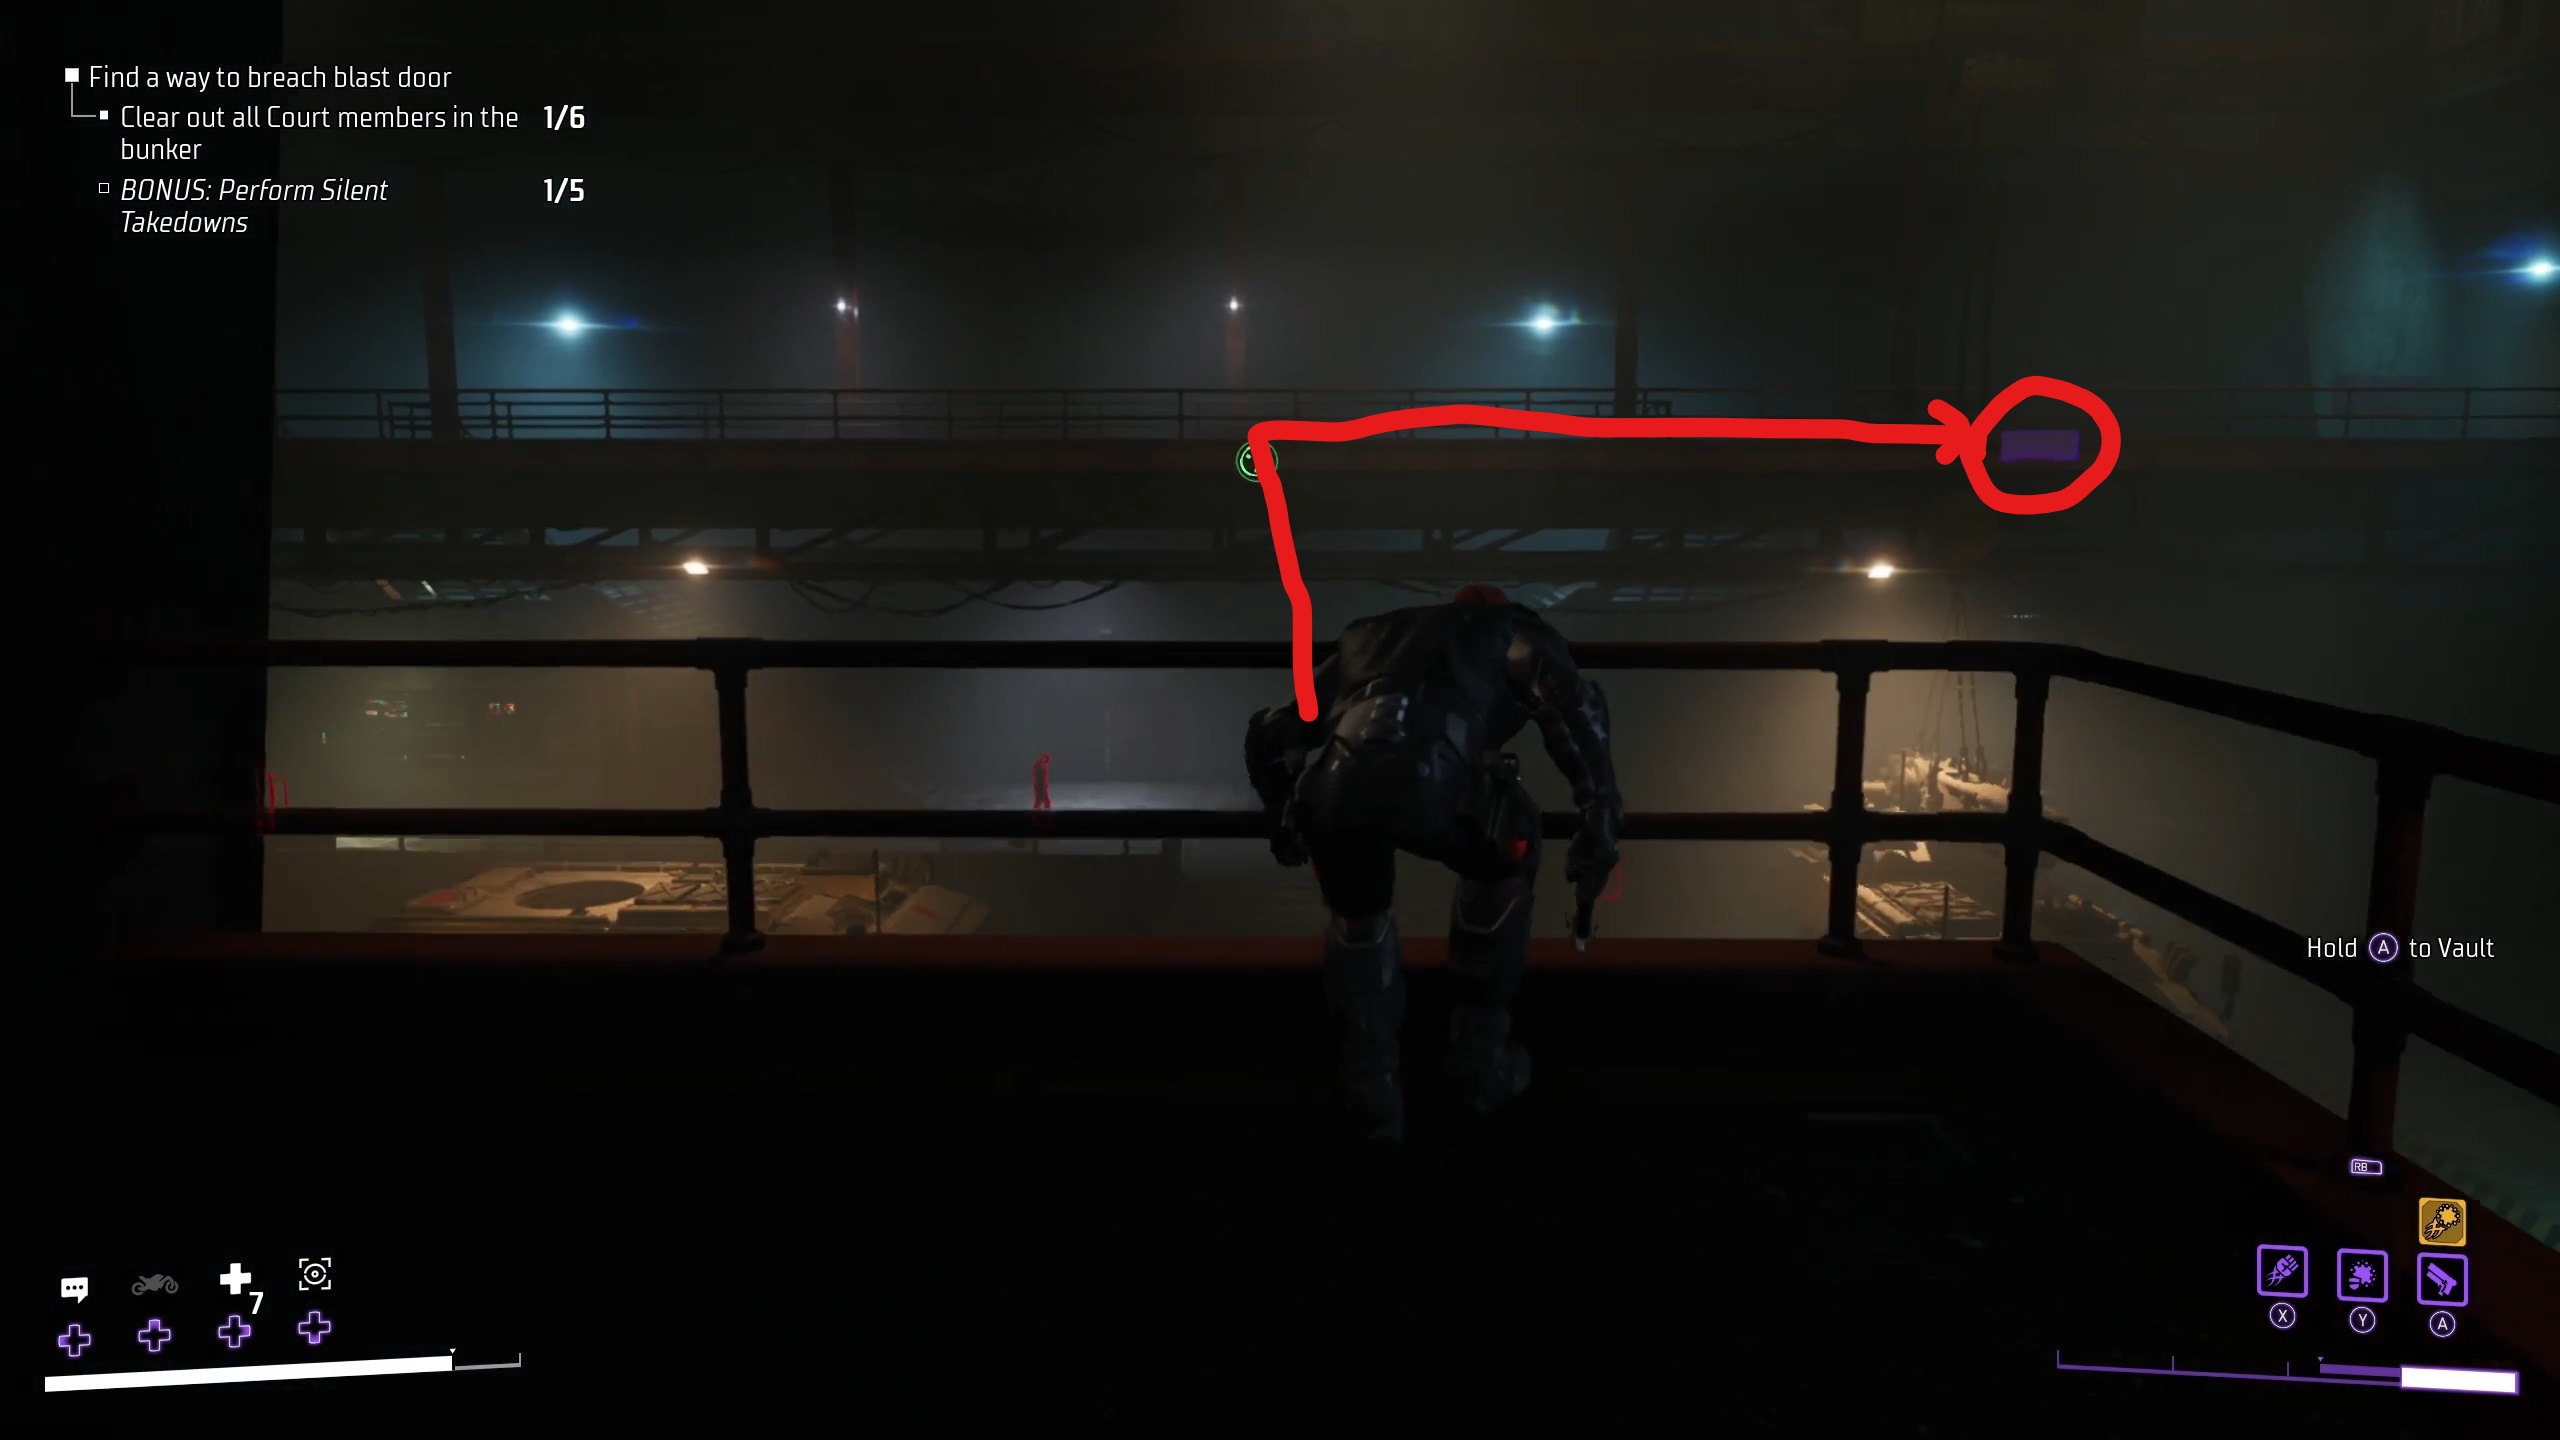
You can continue through the window-lined hallway from here until you reach another door. A cutscene will play, showing Jacob Kane heading into a closing blast door. After he’s in, you regain control and are told to clear the the room of guards, with a bonus for performing 5 Silent Takedowns.
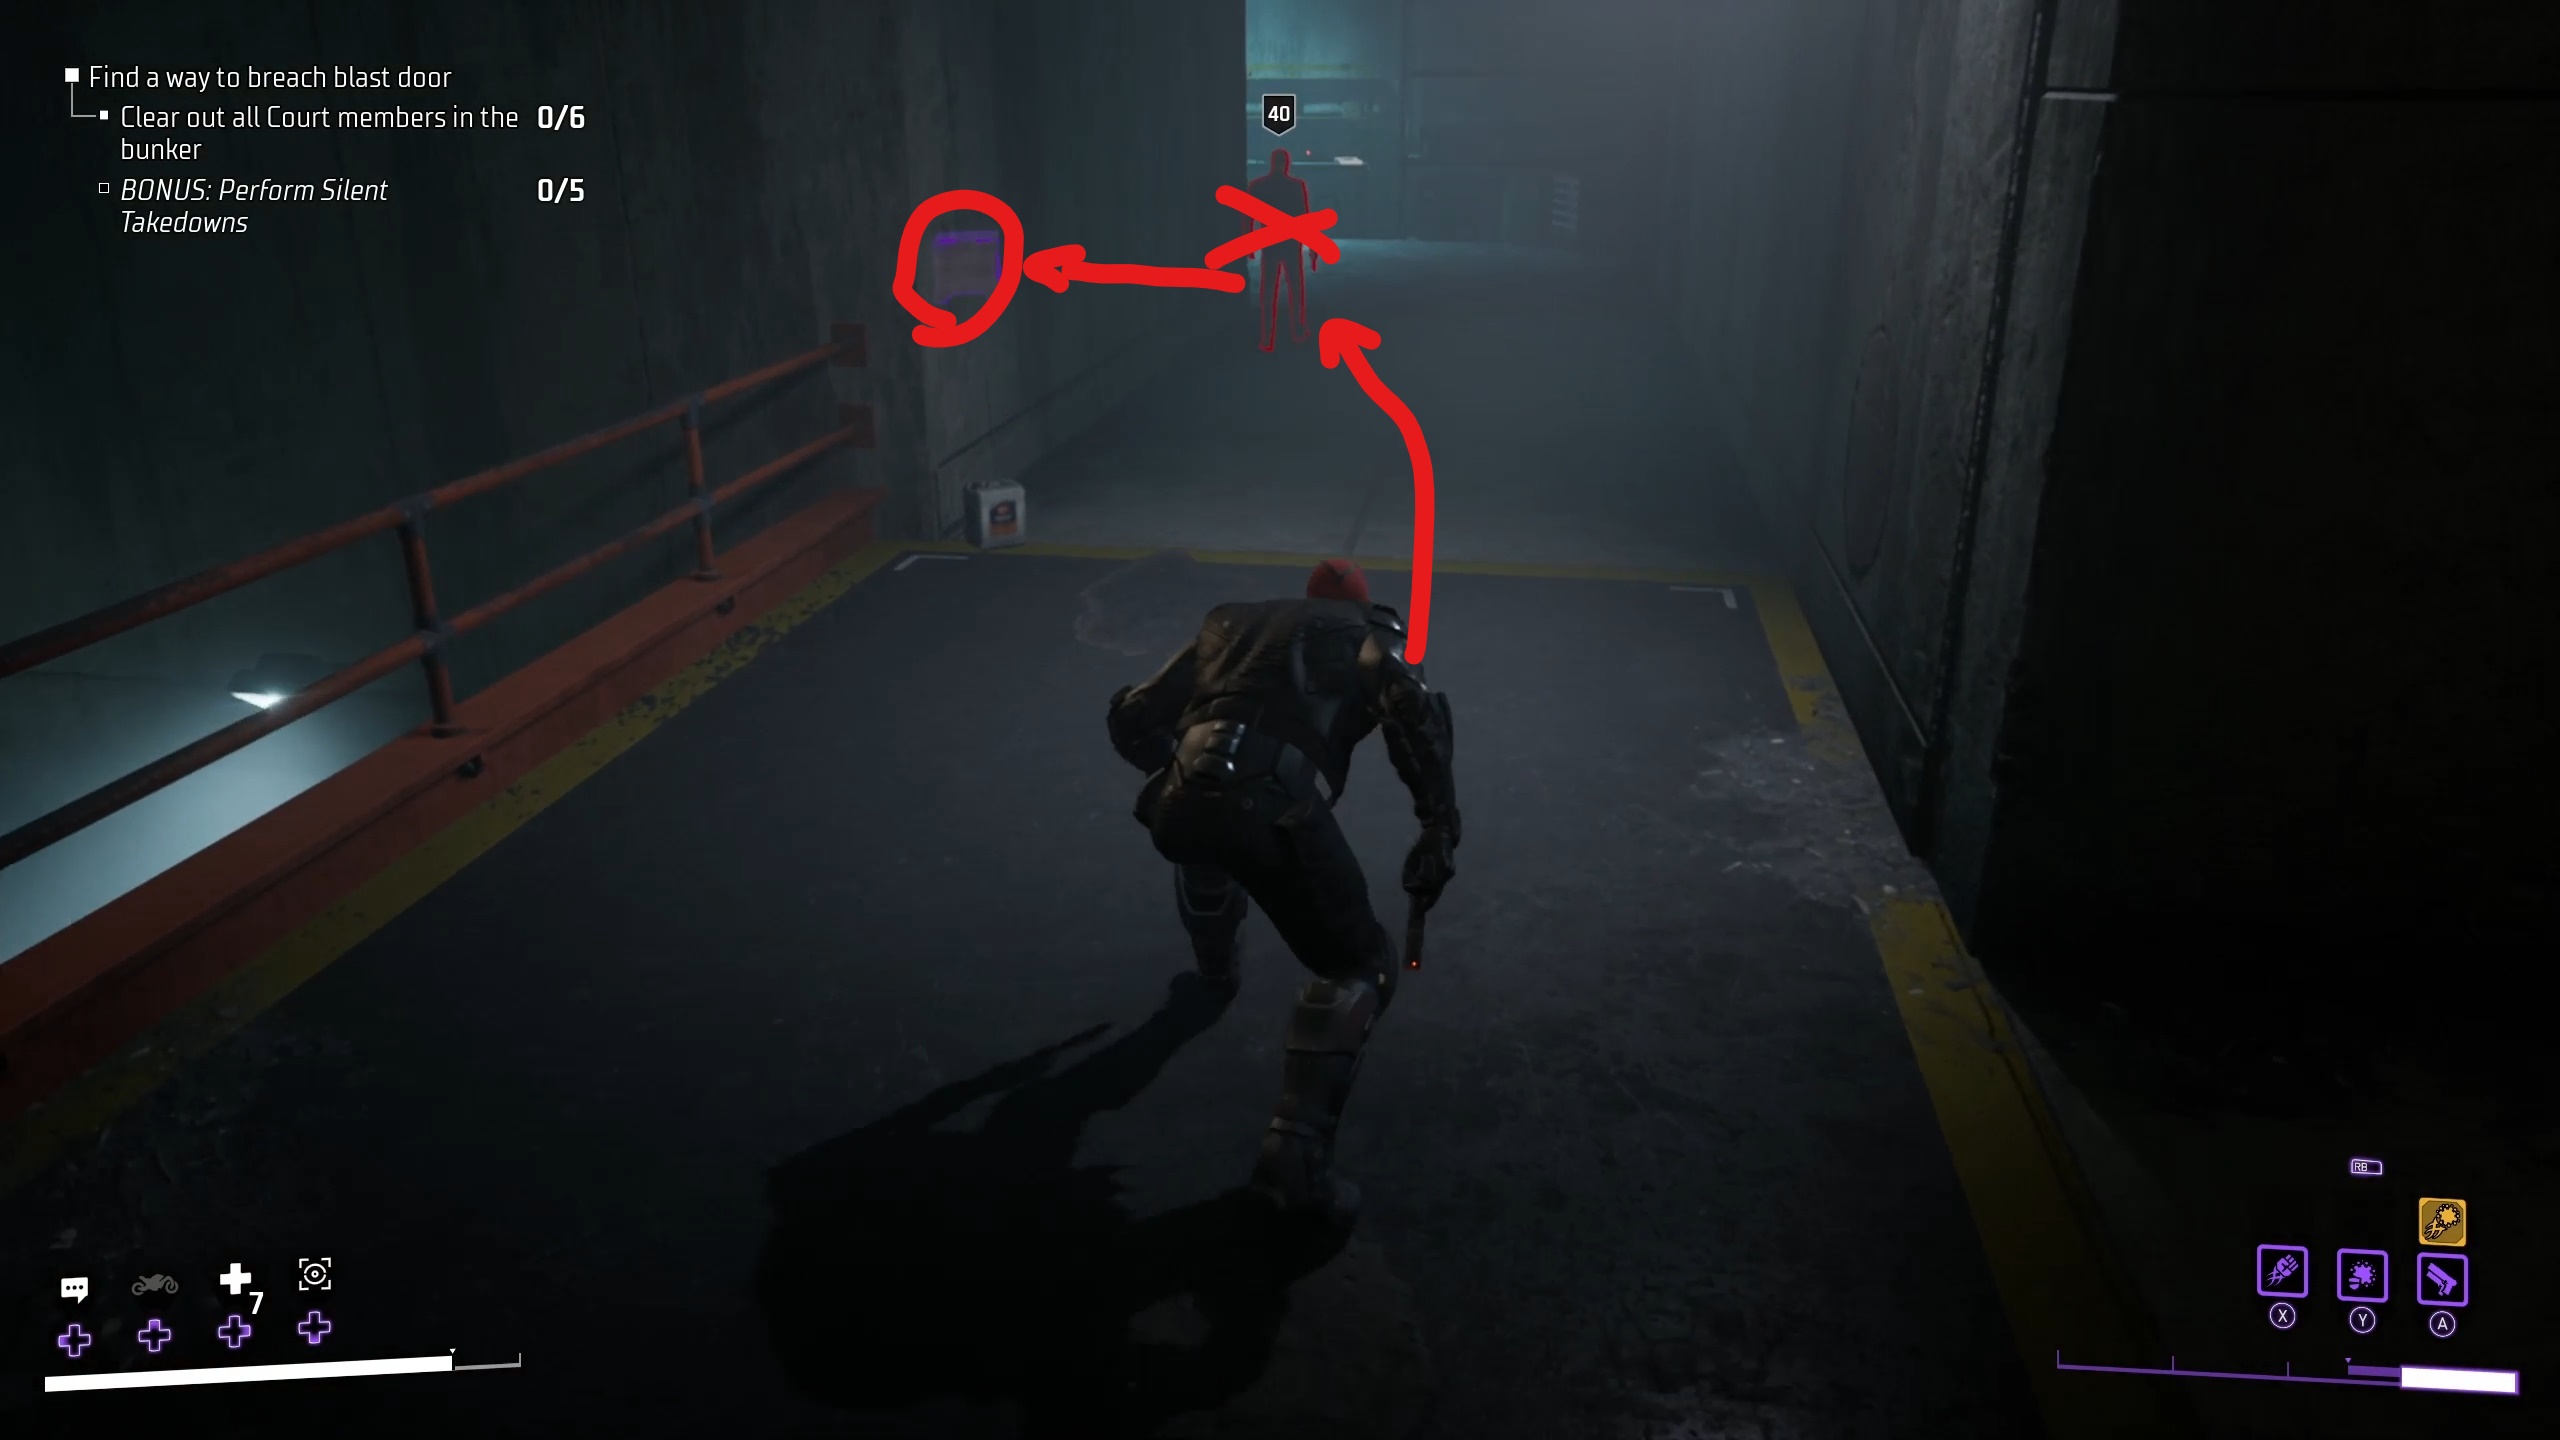
To start, you should grapple directly across the gap and Silent Takedown the guard on the upper catwalk. Since he will be right outside a room with a chest, go into that room and collect that chest right after taking him out.
Return to the main room and then grapple back to your starting perch. Go along the catwalk to your right, and then pick up the chest by the entrance to the room.
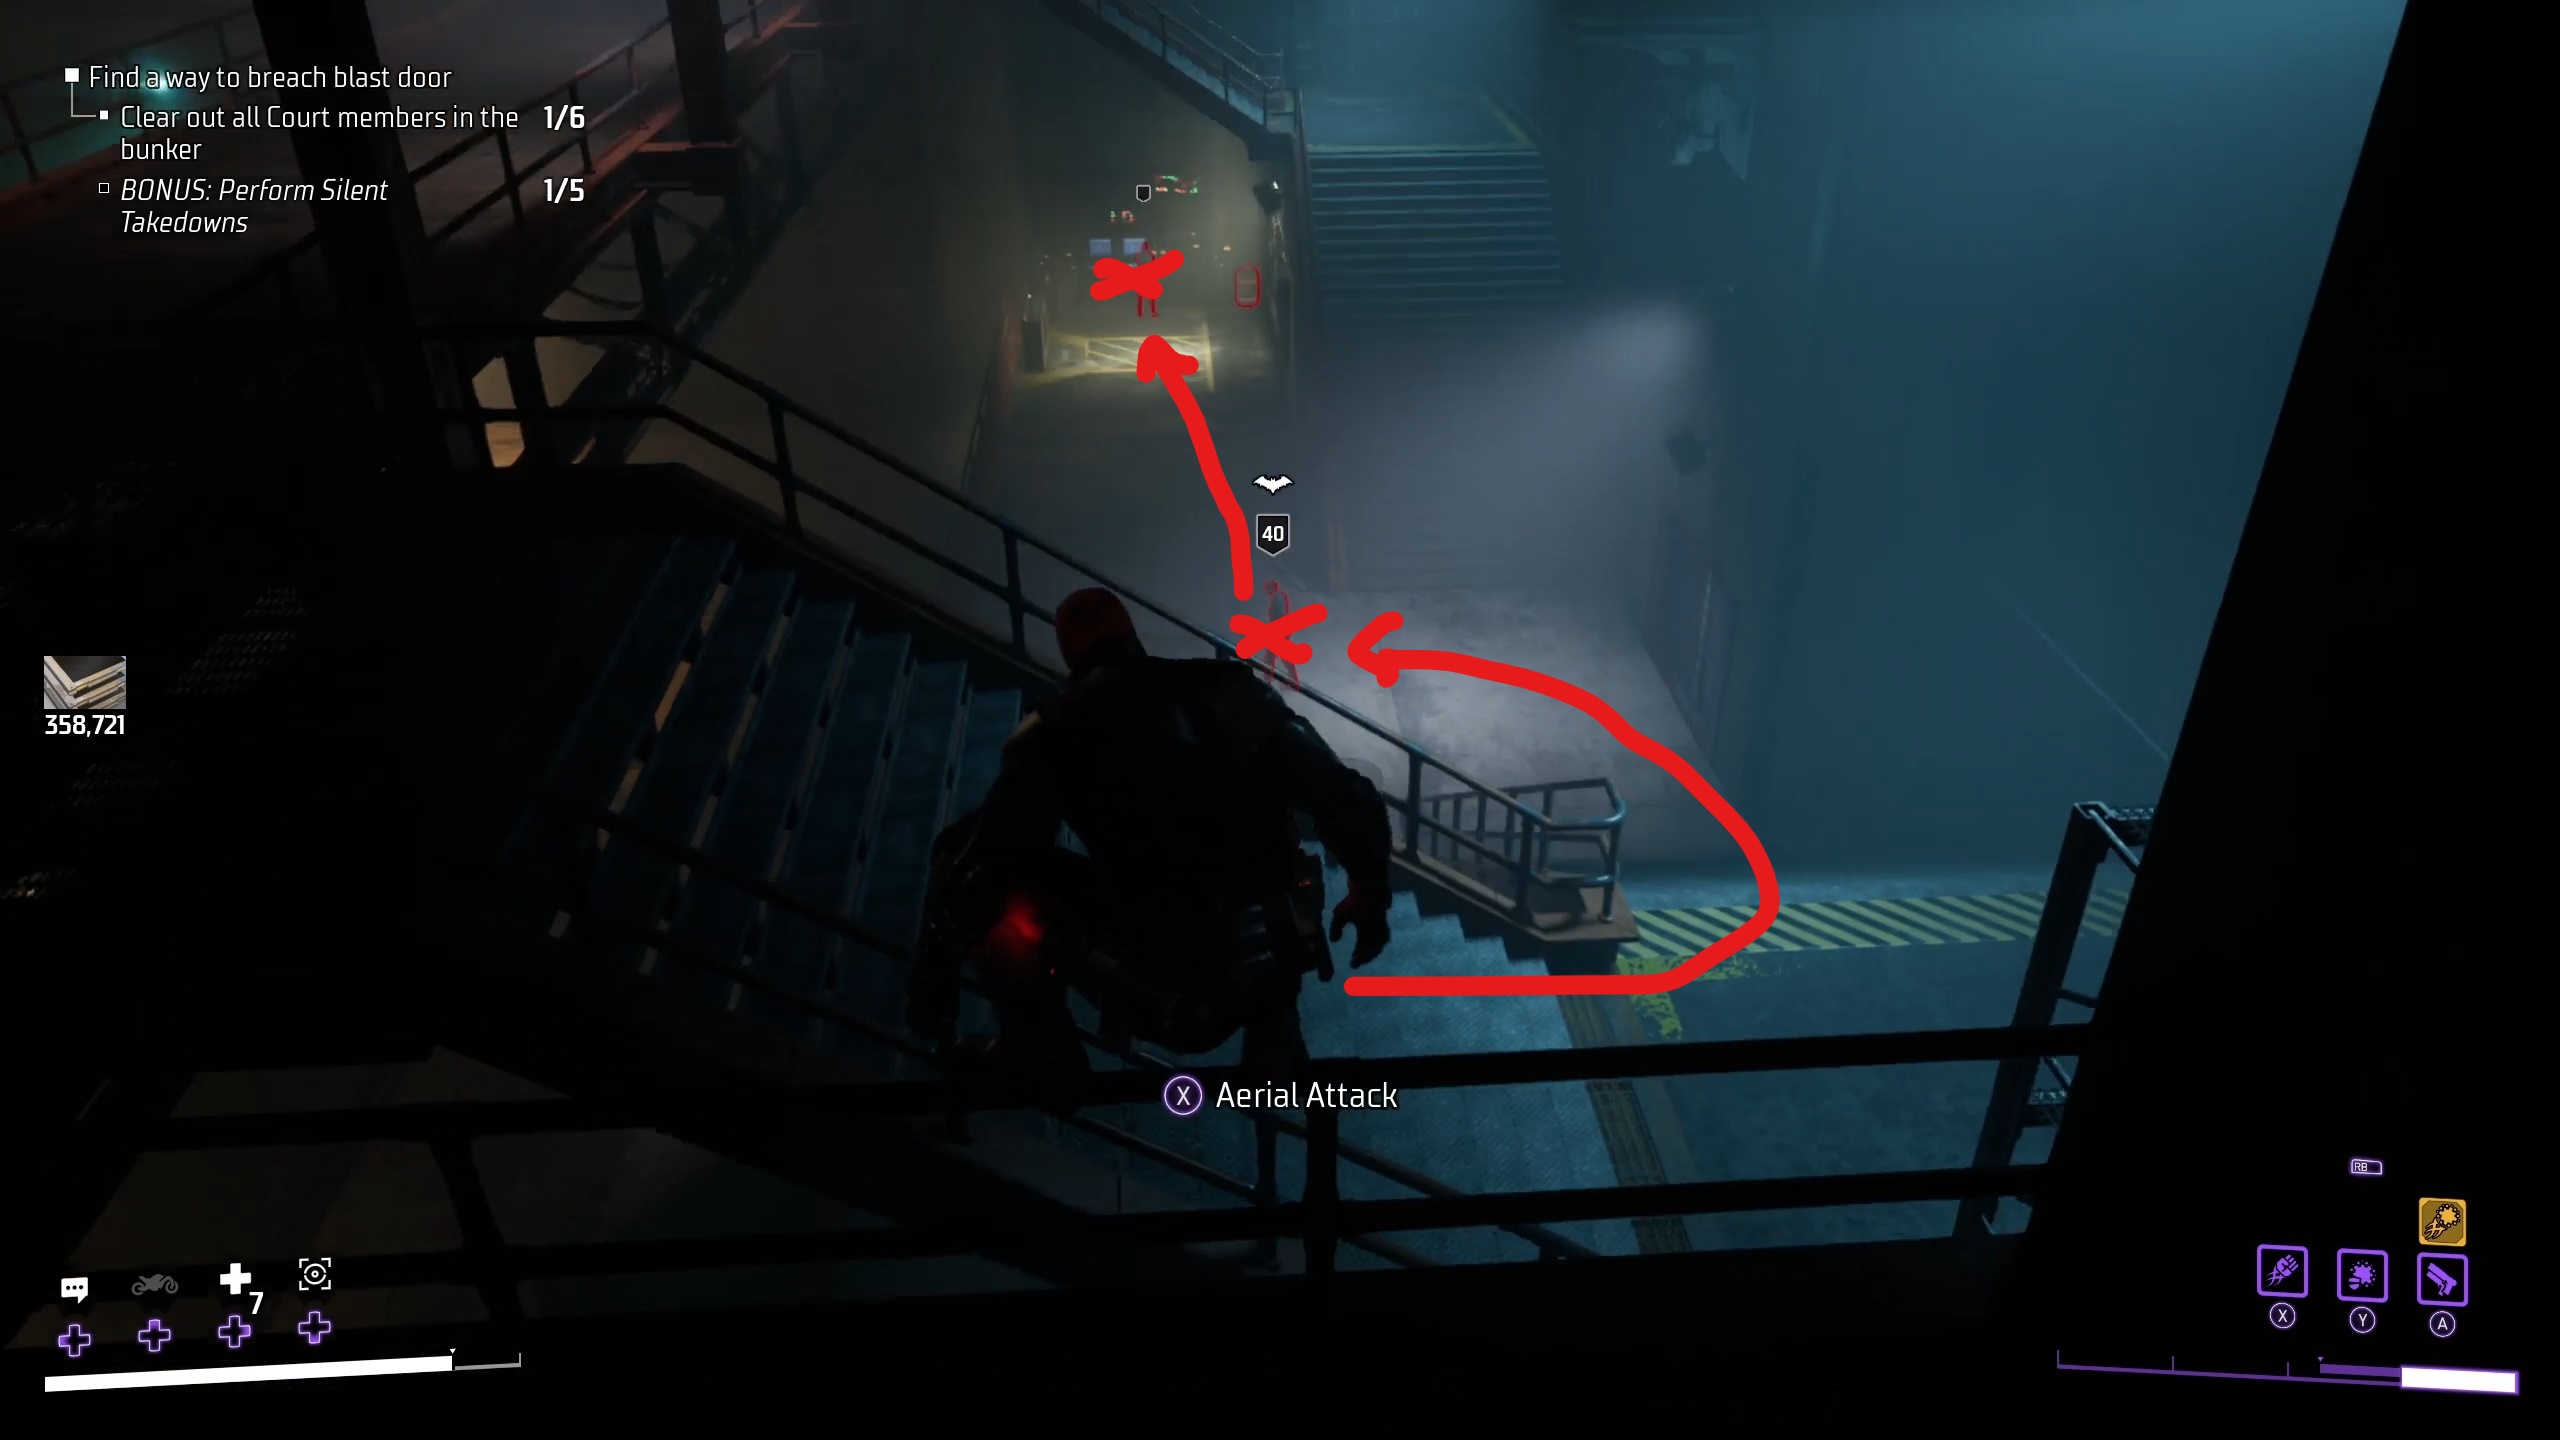
After grabbing that, look around to try to spot more guards that you can take out with your Silent Takedown. There will be one at the bottom of a stairway near the chest, and another nearby operating a console in the corner of the room.
After taking them out, that will only leave the three guards by the blast door itself. Though they are tightly packed, their facings mean that you can grapple above them (to the same place you took out the first guard), and then drop down to Silent Takedown each of them.
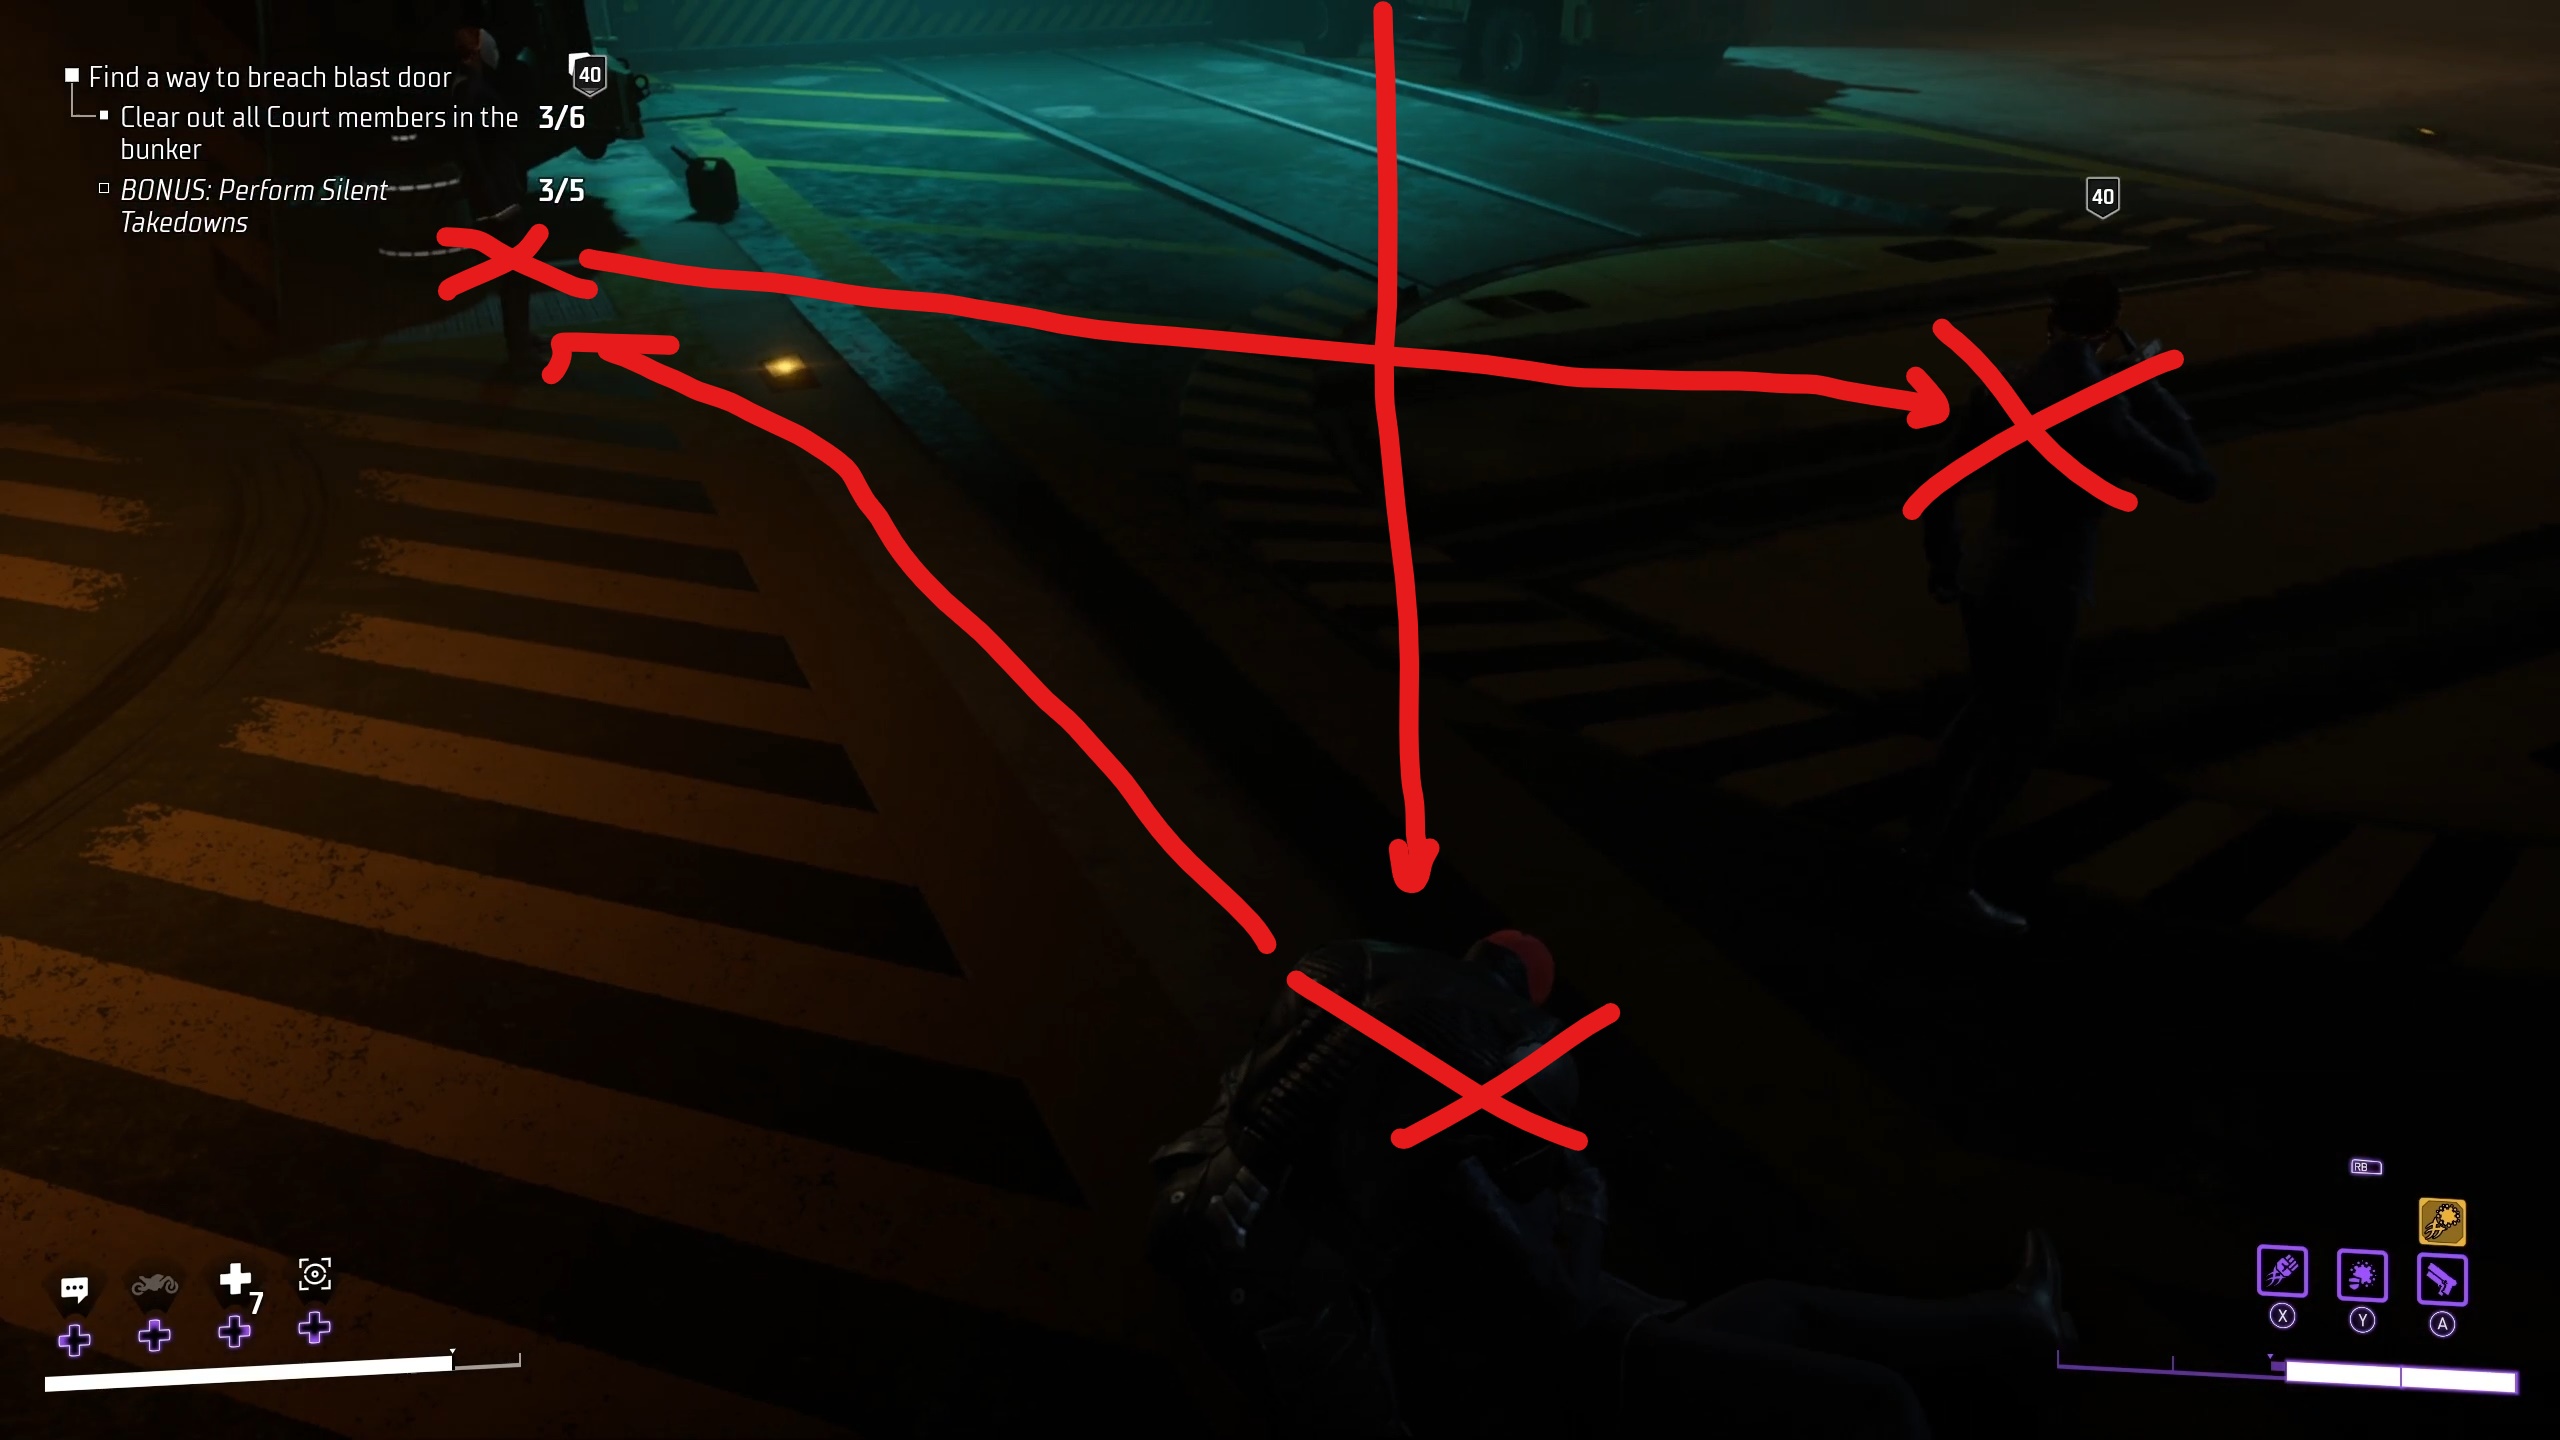
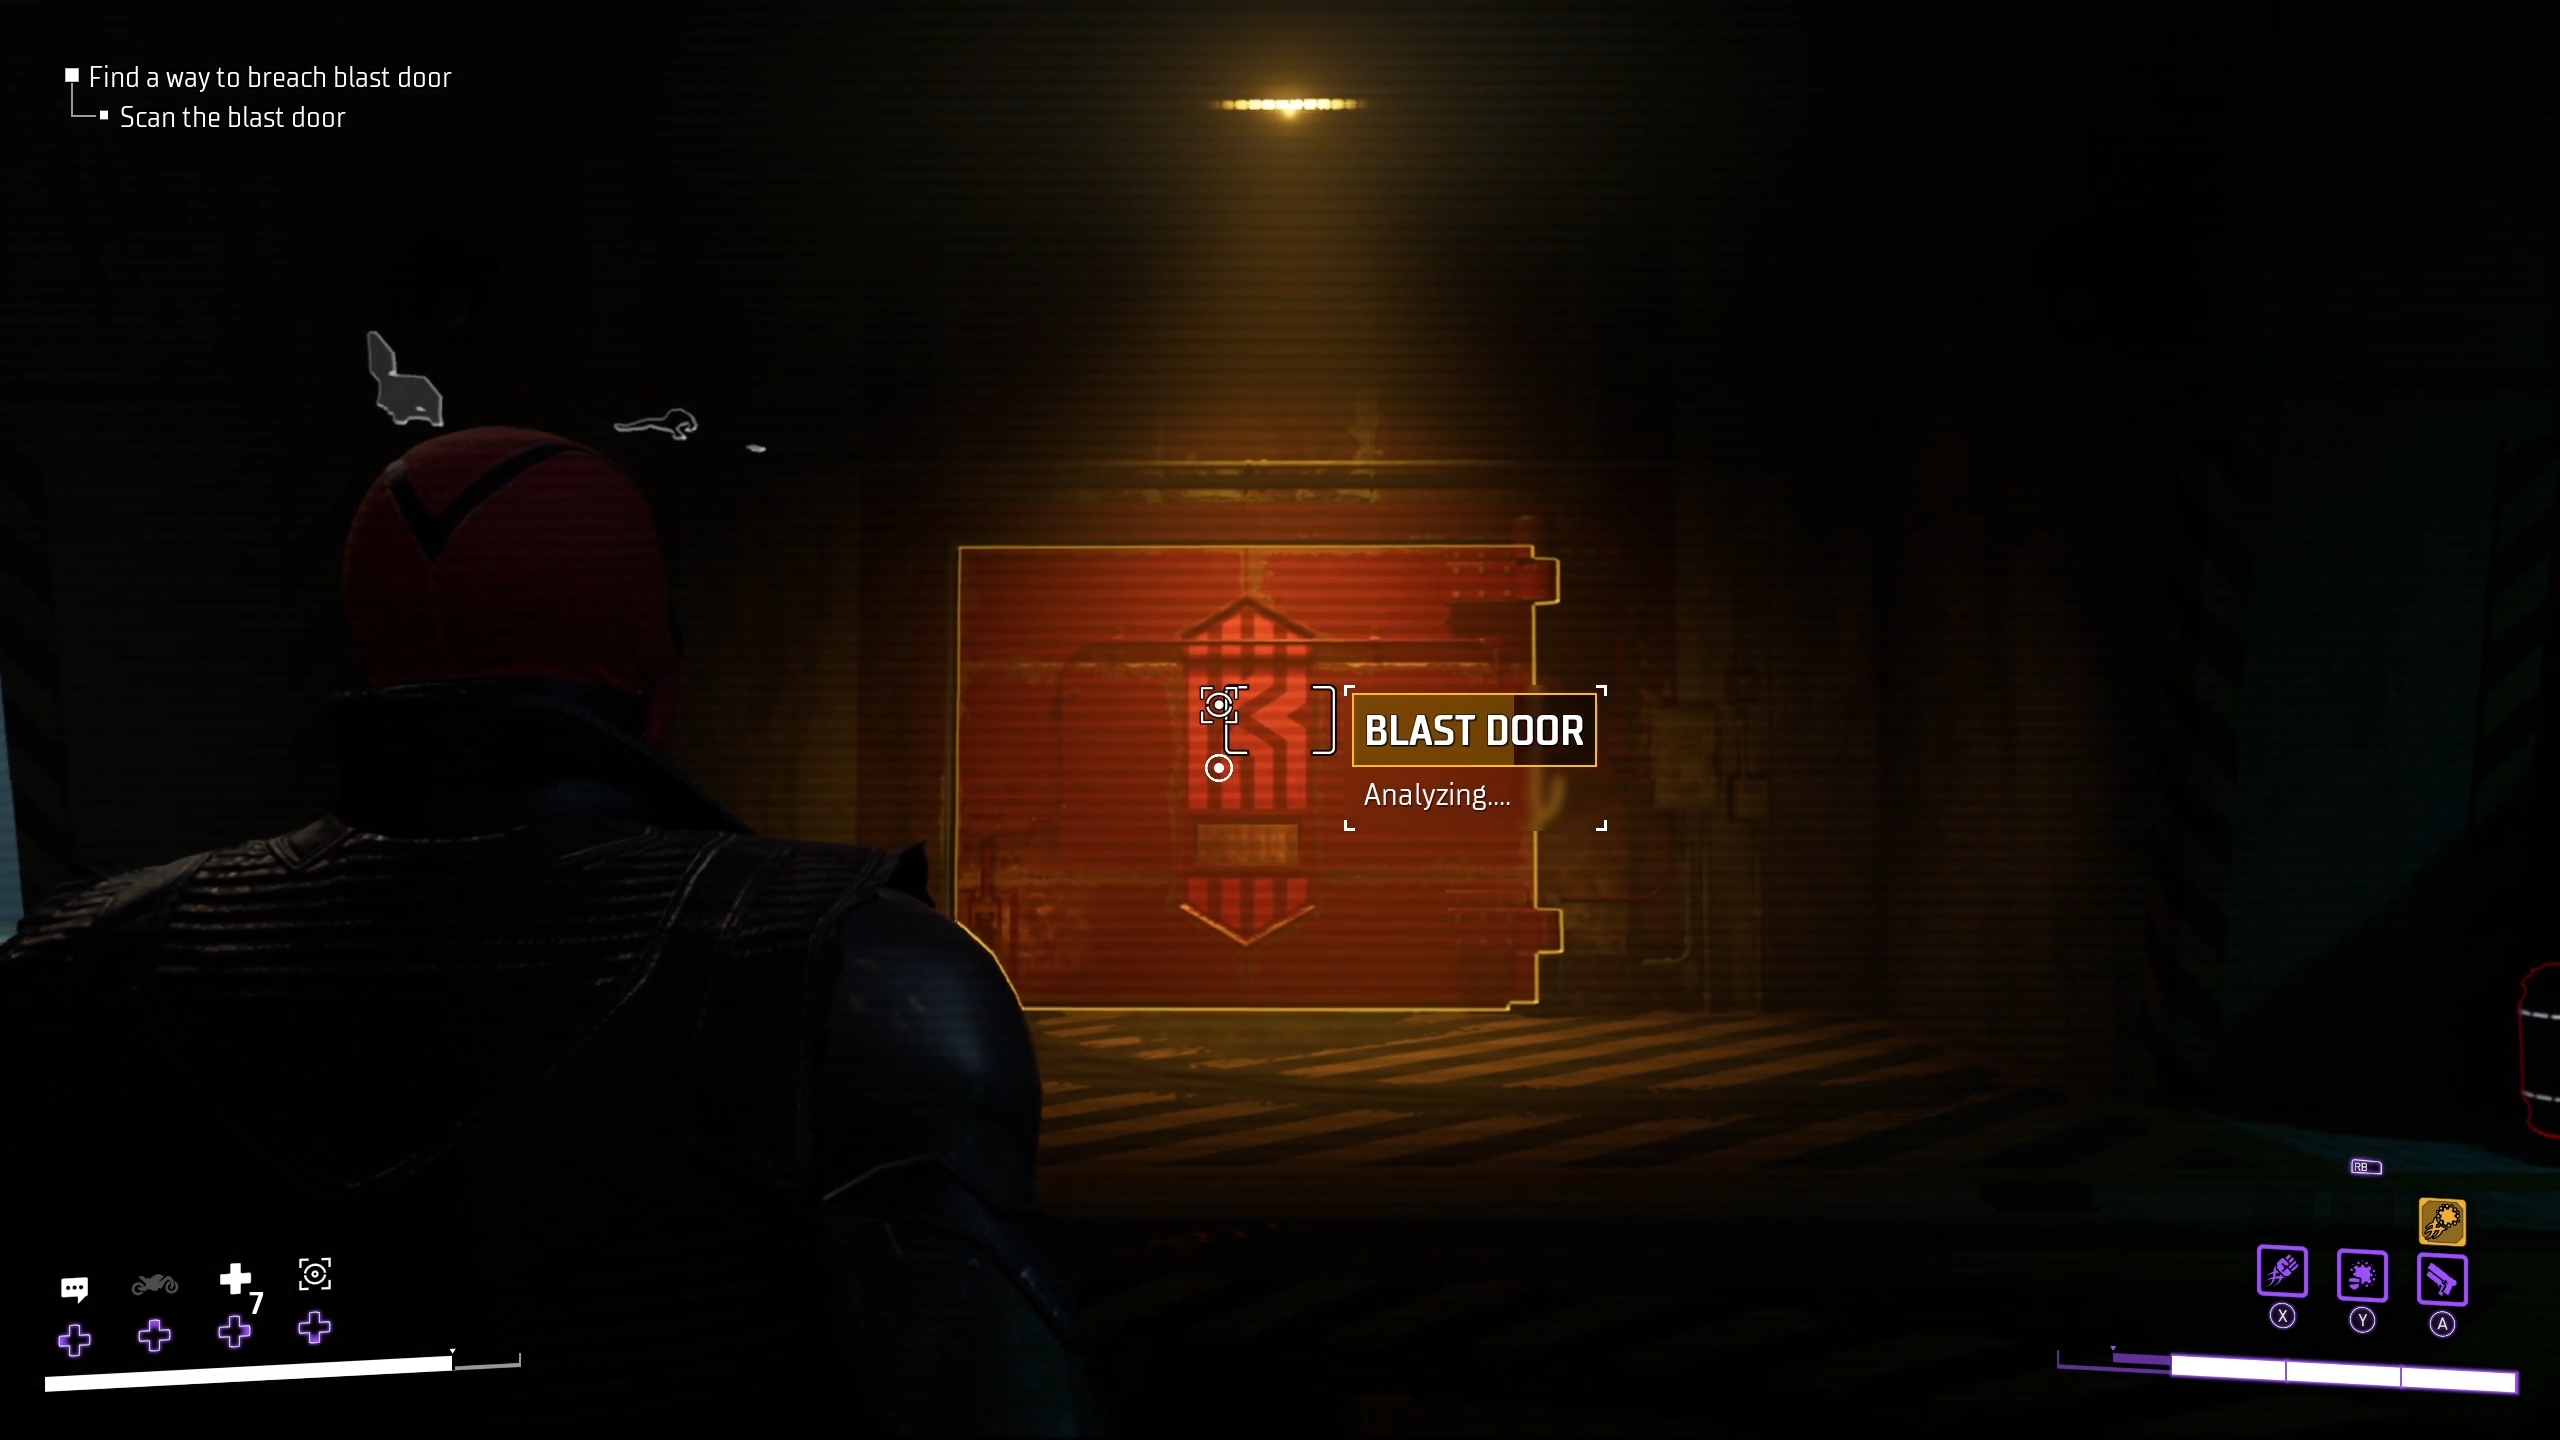
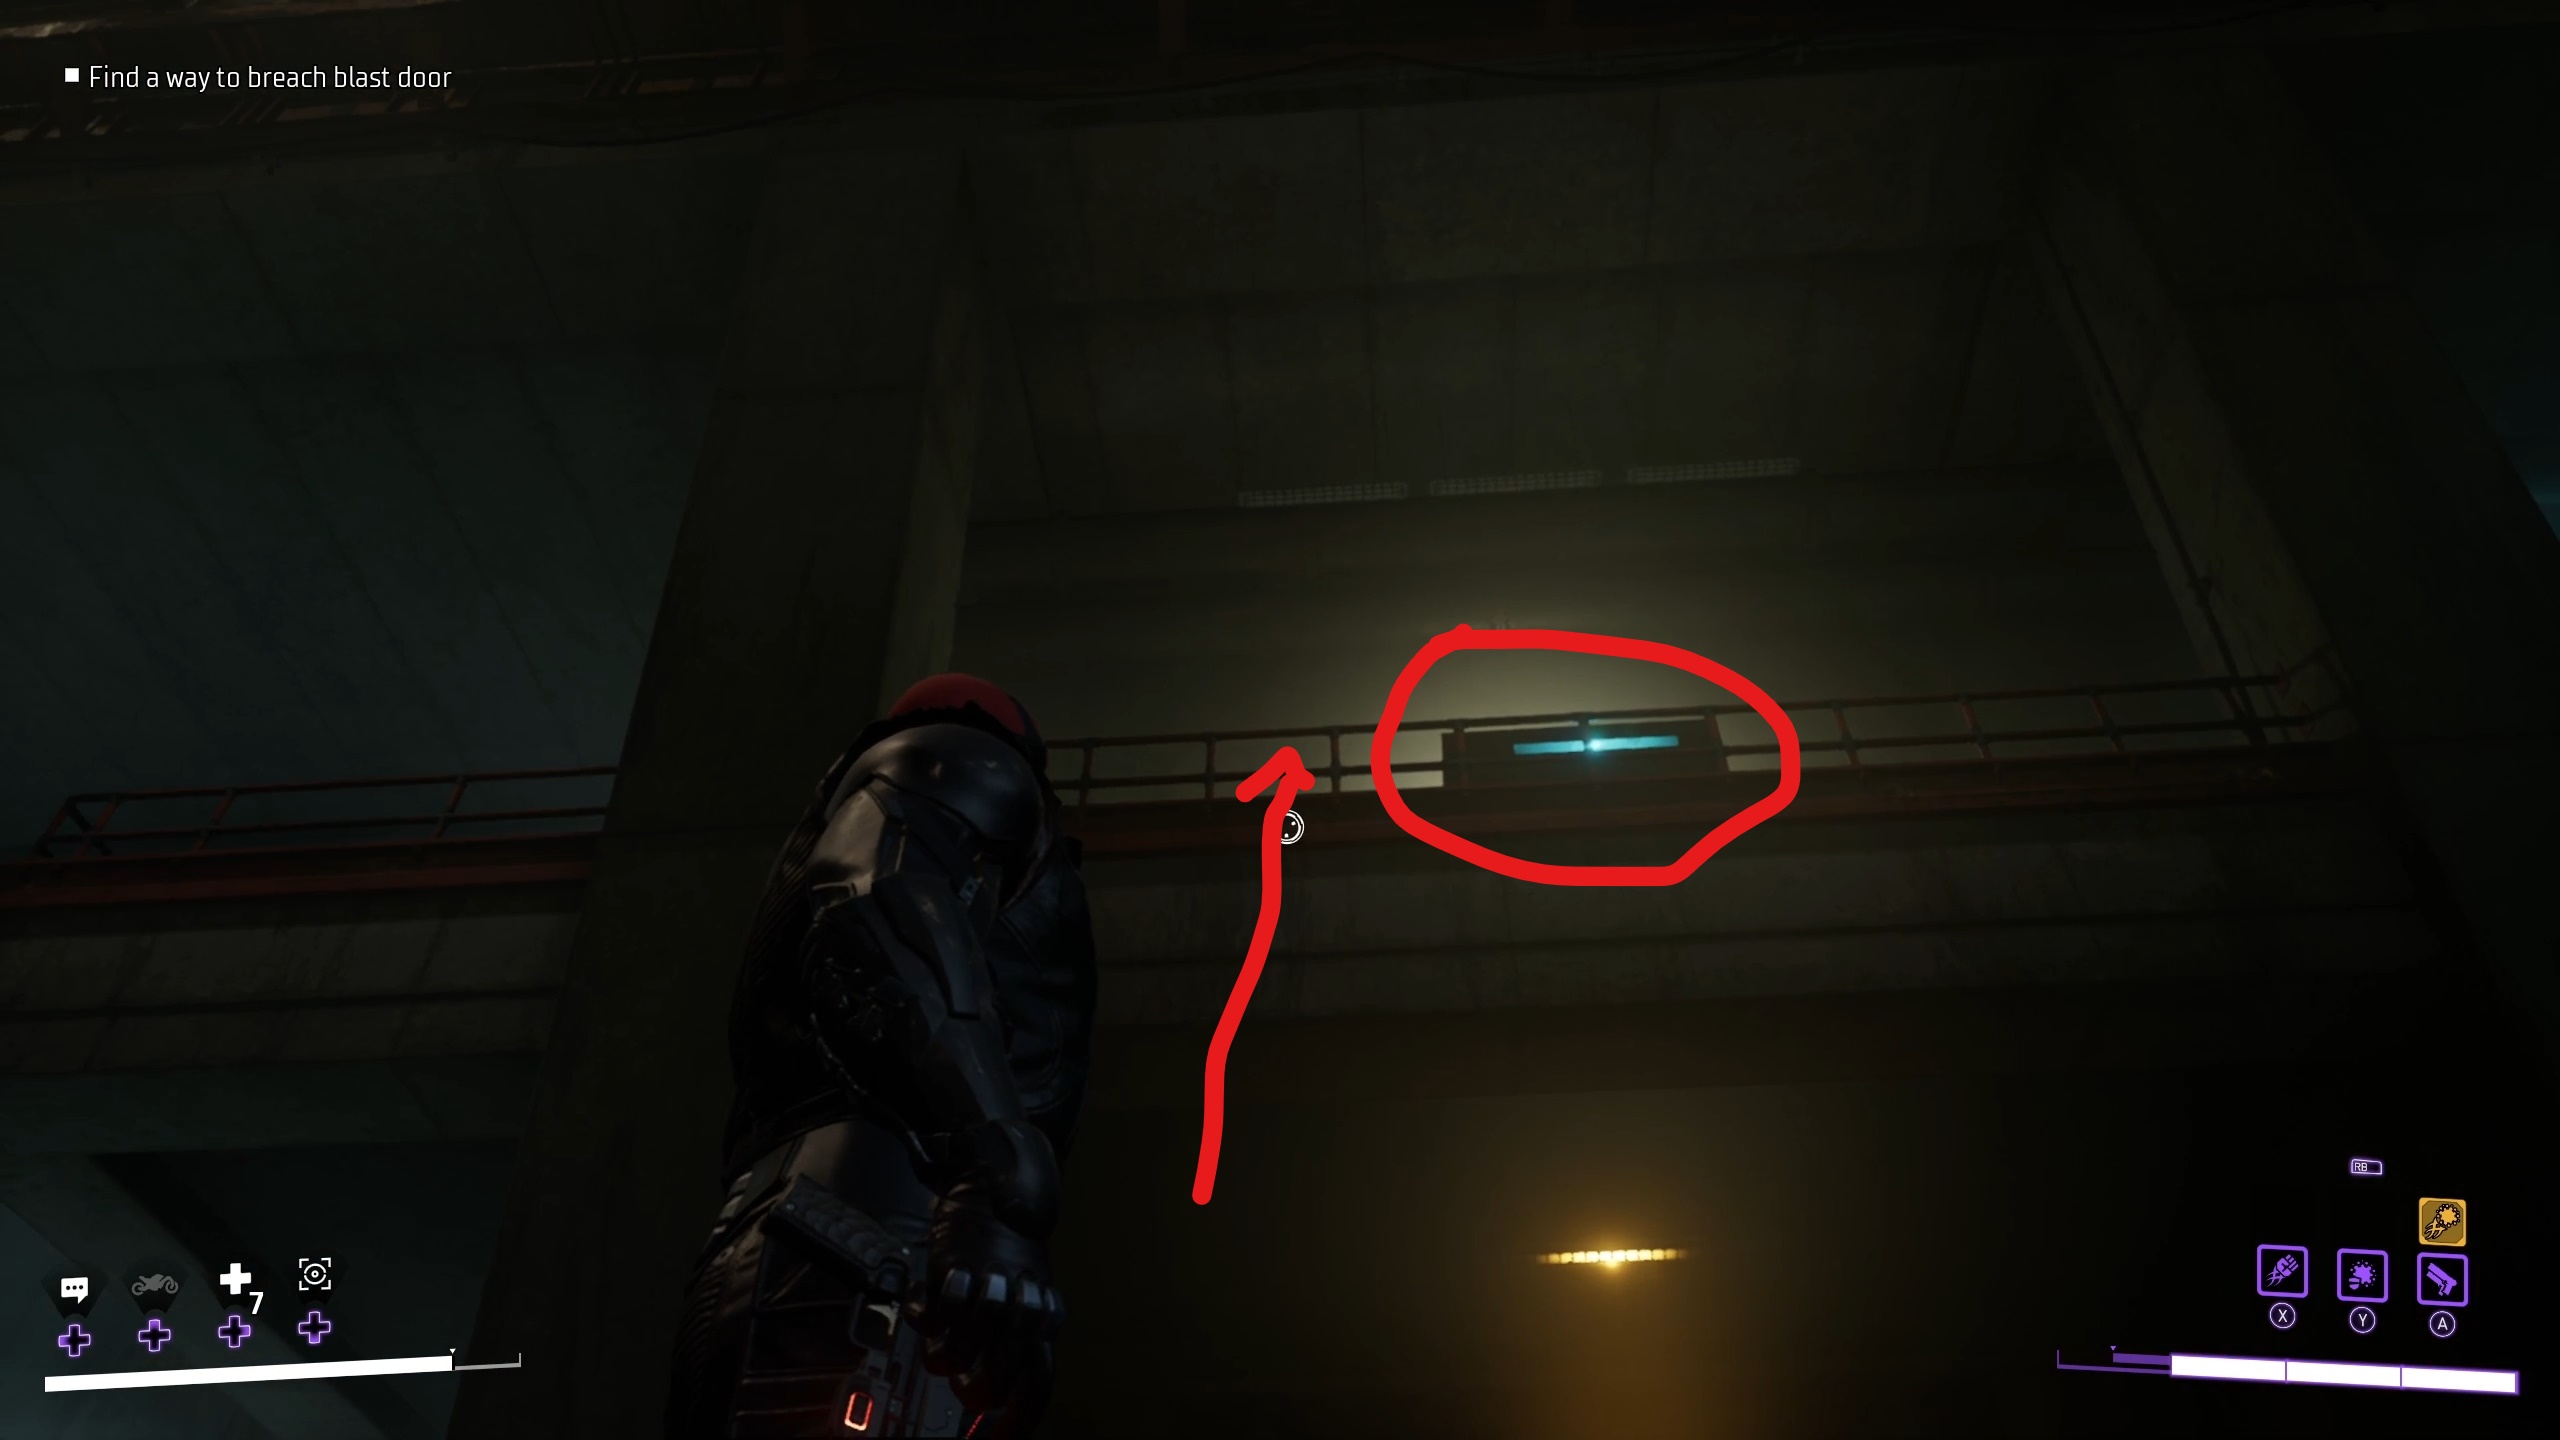
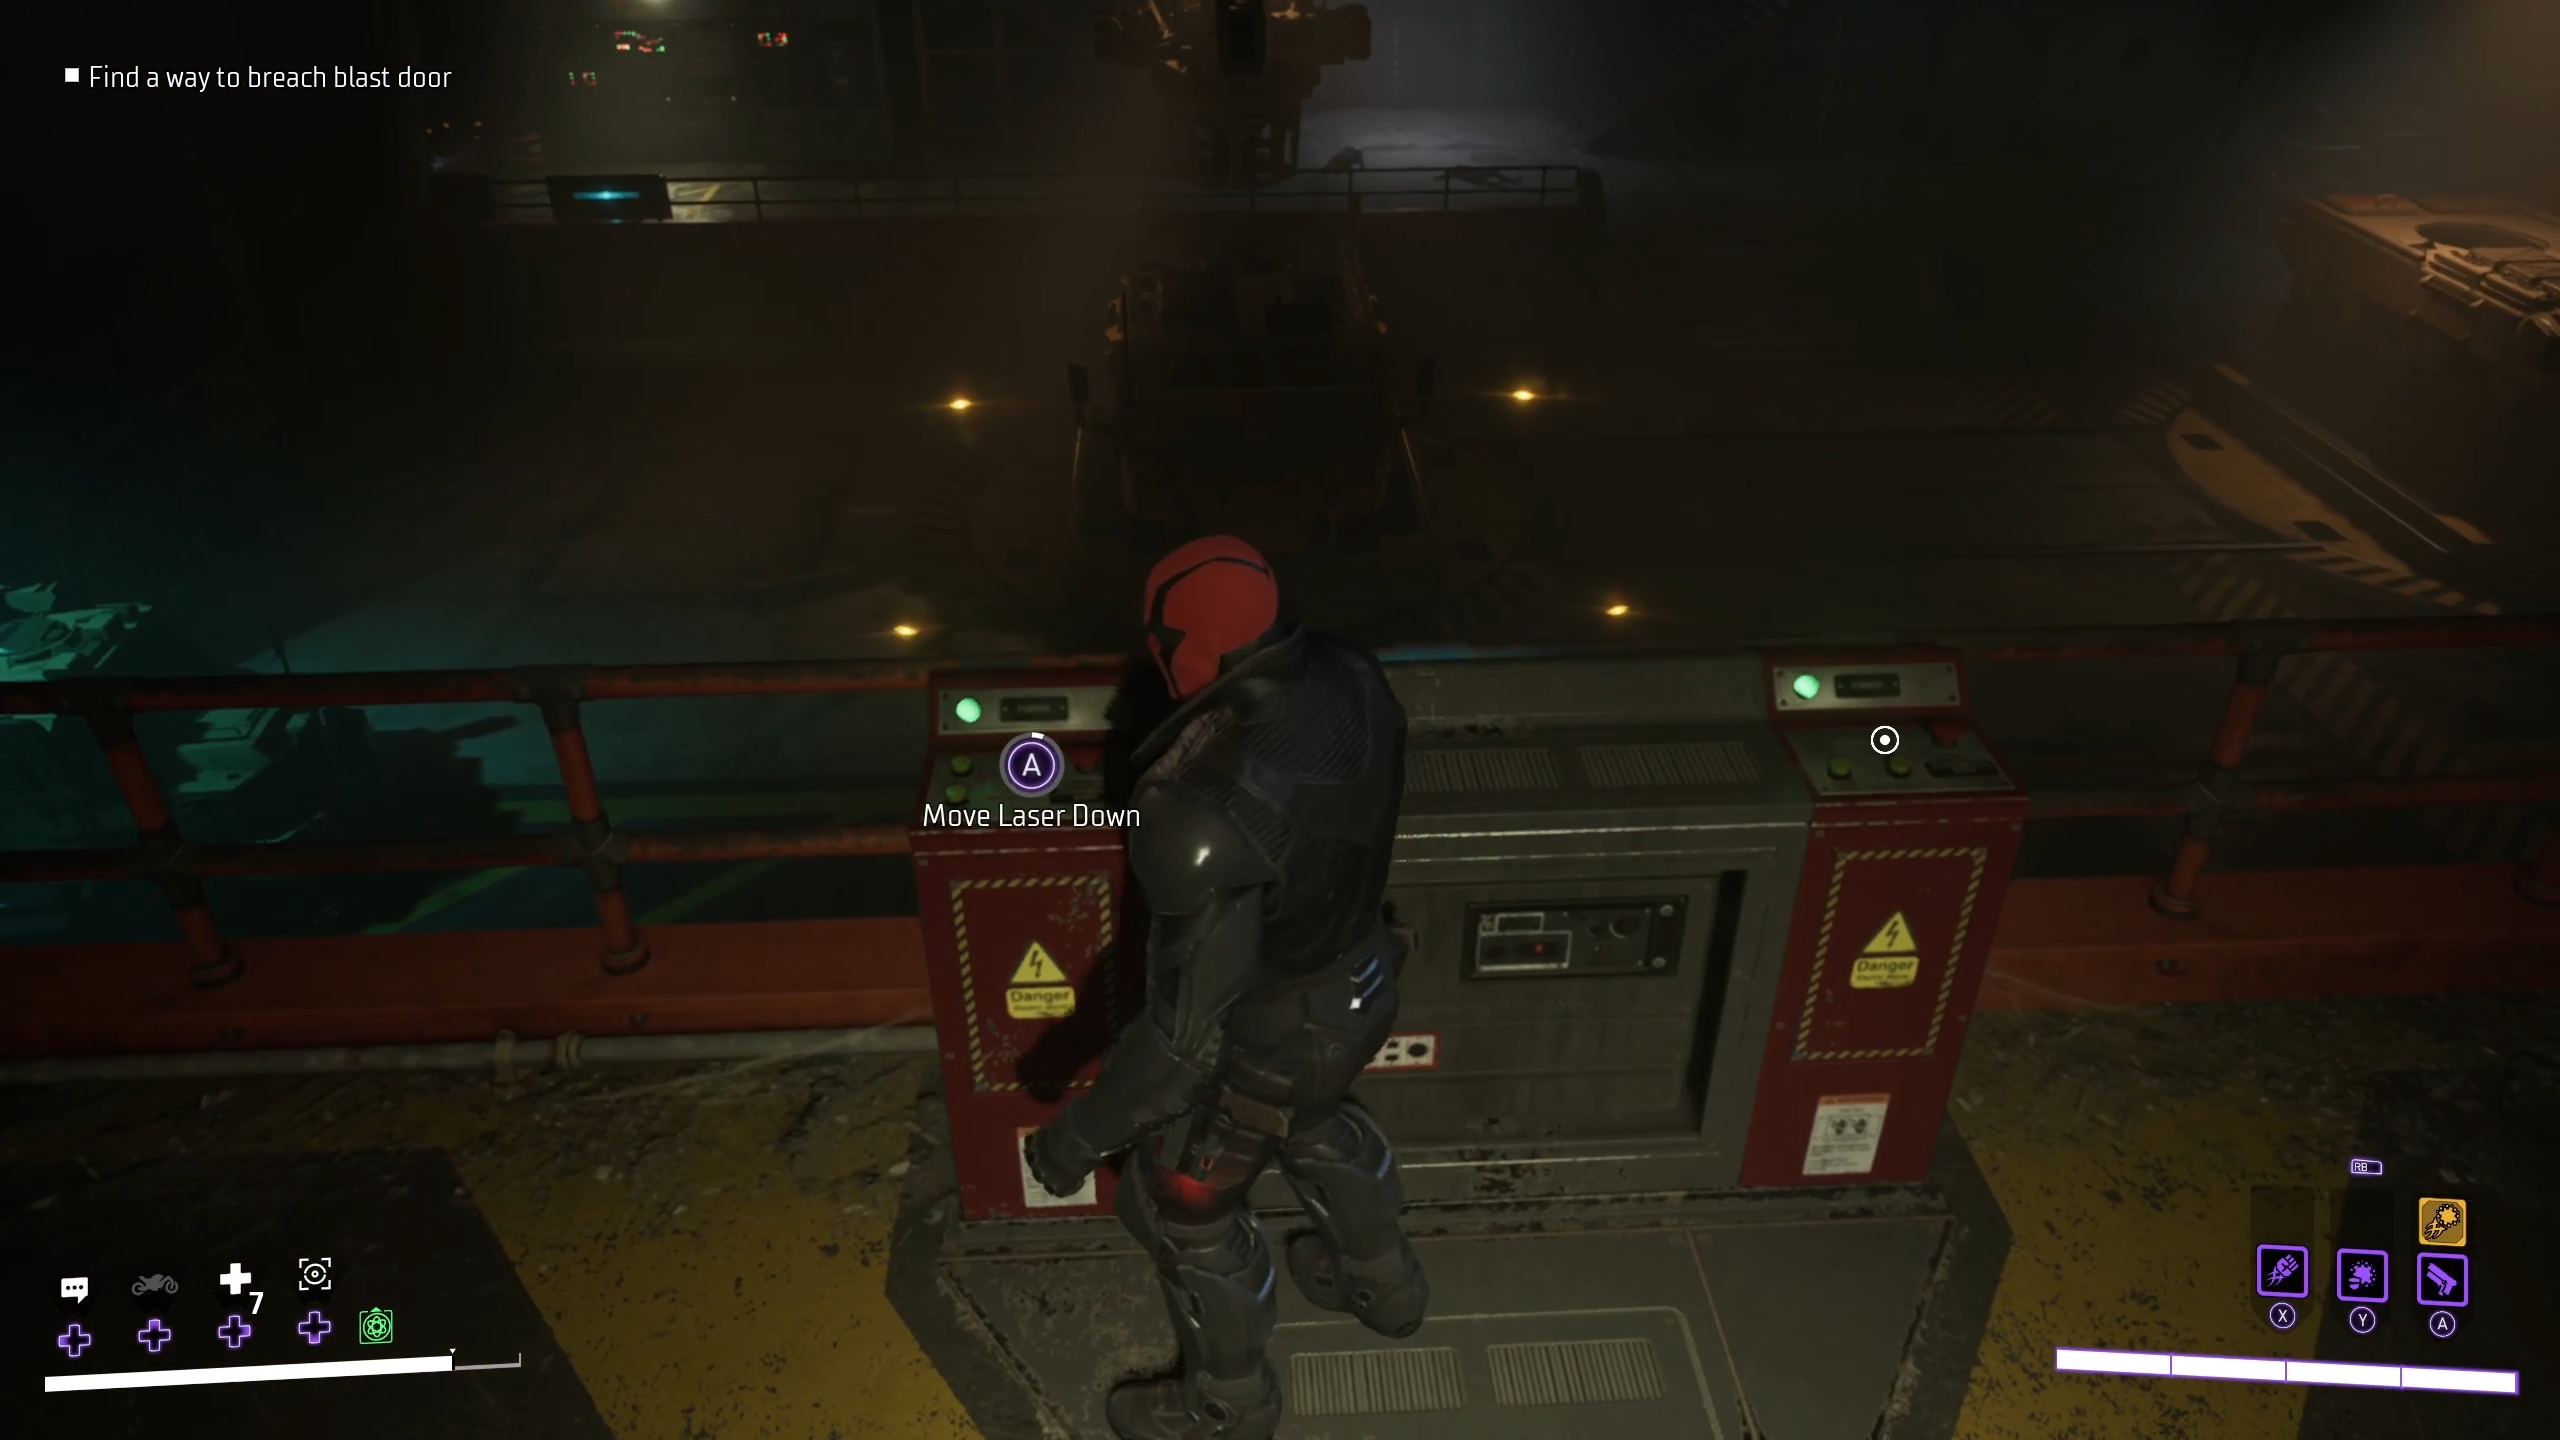
After taking out 5 of the guards in the room, four more will filter in from upstairs. You can simply head up onto the catwalk and take them out however you’d like. Once you’ve defeated them, you’ll need to wait for some dialog to play and then scan the large blast door Jacob is hiding behind. After you’ve done that, look up and grapple towards the controls above the door.
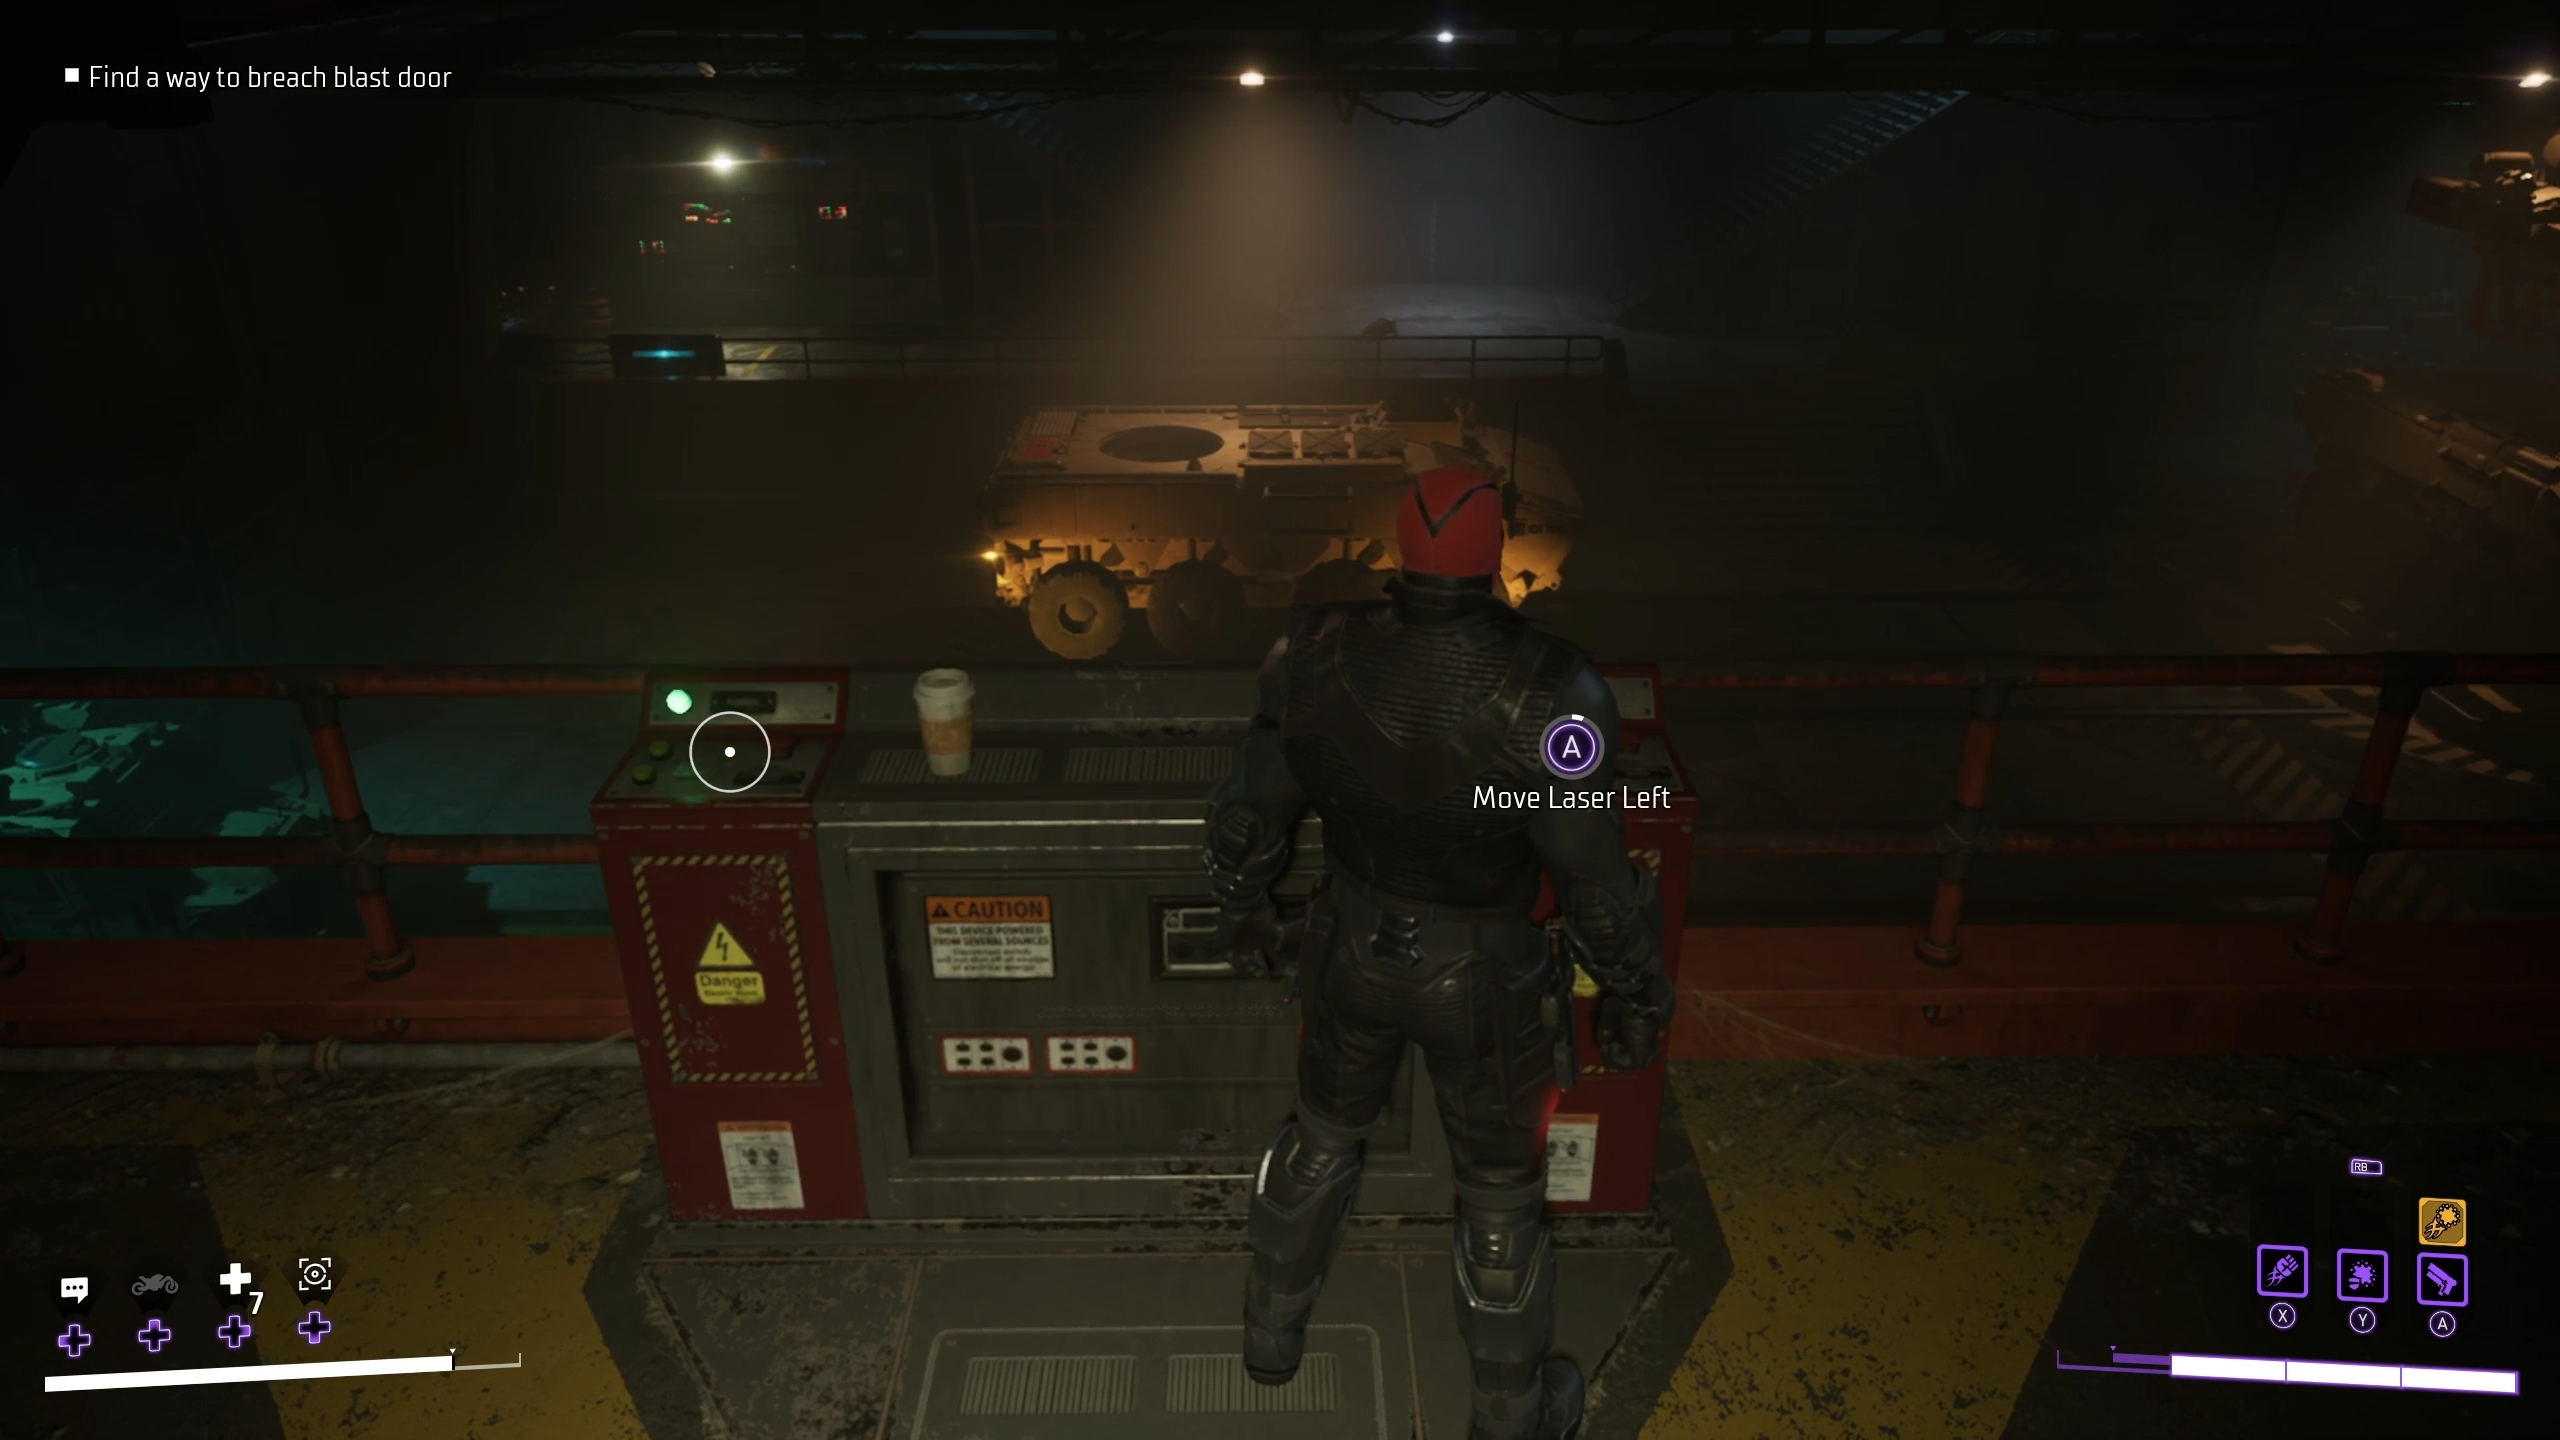
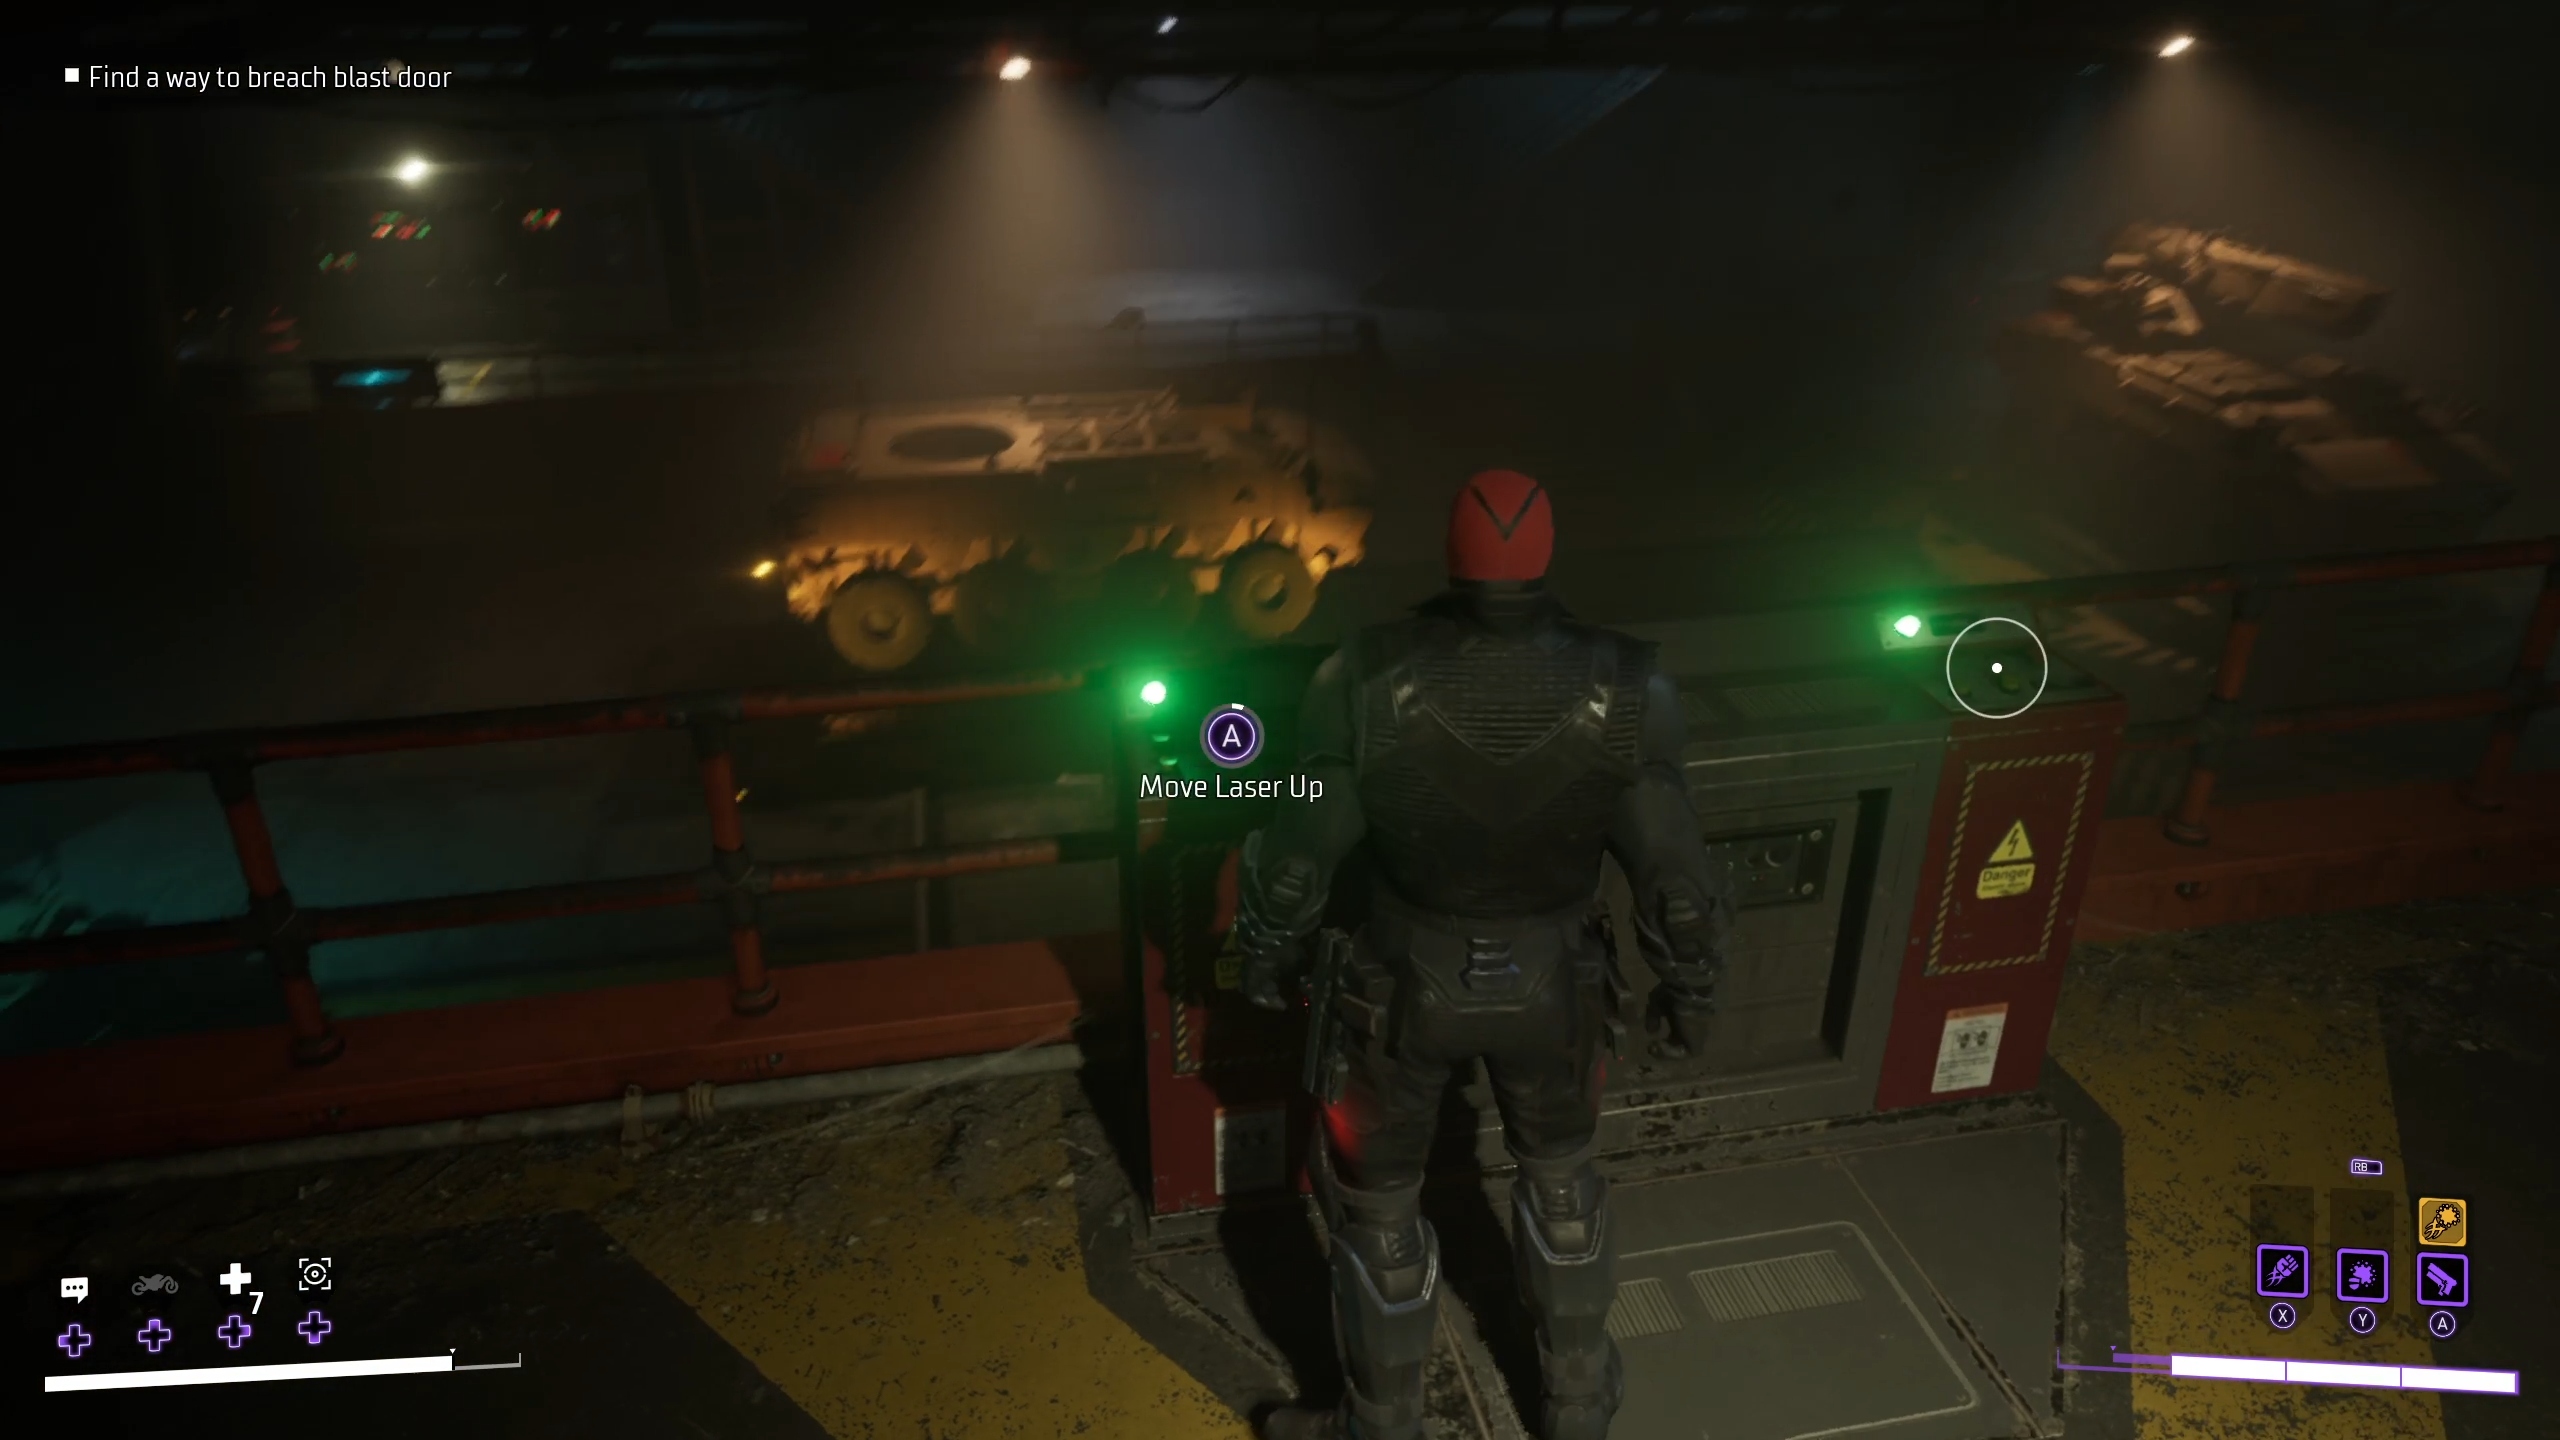
Once at these controls, you’ll need to press the button on the right to move the laser canon up, then the button on the right to move the laser cannon left.
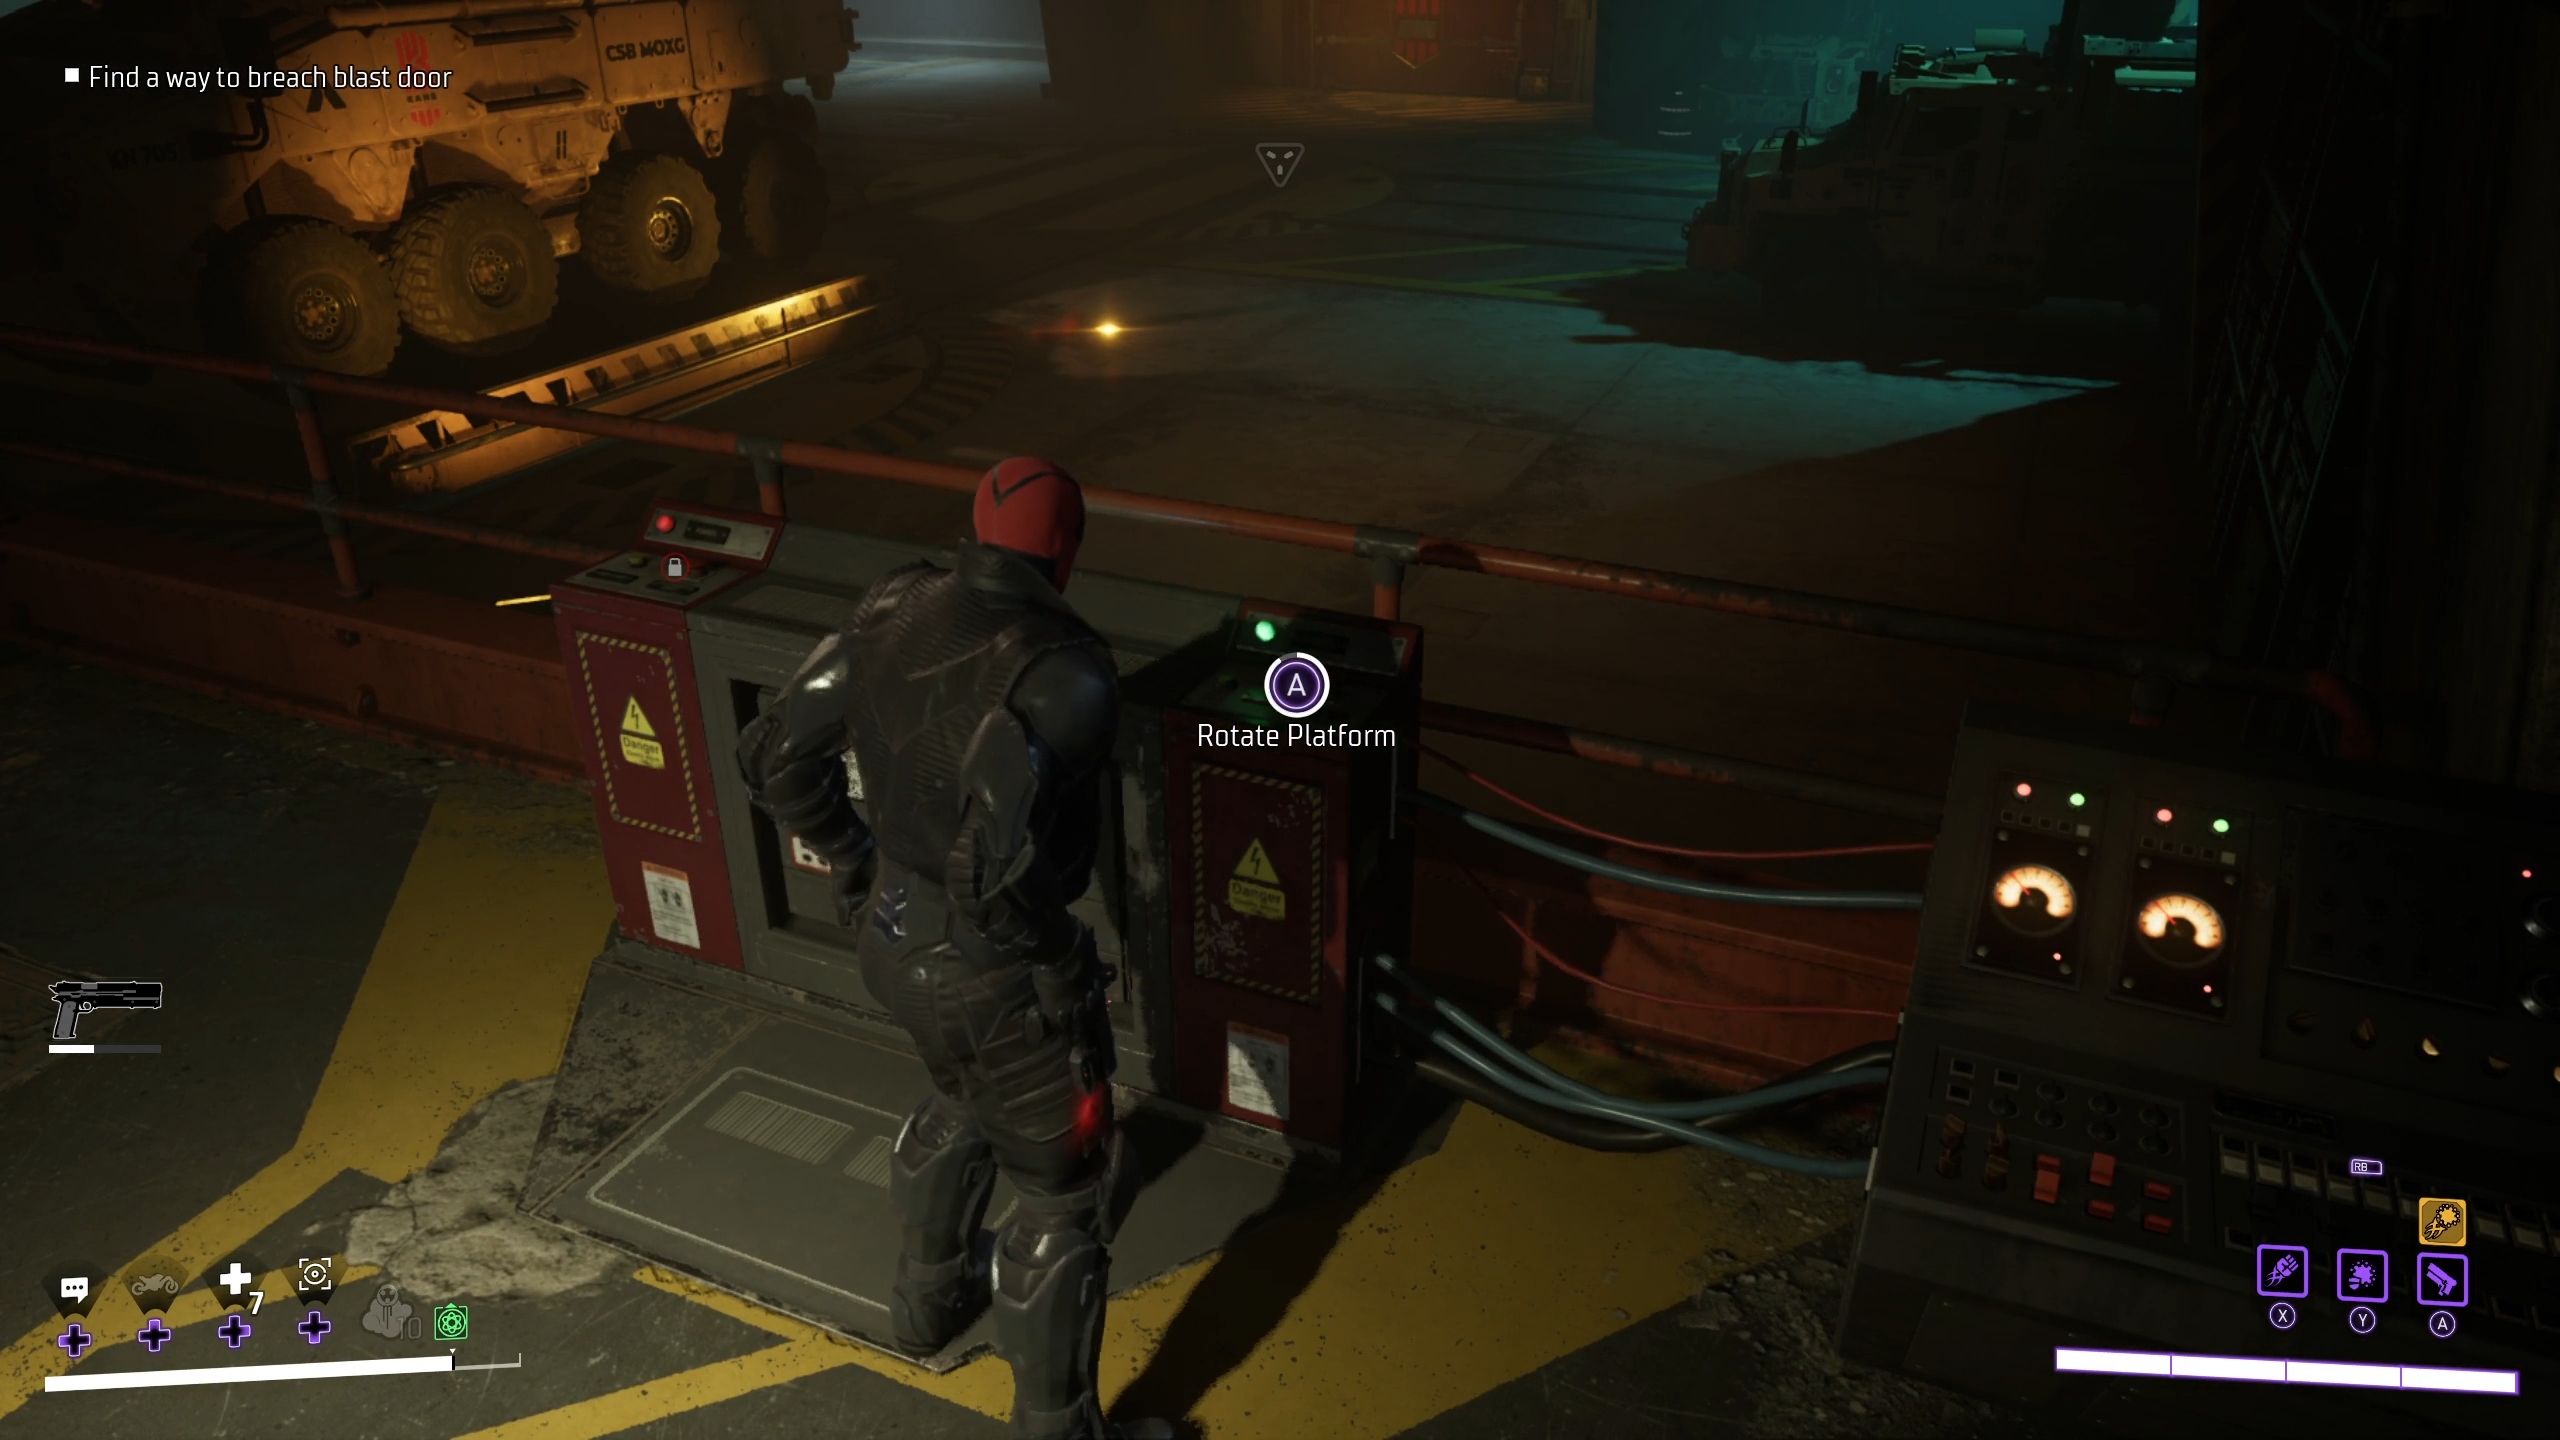
After that, some more guards will feed into the room on the catwalk to your left, including a Feral Talon. Take them out, then go drop down to the lower level and go to the controls opposite the door, near the large tank.
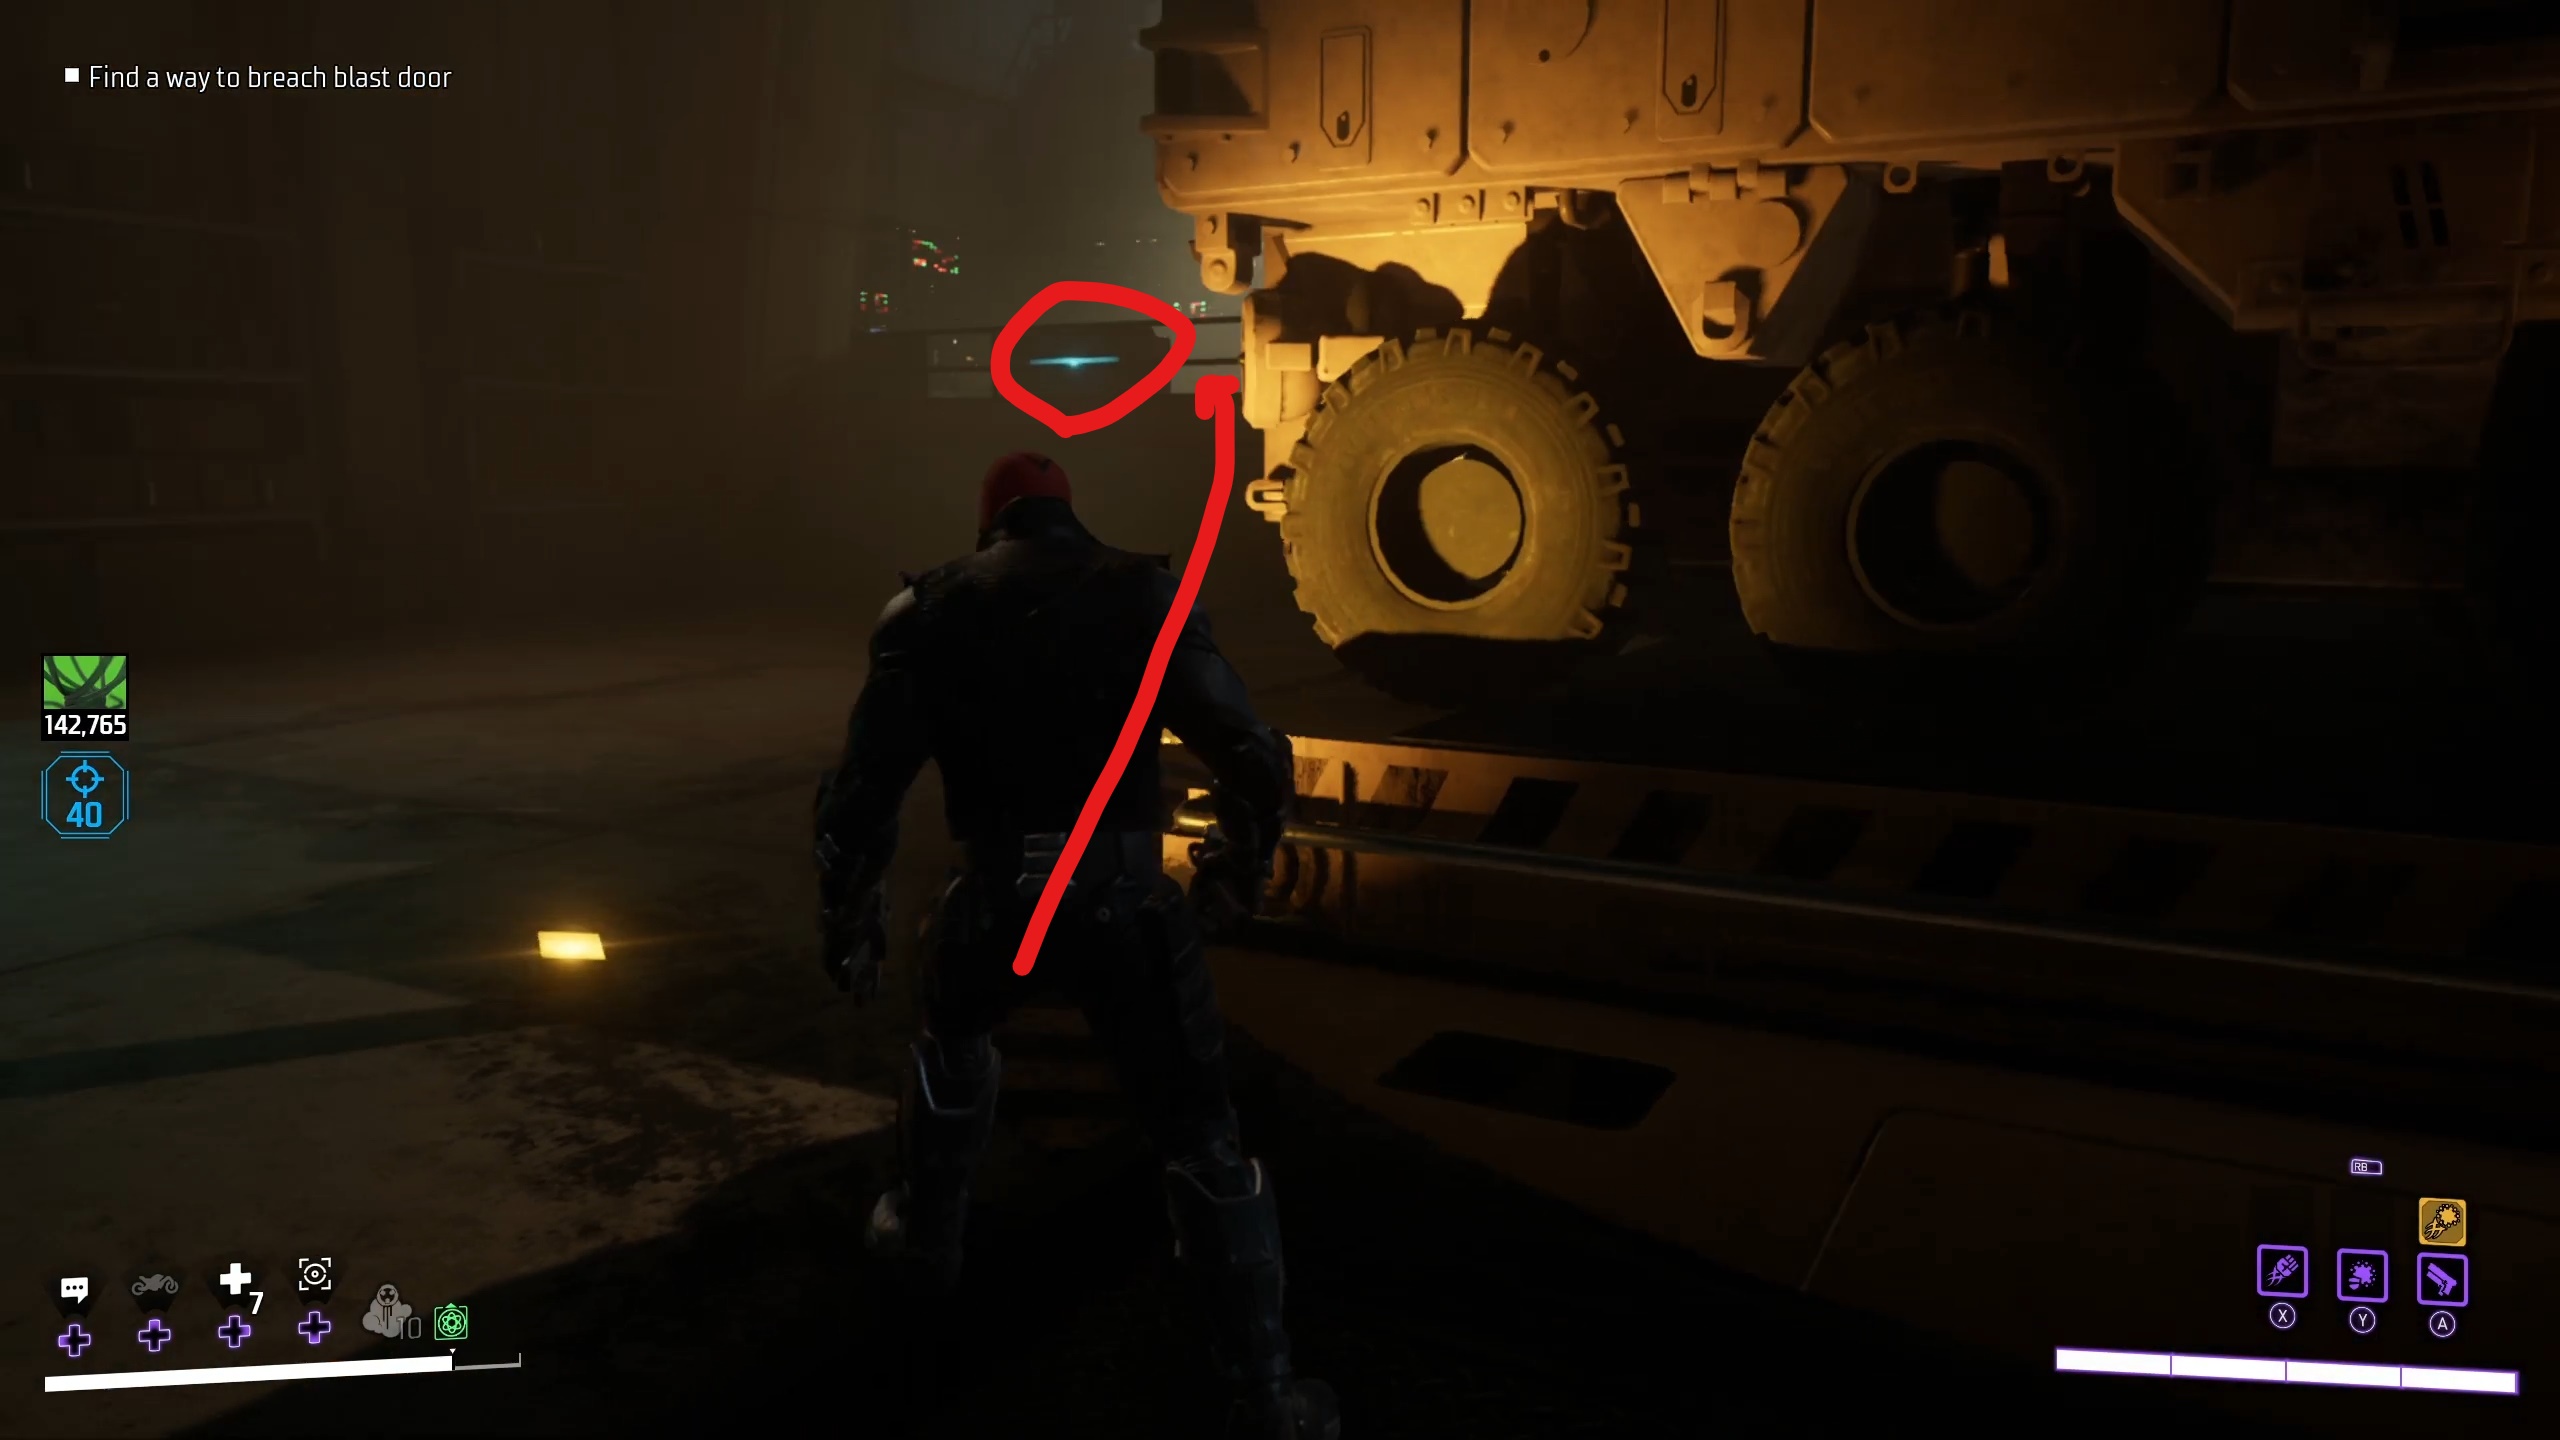
You’ll need to press the “Rotate Platform” button three times on these controls, to get the tank facing the correct direction. After pressing it the first time, you’ll be interrupted by more guards and a Feral Talon, but this will be the last interruption you’ll have. Continue pressing the button until the tank is facing the Blast Door, then grapple up to the first controls and press the button on the left again to lower the laser cannon into the tank. Go back to the other controls once again, and then press the button to fire the laser.
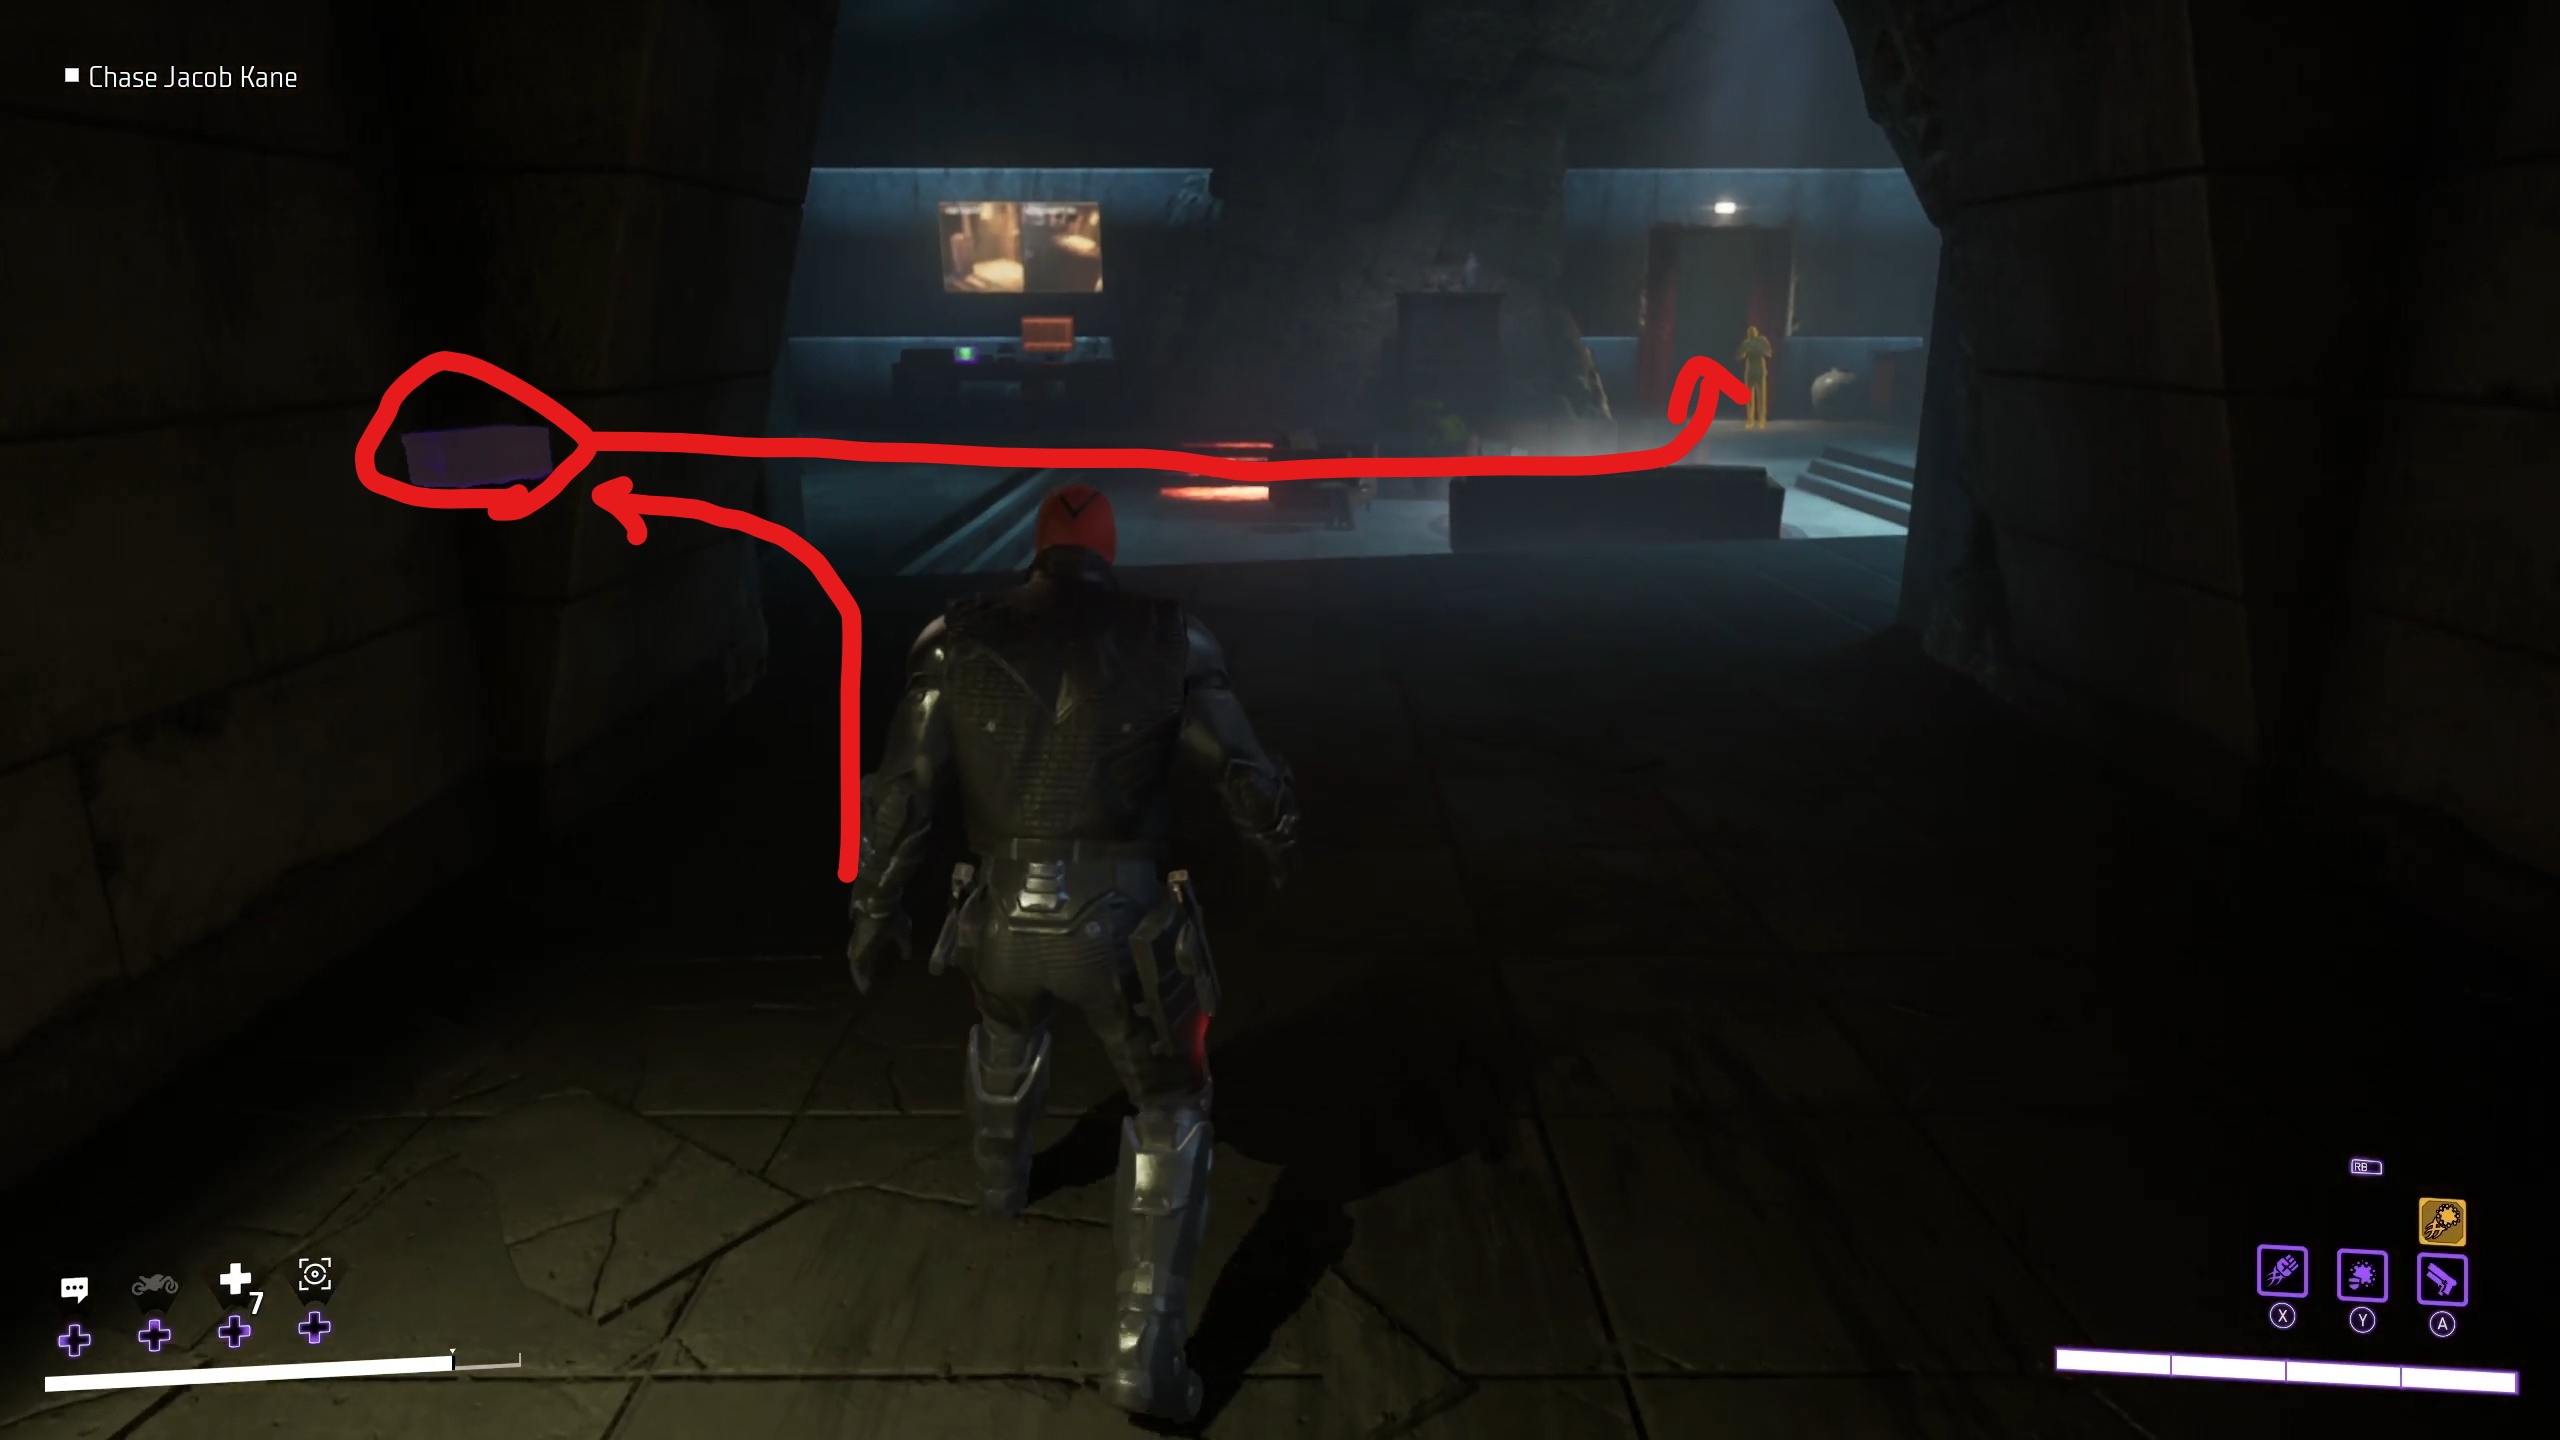
Go through the hole created by the laser, and then go to the left to grab the chest (ignoring Kane for just a moment). After grabbing the chest, you can go through the red door that Kane escaped through.
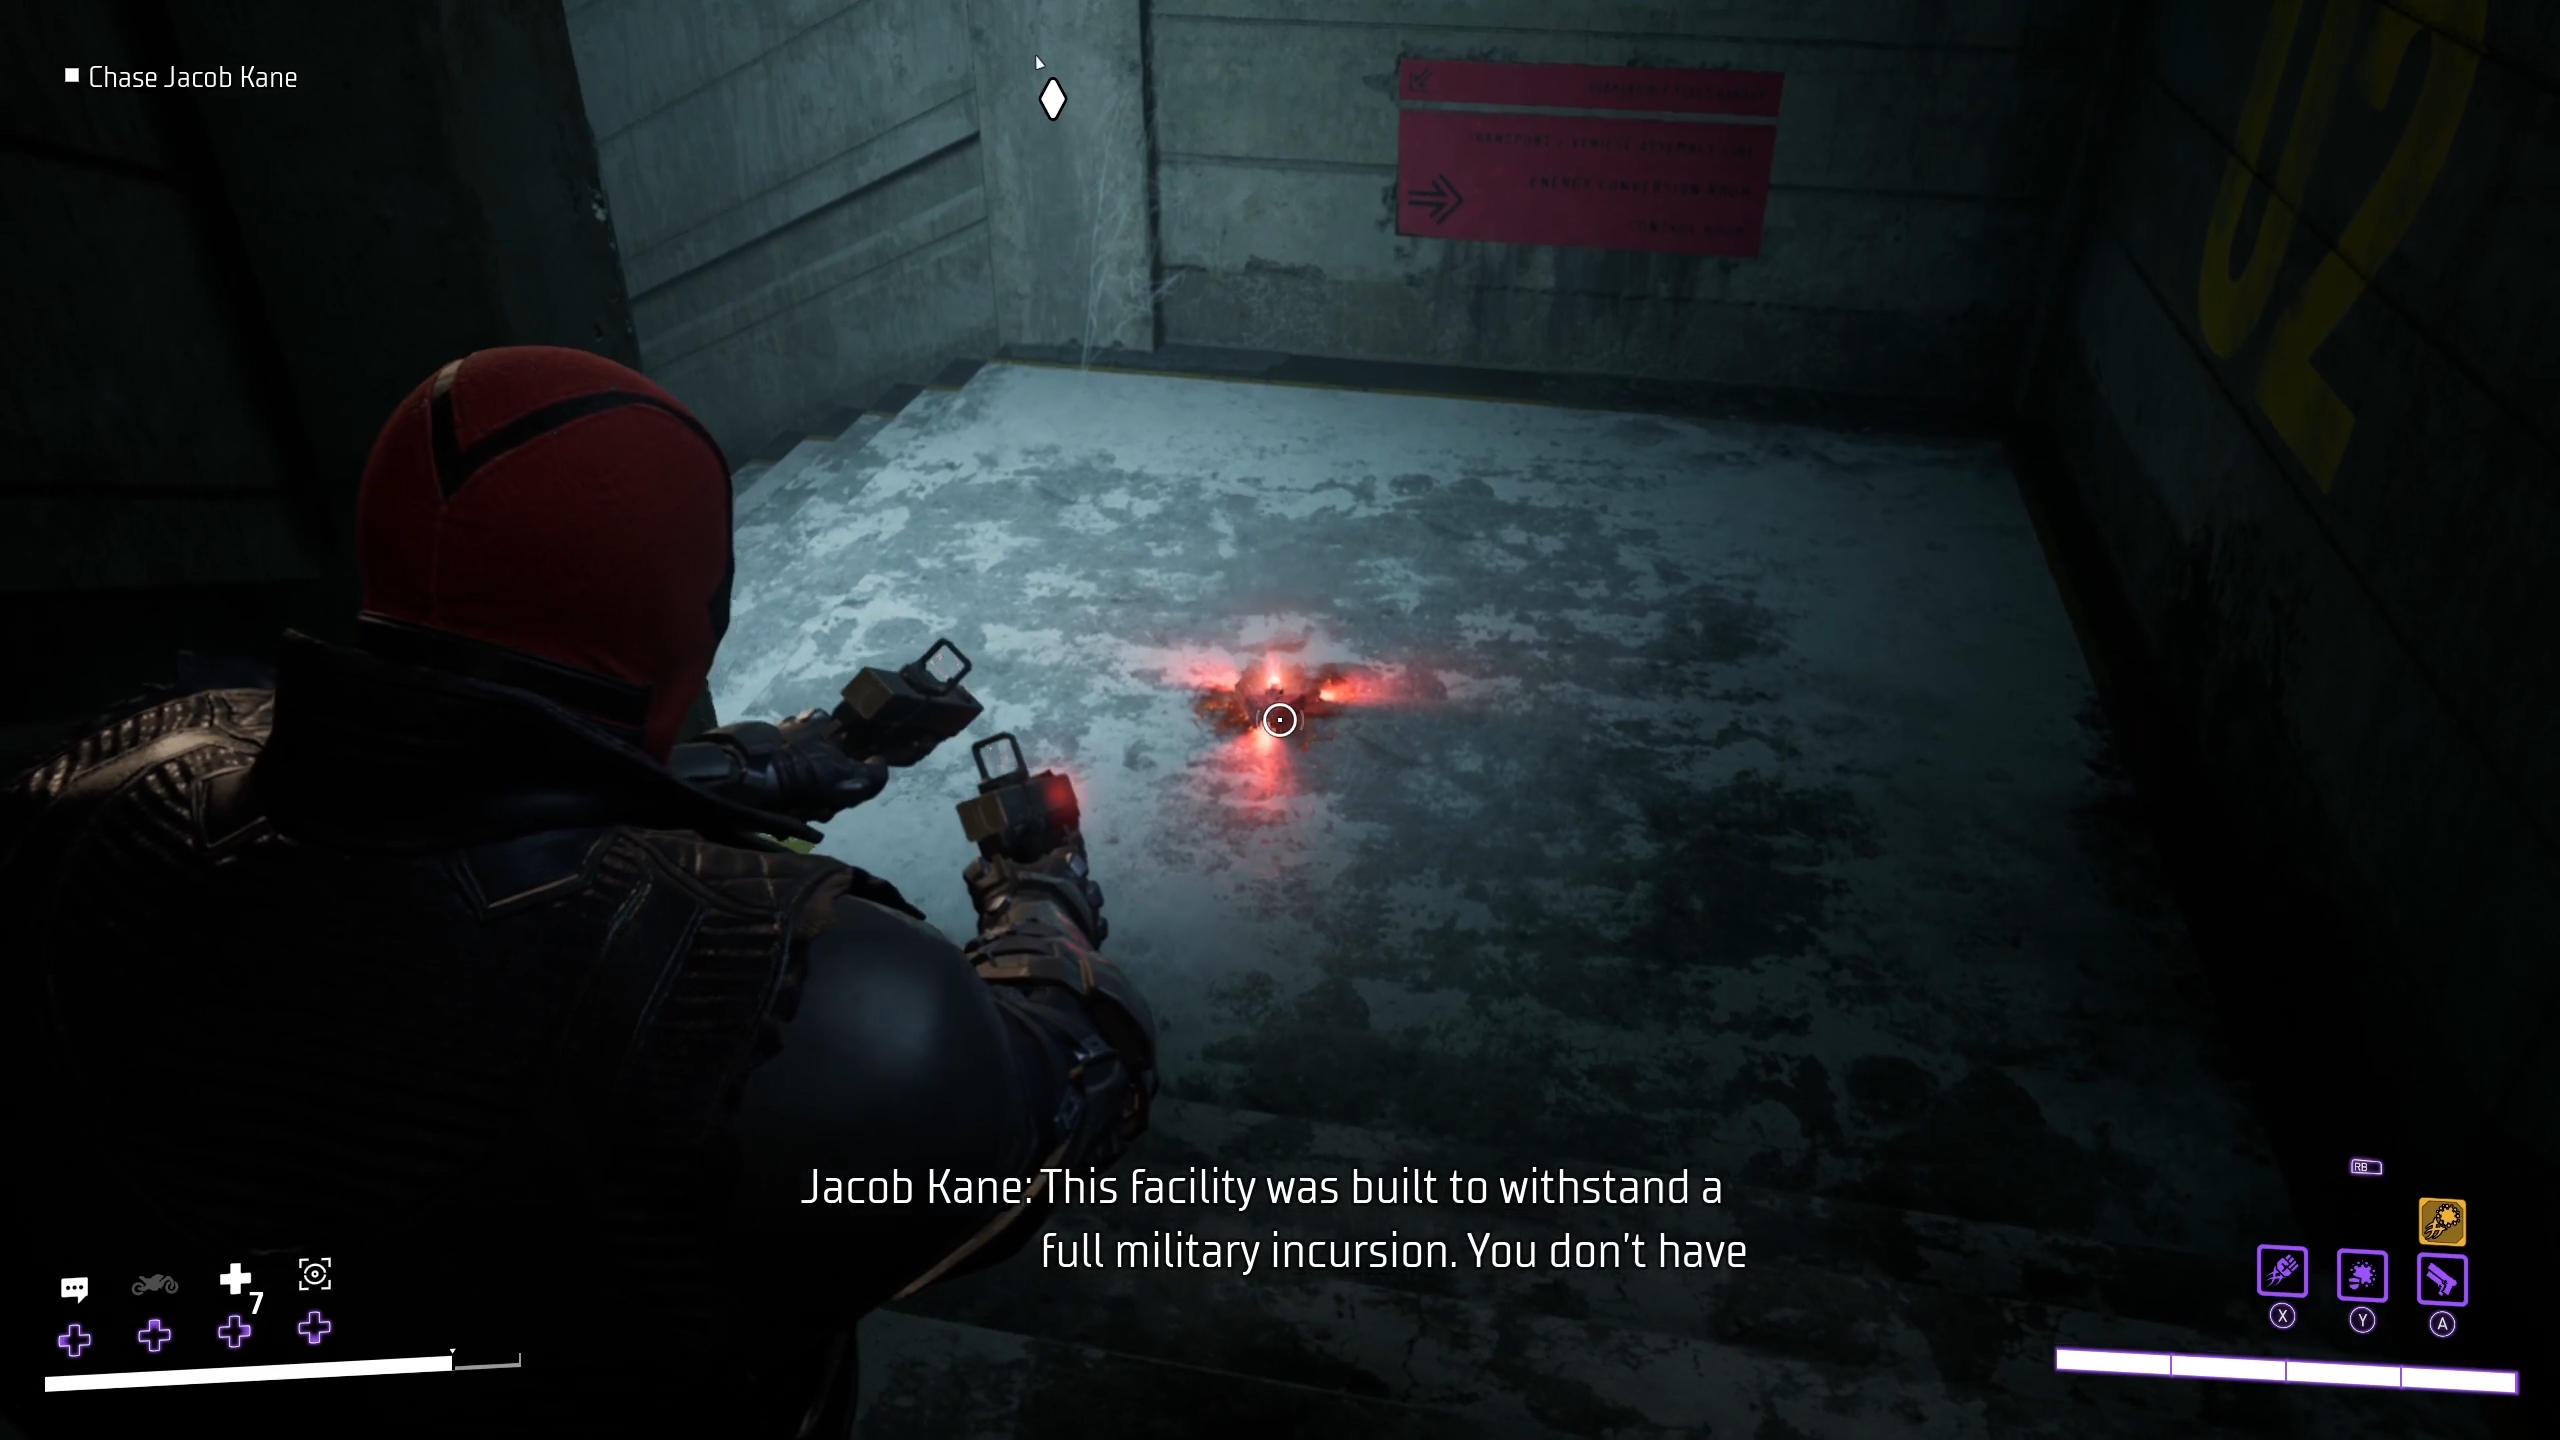
Once you get through the door, there will be a mine immediately in front of you. Destroy it with your ranged attack. There will be several more mines in this area, all of which should be destroyed with the same method.
As you continue through the hallway, you’ll come to a laser grid that cycles on and off. Simply wait til each part of the grid is off before moving past it.
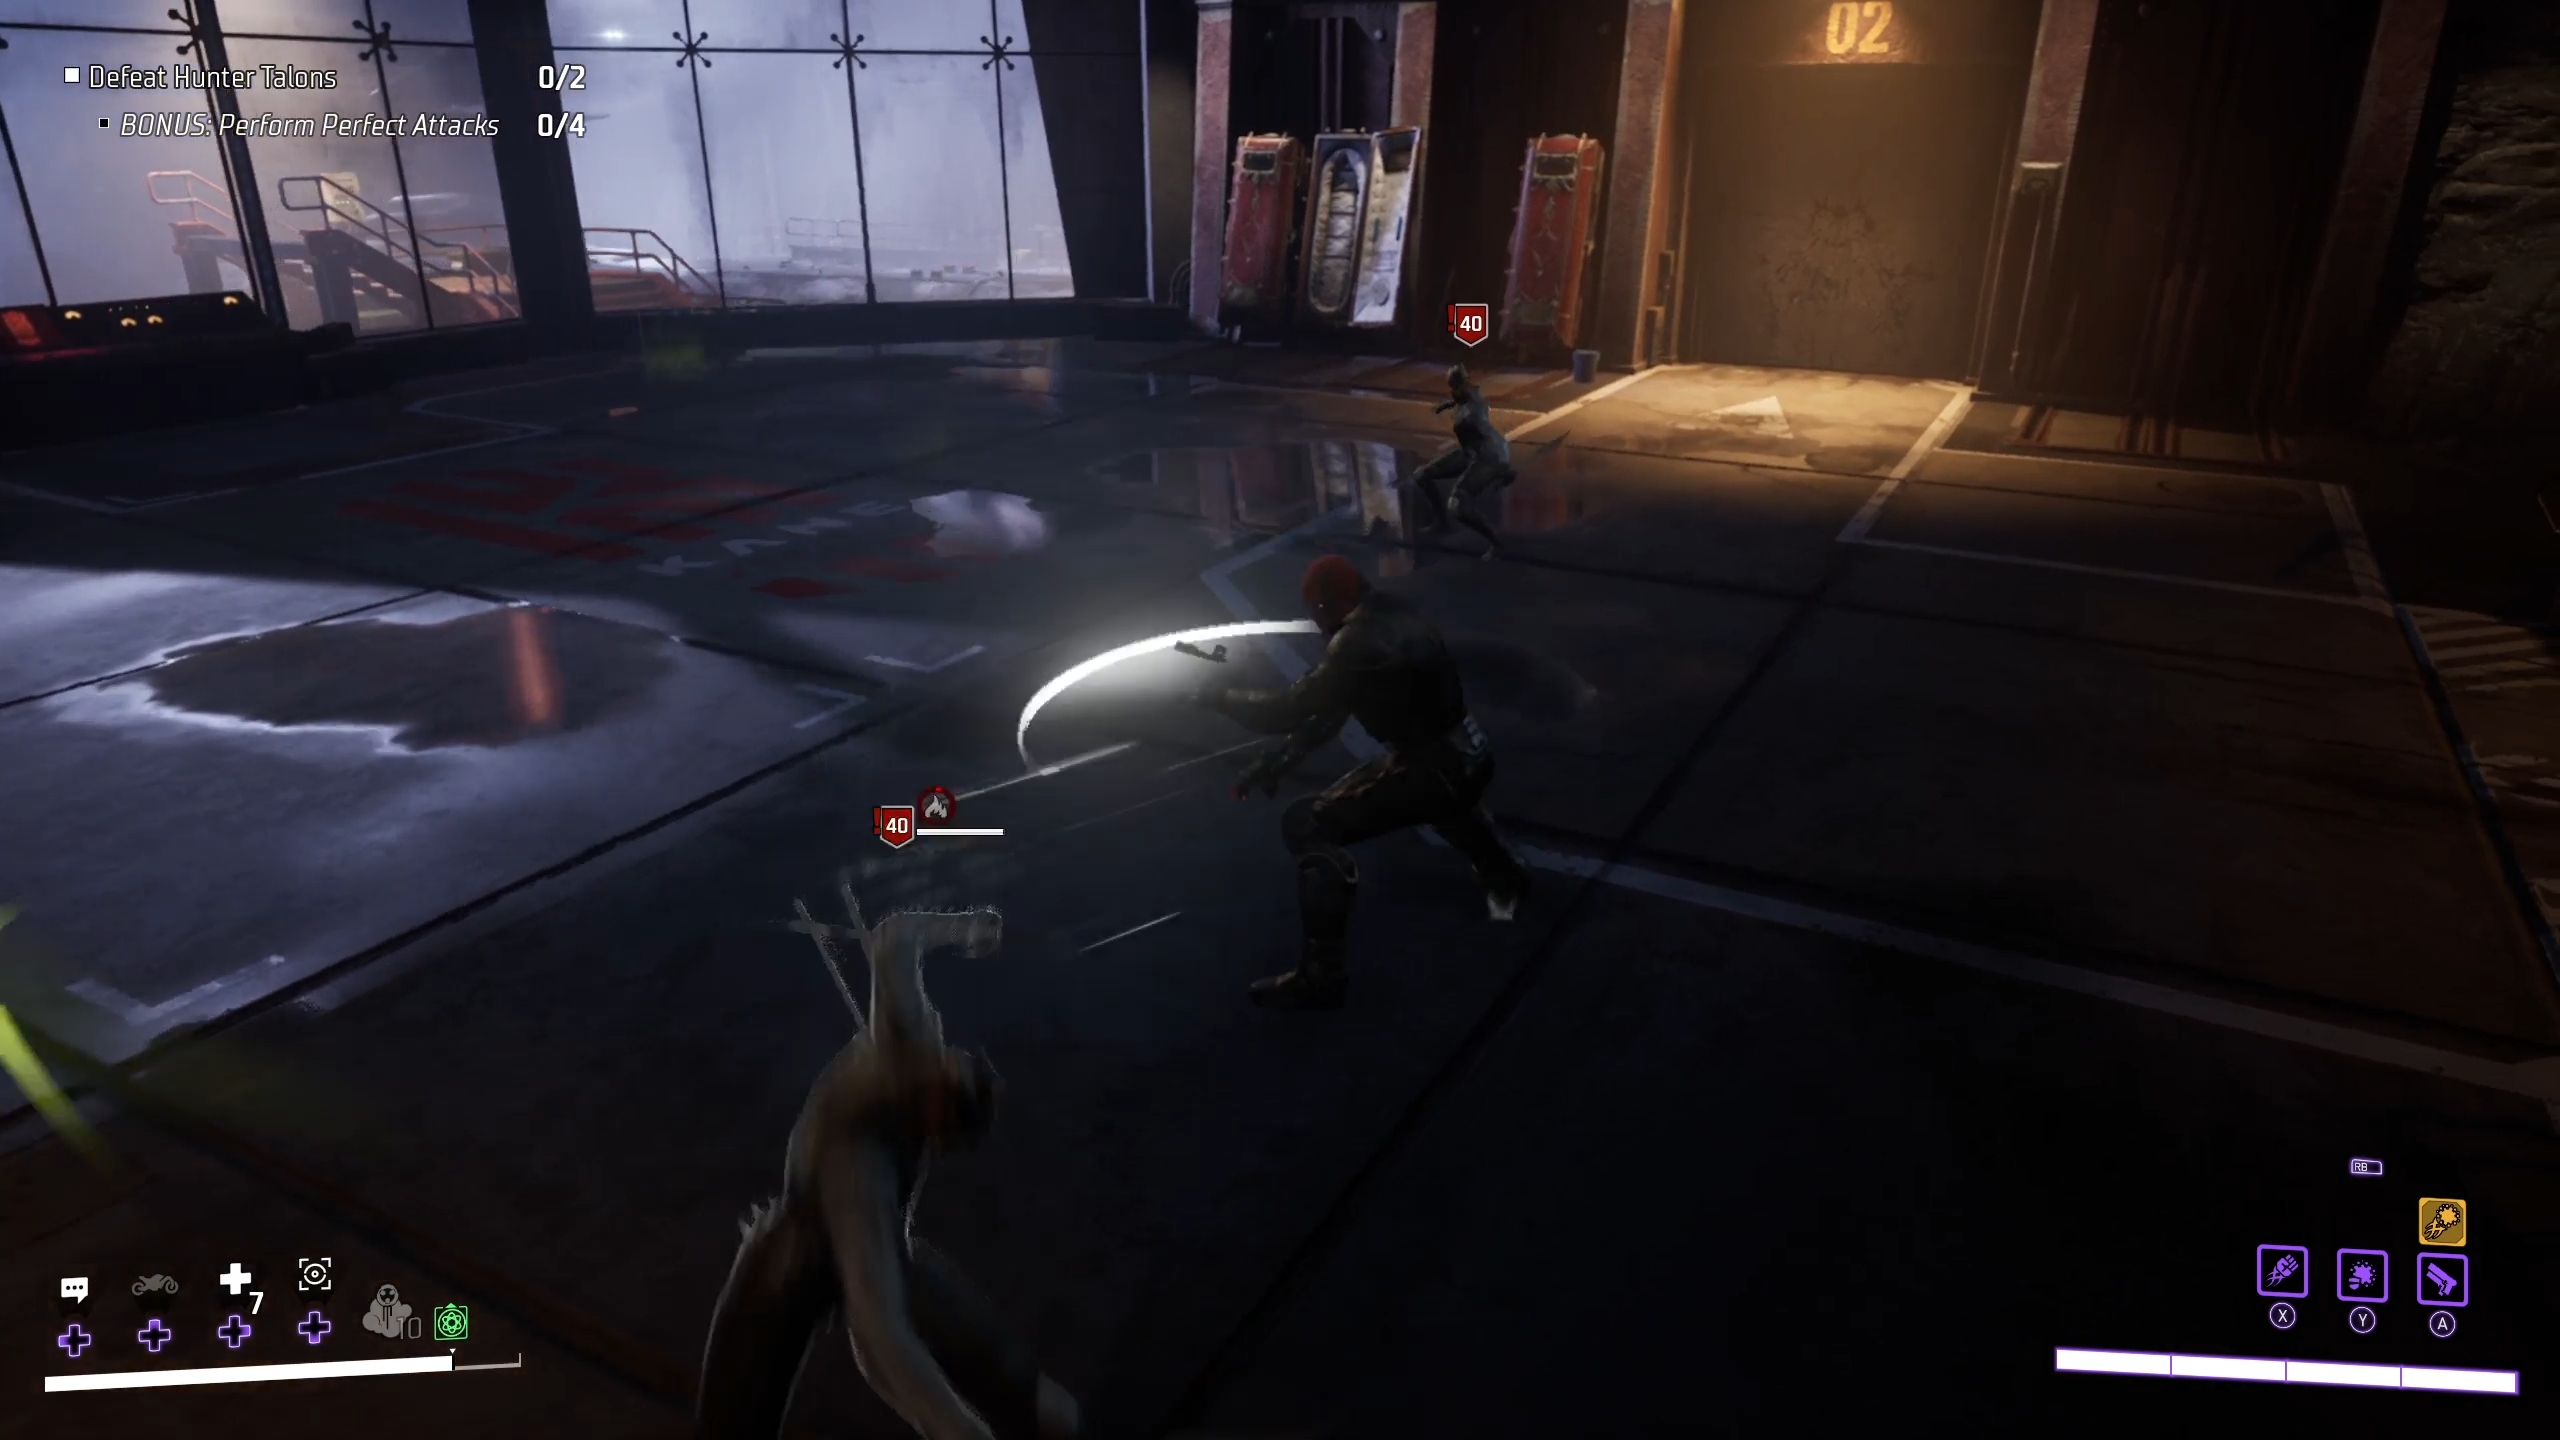
After getting through this hallway, go through the door with a white diamond. Once you interact with the next door after that, a cutscene will play, introducing the Hunter Talons. These deadly enemies move fast, avoid many attacks, inflict poison, and have long combos, making them quite formidable. But your bonus objective gives you a good idea of how to combat them: it asks you to complete 4 perfect attacks by dodging right before an attack hits you and then attacking. This is an ideal way to deal with Hunter Talons, but if they are giving you too much trouble then you can always consult our Court of Owls Faction Guide.
Dodging and punishing Hunter Talon attacks is critical
Once you defeat the two Hunter Talons here, head to the door to activate a long cutscene, followed by a loading screen, followed by another long cutscene. Exhilarating gameplay.
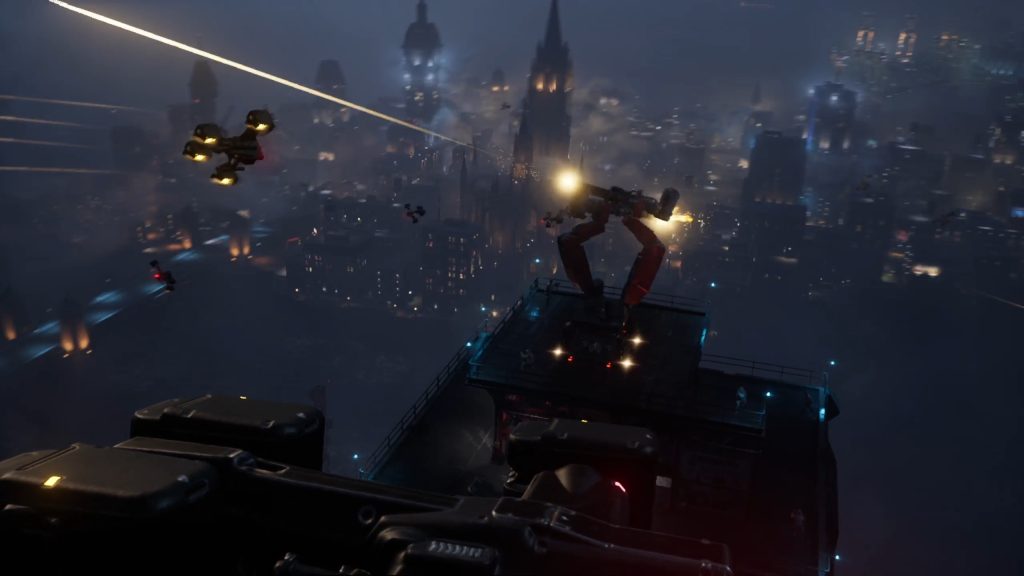
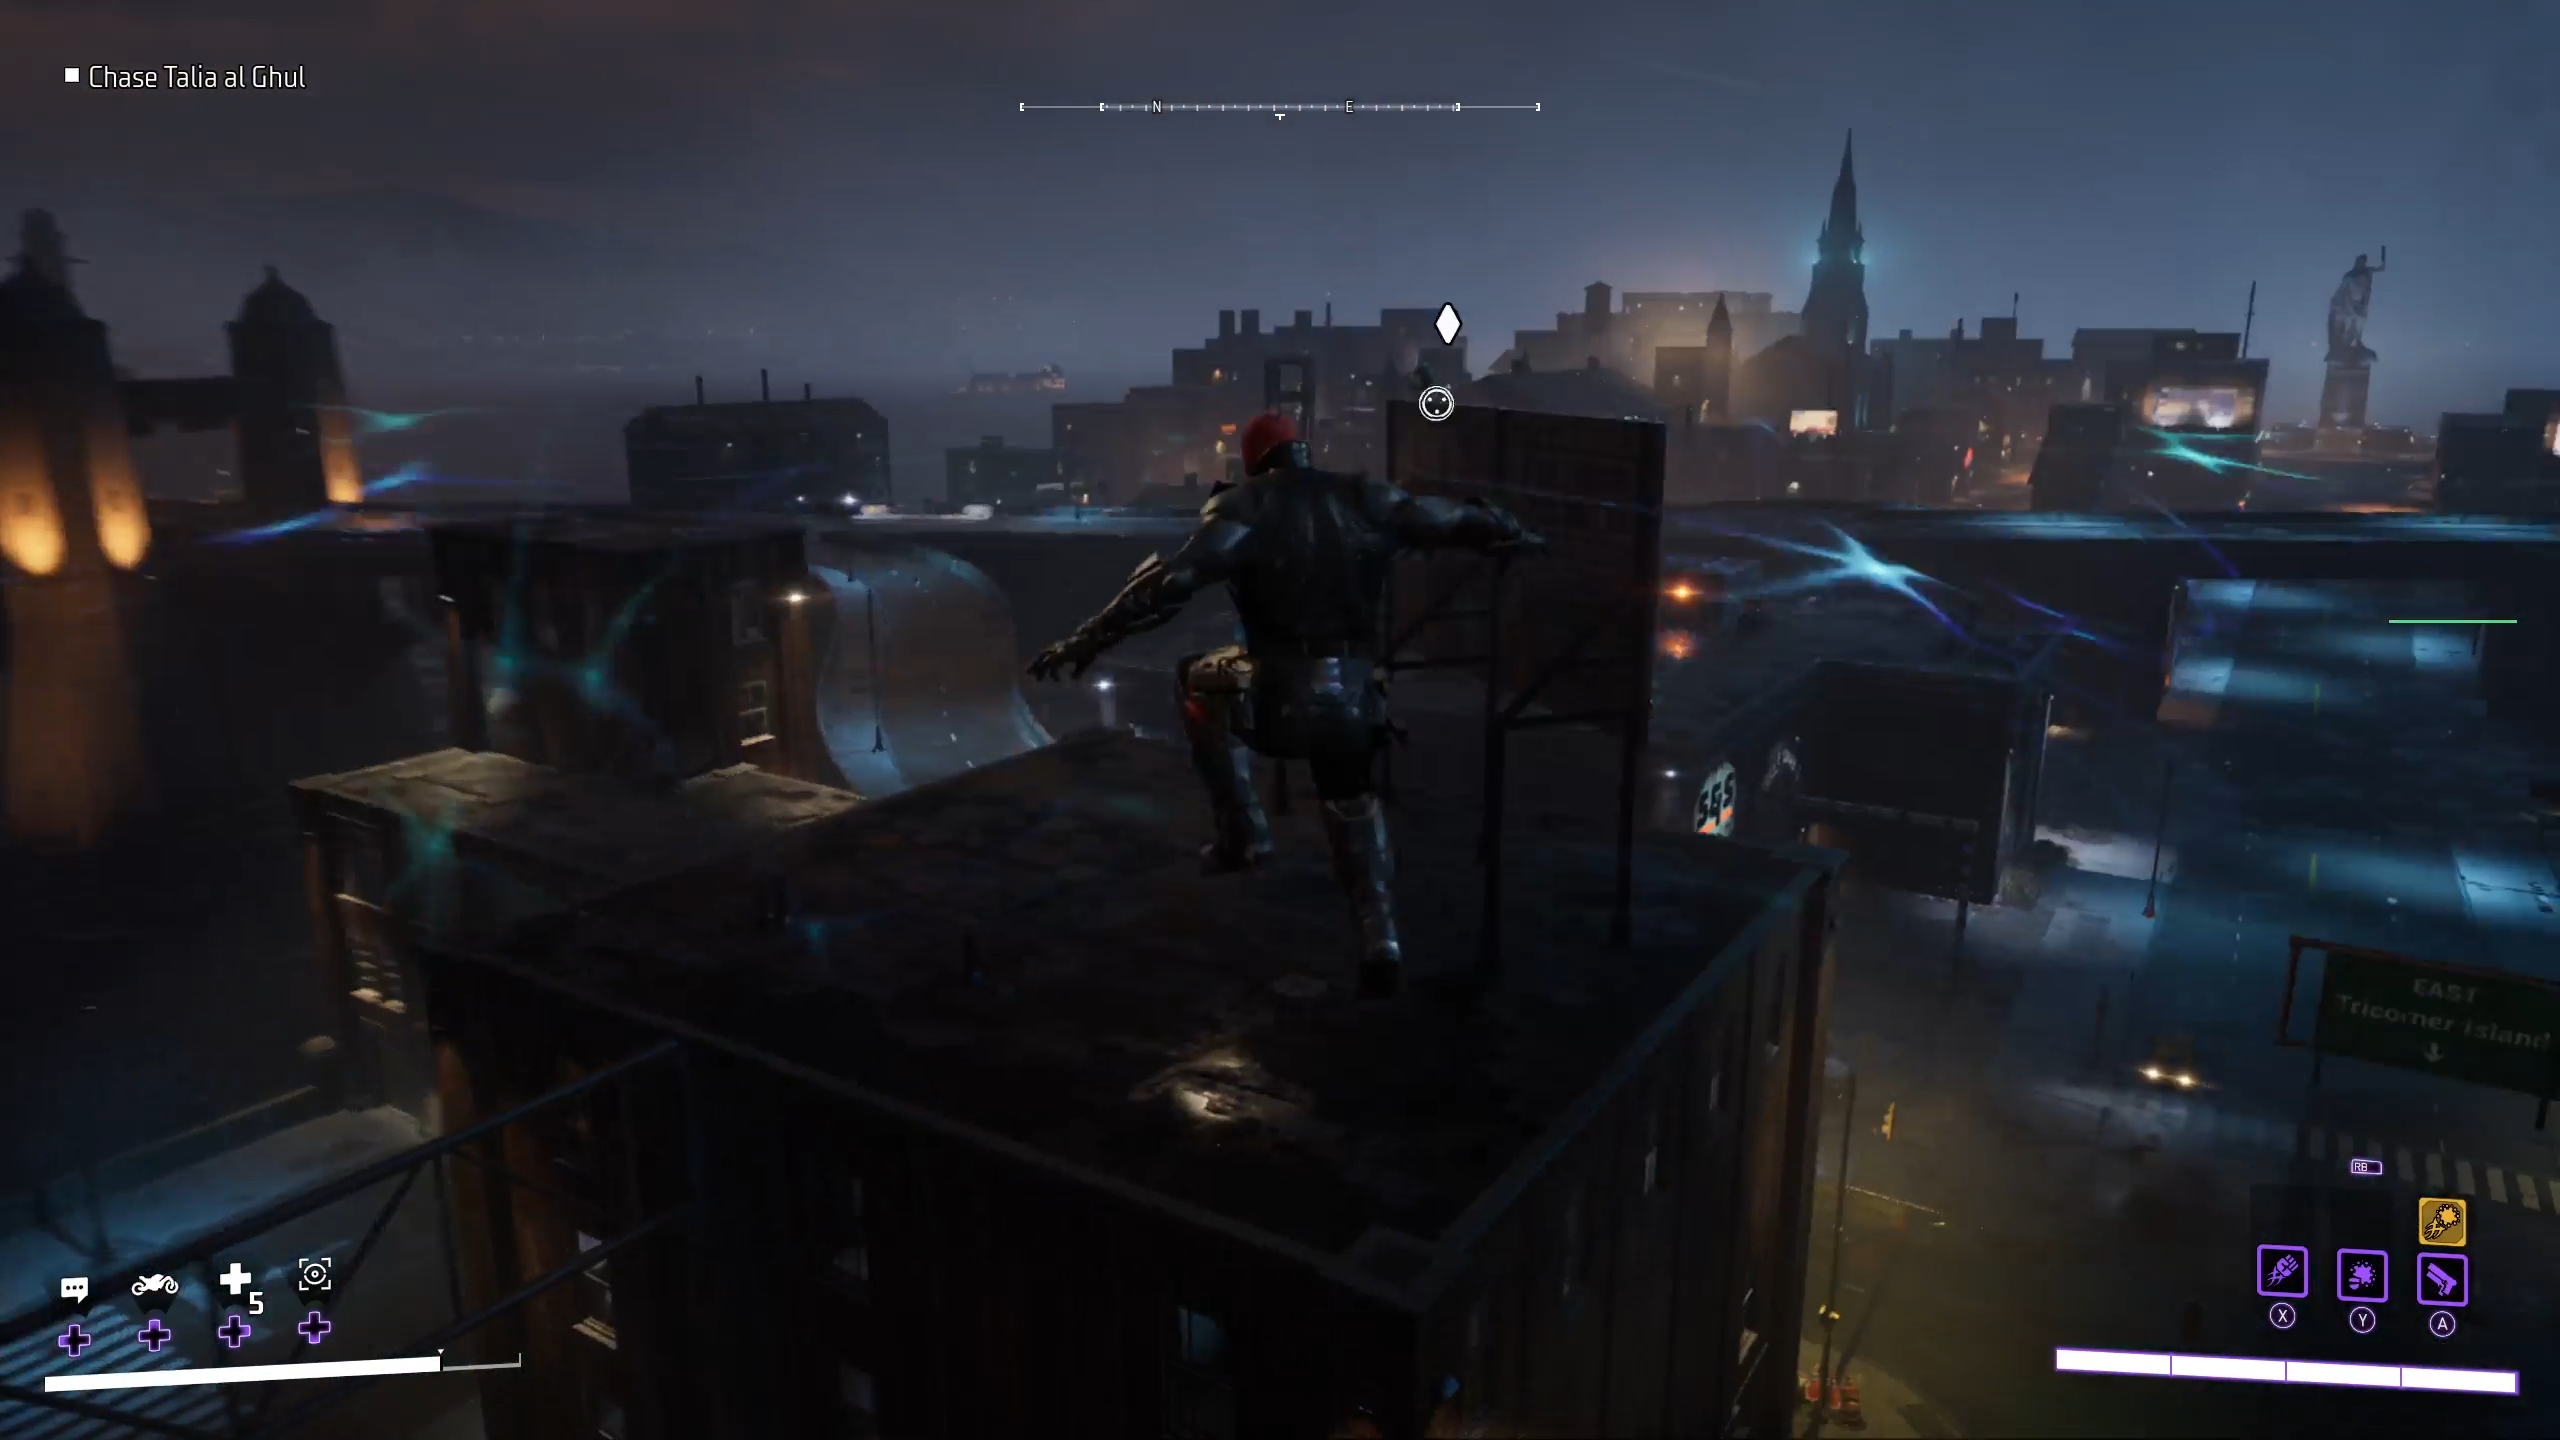
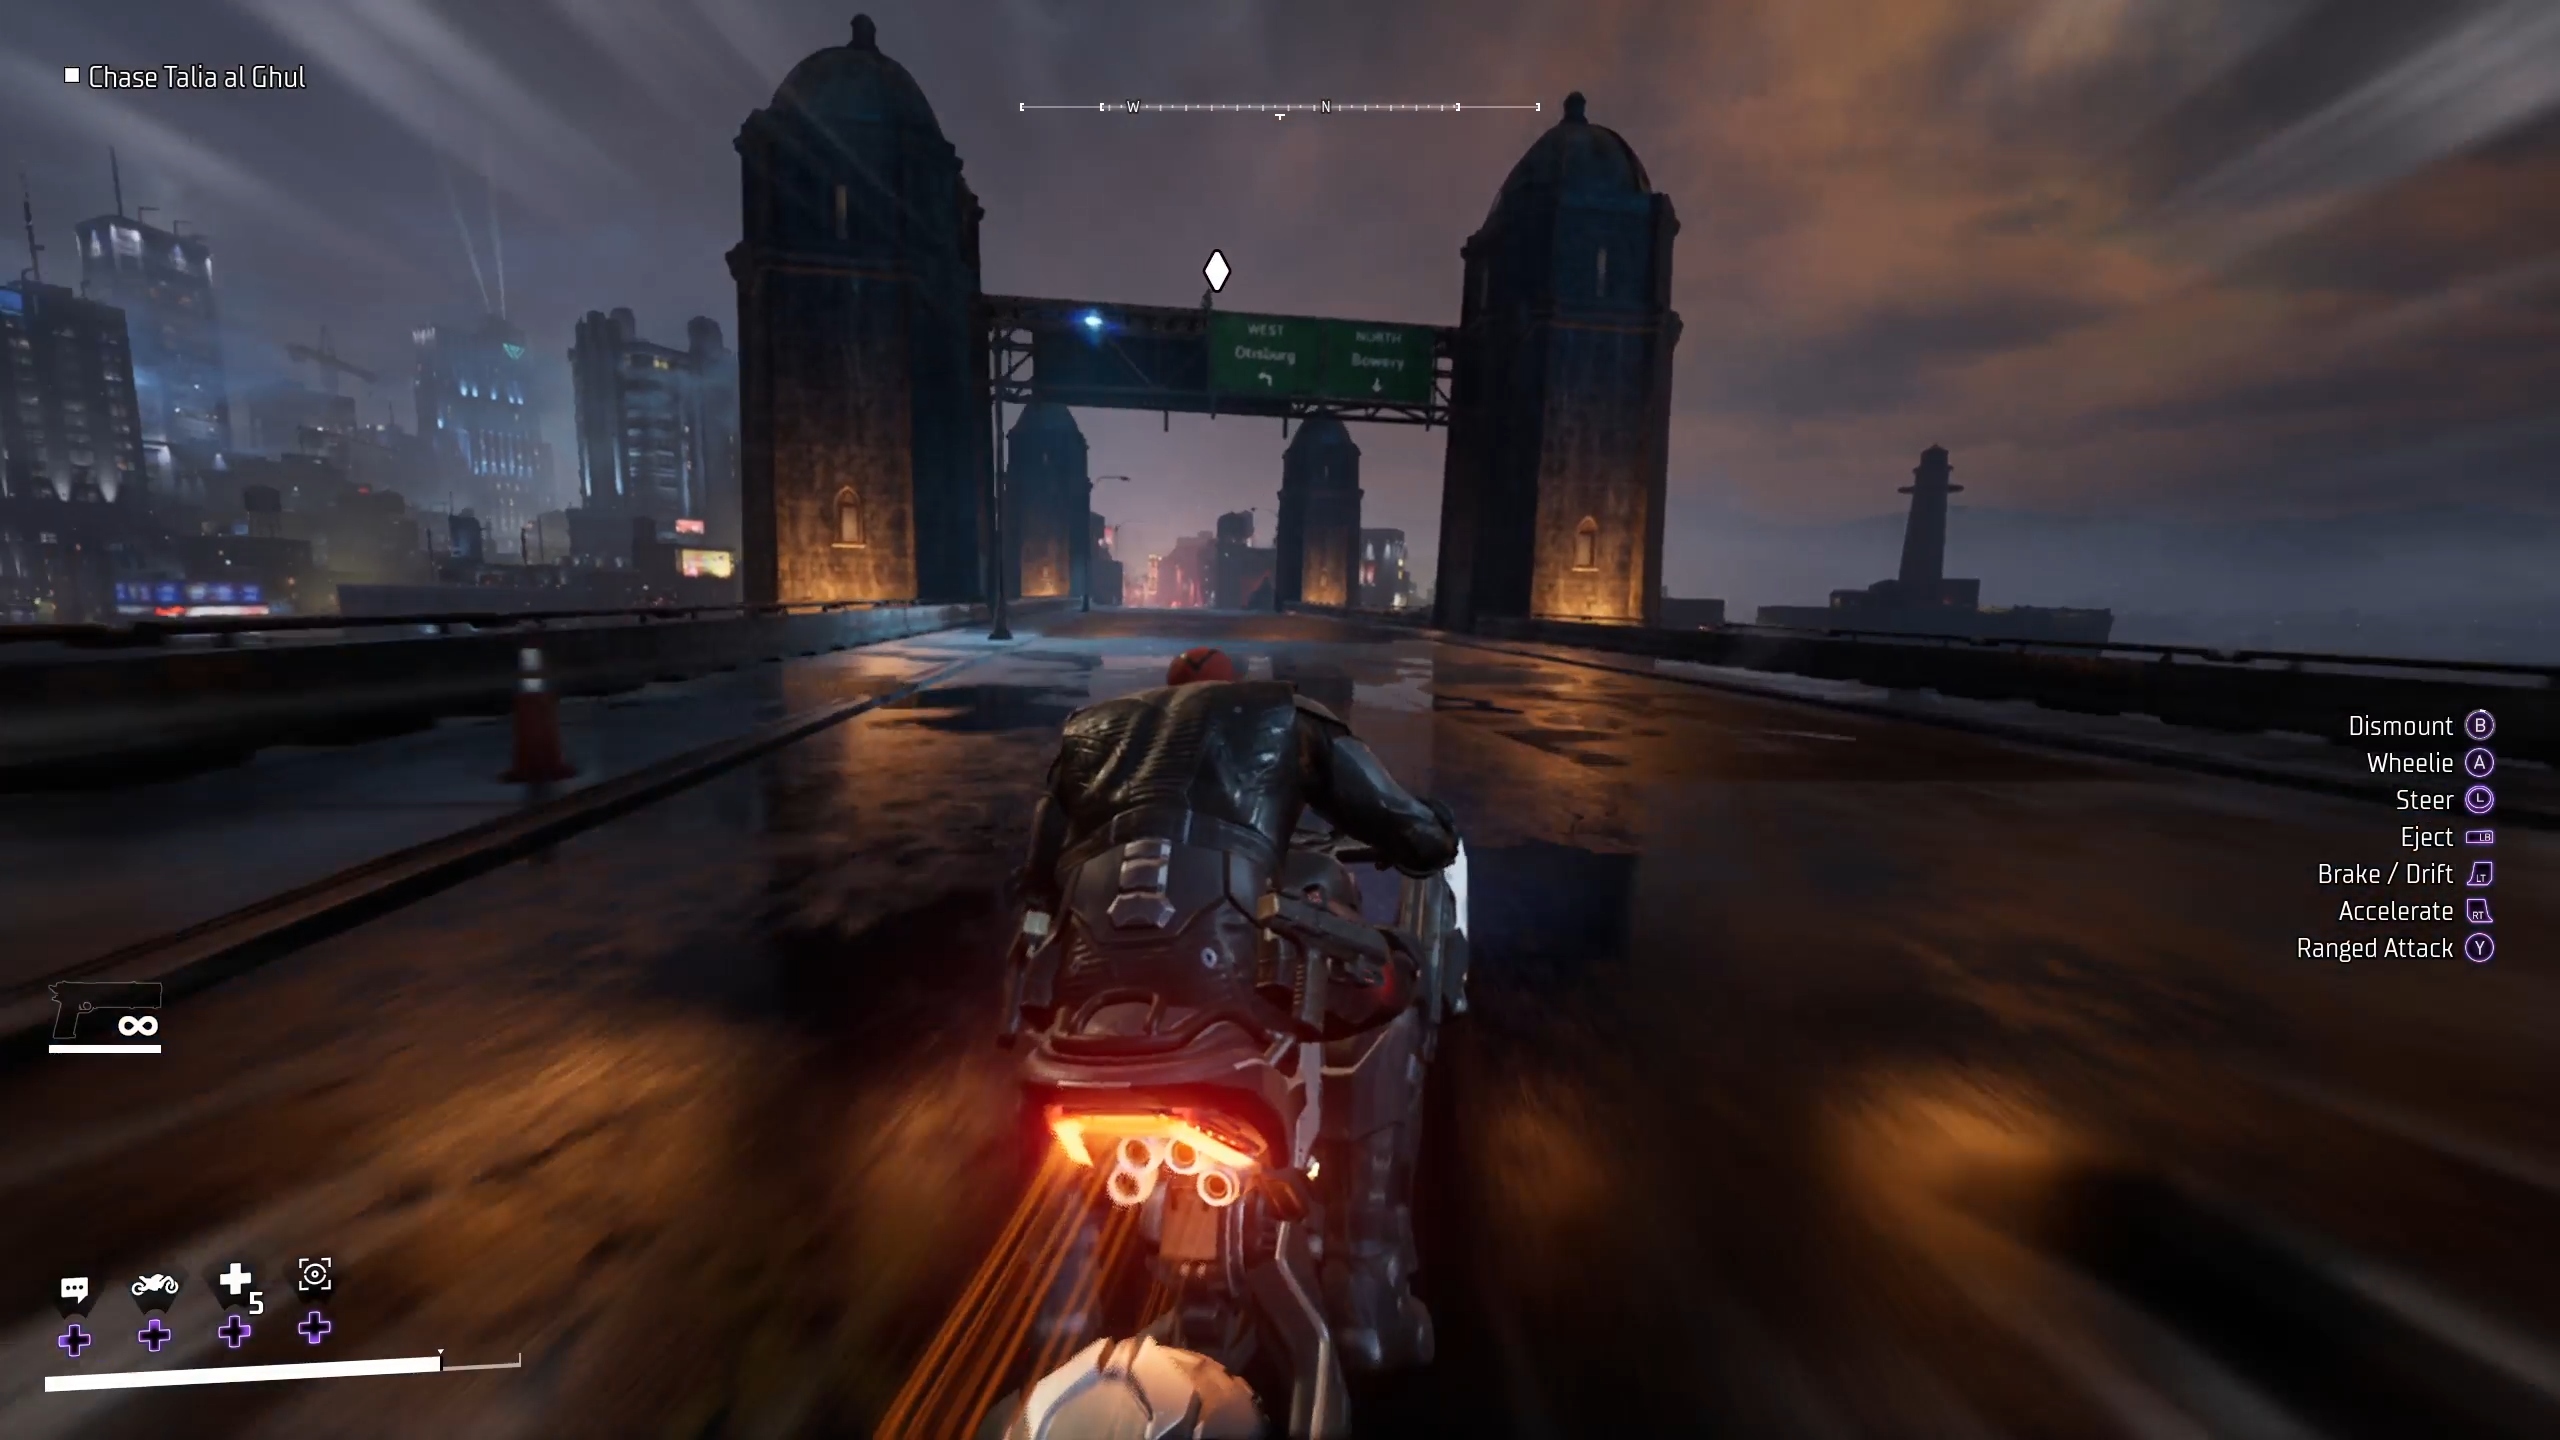
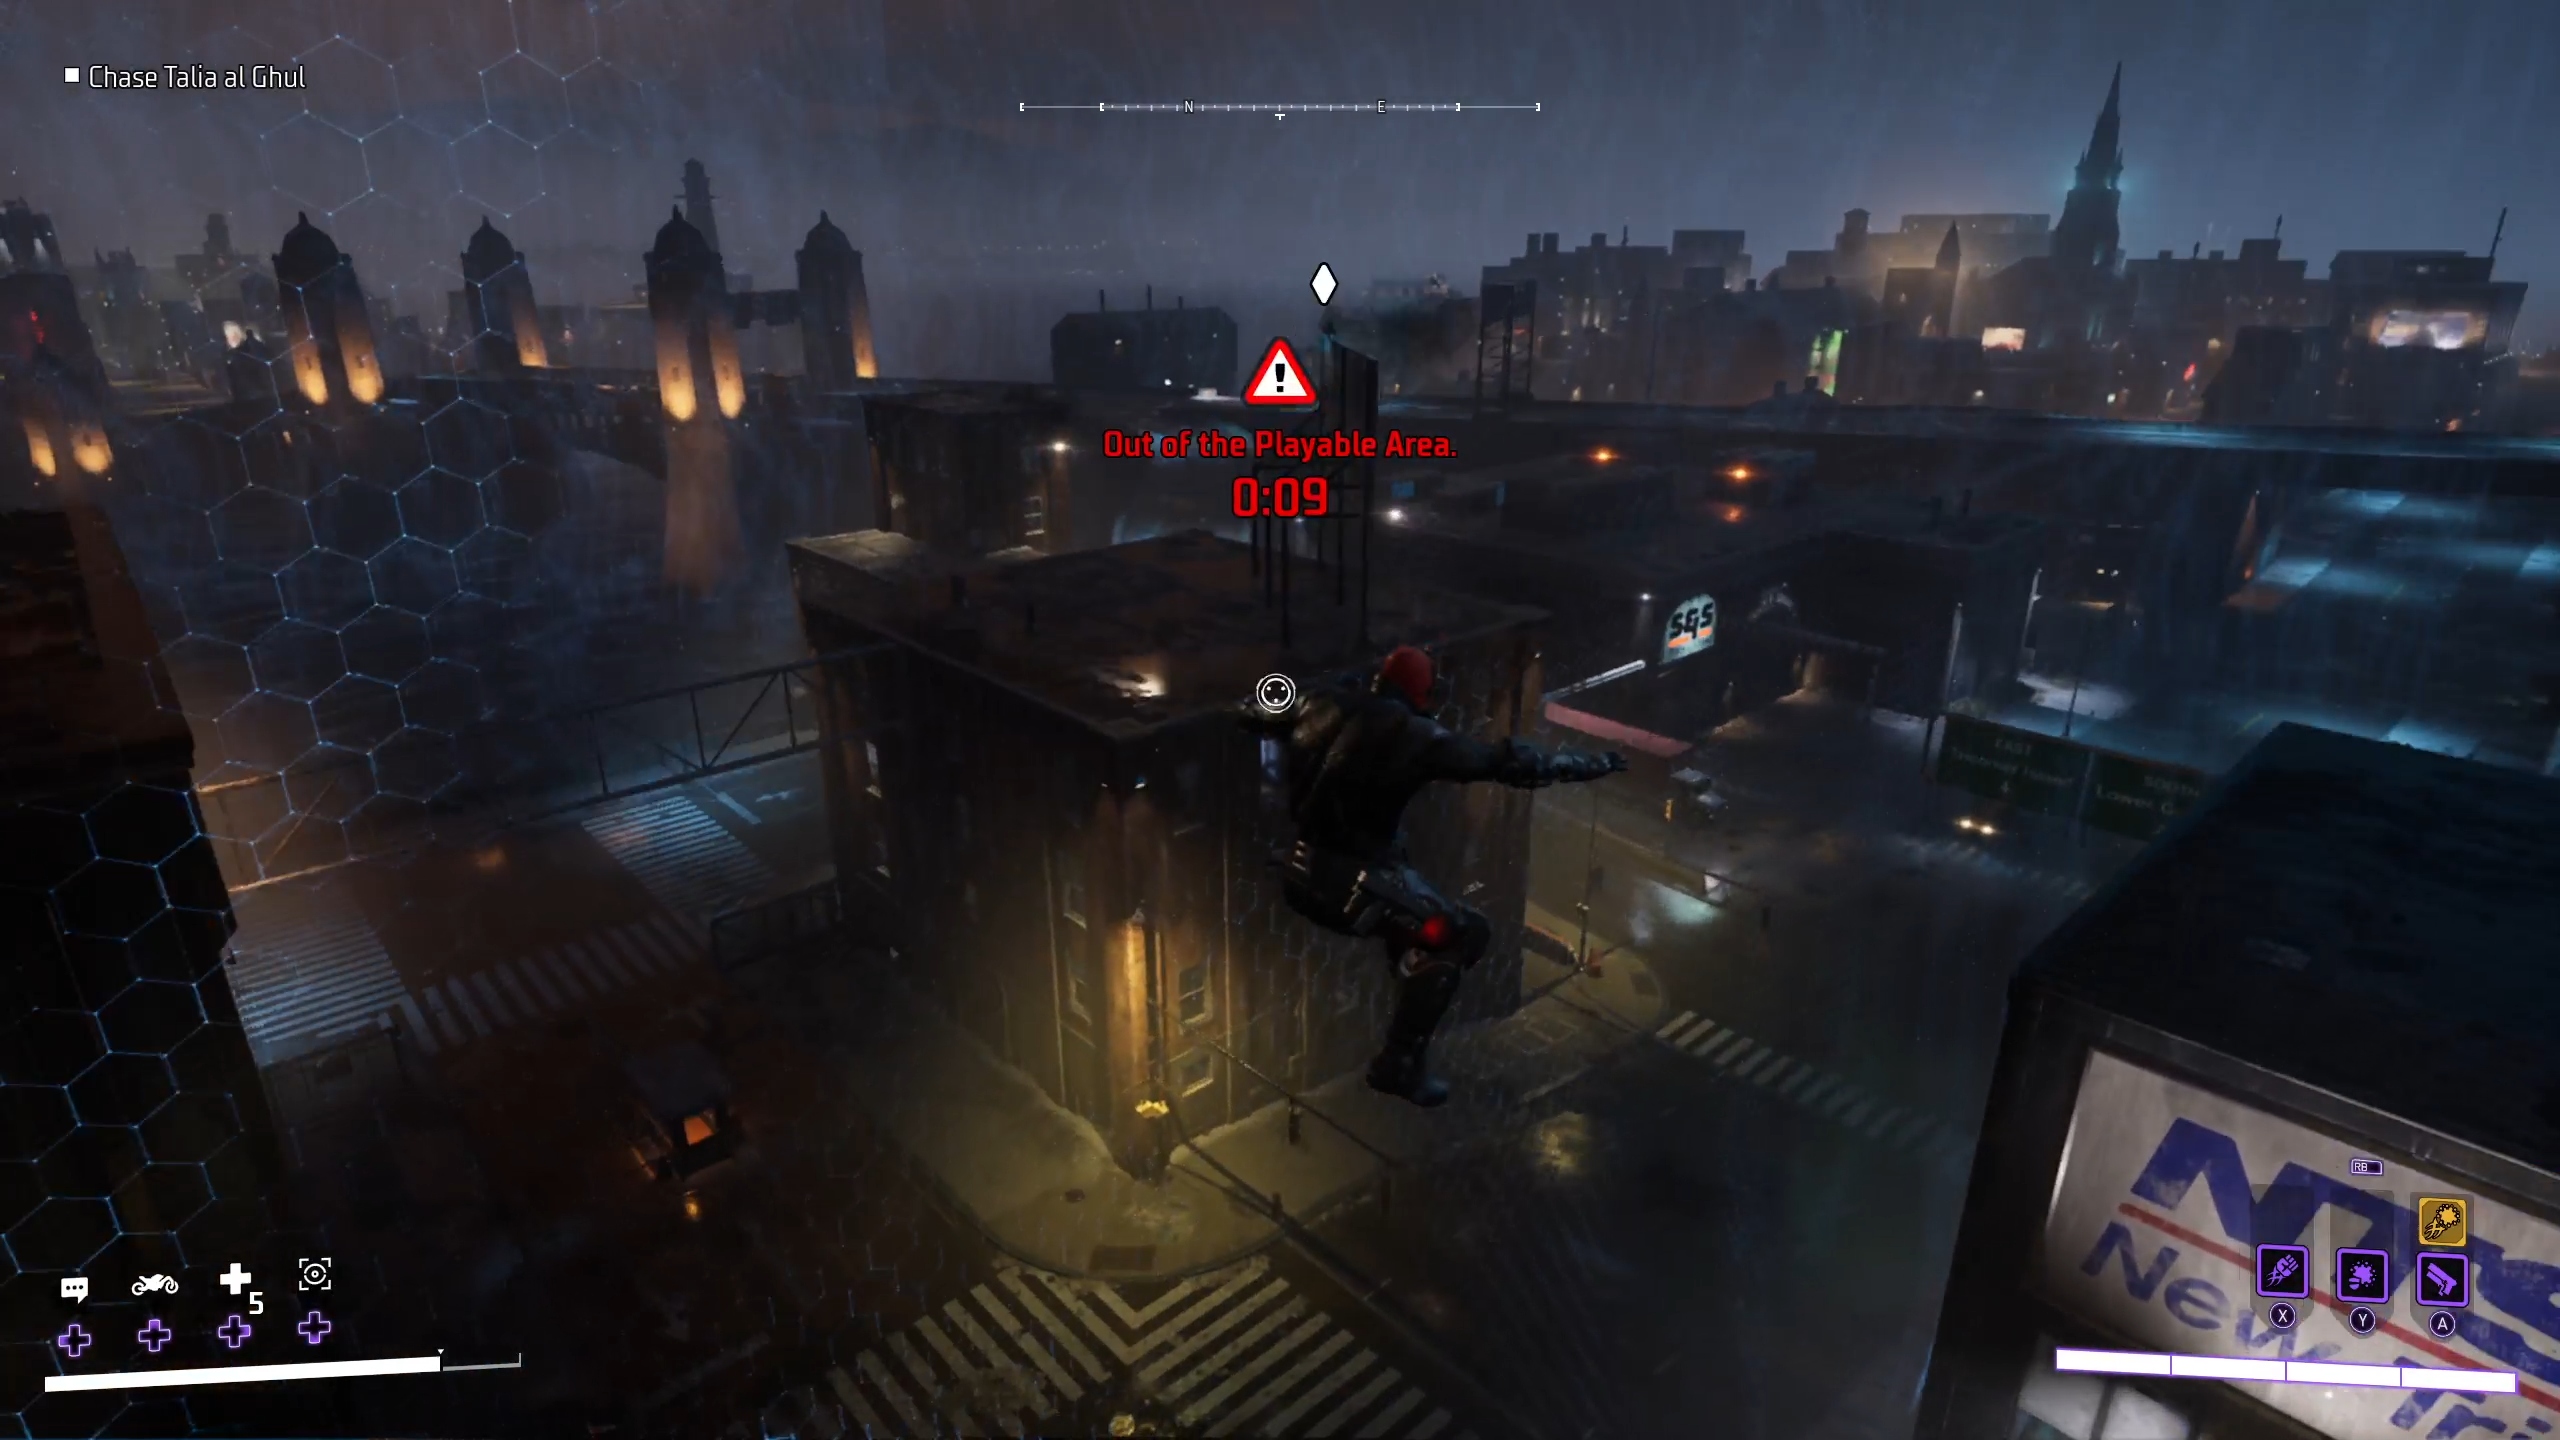
After these cutscenes, you’ll be put back in Gotham. But not for a patrol; rather, you’ll be chasing Talia Al Ghul through the city. This requires you to essentially follow her green smoke trail (and the white diamond on your HUD) through the city, using a mixture of grappling, movement ability, and Batcycle. Be careful to stay on her trail, because deviating from it will result in an out-of-area countdown to mission fail.
Mostly, you’ll be following Talia by grappling across rooftopsFor a brief section, using the Batcycle is fasterGoing too far from the intended path can result in an out-of-bounds warning
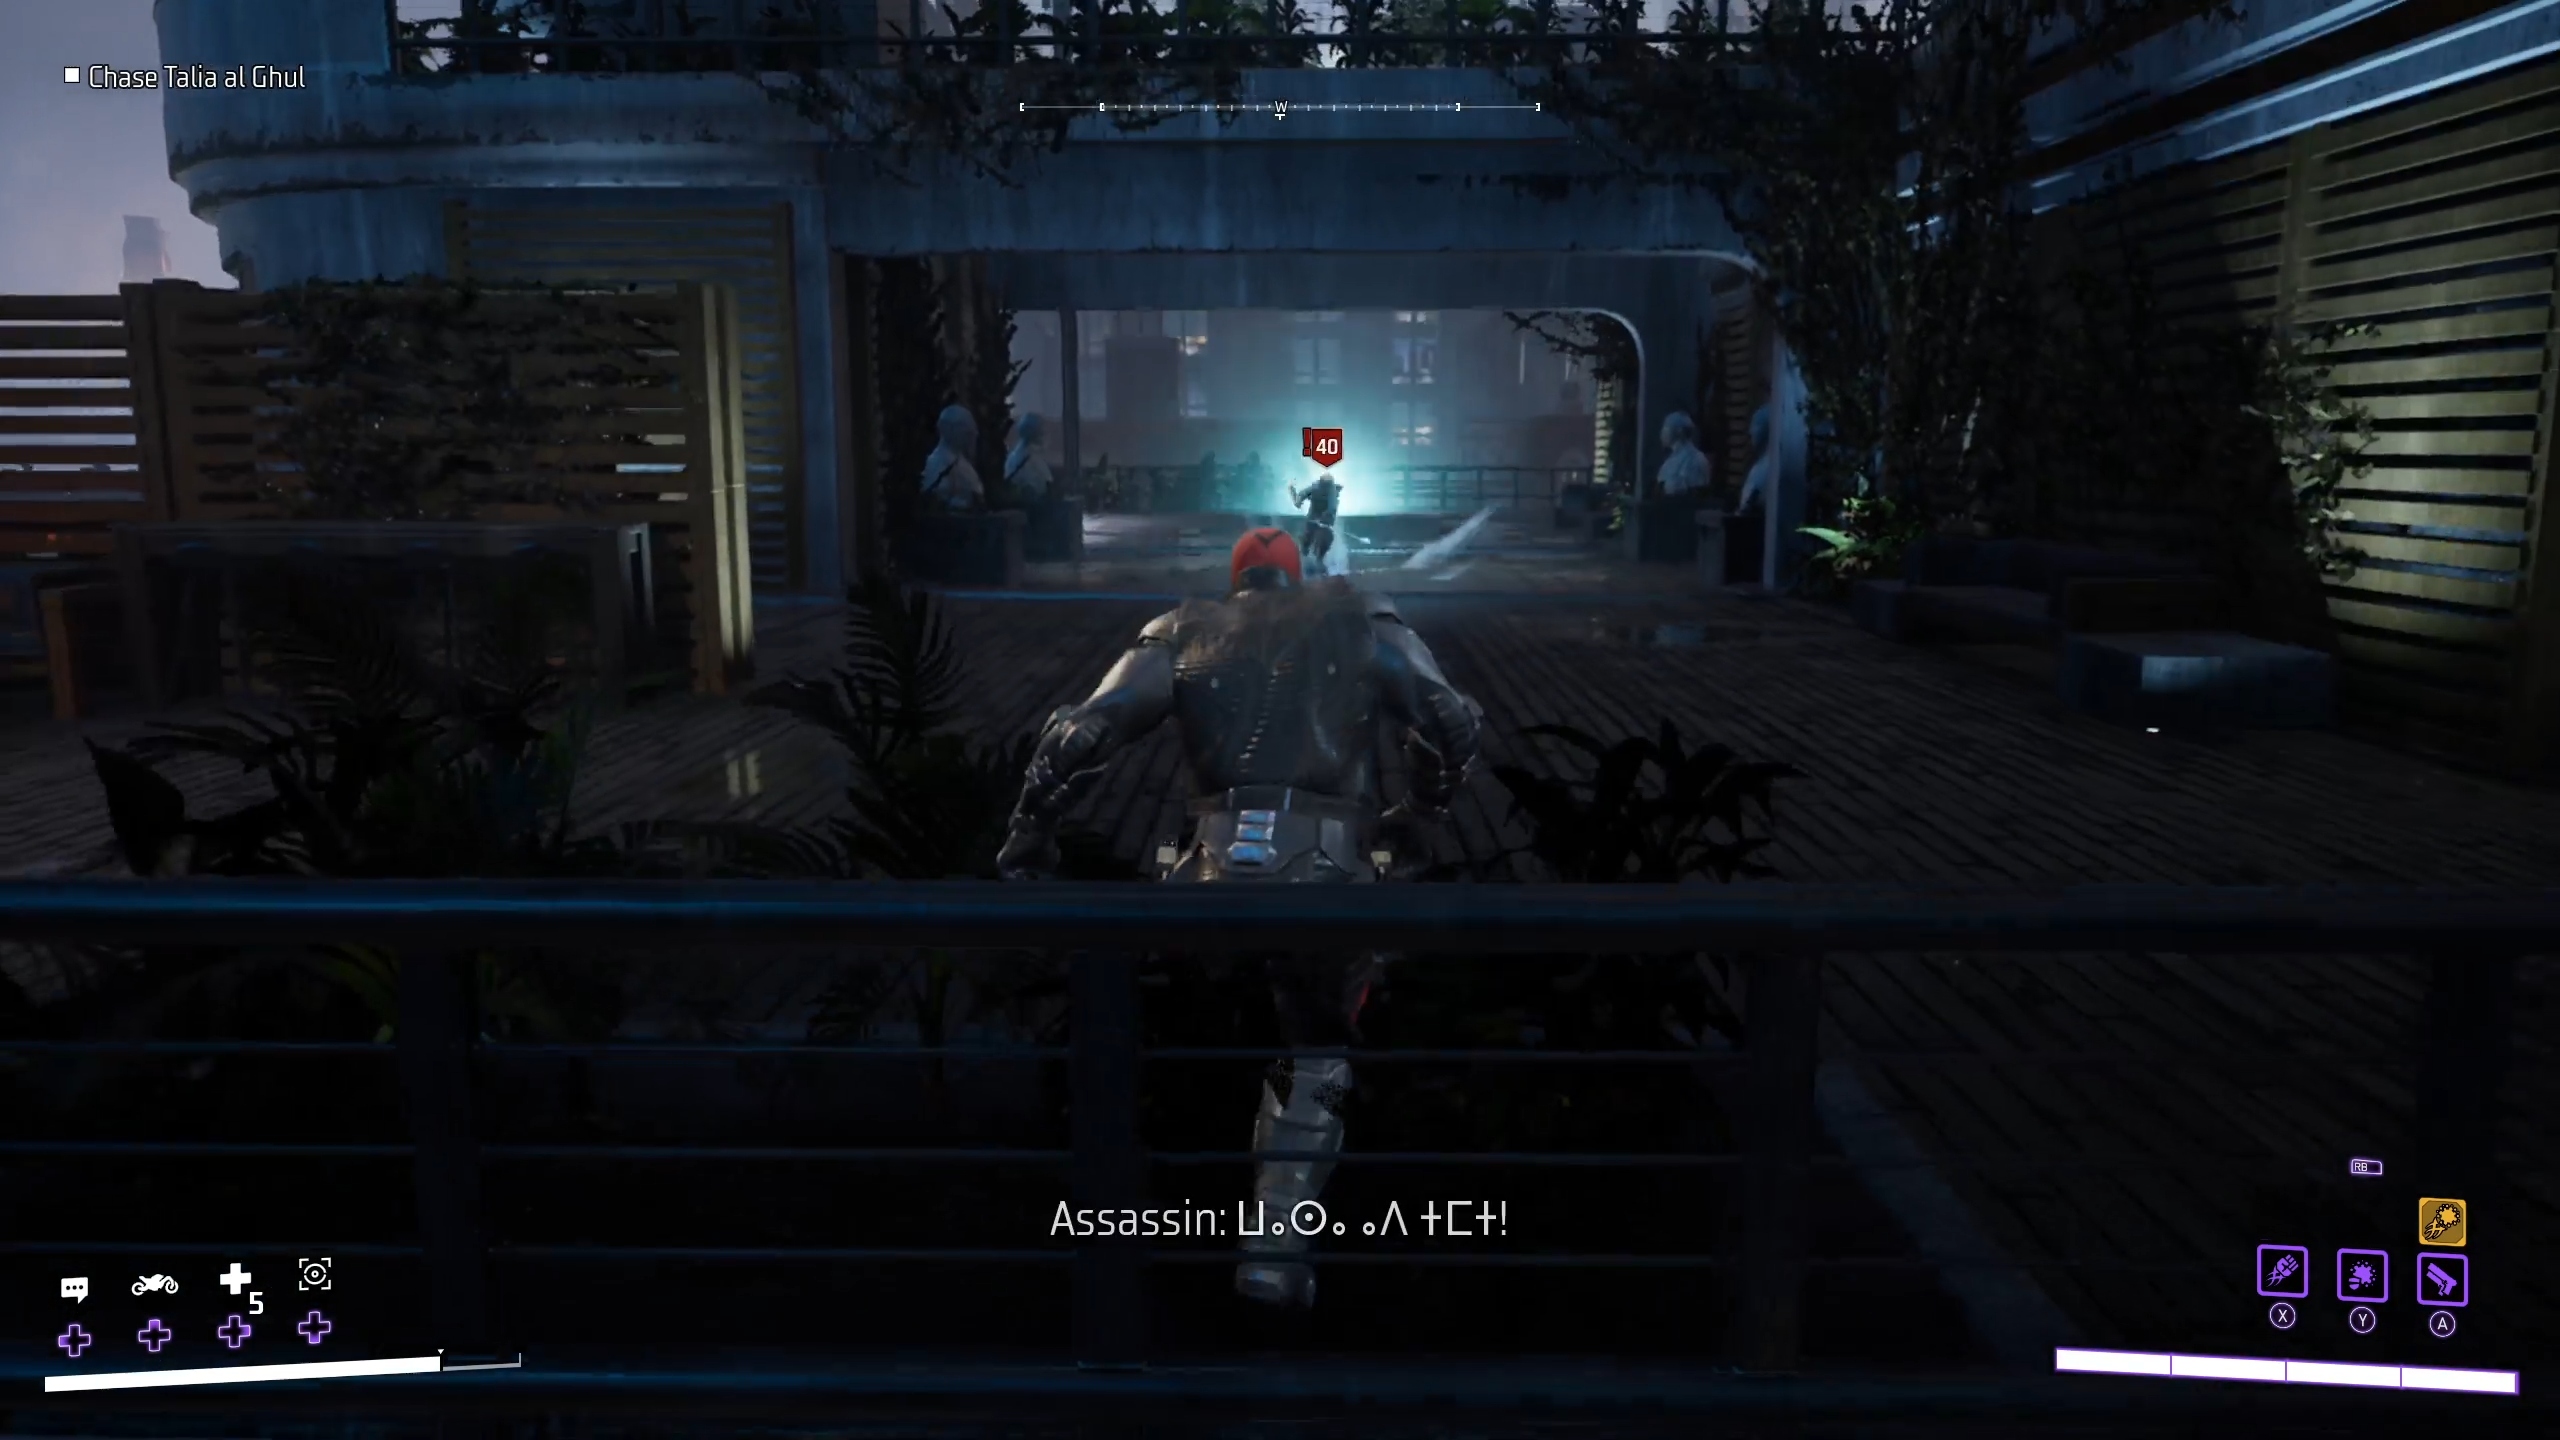
Keep following Talia in this manner. When she goes through some rooftops, she will summon a League of Shadows Assassin in her place and then continue running. From here, you can either fight each Assassin, or run past them and continue chasing Talia by following her mission marker.
Talia will wind up at the top of Wayne Tower. When you reach it, a cutscene will play, and then you will be attacked by four League of Shadows Assassins. This is probably more Assassins than you have faced before, so if you are struggling make sure to check out our League of Shadows Faction Guide.
After defeating the Assassins, you will be automatically taken back to the Belfry, where a cutscene will play. After the cutscene, you’ll be in the Belfry and the mission will finally be complete, unlocking Mission 7.1 – Friends in Need.
Graves is an avid writer, web designer, and gamer, with more ideas than he could hope to achieve in a lifetime. But, armed with a mug of coffee and an overactive imagination, he'll try. When he isn't working on a creative project, he is painting miniatures, reading cheesy sci-fi novels, or making music.