Liurnia of the Lakes, a vast and mysterious region submerged in mist and water, is filled with dungeons hidden beneath its flooded ruins and towering cliffs. From treacherous catacombs to sorcerer-filled caves, each dungeon holds valuable treasures and formidable foes. This guide covers all the dungeons in Liurnia of the Lakes and what to expect inside them. In the list below, you can find walkthroughs for various dungeons in region. If you’re looking for a complete walkthrough of Liurnia of the Lakes, head here. If you want to know how to beat the Legacy Dungeon within Liurnia, the Academy of Raya Lucaria, go here.
Liurnia of the Lakes Dungeons
The Moonlight Altar isn’t a dungeon, but since it’s a separate area of Liurnia, we’ve listed it here for completeness’ sake.
The Cliffbottom Catacombs is a dungeon where sneaking is key. The layout includes multiple ogres and imps, making a stealthy approach highly effective. There are several valuable items throughout, including the  Scythe and the
  Page Ashes, as well as a few optional paths, such as one requiring a
  Stonesword Key to access the
  Nox Mirrorhelm. Navigating past traps and ambushes is essential, and players who move carefully can avoid unnecessary fights while gathering loot.
After opening the boss door, the final challenge is an Erdtree Burial Watchdog wielding a staff, which grants it magic-based attacks. In addition to its usual slam attacks, this version summons magical arrows that circle its head before firing. Staying mobile and using the pillars for cover can help mitigate its ranged attacks. Defeating it rewards the  Kaiden Sellsword Ashes.
The Ainsel River (South) dungeon is a vast underground labyrinth featuring a mix of platforming challenges, hidden loot, and enemy ambushes. The dungeon is filled with long, winding tunnels, narrow ledges, and multiple branches that require careful navigation and precise jumps. Abundant sites of grace and diverse environmental hazards, such as fire traps and poisonous areas, make it a test of patience and skill.
Throughout the dungeon, players can collect a wide range of crafting materials and consumables, including  Smithing Stones, runes, and other upgrade items. There are several ambushes from ants and spectral foes, with some sections requiring careful management of environmental traps and strategic use of summoning. The area also offers opportunities to gather rare items like the
  Immunizing Horn Charm and various consumables before reaching the final area.
At the end of the dungeon, the path leads to a boss room where players face the Dragonkin Soldier of Nokstella—a challenging enemy that tests your combat skills with its aggressive, coordinated attacks. Defeating this boss rewards you with the  Frozen Lightning Spear and the
  Great Ghost Glovewort, and opens the way to the Eastern Tableland, advancing your progress in the game’s questlines.
- Unique Rewards:
- Questline:
The Black Knife Catacombs features a mix of familiar catacomb mechanics with a few surprises, including two boss fights, one hidden behind a secret path. Skeletons fill the dungeon, constantly reviving unless their necromancer is slain or you use a holy-imbued weapon. The dungeon has a few ambush points, so proceed cautiously. Early on, players can access  Rosus’ Axe by using a Stonesword Key, though doing so will require dealing with multiple skeletons. One of the main challenges of the dungeon is a large room with falling blades, where players must time their movements to ascend and defeat necromancers that keep skeletons reviving. A hidden wall near the archers conceals a secret path leading to the first of two boss encounters.
The first boss fight is against a Black Knife Assassin, a fast-moving foe that rewards aggressive counterattacks. If D, Hunter of the Dead, has been spoken to enough times, he can be summoned for this fight, making it much easier. The assassin drops the  Assassin’s Cerulean Dagger and the
  Black Knifeprint. Instead of teleporting out after the fight, players should backtrack and drop down into a new area, where they will encounter another section of the dungeon. After pulling a lever to open the main boss gate, players will face the Cemetery Shade, a nimble enemy that summons skeletons for support. Defeating this boss rewards the
  Twinsage Sorcerer Ashes and a
  Deathroot.
Stillwater Cave is a poison-filled dungeon that rewards careful navigation and offers both an armor set and a useful talisman. Upon entering, players will need to deal with bats and poison sorcerers who attack from a distance. Moving quickly to eliminate sorcerers is key, as their poison spells can be dangerous if left unchecked. Further inside, players will find a dark chamber filled with bats, including a harpy-like enemy that has a deadly grab attack. After clearing the area, they can collect several rewards, including the  Sage Armor Set and
  Serpent Arrows.
The dungeon continues with more poison sorcerers, best dealt with through stealth or ranged attacks. Players can jump over gaps to avoid dropping into poison pools, but there are optional loot items below for those willing to risk exposure. Near the end of the dungeon, a group of unaware poison sorcerers can be easily eliminated one by one before jumping down a waterfall to grab  Poison Grease. The final challenge is the Cleanrot Knight, a formidable boss that drops the
  Winged Sword Insignia, a very powerful talisman that boosts attack power with successive hits.
The Academy Crystal Cave is a short, sorcery-filled dungeon requiring two Stonesword Keys to enter. After dealing with rats in the dark tunnels, you’ll face multiple sorcerers—sneaking and AOE attacks help. A hidden Stonesword Key to replace one of the ones you spent can be found on a dead prisoner, and an illusory wall reveals an alternate path to ambush a powerful sorcerer.
Beyond the wall, you’ll find the  Crystal Staff in a chest before facing the dungeon’s bosses: Crystalian (Spear) and Crystalian (Staff). These crystalline foes take reduced damage until staggered, so use heavy attacks or break their poise. After defeating them, an elevator leads a platform above the Academy of Raya Lucaria, as well as a chest containing
  Terra Magicus. While you can’t enter the Academy from here, it can be good to get a look at it before entering it proper.
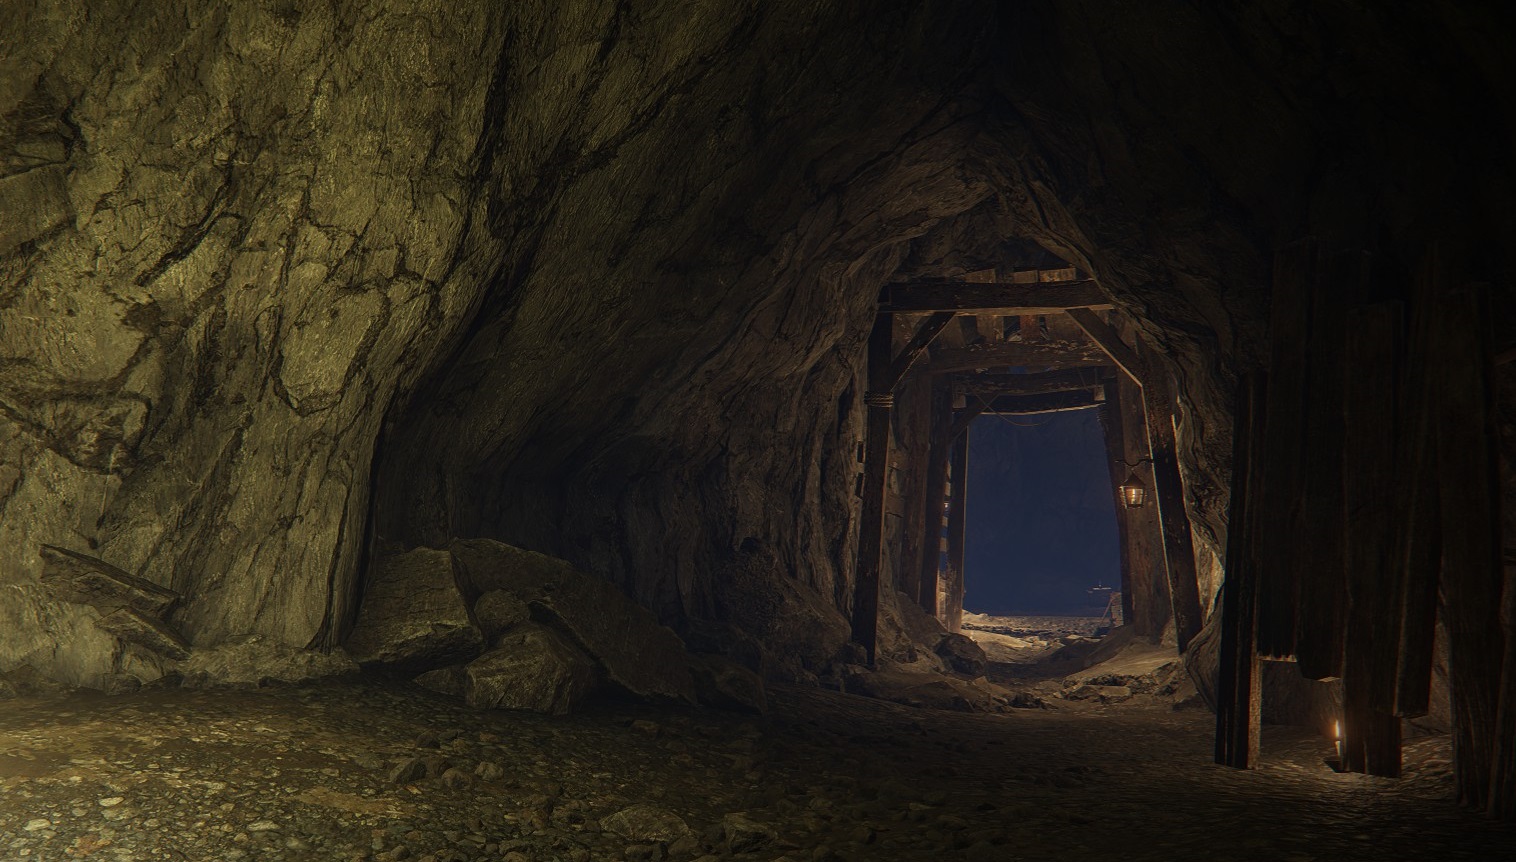
The Raya Lucaria Crystal Tunnel is a mine, rich in upgrade materials and guarded by hardened miners and marionette soldiers. Like most mines, weapons with Strike damage are particularly effective against its miner enemies. While progressing through its winding tunnels, players will find numerous Smithing Stones and  Somber Smithing Stones embedded in the walls, as well as a few treasure chests containing useful loot like the
  Crystal Knife. The dungeon also features a hidden path near one of its elevators, rewarding those willing to take a small detour.
Deeper inside, the tunnel opens up into larger chambers patrolled by marionette enemies, some of whom ambush from above. Beyond them, a group of miners work under the watchful eye of a more powerful foe, guarding the  Shatter Earth sorcery. The final elevator leads to the boss, Crystalian, a crystalline construct with high resistance to damage until its poise is broken. Heavy attacks or Strike weapons can quickly stagger it, making the fight significantly easier.
- Unique Rewards:
- Questline:
The Lakeside Crystal Cave is a somewhat hard-to-find dungeon along the western cliffs of Liurnia, notable for its vertical layout and for starting  Latenna’s questline upon completion. It’s filled with lurking demi-humans, sneaky crystal snails, and narrow cliffside drop-offs. Bringing a
  Lantern or other light source is recommended, as the cave can be quite dark in places. Along the way, players can find the
  Spear Talisman in a side chamber, as well as various
  Smithing Stones and crafting materials. Navigating the cave involves multiple drop-down sections, often signposted by player messages, leading deeper into the caverns.
At the end of the dungeon, players face the Bloodhound Knight, a swift and aggressive foe that rewards the  Cerulean Amber Medallion upon defeat. After the battle, venturing deeper into the cave reveals Latenna the Albinauric, who offers her
  Spirit Ashes if players agree to help her. Accepting her request officially starts her questline, leading to significant rewards later in the game.
Road’s End Catacombs in Liurnia of the Lakes is all about illusory walls, making navigation tricky but rewarding. Hidden passages conceal key loot and the path to the boss, so for once, all those messages aren’t lying! Along the way, you’ll encounter gargoyle imps lurking in corners and a few traps, but nothing too dangerous. Key rewards include the  Watchdog’s Staff and
  Raya Lucaria Soldier Ashes, both tucked away behind false walls.
The dungeon’s boss is the Spirit-Caller Snail, a deceptive foe that summons a powerful knight to fight in its place. Defeating it grants the  Glintstone Sorcerer Ashes, making this dungeon well worth the effort. If you enjoy hunting hidden paths, Road’s End Catacombs offers a satisfying maze of secrets.
- Unique Rewards:
- Questline:
Caria Manor is a treacherous castle filled with spectral soldiers and terrifying hand enemies that lurk beneath the ground. Fire is particularly effective against these grotesque creatures, making  Fire Grease and flame-based spells valuable tools for survival. The first section of the manor features a lower level filled with these ambushes, though careful exploration will reward players with valuable loot such as the
  Carian Piercer sorcery and the powerful
  Sword of Night and Flame, found by navigating a rooftop path off the main ramparts.
The manor’s second section takes players across the upper levels, where spectral soldiers attempt to overwhelm with their numbers. Hidden paths here lead to weapons like the  Urumi, while an elevator grants access to the upper courtyard, where fierce wolves and a towering troll knight guard the entrance to the final section. Those who brave the direct path and slay the giant will obtain the
  Troll Knight’s Sword, though a safer route exists via a ladder that bypasses much of the danger. Climbing the grand staircase lined with spectral knights ultimately leads to the boss, Royal Knight Loretta, who tests players with powerful sorceries and mounted combat.
After defeating Loretta, the Royal Moongazing Grounds site of grace is unlocked, and players can venture into the Three Sisters area. Before leaving the manor, however, an optional path hidden near the boss arena leads down to wooden platforms where jar enemies lurk, culminating in the discovery of the  Ash of War: Carian Grandeur. With Caria Manor cleared, players gain access to the key NPCs and questlines tied to
  Ranni the Witch, making it a crucial location in Elden Ring’s unfolding story.
The Ravine-Veiled Village leads into the Ruin-Strewn Precipice to provide an alternate route to the Altus Plateau, avoiding the Grand Lift of Dectus. This path is filled with upgrade materials and enemies, making it a rewarding but dangerous journey. Starting at Bellum Church, head northeast along the river, stopping by a merchant and grabbing a  Golden Seed near an Illusory Tree. The Ravine-Veiled Village site of grace marks the entrance to the tunnels. A loot beetle nearby drops the
  Ash of War: Barbaric Roar, but defeating it triggers an ambush of bats. From here, climb a series of ladders to enter the mining tunnels.
Inside, miners and hidden enemies guard various upgrade materials, and poison traps make progression more dangerous. An elevator provides a shortcut, and deeper into the tunnels, players face patrolling foes, ambushes, and explosive loot beetles. The path winds through chambers filled with enemies before finally emerging at the Ruin-Strewn Precipice site of grace, signaling the next phase of the journey into Altus Plateau.
The Ruin-Strewn Precipice serves as the continuation of the Ravine-Veiled Village and offers an alternative route to the Altus Plateau. The path is filled with hostile bats, harpies, and mining foes, but also contains numerous upgrade materials and a few valuable rewards. Progressing through the tunnels and ladders will take you through several ambushes, poison traps, and patrolling enemies, making careful navigation essential. Keeping an eye out for ledges to drop down or climb up is key to fully exploring the area.
The latter half of the journey involves encounters with harpies that use dangerous grab attacks and death magic, making summons a good option for dealing with them. Past them, an elevator leads to the Ruin-Strewn Precipice Overlook site of grace, but a final detour allows players to obtain the  Serpent-God’s Curved Sword from a corpse guarded by a large tentacle monster. Once everything is collected, the site of grace provides a resting point before the final challenge: the boss fight against Magma Wyrm Makar, who drops the
  Magma Wyrm’s Scalesword and the
  Dragon Heart.
- Unique Rewards:
- Questlines:
Unlike other Divine Towers, the one in Liurnia does not restore a Great Rune but instead houses the  Cursemark of Death, an item necessary for progressing Ranni’s questline. To access this tower, you must first acquire the
  Carian Inverted Statue by bringing the
  Fingerslayer Blade to Ranni. Placing the statue in the Carian Study Hall in eastern Liurnia flips the hall upside down, opening the path to the Divine Tower. The journey through the inverted study hall is treacherous, filled with spectral enemies, sneaky hand monsters, and the persistent Preceptor Miriam, who will harass you with powerful magic attacks throughout the climb.
After navigating the study hall’s inverted architecture, you will reach the Liurnia Tower Bridge, where a Godskin Noble blocks the way. He can be bypassed, but defeating him grants his  armor set. At the end of the bridge, the Divine Tower holds a dark truth about Ranni, where you will also find the Cursemark of Death and the
  Stargazer Heirloom. Returning the study hall to its normal orientation allows you to clear the area properly, facing Miriam once more and collecting the
  Carian Glintstone Staff and the
  Cerulean Seed Talisman.
- Unique Rewards:
- Questline:
The Moonlight Altar, which isn’t really a dungeon but functions somewhat like one, is an expansive plateau overlooking Liurnia, accessible only through Ranni’s questline. This secluded area features powerful enemies, rare loot, and a significant amount of high-level smithing stones, making it a prime location for upgrading weapons. Most notably, this is where Ranni’s story concludes, rewarding players with the legendary  Dark Moon Greatsword and the ability to acquire the “Age of the Stars” ending of the game. Along the way, you’ll encounter Glintstone Dragon Adula at the Cathedral of Manus Celes, where Ranni lies in slumber.
Beyond Ranni’s story, the plateau offers plenty of challenges, including three slumbering dragons, Alecto, Black Knife Ringleader in an evergaol, and a hidden tower puzzle at Chelona’s Rise. The Moonlight Altar and Moonfolk Ruins house several hidden basements containing valuable talismans and upgrade materials. If you’re up for dragon slaying, each one drops a Dragon Heart and a solid amount of runes. At Chelona’s Rise, solving the puzzle unlocks  Ranni’s Dark Moon sorcery, capping off the exploration.