The Ravine-Veiled Village (which is really more of a tunnel) and the Ruin-Strewn Precipice together form the alternate path to the Altus Peninsula that skips the Grand Lift of Dectus. This path offers upgrade materials aplenty, and a boss fight which rewards players with a nice heavy weapon for Faith builds. This section of the guide will guide you to the Ravine-Veiled Village up to the start of the Ruin-Strewn Precipice.
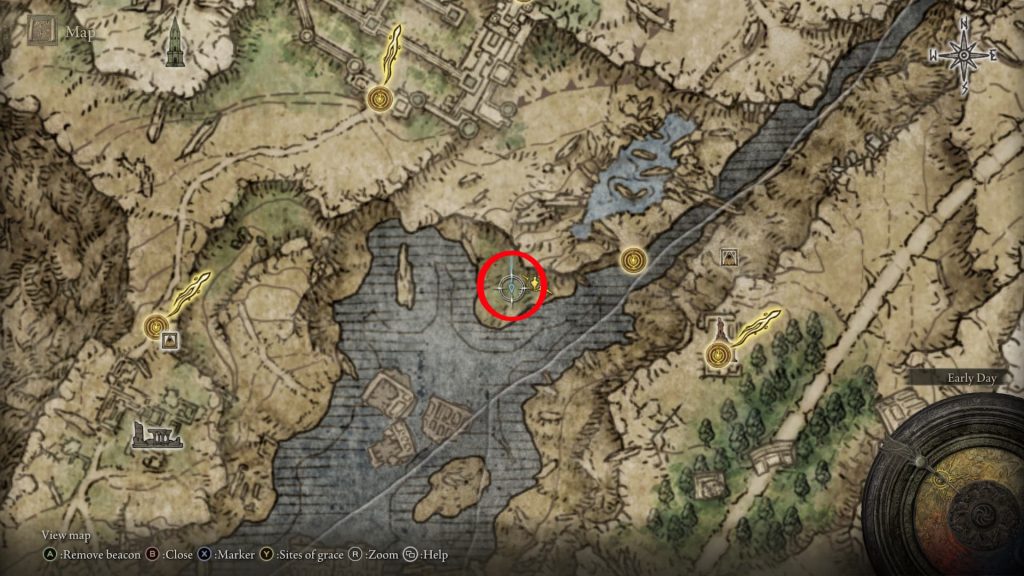
The Ravine-Veiled Village is found in the northern part of the Lake in Liurnia of the Lakes. In this guide, we’ll be starting from the Bellum Church site of grace, and following the path down the cliff to the water northeast to reach the site of grace. You can also access this area by simply heading to the northern part of the lake, and following the water northeast to the tunnel icon on the map.
Start by teleporting to the Bellum Church site of grace, which you should have if you followed the eastern section of our Liurnia walkthrough. If you don’t have it, you can access it by finding the Spiritspring jump west of the Walking Mausoleum in the lake south of the Bellum Church, or by dropping down from the area northwest of the eastern Minor Erdtree.
From the Bellum Church site of grace, head down the stairs to the left of the statue (north-northwest) and go through the broken wall. Continue northeast down the path and you’ll immediately see the campfire of a Nomadic Merchant. He offers a number of useful items, including the Nomadic Warrior’s Cookbook [13], so check out his wares before continuing down the path. Just beyond the merchant, a few enemies are hanging out near a fire that has attracted some Smoldering Butterflies. Kill ’em or ride past, then continue northeast down the path once more. You’ll encounter a knight on foot that can also be slain or avoided, and then you’ll reach the water. To reach the Ravine-Veiled Village, follow the river northeast. However, before doing so take a slight detour to the southwest to pick up an item and a site of grace.
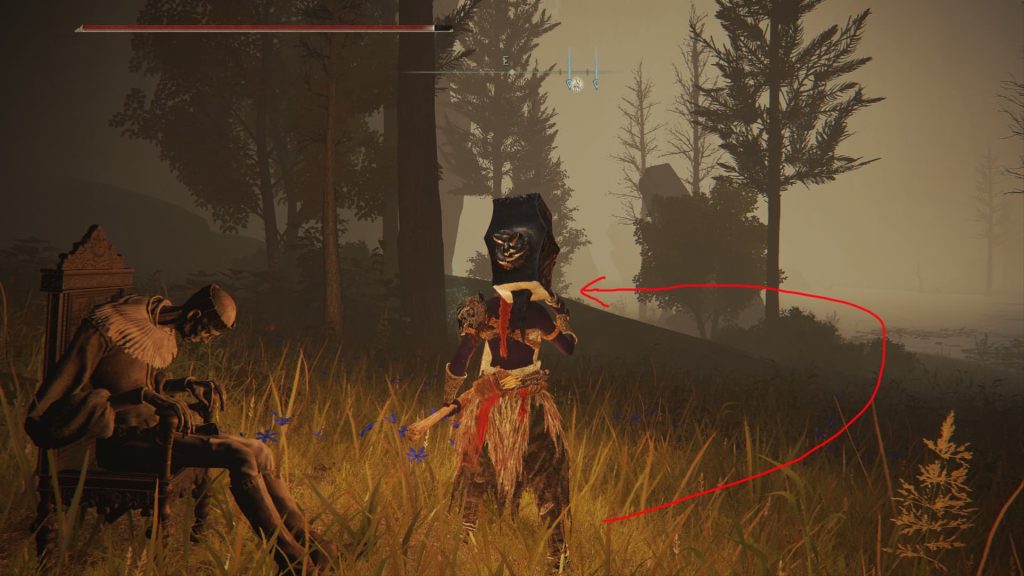
This quick stop will reward you with a Somber Smithing Stone [4] but you’ll have to avoid or fight several Giant Land Squirts to reach it. Hug the western wall until you see a site of grace ahead of you. Stop by and activate The Ravine site of grace before continuing your journey southwest. Follow the wall until you spot a slumped figure sitting in a chair. Pickup the item they’re holding and you’ll be rewarded with a Somber Smithing Stone [4]. Now you can turn around and follow the river.
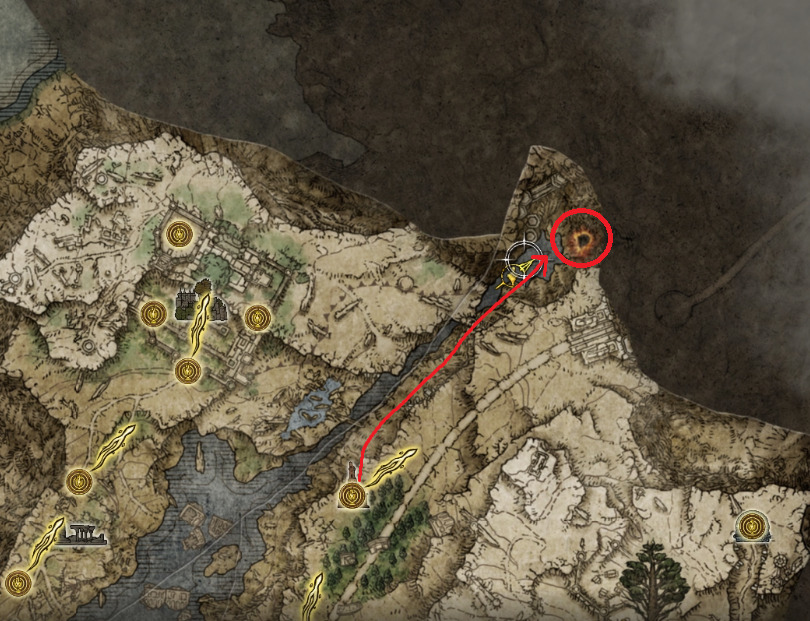
Elden Ring Somber Stone mapRoute to The Ravine site of grace
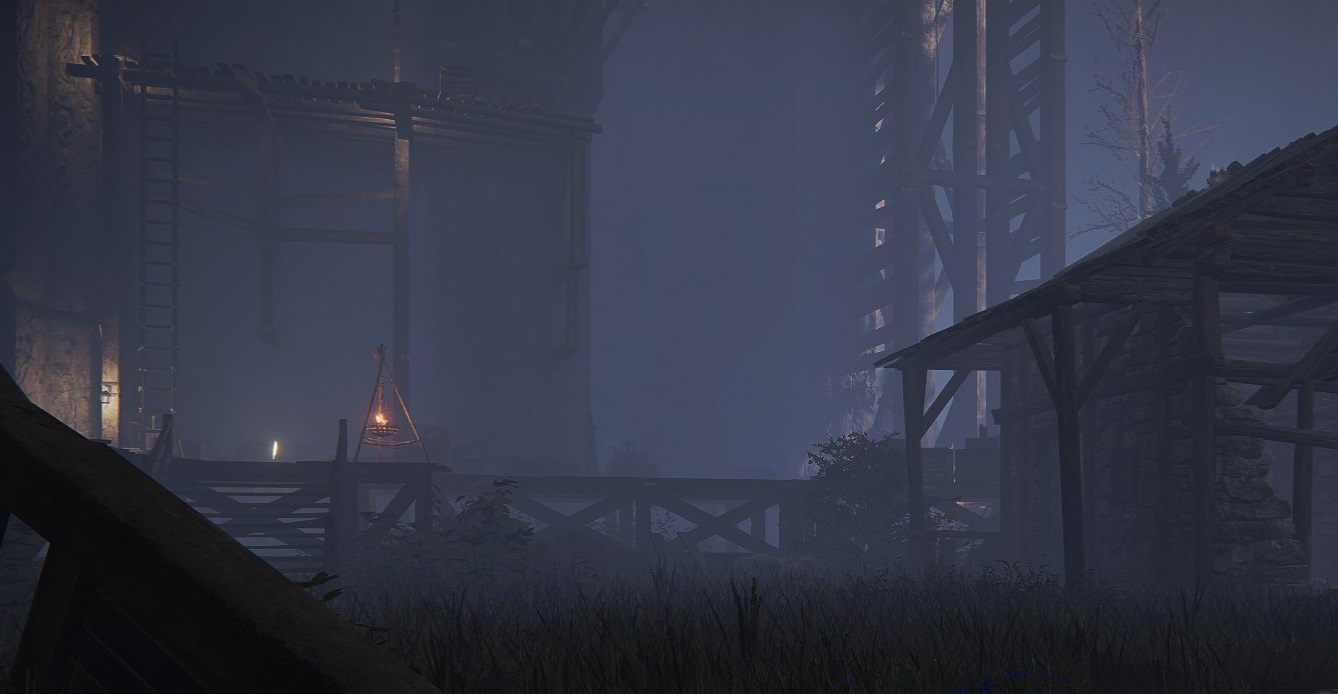
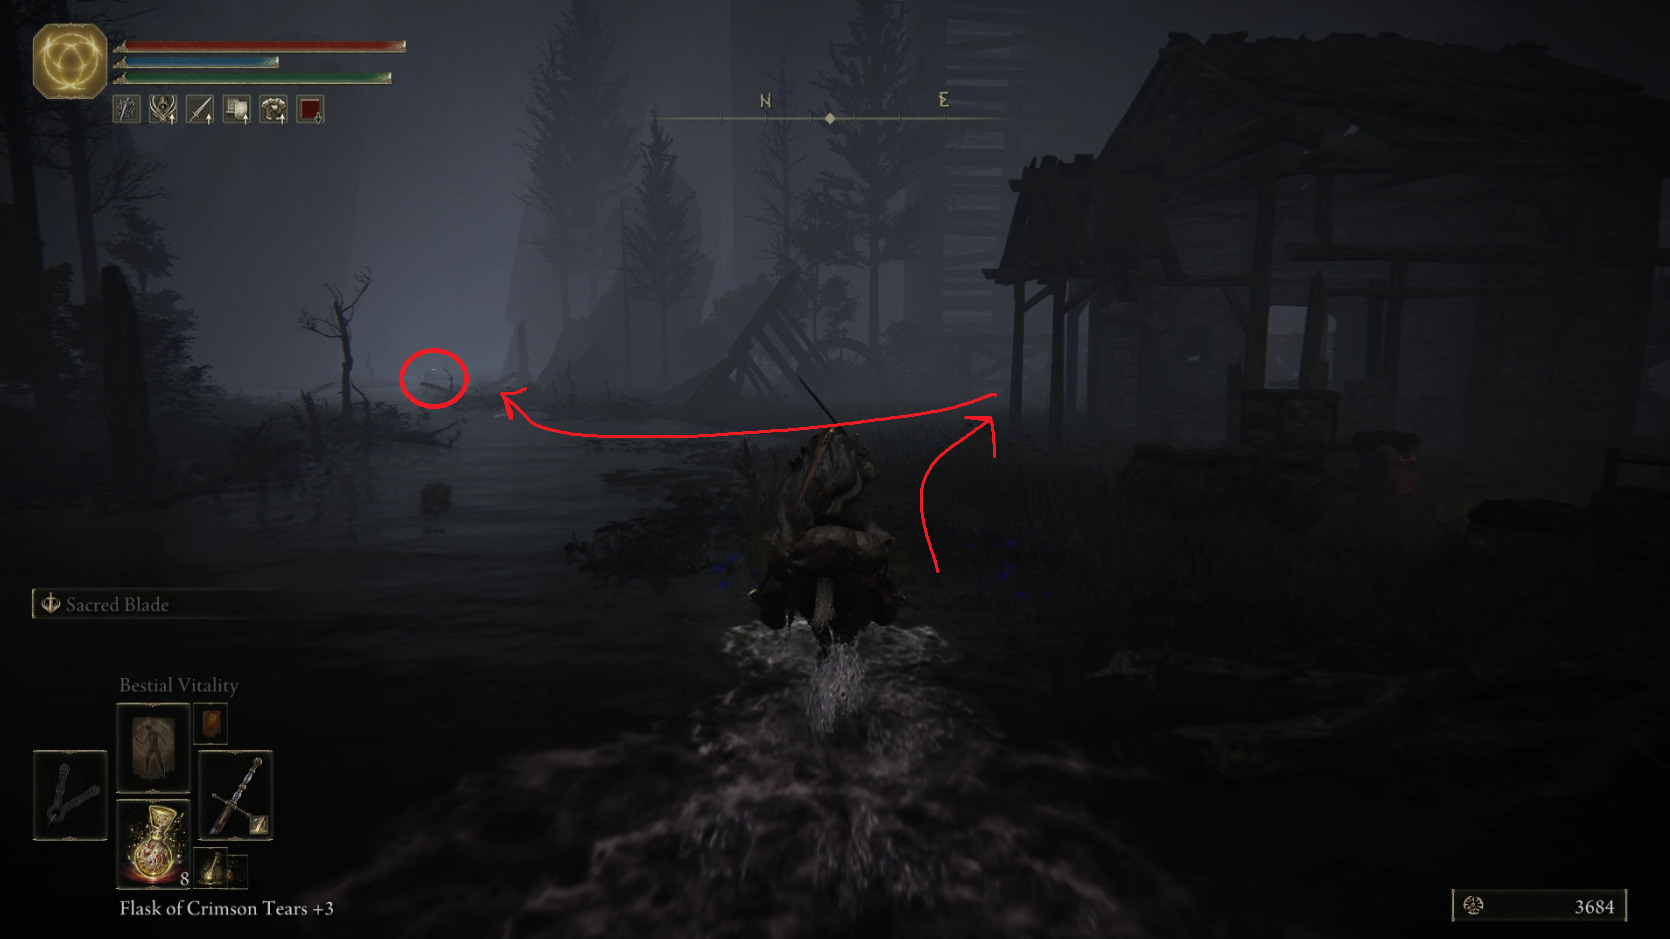
You’ll soon see an Illusory Tree with a Golden Seed at its base — make sure you grab it before continuing further northeast. You should soon see a ruined hut with the Ravine-Veiled Village site of grace behind it.
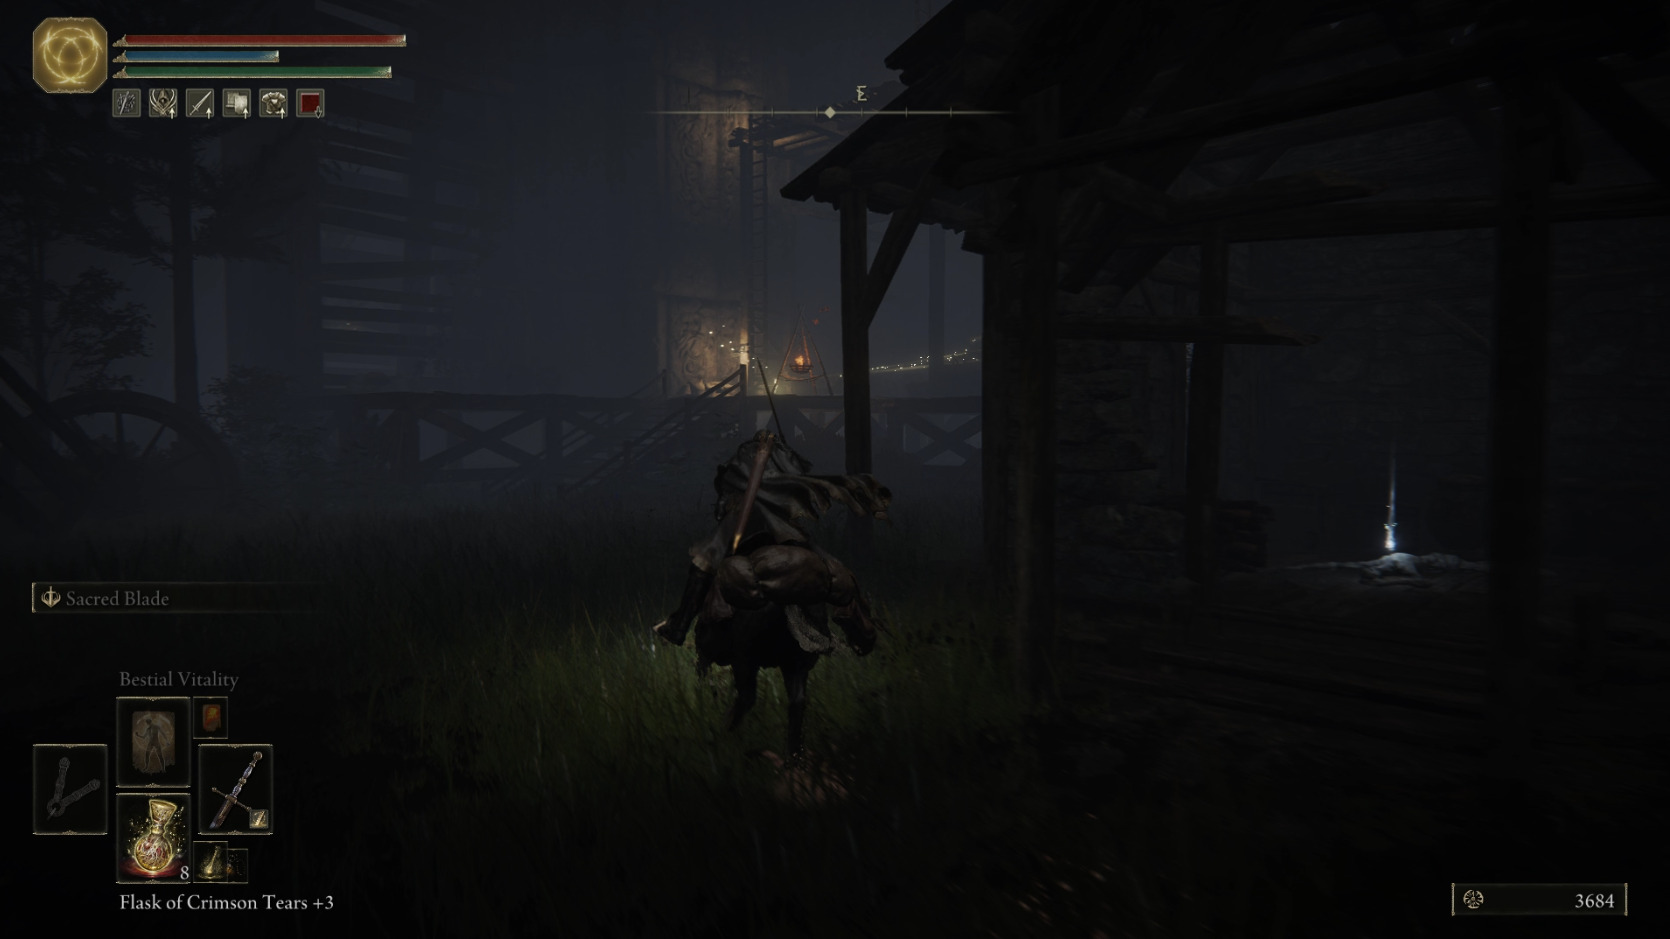
The loot beetle is circled — make sure you tap the site of grace before going for the beetle
Tap the site of grace and then go further north into the crack in the rocks — there’s a loot beetle there who drops the Ash of War: Barbaric Roar. Be careful, as killing the beetle will cause a trio of bats to emerge from the darkness. Their sonic wave attack is essentially the same as the ash of war skill you just found, so if you think it’s cool, well, now you’ve got it for yourself!
With the bats safely dispatched, go back towards the site of grace, and enter the decrepit house just to the south — inside is a Smithing Stone [5]. Then head to the ladder next to the site of grace and climb on up. Go up the next ladder as well, and continue on the wooden platform around the corner, where you’ll find a small tentacle monster that is easily avoided or smushed. Go up the third ladder and enter the tunnel. You’ll soon enter a larger chamber — grab the Smithing Stone [4] from the corpse on your right, then sneak up to and backstab the nearby miner. Where he was mining you can grab another Smithing Stone [4], then climb up the ladder to your right.
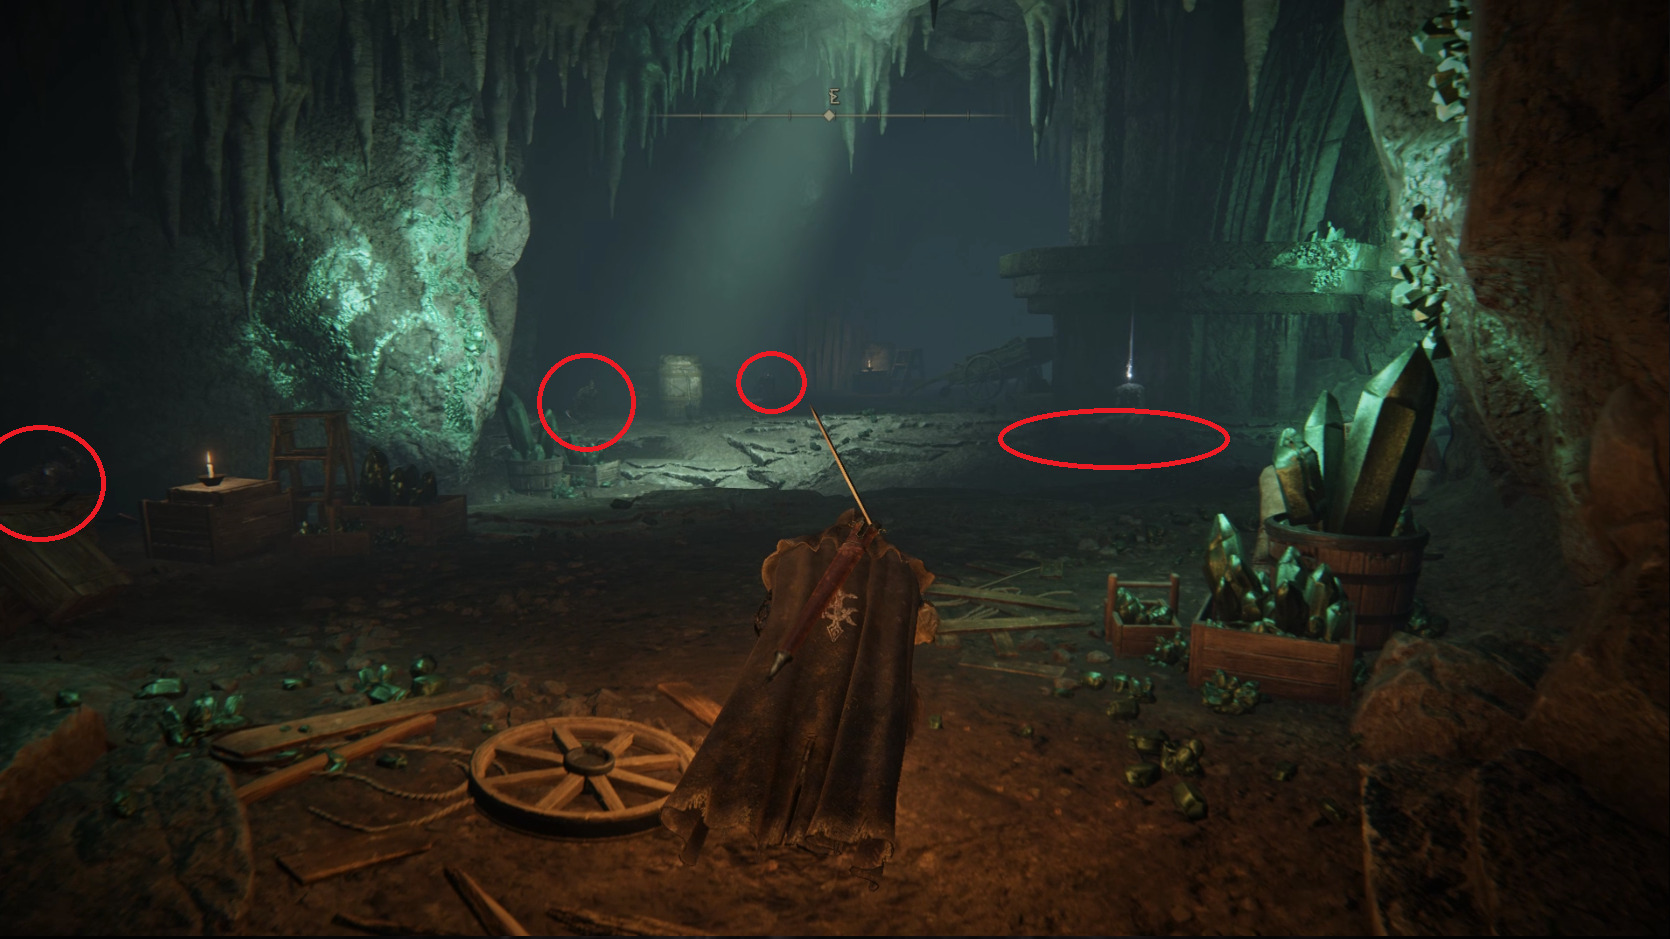
Continue through the tunnel, and then stop once you reach the next chamber. There are hidden enemies on the left, as well as poison traps on the ground. Sneak to the left and take out the first enemy, then go around the poison traps and take out the second enemy, then the third. Behind the third enemy in the wall you can grab two Smithing Stone [4]. There are traps around the item on the nearby corpse as well, so avoid them when grabbing the Smithing Stone [3].
Enemies on the left, traps on the rightThe traps in between the first and second enemy
On the southern side of this chamber is the way forward to the elevator, but watch out for the enemy hiding behind some boxes on the left. Take the elevator up and move to the southern edge of the platform and look south — you’ll see a corpse hanging off a ledge as you ride the elevator up; you can jump off now, but if you aren’t ready, just ride the elevator back down instead of dying. The corpse has a Smithing Stone [5], and once you grab it you can drop to the northeast to a platform below, then again to the south, then down once more to the level of the elevator (you’ll need to pull the lever if the elevator is now above you).
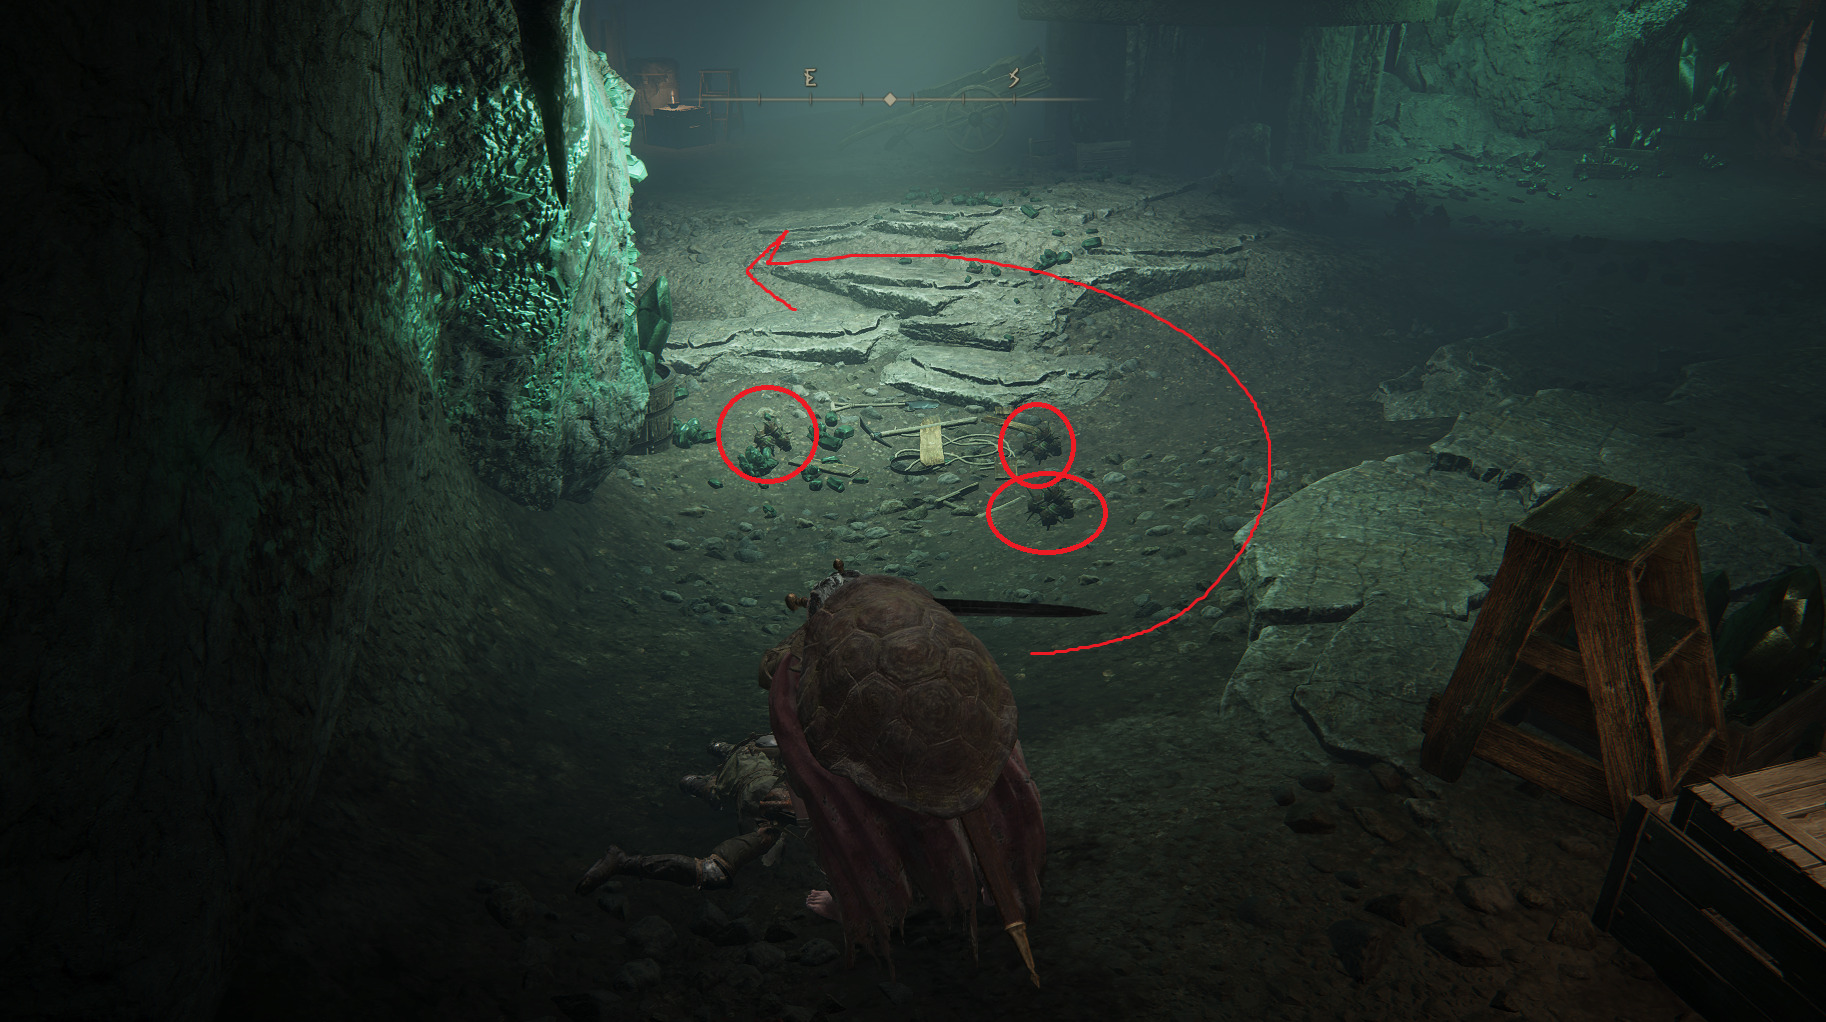
Once you’ve ridden the elevator up, head into the tunnel to reach another chamber full of miners. On your left as you first enter this area is a corpse with a Golden Rune [5]. Be ready for the enemy that’s patrolling, and take out the two miners (making sure to also grab the upgrade materials they’re mining). On the eastern wall opposite where the second miner is, you’ll find a smithing stone hidden between the wall and a column, so don’t miss it!
Continue northwest and take your first left, using target-lock to not be ambushed by yet another sneaky boi. There are poison traps in this room on the floor, plus another enemy on the right behind some boxes. Avoid the traps, kill the second foe, and grab the x2 Lightning Grease from the corpse at the far end of the room.
I see you
Leave this room and sneak up/stab the miner to the north, then take the crystal he was mining. Around the column from him are two more upgrade materials, so grab them and then sneak up the nearby wooden stairs. There’s a small enemy on the right, and another hiding behind the column on the left, so take them out first, then get the two miners leaning against the columns. Get the Rune Arc from the corpse, then go down the stairs and continue through the tunnel to the west.
In the tunnel you’ll find a loot beetle that explodes — if you’re using a melee weapon, make sure you roll backwards after doing lethal damage to it. Don’t worry, your Somber Smithing Stone [4] will survive the explosion. Continue up the tunnel to finally reach the Ruin-Strewn Precipice site of grace.
Unabashed FromSoftware fanboy still learning to take his time with games (and everything else, really). The time he doesn't spend on games is spent on music, books, or occasionally going outside.
If you’re talking about a map for the location of the Ravine-Veiled Village, there is one — it’s viewable by clicking the “Location” button at the top of the guide! If you’re asking about a map for navigating the area, one isn’t included because the location is mainly vertical and therefore a map wouldn’t give useful information.
SREJ29
1 year ago
I don’t know if it was a mistake or if it was changed but I got AoW: Barbaric Roar, not Beast’s Roar. Also, because it is not mentioned on the Liurnia pages, if you head in the opposite direction back towards the Lakes you will find The Ravine site of grace & if you follow the cliff base West you will come across a figure in a chair with a Somber Smithing Stone (4).


WHY DO THESE NEVER SHOW AN IMAGE OF THE MAP?!?!?!?
If you’re talking about a map for the location of the Ravine-Veiled Village, there is one — it’s viewable by clicking the “Location” button at the top of the guide! If you’re asking about a map for navigating the area, one isn’t included because the location is mainly vertical and therefore a map wouldn’t give useful information.
I don’t know if it was a mistake or if it was changed but I got AoW: Barbaric Roar, not Beast’s Roar. Also, because it is not mentioned on the Liurnia pages, if you head in the opposite direction back towards the Lakes you will find The Ravine site of grace & if you follow the cliff base West you will come across a figure in a chair with a Somber Smithing Stone (4).
Thanks, we’ve updated both guides accordingly!