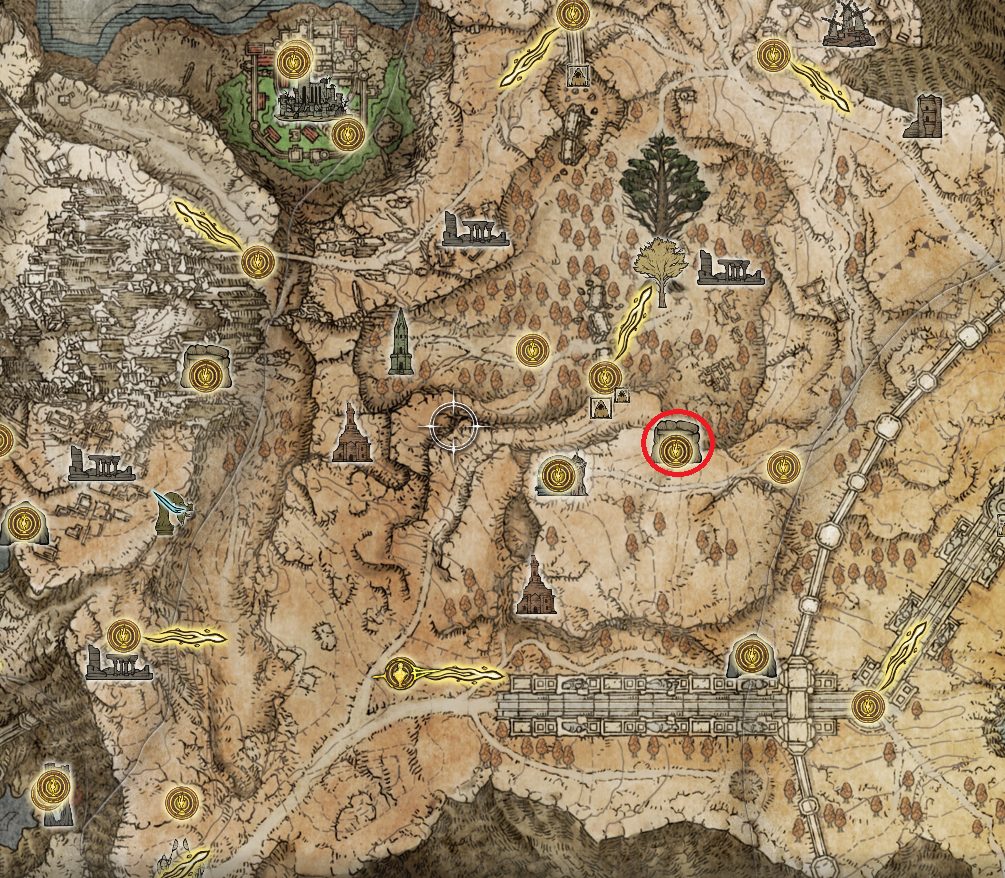
This relatively brief tunnel on the Altus Plateau is well worth visiting, as it offers one of the stronger talismans in the game as well as a source of unlimited upgrade materials.
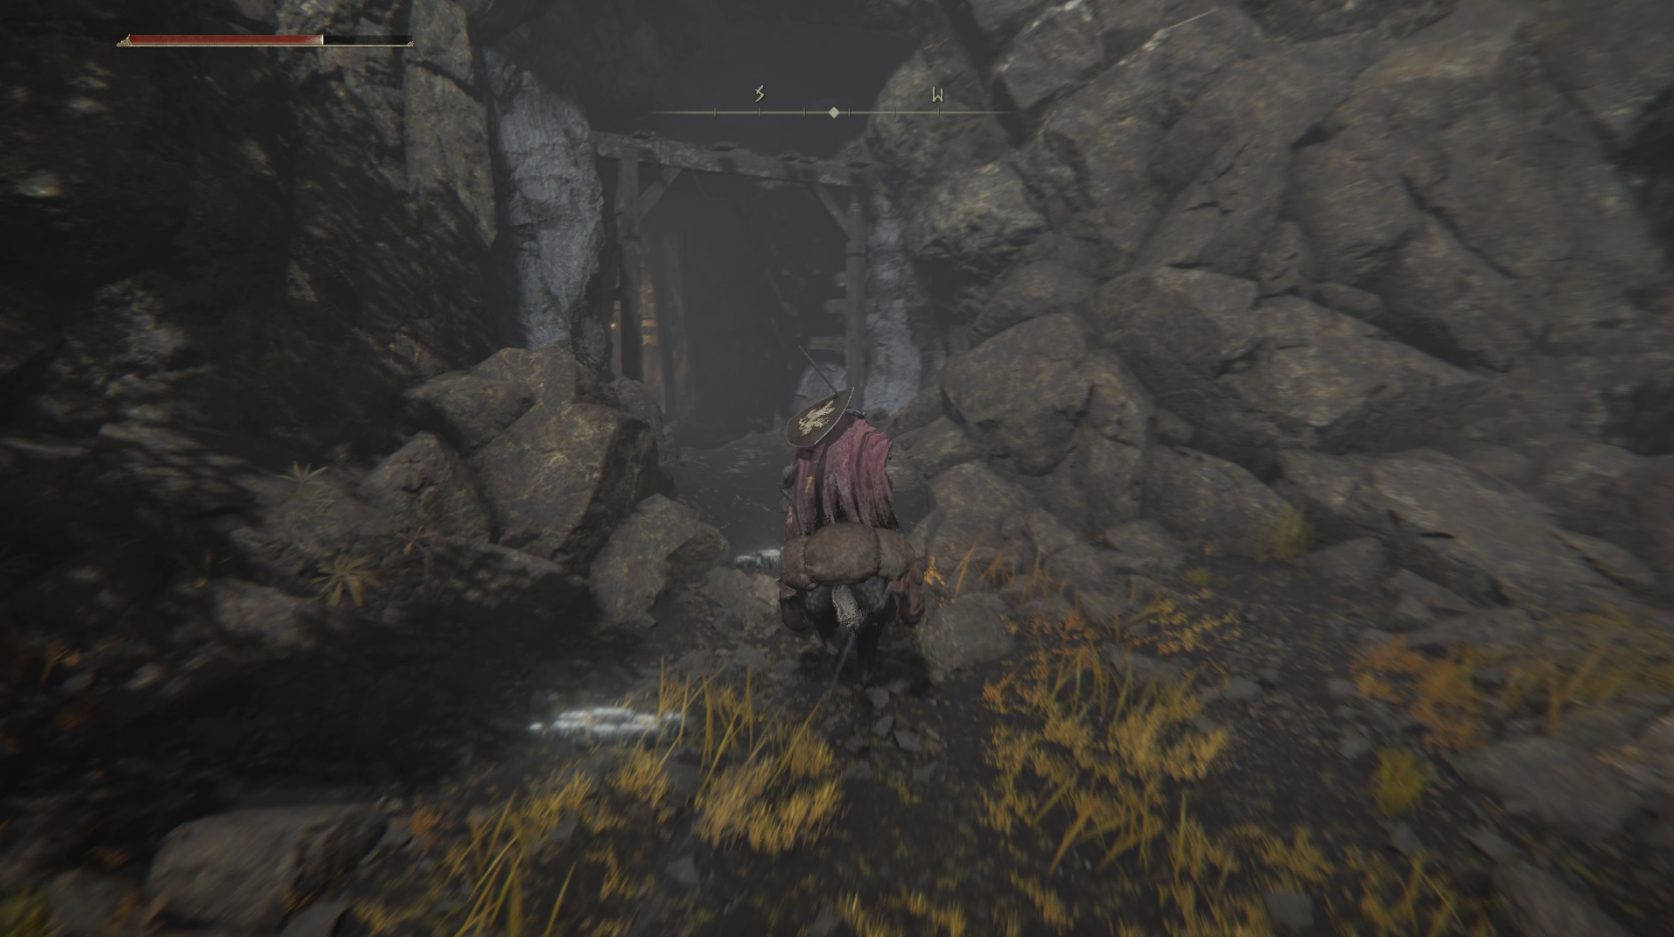
The tunnel is accessible from the low ground the Minor Erdtree is onThe entrance as viewed from the northeast
You’ll need to ride an elevator down to the site of grace — ignore the lit ledges that line the elevator shaft, as there’s nothing on them but disappointment. From the site of grace, continue south, where you can activate the summoning pool — this is a popular place to get summoned, since the duo boss in this mine is tough for solo players.
From the summoning pool, turn right and enter the doorway to the southwest — an avionette hides inside on the right, so take it out first, then deal with the sorcerer in the middle of the room. Open the chest to grab a Rune Arc, then roll through the wooden objects in the western corner of the room to find a Smithing Stone [5] in the wall. Leave this room and turn right, and head southeast a bit, where you’ll find a sorcerer sitting on the ground to your left.
Interrupt his rest, then turn right and go into the room to the southeast. Immediately kill the snail on the left, then use target-lock to find the rock-formation-looking snails just past the corpse. Collect the x8 Crystal Darts from the corpse (and the Cracked Crystal beyond), then leave this room and head right once again.
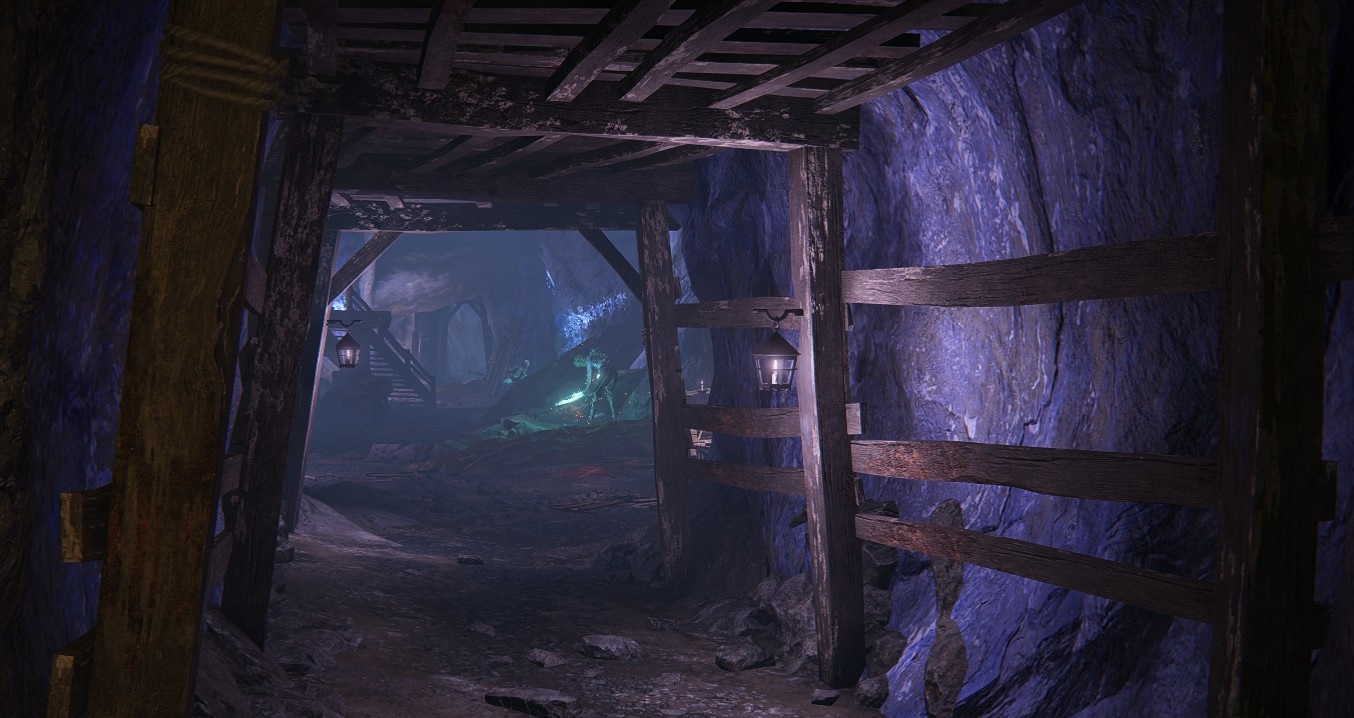
You’ll pass through an empty room, then enter a larger chamber with lots of miners and their guards. Upon entering, turn right and take out the miner there, grab the crystal he was mining, then turn right to find a Smithing Stone [5] in the wall. Then also sneak up and backstab the miner to the northeast, but keep an eye deeper into the tunnel as well as upon the walkway above you.
At some point, the avionettes and sorcerers will notice you — when they aggro, back up and try to draw them back the way you came (you can also hide under the walkway so the sorcerer up there can’t hit you). Rather than exploring while clearing the room, it’s best to simply fully clear the room of enemies, then grab the loot at your leisure. Move forward slowly, engaging each enemy one at a time if possible. There are a total of three avionettes on the walkway (although only two tend to hop down initially), as well as a sorcerer.
With all your foes dispatched, go beneath the walkway — on the northeastern wall is a Smithing Stone [5]. If you go up onto the wooden walkway, you can find a Somber Smithing Stone [5] in the western wall:
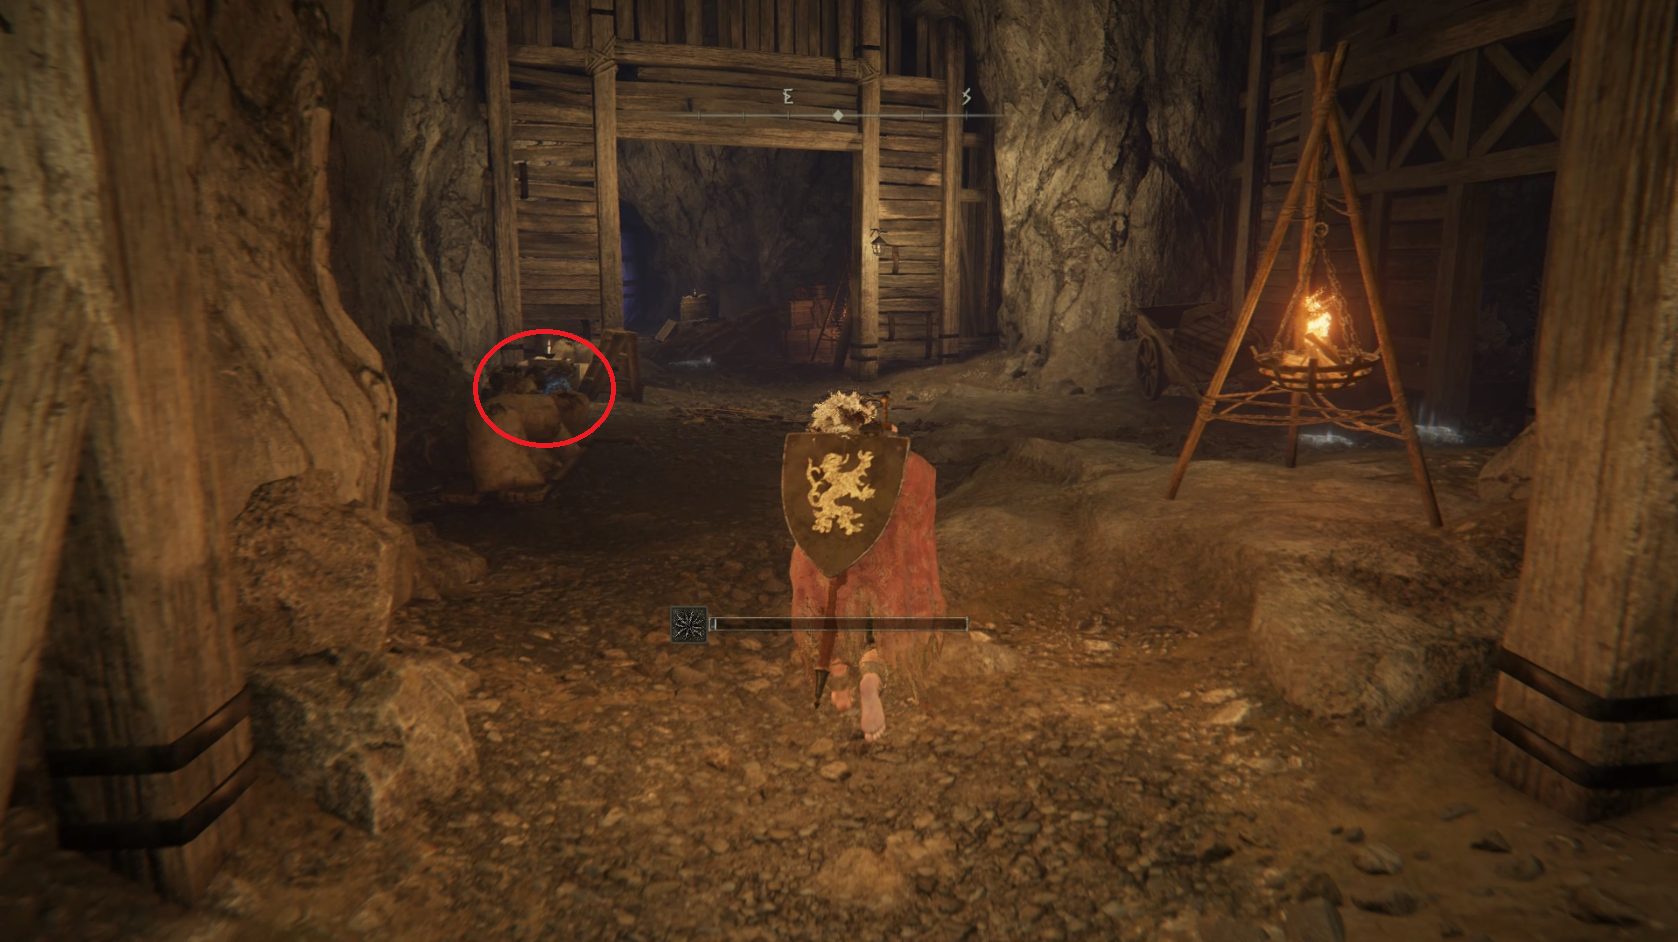
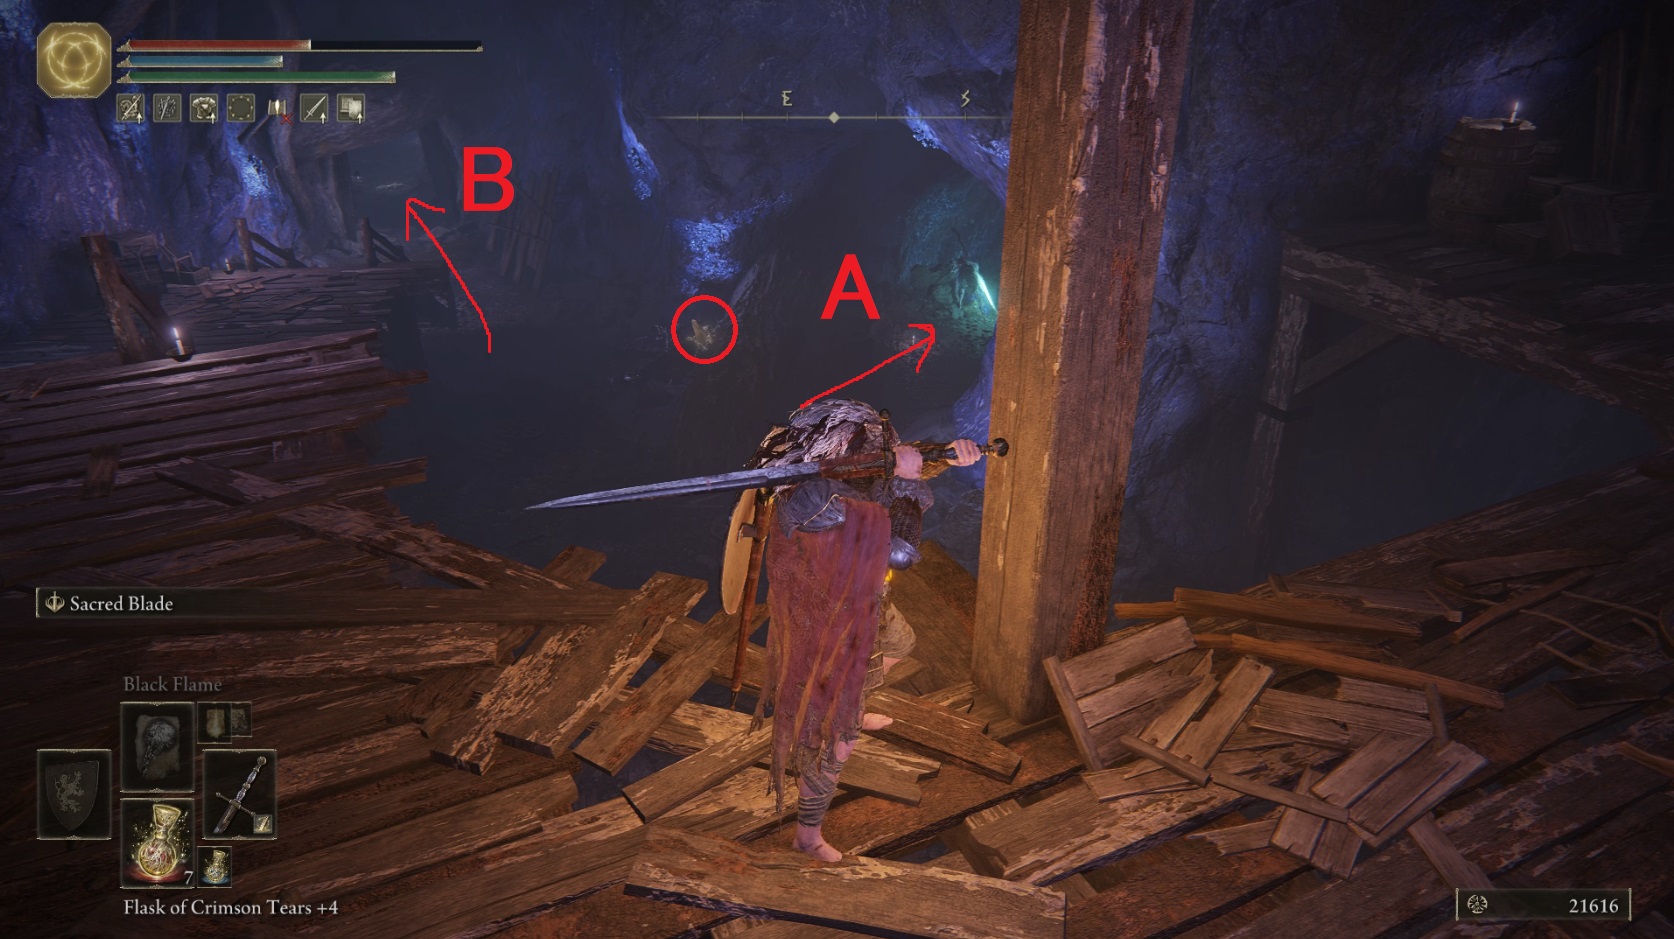
Be careful, as a final avionette will drop down and land to your left, and there’s also a sorcerer further down the walkway to the south. Past the sorcerer to the south is a corpse with x2 Arteria Leaf. Next, grab the smithing stone pictured below, and then head down tunnel A.
We’ll go down tunnel A first, then head down tunnel B later to find the boss
There are a few hazards at the end of the tunnel: first off, a crystal snail sits just to the right of the tunnel exit. Additionally, if you didn’t kill the magic-ant-thing while in the Perfumer’s Grotto, it will be hanging out in the chamber ahead, ready to fling rocks at you — the following directions will assume that you didn’t kill it. If you did, you can casually do the next bits without fear.
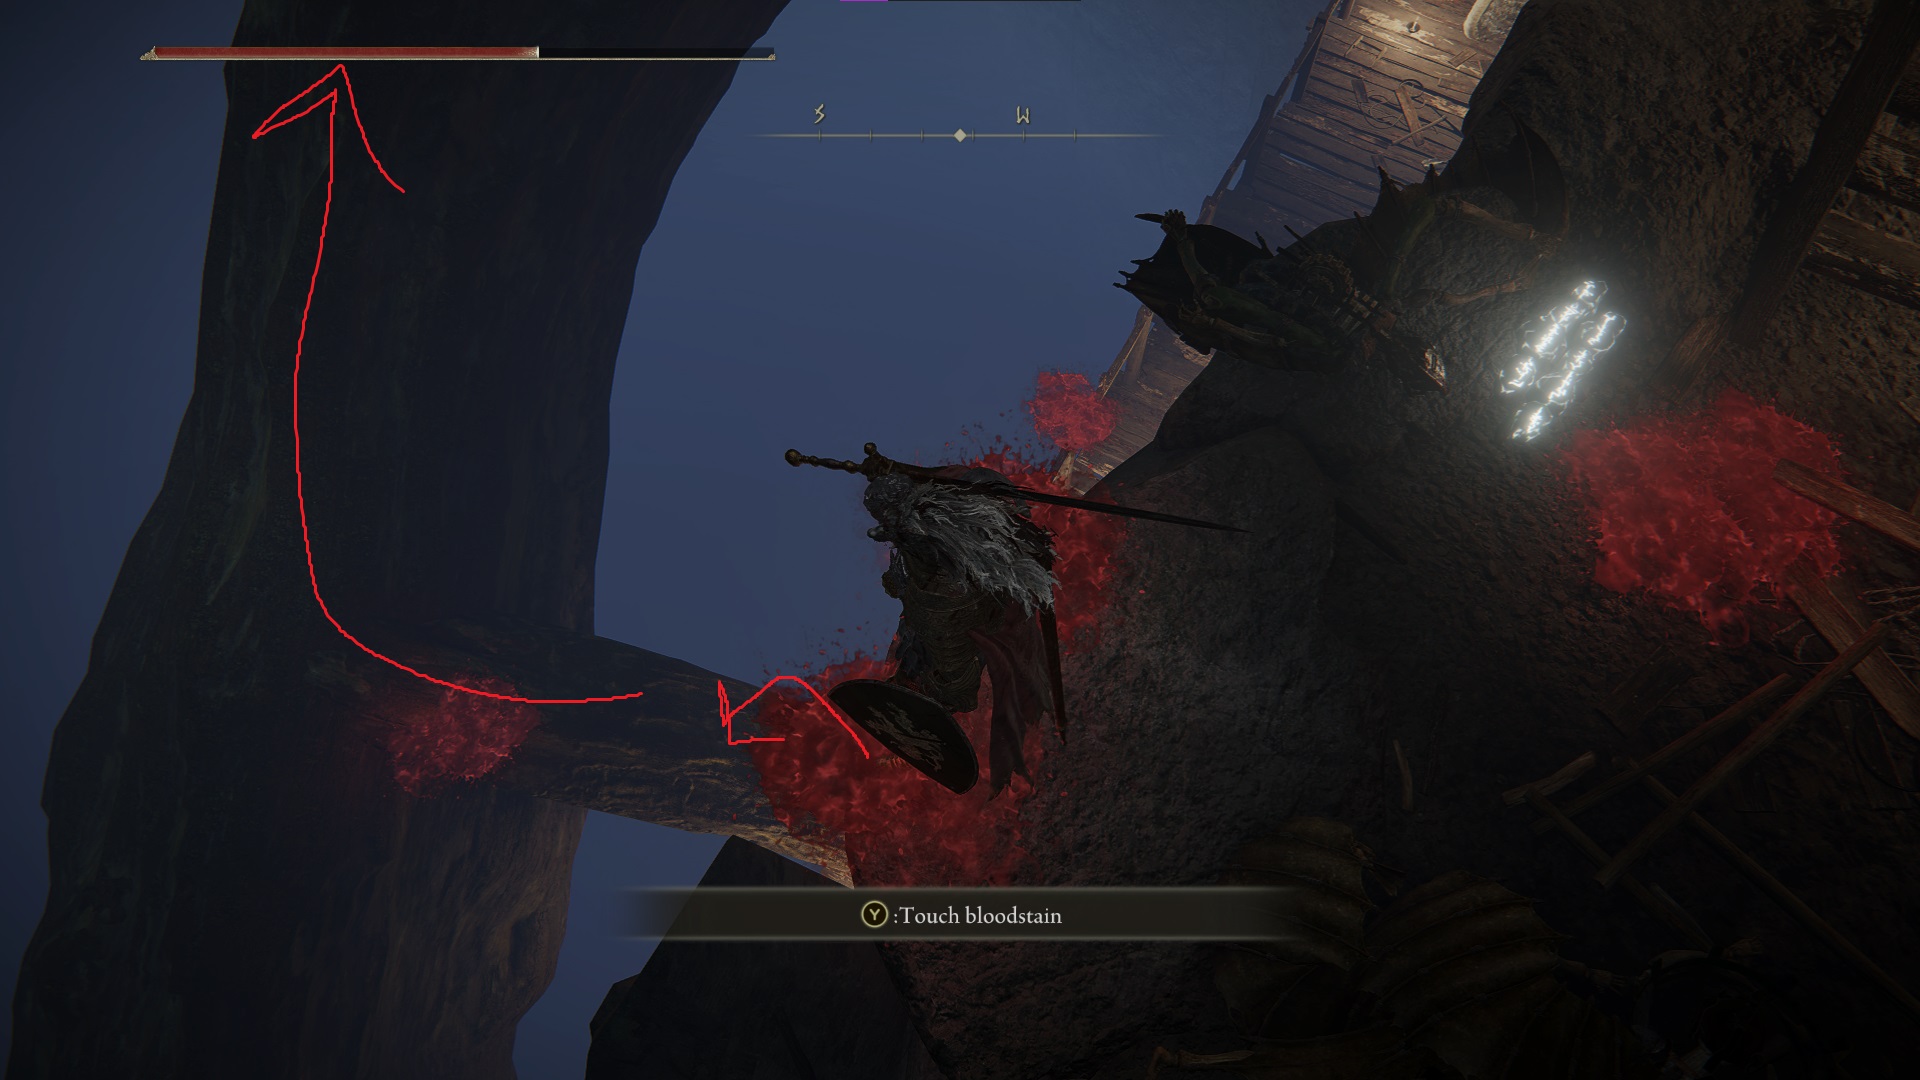
Exit the tunnel, turn right get on the wooden platform so you can hide behind the huge root, then kill the crystal snail. Wait for a rock volley to finish, then go northwest and grab the Golden Rune [7] and then run back behind the root. Next, you’ll need to wait for another gap between rock volleys, then go back to where you exited the tunnel, walk to the edge of the ledge, and drop down onto the small root that connects to the larger one. Immediately turn right and run up the large root.
Run off the top of the root onto the small wooden platform, where a corpse holds the incredibly valuable Arsenal Charm +1. Drop off the wooden platform heading straight (east) past the corpse, then run back into the tunnel.
If you want to grab x10 Glinstone Scrap, you can fall onto the small root again, but this time turn around and go onto the platform behind you (there is a snail on the wall on your right, and another one at the end of the platform guarding the corpse with the Glinstone Scrap. However, it’s really not worth it unless you’re confident and really want the items (or if you already killed the rock-flinging thingy, in which case go for it, it’s easy).
Go back through the tunnel to the main chamber where the miners were and turn right to head northeast through tunnel B (as pictured above). On your left as you enter are a couple of hiding crystal snails and a Smithing Stone [5] in the wall. There’s another one behind the root on the far side of the room, to the left of the large wooden gate.
Feel free to kill all the crystal snails here hiding in their shells (it’s free rune-estate!), and when you’re ready, open the wooden gate to face the boss(es). Consider using a Furlcalling Finger Remedy, running back to the summoning pool, and getting help — the duo boss beyond can be pretty tough for new players, even with spirit summons.
Unabashed FromSoftware fanboy still learning to take his time with games (and everything else, really). The time he doesn't spend on games is spent on music, books, or occasionally going outside.


great walkthroughs. Super appreciate all the effort put into these. have used more than a couple already
Thanks Burger, it’s always nice to hear our efforts are appreciated!