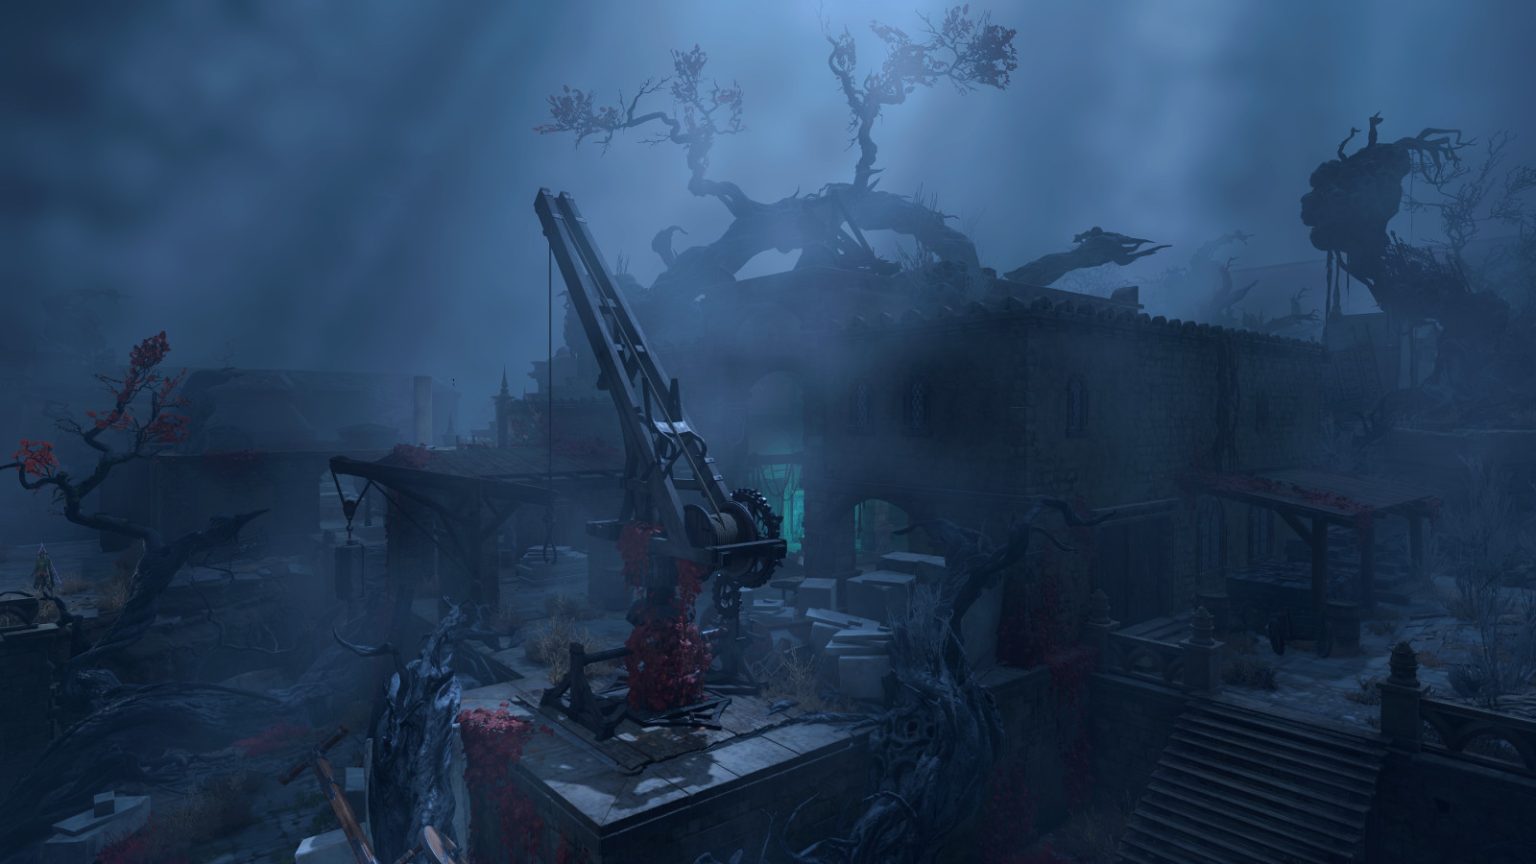
The Masons’ Guild was once the headquarters of the Selunite resistance in Reithwin Town, but things didn’t go well for them — as evidenced by the condition of the town and two skeletons hanging by the front entrance. Now the guild largely lays empty and abandoned, but it has a few points of interest, including two secret doors. Keep reading this guide to make sure you don’t miss anything.
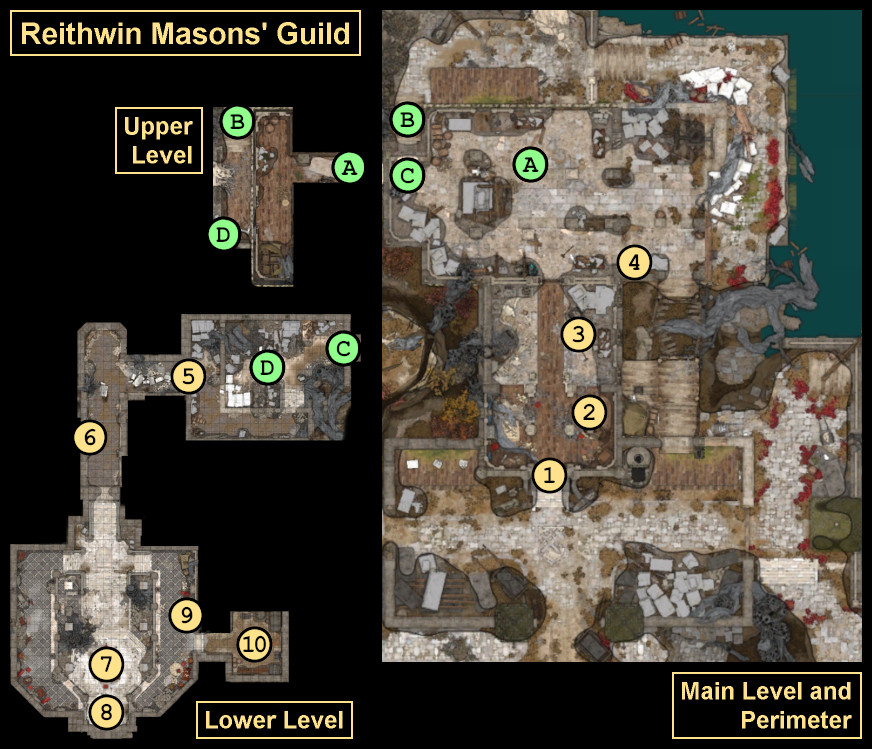
Exits A – Ladder B – Staircase C – Ladder D – Elevator
Points of Interest
1 – Front Entrance
“Let this be a warning — those who defy Shar’s will shall suffer darkness without her blessing.”
You’ll discover a pair of skeletons hanging by the entrance, and from the sign with them, you’ll learn that the Masons’ Guild invoked the wrath of Shar’s followers.
2 – Barkskin Recipe
On the table here, you’ll find the recipe for creating an Elixir of Barkskin.
“Here lies the Grand Mason, his bones and lies exposed.”
You’ll find a pile of bones on the slabs of marble here. The plaque on the floor will indicate that the bones belong to the Grand Mason, but if you beat a passive DC-10 Perception check when approaching the display, then you’ll see that the bones belong to a variety of creatures.
Some people seem to think that the Grand Mason created the display to trick the Dark Justiciars into believing him dead, but that doesn’t seem likely. The display isn’t sophisticated enough for that. More likely, since the Grand Mason made a deal with Raphael (see #7), his bones weren’t available, and the Dark Justiciars had to cobble something together to let everyone know that the Grand Mason had been dealt with, as a similar sort of warning as the skeletons by the entrance (#1).
4 – Infernal Iron
You’ll find some Infernal Iron here. If the tiefling Dammon is still alive in your game, then you can take the Infernal Iron to him at his forge in the Last Light Inn, and he can either create equipment for you or help Karlach with her quest The Hellion’s Heart.
When you approach this spot, you’ll trigger a DC-10 Perception check. If you’re successful, then you’ll detect a Keyholed Herald — aka a lock. To open it, you’ll either need the Tower-Shaped Key from Mattis at the Last Light Inn, or you’ll need to beat a DC-18 Sleight of Hand check to pick the lock.
If you beat a passive DC-10 Perception check when approaching this chest, then you’ll notice that it’s trapped. To disarm it, you’ll need to beat a DC-18 Sleight of Hand check. If you fail the check or attempt to open the chest without disarming it, then an external trap will trigger: two reinforced portcullises will pop up on either side of you, trapping you next to the chest, and three gargoyle traps will appear right behind the chest and start breathing fire at you.
That is, the chest isn’t really a chest — it’s bait for thieves. If you successfully open it, then you’ll only find 75 gold inside. Luckily, if you trigger the external trap, then you’ll automatically enter turn-based mode. This will give you a chance to beat a DC-10 Sleight of Hand check each turn to disarm one of the gargoyle traps — and then stand next to the disarmed trap where you’re safe. Once all three gargoyle traps have been disarmed, the portcullises will descend, giving you your freedom again. The external trap will also deactivate if it kills someone.
7 – Table
On the table here, you’ll find the Mason’s Letter and the Mason’s Log, which will detail the Grand Mason’s fight against the Thorms and Dark Justiciars, including by making a deal of some sort with everyone’s favorite devil Raphael. You’ll need to read the Mason’s Log for the quest Investigate the Selunite Resistance.
When you move close enough to the shrine here, you’ll get attacked by five Shadows and a Wraith. The Shadows will do their regular thing: since they turn invisible when not under full light, they’ll use hit-and-run tactics to damage you and then move away and disappear. The good news is that the Lower Level of the guild isn’t affected by the Shadow Curse, so you can light all of the candles you find down there, and you can cast spells like Daylight and Light to keep the Shadows visible. The bad news is that the Wraith has an aura that extinguishes all lights around it, which helps the Shadows out. So target the Wraith first and then mop up the Shadows.
After the battle, you’ll find a locked and trapped chest behind the altar. There isn’t a key for this chest. To open it, you’ll need to beat a passive DC-15 Perception check to detect the trap, a DC-21 Sleight of Hand check to disarm the trap, and a DC-14 Sleight of Hand check to pick the lock. Inside the chest, you’ll find a Helmet of Arcane Acuity.
9 – Moonrise Diagram
On the table here, you’ll discover a diagram of Moonrise Towers. Examining it will add two map markers at that location: a “hidden treasure” on the main level, and a “secret stash” in the prison. Unfortunately, you probably won’t find anything noteworthy at either marker.
To open the way into this room, you’ll need to beat a passive DC-10 Perception check when approaching it. Succeeding will reveal a button, and pressing the button will open a secret door, granting you access. Inside the room, you’ll find a pair of heavy chests containing spell scrolls and potions.
Exits
A – Ladder
This ladder will take you between the Main Level and the Upper Level.
B – Staircase
The stairs here will take you between the Main Level and the Upper Level.
C – Hatch / Ladder
The exit here will take you between the Main Level and the Lower Level.
D – Control Wheel / Elevator
The exit here will take you between the Main Level and the Lower Level.
Share this article:
Steven Carter
Starting with cassette tape games on the TRS-80, Steven has been playing, creating, and writing about games for a long, long time. This makes him experienced, not old. Lately, Steven has been focusing on walkthroughs, making sure everybody knows how to solve Towers of Hanoi puzzles.