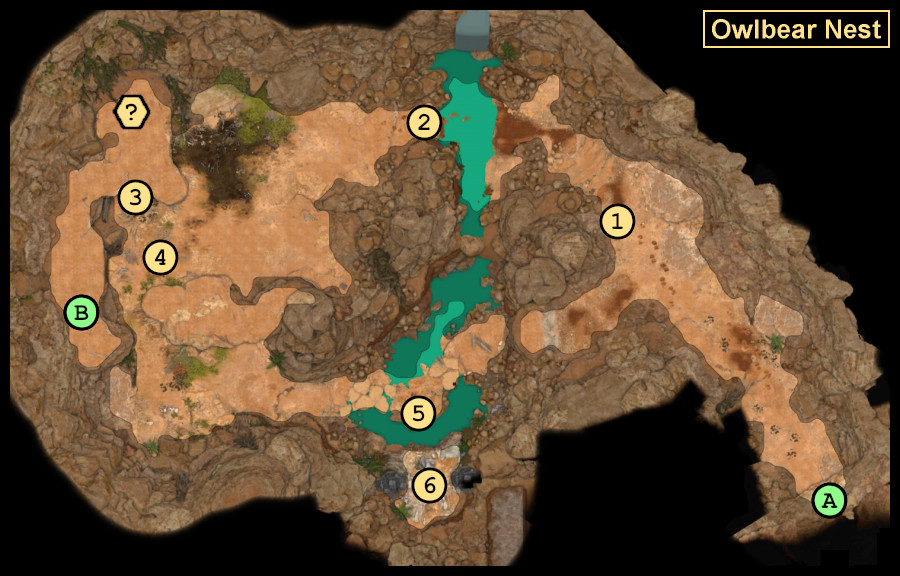
In the forest that precedes the Blighted Village, you’ll come across an Owlbear Nest (or be lead there by a few NPCs). Inside is an interesting-looking chest, and a dangerous creature you can probably guess the name of who waits guarding her progeny.
On the corpse here, you’ll find 50 gold and a Heavy Stone. At one point during Early Access, you could use Heavy Stones like the one here (and others nearby on the ground) to knock down the fissured stalactites in the cave, potentially dropping them on the Owlbear and dealing an impressive amount of damage. But as of version 4.1.1, this no longer works.
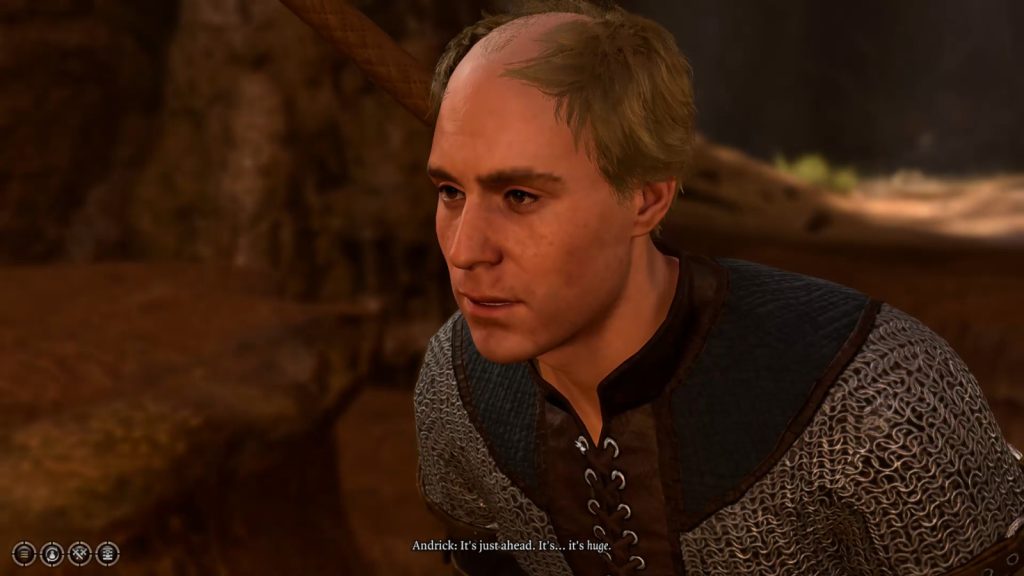
If you met Andrick and Brynna in the Forest outside the cave, and convinced them to avenge their brother Edowin by killing the Owlbear, then this is where they’ll stop and wait for you. Andrick will be a little reluctant now that he can see the Owlbear, but with a DC-5 check on Performance, a DC-10 check on Intimidation (Barbarian advantage), or a DC-2 check on Wisdom (if you have Illithid power available), you can convince him to charge forward. If you fail in your check, or if you don’t talk to the siblings at all, then they’ll stay where they are, and they’ll only assist you if you start a fight.
If you kill the Owlbear, and if Andrick and Brynna survive, then afterwards you’ll be able to send them on their way, or — with their usefulness depleted — attack them. You won’t find anything interesting on their corpses.
Owlbear Nest / Headless Skeleton
In this part of the cave, you’ll discover the Owlbear’s nest, with a headless skeleton right next to it. Inside the nest you’ll find an Owlbear Egg, and on the skeleton you’ll find The Oak Father’s Embrace. When you pick up the egg, it’ll go right into your Camp Supply Sack, but you don’t have to use it that way. The egg has a value of 750 gold, which means you should be able to sell it for over 300 gold (provided you take it out of the sack first). You can also use the egg during the quest Steal a Githyanki Egg.
Note: If you really want to, it’s possible to sneak past the Owlbear and grab the items here without her noticing. This is easiest if you use turn-based mode. If you made Astarion an Arcane Trickster, then a combination of Minor Illusion, Dash, and Cunning Action: Dash can get the job done. But if you don’t kill the Owlbear, then the goblins will after you depart, so regardless of what you do, eventually the cave will be empty, and you’ll be able to loot it without anybody caring.
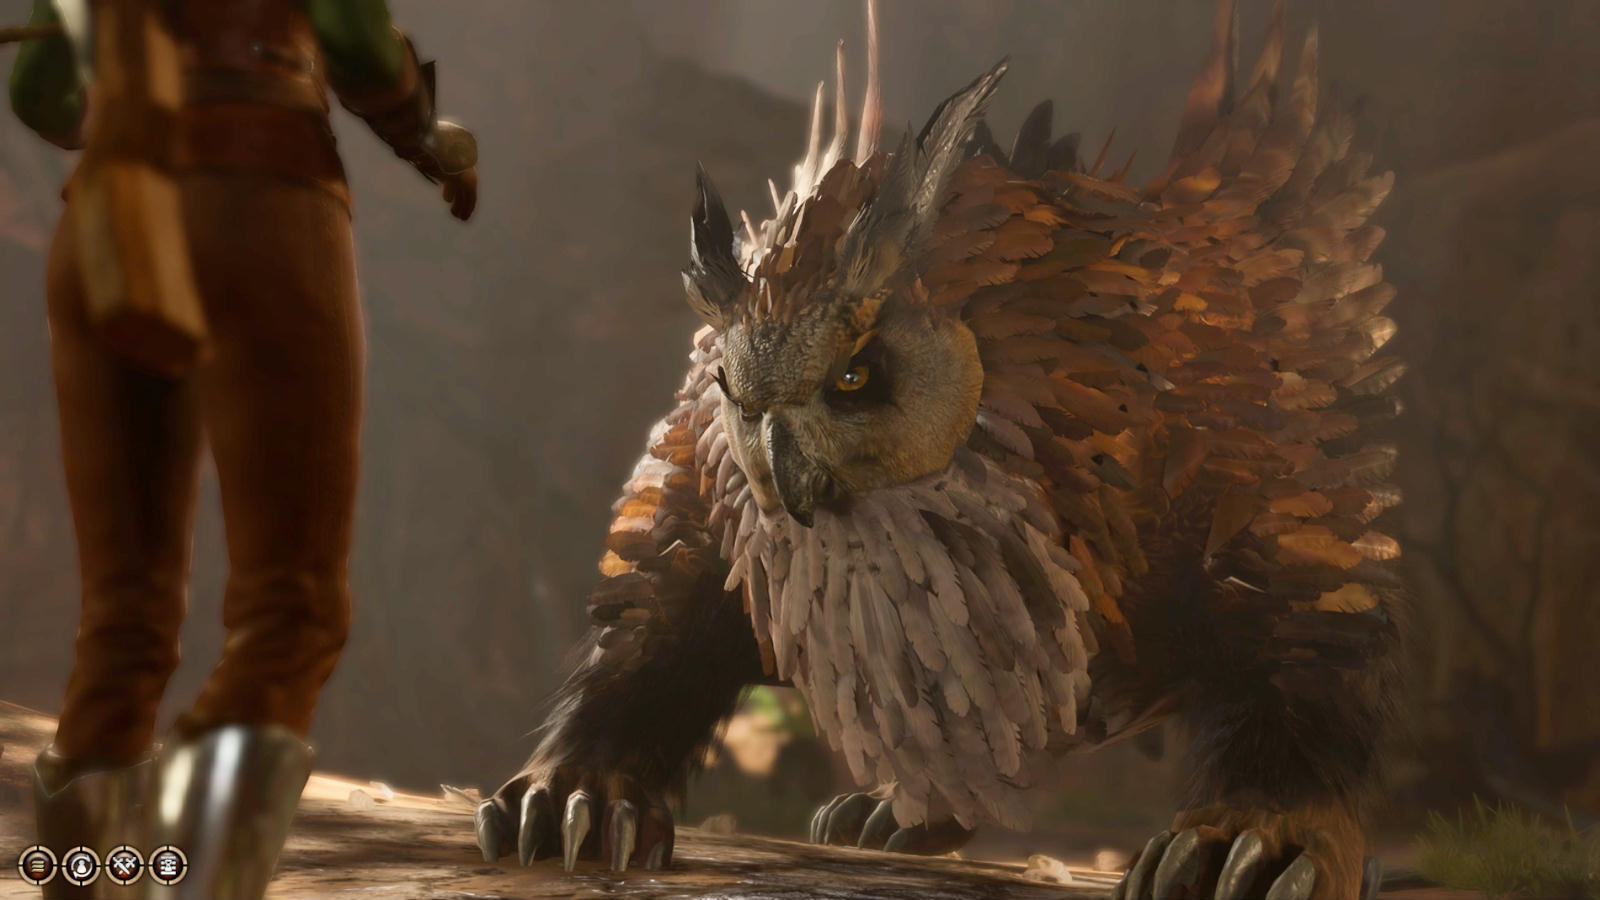
The Owlbear and her cub will wander around in this area. If you approach them with one of your characters, then the Owlbear will give you a chance to talk, which will give you two ways to proceed. But if you send Andrick and Brynna charging ahead, then a fight will start up. The two possible options are described below.
Fight the Owlbear
The Owlbear is big and nasty, but she’ll start out wounded and distressed from her brief battle with Edowin, which will prevent her from delivering any critical hits. This is good news, because the Owlbear will hit you hard enough with her regular attacks. The Owlbear Cub will assist his mother in the fight.
The Owlbear will jump around and target your most vulnerable characters, but you can prevent this by grabbing her egg. The character with the Owlbear Egg will gain the Eggbearer condition, which will cause the Owlbear to attack only that character. So rush your tank to the egg, using Dash if necessary, and then try to keep that character alive while the rest of your party deals as much damage as possible. With four — or six — against one, the Owlbear shouldn’t last too long.
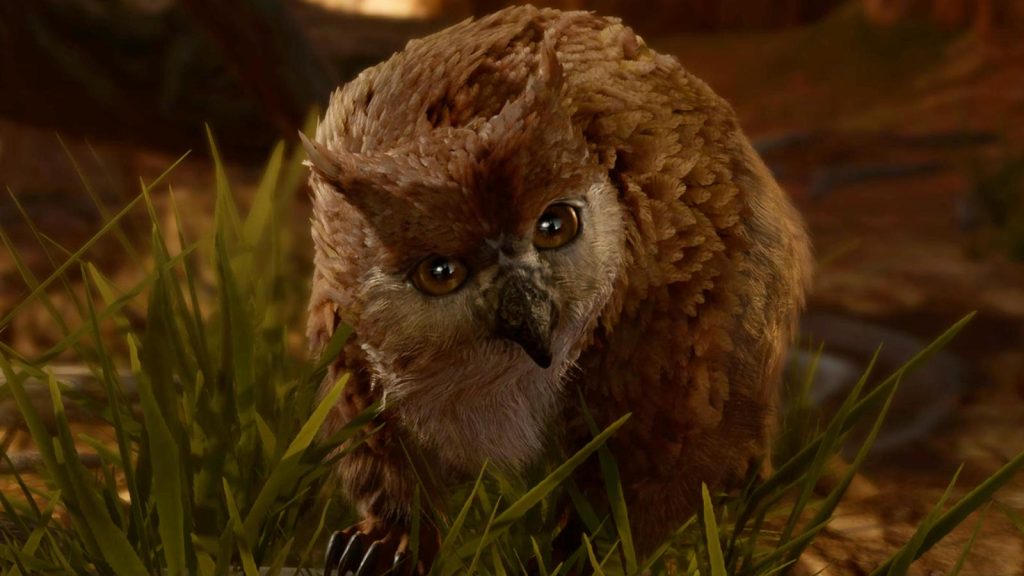
The battle will end when you defeat the Owlbear. If the Owlbear Cub is still alive, then you’ll have to decide whether to kill it or not. If you let it live, then you’ll eventually be able to invite it to your camp (see below).
When you loot the Owlbear’s corpse, you’ll find the Head of a Broken Spear on it — the other half of the weapon used by Edowin. If you grabbed the Shaft of a Broken Spear from Edowin’s corpse (in the Forest near the Owlbear Nest entrance), then you’ll be able to interact with the two halves in your inventory, and combine them together to form the unique spear Vision of the Absolute.
Note: This path won’t prevent you from acquiring the Head of a Broken Spear from the Owlbear. You’ll just have to wait for the goblins to kill her first (see below).
Afterwards
Regardless of what you do with the Owlbear, you’ll still be able to invite the Owlbear Cub to your camp. If you kill the Owlbear, then you’ll need to let the Owlbear Cub live and let him eat his mother. If you work out a truce with the Owlbear, then you won’t need to do anything with the Owlbear Cub. Either way, after you’ve left the cave, goblins will come in and kill the Owlbear if she’s still alive — leaving her corpse behind so you can loot the spear head from her — and they’ll kidnap the Owlbear Cub. You’ll then be able to rescue the cub from the Goblin Camp and gain him as a friend.
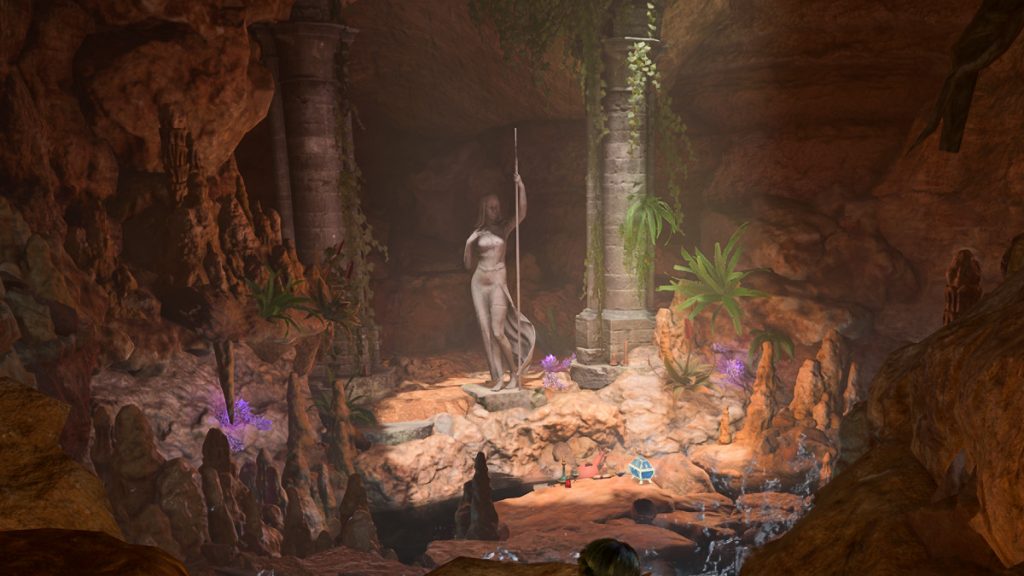
At this spot, you’ll find a gilded chest on the ground next to a statue. If you beat a passive DC-15 Religion check, then you’ll learn that the statue represents the goddess Selune. If you beat a passive DC-15 Arcana check, then you’ll learn that the gilded chest is sealed by magic. Passing these checks isn’t really necessary. If you just examine the chest, then you’ll see it has Selune’s Seal on it, which deals 4d6 Radiant damage to any “heretics” who touch it. You can avoid this damage by passing a DC-14 Dexterity check.
The easiest way to open the gilded chest is to jump across the water to land behind the statue, beat a passive DC-10 Perception check to detect the Selunite Prayer Sheet there, pick up the sheet, and then return to the chest and read the sheet while you’re standing next to it. This will remove Selune’s Seal from the chest — and earn you an inspiration point from any companion with the Acolyte background (such as Shadowheart). For more details about opening the chest, please refer to our How to Open the Gilded Chest guide.
If you have Shadowheart in your party, then she won’t want you to open the chest. She’ll call Selune “that moon witch,” and she’ll speculate that the contents of the chest are cursed. If you pass a DC-15 Intimidation check (Barbarian advantage) or a DC-10 Persuasion check, then Shadowheart will back off and allow you to loot the chest. If you pass a DC-15 Insight check, then Shadowheart will admit to being a follower of Shar, “Selune’s twin and foe,” but she won’t change her opinion about the chest. If you fail your check, then you’ll lose approval with Shadowheart.
If Shadowheart doesn’t like the chest when you open it, then you’ll have to pass a DC-15 Sleight of Hand check to loot it without her noticing. If you fail the check, then Shadowheart will disapprove of your actions. However, if you tell Shadowheart that you won’t open the chest, you’ll gain more approval (+5) then you’ll lose if she catches you looting it (-2), and so you can still come out ahead.
Inside the chest, you’ll find a Moondrop Pendant. On the ground next to the chest, you’ll also find a Potion of Animal Speaking, a Potion of Healing, and a Scroll of Detect Thoughts.
A Selunite Prayer Sheet is hidden on the ground here. You’ll need to beat a passive DC-10 Perception check to detect it. When you interact with the sheet, if you beat a passive DC-15 Religion check, then you’ll notice that it is marked with the same symbol as the nearby gilded chest.
Dirt Mound
Exits
Main Entrance from the Forest
This is the main entrance into the cave.
Back Entrance from the Forest
This is where you’ll end up if you use the one-way entrance from the rocky crevice in the Forest. Only small and gaseous creatures can use this entrance. You won’t be able to exit this way.
Starting with cassette tape games on the TRS-80, Steven has been playing, creating, and writing about games for a long, long time. This makes him experienced, not old. Lately, Steven has been focusing on walkthroughs, making sure everybody knows how to solve Towers of Hanoi puzzles.