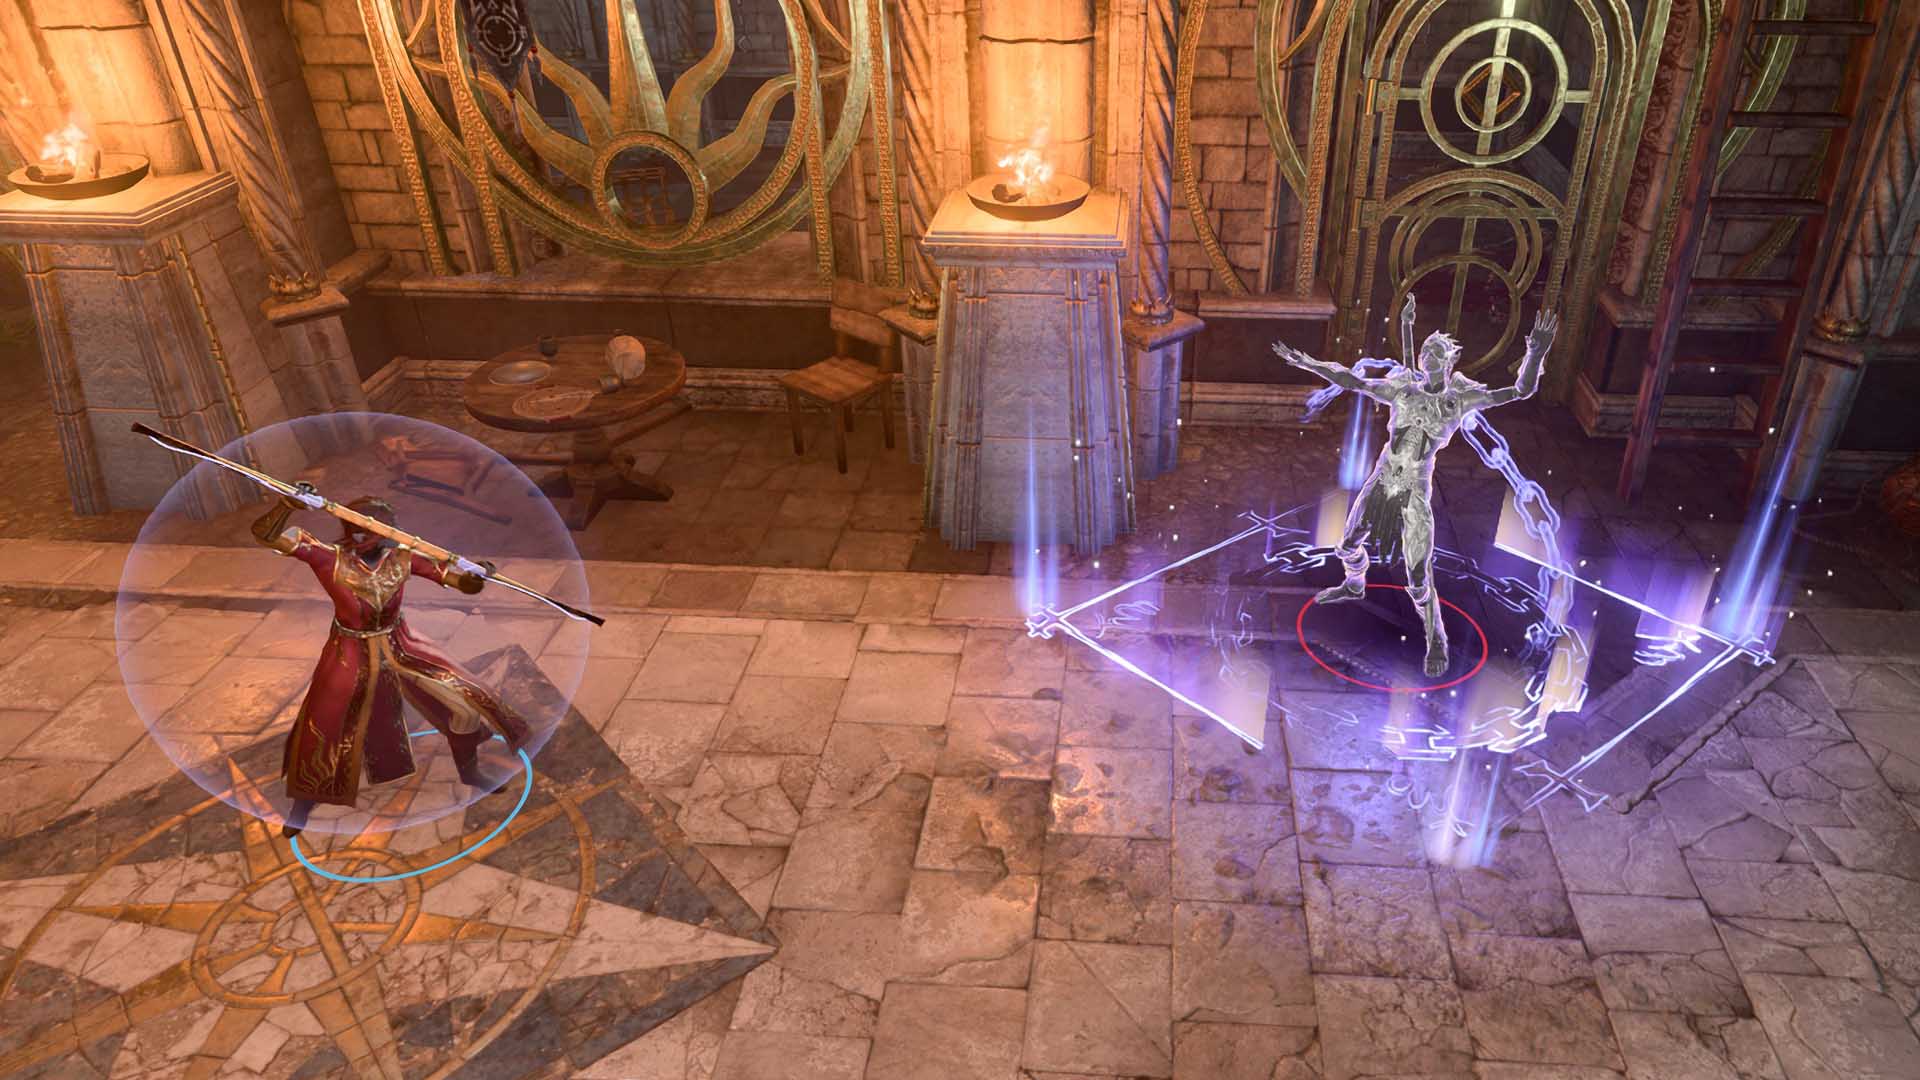
This guide showcases a control build for the  Sorcerer class in Baldur’s Gate 3. With this build, you’ll be able to control the action economy in combat by taking enemies temporarily out of the fight. This in turn will make it easier for your party to deal with the encounter, and give advantages to your more damage-focused party members.
The sections below will cover how to best progress a Control Sorcerer through the levels, what spells and equipment to get, what to consider during character creation, as well as some thoughts on strategy to get the most out of your Sorcerer.
If you want to see how this build looks like in our build planner, or make any custom alterations, check it out here!
Summary
This build revolves around taking advantage of your Sorcerer’s defensive abilities and powerful Metamagic, in combination with control spells. Playing as a Sorcerer will get you  Constitution saving throw proficiency, which helps with keeping up concentration, and the
  Draconic Bloodline subclass nets you more hit points and AC than other casters would get.
Having access to Metamagic makes your control spells a lot more powerful. For example, you can  twin single target control spells, make sure
  Hypnotic Pattern only hits your enemies, or
  heighten your spells to make it incredibly hard for your enemies to resist them, even with good saving throws.
One of the disadvantages is that Sorcerers come online very late. You will need to gain several levels to get enough spell slots and Metamagic to be able to use it frequently, and most early game control spells are relatively weak. In the beginning, you will also have a low spell save DC, making it easy for enemies to resist your spells. That’s why this build dips two levels into  Warlock, to make use of their
  Eldritch Blast cantrip, so you can contribute in the early game (as outlined in the Class Progression section). Note that you don’t have to do this if you don’t want to – alternatively, you can itemize around your elemental cantrip damage, which is weaker damage-wise, but gets your Sorcerer online faster.
Character Creation
As always, you should play the race you want. However, races that give you shield proficiency, like  Human or
  Half-Elf, have a clear advantage, since you get a bonus to your AC and access to some good items. As a
  Drow Half-Elf you get access to
  Faerie Fire and
  Darkness, which are decent support spells, on top of the other Elf features.
Background and skills don’t matter too much for this build. If you’re planning to be the face of the party (which, as a  Charisma-based class, Sorcerer does pretty well), it makes sense to pick up the dialogue related Charisma skills:
  Persuasion,
  Intimidation and
  Deception.
  Noble,
  Criminal,
  Sage and Haunted One from The Dark Urge are backgrounds that can fit thematically well depending on how you roleplay your character.
For what spells you’ll want to pick during Character Creation, see the following section.
Class Progression
Level 1 to 3
You want to get the two Warlock levels as early as possible, but you definitely want Sorcerer as your starting class for the Constitution saving throw proficiency. Technically, starting as a Warlock and then respeccing at some point after Level 3 is the most efficient. If you don’t want to respec, starting as Sorcerer and doing the Warlock dip from Level 2 to 3 is also totally fine.
The first Warlock level gets you Eldritch Blast, which is an incredible cantrip which also scales with your character level, meaning you’ll get one more beam at Level 5 and Level 10 even though you’re only dipping Warlock. The second one gets you  Agonising Blast, which adds your Charisma modifier to each beam, meaning this cantrip will scale into the late game with your main stat.
Sorcerer
Warlock
At Sorcerer Level 2, 3 and 10 you will get to choose some Metamagic options. Remember that you will be at character level 12 when getting your last Metamagic, so make those first options count. Here is a list of recommended options:
 Careful Spell is useful for any control spells that don’t discriminate between friend or foe, like Hypnotic Pattern.
 Extended Spell is a bit more niche, but very strong with spells like Hypnotic Pattern that only last a few turns.
- Twinned Spell is a must if you want to play with
 Haste, but also very solid for pure control, since you can duplicate any single target control spell.
 - Heightened Spell is almost a must-have, making it very hard for enemies to resist your control spells.
Spells
This section aims to give you a quick rundown of all Sorcerer spells worth taking at each spell level.
 Hold Person is your first good control spell, making an enemy completely helpless as long as its Humanoid.
 Web is an underrated environmental control spell. Keep in mind that even if the enemies are successful with their saving throws, it still slows them down, making it a very potent option against melee-only enemies.
 Cloud of Daggers is one of the stronger low level AoEs and can give you good environmental control.
 Misty Step provides you with some much needed mobility. However, there are quite a few items which also give you this spell.
 Invisibility is a more defensive oriented pick.
- Darkness can neuter enemy spellcasters and rangers. It’s a decent environmental control spell that can be worth picking up if you aren’t a
 Drow. It also pairs well with the
  Devil’s Sight invocation.
 Banishment can be a great panic button against enemies with high
  Wisdom, but usually gets outshined by other control spells.
 Confusion is another great AoE control option.
 Dominate Beast is good situationally. Sadly, there are just not a ton of fights with beasts involved. You can also get this from the Keepsake Ring.
 Greater Invisibility is a more defensive choice you can make.
 Hold Monster is the big brother of Hold Person and basically trivializes any boss fight. Definitely make sure to pick this up.
 Dominate Person is a bit more situational, but another spell that can completely turn fights around.
Feats
You will definitely want to take  Ability Improvements to get your Charisma to 20 as soon as possible. After that, you have some options:
 Alert gives you +5 Initiative and makes you immune to being surprised. A very strong feat in the game since Initiative is only rolled with a d4.
 War Caster gives you advantage on concentration saving throws, which is very helpful for your control spells. However, note that this effect is also available on some items.
 Dual Wielder means you can hold two staves at once, which can be quite good in the late game with multiple staves giving you a bonus to your spell save DC. It also gives you +1 AC.
Equipment
As a control Sorcerer, you will want to prioritize items which get your spell save DC up and buff your Constitution saving throws. The former makes it harder to resist your control spells, while the latter makes it harder to break concentration. However, since you come online late, and you play with a Warlock dip in the early game, it makes sense to itemize around cantrip damage for Eldritch Blast in the first few levels.
Act 1
Weapons
- The Spellsparkler
- This quarterstaff generates 2 Lightning Charges if you deal damage with a spell or – more importantly – cantrip.
- You get this after rescuing Counsellor Florrick from the burning building in Waukeen’s Rest.
- Melf’s First Staff
- Another quarterstaff that gives you +1 to your spell save DC and spell attack rolls, making it one of the earliest items you can get that boosts your spell save DC.
- It can be bought from Blurg in the Myconid Colony.
Armor
- Bracers of Defence
- If you are playing without shield proficiency, these gloves increase your AC by 2 when unarmoured and not holding a shield.
- You find it early in a chest in the Apothecary’s Cellar in the Blighted Village.
- Disintegrating Night Walkers
- These boots give you immunity against being Enwebbed, Entangled, Ensnared and slipping on surfaces and Misty Step.
- Can be obtained from Nere in the Grymforge.
- The Protecty Sparkswall
- Clothing that gives you +1 to your spell save DC.
- If you are playing with the Spellsparkler, this will give you +1 to your AC and saving throws, as long as you have Lightning Charges.
- Found in a chest in the Grymforge (X: -645, Y: 360).
Accessories
- Ring of Protection
- This ring gives +1 to your AC and saving throws.
- To get it you will need to complete the “Steal the Sacred Idol” questline from the Tiefling children in the Emerald Grove.
- Amulet of Misty Step
- This amulet is another source for Misty Step.
- It can be found in the Goblin Temple, guarded by the priestess’ bodyguard, Polma.
- Necklace of Elemental Augmentation
- If you are not taking the Warlock dip, this is a must-have to make your cantrips stronger by adding your spellcasting modifier to the cantrips damage.
- It can be found in the Inquisitor’s Chamber in Crèche Y’llek.
Act 2
Armor
- Moon Devotion Robe
- Clothing that gives you the
 Mage Armour and
  Produce Flame spells. While you have Mage Armour active, each successful saving throw will deal radiant damage to the attacker. More importantly, it gives you +1 to all saving throws and advantage on Constitution saving throws, making it a very strong option for you.
- Potent Robe
- This robe adds your Charisma modifier to your cantrips damage. Choose this if you want to itemize more around Eldritch Blast. It also gives +1 AC and temporary hit points equal to your Charisma modifier at the start of each turn.
- You get this after completing the “Rescue the Tieflings” quest.
- Fistbreaker Helm
- A helmet without an armor tag that gives you +1 to your spell save DC and Initiative.
- It’s sold by (or looted from) Lann Tarv in the Moonrise Towers.
- Ketheric’s Shield
- If you have shield proficiency, this gives you +1 to your spell save DC and spell attack rolls, as well as advantage on
 Dexterity saving throws.
 - You can loot this from Ketheric Thorm.
Act 3
Armor
- Robe of the Weave
- A robe that gives you +1 to your spell save DC and spell attack rolls. You also get +2 AC and heal a small amount, every time you succeed a saving throw against a spell.
- This is found inside a magic dome in Lorroakan’s Tower. You need to use
 See Invisibility to see the lever to turn off the dome.
- Hood of the Weave
- A very strong item that gives you +2 to your spell save DC and spell attack rolls.
- It’s sold by Mystic Carrion in Philgrave’s Mansion.
- Cloak of the Weave
- This cloak gives you +1 to your spell save DC and spell attack rolls. You can also absorb elemental damage once per short rest.
- Sold by Helsik after unlocking her extended stock.
- Birthright
- A hat that gives you +2 Charisma, up to a maximum of 22. Stacks with the Mirror of Loss bonus.
- While this seems like an obvious pickup for a Charisma based caster, the Hood of the Weave is actually better, since your control spells are mainly based on your spell save DC. However, if you want to empower your Eldritch Blast more, you can combine this with the Potent Robe to increase its damage significantly.
- It can be bought from Rolan (or Lorroakan’s Projection if Rolan is dead) at Sorcerous Sundries.
Strategy
Playing with control spells means thinking a bit outside the box at all times: How can you deny the most actions from your enemies with the tools at your disposal? For example, casting  Sleep on three wounded enemies will remove their actions for 2 turns, essentially removing them from the fight when you clean them up with the guaranteed critical hits. Spells like Hold Person will remove more actions in a long, drawn out fight than a short one. Using environmental control spells like
  Sleet Storm can force enemies to spend their action on Dash or fall down and waste it completely.
Of course, this always needs to be weighed against pure damage. While Sleep is great for finishing off enemies, if they are closely stacked together, an AoE damage spell might be more efficient. If you can kill an enemy with your three Eldritch Blast beams, you probably want to do that instead of casting Hold Person on them.
There are other things to consider as well, like your spell save DC and your opponents’ saving throws, which will change how you use your control spells. It’s important to have some options other than straight damage that don’t rely on Wisdom saving throws.
All Builds