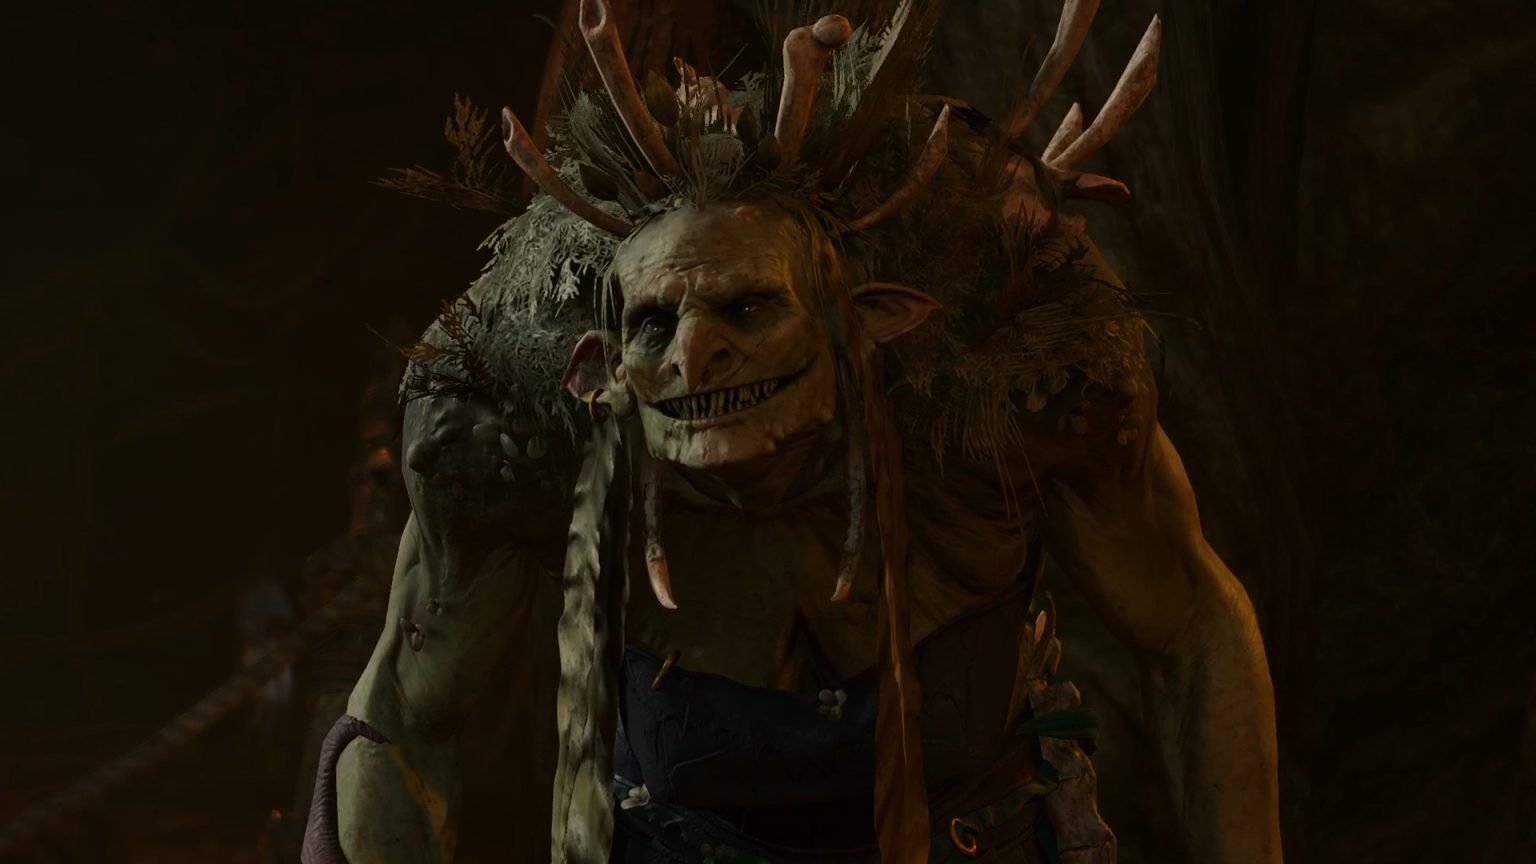
You made your way through the Putirid Bog and discovered that Auntie Ethel wasn’t who she appeared to be. Now you want to complete the quest to Save Mayrina — or maybe you just want some good loot and rewards. Either way, you’re here to defeat the Hag, and this guide will help you do just that!
How to Defeat Auntie Ethel
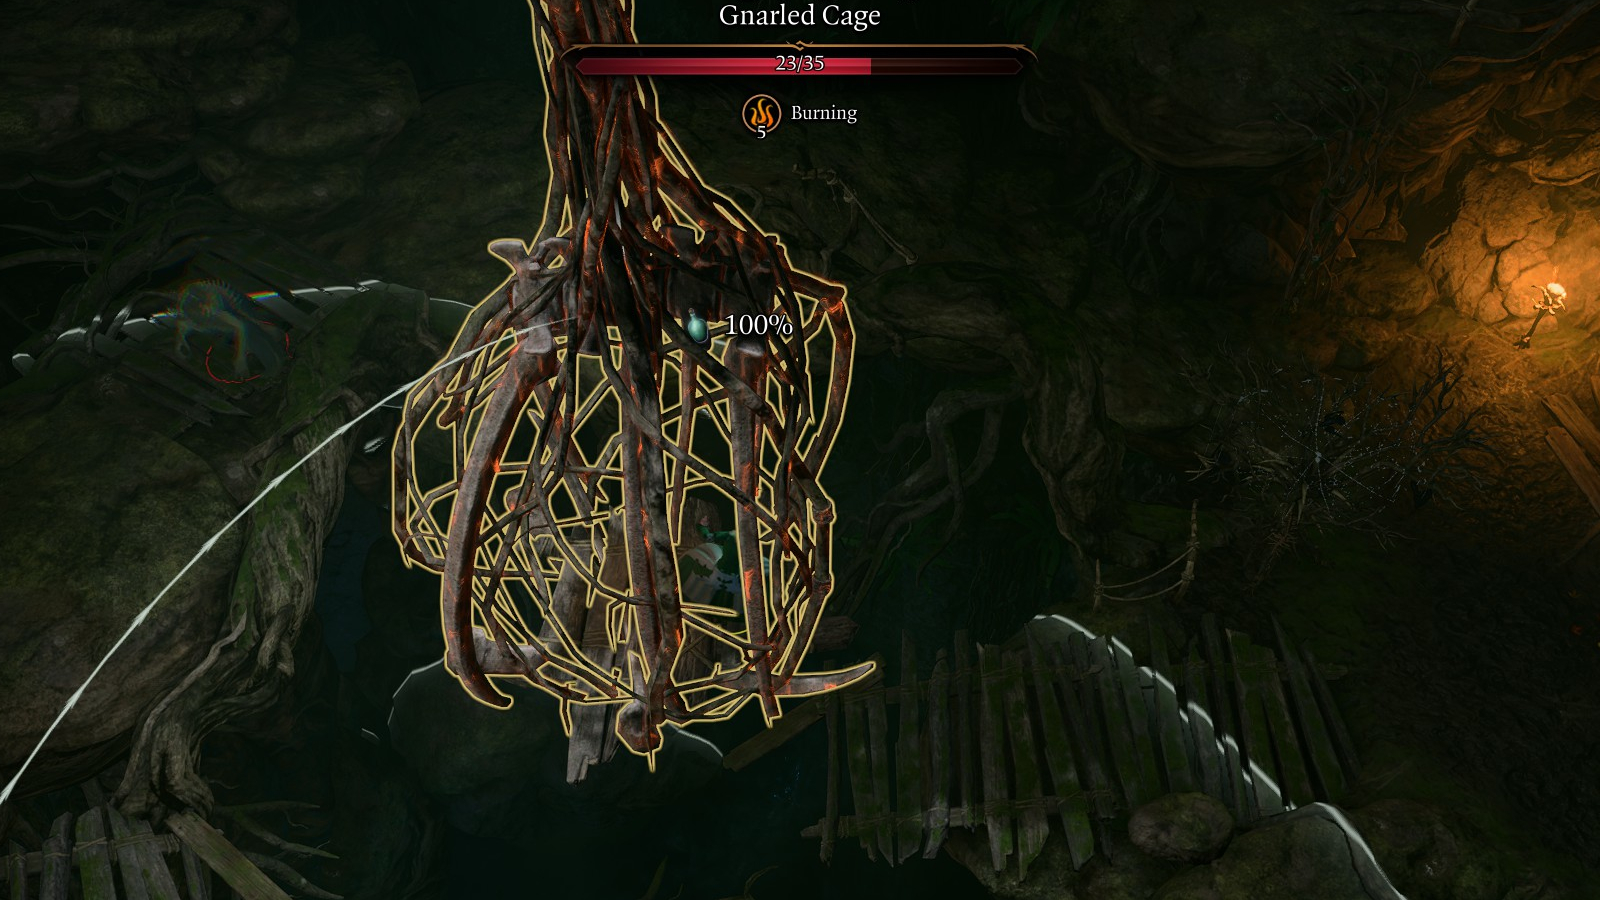
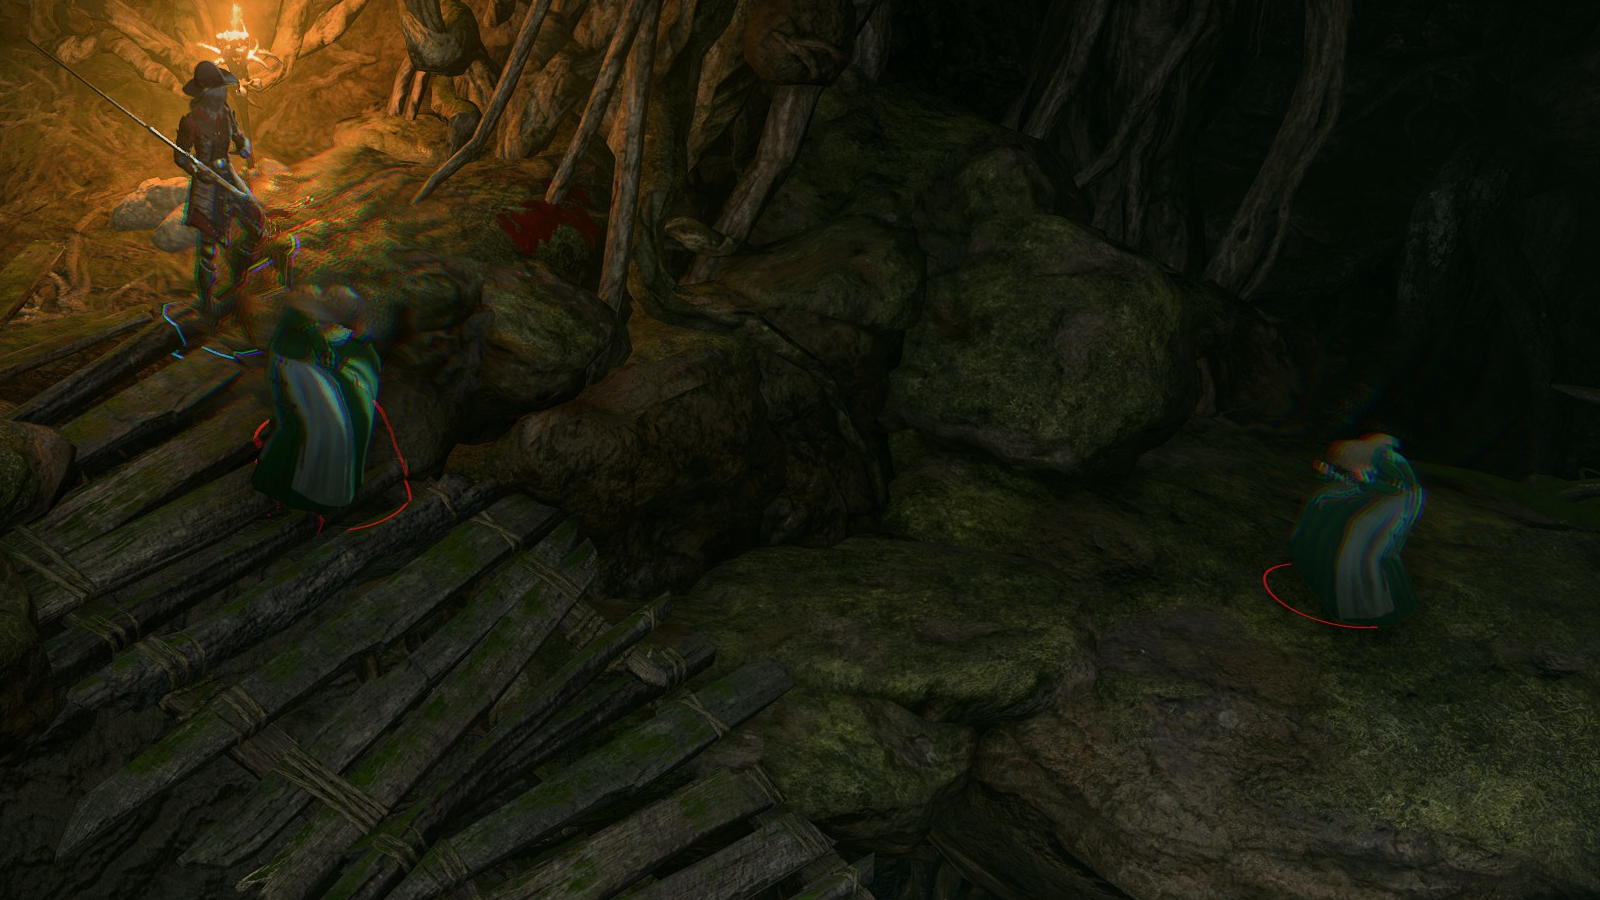
Entering the Ancient Abode deep within the hag’s lair, you’ll see Mayrina hanging from a cage in the center of the cavern. When you try to get closer, Auntie Ethel will appear and taunt you. She’ll set Mayrina’s cage on fire, and you’ll enter combat.
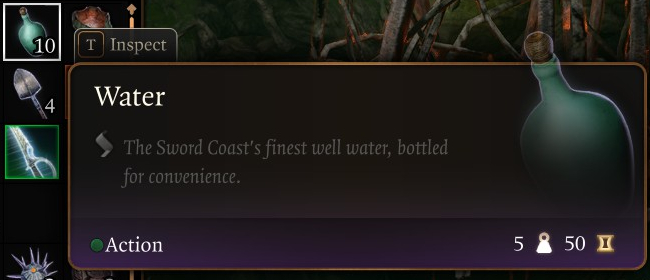
You only have 5 turns to save Mayrina before she dies. You can put out the fire with the Create Water spell or by throwing a jug of Water from your inventory.You can also use the Control Orb to lower the cage. Saving Mayrina first will take some of the pressure off and allow you to focus on the Hag. Once she’s out of the cage, Mayrina will simply stand there cowering for the rest of the fight. Be careful not to accidentally hit her with any area of effect spells.
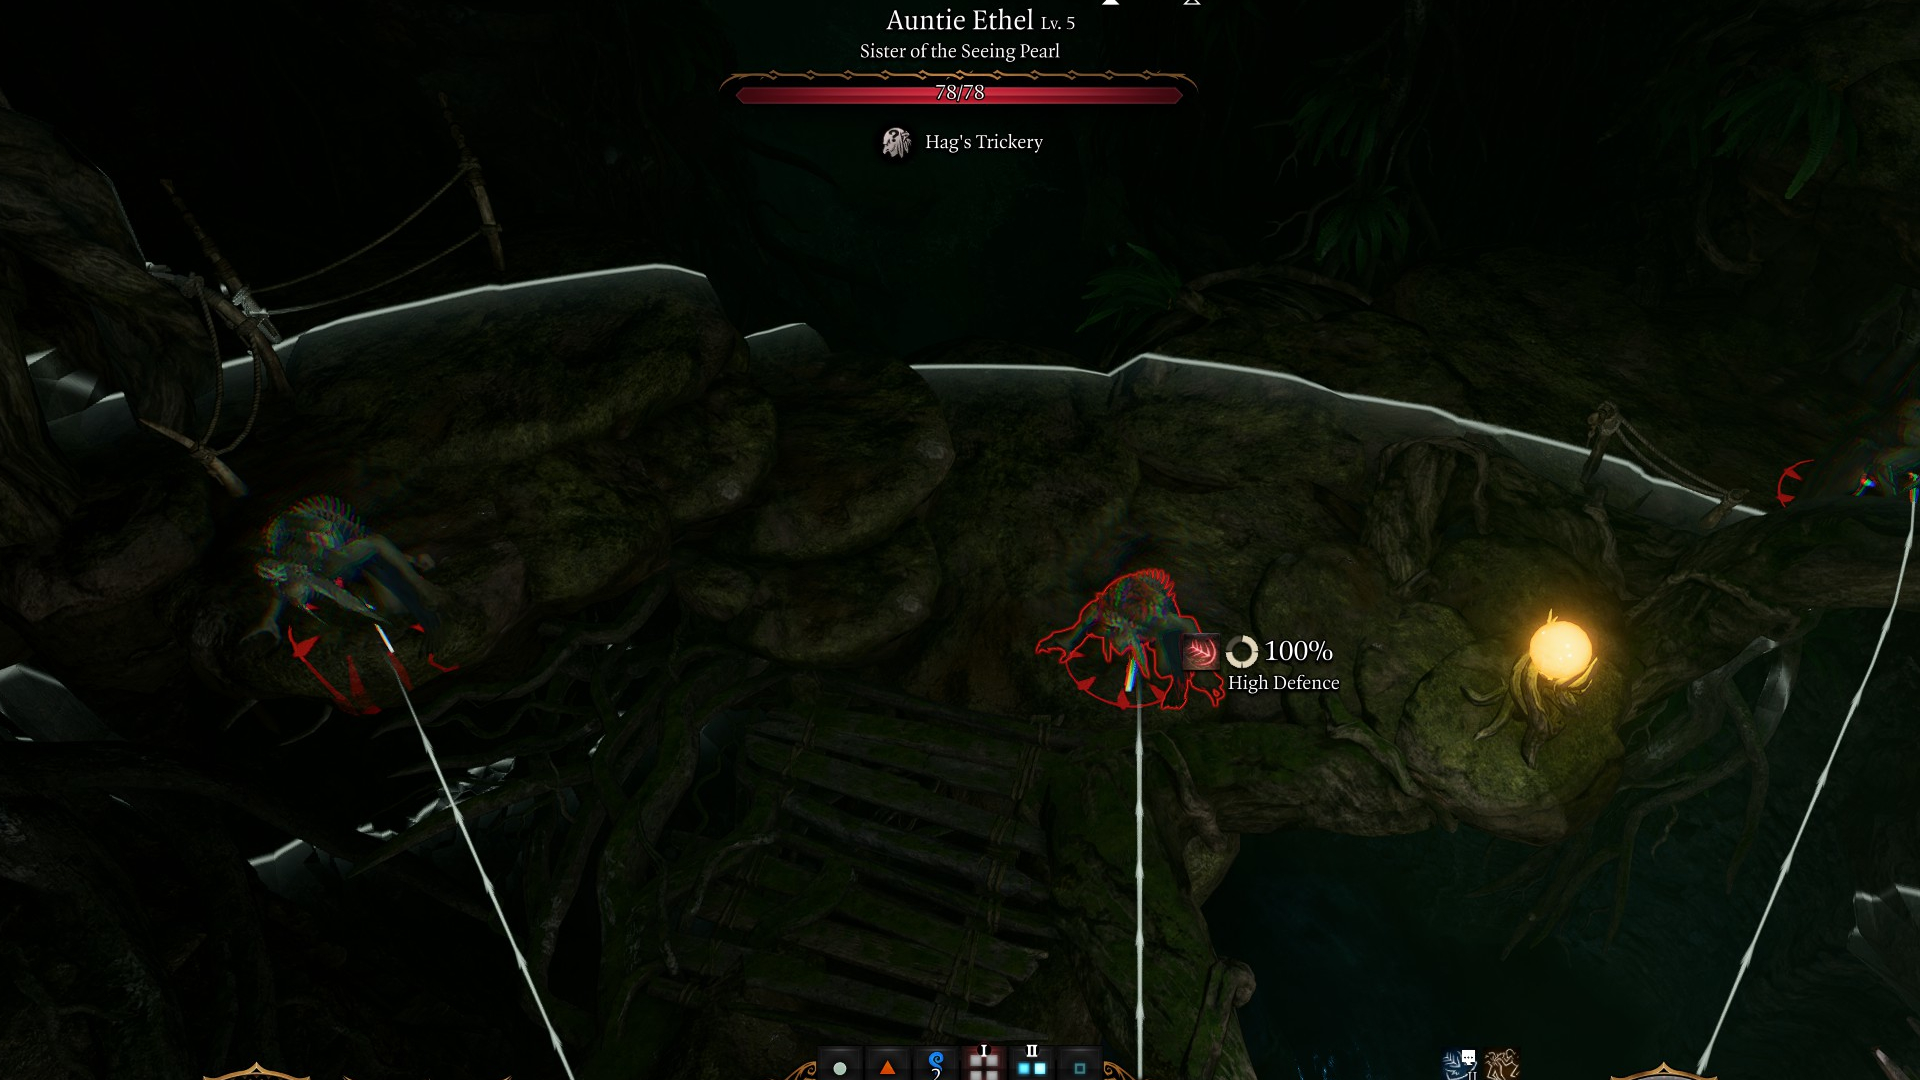
On the first round of combat, Auntie Ethel will summon in the mask wearers from earlier in her lair, provided they’re still alive and conscious. Failing that, she’ll summon four mirror images. As the fight progresses, Auntie Ethel will periodically summon more mirror images, and eventually she might even transform herself to look like Mayrina. The mirror images can cast all the same spells as Auntie Ethel, including Hold Person and Vicious Mockery, but they’ll disappear if they’re hit with any damage, even if it’s just one point. That makes Magic Missile effective against them. If you upcast it to level 2, then you can hit all four mirror images at once, knocking them out of the fight before they can do anything.
The easiest way to tell the real Auntie Ethel from the fakes — or from Mayrina — is to look at the combat order at the top of the screen. Auntie Ethel will never change her position there, and she’ll probably always be first in line. If you hover the mouse cursor over her portrait, then you’ll highlight her in the game, provided she’s not invisible. You can also cast a debuff on her, like Bane or Hex, and only she’ll have it, not the mirror images. Auntie Ethel is also wearing a Tarnished Charm that gives her the feature Fey Life, and only she will have it.
At any time you can Shove or Thunderwave Auntie Ethel into the chasm in the middle of the room, killing her and ending the fight. However, you won’t be able to get any of her loot or rewards this way. But be careful around the chasm — Auntie Ethel can push you into the abyss as well.
Auntie Ethel’s Deal
When Auntie Ethel’s health drops below 20%, she will interrupt the combat and you’ll enter into another dialogue where she will offer to make a deal. Don’t kill her outright if you want to do this, just get her health down and wait for it to be her turn. She’ll automatically speak with the closest party member to her, so you may be forced to use one of your companions in this dialogue. You’ll have four options:
Get her to give up Mayrina and leave. You won’t get anything else from doing this, but you’ll save Mayrina.
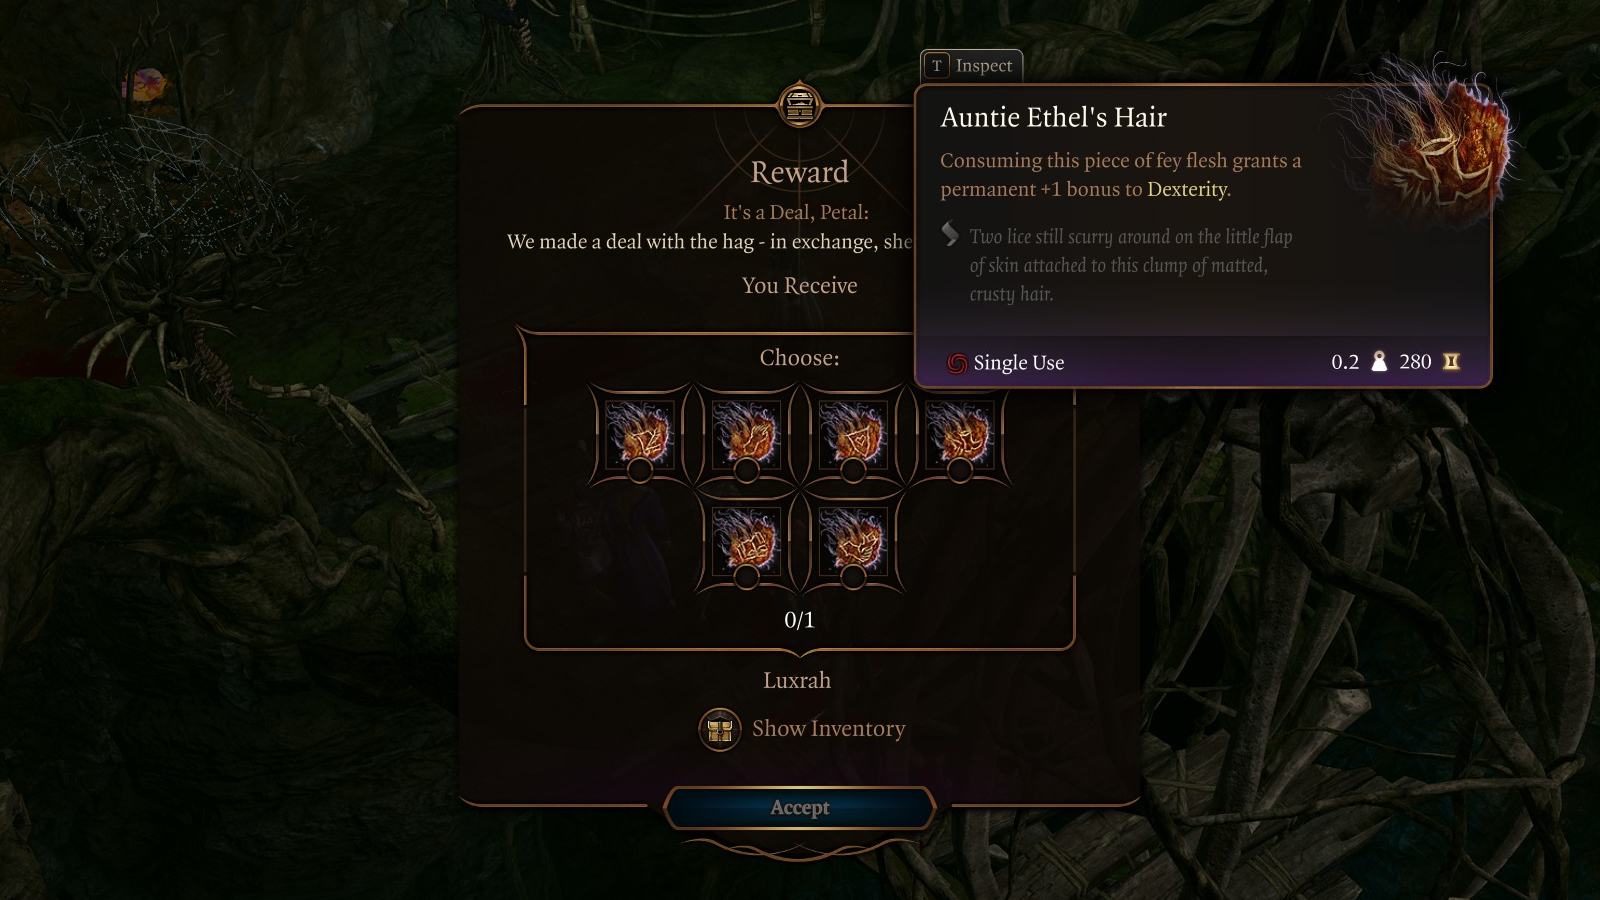
Accept her deal and let her leave with Mayrina. She’ll give you an item that grants +1 to an Ability score of your choice. You’ll fail the quest Save Mayrina if you do this.
Demand that she give up both Mayrina and the power. This will require a successful Deception or Intimidation check. On a success, you’ll get the +1 Ability score reward and you’ll save Mayrina.
Continue fighting and kill her. You’ll earn 150xp, plus get her Tarnished Charm and save Mayrina, but you’ll miss out on the +1 Ability score reward. Killing Auntie Ethel is the only way to save some of the other victims in her lair.
No matter which option you choose, you’ll see Auntie Ethel again in Act 3.
Making the Deal and Killing Auntie Ethel
There is a way to get both rewards from Auntie Ethel and then kill her before she can escape. This involves a quirk in the interface. The only reason to do this is if you want to save Auntie Ethel’s victims (which requires you to kill her) while also collecting both rewards (which requires you to let her go).
To do this, you’ll need to hold one character out of the battle with Auntie Ethel. You can leave them a ways east of the chasm where Mayrina’s cage is hanging. You’ll then need to deal enough damage to Auntie Ethel that she makes her offer. This will leave her with at most 22 hit points, ideally less. Pick the deal you want, but before saying your last line, switch to your out-of-combat character and have them direct a ranged attack / spell against Ethel. You’ll need to do enough damage with this attack to finish her off, so you can’t use, say, Shadowheart with a Light Crossbow, unless you get lucky and Ethel only has a couple of hit points left. If Astarion can deal ranged sneak attack damage, then he’s a good choice.
How to switch characters while you’re in dialogue.Our “All In” Bard sneaks up on Auntie Ethel while she’s talking to Karlach.
If you manage to kill Auntie Ethel while she’s still in dialogue, then you’ll earn 150xp for killing her, and you’ll get the reward(s) you negotiated from her, but she won’t leave behind a corpse, so you won’t receive her Tarnished Charm. Ethel will be considered dead when you talk to her victims, which means you can get the best outcome for Efrin, Hydrangea Wubb, and Lorin.
I love RPGs, sandboxes, survival, and sim games. Anything that lets me build and decorate or just has a really good story. I've spent hundreds of hours in Bethesda games and even more time modding them. I also play a lot of World of Warcraft.