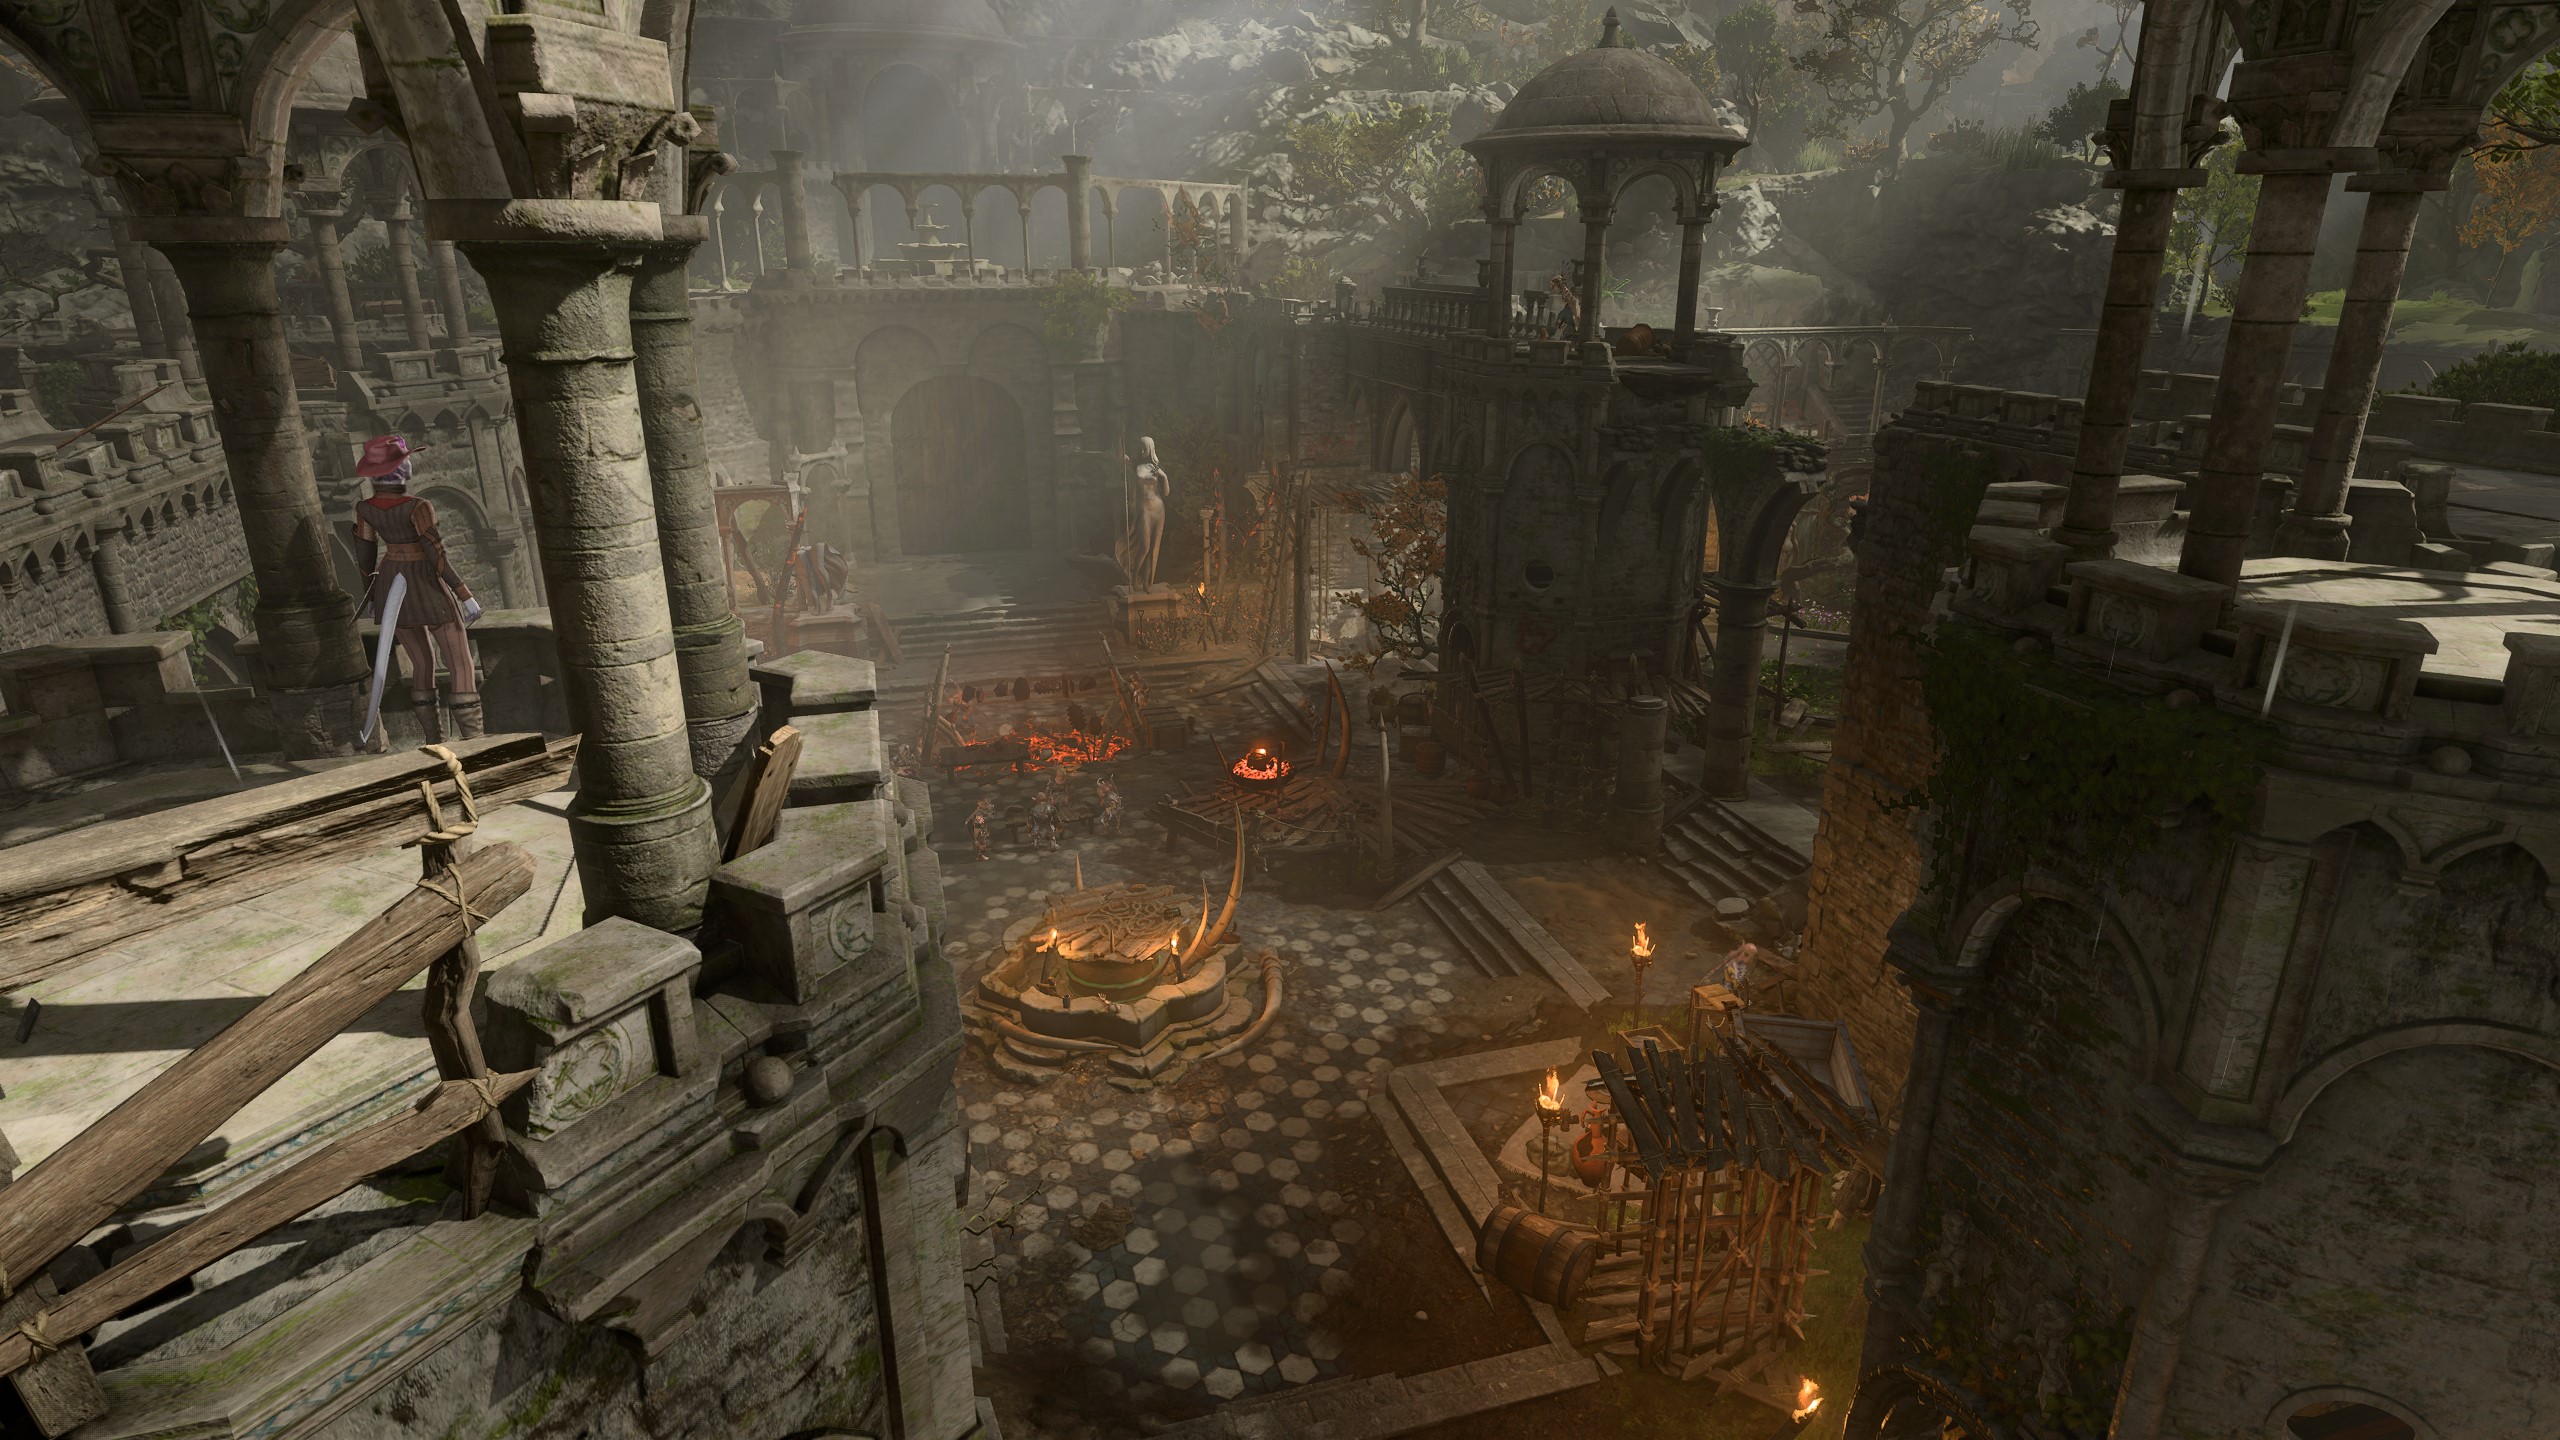
In this walkthrough, we will guide you through the Goblin Camp, the external section of the ruined cathedral and its surrounding areas where a group of Goblins has taken up arms in order to threaten the Emerald Grove. Whether you ultimately decide to assist the druids or the goblins, this guide will help you navigate the stronghold in order to find everything.
If you rescued Sazza from the Emerald Grove in the quest “Rescue The Goblin Sazza”, she will show up here, ready to let you straight through the checkpoint (#2)
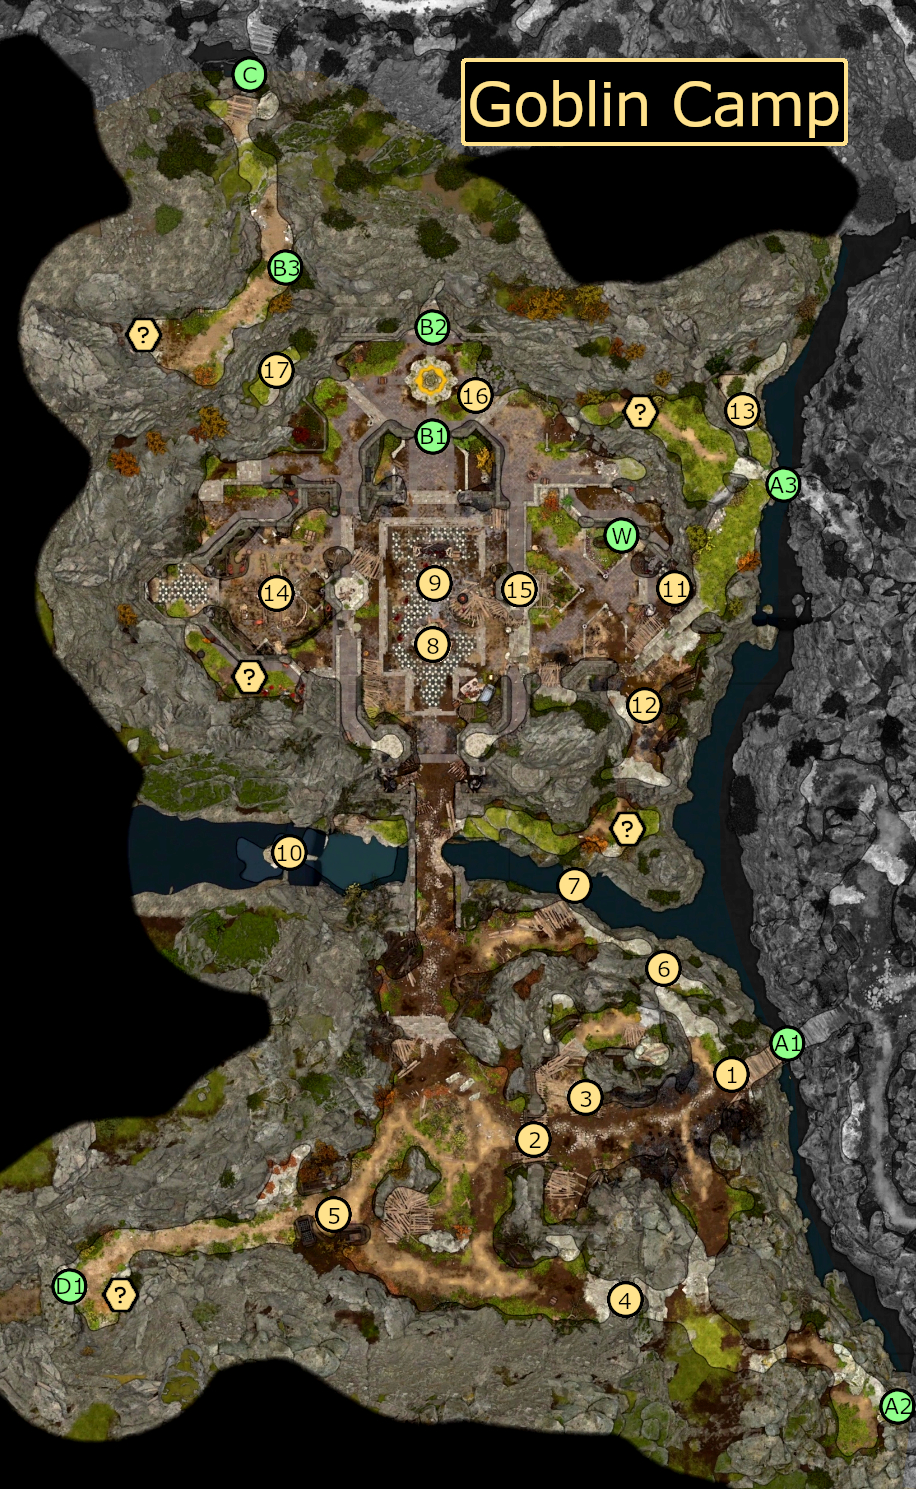
The primary way to get into the Goblin Camp is through the checkpoint here, which is guided by several Goblins and Wargs. The gatekeeper Olak will stop you no matter what, and there are several methods you can use to get through.
The simplest method is to have rescued Sazza from the jail in the Emerald Grove earlier, where she will meet you (#1) and let you through without any checks. Similarly, if you still haven’t used your Illithid powers today, a simple DC-2 Wisdom check will get you through.
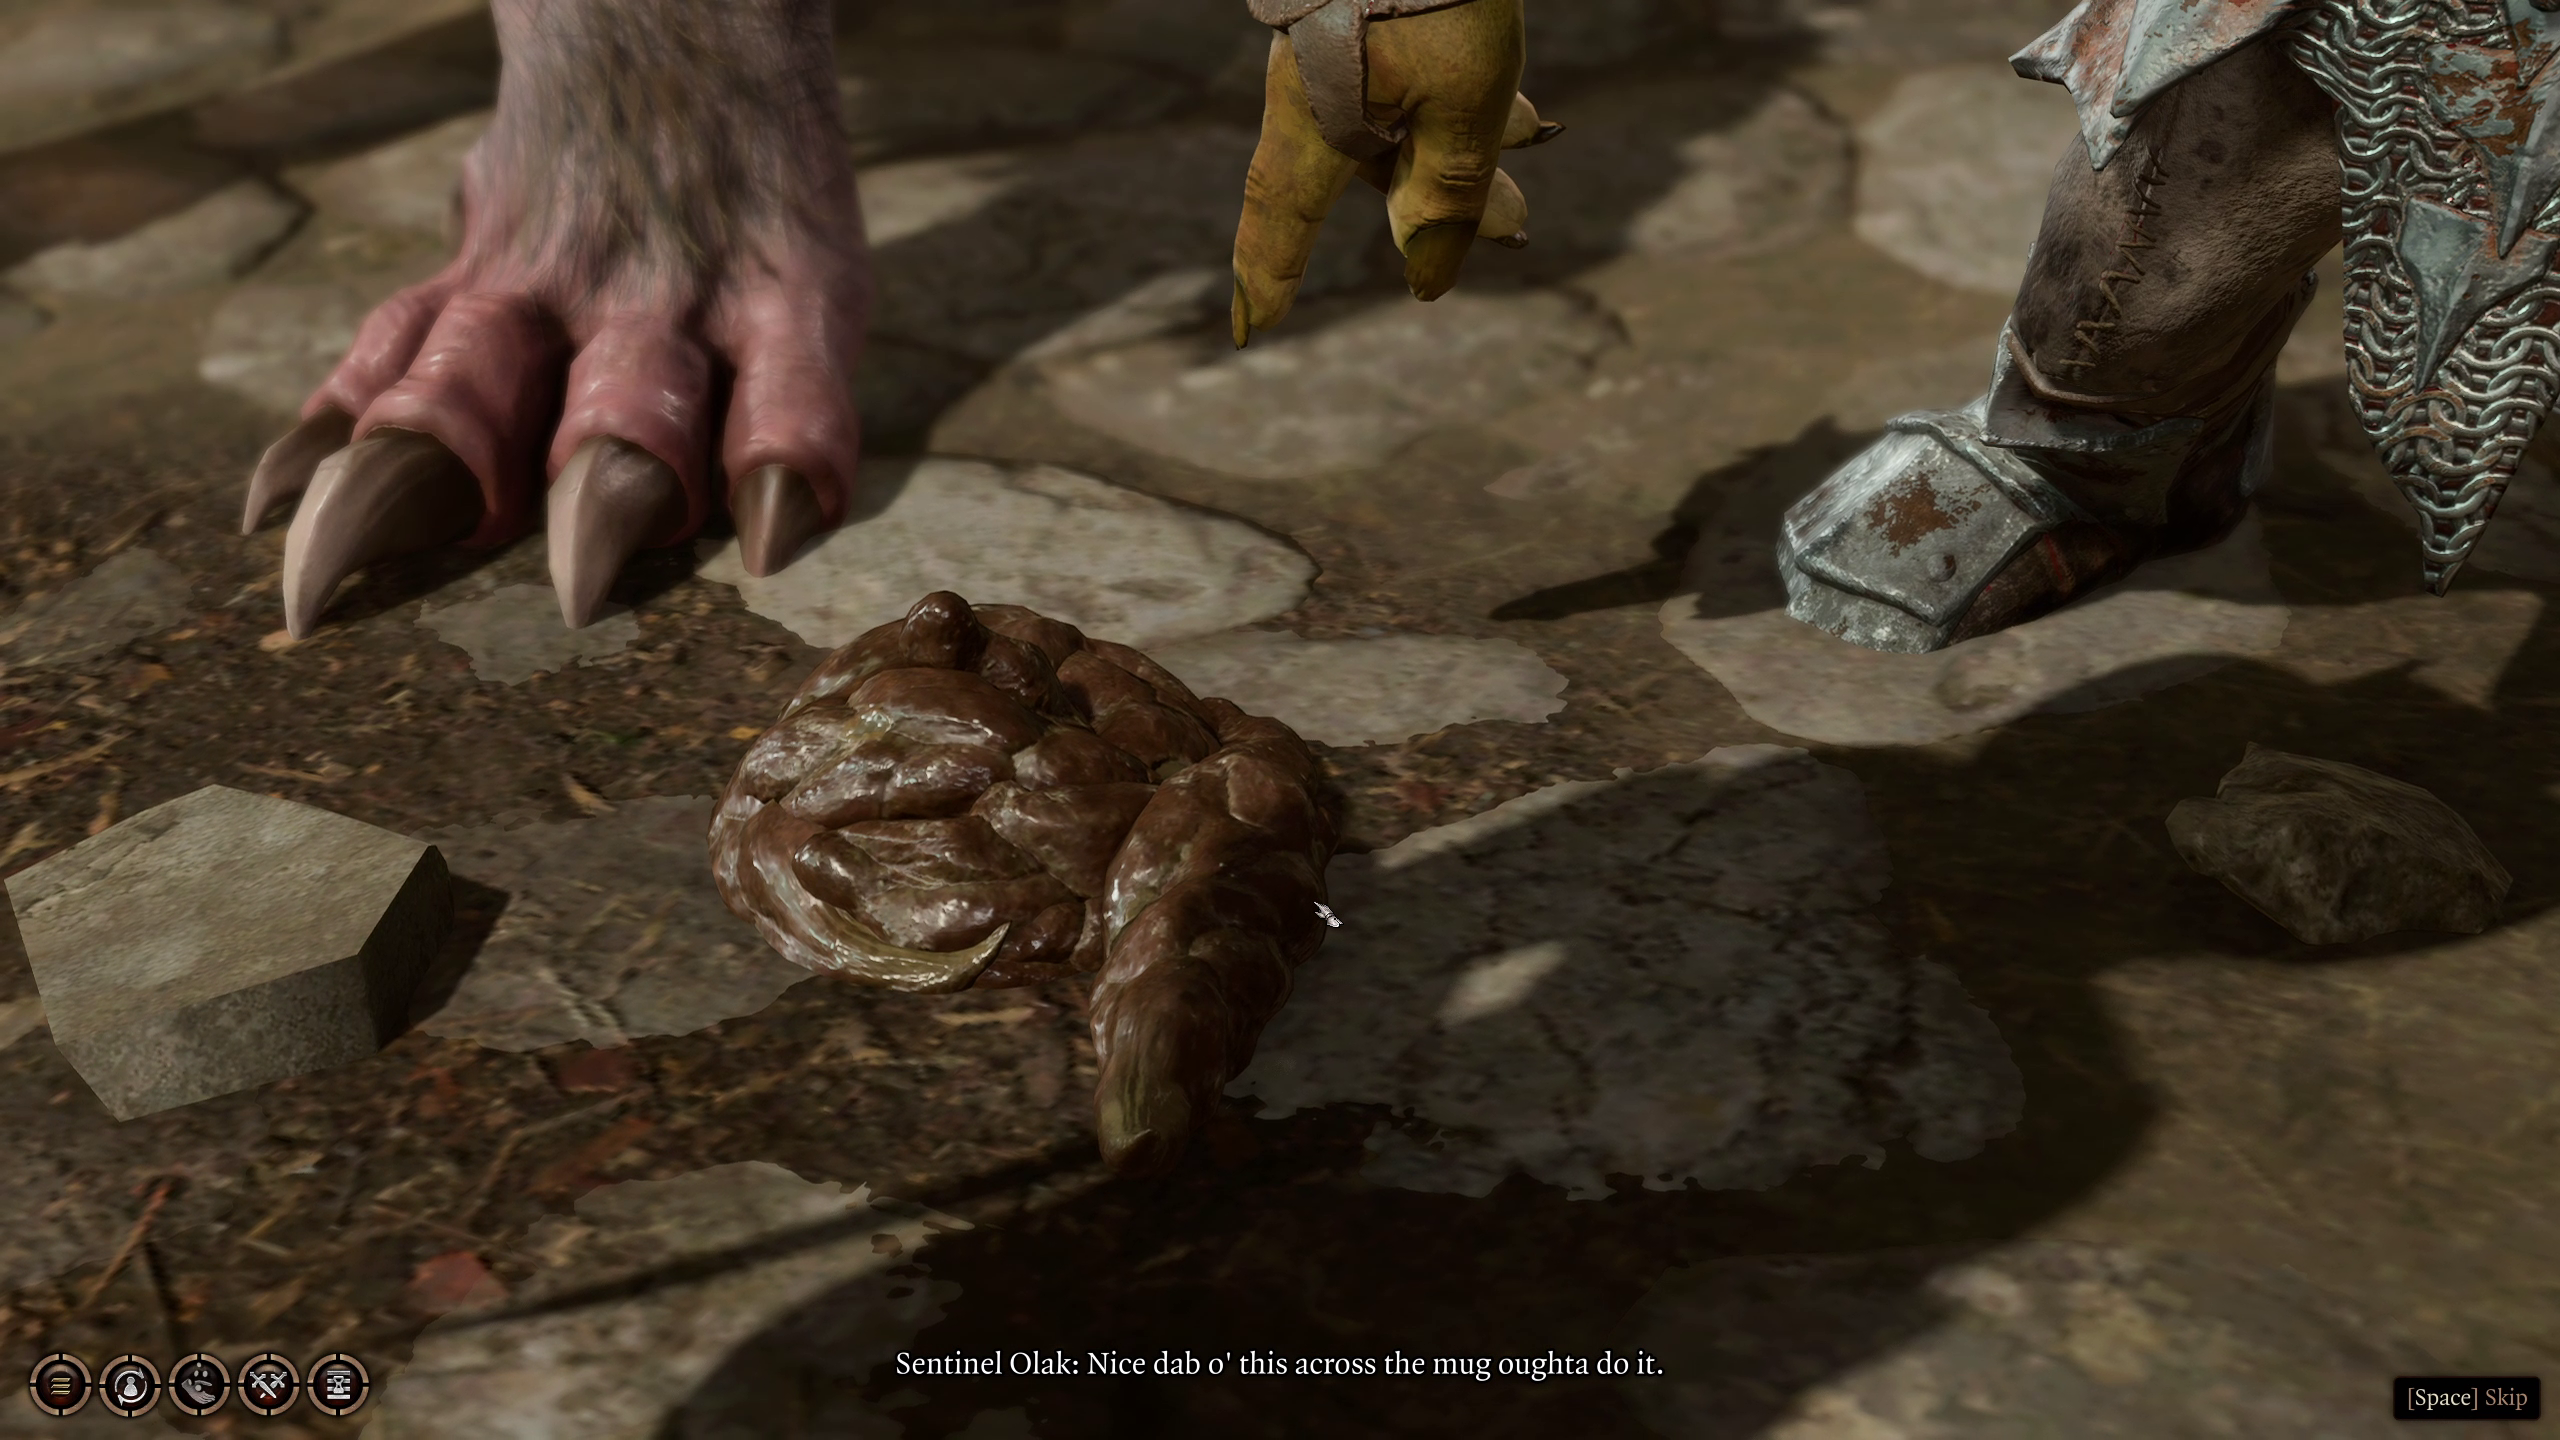
However, if you did not rescue Sazza, there are still options. Drow characters will automatically be let through, but for other characters, you will need to pass a DC-15 Intimidation, Nature, or Deception check. After you do, though, Sentinal Olak will try to get you to spread warg dung on yourself. A successful DC-10 Athletics check to throw it back at him will start combat, but questioning Olak and then telling him to eat it with a DC-15 Intimidation check will also do the trick.
The War Drum behind Sentinel Olak is used to call upon reinforcements during a fight. But, if you are able to reach it without causing a fight, there are a few things you can do with it.
Of course, you can simply hit it in order to summon those same reinforcements, who will come looking for a fight. But, a better thing to do might be to simply rip a whole in it, so that if you do ever need to fight the guards at the front, they won’t be able to summon reinforcements. Or, if you happen to be a Bard, you can use the drum as a performance piece, which will cause the Goblins to dance (and thankfully not be summoned).
Another possible way to get into the Goblin camp is to go through this trapped cave. This cave’s traps are very hard to detect and require you to be moving slow when you do, but are relatively easy to disarm. You’ll also need to jump over a small crevasse. Using this path allows you to come from either the bridge (A1) or the fallen log (A2).
Yet another way to get into the Goblin Camp without going through the checkpoint, some clever climbing can bring you around the side of the checkpoint and into the Camp proper.
Similar to the point above (#6), this leap can let you get into the Goblin Camp itself without being detected; useful for if you’ve already pissed off the Goblins and are trying to avoid their detection.
Once you enter the Goblin Camp from the front, you will see that your… erm… “Good Friend” Volothamp Geddarm (Volo) has been captured, and is being forced to perform for the Goblins. Once he notices you, you’ll have a chance to interject. Bard character get some fun unique dialog here, but regardless of what happens, Volo will eventually stumble and be taken away (to somewhere within the Shattered Sanctum)
The bulk of the Goblin army is located in this courtyard, including well over a dozen goblins, a Hobgoblin, and a Troll — without even counting potential reinforcements. While Goblins might be pretty easy to dispatch, don’t underestimate the power of large groups, should you end up in a scrap with the Goblins. If you do, though, forming a line with your front-line characters so that Goblins can’t reach your back line is probably the most useful thing you can do (apart from use spells with Areas of Effect, of course).
By descending below the bridge leading to the Goblin Camp, you’ll end up in front of a waterfall. And, like any good video game level, there are some secrets behind it (including one of the funniest notes in the game)
Crusher is busy boasting to his fellow Goblins about just how tough he is. But, with some good DC-15 Intimidation rolls or the use of your Illithid Powers, you can easily prove he isn’t nearly as tough as he says he is.
Some Goblin children are looking over a Dead Adventurer’s Body, trying to decide what should happen with his loot. If you approach the body and try to loot it, one of the Goblin children will stop you, trying to assert his authority. If the single magic scroll on the body seems worth it, you can convince the kids to leave you alone with a DC-10 Intimidation or Deception check, or by using your Illithid Powers.
By going up onto the ramparts of the ruins, you can find your way to a hidden chest. Be careful though, as it has some dangerous traps nearby that should be detected and disarmed before unlocking the chest. This chest hold a pretty nifty Shield, so can be worth going to for characters trying to maximize AC.
The Obstacle course, run by Goblin Krolla, has two possible states, depending on what kind of creature she’s got her hands on lately. If you haven’t been to the Owlbear Nest, or if the young Owlbear died in it, then Krolla will only have access to a chicken. However, if you have been to the nest, and kept the young Owlbear alive (though its mother doesn’t need to be), then Krolla will have acquired it for her course (assuming you’ve had a long rest).
In either case, the Obstacle Course functions the same way: you begin by making a wager with Krolla of between 30 and 300 coins, then you head to the start of the course in the Northeast, wait for the animal to head in as well, and then try to chase the animal through the course until it goes through into the alcove in the west (you will have 10 turns, or a minute, to do so after the game starts). If you are able to Speak with Animals, you should do so in either case, to convince your opposite to go straight to the alcove. Otherwise, it just takes some clever maneuvering in the course.
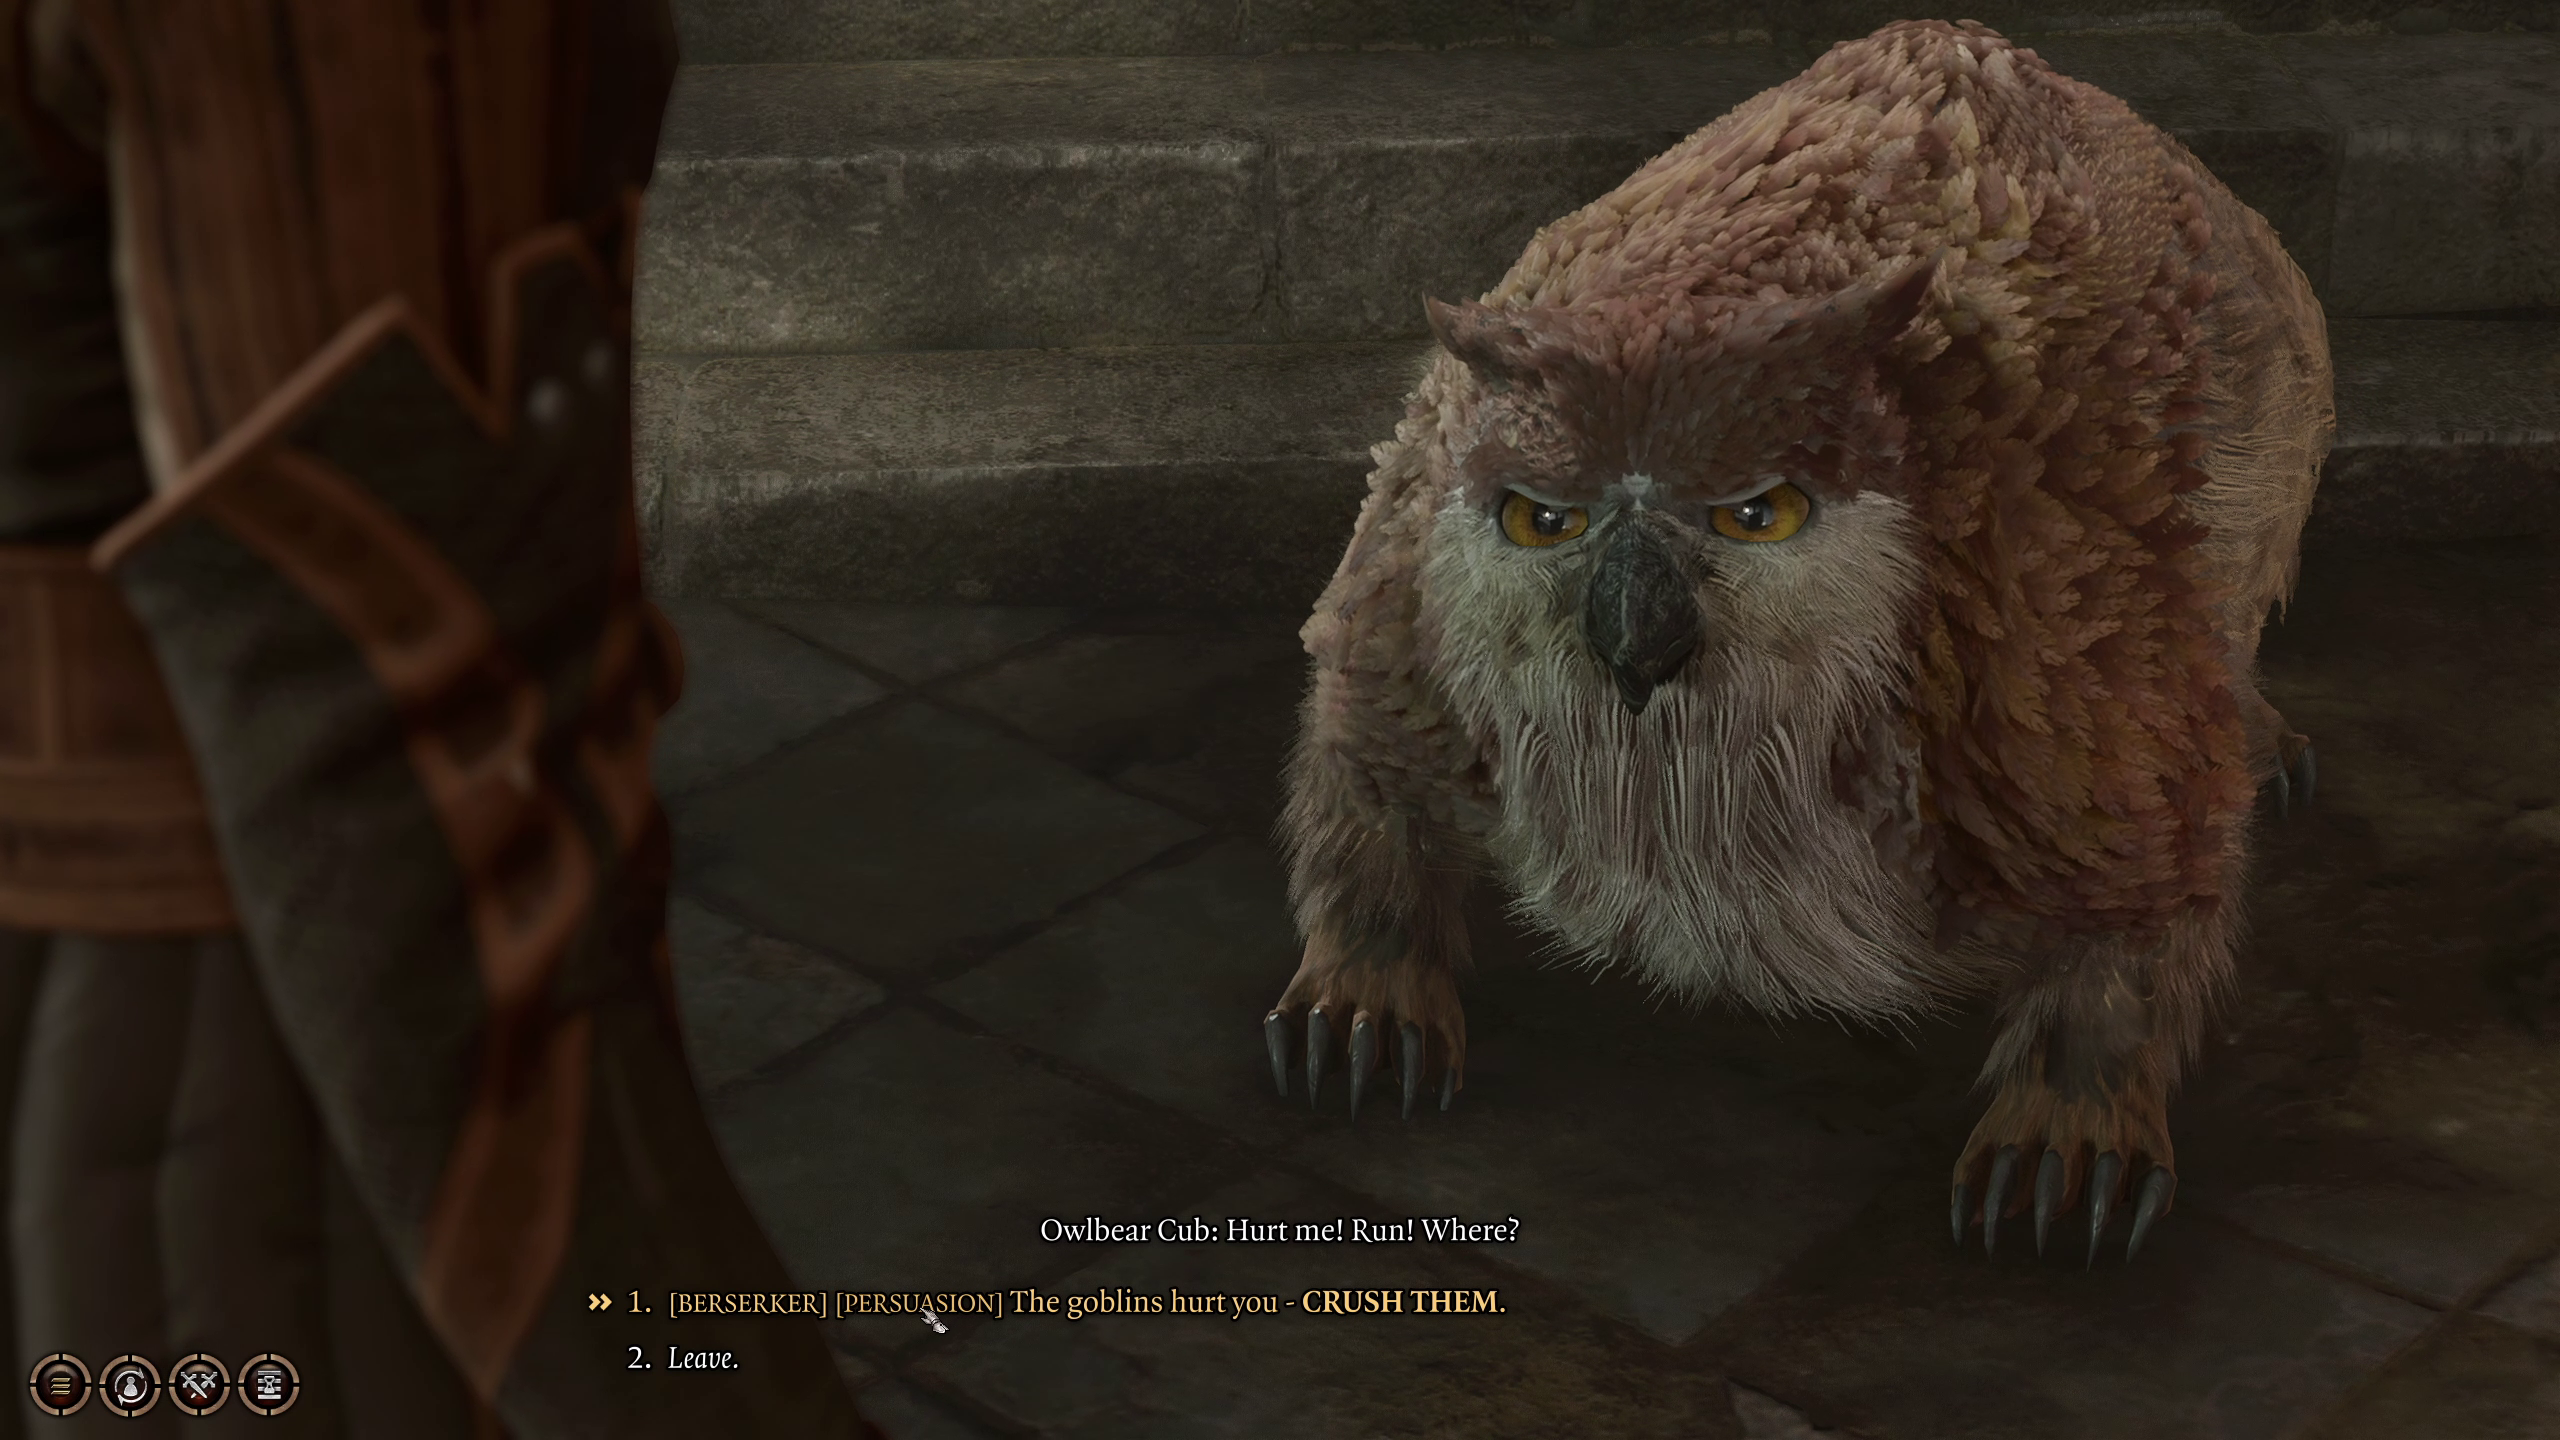
You are, upon encountering it, morally obliged to rescue the Owlbear Cub
You can also convince either animal to fight back against the Goblins, but that is unlikely to go well for them. If the animal dies, you will have to convince Krolla that you don’t owe her anything with a DC-10 Intimidation check.
After you’ve won the challenge, you’ll need to convince Krolla that a non-Goblin can win the game. You can do so with a DC-15 Intimidation or DC-18 Persuasion check, or by using your Illithid Powers. If you were playing against the Owlbear, you will also have the opportunity to free it here, where it will go join your camp, with a successful DC-10 Intimidation or Persuasion check, or by spending 500 Gold.
Atop a tower overlooking the courtyard is Booyahg Piddle, a peculiar Goblin who could almost be said to have a penchant for knowledge. Almost. He will be attempting to read through Volo’s “On Goblins: My LIfe Among the Conquering Host”, which seems to be… well… in Volo’s style, shall we say. There are a number of ways to get it off of him, especially if you are a Bard, Cleric, or Barbarian, but the most reliable way is Intimidation.
If you make too much noise near these goblins, one will awaken and question you. A DC-10 Persuasion check or the use of your Illithid Powers will always work to convince him to go back to sleep, and if it happens to be a Hobgoblin you’ll have even more options.
However, if you make noise again you’ll be attacked for disturbing his sleep. Luckily, only the sleeping Goblins and Hobgoblins will pick a fight with you over this, not the whole camp.
You’ll likely need to teleport or fly to go easily up the cliff that leads to the Risen Road, and if you are coming from that direction, prepare to do the same or to use feather fall to avoid damage.
There are several Dirt Mounds found in the Goblin Camp. It can be located by your party if any of them get a successful Survival check, allowing you to use a shovel to dig it up to receive some very valuable mundane loot.
Most parties going through the Goblin Camp will be trying to get here, to the Shattered Sanctum, where the Goblin leaders and Halsin are, amongst other things.
B1: The front door. You can walk in.
B2: Above the front door to the Shattered Sanctum is a suspiciously cracked wall (which you can notice with a passive Investigation check). Breaking it down shouldn’t be too hard — it is sturdy, but not impervious to damage. This will bring you into the Shattered Sanctum’s rafters, giving you the high ground and letting you sneak around with some impunity. B3: A tiny hole atop the cliff can be entered by a shrunken or transformed character, or one in misty form, or by a mage hand.
A long leap here will put you to the end of the Risen Road, mere feet away from an encounter with a Githyanki Patrol, and nearby to the likely-burning Waukeen’s Rest.
Maybe it is time for you to progress to the next area, going straight to the Mountain Pass, where a certain Githyanki Creche might be hiding. This exit, to the south of the main Goblin camp, is an easy way to bypass the area entirely, though you should make sure to wrap up loose ends before you venture forth.
There is one waypoint in the Goblin Camp: called, fittingly, the Goblin Camp.
Where to go Next
After you are done with the Goblin Camp, you can go to the following places:
The Shattered Sanctum: This is most likely why you are here: the Shattered Sanctum is where you can find the 3 leaders of the Goblins (including Minthara), Halsin, a bunch of cool encounters, and a path to the Underdark.
The Mountain Pass: When it is time to move on from the entire region, you’ll likely want to go to the Mountain Pass, and the route from the Goblin Camp is just as good as the other one.
The Risen Road: Maybe it is time to head north to deal witha Githyanki Patrol, interact with the Zhentarim, or rescue people from the burning Waukeen’s Rest. Or to get Karlach, the best companion.
The Blighted Village: You’ll have had to go through the Blighted Village at some point to get here, but if you have more to do, you can head back to it easily.
Graves is an avid writer, web designer, and gamer, with more ideas than he could hope to achieve in a lifetime. But, armed with a mug of coffee and an overactive imagination, he'll try. When he isn't working on a creative project, he is painting miniatures, reading cheesy sci-fi novels, or making music.