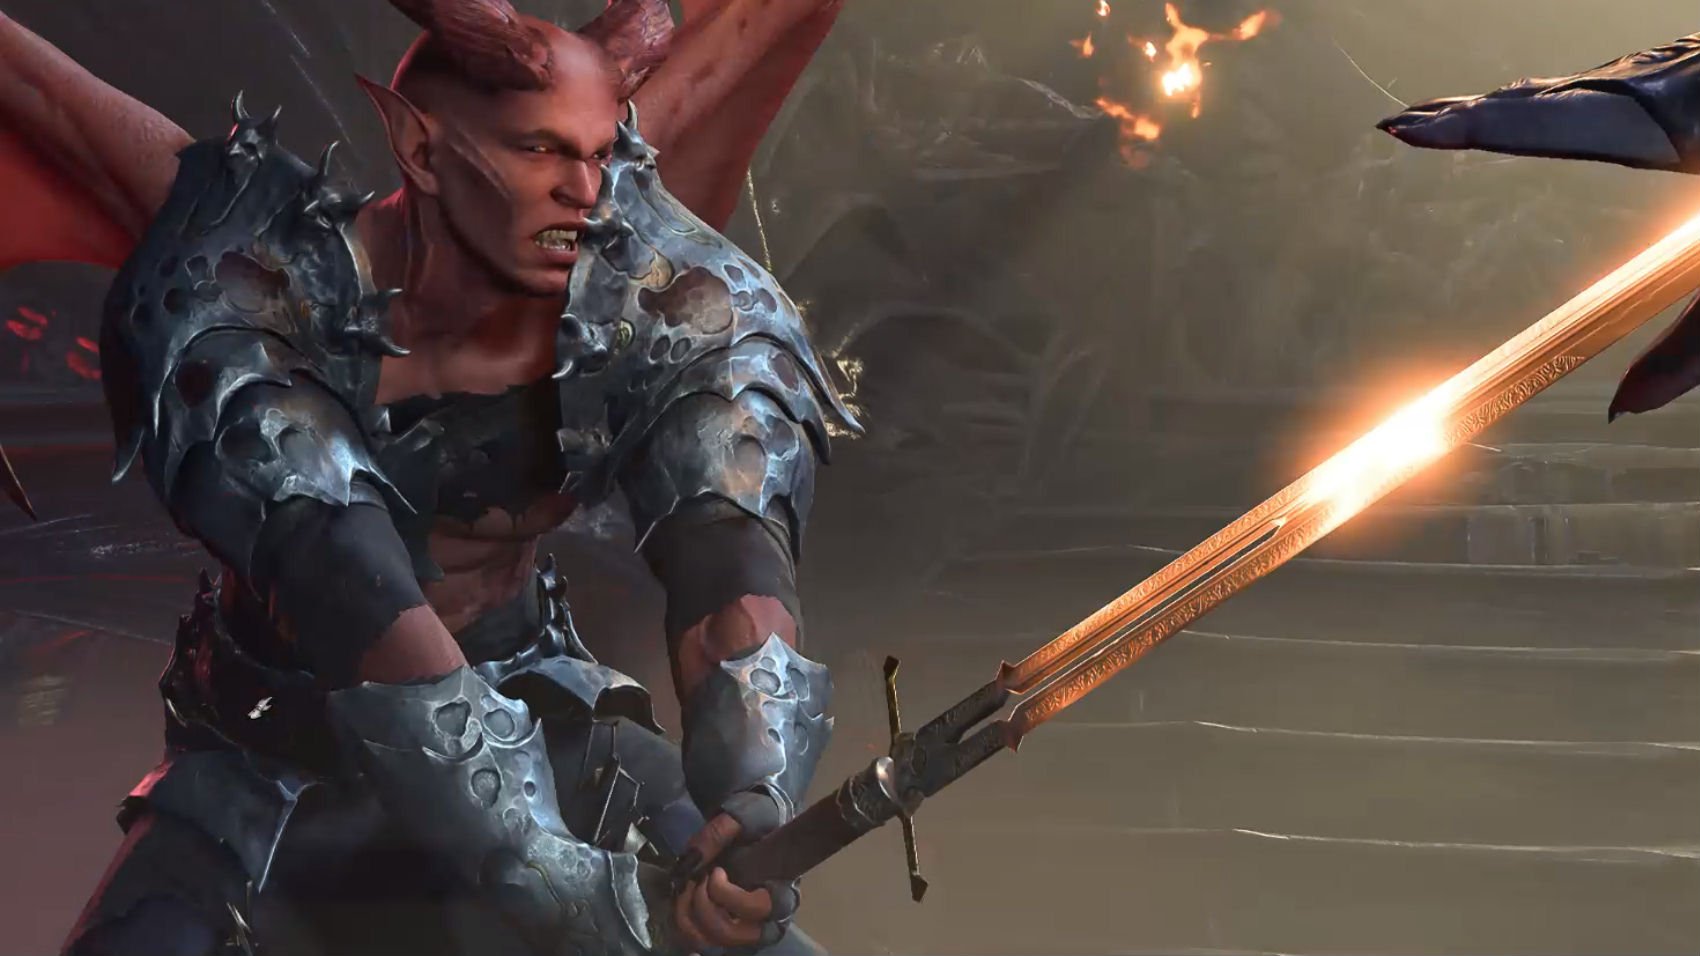
In this guide, we’ll give you some strategy advice for defeating Commander Zhalk and claiming his personal weapon, the Everburn Blade.
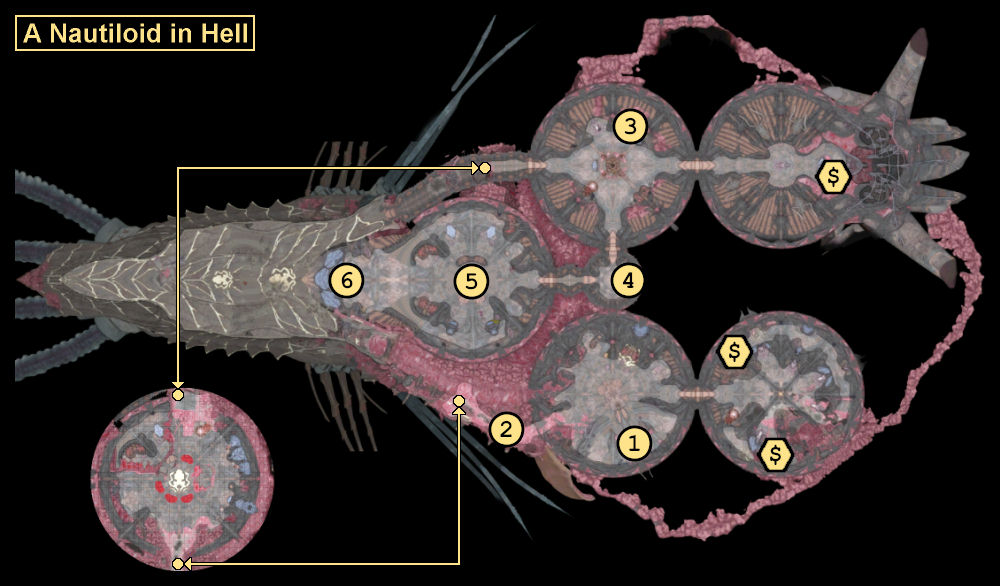
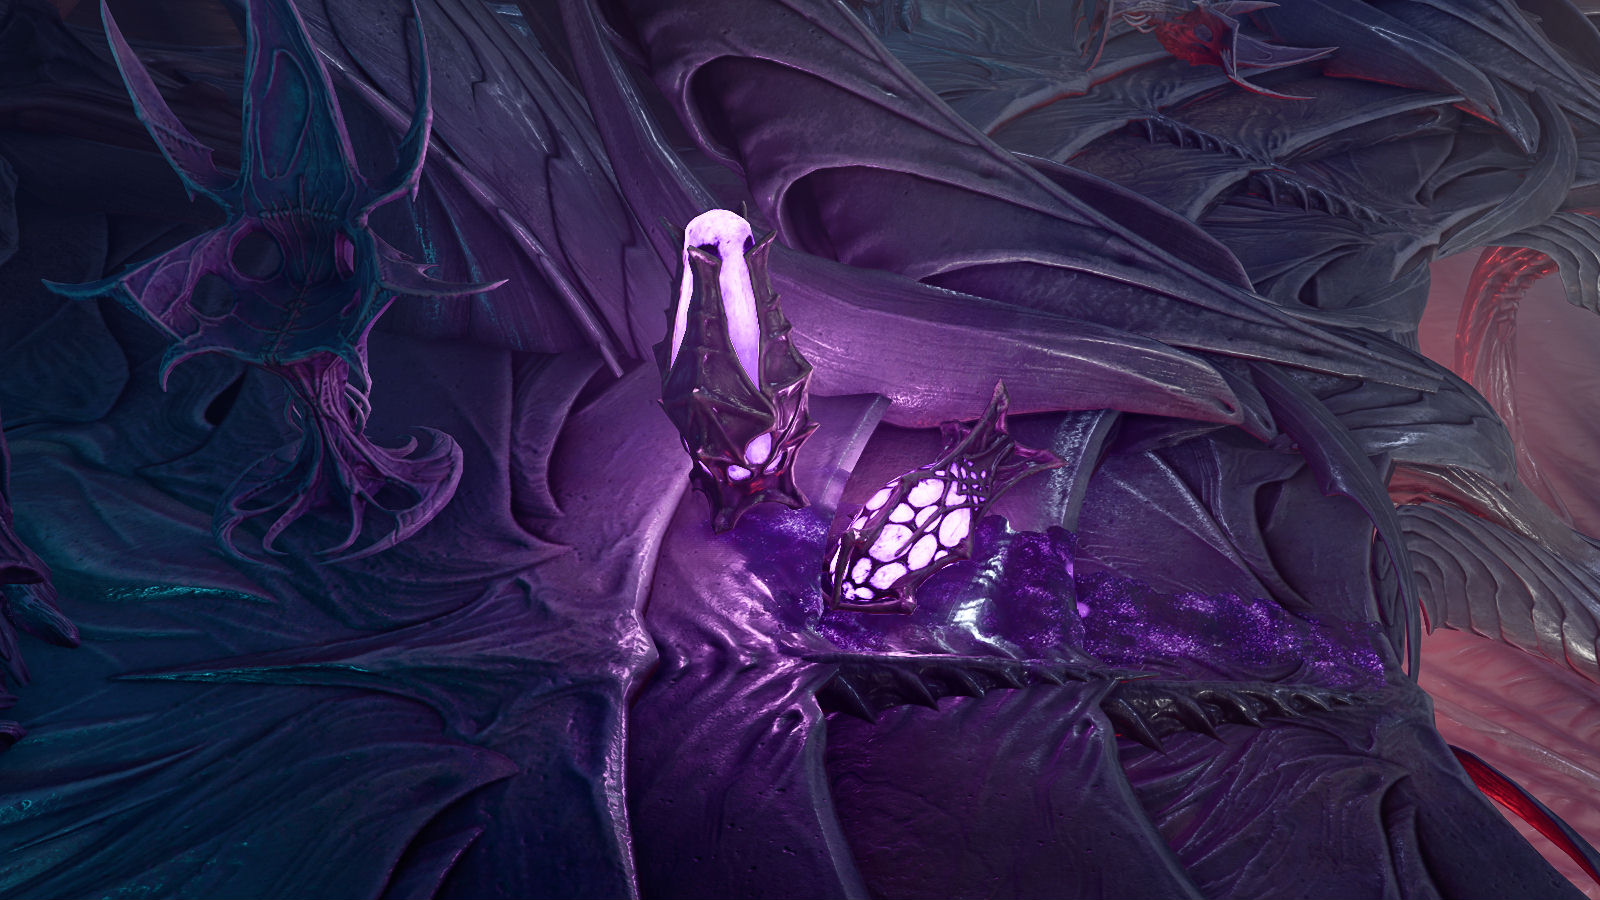
Map
Us
Lae’zel
Shadowheart
Restoration Shell
Helm
Transponder
Background
As you’re escaping from the Nautiloid at the start of the game, you’ll eventually make your way to the helm (#5), where you’ll witness a mind flayer dueling a devil named Commander Zhalk. The mind flayer will order you to go to the transponder (#6) and get the ship out of Hell, and that’s all you’re required to do. But if you decide to disregard the mind flayer’s orders and help it to defeat Zhalk, then you’ll gain access to the Everburn Blade, an excellent weapon for Lae’zel if not your own character.
The problem is, Commander Zhalk is tough. He’s Level 8, and he has 50% resistance to slashing, piercing, bludgeoning, fire, lightning, cold and poison damage. Plus, he has 18 AC and 150 hit points, which makes him a defensive juggernaut compared to your Level 1 characters. So just ganging up on him and whacking away won’t work. You’ll have to be a little bit trickier.
Preparations
While you’re exploring the Nautiloid, you’ll automatically join forces with Lae’zel (#2). You should also rescue Shadowheart (#3) and Us (#1). The more people—and intellect devourers—you have in your party, the better. It’s also useful to loot all of the corpses you come across. That way you’ll be able to give all of your characters a ranged weapon. Finally, you should grab the nautiloid tank next to Shadowheart’s mind flayer pod (#3), plus one of the cartilaginous chests in the area ($).
Before entering the helm, open up Shadowheart’s spellbook and adjust her prepared spells. Give her Bless and Command. Then if necessary use the restoration shell next to the helm (#4) to heal and replenish your spells and skills.
The Battle
When you enter the helm (#5), the last remaining mind flayer and Commander Zhalk will begin battling each other, and a 15-turn countdown will start. You’ll need to activate the transponder on the far side of the room (#6) before the countdown ends, or else the Nautiloid will explode and you’ll have to load your game. So you’ll also need to kill Zhalk and loot his weapon within that time limit.
Your characters won’t do all that much damage to Zhalk if they manage to hit him at all, so have them concentrate on the two imps and the hellsboar in the front part of the helm. You should be able to take those enemies out quickly while also advancing towards the transponder. While this is going on, you’ll need to do three more things:
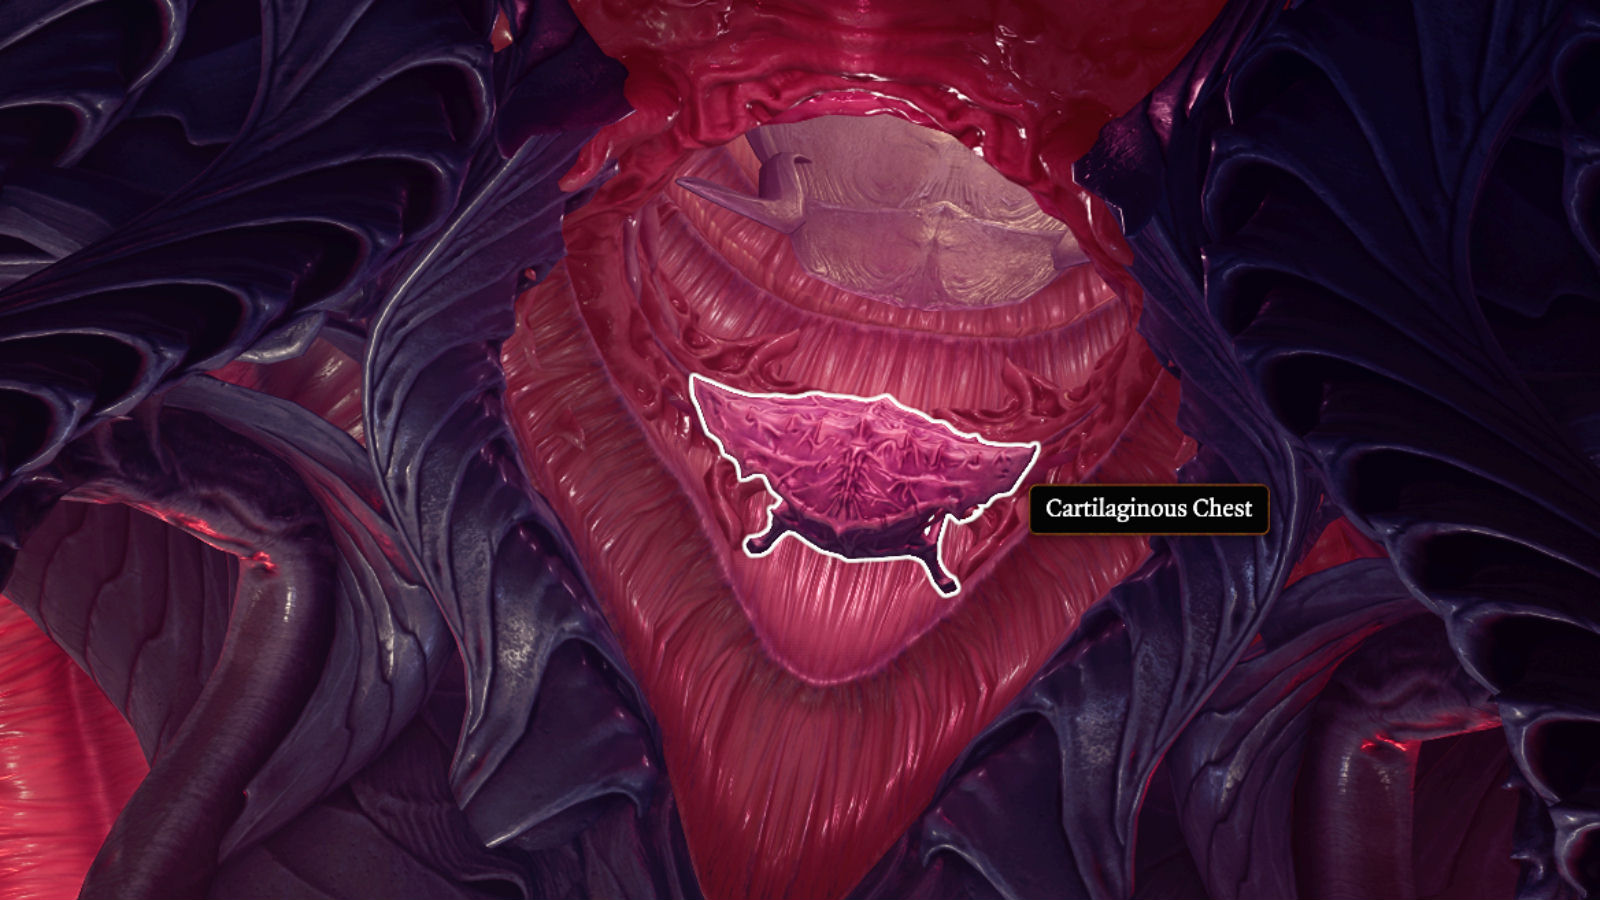
The character with the cartilaginous chest should immediately throw it into the entrance sphincter, rotating the chest as necessary so it blocks the way. When the countdown reaches 9 (or 10 on Tactician difficulty), two cambions will arrive to help out Commander Zhalk, but the chest will block at least one of them from entering the helm. The other one will sometimes walk through or fly over the chest. This seems to be random.
You should also have your characters pick up the three nautiloid tanks in the front part of the helm, and place them—plus the one you brought with you—around Zhalk and the mind flayer. The dueling pair won’t move, and they’ll ignore your actions, so you shouldn’t have any trouble surrounding them.
Meanwhile, Shadowheart should Dash towards Commander Zhalk on her first turn, cast Command: Drop on him on her second turn, and then cast Bless on the mind flayer (and any other two characters) on her third turn. Zhalk only has 12 Wisdom, so the Command spell will work on him over half of the time, and if Zhalk doesn’t have his weapon, then he won’t be able to kill the mind flayer, even if he hits every time. Plus, with Zhalk’s Everburn Blade on the ground, you can just take it and leave, if that was your only reason for joining the fight.
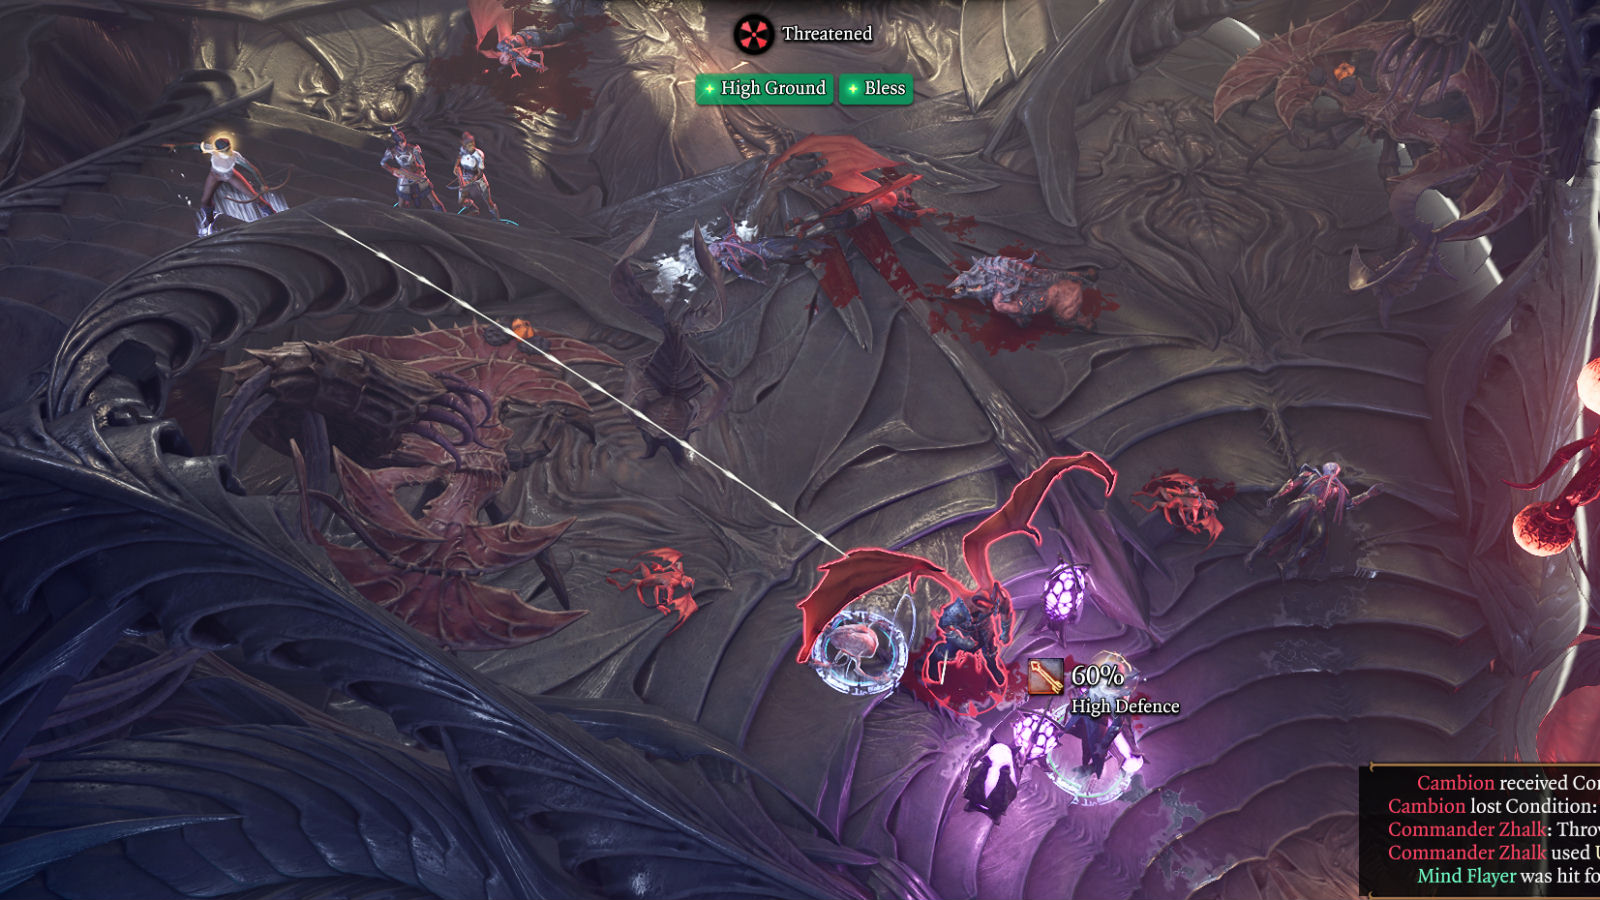
Keeping out uninvited guests.Harassing Commander Zhalk from the cheap seats.
Next up, you should enter the back part of the helm and deal with the two imps and the hellsboar guarding the transponder (#6). When they’re dead, you should move your characters into position to assist the mind flayer:
Assuming all of your party members have ranged attacks, you should put them on the ramp behind Zhalk. This will give them a height advantage against him, which means they’ll hit him 10% more often.
Since Us doesn’t have any ranged attacks, you should move it into melee range of Zhalk and let it use its claws. Zhalk will only attack the mind flayer, so Us should be safe.
If Zhalk is still wielding the Everburn Blade, then he’ll do lots of damage to the mind flayer. You won’t be able to heal the mind flayer with spells (unless your main character can do it), but you can throw Potions of Healing on the ground, and they’ll heal anyone in their area of effect. You have to keep the mind flayer alive, because if it dies then Zhalk will make short work of your party.
When the cambions arrive, if they’re able to enter the helm, then you should move Us to safety. The cambions will pretty much attack whomever they see first, so if your characters aren’t in sight, then they’ll attack the mind flayer.
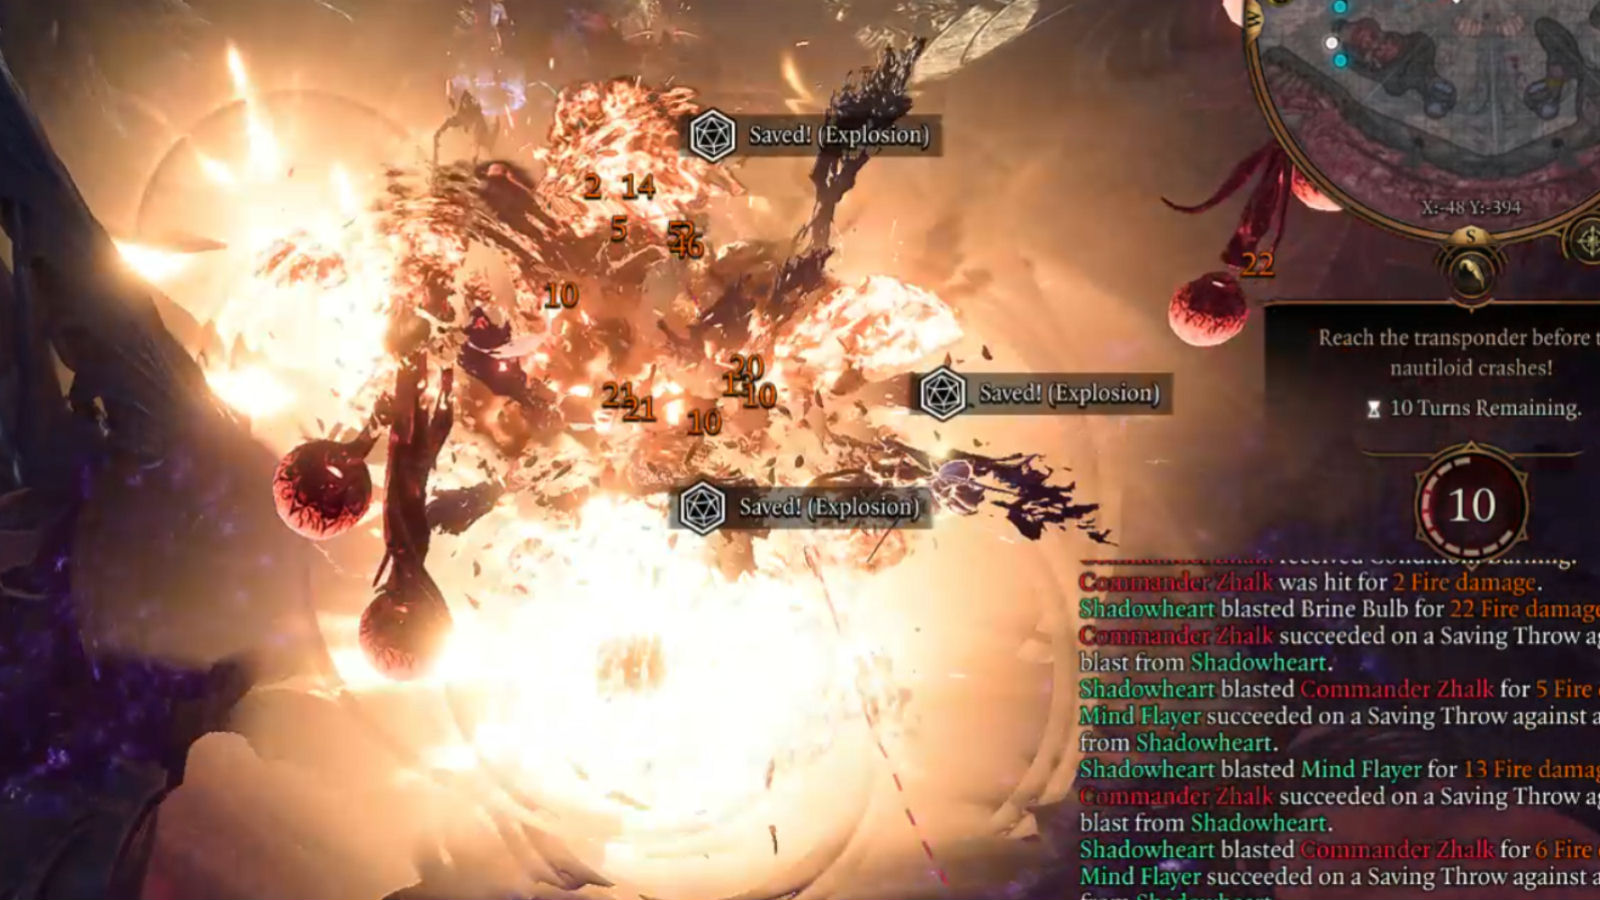
From this point on, you’ll just need to attack Commander Zhalk until he has around 30 hit points left. When this is close to happening, you should move your main character to the bottom of the ramp and Lae’zel towards the transponder. Then when you’re ready to kill Zhalk, you should have Shadowheart cast Firebolt (one of her cantrips) at one of the nautiloid tanks—ideally at one behind Zhalk so the blast pushes him into the other three, and he gets hit by all of them when they explode. This should deal the 30 damage necessary to kill him. If you’re lucky, the blast will also kill the mind flayer. If not, then be careful. The mind flayer will forget that you’re allies, and it will attack you.
Nautiloid tanks—before…… and after.
If you don’t have the Everburn Blade yet, then you should send your main character to the weapon, employing Dash if necessary so you can grab it right away and hopefully avoid the mind flayer (if it survived) and the cambions (if they made it into the helm). Once the weapon is in your possession, you should have Lae’zel interact with the transponder, again using Dash if necessary to get her there more quickly. If you can do this all in the same turn as the explosion, then you won’t need to worry about taking damage from any surviving enemies.
You’ll earn 75 xp for killing Commander Zhalk, and he’ll drop Scale Mail along with the Everburn Blade. If you kill the mind flayer in the blast, then you’ll get 75 xp for it as well, but it won’t drop anything. The cambions won’t die in the blast, which is why it’s best to block them at the entrance to the helm.
Note: If somebody in your party kills Commander Zhalk, then you’ll earn the achievement Devil’s in the Details. If the mind flayer kills Zhalk, then you won’t.
If the above guide doesn’t work for you, then you can always kill Commander Zhalk using a lot of saves and loads. You’re allowed to save your game at any time, including during battles, so you can just save whenever the mind flayer hits or Zhalk misses, and load otherwise. That should get the job done as well—just in a slower, more tedious fashion.
Share this article:
Steven Carter
Starting with cassette tape games on the TRS-80, Steven has been playing, creating, and writing about games for a long, long time. This makes him experienced, not old. Lately, Steven has been focusing on walkthroughs, making sure everybody knows how to solve Towers of Hanoi puzzles.