The Shadow-Cursed Lands are all but totally corrupted, except for one place — the Last Light Inn. This walkthrough will guide you through what to do in this sanctuary, helping you to complete a few quests, get ready to recruit a new companion, and — perhaps — end the Shadow Curse.
Note: The original version of this guide was written by Graves, and much of its information was sourced by him initially.
Map
Points of Interest 1 – First Arrival 2 – Quartermaster Talli 3 – Watchtower 4 – Funeral 5 – Darkmaw the Wicked 6 – Mattis 7 – Barcus Wroot and His Majesty 8 – Raphael and Mol 9 – Jaheira 10 – Fire Pit 11 – Bar 12 – Bedroom 13 – Flaming Fist Command Center 14 – Isobel 15 – Dammon 16 – Strange Ox 17 – Locked Chest 18 – Bex 19 – Trapped Bridge 20 – Rubble 21 – Sign / House 22 – Opulent Chest 23 – Detention Area 24 – Cracked Wall 25 – Double Metal Doors 26 – Locked and Trapped Chest 27 – Blocked Door 28 – Cracked Wall 29 – Shrine / Meenlocks
Treasure ? – Dirt Mounds
Exits A – Shadow-Cursed Lands B – Docking Area / Cellar C – Staircase D – Roots
The first time you cross the bridge (Exit A) into the Last Light Inn, you’ll be stopped by Harpers, who will be wary of you. You’ll then meet High Harper Jaheira, who will immediately Entangle you and produce a Mind Flayer Parasite Specimen, which will alert her that you have a parasite in your head.
Luckily, it’s easy to talk your way out of this tense situation. In fact, as long as you don’t attack the Harpers — which isn’t recommended, given that you’d be facing ten of them — anything you say will lead to Jaheira trusting you and inviting you inside.
So it won’t make any difference if you beat a DC-15 Strength check and break the entanglement; or if Lassandra (from the Shadow-Cursed Lands), Mol (from the Emerald Grove), or Marcus (an Absolutist spy) vouches for you; or if you beat a DC-21 Charisma check to avoid showing Jaheira the Mysterious Artefact. You’ll be given the run of the place, which will allow you to talk to a variety of people, including shopkeepers and quest givers.
After questioning you here, Jaheira will move inside the inn (#3), where you’ll be able to talk to her some more.
Note: If Marcus vouches for you and you alert Jaheira that he’s a spy, then he and a swarm of Winged Horrors will attack. However, if Marcus doesn’t attack here, then he’ll attack when you speak to Isobel. See Isobel’s entry (#7) for information about the battle.
Quartermaster Talli is a merchant. She’ll have a little bit of everything for sale. including an Amulet of the Harpers and a Cloak of Protection. If you beat a DC-10 Persuasion check when talking to Talli, then she’ll give you a free Supply Pack.
3 – Watchtower
Notable Loot
Light Crossbow +1
You’ll find a Light Crossbow +1 here, free for the taking. No stealing required.
4 – Funeral
If you successfully protected Harper Kassandra and her scouting party in the Shadow-Cursed Lands, then when they get back to the inn, they’ll head here and hold a funeral for Harper Yonas. If you have an Acolyte (like Shadowheart) in your party, then talking to Harper Meygan about Yonas will give you the Tragic Love inspiration.
You’ll discover a stuffed bear named Darkmaw the Wicked in the corner here. If you interact with it and pass a DC-14 Nature check, then you’ll learn some lore about it. All of the origin characters have unique responses when inspecting the bear, and once one character beats the Nature check, all future characters will automatically beat it as well.
You’ll find Mattis here acting as a shopkeeper. He’ll still have an assortment a “lucky” items for sale, just like in the Emerald Grove, but now he’ll also have some useful equipment available, including a Cloak of Cunning Brume and Evasive Shoes.
Mattis will also have a “special” key for sale, and he’ll want you to pay 1000 gold for it. There are a few ways to acquire the key:
You can pay 1000 gold for it — or pay 2000 and make Mattis’ day.
In return, you’ll receive a Tower-Shaped Key, which you can use in the Mason’s Guild in Reithwin Town. The lock opened by the key can also be picked by beating a DC-18 Sleight of Hand check, so purchasing the key isn’t necessary.
Note: If Karlach is in your party, then Mattis will go all fanboy about her fighting prowess, having seen her in action while they were both in Avernus.
If you managed to save Barcus from the goblins in the Blighted Village and the duergar at Grymforge, then he’ll be here at an alchemist’s workbench. He’ll tell you that he’s working on a new type of smokepowder bomb called Brilliant Retort, and he’ll offer to give you some provided you rescue Wulbren from Moonrise Towers. This is a part of the quest Rescue Wulbren.
Meanwhile, you might also notice a cat named His Majesty here. He won’t like you much, even if you pass DC-14 checks on Animal Handling and Intimidation. However, if you butter up the cat by admiring him, then he’ll tell you that Isobel (#14) is a liar because she promised him milk and then didn’t give him any. Unfortunately, there isn’t any way to rectify this. His Majesty’s bowl will forever remain empty, and he’ll forever remain cranky.
You’ll meet Raphael and Mol here, playing a chess-like game called lanceboard. If you beat a passive DC-14 Insight check, then you’ll realize Mol has played the game before but is pretending that she hasn’t. It won’t make any difference who wins, but if you beat a DC-10 Sleight of Hand check, then you can bump the board and distract Raphael so Mol can cheat and win, and if you encourage Mol to attack, then she’ll win honestly.
If Mol wins by taking your advice, and if you have a Sage (like Gale) in your party, then you’ll gain the inspiration Theskan Tactician. If you distract Raphael, and if you have a Charlatan (like Astarion) in your party, then you’ll gain the inspiration Shuffling the Board.
Afterwards, Raphael will reveal that’s he’s at the inn to make a deal with Mol, but he’ll remind you that he has an offer out to you, too. Then he’ll disappear. Raphael will also disappear if you attack him — and since he’s level 16 with 666 hit points, it’s probably just as well.
Meanwhile, Mol will head over to the bar (#11) after the encounter. When you talk to her there, if you beat a DC-14 Persuasion check, then you’ll learn that Raphael has promised to get her and her “kids” to Baldur’s Gate safely. If you beat a passive DC-14 Insight check, then you’ll realize she’s lying. To learn the truth, you’ll have to beat a DC-16 Persuasion check. This will cause Mol to reveal that Raphael has also promised to make her the head of the Thieves Guild in Baldur’s Gate. Mol will eventually take Raphael’s deal. Nothing you say here will change her mind.
“Maybe I’ll make a deal. Maybe I won’t. But it’ll be my choice — not the devil’s and not yours.” – Mol
When Marcus makes his attack on the inn (see #14), Mol will get kidnapped by a Winged Horror and taken to Moonrise Towers. The other tiefling children will then gather at the bar and try to figure out what to do. If you offer to bring Mol back, then you’ll trigger the quest Find Mol.
Jaheira is the High Harper at the inn. The first time you talk to her here, she’ll offer you a glass of wine. If you beat a DC-10 Medicine check, then you’ll detect the presence of a truth-telling drug. It won’t make any difference to Jaheira if you drink the wine or not, and it will only affect your dialogue options when Jaheira asks if the parasite is changing you. If you didn’t drink the wine, then you’ll be able to lie and say no, but if you drank the wine, then you’ll have to beat a DC-6 Constitution check to lie.
Otherwise, your conversation with Jaheira will mostly be an update about what’s going on. You’ll learn that General Ketheric Thorm is in charge of the Absolutist forces, and that he’s currently invincible — which is odd given that he was killed by Harpers 100 years ago. So Jaheira will ask you to use your status as a True Soul to investigate Moonrise Towers and figure out Thorm’s secret. She’ll also recommend that you visit the Selunite cleric Isobel upstairs (#14), as Isobel can give you some protection against the Shadow Curse.
Jaheira is a potential companion, but to recruit her you’ll have to wait until the end of Act 2.
10 – Fire Pit
You’ll meet Alfira and Cerys keeping warm by the fire pit here. Both will tell you about the troubles the tieflings have had since leaving the Emerald Grove:
Alfira (the bard from the Emerald Grove) will tell you about the cultist attack — how Asharak (the weapons trainer at the grove) was killed, how Rolan (#11) saved a lot of people, and how many tieflings were captured and taken to the Moonrise Towers. This can trigger the quest Rescue the Tieflings.
Cerys (a tiefling scout who wasn’t in Act 1) will tell you that Zevlor froze and tried to surrender when the cultists attacked, and was among those captured. This will trigger the quest Find Zevlor.
If you convinced Rolan and his siblings Cal and Lia to stay in the Emerald Grove in Act 1, then you’ll find Rolan at the bar here, trying to drain every last drop of the inn’s remaining alcohol supply. If you ask him what’s wrong, then he’ll tell you that Cal and Lia were captured by cultists and taken to Moonrise Towers. This can trigger the quest Rescue the Tieflings. If you offer to look for Cal and Lia, then Rolan will get angry and tell you that they’re his responsibility, not yours, and that you can kindly get lost.
After the conversation, Rolan will head out and try to rescue his siblings on his own. He’ll make it to the southernmost entrance to Reithwin Town in the Shadow-Cursed Lands, but at that point he’ll run into more shadows than he can handle. If you don’t intervene, then he’ll die. He’ll also die if you rescue his siblings before talking to him, or before rescuing him. If you rescue Rolan from the shadows, then he’ll return to the bar, grumpy but alive.
You’ll also meet Ide at the bar. He’s the acting bartender, and he’ll sell you camp supplies. If you talk to Ide after dealing with Rolan, then he’ll mention that he found a book that Rolan might like, and that he’s pretty sure it’s magic. If you beat a DC-14 Deception, Intimidation or Persuasion check, then you’ll convince Ide to give you the book instead — only he’ll pat his pockets and claim he must have dropped it somewhere. By all accounts, Ide is talking about the book The Way of the Wanderer, which you can find on the bar. The only problem is, The Way of the Wanderer isn’t magical or special, and there isn’t any way for you to give it to Rolan, or do anything with it other than read it. Possibly this is just a case of cut content.
Finally, there are two noteworthy containers here:
In the pouch behind the bar, you’ll find a Wrinkled Note. It’ll give you a clue for the Mason’s Guild in Reithwin Town.
In the Innkeeper’s Lockbox (DC-10 Sleight of Hand to open), you’ll find the Innkeeper’s Journal. It’ll mention the secret shrine in the cellar (#29).
Both of these documents are peripherally involved with the quest Investigate the Selunite Resistance.
If you beat a passive DC-10 Perception check while you’re inside this room, then you’ll detect a loose plank that is hiding a Snowburst Ring (which creates a circle of ice around the targets of Cold spells).
13 – Flaming Fist Command Center
This chamber has been commandeered by a contingent of Flaming Fists, who are in the area searching for Grand Duke Ravengard. There are three people in the chamber you should talk to.
In the center of the chamber you’ll meet Counsellor Florrick. You might remember her from Waukeen’s Rest in Act 1. She’ll give you an update on the Grand Duke — mostly that the Flaming Fist hasn’t been able to do much because of the Shadow Curse, and that she’s about to return to Baldur’s Gate to seek reinforcements from Lord Gortash, who is creating an army of automatons called the Steel Watch. However, Florrick won’t be optimistic about surviving the trip, so she’ll recommend that you work with Jaheira (#9) while she’s gone.
Note: If Karlach is in your party, then she’ll inform you that Gortash is the one who sold her to Zariel, so guess who isn’t going to be a good guy.
Florrick will also mention Art Cullagh, whom you’ll find in the back of the room. She’ll tell you that he wandered into the inn after Isobel (#14) put her protective spell around it, and that his papers were signed by Duke Eltan (who appeared in the original Baldur’s Gate) over 100 years ago — meaning he might be that old as well.
In the back of the room, you’ll meet Fist J’ehlar sitting next to Art Cullagh, who is catatonic and singing an odd song about himself and somebody named Thaniel. Talking to the pair is a part of the quest Wake Up Art Cullagh.
Isobel is a cleric of Selune. She’s the one maintaining the moon shield around the inn. If you have an Acolyte (like Shadowheart) with you when you see Isobel reinforcing the shield, then you’ll earn the Moonweaver’s Prayer inspiration.
The first time you talk to Isobel, she’ll give you the Blessing of Selune, which will protect you from the regular version of the Shadow Curse. This is the version covering the majority of the Shadow-Cursed Lands. However, there are areas with a stronger version of the curse, such as Reithwin Town and the house to the east of the inn (#21), where you’ll need better protection — either a working Moonlantern or a Pixie Blessing — which you can acquire in the Shadow-Cursed Lands, perhaps with the help of a Harper ambush (see Exit A).
At the end of your conversation, a former Flaming Fist named Marcus will fly to your position with the intention of kidnapping Isobel. Several flying ghouls called Winged Horrors will arrive with him, and one of them will immediately kidnap Mol. If you beat a DC-6 Wisdom check, then you’ll read Marcus’ mind and see that Isobel — alive — is very important to Ketheric Thorm.
You can either work with Marcus or fight against him:
If you side with Marcus, then you’ll need to knock Isobel unconscious, which means you’ll need to use non-lethal attacks against her. When Isobel goes down, Marcus will take her and fly away, and the moon shield around the inn will fail. For some reason, despite many lights at the inn still being on, everybody inside and outside will either die instantly or turn into Shadow-Cursed Undead and attack you. Jaheira will survive and assist you in the fight.
The ensuing battle will prove long, if not nasty, as you’ll be fighting over 20 undead creatures, plus several Shadow Creepers and Greater Shadow Creepers, which will show up after a couple of rounds. If you’ve never had a reason to invoke Turn Undead before, then this is a good time for it, since it will damage, disable, or completely destroy undead enemies. After the battle, Jaheira will leave for Baldur’s Gate, but she’ll promise to help you against Ketheric Thorm.
Just be aware that choosing this option will kill shopkeepers and important NPCs, and it can break quests like The Hellion’s Heart and Wake Up Art Cullagh. But you will find an Obsidian Laced Robe and The Mighty Cloth on Quartermaster Talli’s corpse.
If you side with Isobel, then you’ll have to fight Marcus and his six Winged Horrors. Everybody else inside the inn, including Isobel, will help you out. That would make the battle pretty easy, except for the fact that you have to protect Isobel. If she gets knocked out, then Marcus will immediately fly away with her, and you’ll get the same result as siding with Marcus in the option above — that is, the shield around the inn will fail and a bunch of bad stuff will happen.
Isobel is pretty tough with 58 hit points, and she’s a Cleric, so she’ll heal herself. But Marcus and his Winged Horrors will mostly focus on her, and if she gets surrounded, then she’ll go down quickly. So kill the Winged Horrors as soon as they get close to her, and then gang up on Marcus. After the battle, you’ll find a Mind Flayer Parasite Specimen and a Shifting Corpus Ring on Marcus’ corpse.
Note: If you use Speak with Dead on Marcus after killing him, and if you ask him about anything valuable he might have left behind, then he’ll mark the location of a Flaming Fist he killed (#20) because she learned about his association with the Absolute.
If Isobel survives Act 2, then it’s possible she’ll become a member of your camp.
15 – Dammon
You’ll find Dammon here, puttering around in the forge part of the stables. He’s a merchant and also an infernal mechanic. You’ll need to give Dammon Infernal Iron for Karlach‘s companion quest The Hellion’s Heart, and he can also use Infernal Iron to forge Flawed Helldusk Armour, a Flawed Helldusk Helmet, and Flawed Helldusk Gloves (in that order). Moreover, if you kept any Devilfoil Masks from Grymforge, then Dammon and convert them into Orthon Explosives, which deal 3d6 Fire damage.
When you approach the Strange Ox here, you’ll trigger a passive DC-14 Insight check. Beating it will remind (or not) that you met the ox previously in the Emerald Grove during Act 1. If you interact with the ox without Speak with Animals active, and if you beat a DC-16 Animal Handling check, then you’ll sense an “invitation” from it.
When you talk to the Strange Ox with Speak with Animals active, it’ll claim you’re “incapable.” If you pass a DC-14 Nature, Perception or Persuasion check, then it’ll change its mind and present you with an image of dead, bloody bodies, all in a pile. When you ask the ox what it really is, it’ll decline to say.
If you press the Strange Ox about its true form, then it’ll transform into an ooze and attack you, but Dammon and any Harpers in the area will come to your aid. When you kill the ooze, you’ll find a Hat of Fire Acuity and a Shapeshifter’s Boon Ring on its corpse.
If you don’t press the Strange Ox, then nothing will happen here, but you’ll meet it again in Act 3 (in Rivington), where you’ll still be able to claim the two items listed above.
“All I wanted was a bit of hay, a good brushing, and a clean stall. The simple life. IS THAT SO MUCH TO ASK?!” – Strange Ox
On the upper level of the stables, you’ll find a locked rustic chest here. You’ll need to beat a DC-14 Sleight of Hand check to pick its lock. Inside the chest, you’ll find Rippling Force Mail.
18 – Bex
When you talk to Bex here, you’ll learn that her lover Danis was one of the tieflings captured by cultists and taken to Moonrise Towers. This can trigger the quest Rescue the Tieflings.
You might notice three Blast Mines on the bridge here. They’ll be visible without needing to detect them, so nobody in your party should step on them. Still, if you want to disarm them, then you’ll just need to beat a DC-10 Sleight of Hand check.
If you beat a passive DC-18 Perception check here, then you’ll detect a pile of rubble. With at least 15 Strength, you’ll be able to move the rubble out of the way to reveal a dead Flaming Fist. Beating another passive DC-18 Perception check will highlight the corpse, but that’s it. You’ll still be able to loot the corpse for a Shield of Scorching Reprisal whether you beat the check or not.
The corpse here won’t have anything to say to you, but if you use Speak with Dead on Marcus after defeating him (see #7), then he’ll reveal that the Flaming Fist learned about his deal with the Absolute, and so he killed her and hid her body.
21 – Sign / House
The sign here will warn you that the house to the east is enveloped in a stronger version of the Shadow Curse. Regular light sources, spells, and the Blessing of Selune won’t protect you from it. You’ll need a working Moonlantern or a Pixie Blessing, which you can acquire in the Shadow-Cursed Lands. Or you’ll need to run into and out of the house very quickly.
You’ll discover a locked opulent chest here. You’ll need to beat a DC-16 Sleight of Hand check to open it. Inside, you’ll find Penumbral Armour, which gives a bonus to Stealth checks while obscured.
There are two locked cells and a locked chest in this area. All three can be opened using the Last Light Detention Cell Key, which you can pick up from a table in the area, or by passing DC-10 and DC-18 Sleight of Hand checks for the cells, and a DC-14 Sleight of Hand check for the chest.
24 – Cracked Wall
You’ll find a cracked wall here. You’ll need to destroy it to clear the way. The wall resists piercing attacks, but otherwise it should be easy to damage. On the southern side of the wall, you’ll have to move some crates out of the way. On the northern side, you’ll find a Smokepowder Barrel, which will make destroying the wall very easy if you’re coming from that direction.
These doors will start out locked. You can open them with the Last Light Side Entrance Key (#29), or by passing a DC-14 Sleight of Hand check to pick their lock.
You’ll find a locked and trapped chest here. You’ll have to beat a passive DC-15 Perception check to detect the trap, a DC-10 Sleight of Hand check to disarm the trap, and a DC-14 Sleight of Hand check to pick the lock. Inside, you’ll find a Coruscation Ring.
27 – Blocked Door
To make this doorway usable, you’ll need to move the crates blocking it out of the way, and also destroy a spider web.
28 – Cracked Wall
You’ll need to destroy the wall here to pass through it. The wall resists piercing attacks, but otherwise it should be easy to damage. On the eastern side, you’ll find a Smokepowder Barrel, which will make destroying the wall very easy if you’re coming from that direction.
29 – Shrine / Meenlocks
Enemies
7 x Meenlocks – Lv. 6
Notable Loot
Covert Cowl
When you approach the shrine to Selune here, you’ll get attacked by seven Meenlocks. They have a Fear aura, and they can paralyze with their attacks, but they also have Light Sensitivity, which means if you keep your party in full light, then the Meenlocks will almost always miss. Also, the Meenlocks aren’t super aggressive, so you should be able to climb up to the high ground and then initiate the fight yourself while hiding. With a good enough start, you might be able to kill most of the Meenlocks before they can even get to you. After the battle, you’ll find a Covert Cowl on one of their corpses.
When you examine the shrine itself, you’ll find Halfred’s Note on it. This is a part of the quest Investigate the Selunite Resistance. Near the shrine, you’ll also find the Last Light Side Entrance Key, which can unlock a door to the south (#25).
There are several dirt mounds in and around the Last Light Inn. You’ll need to beat a passive Survival check to detect them, and a Shovel to unearth the treasure chest that they’re hiding.
After speaking with Jaheira (#9) and Isobel (#14), the first time you walk out of the inn, you’ll meet a group of Harpers led by Branthos. Provided you haven’t already triggered the ambush of the cultist convoy in the Shadow-Cursed Lands, Branthos will tell you that that’s what his team is planning to do, and he’ll invite you to come along. The convoy ambush is a place where you can get a Moonlantern or a Pixie Blessing — items that make dealing with the Shadow Curse much easier, so you should trigger the ambush as quickly as possible.
B – Docking Area / Cellar
The walkways around the inn lead down to a docking area (not shown on the map above), where you won’t find anything other than some empty containers and the door to the Cellar.
C – Staircase
This staircase will take you between the upper levels of the inn.
D – Roots
The roots here will allow you to climb between the Cellar and the extra-shadowy house east of the inn (#21).
W – Waypoint
There is one waypoint at the Inn, fittingly called “Last Light Inn.”
Where To Go Next
There is only one place to go directly from the Last Light Inn, unless you trigger the siege of Moonrise Towers with Jaheira.
Shadow-Cursed Lands: To get anywhere else, you’ll have to go back into the Shadow Curse. Make sure to prepare a light source or have Isobel’s blessing (#14).
Starting with cassette tape games on the TRS-80, Steven has been playing, creating, and writing about games for a long, long time. This makes him experienced, not old. Lately, Steven has been focusing on walkthroughs, making sure everybody knows how to solve Towers of Hanoi puzzles.
Minthara is the head of the Harpers at the Last Light Inn, as well as the organizer of the surviving Tiefling refugees from Act 1 and whoever else you might rescue during Act 2. Suffice to say, she’s quite busy (too busy to join your party until that is taken care of, in fact).




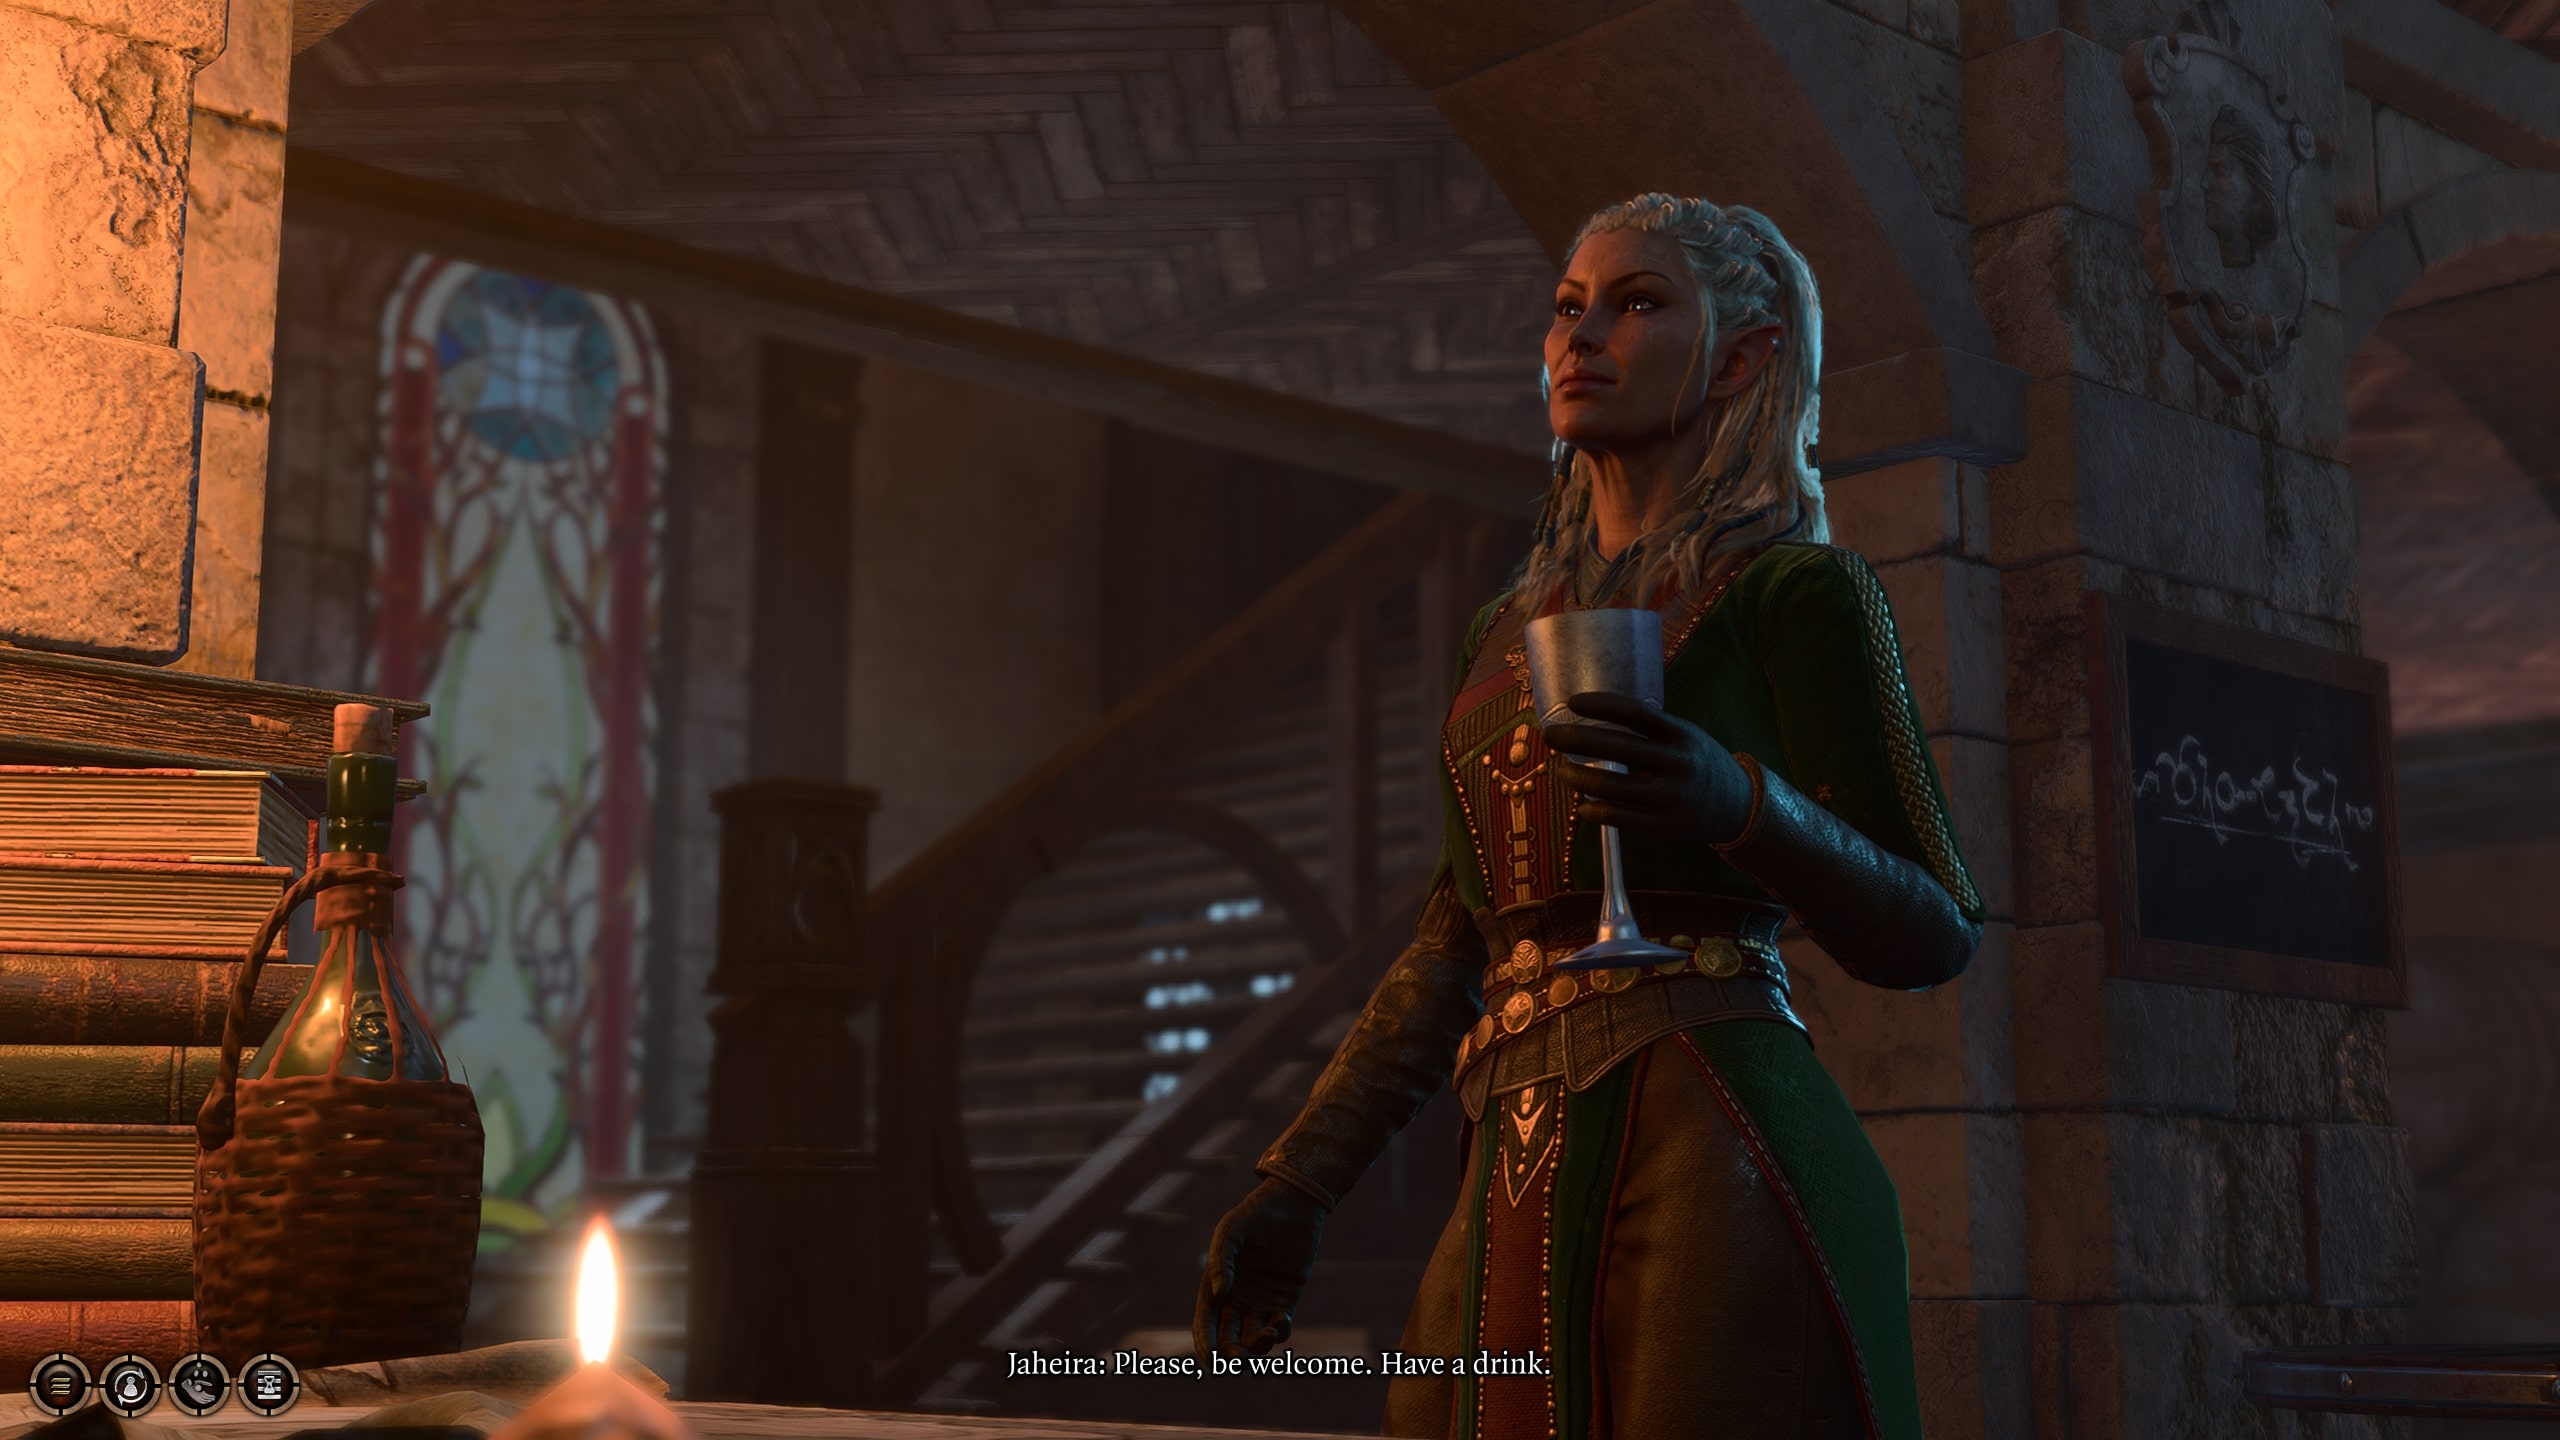





This is supposed to be Jaheira, not Minthara.
This was fixed shortly after your comment, thanks to you for letting us know!