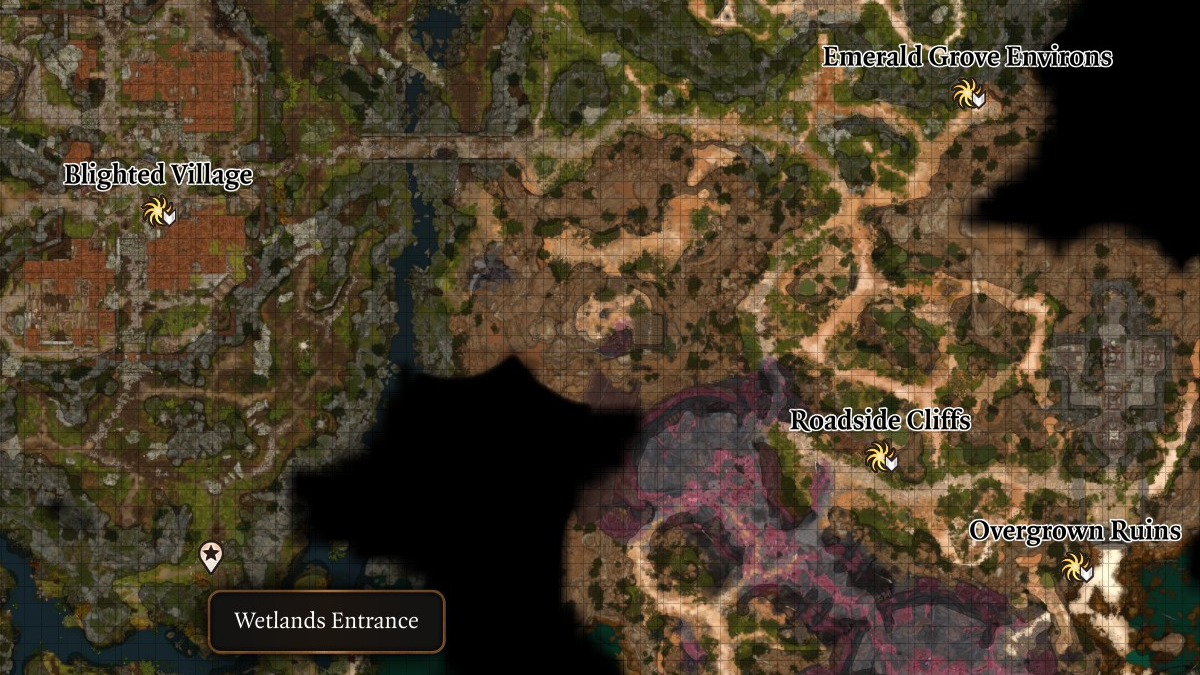
This walkthrough will take you through the wetlands south of the Blighted Village. This area is a bit off the beaten path – you don’t have to go here as part of the main quest, but you do pass through this area if you choose to Investigate Kagha. This guide exists to help make sure you find everything in the hag’s lair. The only other quest that takes place here begins when you enter the zone.
Entering the Sunlit Wetlands
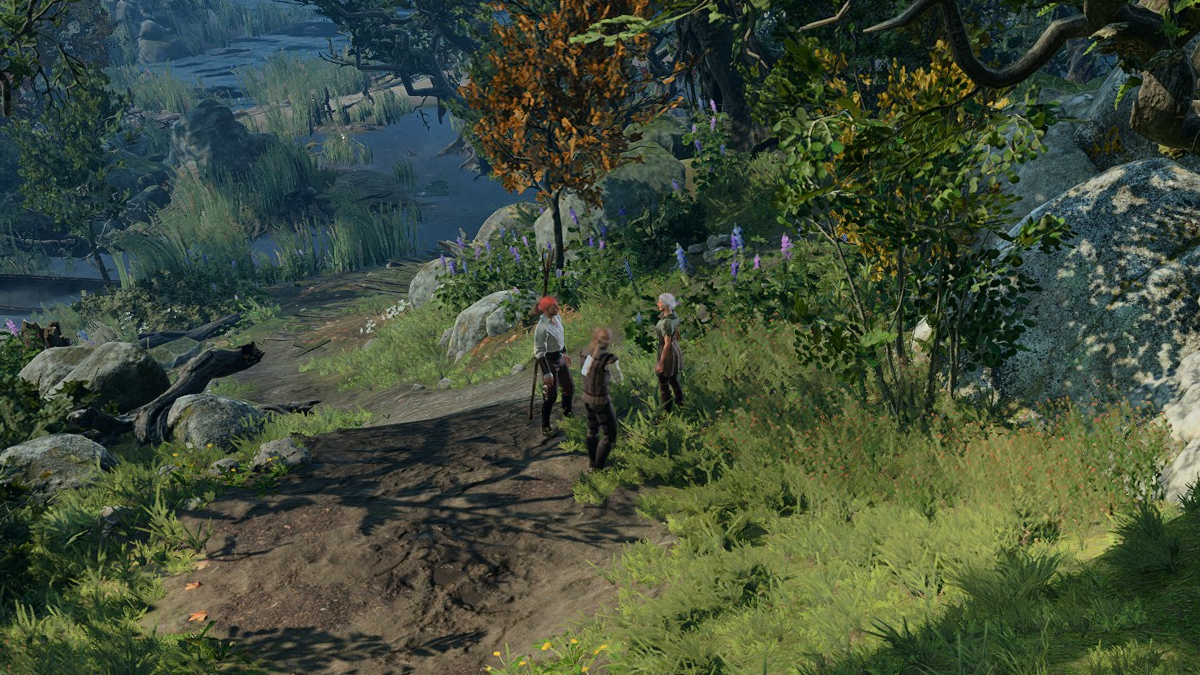
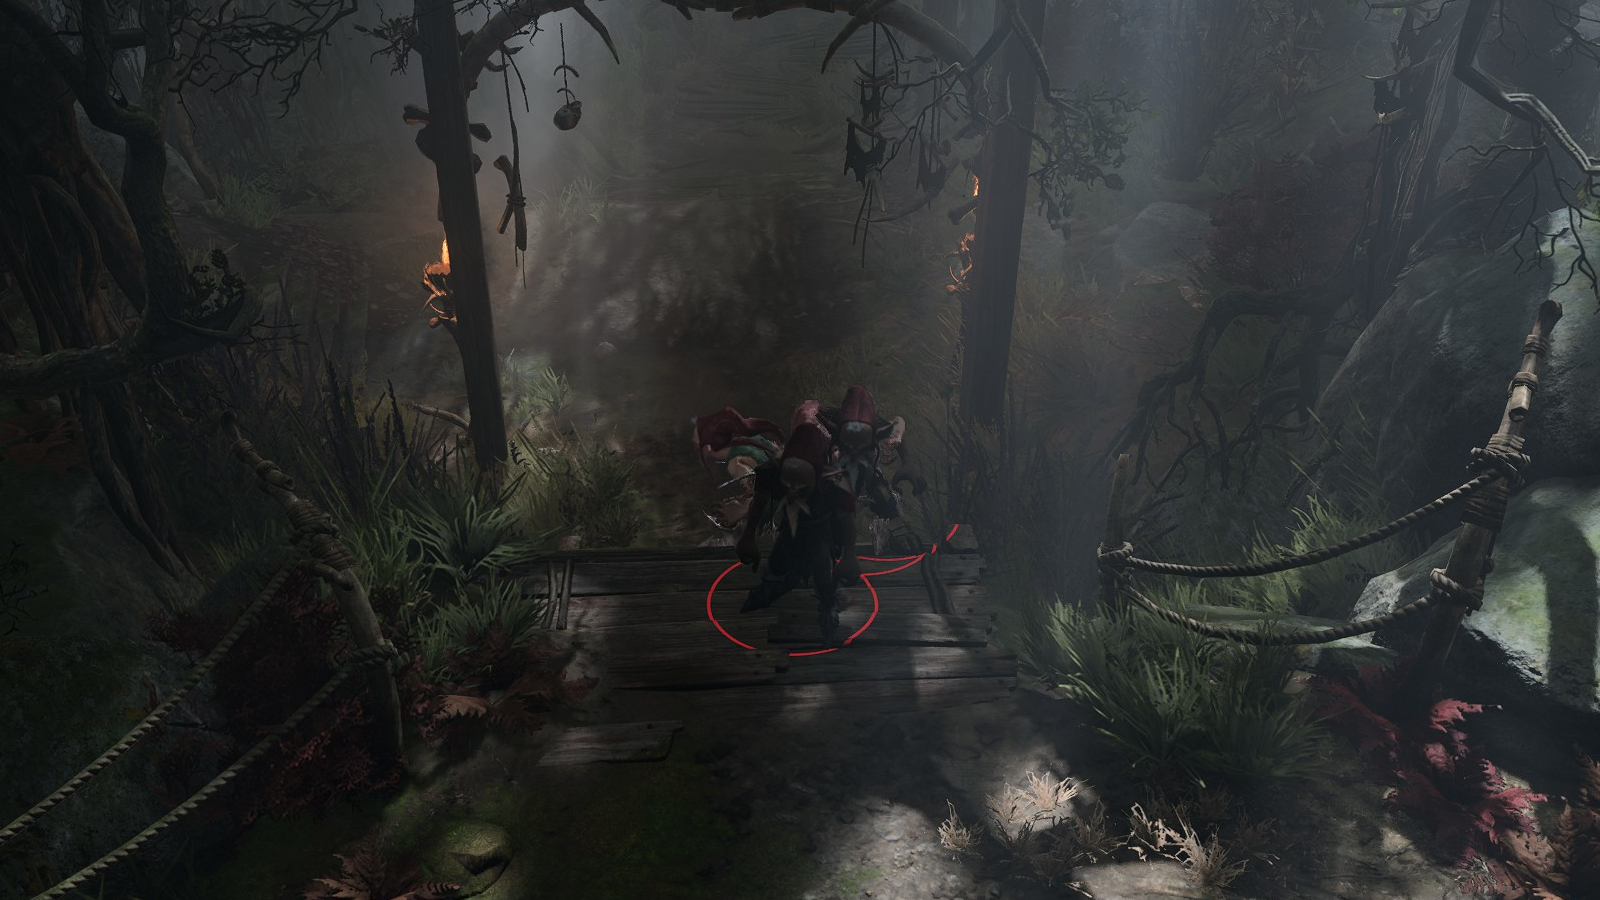
You enter the Sunlit Wetlands through the forest south of the Blighted Village. Heading down the hill, you’ll spot an older woman, Auntie Ethel, arguing with two younger men, Demir and Johl, at a fork in the trail. They believe she is a hag and are accusing her of kidnapping their sister, Mayrina.
Approaching the group will trigger a dialogue with them. Auntie Ethel will claim that she hasn’t seen Mayrina, and you’ll automatically roll an Insight check. If you succeed, you’ll know that she is lying. There are three different ways you can deal with this situation, regardless of whether you pass the check:
If you choose to defend Auntie Ethel, Demir and Johl will attack you. They’re not very tough. Defeat them and Auntie Ethel will thank you and tell you that she promised Mayrina not to tell them where she was. She’ll invite you to stop by her house, and then she’ll disappear.
If you refuse to get involved, she’ll kill them both and then disappear.
If you accuse her of lying, she’ll get annoyed… and disappear. You can then offer to find Mayrina (which Lae’zel and Shadowheart will disapprove of, but Wyll will approve of). Demir and Johl will refuse your help if you offer, and they’ll take off down into the wetlands either way. This will start the quest Save Mayrina.
However you choose to handle the situation, Auntie Ethel will vanish and you’ll be left alone at the entrance to the Sunlit Wetlands.
Dispelling the Illusion
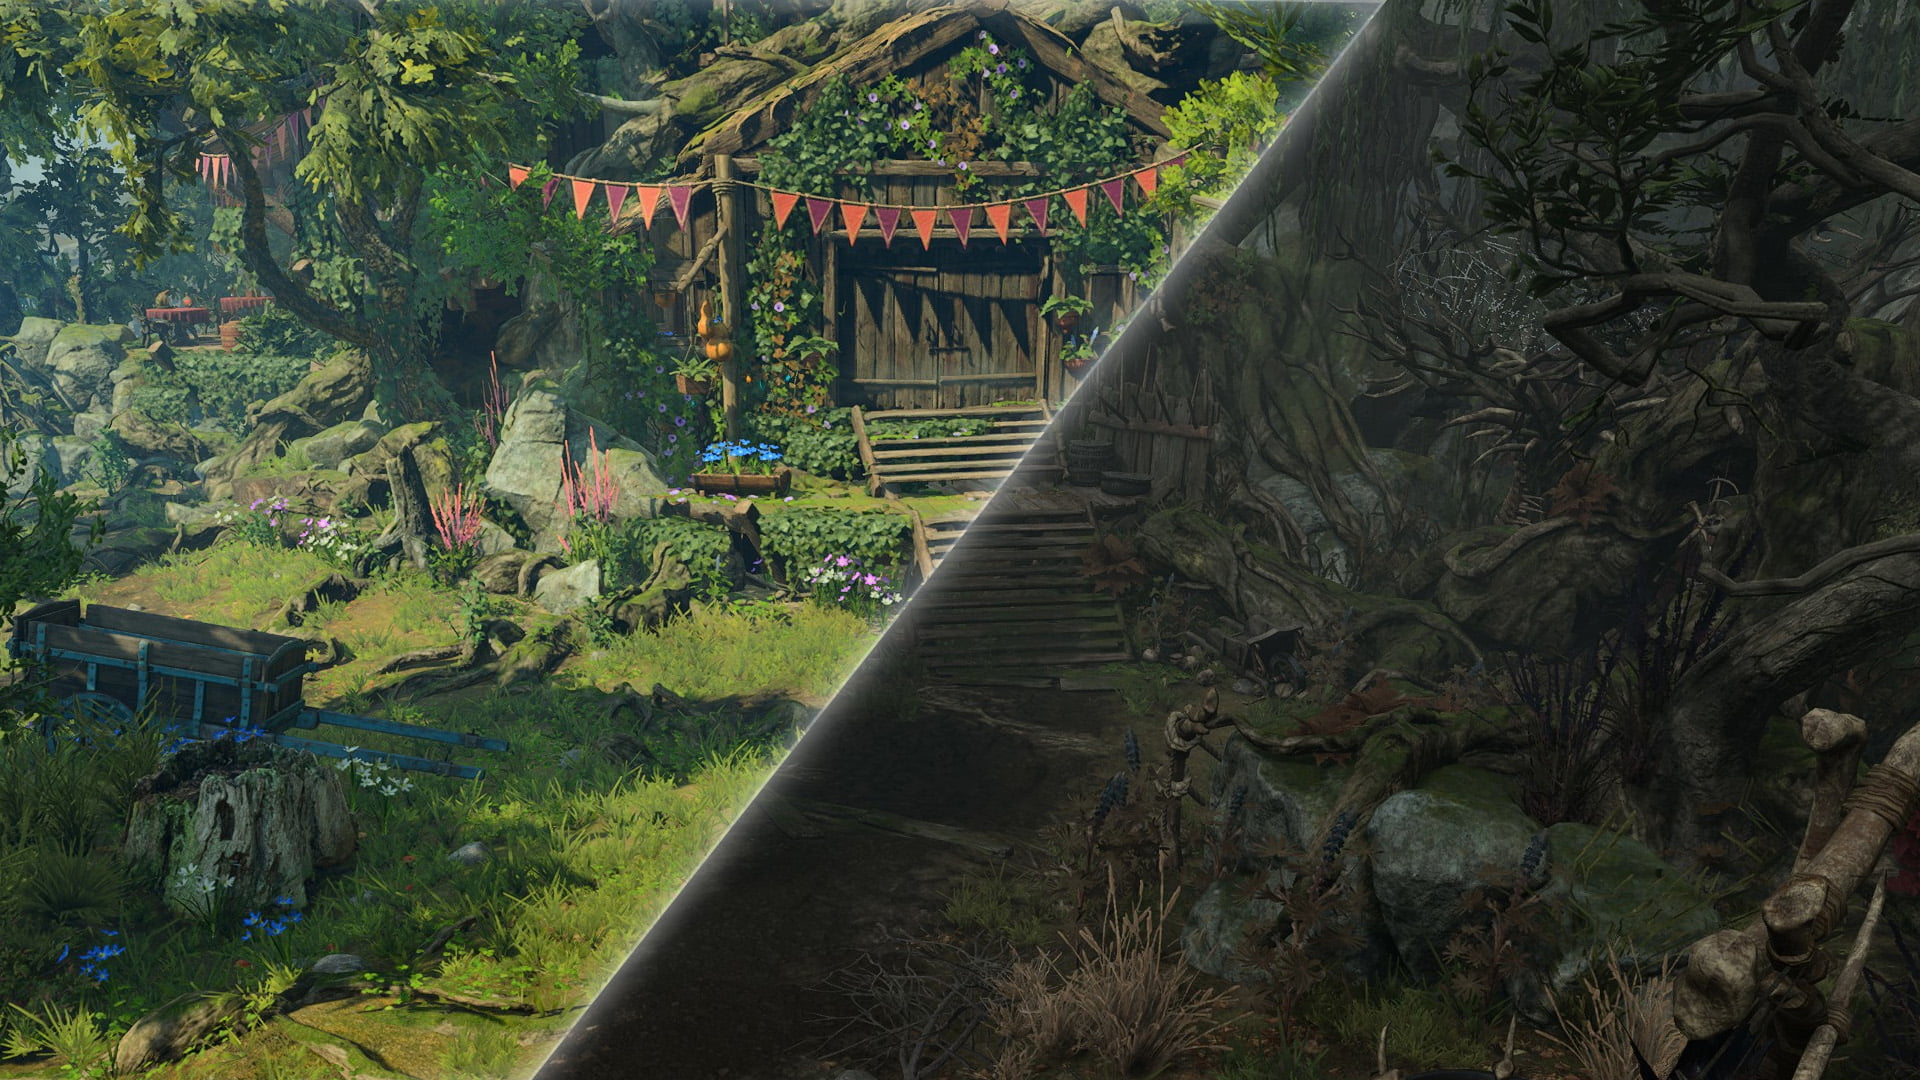
Walking a little way further down the path will trigger a narrated dialogue. You’ll have the opportunity to roll an Investigation check. It’s a difficult one – you’ll need a 20 or higher to succeed. On success, you’ll discover that the Sunlit Wetlands isn’t very sunny at all – it’s an illusion. The area will suddenly look completely different and its name on the map will change to Putrid Bog.
If you fail this check, fear not – you’ll have more chances to see through the illusion later on, and you won’t miss out on anything. You’ll just experience this area a little differently.
Navigating the Waterways
Be careful when you walk through the shallow water here as it’s full of traps. You’ll see lots of Barbed Bulrushes around which can be looted, but doing so will trigger a Sleight of Hand check. If failed, you will cut yourself, leaving you with some unpleasant debuffs. The Juicy Apples picked from these bushes and found around the area will become Poisoned Apples if you pass the skill check to see through the sunlit illusion. Either way, don’t eat them.
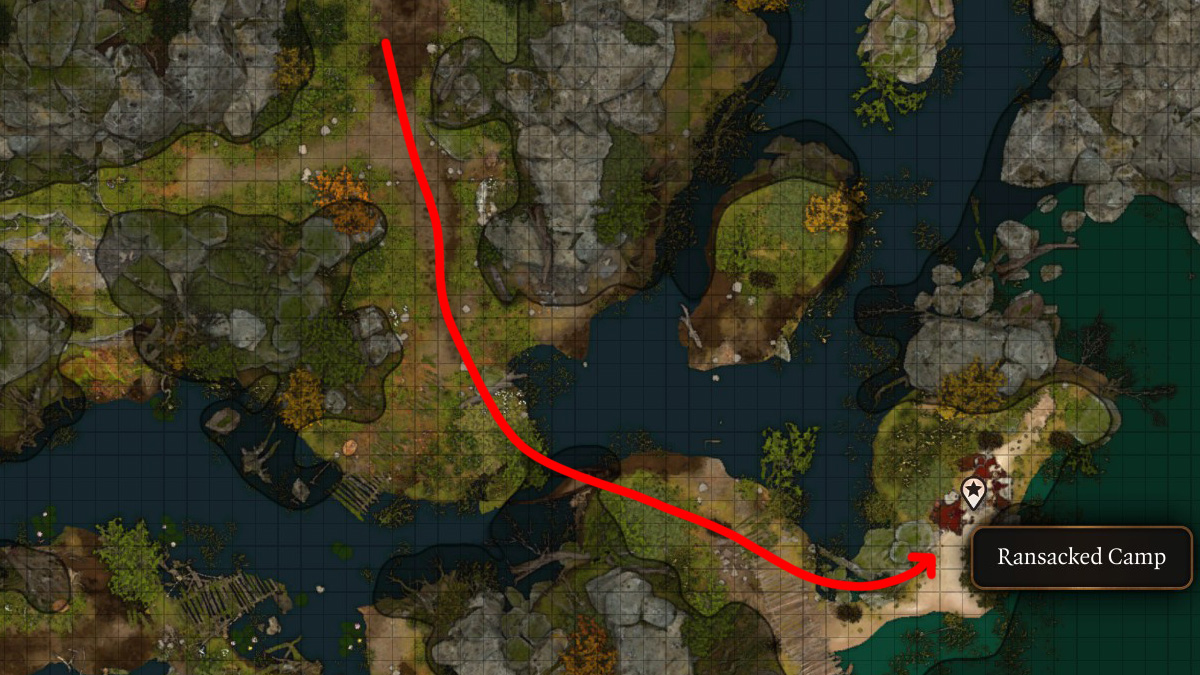
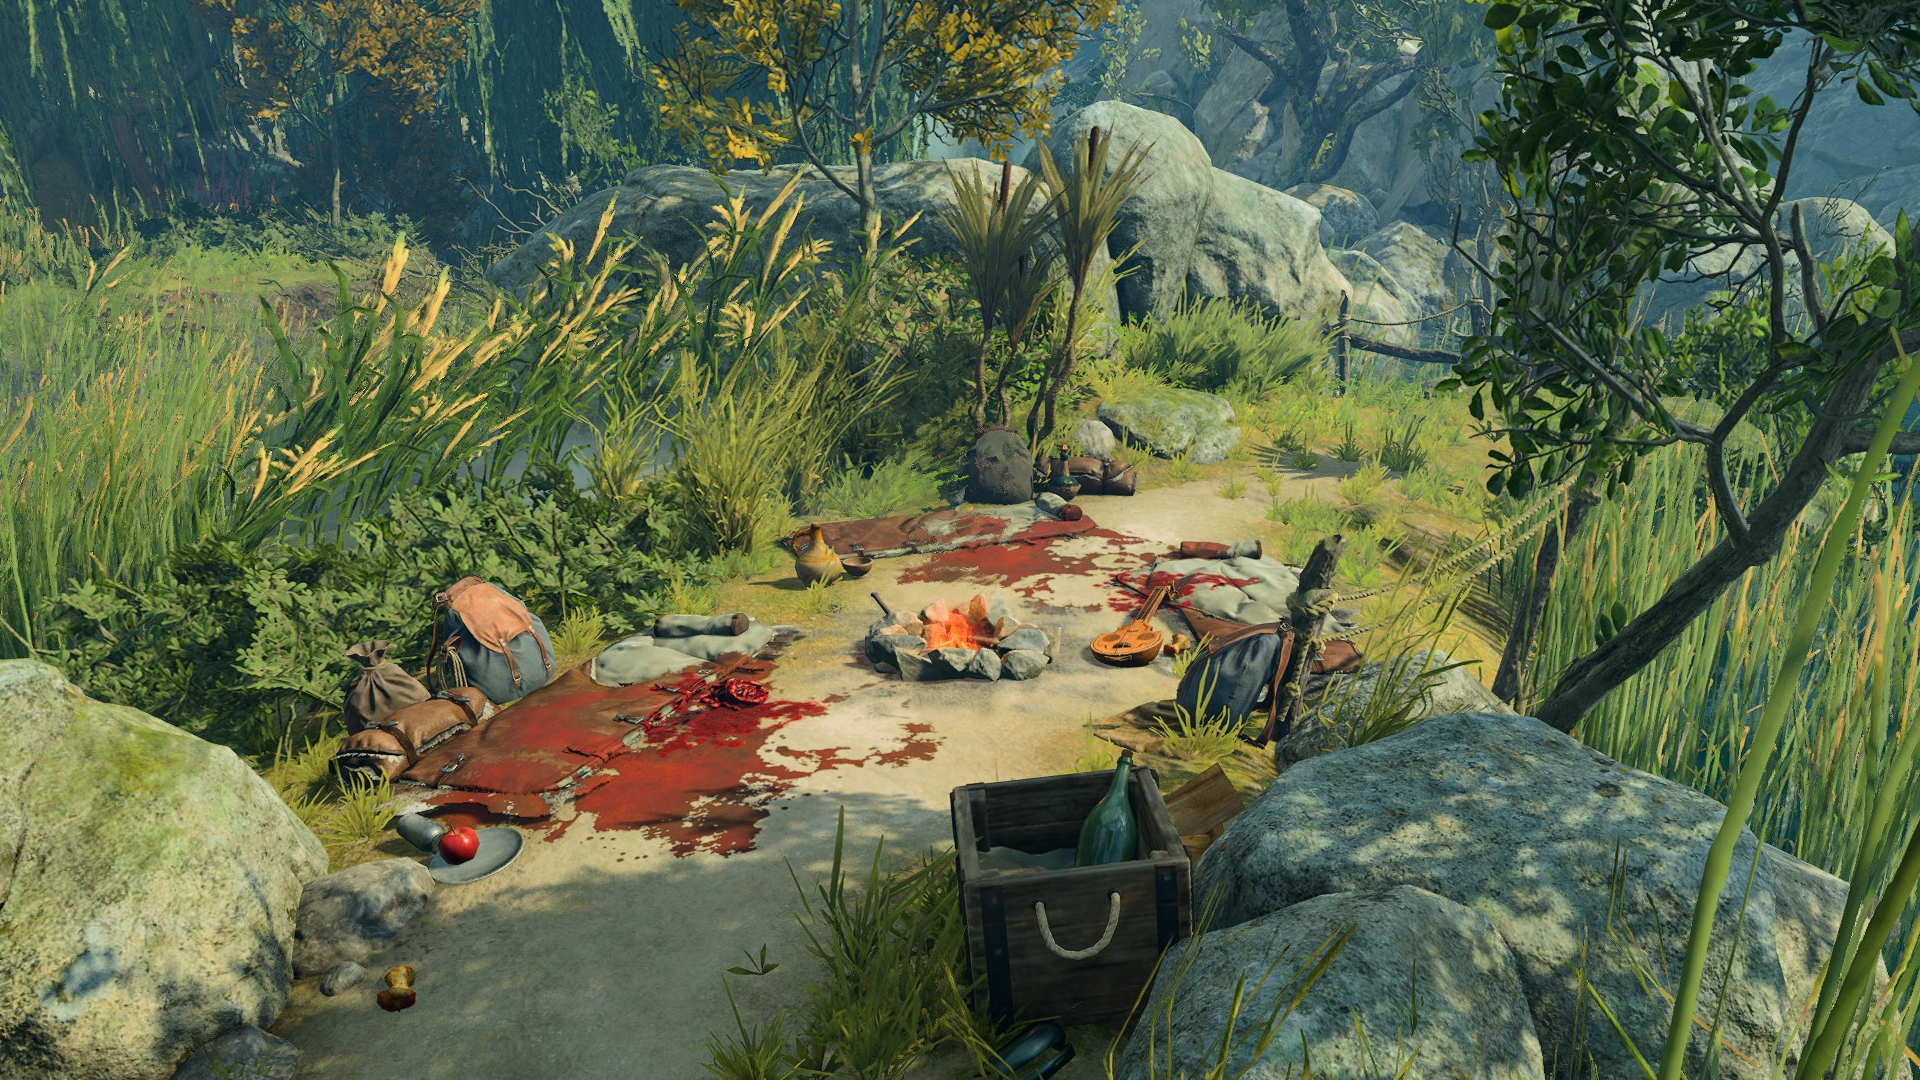
Crossing the first shallow waterway and heading to the left, you’ll discover a ransacked camp and your character will make a Nature check. If you succeed, you’ll know that it was redcaps who attacked the camp.
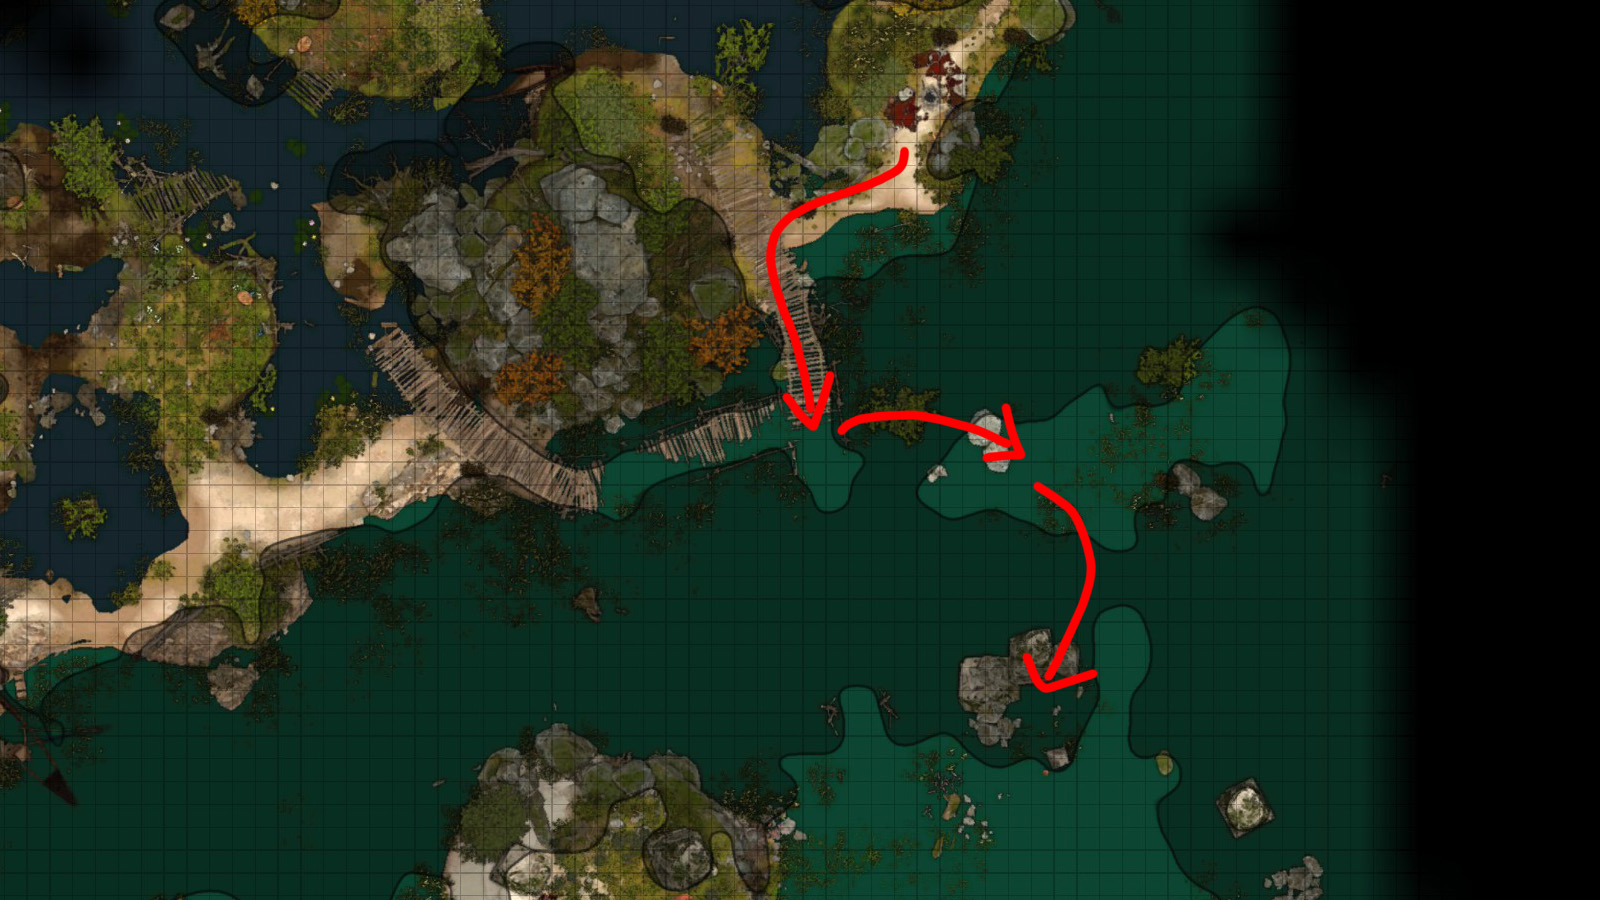
From here you can choose to jump across some rocks to reach the area indicated by the letter in the Investigate Kagha quest. However, be mindful that some of your party may not be able to make the jump. You can expect a fight on the other side with or without the quest, so it’s best to make your way there carefully and buff your party before making the final jump across.
After jumping across the rocks, you’ll enter the Druid Sanctuary, where you’ll be faced with four Ancient Mud Mephits and two Wood Woads. Your party will be clumped up and standing in shallow water, so your first task will be getting them into a good position to face these foes. The Ancient Mud Mephits will summon Young Mud Mephits, so you’ll want to take some out in the first round if possible to reduce the total number of enemies you’ll have to face. But be aware that they will explode in a puddle of mud where they die, which will deal damage to anyone close and slow movement through that area. The Mephits all have poison resistance while the Wood Woads have resistance to piercing and bludgeoning.
Your loot from these enemies consists of a Wood Woad Shield and a bunch of alchemical ingredients. In the Wooden Chest near the center tree you’ll also find some gold and The Sparkle Hands. Be careful traversing the area as it’s littered with Twisting Vines. If you have the Investigate Kagha quest, you’ll find Olodan’s Note in a Wooden Crevice in the side of the tree.
When you’re done here, jump back across the rocks to the shore and head east. You’ll encounter some redcaps roaming around. If you haven’t seen through the illusion yet, they’ll appear to be sheep. You’ll have another chance to see through the illusion by interacting with them. A successful Animal Handling check will dispel the illusion and reveal the Putrid Bog as well as the redcaps.
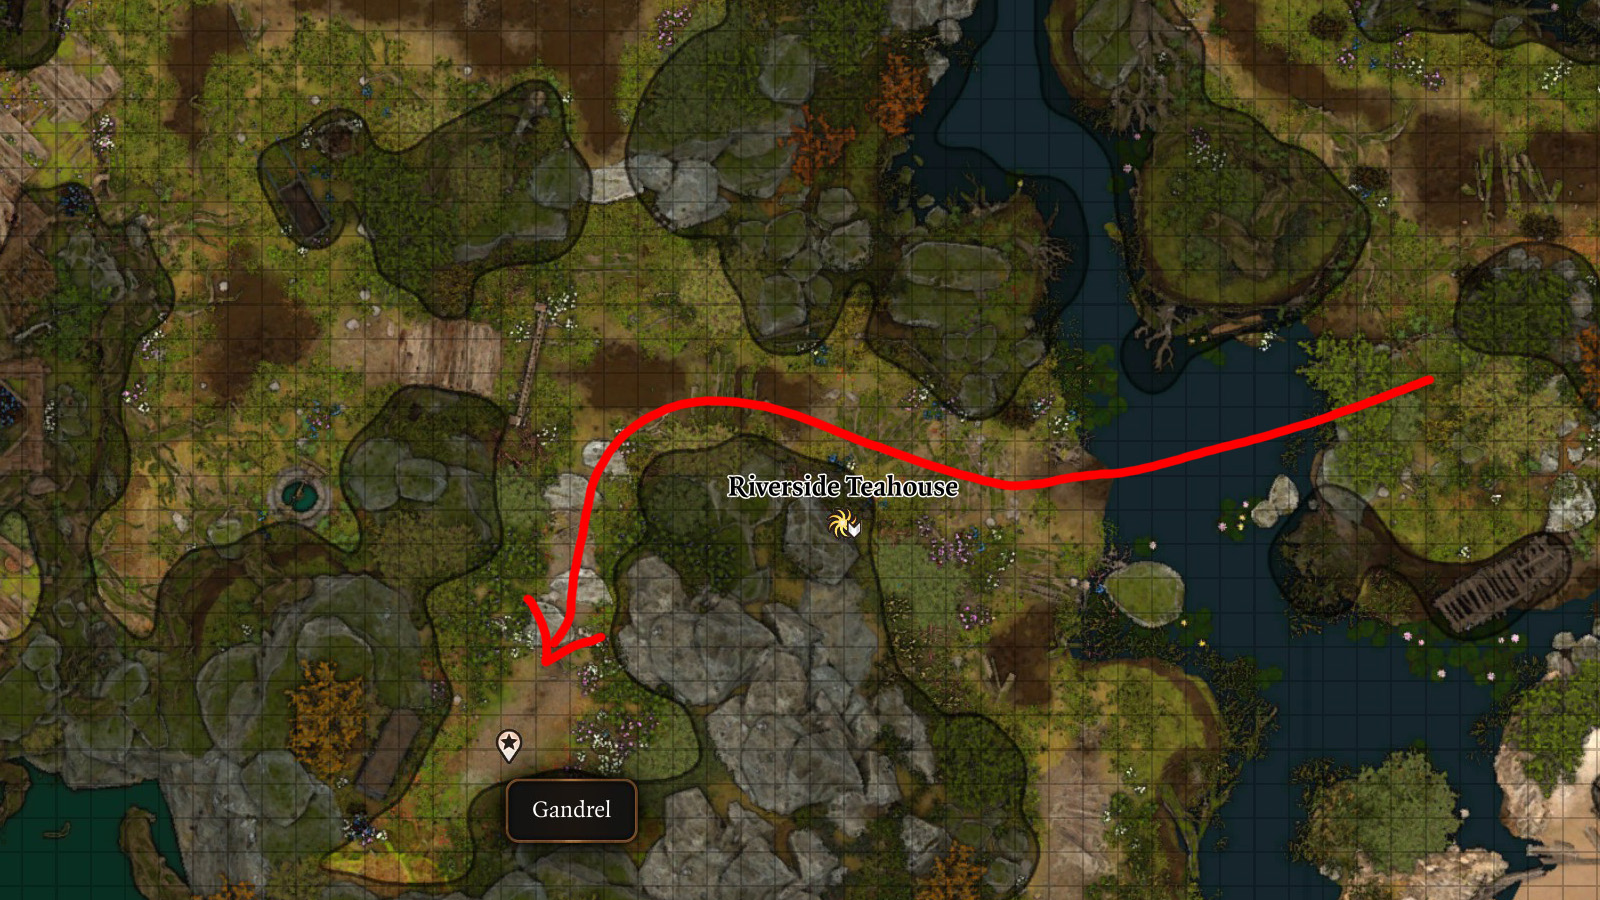
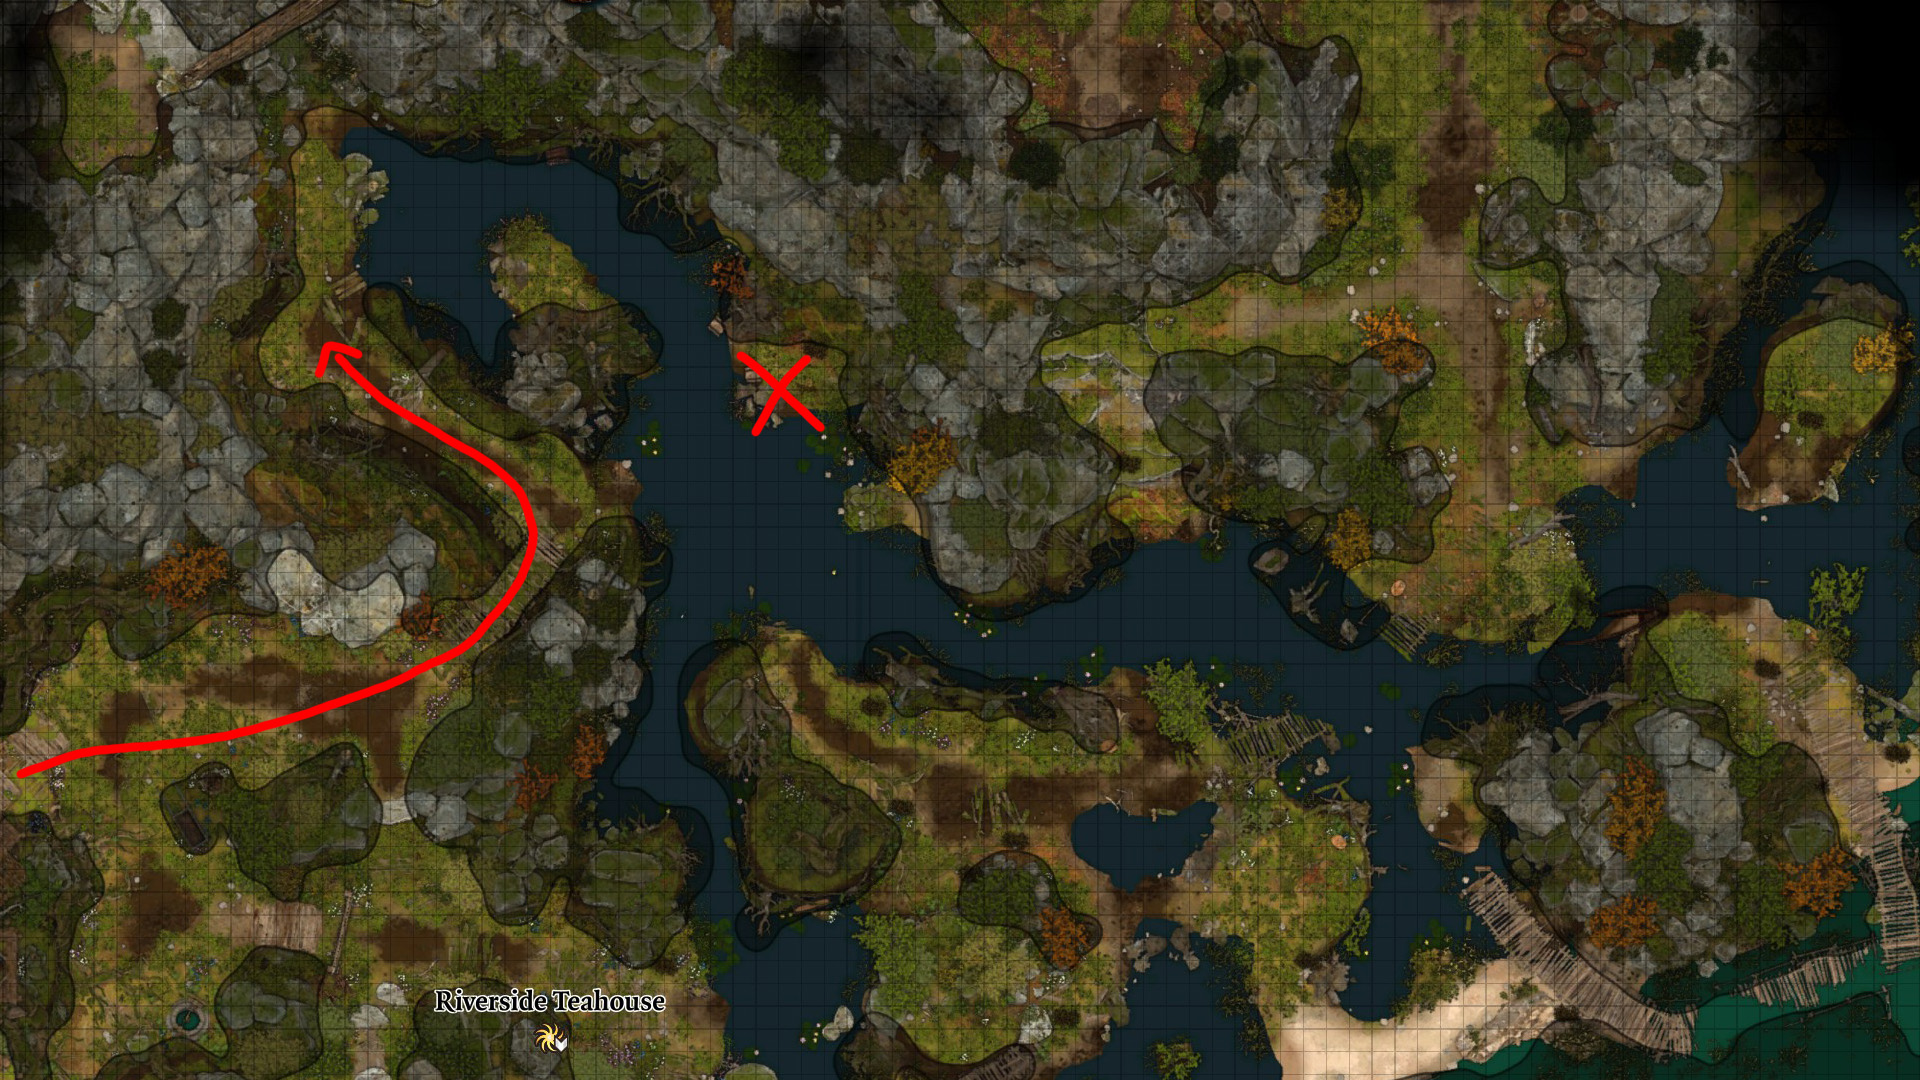
If Demir and Johl weren’t killed when you first ran into them, you’ll find their corpses in this area. You’ll also find an Ancient Sigil Circle which will add the Riverside Teahouse waypoint to your map.
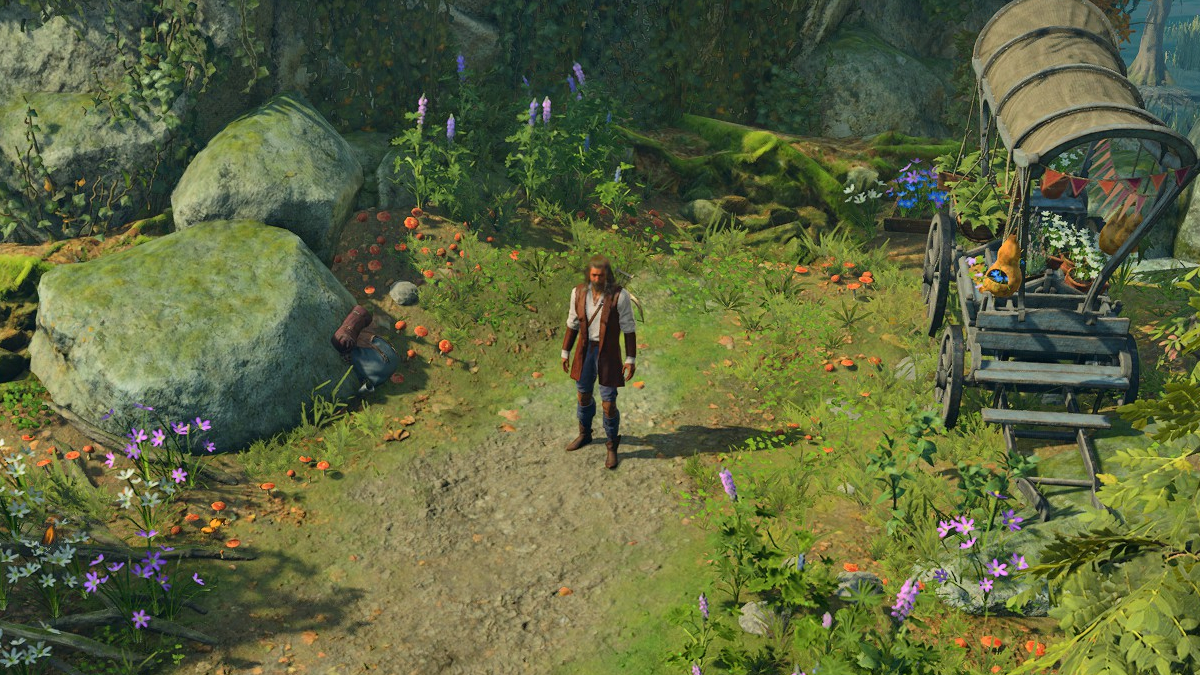
Gandrel the Monster Hunter
The path from the Ancient Sigil Circle splits in three different directions. To the left you’ll encounter Gandrel, a Gur monster hunter who is looking for Astarion. If you have Astarion with you, this encounter will progress his personal quest, The Pale Elf. Gandrel can trade, but he doesn’t have much of value.
The Riverside Teahouse
Avoid the path to the right for now and head up the hill toward the Riverside Teahouse. In front of the house is a well. Drinking from it grants the Refreshed buff, increasing your hit point maximum by 10 until your next Long Rest. Just don’t think too much about where that water came from.
Entering the house will trigger a dialogue with Auntie Ethel and Mayrina. If you defended Auntie Ethel earlier, she’ll be particularly welcoming. She can be traded with and sells the quarterstaff Corellon’s Grace along with some potions and alchemical supplies. But if you tell Mayrina that her brothers are dead, Auntie Ethel won’t be happy about it. She’ll transform into a green hag and you’ll find yourself in combat. This will also dispel the illusion and reveal the Putrid Bog if you got this far without doing so. (For help with this fight, skip ahead to the Confronting the Hag section.)
If you don’t annoy Auntie Ethel, she’ll offer to remove your parasite – for a price, of course. This will start the quest Get Help from Auntie Ethel.
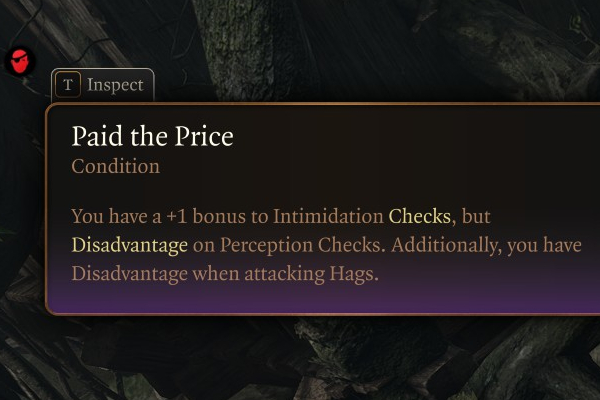
The price she wants is one of your eyes. If you agree (which all of your companions will disapprove of), she’ll transform into a green hag. You’ll choose which eye to give up, and one body horror scene later, you’ll have a milky orb in its place and a Paid the Price debuff, giving you +1 to Intimidation checks but disadvantage on Perception checks along with disadvantage when attacking hags.
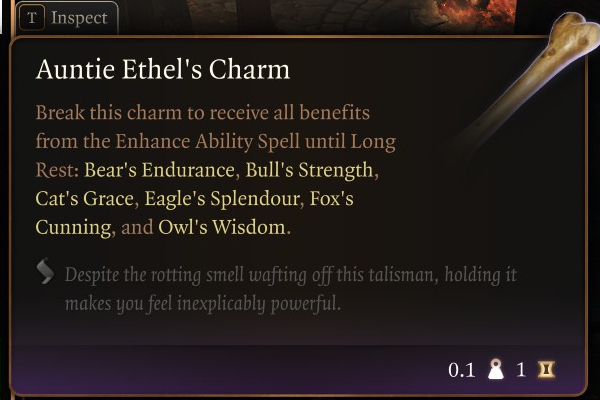
Of course, she won’t actually be able to remove the parasite. She’ll tell you it’s been tampered with by Netherese shadow magic. As compensation, she’ll throw you a bone – Auntie Ethel’s Charm, a consumable item which gives all of the benefits of the Enhance Ability spell until your next Long Rest. Then she’ll disappear.
At some point during your interaction with Auntie Ethel, Mayrina will vanish. If you want to save her, you’ll have to find her first.
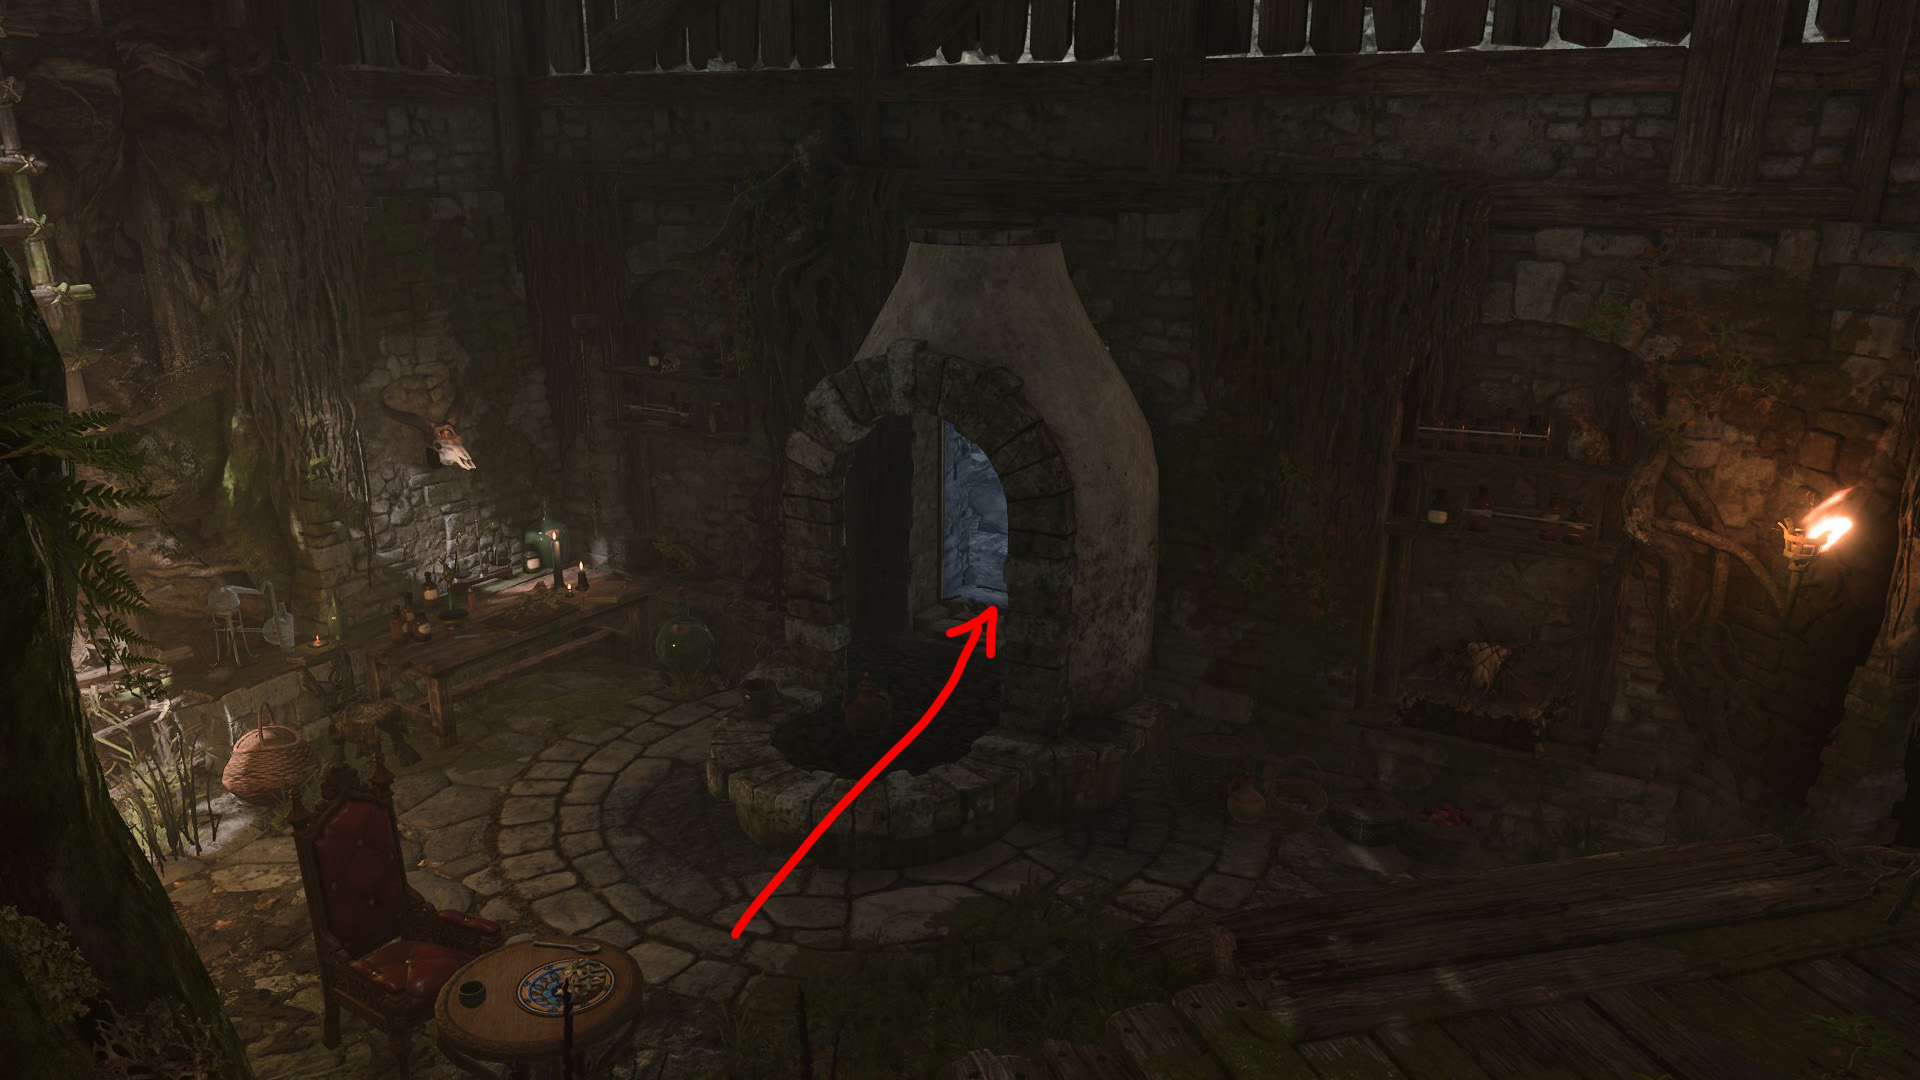
Approaching the fireplace will trigger an Investigation check, and a success will reveal that there’s something odd about it. Interact with the fireplace to quench the fire and you will be able to walk through the doorway behind it. If you already made a deal with Auntie Ethel, she won’t be around and you can walk right in. Otherwise, Auntie Ethel will transform into a green hag and you’ll find yourself in combat. If you got this far without seeing through the illusion, you’ll now see the Putrid Bog for what it really is.
Confronting the Hag
Auntie Ethel will disappear on the first turn and you’ll be left to fight the redcaps. You can still hit her by attacking the place where she was standing, but she will most likely escape into her lair on the next turn anyway. Unless you feel confident that you can restrain her and hold off the redcaps, you’re better off letting her go and just dealing with them. Killing her here is possible, but very difficult to do. You may also miss out on some rewards since she’ll offer you a deal later on.
There will be two melee Redcaps and two Redcap Blood Sages. The Blood Sages will buff the melees with Bloodlust, which will enable them to Multiattack. Kill the Blood Sages or break their concentration and try to keep the melees crowd controlled. They’ll have to spend their first turn dashing to get to you and they’ll be clumped up together while they do so, so get your party into position and start volleying them from range.
It’s a good idea to take a Long Rest before you enter the hag’s lair because you won’t be able to take one while you’re inside. You may also want to loot her house. You’ll find lots of potions and alchemical ingredients lying around along with a Simple Poison Recipe on a table. When you’re ready to enter the hag’s lair, pass through the fireplace door and interact with the Wooden Stairs.
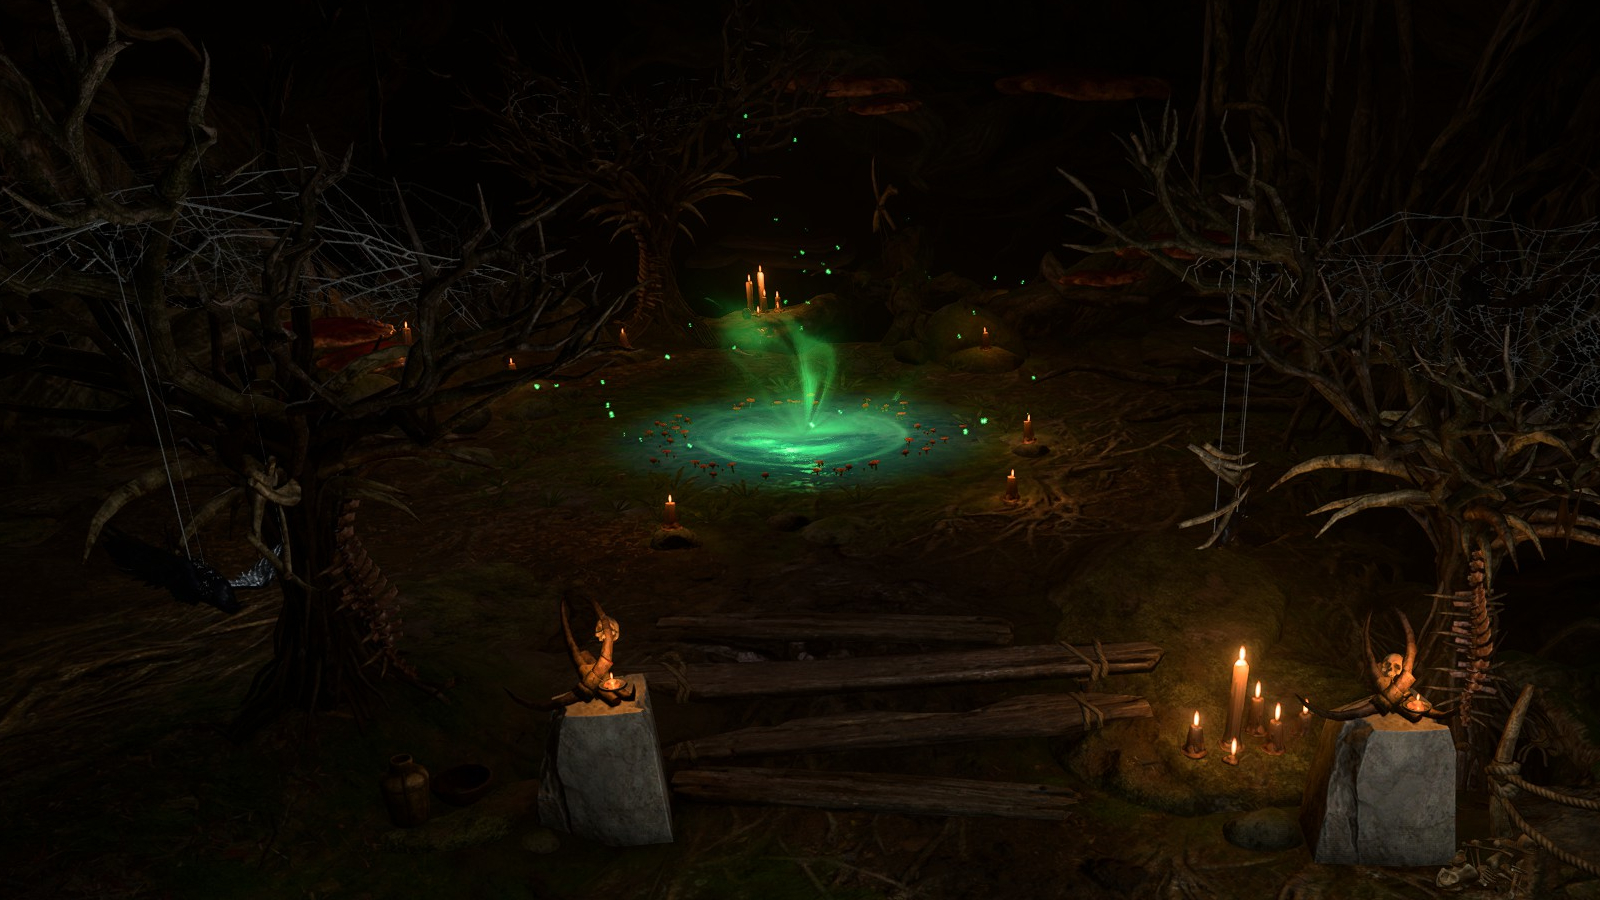
Overgrown Tunnel
The minimap will be glowing red in this area, indicating that your party is in a danger zone. If you want to Long Rest or visit your Camp, you’ll need to leave the area first.
The tunnel opens up into a cavern, and Auntie Ethel will be waiting for you. Regardless of what you say, she’ll disappear once again. Her previous victims are scattered around the cavern. One of them, a dwarf named Efrin, is petrified. If you have some Basilisk Oil, you can cure him – but he will immediately die afterward, so it’s best to leave him for now.
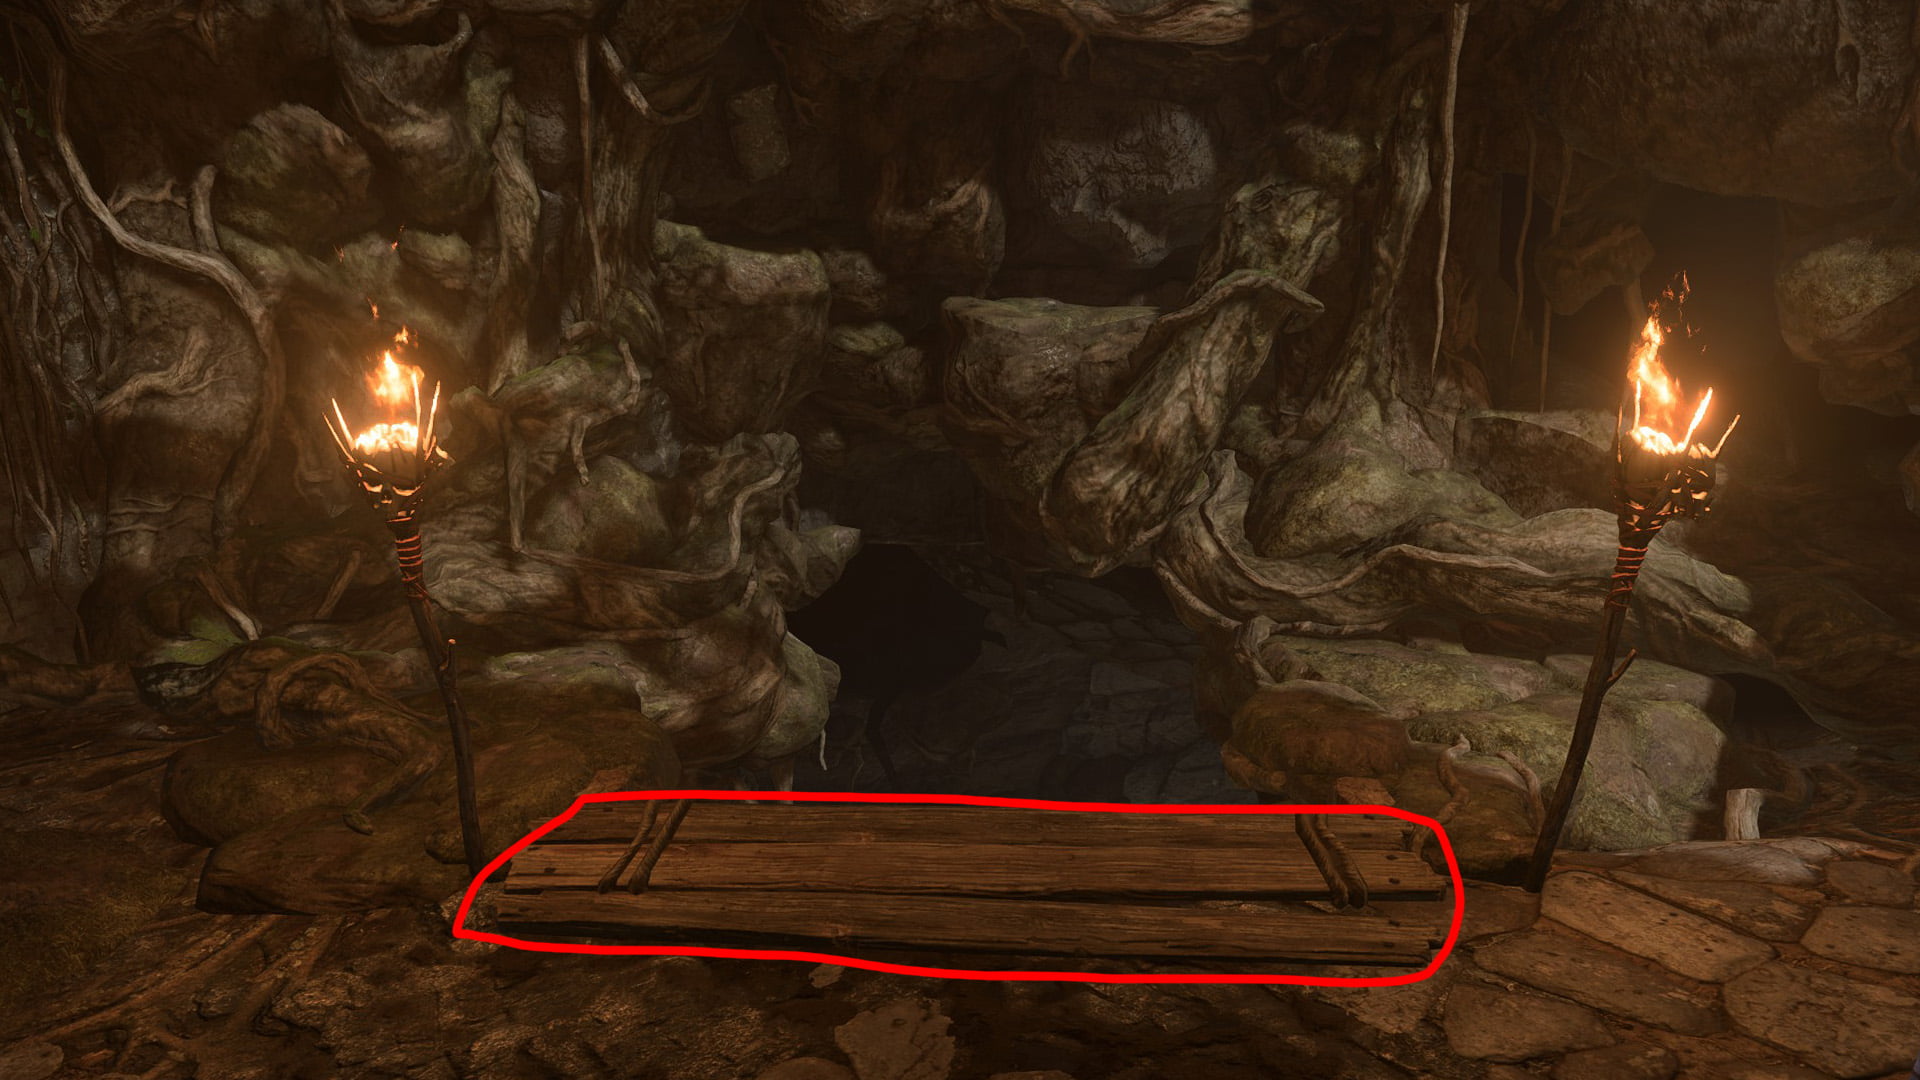
Approaching the Gnarled Door at the back of the cavern, you’ll enter into a dialogue. The door, it appears, is alive, and it’s afraid to let you through. You’ll have an opportunity to make a Persuasionor Indimidation check. On a success, the door will give you its secret: it’s an illusion and you can walk right through it. This can be finicky, especially with a mouse and keyboard. You’ll need to zoom in through the door and click on the ground on the other side.
You’ll find several Whispering Masks on a table next to the door. If you equip them, you have a chance of being mind controlled by the hag, so it’s best not to if you can avoid it. However, wearing them will allow you to see through the door’s illusion if all else fails.
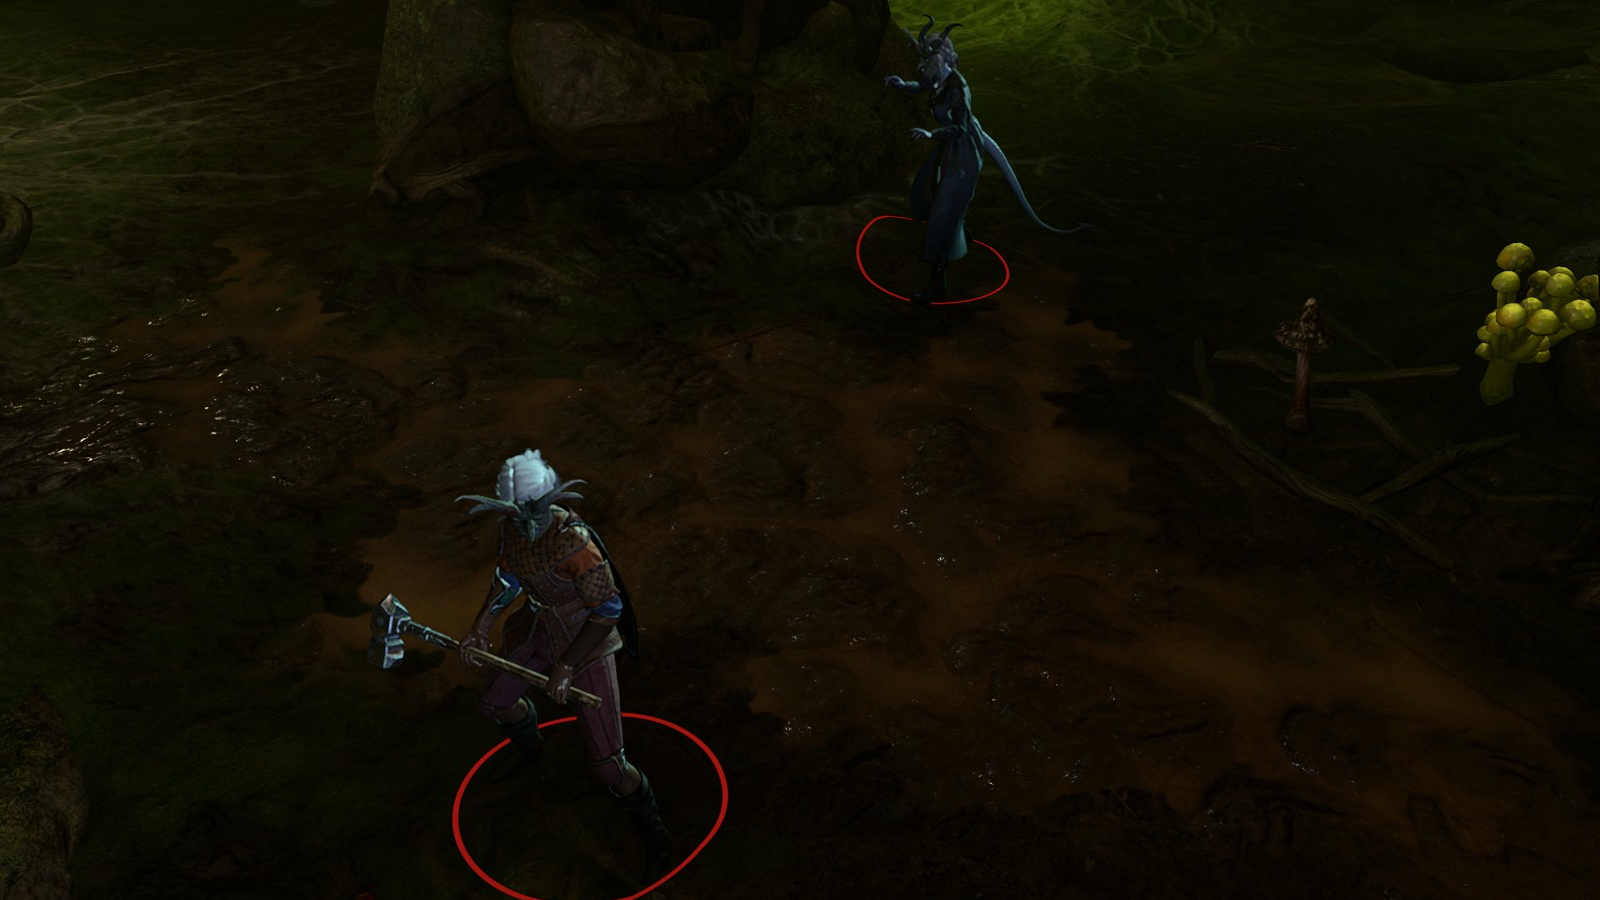
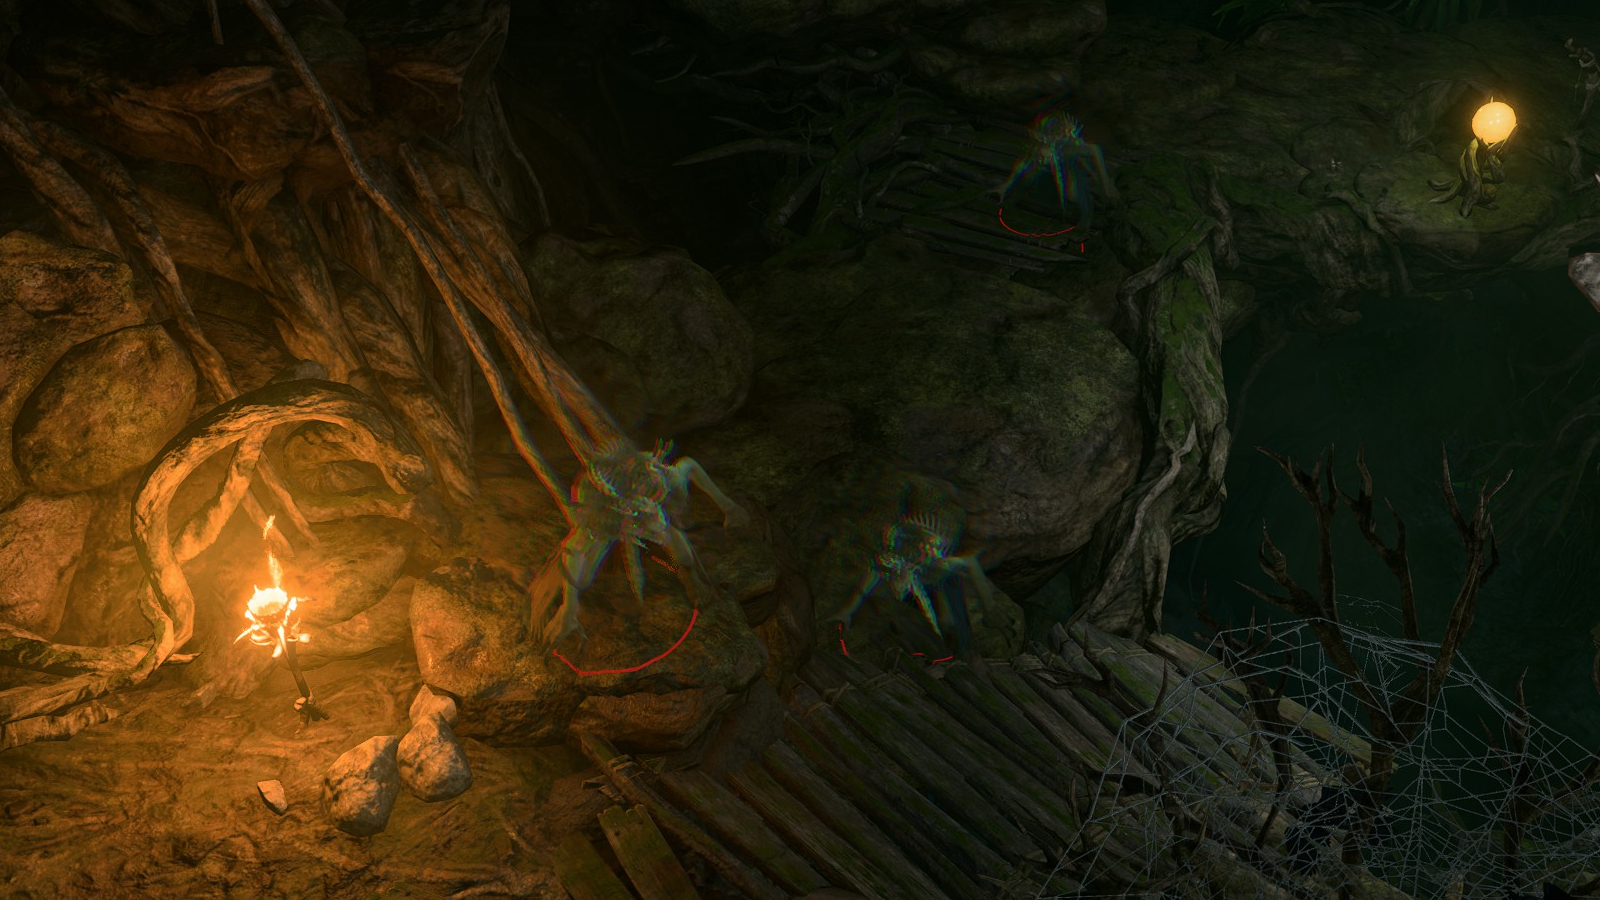
On the other side of the door is another cavern, and here you’ll encounter some more of the hag’s victims. They are wearing the Whispering Masks and being controlled by Auntie Ethel. There are four of them: Mask of Terror, Mask of Regret, Mask of Servitude, and Mask of Vengeance. You can choose to knock them out with non-lethal damage instead of killing them, but they don’t show up again either way. Be mindful of the terrain here – there’s lots of mud that will slow you down, and the Masks will claim the high ground and make things difficult for you if you aren’t careful. If you choose the non-lethal option, looting their masks will kill them.
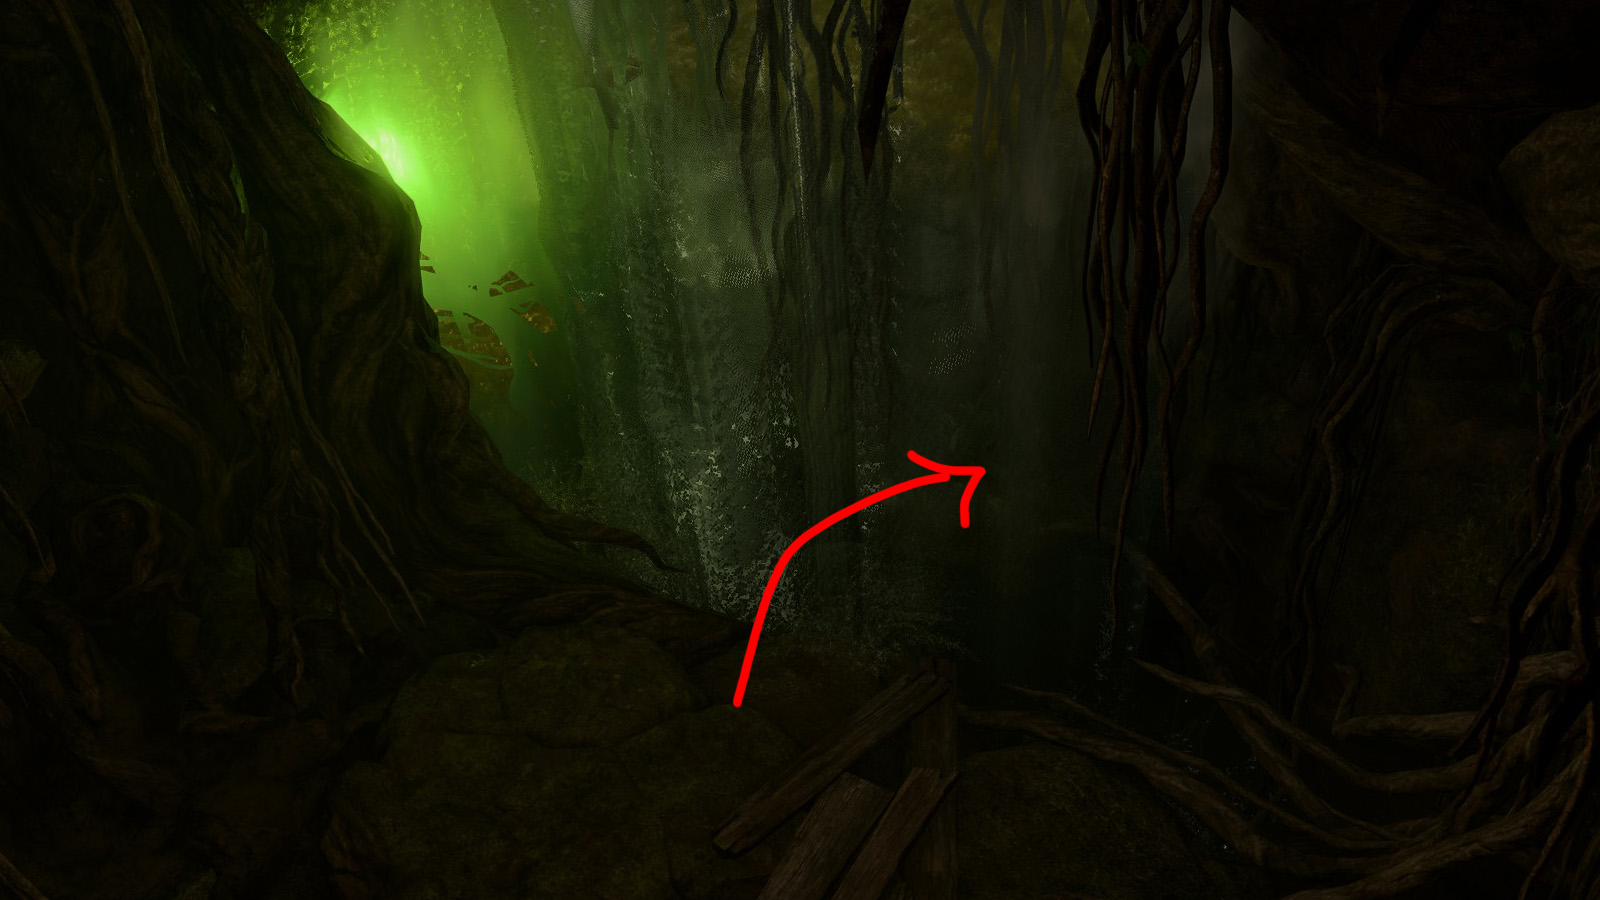
When the Masks have been defeated, you can jump across the waterfall to continue on.
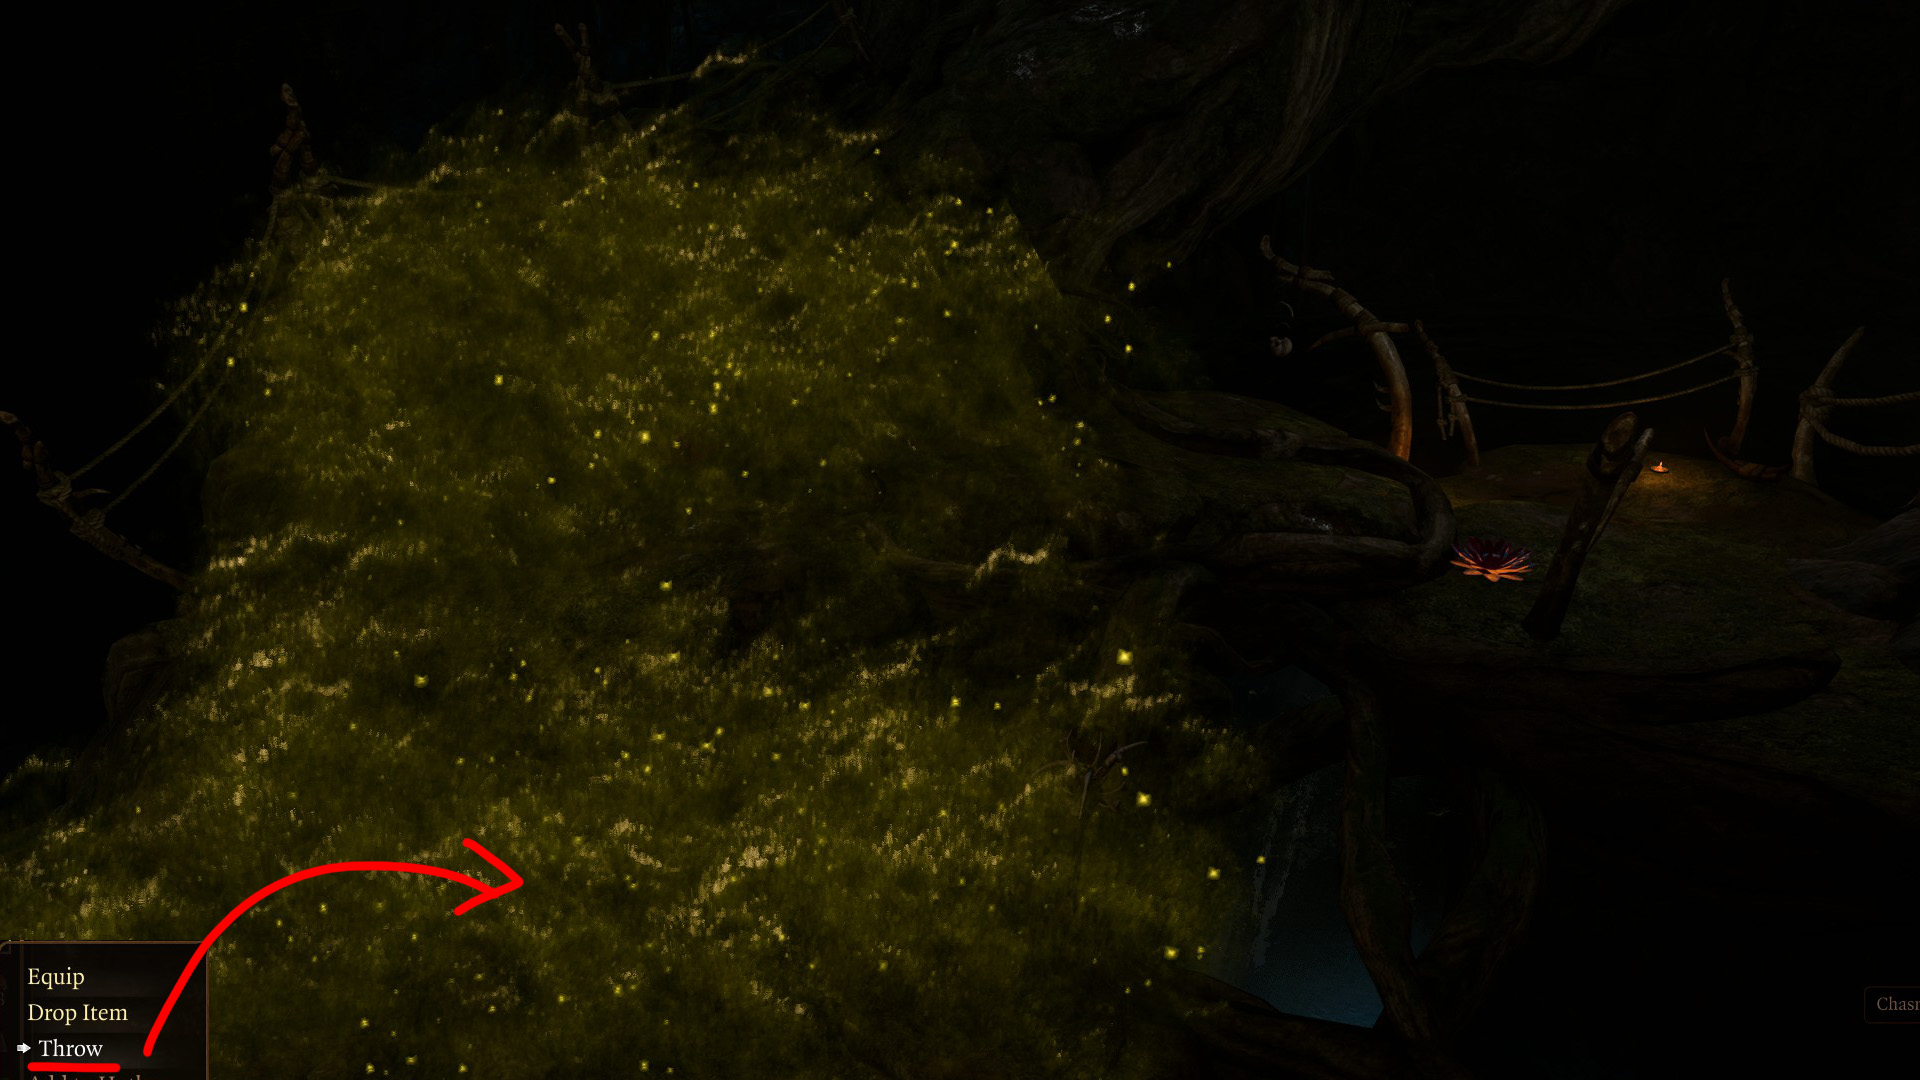
You’ll immediately encounter a cloud of Noxious Fumes. There are numerous vent traps between you and your destination. To disable each one, you can throw any object from your inventory, like a kettle or a cheap weapon, into the center of the cloud. If it lands in the right place, the trap will be disabled and the cloud will disappear. But don’t go charging through just yet – see those pink flowers? Those are also traps, and they need be disarmed. We have a separate guide detailing How to Disarm Traps if you need help with this. You may want to leave your party members behind for now, as they tend to walk right over top of traps even after spotting them.
There is another Gnarled Door tucked away behind the traps, but the only way to get through it is by equipping the Whispering Masks, and you probably don’t want to do that until after you defeat the hag. So we’ll come back to it later.
Be sure to gather your party again when you get to the end of the trapped area. You’re about to enter combat, so you may also want to heal up and buff.
Defeating the Hag
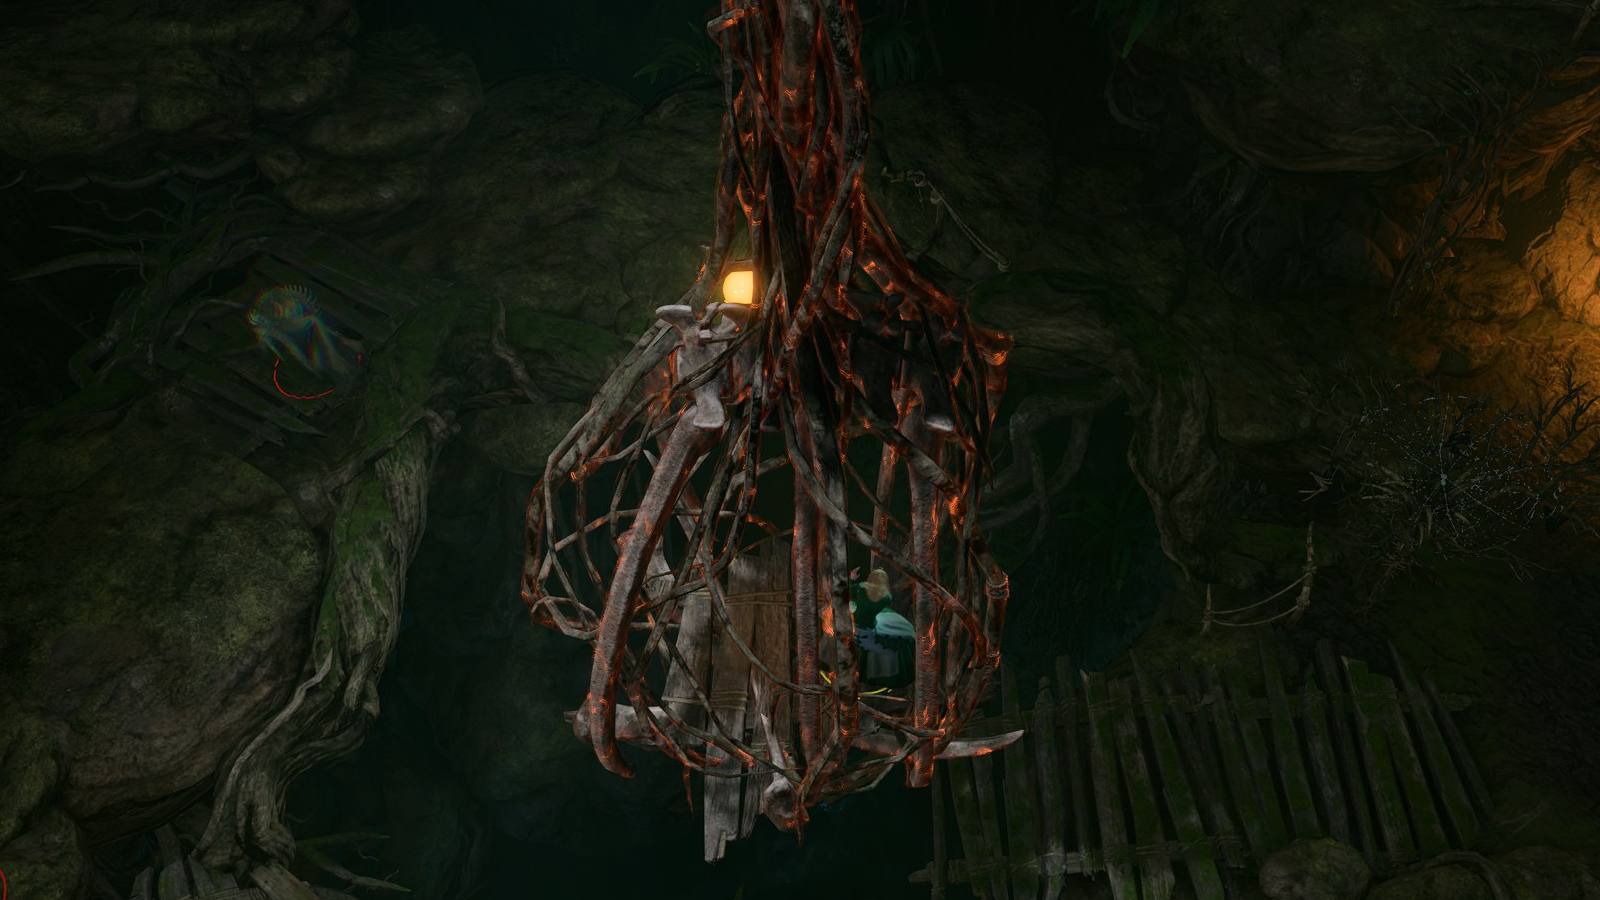
Reaching the bottom of the tunnel, you’ll enter into the Ancient Abode, where you will finally fight Auntie Ethel for real. Mayrina will be hanging from a burning cage, and you’ll have to deal with that first if you want to save her. Auntie Ethel will also summon some mirror images who can use all of the same abilities she can, but which will die from any damage they take.
Dispatch the mirror images and deal with Auntie Ethel, but be careful not to kill Mayrina in the process. Aunti Ethel can be a tricky fight, but we’ve got a full guide on defeating her (that includes some tips on keeping Mayrina alive).
If Auntie Ethel’s health gets low enough when her turn comes around, she’ll offer to make a deal with you. You’ll have four options here:
Get her to give up Mayrina and leave. You won’t get anything else from doing this, but you’ll save Mayrina.
Accept her deal and let her leave with Mayrina. She’ll give you an item that grants +1 to an Ability score of your choice.
Demand that she give up both Mayrina and the power. This will require a successful skill check. On a success, you’ll get the +1 Ability score reward and you’ll save Mayrina.
Continue fighting and kill the hag. You’ll get her loot and save Mayrina, but miss out on the +1 Ability score reward.
If you kill Auntie Ethel, you can cast Speak with Dead on her body. She’ll admit that she was going to eat Mayrina’s baby in order to produce a hag daughter. You’ll be able to loot several potions, scrolls, and bombs from her corpse.
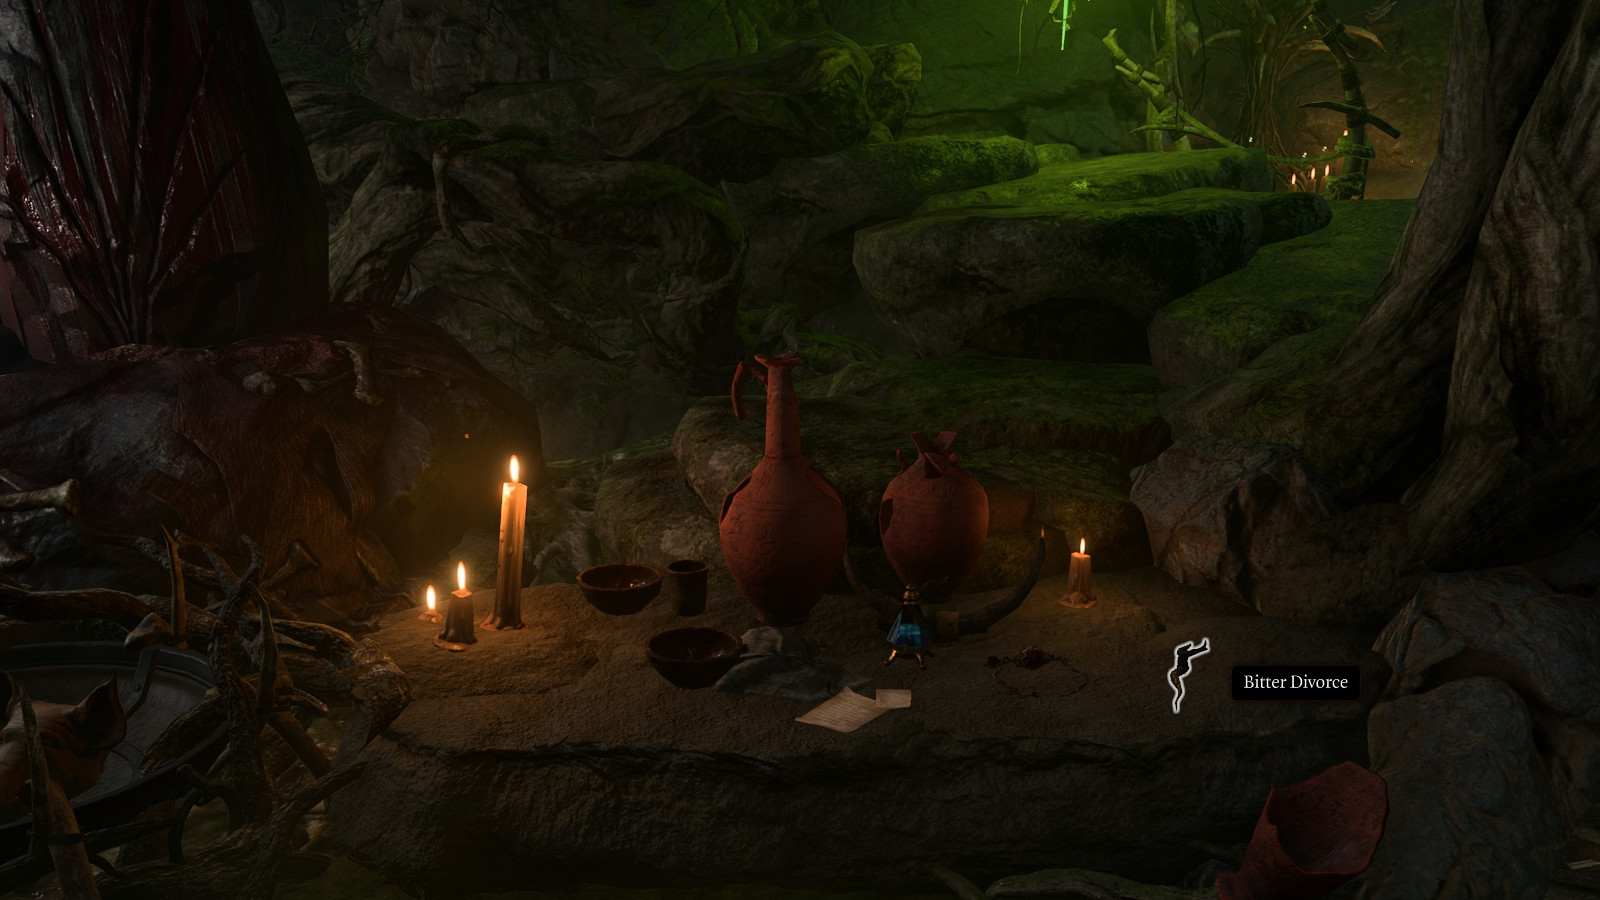
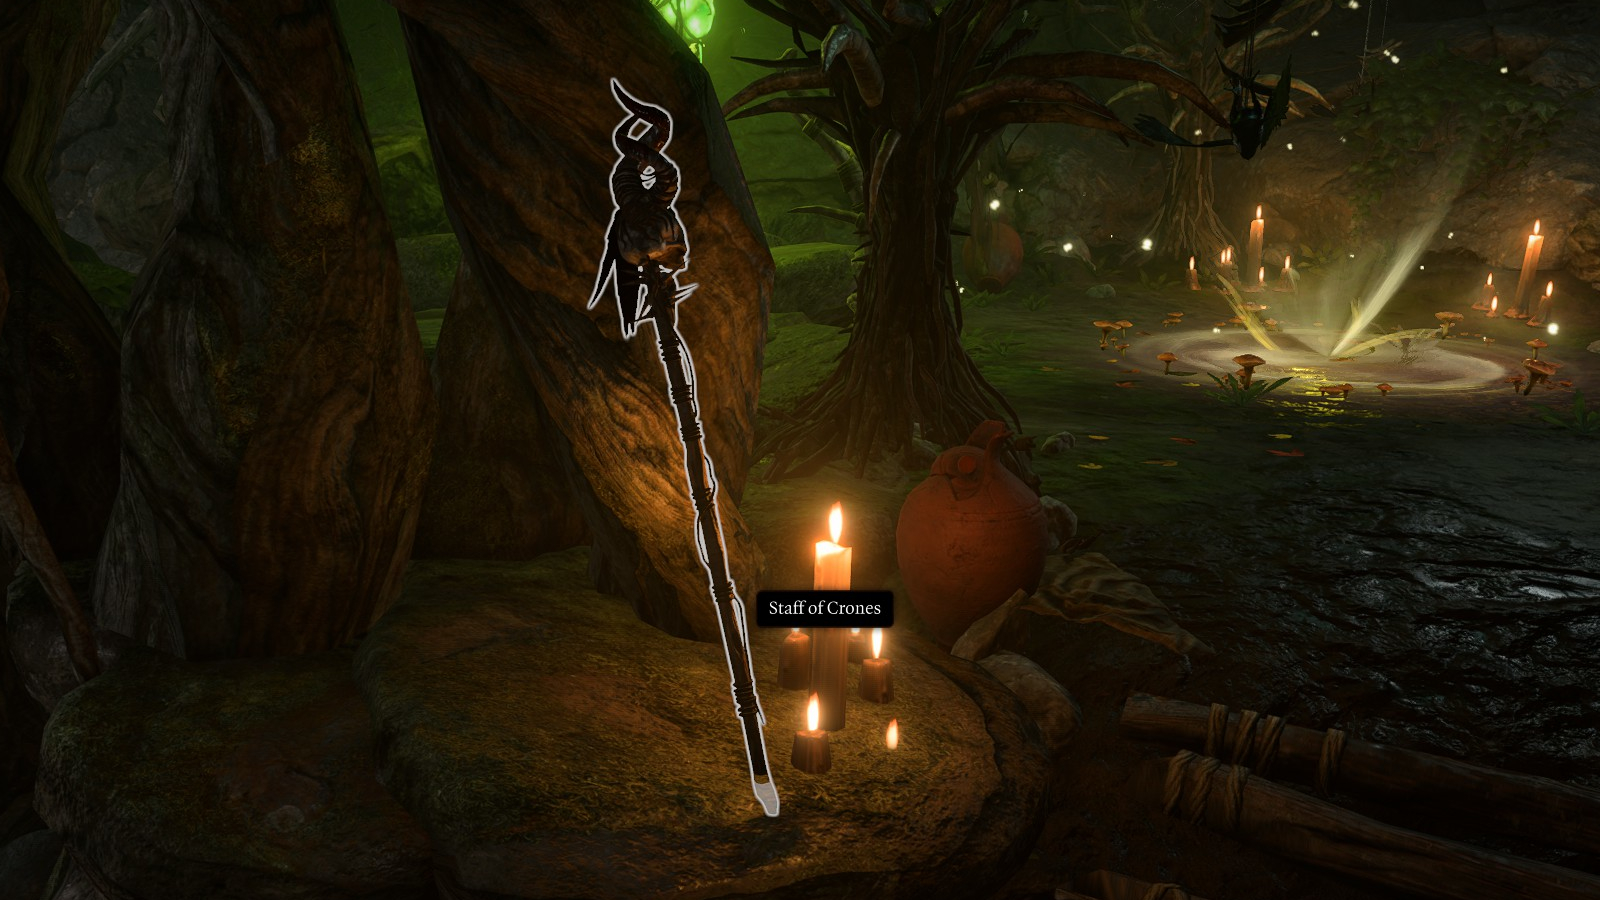
Whether you allow Auntie Ethel to leave or you decide to kill her, the hag’s lair will be clear for you to loot the place and tie up some loose ends. Head through the door on the far end of the chamber to enter the Acrid Workshop. Inside you’ll find a few interesting items, including a wand called Bitter Divorce, which you can show to Mayrina when you exit.
The Hag’s Potions
There’s a collection of unique potions on a table in the Acrid Workshop. Here is what each one does:
Lost Time: Armour Class is reduced by 2. Can’t take reactions. Lasts 50 turns. (Curse)
Butterflies in the Stomach: Bleeding from the inside. Suffers 1-6 Piercing damage at end of turn. Lasts 5 turns.
Missing Pets: Illusory spiders run up and down the creature’s body, imposing Disadvantage on Ability Checks and Attack Rolls. Frightened. Lasts 3 turns.
Wilted Dreams: Something waits for the creature to sleep. It takes 3-18 Psychic damage during its next Long Rest. (Curse)
A Mother’s Loathing: Gains Bite until next Long Rest. Bite is a melee attack that does 2d4 Piercing damage.
Lover’s Avarice: Wisdom is reduced by 1 until Long Rest. (Curse)
Broken Promises: Strength is increased by 2 until the next Long Rest. Upon resting, Strength is indefinitely reduced by 1. The latter effect is permanent. (Curse)
Faltering Will: Disadvantage on Wisdom Saving Throws until next Long Rest. (Curse)
Heart of Stone: Resistant to poison damage until next Long Rest.
Insanity’s Kiss: Hostile to all other creatures for the condition’s duration. Lasts 5 turns. (Curse)
Efrin and the Gnarled Door
You can exit the hag’s lair through the Mushroom Circle at the back of the room, but first you may want to go back and take care of a few things we skipped. It is now safe to de-petrify the dwarf, Efrin, if you happen to have some Basilisk Oil on hand. You can also safely equip the Whispering Masks and pass through the Gnarled Door in the room with all of the traps. The door leads to another Mushroom Circle, and this one will take you into the Underdark. This is one of several possible routes you can take into the Underdark when you’re ready to go there.
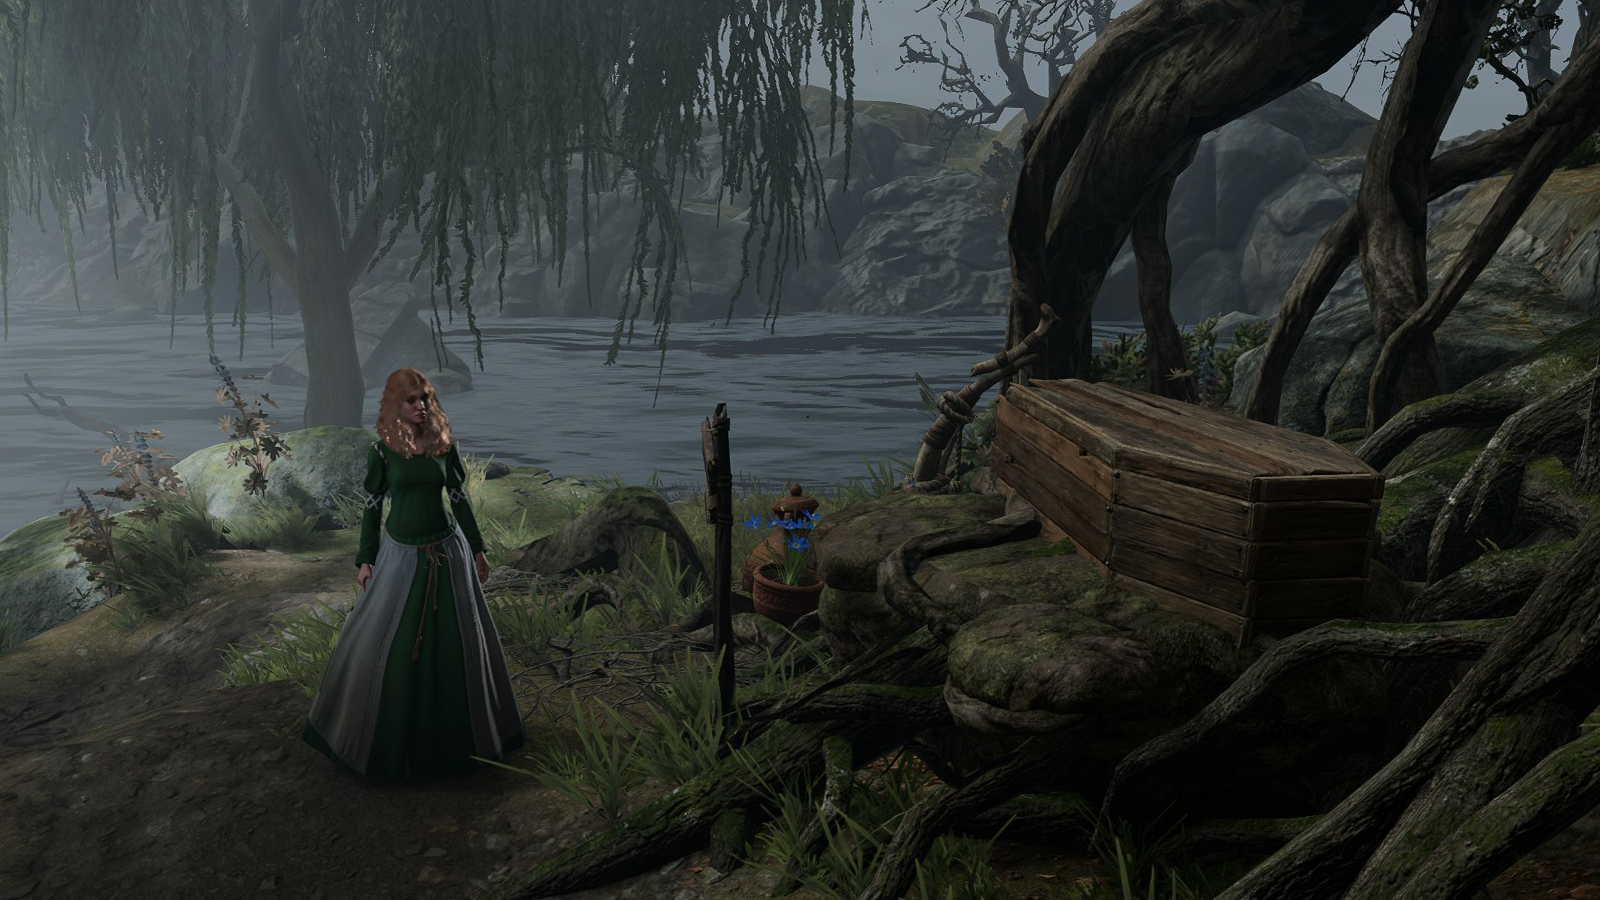
Mayrina and Connor
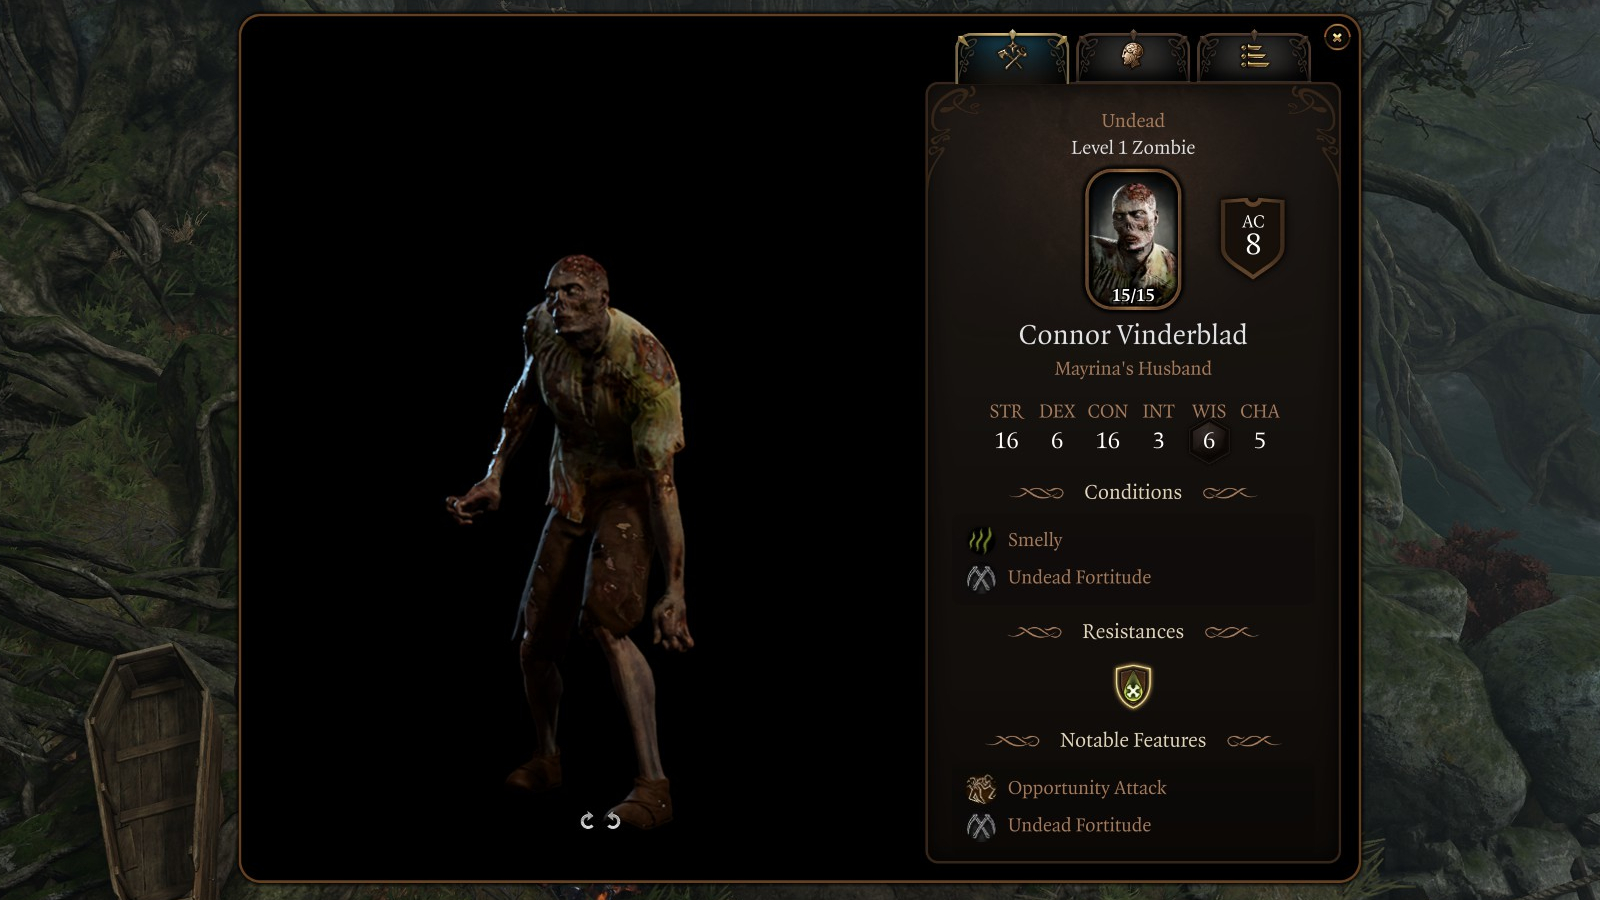
If you exit the hag’s lair through the Mushroom Circle, you’ll come out in the Putrid Bog behind the Riverside Teahouse. Mayrina will be there with Connor’s coffin. If you picked up the wand Bitter Divorce, you’ll be able to show it to her. She’ll ask you to use it to bring Connor back. You’ll then have two options: use the wand, or snap it in half. If you do the latter, Mayrina will be distraught, but that will be the end of it.
If you do use the wand, you’ll raise Connor as a zombie. This should come as no surprise – there is always a catch when it comes to making deals with hags. You’ll have a few options here:
Give the wand to Mayrina, and she’ll head back to Baldur’s Gate with her zombie husband in tow.
Keep the wand for yourself. Mayrina will attack you, but she is very easily defeated. The wand’s name will change to Second Marriage and you’ll be able to summon Connor with it from now on. You can also loot Mayrina’s Locket from her corpse.
Kill Connor. Mayrina will turn hostile and you’ll have to kill her as well. You’ll be able to loot Mayrina’s Locket from her corpse.
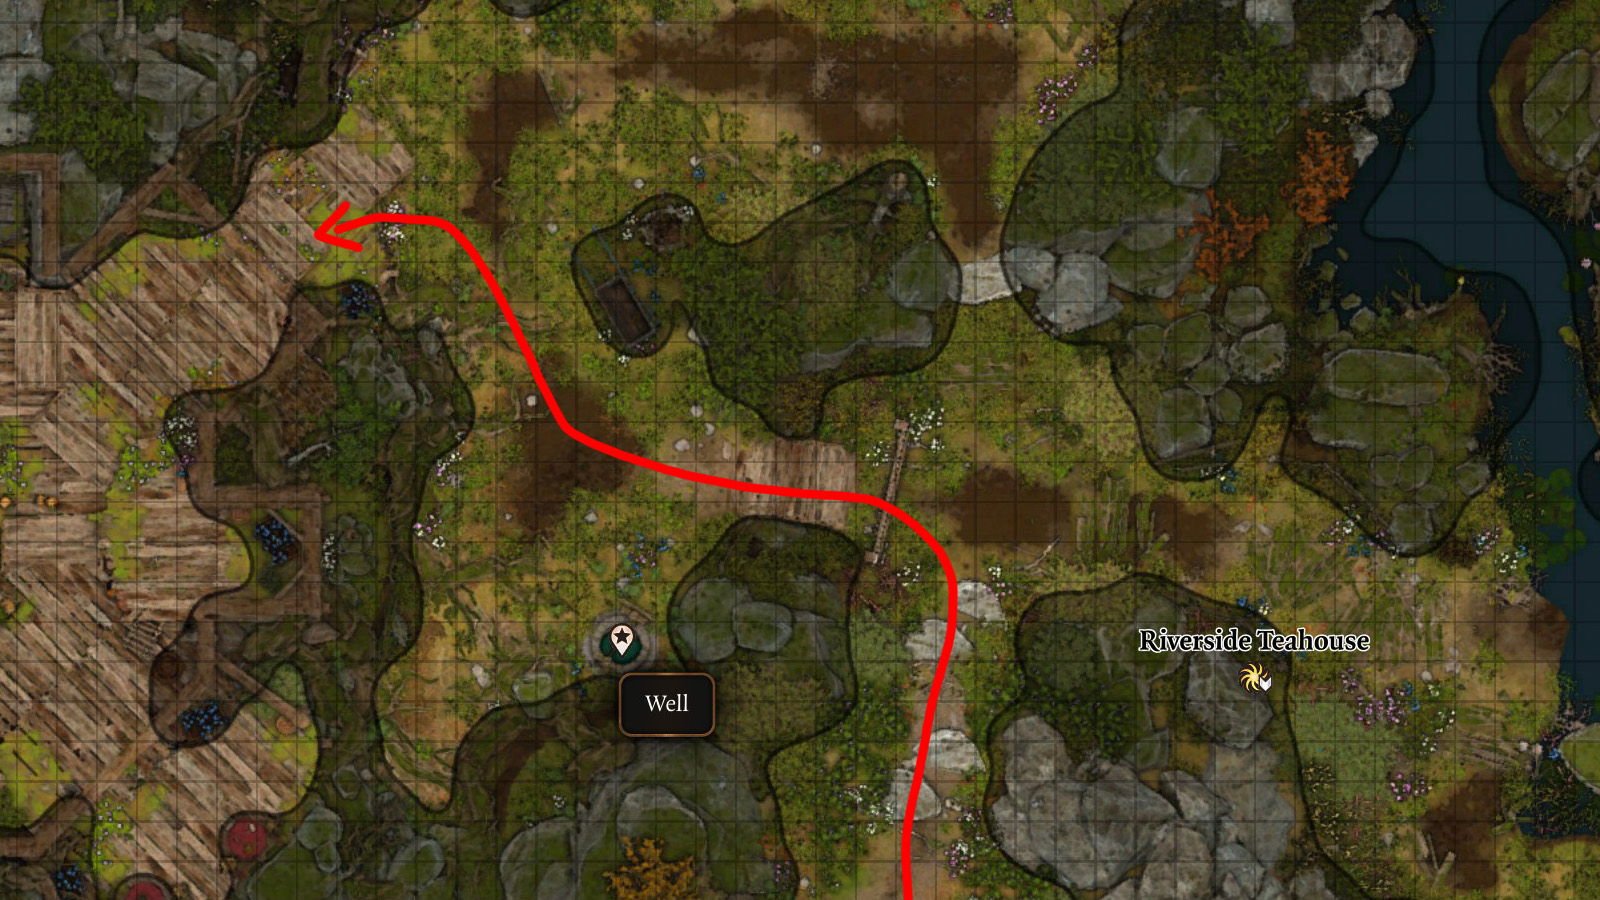
The Addled Frog
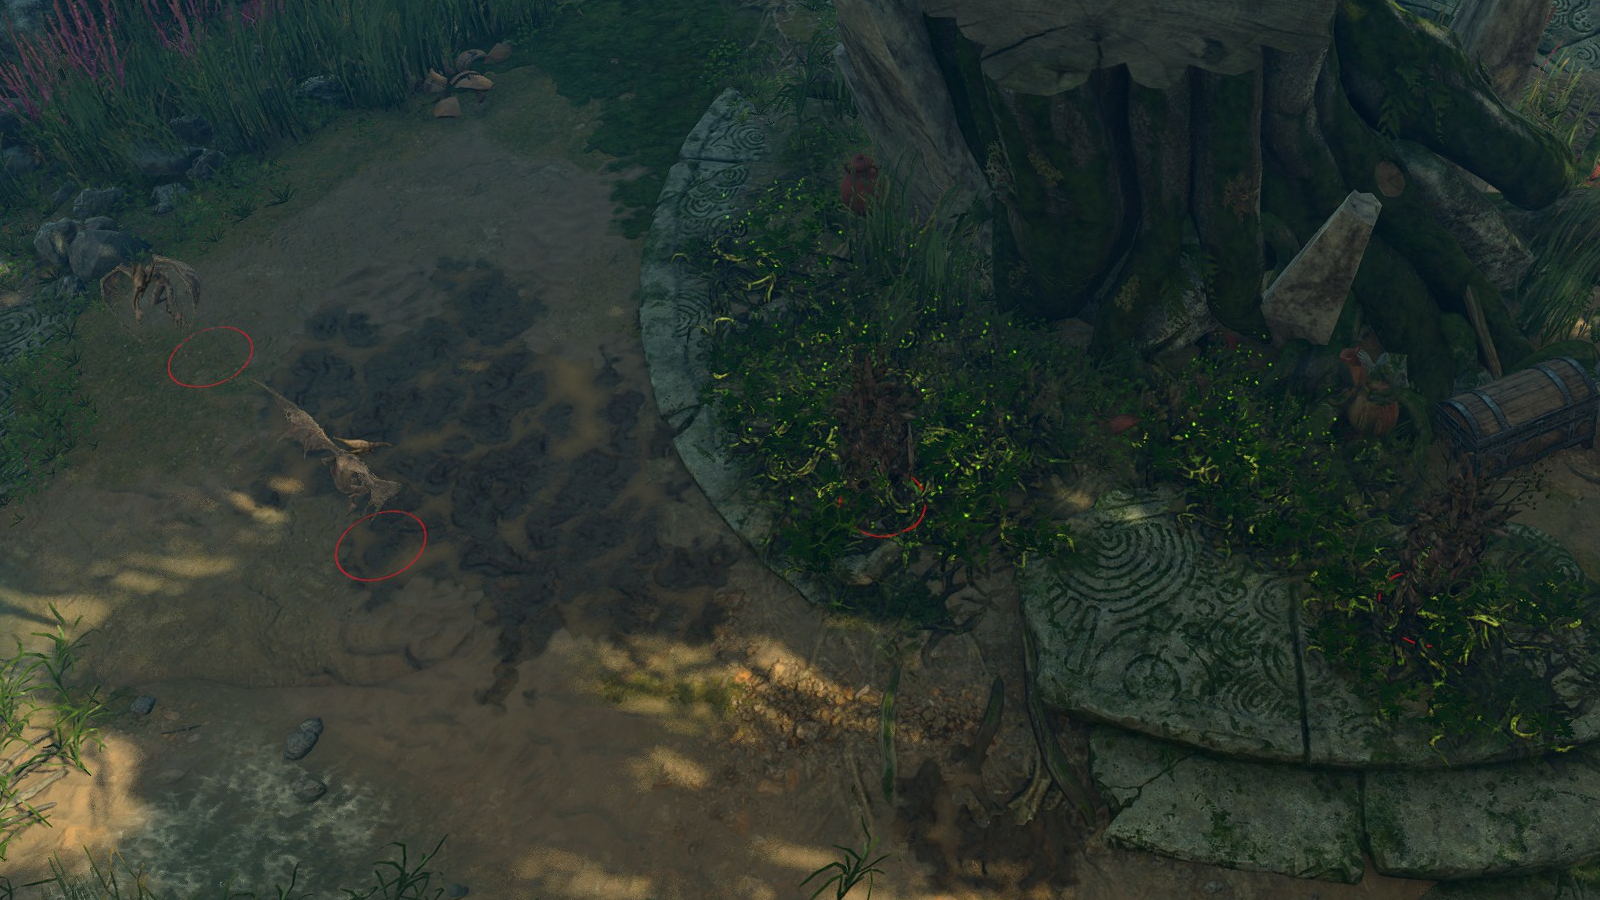
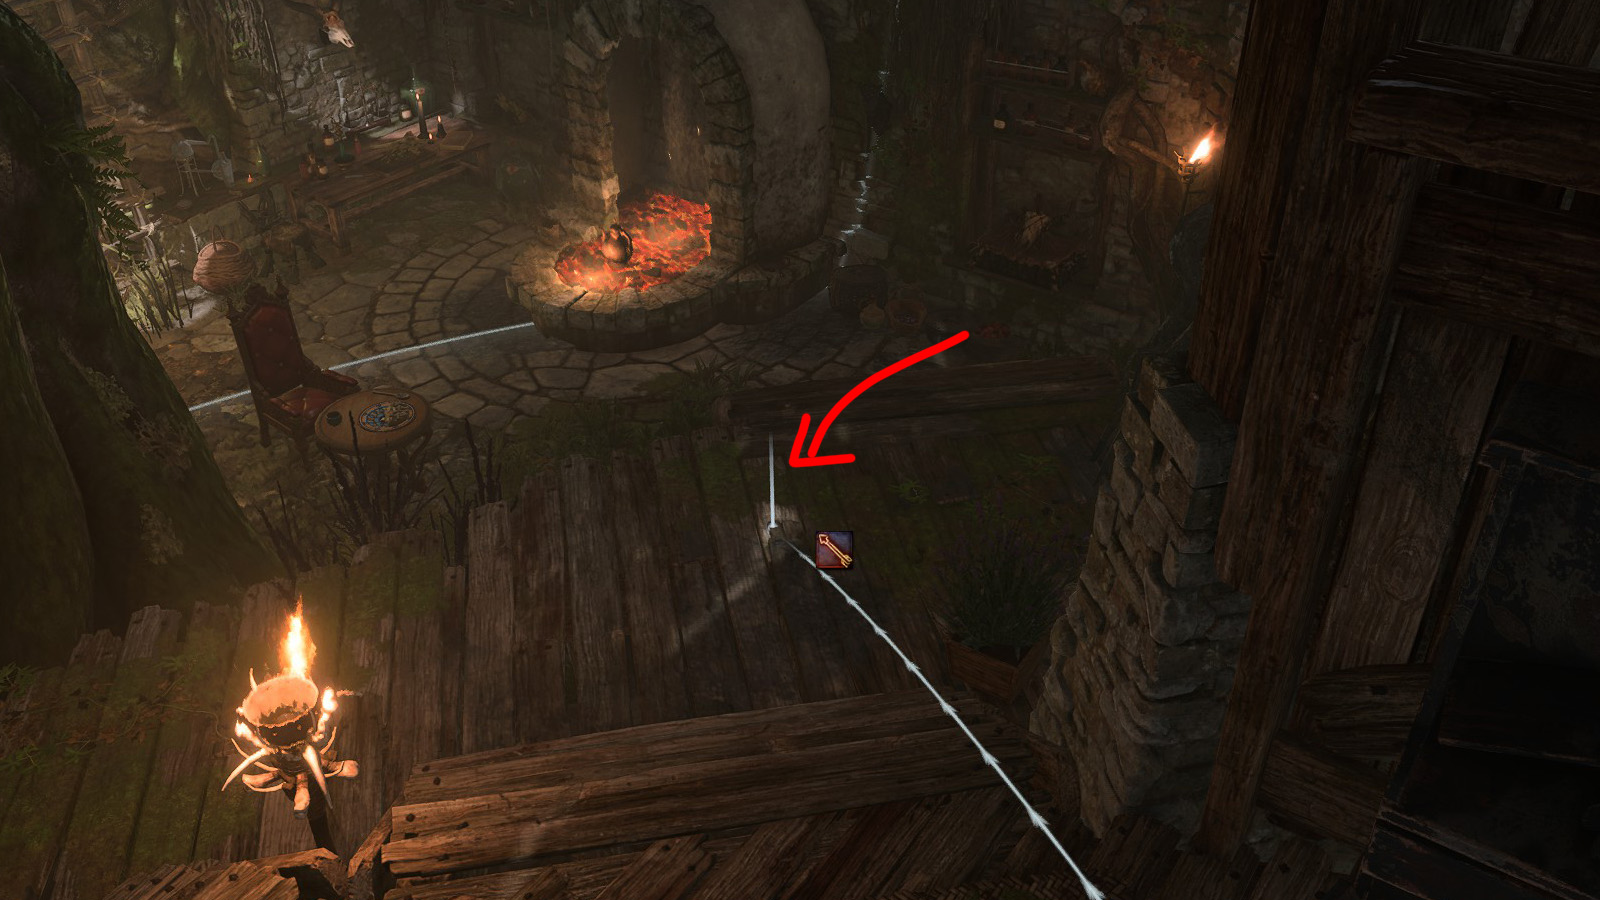
Now that Auntie Ethel is out of the picture, we can take the other path that we skipped, going north from the Ancient Sigil Circle. Here you’ll encounter an Addled Frog. If you speak with the frog before the hag is dealt with, it will become hostile. But once Auntie Ethel is gone, it will be very happy. If you use Speak with Animals or pass an Animal Handling check, the frog will lead you to a small cache of loot, marked with an X on the map below.
I love RPGs, sandboxes, survival, and sim games. Anything that lets me build and decorate or just has a really good story. I've spent hundreds of hours in Bethesda games and even more time modding them. I also play a lot of World of Warcraft.