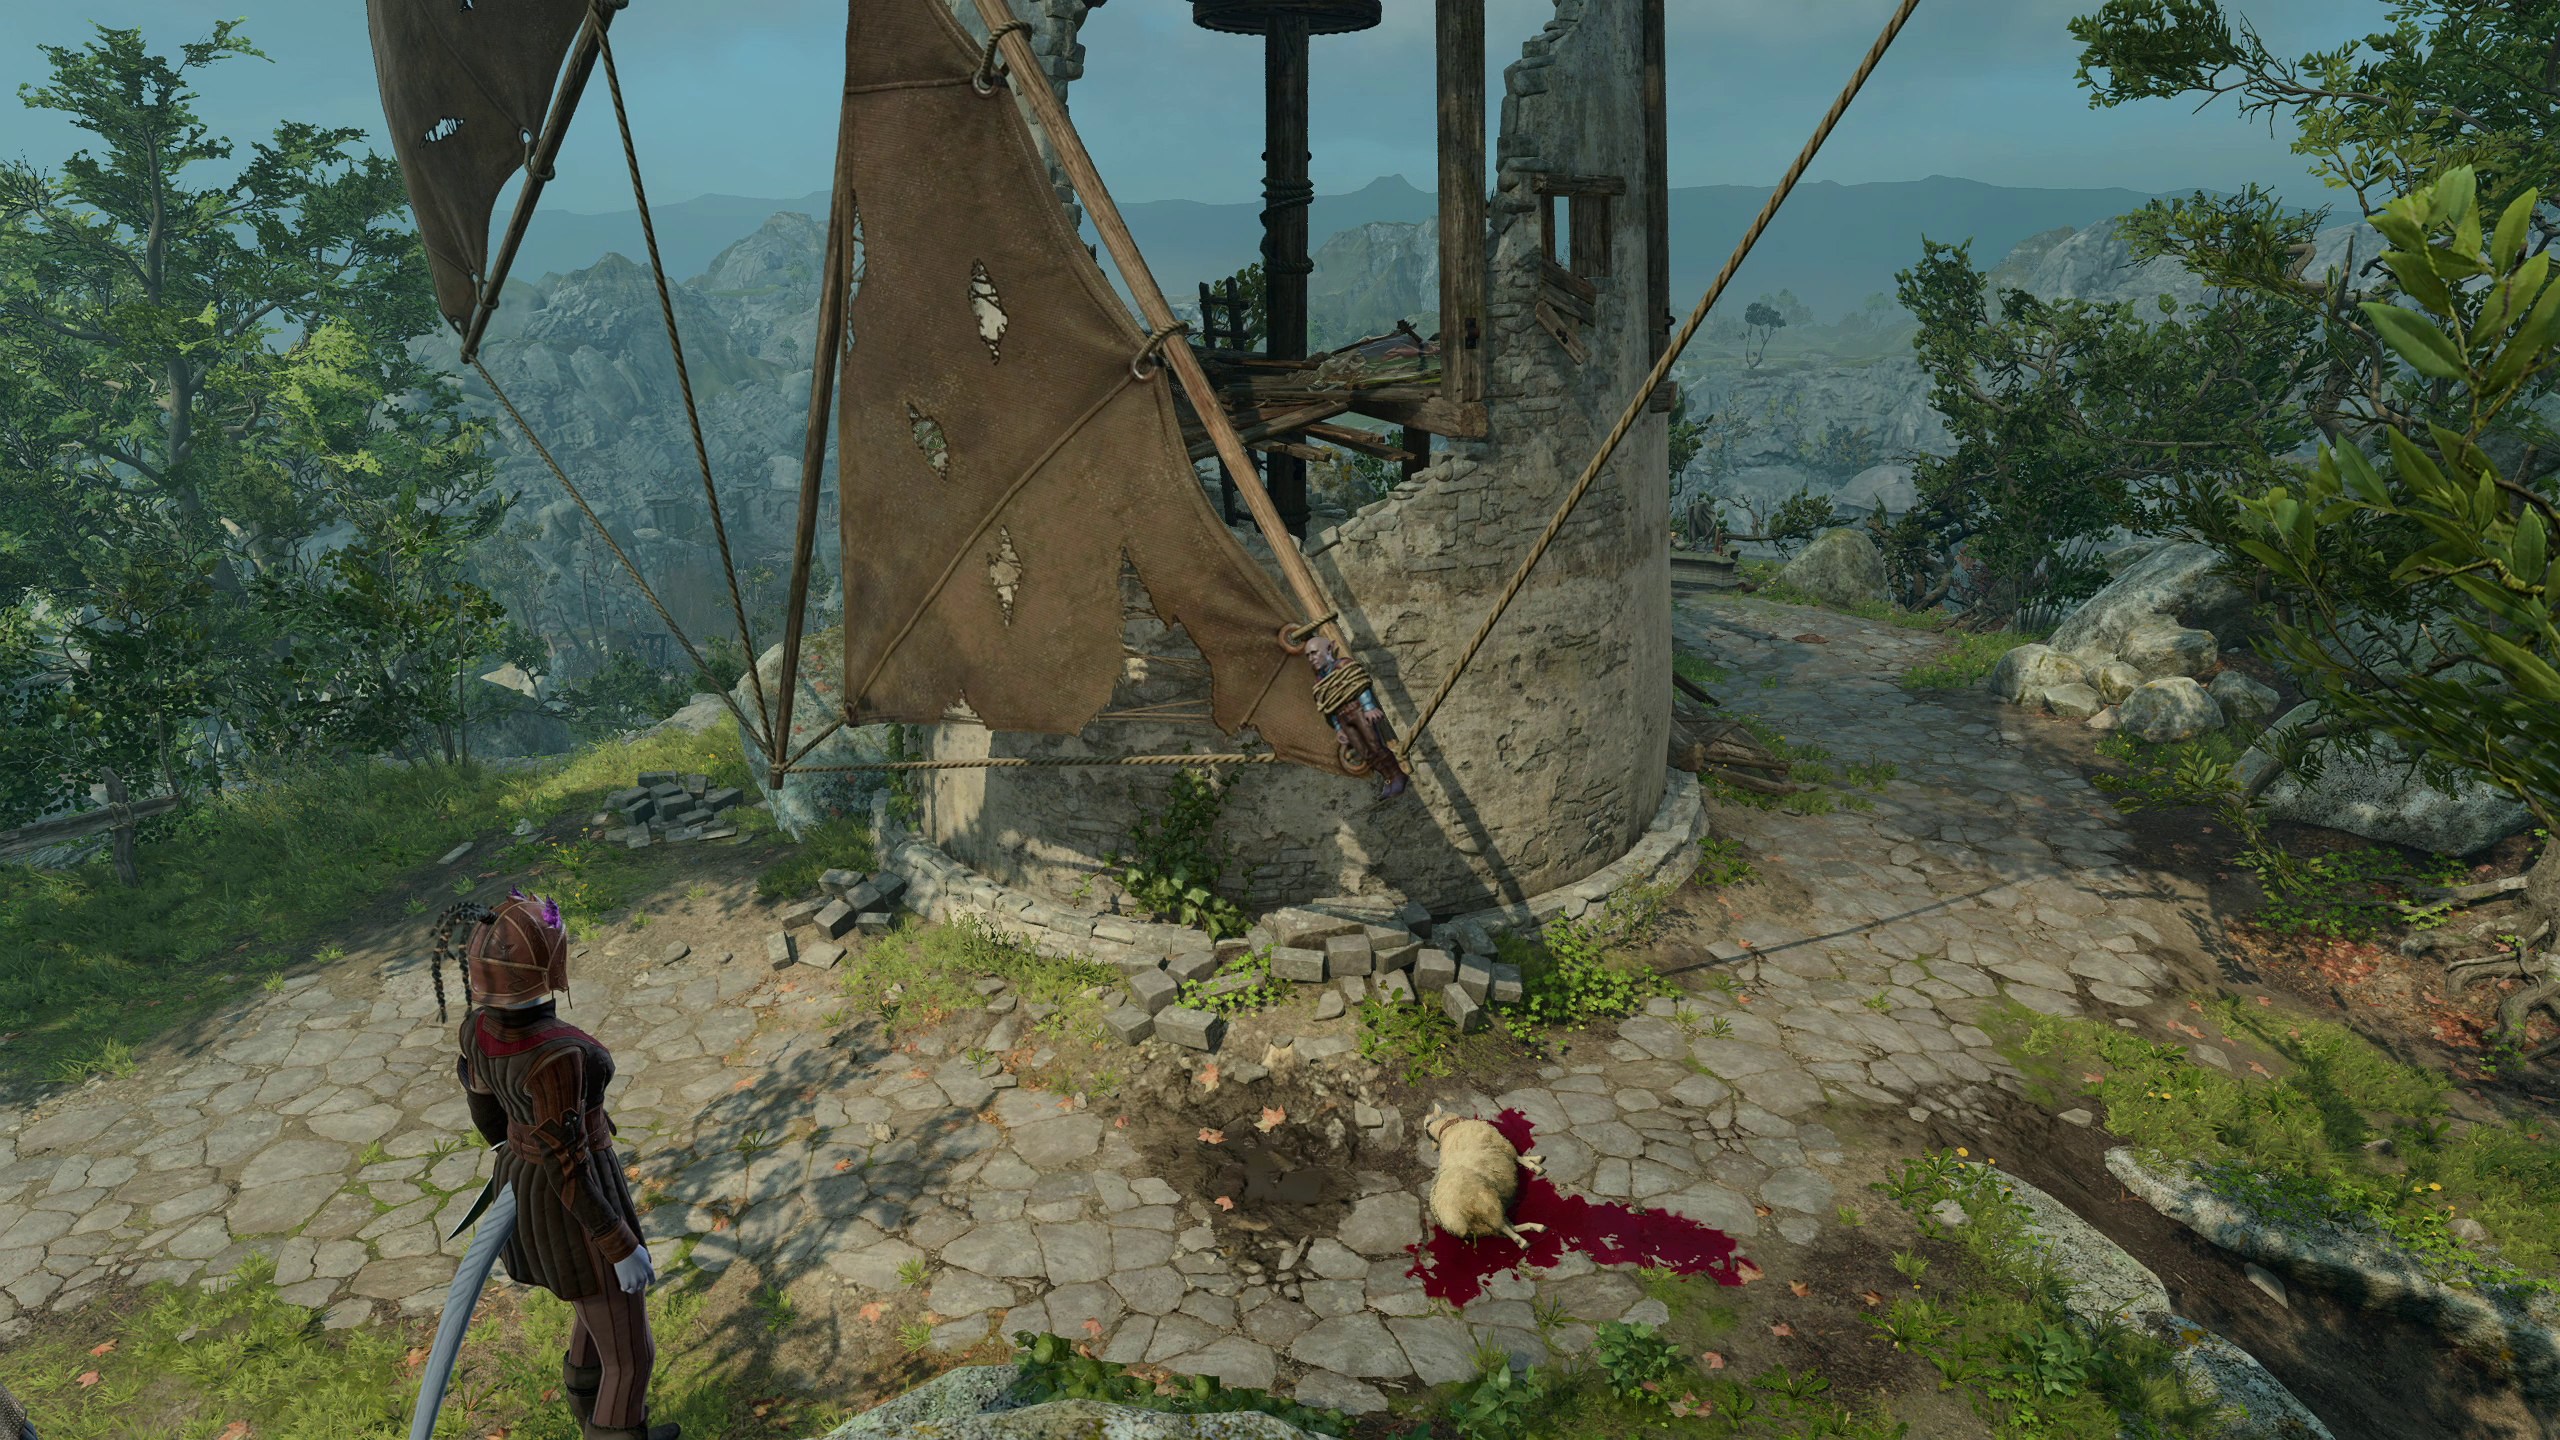
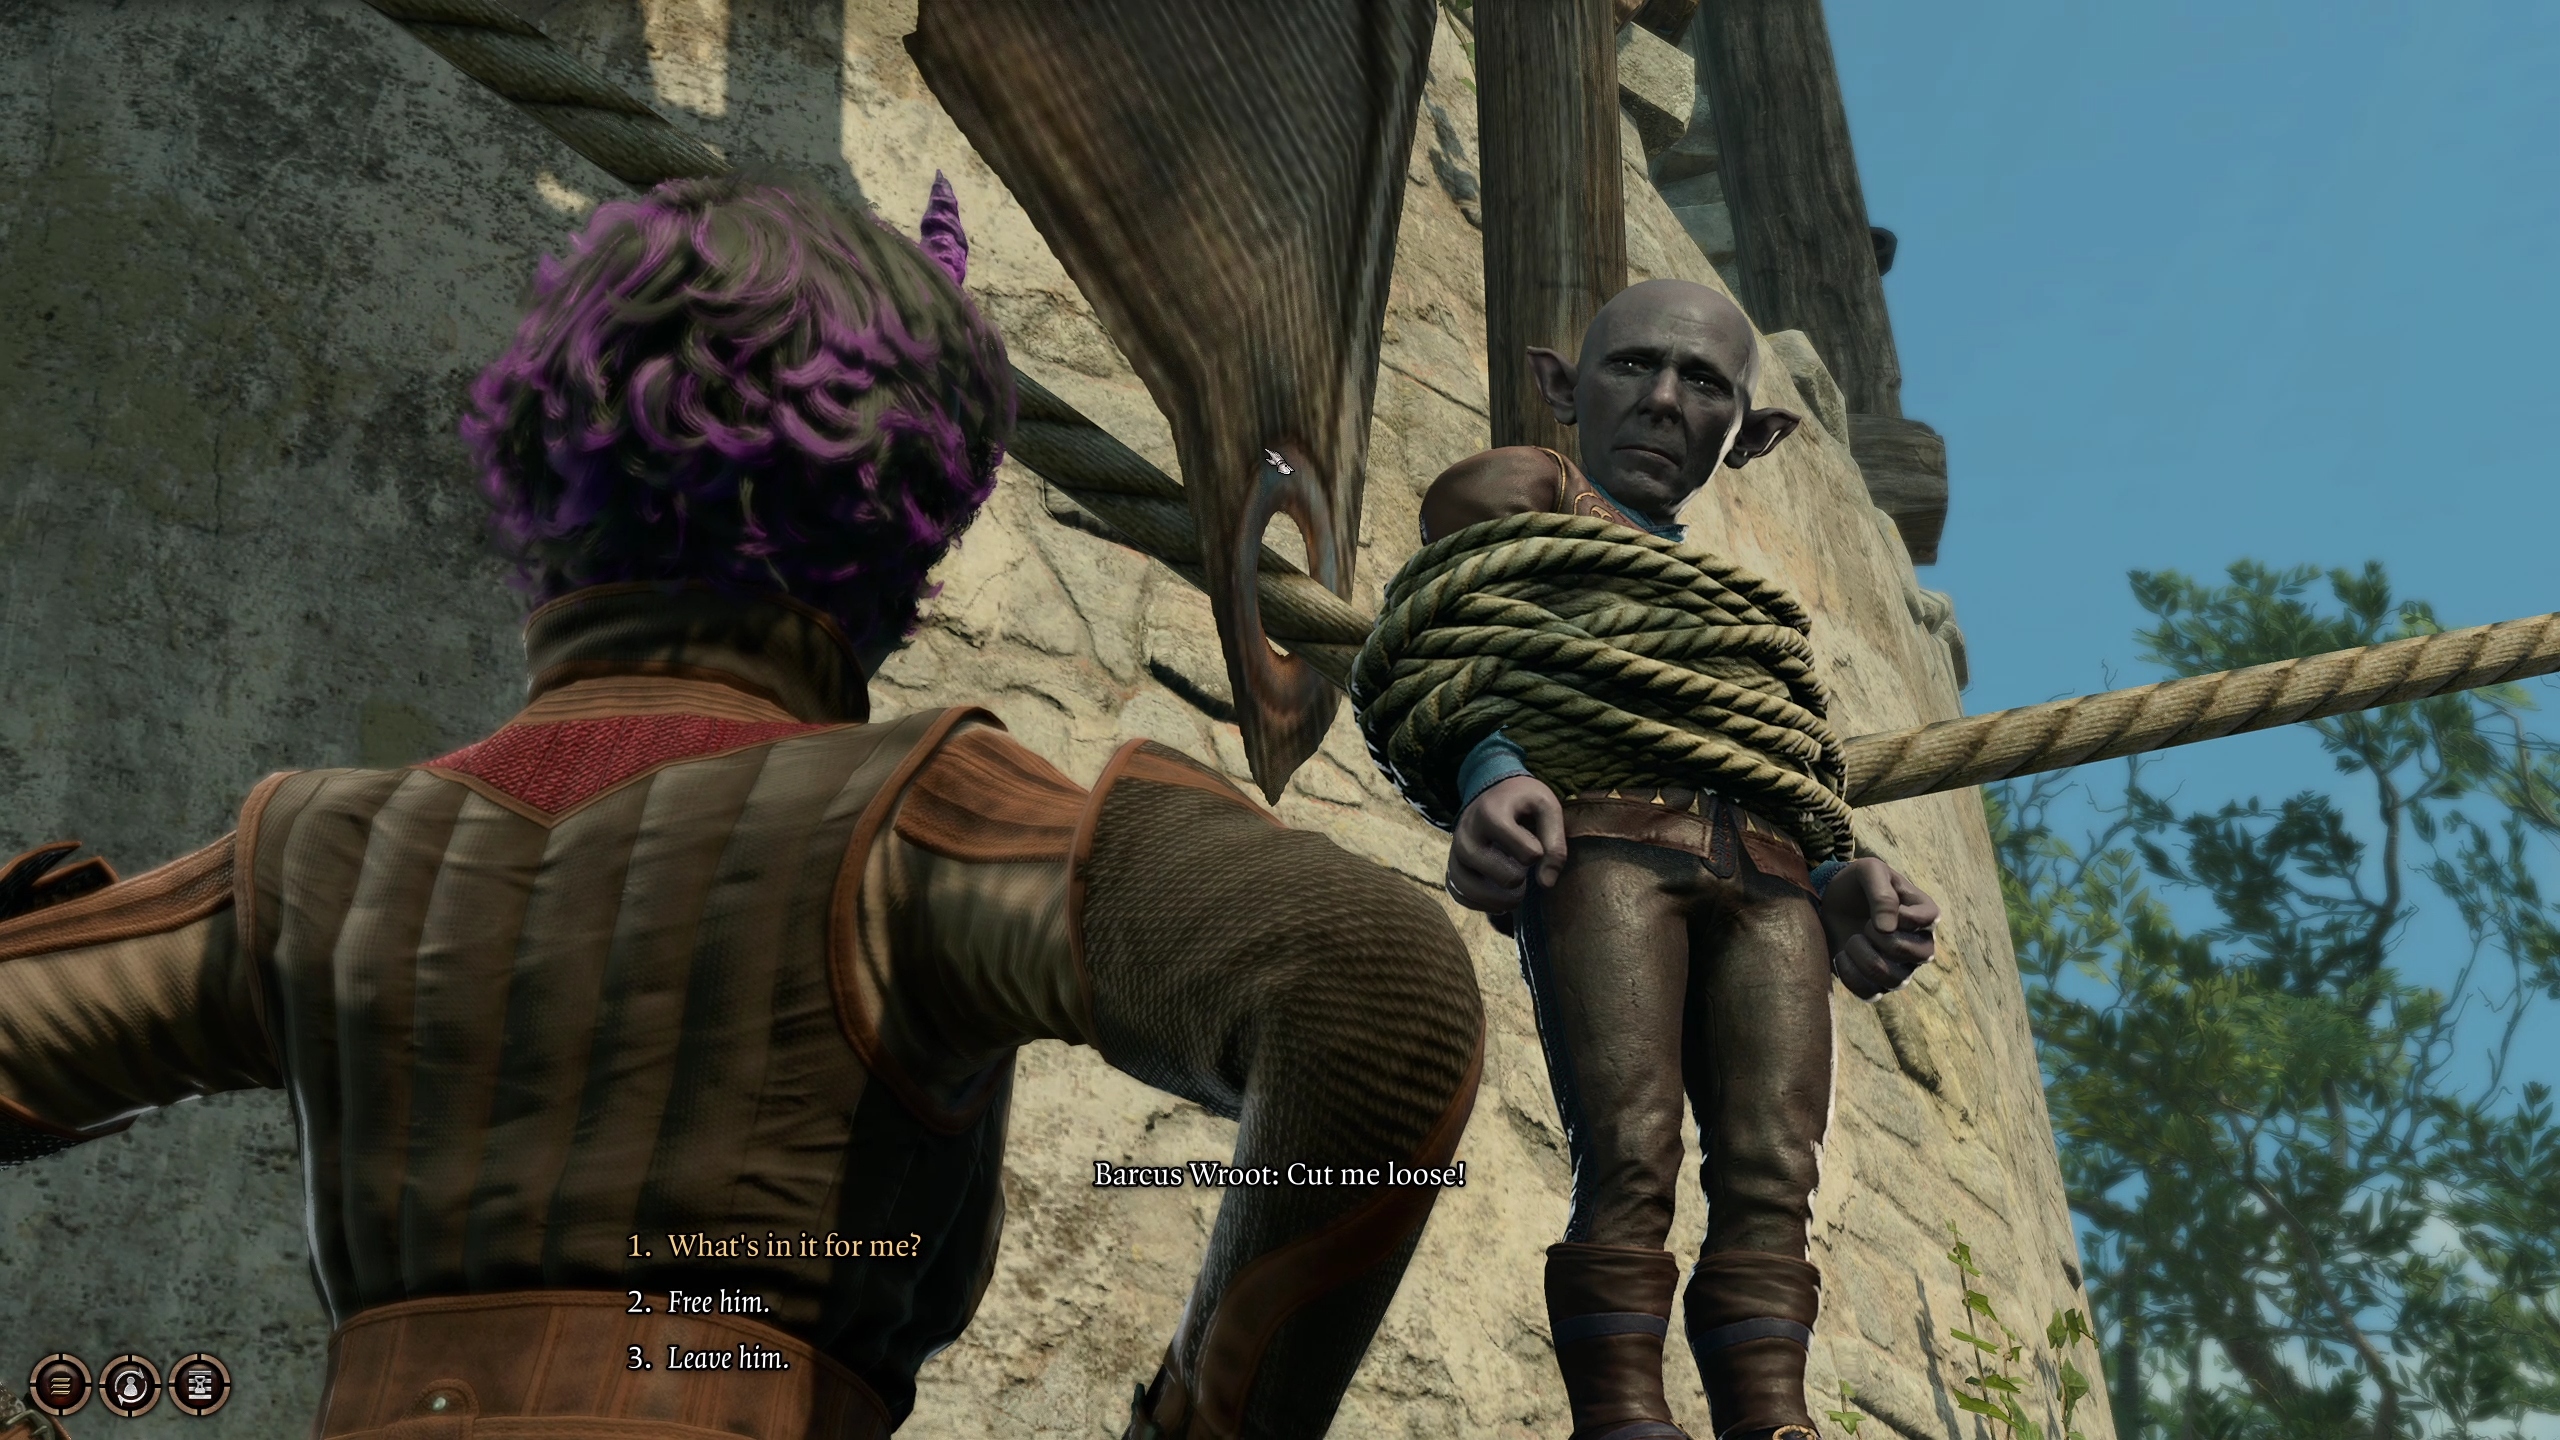
One of the most notable landmarks in the Blighted Village is the windmill, and not just due to its height. Tied to one of the blades on the mill is Barcus Wroot, a deep gnome captured by the local goblins and made to spin round and round for their enjoyment. It’s up to you to free him.
The most straightforward way to deal with the goblins and free the Deep Gnome they’ve captured is to simply walk up to them and speak to them. When you approach from the front or side, you’ll immediately initiate a dialogue with the Goblin leader Fezzerk.
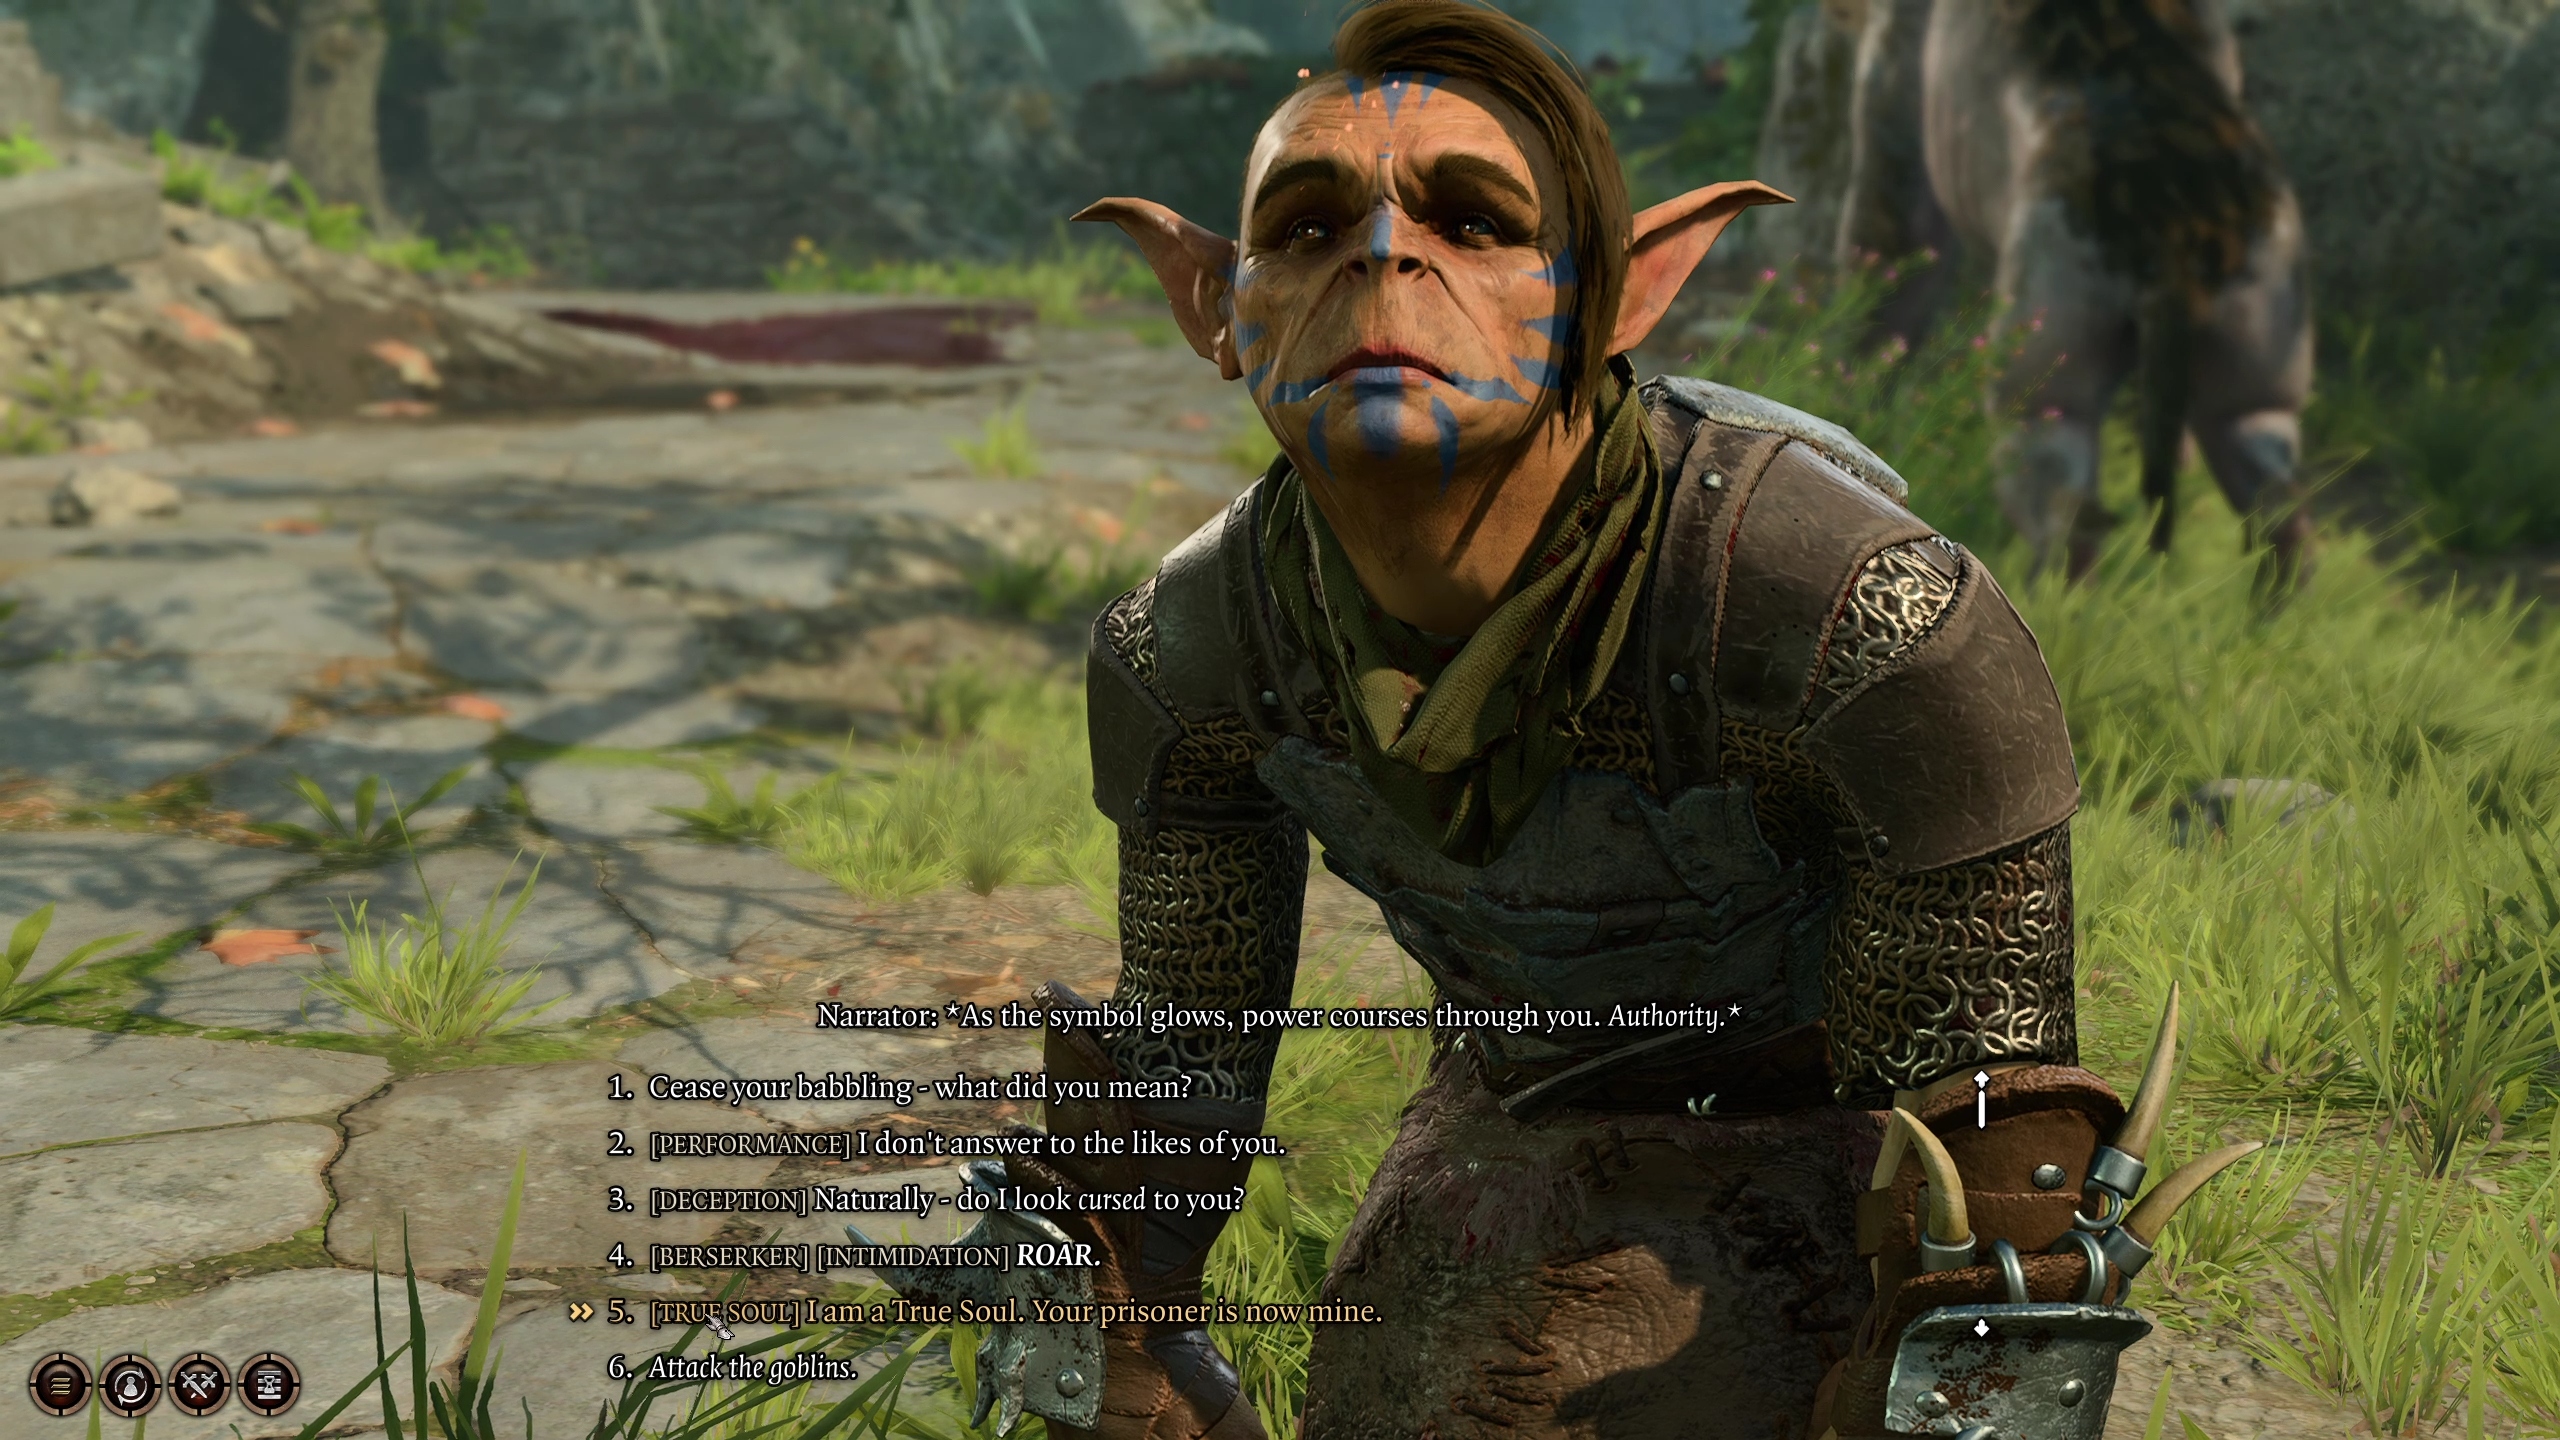
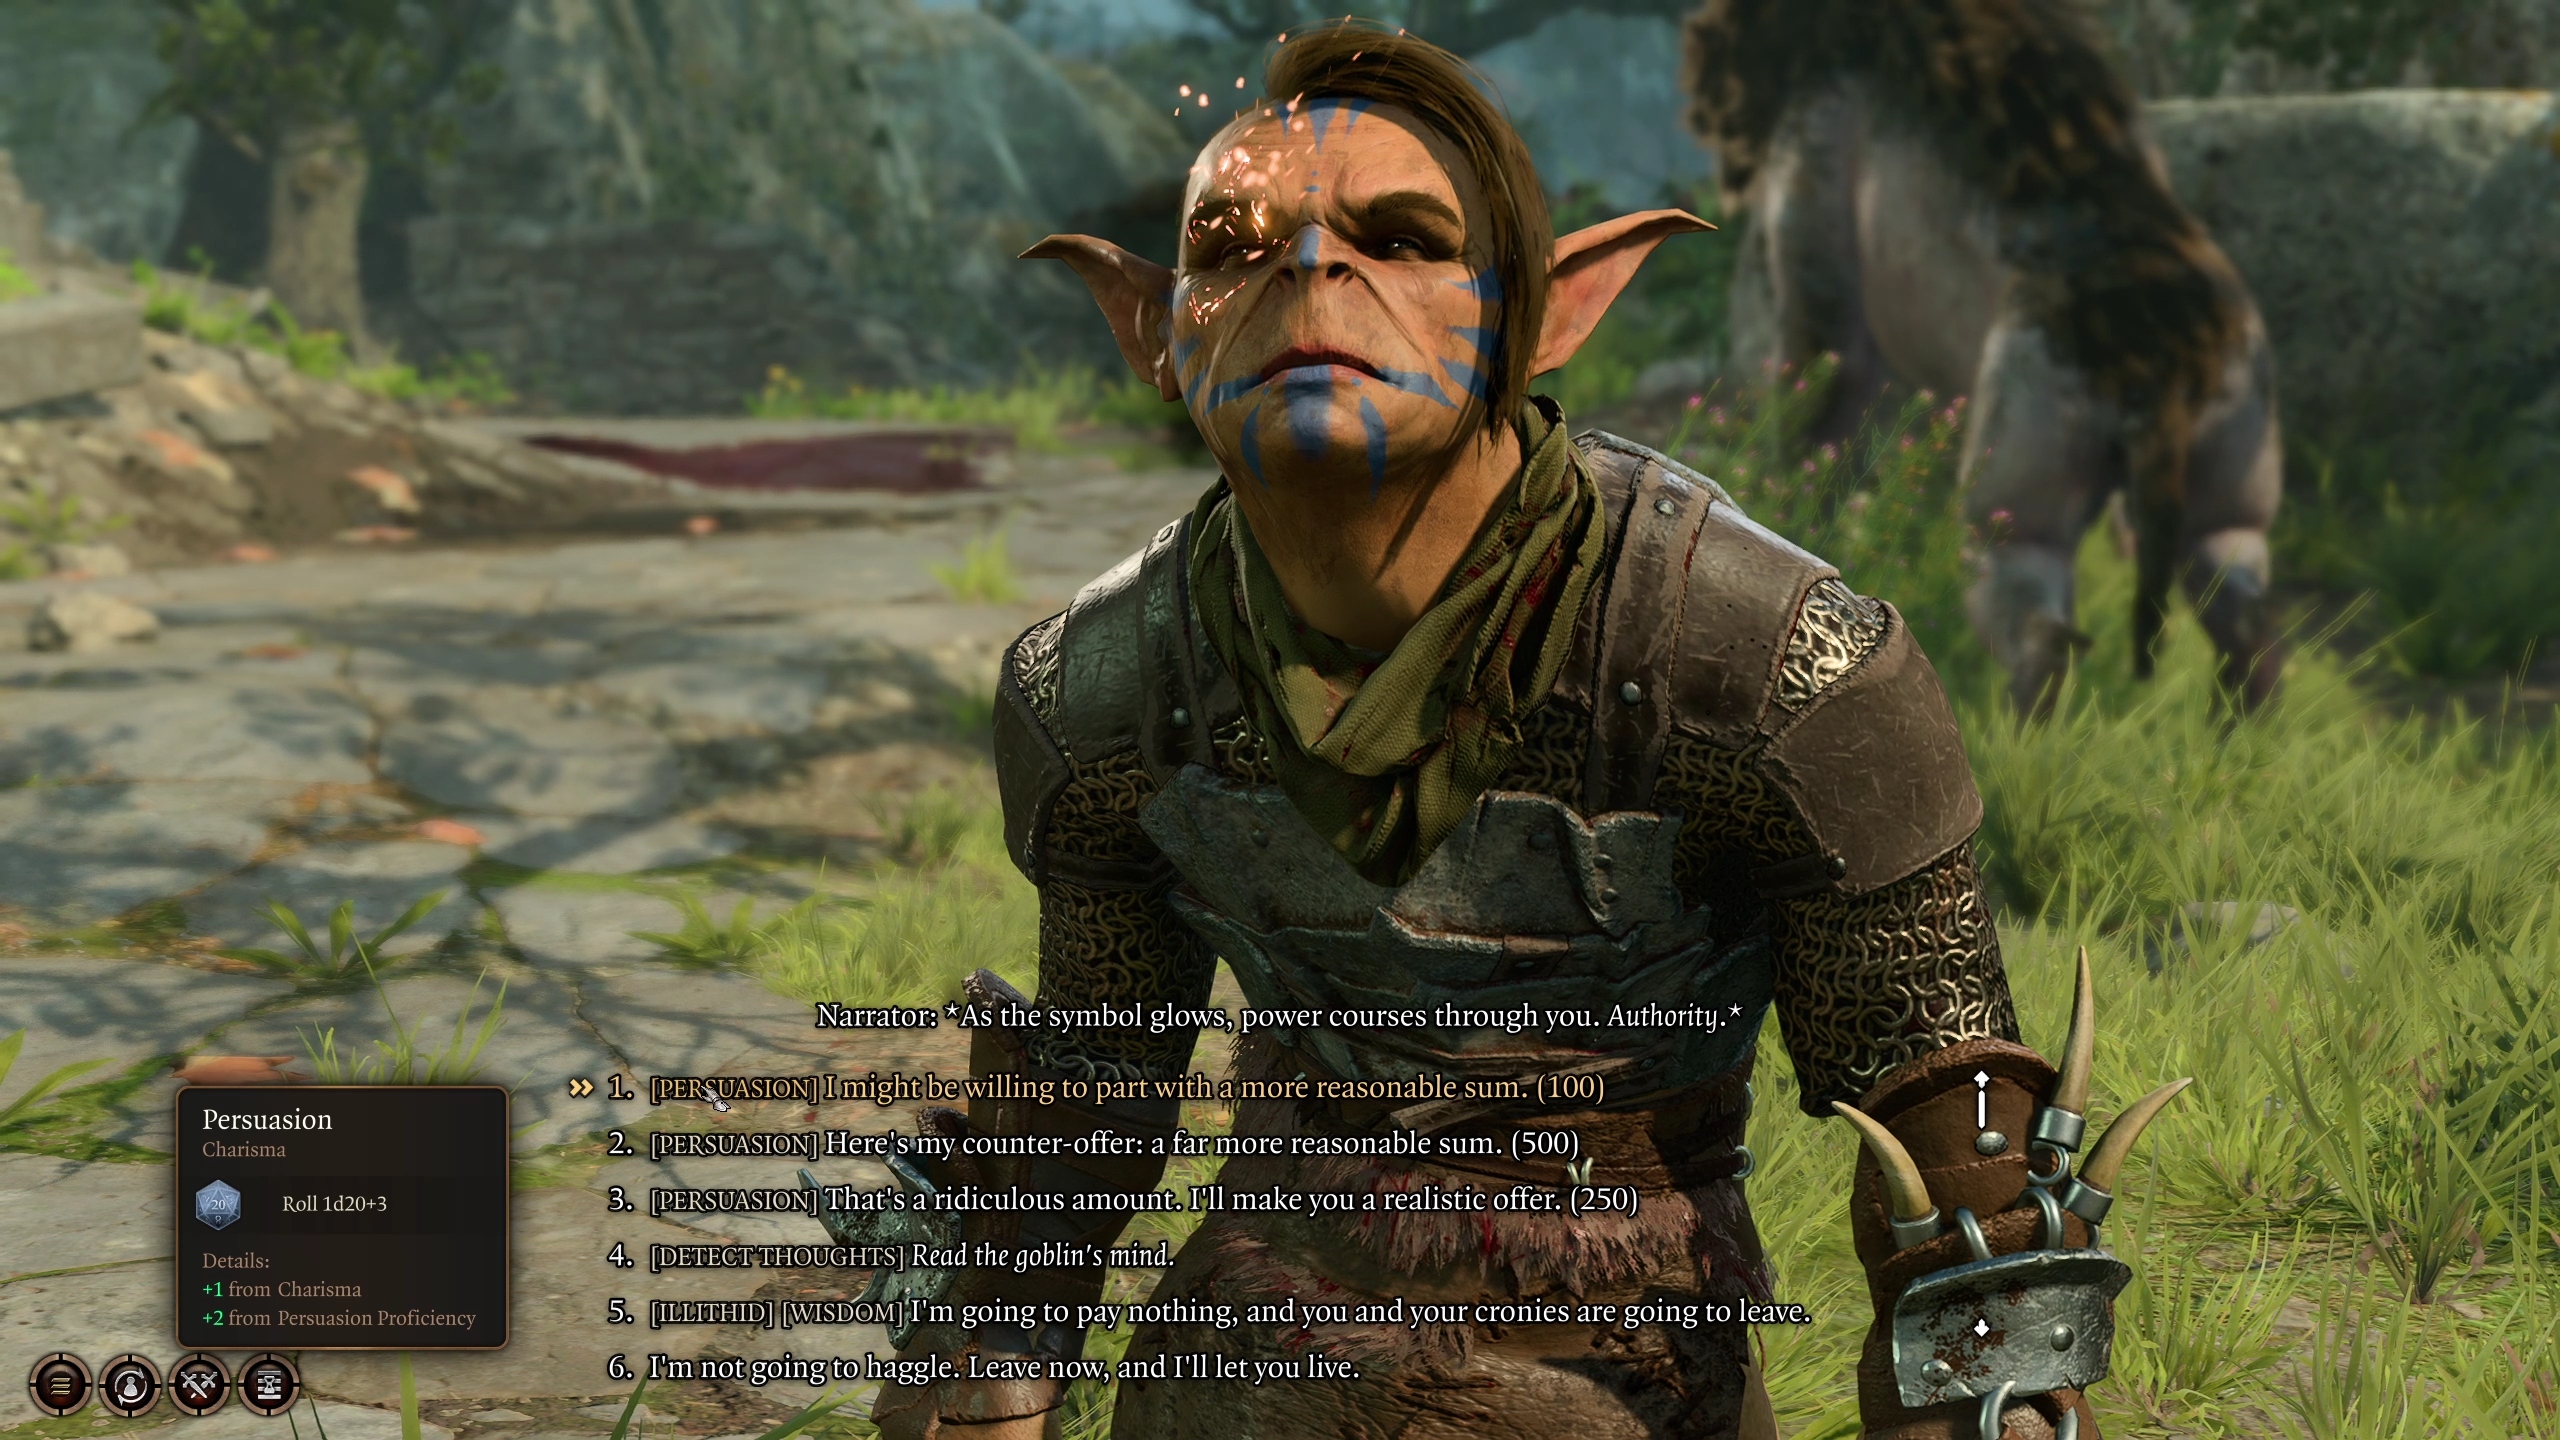
If you happen to be a True Soul after having visited the Goblin Camp, then the Goblins will recognize that and almost immediately defer to you, at which point you can simply ask them to leave (Image 1), or convince them using a Deception (DC 5) or Performance (DC 5) check (or, if you are a Berserker Barbarian, an Intimidation (10) check at Advantage). More likely, however, you will not be a True Soul, so you’ll need to either talk or fight your way out.
If you opt to talk to the Goblins, then things won’t be quite as simple, as the Goblins will attempt to charge you 1000 gold simply for passing by. Naturally, you can pay this sum, Or you can attempt to use Persuasion to lower the sum to 500, 250, or “100” (with DC 5, 10, 15 checks respectively) (Image 2). If you convince the Goblin to lower the price with a DC 15 check, the Goblin will actually “raise” the sum to 5 gold.
Alternatively, if you haven’t used your Illithid persuasion since your last Short Rest, you can perform a Wisdom (DC 2) check to influence the Goblin to leave you alone (Image 2). Detect Thoughts can also be used here with an Intelligence (DC 9) check, but it only gives you a bit more information.
In either case, the Goblins will leave, allowing you to attend to freeing the Gnome without their inference.
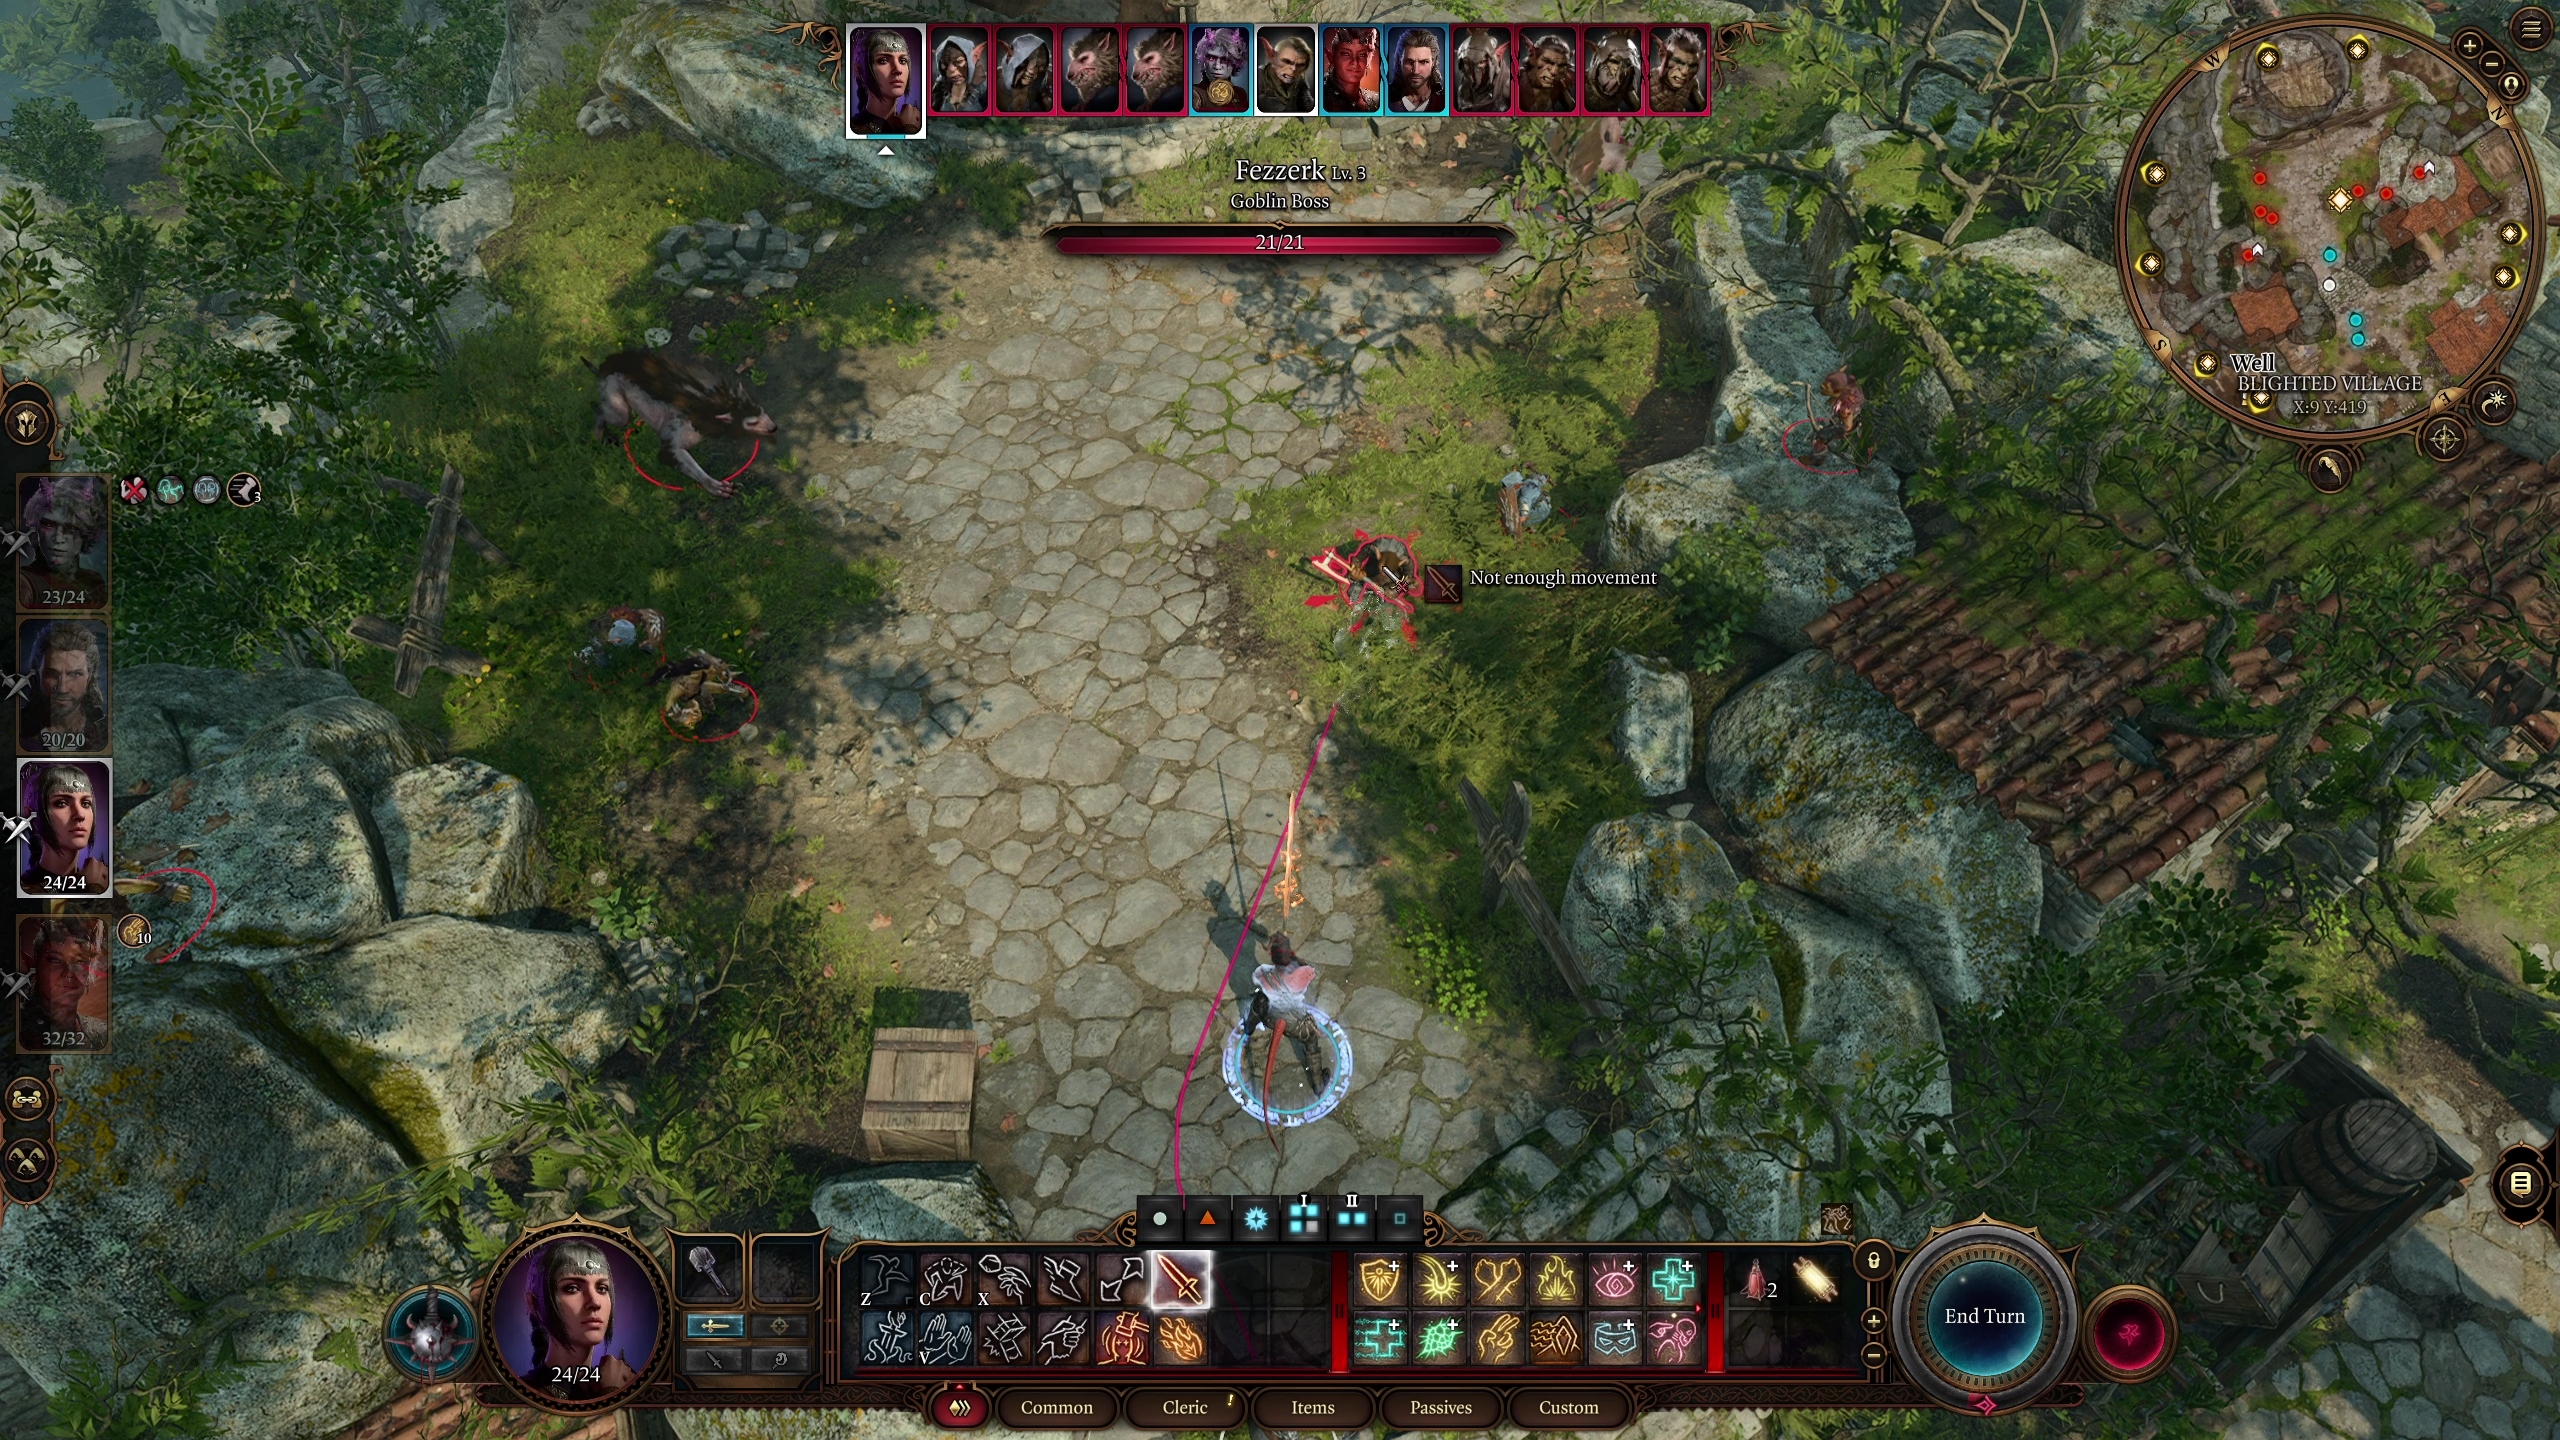
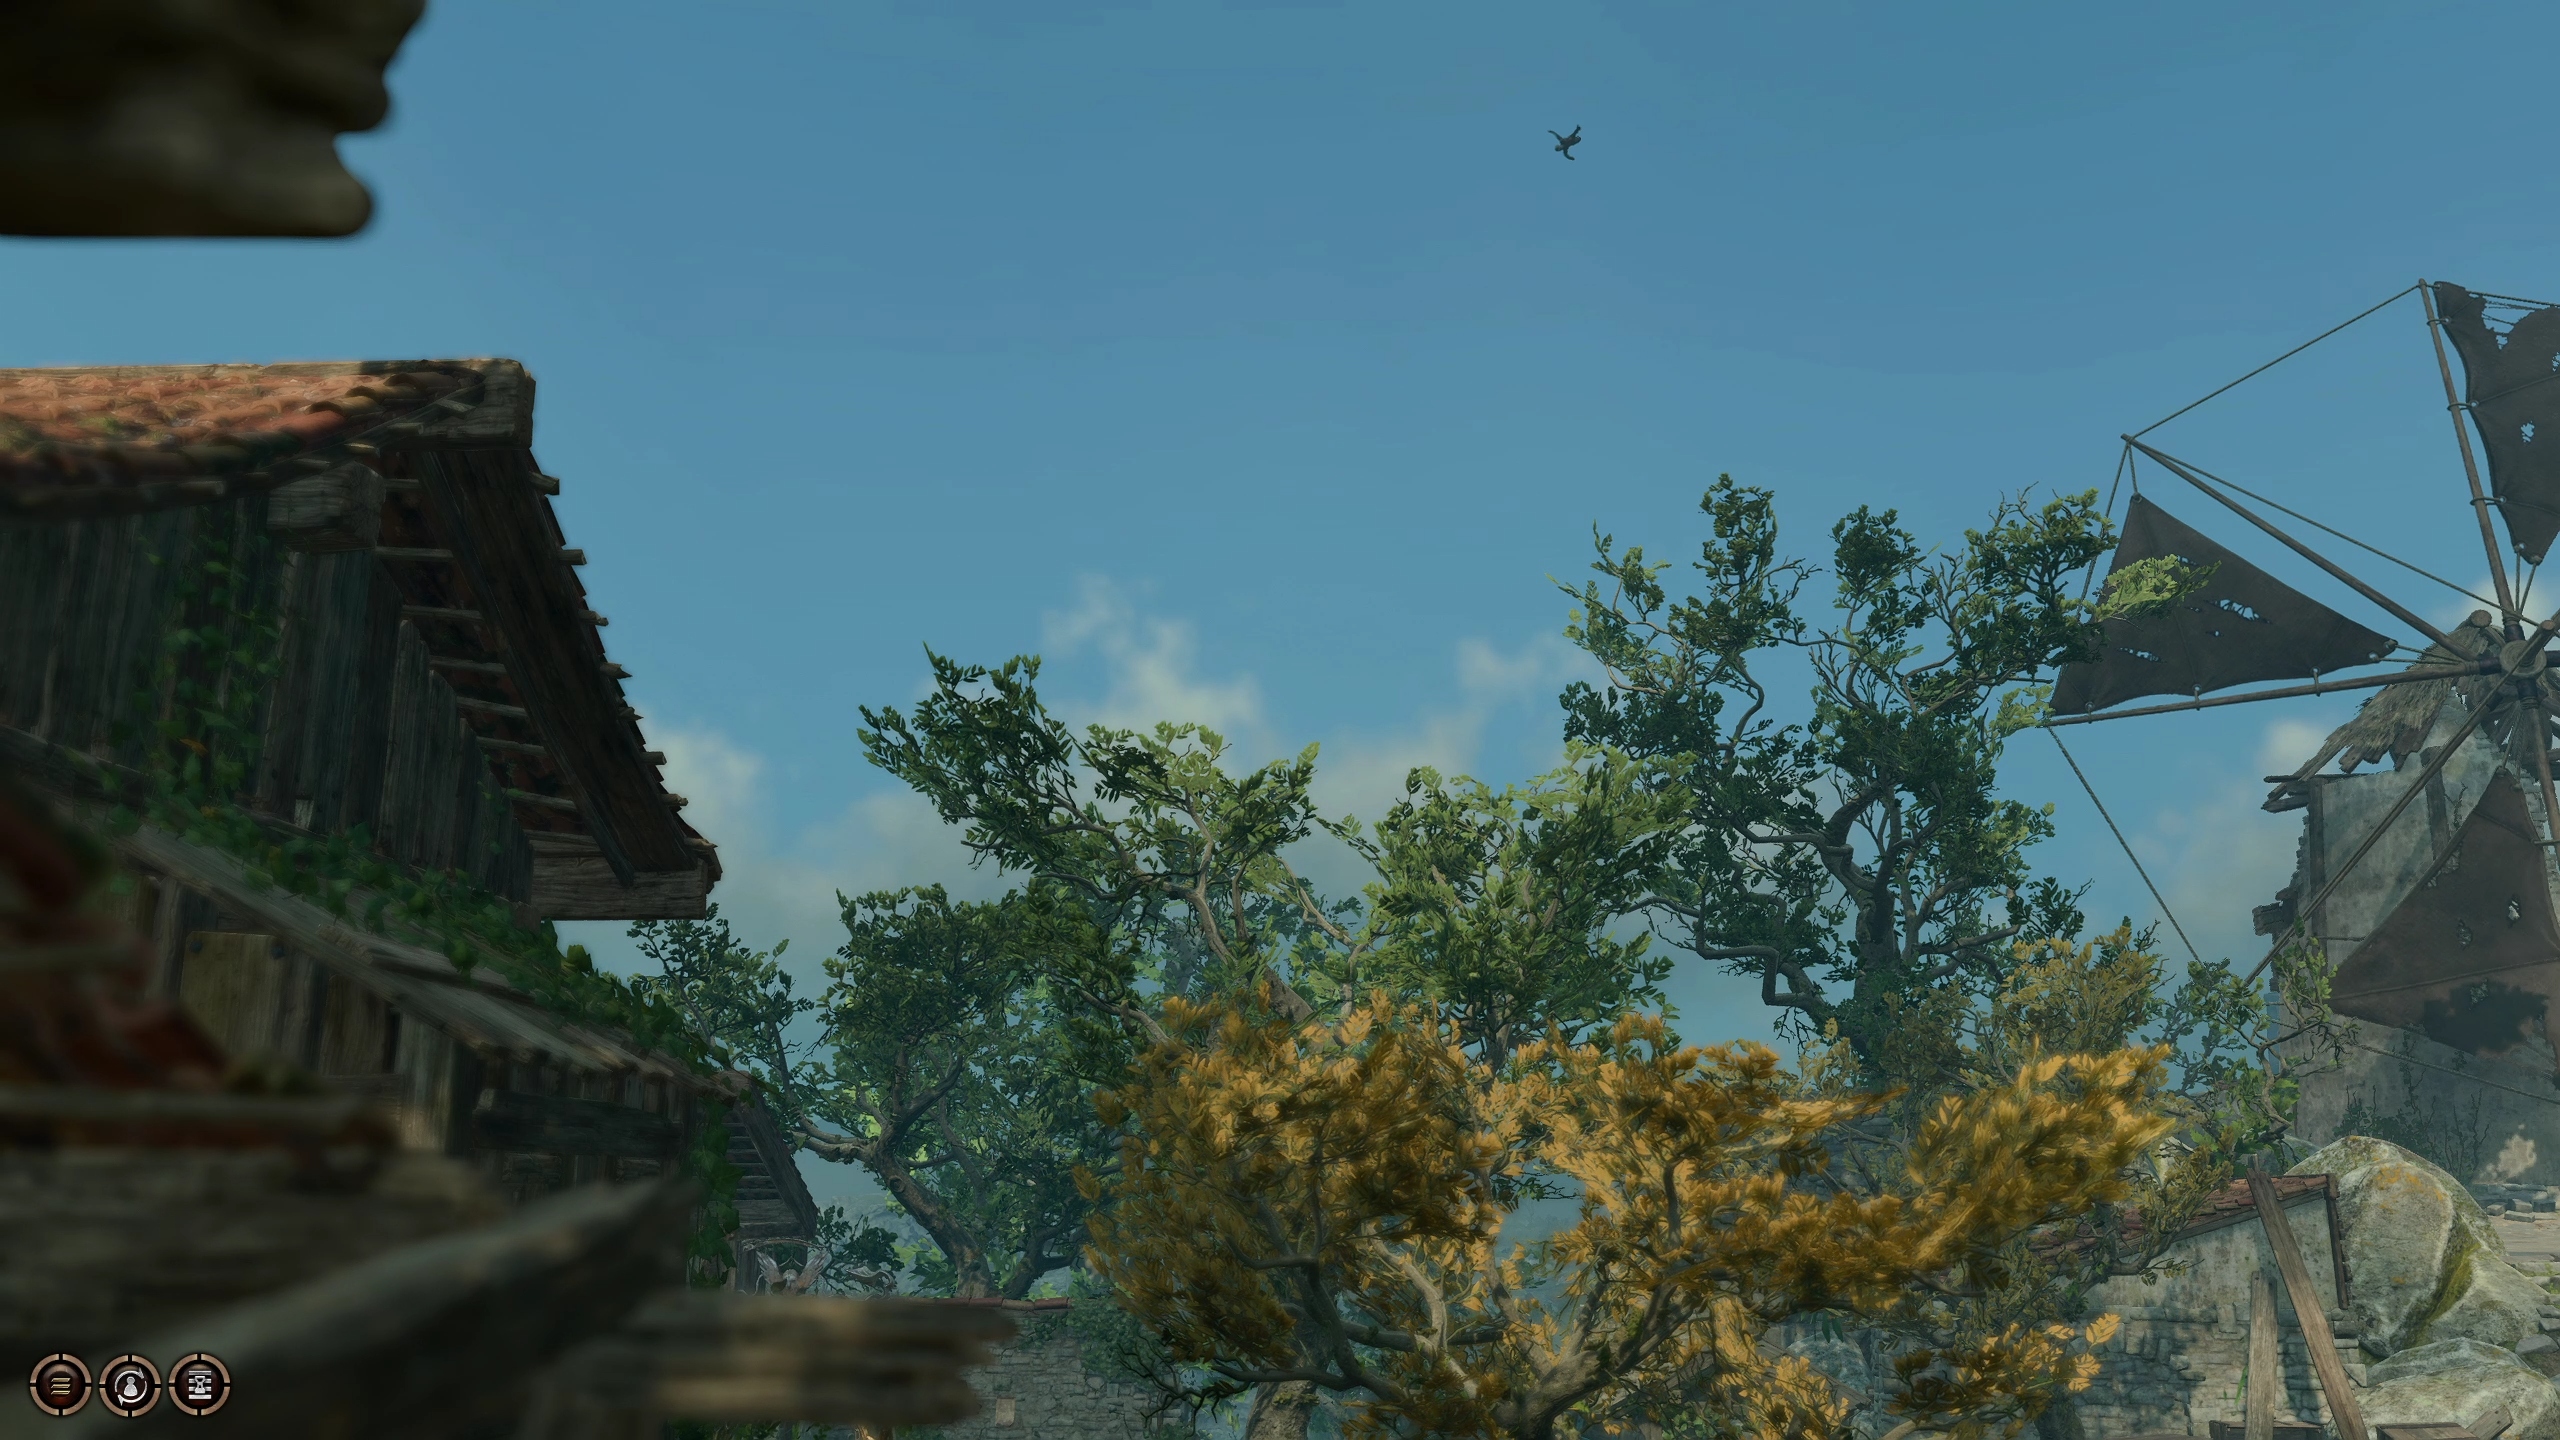
As a final option, you can, of course, fight the Goblins. There are 7 Goblins between Level 1 and 3 here, and two Level 2 Worgs, leading to a combat that should be easy enough to handle as a full party at Level 2. If you are having trouble, though, the best idea is to try to get control of the hills or mill itself so you have the height advantage for any ranged attacks — and take that advantage away from the Goblins (Image 3). Fezzerk will drop a Very Heavy Greataxe when he dies.
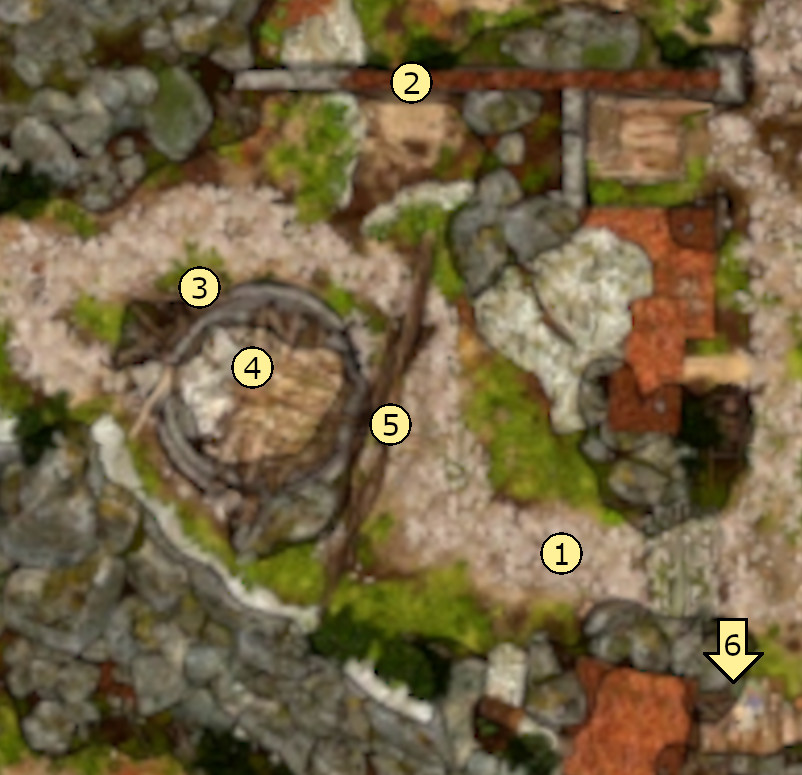
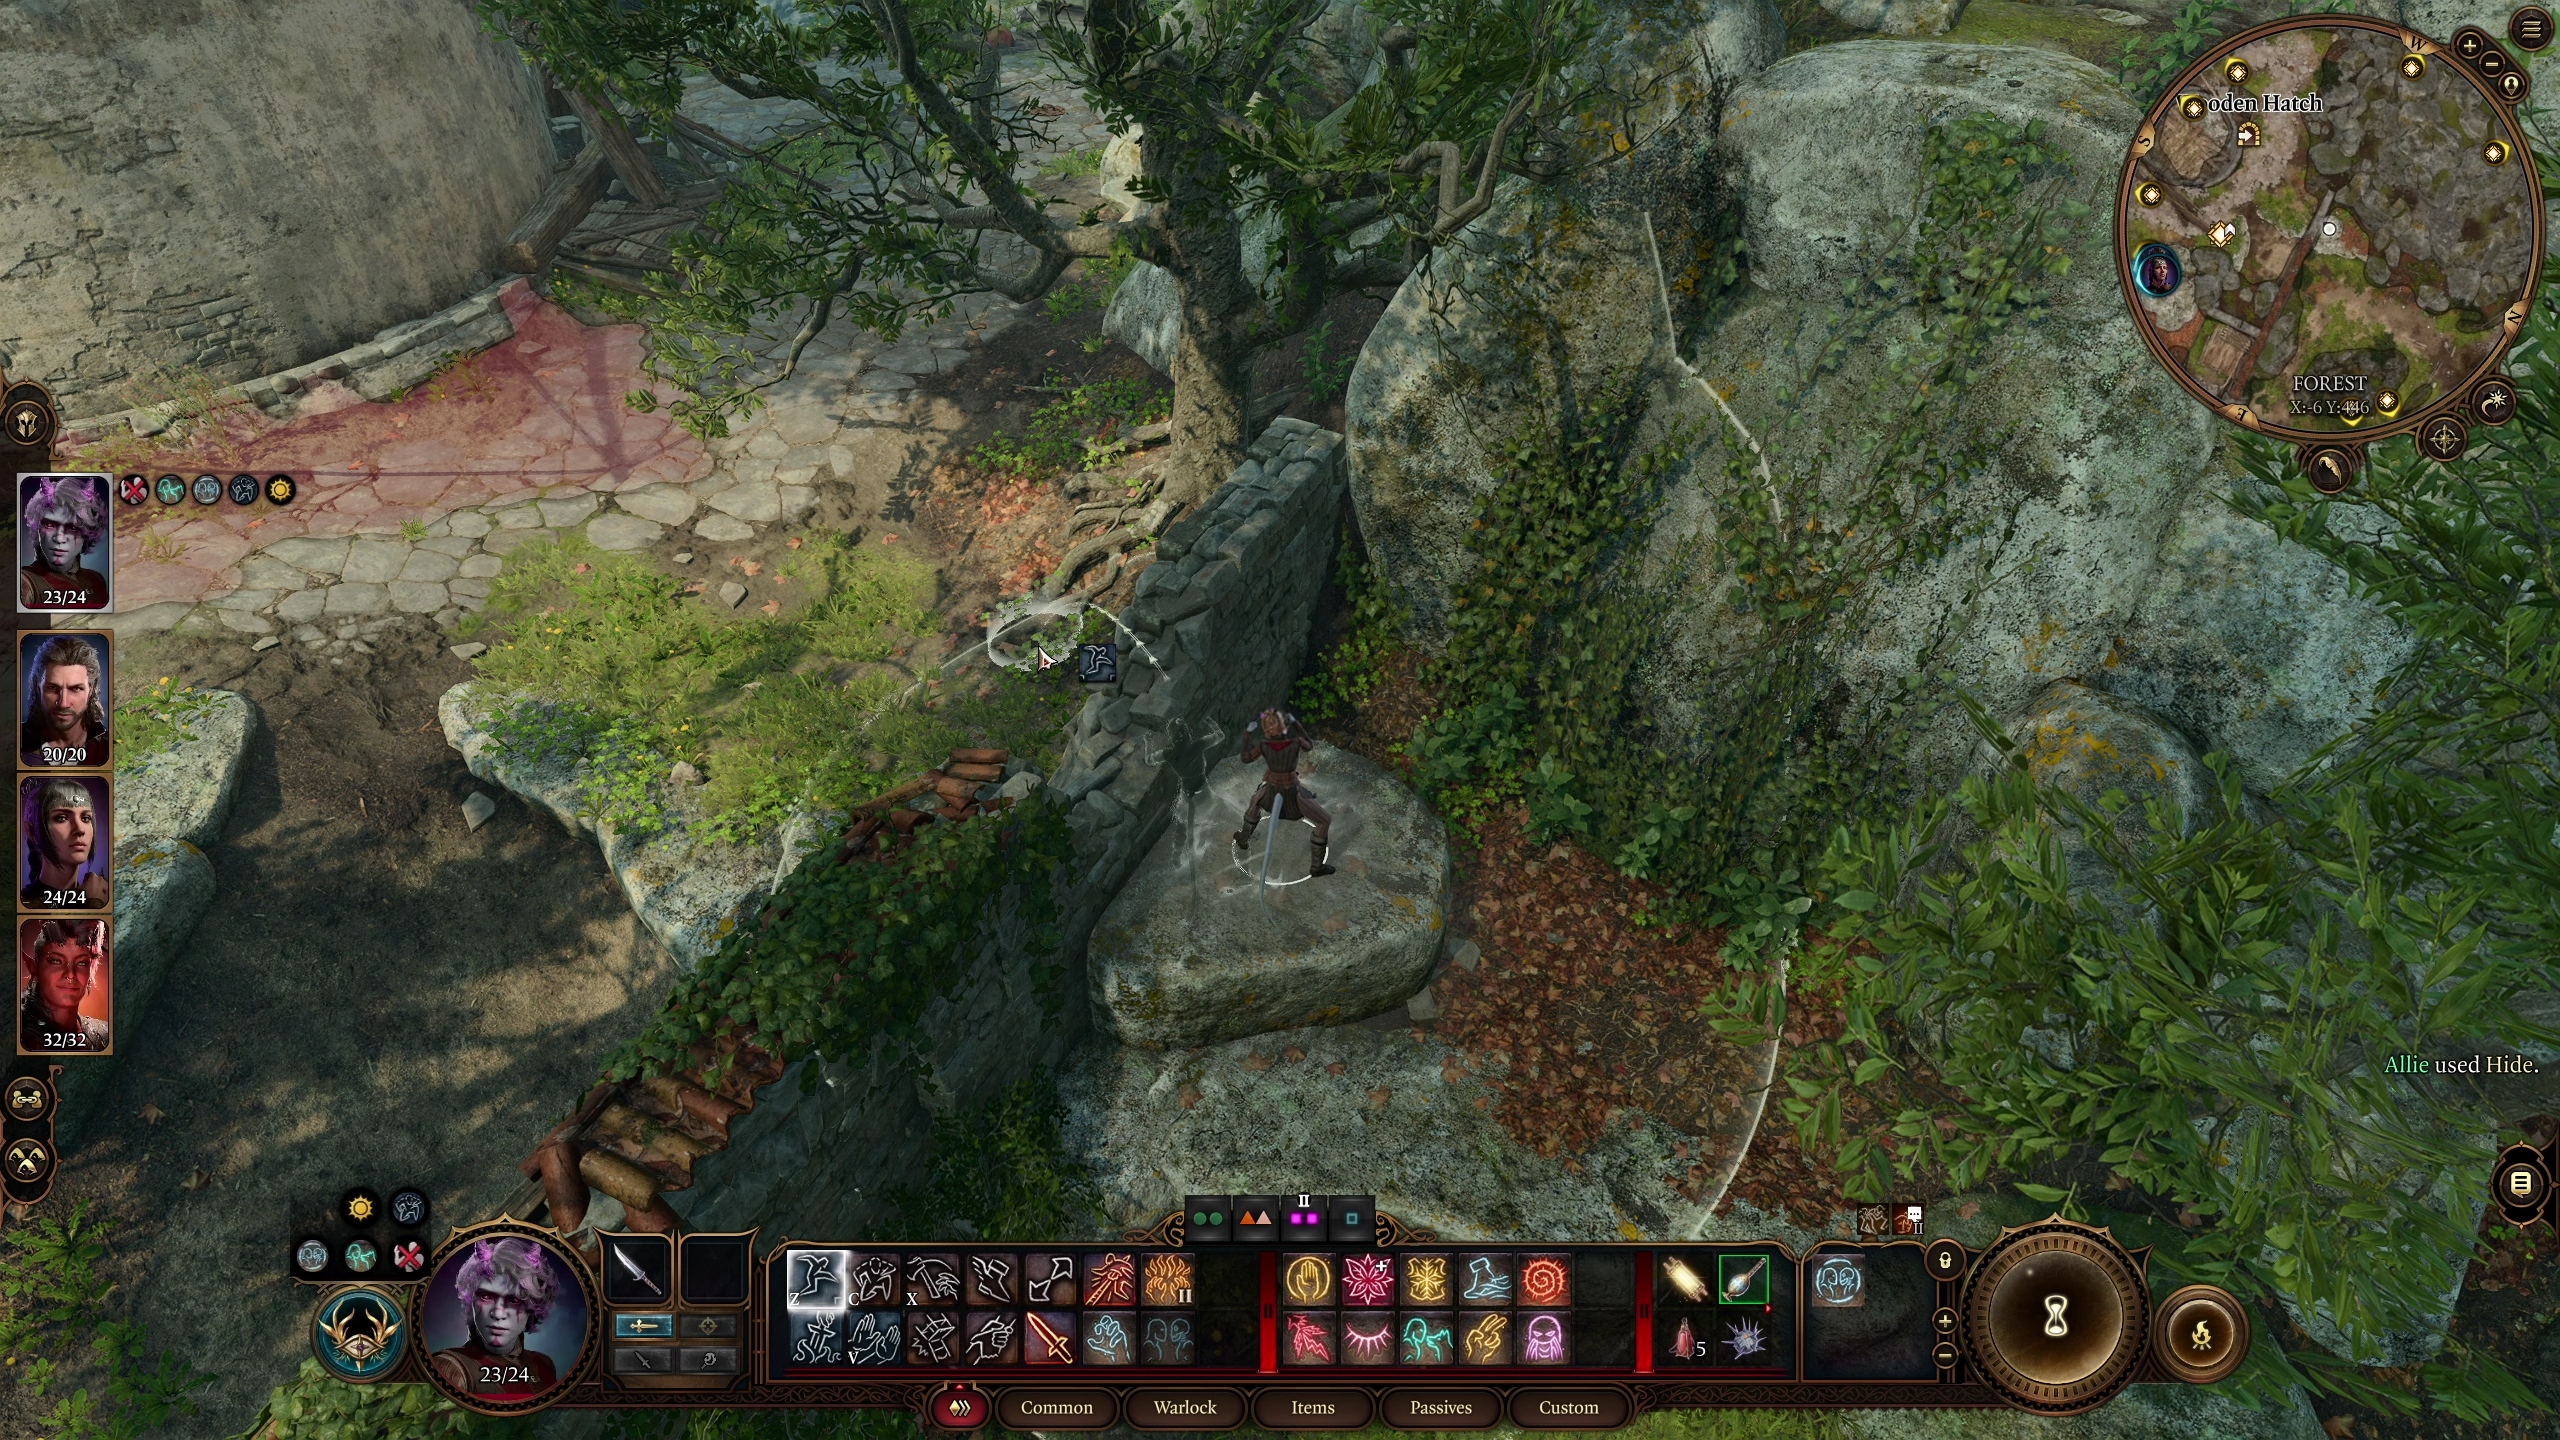
Another option is to use stealth and approach from a different angle. By going around the village walls, you can find an area next to the windmill (and past the goblin encounter) where you can hop the wall and jump in (Image 4). Make sure you are hiding before jumping in, as this will allow you to avoid detection and access the controls to the mill without speaking to them. Just be careful of the Worg eating the dead sheep, as it can sometimes notice an unstealthy adventurer.
Note that messing with the mill controls (4) without being detected will prompt the Goblins to investigate, and so you will need to either leave quickly, hide in the cellar (3), or prepare for a fight.
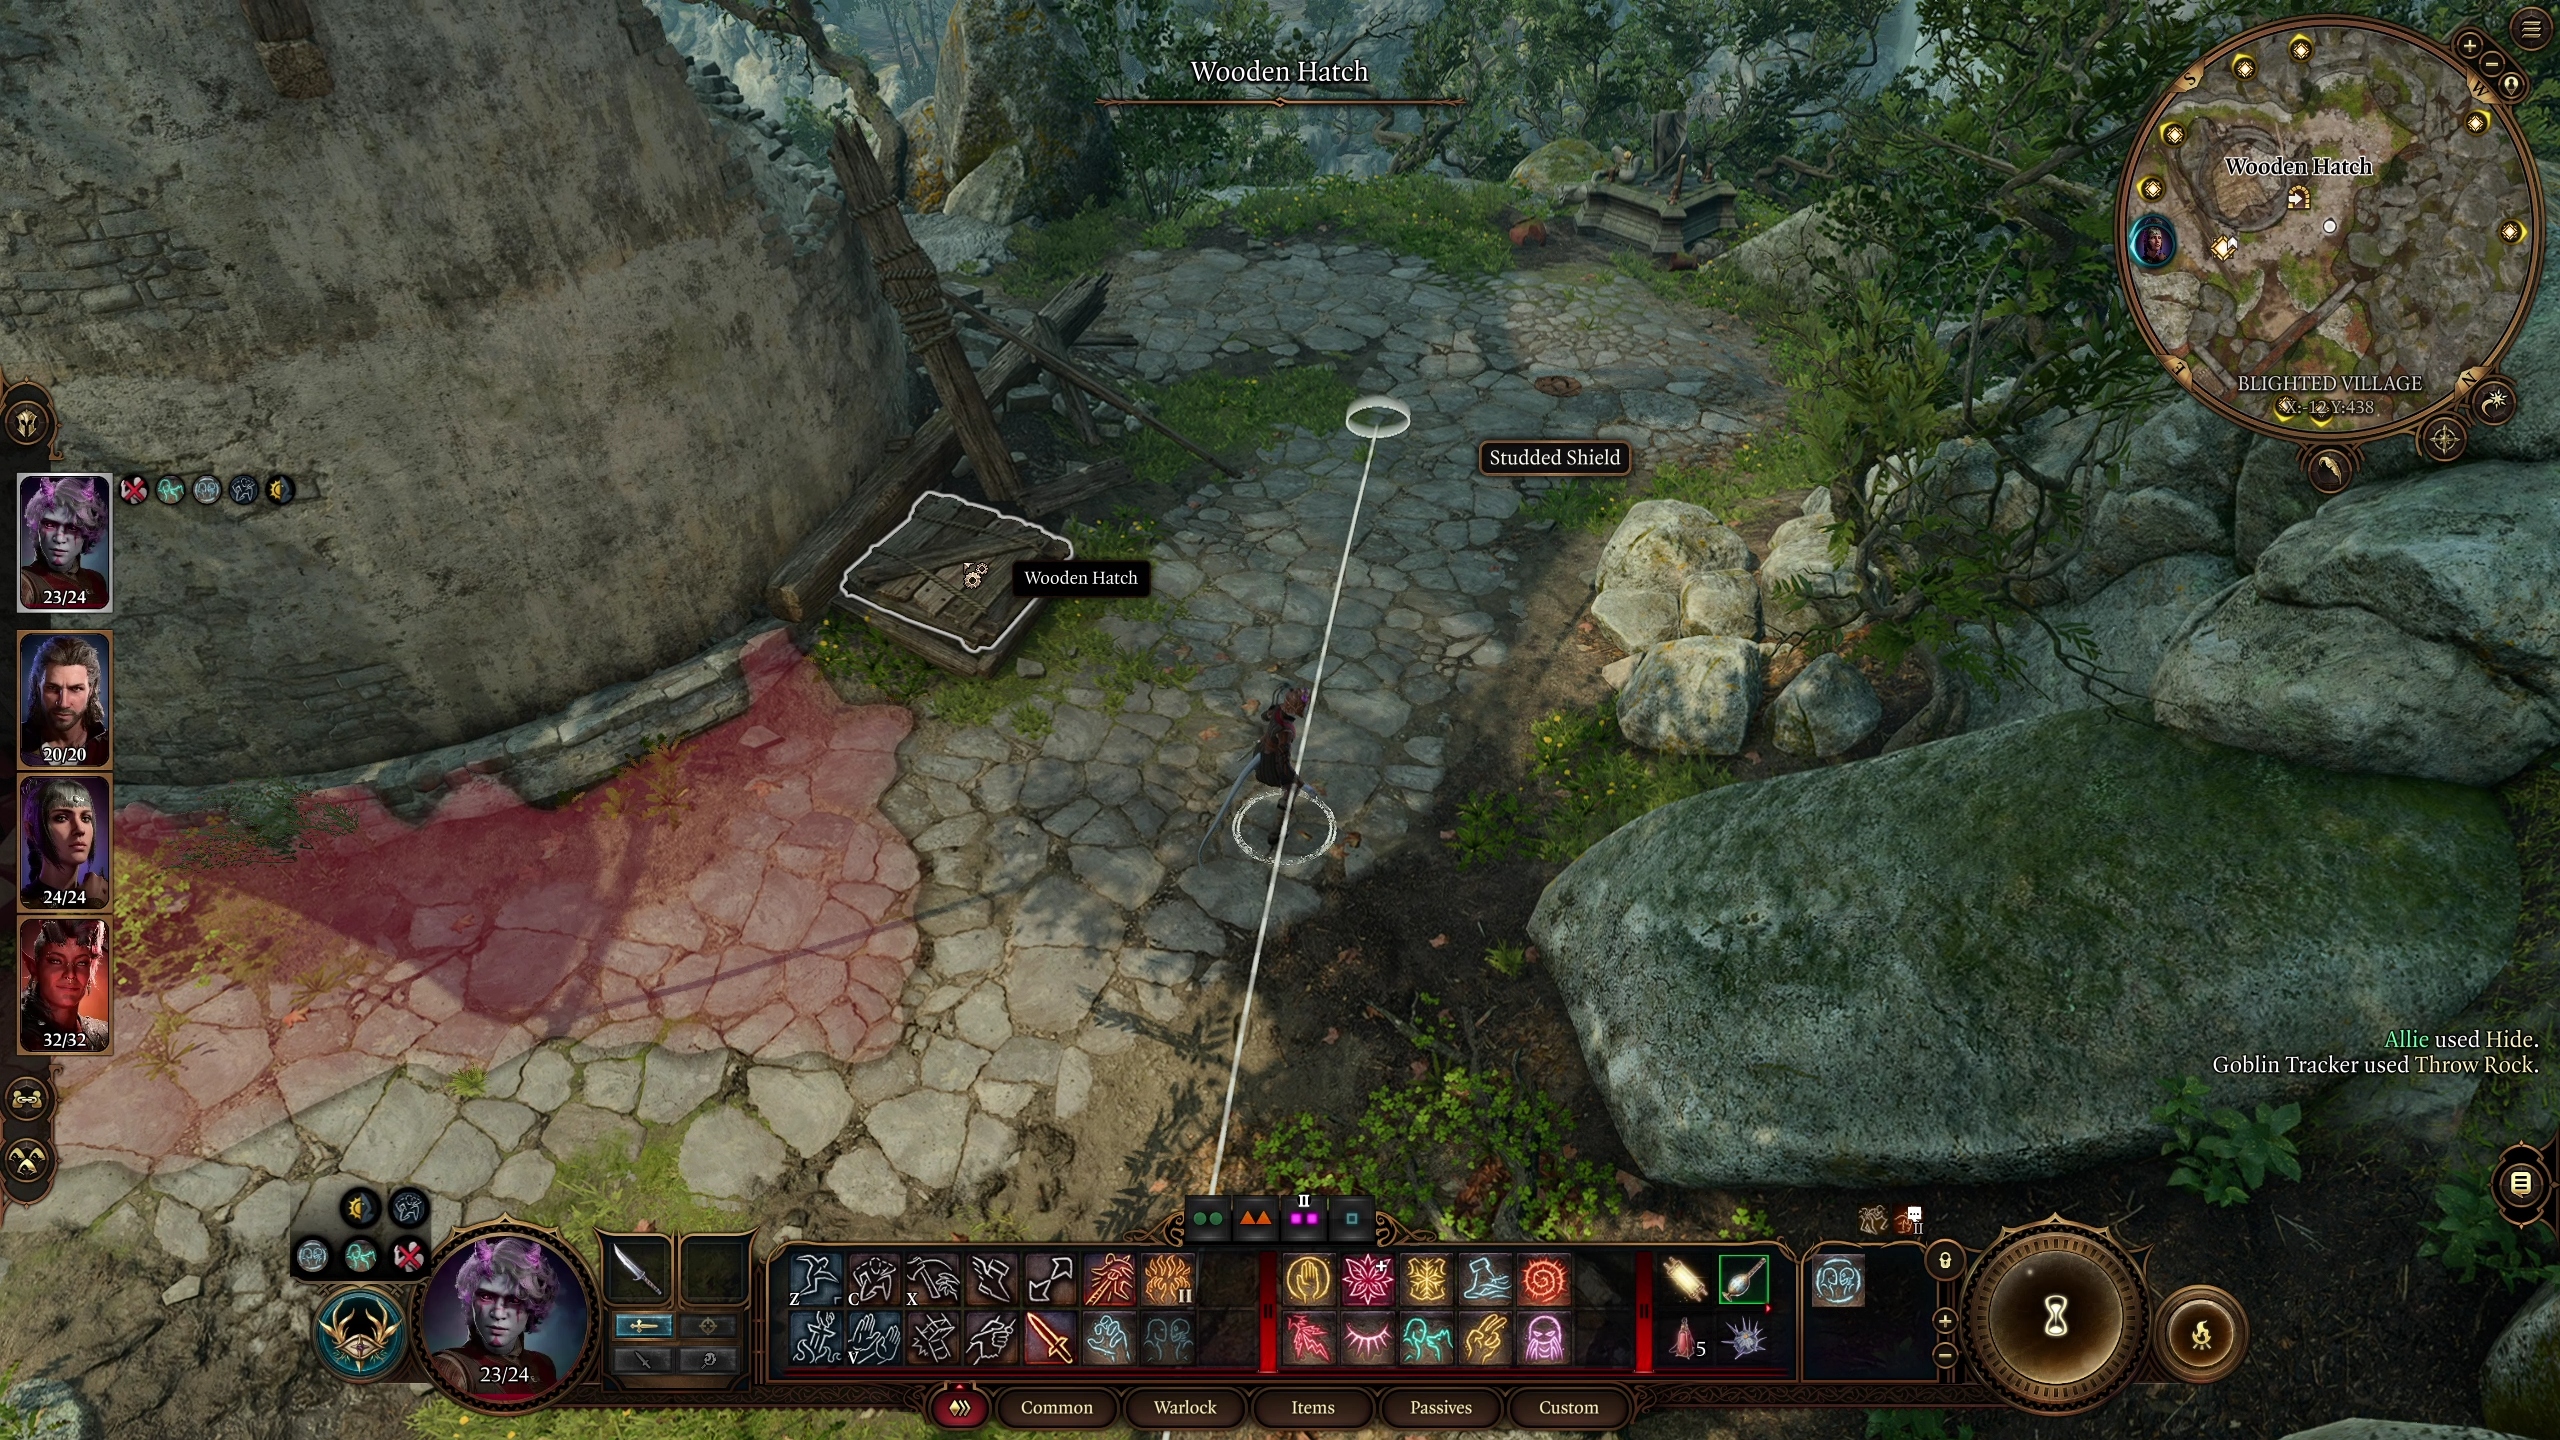
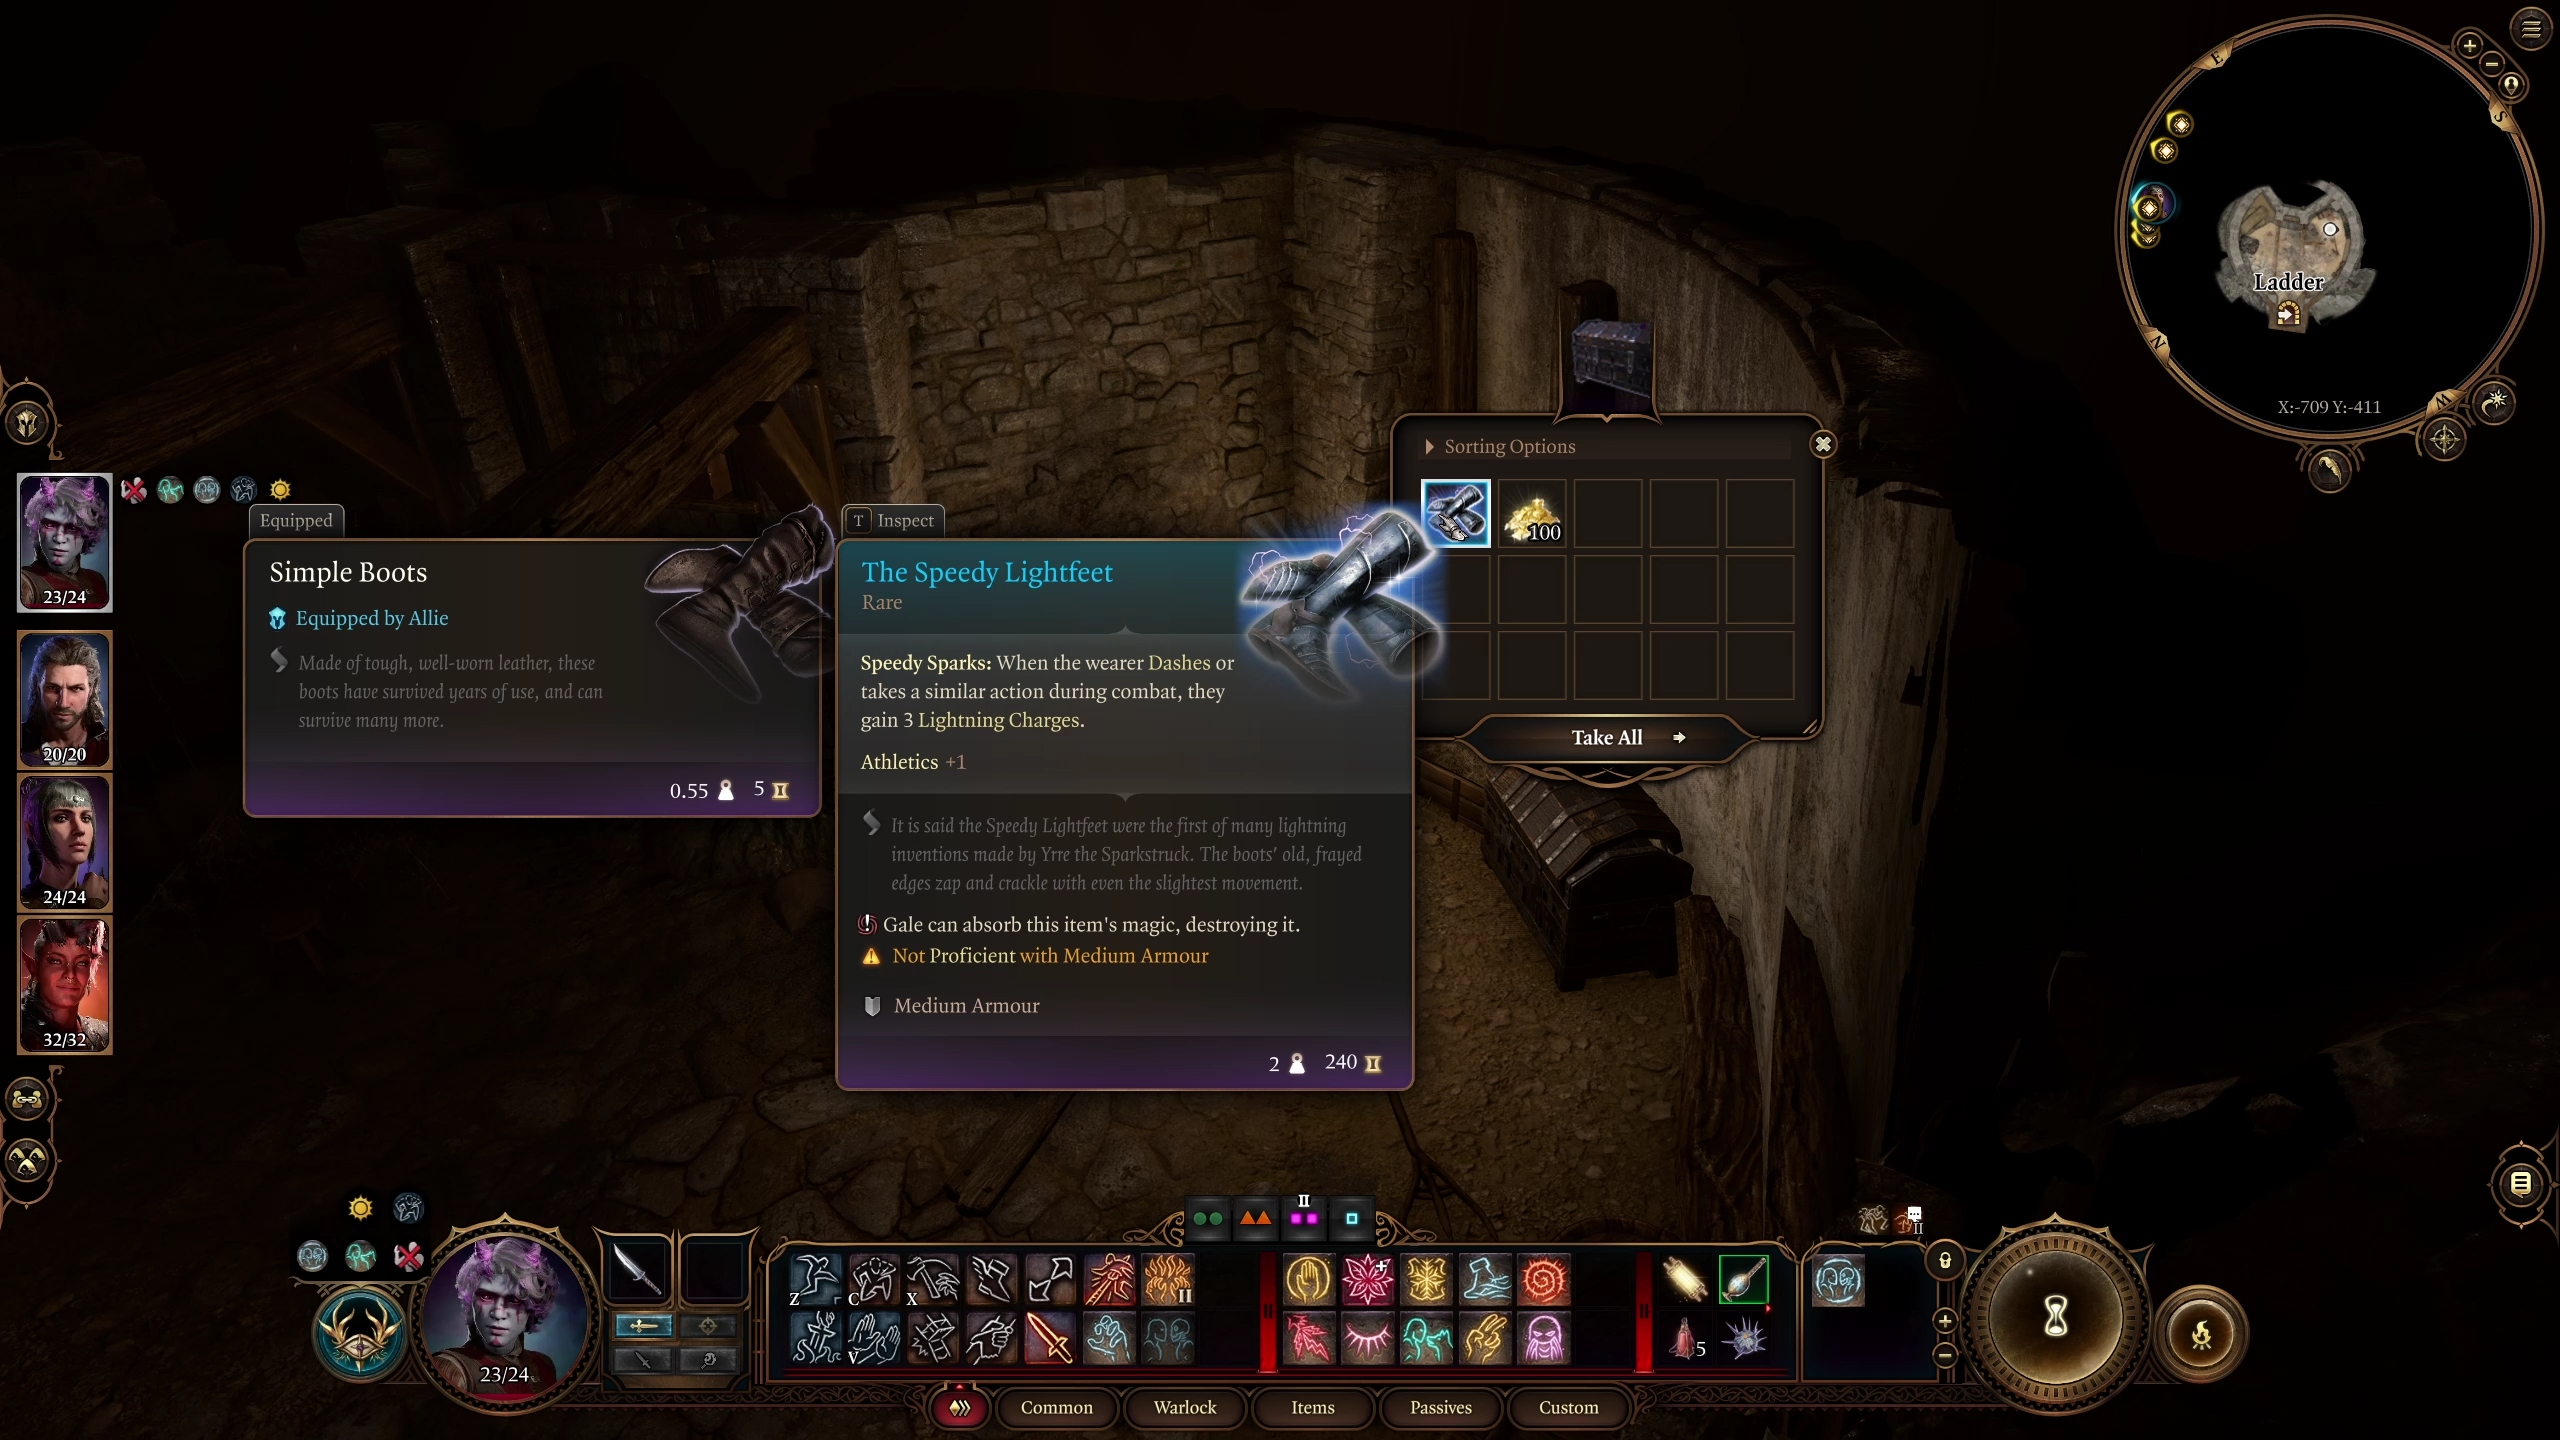
As you approach the back of the windmill in order to operate the controls, you’ll pass by a wooden hatch leading down to the mill’s cellar (Image 5). Enter it and look for a chest to the side of the room, which will contain the rare boots “The Speedy Lightfoot” (Image 6), which can be particularly effective for lightning builds.
Once you make it to the back of the windmill and enter, you’ll be greeted with two levers (and can press Left Alt on PC to more easily find them). One is labelled “‘Brake’ Lever”, while the other is labelled “‘Release Brake’ Lever”, and pulling each will have very different results.
‘Brake’ Lever: Pulling this lever will stop the mechanisms, allowing you to speak to and free the Deep Gnome Barcus Wroot at location 5.
‘Release Brake’ Level: Pulling this level will cause the windmill to speed up, and you’ll see a cutscene of the Deep Gnome being launched off and killed. He will land at location 6, where he can be looted. (Image 7)
Clicking on Barcus Wroot after stopping the windmill will allow you to talk with him briefly and free him (Image 8). Other denizens of the Underdark (Drow, Duergar, and Deep Gnomes) will get some unique dialogue options, but they won’t change anything. Barcus will show you a Bloody Amulet, and he’ll tell you that he was looking for his friend Wulbren when the Goblins jumped him. He’ll then allow you to have the contents of his heavy backpack — the reason the Goblins were able to catch him — which you’ll find in the windmill cellar. Since you rescued Barcus here, you will be able to encounter him again at the Grymforge.
Image 8
For completing Rescue the Gnome, you will receive 45 XP.
If you opted to send the Gnome flying, you’ll be able to find his body near the well to the south. Looting him will give you a Bloody Amulet and Barcus’ Log, which will help explain what a Deep Gnome was doing in the Blighted Village.
For completing Rescue the Gnome, you will receive 45 XP.
Share this article:
Graves
Graves is an avid writer, web designer, and gamer, with more ideas than he could hope to achieve in a lifetime. But, armed with a mug of coffee and an overactive imagination, he'll try. When he isn't working on a creative project, he is painting miniatures, reading cheesy sci-fi novels, or making music.