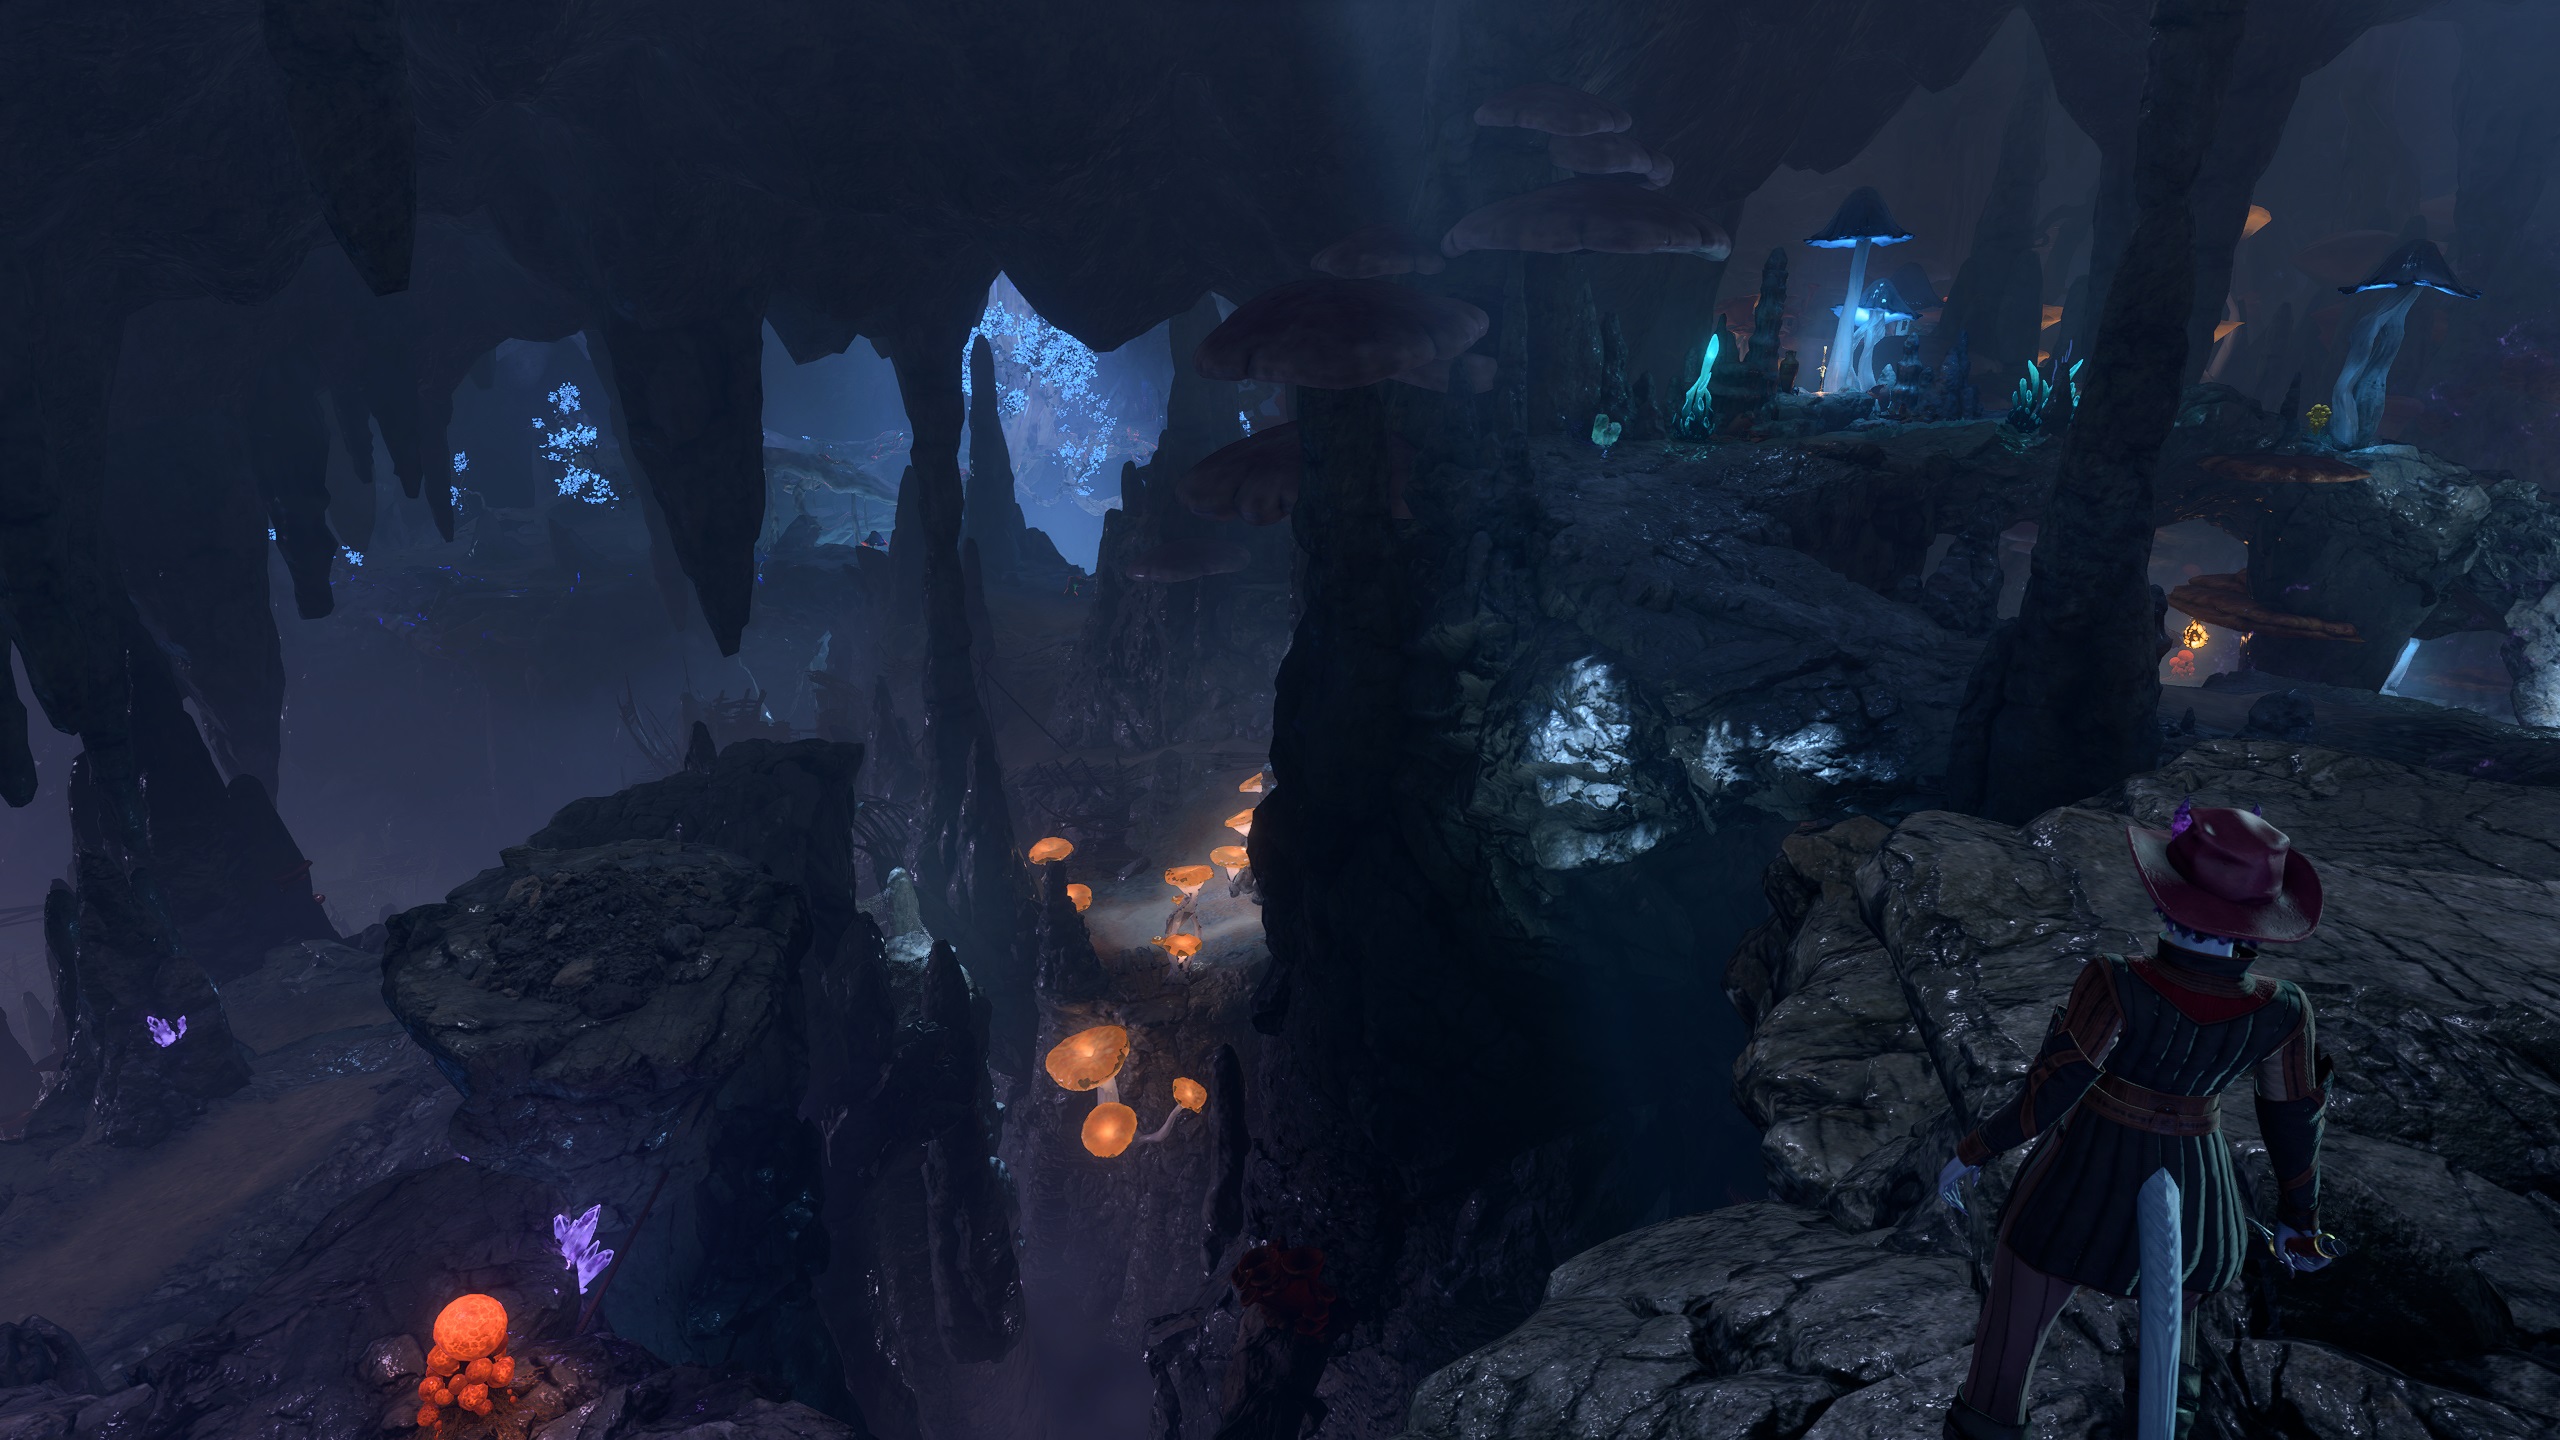
In this walkthrough, we’ll explore the cavernous depths of the Underdark, a vast system of caves with its own ecosystems and — fittingly — its own factions and events that require some sort of intervention. Luckily for the people involved, you have this guide to help you navigate the Underdark and its many quests and secrets.
In the Selûnite Outpost, there is a large statue in the center of the room. You might have also noticed the statues outside the Outpost shooting fireballs at anything that moves (see #4). In order to disable those, all you have to do is destroy the crystal on top of the Selûnite statue, which will disable the turrets. You might want to wait and let the turrets kill the nearby minotaur first, though.
In order to access this chest, you will first need to breach the outer gate, requiring a DC-20 Sleight of Hand check or the Selûnite Key found on top of the gate (#4), and then unlock the chest itself (DC-15 Sleight of Hand). Inside the chest, you will find the Helmet of Smiting.
Right next to the Locked Chest (#2), you can find a weak stone wall with a successful Passive Perception check, which is actually a door. Opening it will get you access to the Selûnite Outpost’s back room. You can also jump, fly, or use mage hand from below, near the Warpoint (#W1). which contains a trapped and locked chest (DC-15 Sleight of Hand check to disable the trap, DC-15 to open the chest). Inside the chest, you will find the Luminous Armour.
The gate to the Selûnite Outpost can be opened easily enough, either by pulling the lever on the inside of the Outpost, lockpicking the gate (DC-20 Sleight of Hand check), or by using a Burrow Hole by the Fast Travel Portal (#W1). However, if you have not destroyed the crystal atop the statue within the Outpost (#1), you will be fired upon by two statues in front of the Outpost. If the statues are disabled, you may also have to fight a minotaur here.
The key to the gate is located on top of it, on a skeleton you have to climb up a ladder to reach.
Should you exit out the Selûnite Outpost via the windows to the left (or approach via a different way), you will soon come across a series of terrified statues on two landings, clearly the petrified victims of some creature in the area. It won’t be long before you come across the Level 5 Spectator that caused this. This tough enemy has a chance of petrifying you, as well, and can de-petrify his former pray to fight against you. You can avoid it easily by not going with your full party into the field of petrified creatures.
If you defeat the Spectator, you will be able to take his legendary Spectator Eyes in order to cast Ray of Fear. If Dhourn, who the spectator un-petrifies to fight for you, survives, you can speak to the haughty Drow, who is actually former friends with Filro (#27), who is camped down by the Sussur Tree. He will attack you, however, in order to maintain his secret of the Adamantine Forge. Whether he during your fight with the Spectator or after, you can find the Blast Pendant and Memory Shard on his body.
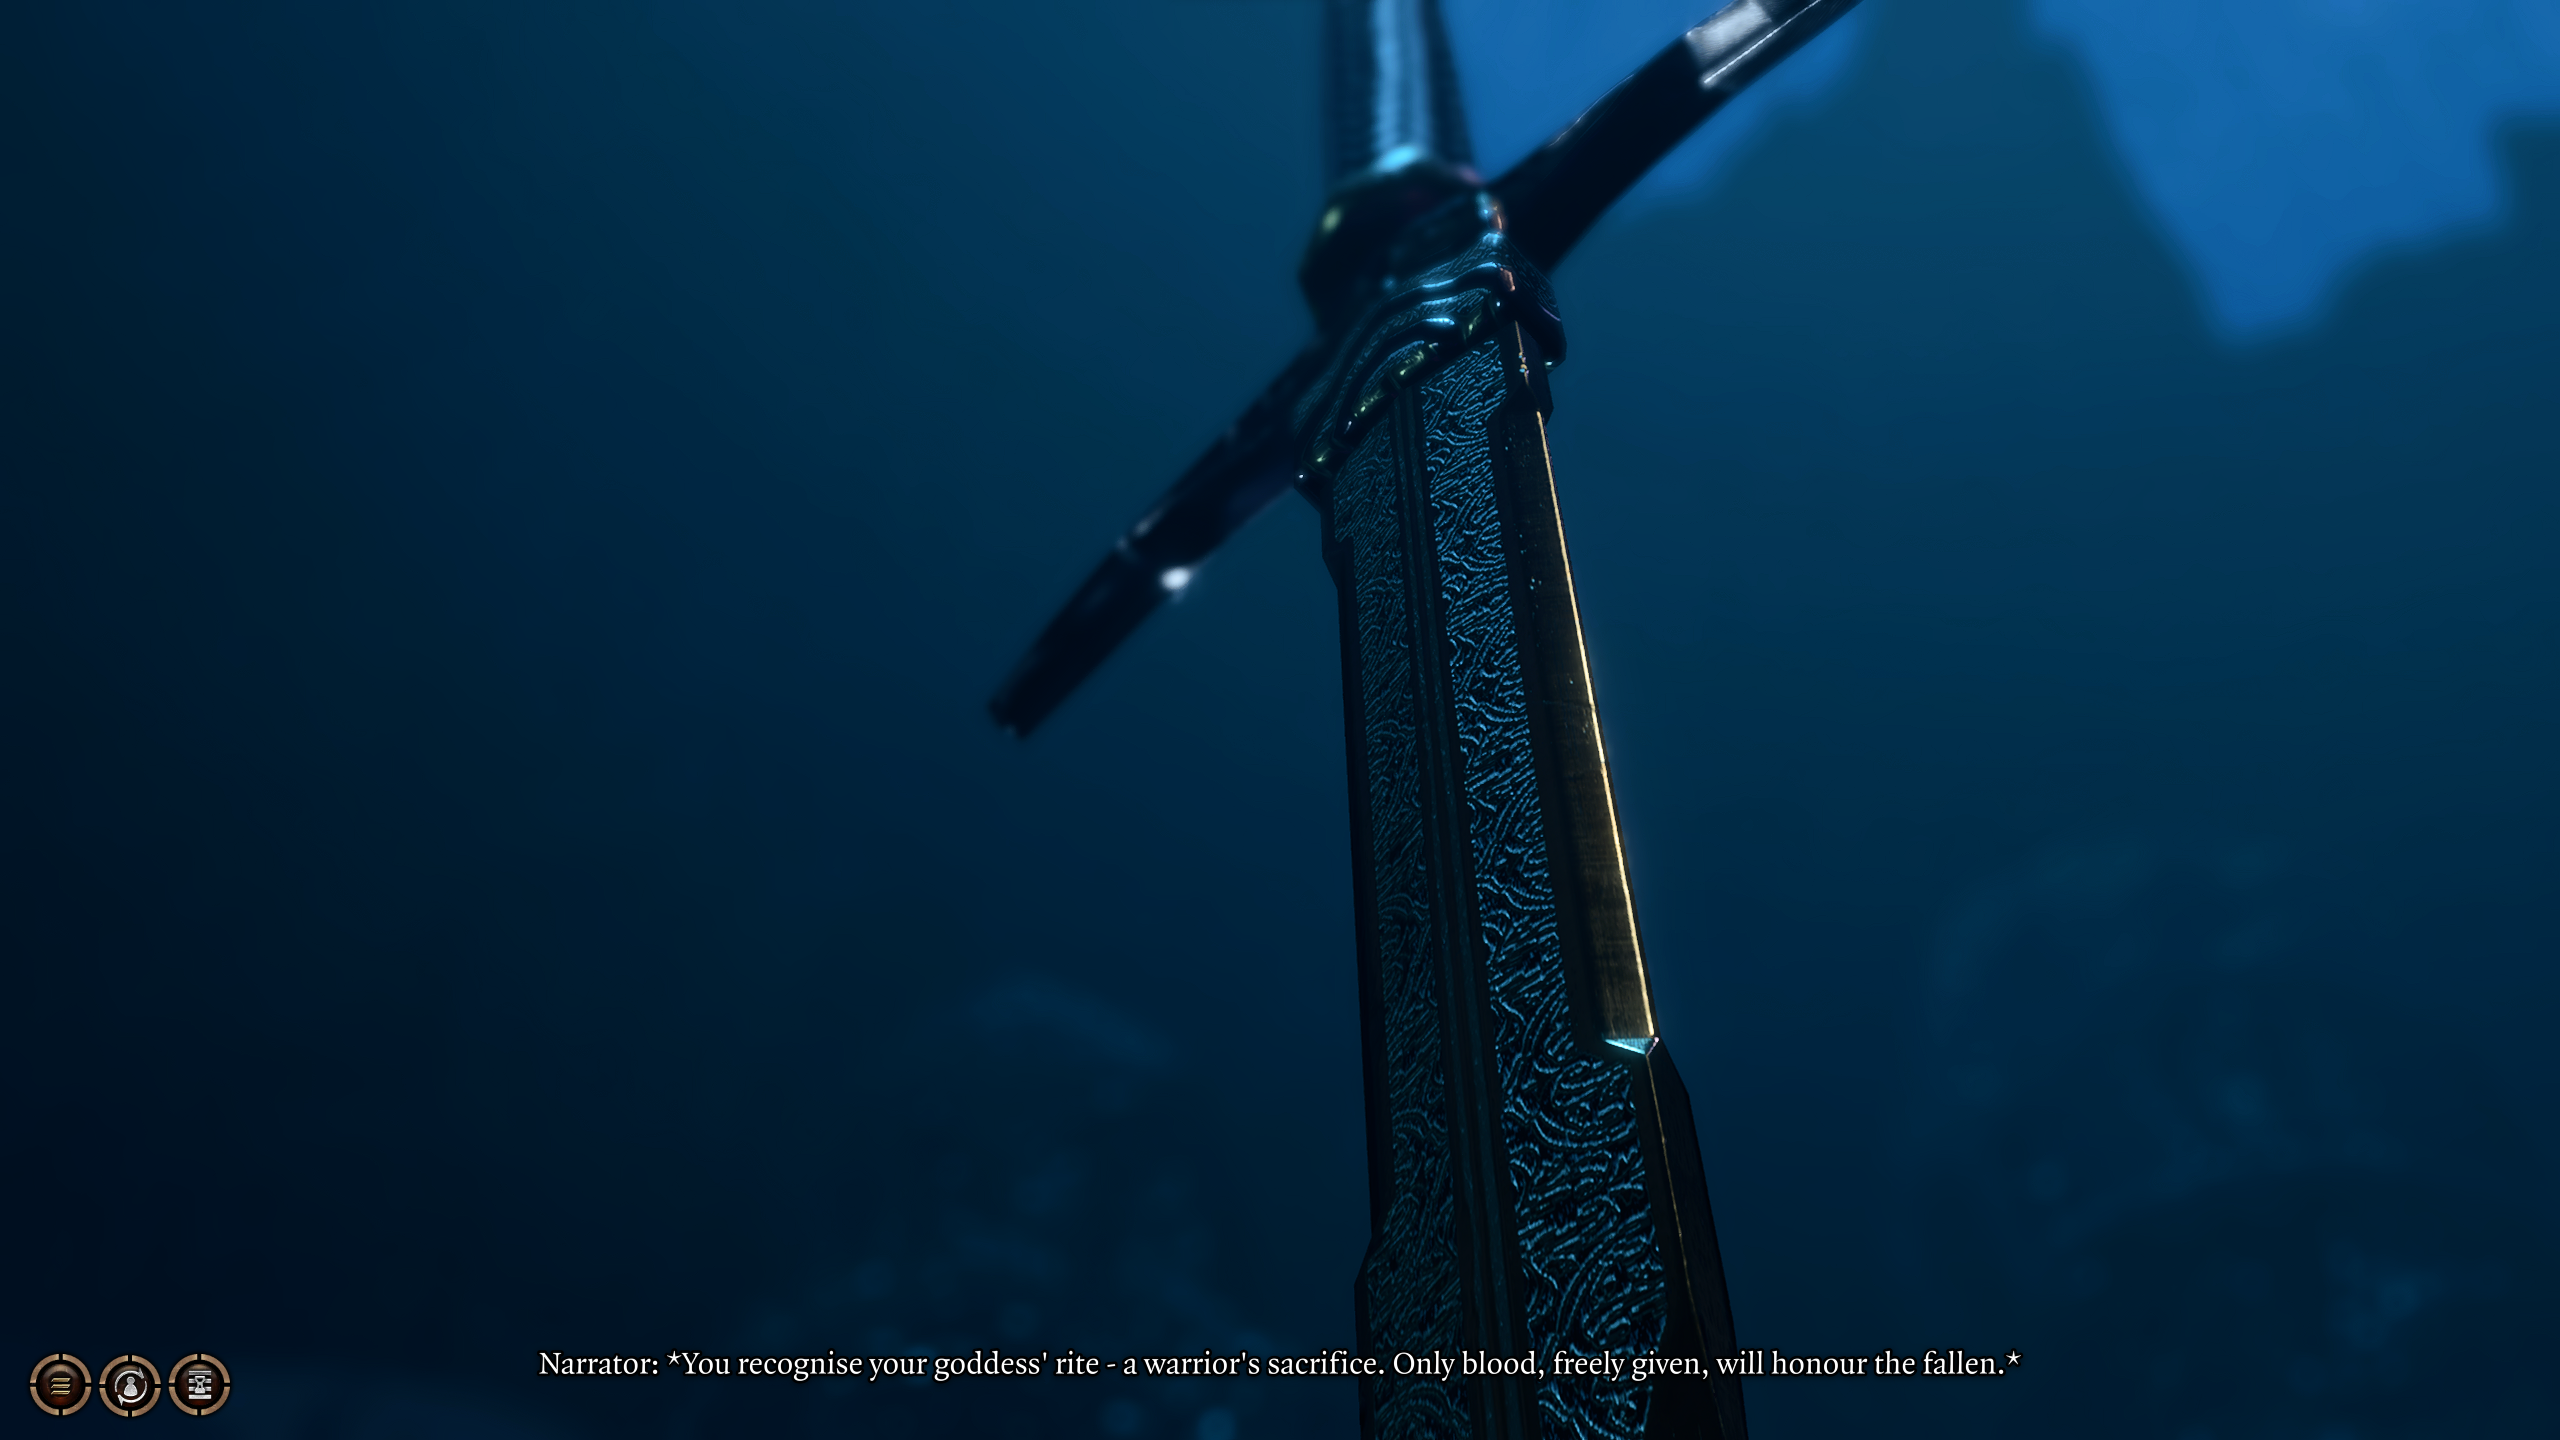
A valuable Drow longsword has been wedged into a stone, making it almost impossible to pull out. I wonder why this seems familiar? Regardless, you can have this very powerful shrieking, singing sword (called “Phalar Aluve”) if you can either wrest it free from the rock with a DC-15 Strength check, or if you are able to learn how coax it out with a DC-15 Religion check (hint: it’s blood). Paladins can consider their oath with a DC-10 Religion check, and then pry the sword free with a DC-10 Charisma check.
Bullette
Enemies
Bullette – Lv. 5
Notable Loot
Bloodguzzler Garb
This deadly, burrowing enemy will first show itself as a mysterious burrowing thing in front of the Selûnite Outpost (7a). Further in, the Buillete will even spring out from the ground at you, attacking you in order to put you in a precarious spot (7b). It can be quite a deadly enemy, but what’s worse is that it will attempt to burrow back underground to escape if its health gets low enough, requiring you to keep on the pressure if you want to finish it off. If the Bullette escapes, it will retreat to 7c, near the Sussur Tree.
There is a chest neat 7b, behind some spider web, requiring a DC-15 Sleight of Hand check to open. It contains a set of Drow Studded Leather Armour.
Patrolling an area of the Underdark is a Minotaur. The giant man-ox will not give you any chance for discussion, though, and you will have to plan on fighting him. It shouldn’t be too hard of a fight, but it will reward you with the Amulet of the Unworthy for some easy damage resistances.
These mushroom platforms are not exactly as they appear. Successful passive Investigation checks (or noticing the blurry effect some of them have) will reveal some to be illusory, which will cause you to plummet straight through them as you jump from mushroom to mushroom. It may be best to either cast Fly or Jump in order to boost the distance you get here, so that you can reach the top of the cliff
This will bring you to an alternate, magical entrance to a secret backroom in the Sunlit Wetlands/Putrid Bog, in case you haven’t yet dealt with Auntie Ethel. That said, you might not be able to make it very far here…
In the lead-up to a mysterious Arcane Tower, you will come across two Arcane Turrets that will fire upon your party, dealing hefty damage to those not able to run or fight back. You can fire back at them to deactivate them, though you might want to do so in turn-based mode so you can take cover. Also in this area is a locked chest with Skybreaker, a unique hammer.
Arcane Tower*
The Arcane Tower has several levels, a few enemies, a minor quest, and an involved puzzle. As such, we will have a separate guide for the Arcane Tower soon.
One of the keys to solving the Arcane Tower is to think outside the tower. The easiest way to get to the bottom of the tower from the point you enter at, apart from using Feather Fall, is to jump to the gigantic hanging mushrooms that are growing on the cave walls, letting you work yourself down level-by-level until you reach the ground floor. The other intricacies of the tower are left to our other (in progress) guide, but this should help if you are feeling stuck on where to start with the Arcane Tower.
Sussur Bloom
Notable Loot
Sussur Bloom
At the base of the Arcane Tower is a Sussur Bloom, one of the few in the Underdark. Be cautious that the tree and its bloom have an antimagic aura, even if the bloom is in your inventory, and so will nullify all spells cast by those nearby. These can be used to power the elevator using the machine on the bottom floor of the Arcane Tower.
Executed Deep Gnomes
Notable Loot
Shortsword of First Blood
Travelling through the Underdark, you will come across a grizzly scene of a group of recently-executed Deep Gnomes — clearly failed escapees, likely from the same group that Spaw’s charge is from (#20). You can find the Shortsword of First Blood on one of their bodies.
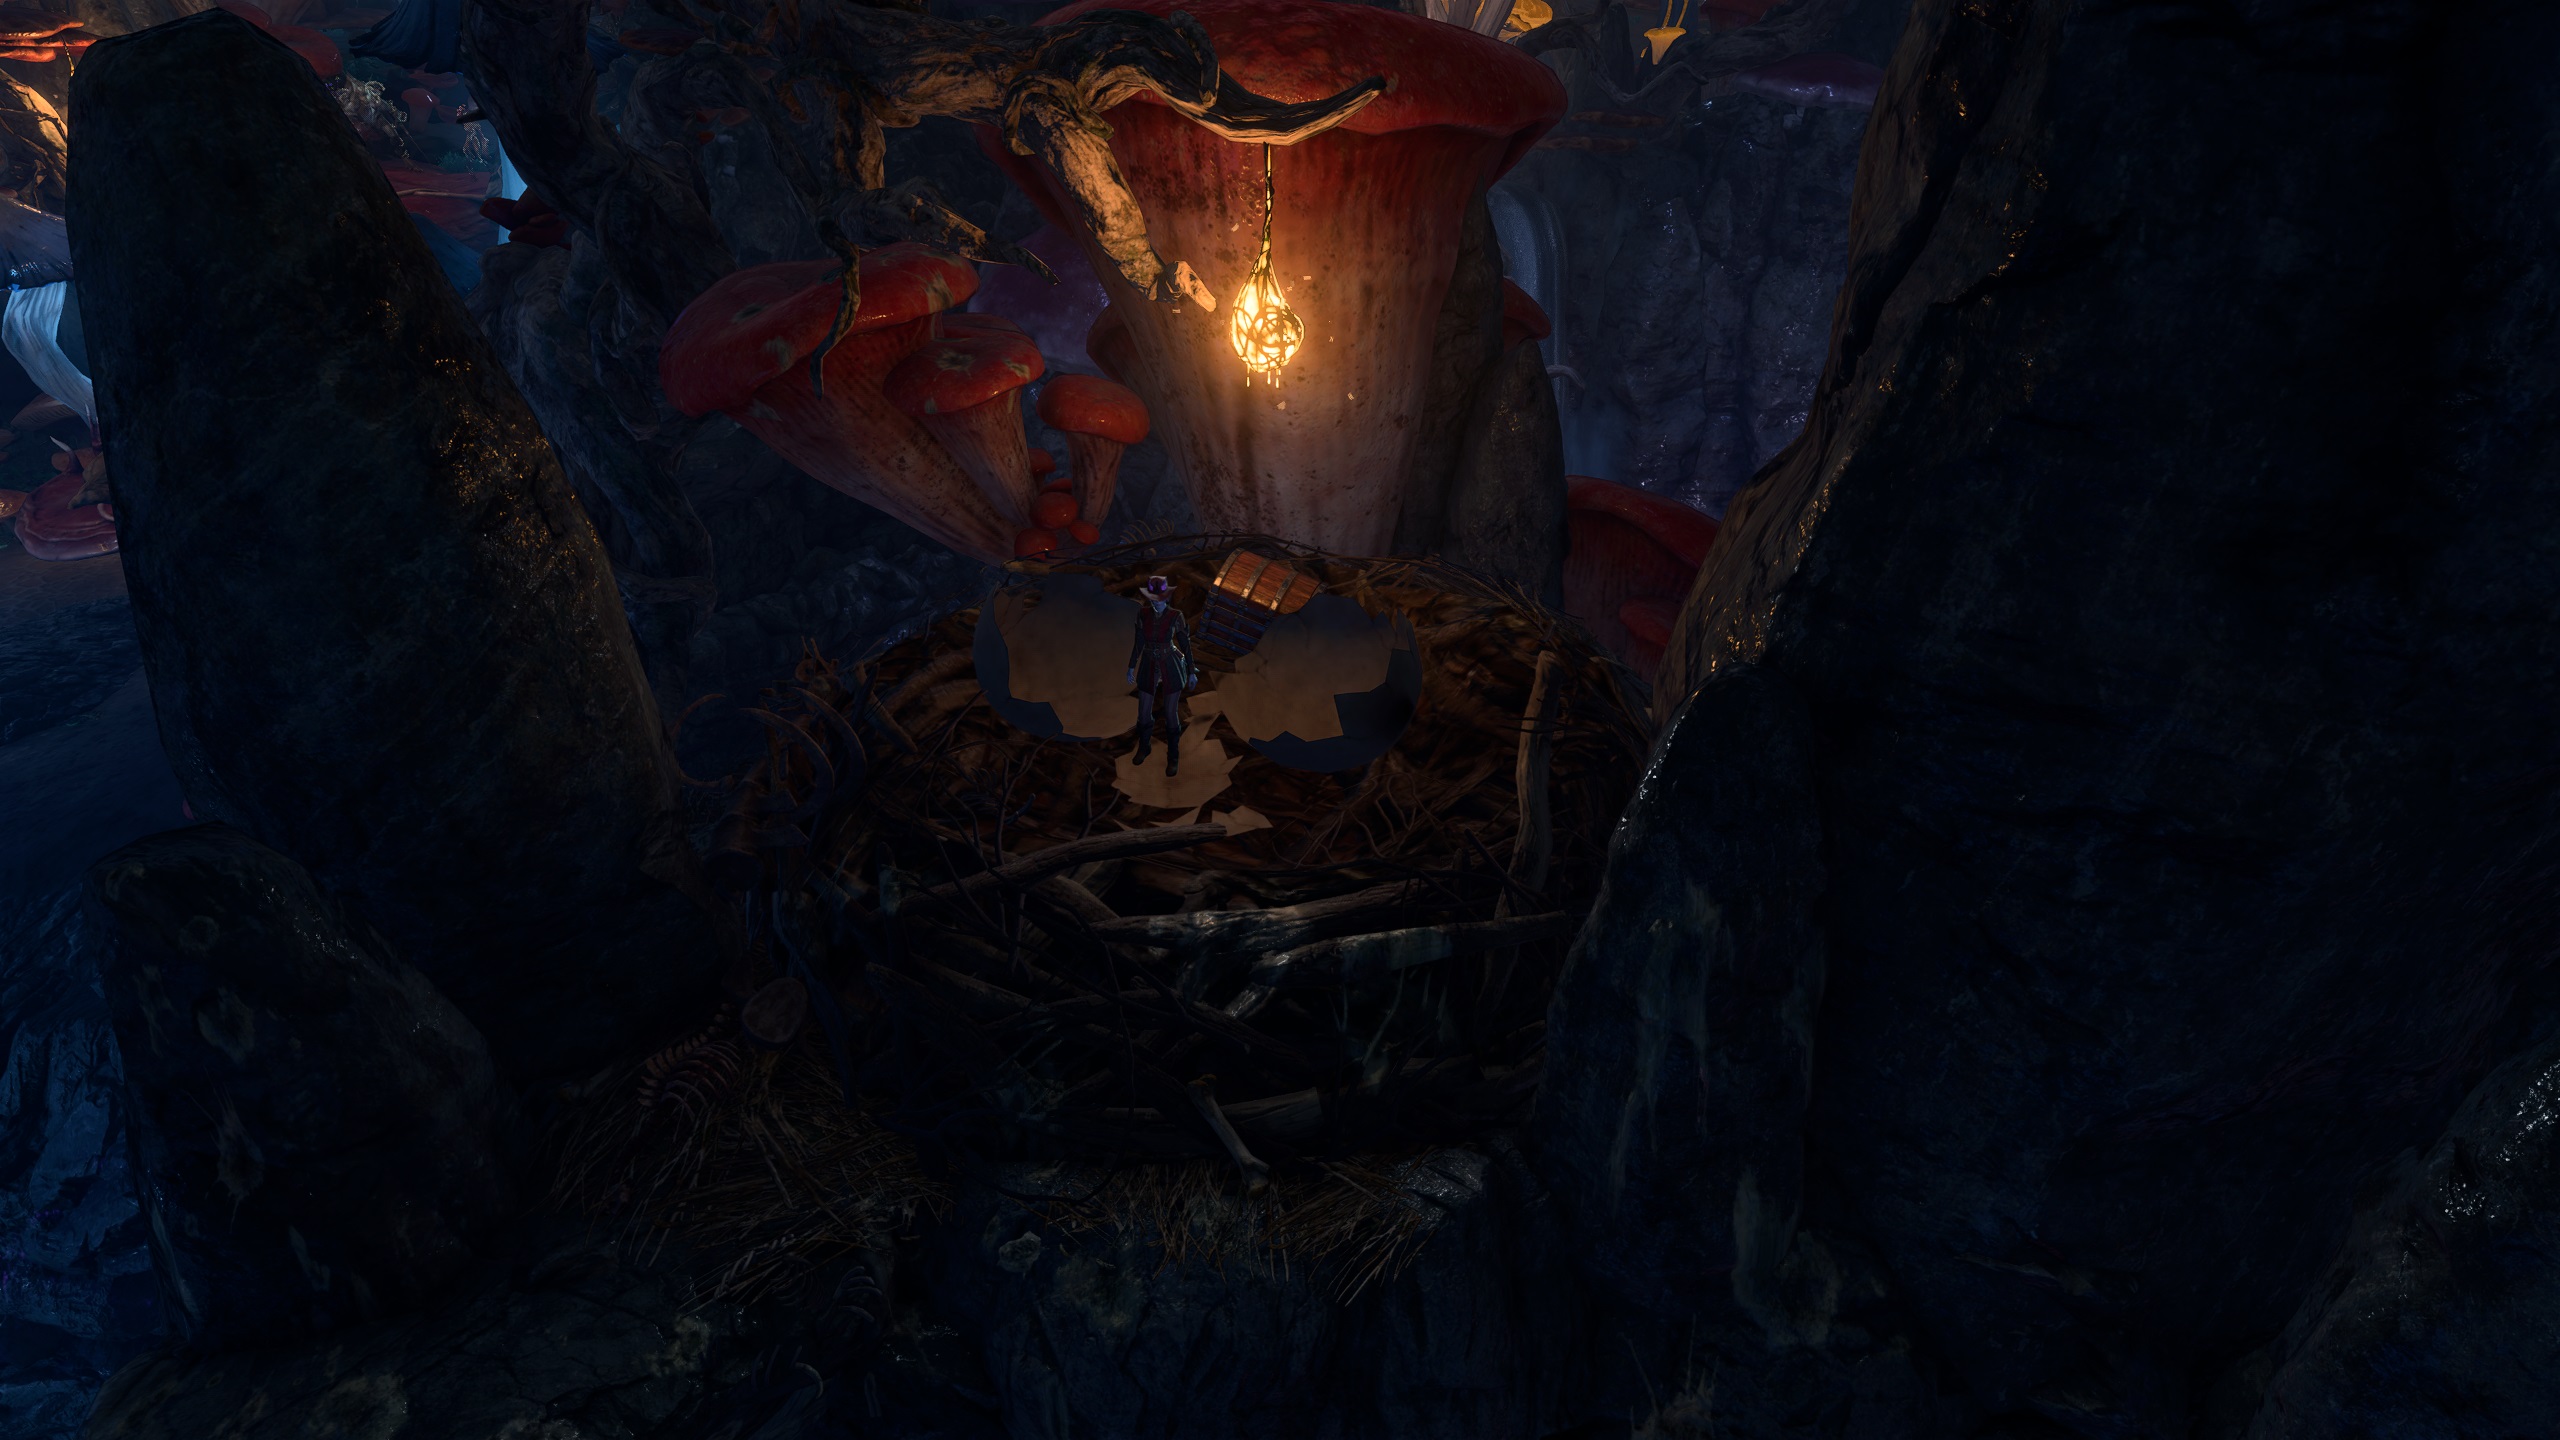
Giant Bird Nest
Between the Duergar Outpost and the Myconid Colony, there is an easy-to-miss giant bird’s nest. The bird isn’t home, but a simple jump can get you to the nest where you can loot a chest.
Whether you come here before or after interacting with the Myconid Colony (#19), you will find yourself in the midst of a group of Duergar who have made this beach their home and have gotten into a feud with the local Myconids, who have allowed the Duergar’s Deep Gnome slaves to take refuge in their colony (#19).
If you have spoken with Spaw (#20) and agreed to clear out the Duergar with Glut’s help (#22), then the Duergar will be hostile immediately, but otherwise you will have a chance to talk with them if you can pass a DC-15 Religion, Intimidation, or Persuasion check, if you are a Fighter or Branded (from Priestess Gut in the Shattered Sanctum), or if you use your Illithid powers. The exception to this is if you are playing as a Deep Gnome, in which case Gekh Coal will assume you are an escaped slave and attack immediately.
If you do, you will discover that the Duergar want the Boots of Speed that Thulla, the Deep Gnome under Spaw’s protection, made off with when she escaped. If you are able to retrieve those boots, the Duergar will agree to let you into the camp, where they can ferry you to Grymforge (and who you can then betray and kill to complete the Myconid’s quest).
Most interactions with the Duergar, however, end with violence, and they make formidable opponents, making heavy use of invisibility and other transformational spells to really challenge your tactical play. On Gekh Coal’s body, you can find the unique Exterminator’s Axe.
This hole in the Duergar Outpost can be accessed by shrinking yourself down, being a short race naturally, using mage hand, or turning yourself into a gaseous form, which will give you access to the gem within.
The mushroom-like Myconids have established a permanent colony in the Underdark. It has two entrances, but you will be subject to interrogation upon entrance to either — due to the Duergar at the outpost nearby in a Decrepit Village (#17), they are on high alert, and have to make sure your intentions with their colony won’t put them in danger. After showing you some visions, you will have to answer to the myconids. Thankfully, they are easy to convince, as simply telling them the truth, or convincing them with a DC-5 Persuasion, Intimidation, or Insight Check (with a follow-up option in that case) will grant you entry.
You can also decide to fight the Myconids, in which case you will have to take on these 5 entrance guards, but more will be within the colony, which will be extremely difficult to fight your way through. See the next entry for information.
Sovereign Spaw and Thulla
Enemies
Sovereign Spaw – Lv. 5
Sovereign Glut – Lv. 4
8x Myuconids – Lv. 4
Hook Horror Spore Servant – Lv. 4
Deep Rothe – Lv. 1
Derryth Bonecloak – Lv. 4
Notable Loot
Boots of Speed
Envoy’s Amulet
Sovereign Spaw is the leader of the Myconid Colony, and has many matters pressing upon him as leader. He will ask for your aid in clearing out the Duergar outpost to the south, as well as assisting the escaped Deep Gnomes under his protection. He has several requests to make of you, should you entertain them.
Firstly, Spaw will want you to go to the nearby Decrepit Village and clear out the Duergar invasion (#17) there, and will let you travel there with Glut (#22), who seeks to avenge his fallen comrades there. Doing so will get the party access to the Mushroom Vault (#23), where you can retrieve the Shadow of Menzoberranzan armour.
After clearing out the Decrepit Village with Glut, Glut will try to convince you to join him in deposing Sovereign Spaw. If you side with him, you will have to kill not only Spaw, but everyone in the Myconid Colony, but if you slay Glut for his attempted treason, then Spaw will reward you with the title “Kin Spirit”.
Finally, Glut will also give you a quest for after clearing out the Underdark — to bring him Nere, a Drow True Soul’s — head. This will require you to go to the Grymforge and deal with a cave-in, and the resultant consequences, but if you do slay Nere, then you can take his head and bring it to Spaw for the Envoy’s Amulet.
As well as Spaw, Thulla, an injured and escaped Deep GnomeDeep Gnome is nearby. She is poisoned, and curing her will require either a restoration spell that removed the “poisoned” condition, or the antidote from Gekh Coal, the Duergar leader in the Decrepit Village, to cure. As well, she has the Boots of Speed that Gekh Coal wants back on her, requiring you to either steal them, kill her for it (invoking the wrath of Spaw and the myconids), or taking them following a successful DC-10 Investigation check.
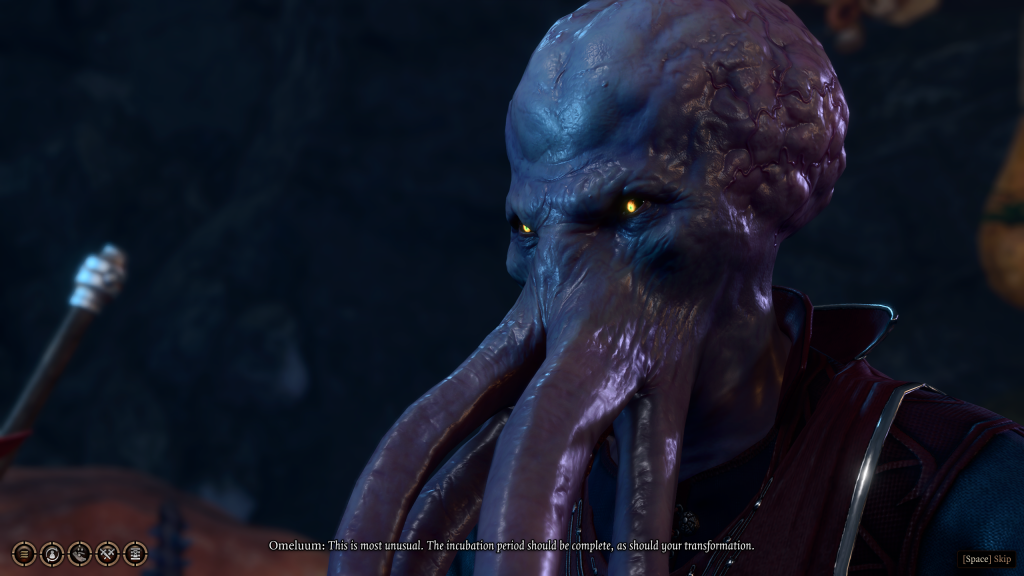
Speaking to the Hobgoblin Blurg will reveal that he is a member of the Society of Brilliance, a group of scholars, which is what has brought him to the Myconid Colony to study it. If you reveal the truth about your parasite, however, he will introduce his companion in the Society: Omeluum, the Mind Flayer.
This might be a somewhat disconcerting sight, given your history with Mind Flayers, but Omeluum is a bit different from most. This Mind Flayer has abandonned the expansionist and wicked goals of his kin and taken to a life of study amongst the Myconids, being a potentially very valuable ally to you in your search for answers and a cure to the parasite in your head.
Going along with his dialogue will reveal much about the nature of your parasitic infection, including what has been preventing the parasite from turning you into a mind flayer. After the conversation, Omeluum will try to sell you a Ring of Mind Shielding to help protect you from the dangerous effects of the parasite. You can buy it, or try to pass a DC-20 Intimidation check to receive it. While this ring is useless in actually doing anything about the parasite, it might be worth having anyway.
Sovereign Glut
Enemies
Sovereign Glut – Lv. 4
Notable Loot
Sovereign Glut (temporary ally)
Winter Clutches (after quest)
Sovereign Glut is a rival Sovereign to Spaw, having no myconids to call his subjects, but he is no less authoritative. Should you decide to clear out the Duergar threat, he will gladly accompany you, helping you clear out the Decrepit Village from Duergar (#17) with his own abilities and prowess. His most notable ability is the ability to raise the dead to your side, which you can use on the Hook Horrors nearby to really assist you in attacking the Duergar at the the Decrepit Village.
However, Sovereign Glut’s intentions are not quite so noble as they may first appear. After you have cleared out the Duergar threat, he will approach you with a proposal to overthrow Sovereign Spaw, who he views as weak, giving you a simple choice: turn against Spaw in support of Glut, or defeat Glut at that moment to protect Spaw from his treachery.
If you side with Glut, you will have to destroy the entire Myconid colony (a difficult fight) in order to establish him as Sovereign. In reward for your treachery, you will receive the Winter Clutches unique gloves. But, if you disagree with him, you will have to take him right then, a notably simpler fight, but one without any unique rewards. In either case, both Sovereigns will grant you a title for siding with them in the conflict.
Mushroom Vault
Notable Loot
Shadow of Menzoberranzan
Accessible after you have destroyed the Duergar in their outpost (#17), and whether you have sided with Glut or Spaw in their feud, the surviving Sovereign will give you access to the Mushroom Vault at the back of the Myconid Colony, where you can find the Shadow of Menzoberranzan armour and some other various loot. Killing Spaw will also give you the key to this area.
On an expedition away from the Myconid Colony, you might come across a huge field of Bibberbangs — explosive plants that could detonate at any moment. In the center of this deadly field is a mushroom-picking dwarf by the name of Baelen Bonecloak, husband to the Myconid Colony’s Derryth Bonecloak, who had gone missing earlier.
Rescuing him requires you to either give him a Scroll of Misty Step, requiring a DC-10 Strength throw to get to him, for you to retrieve his bag, likely using Mage Hand or via clever use of turn-based mode. Also in this area is the valueable Noblestalk, which Baelen would appreciate back in the Myconid Colony, but you will need to use Misty Step or Mage Hand yourself to retrieve it without triggering the Bibberbangs.
Sussur Bark
Enemies
4x Hook Horrors – Lv. 4
Notable Loot
Sussur Bark
Sussur Blooms
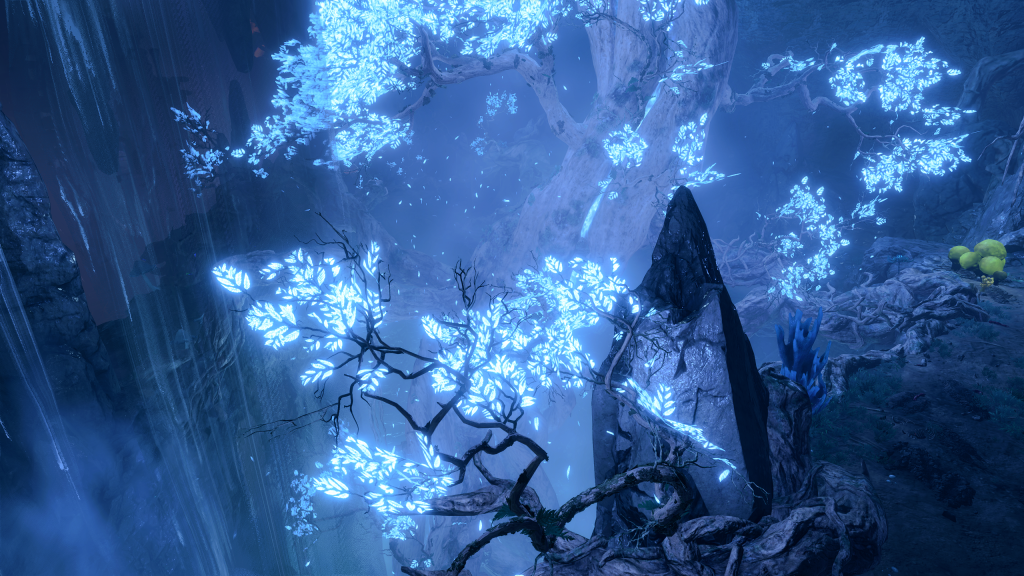
By climbing up the roots of the Sussur Tree, you will be able to reach its core bark: a vital ingredient in the creation of a certain masterwork weapon that you can find the plans and forge for back in the Whispering Depths under the Blighted Village. In order to get it, however, you will likely need to fight through a few Hook Horrors by the tree’s roots (#26), requiring caution and forethought.
Sussur Tree Roots
Enemies
4x Hook Horrors – Lv. 4
Notable Loot
Sussur Bloom
The iconic Sussur Tree has many tenril-like roots extending down into the floor of the Underdark, providing a platform to climb on to the tree. But you aren’t the only one with that idea: a number of Hook Horrors have made this area home, requiring you to take them on if you want to pass through the area unscathed. Many antimagic Sussur Blooms can be for in this area, too, potentially nullifying your spellcasters’ effectiveness.
Filro’s Campsite
Enemies
Filro the Forgotten – Lv. 5
By the roots of the Sussur Tree, mingling with the Hook Horrors who have accepted him as their own, you can find Filro the Forgotten, a Drow Ranger who knows about the Adamantine Forge (which requires the bark of the Sussur Tree to function). Unfortunately, you’ll only be able to talk with Filro after killing him via Speak with Dead, because he will be hostile on sight (and will work with the Hook Horrors to take you on).
There are a number of dirt mounts to be found around the Underdark. These can be located with successful passive Survival checks, allowing you do dig the chests they are hiding up with a shovel in order to acquire their valuable loot within.
The simplest-to-find entrance to the Underdark can be accessed by traversing the Shattered Sanctum, specifically after going through Priestess Gut’s Room and the Disc Puzzle beyond it, which will lead down into the Selûnite Outpost (#1).
An elevator leading down to the Underdark can be discovered in the Zhentarim Basement below Waukeen’s Rest along the Risen Road. This must be activated from the basement by unlocking the elevator (itself hidden behind an illusory wall in the Zhentarim Basement) with a key or Sleight of Hand check. The area immediately nearby is an unremarkable storeroom, but you should be cautious of traps on the ground and on chests.
Festering Cove
Very well hidden between the Spectator (#5) and the Mushroom Puzzle (#10), you can jump across some mushrooms to a cave which leads to the Festering Cove, a small area where you can find BOOOAL and his terrifying Sickle of BOOOAL, as well as a Slippery Chain Shirt.
After climbing the partially-illusory Mushrooms (#10), you will find yourself on a grassy platform overlooking the Underdark. There is an illusory wall (which can be detected with an Investigation check or simply approached) along the far wall from the cliff, which leads to a faerie circle that teleports you to the Sunlit Wetlands/Putrid Bog, giving you a clear path to Auntie Ethel.
Grymforge
After making a deal with or clearing out the Duergar in the Outpost, you can take the boats in their docks to the Grymforge by interacting with them, leading to a short cutscene where you deal with another set of Duergar sailors who will question you on your approach, but ultimately let you through.
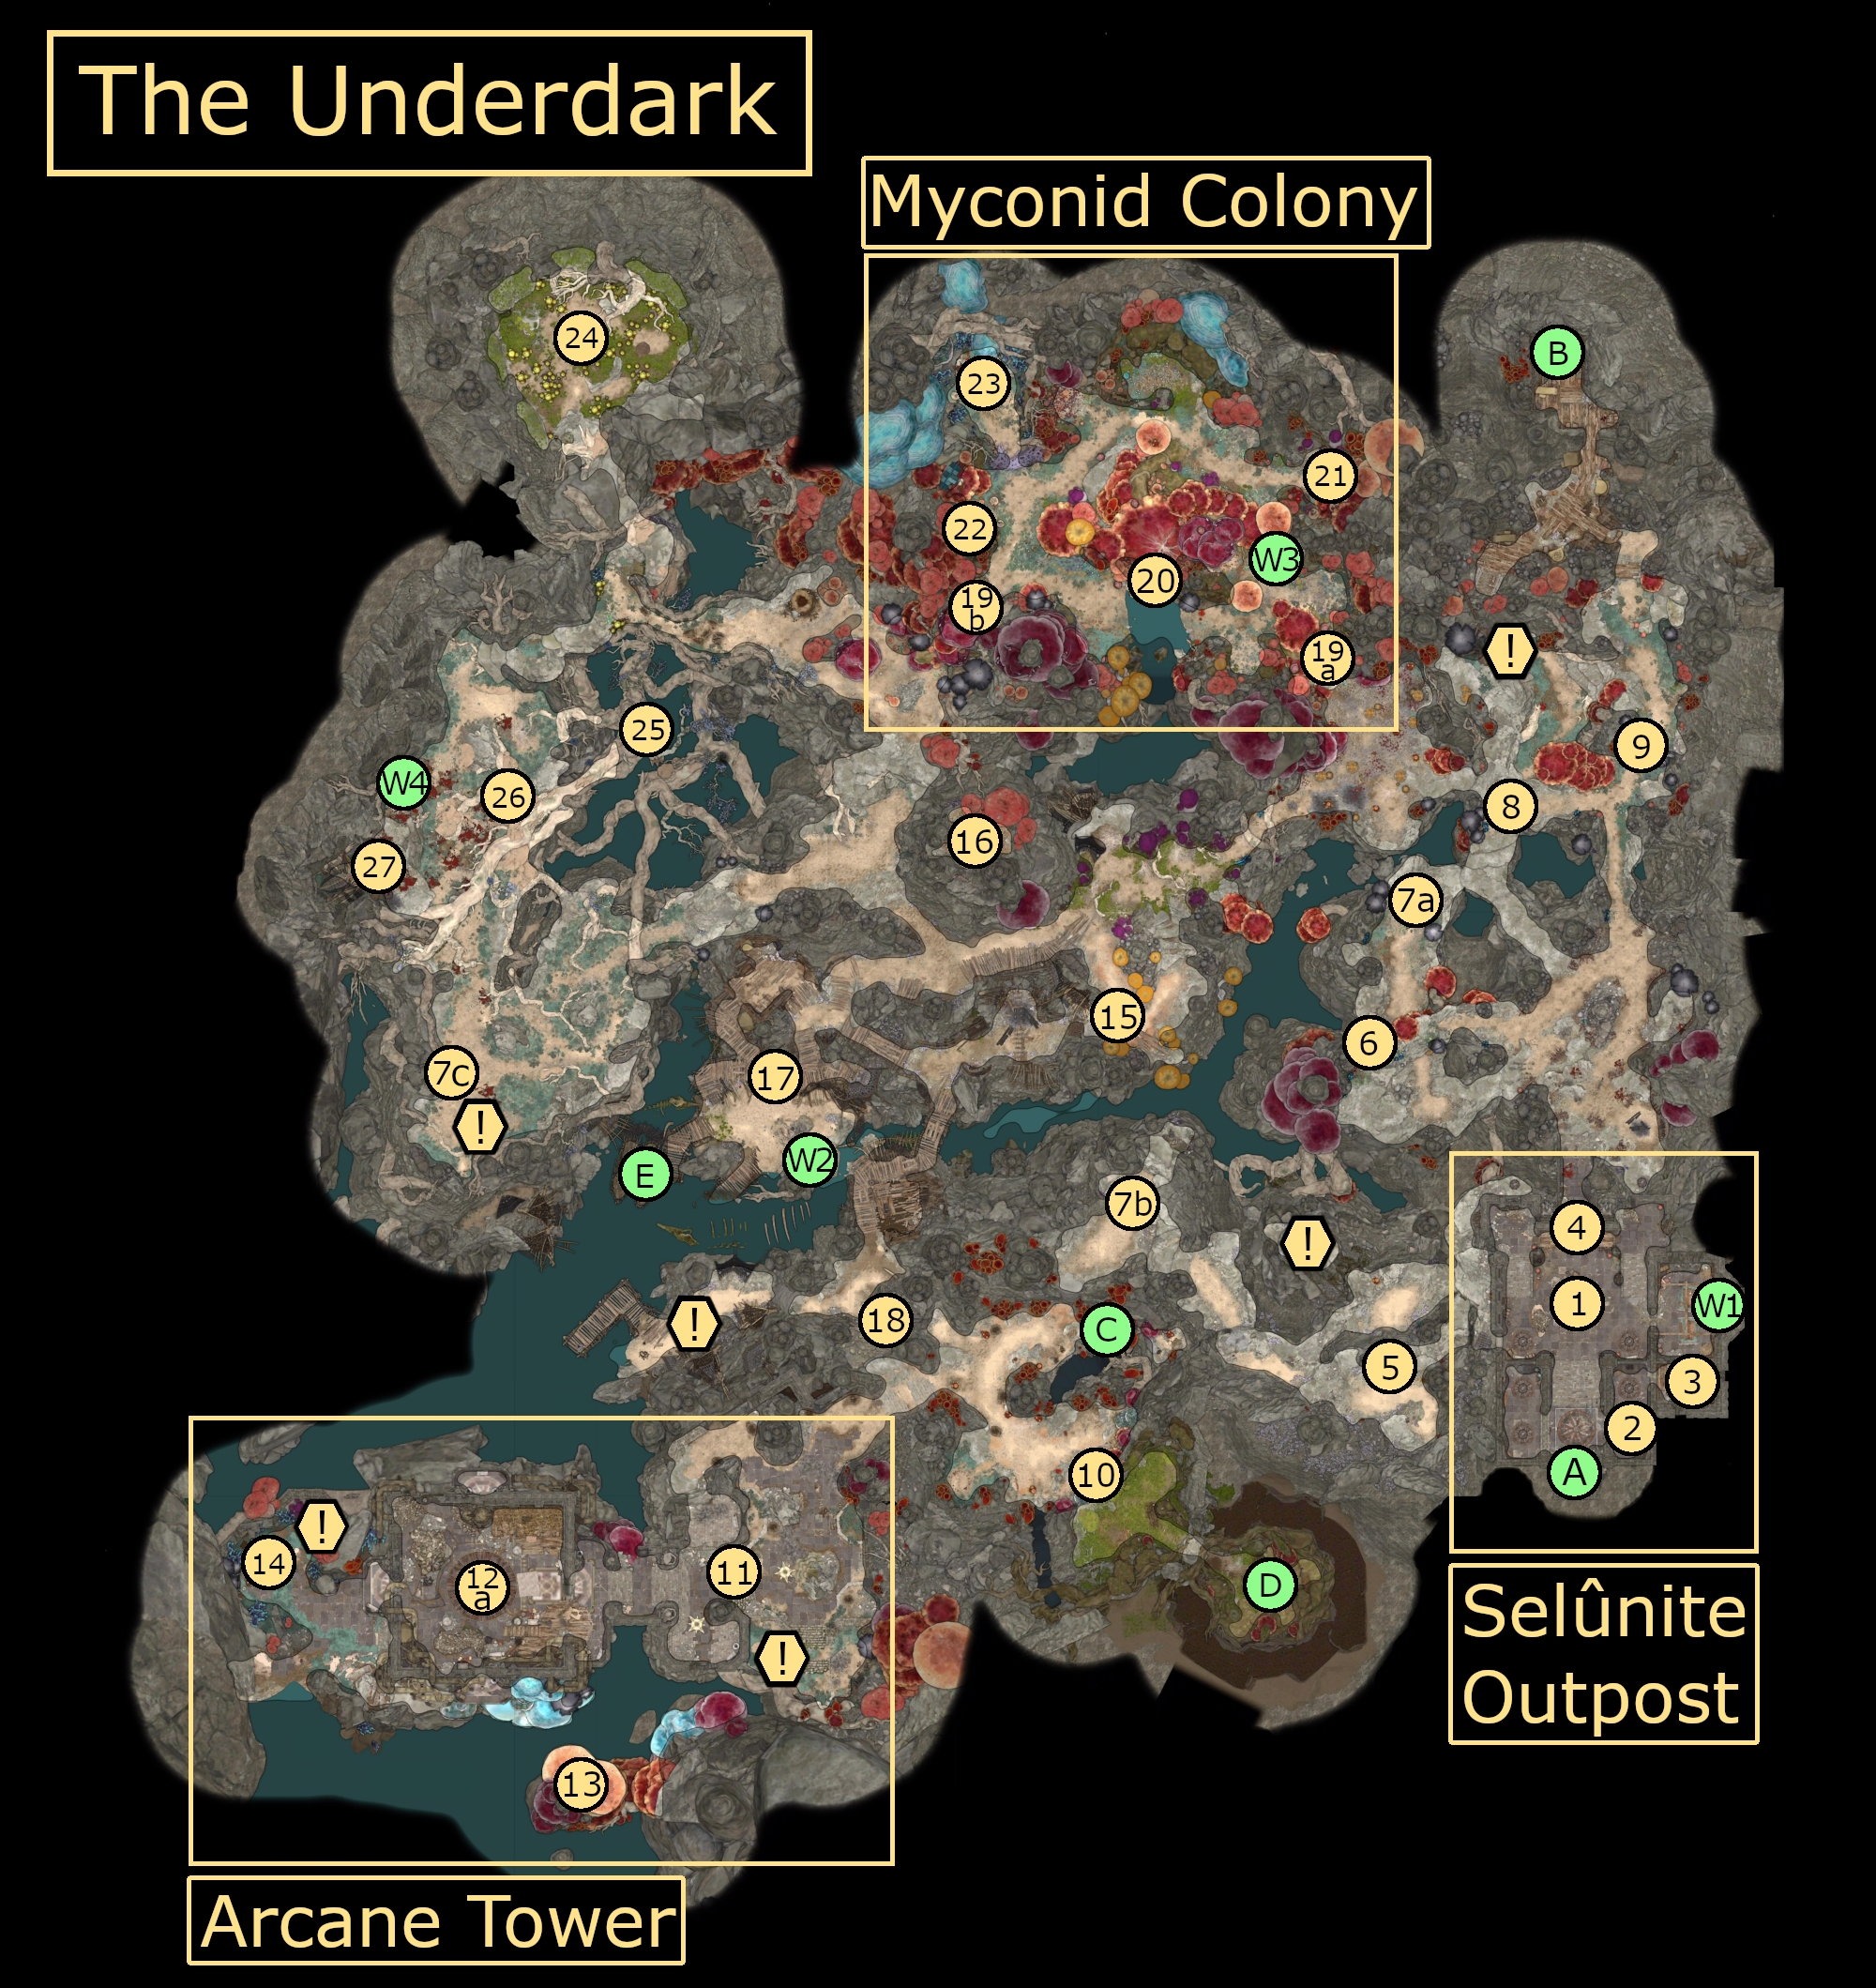
Waypoints
There are 4 Waypoints in the Underdark, as follows:
W1: Selûnite Outpost
W2: Beach
W3: Myconid Colony
W4: Sussur Tree
Where to go Next
After you’ve explored the crevices the Underdark, you can go to the following places. It should be noted that only the Grymforge can be entered through the Underdark the first time — the rest have a barrier or some sort preventing you from entering the locations for the first time from the Underdark.
Grymforge: The obvious path forward, as this is the only entrance to to several quests, the legendary Grymforge itself, and an elevator to Moonrise Tower.
Sunlit Wetlands/Putrid Bog: If you haven’t yet dealt with Auntie Ethel, this is a great way to get to her hut (and back) immediately… If you happen to have already grabbed a Whispering Mask to make it past the tree guardian.
Zhentarim Basement: In order to open this path, you have to have already gone through the Zhentarim Basement, and there is unlikely to be any reason to return after being there once anyway.
Shattered Sanctum: You likely came into the Underdark this way, but in case you didn’t (and haven’t yet dealt with the Shattered Sanctum), don’t bother with this path in — you can’t get through the puzzle in the Sactum the reverse way, so you’ll be blocked.
Graves is an avid writer, web designer, and gamer, with more ideas than he could hope to achieve in a lifetime. But, armed with a mug of coffee and an overactive imagination, he'll try. When he isn't working on a creative project, he is painting miniatures, reading cheesy sci-fi novels, or making music.