A once prosperous town devoted to the worship of the dark goddess Shar, it is now a clouded and corrupted version of its former glory. This walkthrough will guide you through the rotten town, including how to kill all three of Thorm’s kin, how to traverse the dense shadow curse, and how to get all that fantastic (surprisingly uncorrupted) loot.
Map
Points of Interest 1 – Toll Collector Gerringothe 2 – Town Center 3 – The Waning Moon & Thisobald 4 – The Waning Moon Backroom 5 – Mason’s Guild 6 – Mason’s Shadows 7 – Graveyard Entrance 8 – Graveyard 9 – House of Healing Entrance 10 – Sisters Linda & Lidwin 11 – Malus Thorm 12 – Kuo-Toa Coast 13 – Acidic Pit 14 – Morgue Door 15 – Zombie Hoarde 16 – Town Gate 17 – Thisobold’s Stash
Waypoints W1 – Reithwin Town W2 – Moonrise Towers W3 – Grand Mausoleum W4 – Road to Baldur’s Gate
Note
Reithwin Town has a much stronger version of the Shadow Curse which causes almost all light sources – mundane or magical – to be snuffed out instantly upon entry, forcing players to suffer the effects of the Shadow Curse. While this might be survivable for short distances, such as from the southmost entrances to Moonrise Tower, players will need to use other methods to explore the town deeper.
To combat this, you have two options. You can either:
Acquire a Pixie’s Blessing from freeing the pixie in Kar’niss’s Moonlantern in the Shadow-Cursed Lands. This is usually the optimal strategy.
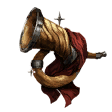
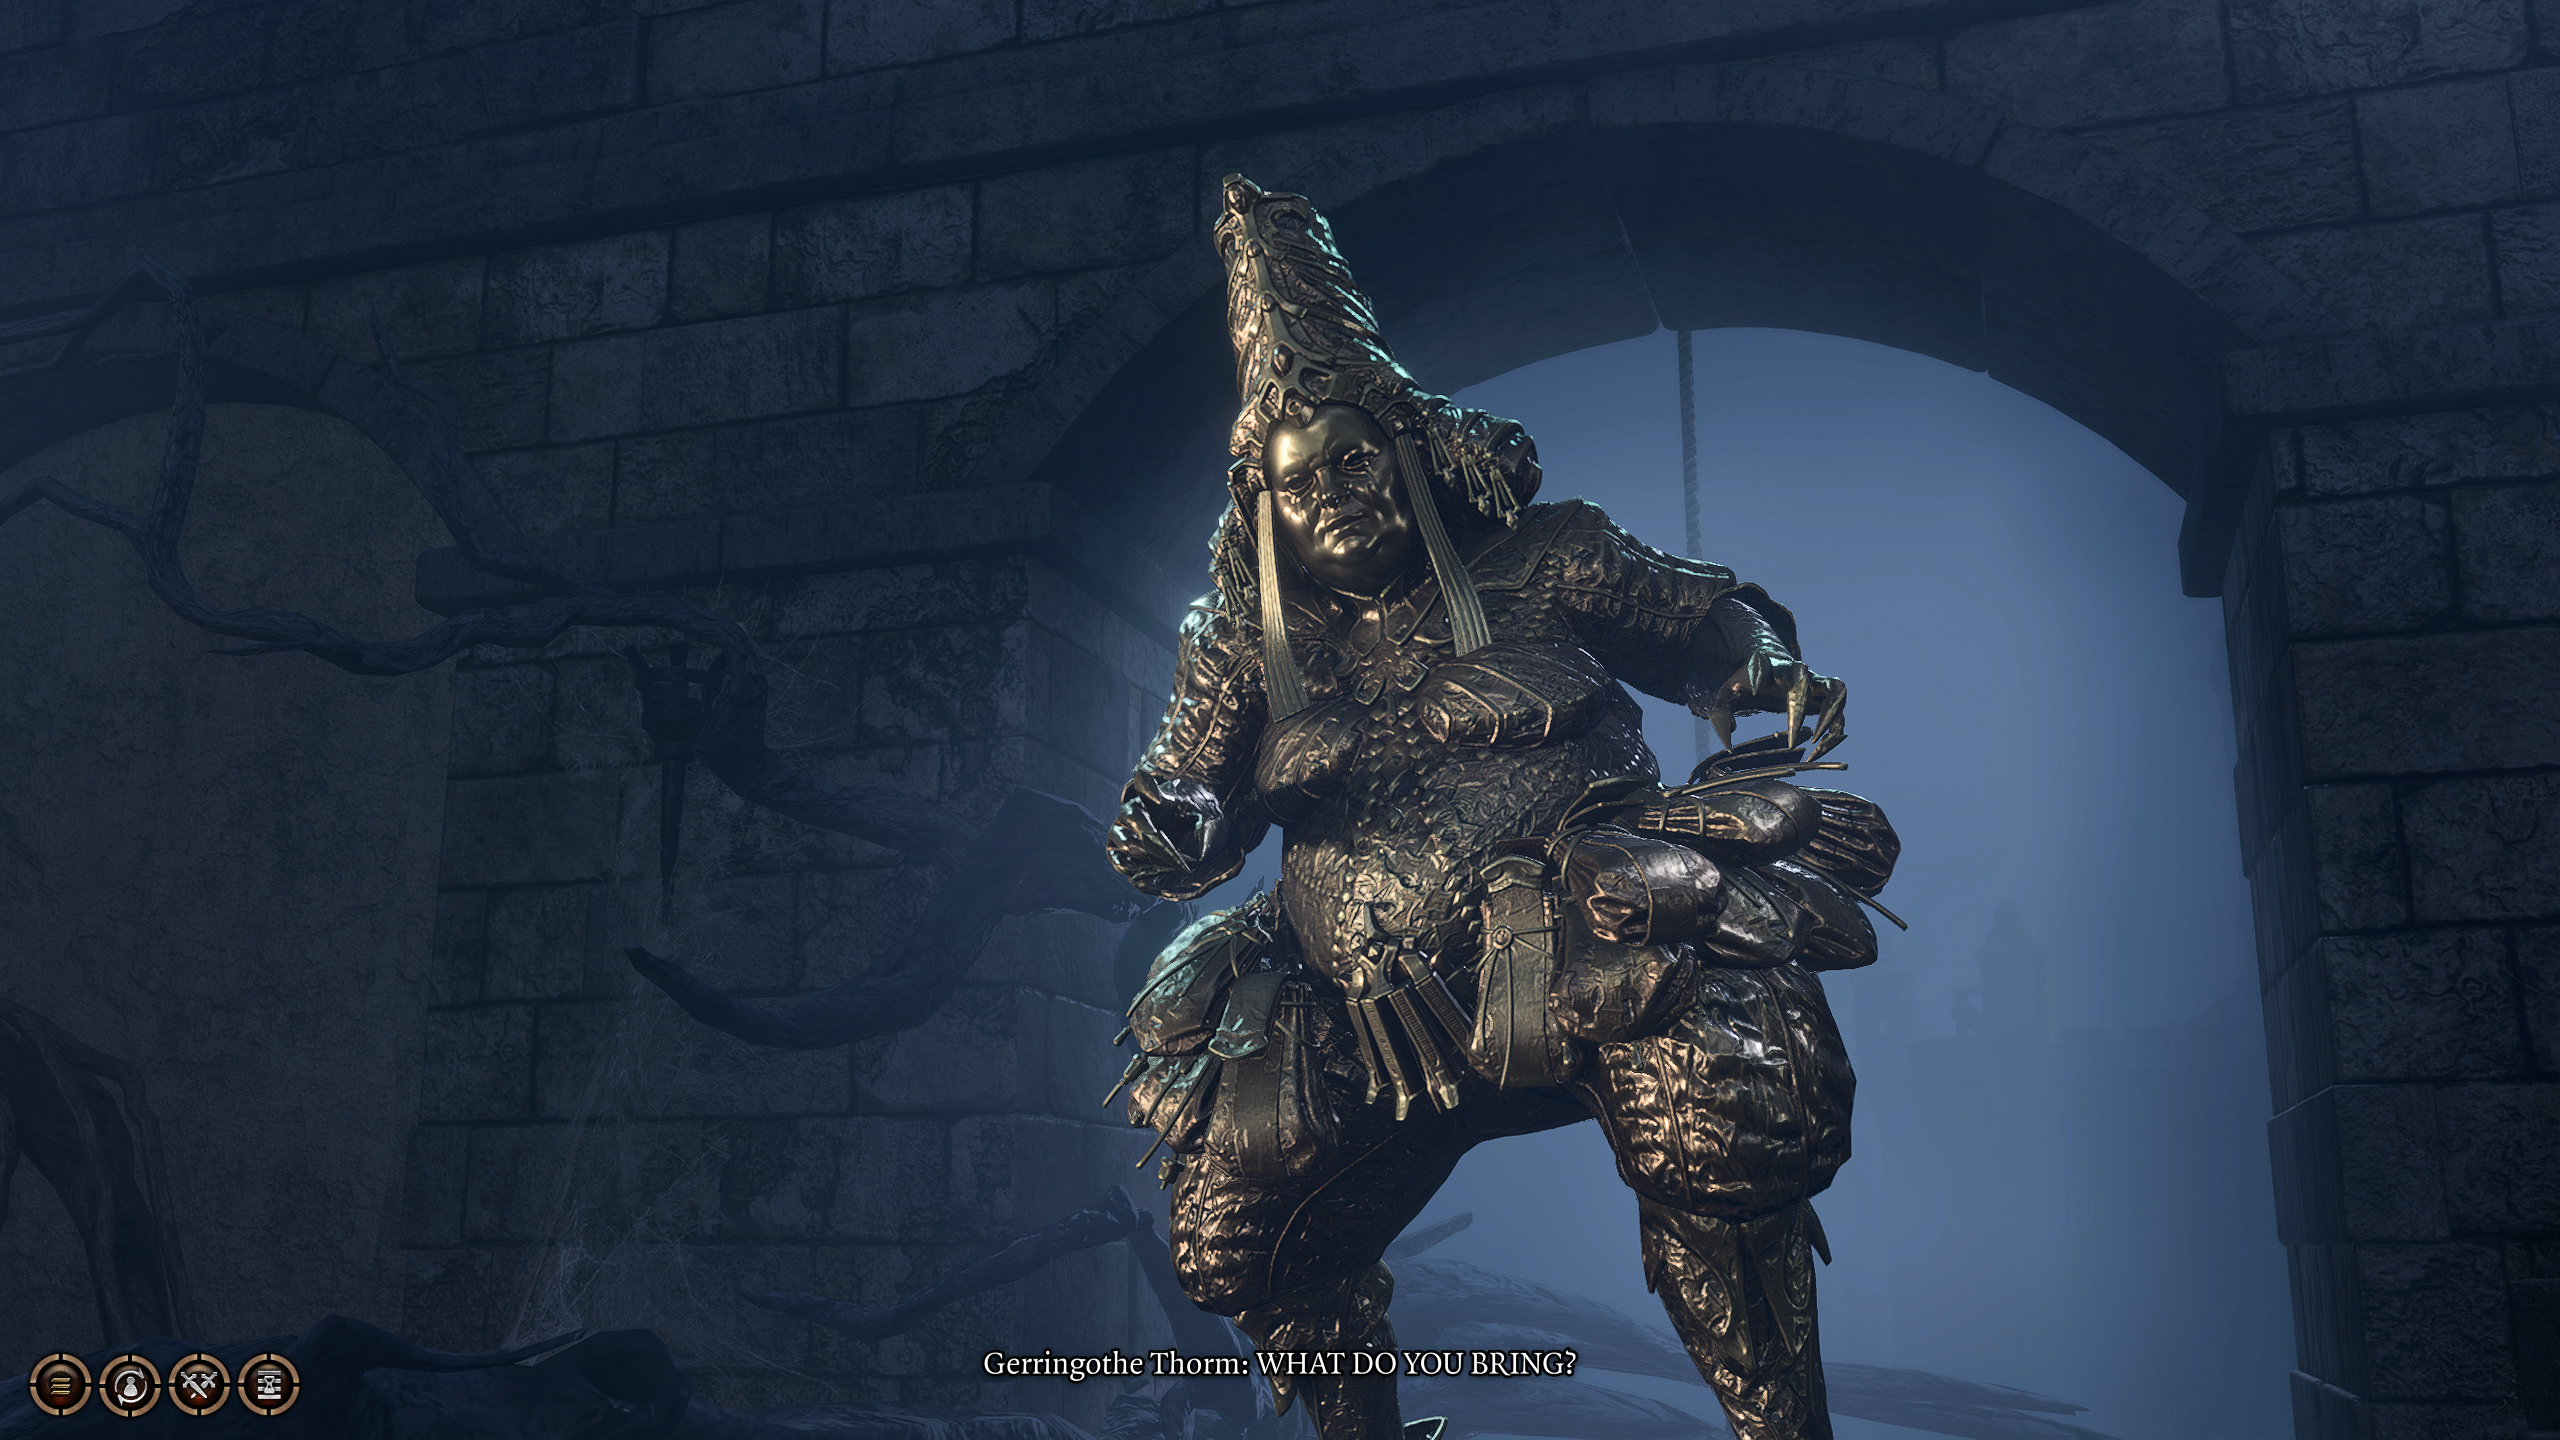
Coming into Reithwin Town from the main bridge (A2), you will quickly find yourself in a Tollhouse. While you can pass through unbothered, if you go to the second floor, you will encounter a number of skull-like Grim Visages before coming across a gold-armoured Gerringothe Thorm.
Before you approach her, you might want to drop all of your party’s gold (save for 1 piece) in some place you will remember, since Gerringothe deals more damage to you the more gold you are carrying, and you should pick up whatever coins you can from the ground to prevent her coin explosions later.
When you actually approach Gerringothe, she will initiate dialogue with you and request a toll. To start, you can give her a single gold coin, opening up the rest of her dialogue. From here, you have the option to either give her all of your gold, try to talk her down, or initiate combat.
If you give her all of your gold and it is over 5000 pieces, she will give you a single-use Signed Trade Visa that acts as a scroll for Flesh to Gold, but beware that you will NOT be able to get this gold back even if you kill her. If you give her all of your gold and it is less than 5000 or if you fail the DC-18 Deception or Persuasion checks, though, she will attack.
If you succeed on either of those checks then you can attempt a harder DC-21 Deception, Persuasion, or Intimidation check to convince her of the errors of her ways, causing her to instantly kill herself in regret.
If you do end up in combat with Gerringothe, she can be a formidable foe: she has absurdly high health, can move quickly, deals damage according to how much gold a player has (leading to massive damage for well-stocked parties), and can cause the coin piles in the room to explode after 1 round. However, the key to this – apart from leaving your gold someplace safe – is to take on the 6 Visages before her. Each one you defeat will destroy a part of her armour, and destroying all 6 will leave her with a pitiful 6 health. Defeating her will yield a subpar mace and a healthy dose of gold.
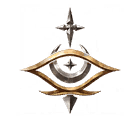
The center of Reithwin Town is an old statue of Shar. When you first approach it, there will be 2 Shadows and 4 Shadow-Cursed Harpers which will attack — these can be swiftly dealt with. Remember that bringing light near Shadows will reveal them, if invisible.
Once they are dispatched, you will be left with the statue, which holds a secret.
There are three plaques on the West, North, and East sides of the statue. Reading them will reveal what appear to be a jumble of random letters, until you realize that they are each a part of a larger whole that, when combined, say something. The phrase you are trying to spell out is “OUR LADY OF LOSS / MISTRESS OF PAIN / WHEN NIGHT FALLS / THORM SHALL RISE.” The correct order for these plaques is North, West, East.
Once you’ve read those in the correct order, a hidden door will open on the south side of the statue, allowing you to enter a Sharran Sanctuary. Within, there will be three statues. Interacting with these statues will enable a character to attempt a DC-14 Intelligence, Wisdom, or Charisma check (though a Cleric of Shar, like Shadowheart, will automatically pass). If you pass any of these, you will gain a massive +5 in each stat until your next long rest, but failure will reduce the stat by -5 and cause 3 turrets to begin attacking you.
Once you interact with all 3 Statues successfully, another hidden path will open up. Passing a DC-10 Religion check or being a Cleric of Shar (like Shadowheart) will open up your way to some loot. Be careful about touching the Ritual Dagger, though, as doing so will trigger the turrets and, given the dagger’s pitiful stats, is just not worth it.
You will also be teleported to this location if you follow Oliver during his questline, where a unique battle will take place in which you will be assailed by his shadowy “family”; you’ll need to destroy his dome shield to succeed.
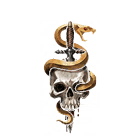
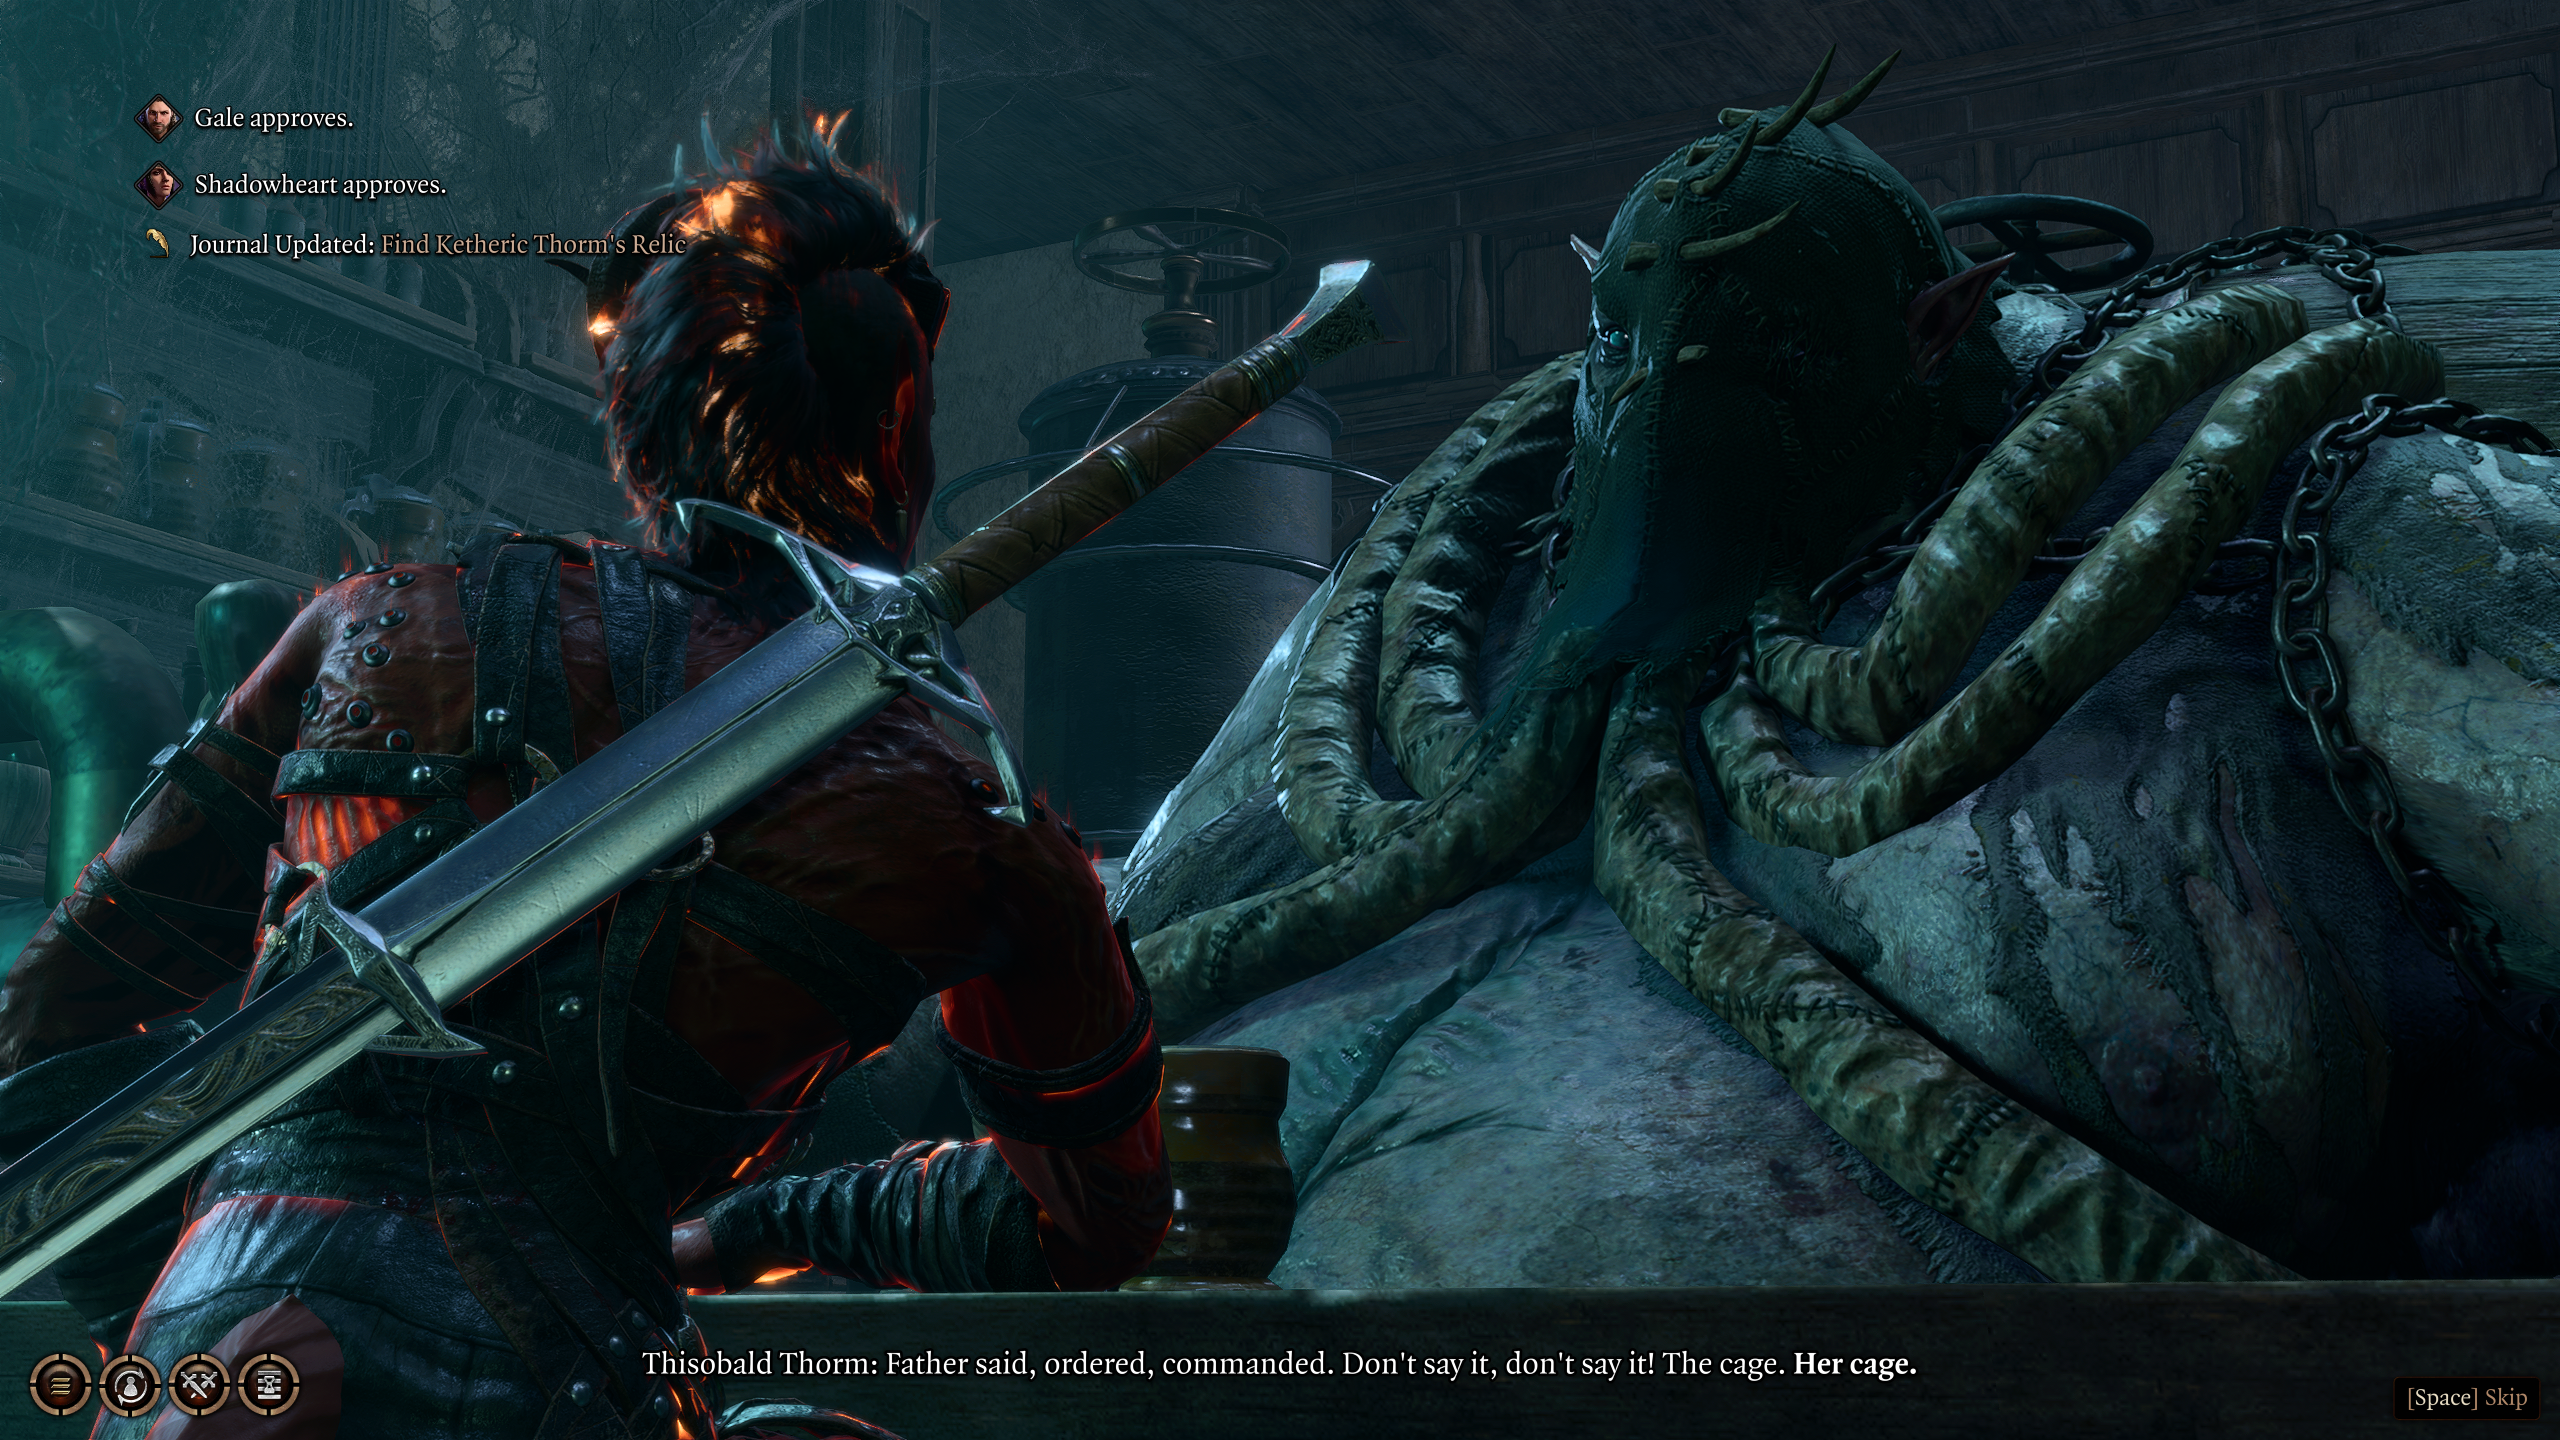
Near the Moonlight Tower Waypoint (W2), you can find the Waning Moon Distillery, where Thisobald Thorm has perfected his recipe. When you approach the bloated Thisobald next to the bar, the closest character will sit down at the bar across from him, and be invited to drink. Refusing initiates combat with him.
In order to avoid combat, you will need to drink his acrid brew and tell Thisobald stories of your adventures over the course of 3 rounds. To begin, you will need to either pass a DC-14 Constitution check or a DC-18 Sleight of Hand check to mime drinking. If you fail the former, you will become drunk and have to roll at disadvantage going forward. If you fail at the latter, Thisobald will automatically attack you.
Following that, Thisobald will ask you to tell him a story, requiring a DC-14 to -18 Performance check (yes, Bards get advantage) to regale him with your tales. What stories are available to tell are based on your previous exploits, mostly in Act 1, and their difficulty is highly variable. If you fail this, you will need to recover with a DC-18 Deception check to make up a story on the spot.
This will repeat for 2 more rounds, with the DC of the Constitution check increasing by 2 each time, until eventually Thisobald will be satisfied. At this point, he will be able to tell you a lot about Ketheric Thorm and Reithwin Town. You can ask him many questions, which he will now happily answer, before he eventually bursts from all the alcohol intake, killing him instantly and leaving his key in his wake. This is the easiest way to dispatch Thisobald.
Should you end up in combat with Thisobald, he is a tough bastard. He’s resistant to most damage, and quite deadly. However, he has a critical weakness – his drunkenness. The trick during combat is to get Thisobald to start drinking, and then to survive until he “blacks out” after about 3 rounds. Once he blacks out, his resistances will disappear and you can pile on damage to him, rarely missing the sleeping giant.
To get Thisobald to start drinking, you will need to deal an elemental damage type like Fire, Cold, Poison, or Necrotic damage. From there, you simply need to survive 3 rounds before he blacks out and you can eliminate him.
However Thisobald dies, make sure to check behind the bar for a unique Rat Bat, and to find the floorboard right next to it, where you will be able to find Madeline’s logbook, revealing her treachery, which you can bring to He Who Was in the Shadow-Cursed Lands to continue along the “Punish the Wicked” quest.
After eliminating Thisobald, you can enter his backroom to find several recipes for powerful potions, as well as some high-quality loot. This will also reveal where Thisobald’s stash of ingredients for one of his potions is (#17).
The Mason’s Guild is an old building that has fallen into significant disrepair, ironically even moreso than the rest of the town. There are two entrances to the Guild’s underground lair very close to each other – there is a hatch near the back of the guild, and an elevator just outside of the door on the side of the graveyard. Both of these take you to essentially the same place underground.
Within the Mason Guild’s underground halls, you will eventually encounter the shadows of the masons who once resided there. The 5 Shadows and 1 Wraith will ambush you once you enter the hall. Like any shadows, these will attempt to turn invisible, so it is best to keep a source of light on hand to reveal them.
Once the Shadows are eliminated, you will be left with a trapped chest, which requires a DC-21 Sleight of Hand check to disarm and a DC-14 Sleight of Hand check to open. It contains the Helmet of Arcane Acuity.
After you’ve gotten that loot, make sure to check out the east wall of this room to find a hidden chamber (should you pass a Passive Perception check), containing even more loot, before heading back up the town proper.
At the entrance to Reithwin Town’s graveyard, you will find Arabella (if she survived Act 1), the little Tiefling girl that Kagha wanted to kill way back in the Emerald Grove. She has embarked on a mission to find her parents, and seems to have some impressive powers to do so.
Unfortunately for her, her parents are no more. If you have explored the House of Healing, you will have found their corpses in the East Wing, near Sisters Linda & Lidwin (#10). While you can use Speak with Dead on them, there is no bringing them back. Once you break the news to Arabella, you can tell her to go to Last Light Inn or to your camp, where she will befriend Alfira or Withers, respectively.
The Reithwin Town graveyard is filled to the brim with interesting headstones, giving life (through death) to the long-destroyed town. But, there is much more to find than that. Checking the various graves will yield you some goodies, but the two mausoleums contain the best loot. The one closer to the entrance, requiring a DC-10 Sleight of Hand check to open, contains the Boots of Apparent Death. In the other, larger mausoleum, the Icewind Robes can be found in a sarcophagus.
If you enter the House of Healing through the front, you will be quickly stopped by Sister Sinda. She will tell you that you will need to wait for the doctor before you can pass, but you can talk your way past her with a DC-16 Deception, Intimidation, or Persuasion roll (with other options being available depending on your class). Dark Urges also can be let in without a check, as the “doctor” would be fascinated by them. Once you’ve convinced Sister Sinda to let you by, you will have full access to the House of Healing.
In the East Wing of the House of Healing, you’ll find Sister Lidwin, a merchant who, when you approach her, will be fretting over the bodies of Locke and Komira, Arabella’s parents (#7). She thinks the patients are still alive; a belief you will need to reassure her with using a DC-14 Sleight of Hand or Deception check in order to access her as a merchant. After you are done, however, you might want to cast Speak with Dead on the corpses, and to report the deaths to Arabella so she will return to safety.
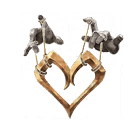
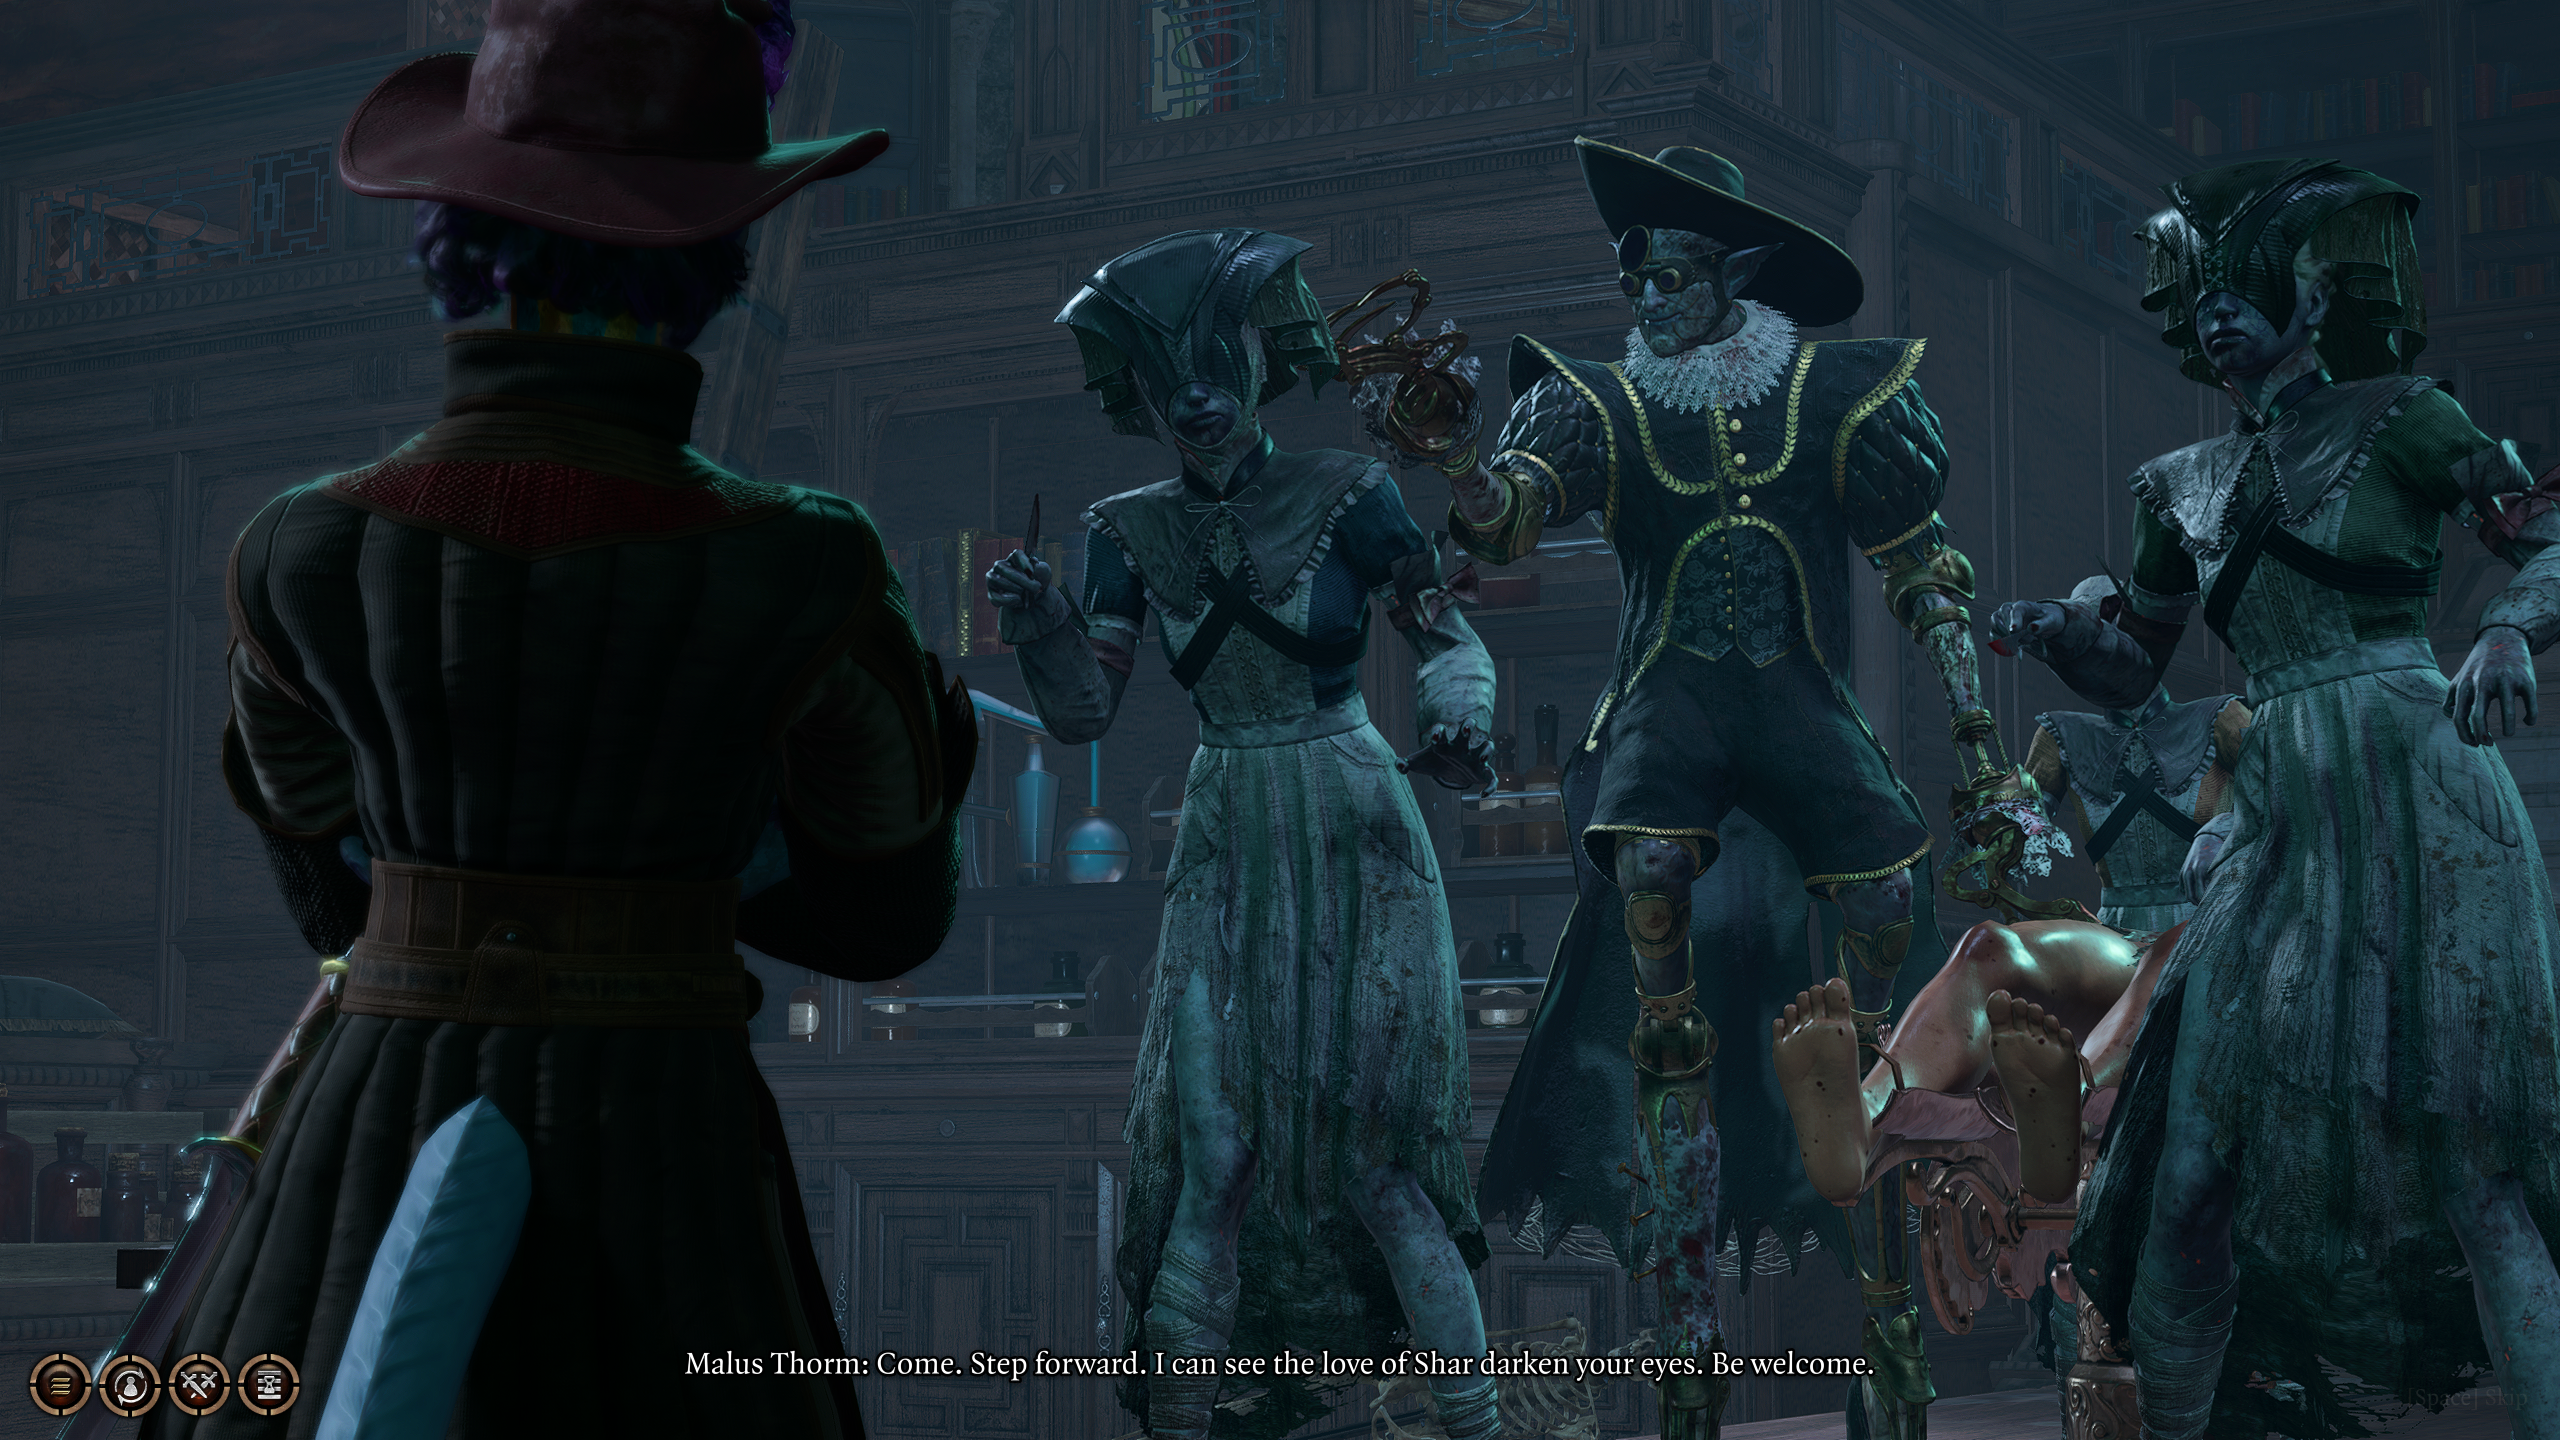
Once you enter the operating room at the House of Healing, you will come across Malus Thorm, the doctor of the House of Healing who has been doing anything but healing. It is actually preferable for you to enter from the back room, going through the Graveyard and unlocking the door, so you have the chance to read “Surgery and Physiology: A Sharran’s Primer”, which will make some very difficult checks easier in the actual encounter.
Once you enter the theater, Doctor Malus will initiate dialogue, explaining his procedure before cutting into the patient in front of him. After his spiel, you can attempt a DC-14 Investigation or DC-16 Religion or Persuasion check (and yes, Shadowheart has advantage here) in order to progress the conversation so that he assumes you are interested in studying further.
From there, a DC-21 Persuasion check can convince Malus to either submit himself to “butchery by his nurses “surgery” by his nurses, or to get them to “practice on” (and therefore eliminate) each other. This check becomes a DC-18 Persuasion check if you read his book in the back passage. If you opt to have the nurses eliminate each other and succeed, you can then convince Malus to kill himself with a DC-21 Persuasion check (with Clerics and Sorcerers able to use Deception instead). If the nurses kill Malus, they will not turn on you.
If you fail those checks, or if you attack Malus, then combat with him can be difficult. Unlike the other Thorms in town (#1 and #3), Malus doesn’t have a gimmick, making him an easier fight, but one that is not so easily resolved. As big of a threat as Malus is, the large amount of nurses here are what can truly overwhlem you, so eliminating them first is usually ideal.
Regardless of the method, once Malus is dead, make sure to take the Battered Lute from his corpse, as it can be used in order to wake up Art Cullagh at Last Light Inn.
On the north end of the town is a fishing hut which, at first, seems to be abandoned. In actuality, it is inhabited by a huge number of cursed Kuo-Toa, ready to fight anyone who comes near. When you approach, you will be attacked by 12 Cursed Kuo-Toa and their Chief, who will be wielding the Lightning Jabber.
It’s best to just go over the pit. However, you can pick up Protective Plate and Fleshmelter Cloak by entering it: inside, you’ll have to fight 3 Fetid Oozes and a Hollow Armour. When they’re dead, you can get the plate from the Armour, and the cloak from a locked chest.
The main room of the Morgue is trapped and filled with deadly zombies. 3 of these are regular Zombies, and 3 are Greater Zombies. Throughout the room, vents are pumping in a constant supply of poison gas, but they can be disabled with a DC-10 Sleight of Hand check or by placing something on top of them.
On the opposite side from the main entrance, there is an operating room which is source of several Inspirational events from the books around.
A successful Passive Perception check on the south side of the room with the zombies will reveal a button. This button will open a secret room with some rare jewelry.
If you have already completed the Crèche Y’llek in Act 1 (along the Mountain Pass) and made enemies of the Githyanki by visiting the Astral Plane, then a group of 7 Githyanki warriors will be waiting to ambush you. If you sided with Kith’rak Voss back at your camp after the events at the Crèche, then the psionic detector he gave you will give you forewarning.
This sizable group of Githyanki are tough, spread out, and well positioned, and so it is wise to prepare buffs and plan out your engagement before moving in on the gate. Their leader, Ch’r’ai Tska’an, is a Warlock and so can blast you with her spells, but the rest of the squadron are mundane fighters. This makes for a difficult, but traditional, fight.
As you can discover in Thisobold’s backroom (#4), the cursed brewmaster has a secret stash in a hut to the north of the main gate (#16). This stash contains all the ingredients you need to make Thisobold’s secret formula for Purple Worm Toxin, a powerful poison you can apply to your weapons.
The way you must come into Reithwin Town, all of the bridges (and tree branches) back to the Shadow-Cursed Lands are traversable simply by walking across.
A1: The northernmost bridge puts you right next to the Mason’s Guild, and closest to the House of Healing and Gauntlet of Shar.
A2: The main bridge into town gets you the closest to the Tollhouse, the Moonrise Tower waypoint, and the Waning Moon Distillery.
A3: This cluster of hardened roots gets you the closest to the Moonrise Towers themselves, especially their docks, giving you an option to sneak in to break the prisoners out.
The entrance to the Grand Mausoleum is just a facade for a much larger test: the Gauntlet of Shar lies just beyond Ketheric’s Mausoleum. When you approach for the first time, Raphael will be waiting to offer you a quest: he wants you to kill Yurgir, who made a deal with him in the past that needs repaying.
Underneath the Tollhouse is a cellar, which you’ll need to unlock with a DC-15 Sleight of Hand check. It has a secret door behind the bookshelves. The loot within is underwhelming.
Until you defeat Ketheric Thorm at Moonrise Tower, you will find yourself unable to take this road to Baldur’s Gate, as it will be swarming with his troops. If you attempt to use the path while they are there, you will be captured (off screen) and thrown into either the Moonrise Tower Prison or, if you’ve already broken the prisoners free of it, into the corpse pit in the Oubliette of the Mind Flayer Colony.
After Ketheric is defeated, the path to Baldur’s Gate will be clear, and you can finally head to the titular city.
There are 5 Warp points in Reithwin Town, all located near other locations.
W1: Reithwin Town
W2: Moonrise Towers
W3: Grand Mausoleum
W4: Road to Baldur’s Gate
Where To Go Next
When it is time to leave Reithwin Town
Moonrise Towers: The obvious point of contact, Moonrise Towers is where Ketheric Thorm is, as well as the kidnapped Tieflings and a second Moonlantern if you don’t have Kar’niss’s.
Gauntlet of Shar: The Gauntlet of Shar is home to many trials (especially for Shadowheart) and a certain, very valuable resource to use in the fight against Ketheric. However, completing it before freeing the prisoners from Moonrise Towers will lead to their demise.
Shadow-Cursed Lands: You will likely need to go back to the Shadow-Cursed Land for something or another while in Reithwin town.
Tollhouse Cellar: If you want subpar loot, go ahead.
Baldur’s Gate: Once you’ve completed everything else and you are ready to complete Act 2 — never to return — you can finally take the road to Baldur’s Gate.
Graves is an avid writer, web designer, and gamer, with more ideas than he could hope to achieve in a lifetime. But, armed with a mug of coffee and an overactive imagination, he'll try. When he isn't working on a creative project, he is painting miniatures, reading cheesy sci-fi novels, or making music.