This area walkthrough will cover the underground location, the Whispering Depths. While it isn’t nearly as large or important as other spots (it’s possible to never even see it in a play through), the Whispering Depths does have a unique boss encounter and a couple important items for side quests. Additionally, it is one of the ways that players can access the Underdark, and there is some pretty sweet loot to be grabbed too.
Finding the Whispering Depths
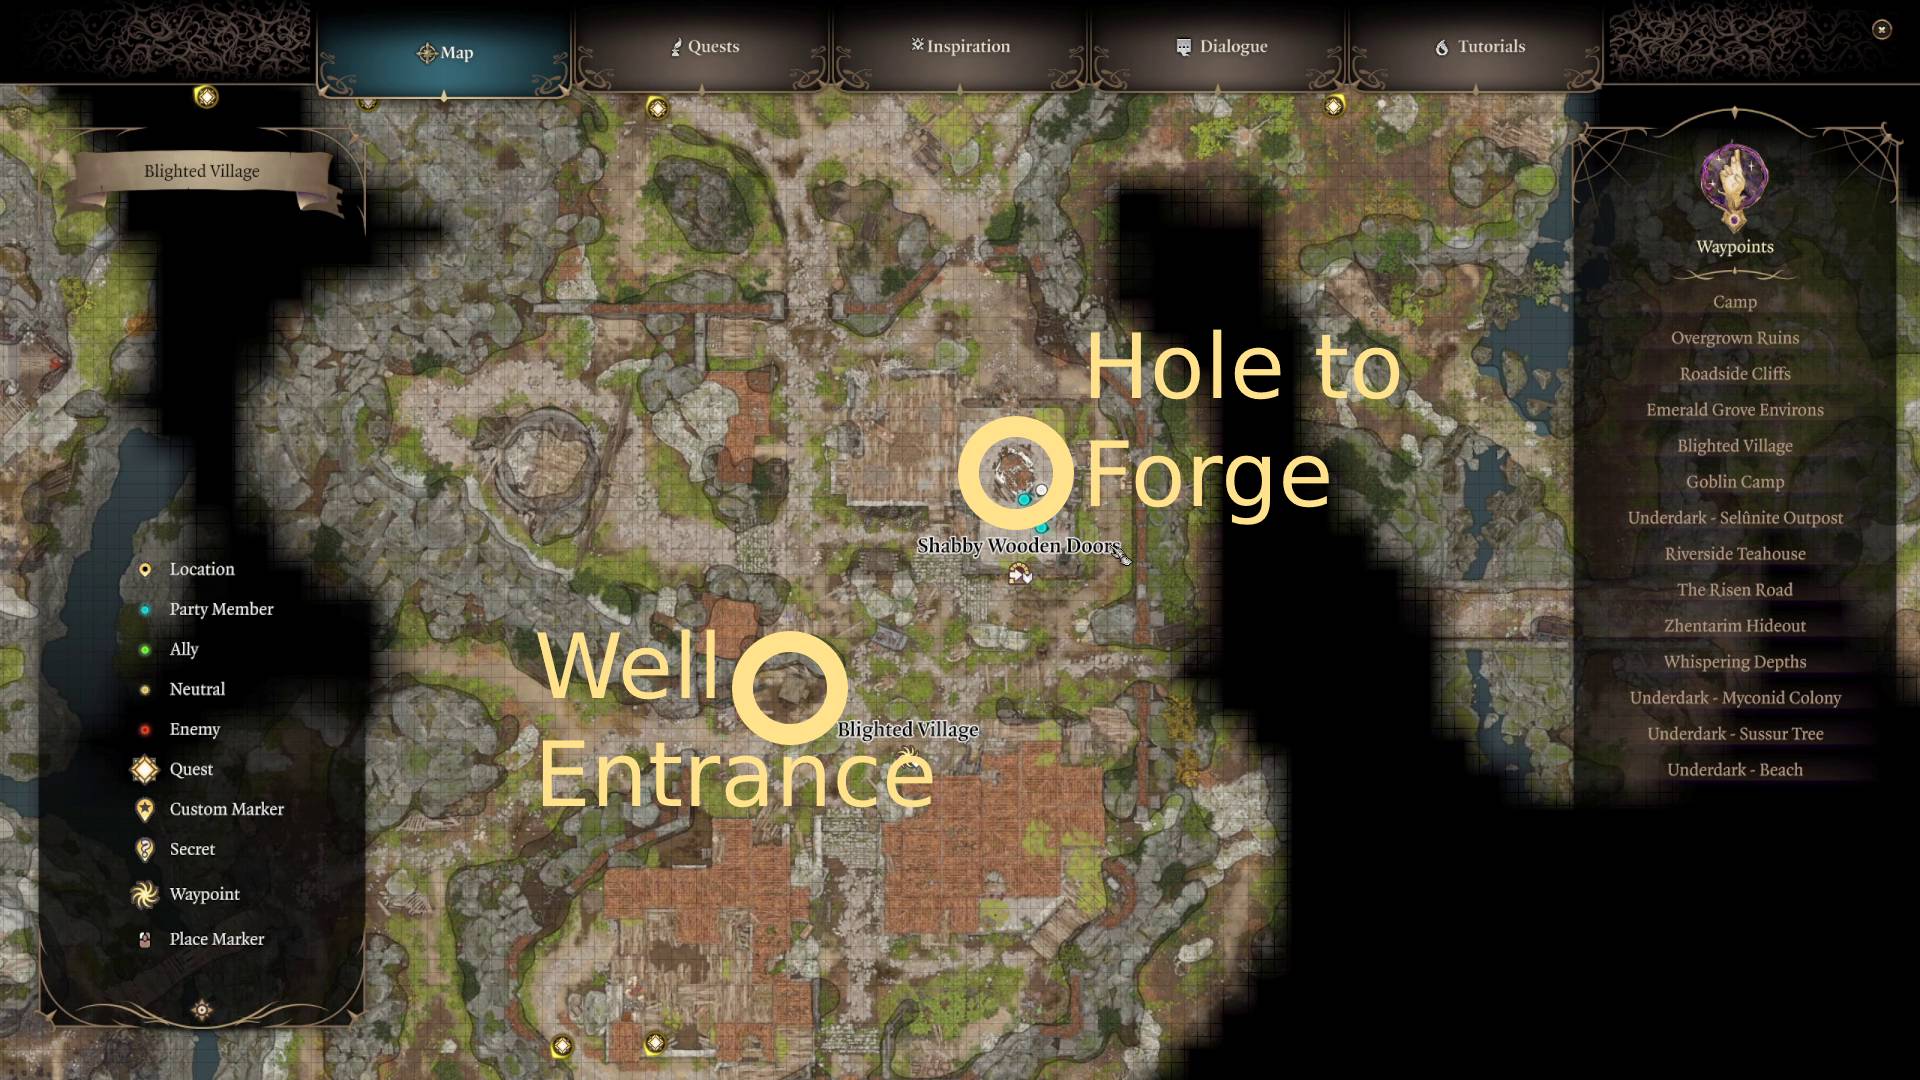
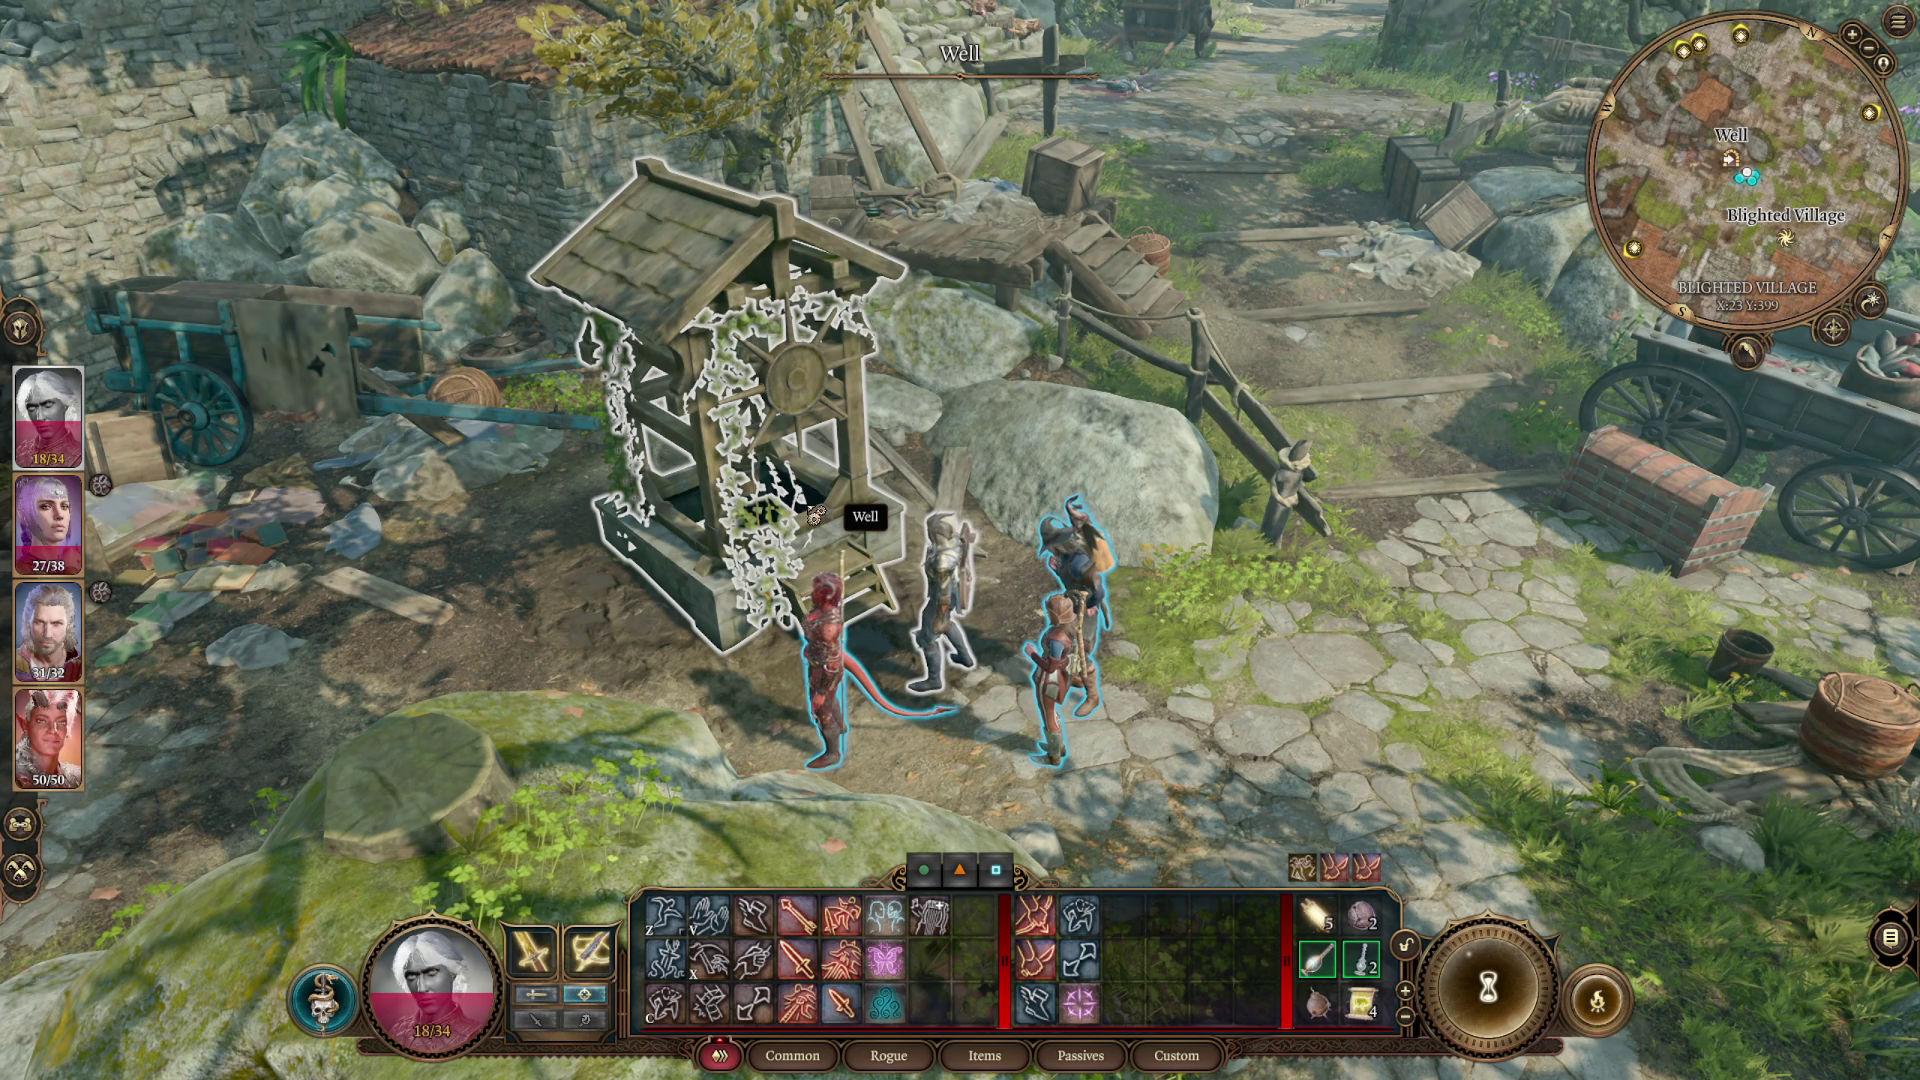
There are two ways to enter the Whispering Depths, both of which are in the Blighted Village (Image 1). The more direct route is by going through the well in the middle of town (Image 2). This requires your character to pass an Investigation check, but takes you directly down.
Image 1Image 2
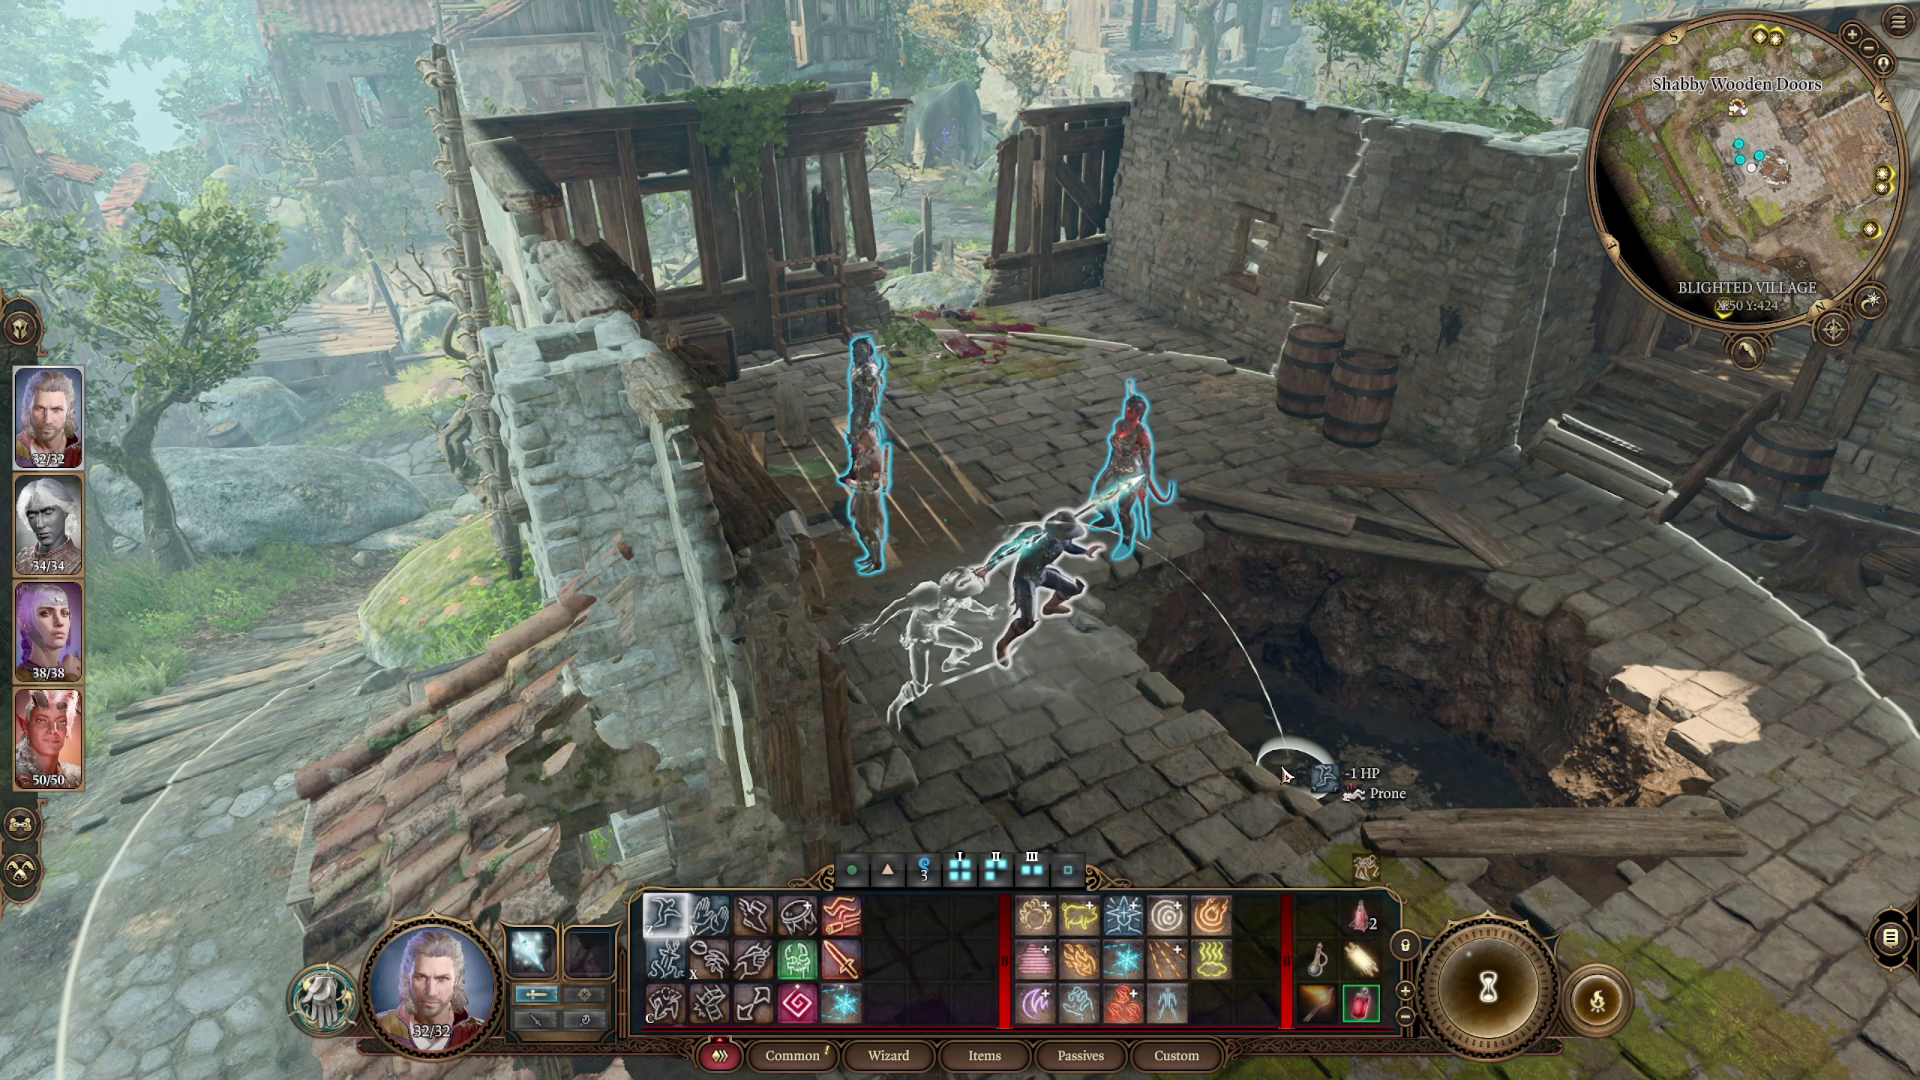
The other path is through the basement of the blacksmith’s house. To get there, you’ll either need break the calcified web in the upper part of the house and then jump down to the basement (Image 3), or you’ll need to grab the Old Key from the crate next to the web and use it to unlock the shabby wooden doors outside. You can also pick the DC-10 lock on the shabby wooden doors.
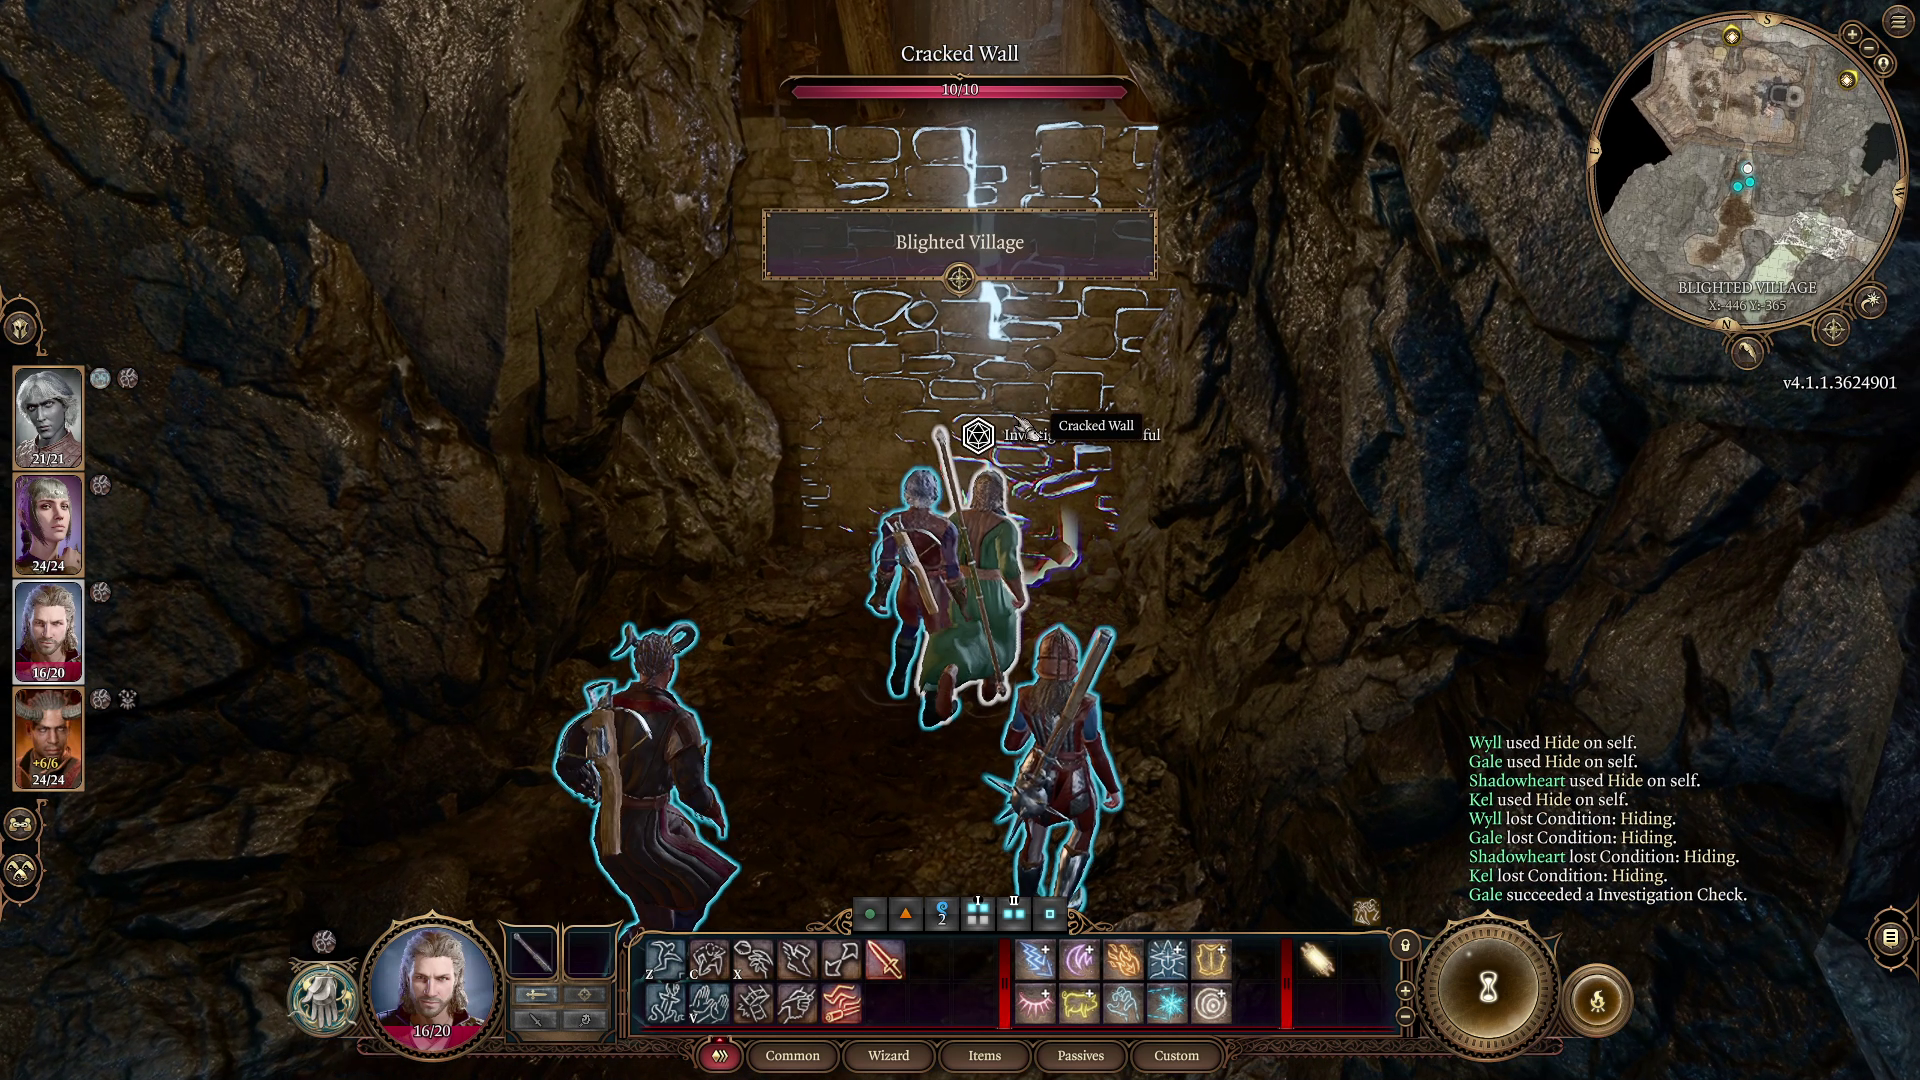
Inside the blacksmith’s basement, you’ll find an abandoned forge. The wall next to it is cracked, but you’ll have to pass a DC-10 Investigation check to notice it. Once detected, you can attack the wall to break it down and create an entrance into the Whispering Depths (Image 4).
Image 3Image 4
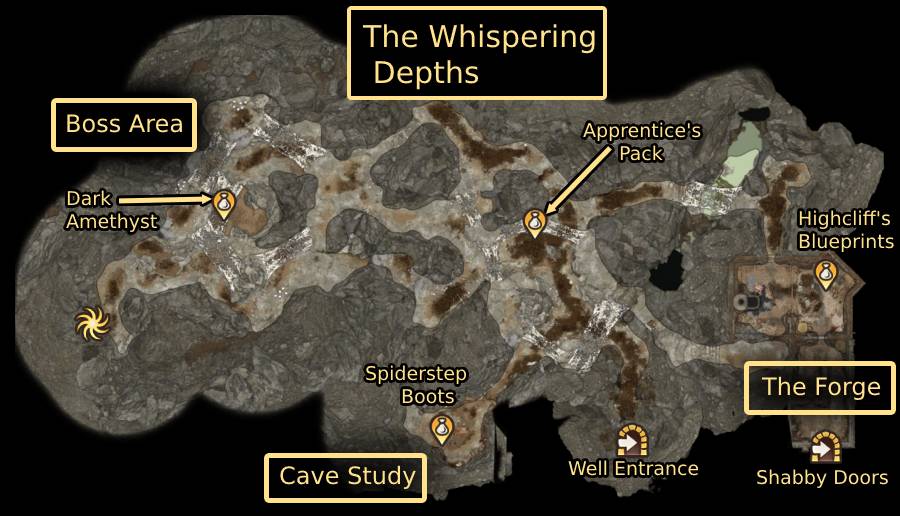
Whispering Depths Overview
This area is essentially made up of three distinct spots: the cave study in the southwest, the forge in the southeast, and the boss area to the northwest. In between the three is a small group of enemies that need to be defeated to make exploration safer. Each area has its own items that you will not want to miss, and in the case of the forge and boss, tips to help you acquire them.
Cave Study
Most players will likely come to this location first, as it is close to the well’s entrance. When you come down the well, head down the passage and hang a left (Image 5). This is the study of an arachnomancer. If you read all of the arachnomancer’s journals, then any Sage in your party will gain the “A Solitary Spider” inspiration.
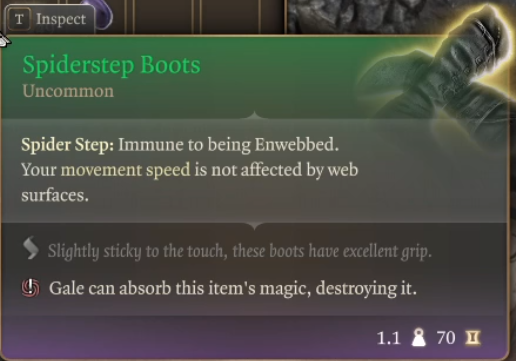
Also in the study, you should loot the two containers by the desk (Image 6). On the left side is a heavy chest that contains the Spiderstep Boots, and on the right is a wicker chest where you’ll find a handful of random spell scrolls.
Image 5Image 6
The Spiderstep Boots give you a significant advantage while fighting in the depths, because they allow the wearer to traverse web bridges without getting stuck or alerting phase spiders.
Phase Spider Battle
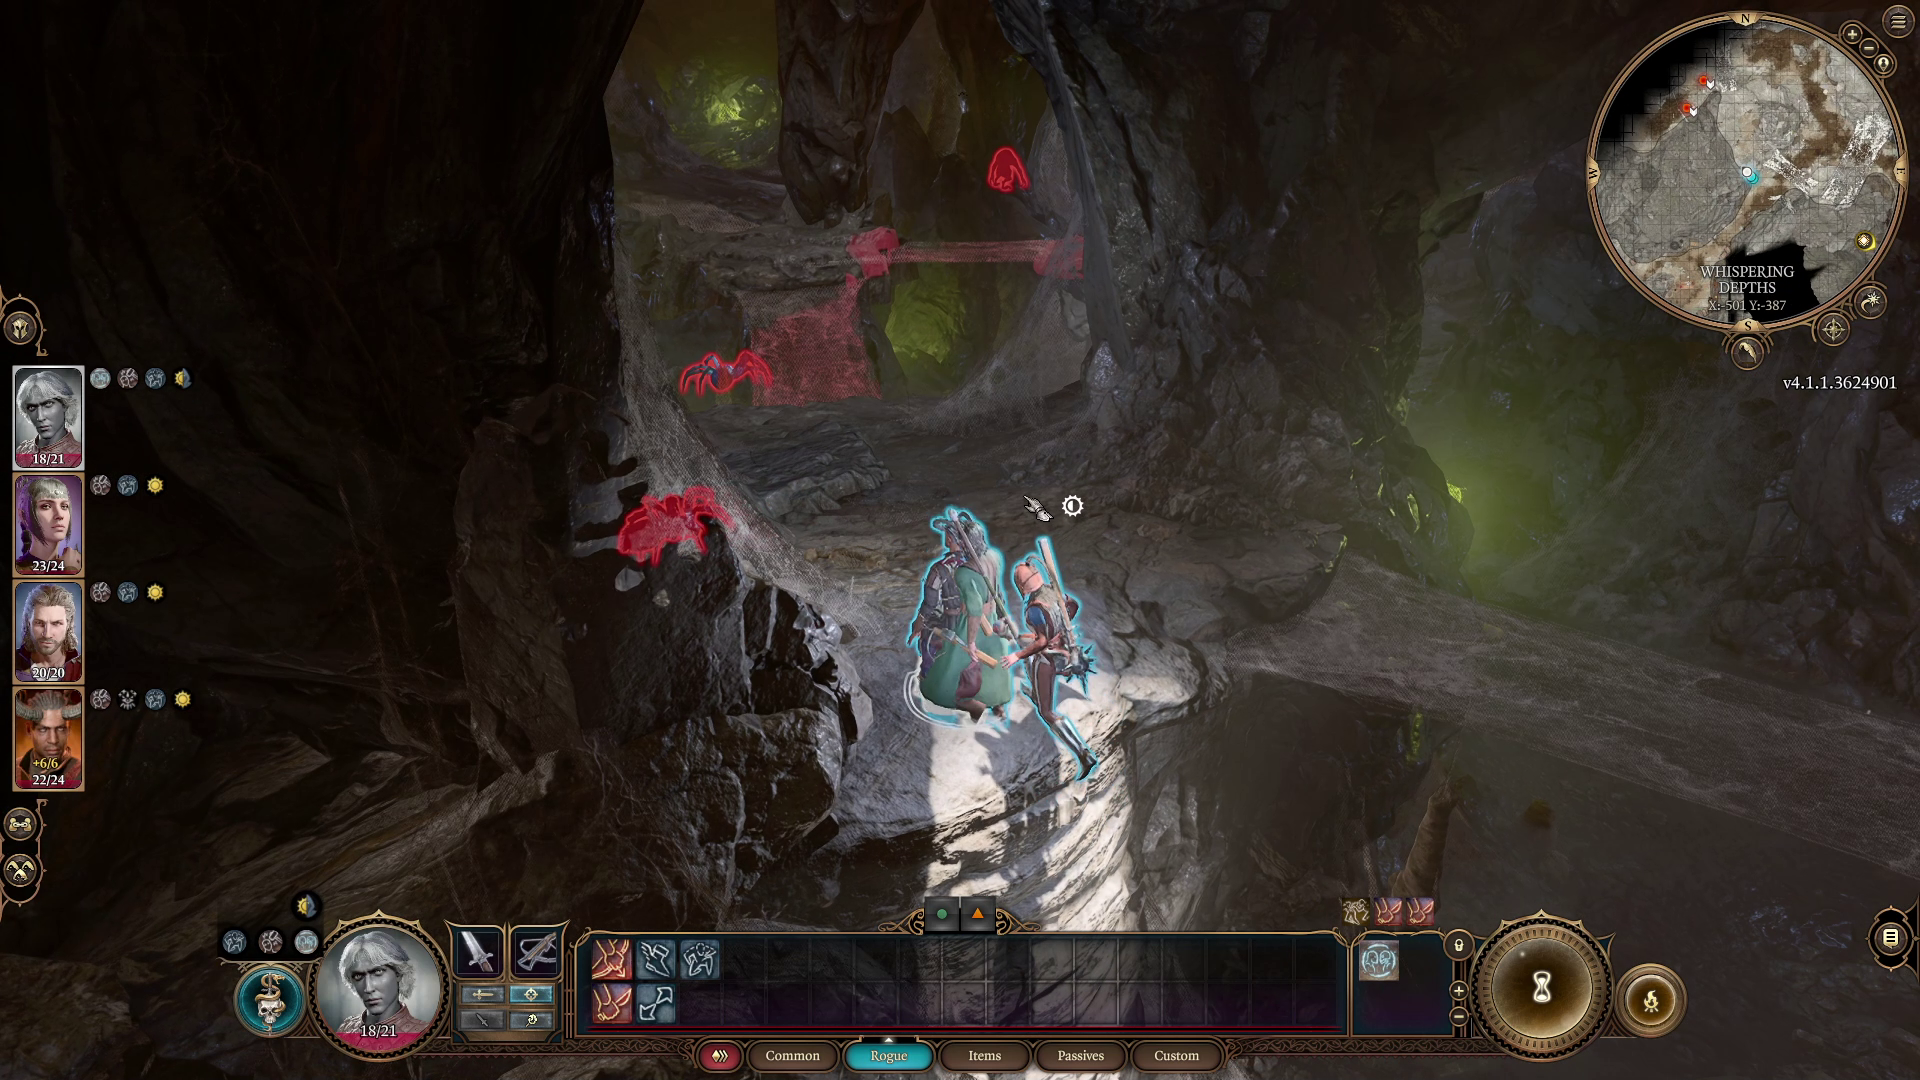
When you come back out the path you entered from, there will be a cragged wall that you can scale. At the top, you will see why the Spiderstep Boots are handy; there are web bridges above the area that help for maneuvering. You will also notice two phase spiders and two ettercaps below you, wandering around the paths (Image 7). We found that giving the boots to the party’s rogue and having them sneak across the bridges to the eastern side of the chamber was the most effective (Image 8). From there, they can volley ranged attacks on the enemies while they fight the main group.
Image 7Image 8
Try to start the fight with a strong first round and take out one of the phase spiders — they’re the more deadly foes. If they teleport on the web bridge behind you, attack the bridge to make them fall for some damage.
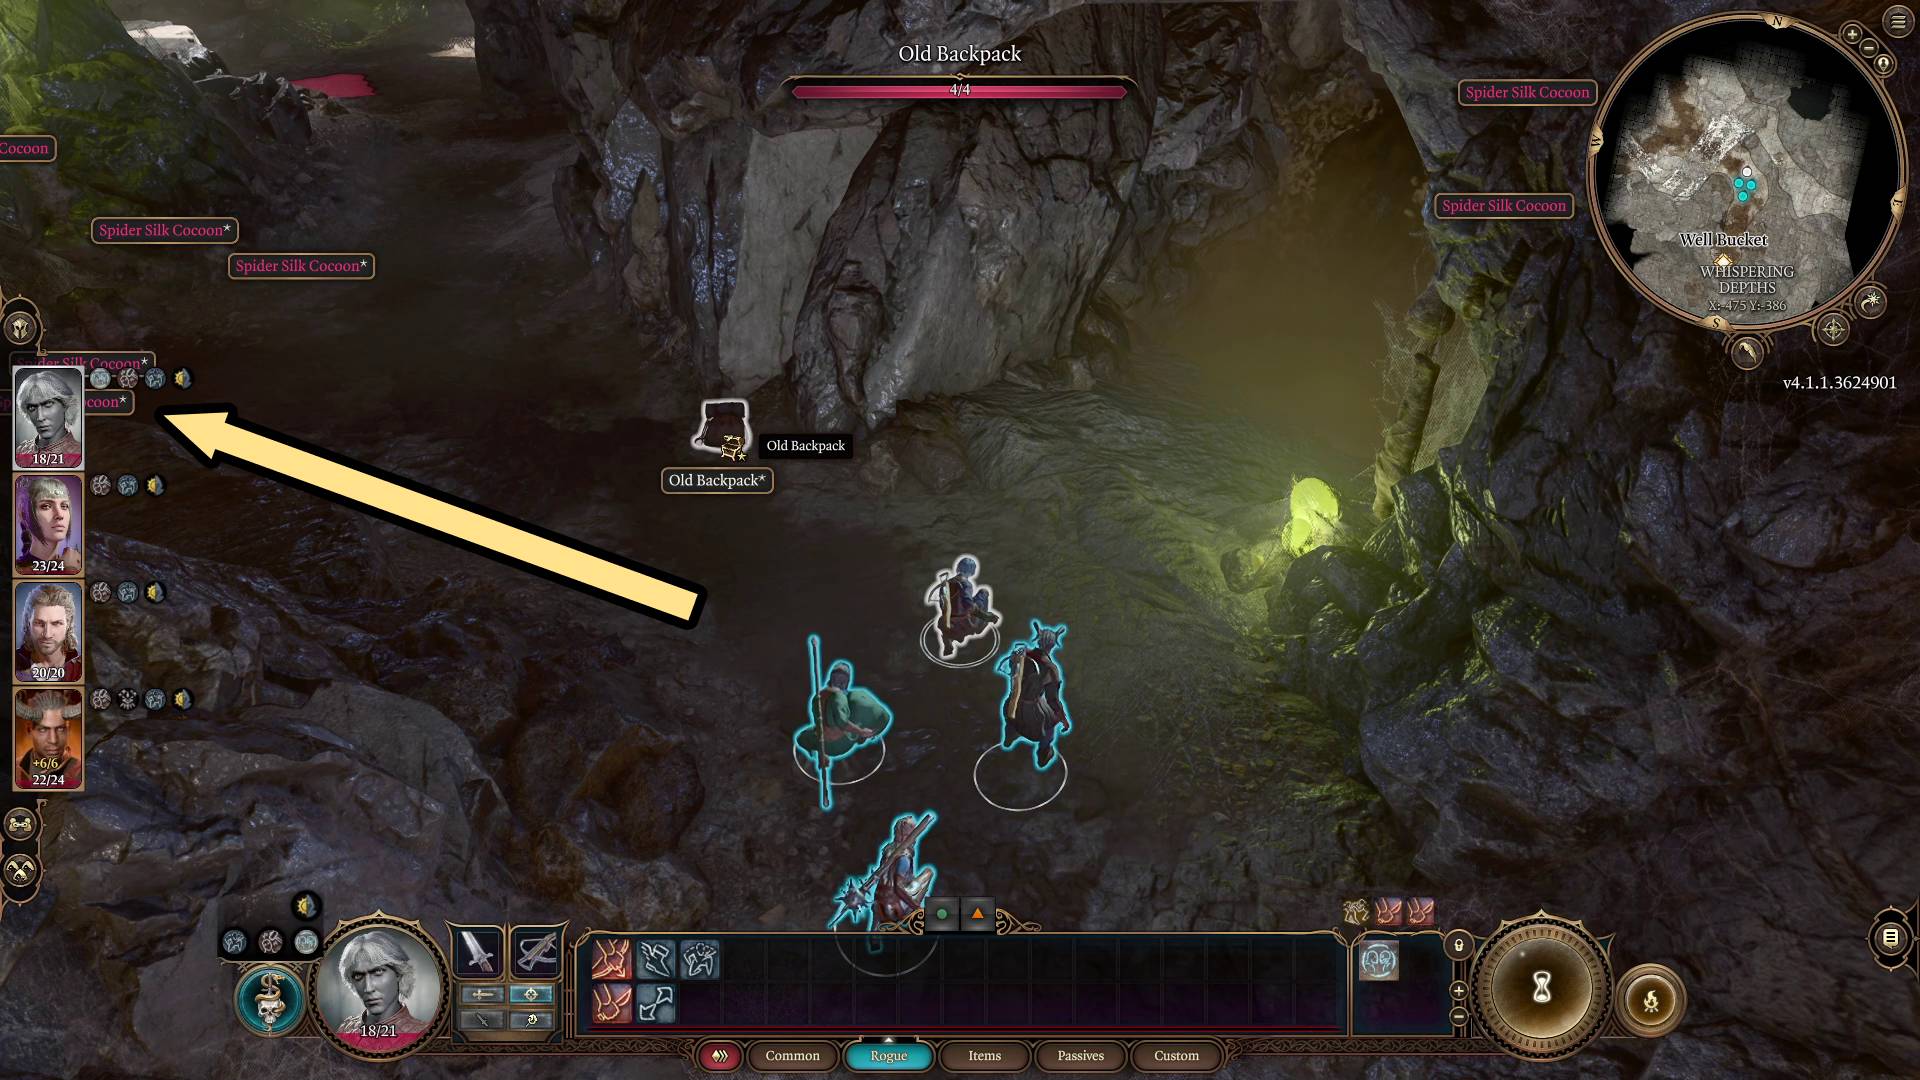
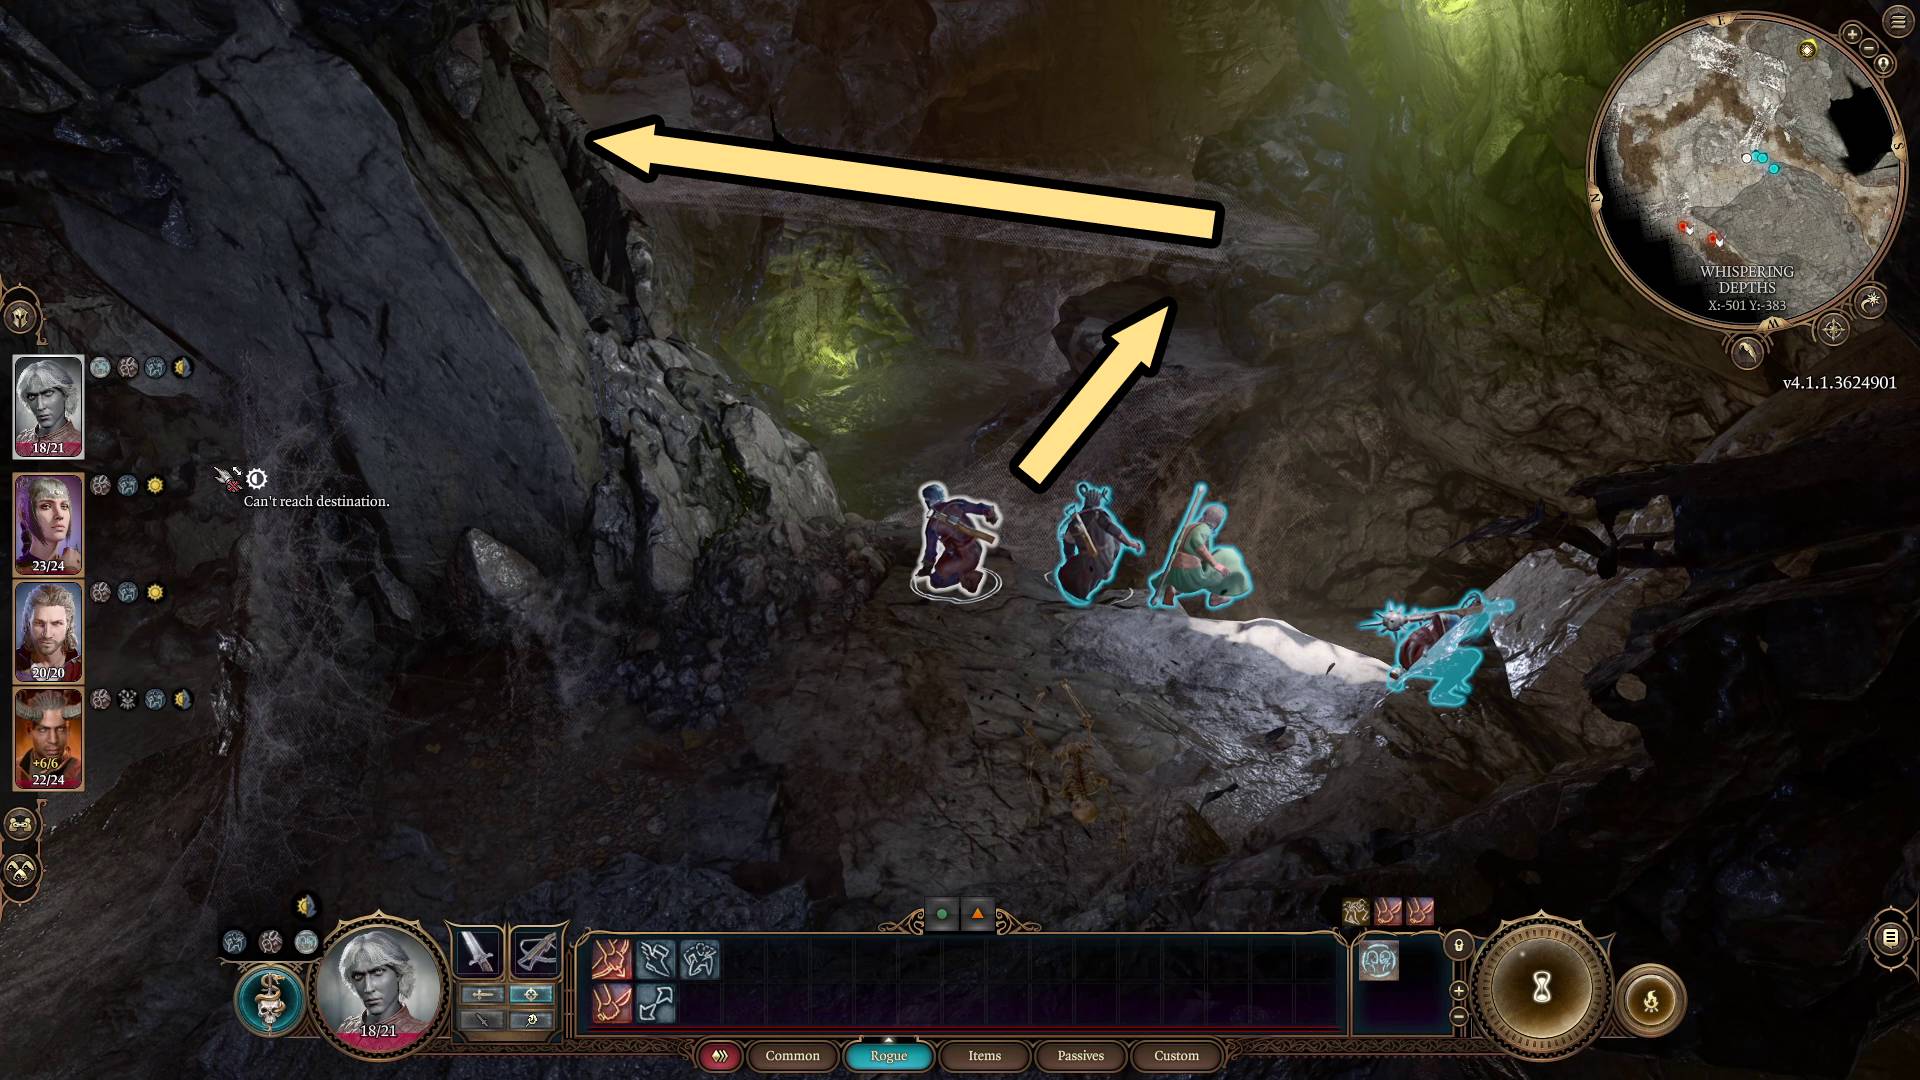
After winning the battle, you will want to loot the Apprentice’s Pack by a skeleton that is towards the center of where the paths converge. Inside the pack you’ll find the Apprentice’s Journal. Reading it is one of the ways to trigger the quest Search the Cellar. On the skeleton the to the pack you’ll find a Spurred Band.
The Forge
From the center of the depths, there are two ways to go to the forge; both are through ‘cracked walls’ on the eastern side of the map. You might have seen one when sending your rogue across the spider bridges for the fight. The opening is by those webbed bridges, up some stone steps.
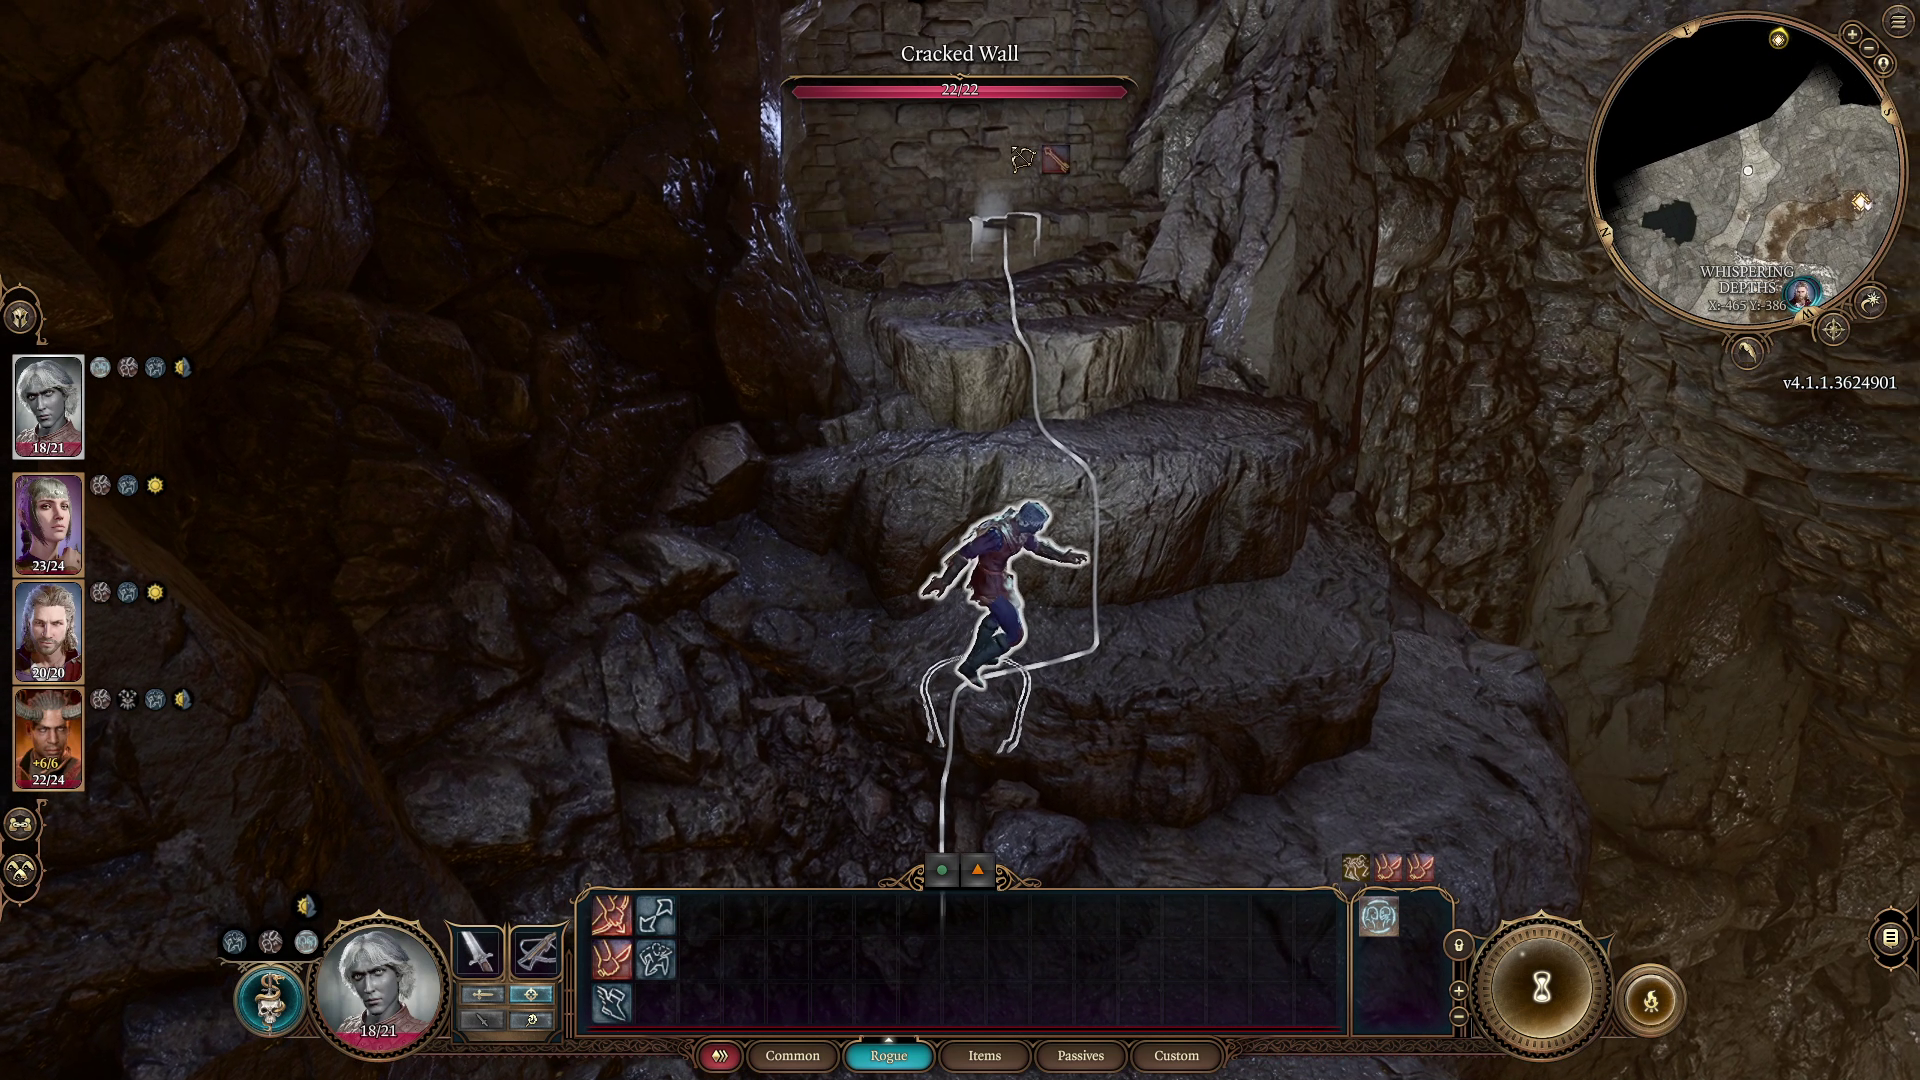
The other is entrance is more to the north. You’ll see a cracked wall after your party crosses a web bridge over a river. This cracked wall (by the river) requires a perception check, while the one (closer to the well entrance) does not. Have your characters attack the wall to bring it down, opening a way into the forge.
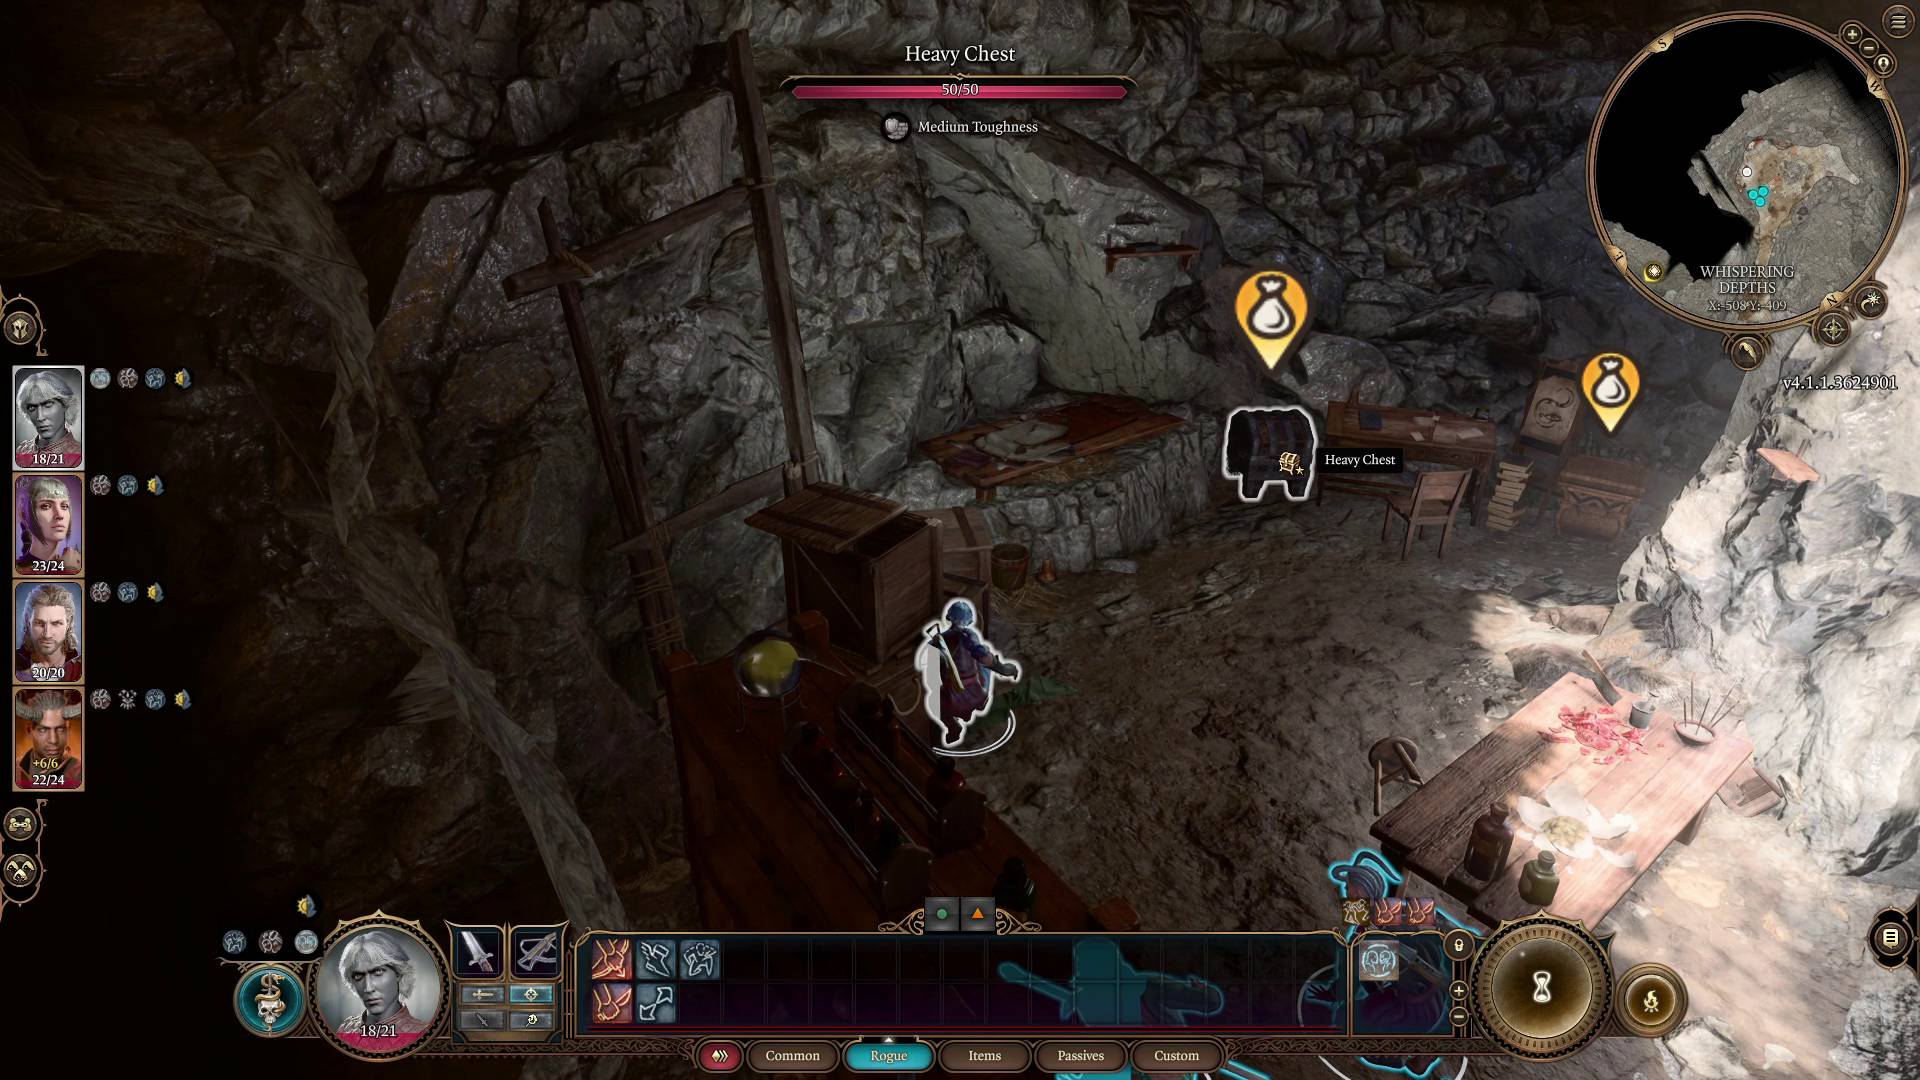
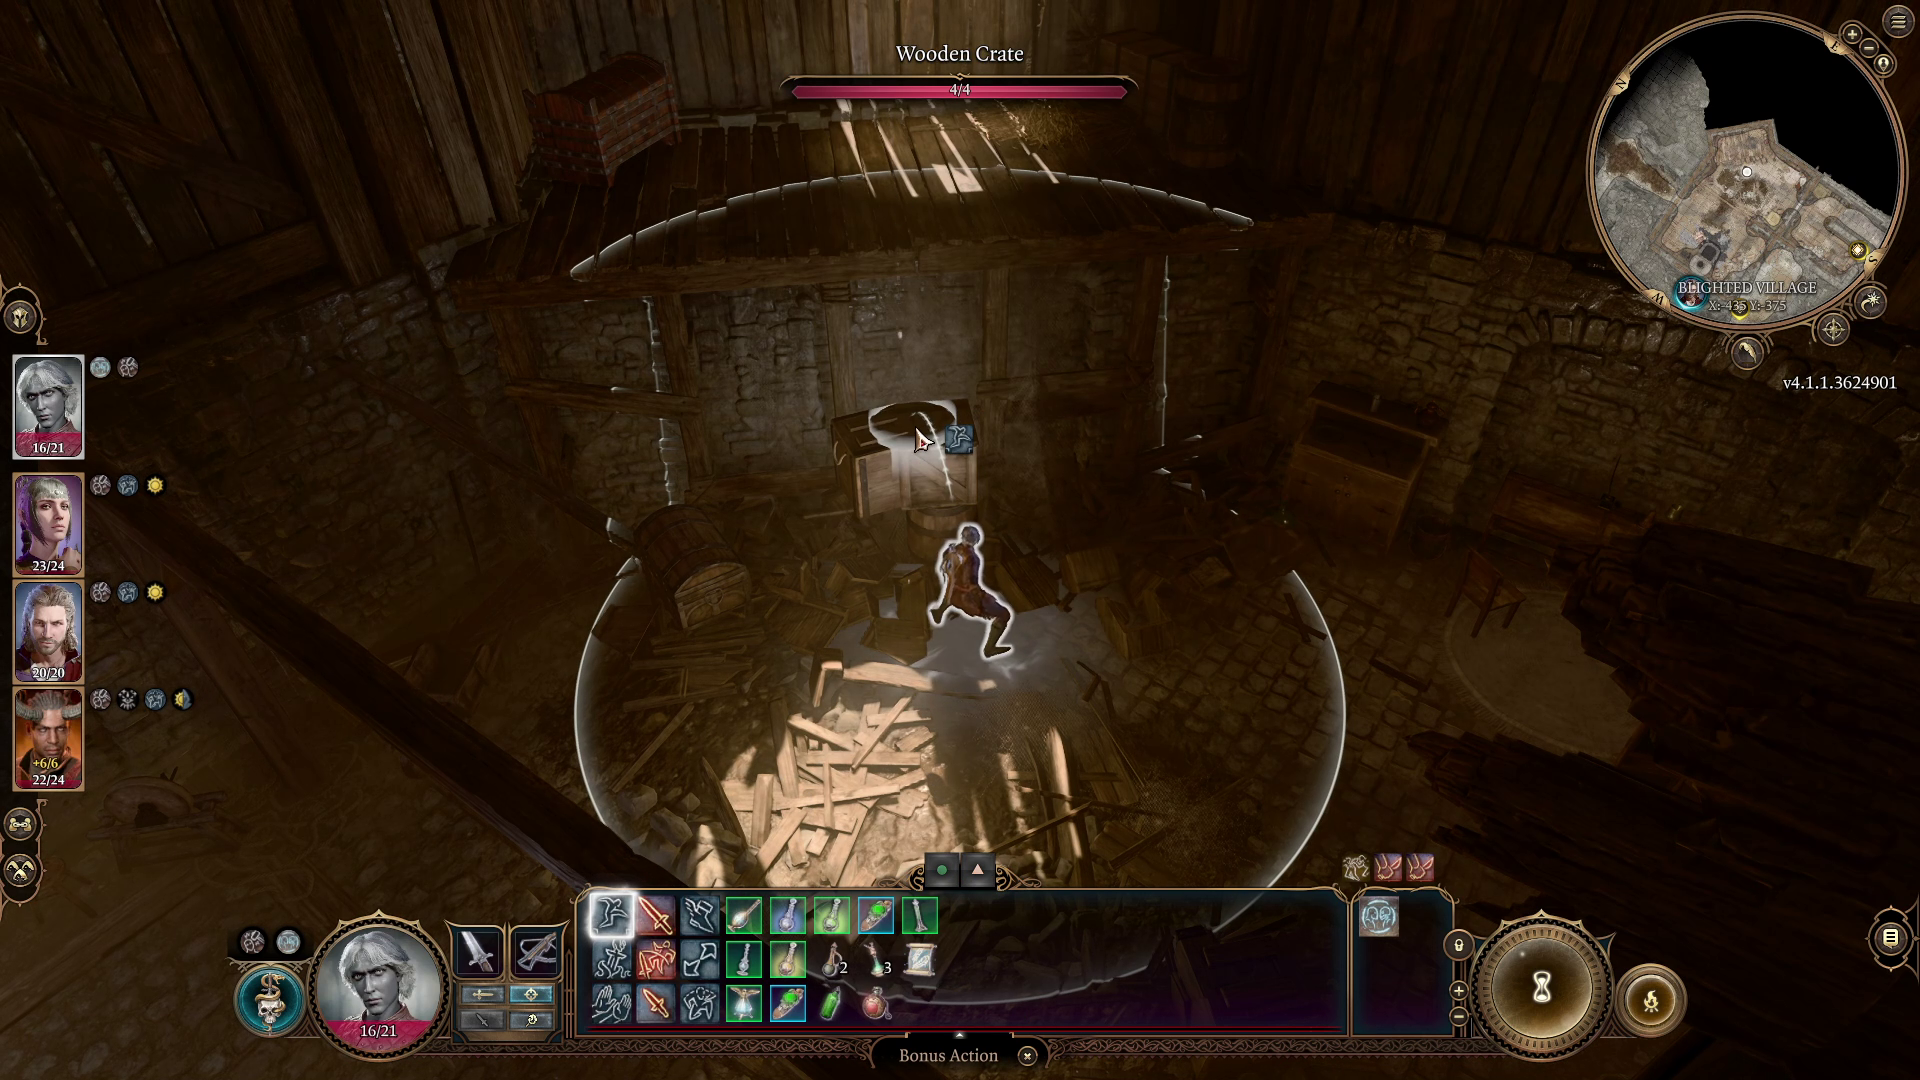
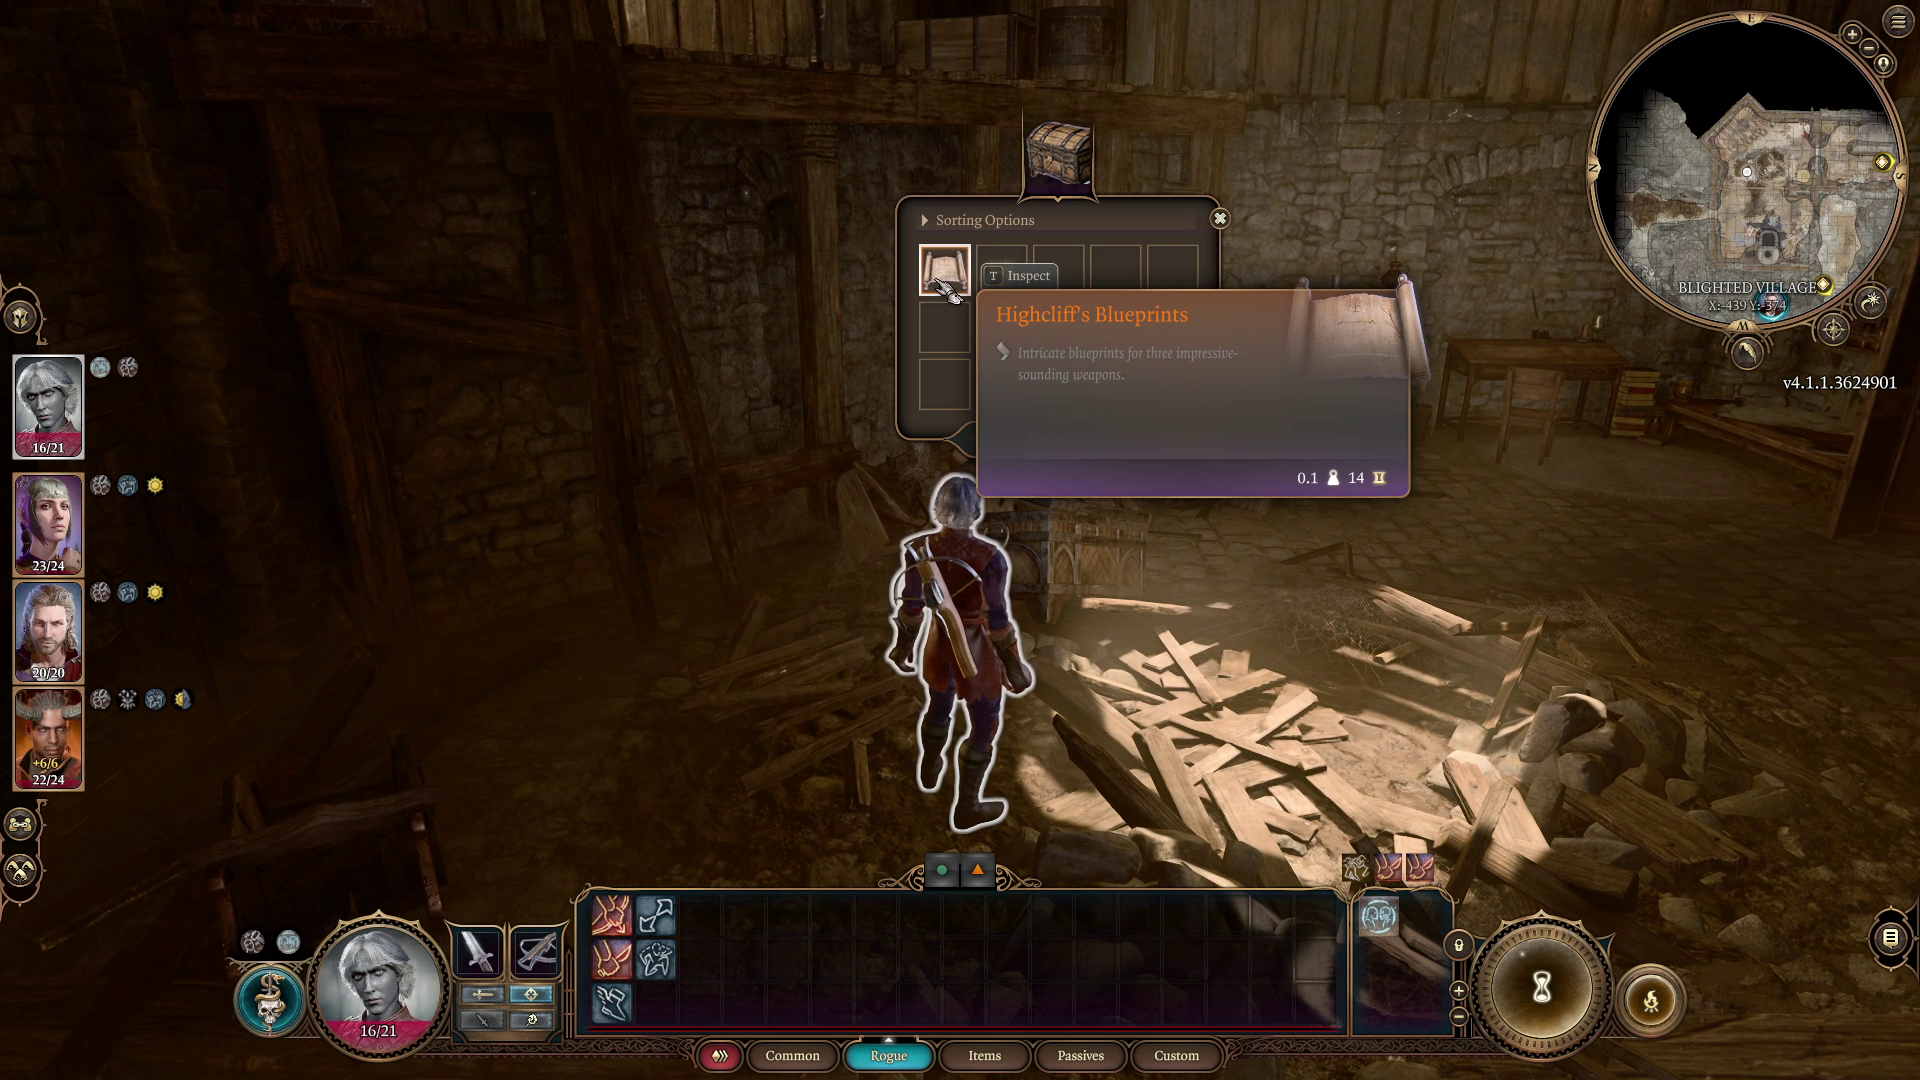
In the northeastern corner of the forge, you’ll see a ladder leading up to a landing. The problem is there’s a bomb trap (DC-10 Perception check) on the chest next to the ladder that can blow up and render the ladder useless. If this happens, you can either jump up and down from the landing (which might damage you because of the distance involved), or you can stack crates next to the landing to make steps up to it (Image 9). The chest on the landing has a DC-15 lock, but inside you’ll find a Steelforged Sword and Infernal Iron. In the trapped chest next to the ladder, you’ll find Highcliff’s Blueprints, which you’ll need for the quest Finish the Masterwork Weapon (Image 10).
Image 9Image 10
You will want to search every crate in the forge because there are a plethora of useful items, like Thieves’ Tools, to be snatched up. Also, if you entered the forge area via the broken web, then be sure to head up the stairs on the southern side and pull the lever next to the shoddy wooden doors. This will unlock the doors, giving you a quick and easy way to reach the forge from the Blighted Village.
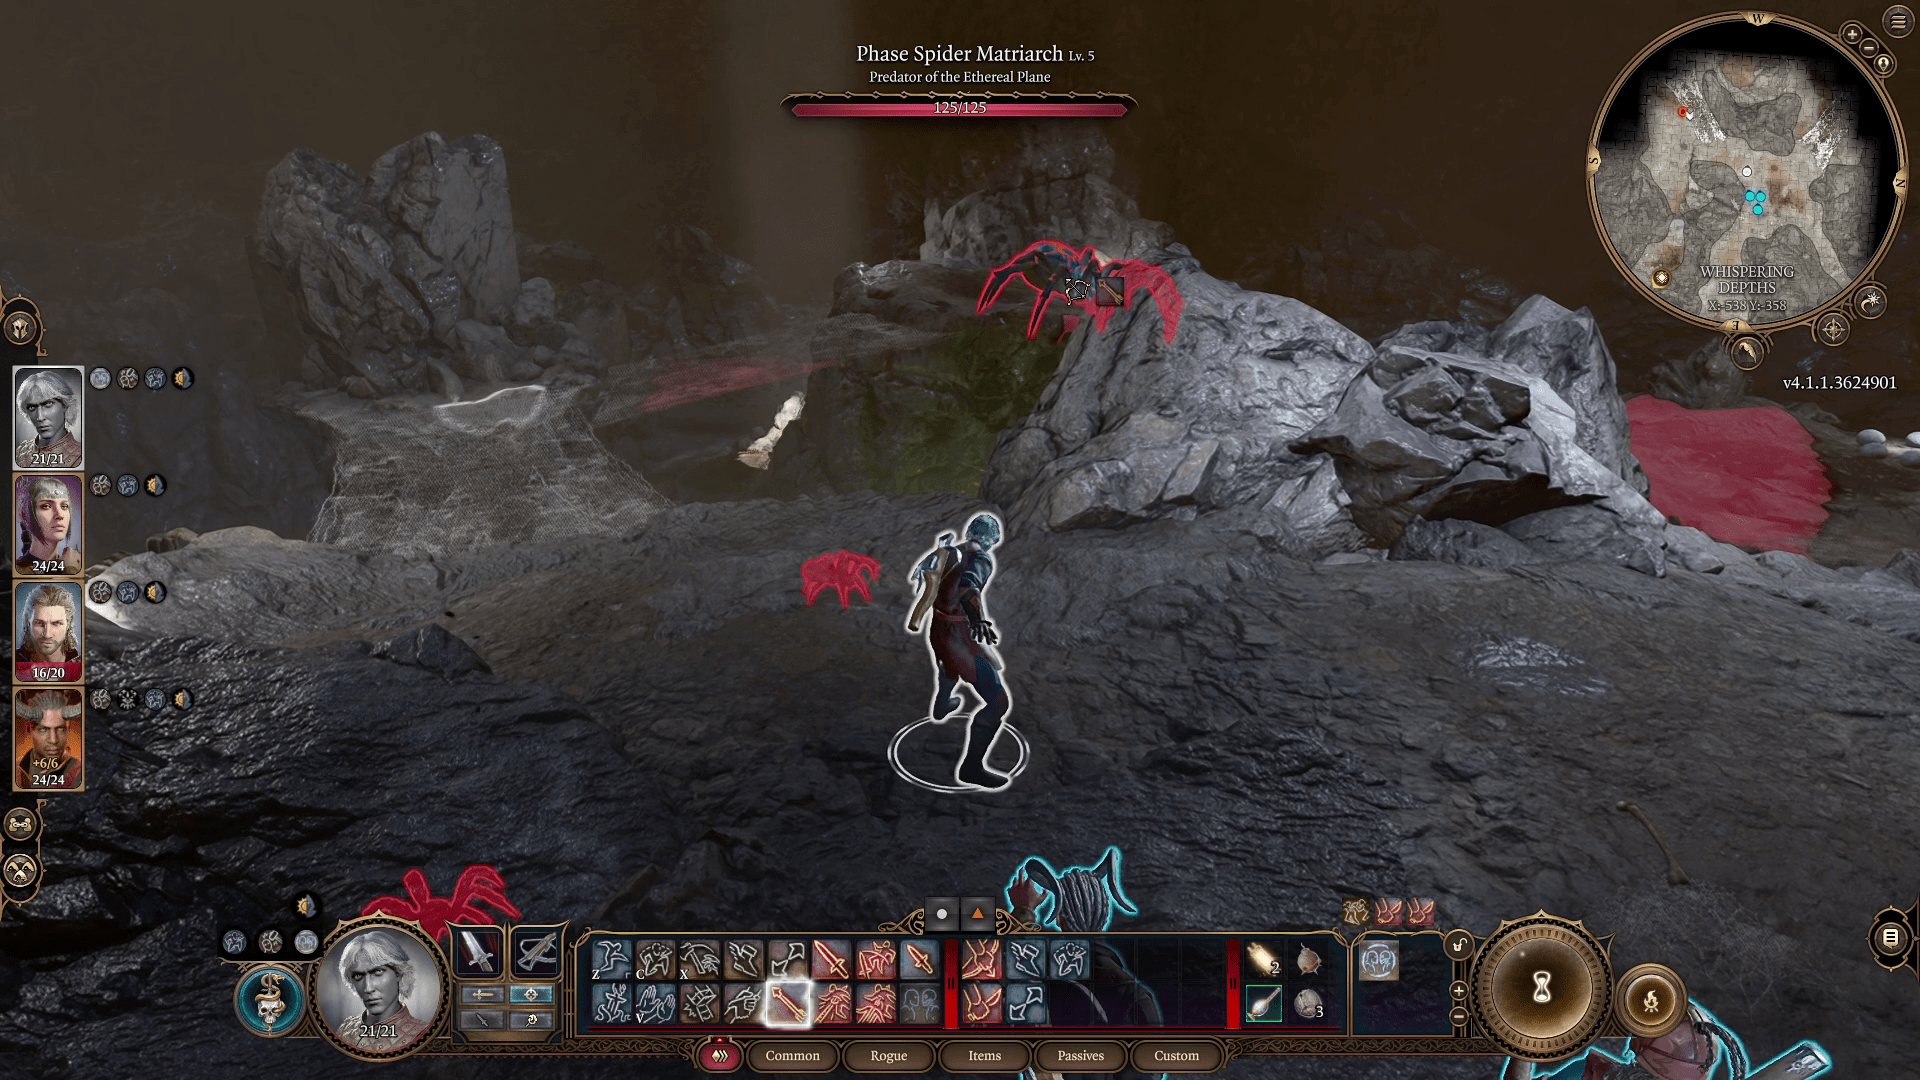
The Boss Area
The final area is the most difficult, and you might want to hold off on tackling it until you are a higher level (level 5). There are quite a few nuances to fighting the boss, but be aware that there is a strategy of knocking the boss into a chasm that makes it very easy (at the cost of the boss’s loot).
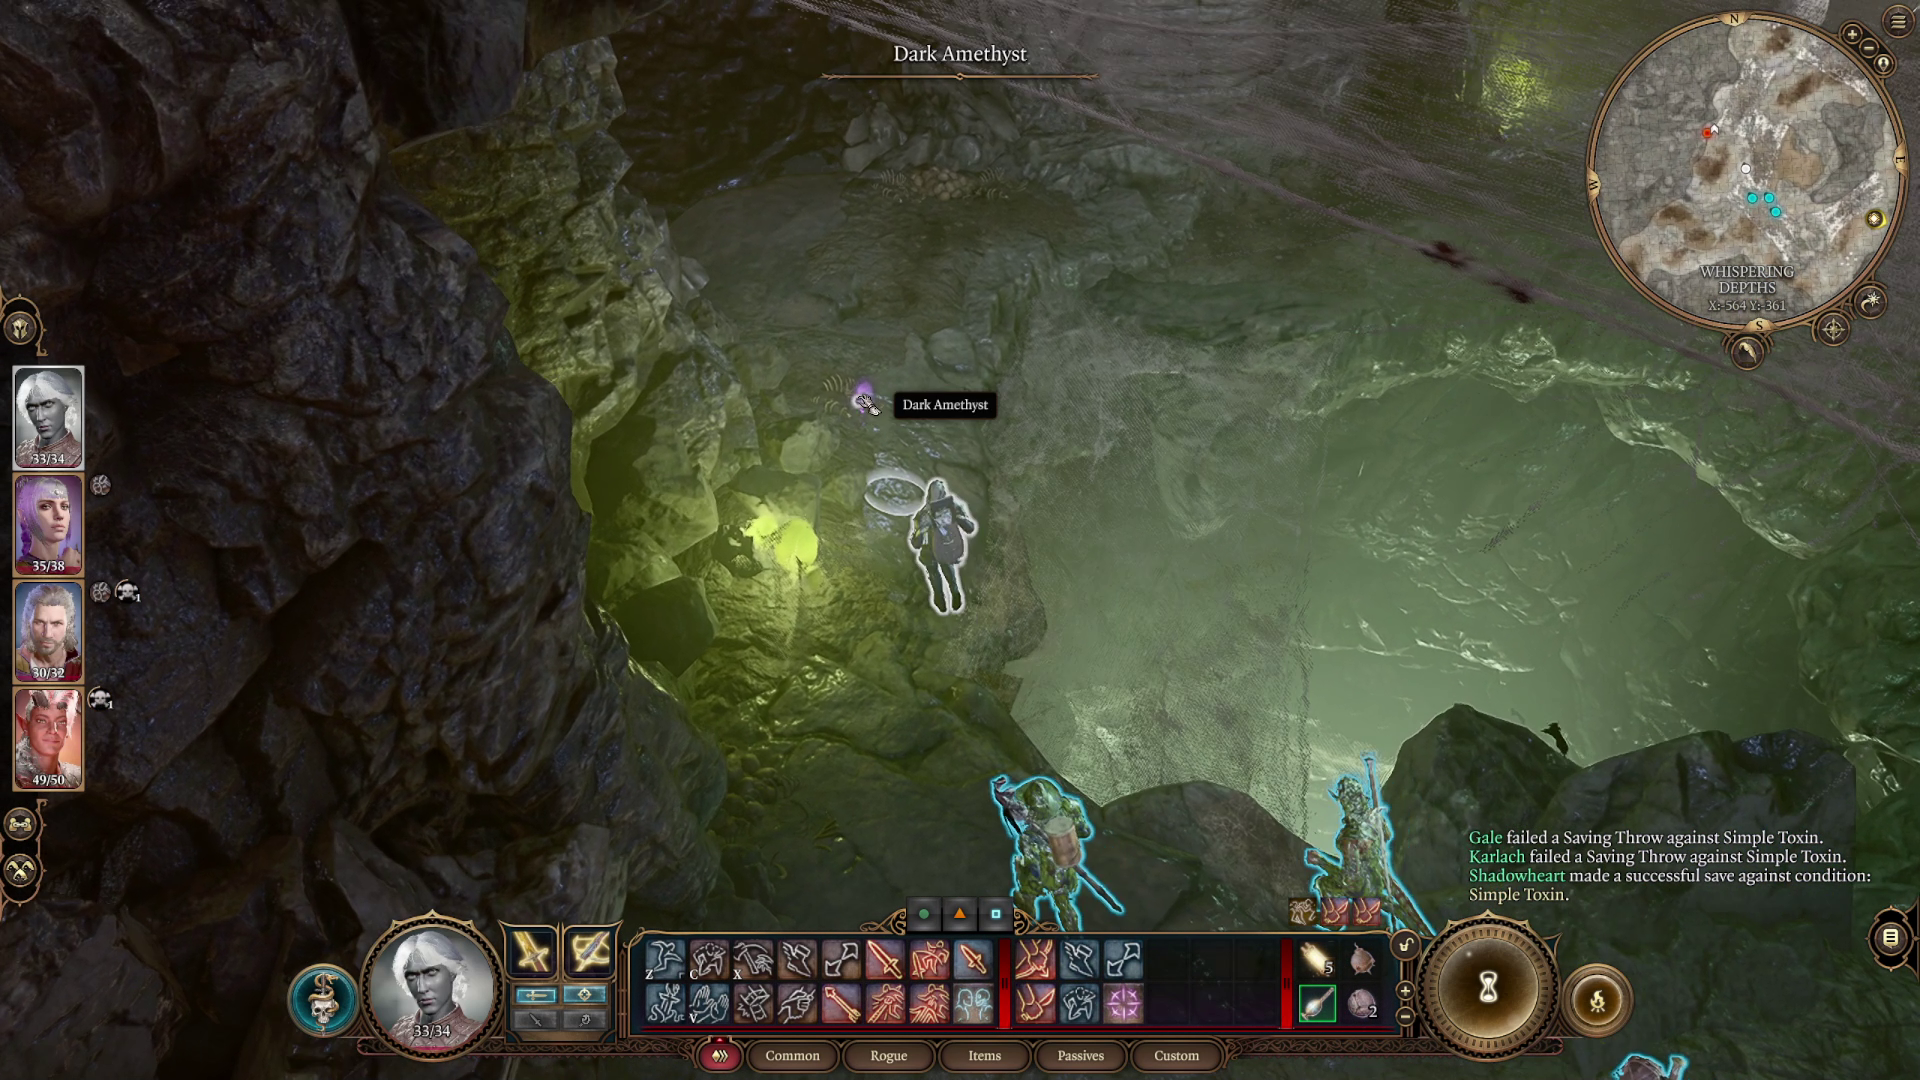
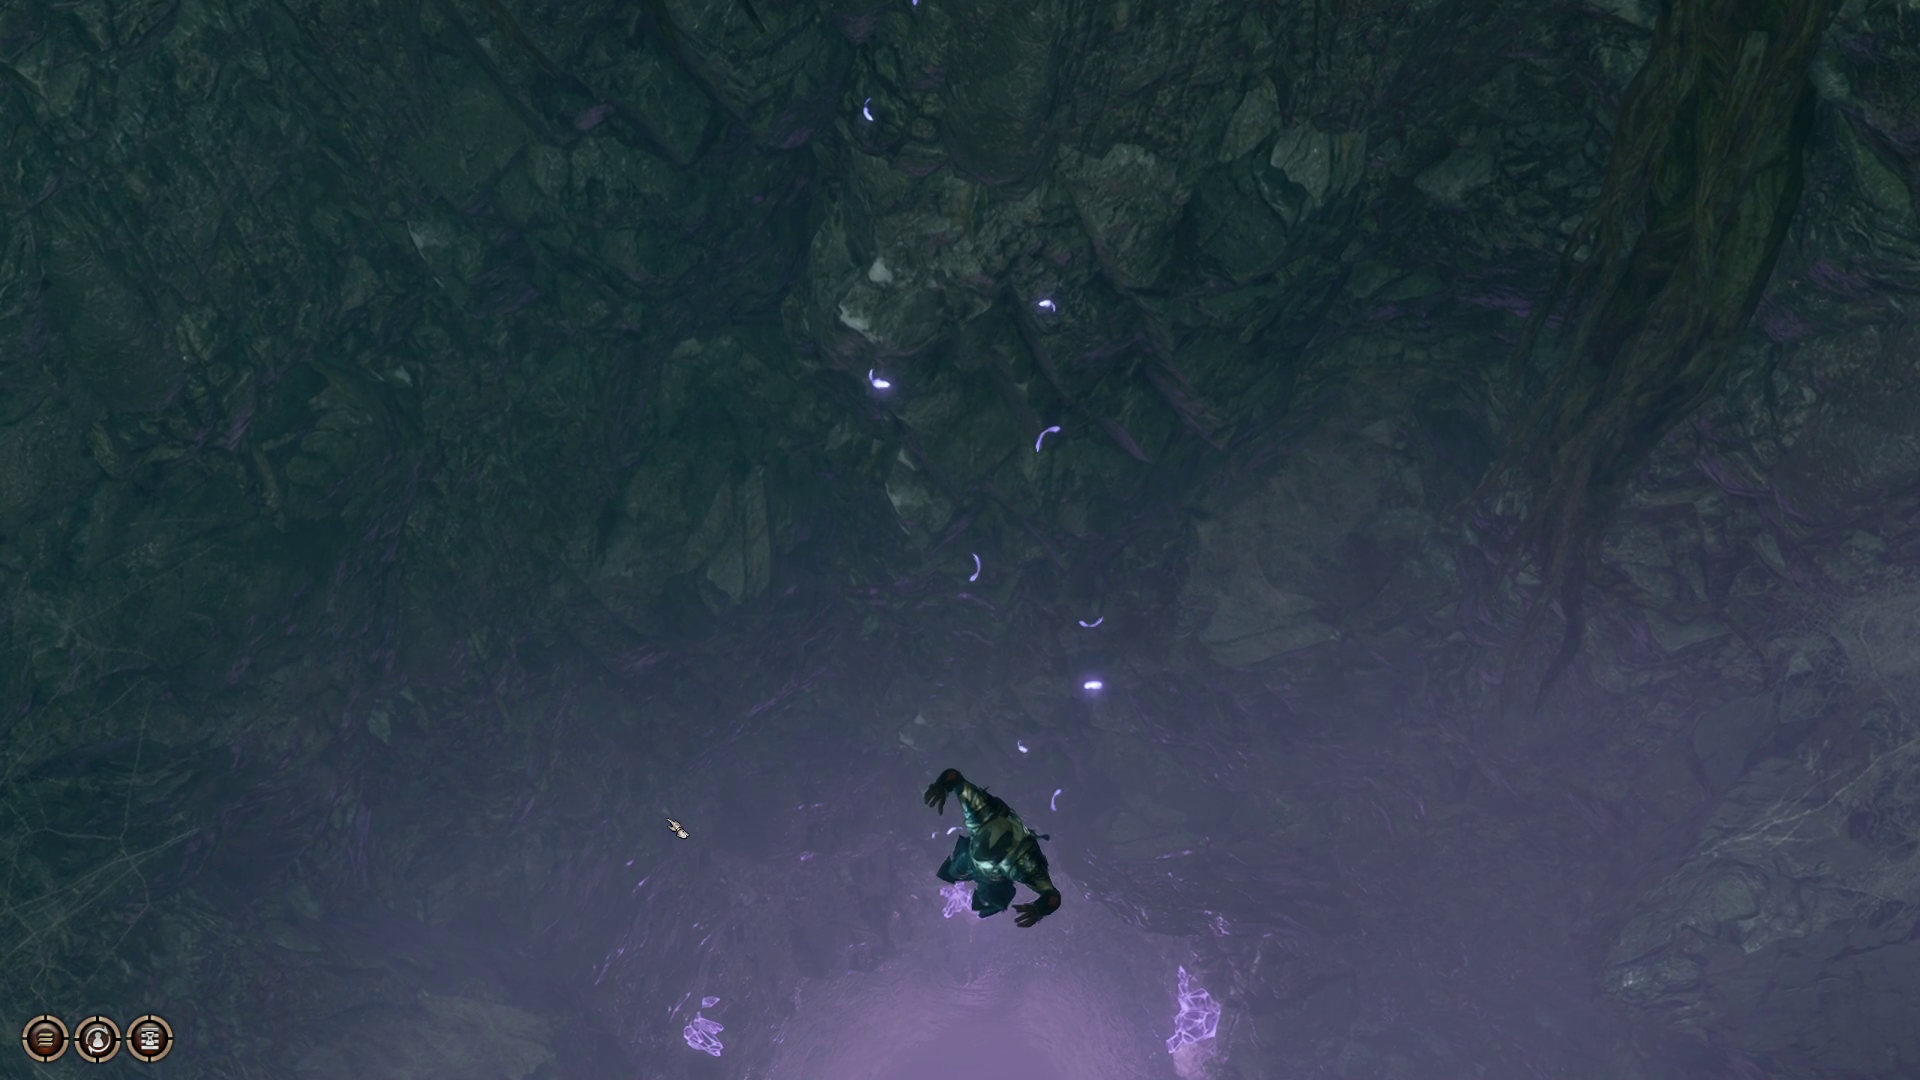
When the boss and enemies have been dealt with, explore the far western path and that will unlock the fast travel point for the Whispering Depths. If you took the time to progress the quest Search the Cellar, then you will find a key quest item by the central chasm, The Dark Amethyst (Image 11). If you’re feeling brave (and leveled enough), you can cast the spell Feather Fall and jump into the central green chasm. This will allow you to safely descend into the Underdark (Image 12). If you jump without Feather Fall, then you’ll die and have to load your game.
Kelson is a spud head from out west. He is most happy when holding a milky tea with too much honey and playing a sprawling role playing game or reading a fantasy novel. His video game tastes vary but his main genres are looter shooters, RPGs, and real time strategy games.