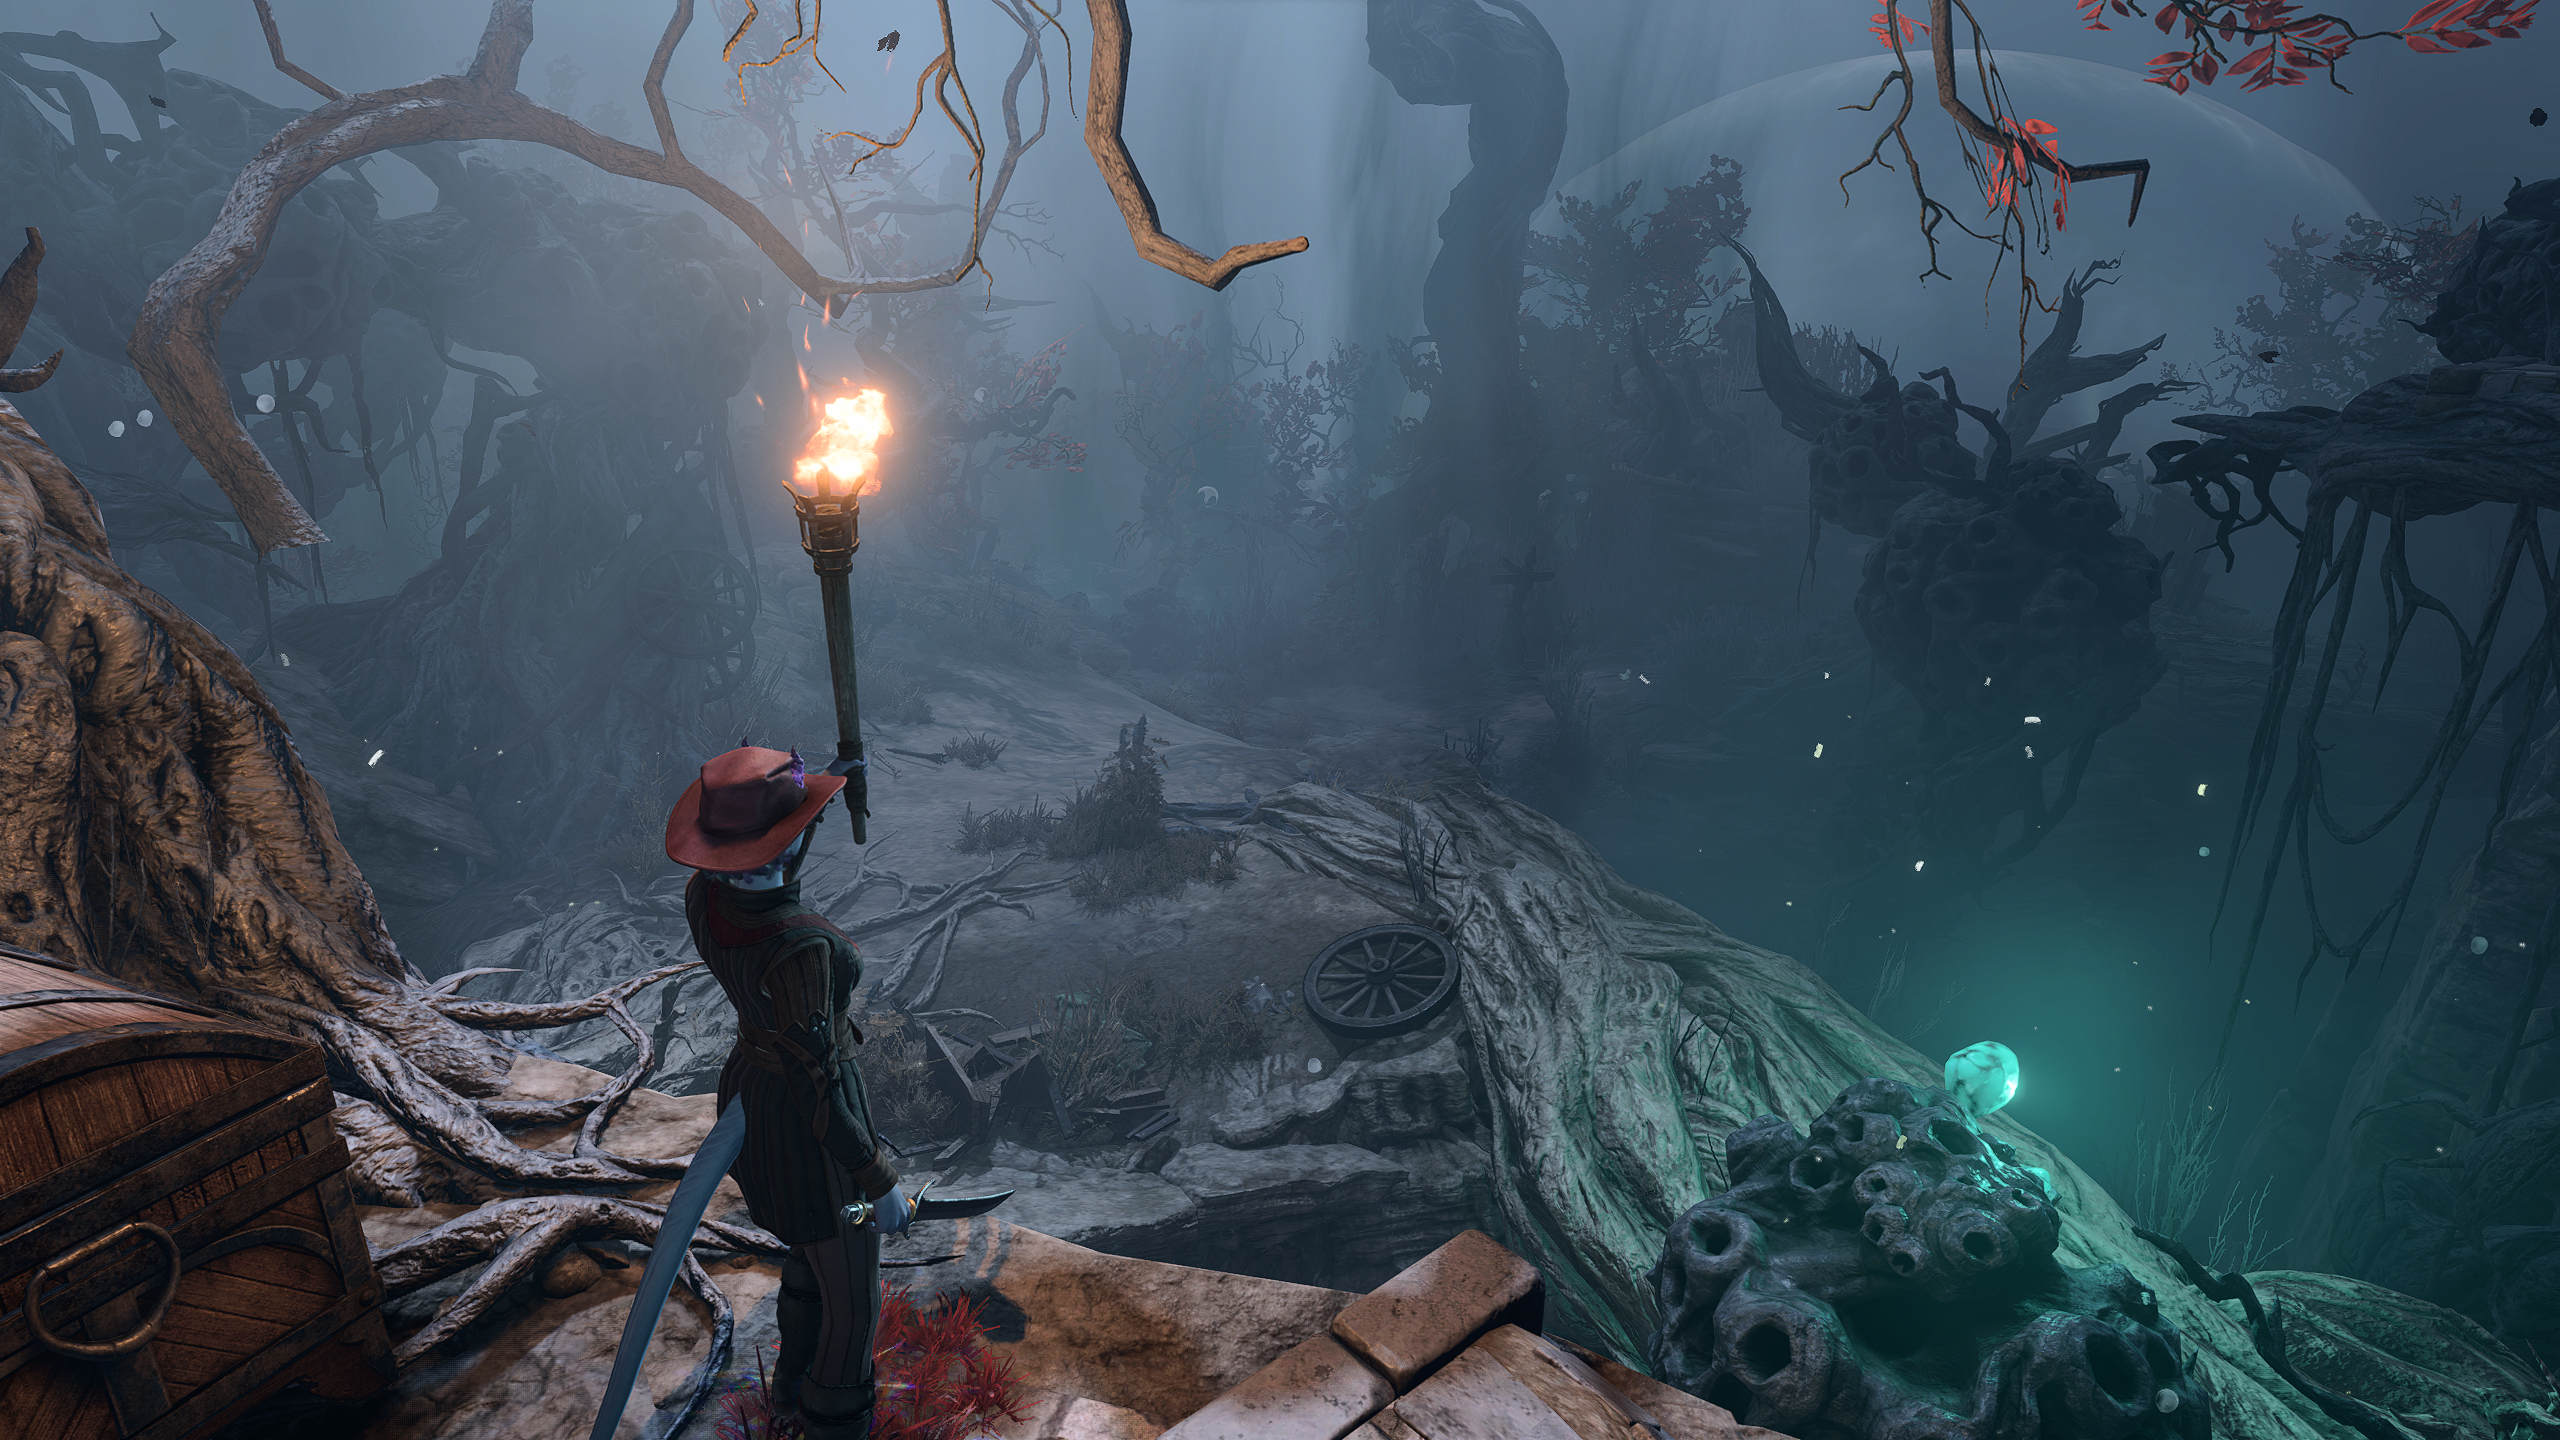
You’ve made it to a new land on your way to the Moonrise Towers and, ultimately, to Baldur’s Gate. But all is not well with these lands — a shadow curse has fallen over them (hence the name), corrupting nearly everything within them. Nearly everything is hostile here, and so this walkthrough will guide you through the many deadly encounters of the Shadow-Cursed Lands.
Map
Points of Interest 1 – Shadow Curse 2 – Absolute Acolytes and Kar’niss 3 – Vine Blights 4 – He Who Was 5 – Shadow-Cursed Blights 6 – Harpers and Shadows 7 – Oliver and Family 8 – Harper Ambush 9 – Shadow-Cursed Ravens 10 – Shambling Mound and Blights 11 – Meazels 12 – Mastiffs and Dead True Soul 13 – Rolan
Regardless of whether you enter the Shadow-Cursed Lands via Grymforge (A) or via the Mountain Pass (B), you will soon come across a bridge (1a or 1b) to indicate the beginning of the Shadow Curse. This dangerous curse that will deal necrotic damage over time for any characters not protected by some form of light. The amount of damage it does increases per turn spent in the Shadow-Curse, but this can (for now) be easily mitigated.
Before you step into the Shadow Curse, you simply need to ensure that you are illuminated somehow. The most convenient way to do this before receiving any additional gear or conditions is to use spells that produce light, most notably Light, in order to illuminate your path. Alternatively, you can carry a torch in an off-hand.
Later on, Selune’s blessing from Isobel at the Last Light Inn, a working Moonlantern taken from Kar’niss (#2) or the Moonrise Towers, or a pixie’s blessing (granted from freeing the pixie in Kar’niss’s Moonlantern (#2)) are all viable, and more reliable options.
There is a denser version of the Shadow-Curse which snuffs out most light around Reithwin Town. Traversing it safely requires either a Moonlantern or the Pixie’s Blessing, though there are conditions where you will need to deal with it for a short while (see D).
If you come into the Shadow-Cursed Lands via the Mountain Pass, you will be stopped by two Acolytes who greet you assuming that you are Minthara (whether or not she is actually in your party). From there, they will tell the player that they just need to use the lyre to summon a guide through the Shadowlands.
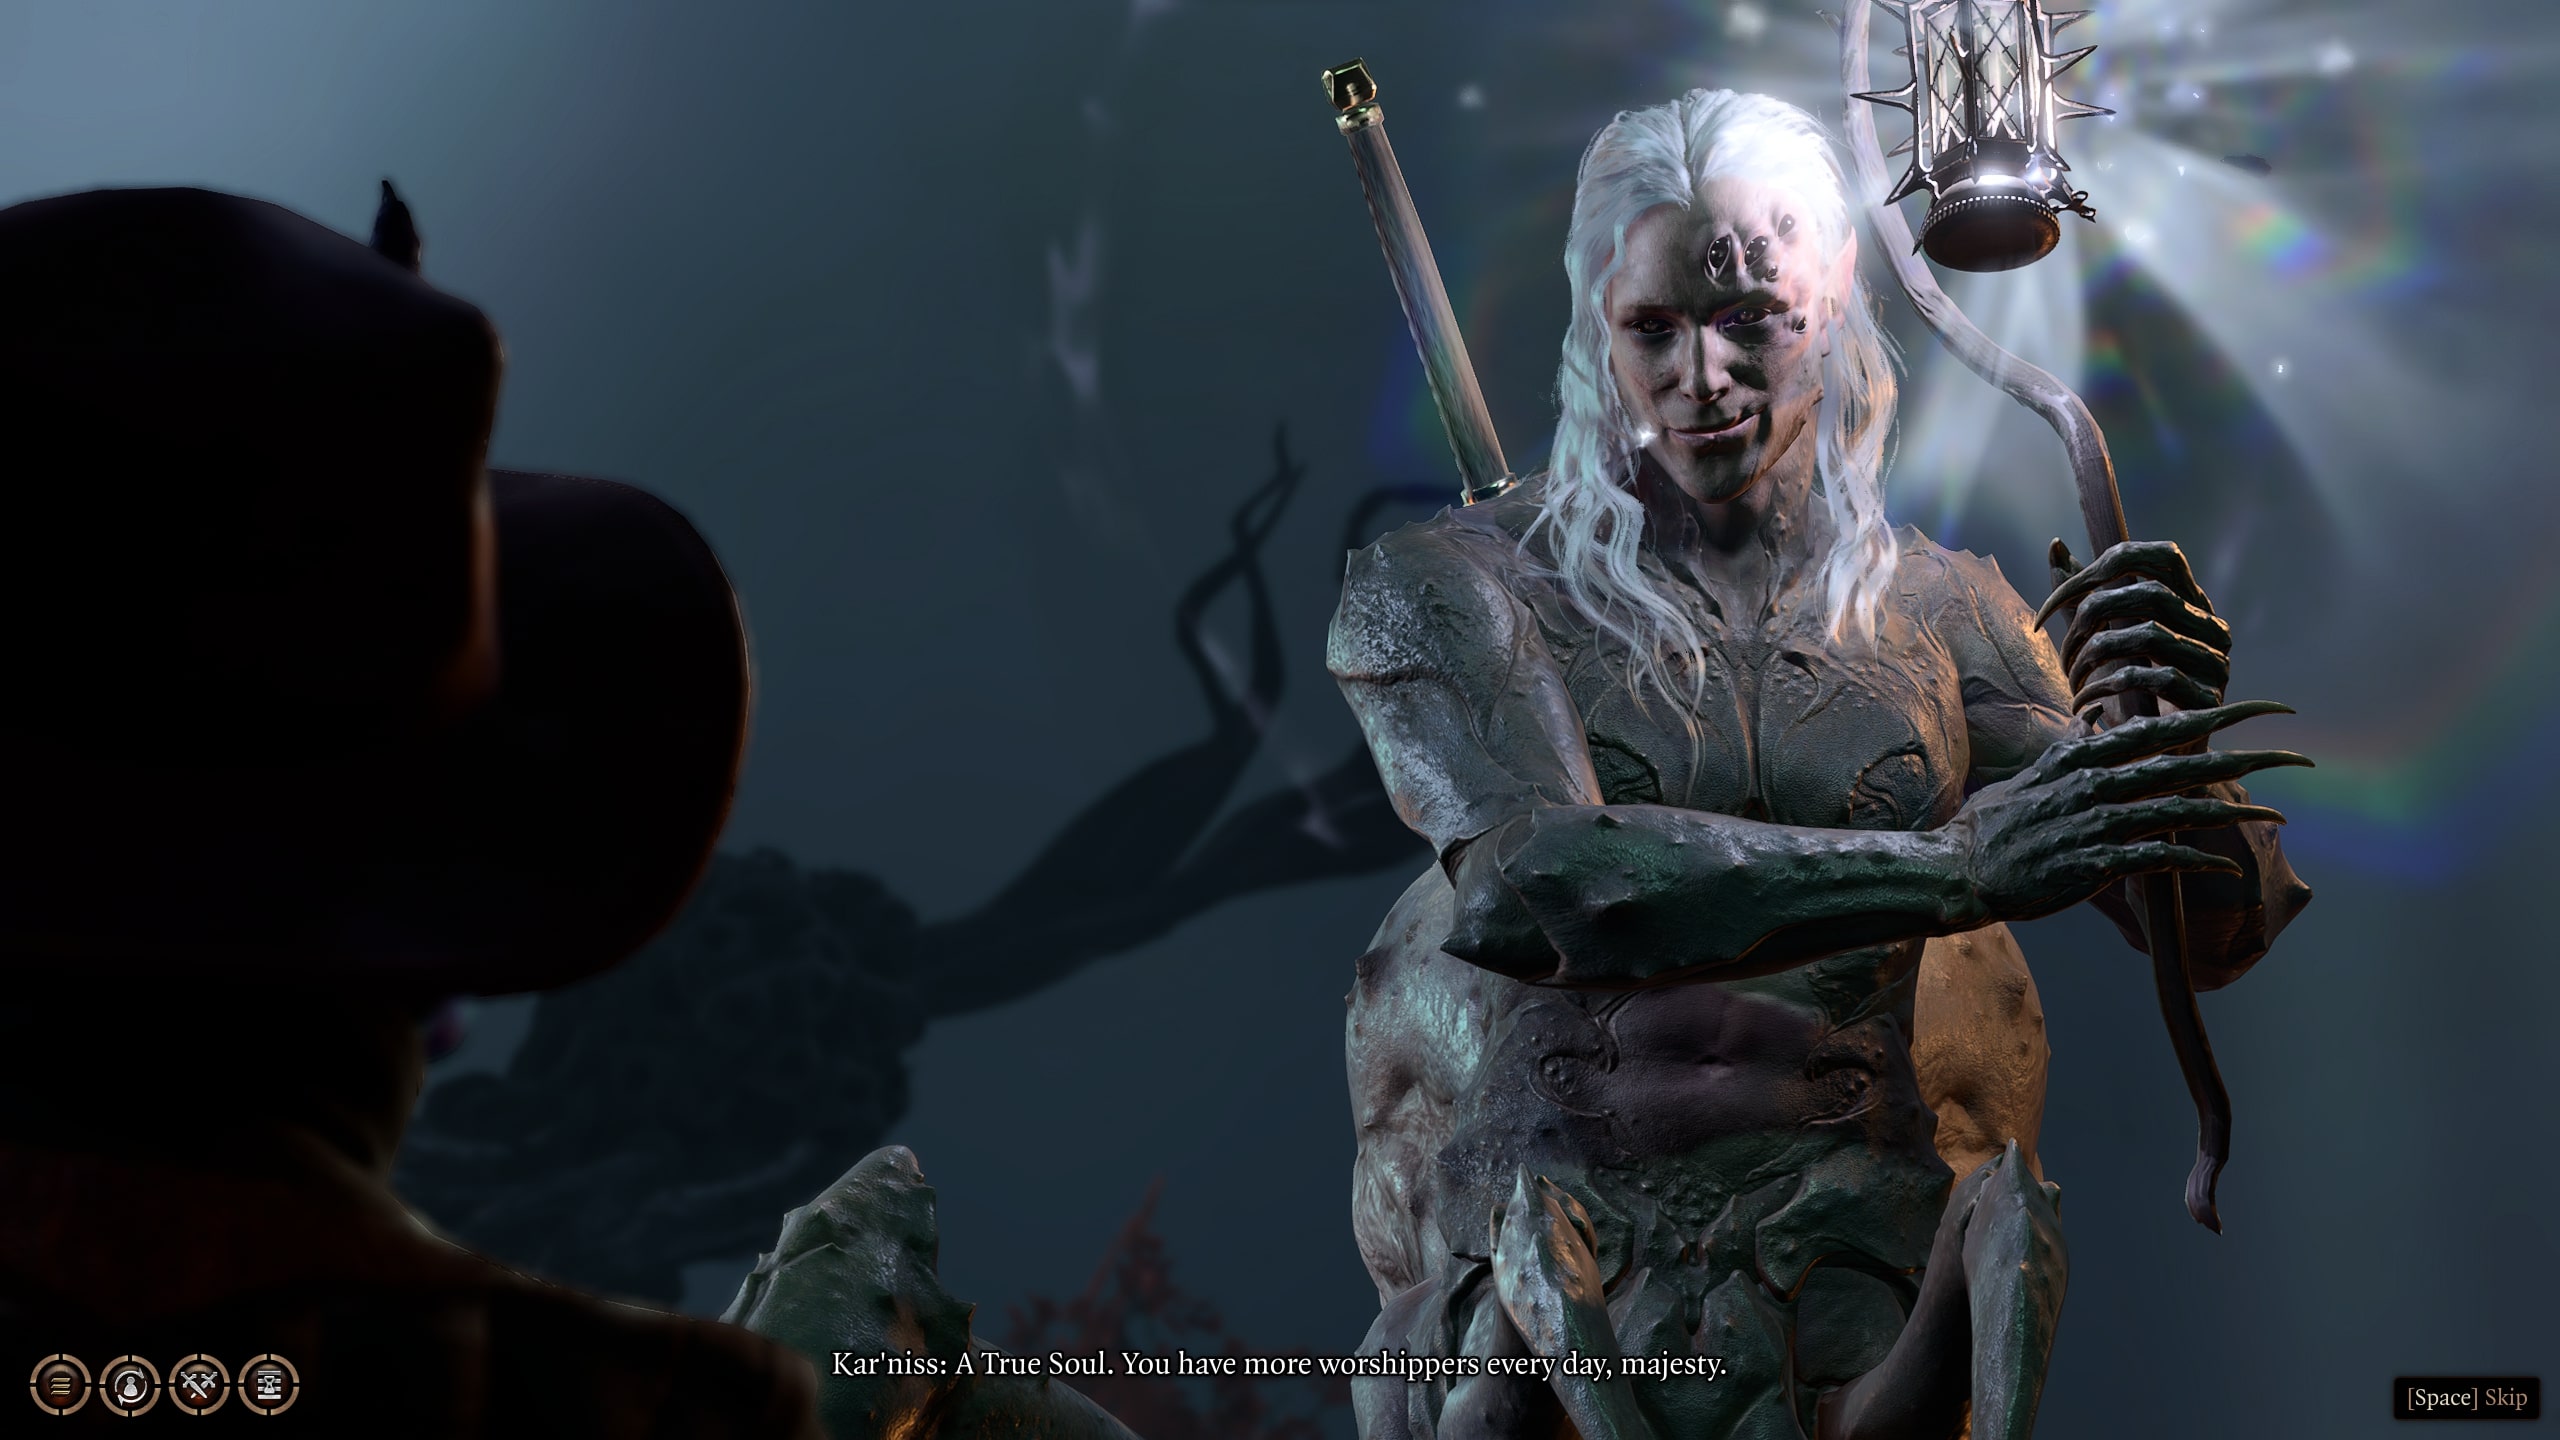
The lyre in question is a Spider’s Lyre, which both Minthara and Nere (In Grymforge) have (and will drop if killed, and give the player if not). If played (whether well or poorly), you will summon forth Kar’niss, a drider with a Moonlantern, as your guide. If you do not have the Lyre, though, you might still be in luck: Barbarians, Sorcerers, Bards, Clerics, and Paladins all have unique DC-16 checks with relevant attributes to summon forth Kar’niss.
Summoning Kar’niss will present you with a few unique options. You can go along with him, following his Moonlantern light through the Shadow-Cursed Lands and Reithwin Town to reach the Moonrise Towers, though if you haven’t dealt with the Harper Ambush (#8), they will attack partway along your journey and require you to make some choices.
Alternatively, you can — either here or at the Harper Ambush (#8) — kill Kar’niss, giving you access to his special Moonlantern. This is almost always the ideal option, as it is the easiest way to acquire a Moonlantern and the only way to get a blessing from the Pixie inside.
If you kill Kar’niss and take his Moonlantern, a cutscene will trigger, revealing that it is a pixie, named Dolly Dolly Dolly, which powers the lantern’s inextinguishable light. You have essentially three options here: kill the pixie (which is the worst choice, netting you no benefit and depriving you of a way through Reithwin Town (D)), keep the lantern (which is fine if you are cruel and want to waste an offhand slot), or free the pixie by either opening the lantern or smashing it. The last option is the best option objectively, as Dolly Dolly Dolly will bless you if freed, making you immune to the Shadow-Curse entirely.
Near where you meet Kar’niss and the acolytes, there is an infestation of Vine Blights. When you first approach this area, a cruel goblin will attempt to play “fetch” with a hyena, tossing a bone into the shadows so that the Hyena will be grabbed and killed by the Vine Blights. If you are a monster, you can allow this, but otherwise, you can talk the goblin down from doing this, and even force him to go play “fetch” himself.
After the ordeal, if you didn’t allow the hyena to be lured to his death, you can cast speak to him (using Speak with Animals or not) and convince him to flee his captors and go live in the mountains with a DC-10 or -14 Persuasion or Intimidation check. If you aren’t a monster, that is.
After dealing with this event, you can then investigate what is causing the disappearances and corruption. As it turns out, it is a group of deadly 4 Vine Blights and 3 Needle Blights, waiting in ambush, alongside any corrupted creatures — goblin or hyena — they’ve managed to snare.
Be aware that wherever Blights die becomes ensnaring terrain, but otherwise these Blights shouldn’t prove too difficult. Once you’ve eliminated them, you can claim the Frost Prince amulet.
Deep in the shadowy lands (okay, not that deep), you will find He Who Was, standing near a raven, a ritual circle, and a body. In case the signs weren’t clear enough, or you didn’t know them to begin with, this man, who goes by “He Who Was,” is a shadar-kai — a servant of the Raven Queen (which you can determine yourself with a Passive History check).
When asked about the body, he will explain that the body belongs to a woman who betrayed all of her friends, and deserved punishment. The preparations he has made her are so he can resurrect her and put her to trial for her crimes, but he needs one final thing: evidence. He Who Was will ask you to retrieve the evidence in question of her foul deeds: he will tell you that the woman was a bartender at the Waning Moon distillery in Reithwin Town (D), and that she has a logbook documenting her crimes.
Should you retrieve the ledger — proving exactly what He Who Was claims — you can bring it back, and be part of the ritual. It involves He Who Was channeling the bartender (Madeline’s) spirit. From here, He Who Was will encourage the player to “break” her, but you have a choice. Should you choose to shame her for cowardice (DC-10 Persuasion), or make her stab herself once (DC-14 Persuasion), then He Who Was will be satisfied and will reward you with the Raven Gloves. If you forgive her (DC-10 Persuasion) or stab her a second time, however, He Who Was will be upset, and will engage you in combat.
You do not need to pass the checks to resolve the dialogue, it will progress either way.
Paladins should be exceedingly cautious, as all oaths can be easily broken by resolving this dialogue in ways not in alignment with them.
A group of Shadow-Cursed Blights — this one comprised of 6 Needle Blights and 1 Vine Blight — are waiting in ambush here. If you fail a Passive Perception check, they will Surprise the party. There is a chest and it’s key nearby as well.
When you approach this area, you will find a group of Harpers attempting to traverse the Shadow-Cursed Lands to reach the Last Light Inn (C). However, they are quickly beset after you meet them. One of them, Harper Yonas, will be grabbed in the ensuing cutscene by the Shadows, and then you will enter combat with them. The 6 Shadows will be accompanied by a shadow-turned Harper Yonas. The shadows can turn invisible, though that invisibility goes away if the player walks near them with a light source.
After the battle with the shadows, the remaining Harpers (if they are any) will urge you to follow them to Last Light Inn (C) and make their way there.
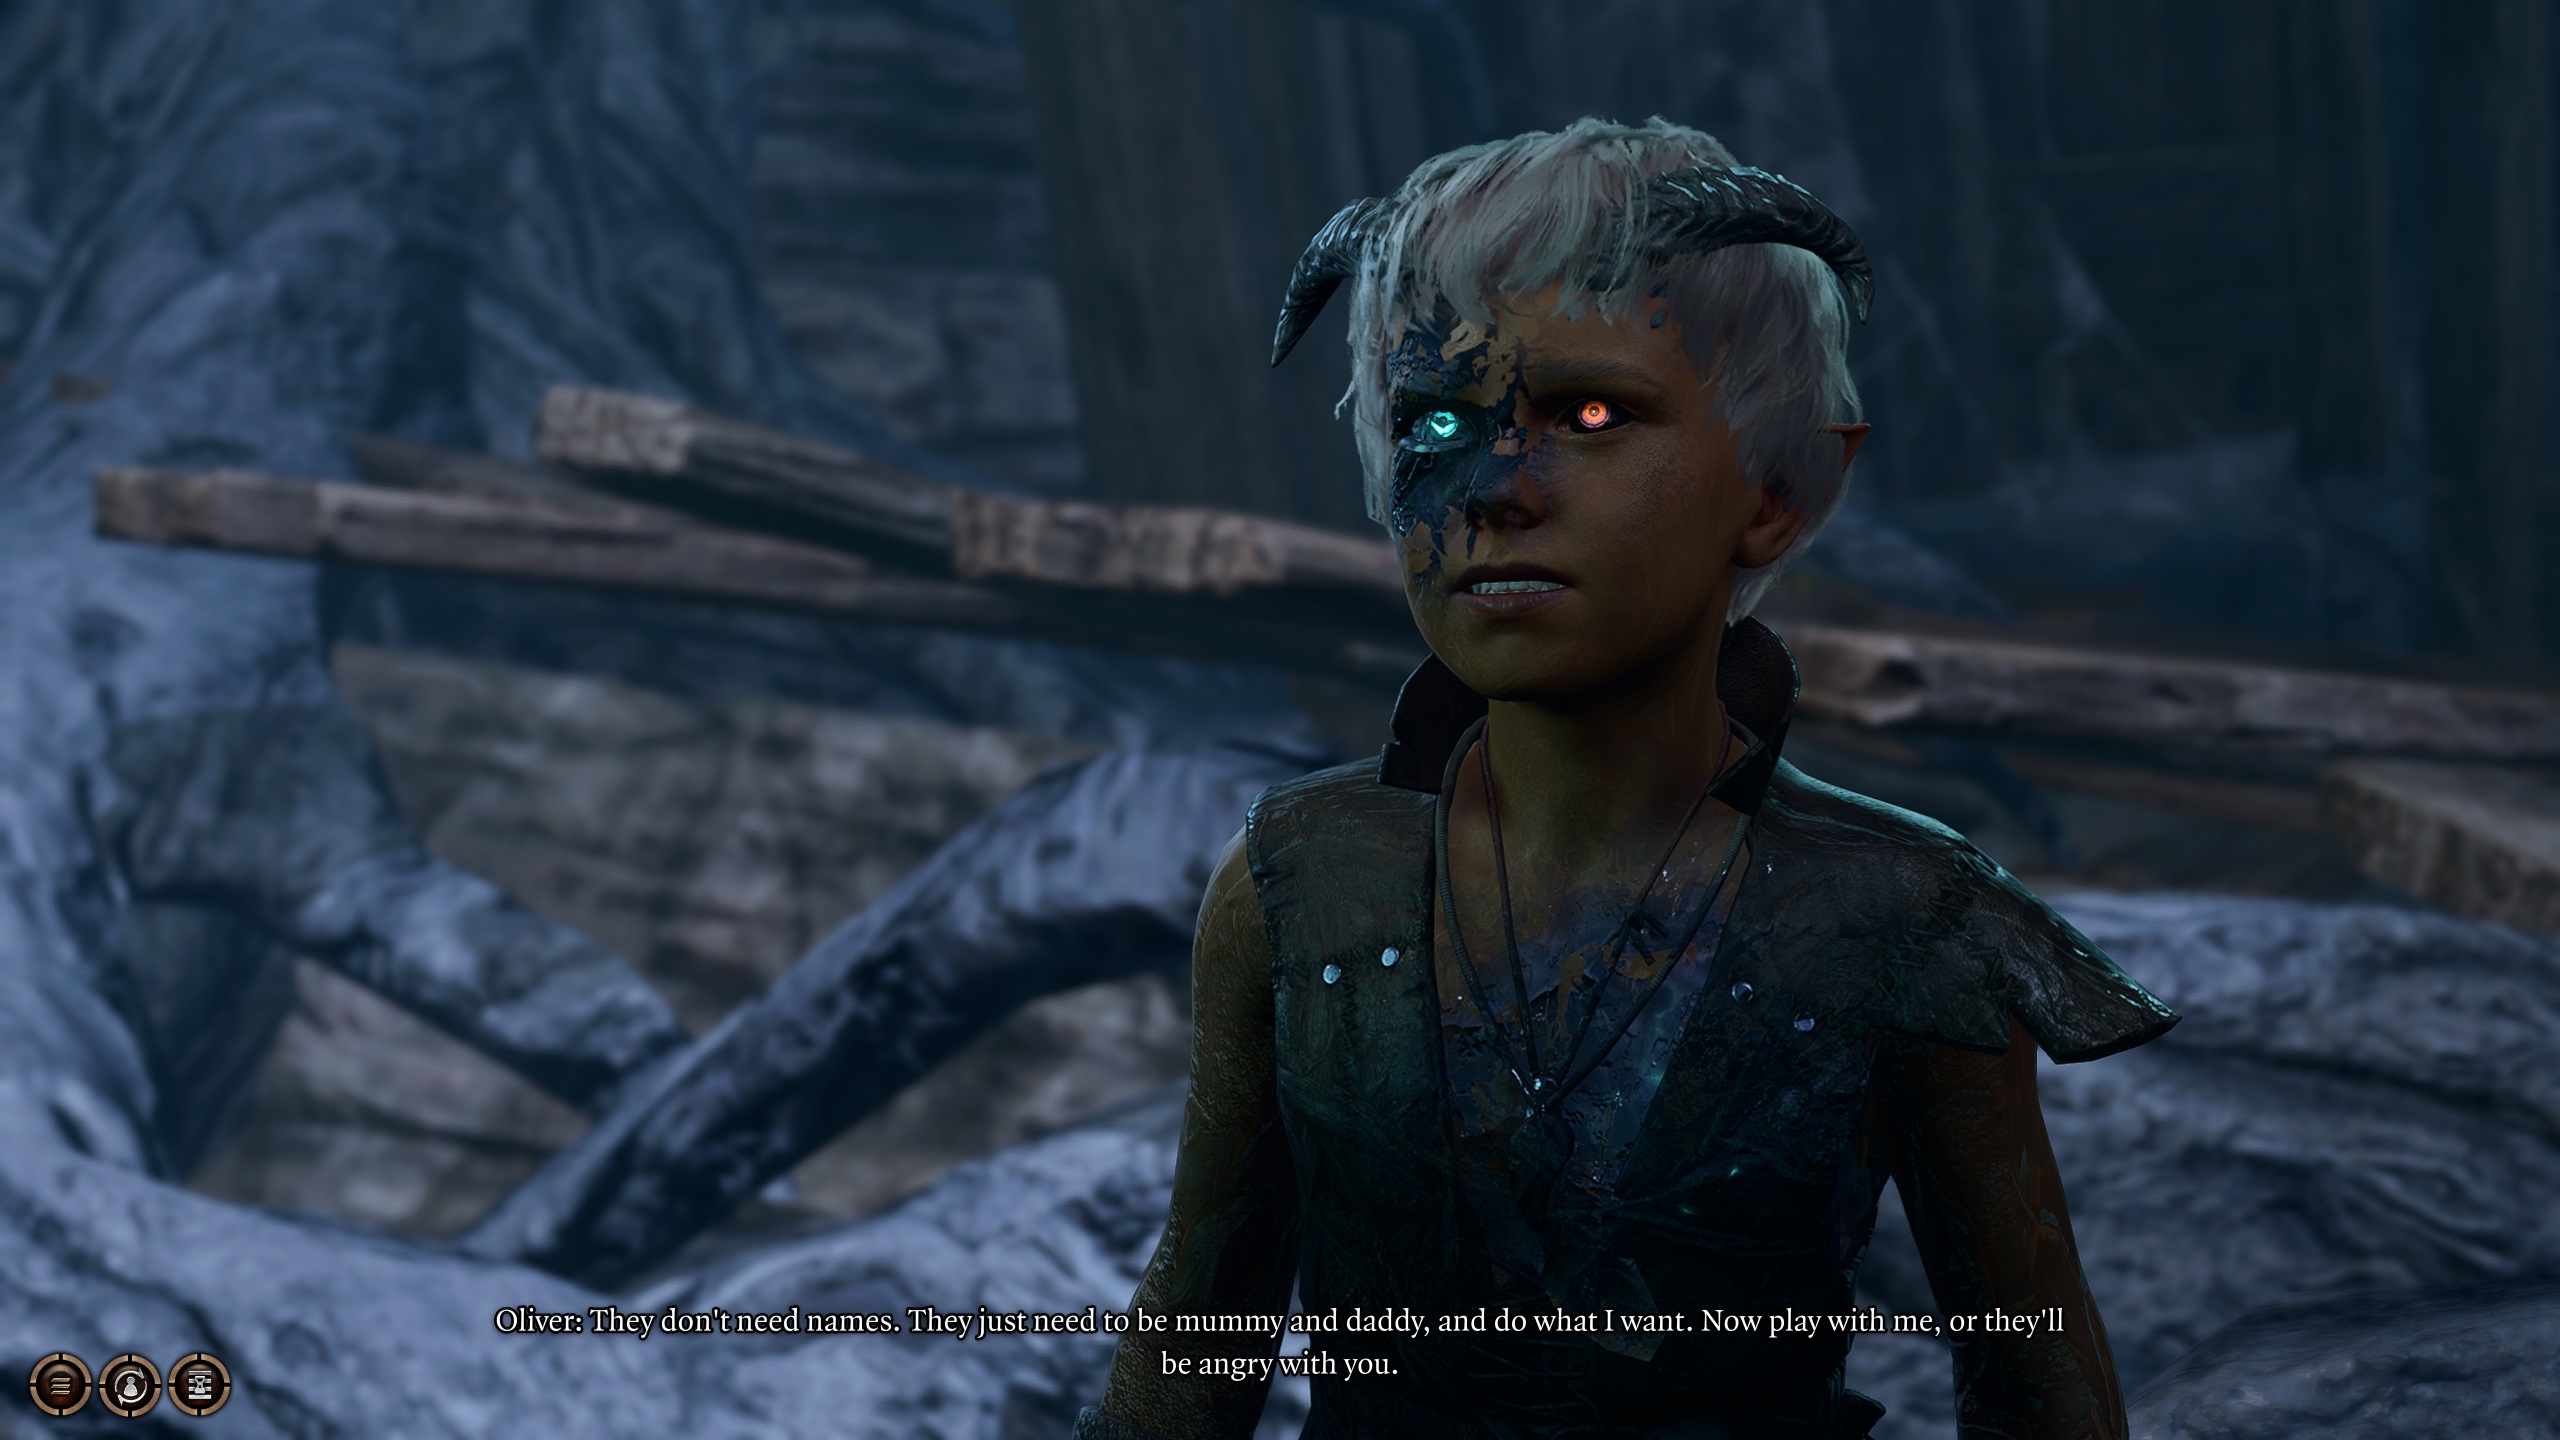
When you encounter Oliver, he will talk to you and ask you to play hide and seek with him. This takes place over several rounds. The first round is simple: Oliver will turn invisible, and then will head to the cart to the east of the house. Approaching this area will cause you to “Find” Oliver, who will make the rules more complex going forward.
In Round Two, Oliver will up the ante: he will summon his “family”, three shadows called “Mummy”, “Daddy”, and “Doggy”. Ideally, the player should sneak from this point forward to avoid them, and cast Invisibility or Pass Without Trace if possible. Oliver will head back into the house, about to the spot where you first encountered him. If you can reach him, you will win the “game” and receive his Ring of Shadows. He will also give this to you if you opt to fight the Shadows and defeat them.
Oliver is also critically important to Halsin’s questline in the region to clear the Shadow Curse, and should be visited after Halsin deals with Art Cullagh and the Shadowfell Portal at Last Light Inn. During that quest, Oliver will become upset and take a portal directly to the center of Reithwin Town, where an extremely difficult combat will initiate, so make sure you are immune to the Shadow Curse and are prepared for a battle when that happens.
The Harpers will set up an ambush to kill Kar’niss and his followers here. If you entered from the Grymforge (A) entrance and visited Last Light Inn before summon Kar’niss (#2), then you will have the opportunity to speak with Jaheira and the Harpers in order to join their ambush, and can wait for Kar’niss.
If you begin the caravan with Kar’niss before visiting Last Light Inn, though, the Harpers will already be in position, and will attack when you pass by, giving you the option to fight with Kar’niss and the Absolute, or to fight alongside the Harpers to defeat him.
Even if you side with Kar’niss and kill the Harpers (before or after Kar’niss actually arrives), your reputation with Jaheira and the Harpers will not change, as they will be unaware of this attack.
Just outside the main entrance to Last Light Inn (C1), you can find what appears to be a dead raven on the ground. If you interact with the raven corpse, many more Shadow-Cursed Ravens (these ones living) will appear and attack you as a horde! These Ravens are numerous, but they are very weak enemies, and should be fairly easy to dispatch. Area of effect spells can make this even quicker.
The most dangerous of the Shadow-Cursed Blight ambushes, this “lair” of the monsters is headed by a deadly Shambling Mound, as well as 2 Shadow-Cursed Vine Blights and 6 Shadow-Cursed Needle Blights. They are guarding some nice treasure, including a Ring of Self Immolation, which is a shockingly good complement to Karlach for many builds.
These 4 Meazels will be waiting to ambush any players who do not succeed a Passive Perception check to notice them. Due to their incredible ability to restrain their targets and teleport and high health, they can be a deceptively difficult foe to face.
Keeping your squishier party members protected is the key to this fight, though that is easier said than done. Keep in mind that if you end up garroting a character, you simply need to walk away from them to break the restraint, allowing you to act normally. Near the Meazels is a tower that was used by the Harpers for an interrogation, which has some interesting lore implications.
In a circle of ever-burning torches, you can find the body of True Soul Korliss, who appears to have died of starvation while sheltering from something within the torches. Using Speak with Dead on her corpse will reveal what she was hiding from: Shadow Mastiffs (as well as some other details about her life.
To fight these Shadow Mastiffs (because who doesn’t want to fight invisible hounds of hell?), you simply need to destroy all of the ever-burning torches around the camp. Once you do so, 3 Shadow Mastiff and a Shadow Mastiff Alpha will attack. These formidable foes can be revealed with light if they are invisible. They have a tendency to knock prone anyone they attack, and so it is ideal to keep them at range if possible (and you can, in fact, start at range by destroying the last torch while far away).
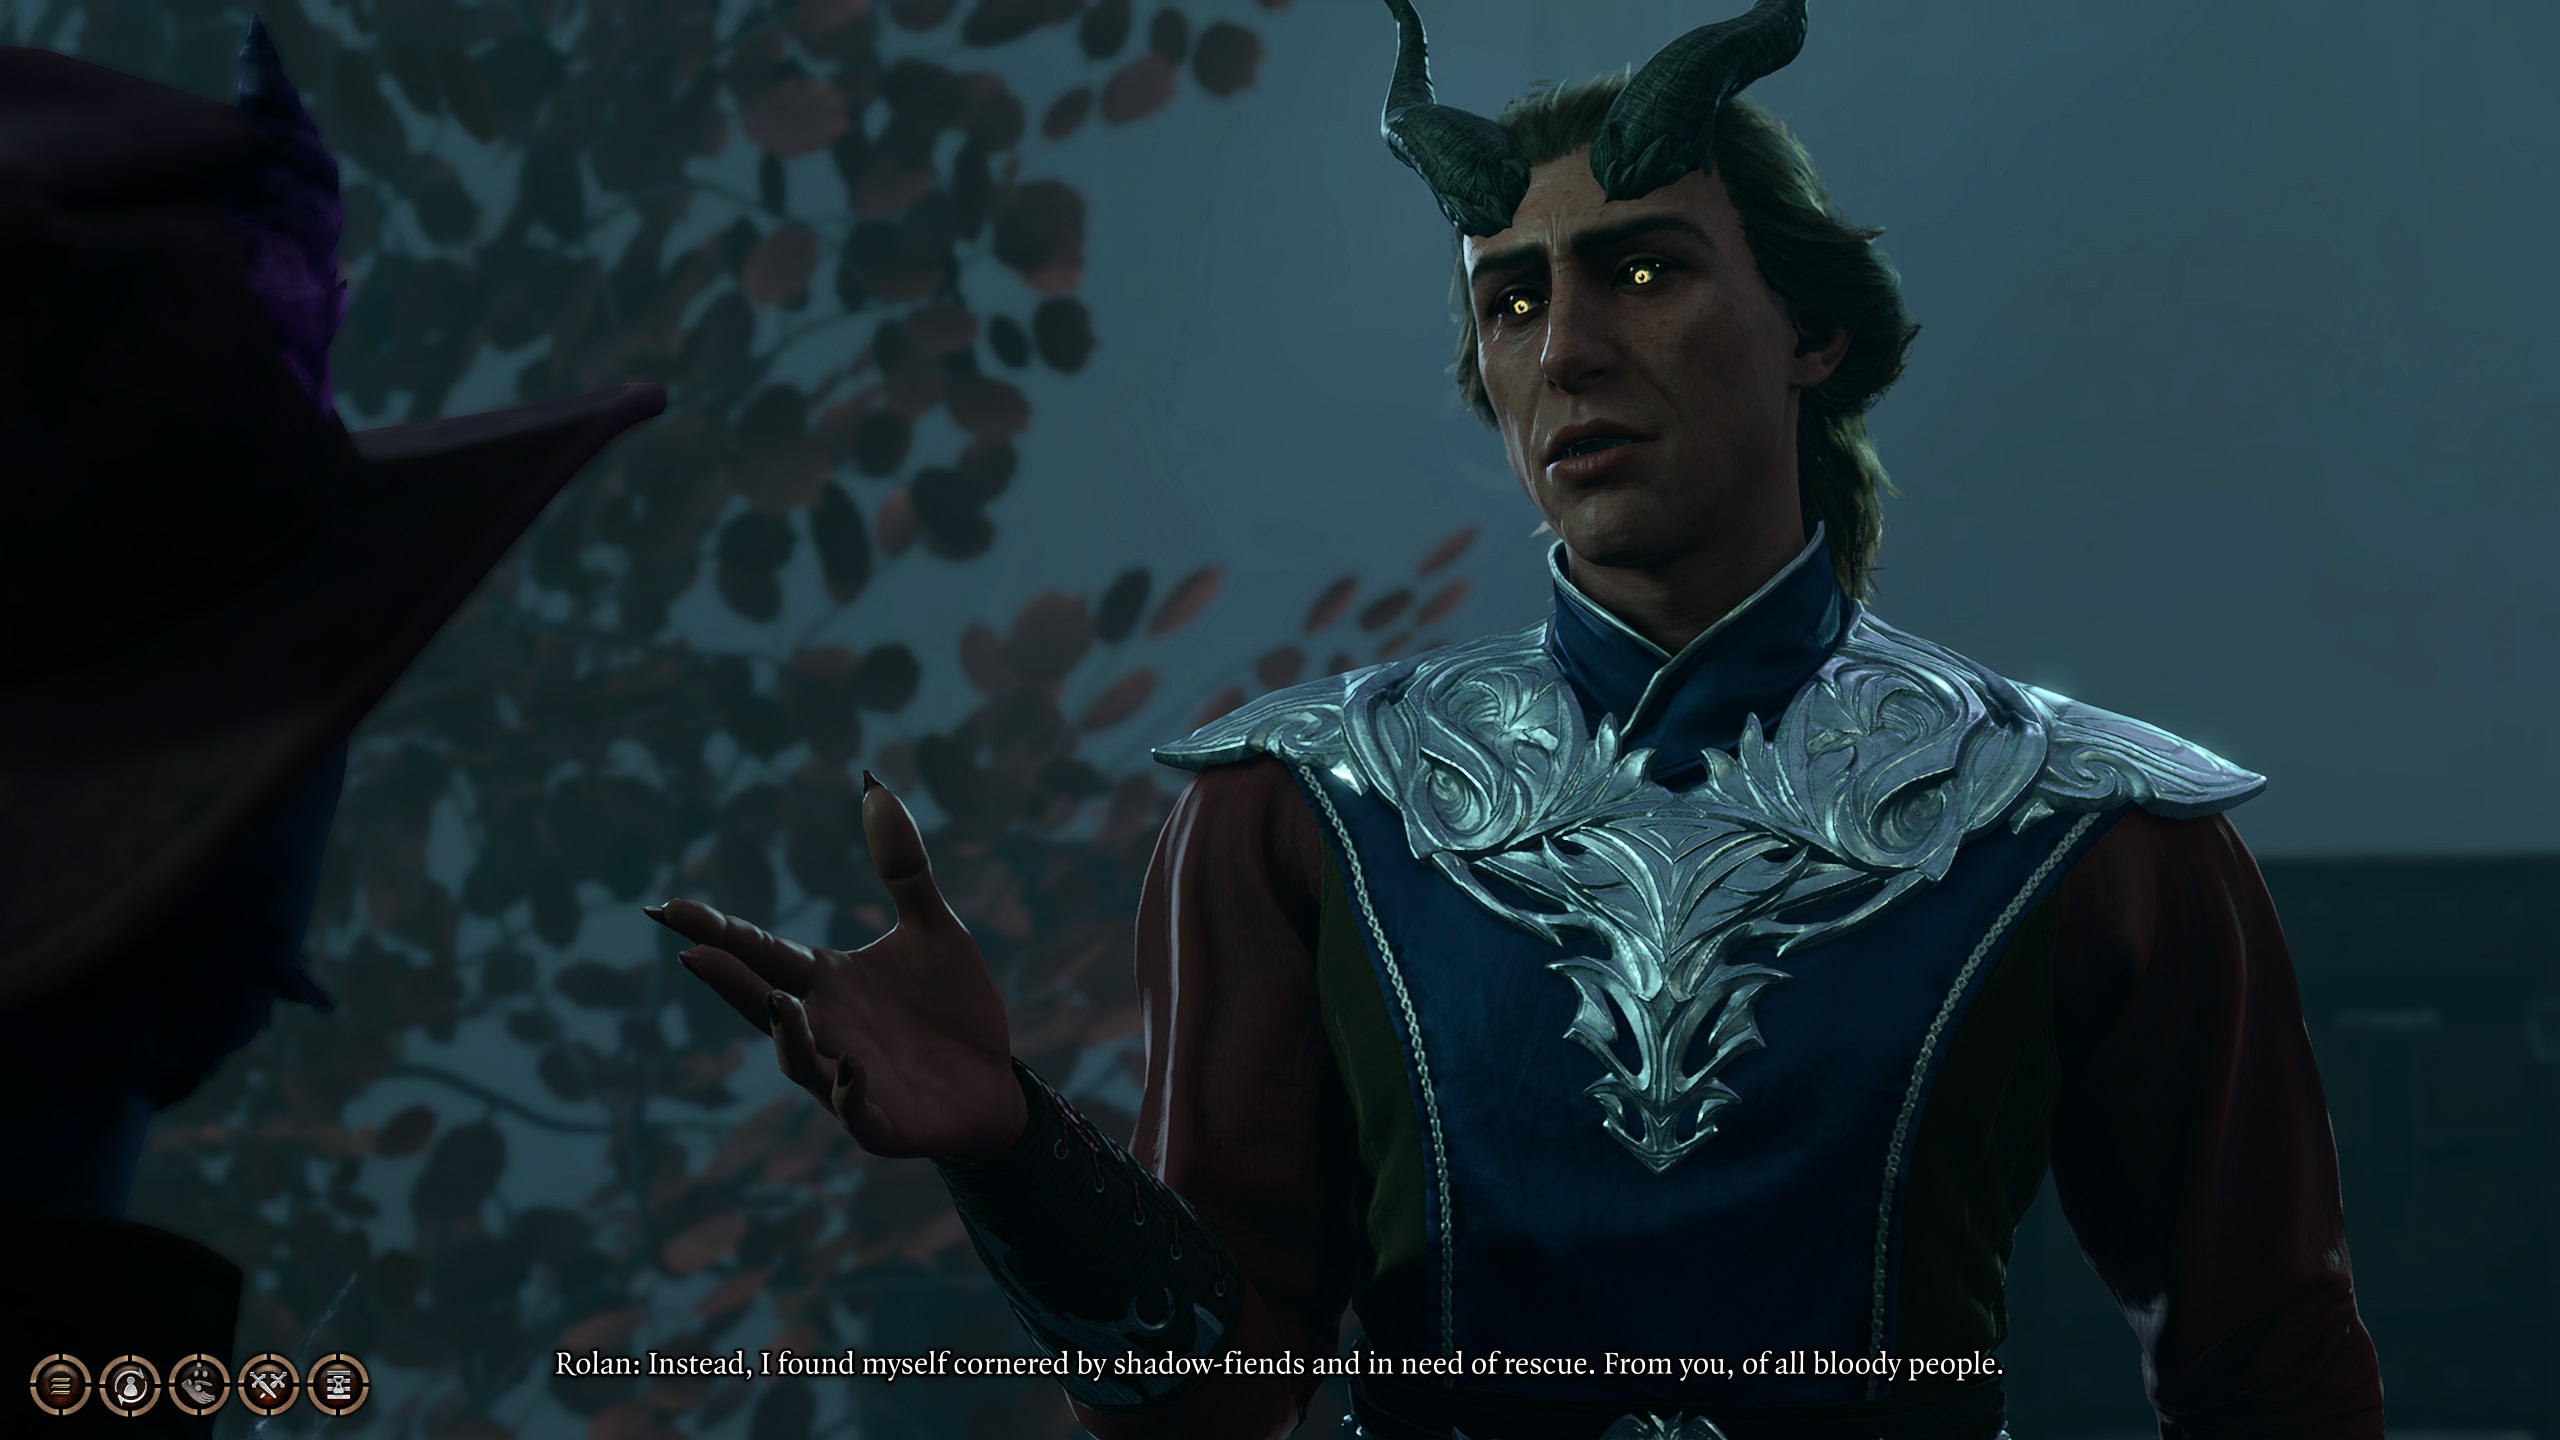
Near the main bridge into Reithwin Town (D2) and right along a lower entrance (D1), you can sometimes find Rolan, depending on if you have already interacted with Last Light Inn and found him drinking his regrets away there. Well, it turns out that he went looking for his siblings Cal and Lia, who were imprisoned in the Moonrise Towers. When you come across him, he is being attacked by 2 shadows. When you rescue him, he will express frustration that he couldn’t save Cal and Lia.
It should be noted that Rolan will often die if you speak to him at the Inn, and then save Cal and Lia before rescuing him here, he will die, having perished trying to reach the Towers.
One of the two paths into the Shadow-Cursed Lands, this exit takes you through a fairly unremarkable tower and then back down the elevator to Grymforge, provided you haven’t progressed far enough to lock yourself out of Act 1 locations. This entrance to the Shadow-Cursed Lands puts you closer to Last Light Inn and the Harpers, but is further from Kar’niss, Reithwin Town, and the Moonlantern.
The other path into the Shadow-Cursed Lands connects the Mountain Pass (with it’s Monastery and hidden Githyanki Crèche) to the Shadow-Cursed Lands. This entrance is closer to Kar’niss the Drider with his working Moonlantern, but is far away from Last Light Inn and the Harpers, and making incorrect choices here can lead to you eliminating a group of harpers (#8), though this doesn’t have negative repercussions at Last Light Inn.
There are several entranced to the sanctuary that is the Last Light Inn. In this protected bubble, you will find Minthara and her Harpers, fighting strongly against Ketheric Thorm in the Moonrise Towers. This is a safe haven for most players. The entrances to the Last Light Inn are as follows:
C1: The standard method of entry, a simple guarded bridge.
C2: Difficult to access without entering Last Light Inn first, this lower entrance of twisted vines leads to the back entrance to the Last Light Basement (see below).
C3: The back entrance to the Last Light Basement is accessible via a hatch in a hut, and can provide a stealthy method of entry, should you need it.
All three entrances to Reithwin town are easily accessible, essentially bridges into the town. However, Reithwin town is surrounded by a denser layer of the Shadow Curse which will snuff out all but the strongest light sources. You will need either a Moonlantern or a pixie’s blessing (both obtainable from Kar’niss, #2) to pass through without damage, though a well-prepared party can brave the Shadow Curse long enough to make it to the Moonrise Towers to acquire a difference Moonlantern if Kar’niss’s is unavailable.
There is only 1 warp zone in the Shadow-Cursed Lands (even though the adjacent zones have plenty), titled “Shadowed Battlefield”.
Where To Go Next
Text
Last Light Inn: Most characters will want to visit the Last Light Inn before heading to Reithwin Town. Not only will this let you meet Minthara, start and progress a few quests, and find some respite, but Isobel at the Inn can provide you with a blessing to stave off the horror of the Shadow-Cursed Lands. Or you can just kill them all, if that’s, like, your thing. Either way, it should be most players’ first stop in the Shadow-Cursed Lands.
Reithwin Town: The Moonrise Towers and the Gauntlet of Shar both lie within or through this densely-cursed town, as well as the tainted members of J.K. Simmons’ the Khorm family. This is the location you will need to go to progress the plot, and the most loot dense area of the game so far.
Mountain Pass: If you need to backtrack, it is likely you still need to clear out the Rosymorn Monastery and Crèche Y’llek to progress Lae’zel’s story and find some out yourself.
Grymforge: You can only use this path if you’ve already cleared Grymforge, and at that point you might as well fast travel.
Graves is an avid writer, web designer, and gamer, with more ideas than he could hope to achieve in a lifetime. But, armed with a mug of coffee and an overactive imagination, he'll try. When he isn't working on a creative project, he is painting miniatures, reading cheesy sci-fi novels, or making music.