Some people tend to underestimate  Fighters. Some people consider them boring. But they all change their tune when their spellcasters and fancy
  Paladins are all taking a nap to restore their spell slots, and the Fighter is still going strong. The main role of a Fighter in a party is to deal extremely high amounts of consistent physical damage while not dying or expending any precious resources in the process, and they’re the best at what they do.
That alone should be reason enough to have a Fighter in your core party. But seeing how  Lae’zel – a
  Githyanki Fighter – is perhaps the most closely connected to the main story of Baldur’s Gate 3 among the available companions, you have another reason to let her tag along. If you do, this build will help you appreciate the understated greatness of Fighters.
Companion Build Goals
To start things off, here are our general guidelines for companion builds:
Build Summary
Here are the major things we’ll be focusing on as we level our Lae’zel:
- Subclass:
- Key Manoeuvres:
- Feats:
- Important Gear:
- Adamantine Splint Armour
- Caustic Band
- Broodmother’s Revenge
- Boots of Speed
- Sword of Justice
- Silver Sword of the Astral Plane
Once they reach level 11, Fighters are able to attack three times per single Action, thanks to  Improved Extra Attack. This easily makes them the best physical damage dealers in the game. But even before that, thanks to their Action Surge (that recharges after a Short Rest), in a pinch they can perform more attacks than other warrior-type characters.
In a perfect scenario, starting at level 11, a Fighter’s baseline Action nets them a total of three attacks. Throw in a  Haste, and that’s another three-attack Action. Action Surge is an Action on top of that. And if during all of this you kill a target (and you probably will), if you’re using an Elixir of Bloodlust you’ll get another Action. And thanks to the
  Great Weapon Master feat, you’ll get an extra attack as a Bonus Action as well. Doing some quick math, this results in 13 attacks you can perform in a single turn (that is unless you’re playing on Honour Mode that changes the way Haste interracts with extra attacks).
With that in mind, our goal for Lae’zel will be to maximize the damage of her individual attacks while making sure she has a high-enough Attack Bonus to make use of the extra damage offered by the Great Weapon Master toggle.
Since she’s the only companion that can by default utilize heavy armour, she’ll get all the best gear of that type. This will make her sturdy without the need for a high Dexterity score.
And since we’ll be going the  Battle Master route with her, she won’t be a one trick pony that just deals melee damage. With
  Precision Attack you can pretty much guarantee you’ll hit your target, and activating it doesn’t cost any actions, just a single Superiority Die.
  Riposte will let Lae’zel do what few others can – attack enemies during their turn. And
  Rally is pretty much the best of them all. Don’t be confused by the ability’s wording – it’s essentially a ranged heal you can use as a bonus action. This means you can use it on downed teammates to make them get back into the fight, or at least soak up some more enemy attacks. The other manoeuvres all have their uses too, but these three are pretty much mandatory if you want your Lae’zel to truly shine.
Lae’zel Overview:
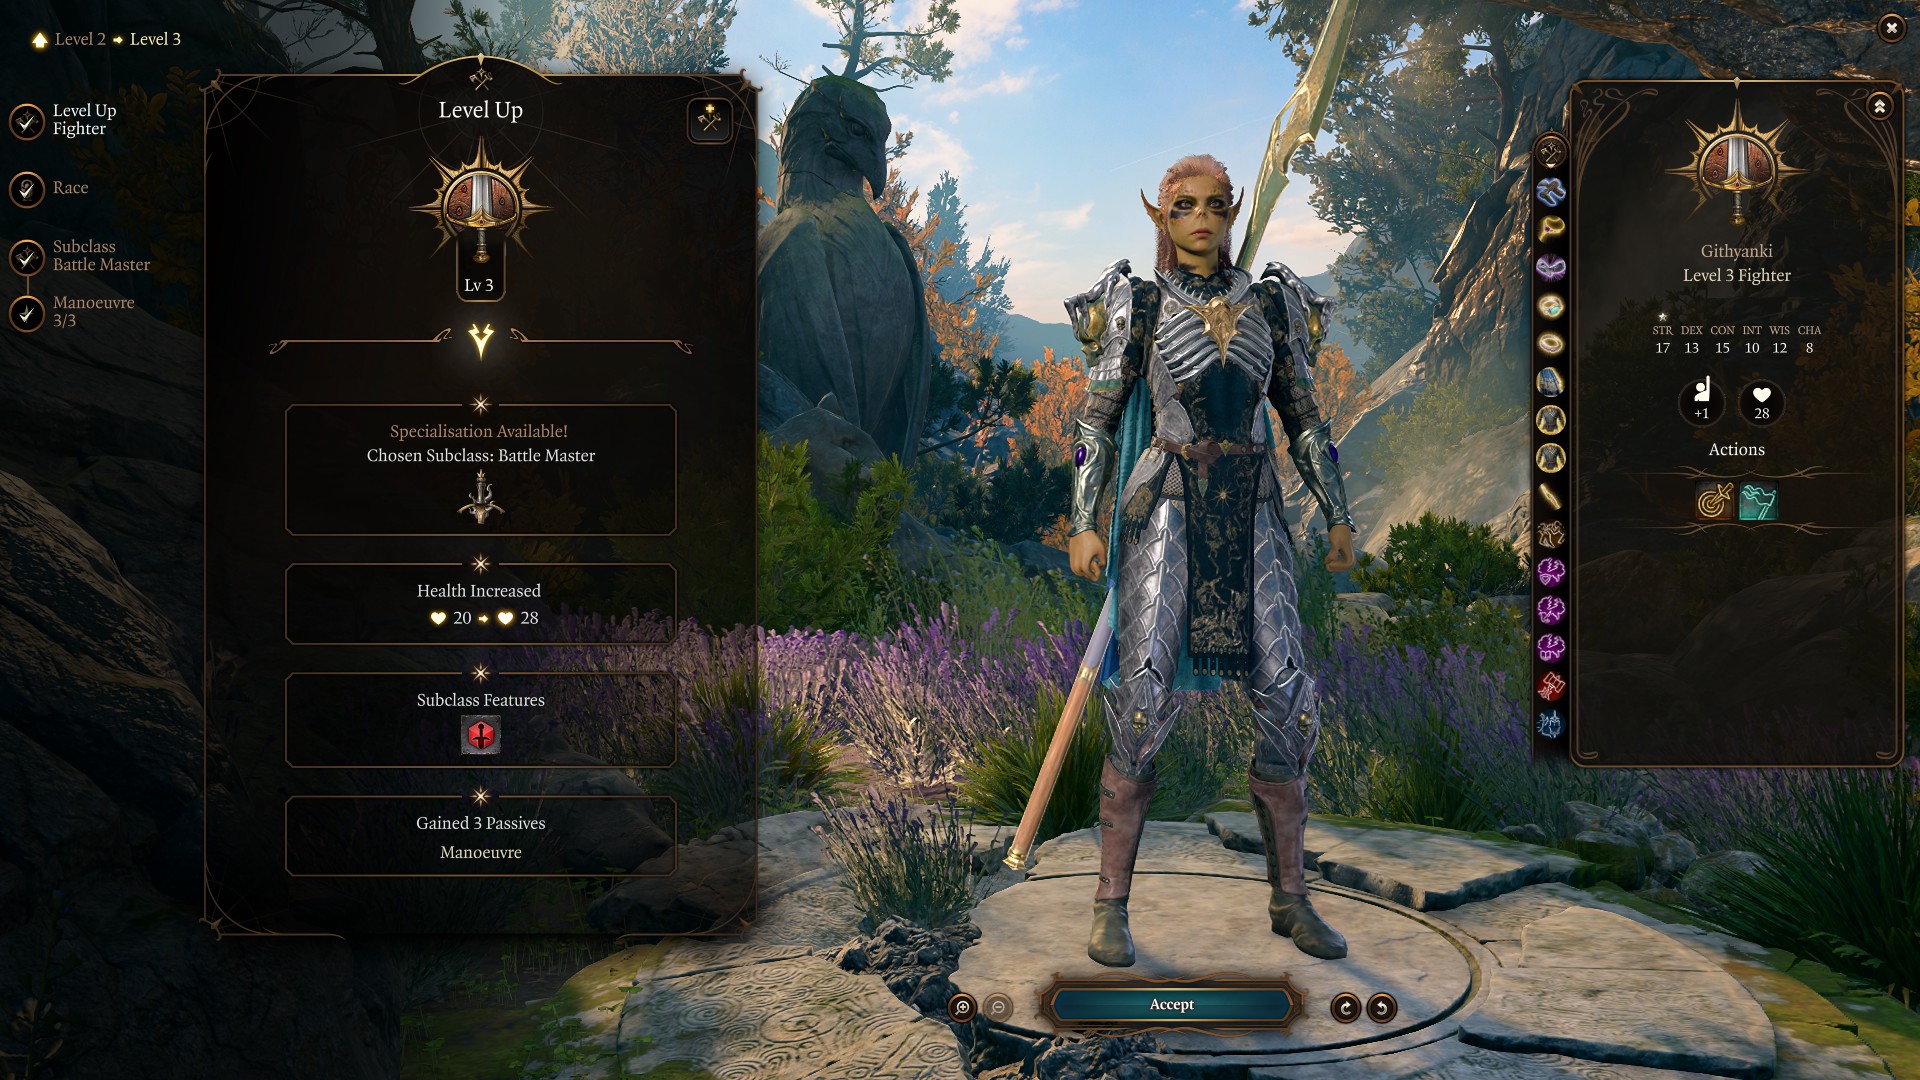
This is what Lae’zel will look like when you initially recruit her as a level 1 Fighter:
Feats and Abilities
This section will highlight all the things we’ll be picking when raising Lae’zel’s level.
Subclass
We’ll be going for the Battle Master subclass with Lae’zel when she reaches level 3. This subclass provides unparalleled utility to a Fighter through a number of special attacks and moves known as manoeuvres. There are a total of 14 manoeuvres in the game, and as a Battle Master, you’ll be able to eventually learn 7 of them. We believe only three are pretty much mandatory, and we’ll be getting them all when we hit level 3. This leaves you with some freedom when it comes to picking your additional manoeuvres, but we’ll provide our suggestions for them as well.
To use these manoeuvres you’ll be spending Superiority Dice – a special Battle Master resource. You get a decent amount of them right away, and even more as you level. And since you get them all back after a Short or a Long Rest, don’t hesitate to use them.
Manoeuvres
Upon reaching level 3, these are the manoeuvres we’ll be grabbing:
Precision Attack allows us to add a Superiority Die to our attack roll. Barring some critical failure, this will just about guarantee that the attack lands. A very useful thing to have when dealing with priority targets.
Rally is essentially a small 8 HP heal with a respectable range. Use it on your downed party mates to get them back on their feet.
Since our Lae’zel is a melee Fighter, she’ll be getting attacked a lot. And when those attacks miss, Riposte will let her hit her enemies right back during their turn.
When we hit level 7, we’ll get two more manoeuvres. Our suggestions here are:
 Disarming Attack will let you spend a Superiority Die to perform a special attack that deals an extra 1d8 damage and has a chance to make your target drop its weapon. Even if the weapon doesn’t drop, you still get a stronger attack, so there’s no way to lose here.
 Evasive Footwork makes it so all melee attacks against you for a turn are made with a Disadvantage. As a free action, this will greatly increase your survivability without costing you too much.
We’ll get our final two manoeuvres once we reach level 10. Here are our choices there:
 Manoeuvring Attack is once again at worst is a stronger attack. But when it lands, you’ll also be able to restore some movement to one of your allies and make them immune to attacks of opportunity for a turn.
Shoving enemies can be very strong in Baldur’s Gate 3 – bottomless pits are easy to find. And seeing how even most bosses aren’t immune to them, this simple move can instantly win you some tough fights. But let’s say you’ve already used your Bonus Action for that turn, and there are still enemies in need of shoving:  Pushing Attack will help you there. Not only does it deal extra damage, it also has a good chance to push your target back when it lands.
Feats
Fighters are one of the Baldur’s Gate 3 classes that get more feats than usual, ending up with a total of 4 by the time they hit level 12. And since our Lae’zel is a Fighter specializing in two-handed weapons, she’ll actually get some interesting options to play with:
 Ability Improvement
- Coming at level 4, our first feat of choice will give Lae’zel an extra point in Strength and Constitution.
- Great Weapon Master
- Since Lae’zel will be using two-handed swords for most of the game, at worst, this feat that we’ll grab at level 6 will give her an extra attack upon landing a critical hit or killing a target. But once her Attack Bonus is high enough, you’ll also be able to toggle this feat to let her deal 10 extra damage with each attack for the cost of 5 Attack Bonus.
- Ability Improvement
- At level 8, we’ll maximize Lae’zel’s Strength by putting two points into it for a total of 20. If you’re someone who likes to have high Ability Scores early, feel free to swap this feat with the previous one.
 Mage Slayer/
 Alert/
 Savage Attacker
- The level 12 feat is honestly up to you. The three above options can all work. Alert is always nice to have on any character. Savage Attacker will increase our average damage rolls, but since Lae’zel already has the
 Great Weapon Fighting style, it won’t be as noticeable as on another character. And Mage Slayer will do nothing at all most of the time, but when it works, you’ll really love it.
- That said, our choice here will be Mage Slayer. Since we’ll be getting it at level 12 – at the point high-level enemy spellcasters are a common occurrence – being able to easily shut them down is really nice.
Equipment
As a low-Dexterity Fighter, Lae’zel will be relying on heavy armour, Second Wind healing, and her manoeuvres to not die. Our gear choices for her will reflect that. We’ll also be picking up some relatively common gear that will help her deal more damage with all her attacks.
- Main Weapon – Silver Sword of the Astral Plane
- A legendary +3 greatsword with special bonuses when wielded by a Githyanki. It was pretty much made for Lae’zel. You get it late in the game after showing the Orphic Hammer to Kith’rak Voss in Act 3.
- Early Weapon – Sword of Justice/Soulbreaker Greatsword
- Sword of Justice is a +1 greatsword you loot from Anders in Act 1 when pursuing
 Karlach’s personal quest. It lets its wielder cast Tyr’s Protection – a spell that increases their AC by 2 as long as they maintain Concentration. Since as a Fighter Lae’zel won’t generally be concentrating on any spells, this is a great option for her.
- If her Concentration gets broken and you’re not in a position to perform a Short Rest, you can swap it for the Soulbreaker Greatsword, a +1 greatsword that deals extra damage when used by a Githyanki. You can loot it from Kith’rak Therezzyn in Cr¨che Y’llek.
- Mid-game Weapon – Drakethroat Glaive
- Upon reaching Act 2, you can get this +2 glaive from Roah Moonglow when you meet her in Moonrise Towers. Its special ability makes it essentially a +3 glaive with some extra elemental damage. A surprisingly strong weapon for how early you can get it.
- Ranged Weapon – Hellrider Longbow
- Since our Lae’zel won’t be using any ranged weapons, this bow you can get from Ferg Drogher in Act 3 will give her +3 to Initiative and Advantage on Perception checks simply for equipping it.
- Handwear – Dark Justiciar Gauntlets/Legacy of the Masters
- Dark Justiciar Gauntlets, found inside the Gauntlet of Shar in Act 2, imbue your attacks with extra 1d4 Necrotic damage. Later on, you can replace them with Legacy of the Masters – these will raise your Attack Bonus and Damage by a flat 2. Get them from Dammon once you meet him in Act 3.
- Armour – Adamantine Splint Armour/Reaper’s Embrace/Helldusk Armour
- As our main heavy armour user, Lae’zel will get her pick of great stuff. You can craft a suit of Adamantine Splint Armour when exploring the Grymforge. Then, upon defeating Ketheric Thorm in Act 2, you’ll be able to get Reaper’s Embrace. And finally, after defeating Raphael in Act 3, you’ll get what might be the best suit of armour in the game for low-Dexterity characters in Helldusk Armour.
- Headwear – Grymskull Helm/Mask of Soul Perception
- As the only helmet classified as heavy armour in the game, Lae’zel can make good use of the Grymskull Helm you get for defeating Grym in The Adamantine Forge. Mask of Soul Perception is a late-game option that can replace it, as it grants you +2 to Attack Rolls, Initiative Rolls, and Perception checks. You can find it inside The Devil’s Fee store in Act 3.
- Cloak – Cloak of Protection/Cloak of Displacement
- As there aren’t that many cloaks in the game, there might be some competition for who gets to wear them in your party. Good options for Lae’zel include the Cloak of Protection you can get from Quartermaster Talli at the Last Light Inn in Act 2, and the Cloak of Displacement you get from Entharl Danthelon in Act 3.
- Footwear – Boots of Speed
- Since Fighters don’t get any natural movement speed bonuses and you can only use Lae’zel’s Githyanki
 Misty Step so much, these boots will provide her with some much-needed mobility. You get them for completing the Cure the Poisoned Gnome quest in the Underdark.
- Amulet – Broodmother’s Revenge
- An amulet that lets its wearer deal extra Poison damage whenever they are healed. Even if you don’t have a pocket healer around, using Lae’zel’s Second Wind ability will activate this amulet, bolstering her attacks with some extra kick.
- Ring – Caustic Band
- This ring you get from Derryth Bonecloak inside the Myconid Colony simply gives each of your attacks a nice bonus of 2 extra Acid damage.
- Ring – Crusher’s Ring/Ring of Protection
- Worn by Crusher inside the Goblin Camp in Act 1, Crusher’s Ring simply lets you move faster. Ring of Protection awarded for completing the Steal the Sacred Idol quest makes you more survivable. It’s up to you which you consider more important.
The Gameplan
As a Fighter, Lae’zel is an extremely low-maintenance character. Find her a target, send her in, and see her go to town. If she’s getting hurt and no healer is around – use Second Wind. If she needs to quickly dispatch someone – use Action Surge. If an ally is in trouble – use Rally on them.
Because she’s a Githyanki, she’ll also have access to the Misty Step spell starting at level 5, allowing her to immediately reach high-value targets. When she does, use her manoeuvres to deal more damage or guarantee that her attacks land.
Once you get the Great Weapon Master feat, don’t forget that you’ll have a toggle in the Passives tab of the UI where you’ll be able to turn this feat on and off. Turn it on when you have some Attack Bonus to spare and want to deal extra damage, and turn it off when you’re attacking hard to hit targets.
To maximize the number of attacks Lae’zel can perform, make sure you have some Elixir of Bloodlust on you. Use them on days when you expect heavy fighting to take place. To craft them, you’ll need Ashes of Worg Fang created by combining 3 Worg Fangs. Keep an eye out for them, and buy them whenever you see them in stores. It will be worth it.