Just off the dock here, you’ll discover a Message in a Bottle. If anyone in your party beats passive a DC-5 Perception check, then they’ll point it out, but you’ll be able to interact with it regardless. Inside the bottle, you’ll find a Curled Paper with a message from Doni (whom you might remember from the Emerald Grove) to his likely-dead father. This message won’t lead to anything. You won’t see Doni again after Act 1, even if he survives at the grove.
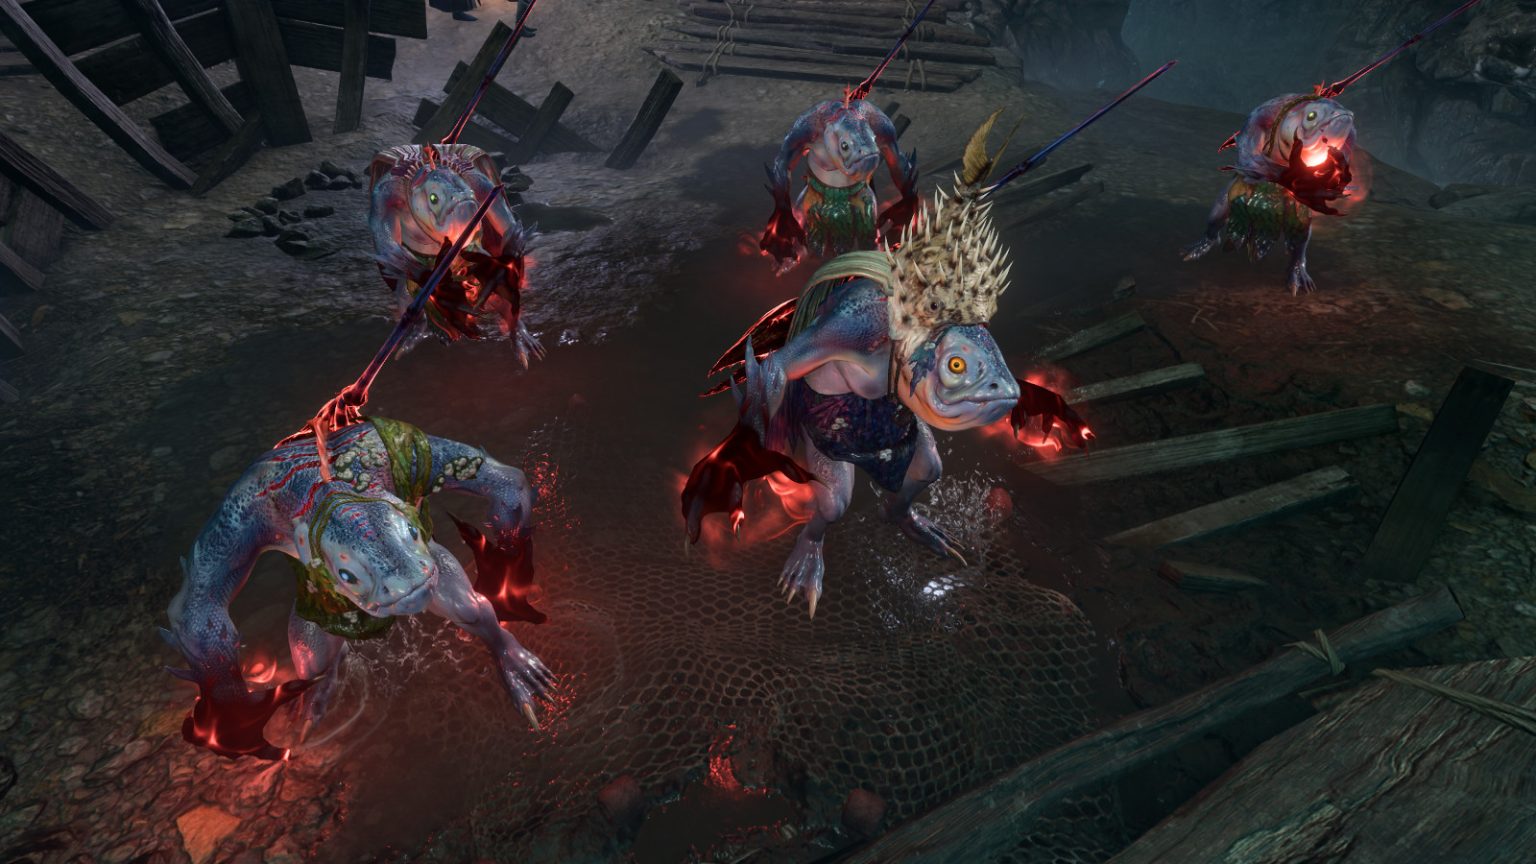
At this spot you’ll witness a bunch of kuo-tua, led by Pooldripp the Zealous, chanting for their god, BOOOAL — who will appear suddenly and demand a sacrifice. Pooldripp and his fellow worshippers will look over at you and decide that you’d make a good offering, but they won’t attack yet.
To give yourself more options during in this encounter, you should first try to figure out what BOOOAL is, or at least prove that he isn’t a god. There are a few ways to do this:
If you beat a passive DC-10 Nature check when approaching the altar, or a DC-15 History check at the start of the encounter, then you’ll know that kuto-toa can create gods simply by believing in them, and that as a result they’ve had problems with pretender gods in the past. If you then tell them that their god isn’t real, you’ll shake their belief. You can also reach this point by beating a DC-10 Performance check (Bard only).
To finish convincing the kuo-tua, you’ll have to pass a DC-15 Intelligence check, a DC-15 Performance check (Bard only), a DC-15 Persuasion check, or a DC-10 Strength check. This will cause BOOOAL to lose his bloody appearance and turn into a redcap.
If you beat a DC-15 Investigation check, then you’ll notice that BOOOAL is carrying a sickle, which is more the provenance of redcaps than gods. If you follow this up by beating a DC-10 Performance check or a DC-15 Persuasion check, then you’ll determine for sure that BOOOAL is a redcap.
If you beat a DC-20 Arcana check, then you’ll recognize that BOOOAL’s magic is fey in origin. If you follow this up by beating a DC-15 Persuasion check, then BOOOAL will show his true form — a redcap.
With knowledge about BOOOAL in hand (or not), you’ll have multiple ways to complete the encounter:
You can appease BOOOAL’s thirst for blood. You’ll have two choices for this. If you beat a DC-20 Persuasion check, then you’ll promise to kill enemies in BOOOAL’s name, and he’ll give you the Sickle of BOOOAL to help you out. You can also sacrifice one of your companions, which will remove them from your party and turn them hostile. For this, you’ll receive the permanent condition BOOOAL’s Blessing.
If you’re a Bard and have been using Performance options to get to this point, then you can pass a DC-20 Performance check to take BOOOAL’s flock away from him — and order them to kill him.
When BOOOAL calls you his Chosen, you can go along with the deception. This is the same as appeasing him, and he’ll give you the Sickle of BOOOAL.
If you say, “I’ll just kill you and claim it for myself,” then BOOOAL will turn hostile, but the kuo-tua will stay neutral, making the fight pretty easy.
If you say, “I don’t need your power — or theirs” or “I won’t let you enslave them any longer,” or if you just select the “attack” option, or if you fail the right checks, then BOOOAL will turn hostile, and he’ll order the kuo-tua to attack you. You’ll have to fight a lot of enemies this way — and they’ll probably have more hit points than you, despite being only level 2 — but the kuo-tua will become Frightened if you kill BOOOAL, so try to do that first.
Afterwards, if BOOOAL didn’t give you the Sickle of BOOOAL, then it’ll be carried by Pooldripp, and you can kill him or rob him for it. If BOOOAL dies and Pooldripp survives, then Pooldripp will name you MAHKLOOMPAH, and he’ll begin worshipping you. If you appease or kill BOOOAL, and if you have an Acolyte (like Shadowheart) in your party, then you’ll gain the “Tipping the Scales” inspiration.
You’ll have to jump on some mushrooms to reach this chest. The chest itself is locked and trapped. You’ll have to beat a passive DC-10 Perception check to detect the trap, and DC-10 Sleight of Hand checks to disarm the trap and pick the lock. Inside the chest, you’ll find a Slippery Chain Shirt.
Be careful of the torchstalks in the area. They’ll blow up after a short delay if you get too close to them, and there isn’t any way to avoid them with the narrow route to the chest. The worst is the torchstalk right next to the chest. It’s positioned perfectly to knock you or a following companion into a chasm. For best results, send your Rogue alone to the chest, shooting or avoiding the torchstalks where appropriate.
You’ll detect these mounds if you beat a passive Survival check when you get close to them. If you interact with the mounds while you have a Shovel in your inventory, then you’ll dig them up and reveal a chest, but you won’t find much of anything interesting in them.
Starting with cassette tape games on the TRS-80, Steven has been playing, creating, and writing about games for a long, long time. This makes him experienced, not old. Lately, Steven has been focusing on walkthroughs, making sure everybody knows how to solve Towers of Hanoi puzzles.