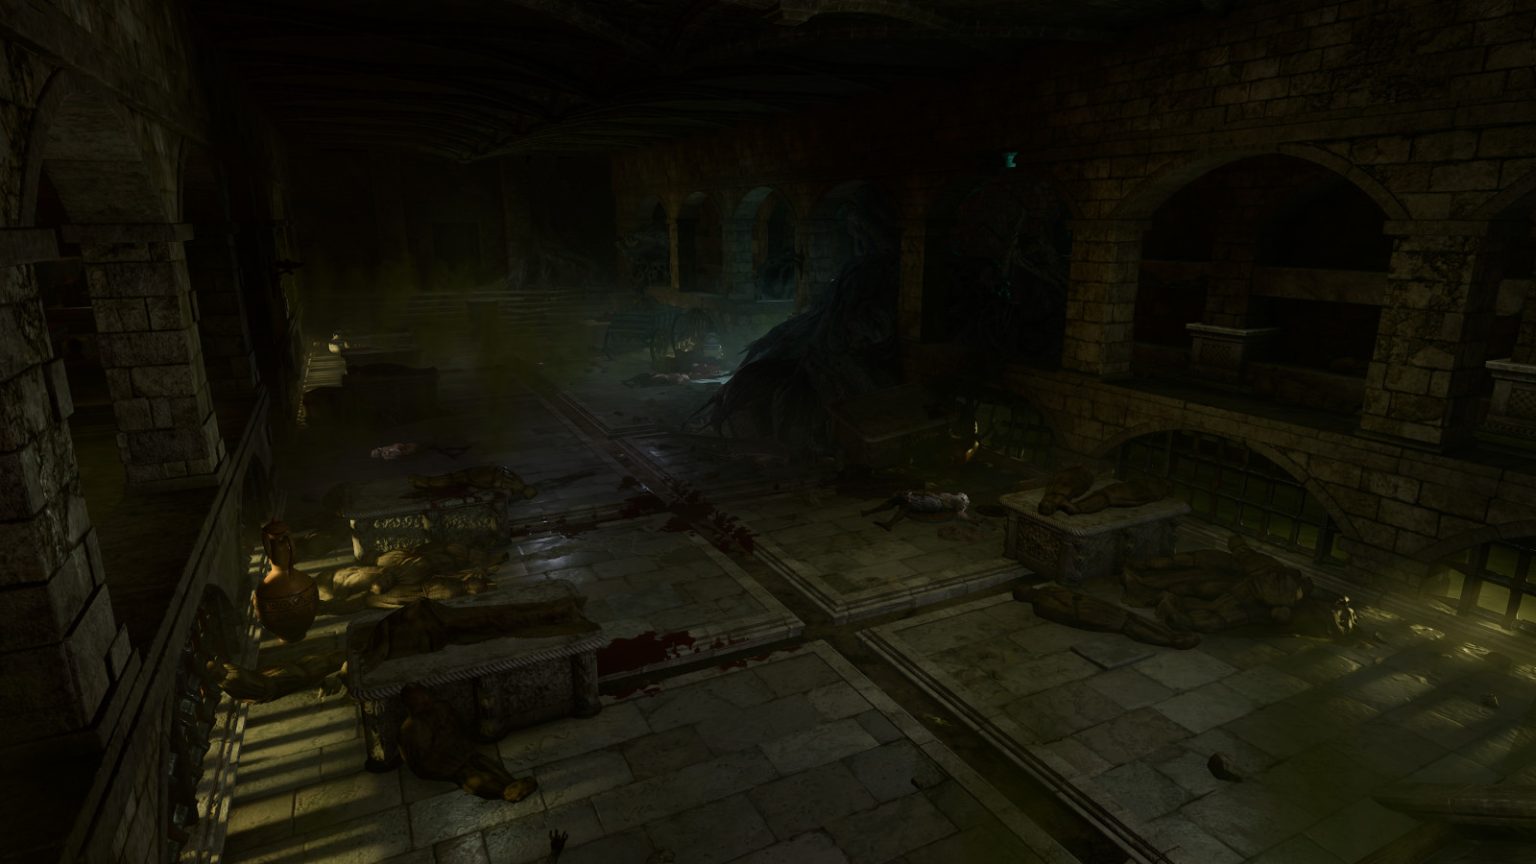
The Morgue is a small area located beneath the House of Healing in Reithwin Town. It doesn’t include any flashy boss battles, but there is combat and loot to be found, and even a secret room. Read our guide to make sure you don’t miss anything!
Map
Points of Interest 1 – Hidden Vault 2 – Central Chamber 3 – Heavy Chest 4 – Harper Olaf 5 – Laboratory Door 6 – Hidden Lever 7 – Opulent Chest 8 – Locked Door 9 – Opulent Chest 10 – Chasm Floor
To enter the hidden vault here, you’ll need to beat a passive DC-10 Perception check when approaching it. This will reveal the button that opens its secret entrance. Inside the vault, you’ll find Firzu’s Ring of Trading (on a charred corpse) and a Strange Tendril Amulet (in the wooden chest).
When you enter this large chamber, you should notice that it is filled with poison clouds, and that there are also several Zombies lying on vents (but not blocking them). The Zombies will be “sleeping,” but if you get too close to one, then they’ll all wake up and attack you. The easiest way to deal with this battle is to stay out of the chamber — and the poison clouds — and draw the Zombies to you at the entrance. There isn’t anything special about the Zombies (other than Undead Fortitude, which will heal them for 1 hp when they die), so the battle should be straightforward.
After defeating the Zombies, it’s a good idea to send your Rogue character into the chamber to disarm or cover up the poison vents. You’ll need to beat a DC-14 Sleight of Hand check for the disarming. There are five vents, but even if you disarm them all, some poison clouds will remain in the chamber.
This chest will start out locked. There isn’t a key for it, so you’ll have to beat a DC-14 Sleight of Hand check to pick its lock. Inside, you’ll find the clothing Bided Time, which gives the wearer Arcane Charge whenever they’re hit by a melee attack.
4 – Harper Olam
You’ll discover the corpse of a Harper named Olam here. He’ll have the Necrotic Laboratory Spare Key on him, which you can use to unlock a door on the western side of the Morgue (#5). You can also read Olam’s Journal nearby, and learn how the Morgue became his final resting place.
If you have an Acolyte (like Shadowheart) in your party, then reading the journal will give you the Blessed’s Final Rest inspiration. If you have a Sage (like Gale) in your party, then reading the journal will give you the Snuffed Spark inspiration.
This door will start out locked. You can open it using the Necrotic Laboratory Spare Key (#3), or by passing a DC-18 Sleight of Hand check to pick the lock.
To detect this lever, you’ll need to beat a passive DC-15 Perception check when approaching it. Pulling the lever here will unlock a lever to the east (#8).
On the table next to the lever, you’ll find the Surgeon’s Research Notes. If you have a Sage (like Gale) in your party, then reading the notes will give you the Hippocratic No More inspiration.
This chest will start out trapped and locked. You’ll need to beat a passive DC-15 Perception check to detect the lock, a DC-14 Sleight of Hand check to disarm the trap, and a DC-14 Sleight of Hand check to pick the lock. Inside the chest, you’ll find the Eversight Ring, which prevents blindness.
This door will start out locked. If you approach it from the back entrance (Exit B), then you’ll just need to press the button next to it to open it. If you approach the door from the main entrance (Exit A), then you’ll have to pull two levers to open it — first the lever in the laboratory (#6), and then the lever right next to the door. You can also beat a DC-30 Sleight of Hand check to pick the door’s lock.
This chest will start out locked. You’ll need to beat a DC-14 Sleight of Hand check to pick its lock. Inside the chest, you’ll find the Fleshmelter Cloak (which deals Acid damage to melee attackers).
10 – Chasm Floor
Enemies
3 x Fetid Oozes – Lv. 6
Hollow Armour – Lv. 6
Depending on how you entered the Morgue, you might have to do some jumping and climbing, or employ spells like Enhance Leap or Feather Fall to reach this part of the map. When you arrive, you’ll get attacked by a Hollow Armour and three Fetid Oozes. You’ll probably be surprised.
The chasm floor is covered in Acid, and Fetid Oozes have an acid-damaging aura. The Hollow Armour has an AC of 21, and it’ll turn into a Shadow when it dies. We’d recommend sending one or two melee fighters down to the floor to attack the Hollow Armour, while your ranged attackers keep to the higher ground and take out the Oozes. All of the enemies are susceptible to Fire damage, so that’s a good choice for your casters.
After the battle, you’ll find Protective Plate (which grants Resistance to Necrotic damage) on the remains of the Hollow Armour.
This exit will take you to the northern part of Reithwin Town, near the kuo-toa ambush site.
Share this article:
Steven Carter
Starting with cassette tape games on the TRS-80, Steven has been playing, creating, and writing about games for a long, long time. This makes him experienced, not old. Lately, Steven has been focusing on walkthroughs, making sure everybody knows how to solve Towers of Hanoi puzzles.