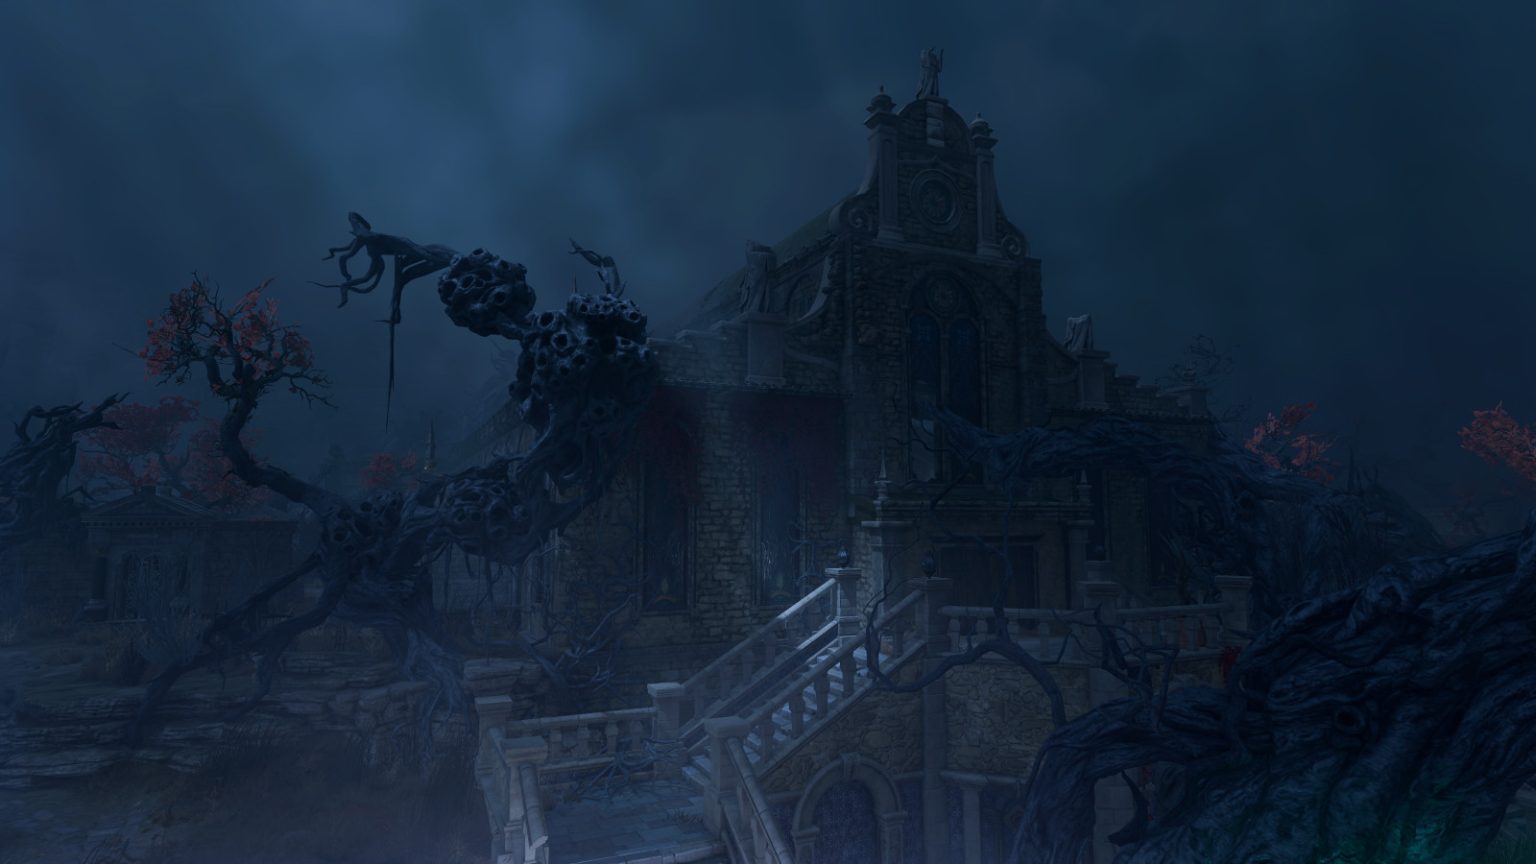
As you explore the House of Healing, you’ll discover that its name is something of a misnomer, and House of Random Stabbing and Torture might be more accurate. Read our guide so you avoid as many cuts as possible.
Every time you try to walk past Sister Sinda at the receptionist’s desk here, she’ll note that you’re not sick, and she’ll tell you to wait in line. To get past her, you’ll need to beat a DC-16 check on Deception, Intimidation (Barbarian and Sorcerer only), Performance, or Persuasion. Astarion can get through without a check. If you fail to convince Sister Sinda to let you through, then you’ll have to fight her to proceed.
The receptionist’s desk itself will start out locked. To open it, you can use the Key carried by Sister Sinda, or you can beat a DC-10 Sleight of Hand check to pick the lock. Inside the desk, you’ll find some healing potions. In the heavy chest next to the desk, you’ll find a Hospital Library Key, which opens the library door (#9).
2 – Skeleton
Notable Loot
True Love’s Embrace
On the skeleton here, you’ll find the ring True Love’s Embrace, plus Bonded By Love – Husband’s Diary. The ring is the companion piece to another ring — True Love’s Caress, which can be found on a skeleton in the Reithwin Town graveyard in between the House of Healing and the Masons’ Guild. The two rings work together, but the downside is detailed in the husband’s diary.
You’ll meet Sister Lidwin here, “treating” a dead patient. If Arabella’s parents Komira and Locke survived Act 1, then it’ll be their bodies in the adjacent beds (and they’ll be a part of the quest Find Arabella’s Parents). Otherwise, it’ll be a dead goblin.
Sister Lidwin is a shopkeeper, but to get her to work with you, you’ll need to convince her that her patient is stable. To do this, you’ll have to beat a DC-14 Deception or Sleight of Hand check, but you can try this with each character in your party until you succeed. Lidwin will have poisons and healing potions for sale, including Potions of Superior Healing.
4 – Music Box
You’ll find a music box on the table here. It plays a version of the game’s theme song (“The Power”).
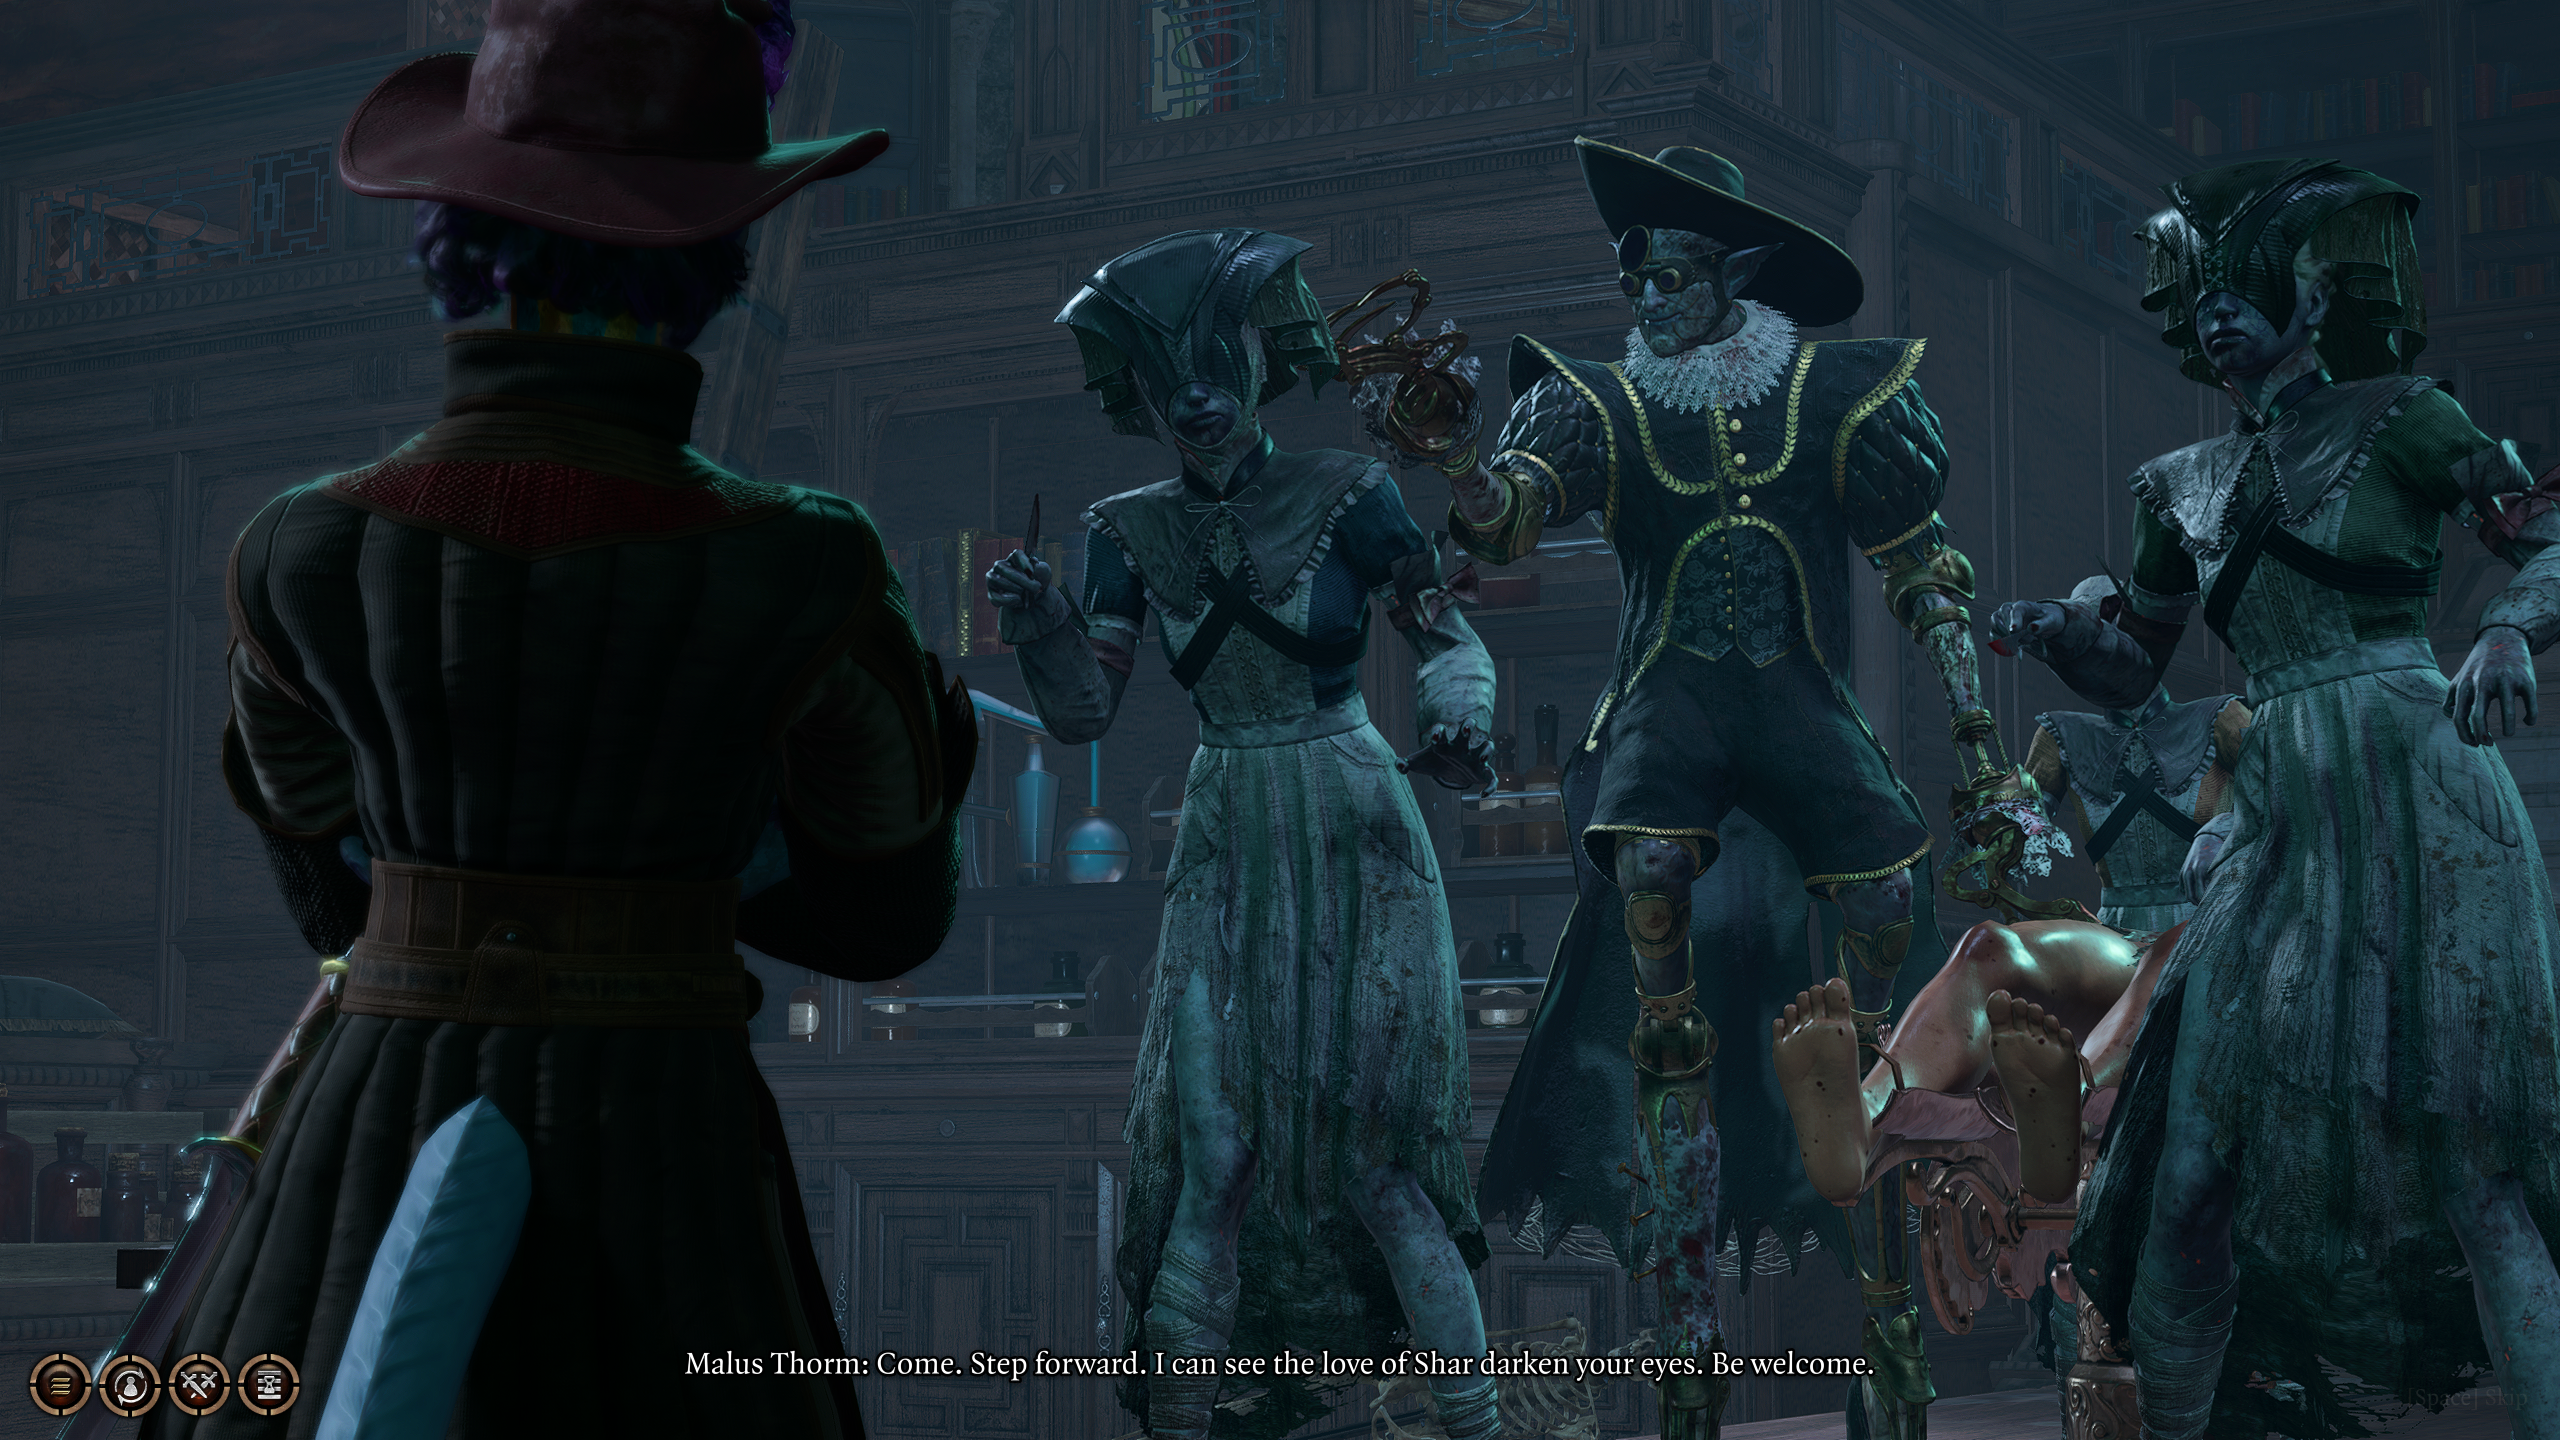
Malus Thorm is the head surgeon at the hospital. He’ll be here along with four Sisters “operating” on a Distressed Patient. There are two ways to approach the encounter: combat or dialogue.
Combat
You’ll end up fighting Malus and the Sisters if you choose “attack” as your first dialogue choice when you meet them, or if you fail one of your skill checks while talking to them The battle can be difficult, but there aren’t really any tricks to it like with the other Thorm battles in Reithwin Town. You’ll just need to carefully choose your targets.
The most important thing to know about the battle is that Malus will get a special attack at the start of each turn. He’ll either cast Request Surgical Instrument or Lovely Assistant on one of the Sisters (including the four dead ones in the room). The former will name one of the Sisters as the Surgeon’s Chosen and cause her to deliver a surgical instrument to him, which will give him a powerful attack on his next turn. The latter will raise one of the dead Sisters back to life with 12 hit points.
Beyond the special attacks, Malus will mostly just hit you with his claws. Meanwhile, the Sisters can confuse you and paralyze you (via the poison Karabasan’s Gift), and they can deal minor damage. So make good use of the viewing gallery to give your ranged attackers a height advantage, and kill the Sisters first before focusing on Malus.
You’ll earn 280 xp for killing Malus and 90 xp each for killing the Sisters, for 640 xp total.
Dialogue
Malus and the Sisters are warped enough that you can command them to kill each other, and they’ll happily oblige. To do this, you’ll just need to talk to them when you first meet them. All dialogue choices will lead to Malus noticing that the Sisters don’t cut as precisely as they should. If you pass a DC-14 Intimidation check, a DC-16 Persuasion check, or a DC-14 Religion check, then you’ll convince him that they need more practice.
Next, you’ll get to choose whom the Sisters should practice on — themselves or Malus. Both cases will require you to pass a DC-21 Persuasion check. If you read the book Physiology: A Sharran’s Primer in Malus’ office (#7), then instead of the DC-21 Persuasion check for suggesting that the Sisters cut each other, you’ll get two easier options — a DC-18 Deception check and a DC-18 Persuasion check. If you’re successful with your check, then the Sisters will either kill each other or Malus. The former is better than the latter.
Note: If you quote the primer to Malus, and if you have an Acolyte (like Shadowheart) in your party, then you’ll gain the Did My Homework inspiration.
If Malus is still alive at this point, then you can convince him to operate on himself by passing a DC-21 Deception check or a DC-21 Persuasion check. If you’re successful, then Malus will die as well.
You’ll earn 640 xp at the end of the encounter.
Conclusion
Regardless of how you choose to handle the encounter, Malus will end up dead, and you’ll find a Battered Lute, a Key, and a Surgeon’s Subjugation Amulet on his corpse. If you kill the Sisters, then you’ll find the poison Karabasan’s Gift on their corpses, unless they used it during the fight.
The Battered Lute is required for the quest Wake Up Art Cullagh. The Key can be used to unlock the Distressed Patient from the operating table, provided he survived. Of course, the patient will then run off and probably die from the Shadow Curse, but freeing him will at least give him a chance.
These two doors will start out locked. You can open them using the key found inside the office (#7) or by beating a DC-10 Sleight of Hand check to pick their lock.
7 – Table
You’ll find two things of interest on this table: a Key and the book Surgery and Physiology: A Sharran’s Primer. The Key can be used to unlock the room’s two outer doors (#6). Reading the book will give you more favorable conversation options when confronting Malus Thorm (#5).
8 – Painted Chest
Notable Loot
Poisoner’s Gloves
Inside this chest, you’ll find Poisoner’s Gloves (which cause targets of Poison damage to become Poisoned).
This door will start out locked. To open it, you can use one of the Library Hospital Keys (#1, #10), or you can beat a DC-10 Sleight of Hand check to pick the lock. If doors aren’t your thing, then you can also enter the library through a window from the Roof (reached from Exit A or Exit D), or by climbing some roots from the Main Floor (Exit C).
10 – Wooden Desk
You’ll find a Hospital Library Key inside this desk. It opens the library door to the south (#9).
There isn’t a key for these chests. You’ll have to pick them open by beating a DC-10 Sleight of Hand check. Inside, you’re likely to find potions, poisons, or alchemical ingredients.
12 – Bird’s Nest
You’ll find a Potion of Invisibility inside the bird’s nest here.
Exits
A – Ladder
Notable Loot
Shar’s Temptation
Climbing this ladder will move you between the Main Level and the Roof. Right next to the ladder on the Main Level, you’ll find the amulet Shar’s Temptation (which allows you to cast the spell Charm Person) in a crate.
B – Elevator
This elevator will take you between the Main Level and the Upper Level. You can control it by pressing the button in it or on the wall next to it.
C – Roots
These roots will allow you to climb between the Main Floor and the Upper Floor.
D – Banded Roots
These roots will allow you to walk between the Perimeter and the Roof.
Share this article:
Steven Carter
Starting with cassette tape games on the TRS-80, Steven has been playing, creating, and writing about games for a long, long time. This makes him experienced, not old. Lately, Steven has been focusing on walkthroughs, making sure everybody knows how to solve Towers of Hanoi puzzles.